DIY Concrete Star Candle Holder
Updated on November 19, 2025


I’ve been really obsessed with DIY concrete projects lately as well and very few things make me as happy as combining more than one crafting technique or decor element we love in one place, so I’ve been trying to think of ways to marry my love of candles with my enthusiasm over DIY concrete projects. That’s how I came with this DIY concrete candle holder idea! As for the star shaped element of this design; stars are simply just one more thing I’ve always loved!
Are you feeling just as enamored with the idea of working concrete, candles, and maybe even stars into one design as I was? Well, I thought other people might be into the concept too, so I actually documented my DIY process! Check out these step by step instructions complete with photos. If you’d rather follow along with a video tutorial instead of written words, scroll to the bottom of this post to find just what you’re looking for.
For this project, you’ll need:
- DIY fine particle cement
- Water
- A plate
- A spoon
- Scissors
- A dotting tool
- A candle
- Crafting wire
- A non-stick rubber star shaped mould
Step 1: Gather your materials!
Get everything you need from your list.

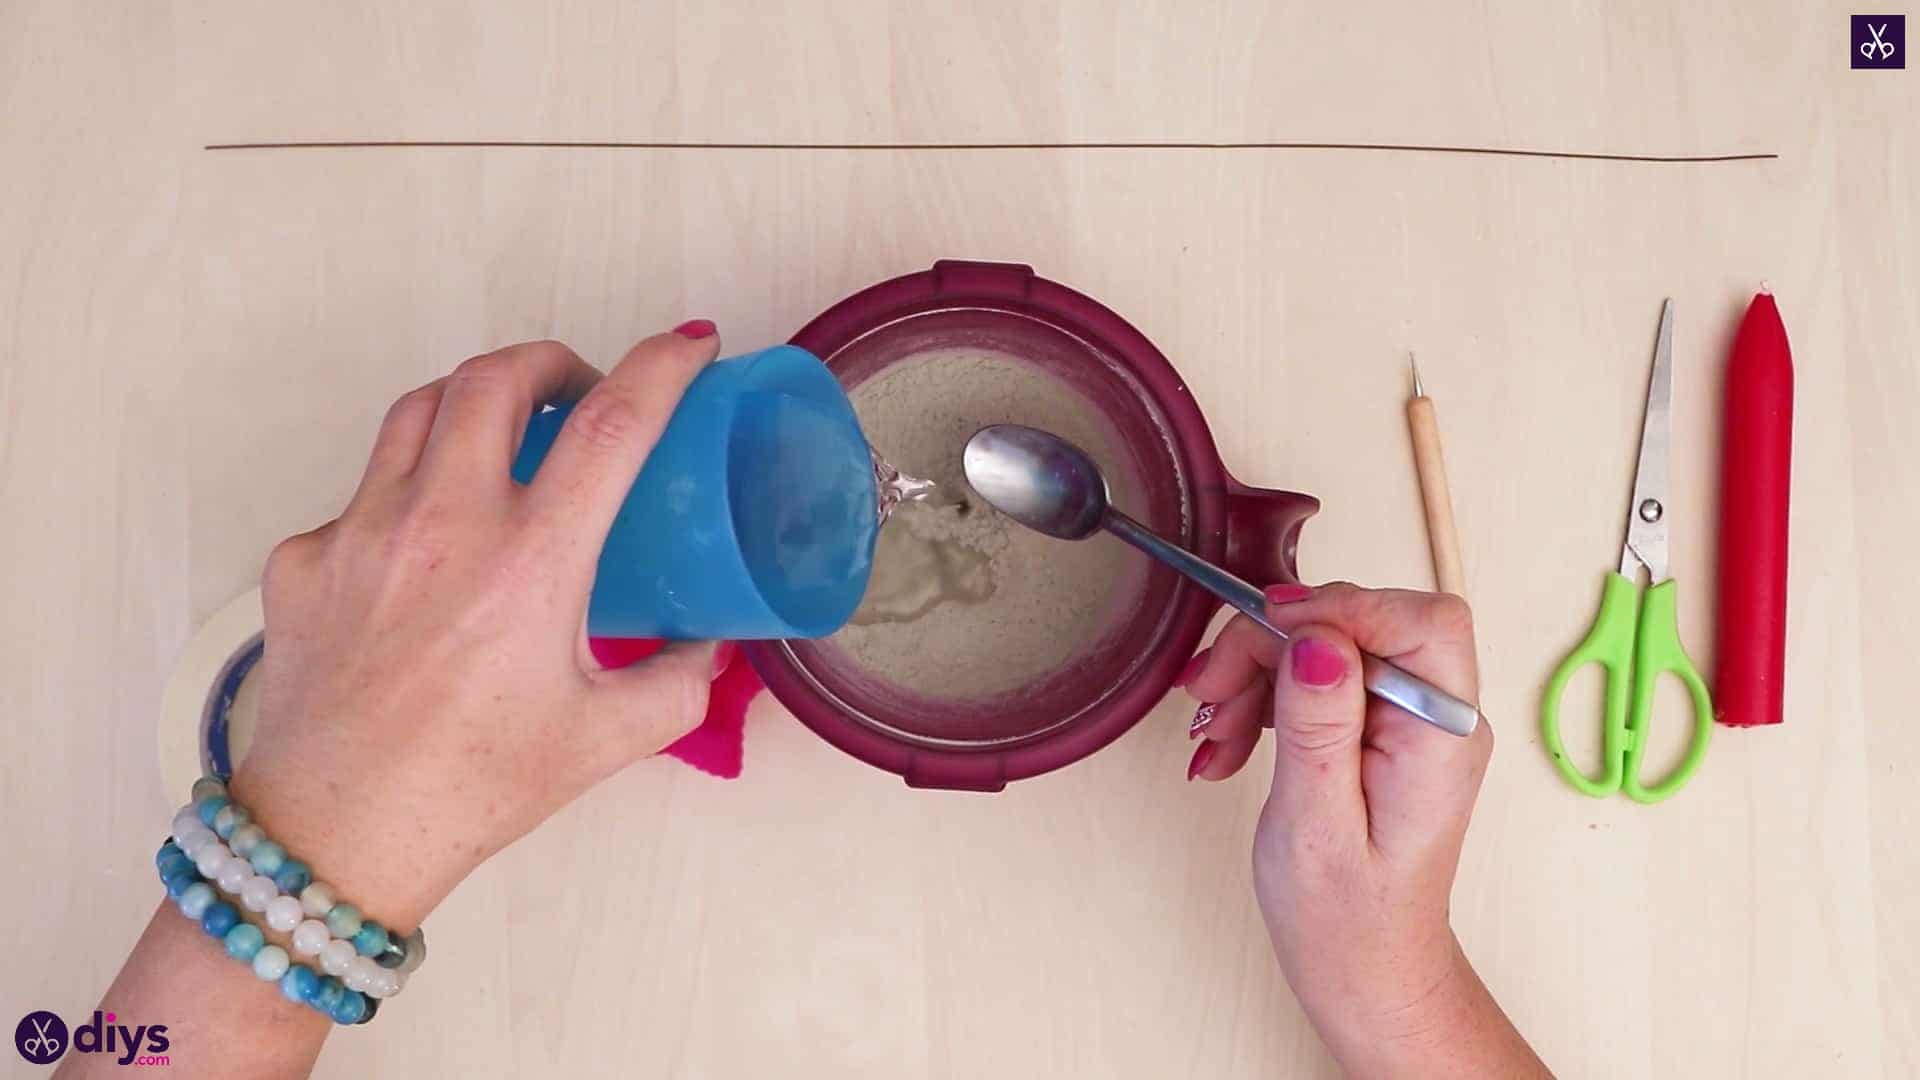
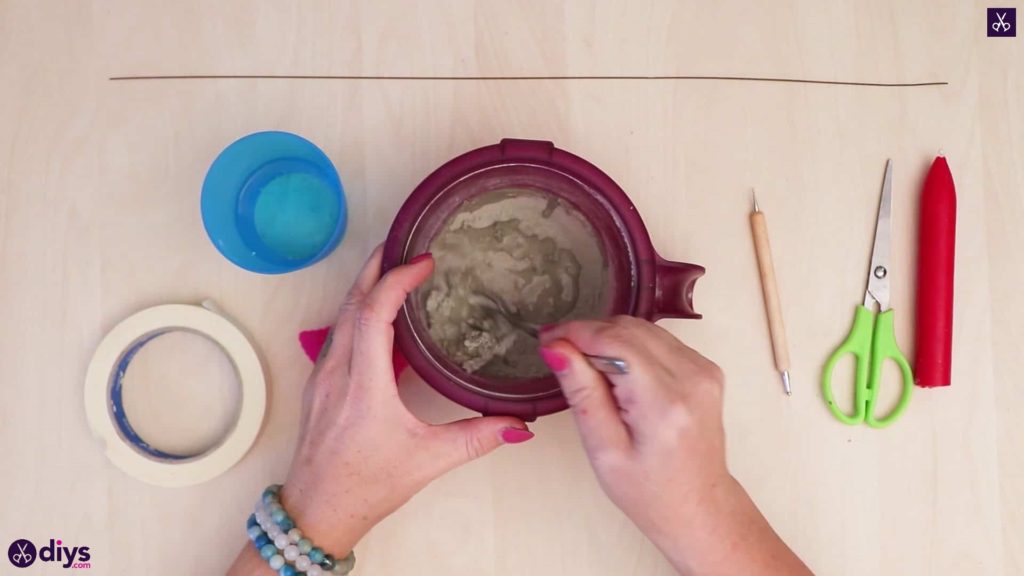
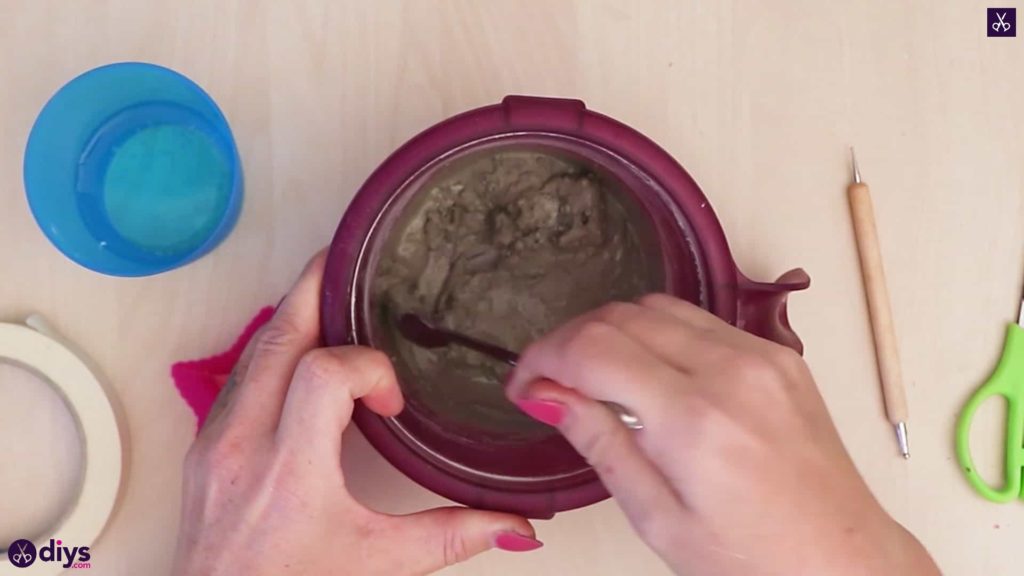
Step 2: mix concrete
Mix your concrete! Add water to the mix and stir it until the consistency is smooth and correct. Follow the mixing instructions on the back of your package to get the ratio of water to concrete mix right, since it can vary from brand to brand.

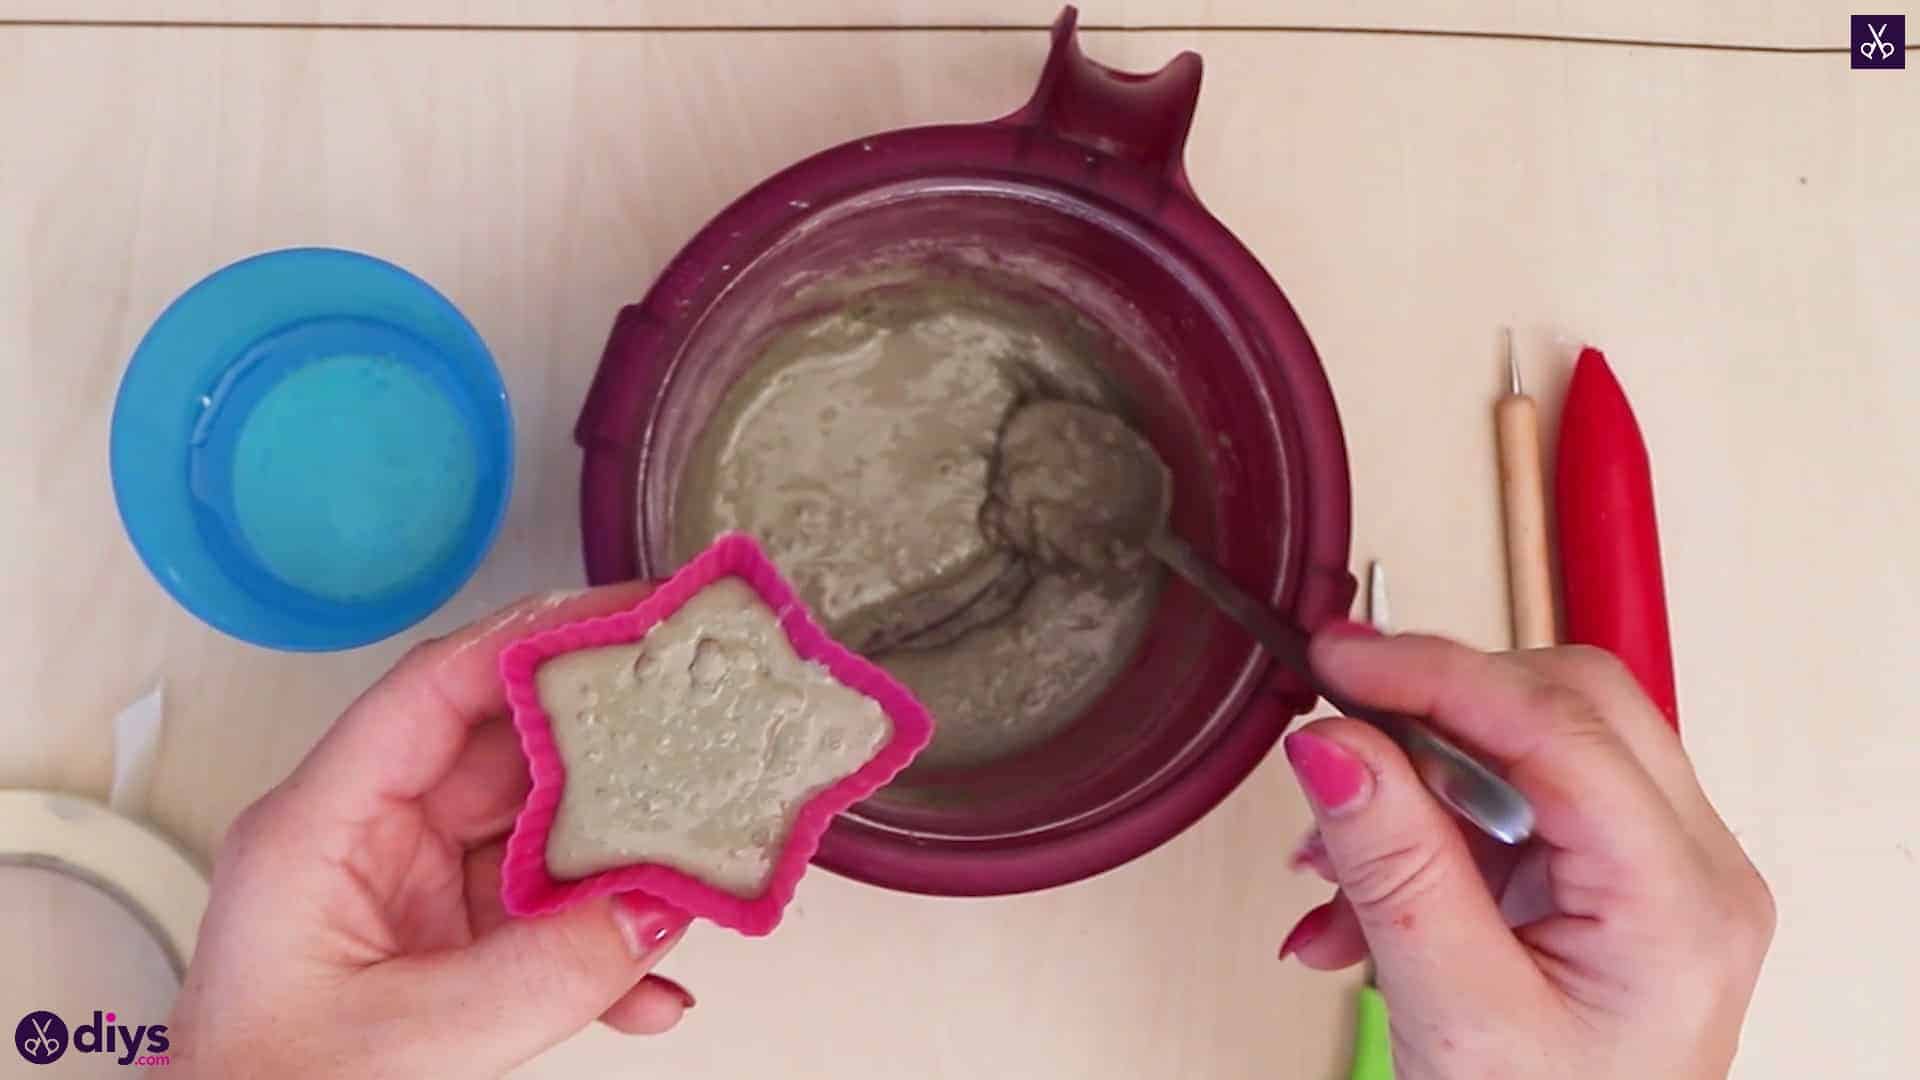
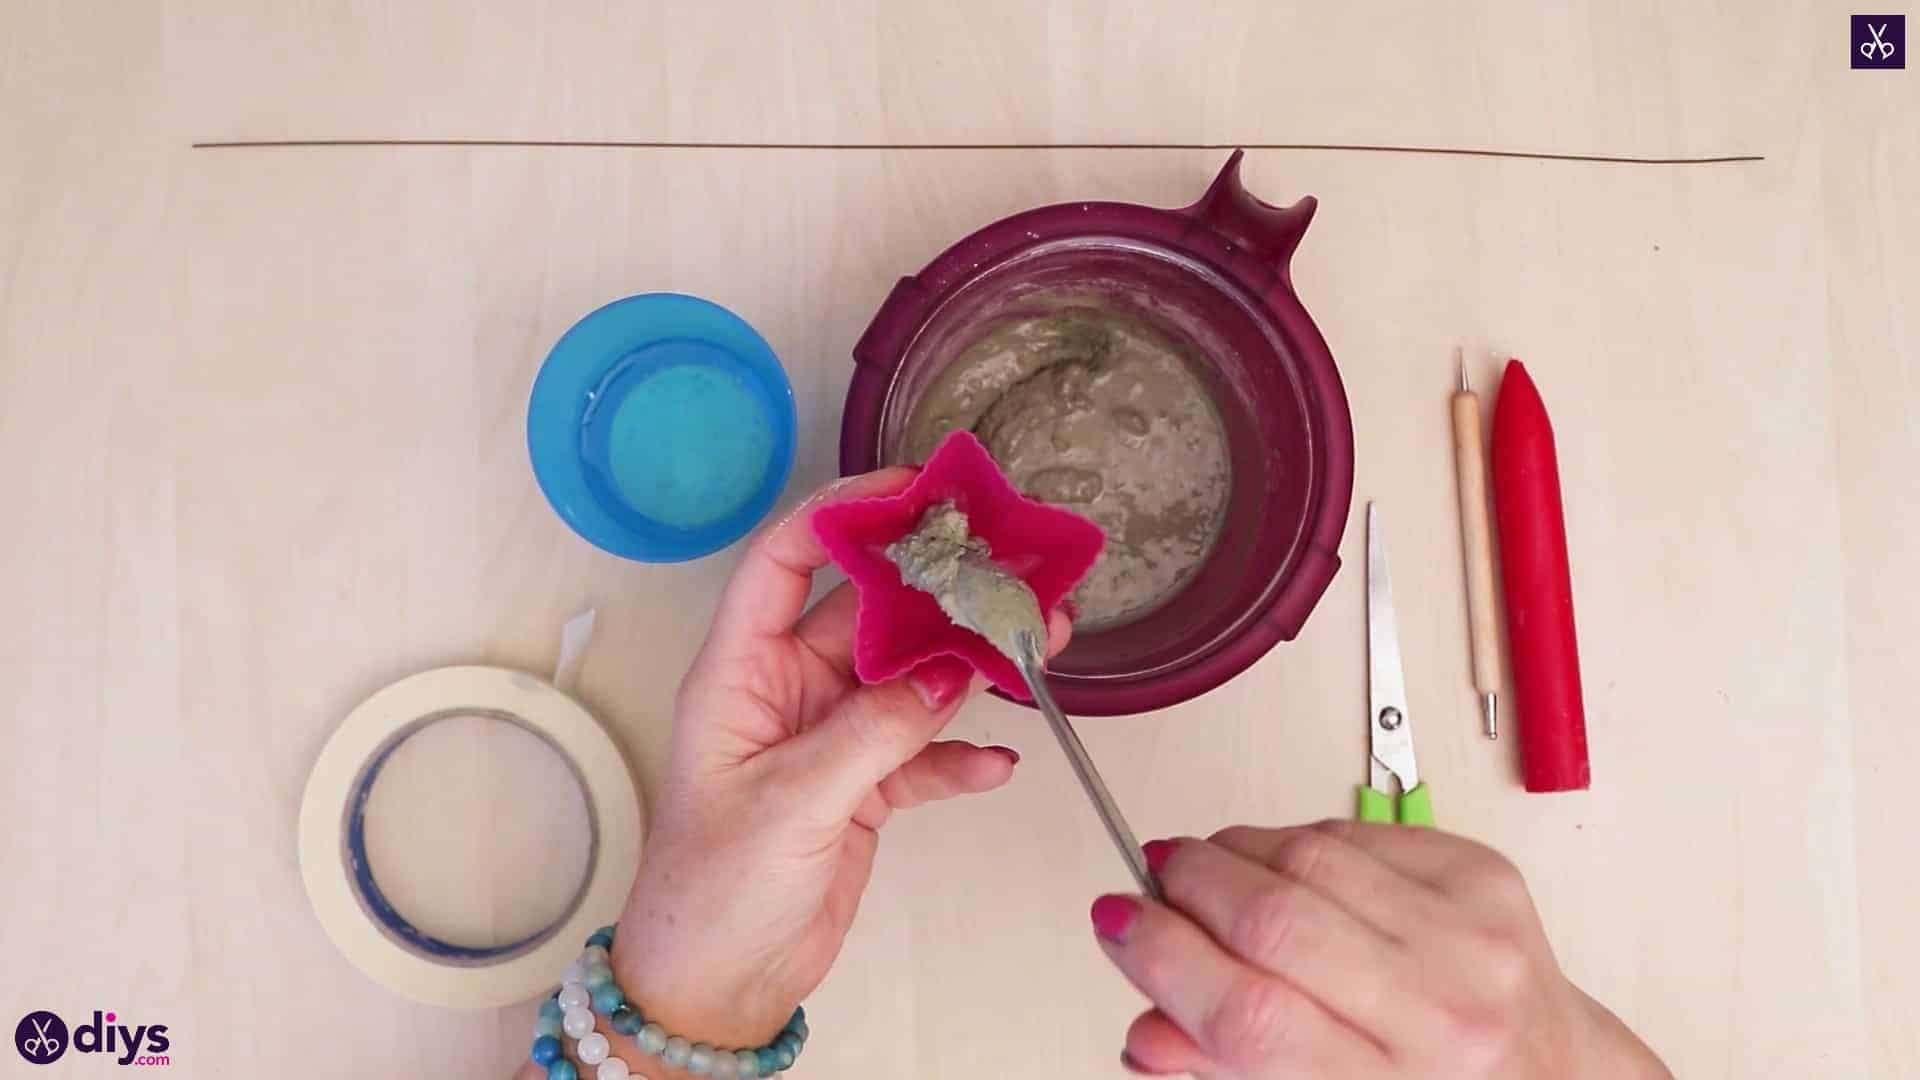
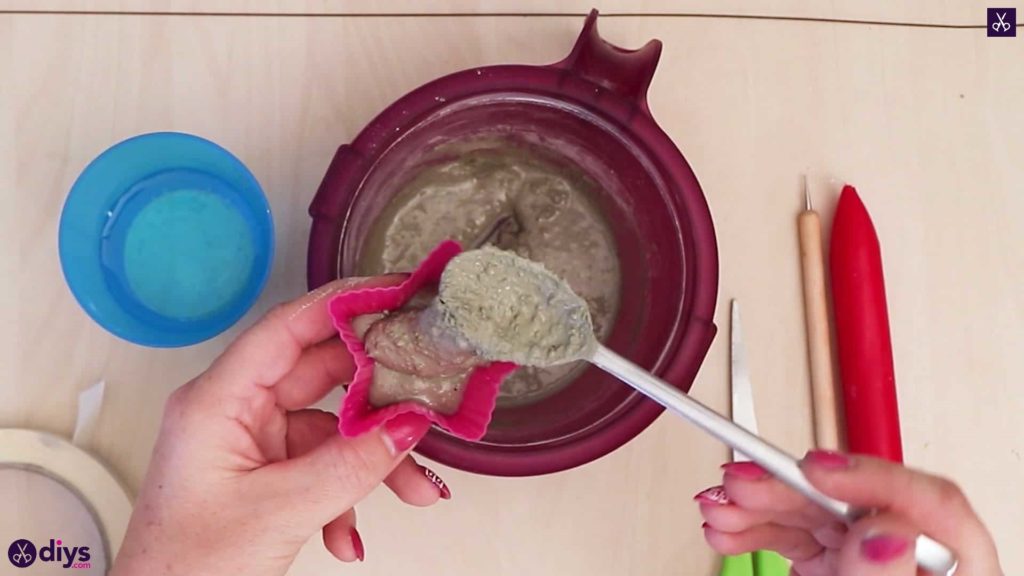
Step 3: fill mold
Fill your star-shaped mould with your wet concrete mixture! Tap the bottom of the mould on the tabletop to even out the surface and get rid of bubbles in order to keep things as smooth as possible when you set the concrete aside in a moment to dry.


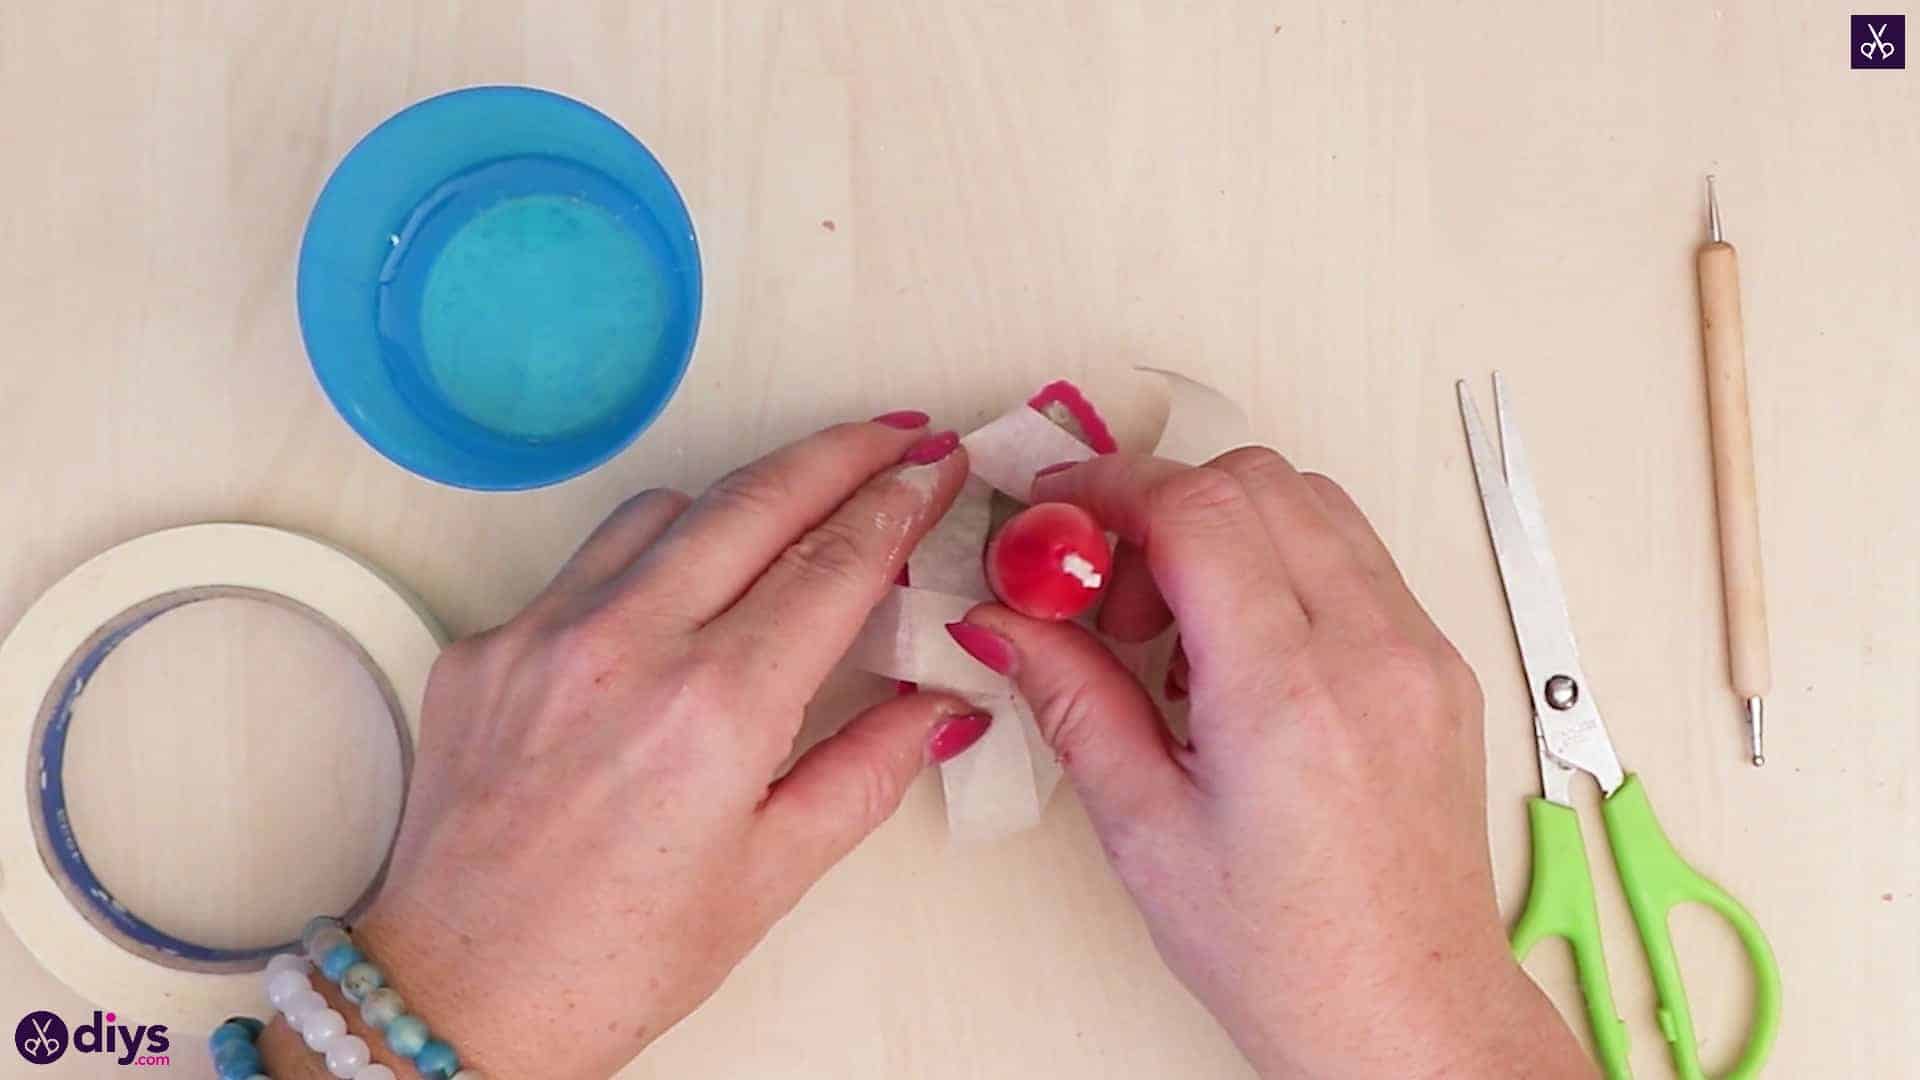
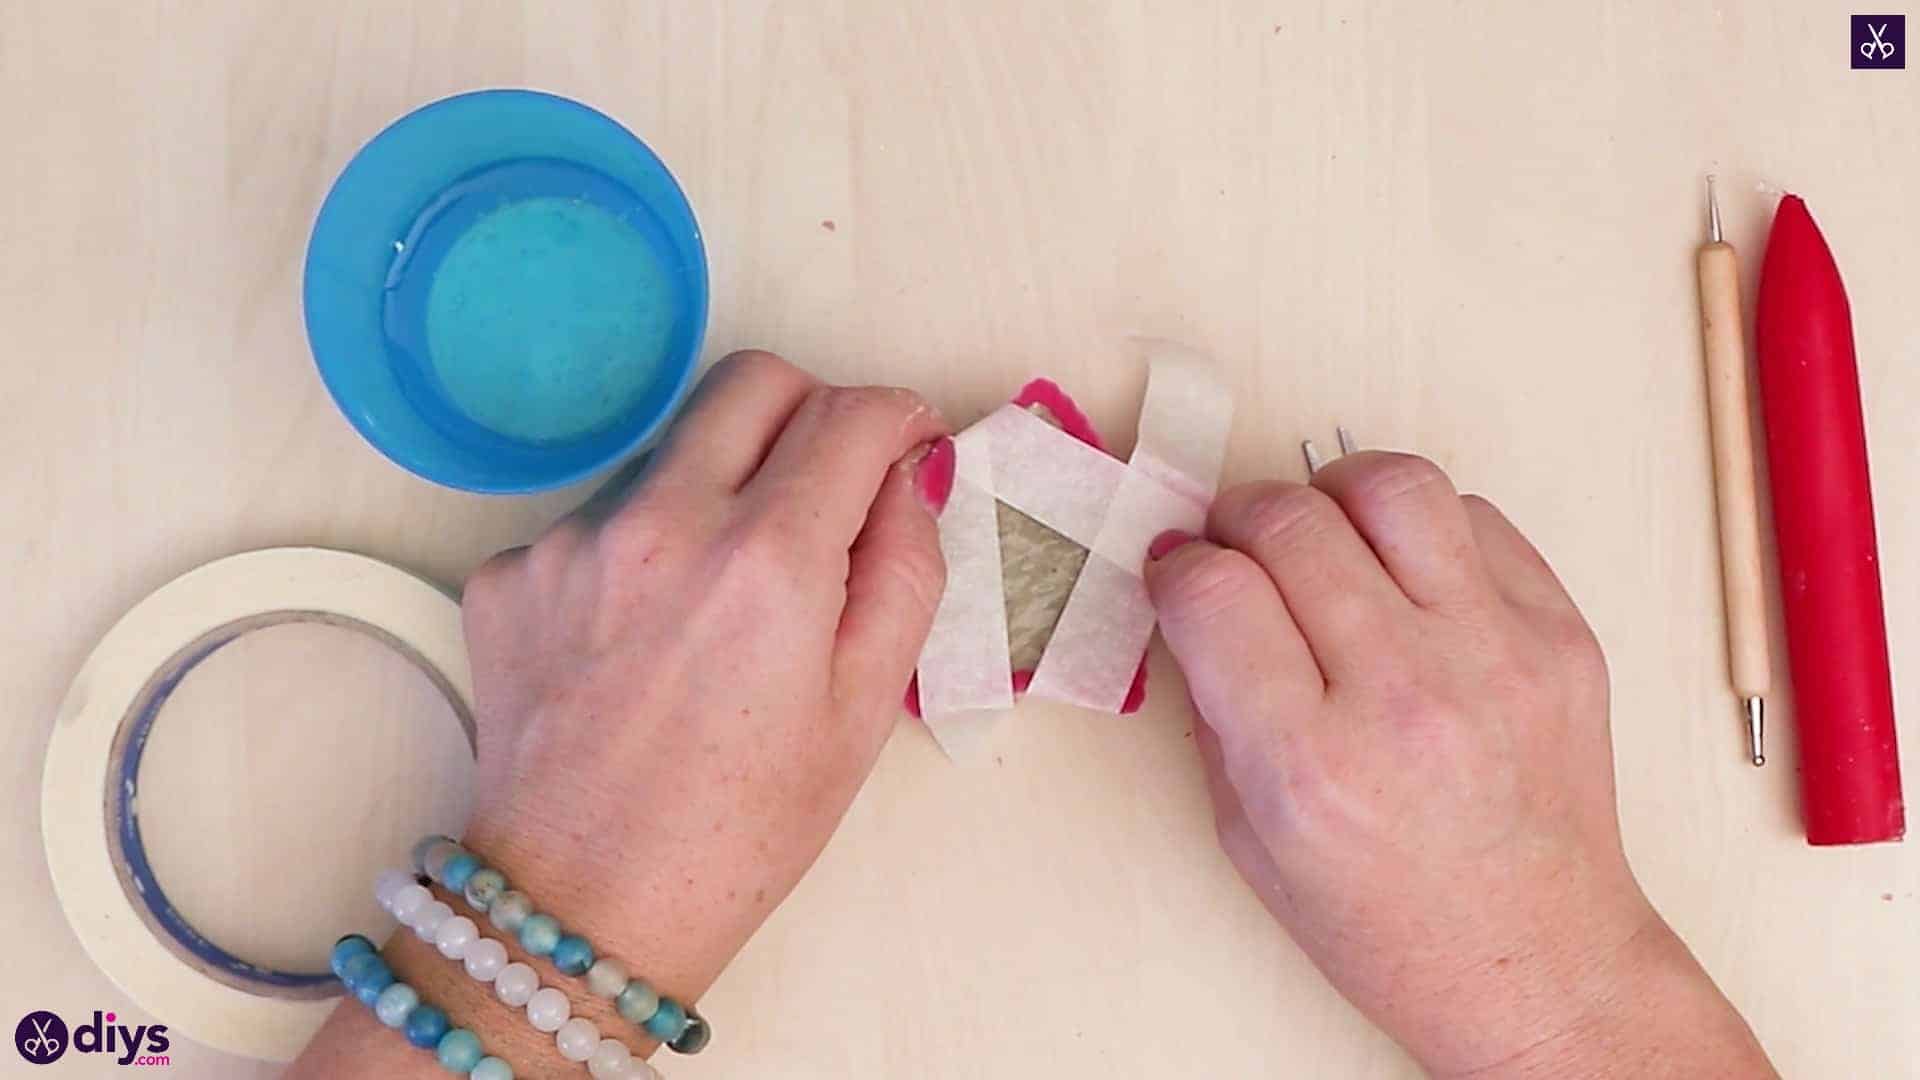
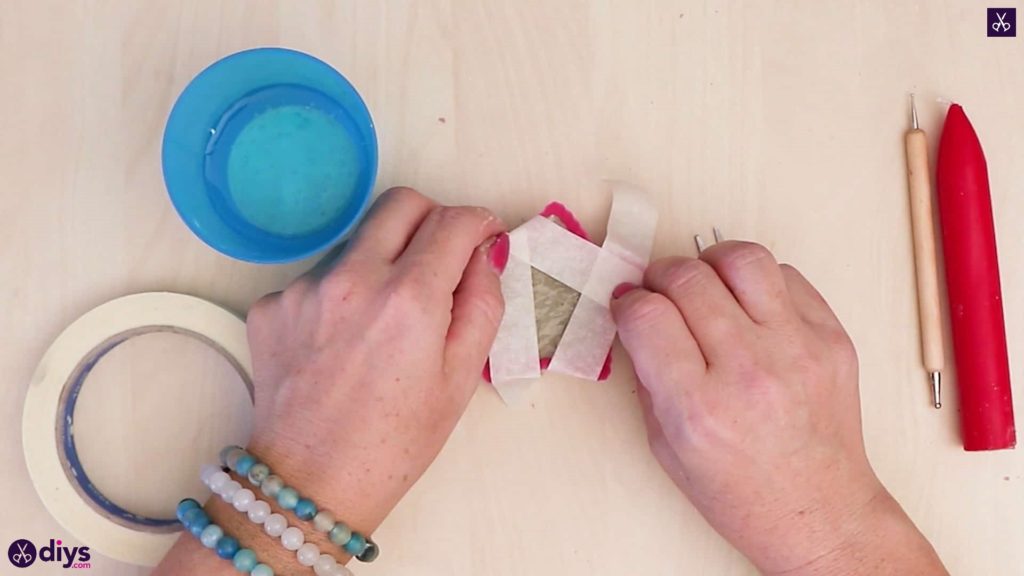
Step 4: set the candle
Cut several pieces of tape about two or three inches long each. Tape them across the concrete from one edge of the mould to the other, leaving an uncovered hole in the middle. Sink the base of your candle into the concrete so it stands upright in the middle of the mould, using the adhesive edges of the pieces of tape you put across your mould to hold it in place. Set the whole thing aside to dry.


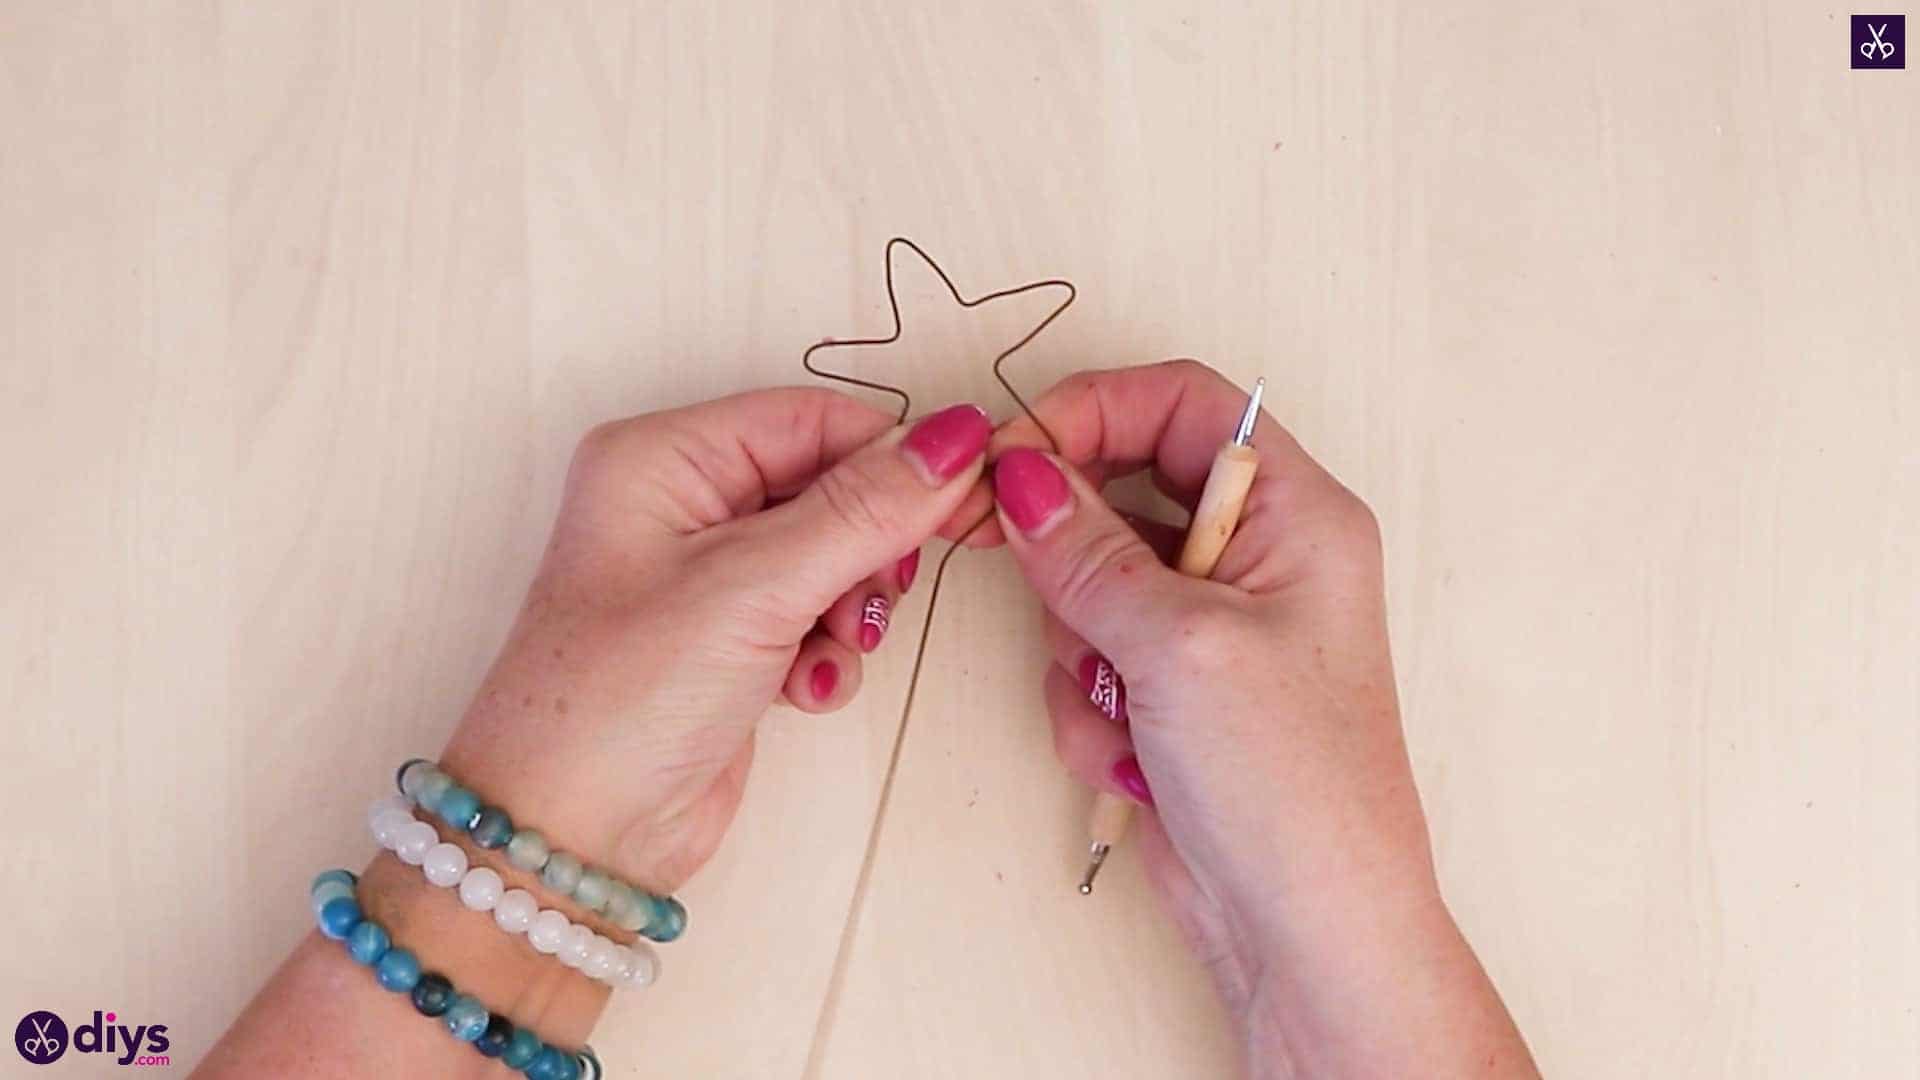
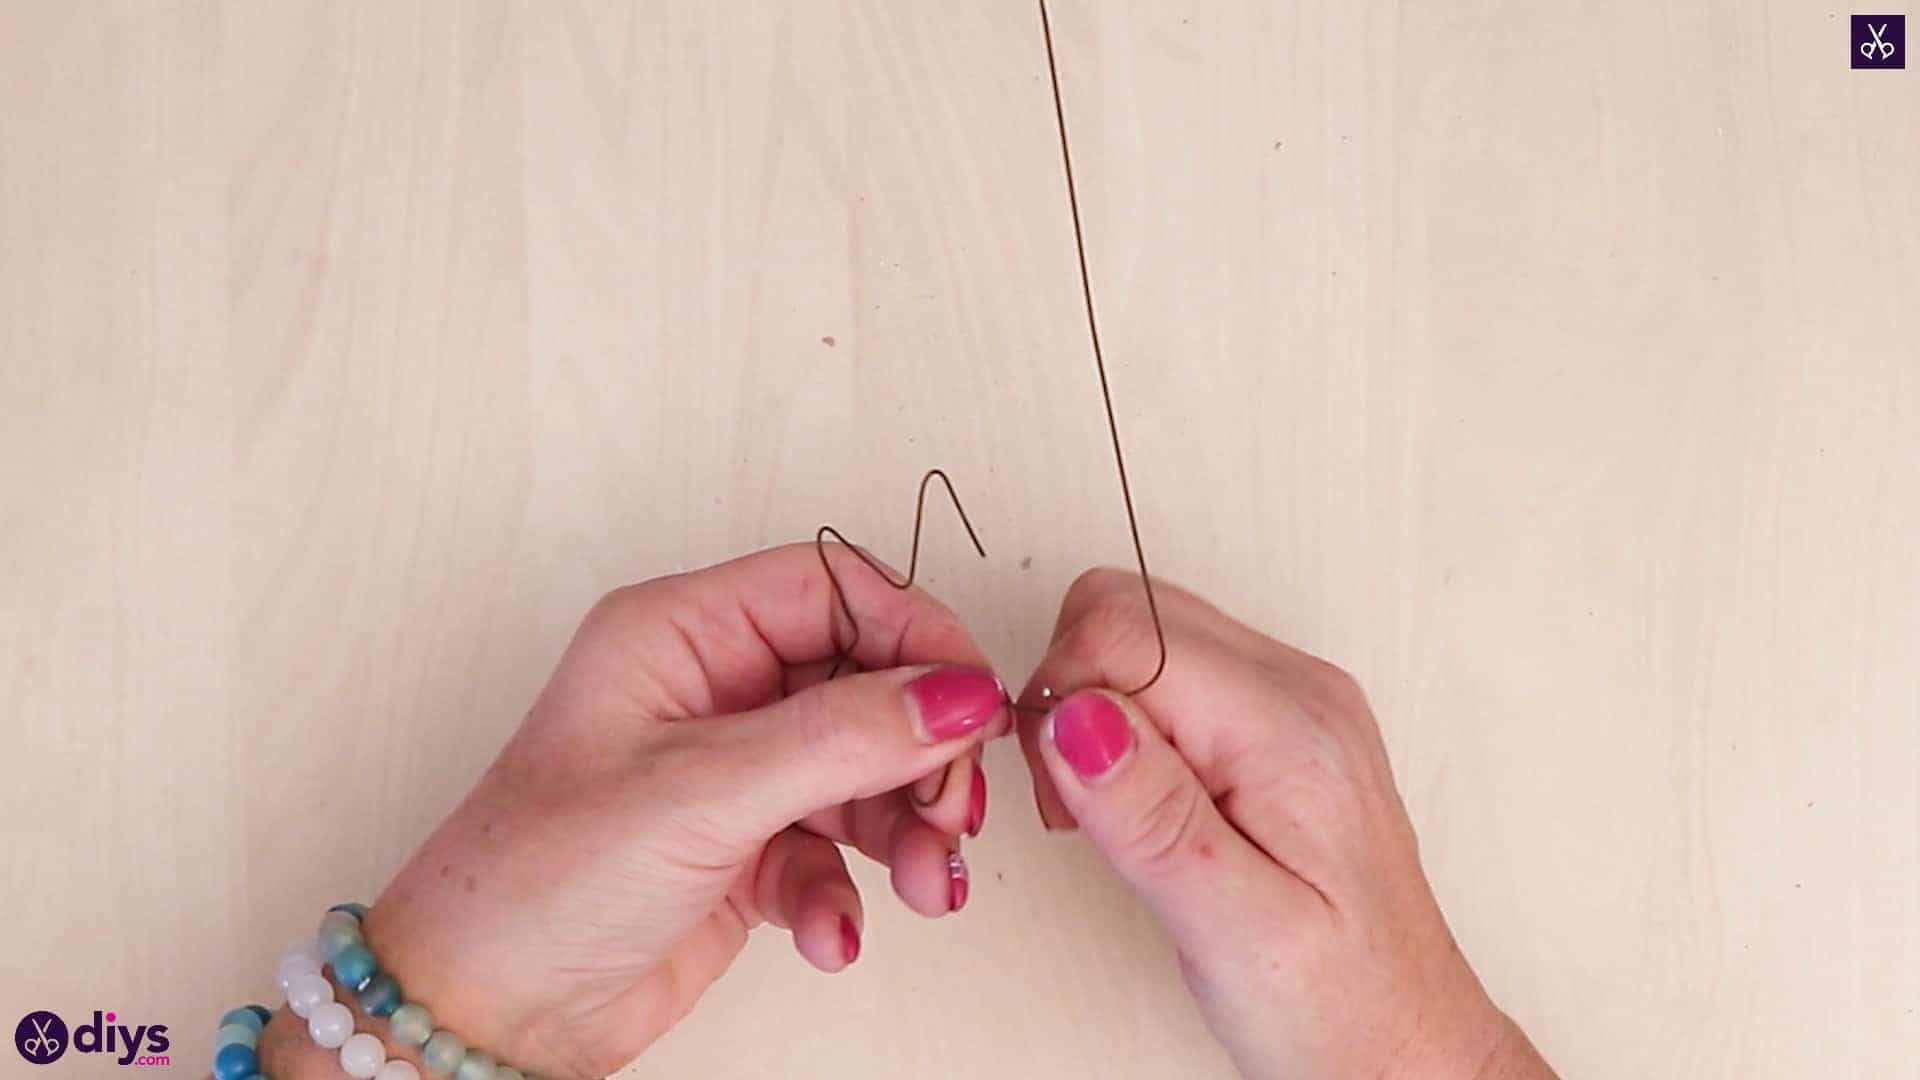
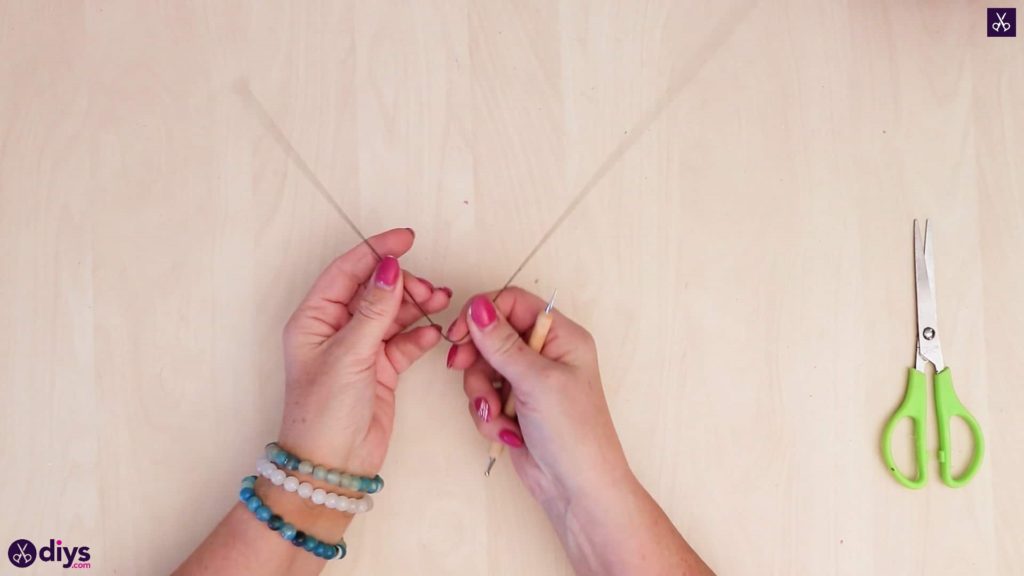
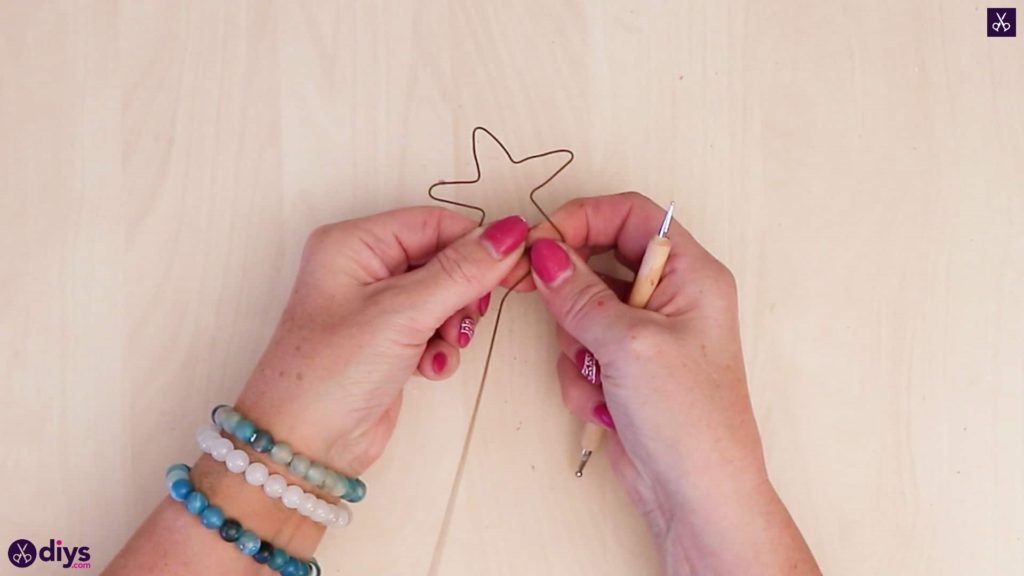
Step 5: form the star
Take your piece of crafting wire and bend it in half. You’ll make a stem from the bottom half and a star from the top half, all together creating a shooting star to embellish your candle with. Make the star first. Use your dotting tool to bend one inch sections back and forth in order to make five points like that of a star. Curve the row of points around so they splay outward like the five points of a star.
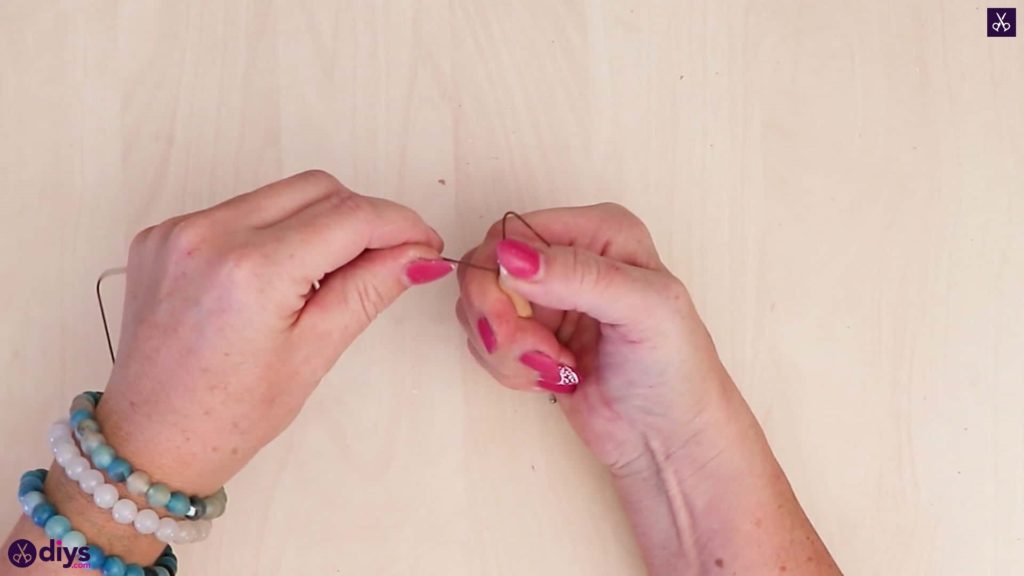

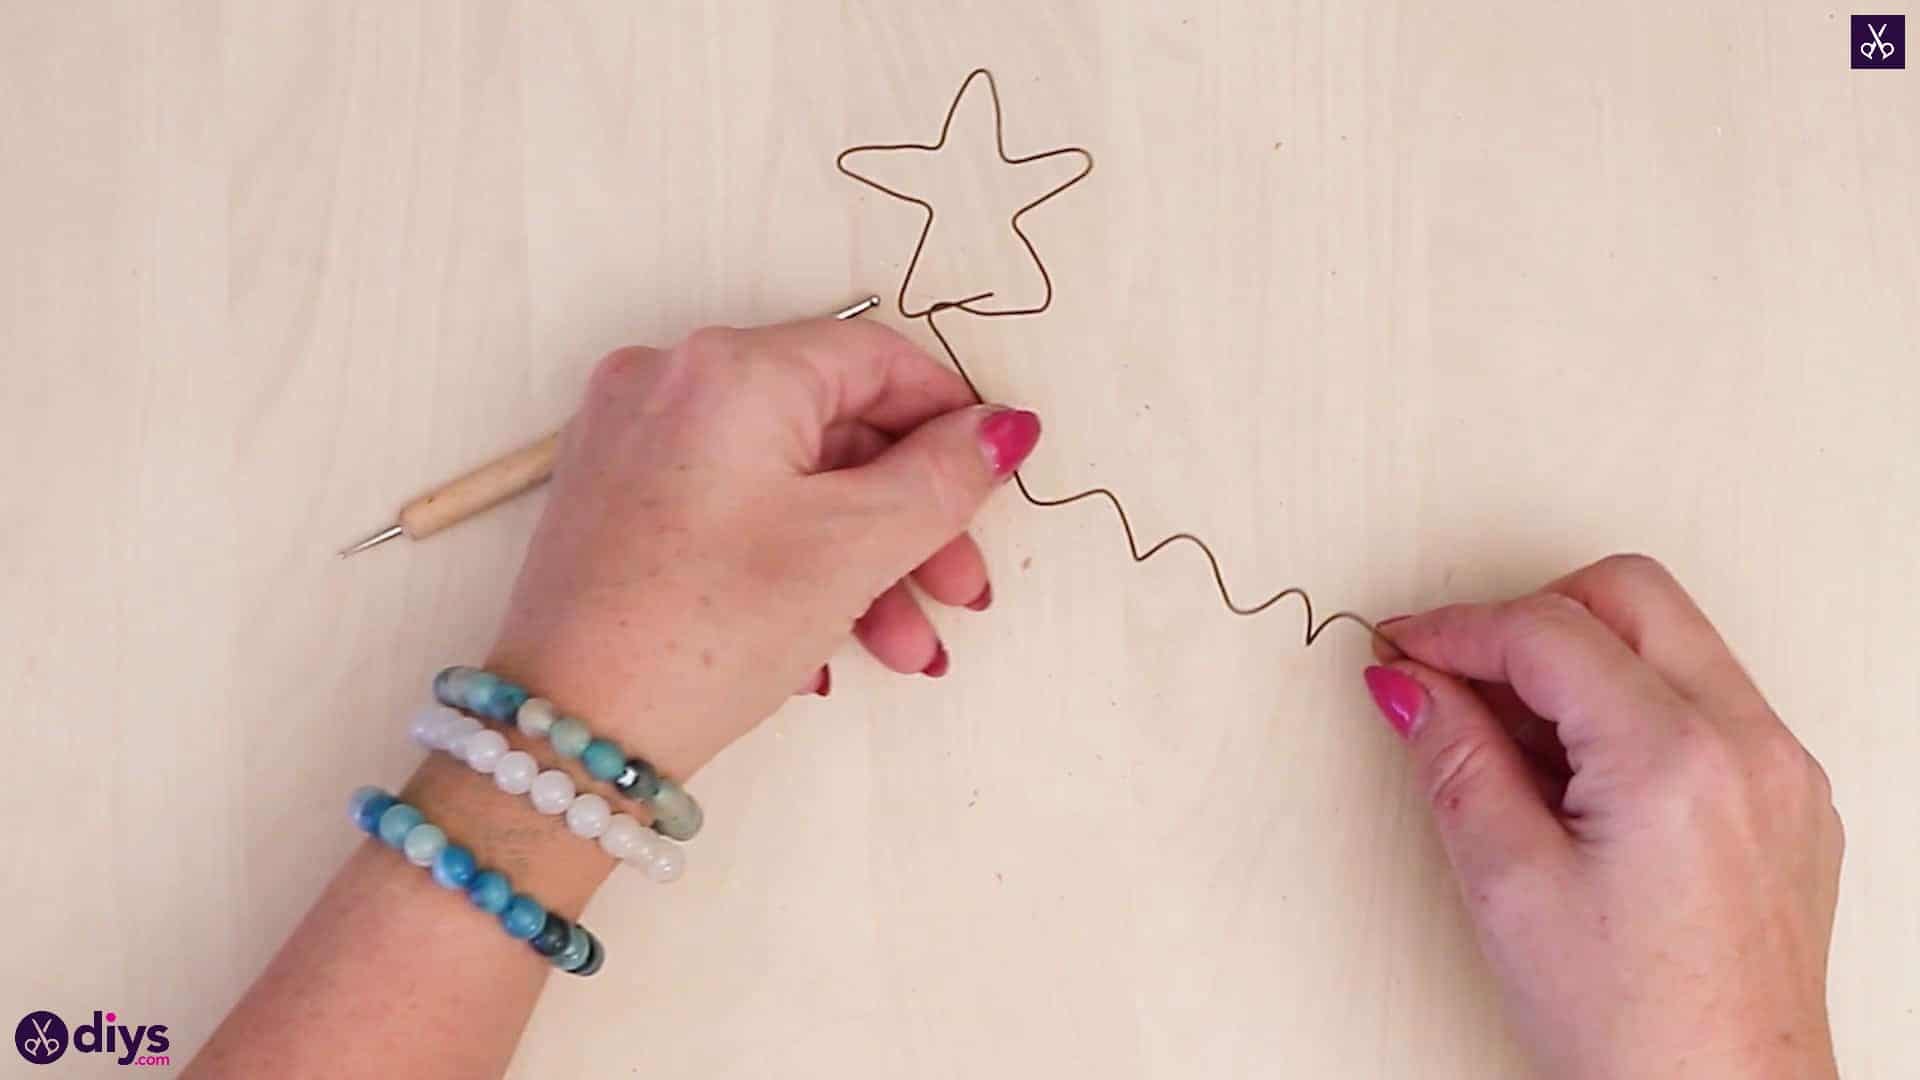
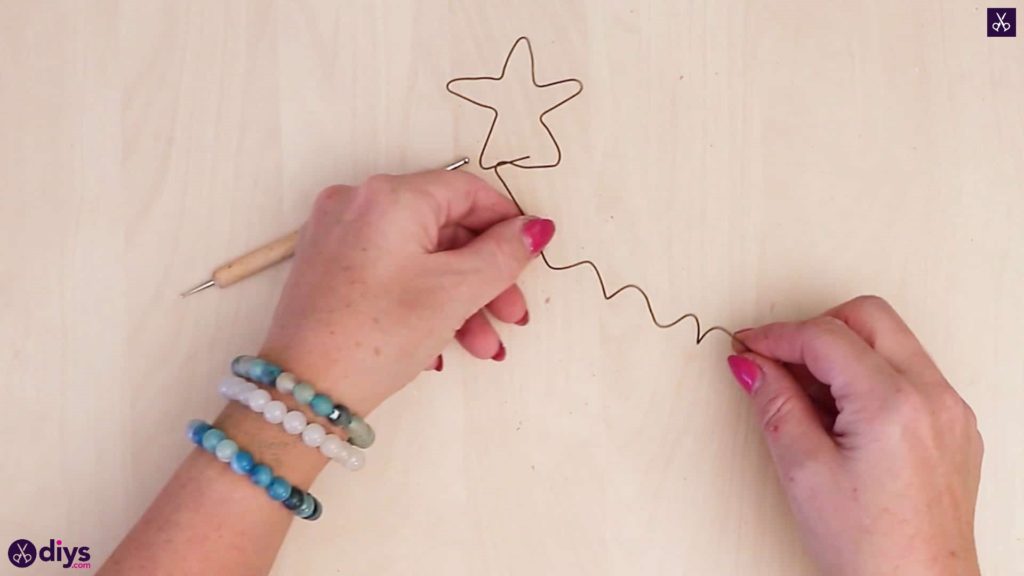
Step 6: curve the length
Now, curved the other, straight end of the crafting wire below your star around the handle of your dotting tool like a spiral. Pull the tool out and adjust the shape of the spiral as you see fit.

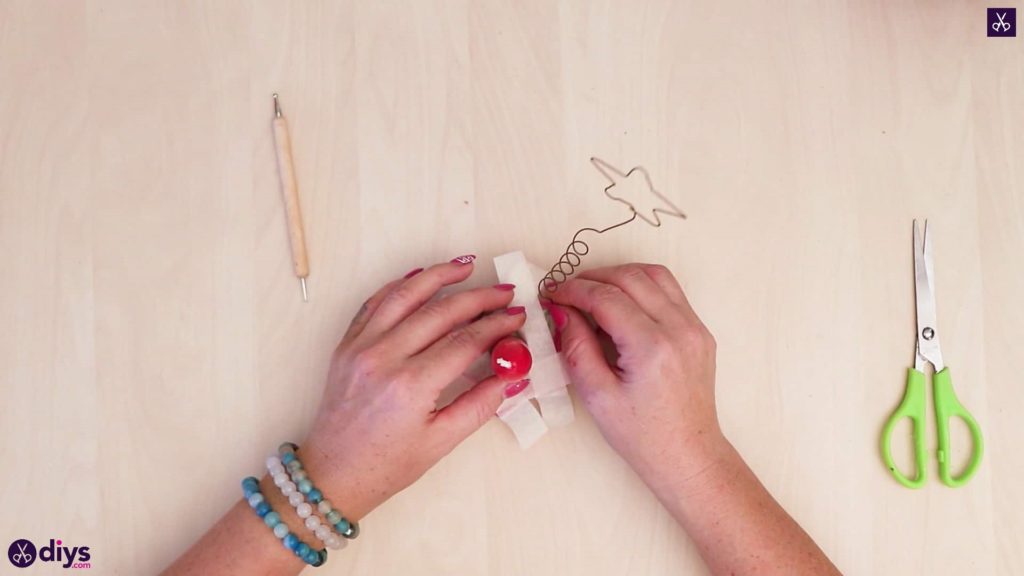
Step 7: insert into concrete
Before the concrete is completely dried, stick the pointed end of the wire star’s spiral stand into the mix next to the candle, between the pieces of tape. You might have a better time making the wire stand if you curve the bottom to make a little base. The wire should hold itself up, but you can use the tape to bolster it like the candle if you need to. Now let the whole piece dry completely.
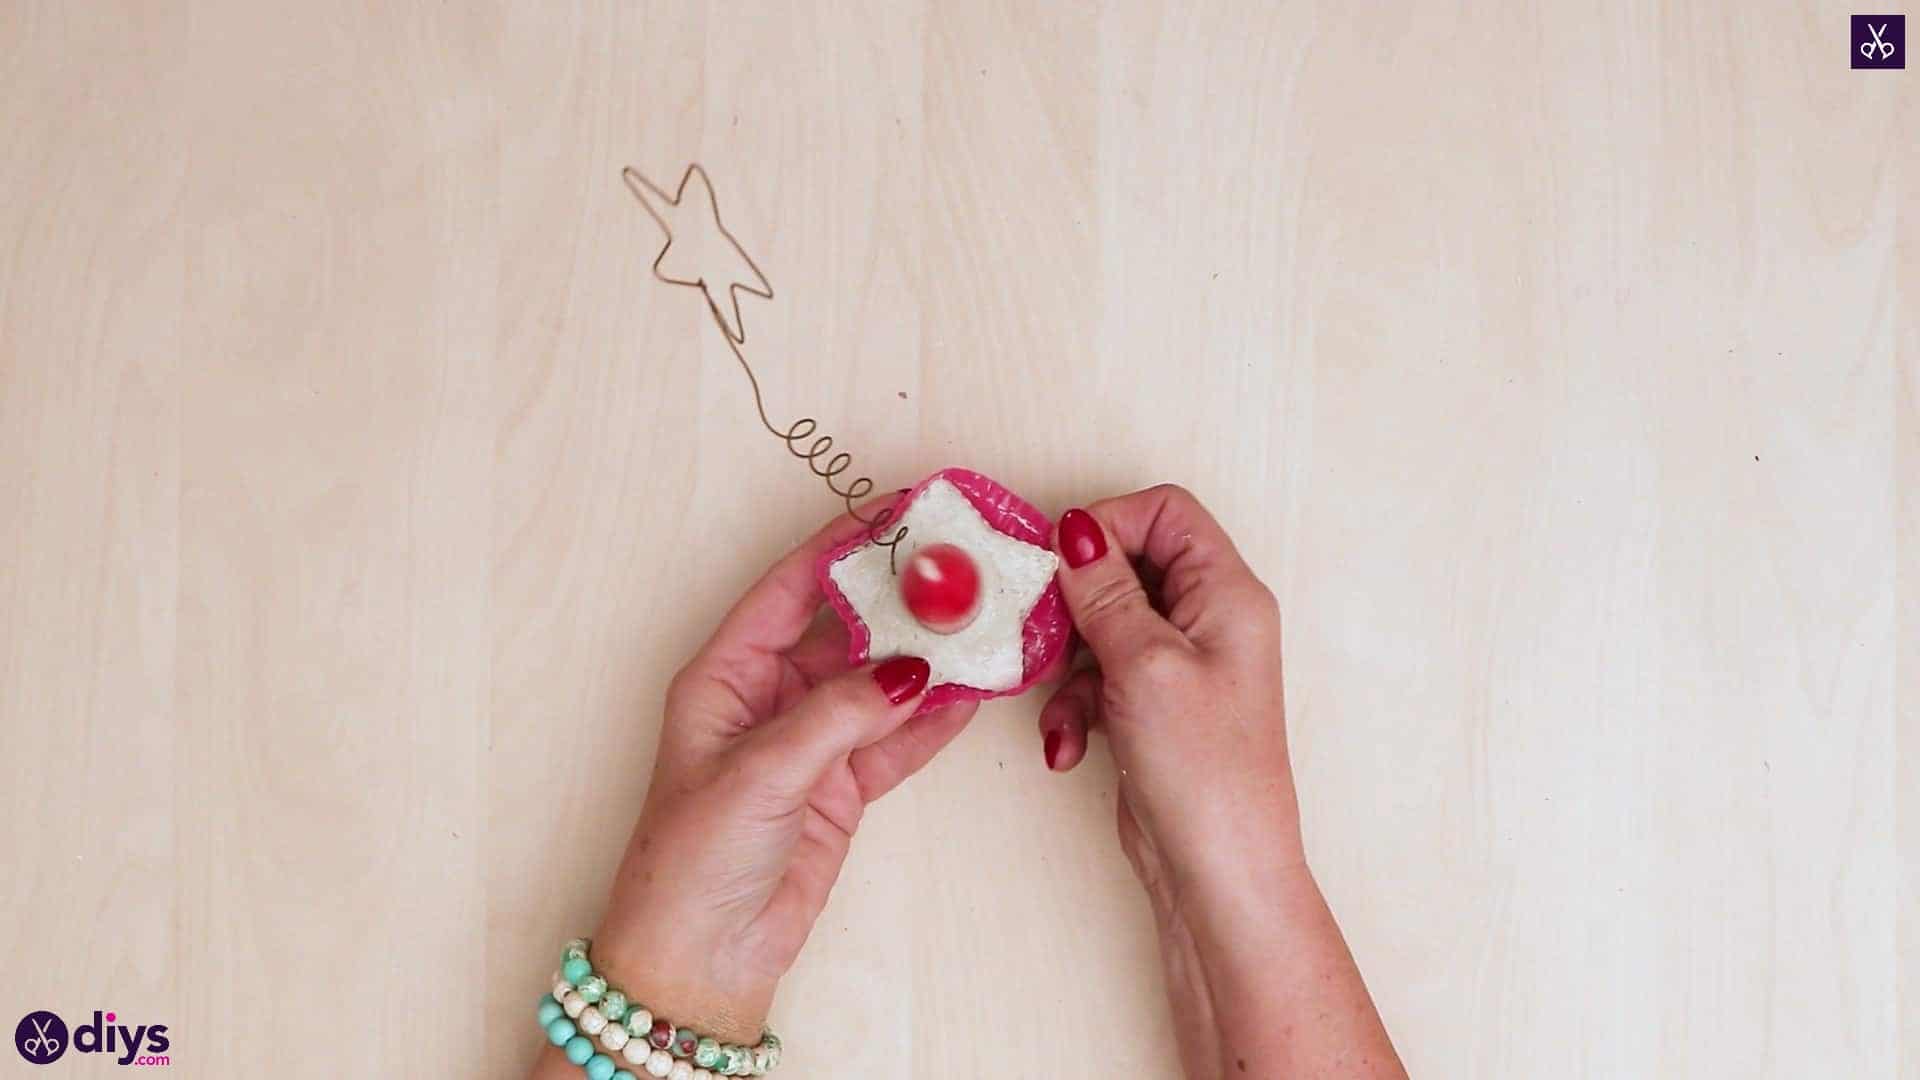
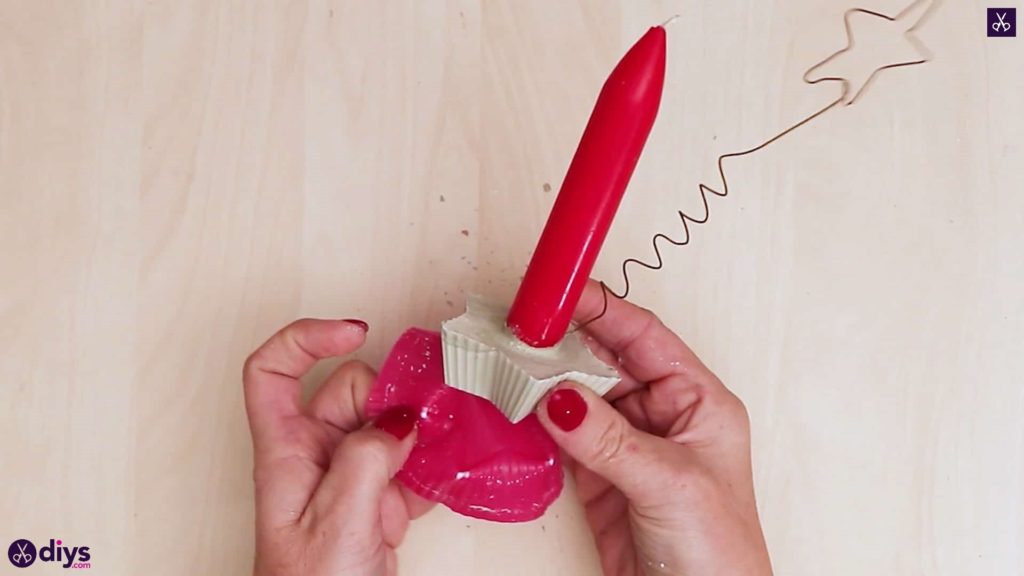
Step 8: remove from mold
Once the concrete is completely dry all the way through, peel back the rubber mould and take it off the outside of your concrete to reveal the new star shaped based of your candle holder.
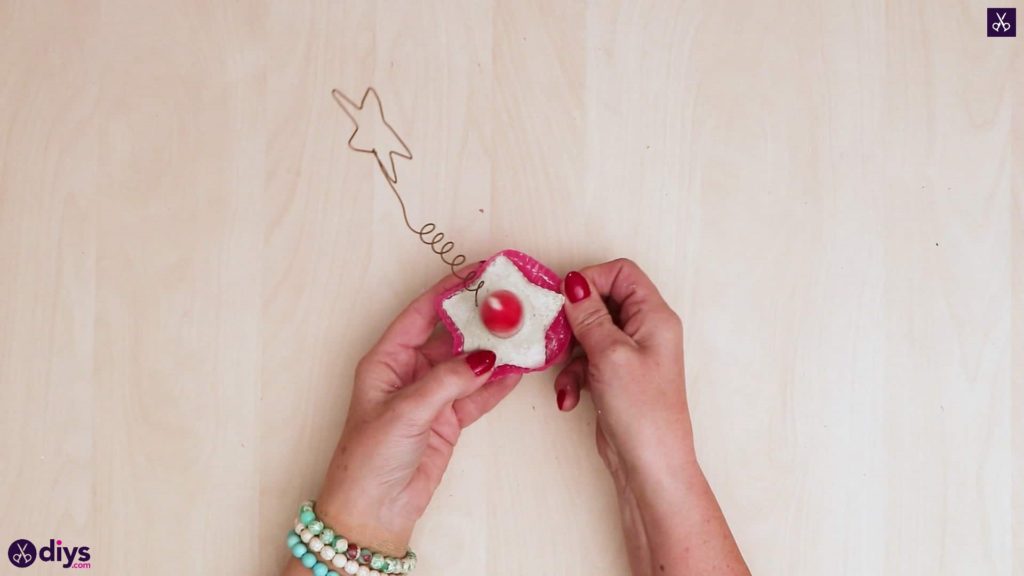
That’s really all there is to it! You can also easily recreate this idea using a different mould and different shapes. Just in case you’d like to try this project out for yourself, here’s a fantastic tutorial video to help you!