DIY Concrete Heart Garden Decor
Updated on November 19, 2025

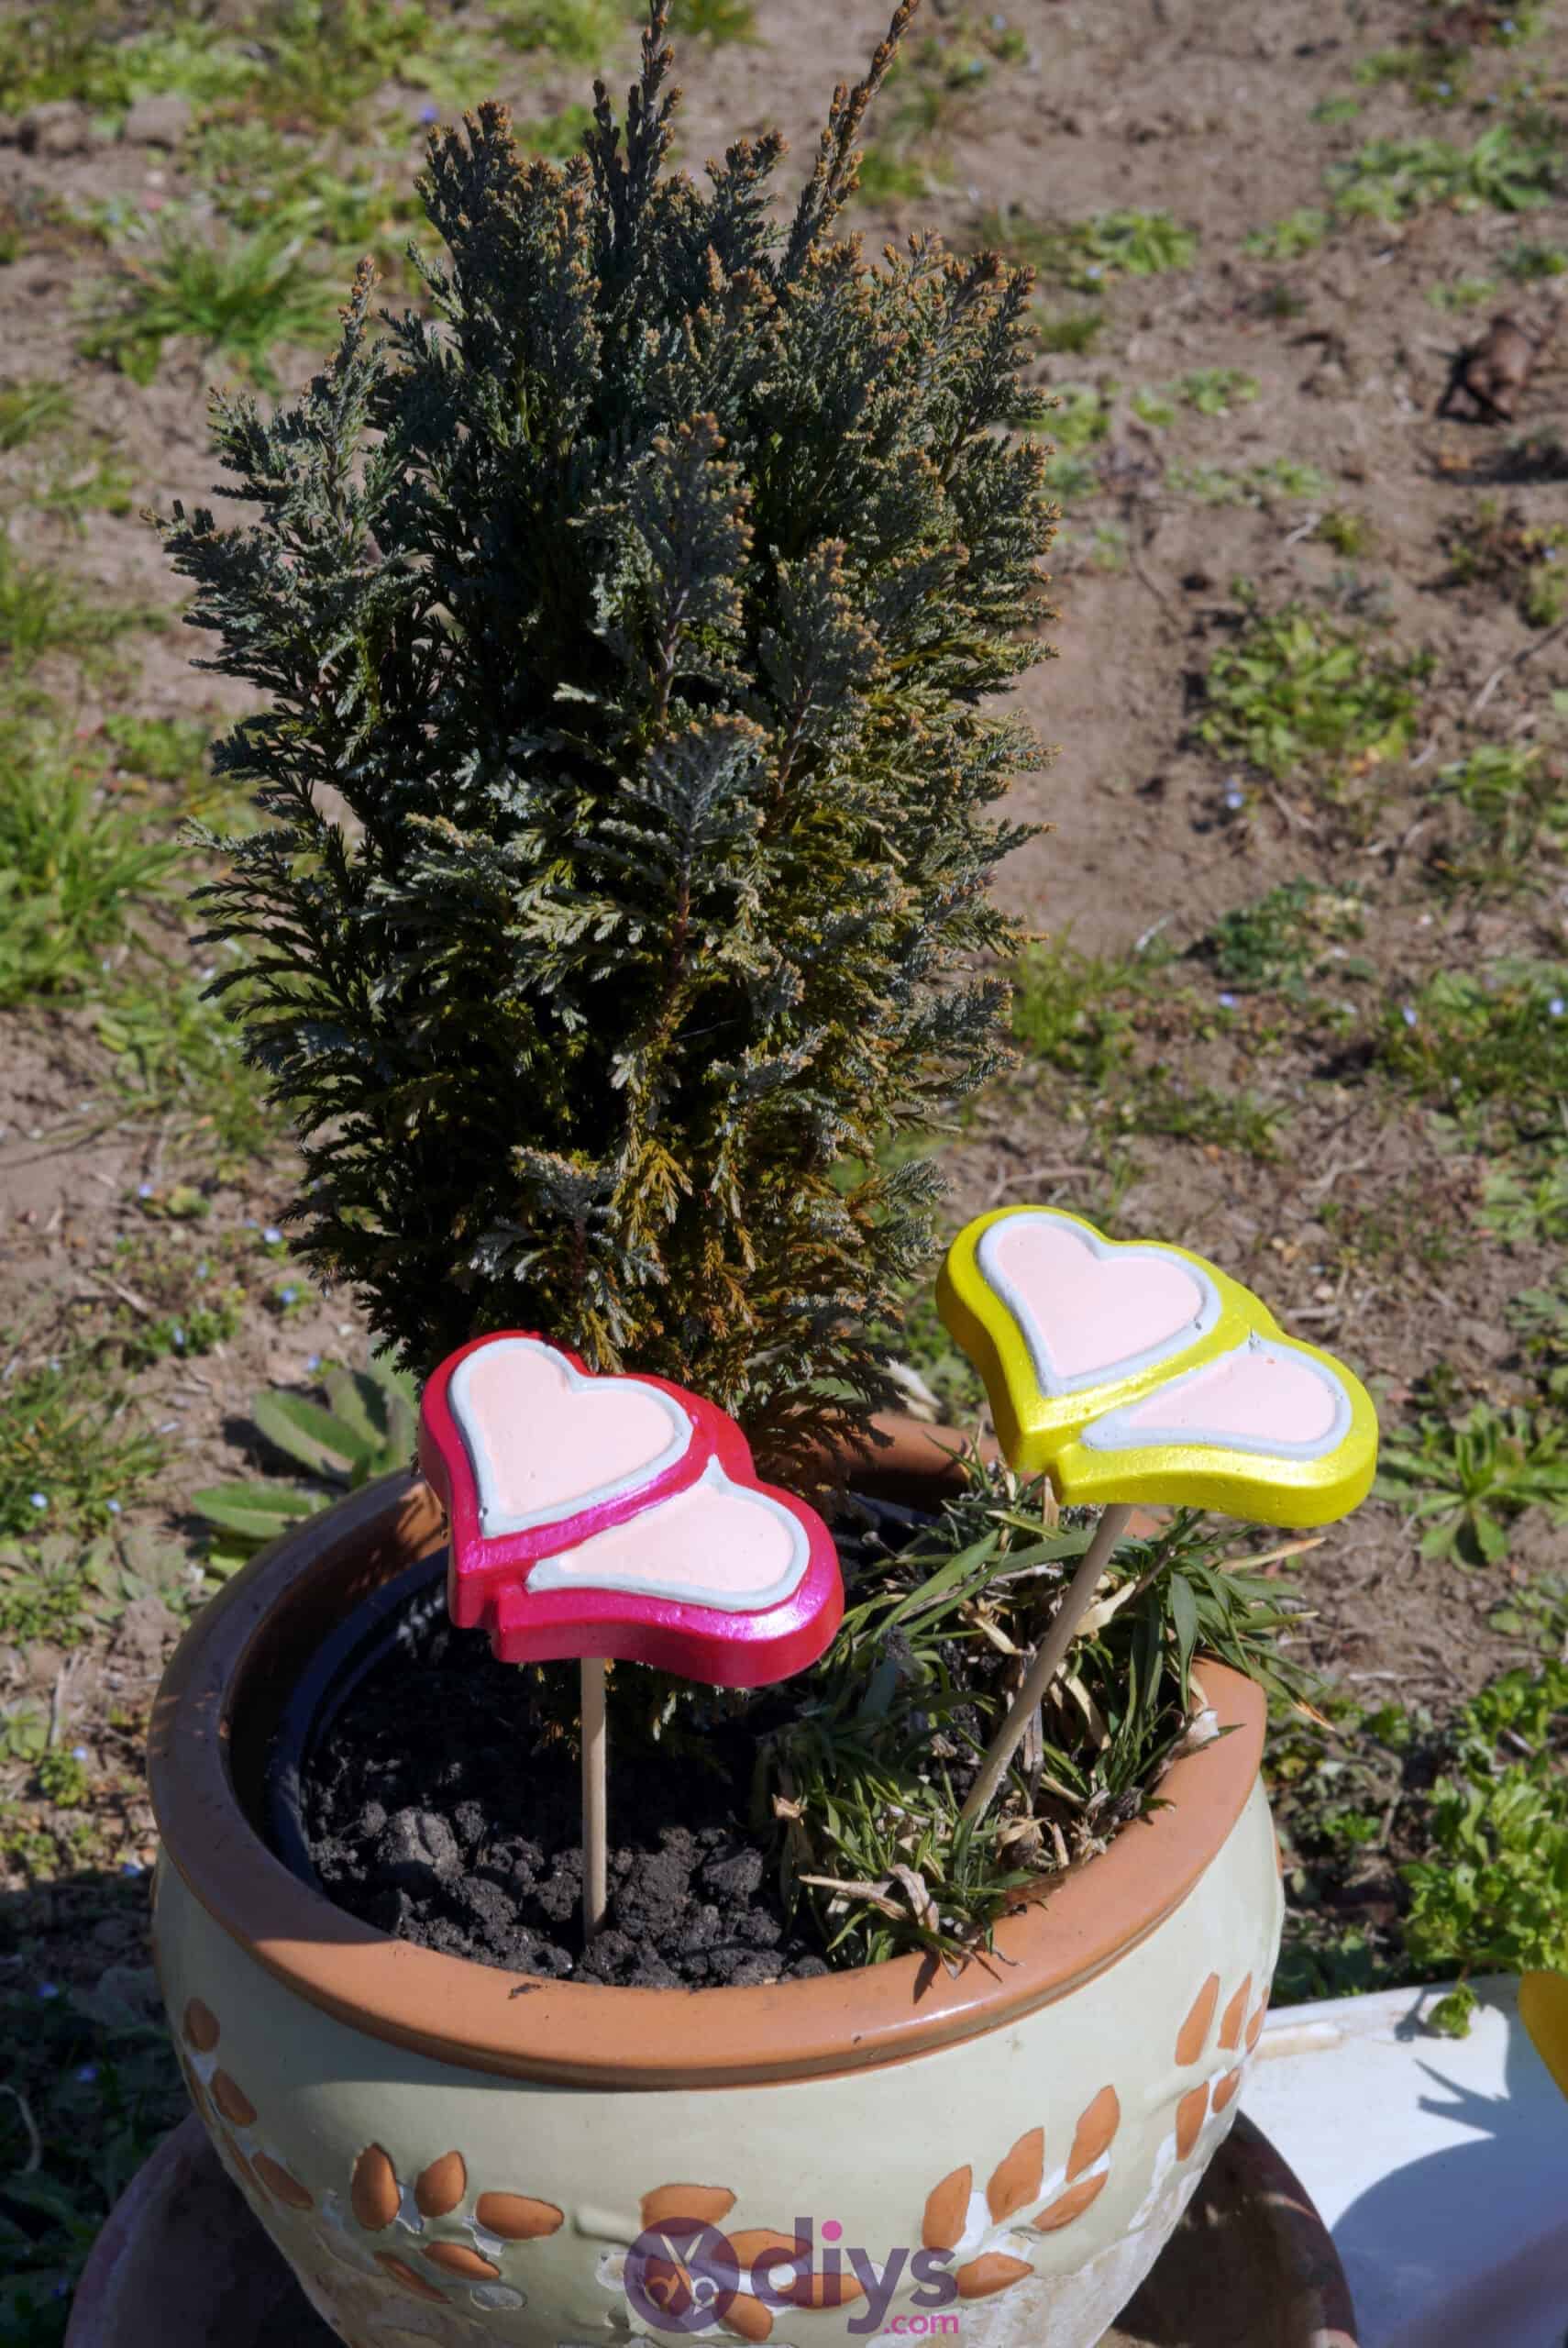


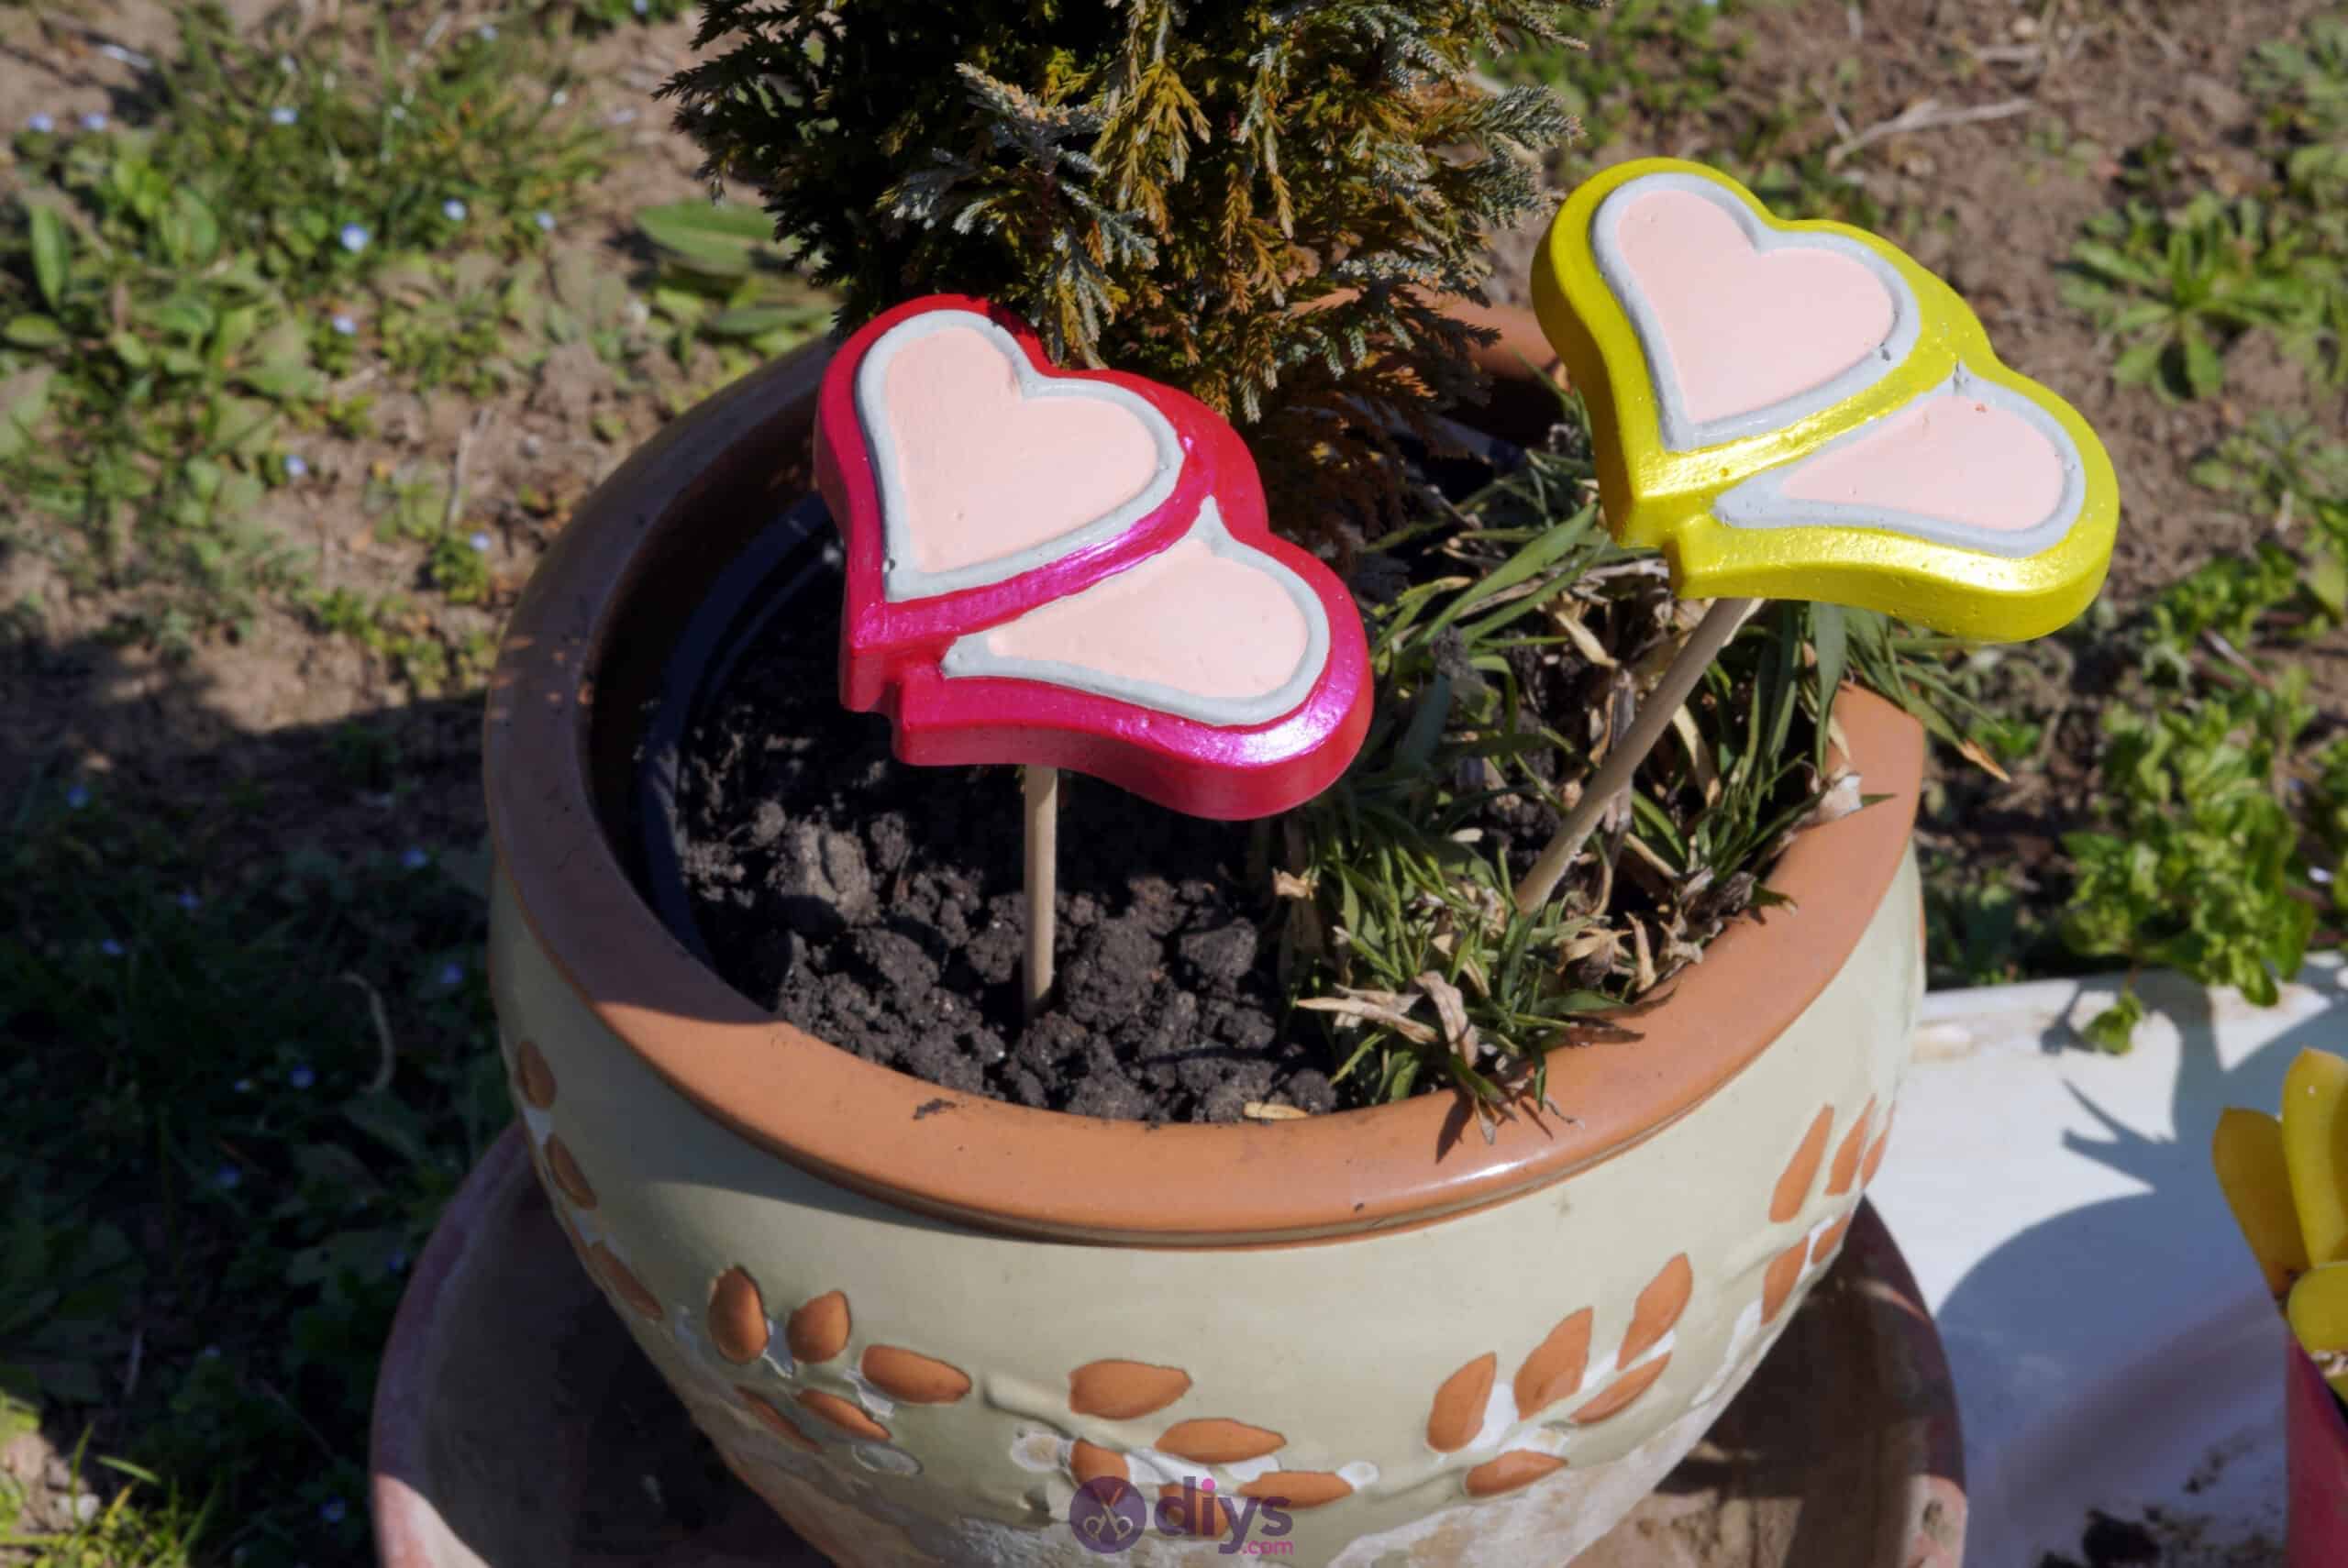

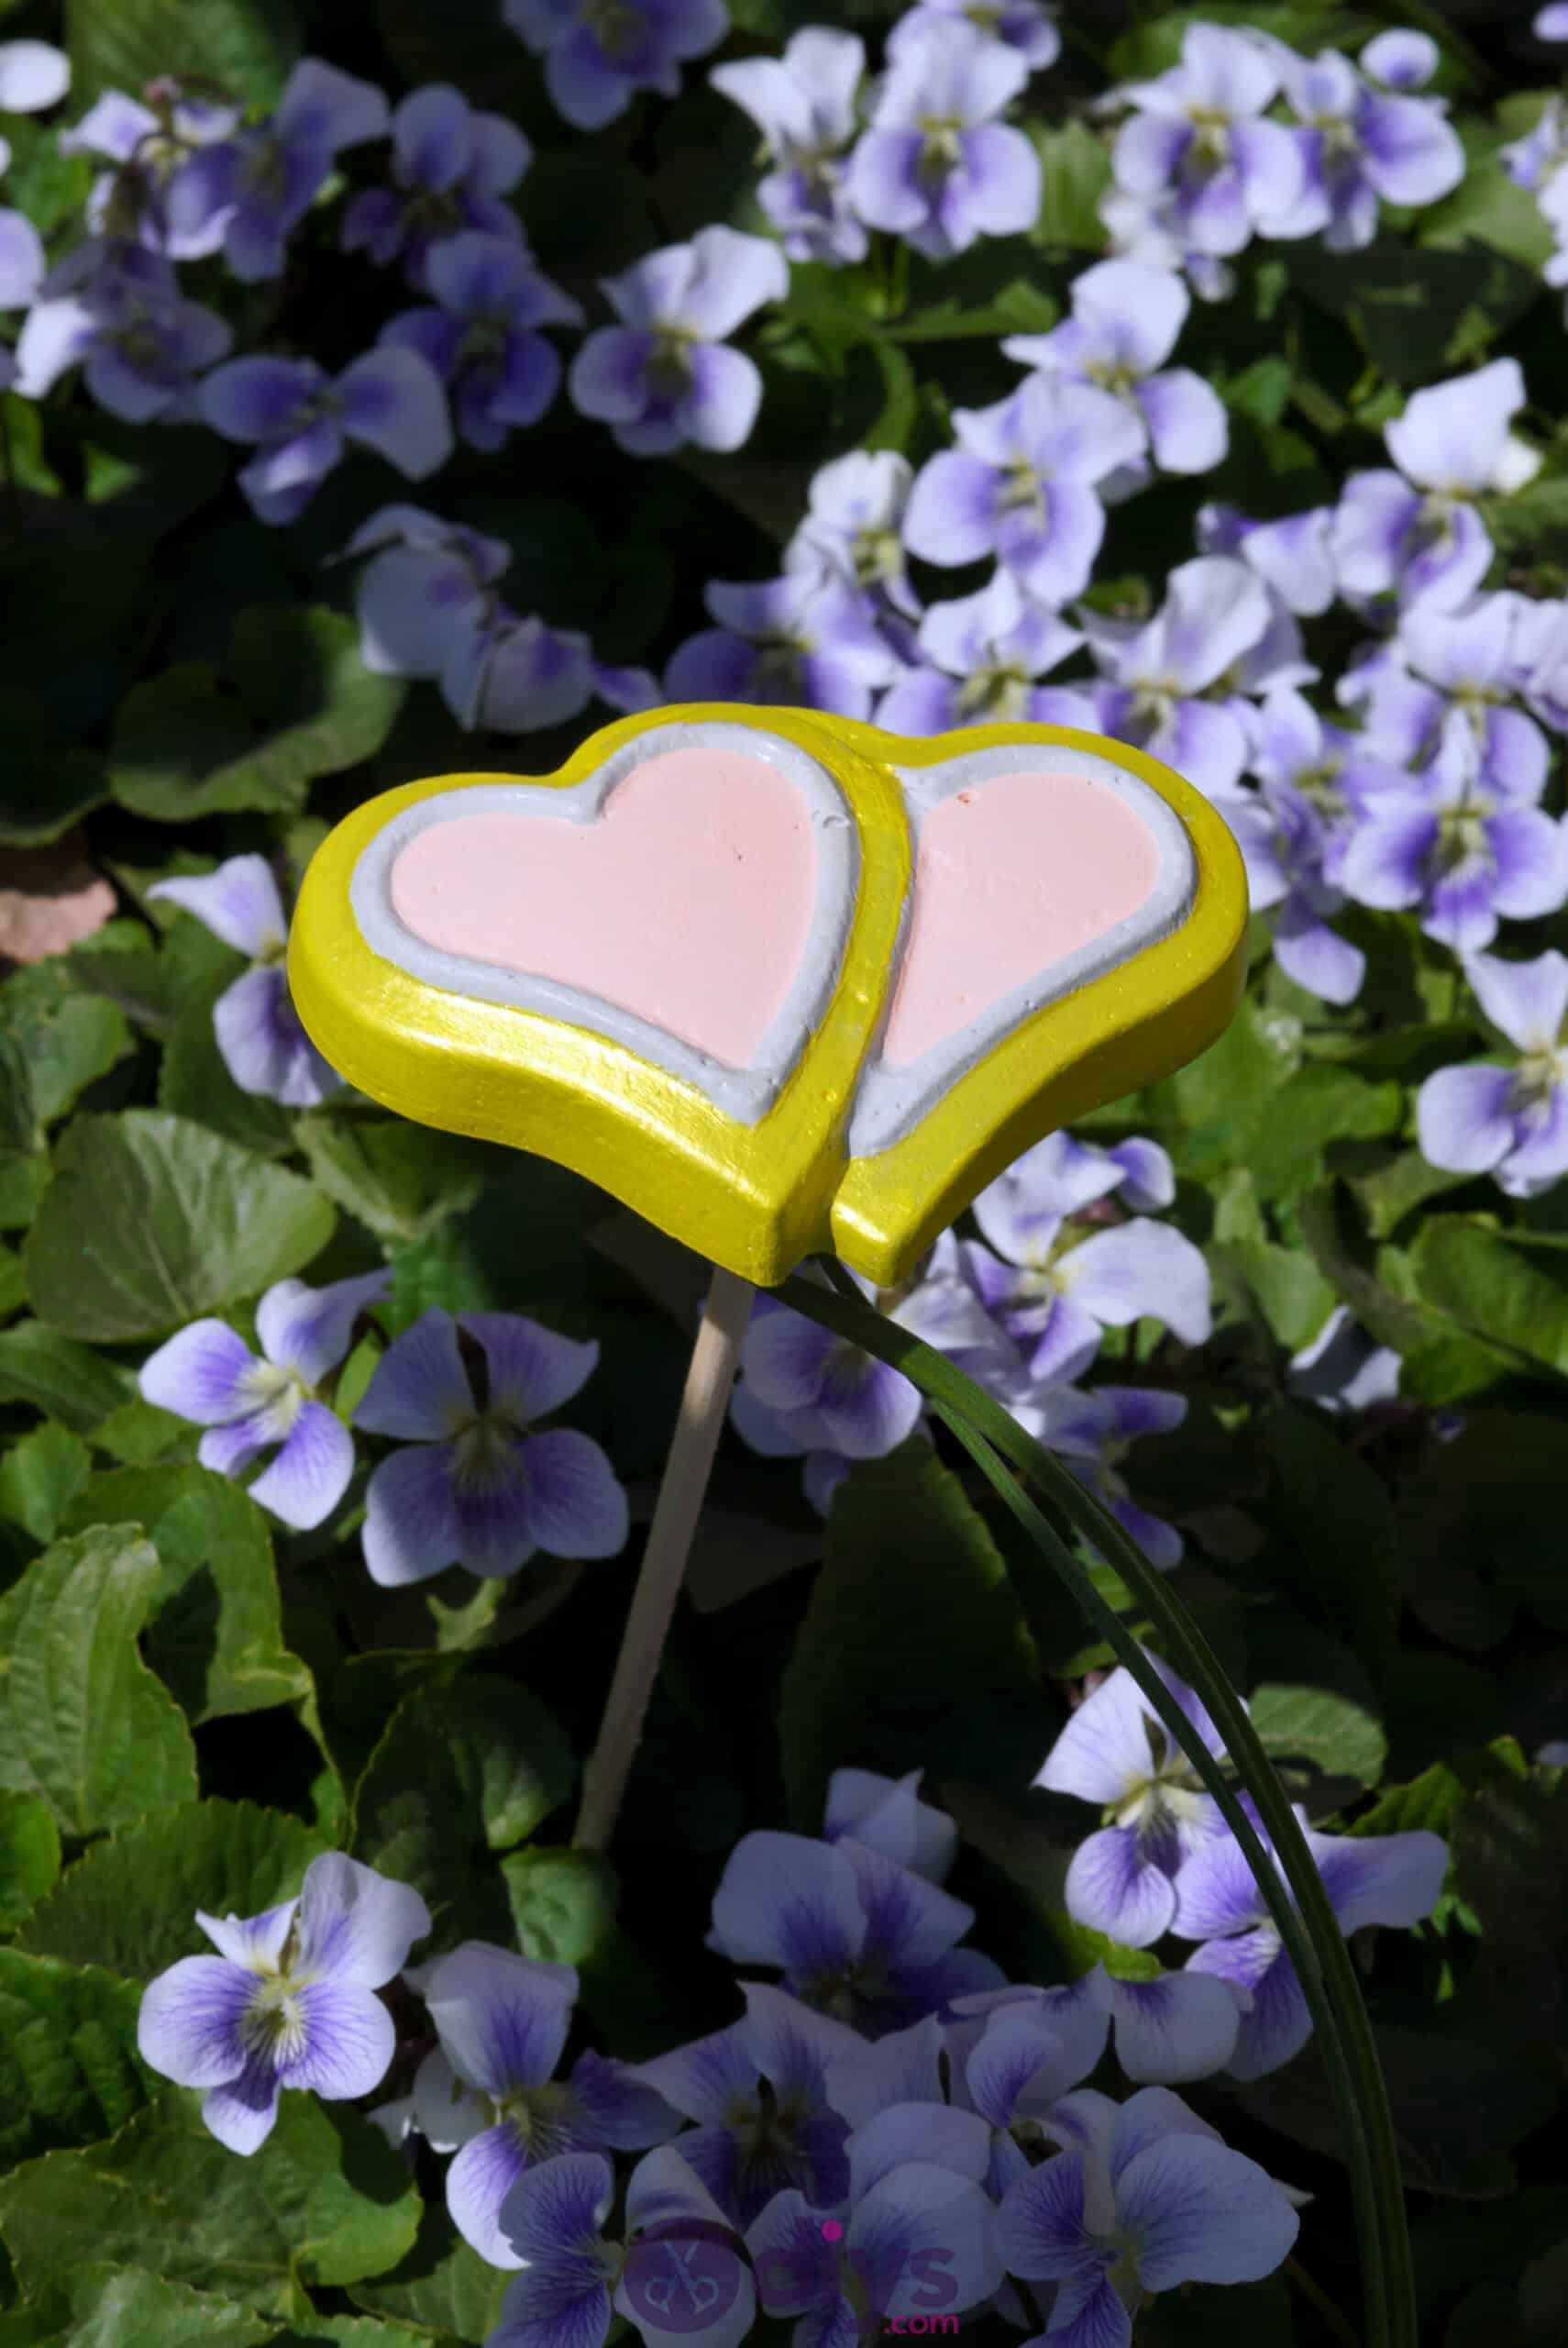
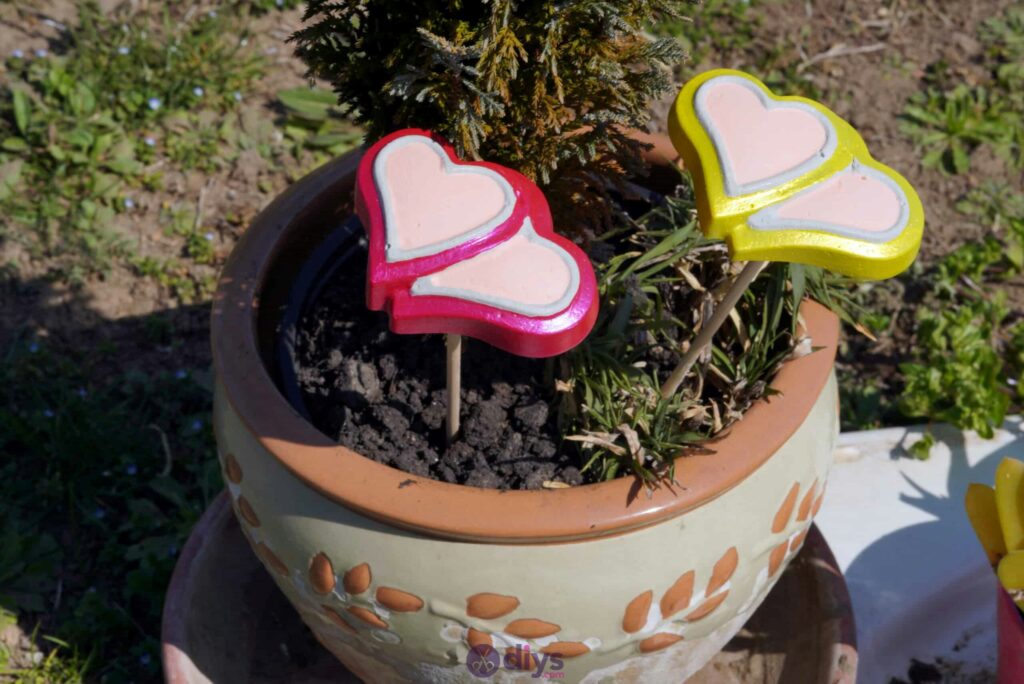
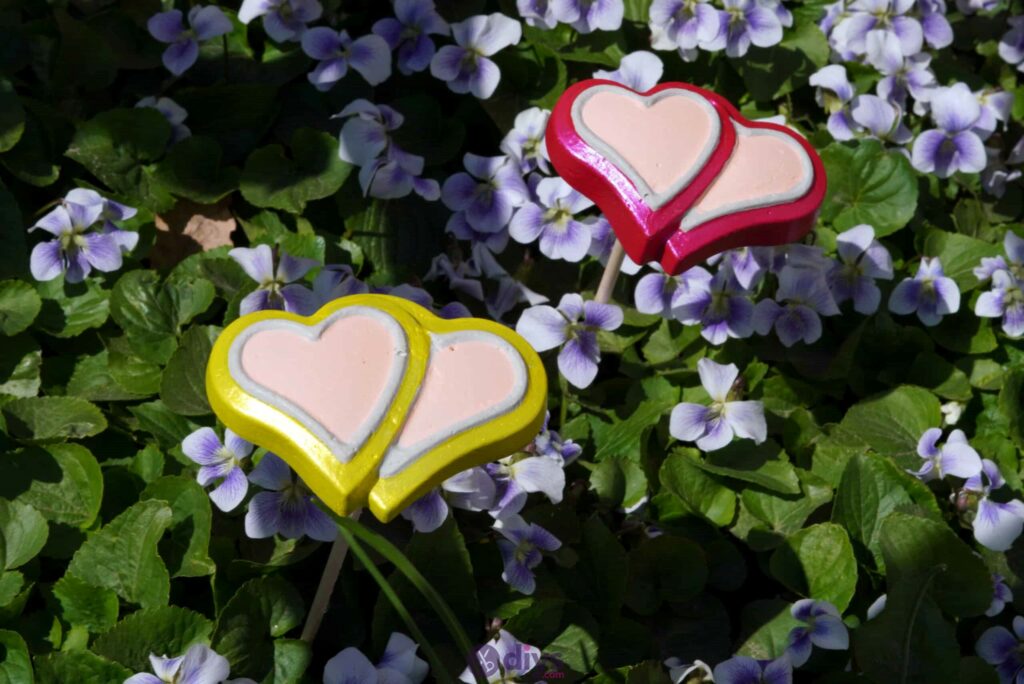
These DIY concrete heart garden decor ornaments are perfect for any garden! You can customize them to suit your home’s exterior style, too! Read on to see how we put this together.

Hearts are always simple and cute. Use different colors to really brighten up your garden and show off to your neighbours! Check out these step by step instructions complete with photos or, if you’re more of a visual learner, scroll all the way to the end of this post to find a full video tutorial instead.

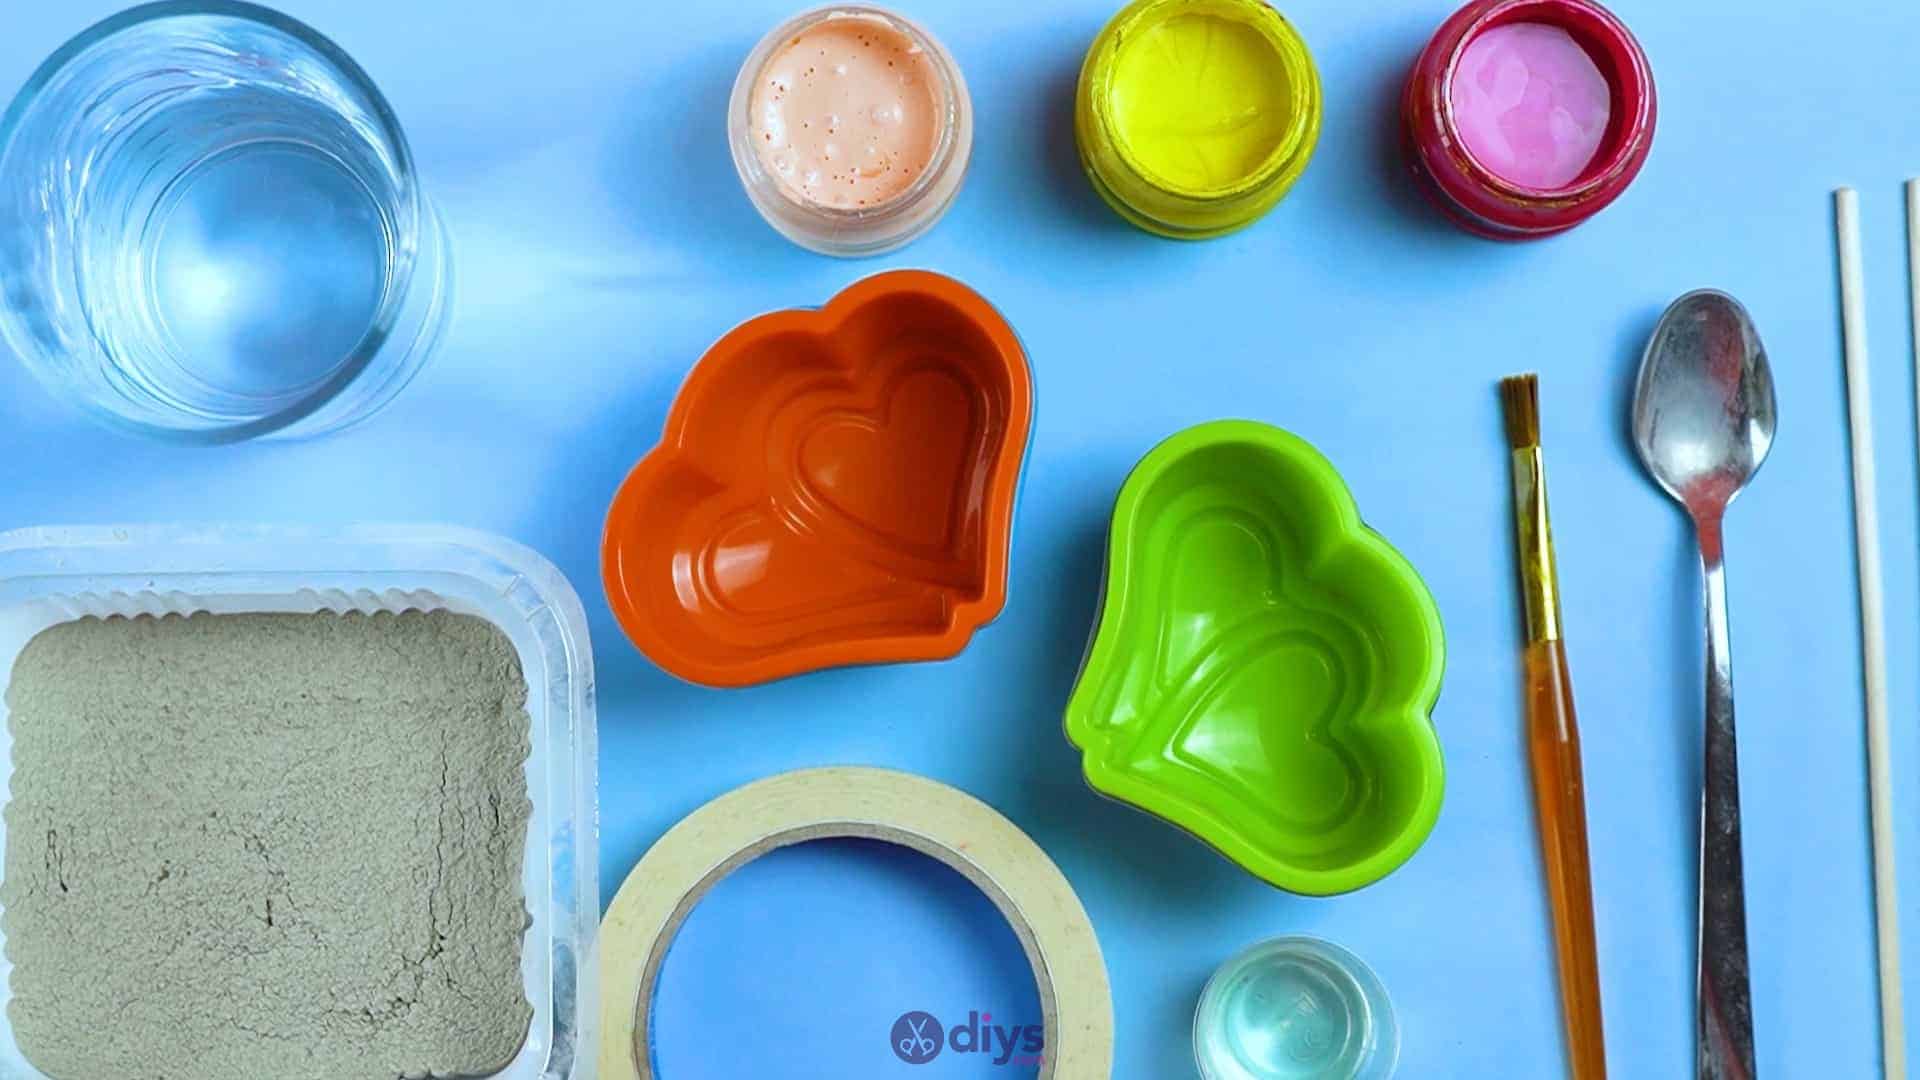
For this project, you’ll need:
- Fine particle cement mix
- Water
- Plate
- Spoon
- Tape
- Oil (vegetable, canola, and other cooking oils will do)
- Paintbrush
- Acrylic paint
- Wooden stick (kebab skewers or thin crafting sticks)
- Silicone form
Step 1: Get Your Materials
Gather your materials together so you’re ready.

Step 2: mix concrete
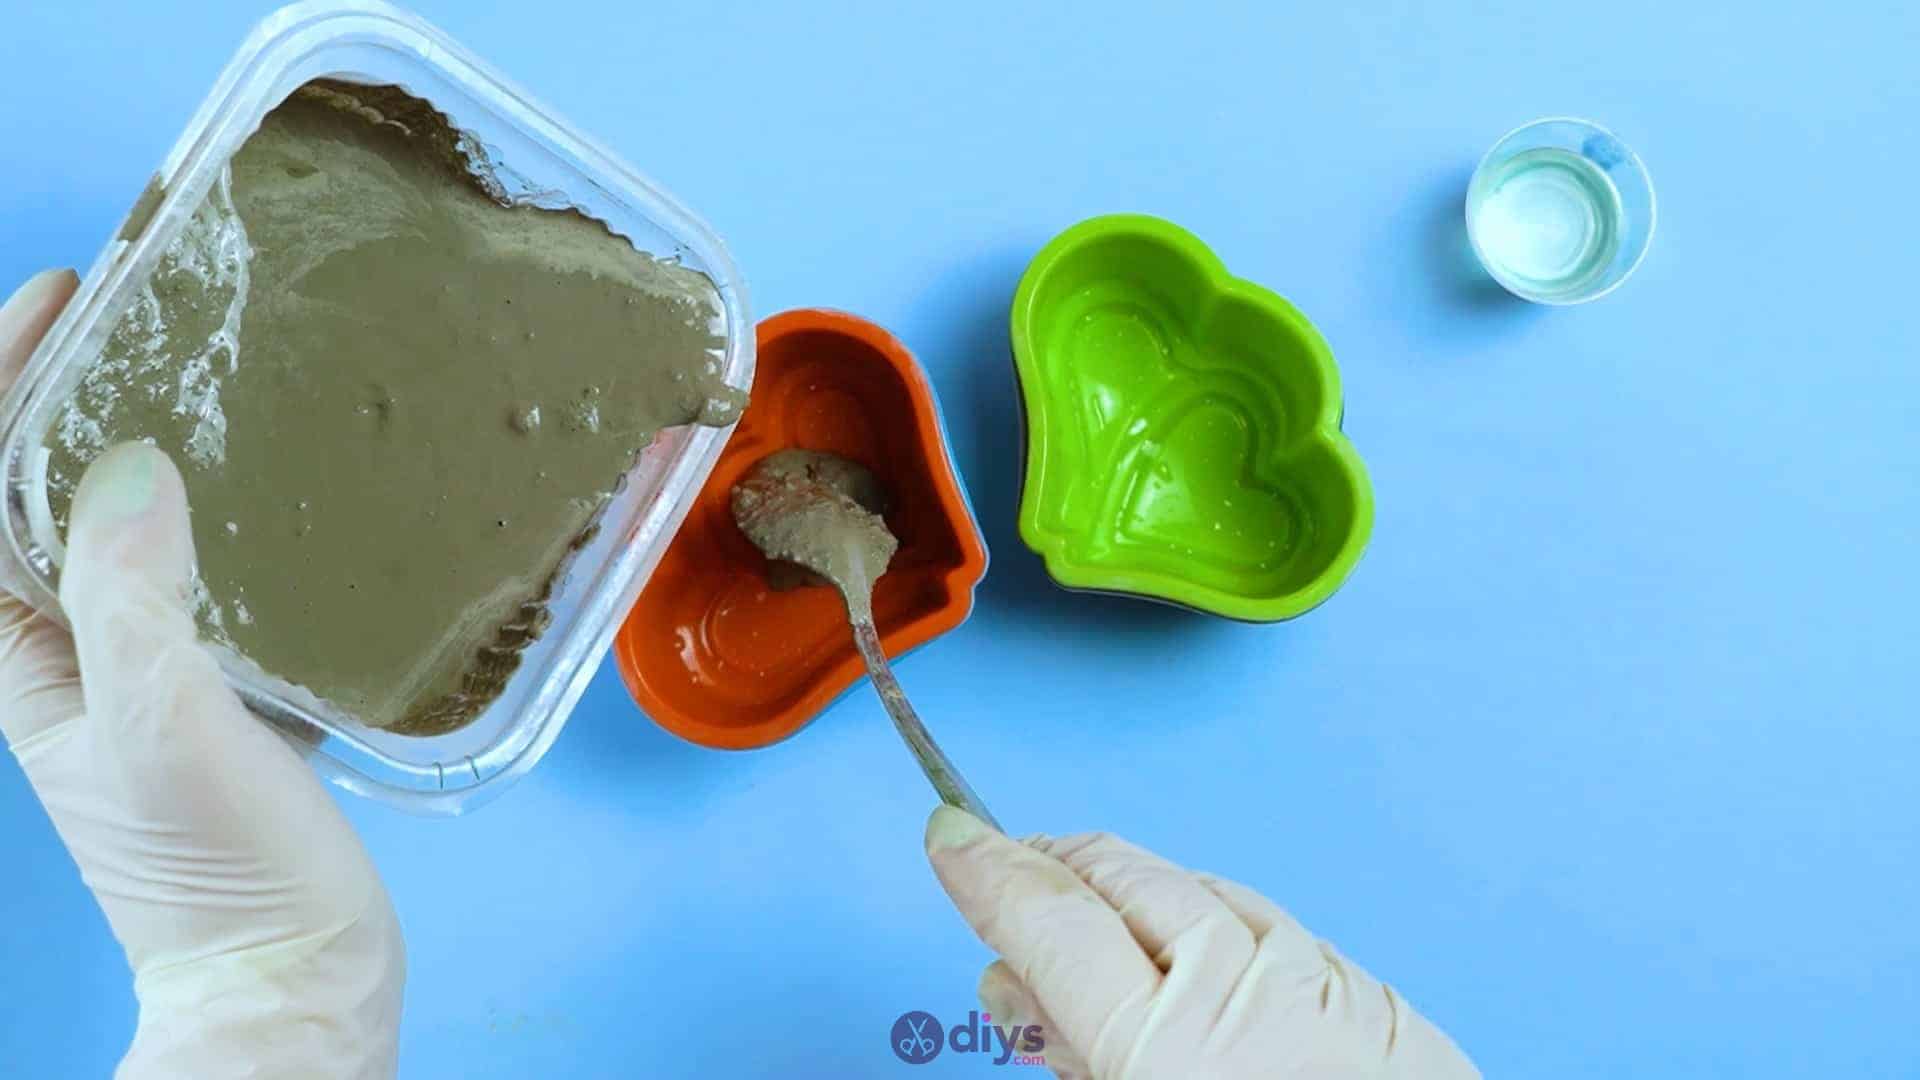
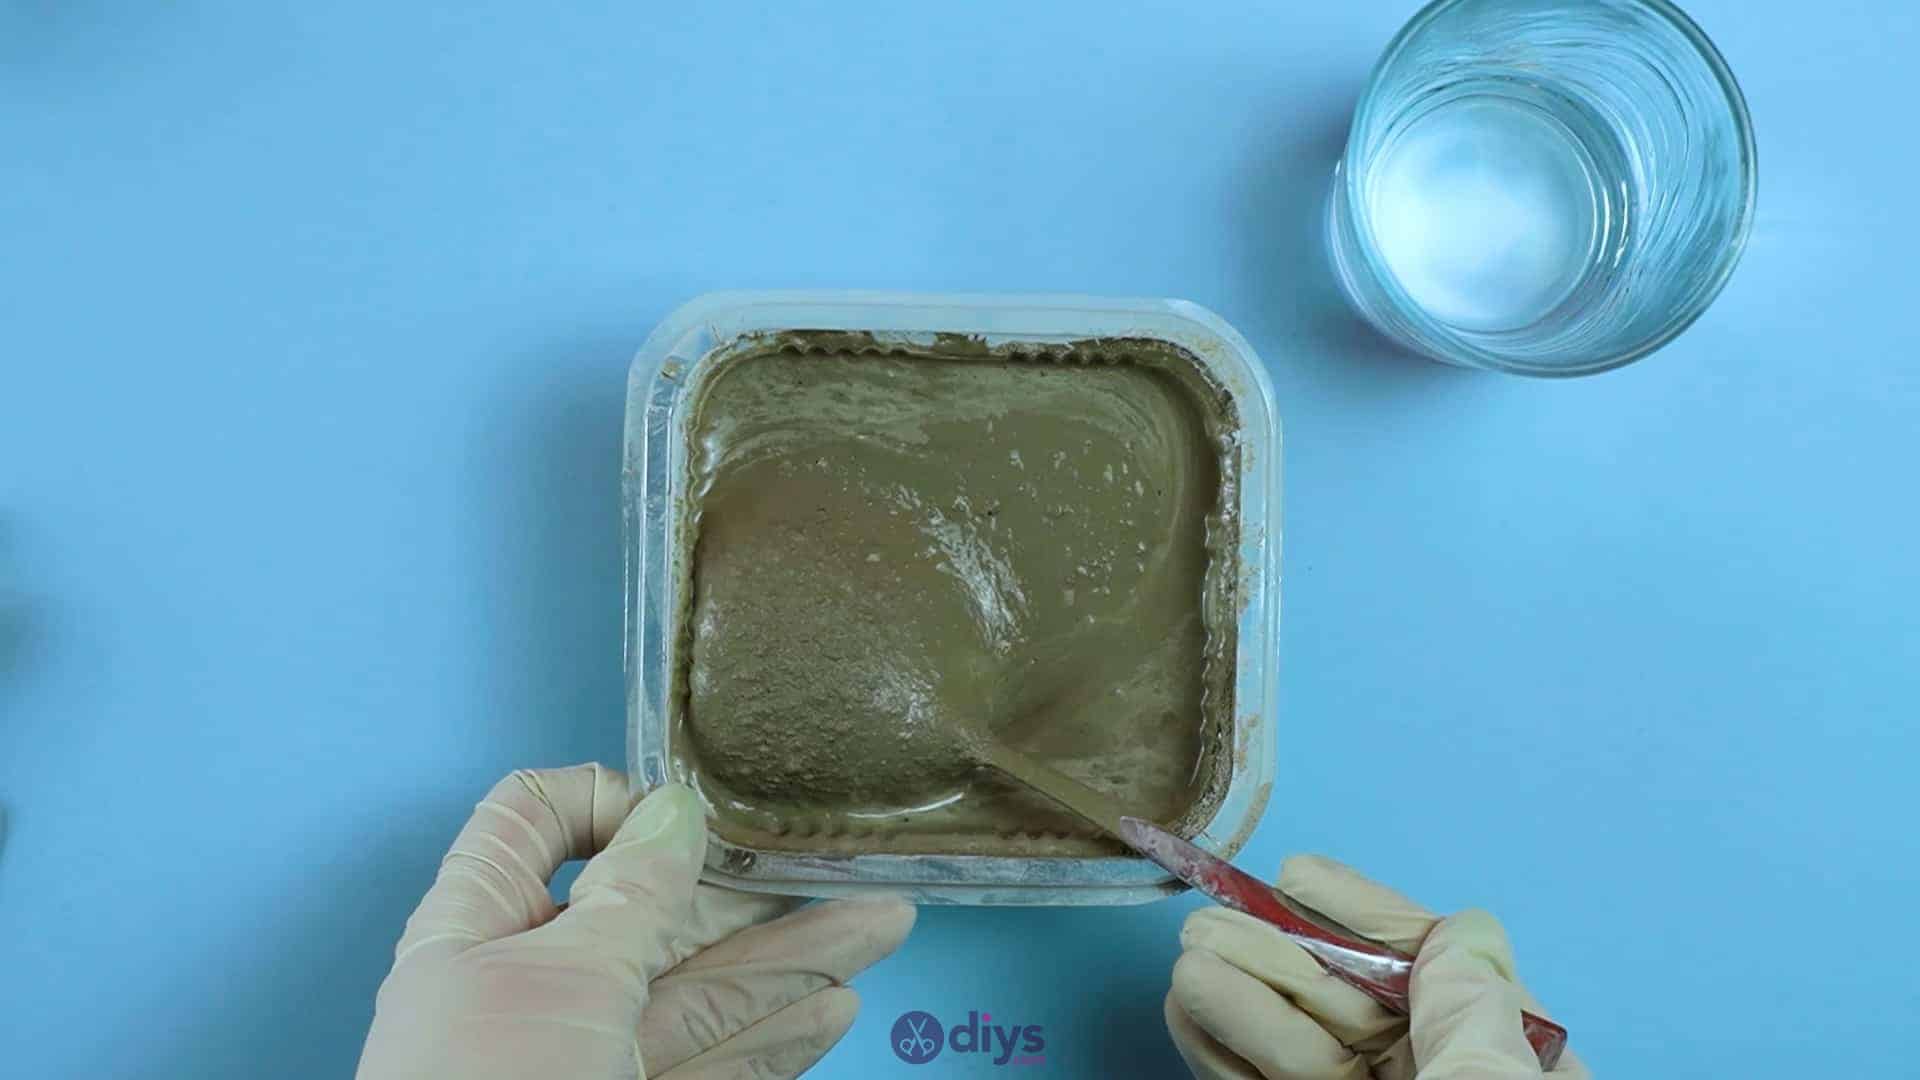
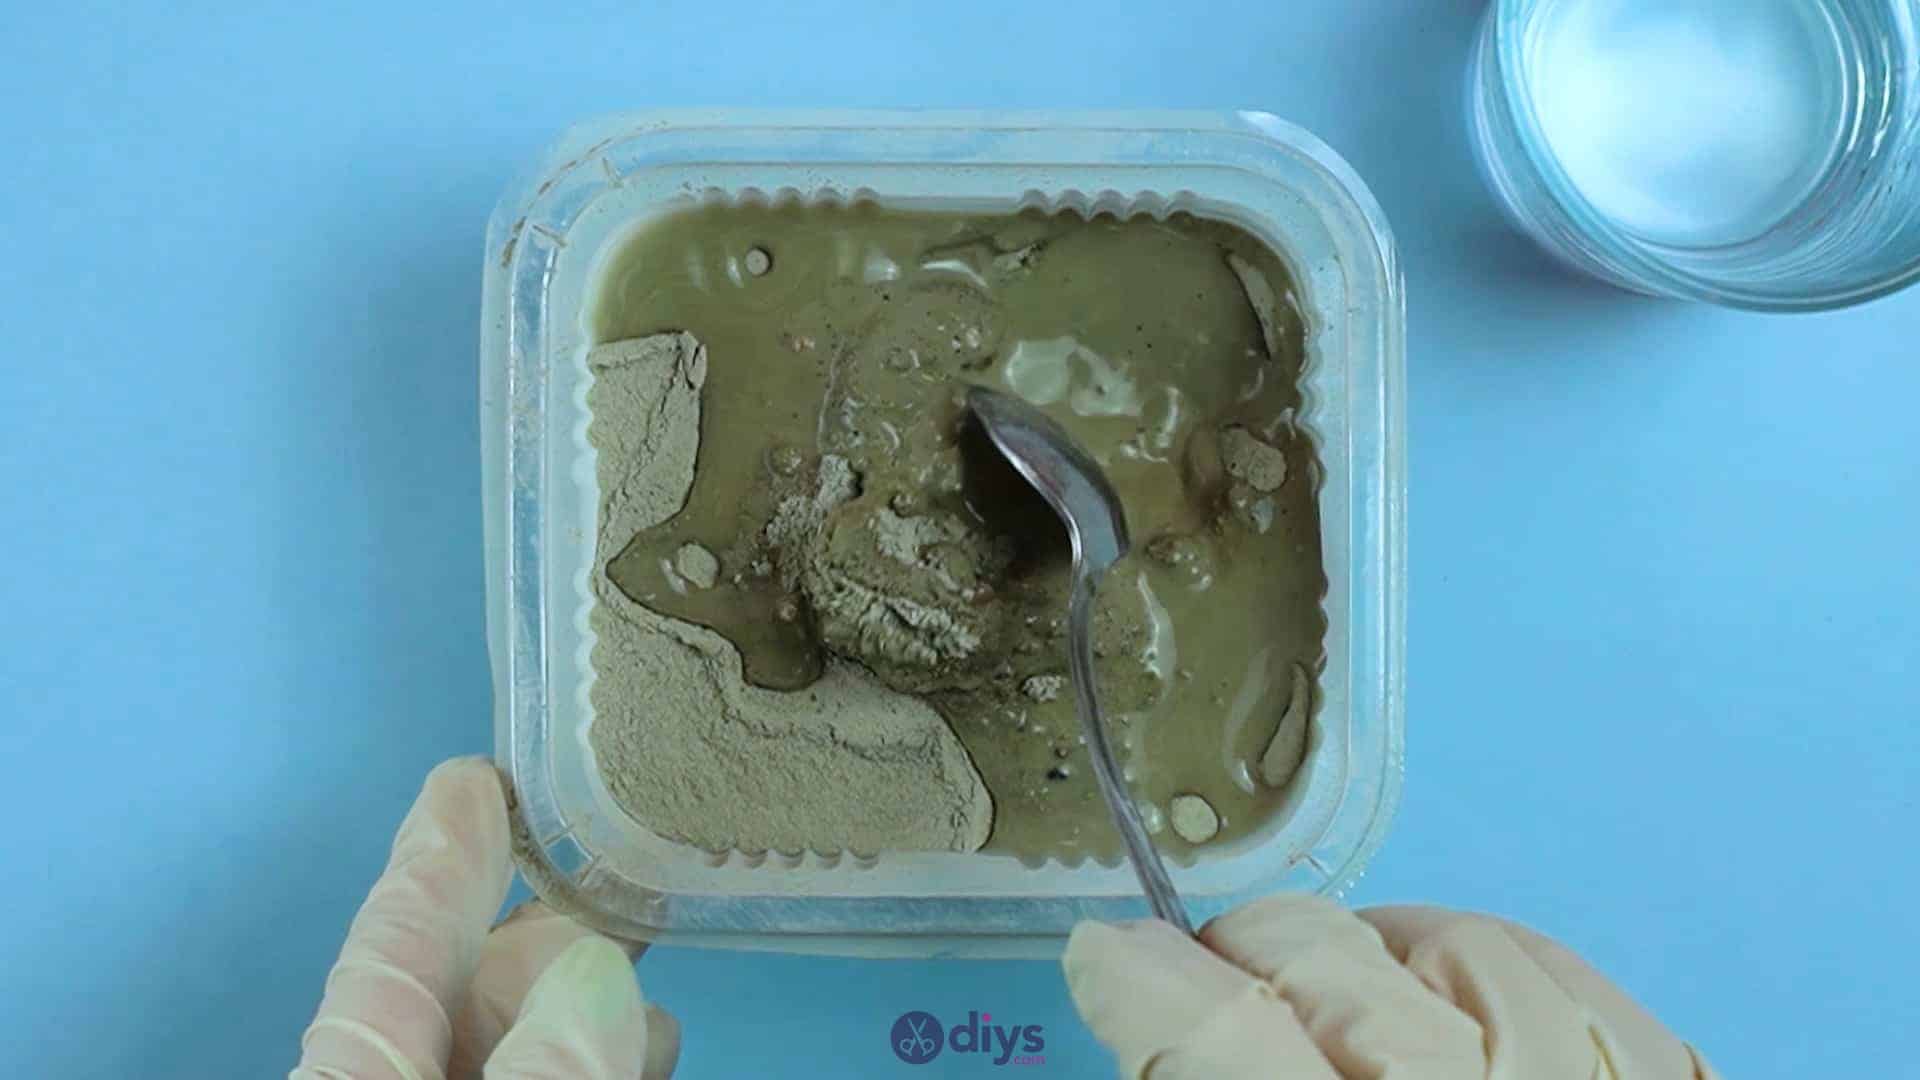
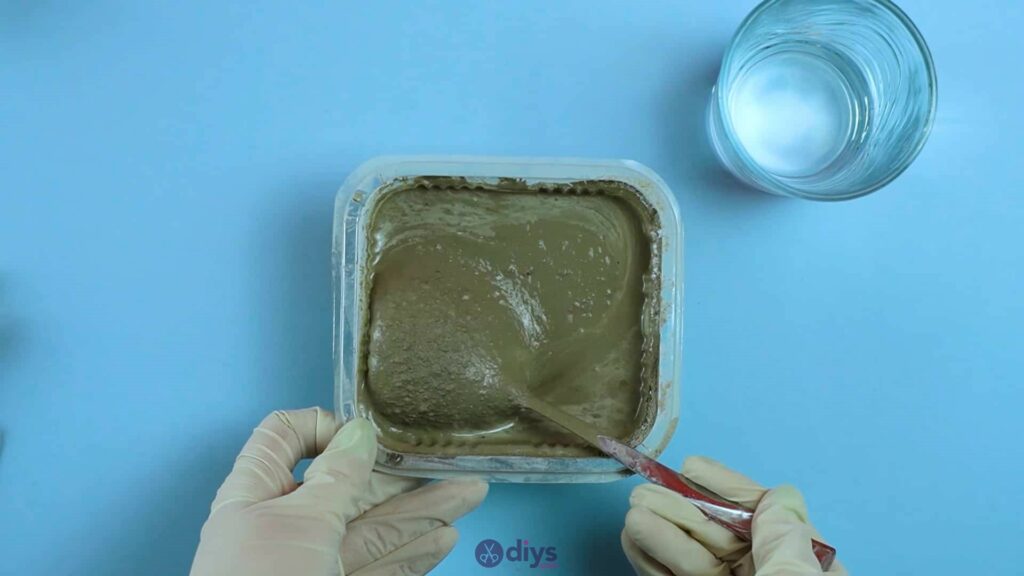
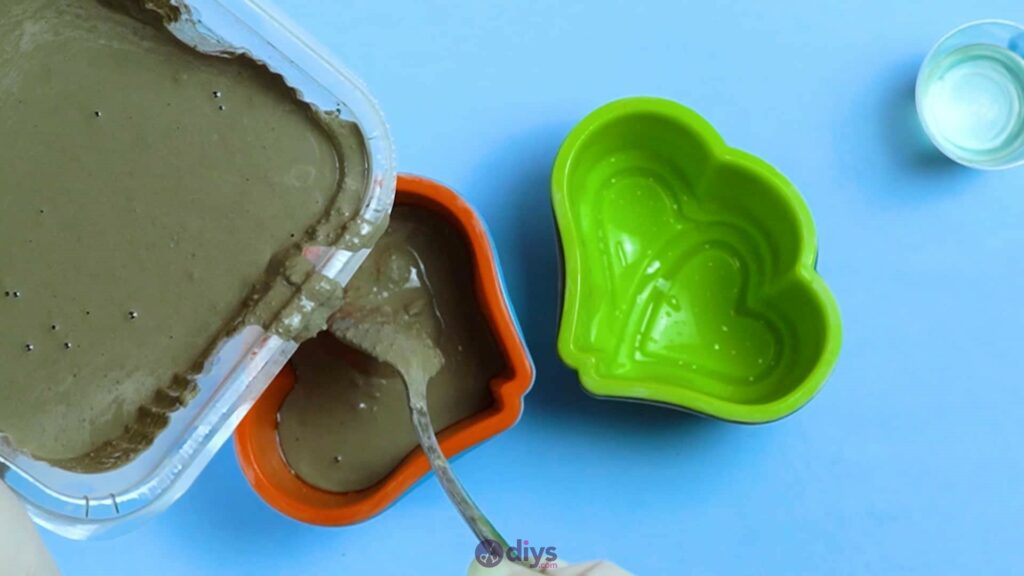
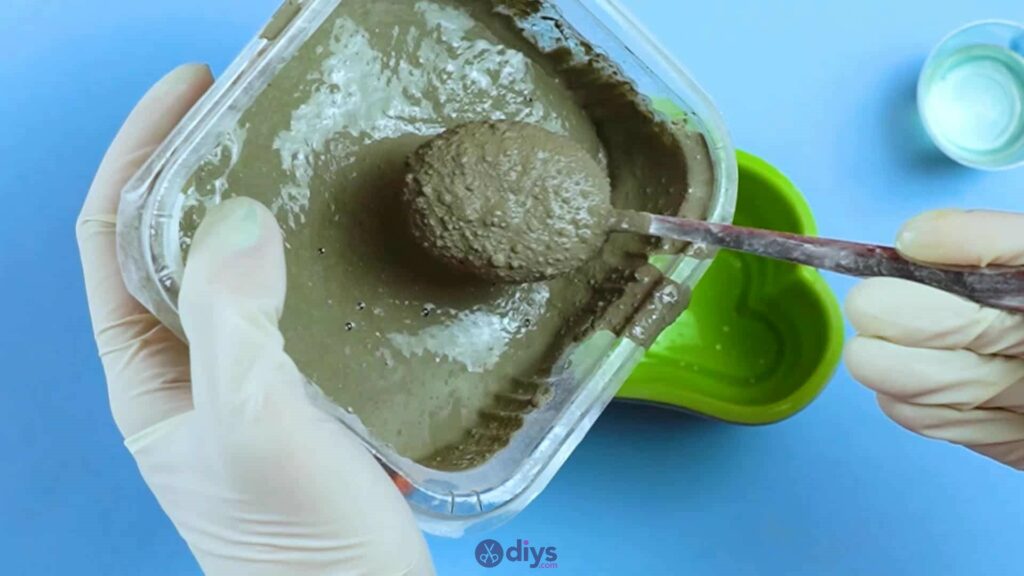
In a disposable plastic dish (or one you’ve saved specifically for crafting rather than eating), pour your water into your powered DIY fine particle cement mix and use your spoon to stir it until it is free of clumps and has the right consistency. Follow the directions on the back of your package to get the right ratio of powdered cement mix to water, since it can vary from brand to brand. Most crafting cements won’t actually harm your skin, but I wore plastic gloves to avoid mess and protect my hands because my skin is very sensitive and dries out easily.


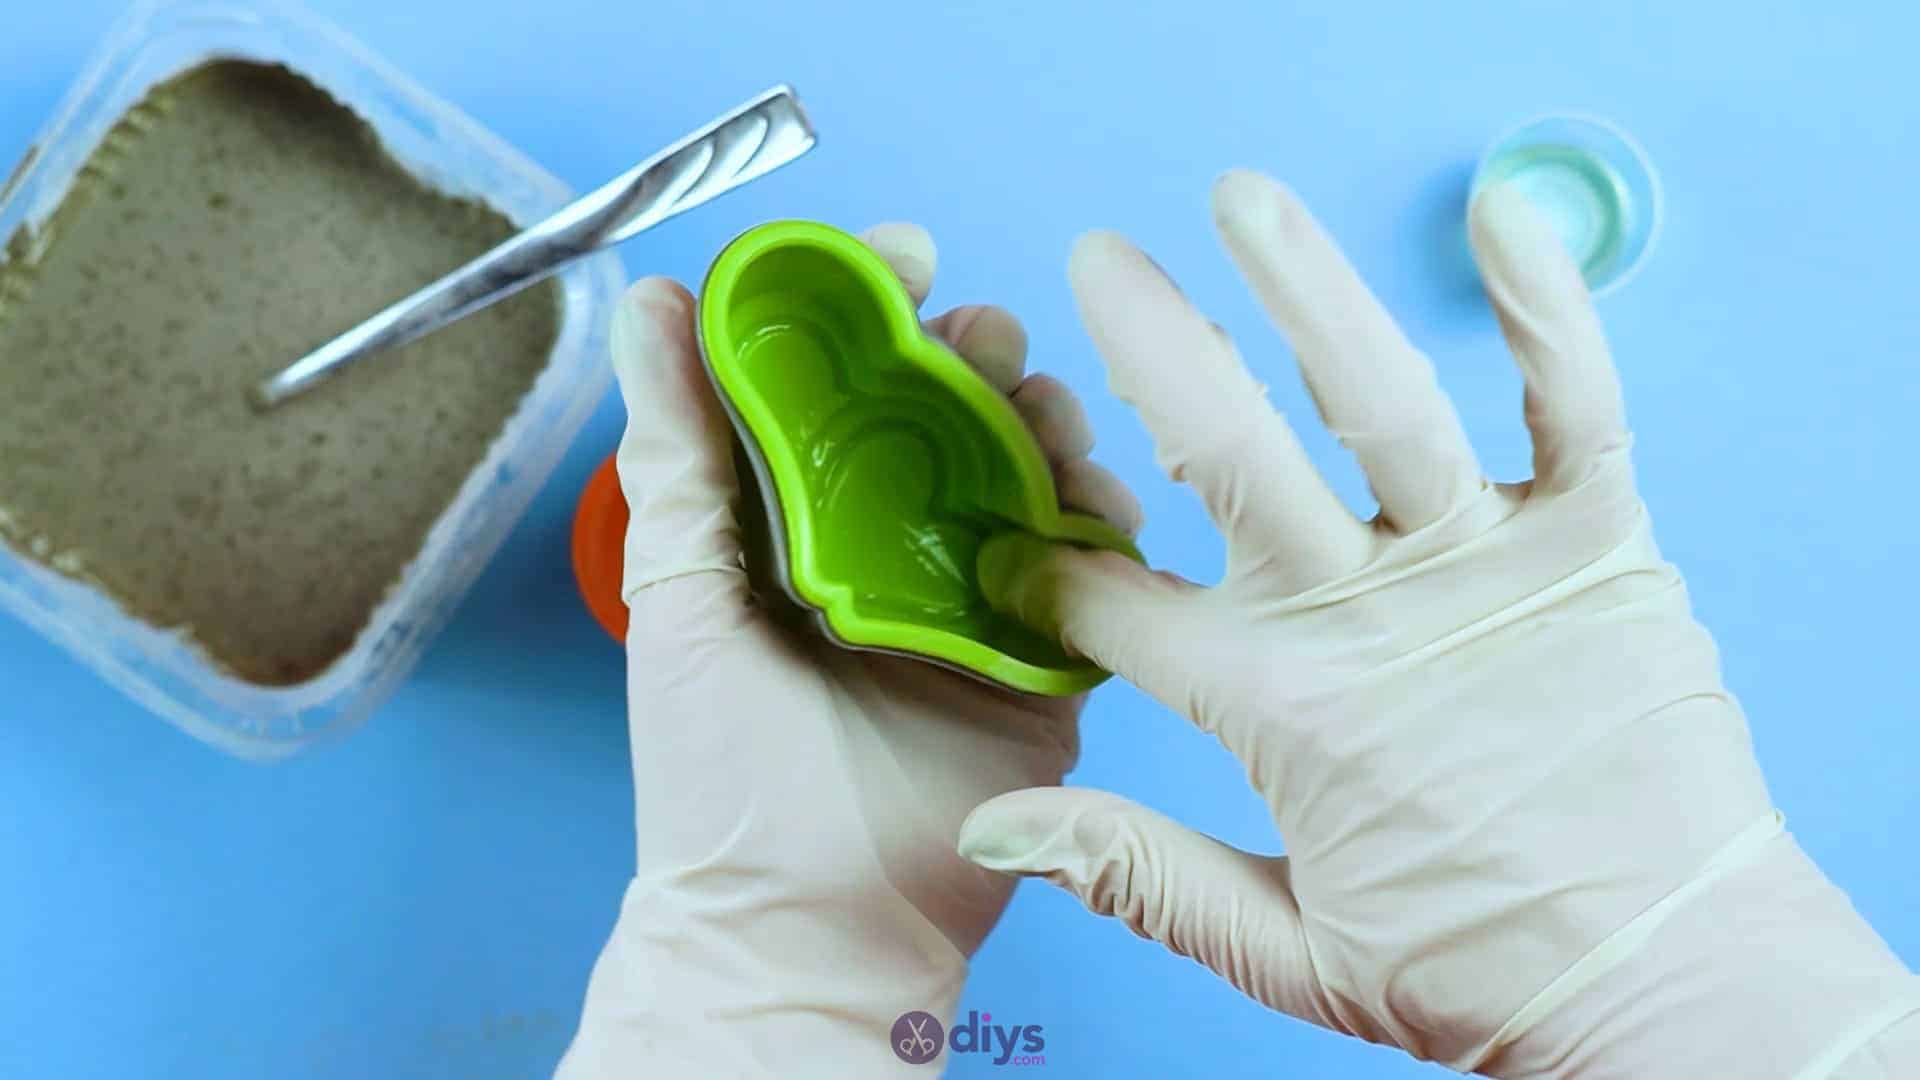
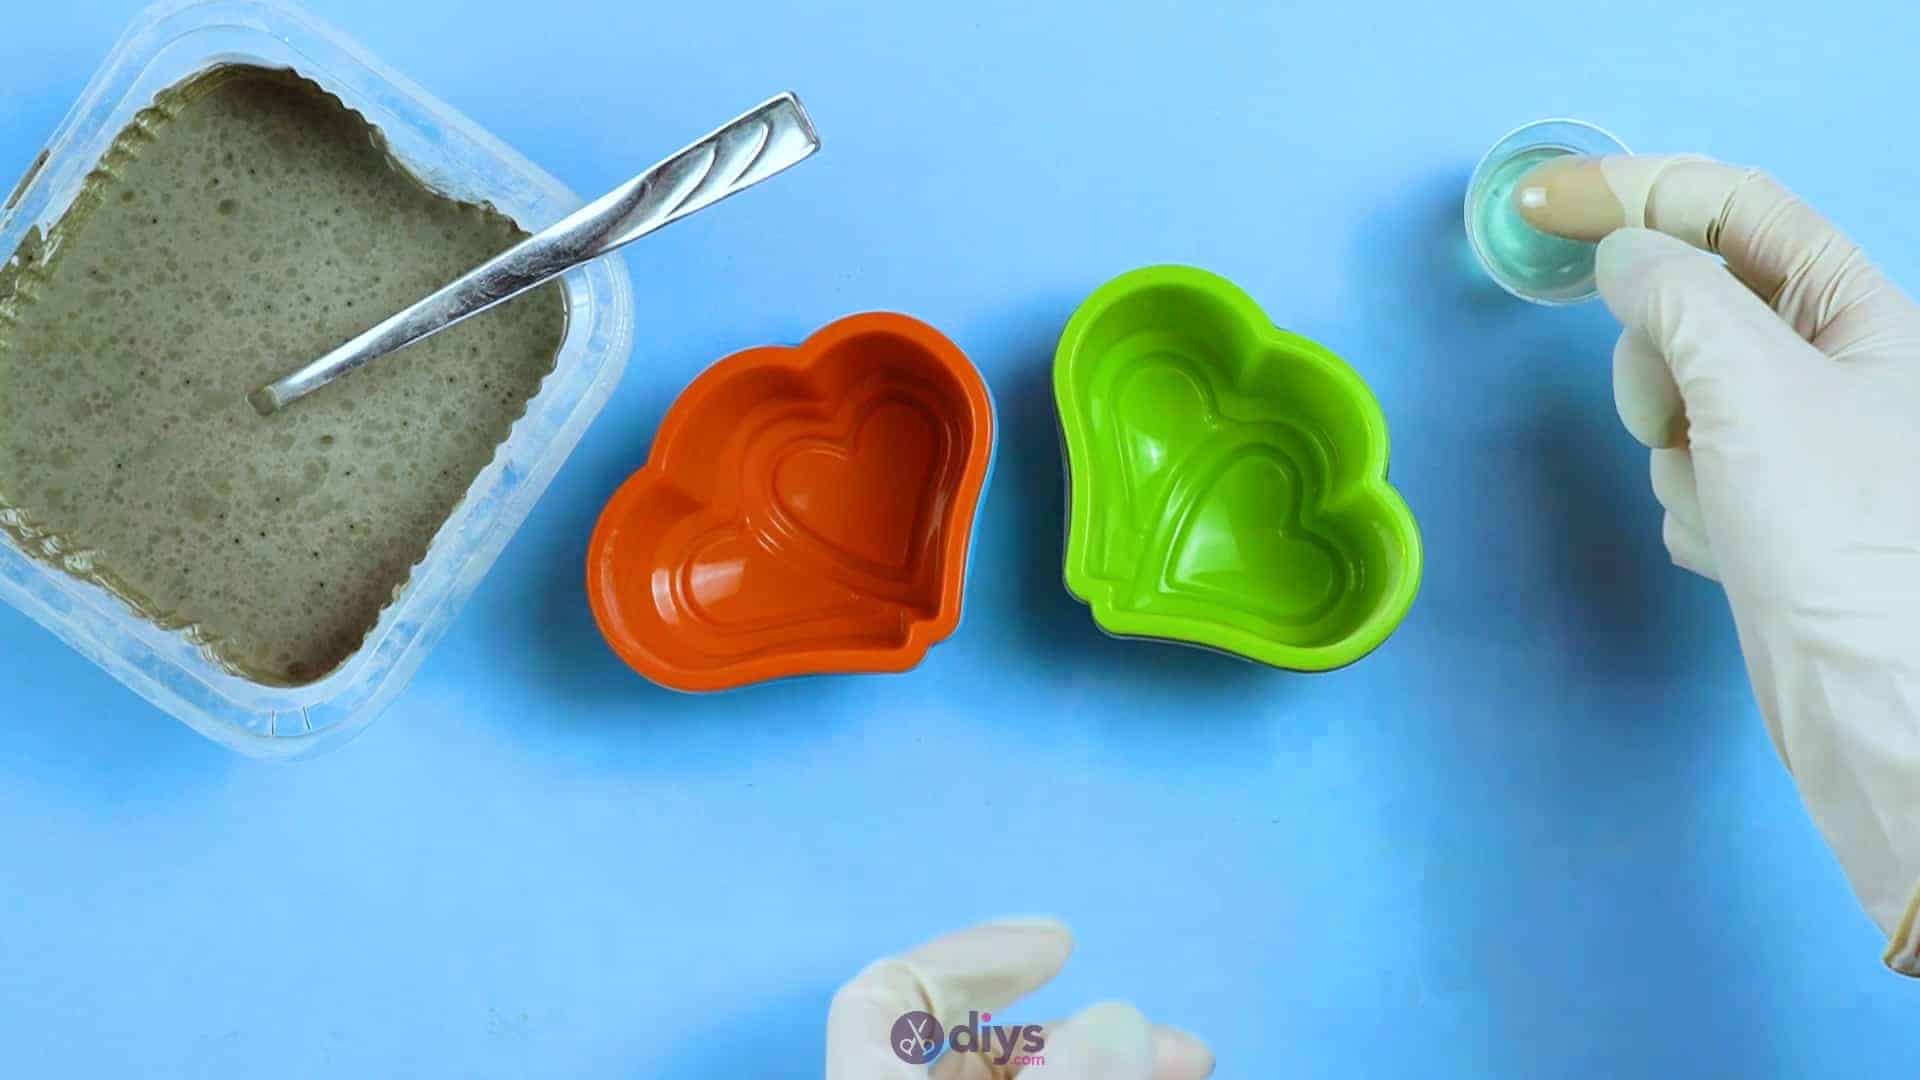
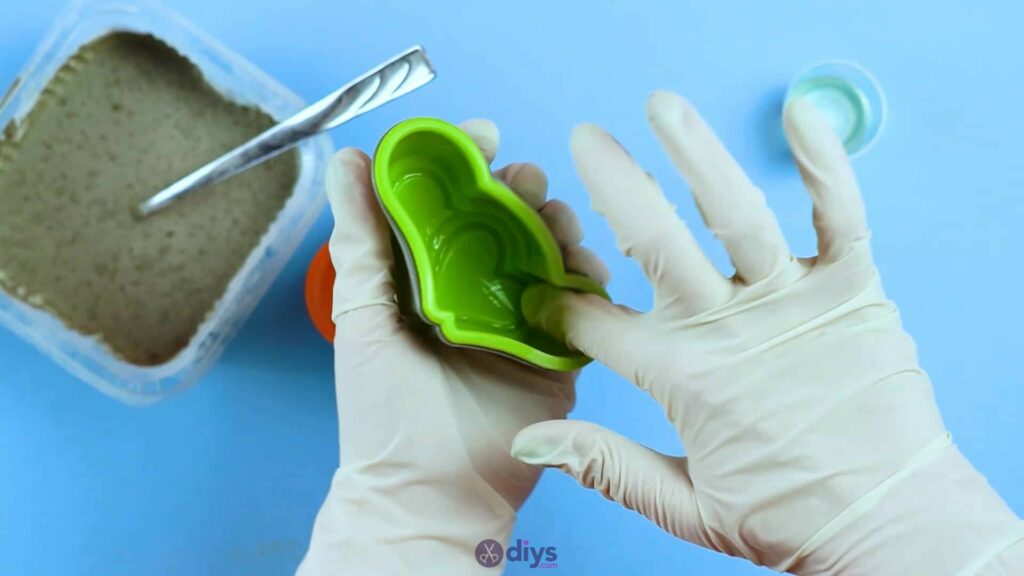
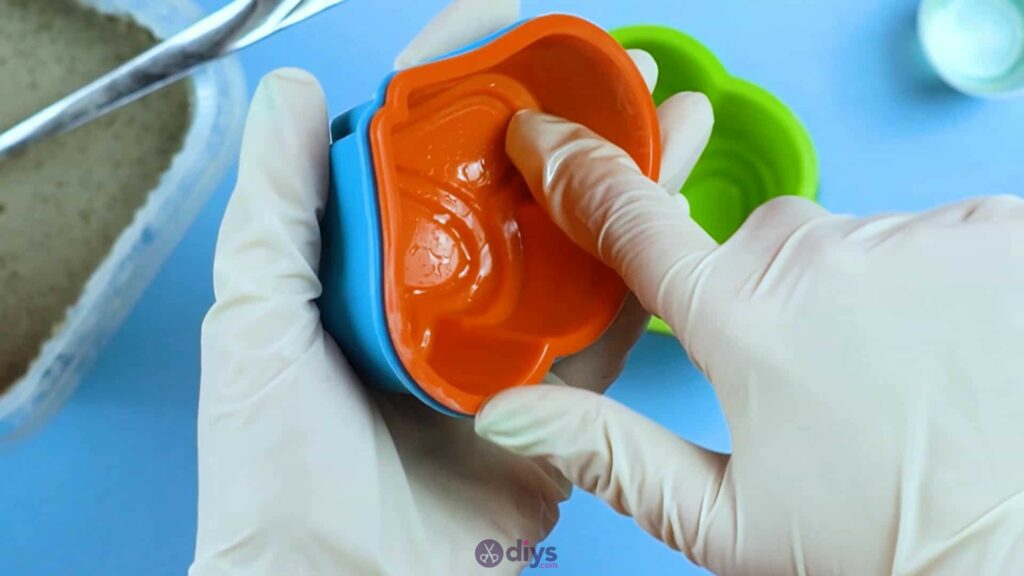
Step 3: oil pans
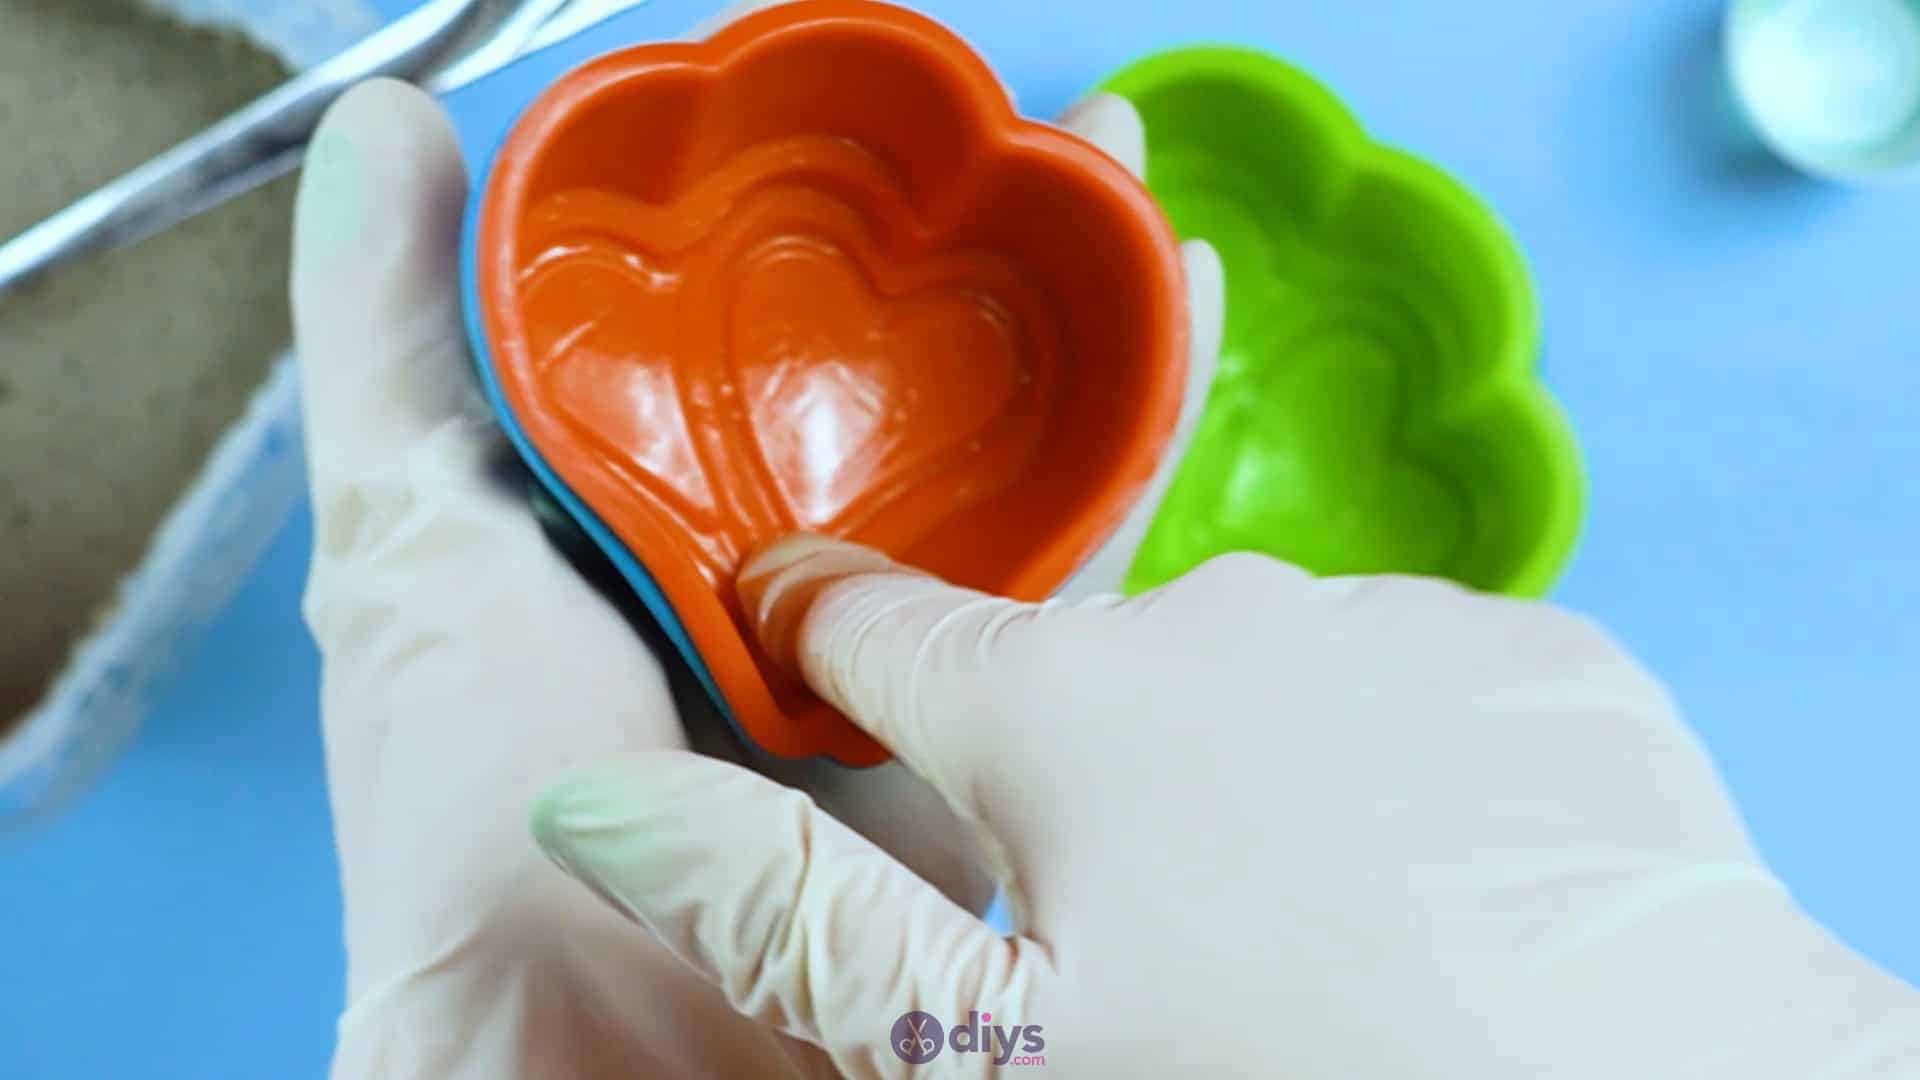
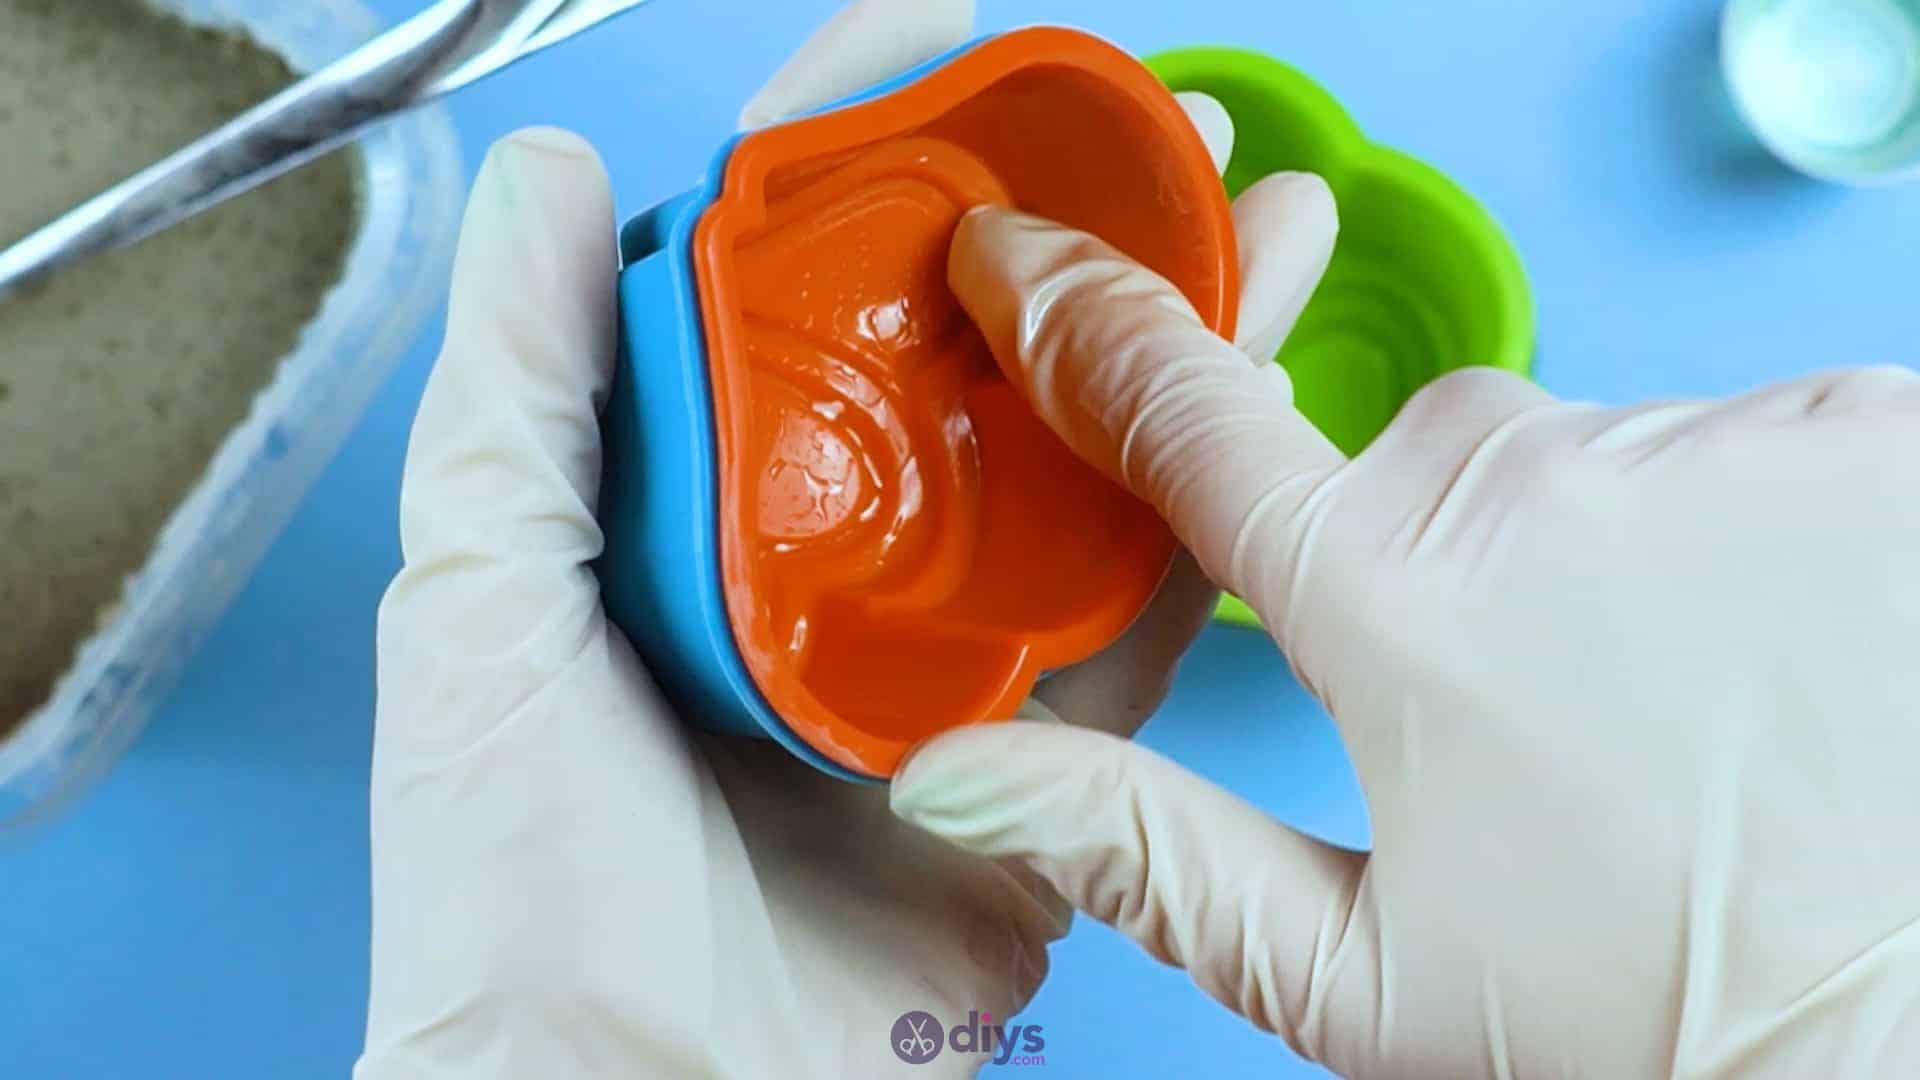
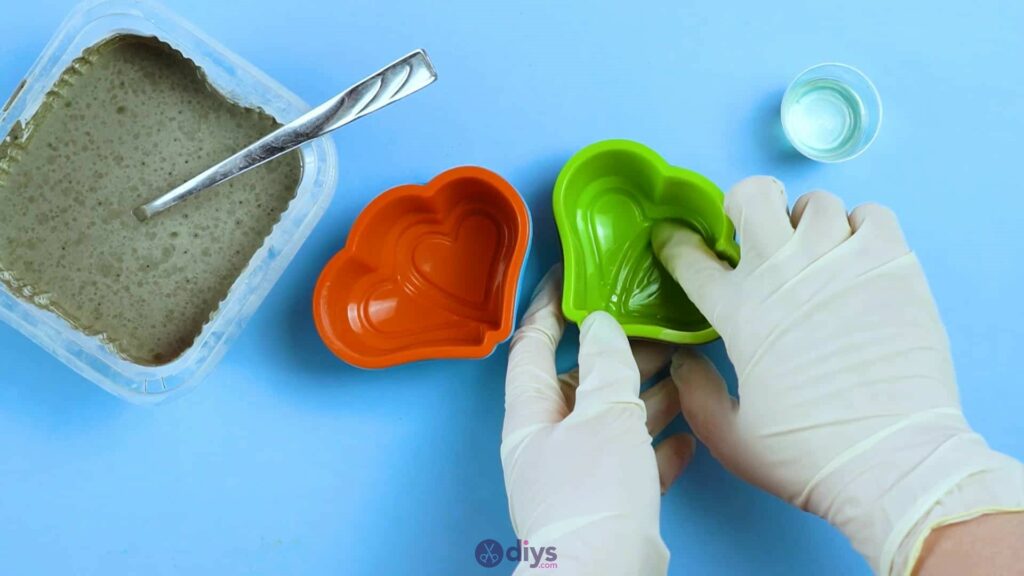
Coat the inside of the silicone form that you plan to use to mould your cement with oil (vegetable or other kinds of cooking oil will do). I just used my finger, since I had gloves on, but you could also use a spare paintbrush or a cotton swab. Coating the inner surfaces of the form with oil helps stop the finished and dried cement from sticking to the material even less than the silicone itself already will, making it even easier to remove from the mould later.


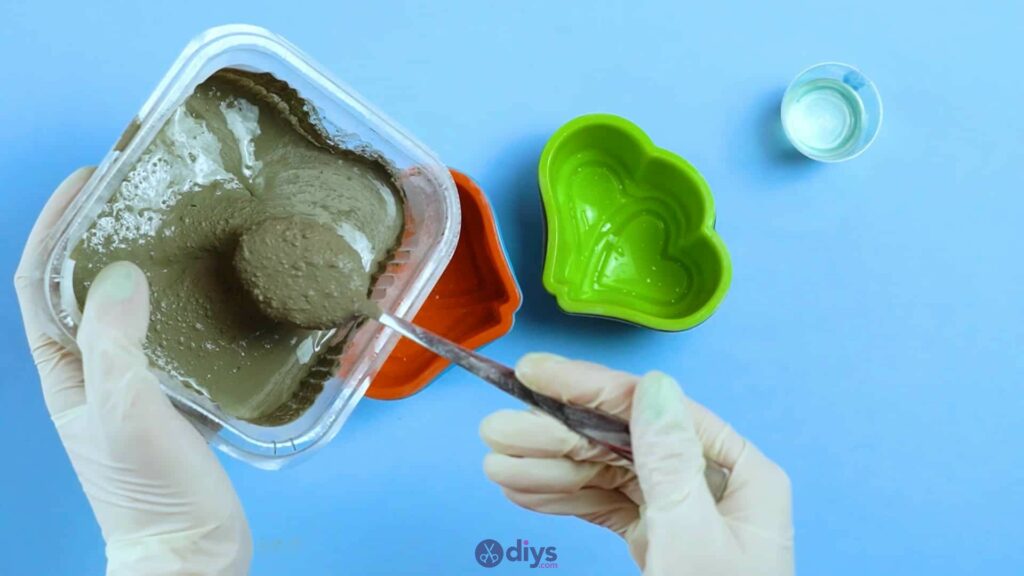
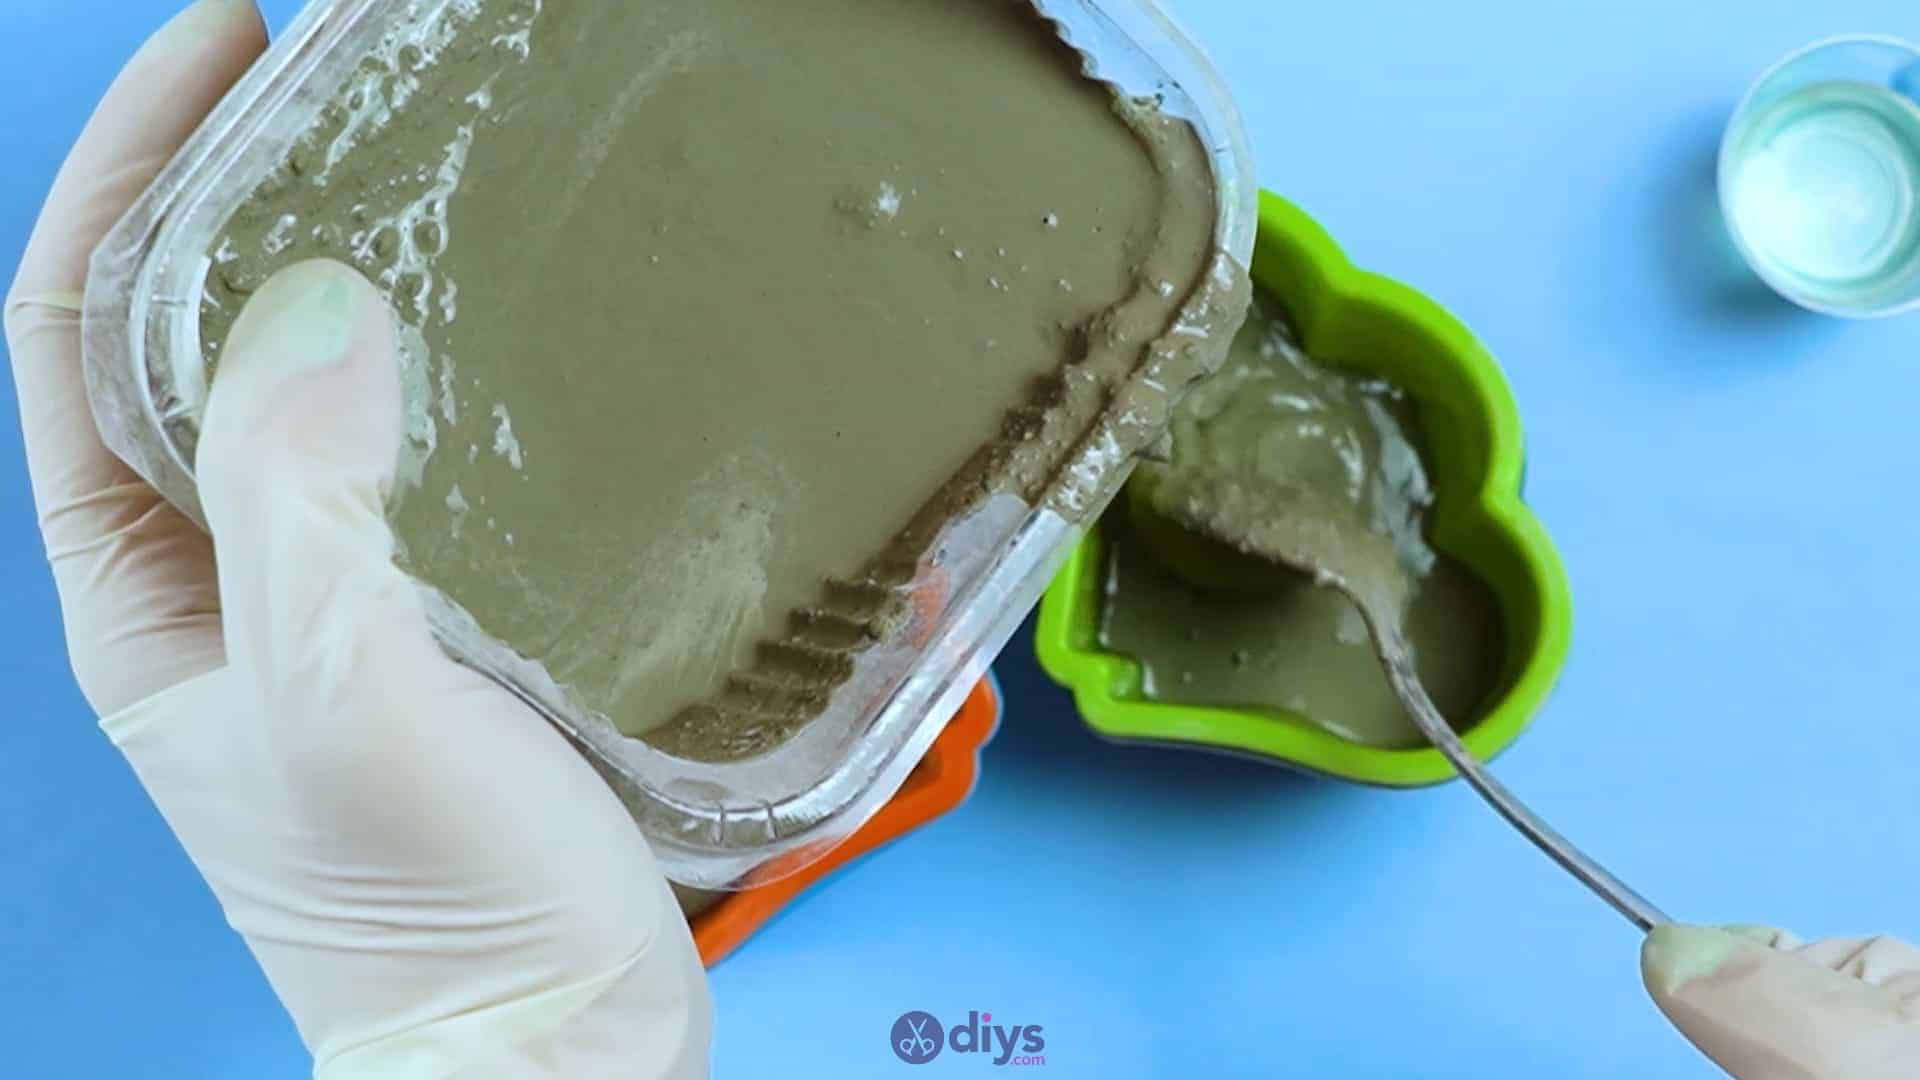
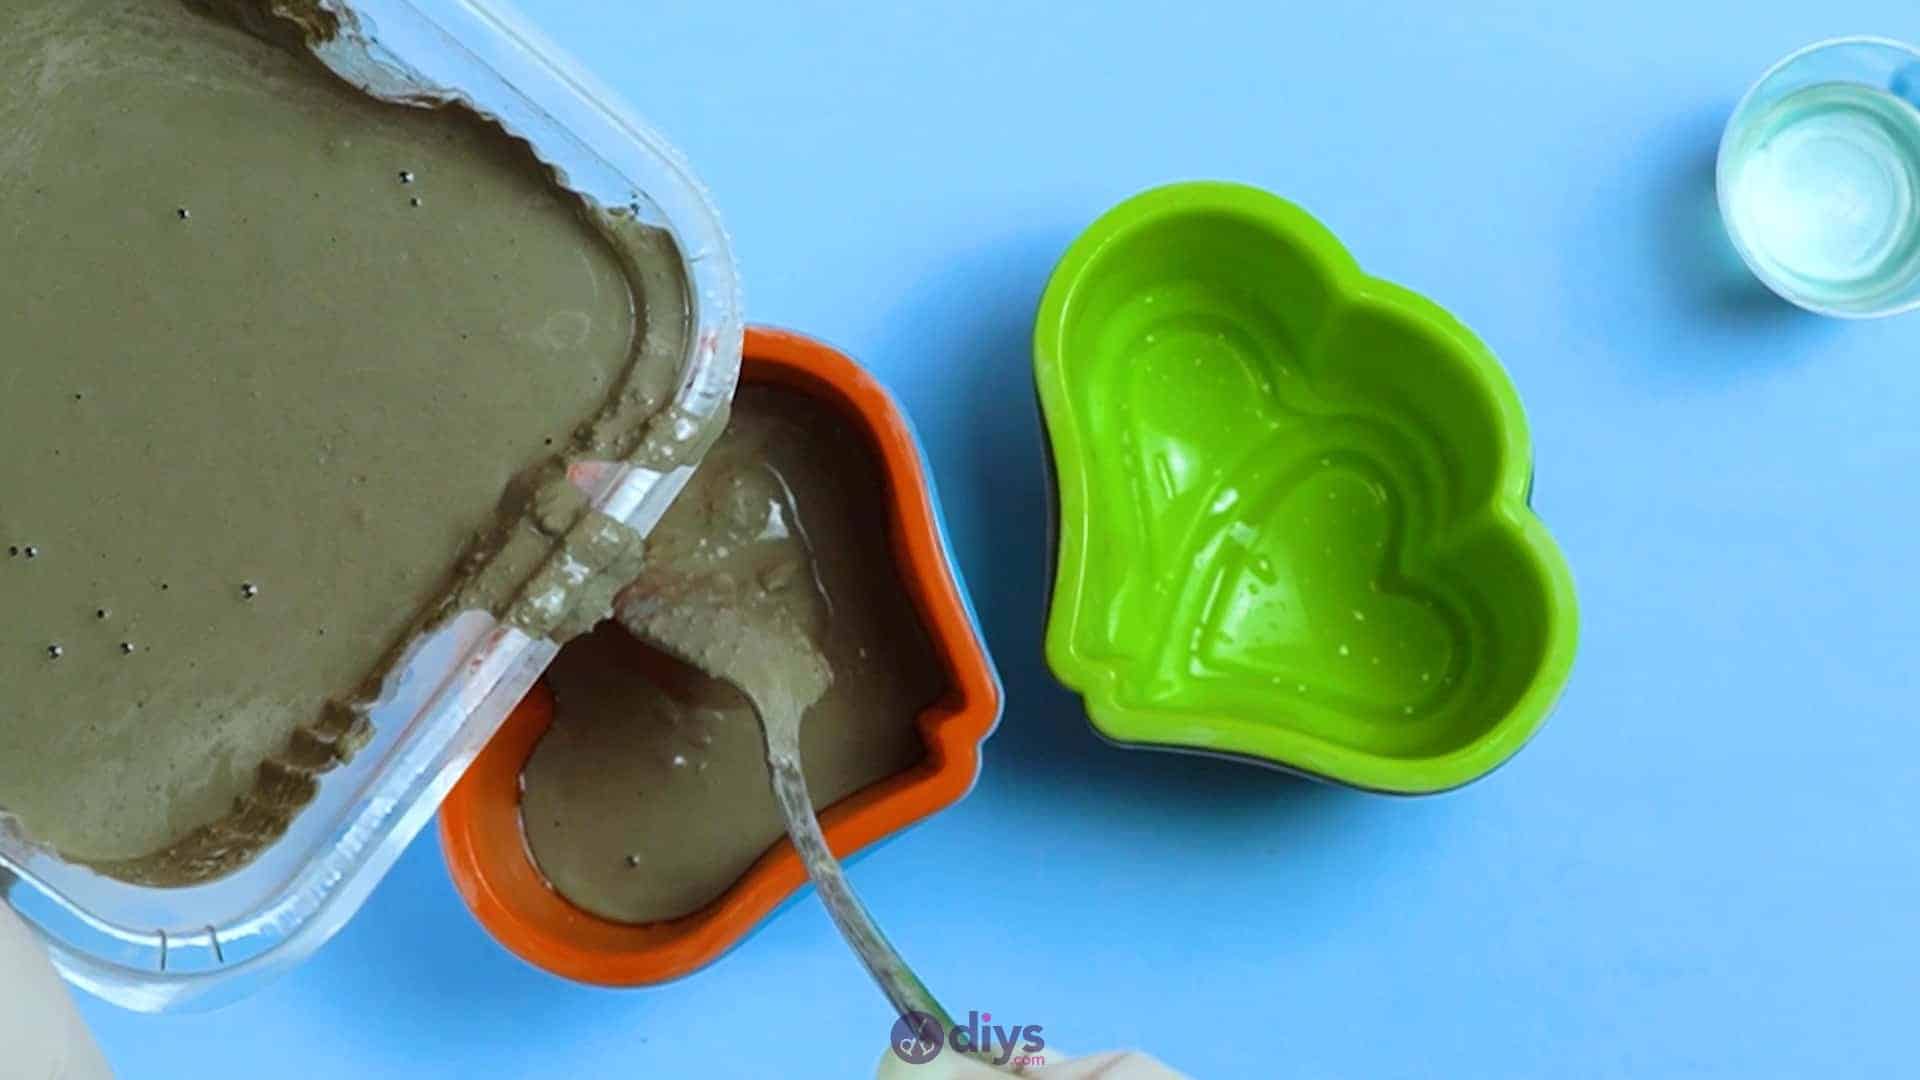
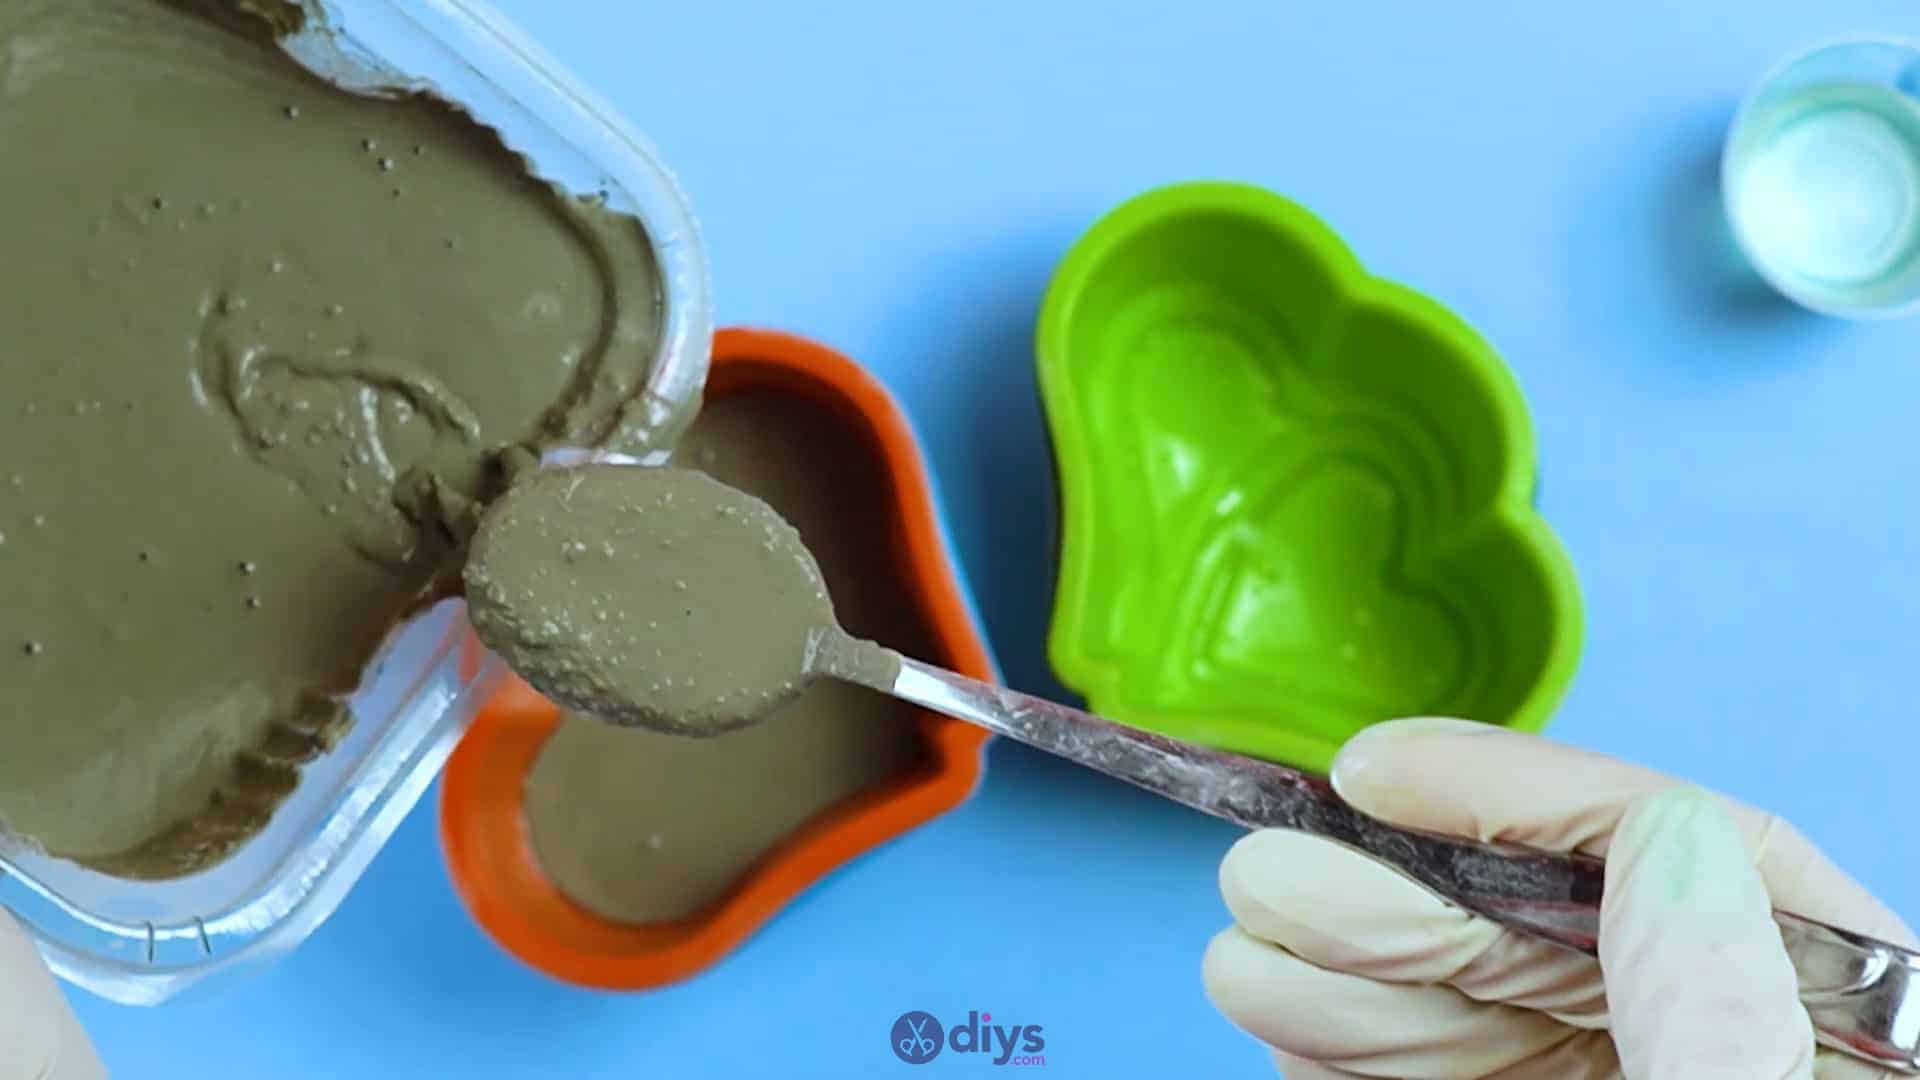
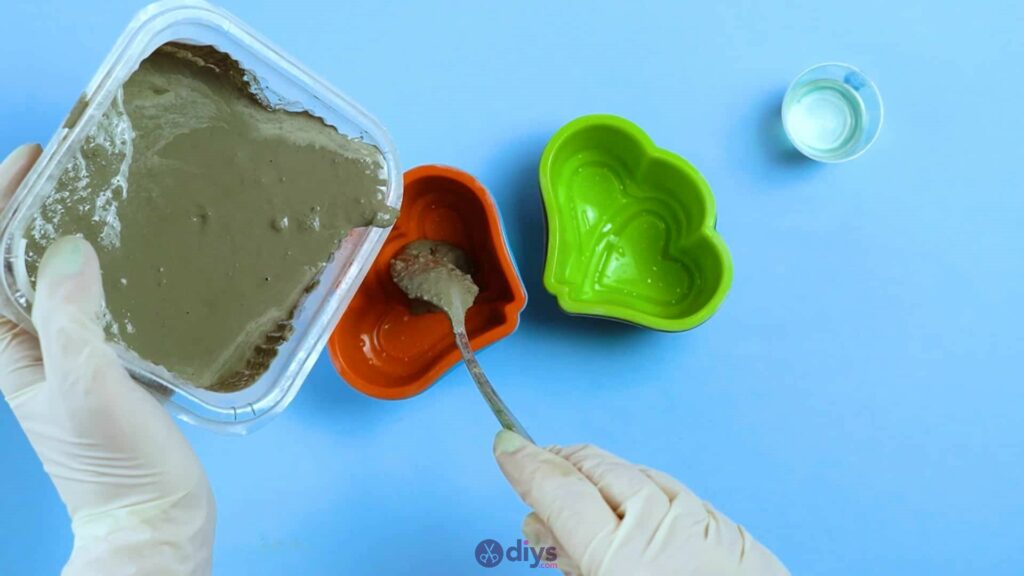
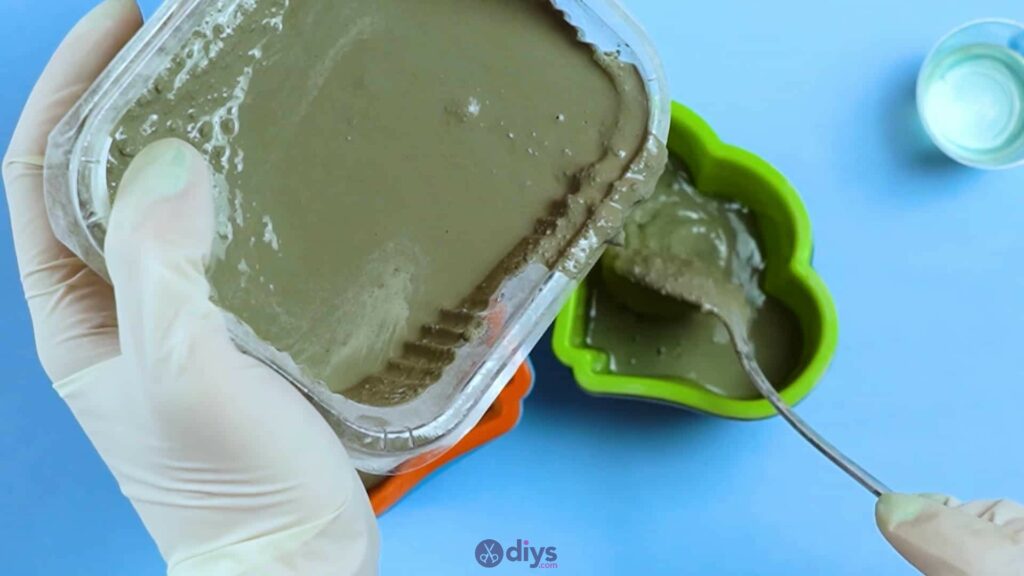
Step 4: fill molds
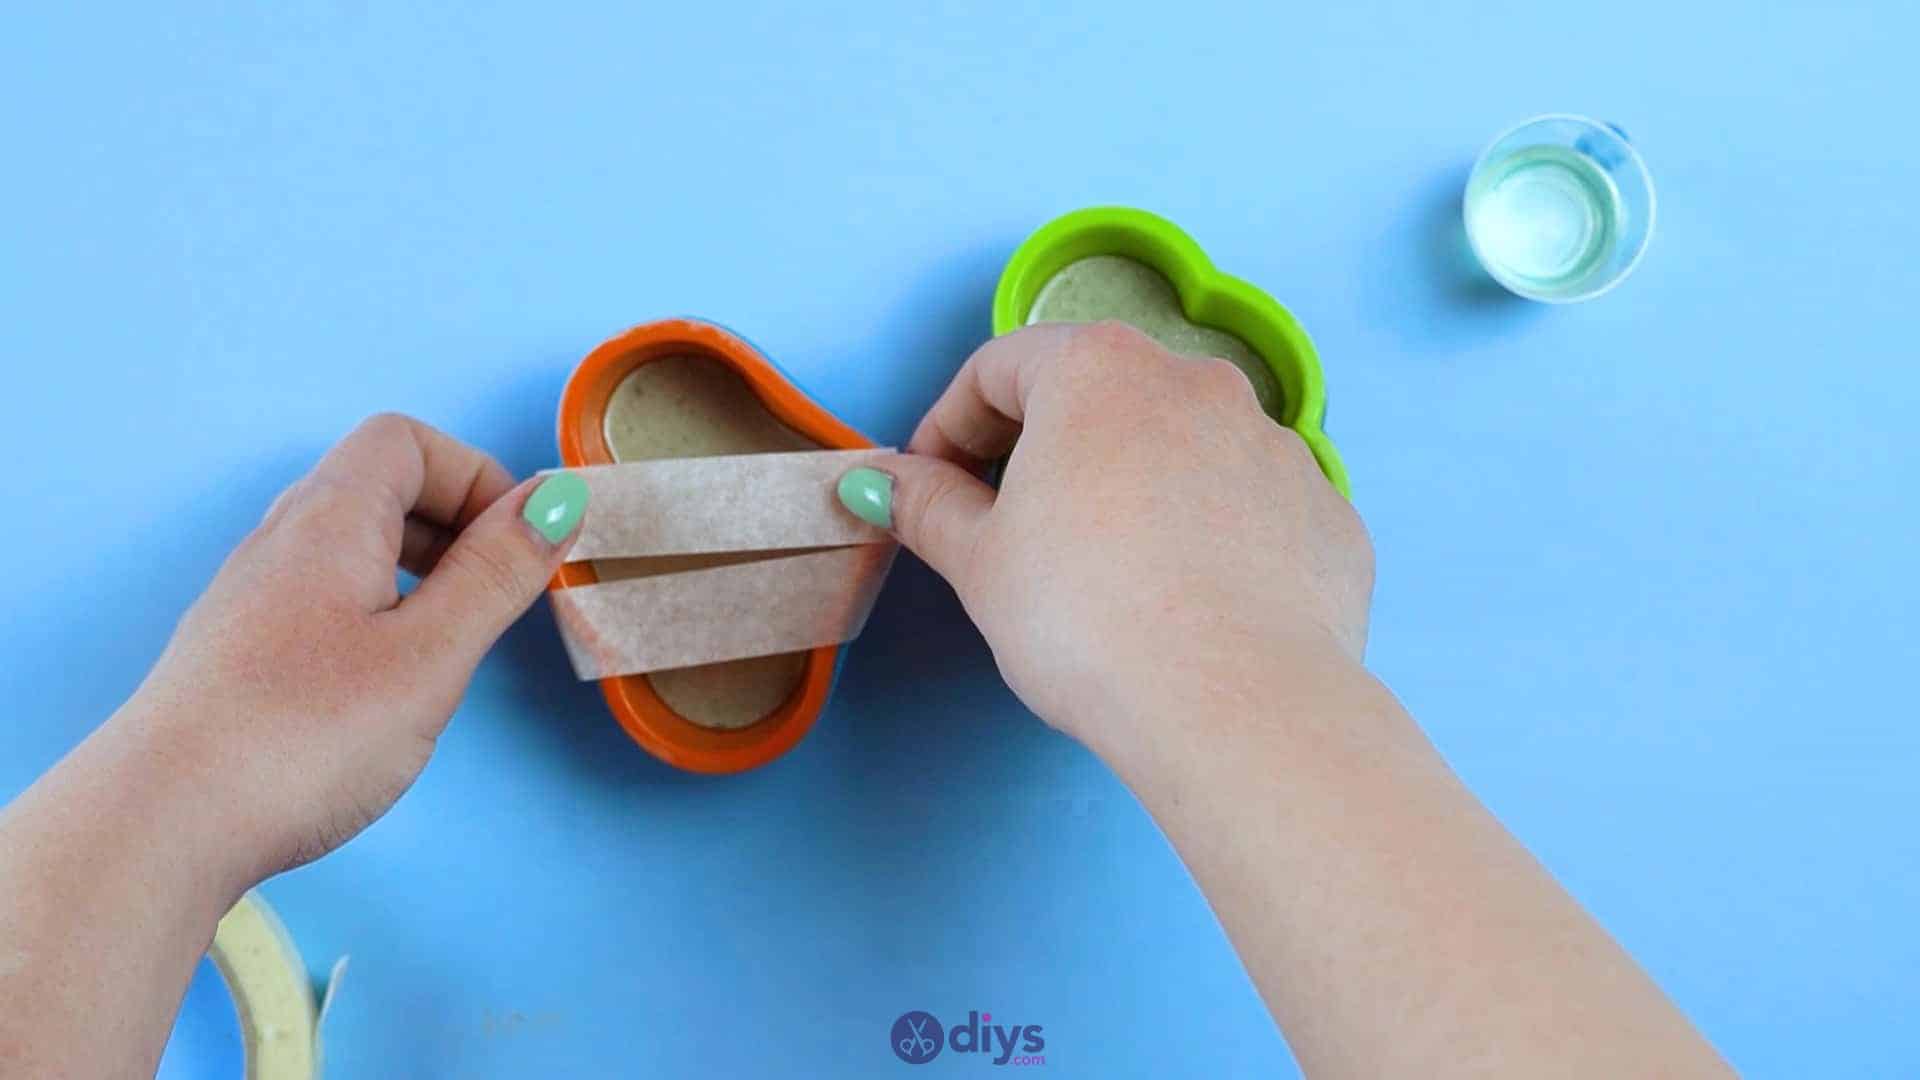
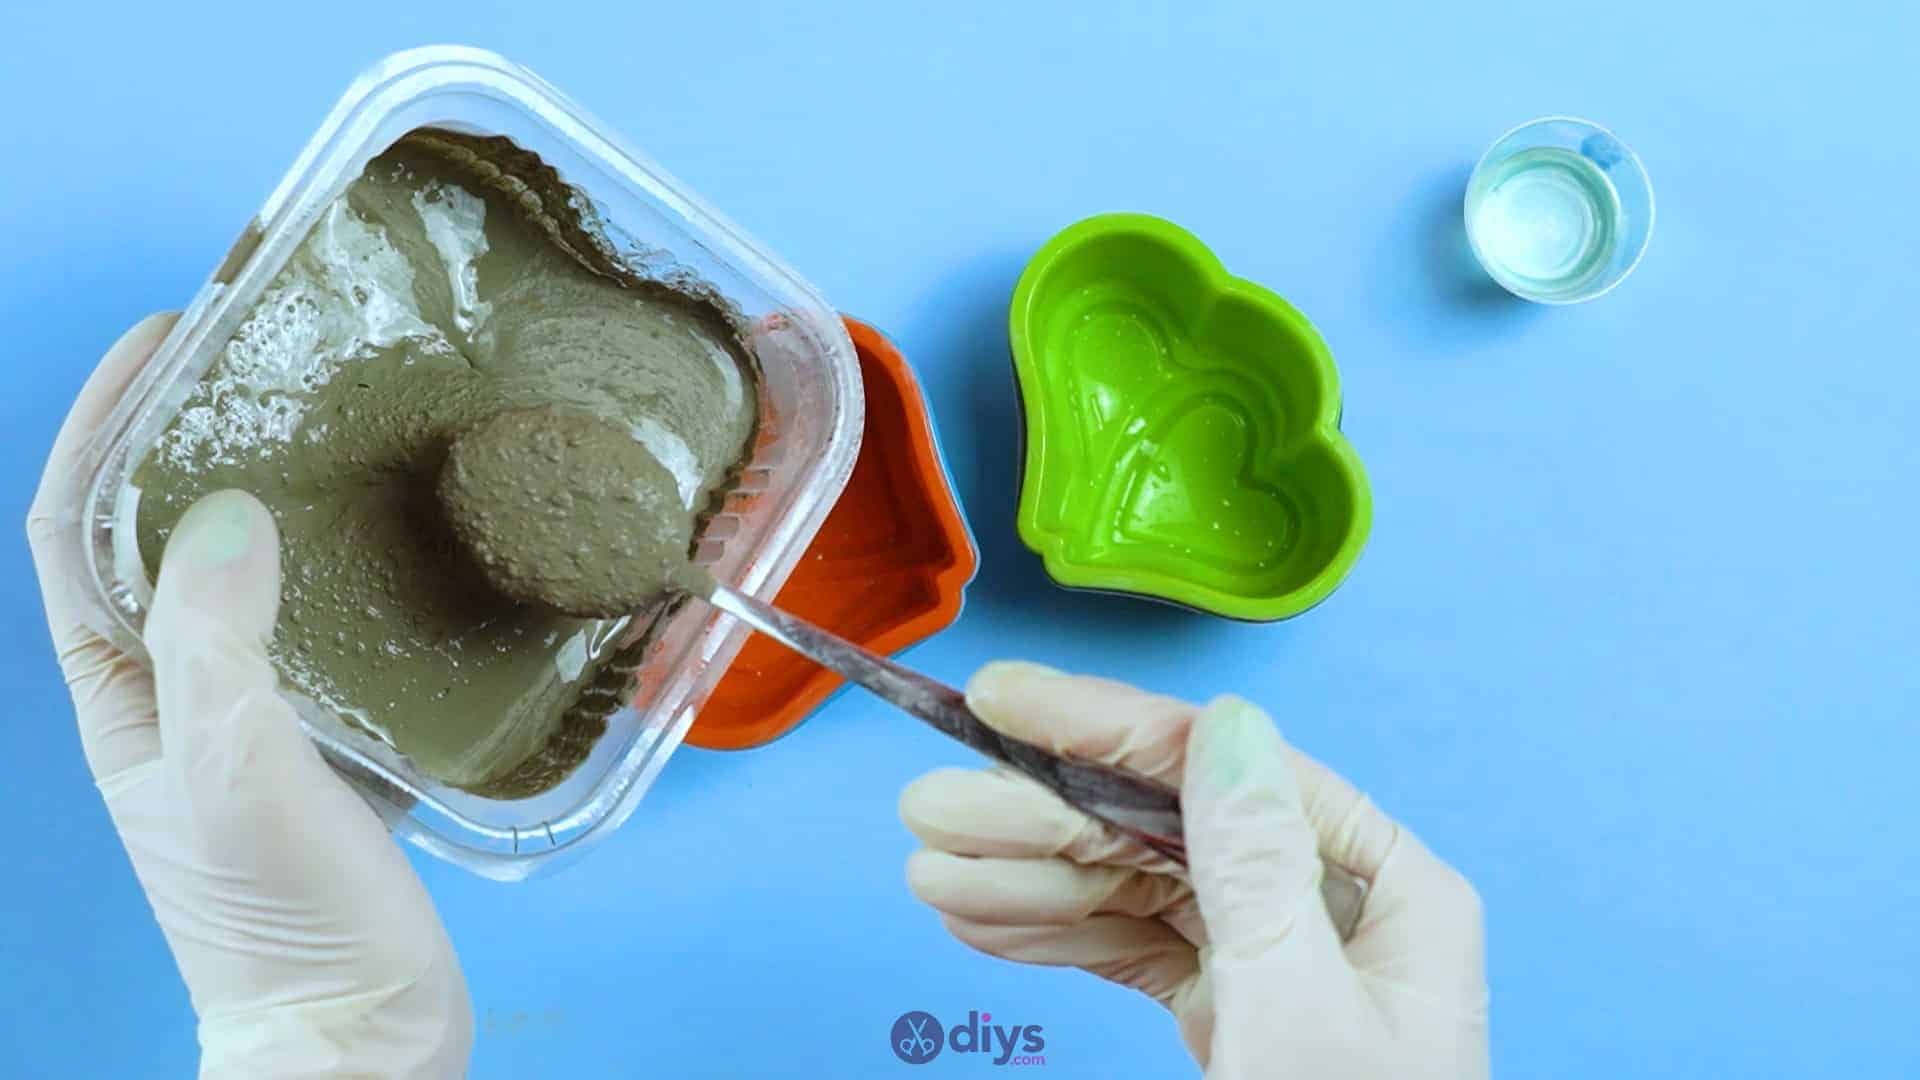
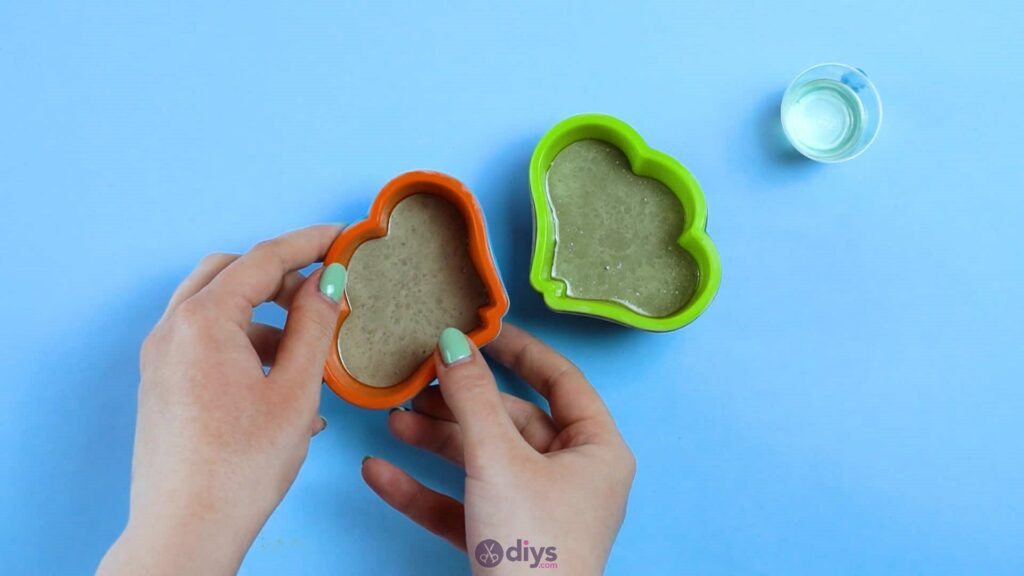
Use your spoon to fill your silicone forms with your wet cement mix. You can fill them as much as you see fit, but make sure you leave at least a half-inch or so of space from the top so nothing spills over the edge. When you’re happy with how much you’ve filled the forms, use the spoon to smooth the top surface or even it out and free the surface of bubbles and the like by lightly tapping the sides of the form, or lifting the form ever so slightly and tapping it on your tabletop.


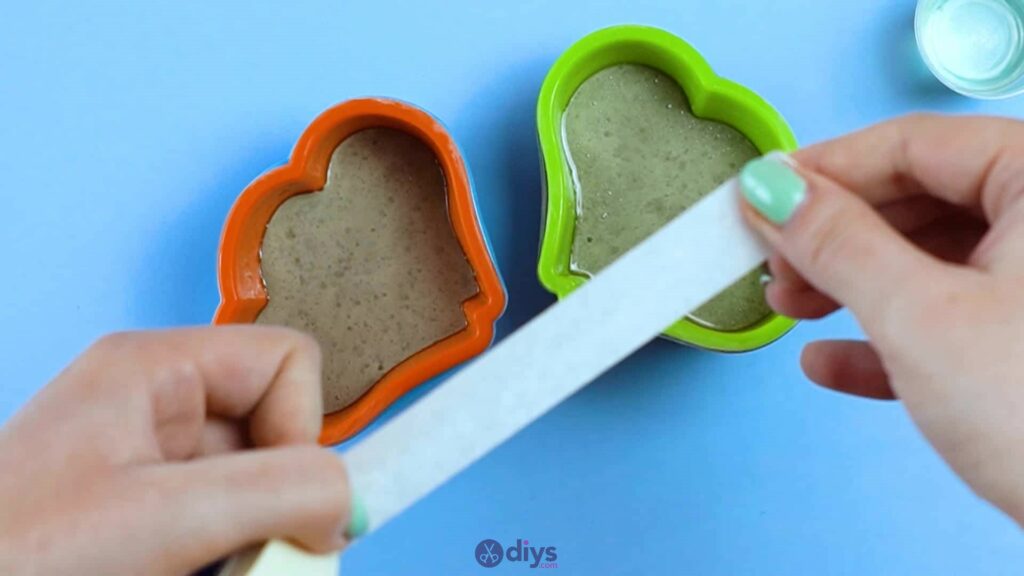
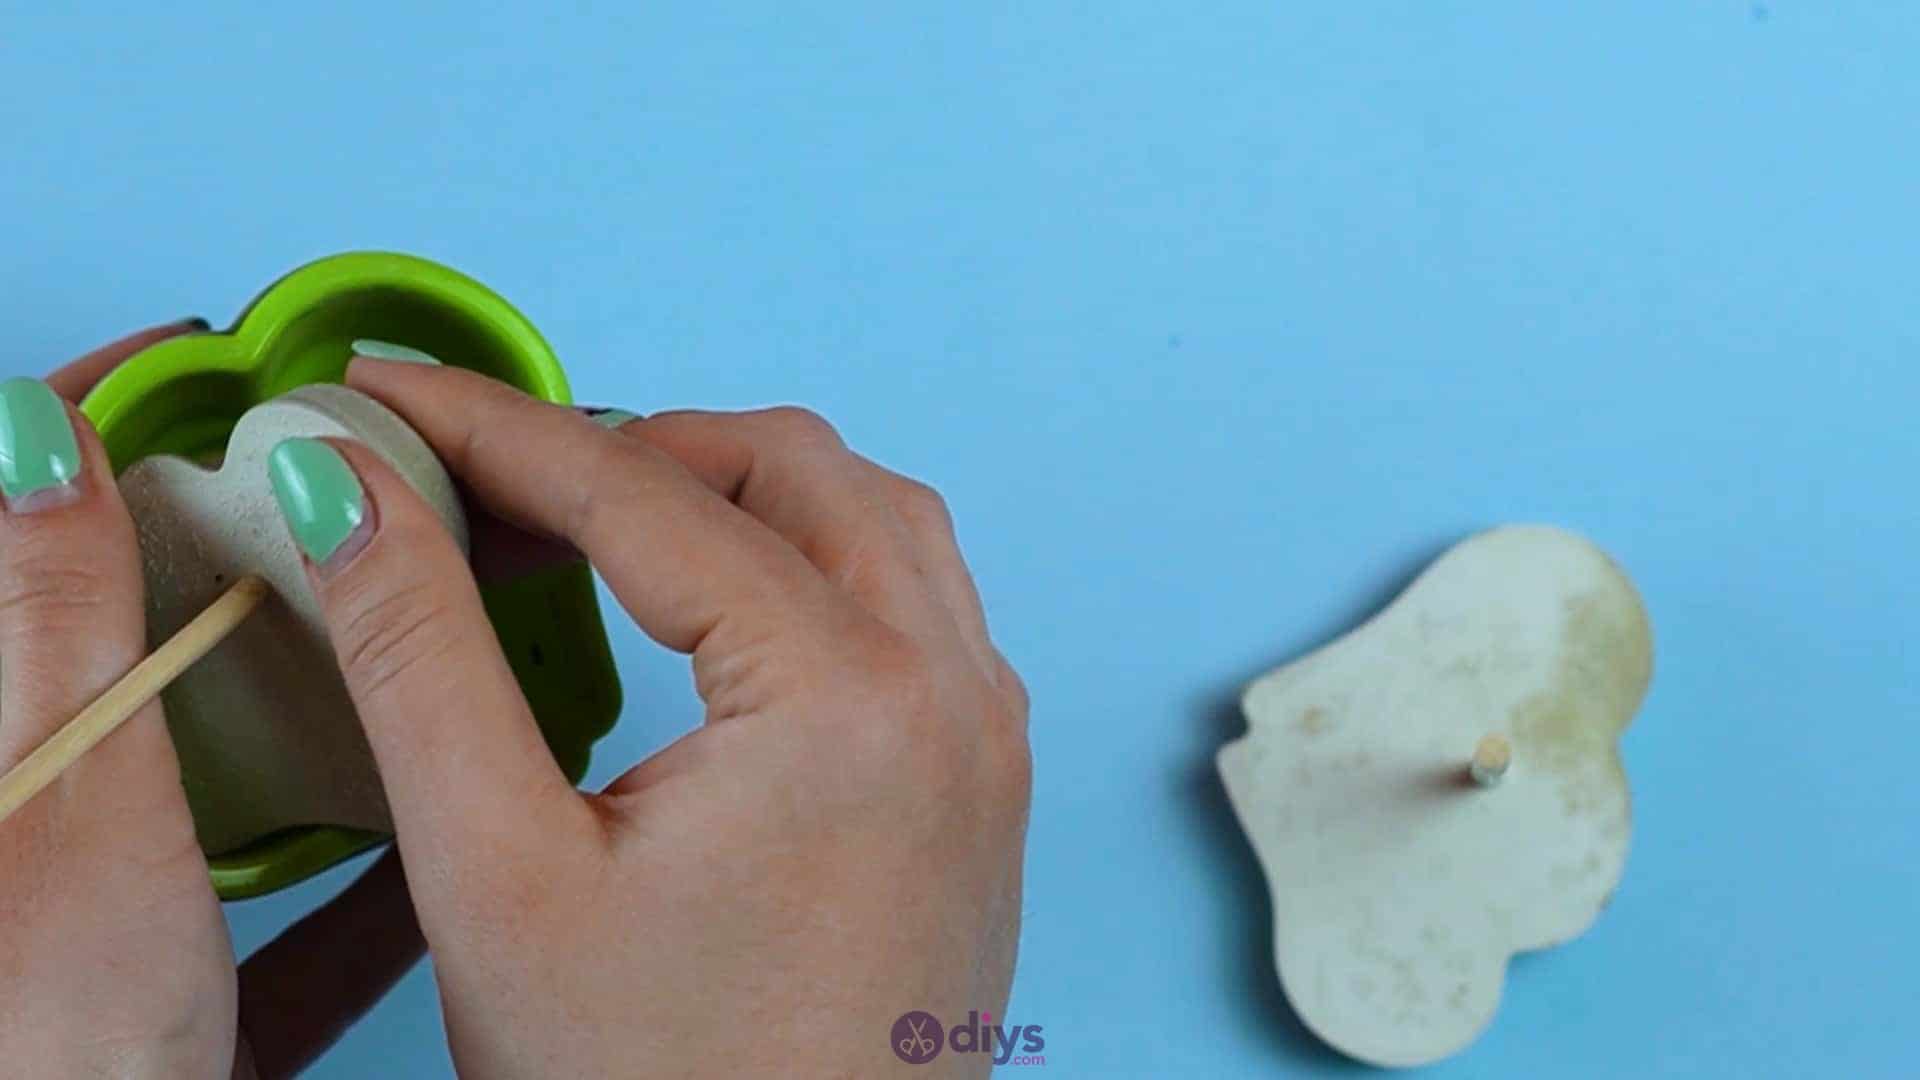
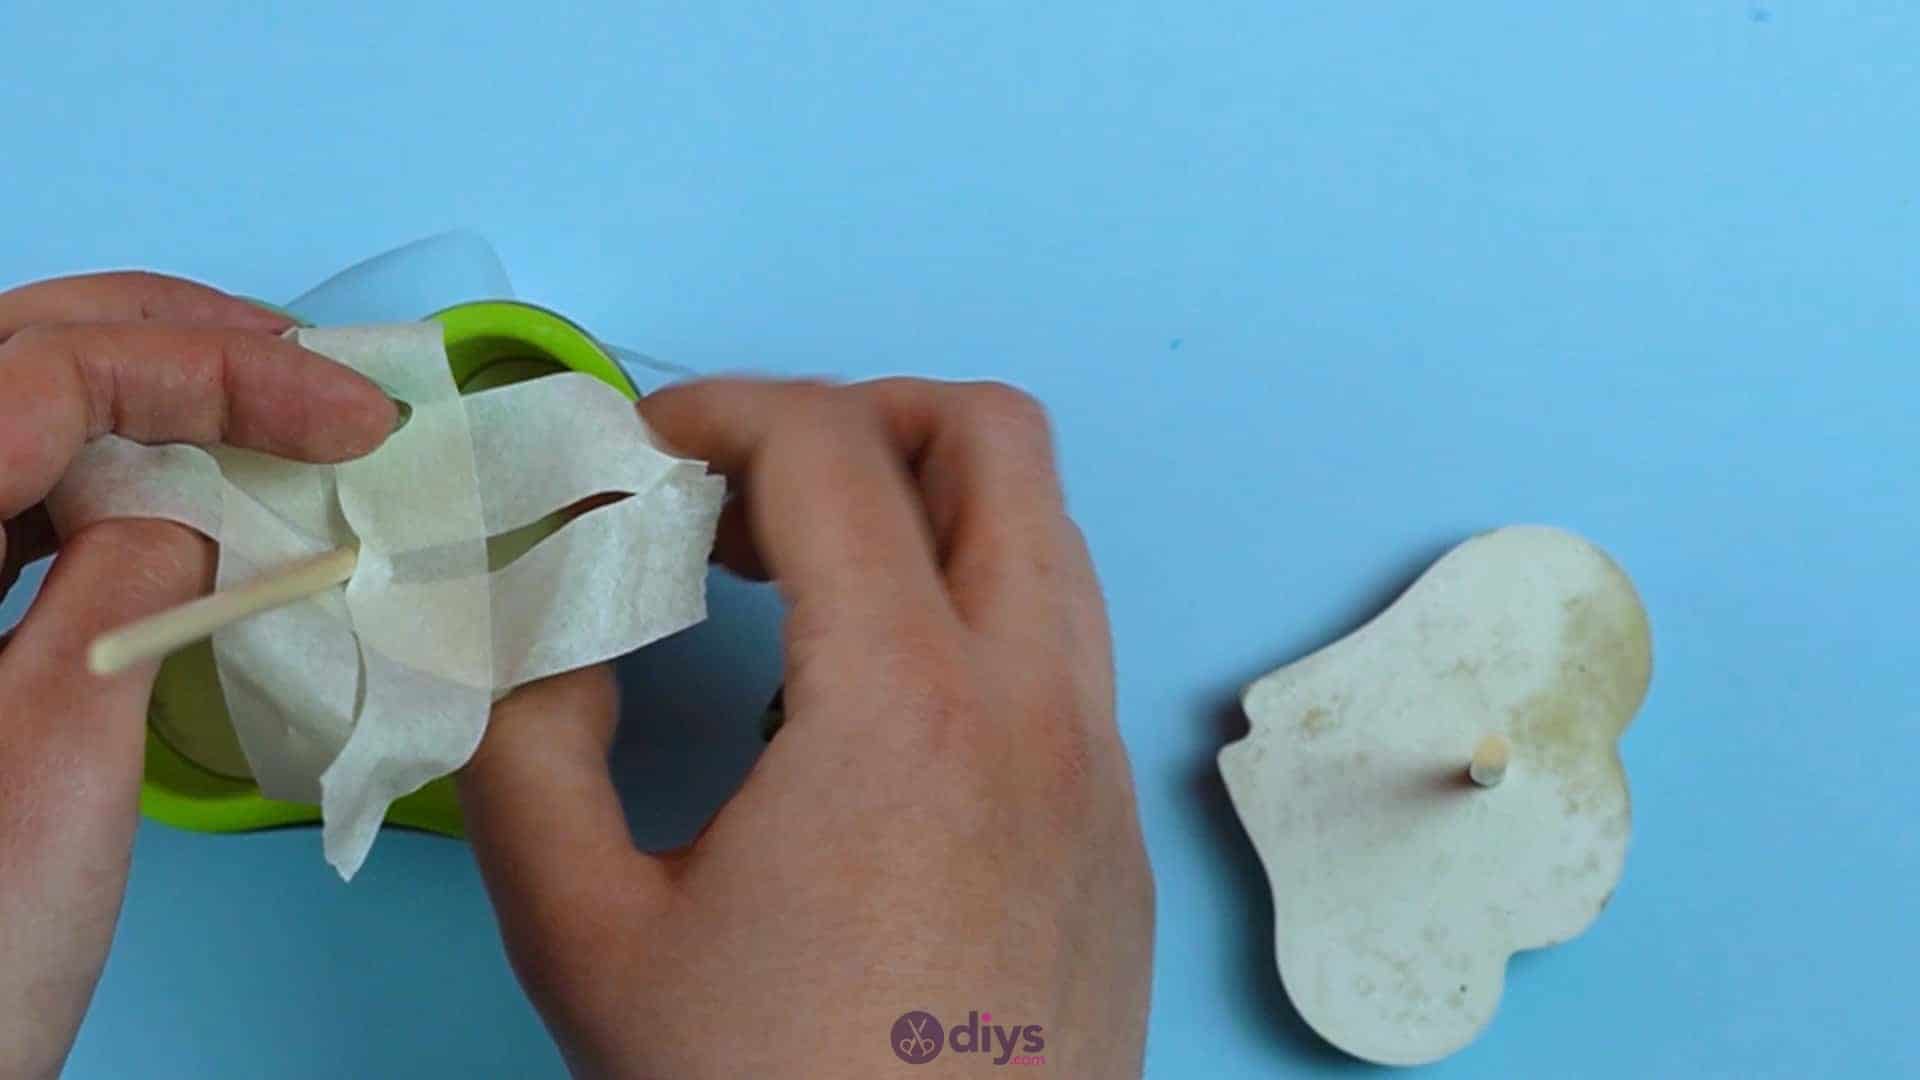
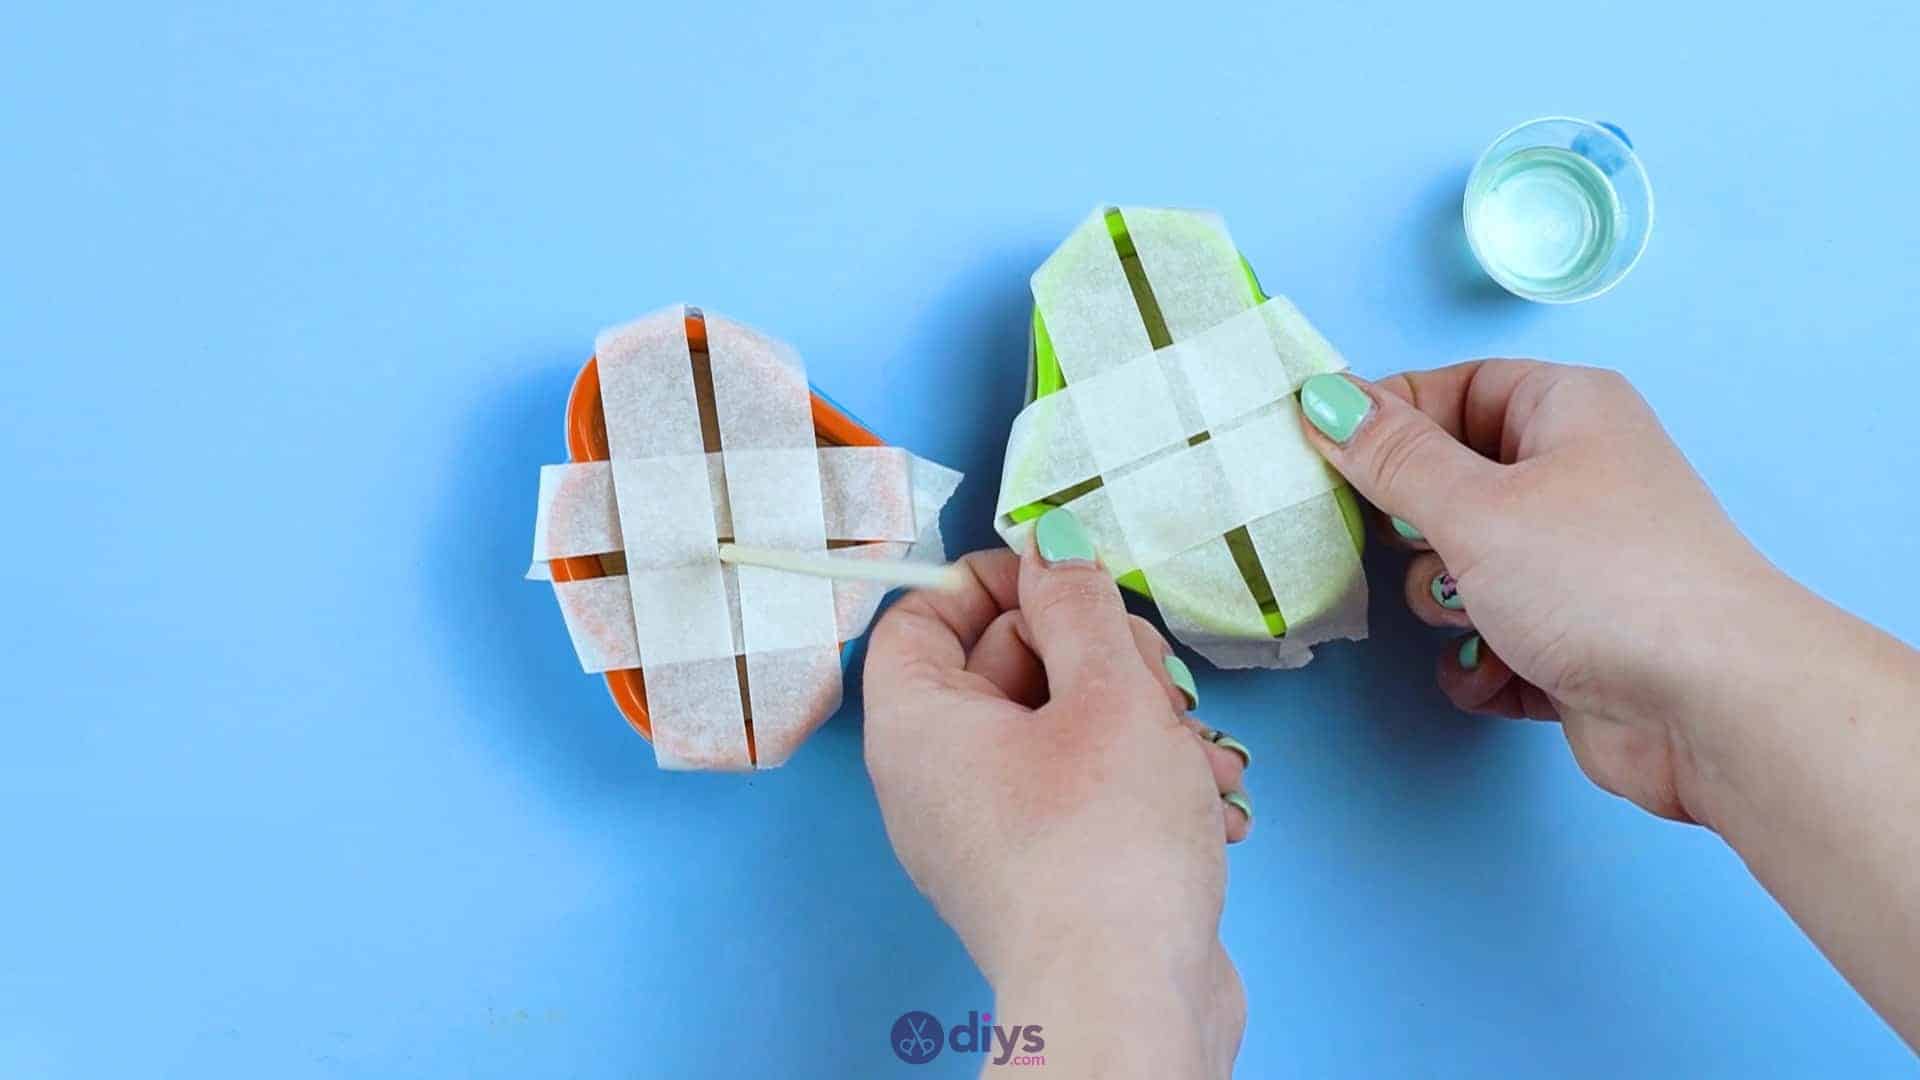
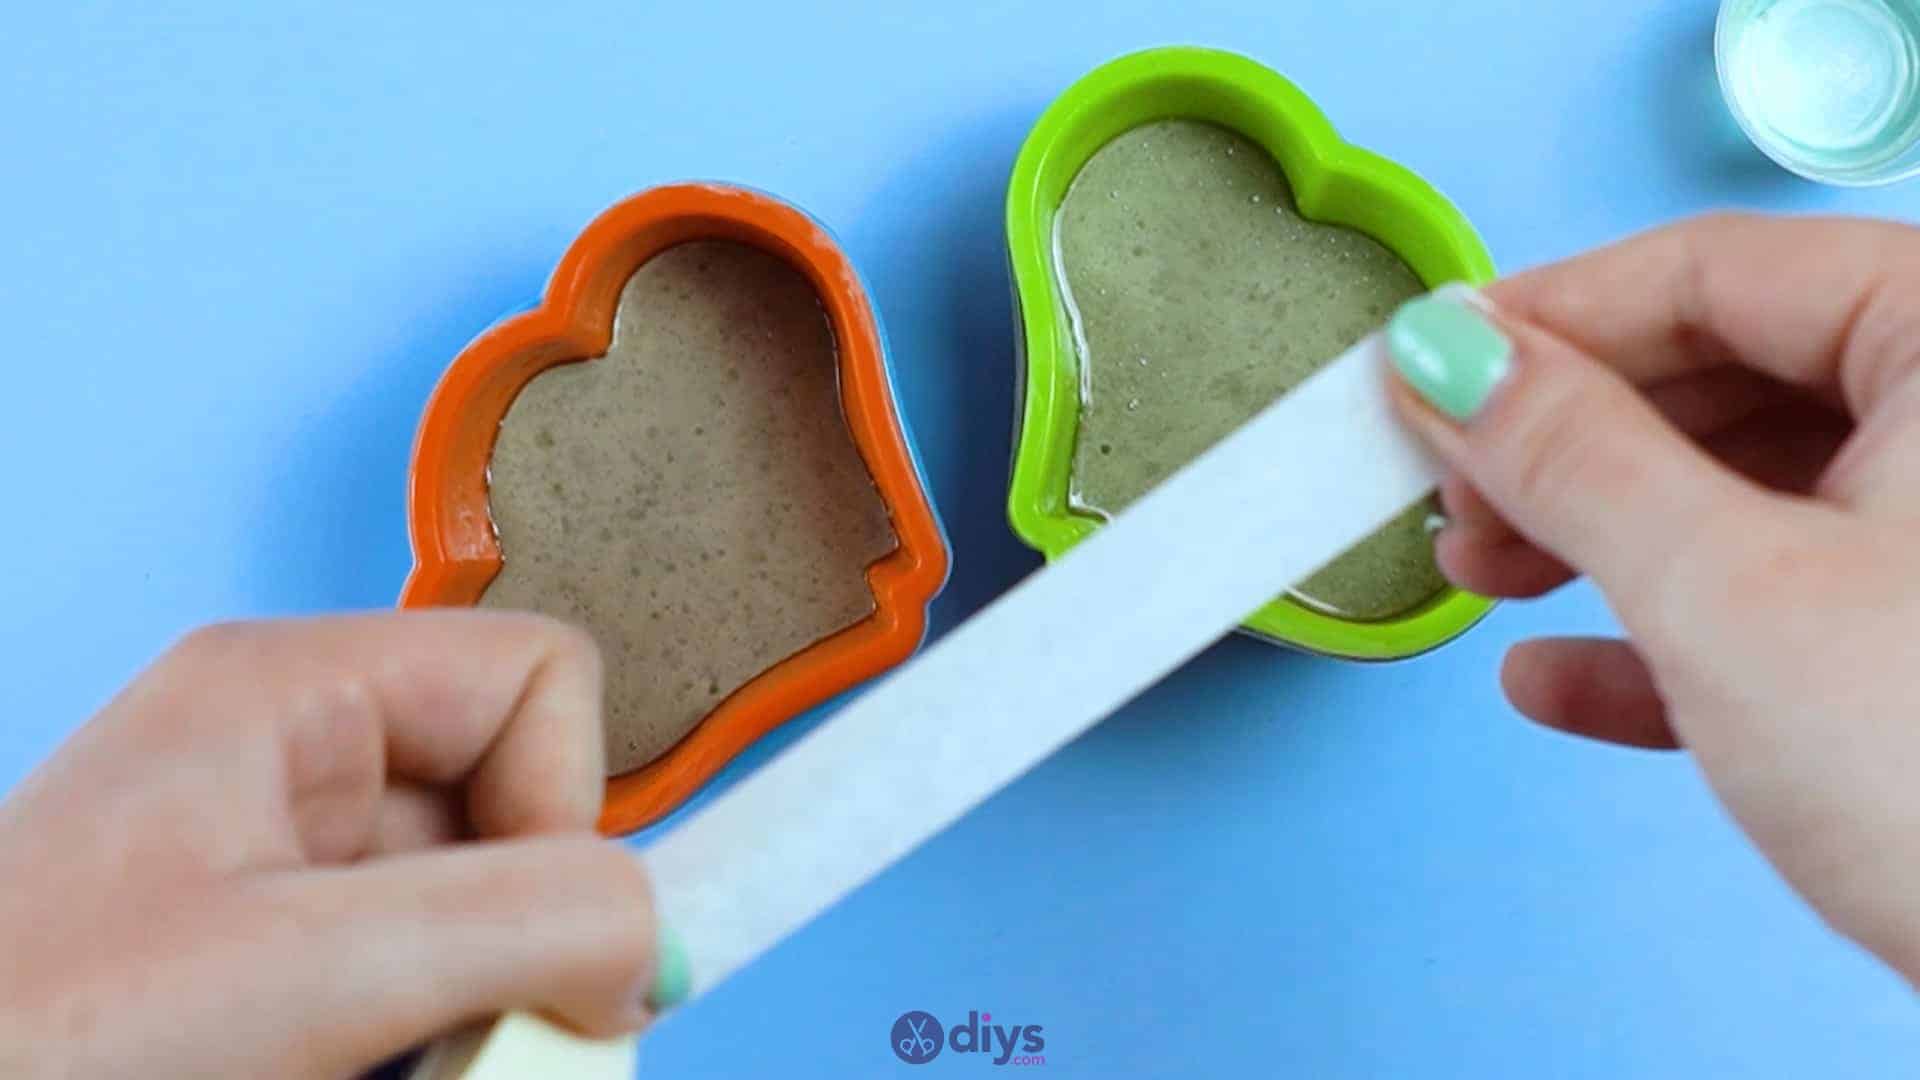
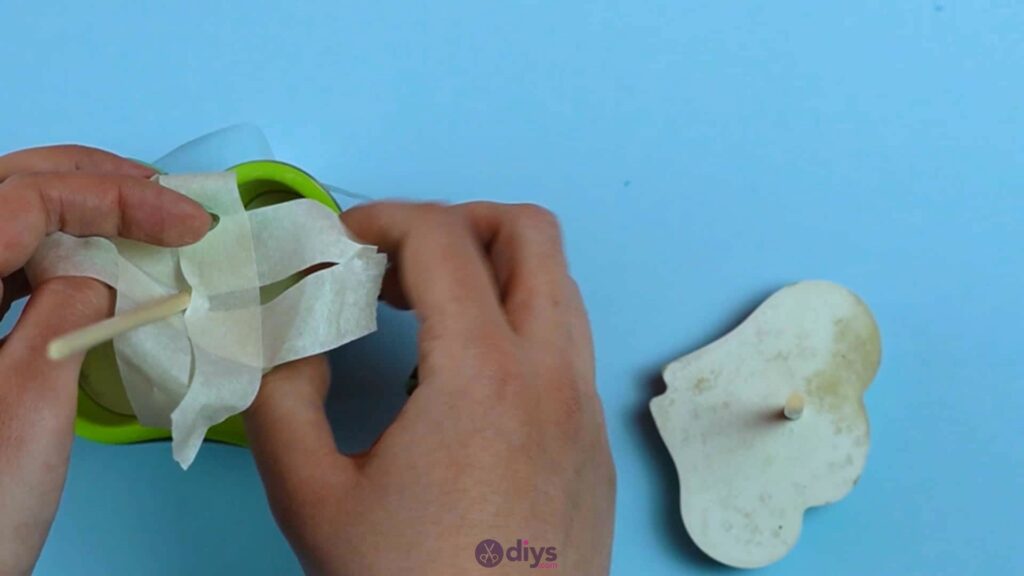
Step 5: tape to keep in place
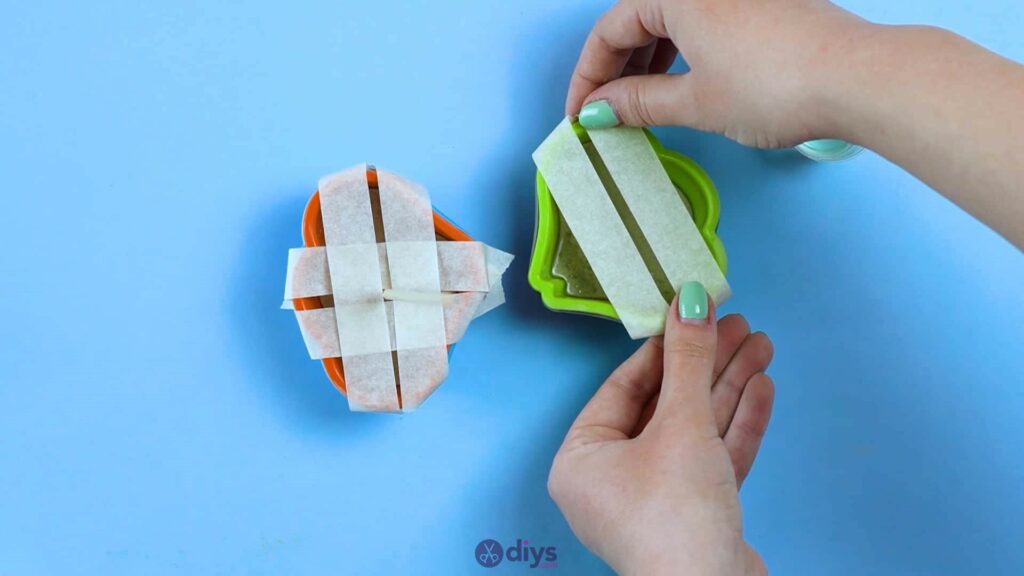
Now you’ll use tape to make a simple structure that will hold your wooden stick upright, in place, in the centre and straight in a moment. The wooden sticks will become the stems of your gardening decor pieces; they’re what you’ll stick into the dirt of the garden like a stand so the concrete hearts can be seen amongst the flowers.
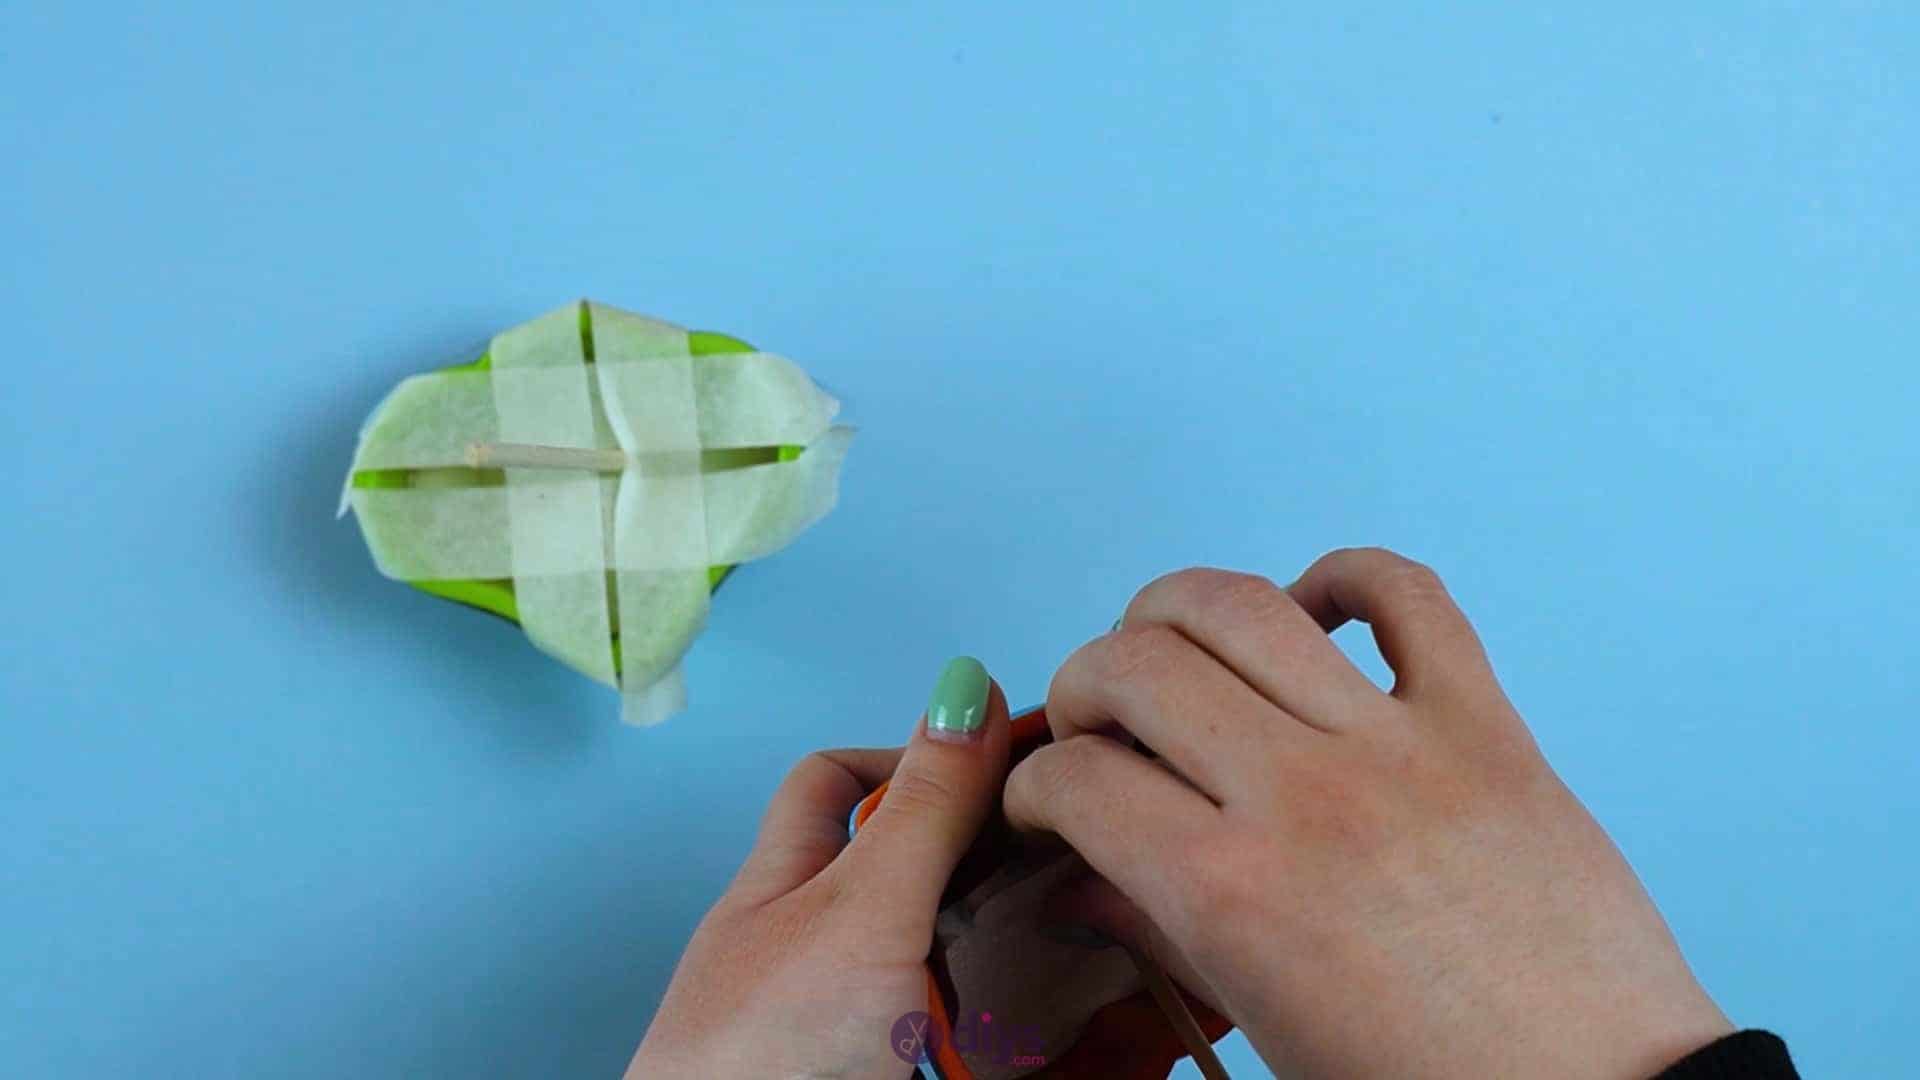
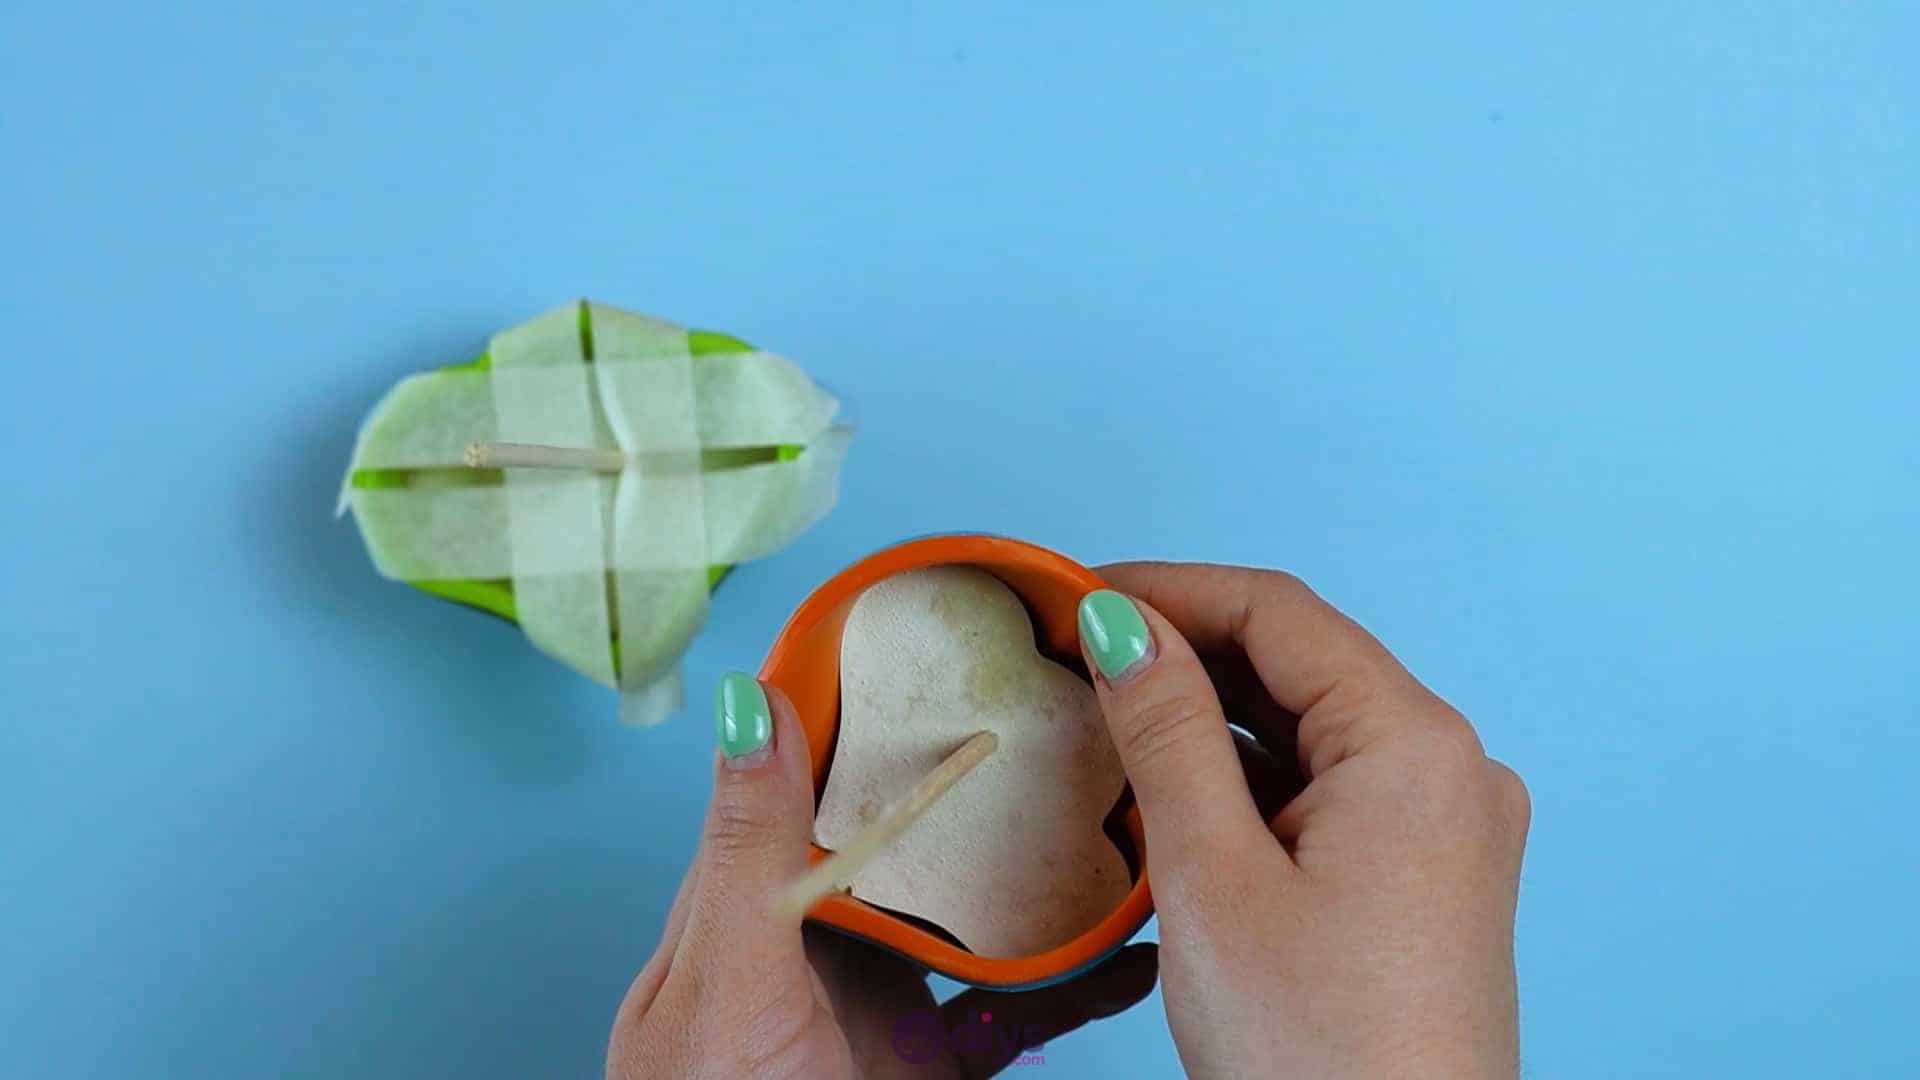
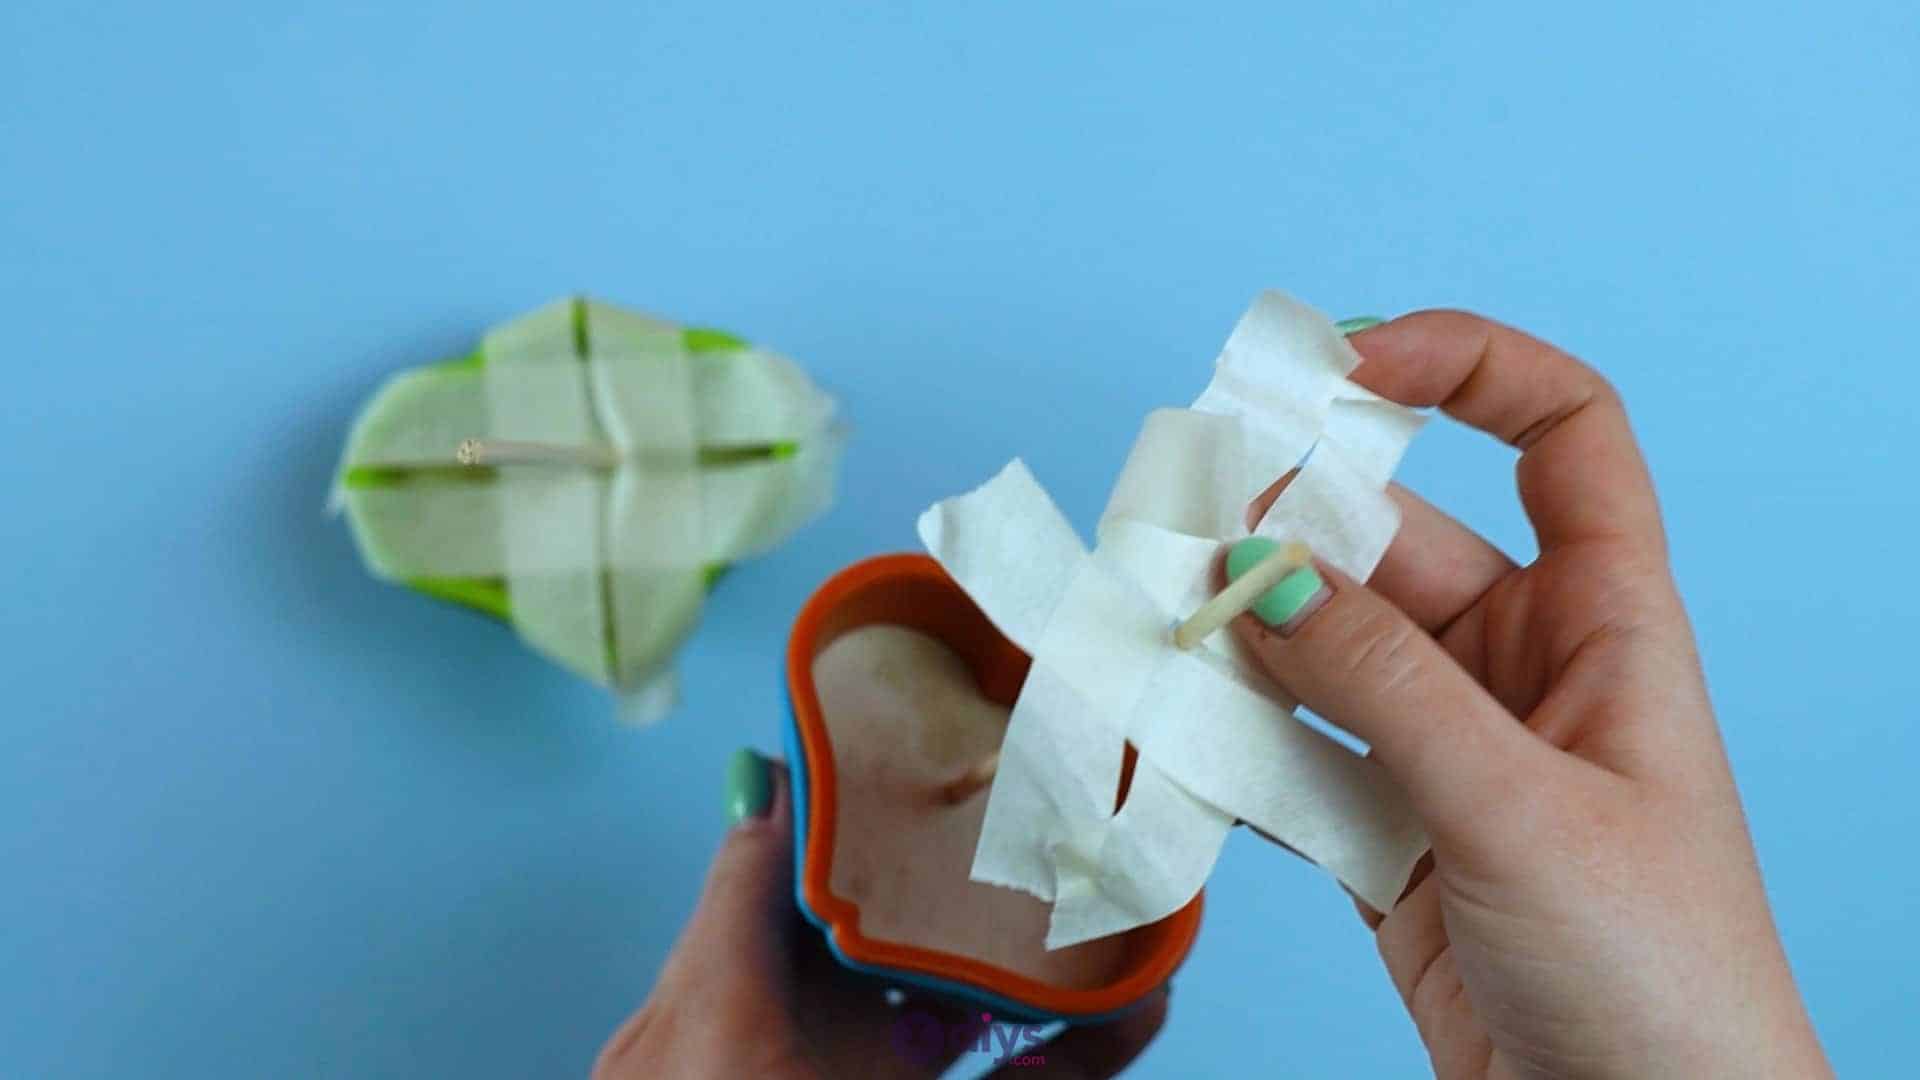
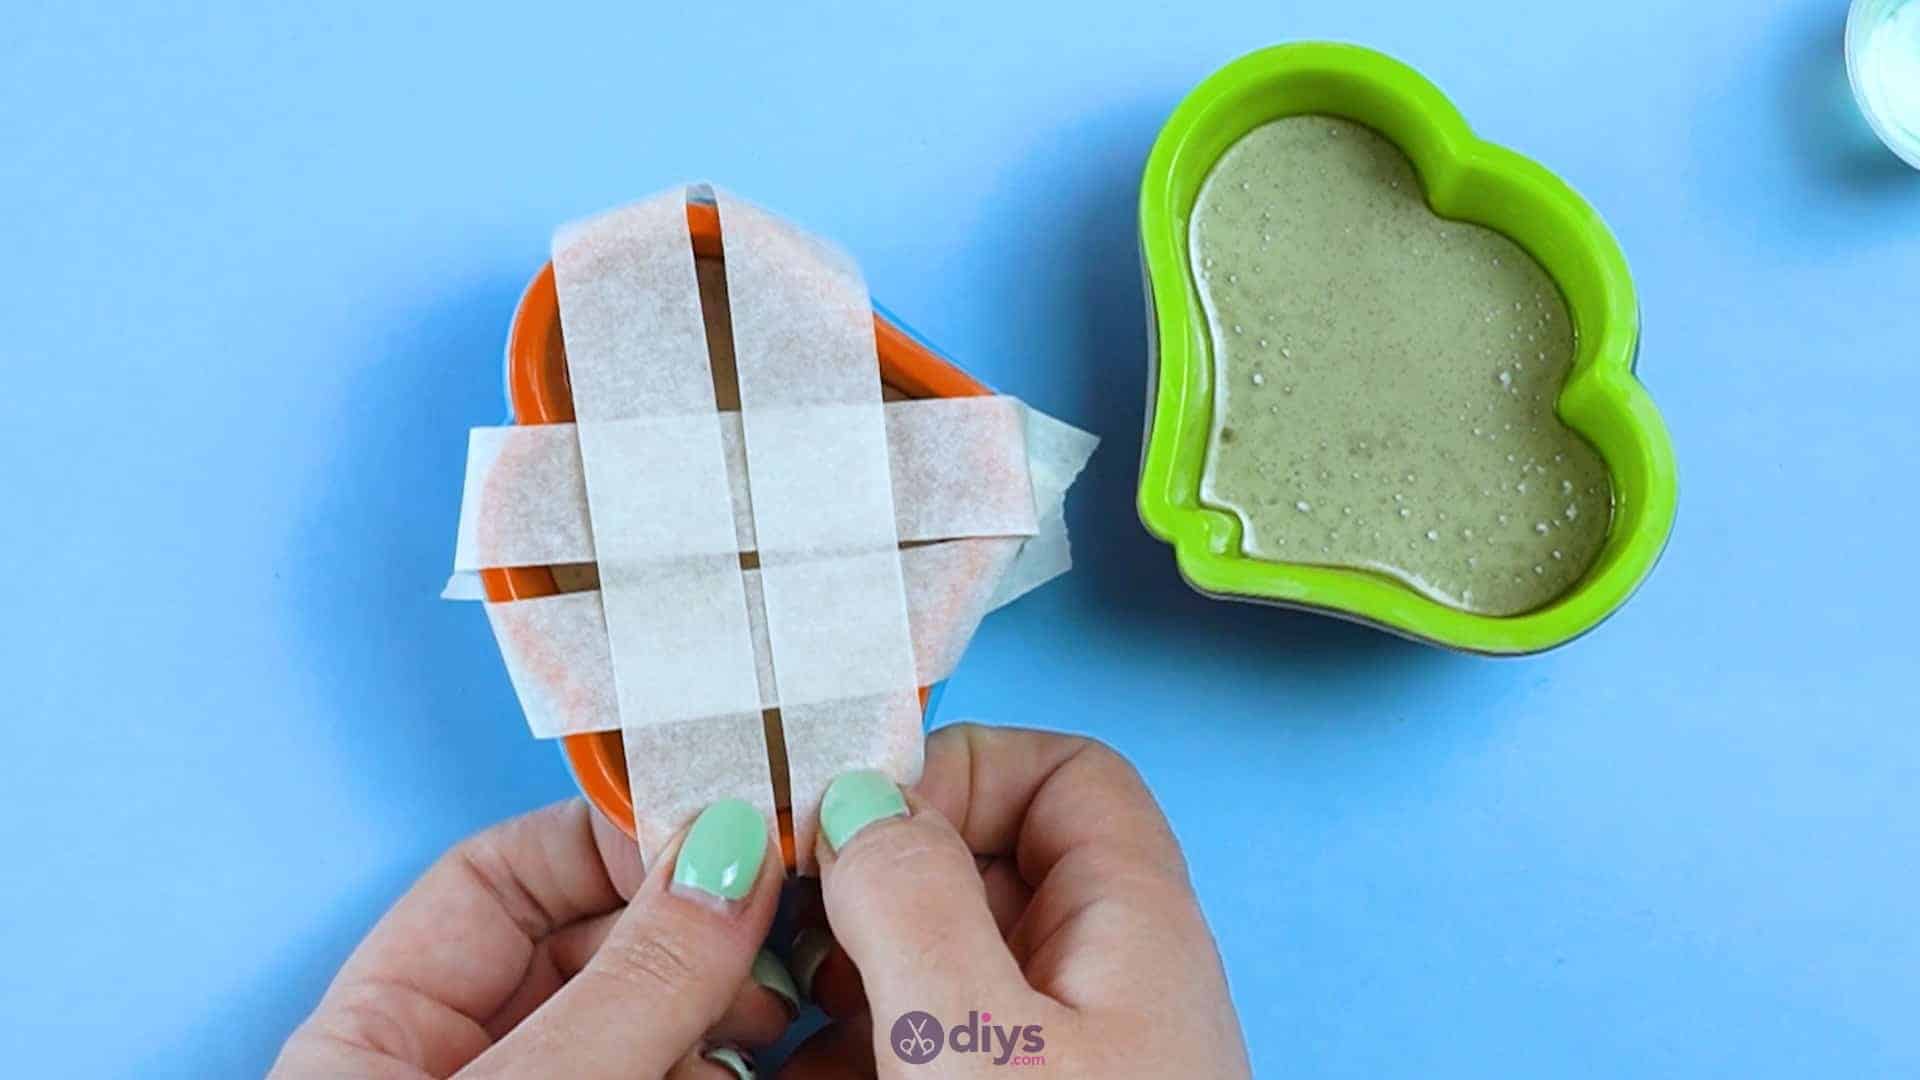
Tape a piece of tape longer and your silicone form is tall or wide and stick it all the way across the form’s opening, from one side to the other,just off to the side from centre. Take a second piece and do the same thing, but off to theother side of centre, so the two pieces of tape run parallel to each other with a small space of about half a centimetre between them in the middle.
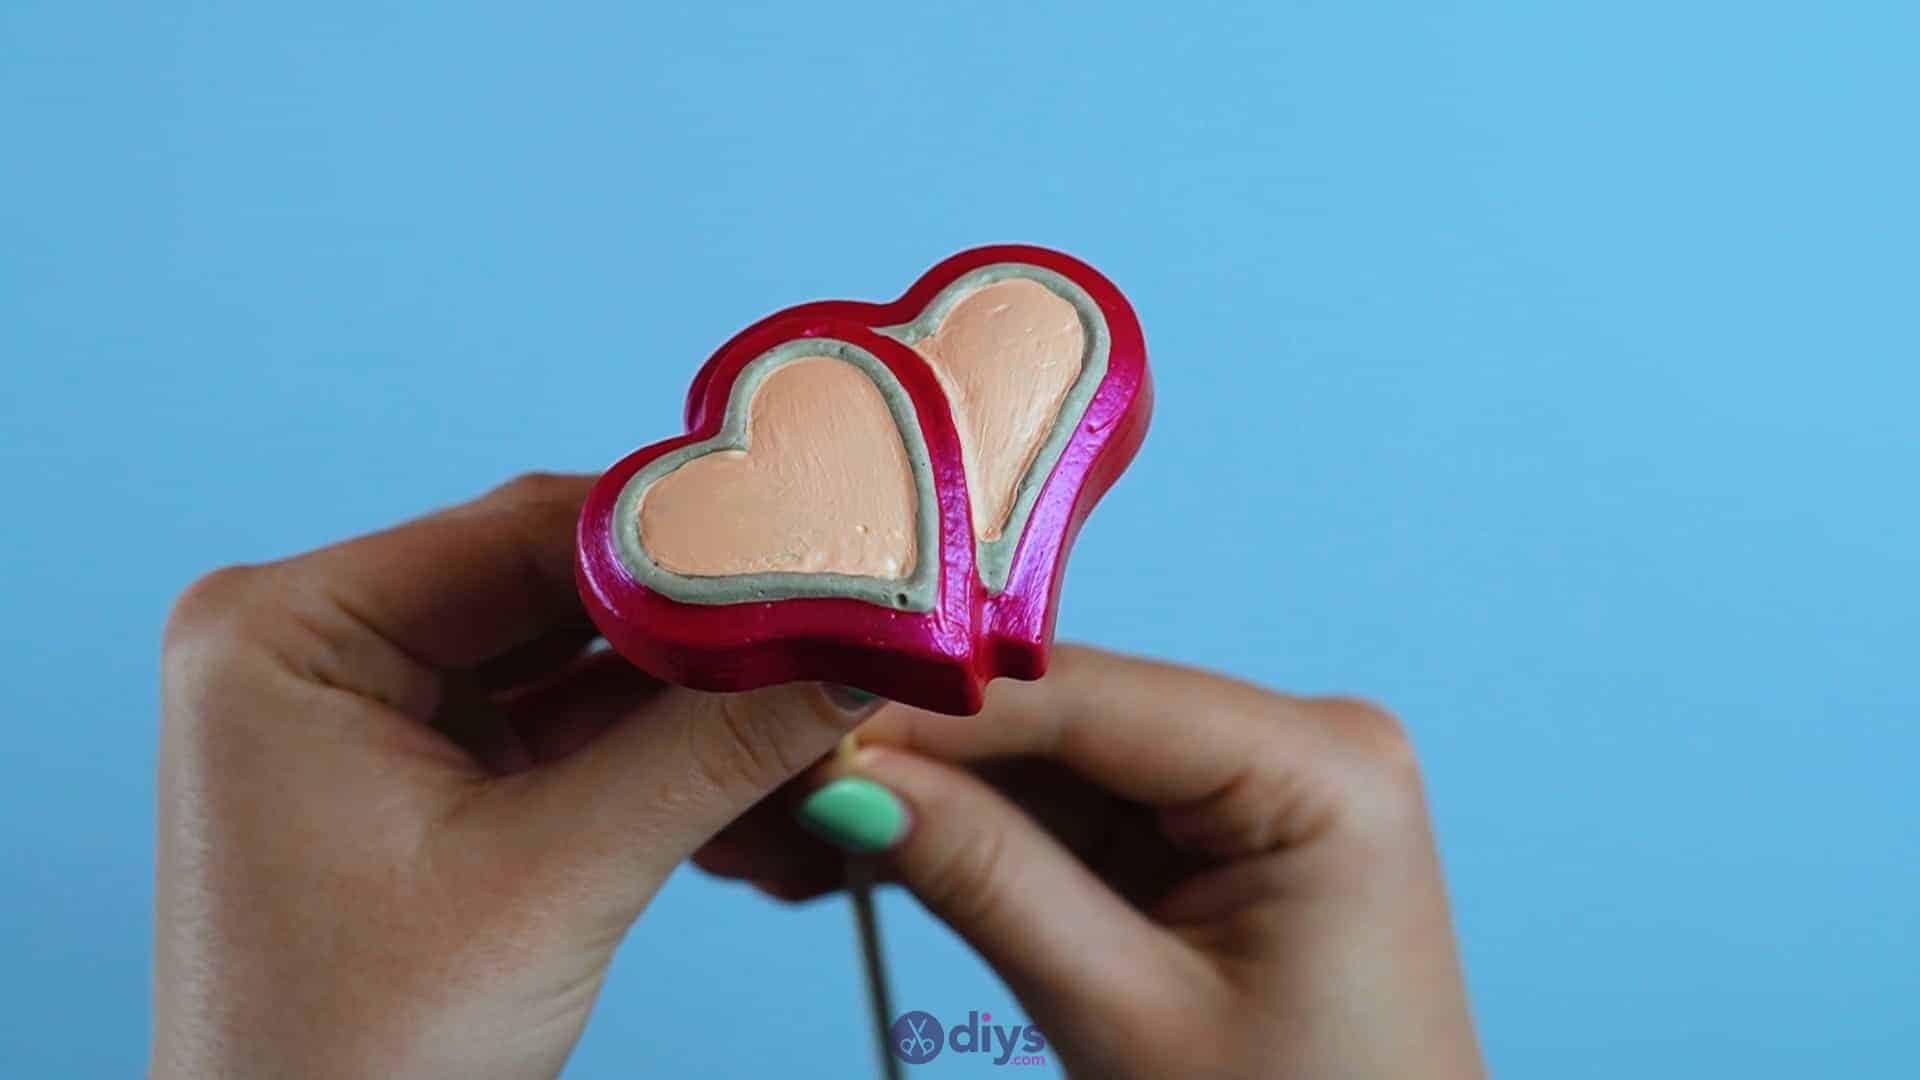
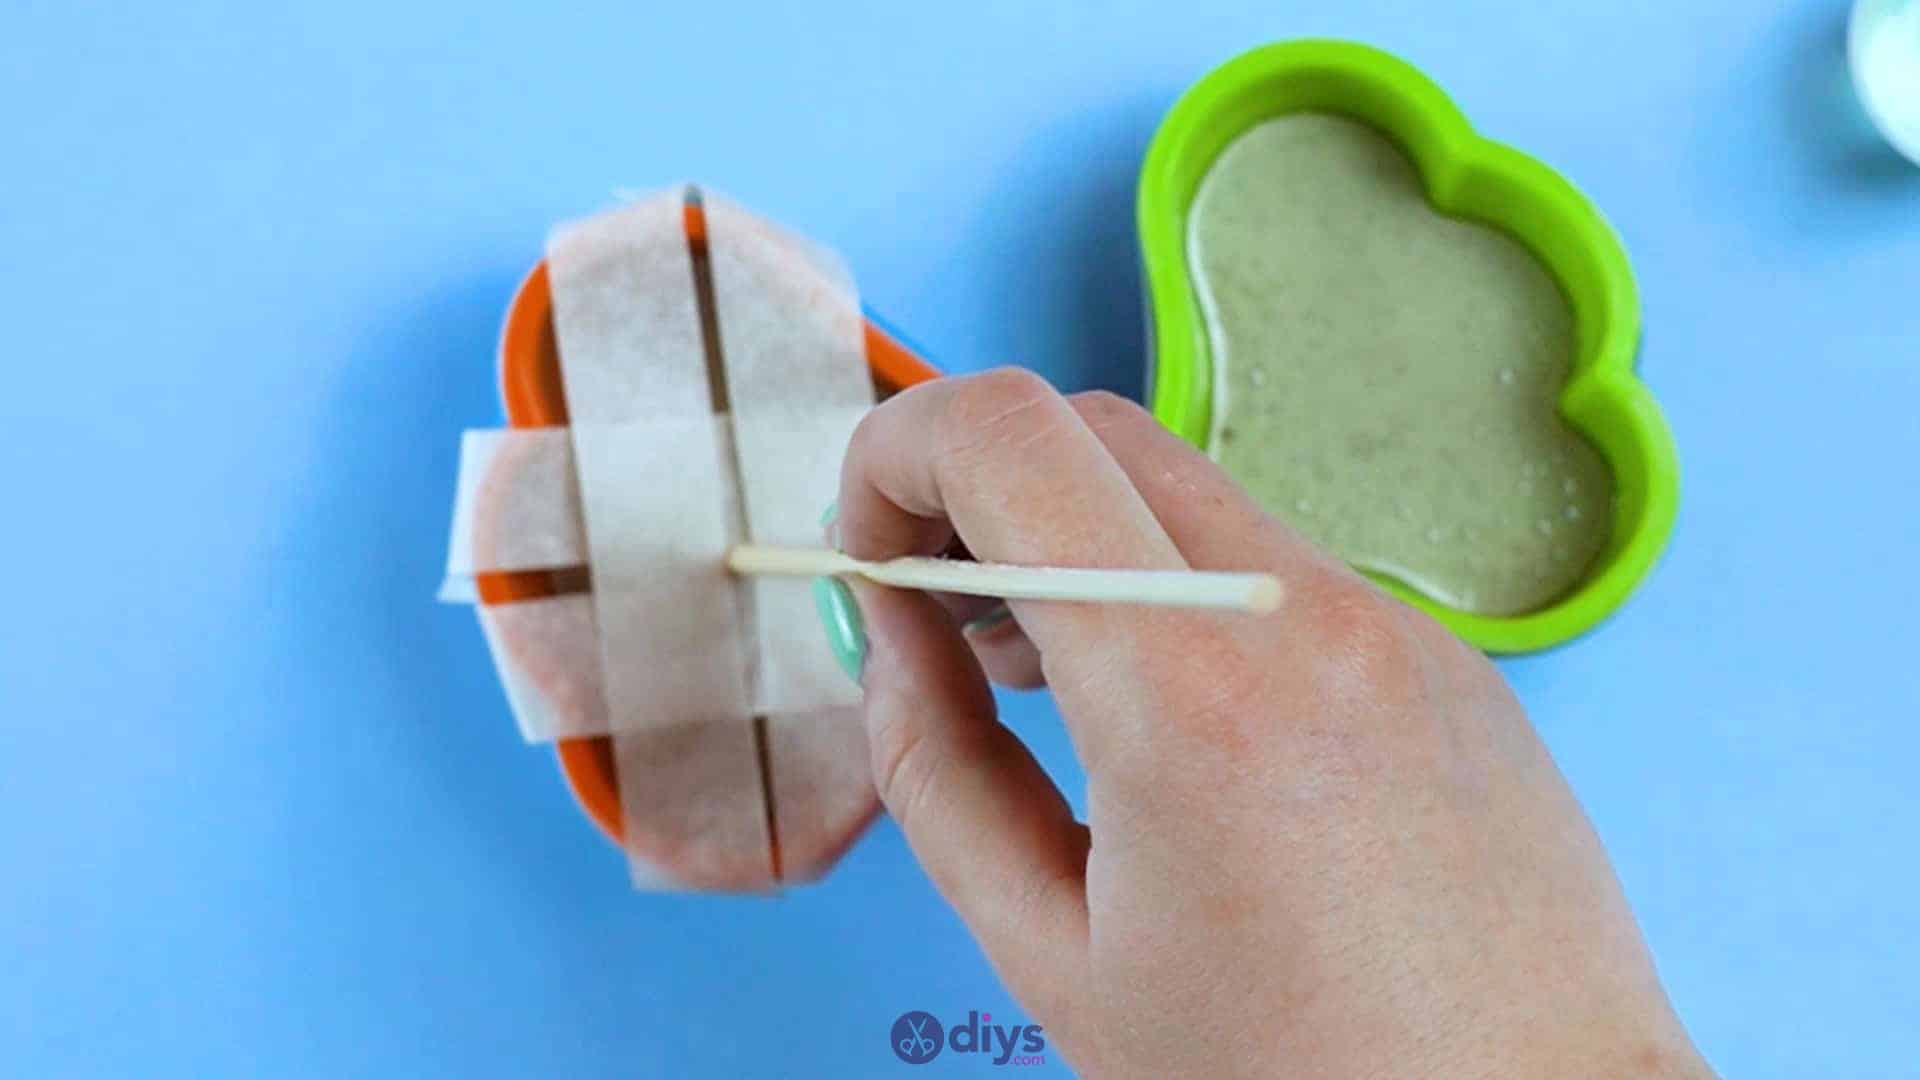
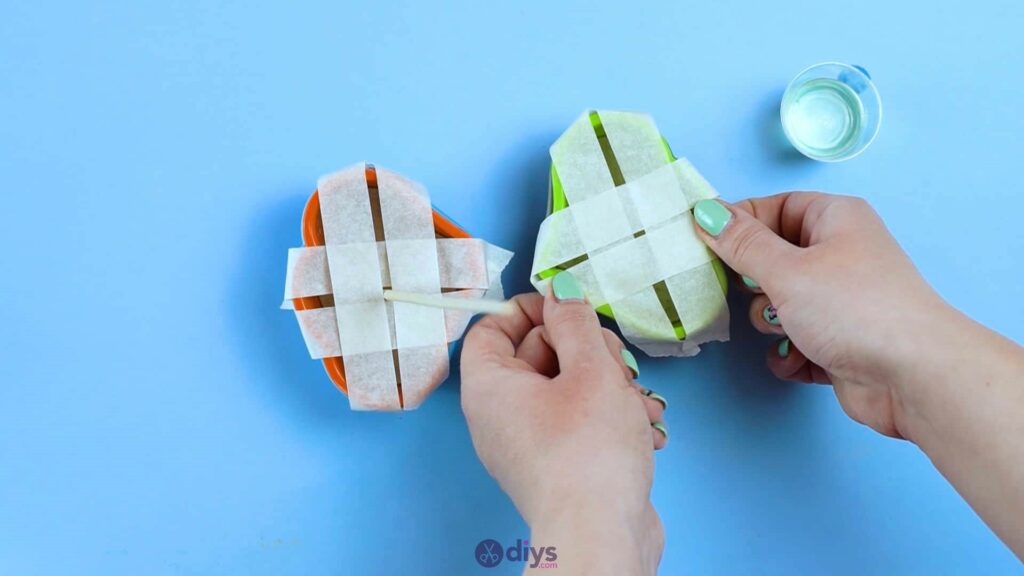
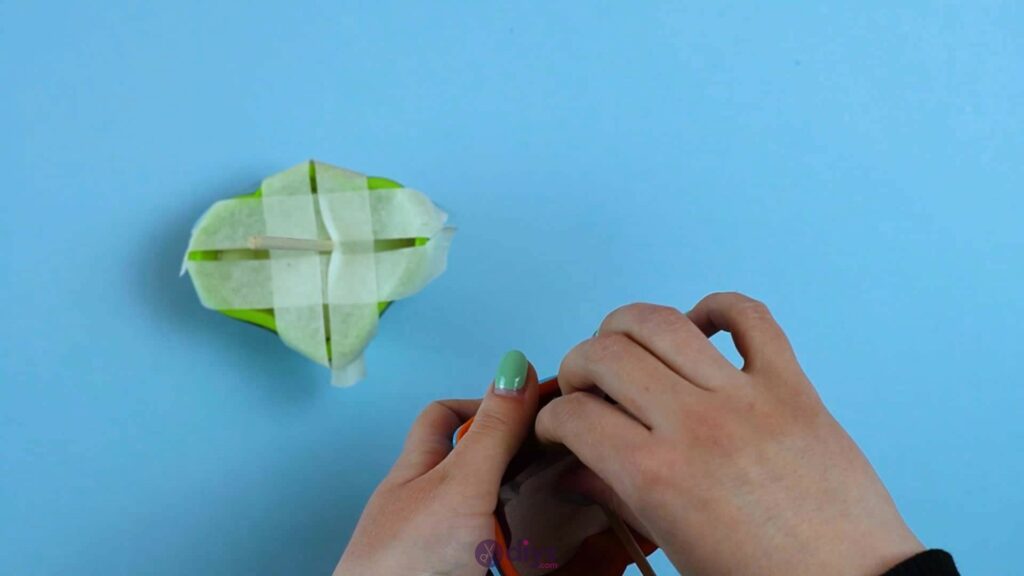
Then you’ll do the same thing with twomore pieces of tape, but runningacross the first two so that the pairs of tape intersect to make a sort of cross. Right in thevery centre of all four pieces you’ll have a small hole. Put the end of your wooden stick or skewer right through that hole, into the concrete, so it stands upright in the centre.
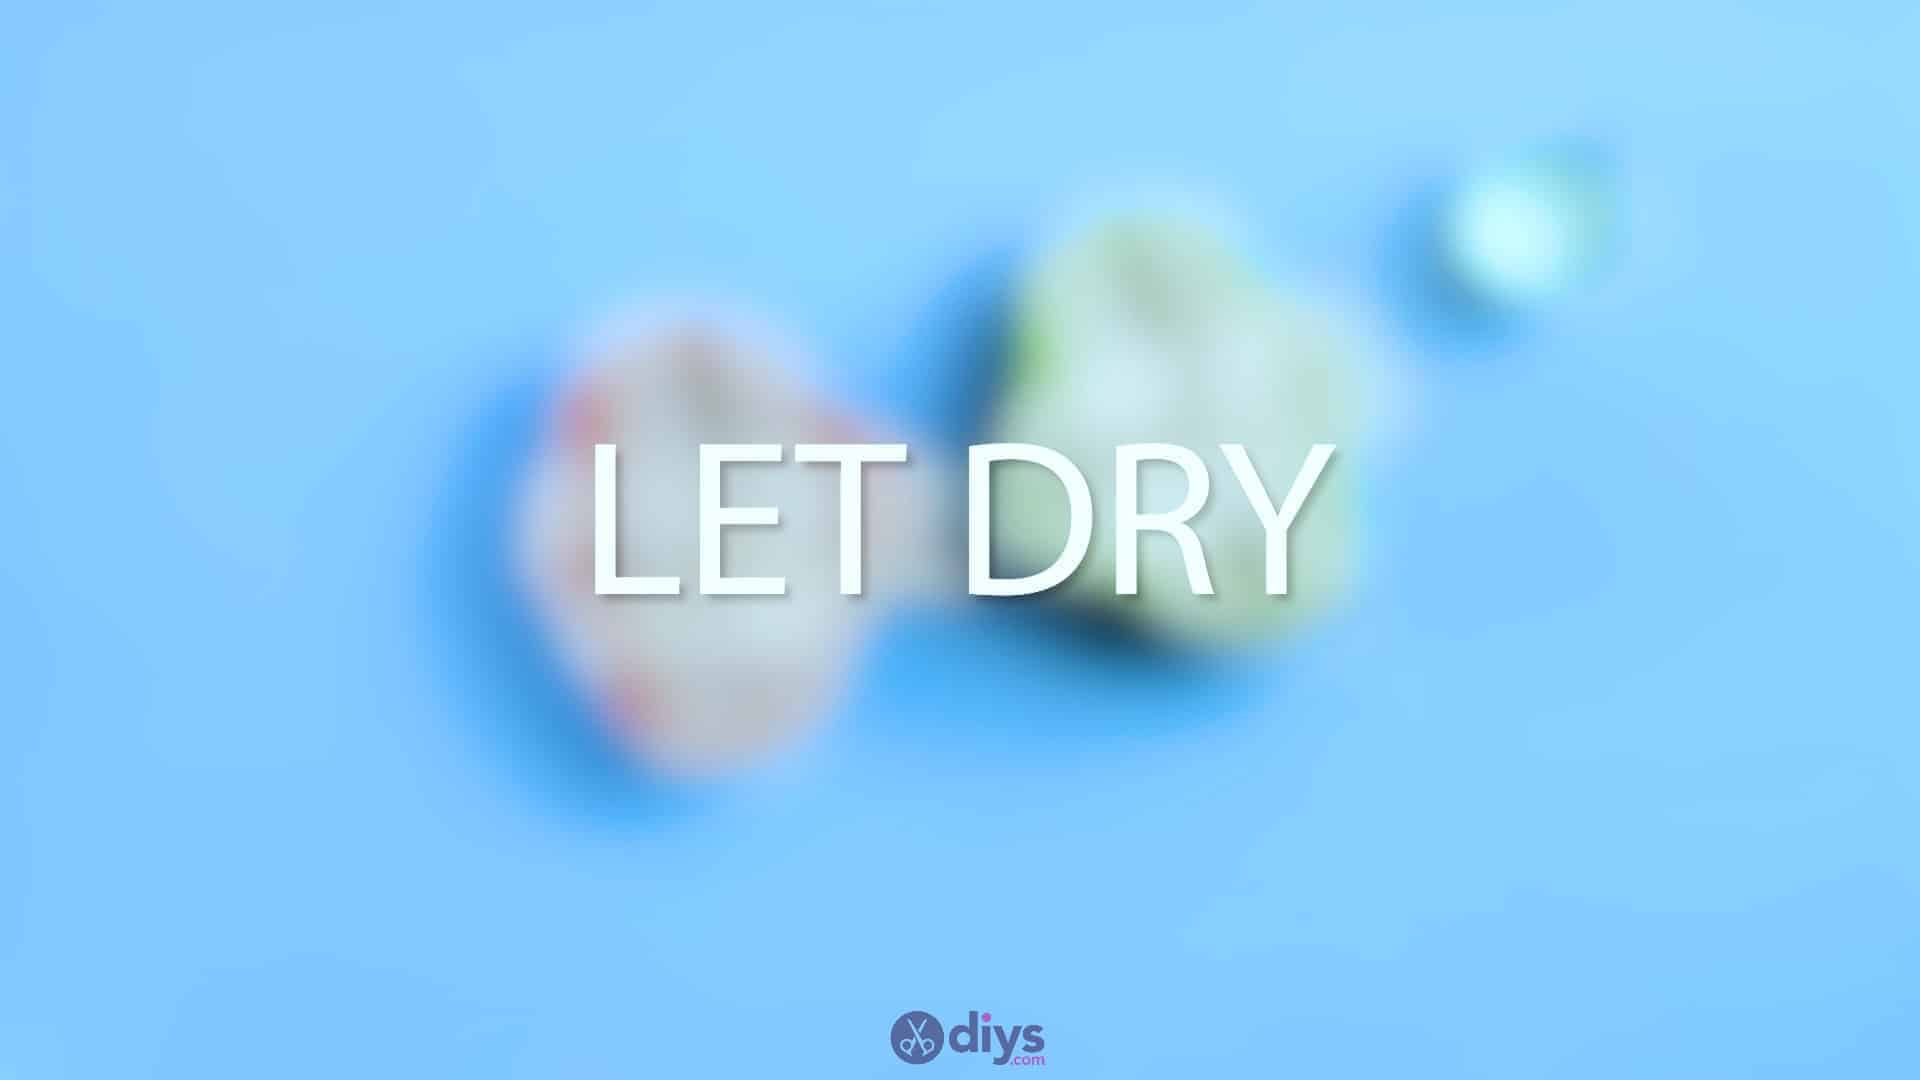
Push its end into the concrete mixalmost all the way down; you want it in deep enough that the concrete will hold it in place as it dries, but you don’t want the wooden tip to show through the other side on your heart’s surface. Repeat this whole process for however many moulded shapes you’re making at once and then set them all side to dry.


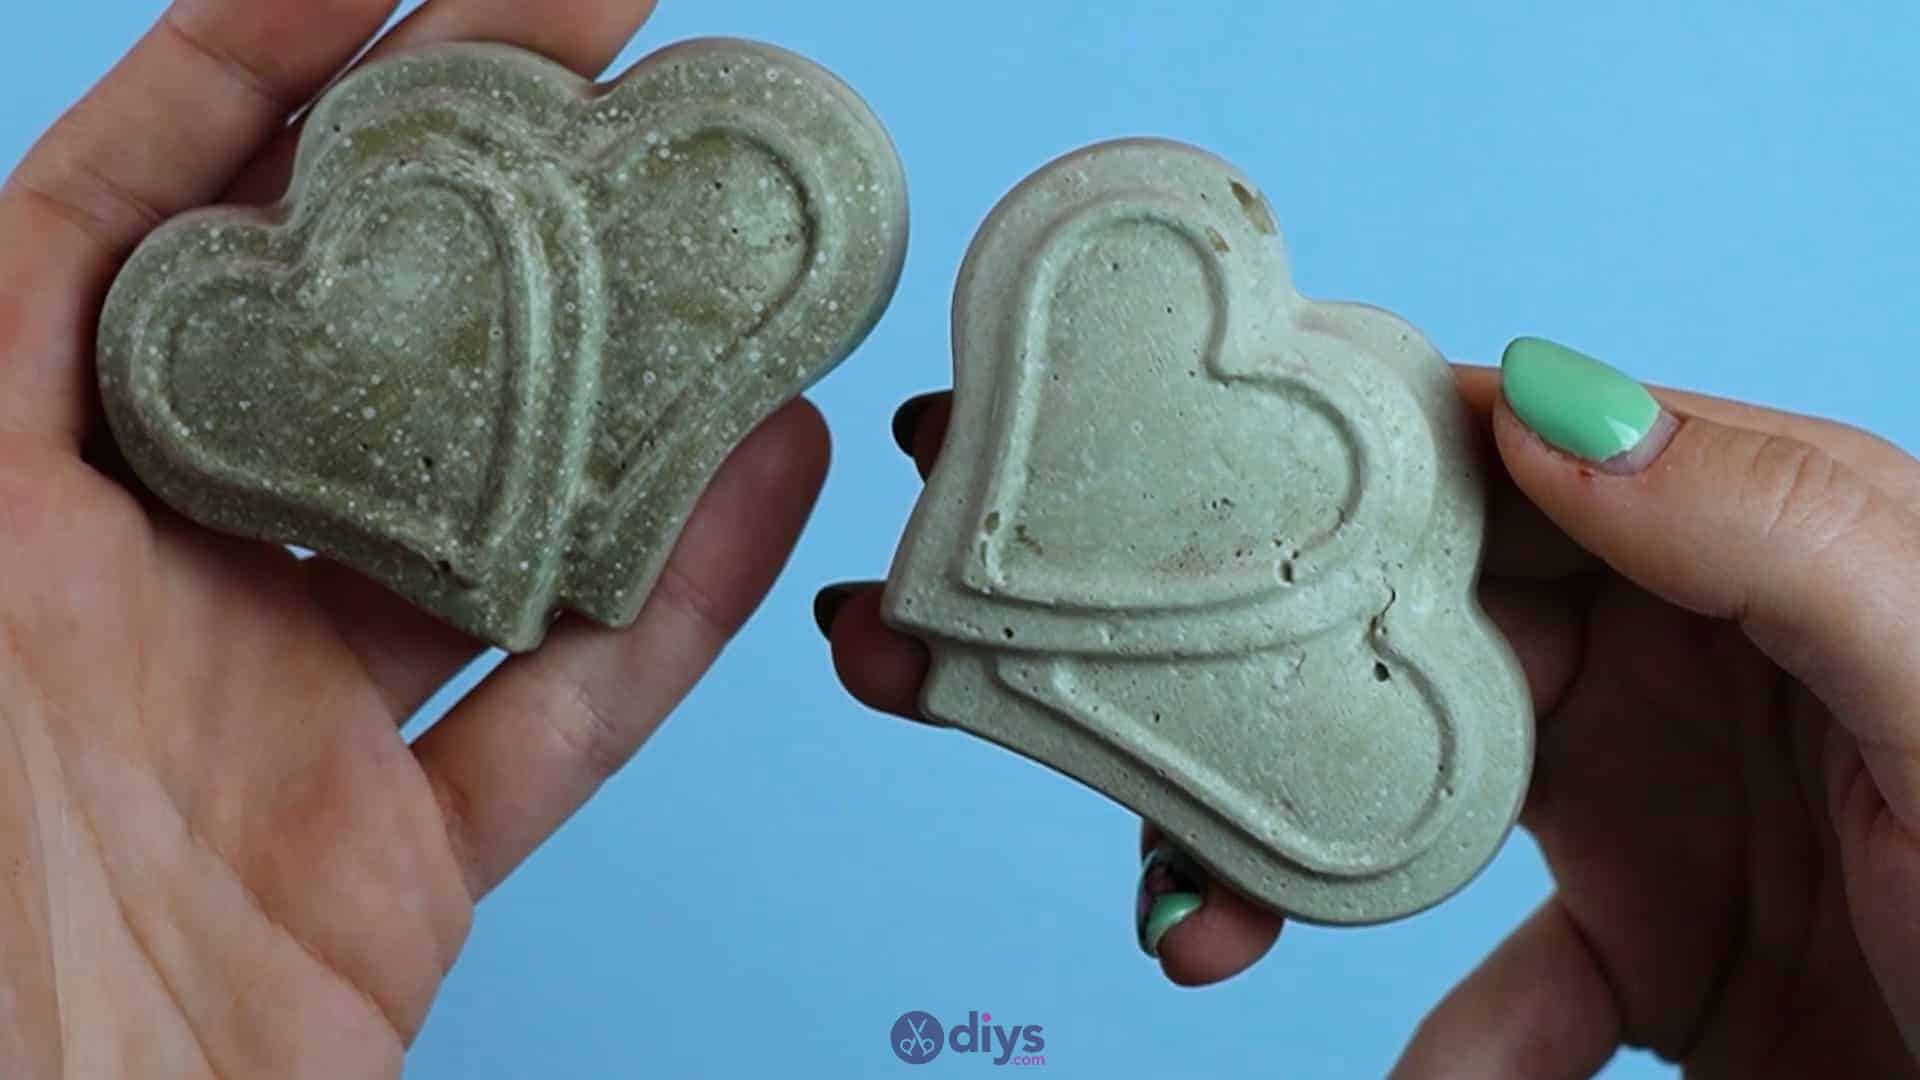
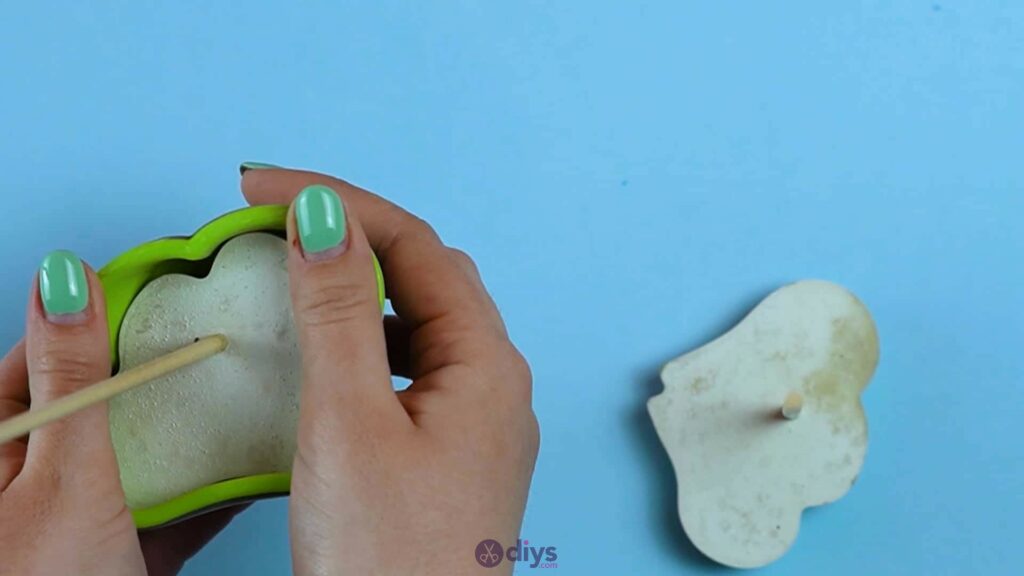
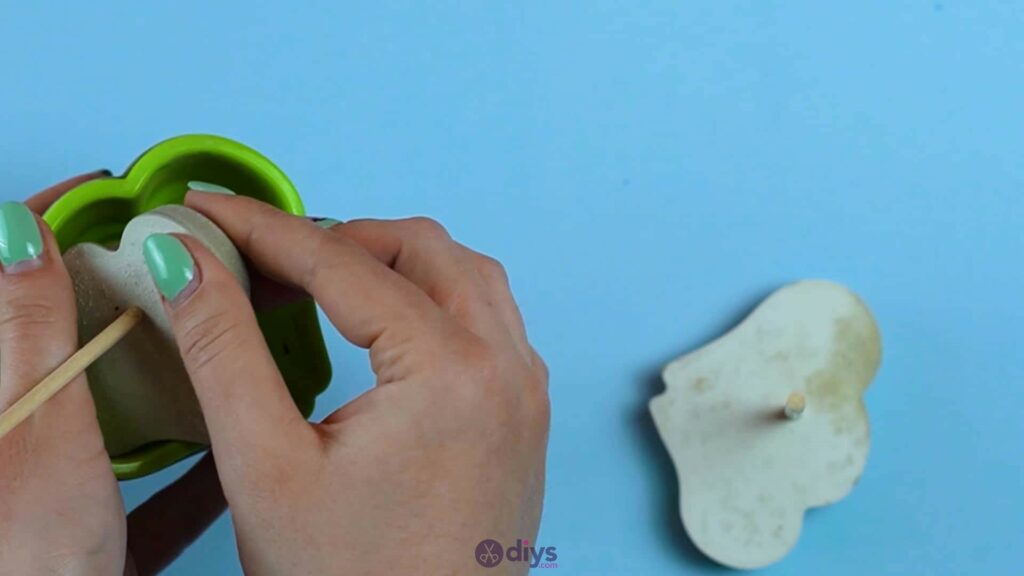
Step 6: remove from molds
Once all of your concrete pieces have dried thoroughly and entirely, remove the tape by unsticking it from the edges of the silicone form and sliding it upwards off the free end of the stick. You can then pick the piece up and bend the silicone form back and away from the concrete to loosen the piece and pop it out of the mould. Repeat this process for however many pieces you moulded at once. Youcan use a piece of sandpaper or an abrasive block at this point to smooth the surfaces of your concrete pieces if you find that are rough spots, but mine were okay!

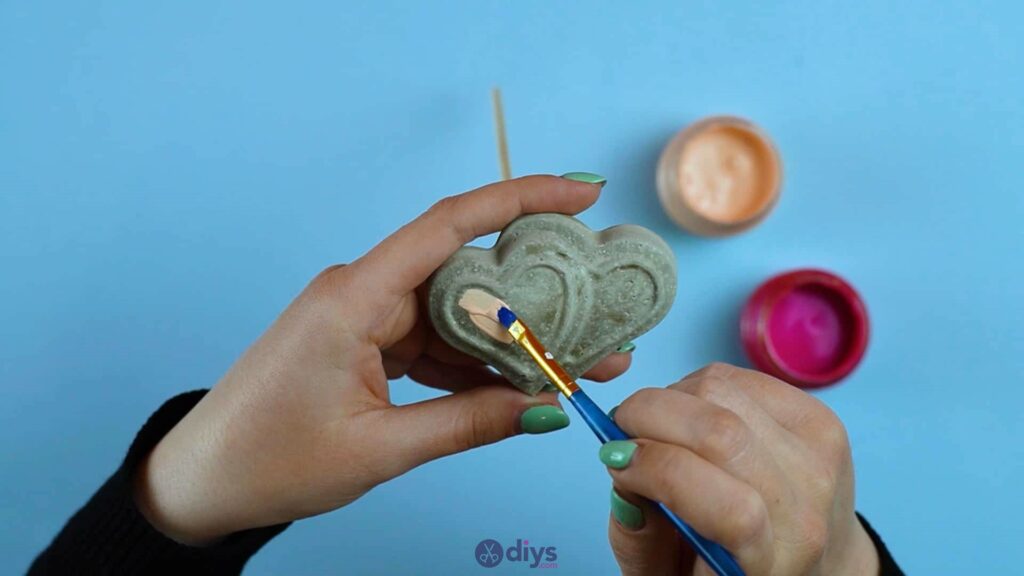

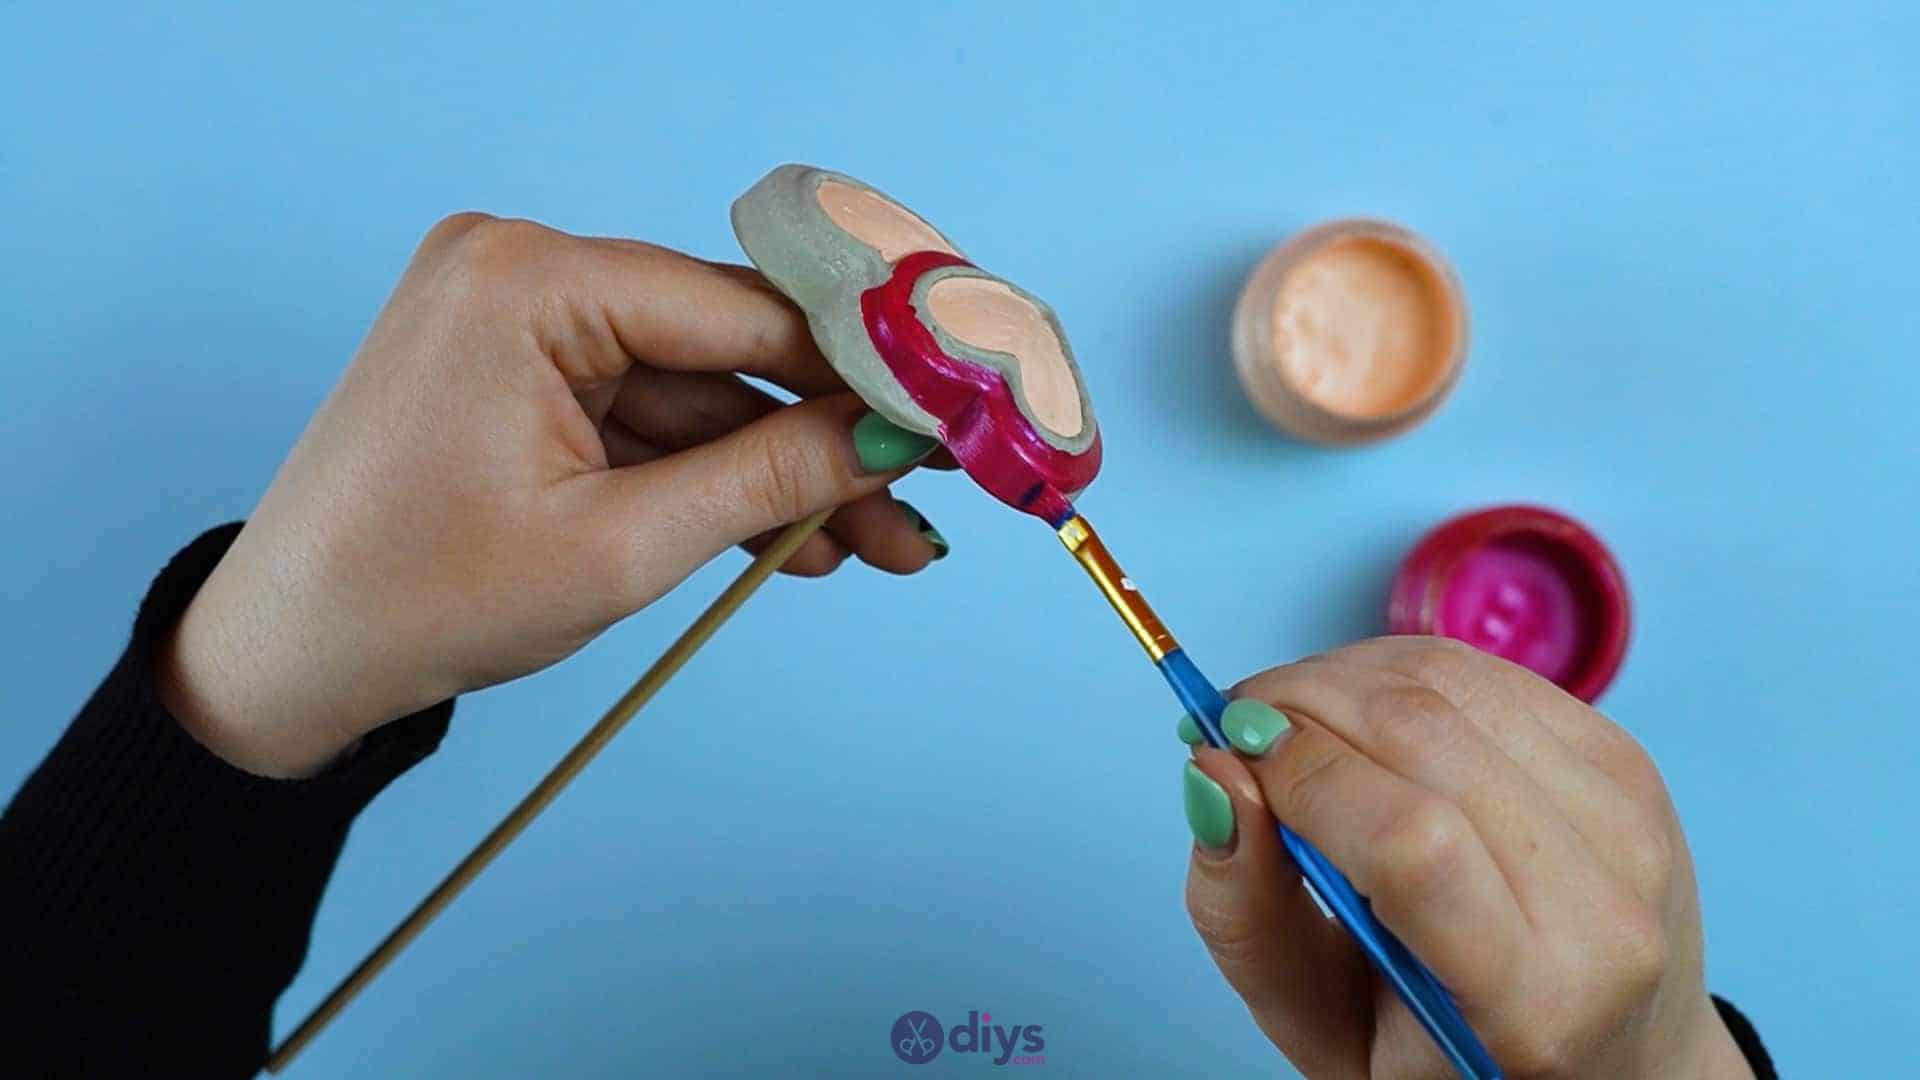
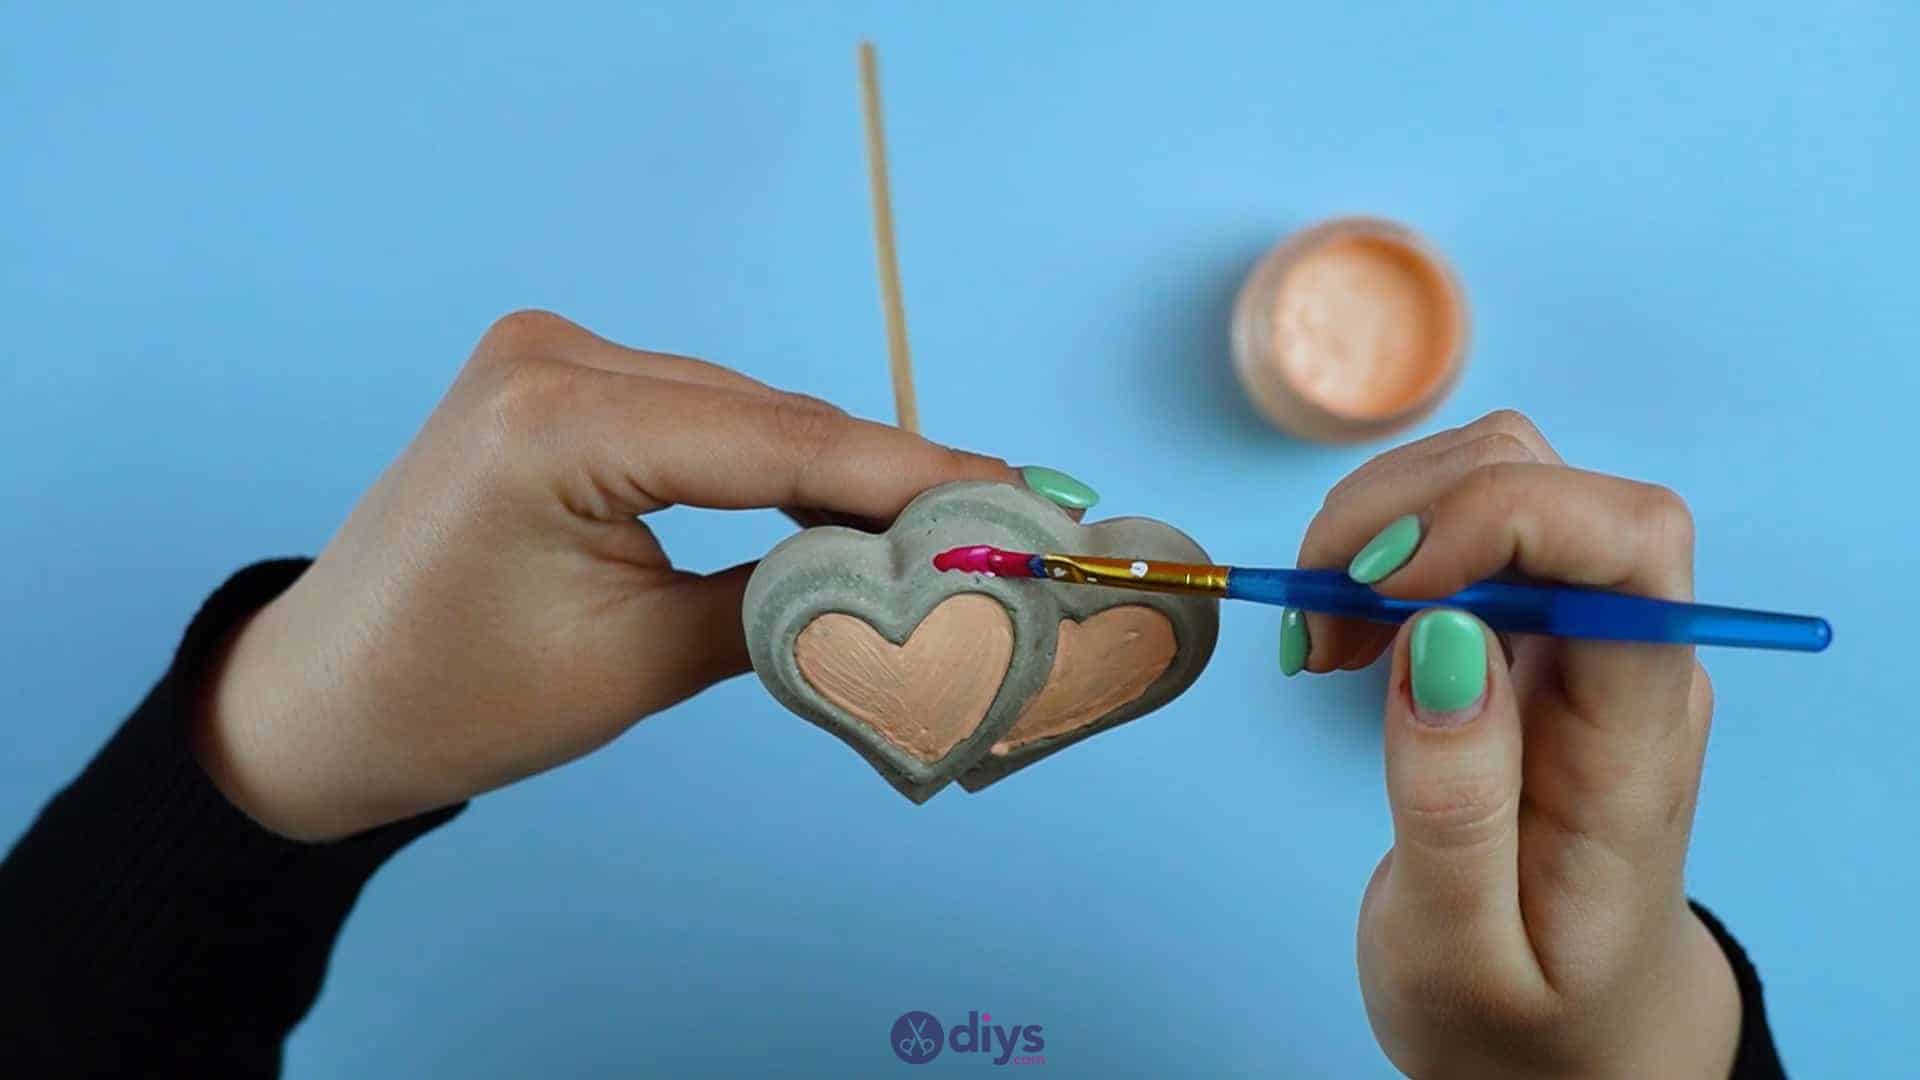
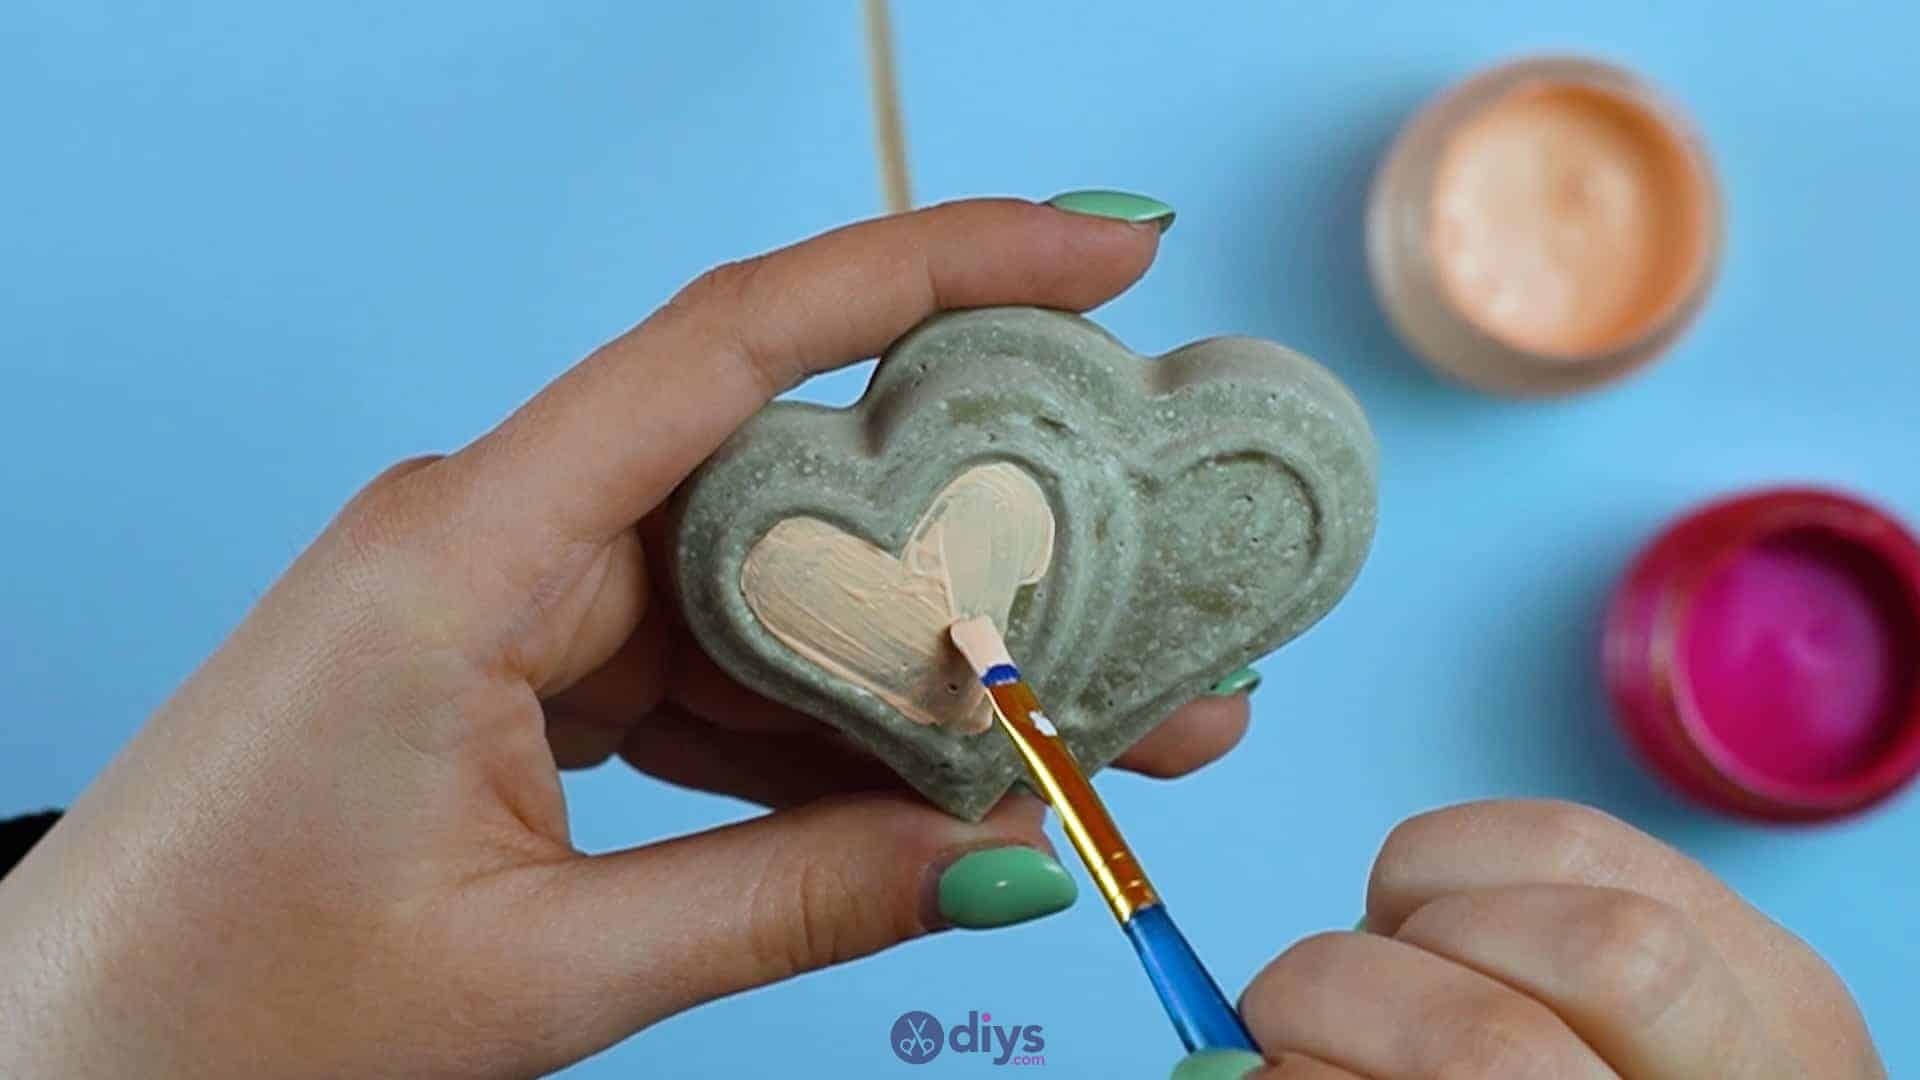
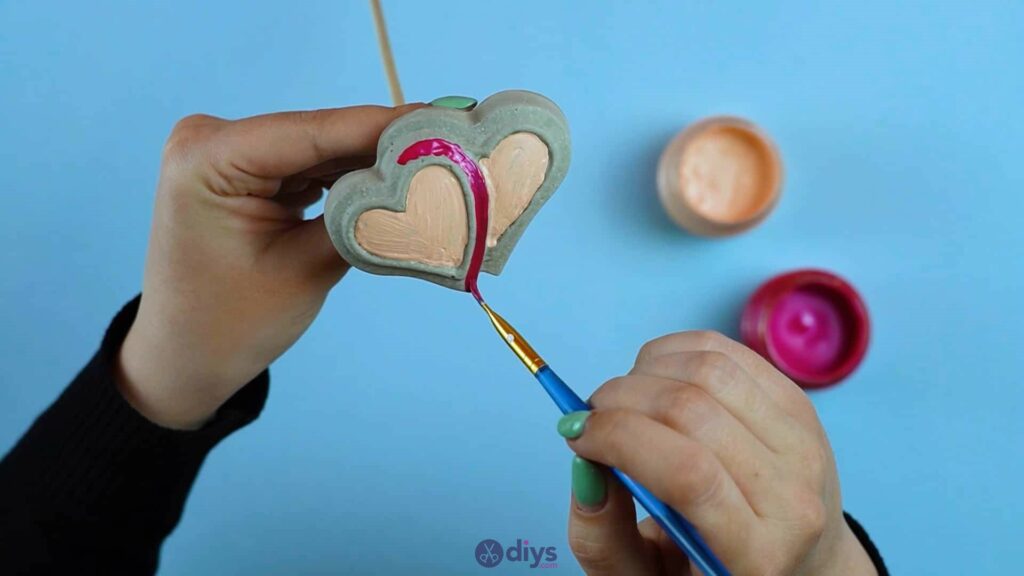
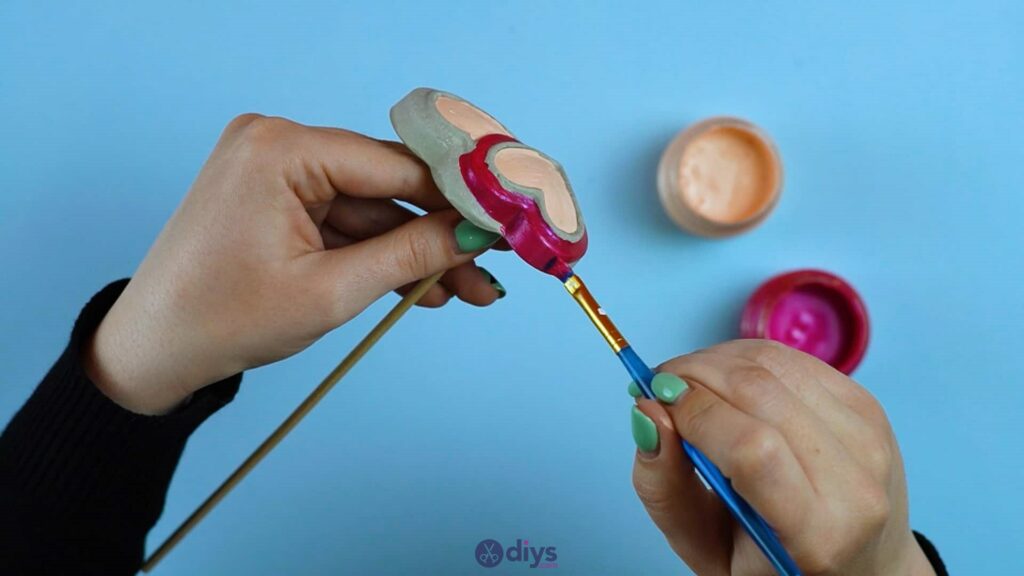
Step 7: start painting
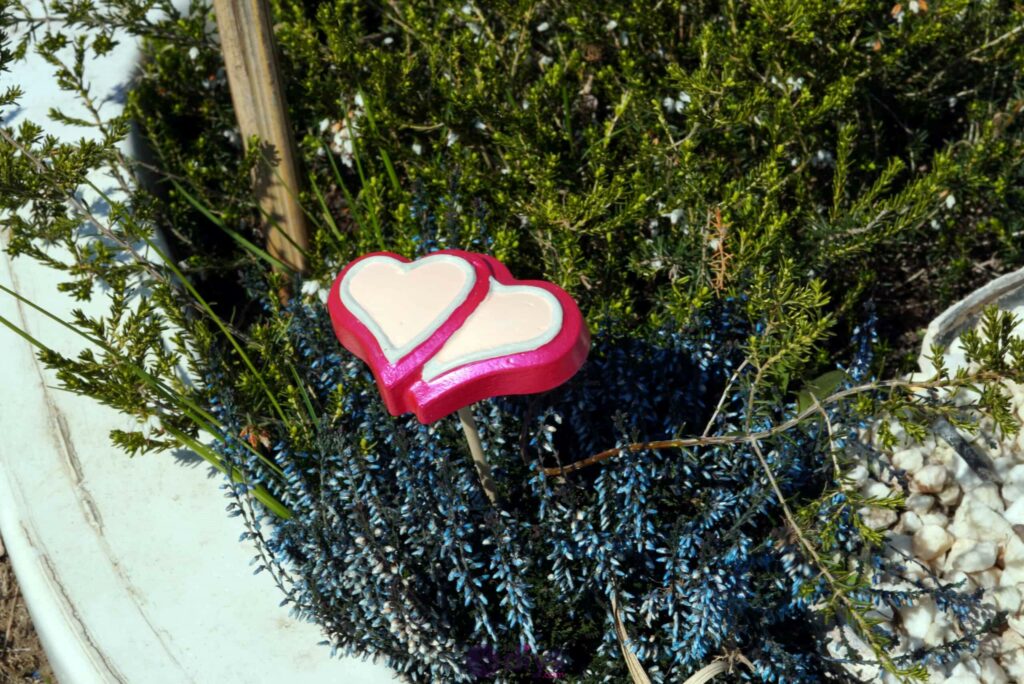
Paint your concrete decor pieces using acrylic or all-surface paint and a paintbrush. I chose to make the centres of my hearts (inside where my mould made a ridge) one colour, keeping that shade the same for all of them, and then make the outside edges of my heads (on the outside of the ridge) another colour, changing that shade for each one. This gave me some consistency between them all, like they’re part of a set, but still kept things cute, eclectic, and interesting. Holding your concrete decor pieces by their wooden sticks as you paint the edges is a great trick for getting them painted all the way around without getting any on your fingers.

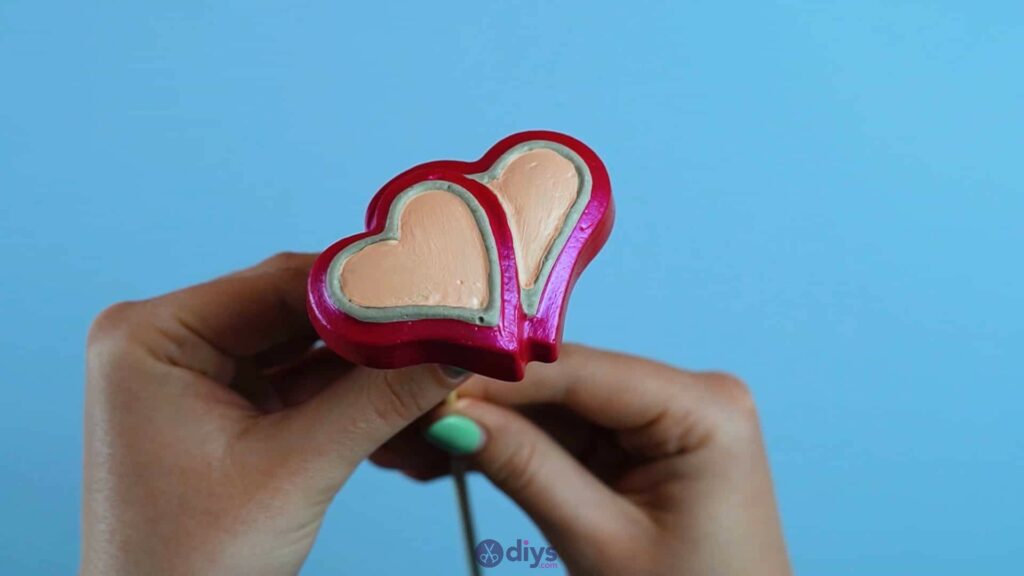


That’s really all there is to it! If hearts aren’t your thing, feel free to use this tutorial as a basic technique guide but replace the shape with whatever you prefer, so long as it has a flat underside in the end that will suit your need for a wooden stick stem. Just in case you’d like to try this project out for yourself, here’s a fantastic tutorial video to help you!