DIY Colourful Flower Pot
Updated on November 19, 2025


Due to the fact that I’m completely obsessed with both craftingand gardening, it comes as no surprise to anyone who knows me that I’m always looking for new ways to merge the two things I love doing most. Since I’m lucky that my kids share my passion and interest, I’malso always on the lookout for cute and easy ways to get them involved and learning about the things I like. Their favourite kind of project to do is anything “mixed media” that involves more than one kind of material, supply, texture, or technique, and thinking about that is how I came up with this idea for a very colourful flower pot when I brought home a new plant and wanted to give it a decorative place to thrive from.

Check out these step by step instructions complete with photos! If you’d rather follow along with a video tutorial instead of written words, scroll to the bottom of this post to find just what you’re looking for.
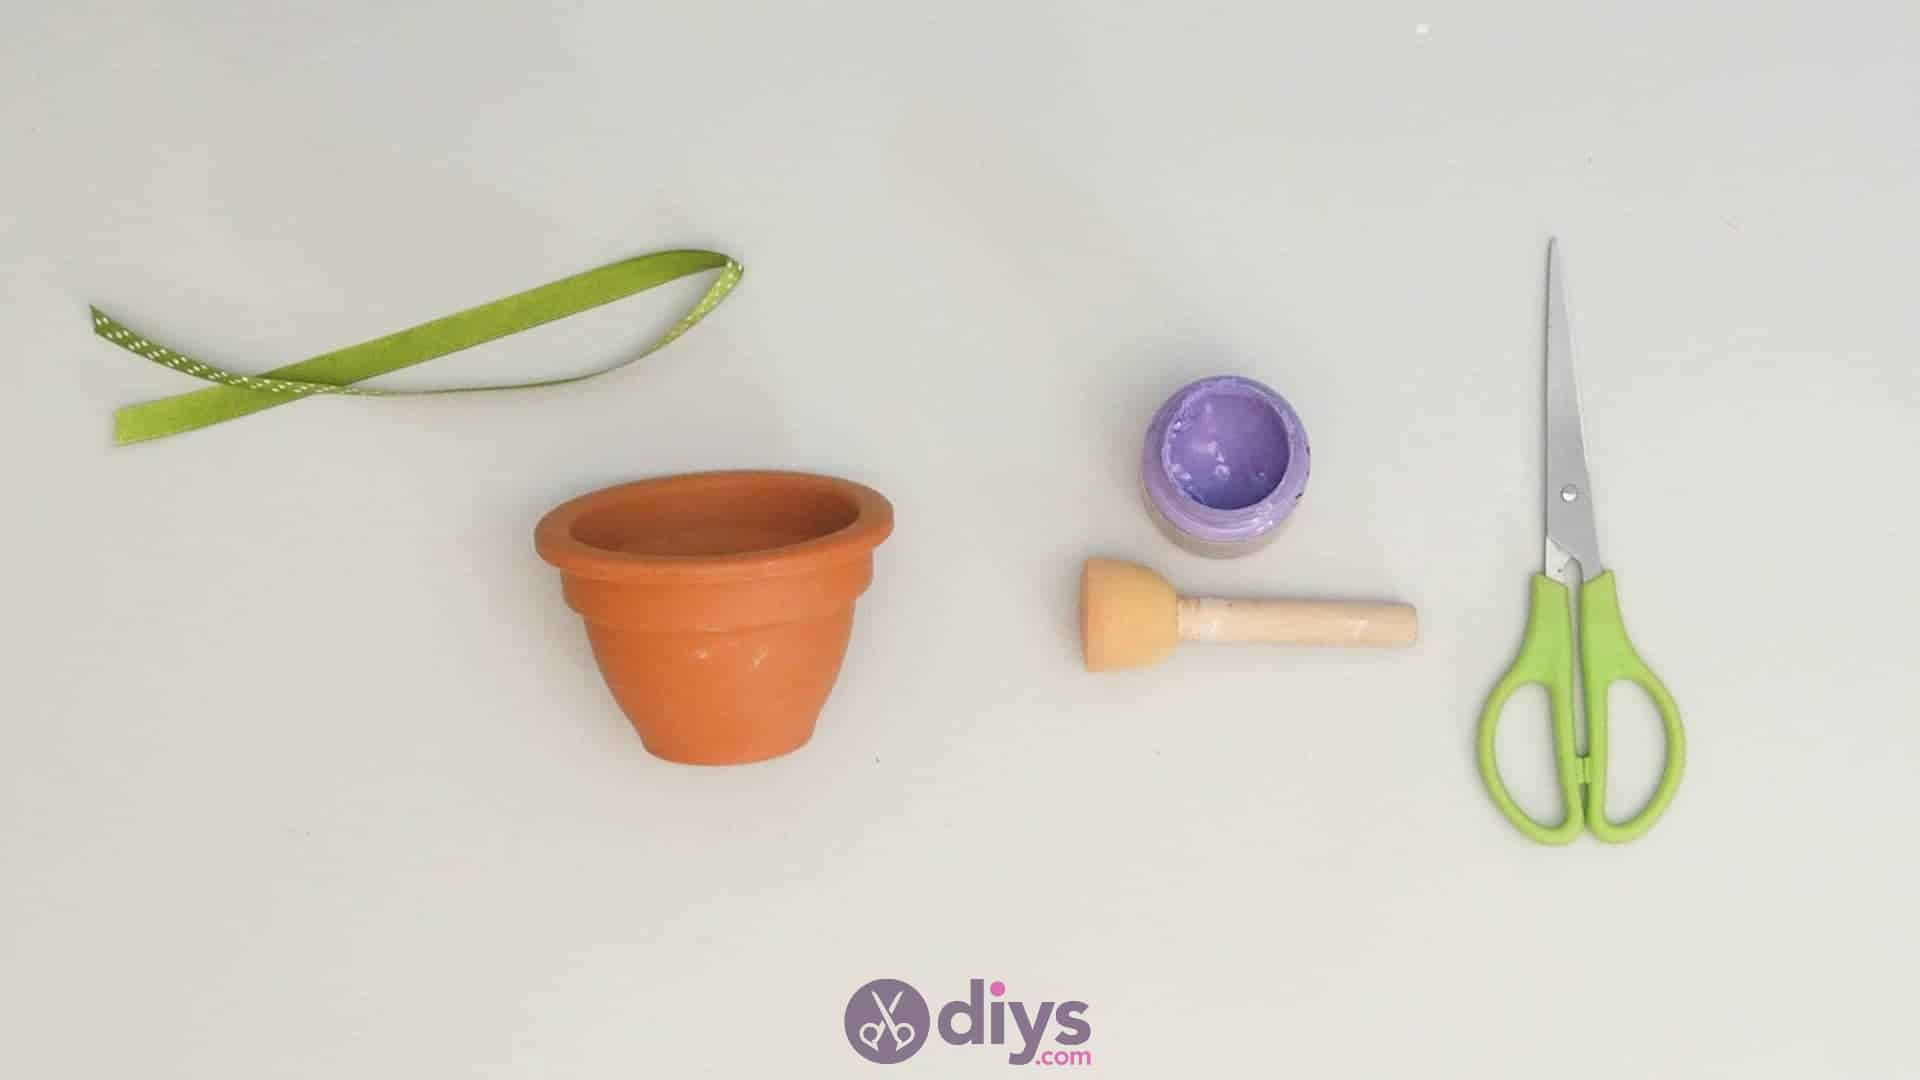
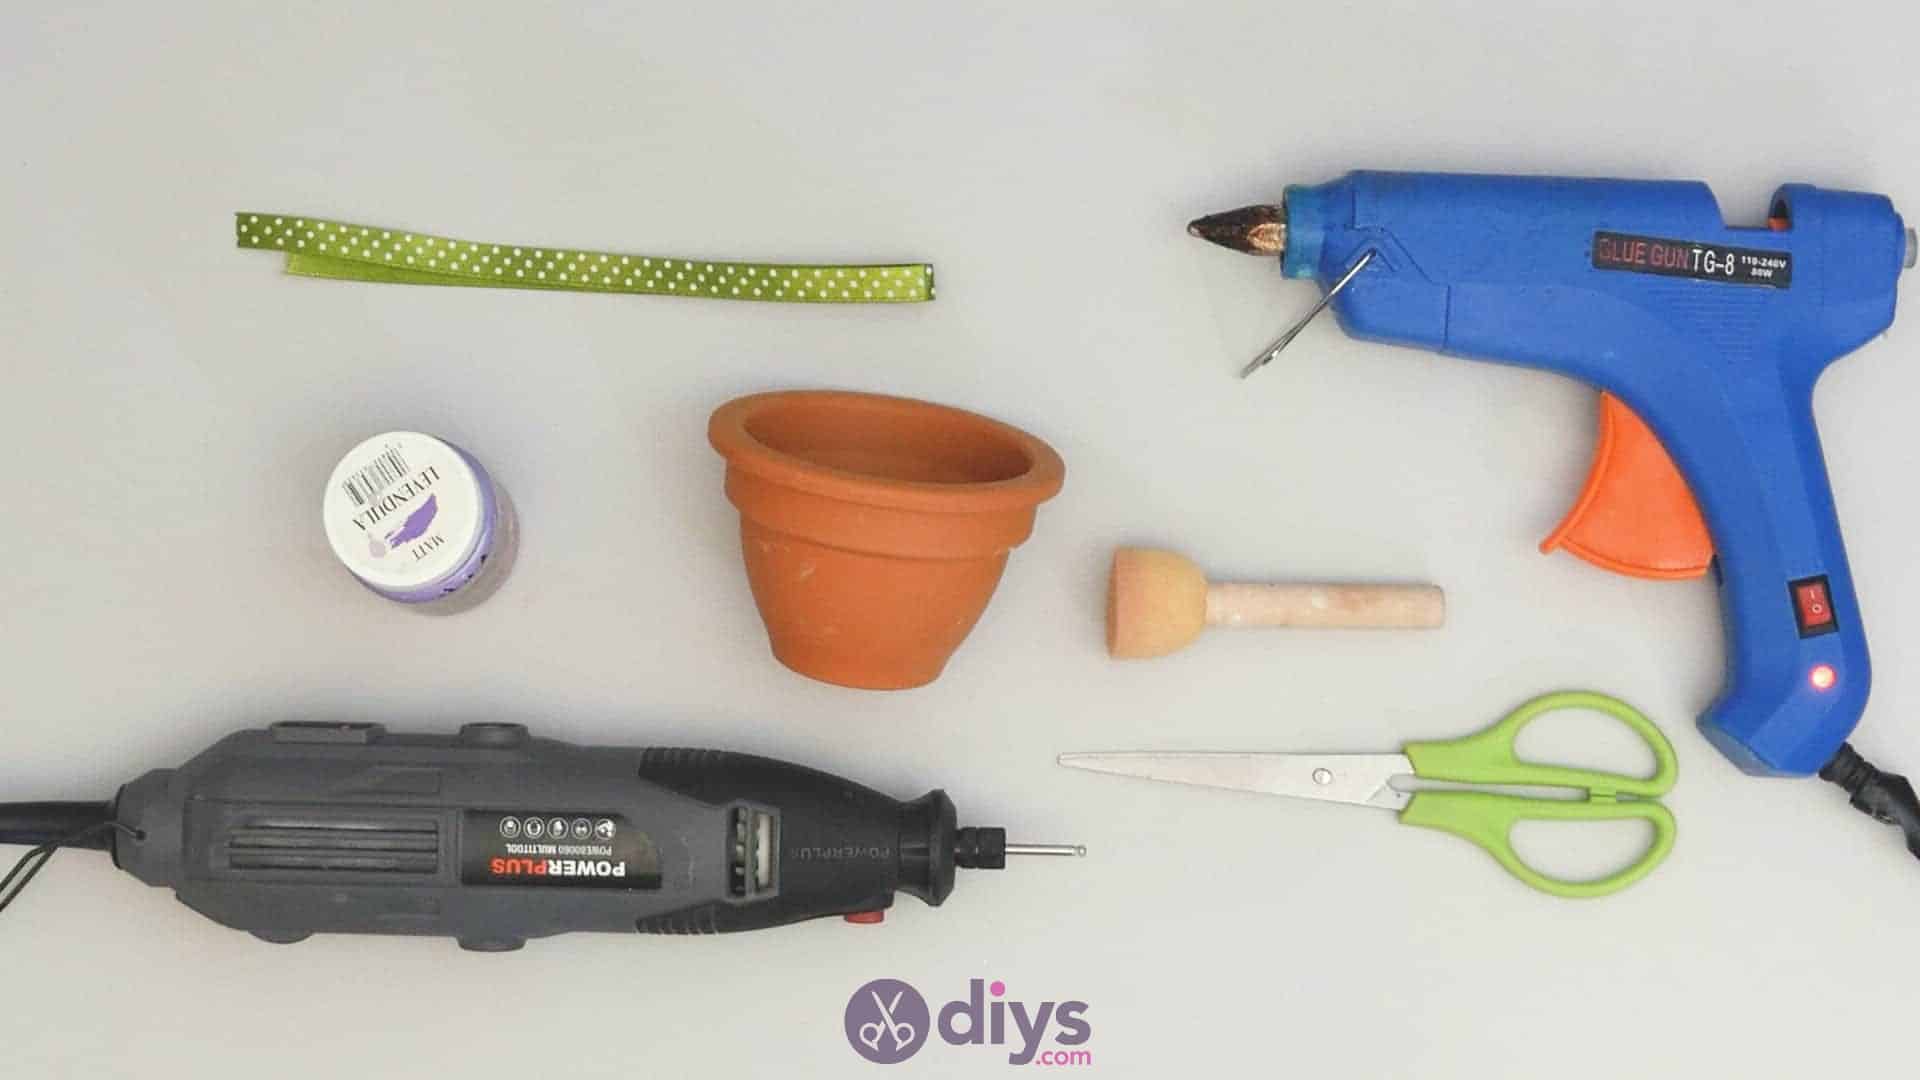
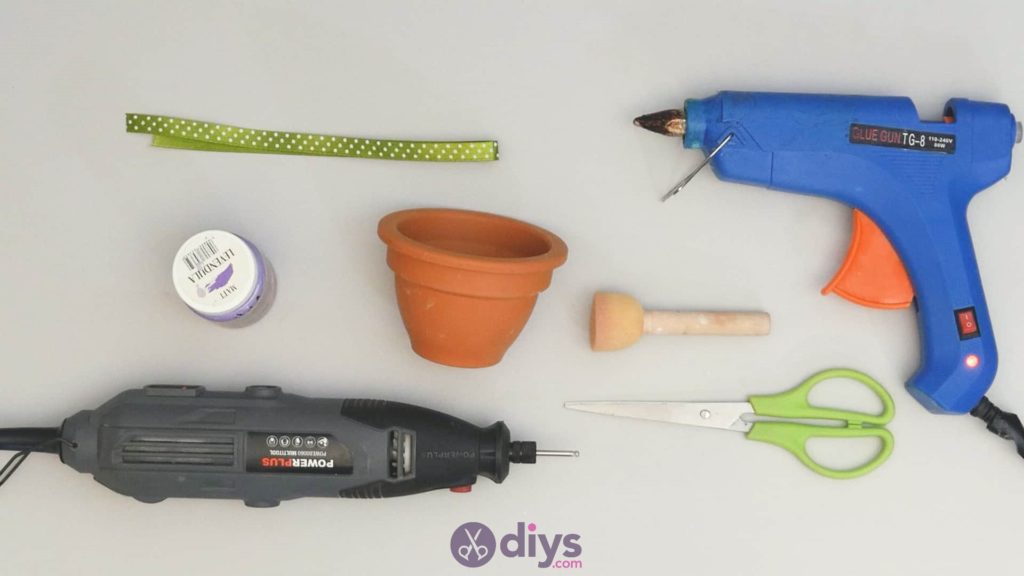
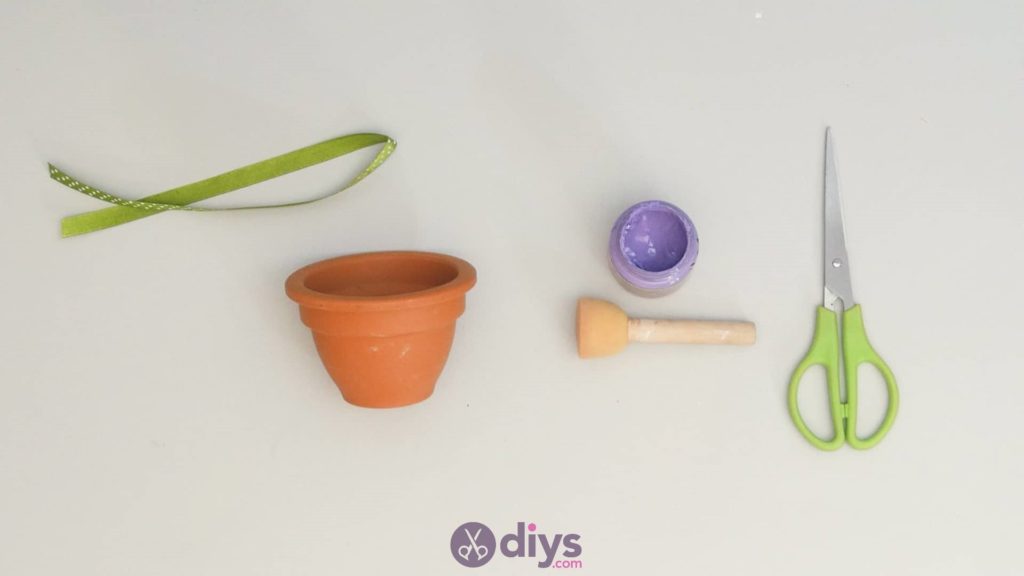
For this project, you’ll need:
- Purple acrylic paint
- A paintbrush or sponge
- Polka dotted green ribbon
- Hot glue
- A small power drill or electric bevel tool
Step 1: Gather up your materials!
Check that list and get everything on the table in front of you.
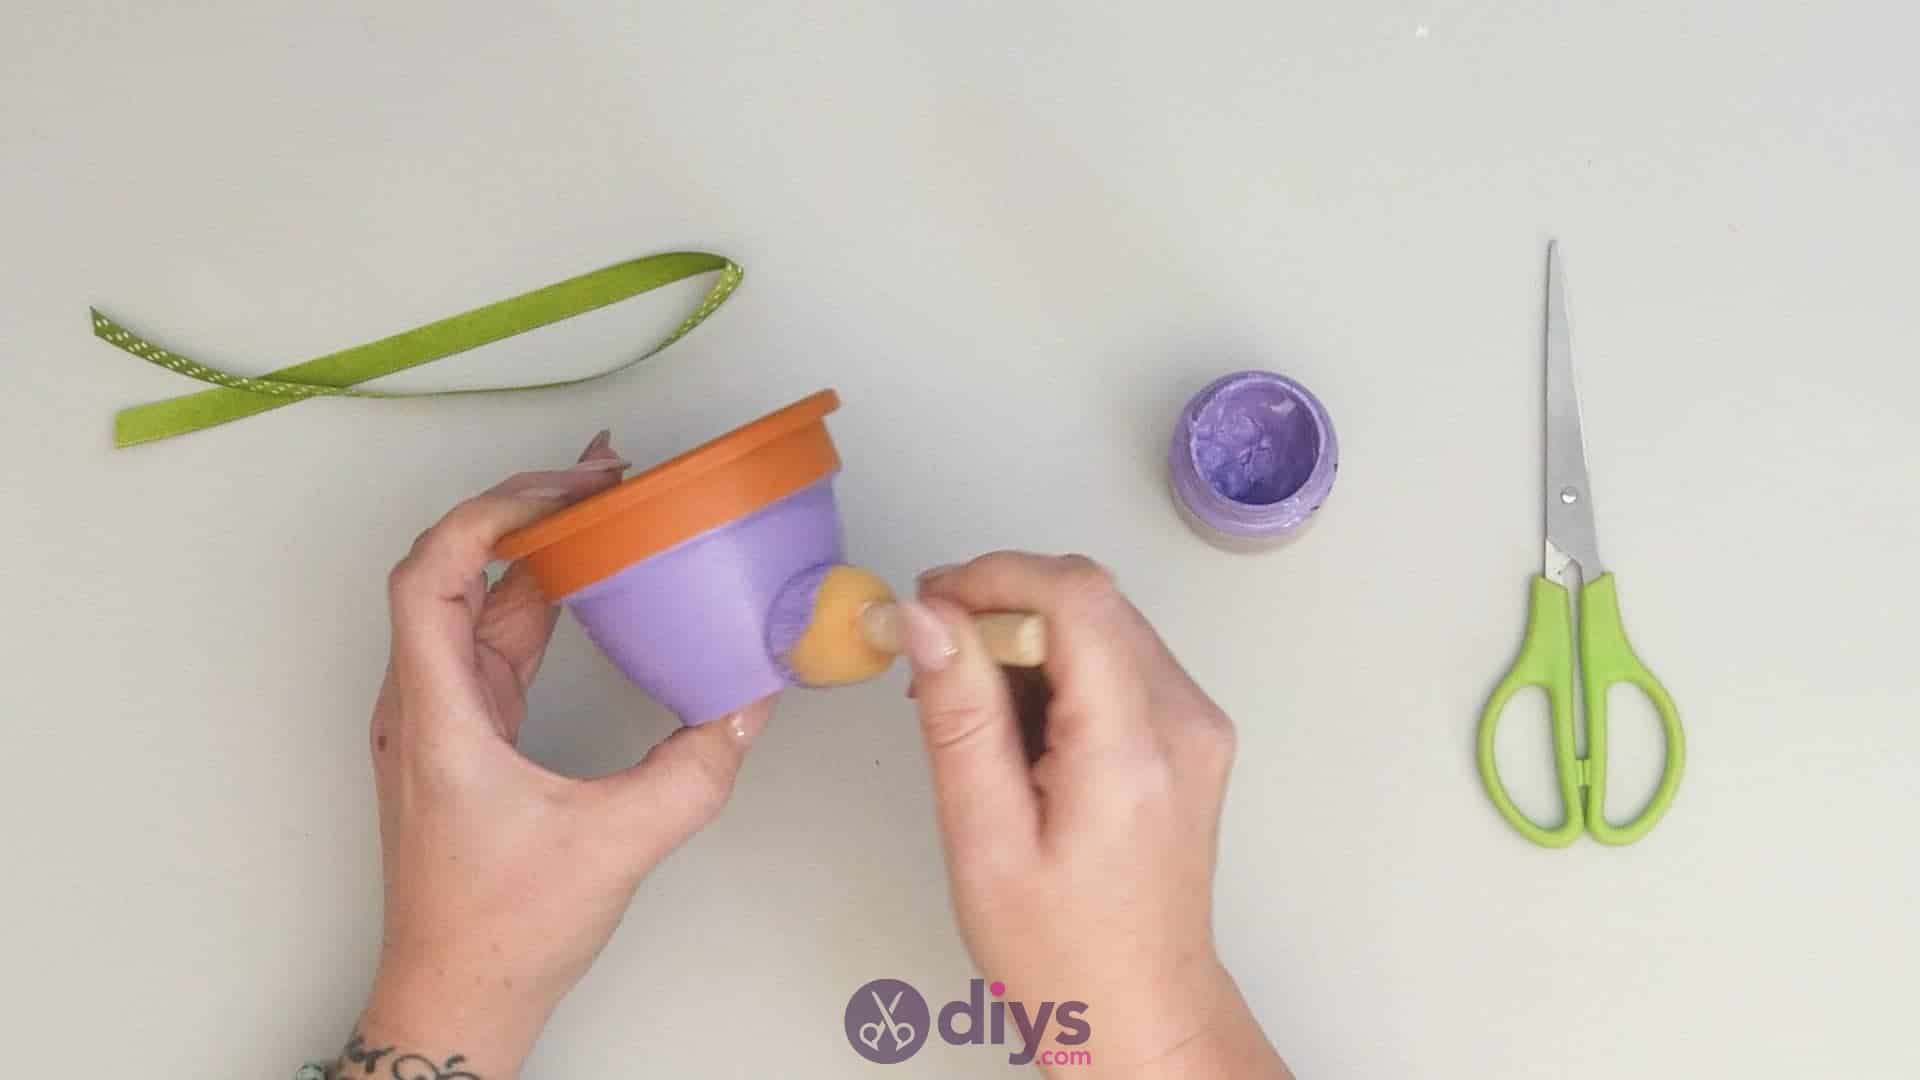
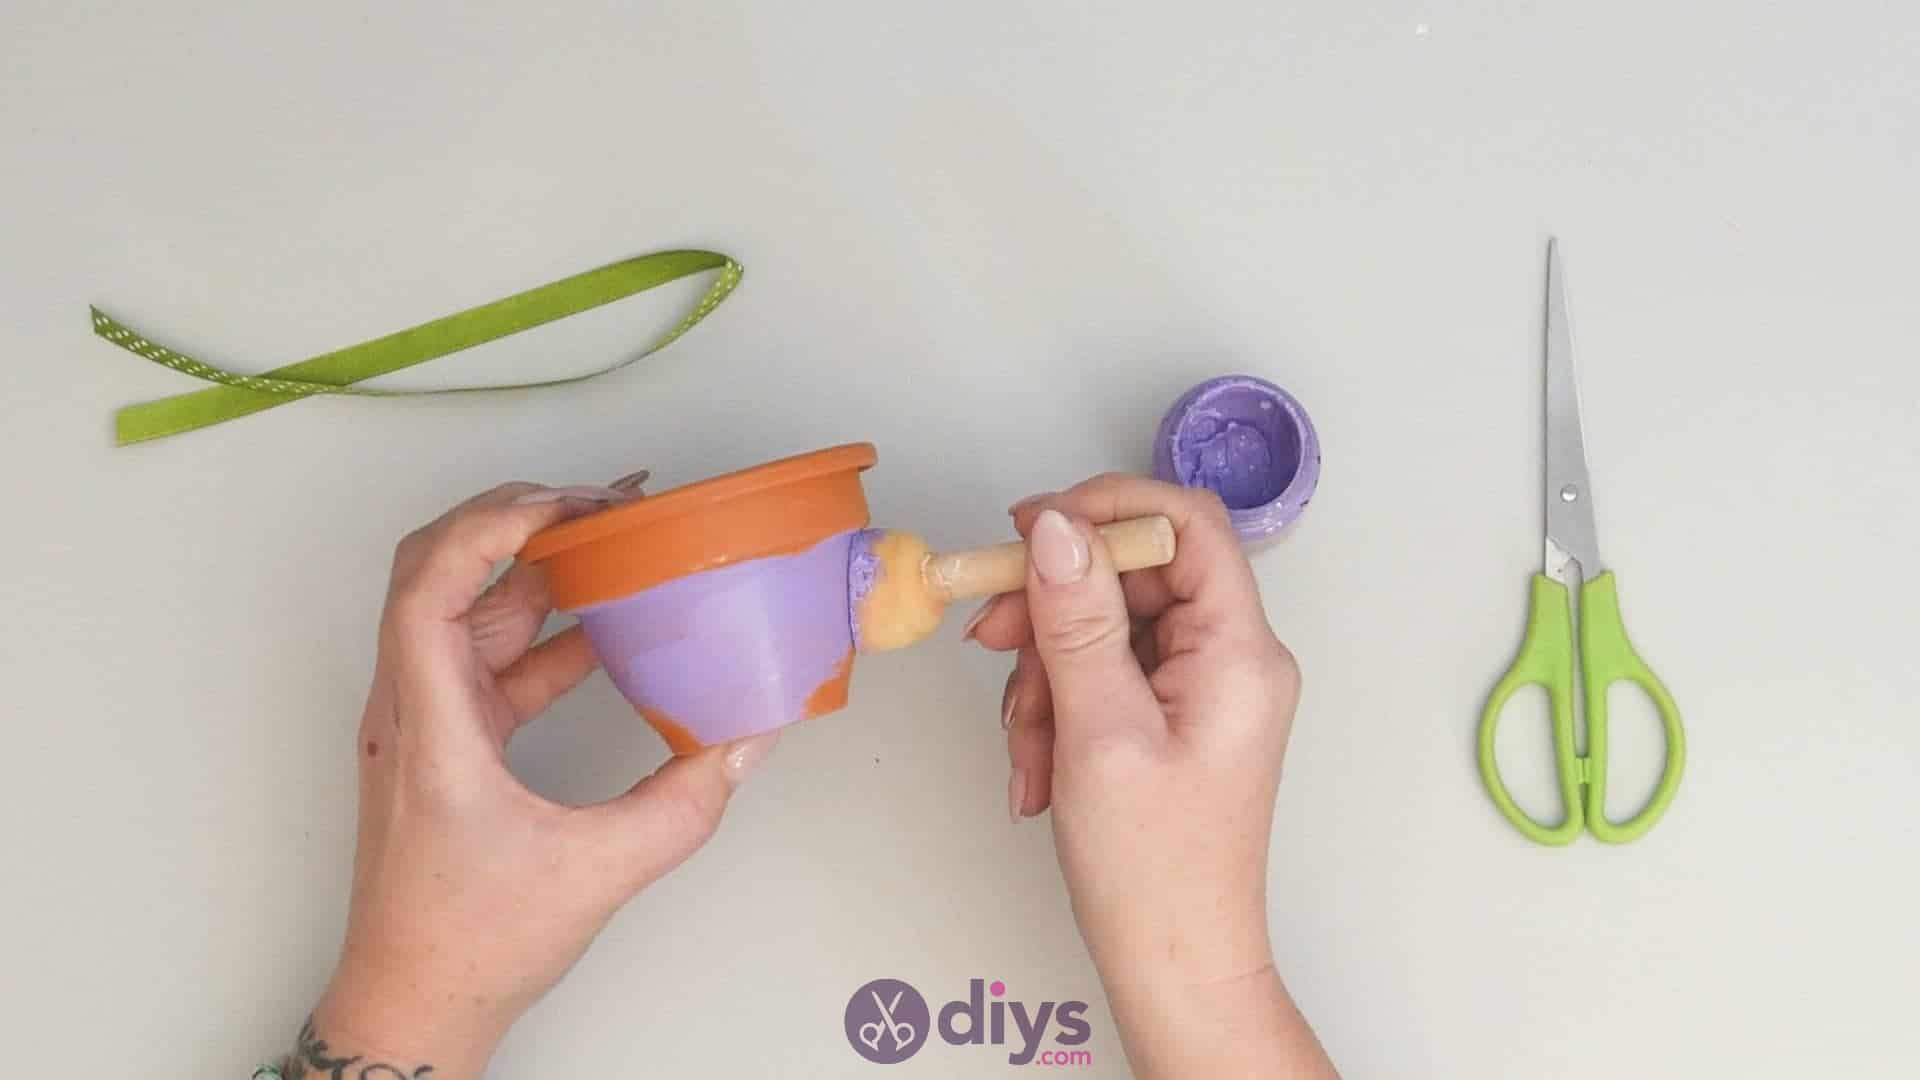
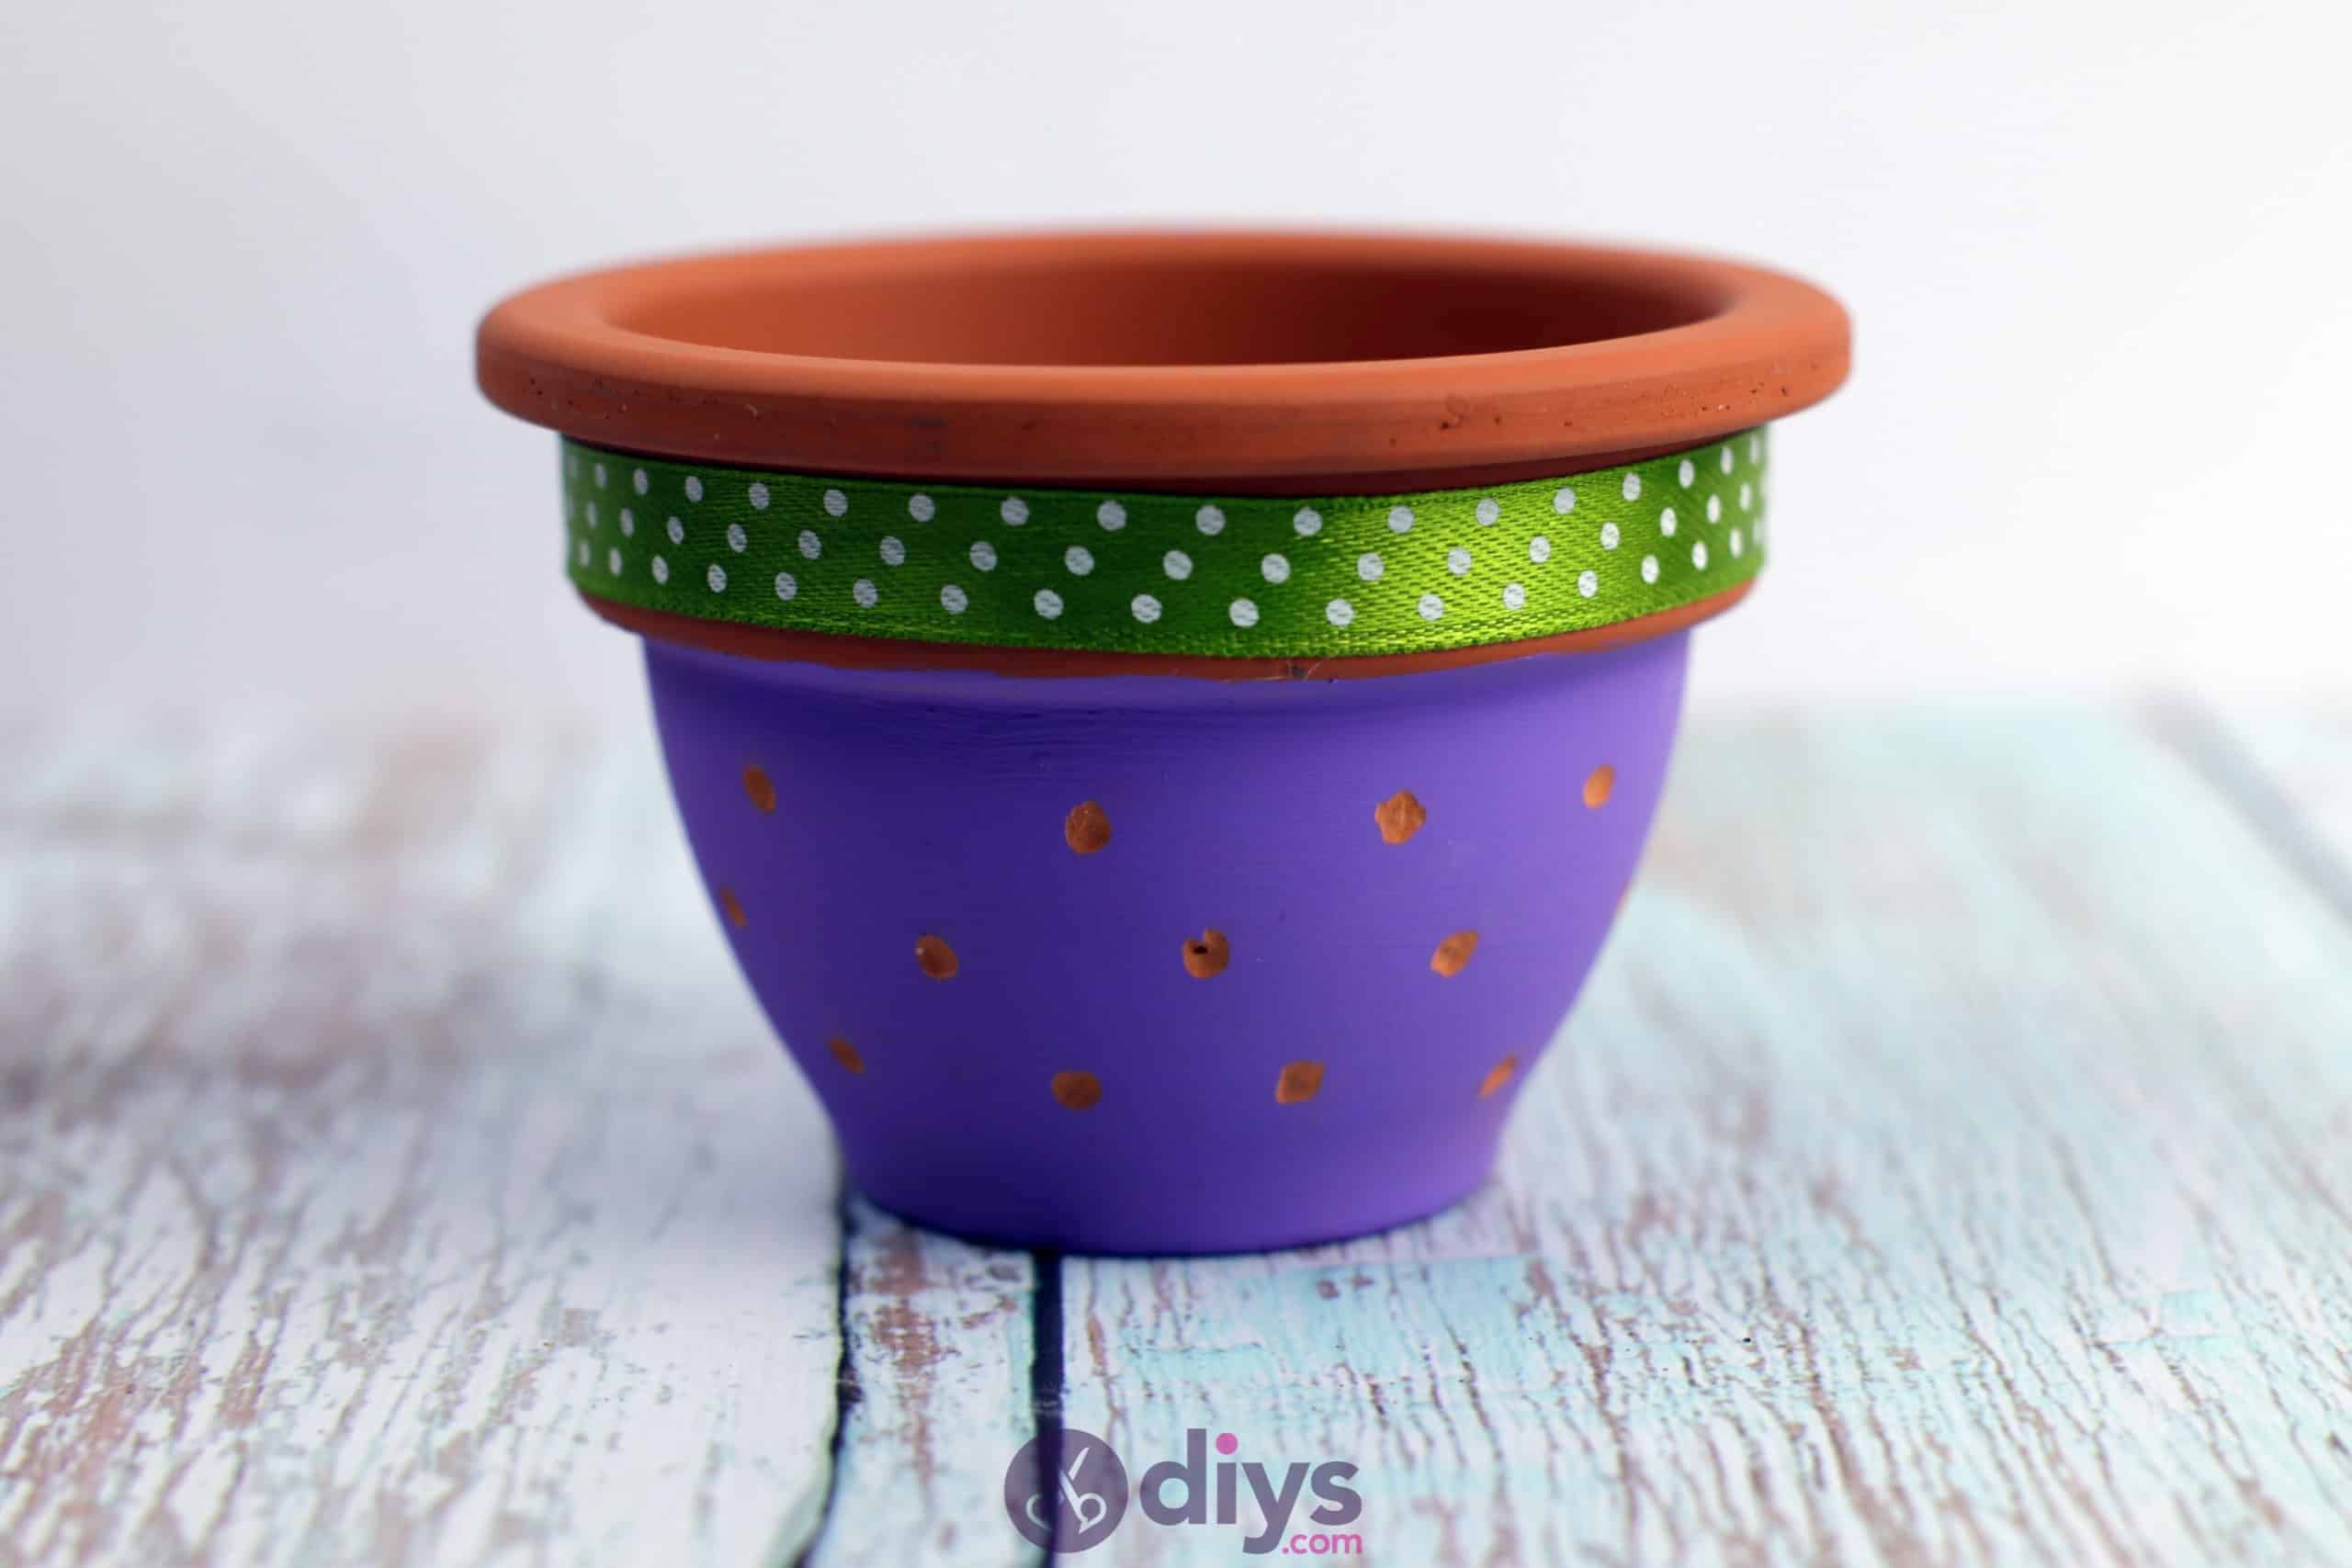
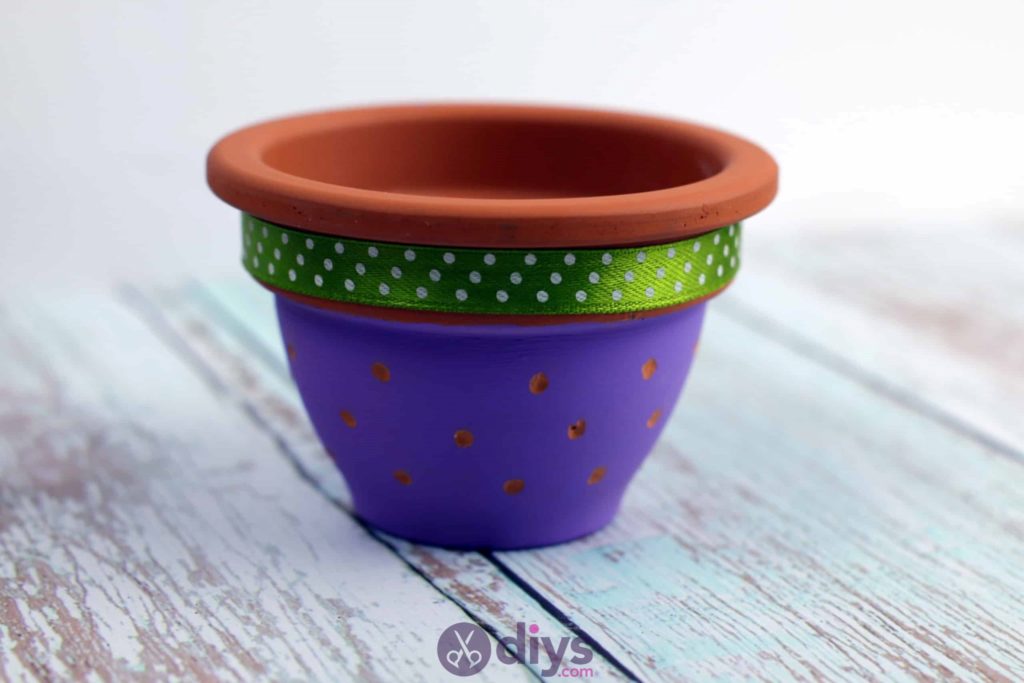
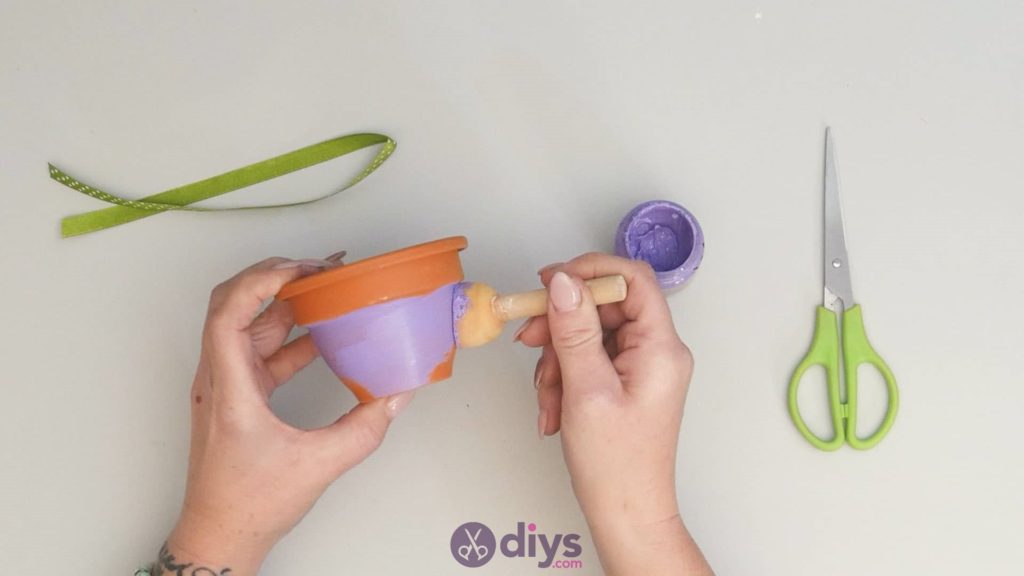
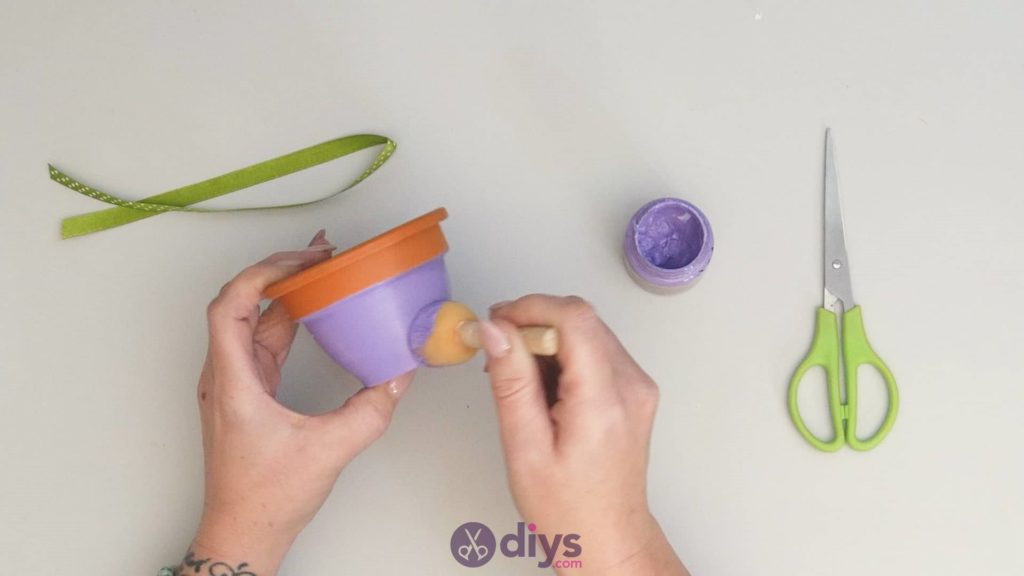
Step 2: paint the pot
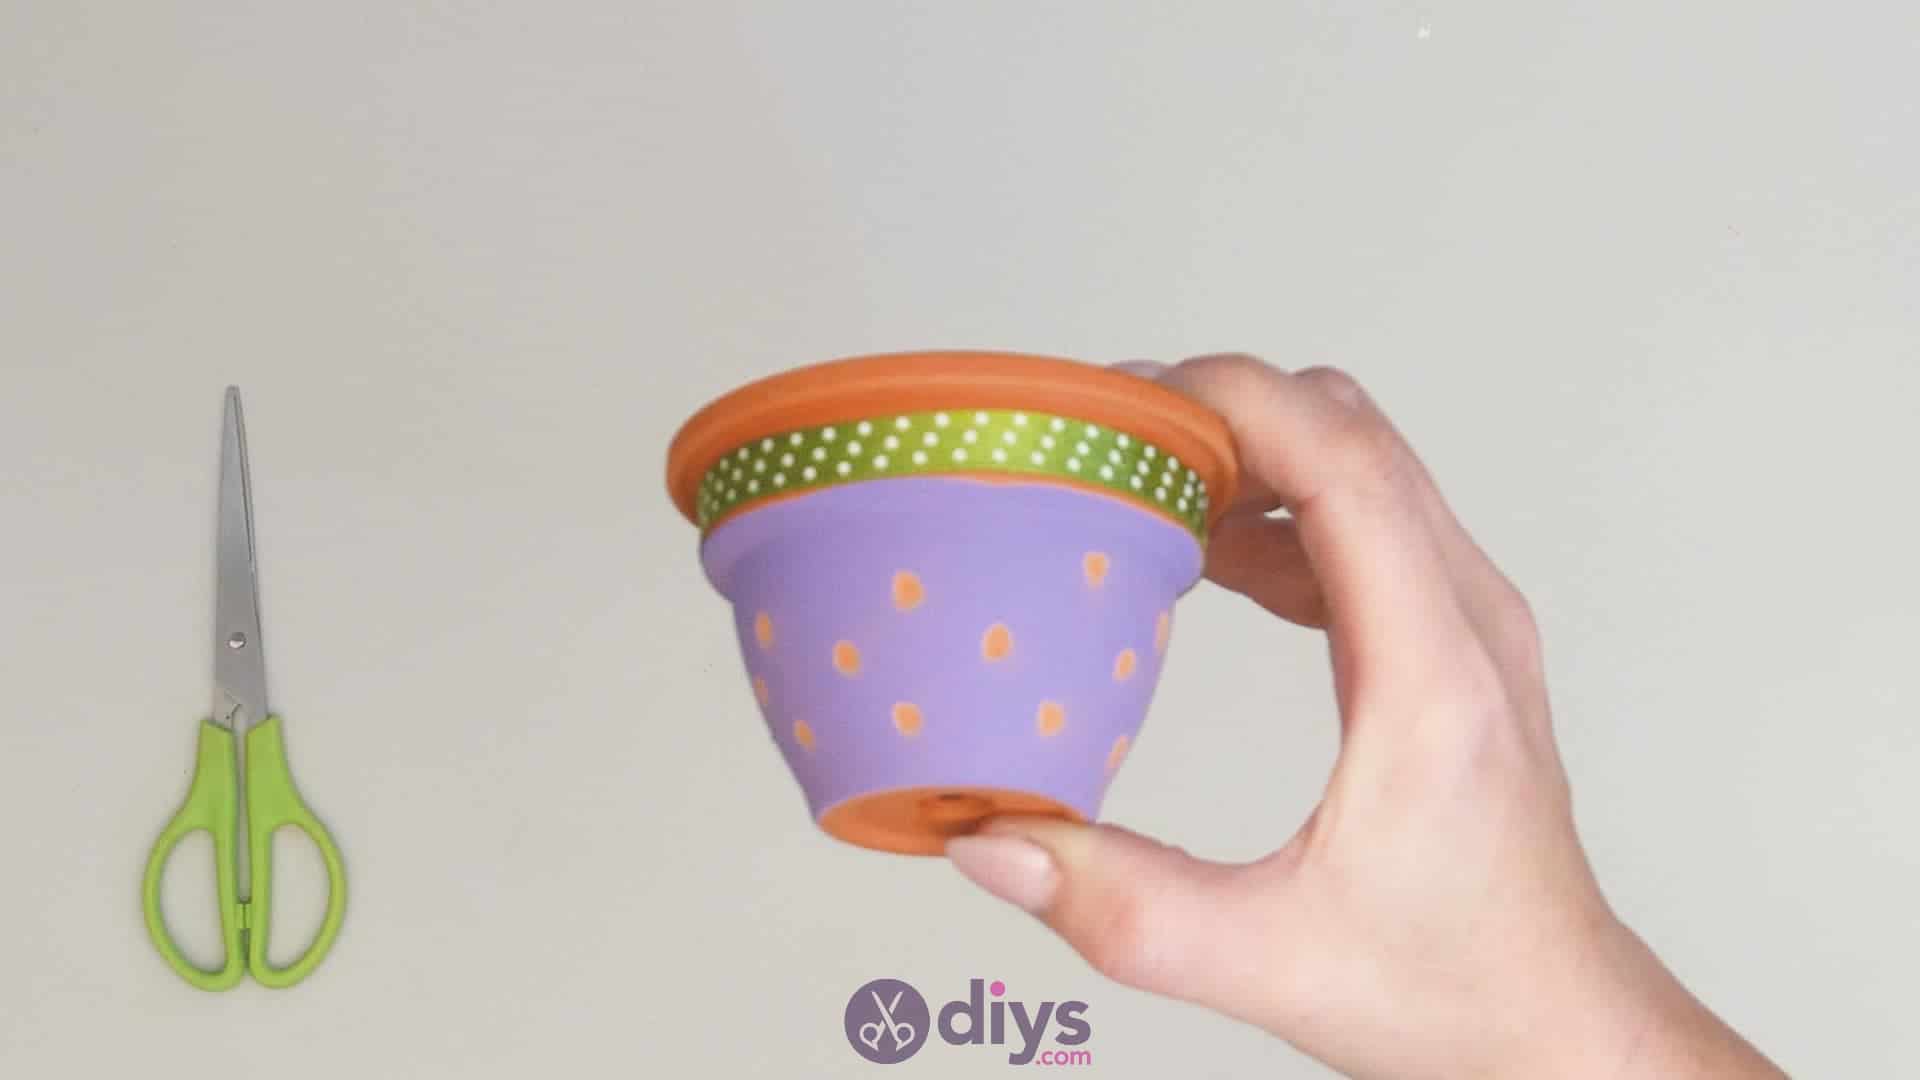
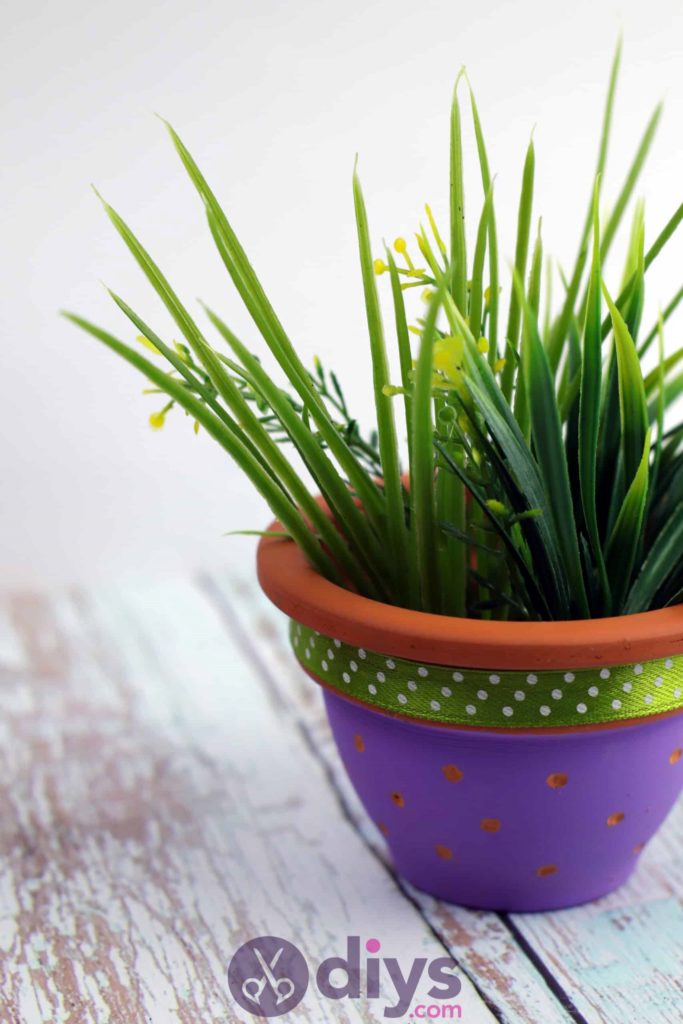
Use your paintbrush or sponge to paint the body of your flower pot entirely purple! I decided not to paint the top edge of mine because I liked the contrast between the purple paint and the natural orang terra cotta of the pot. Once you’ve covered as much of the pot as you like in paint, set it aside to dry.
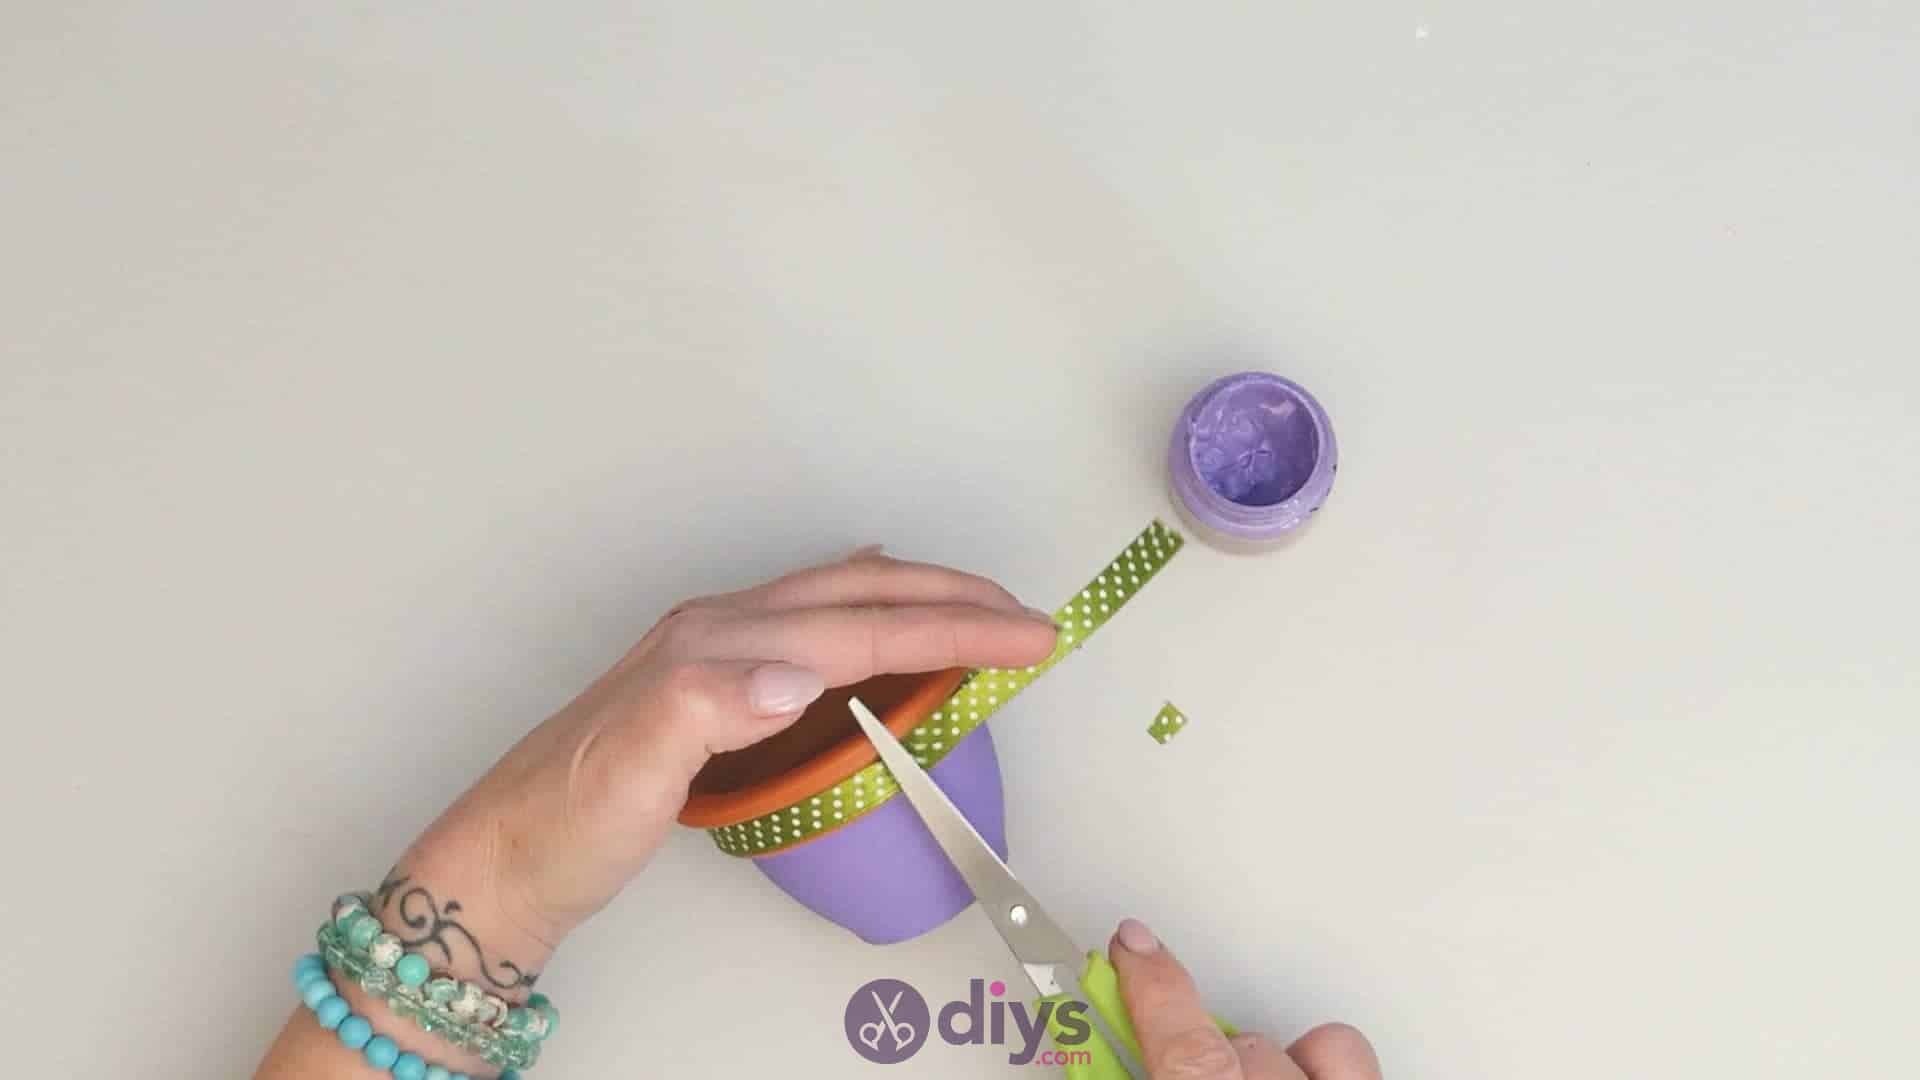
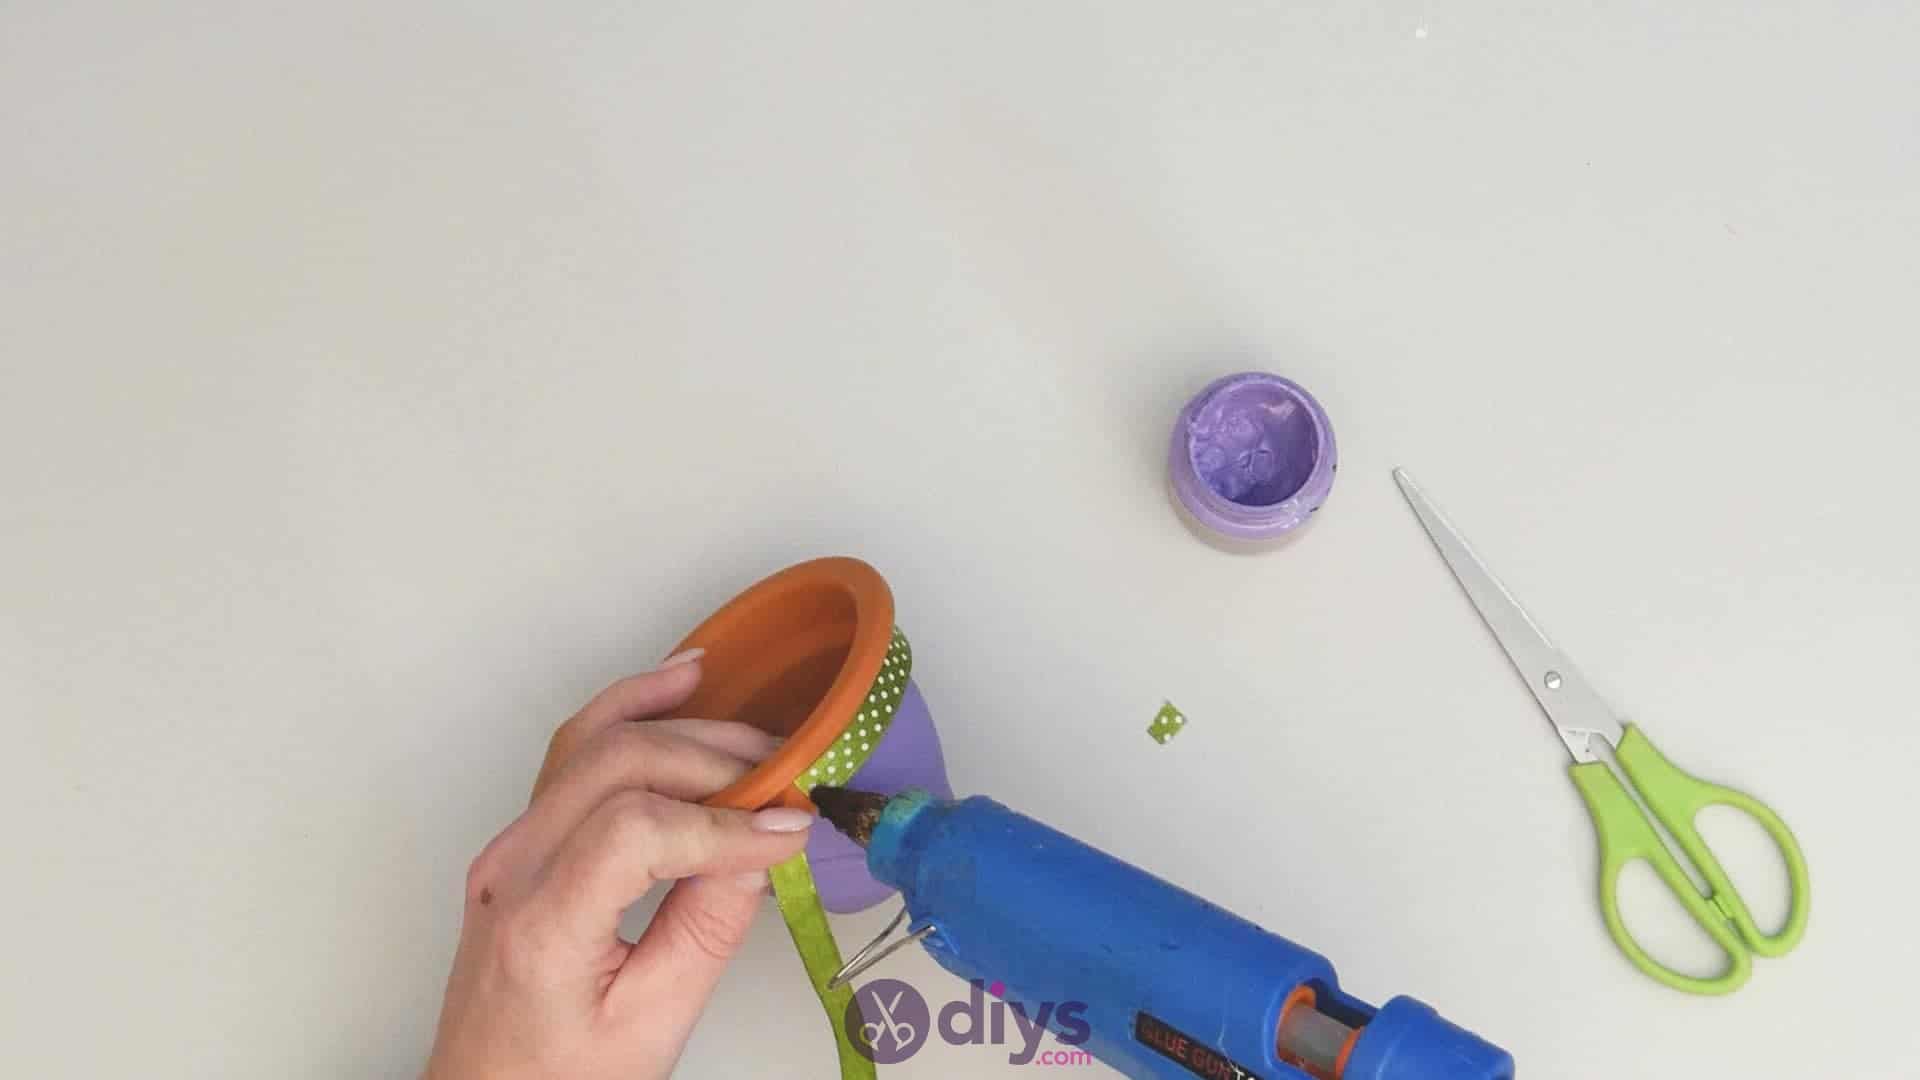
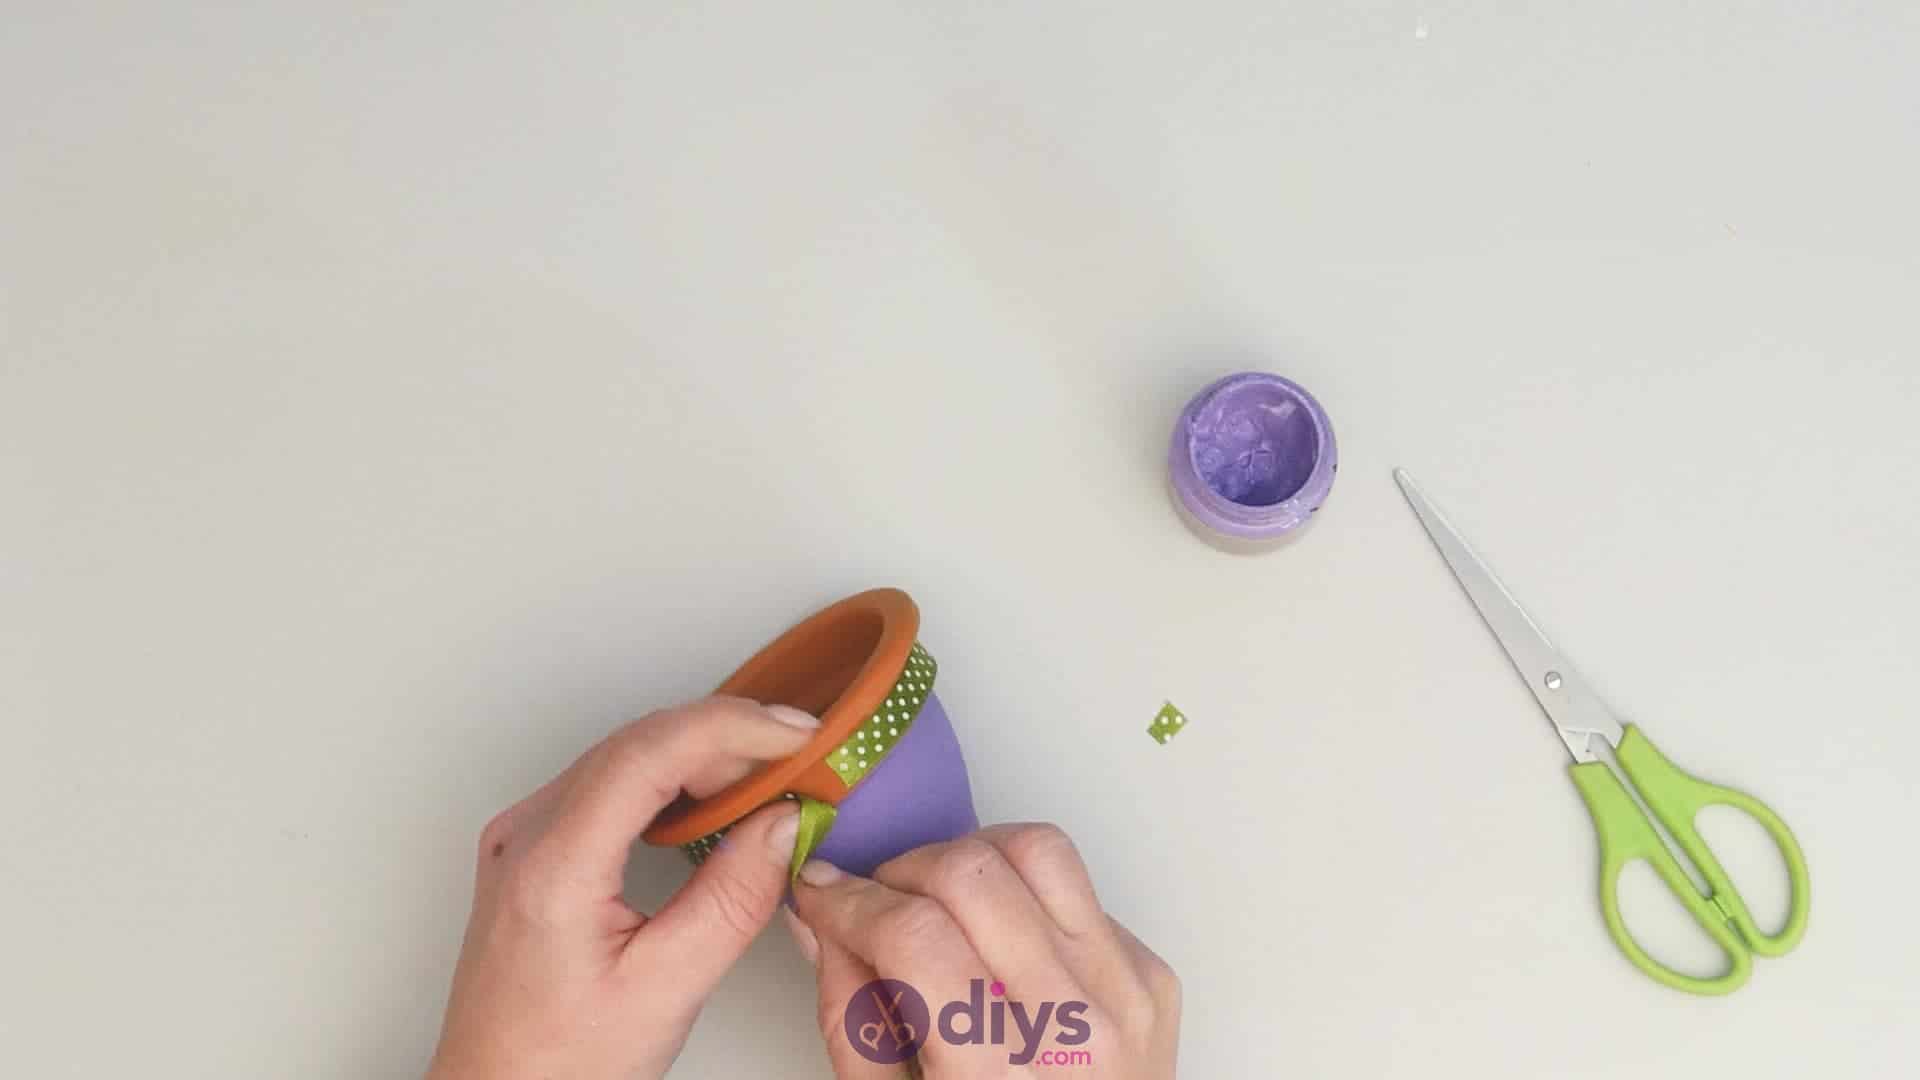
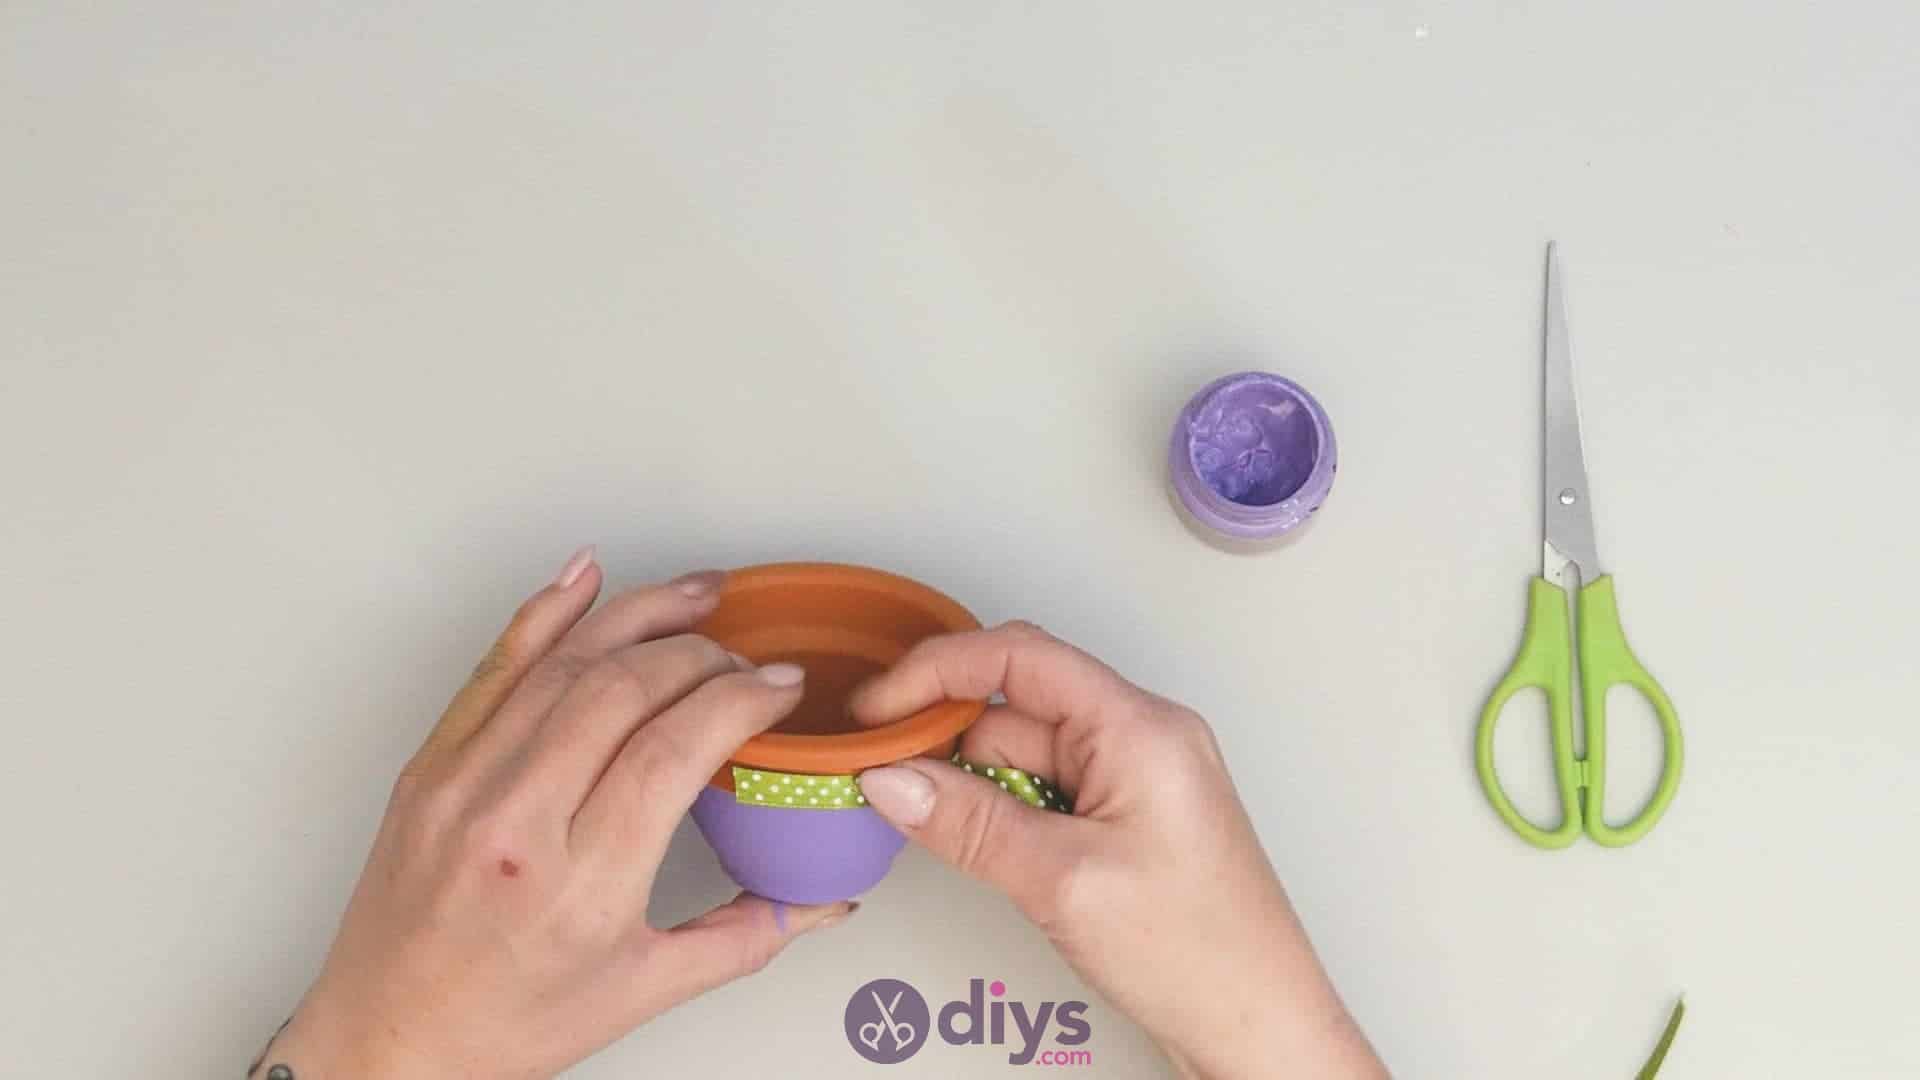
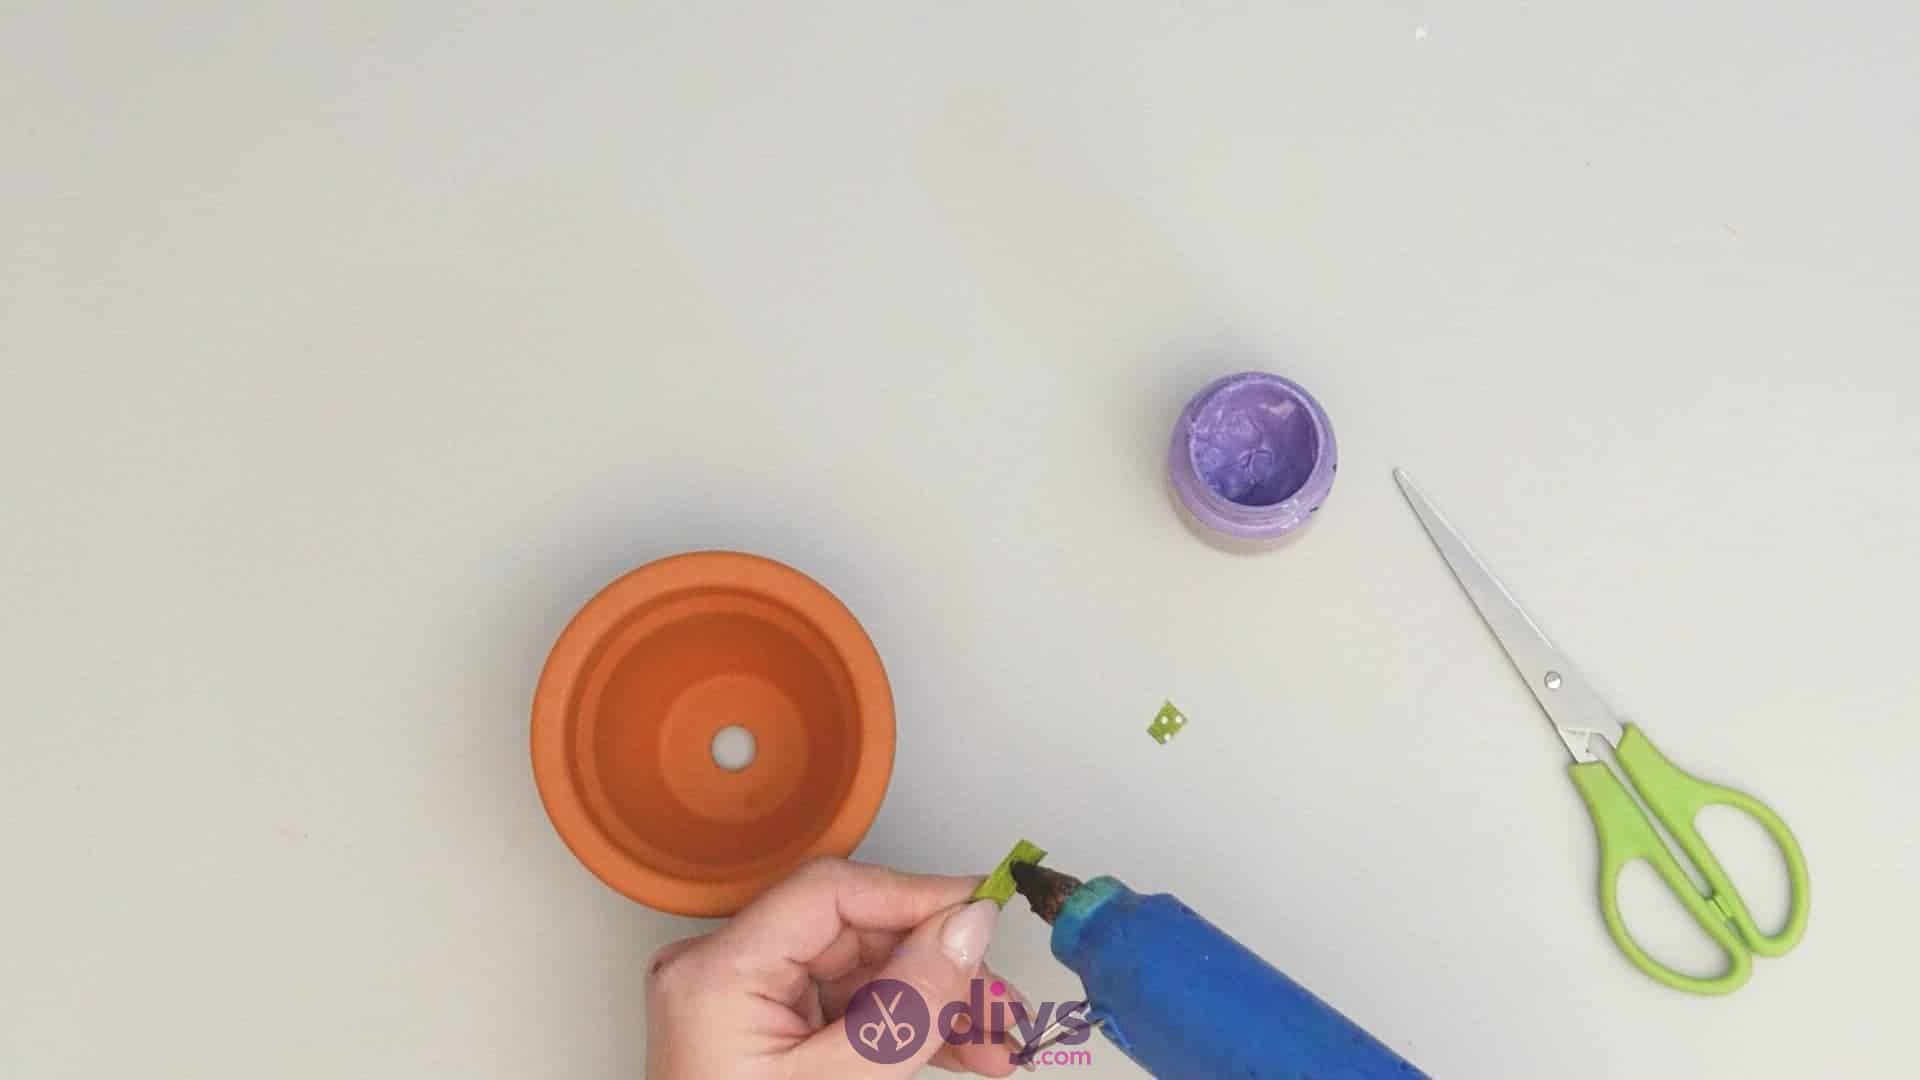
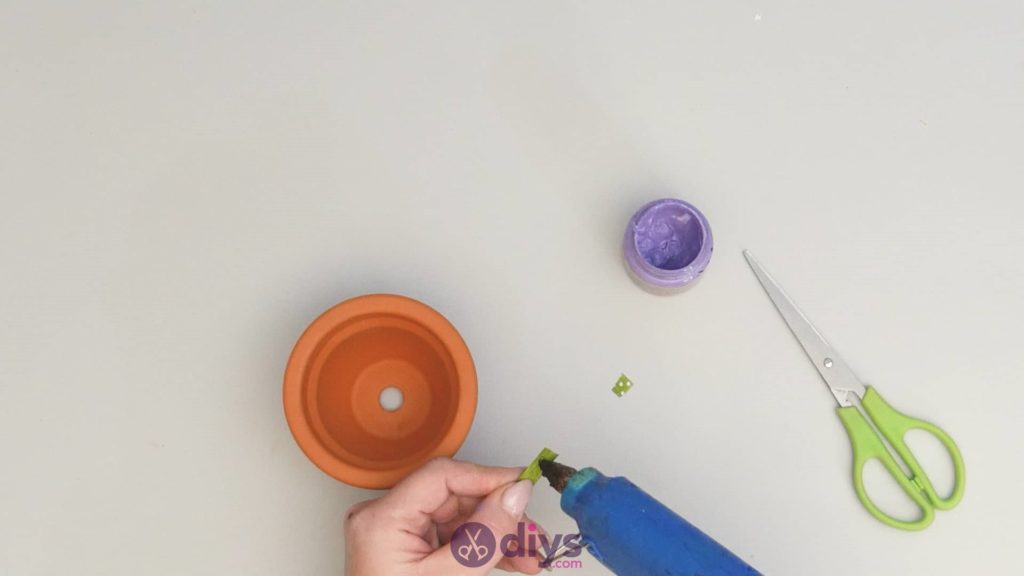
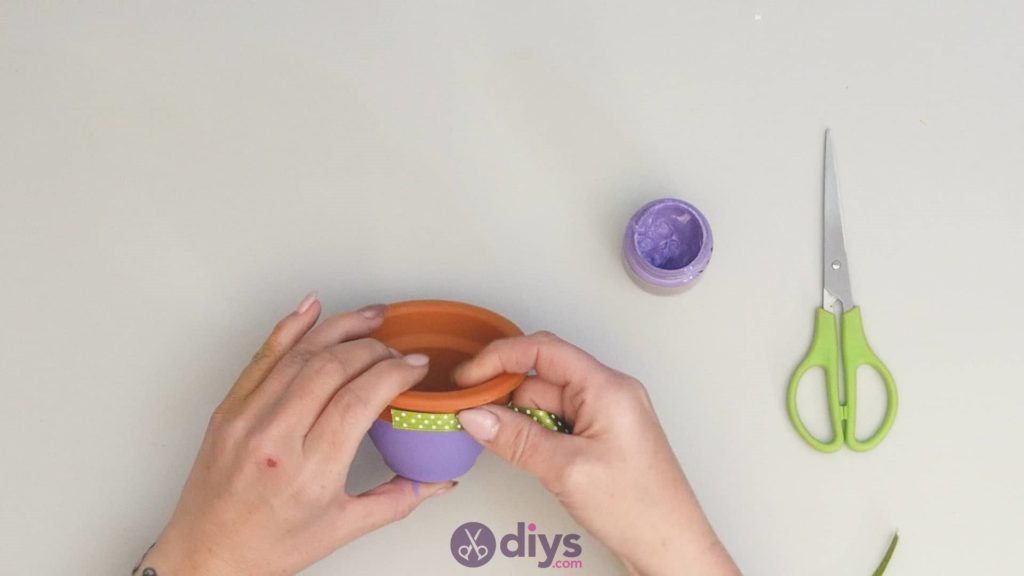
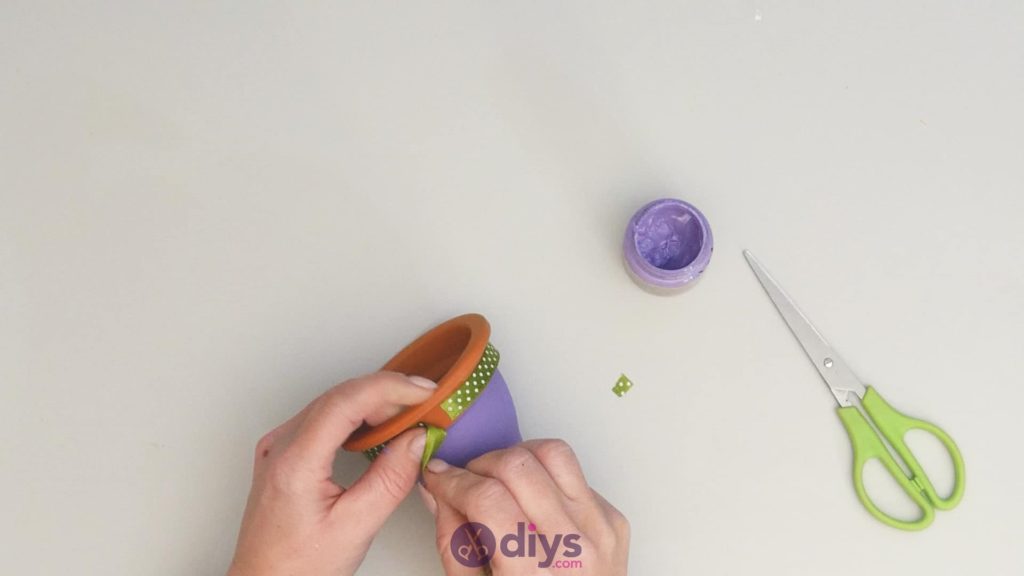
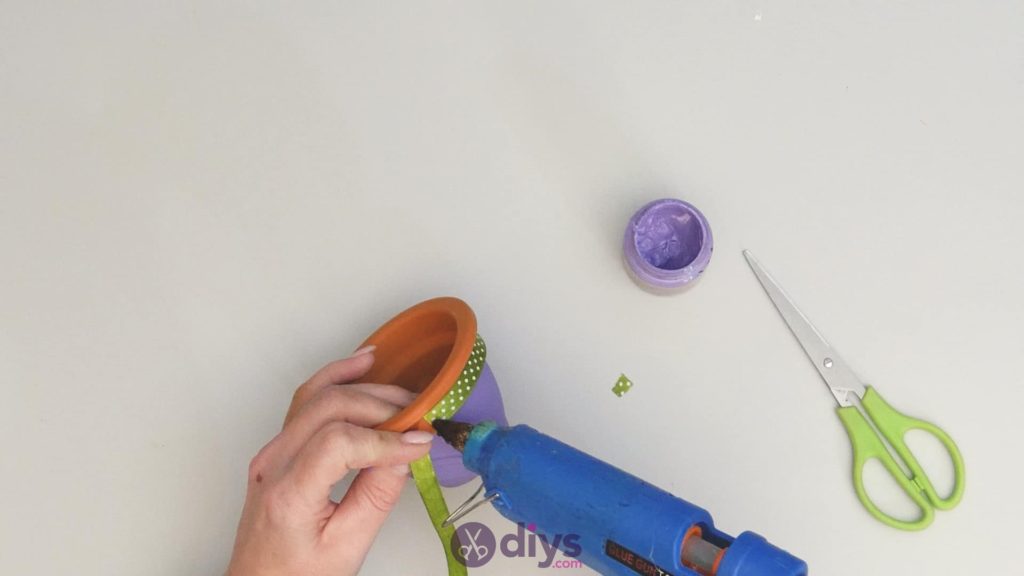
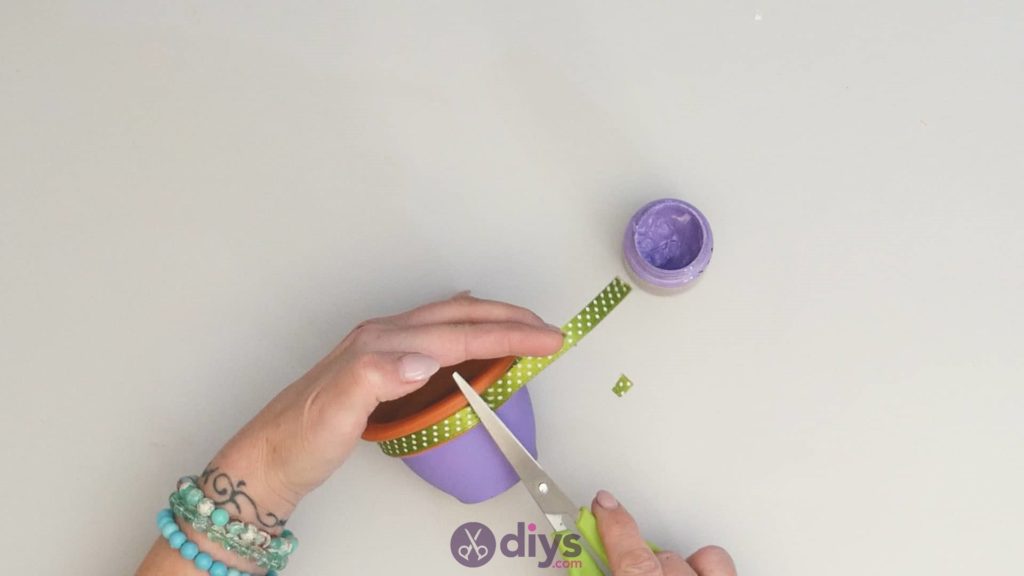
Step 3: add ribbon
Apply glue to one end of your green and white ribbon and position it near the top edge of your pot, just under the lip where it dips inwards. You want the ribbon to run parallel to the edge so it can wrap all the way around the top of the pot, so stick the tip down with the ribbon face horizontally. Wrap it all the way around, keeping the ribbon’s edge even with the edge of the pot, until you get back to where you started. Apply a dot of glue at the first end you stuck down and press the other piece of your ribbon into it, then use your scissors to trim the excess.
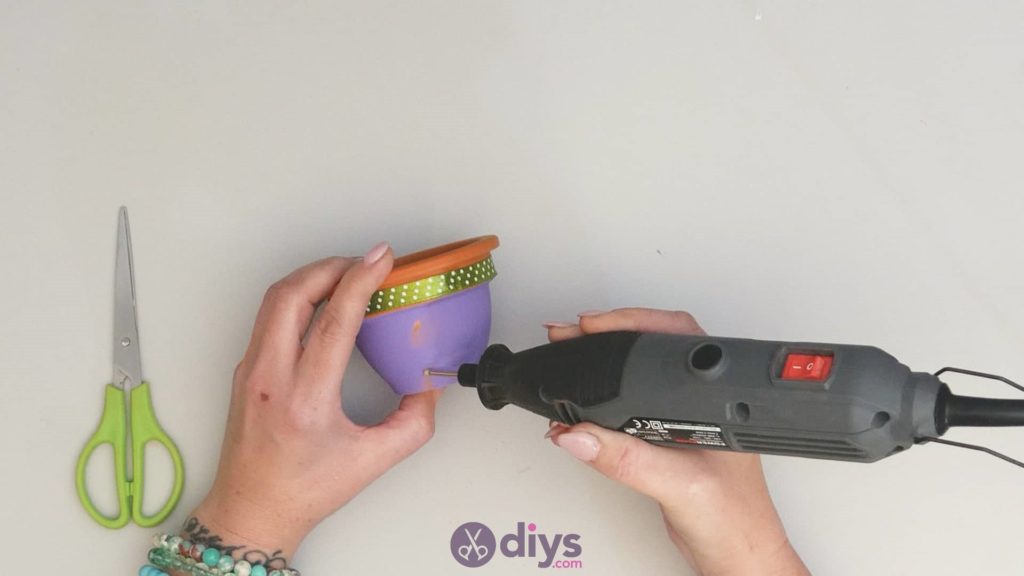
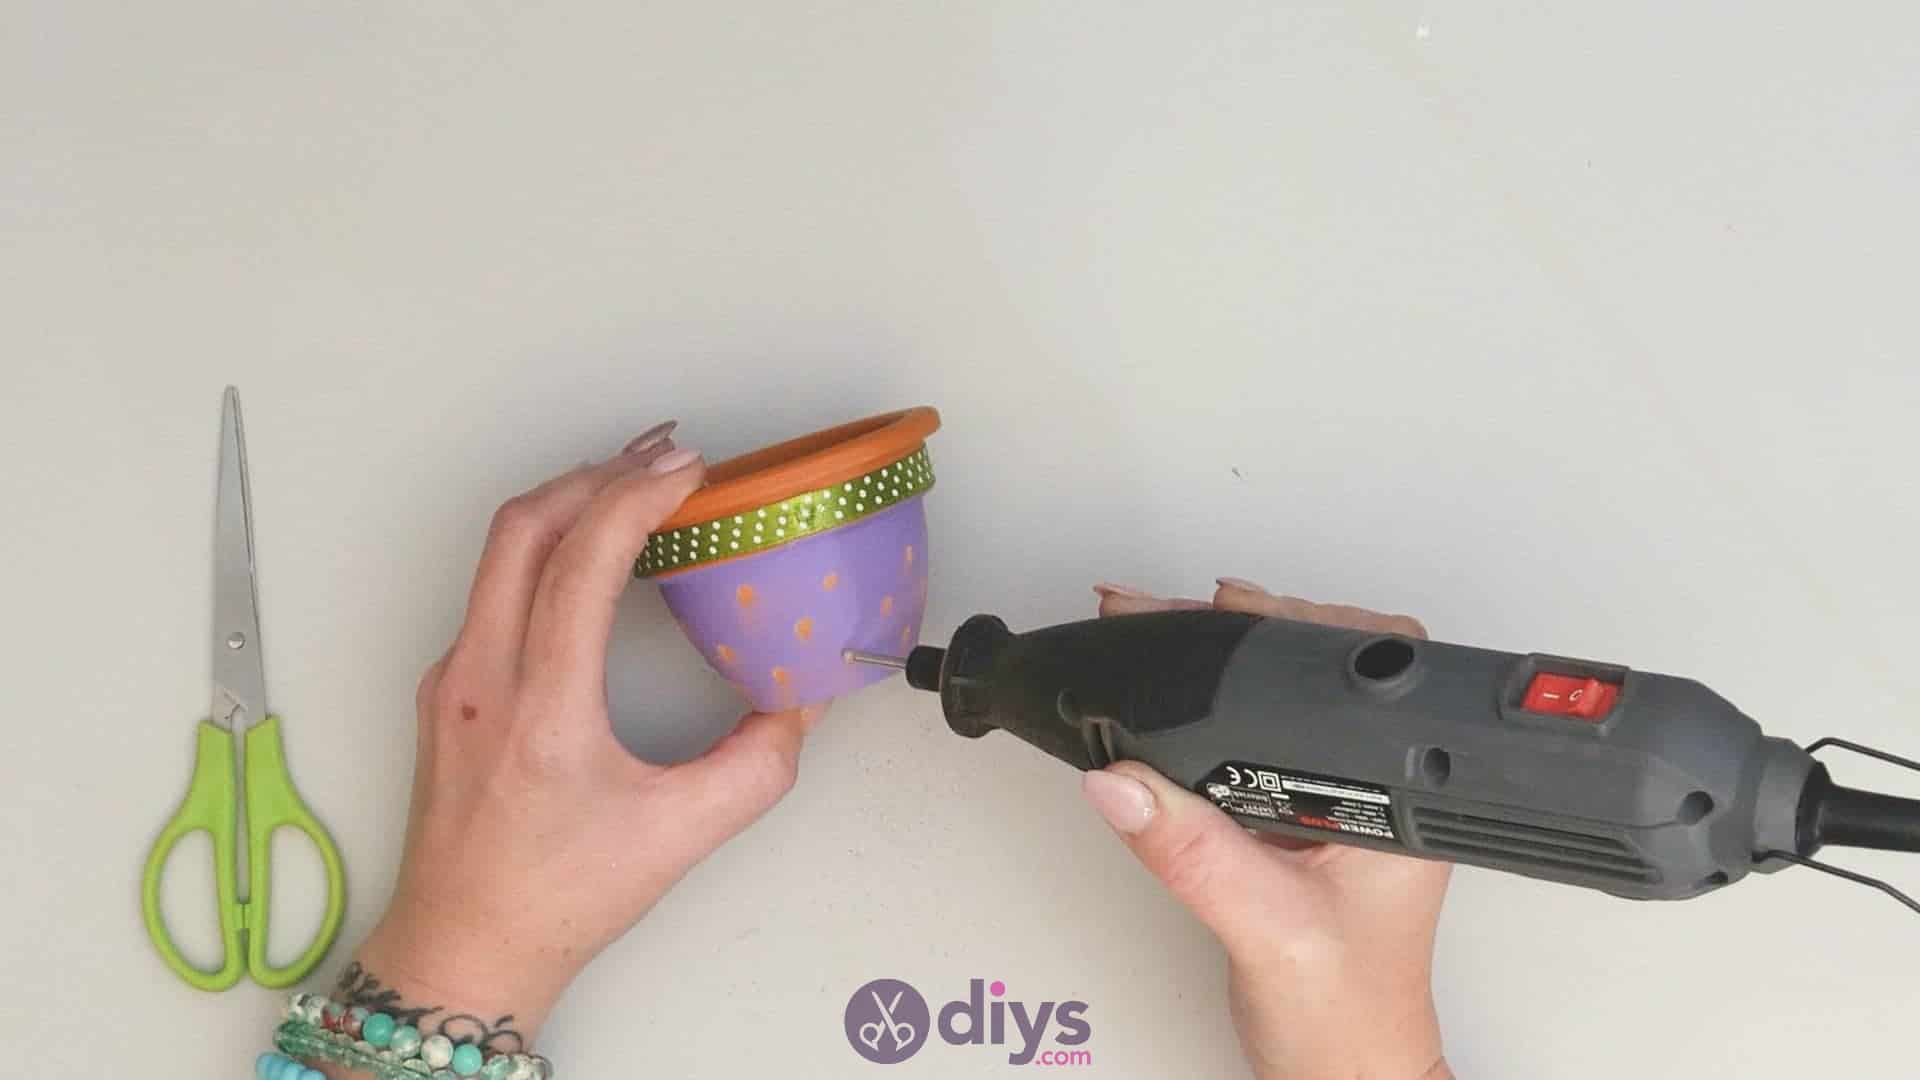
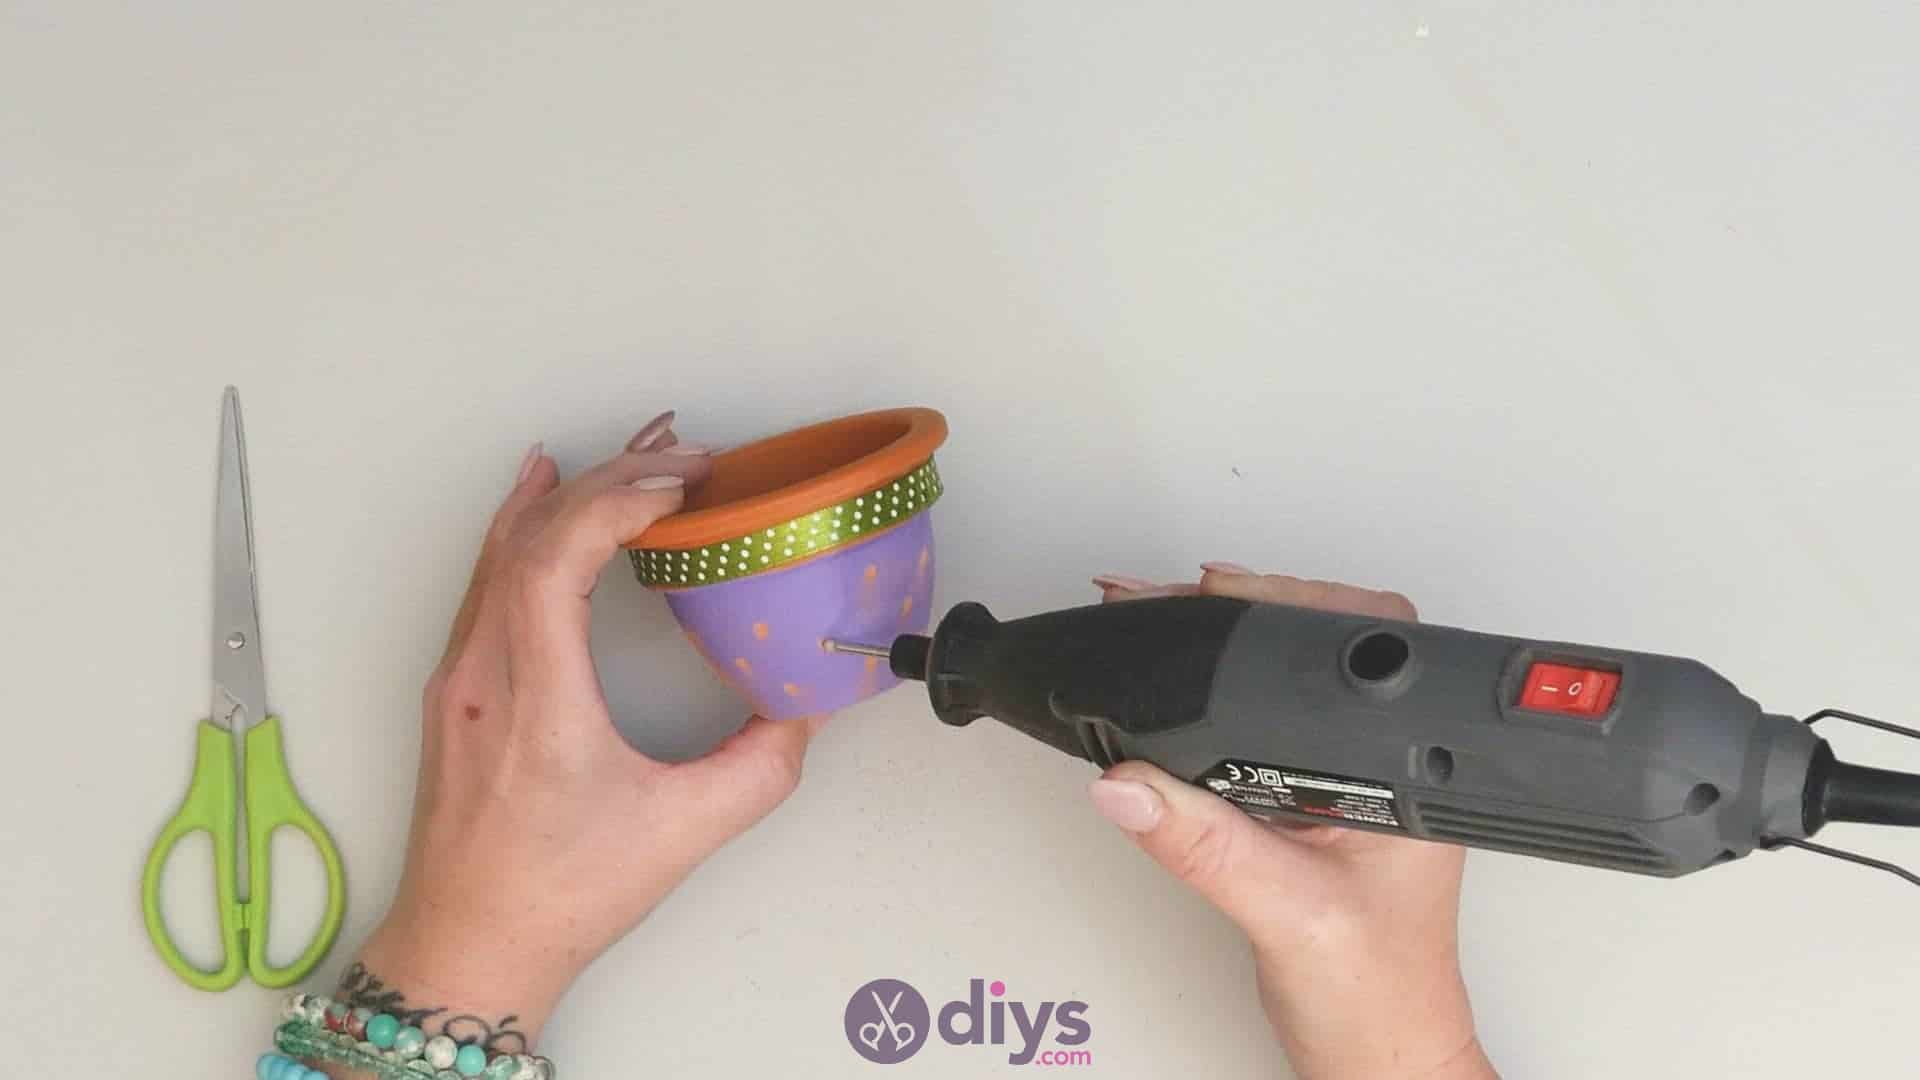
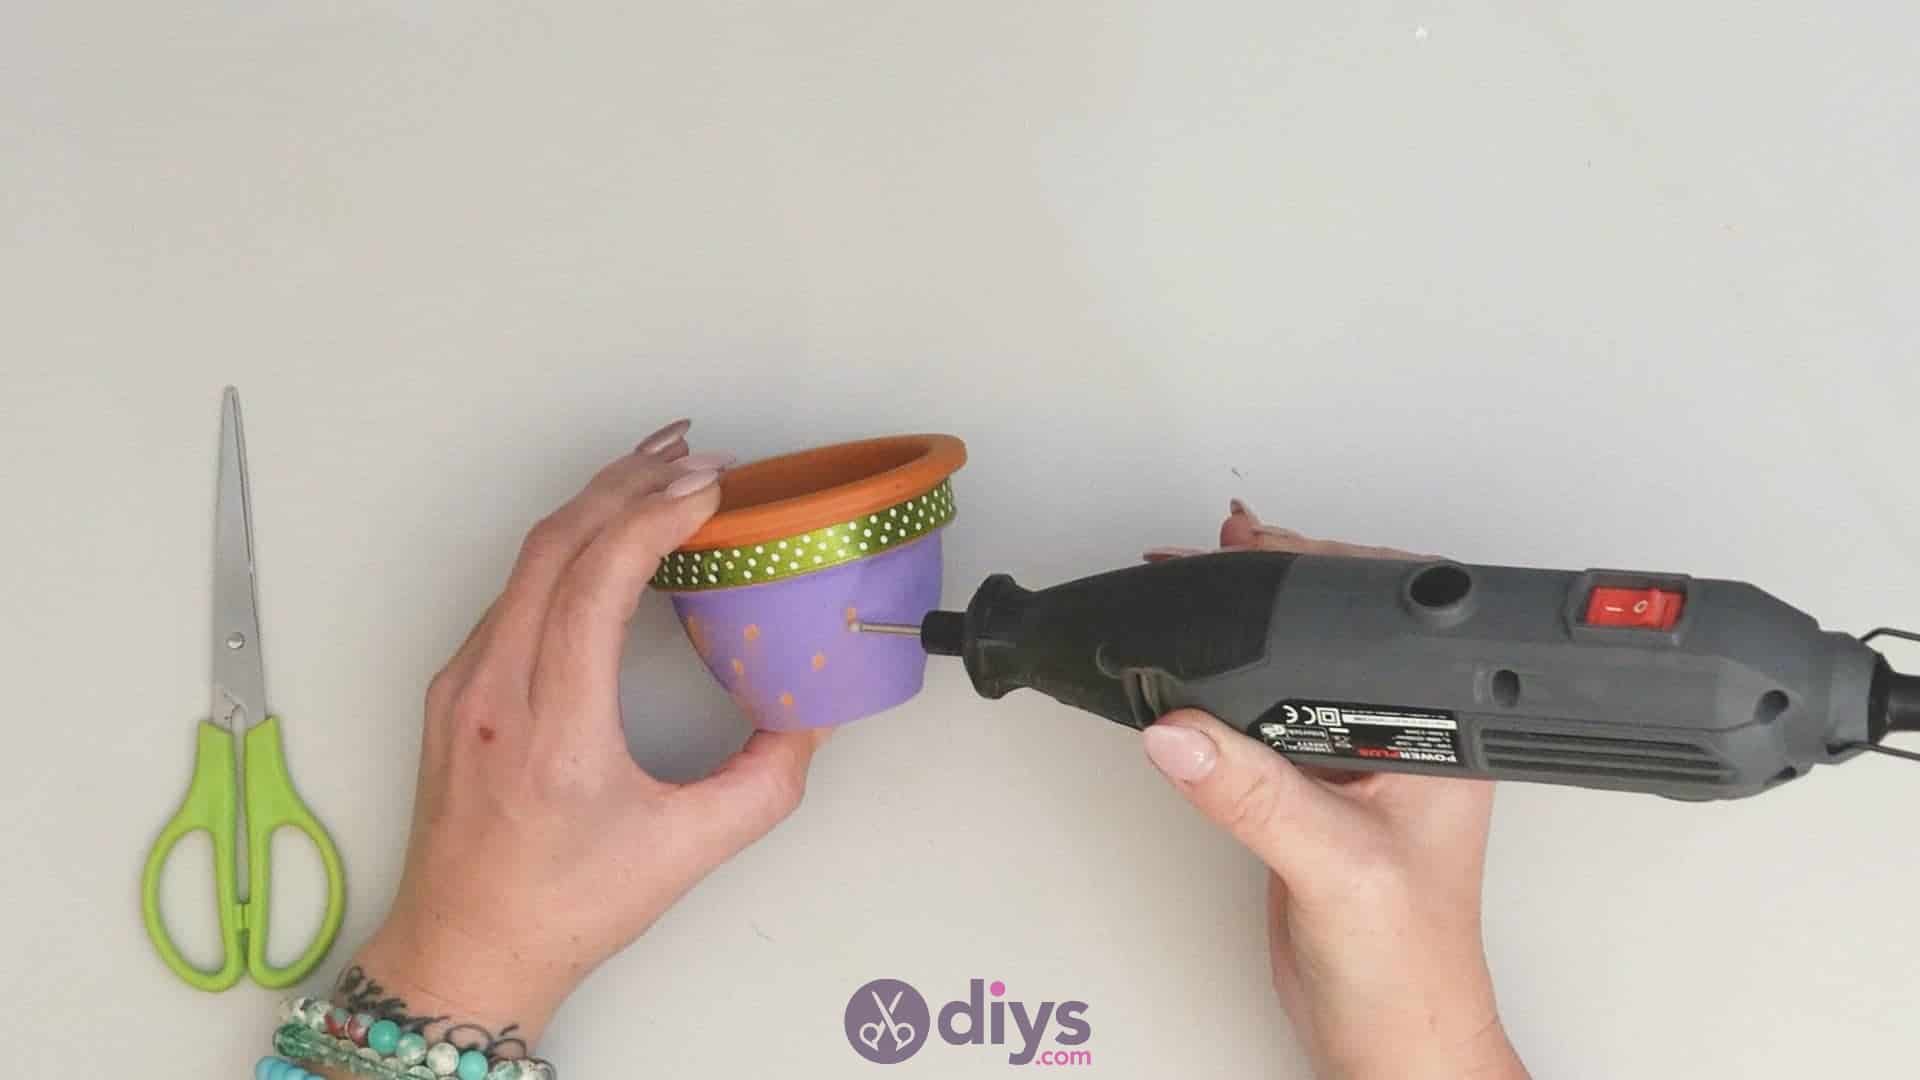
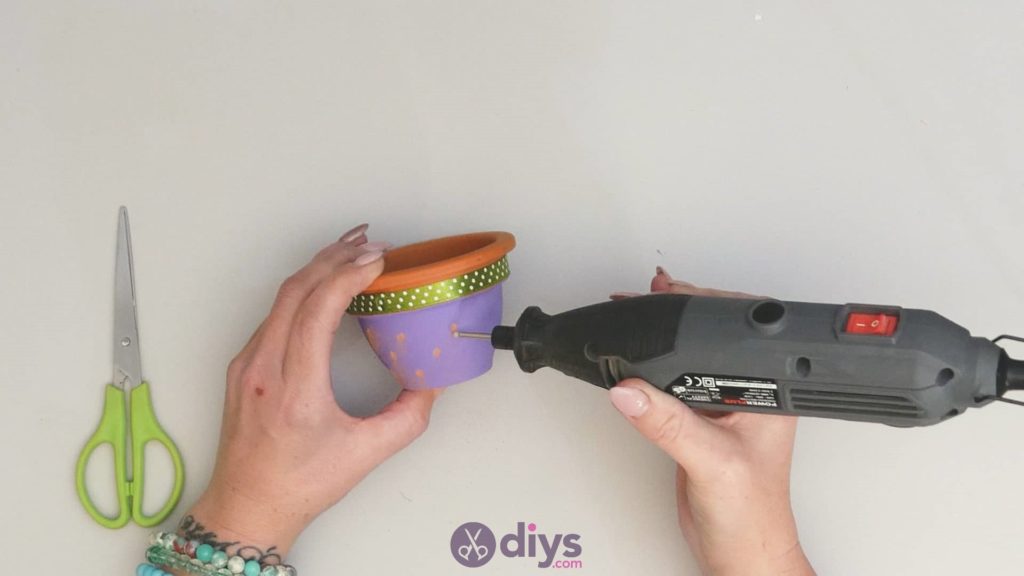
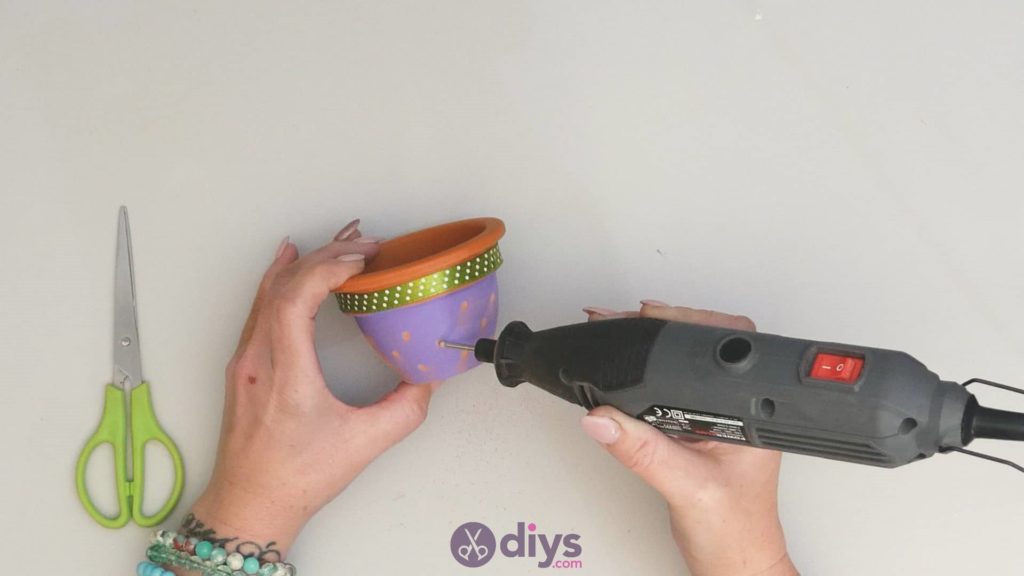
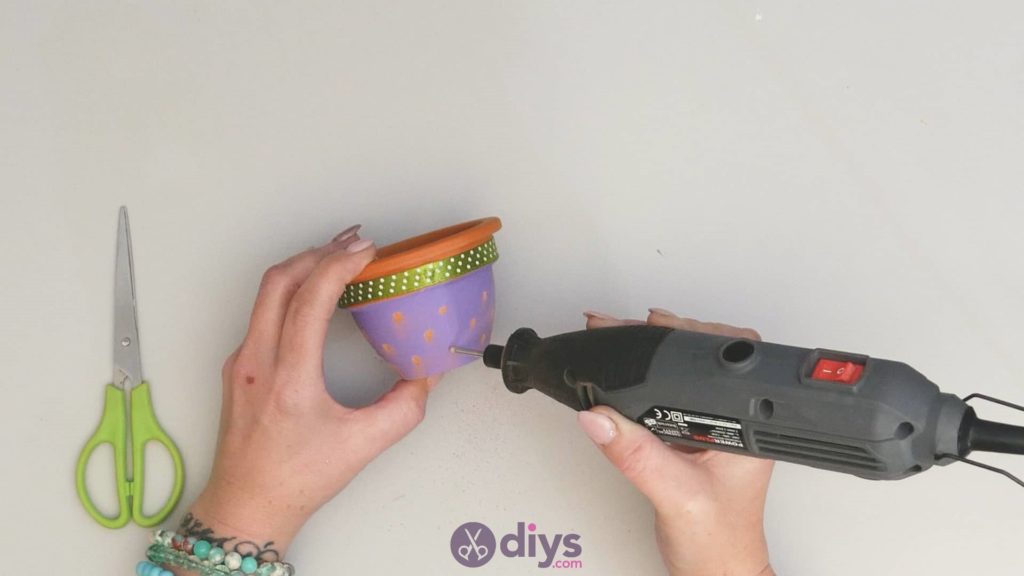
Step 4: start dremmeling
Use your small drill or bevel tool to make little textured dots all over the purple part of the pot, right in the actual terra cotta itself! Lightly touch the tool to the pot’s surface to chip out small dots, scattering your placement all over and all the way around like polka dots. This was the only part of the project I made sure I handled myself while the kids watched; they’re ready to use a hot glue on their own, but they’re notquite ready for power tools just yet, even small ones.

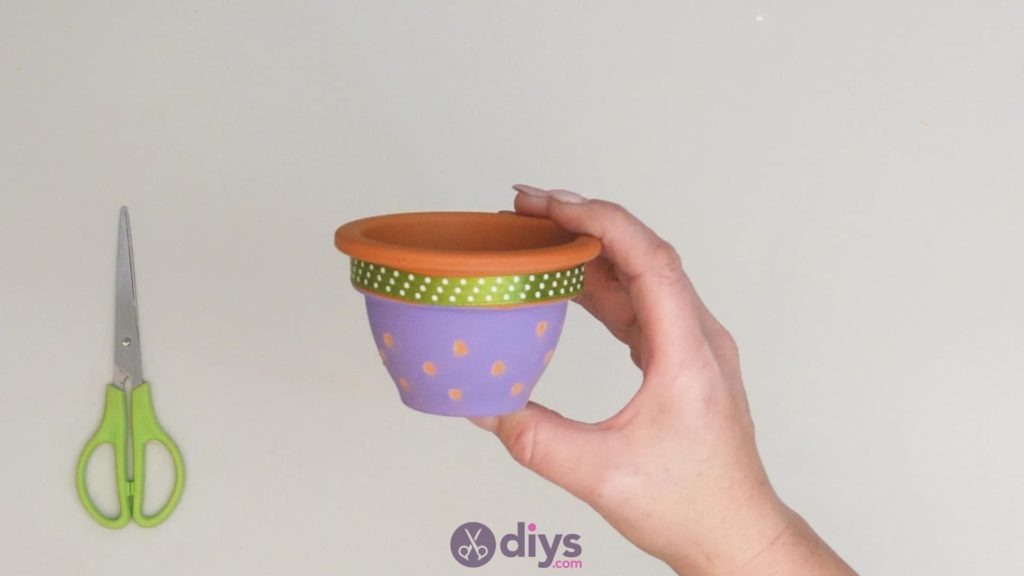
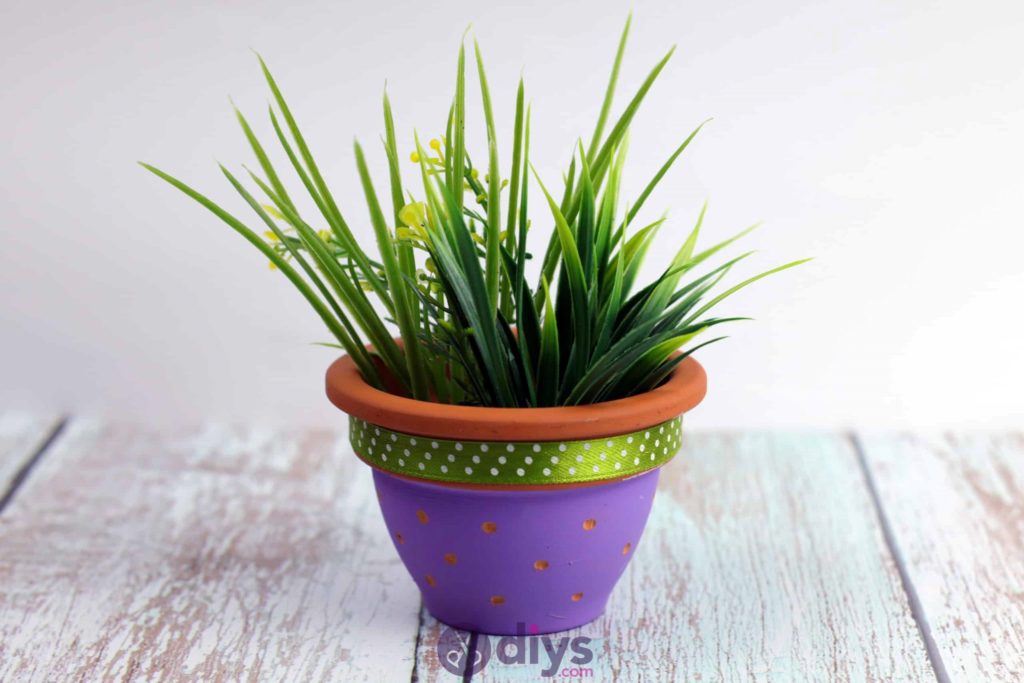
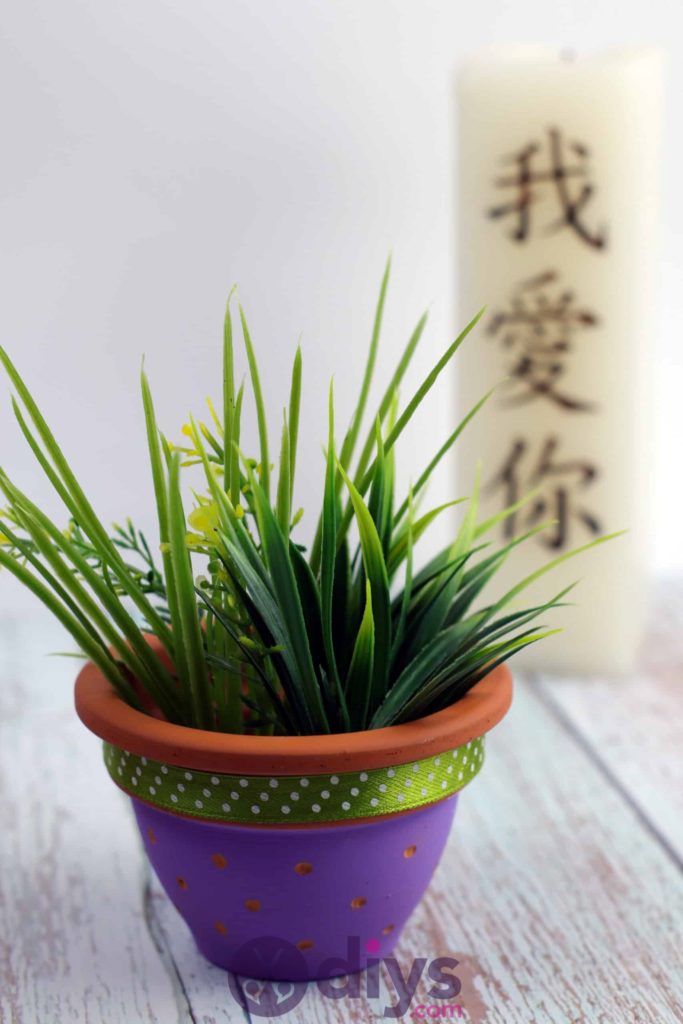
Your pot is all finished and ready to be filled and put on display! If you want, you could also dot a bit of paint in a contrasting colour into the little dips you made in your terra cotta with your bevel or drill, but I liked mine as they were. Just in case you’d like to try this project out for yourself, here’s a fantastic tutorial video to help you!