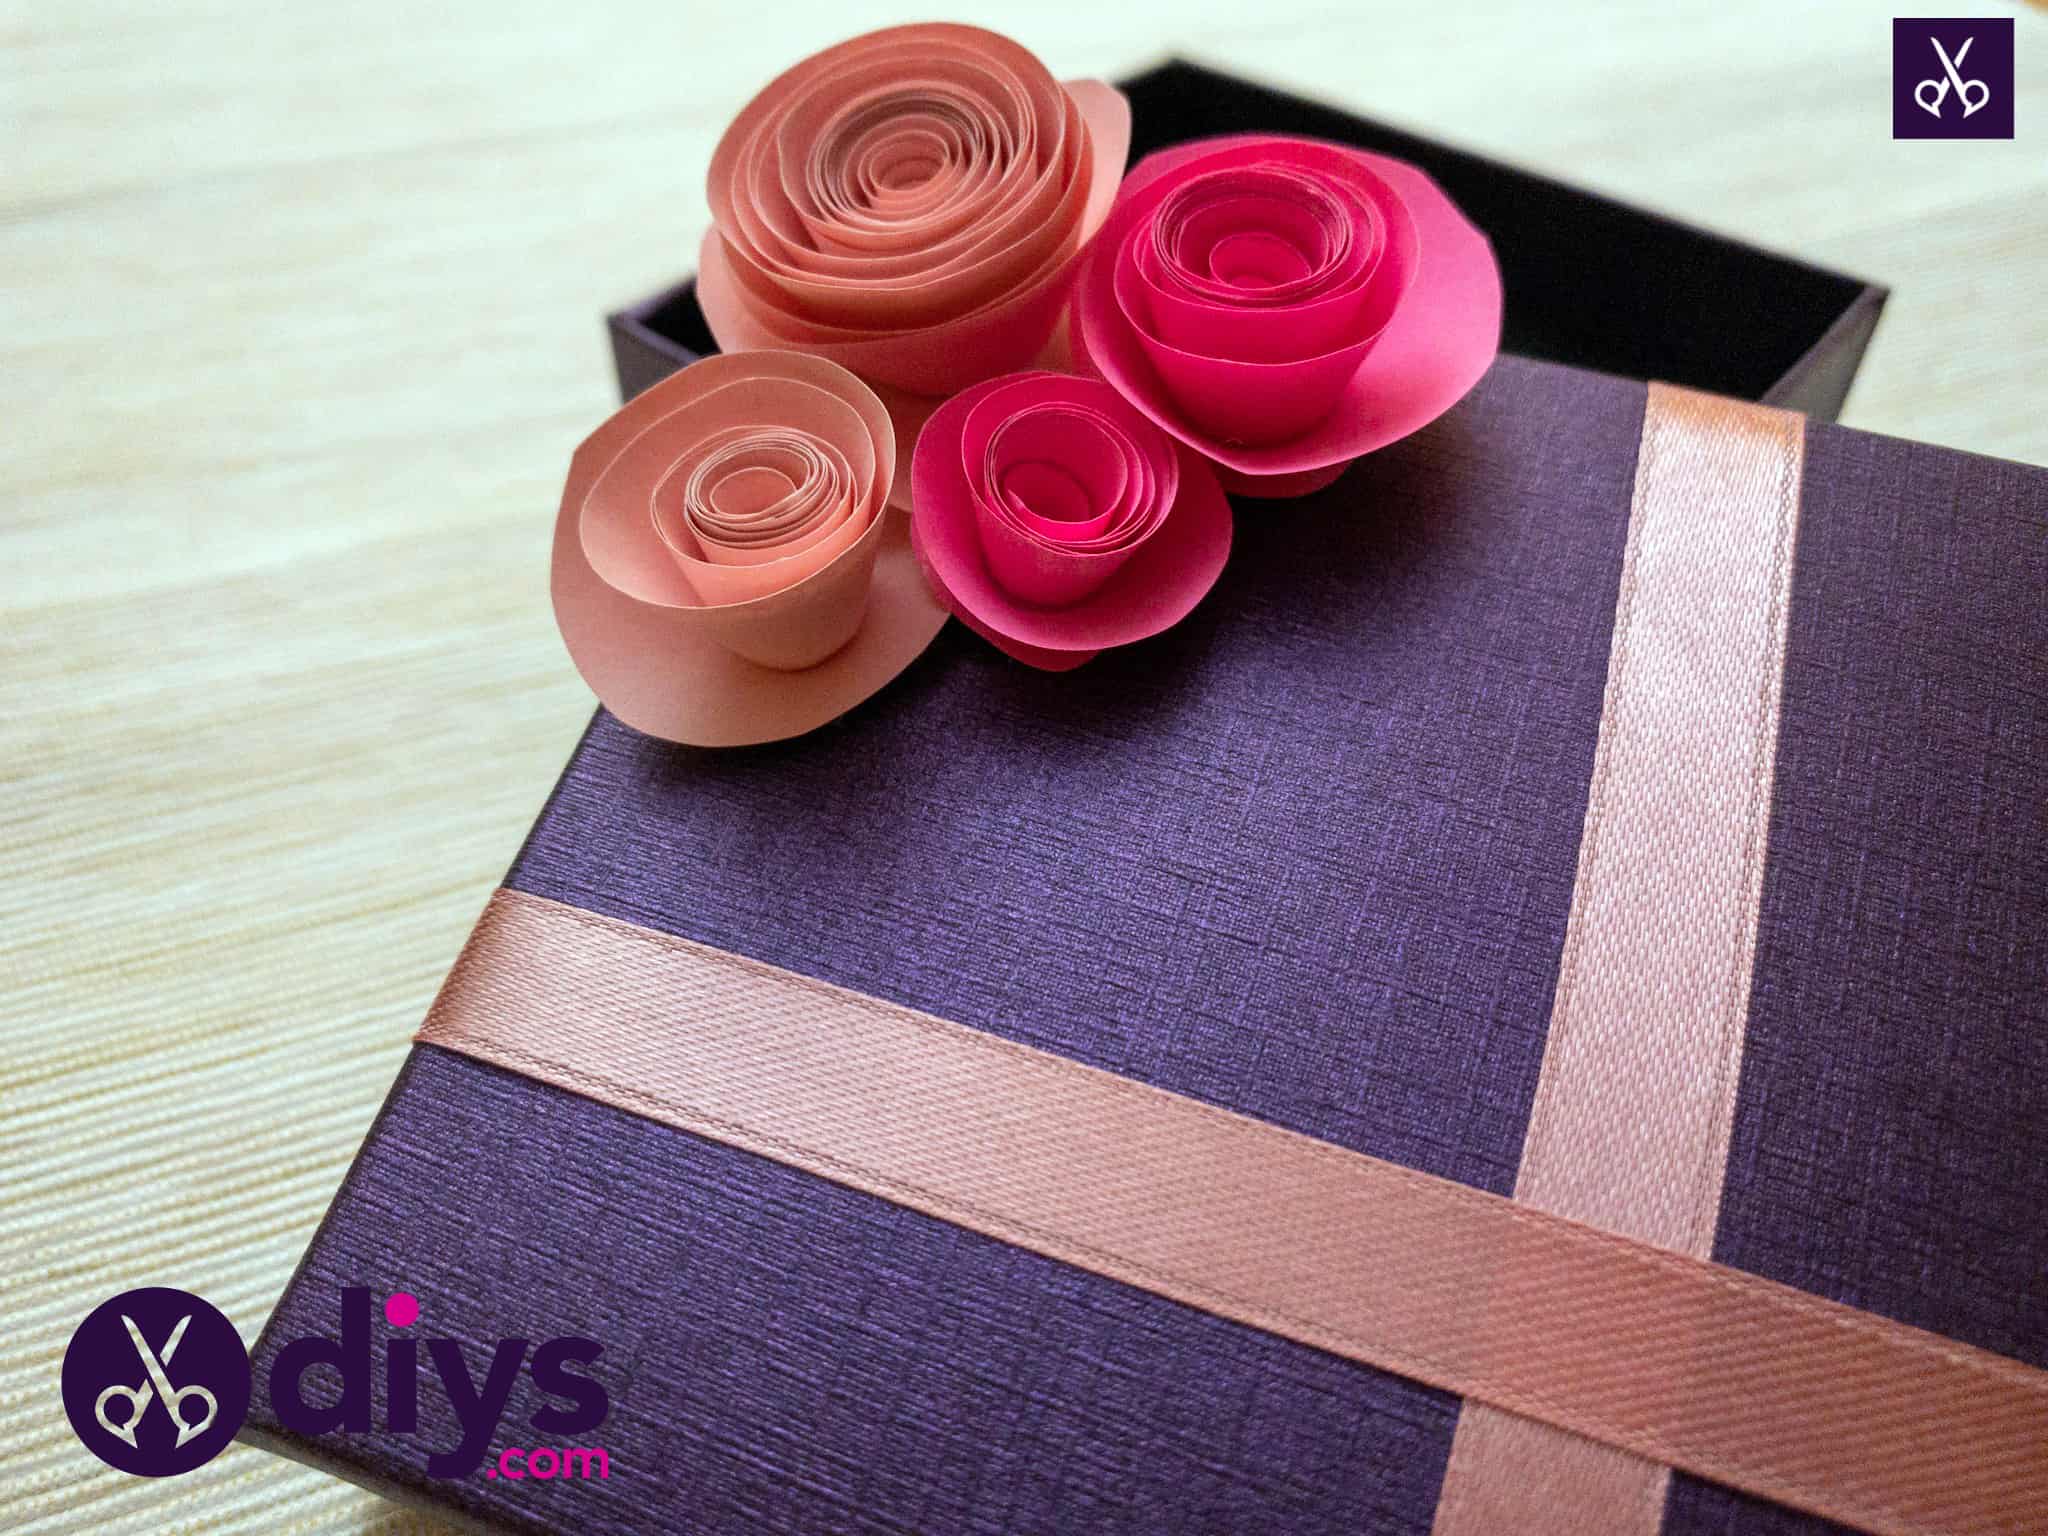
How to Decorate a Gift Box with Paper Flowers
Updated on November 19, 2025


A very close friend of mine recently celebrated their birthday and I already had an adorable gift for them, but I realized on the morning I was supposed to give it to them that I’d forgotten to buy wrapping! Instead of spending my day before their dinner running around to stores to buy gift paper or bags, I decided to make them a little DIY gift box myself. I was very pleased indeed with the results, especially with the spiralled flowers I chose to try, since I hadn’t actually done that technique before!

Here are all of my DIY steps laid out for you to follow, so that you might try your hand at making a DIY gift box too. If you find that you’re a more visual learner rather than a person who learns well following written words, scroll down for the video version of this tutorial near the end!

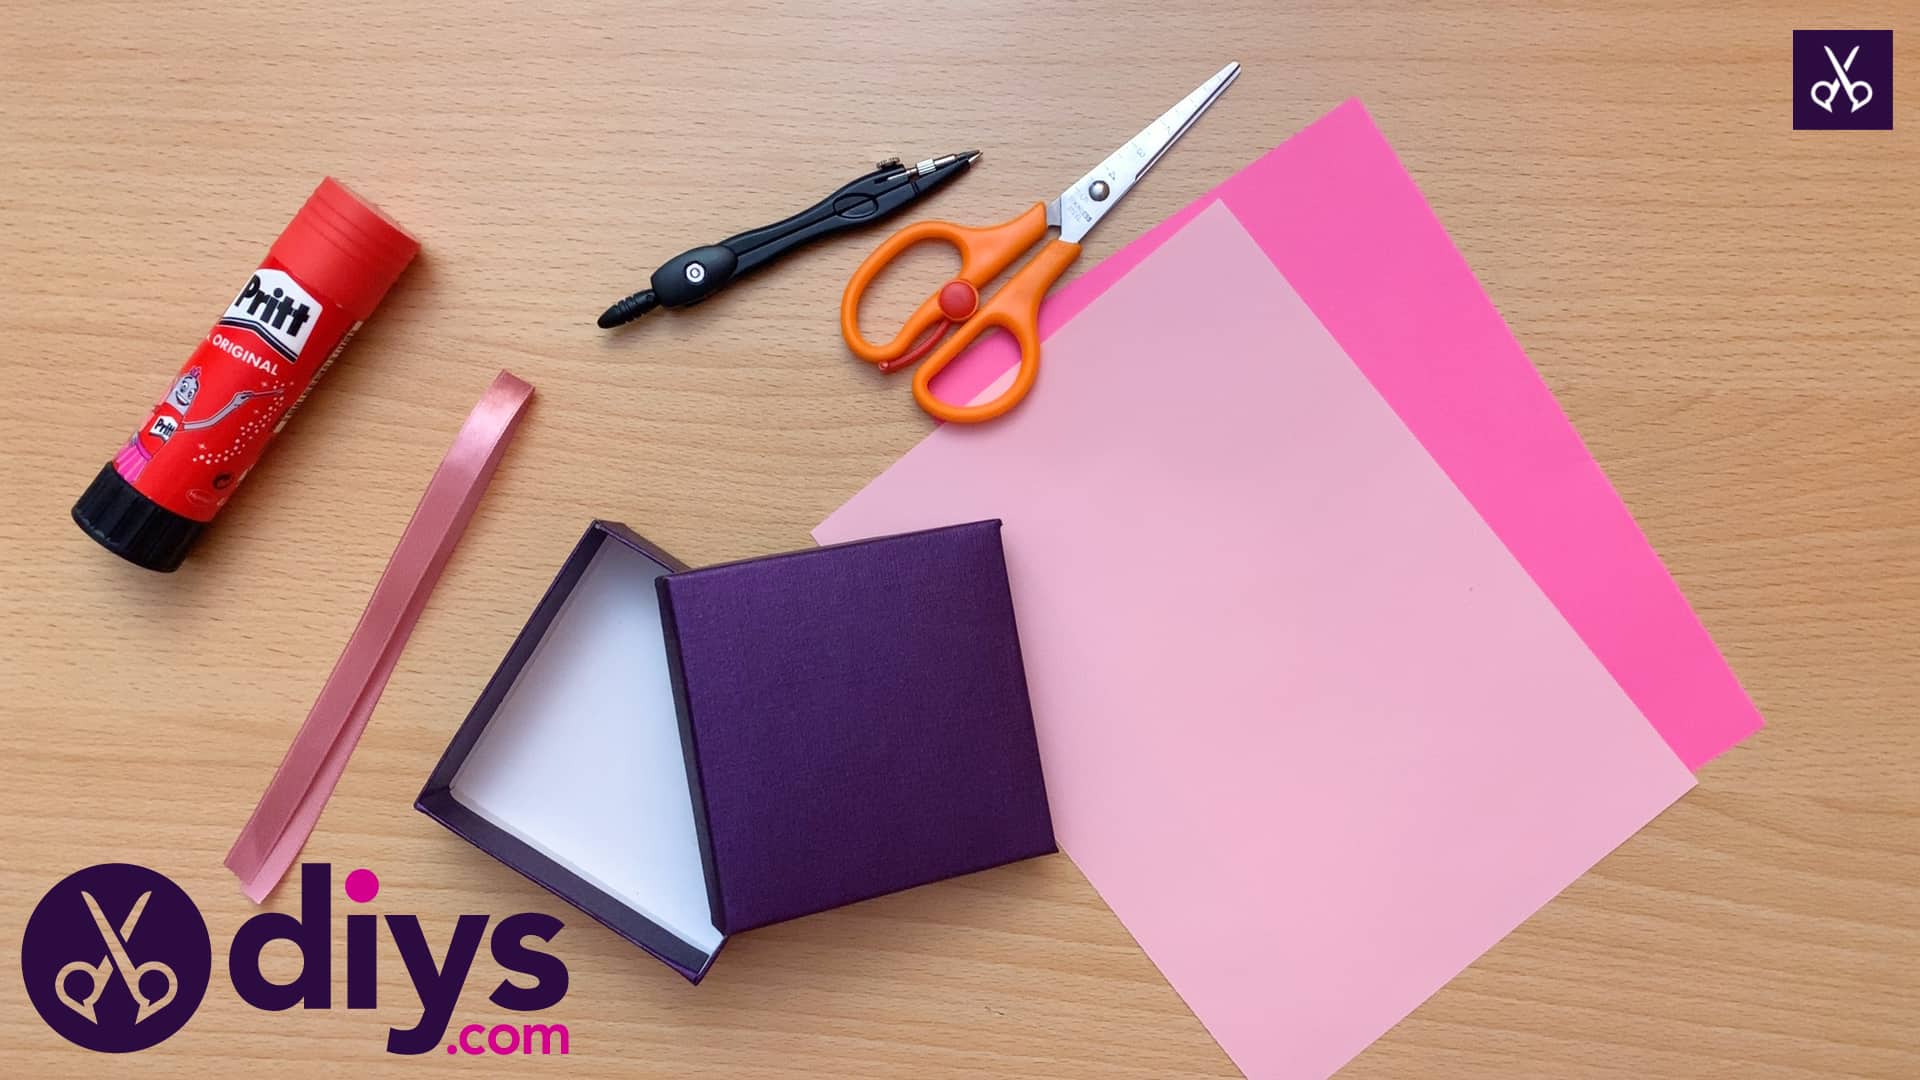
For this project, you’ll need:
- Coloured paper (in shades of your choice)
- Calipers
- Scissors
- Glue stick
- Gift box
- Ribbon
Step 1: Gather your materials!
I started out using a lovely purple jewelry box that I received when I bought myself a necklace a while back. I liked the colour of the box so much that I kept it, and now I’m very glad that I did. The piece of ribbon I used was also one that I’d upcycled from something else; this time a gift basket I was given in the spring.

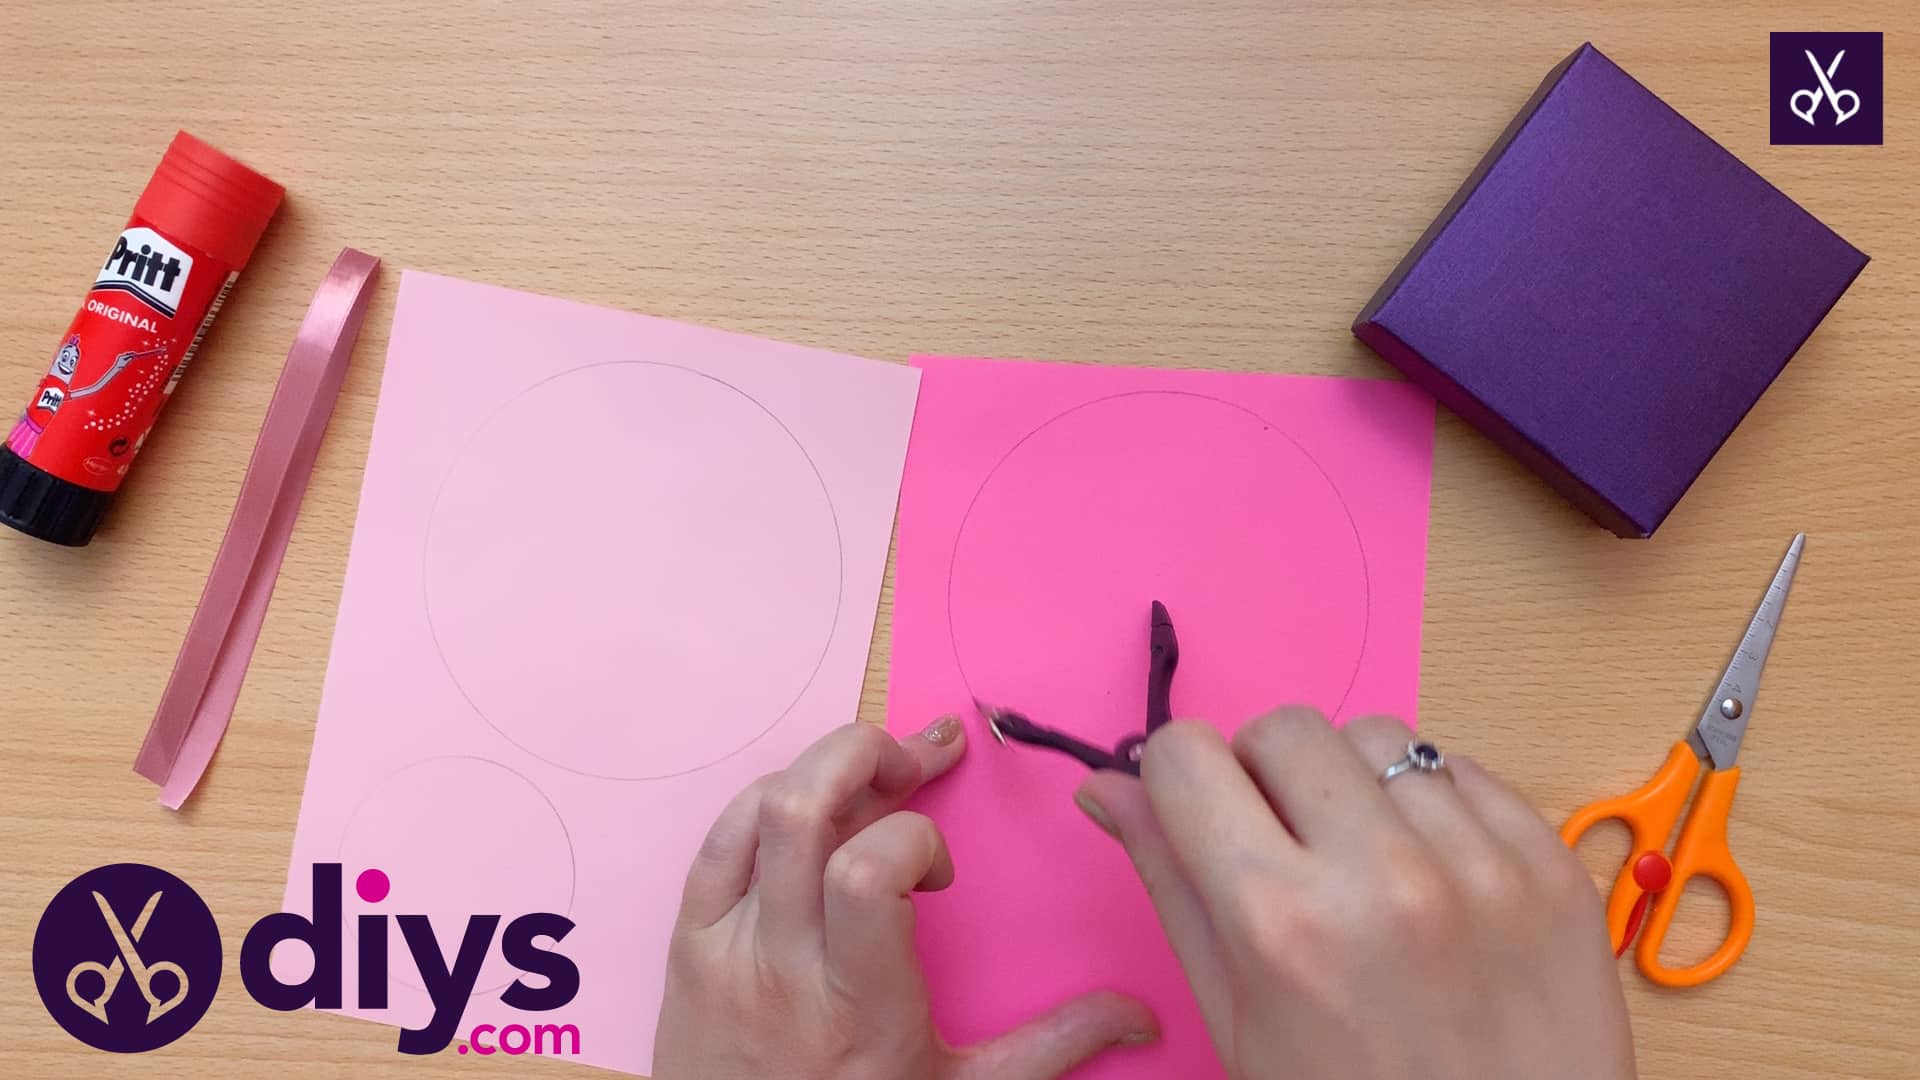
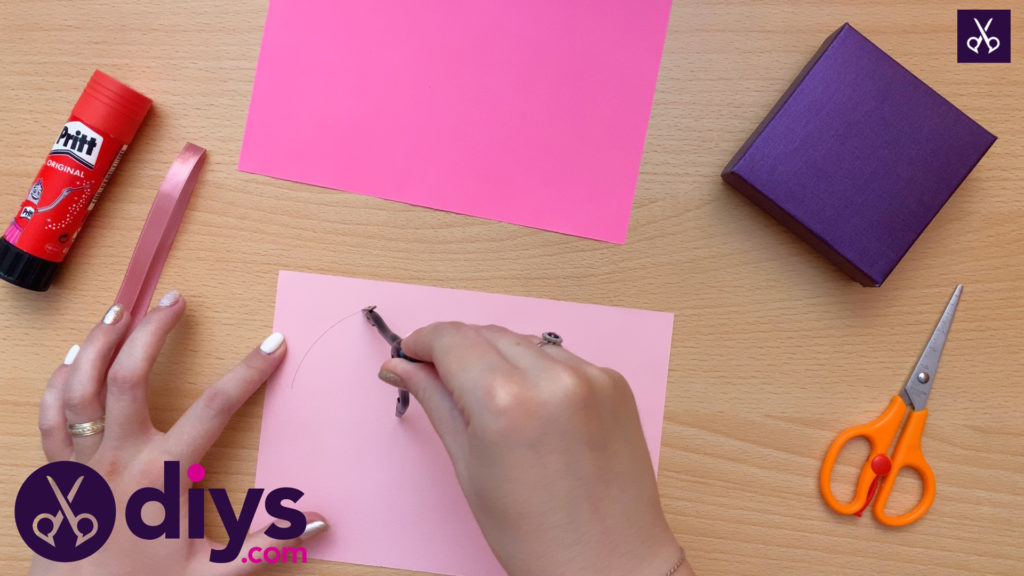
Step 3: cut circles
Widen your calipers until they measure about two inches apart. On each of your pieces of coloured paper, created a circle in one corner, leaving enough space across the page to make other, smaller circles. Then, decrease the width of your calipers to about an inch (or whatever will fit on your page) and make a smaller circle on each next to your bigger circles.

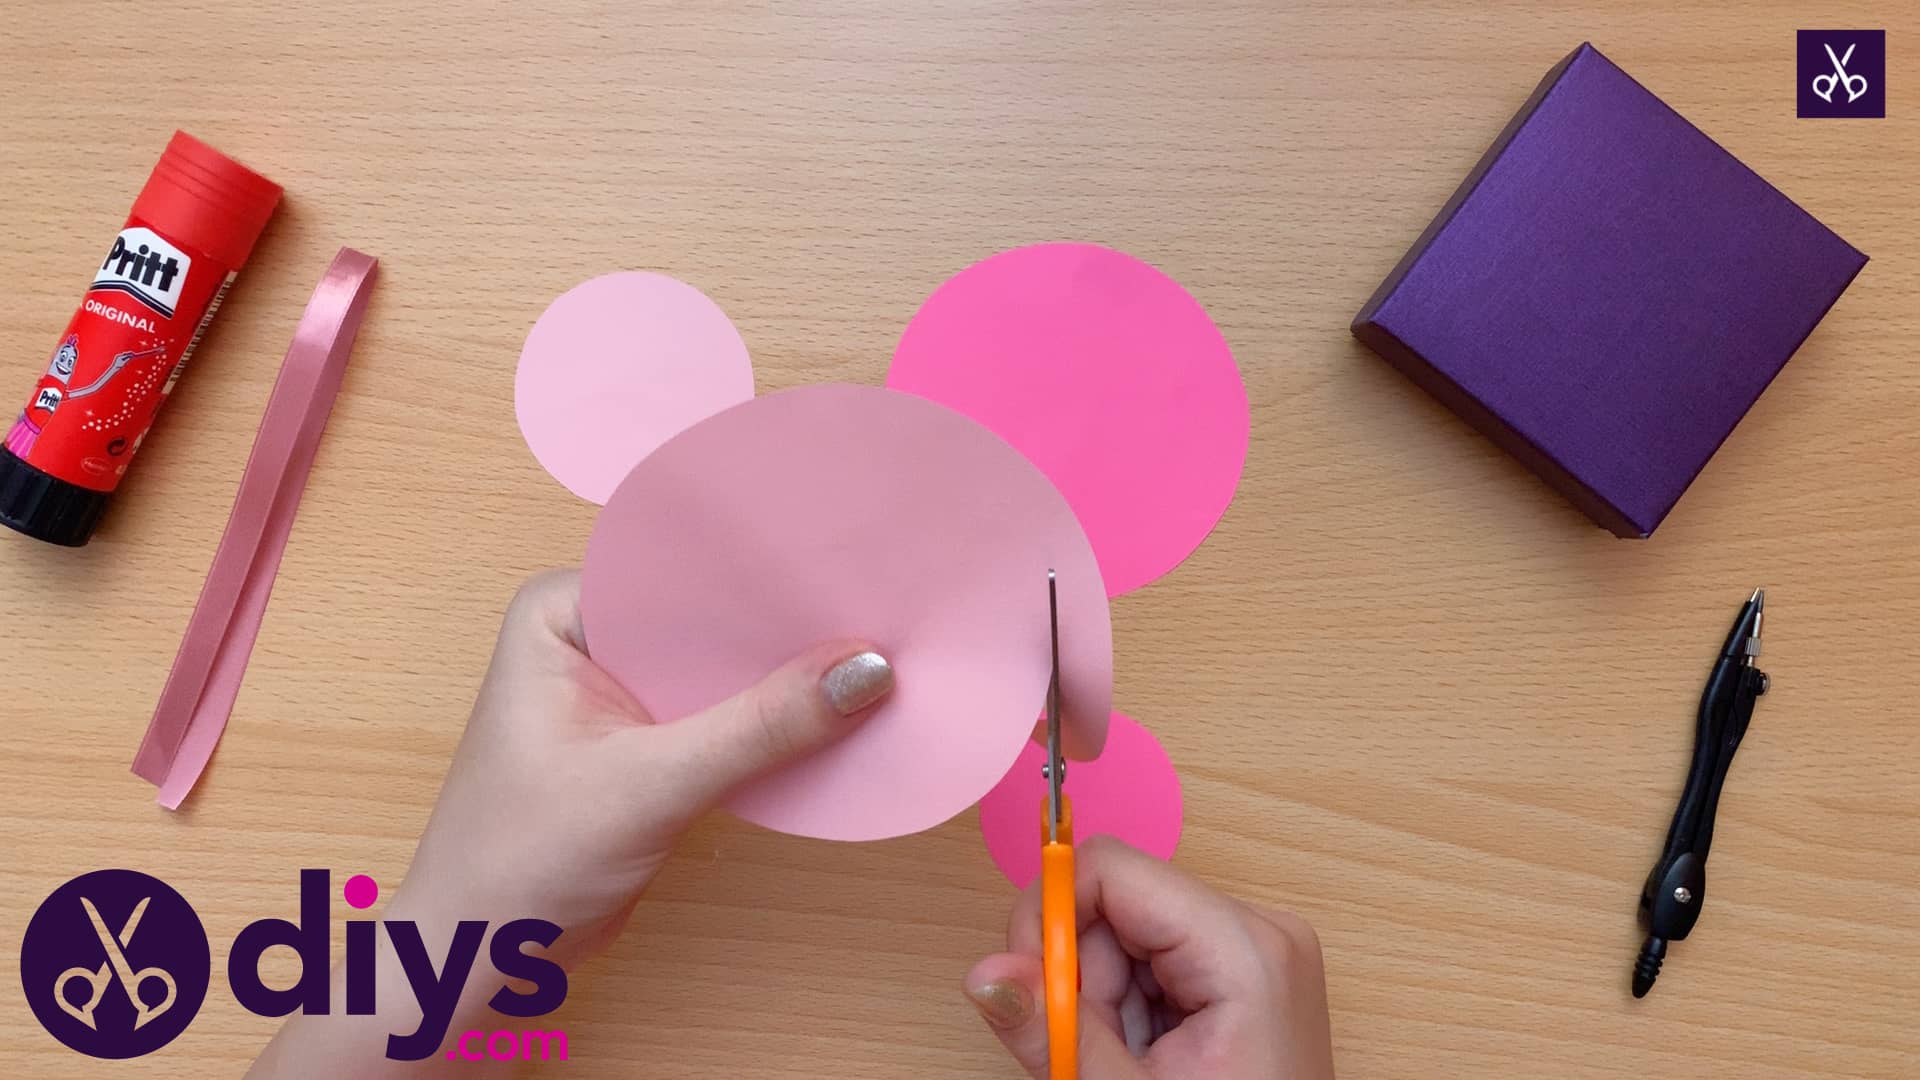
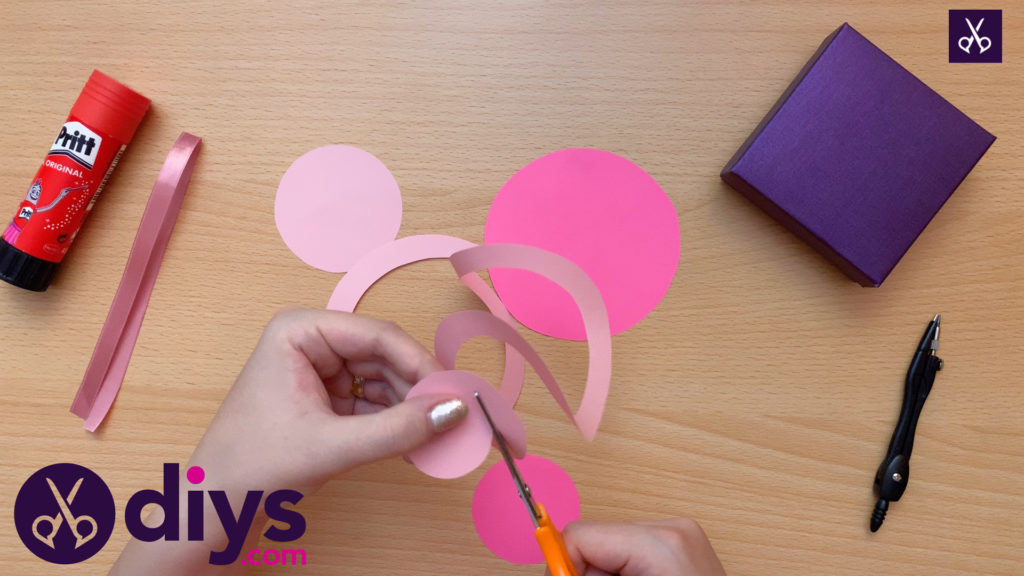
Step 4: cut into spirals
Cut out each of your circles from both pages. Then, take your first circle and cut it into a spiral, starting at the outer edge and, making your strip about half an inch wide, cutting inward towards the middle. We cut and spiralled our paper flowers one at a time to make sure nothing got tangled, but you could do all of your cutting at once if you prefer.

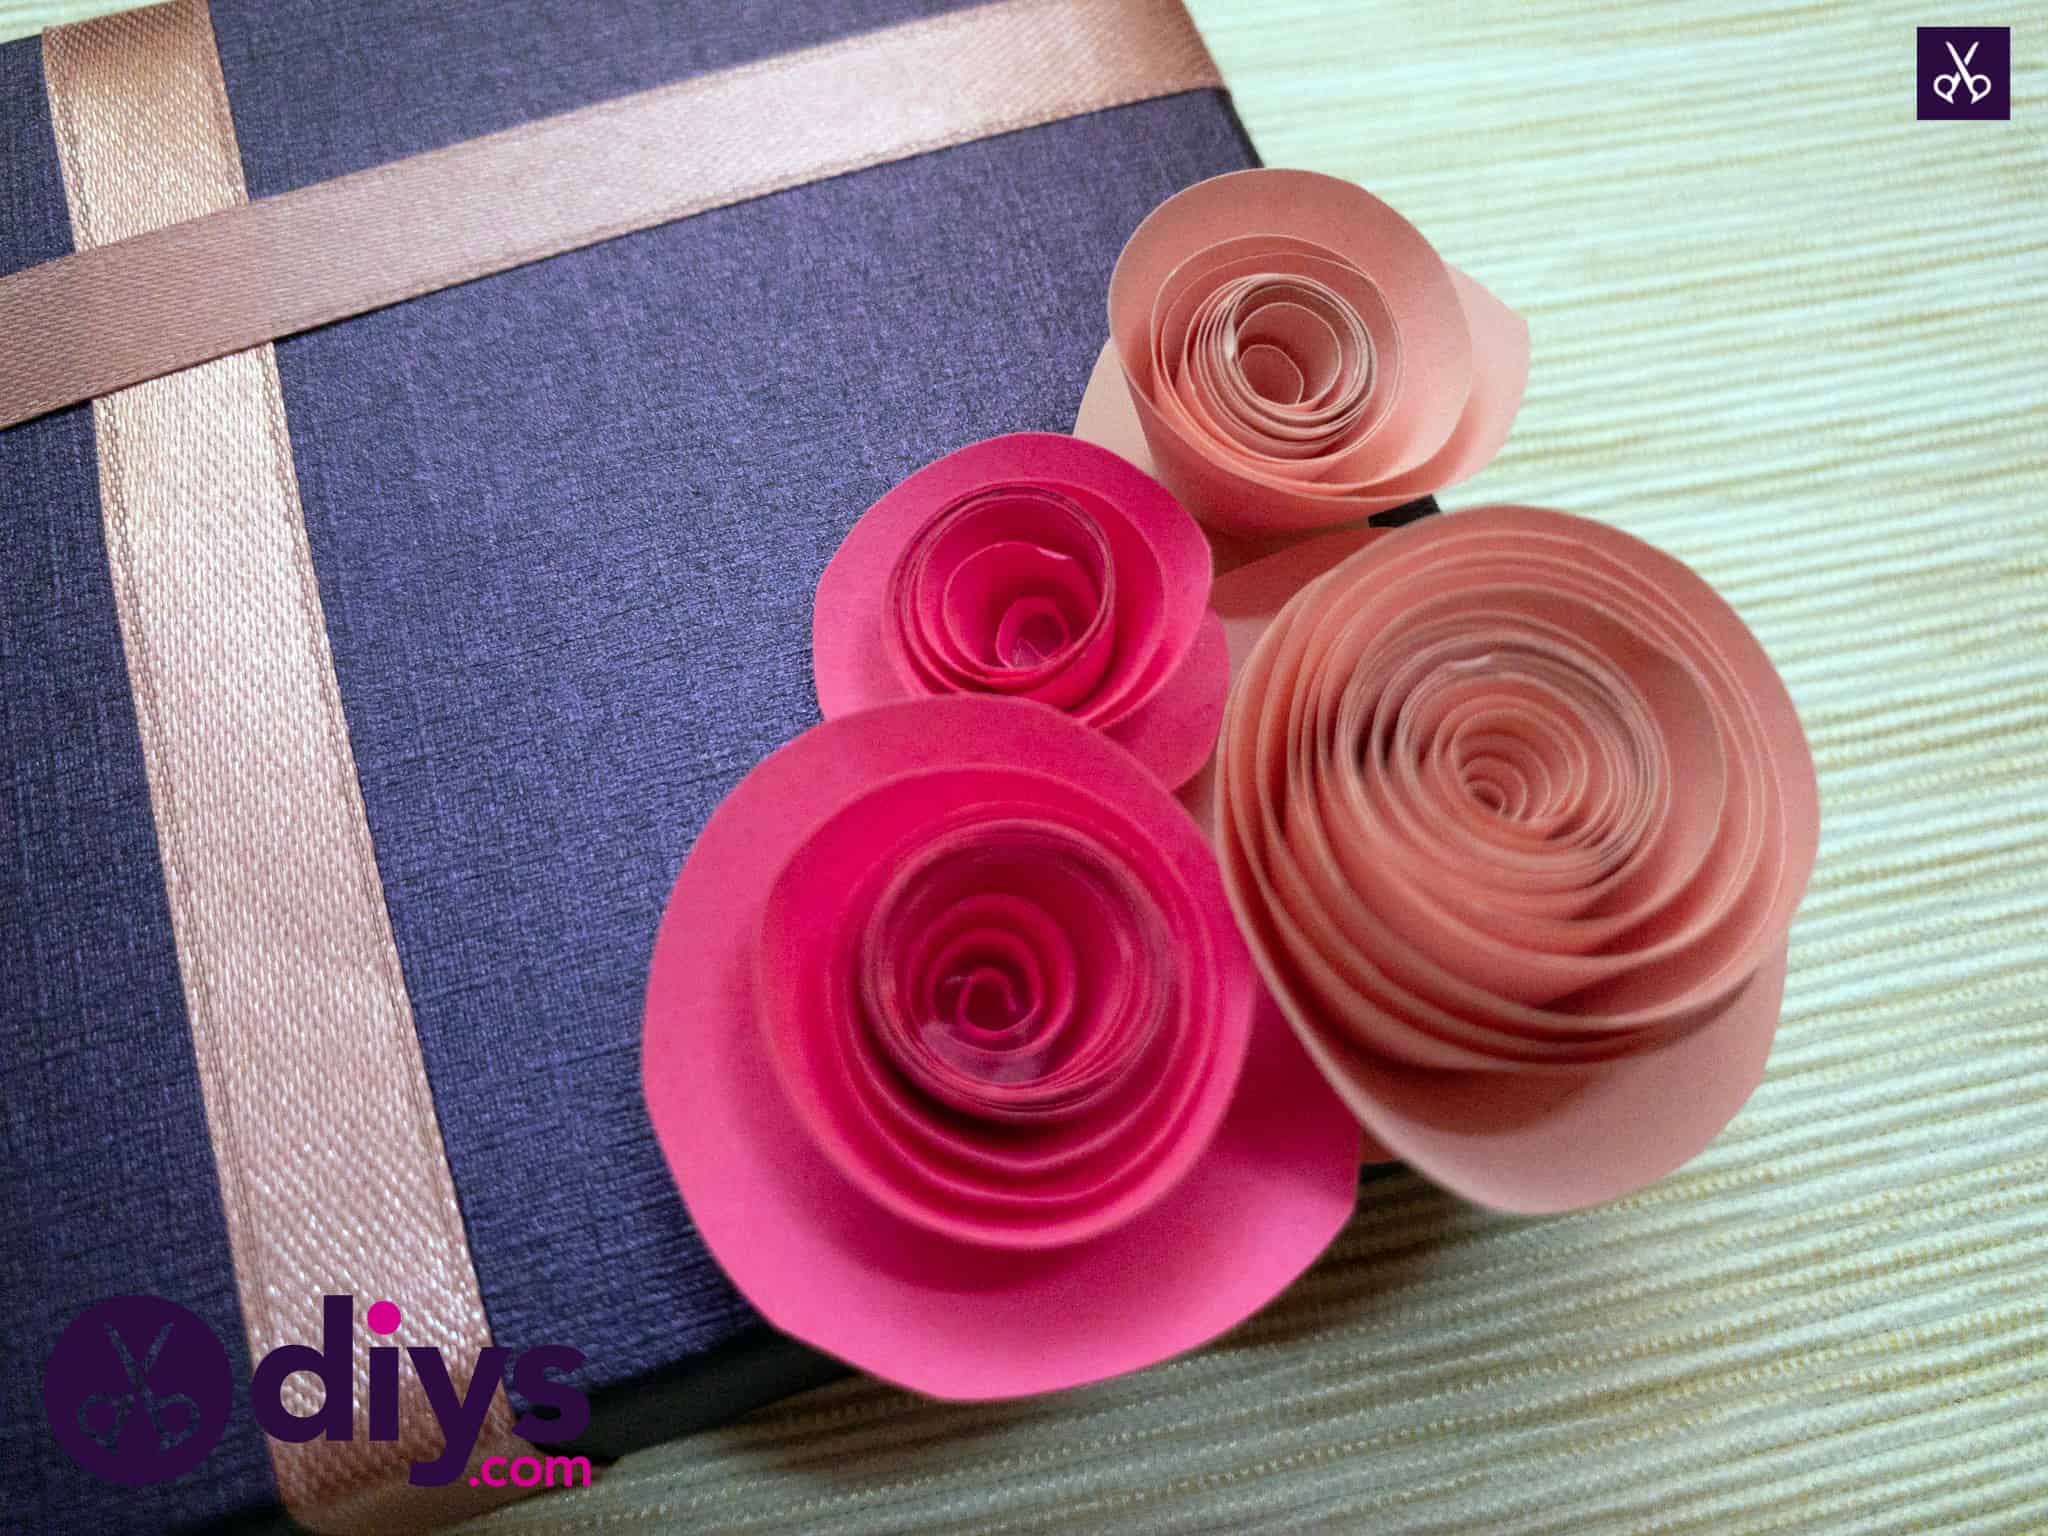
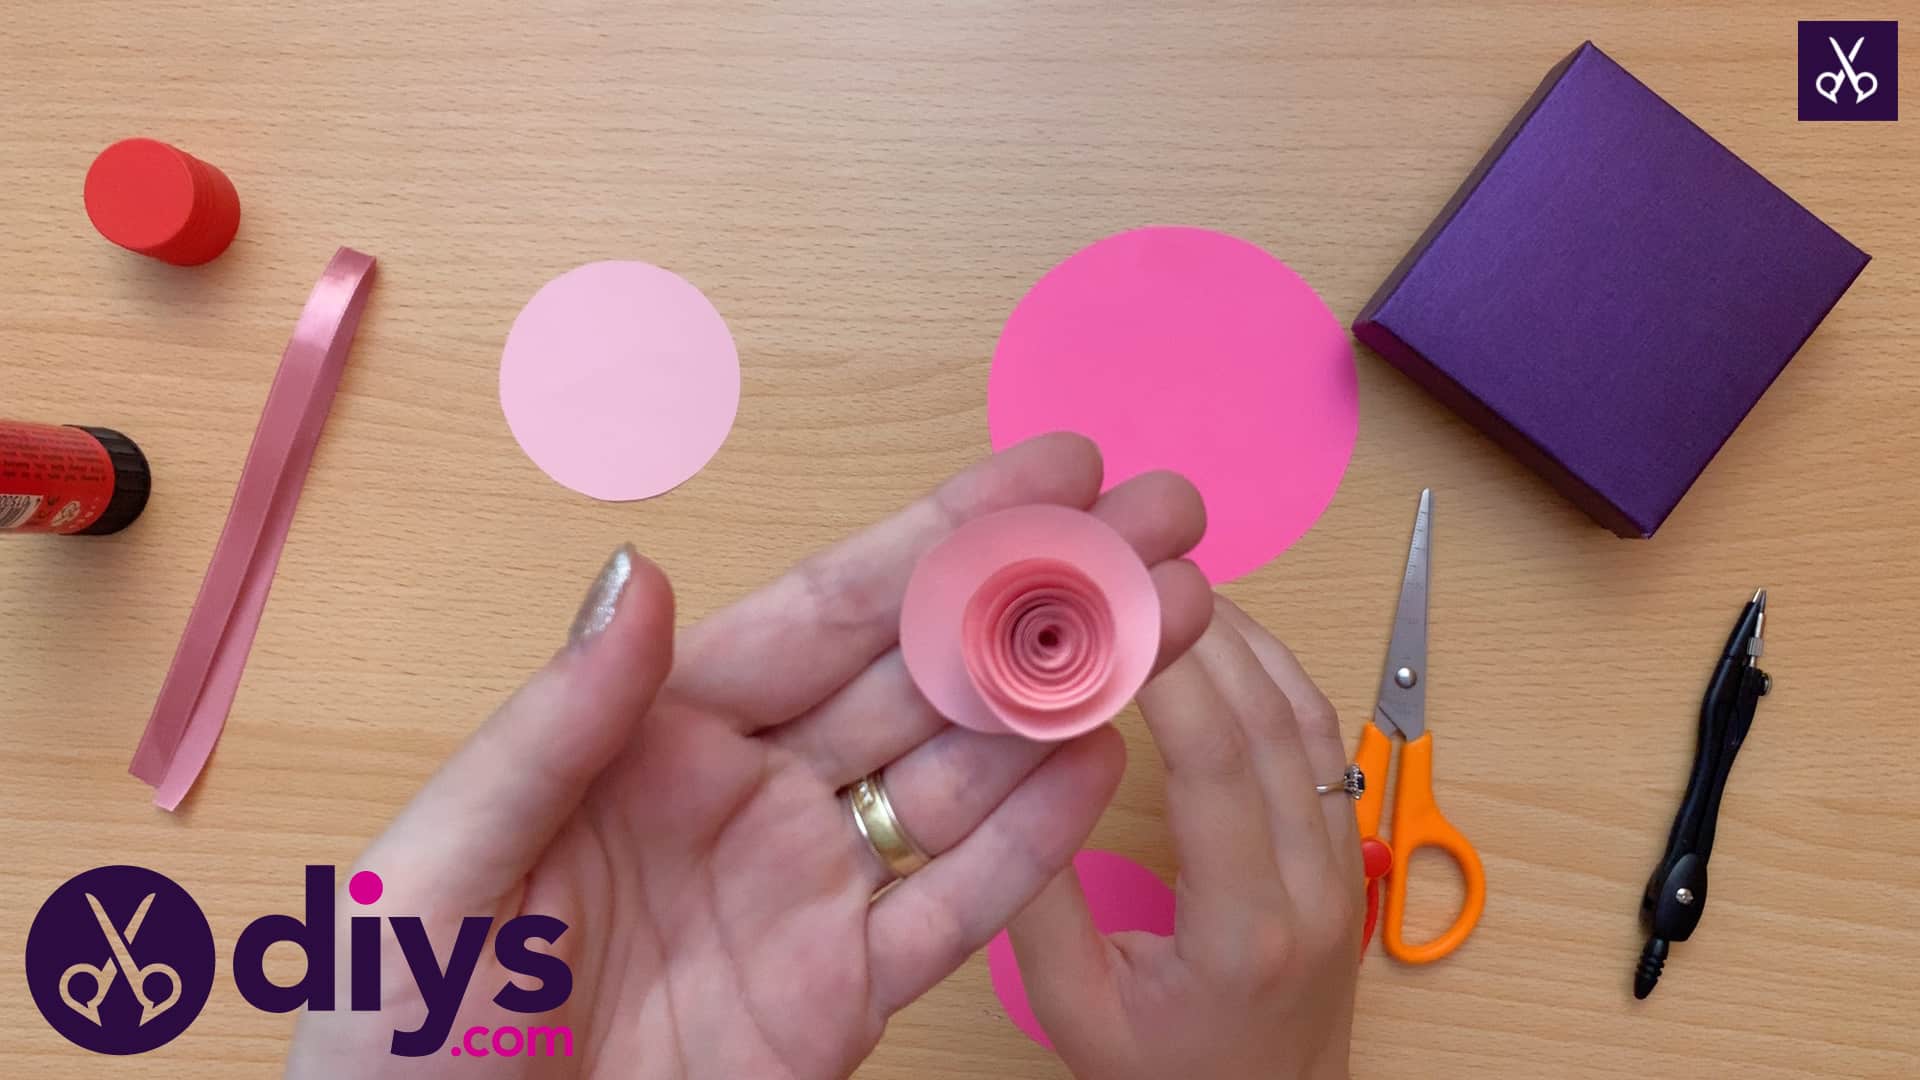
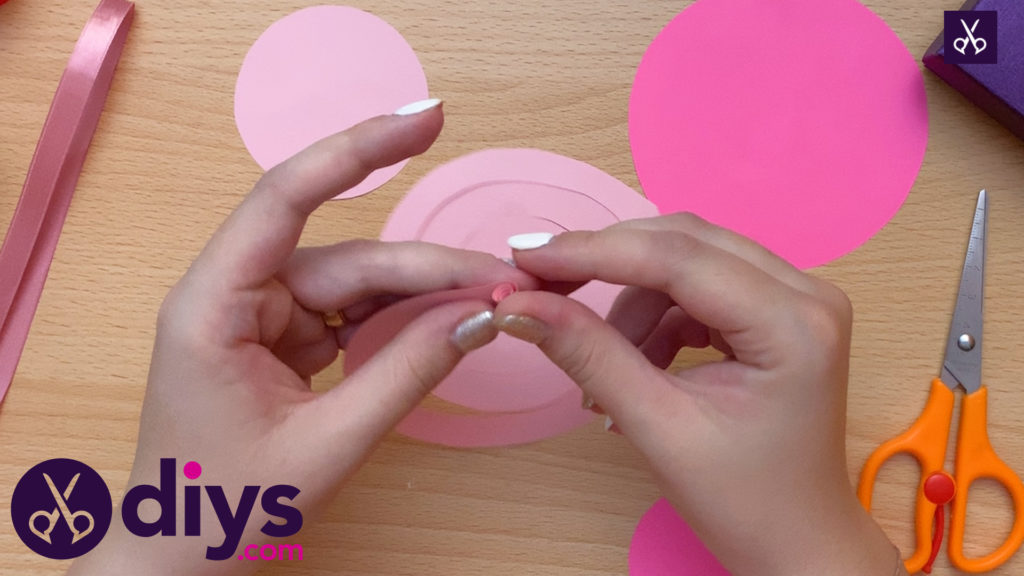
Step 5: Spiral your flowers!
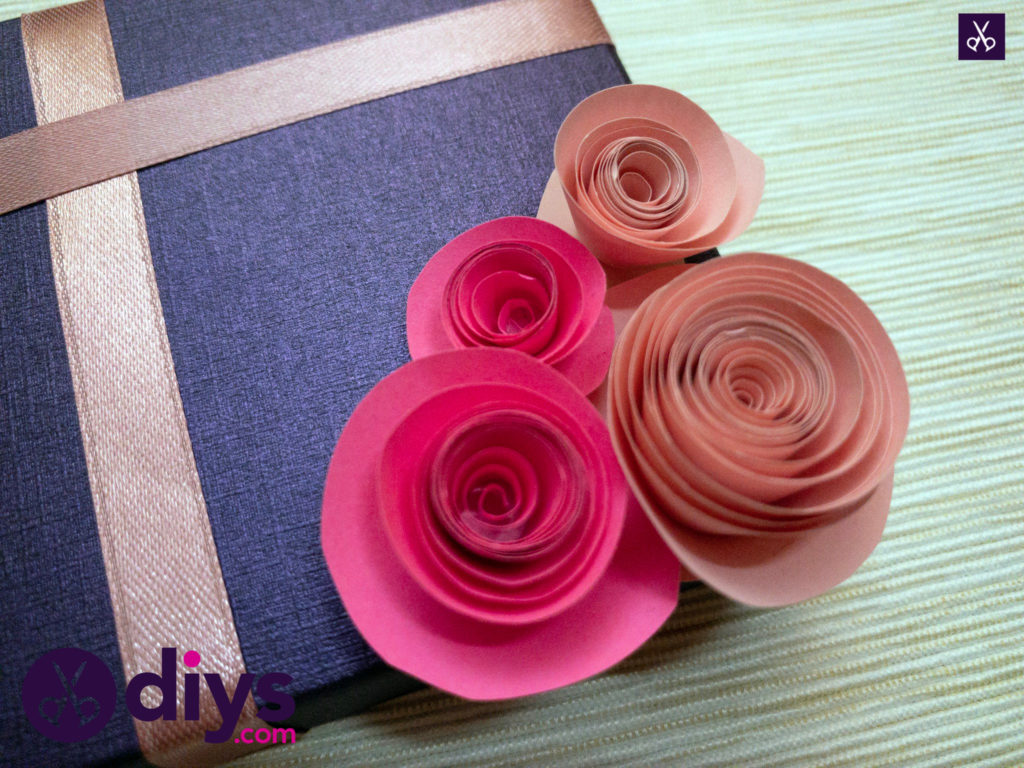
Starting in the center, tuck the middle end in under itself and start wrapping the curving paper strip around and around, twirling it inward as you go. The wrapped piece will get larger as it layers itself in a little pointed cone shape. Once you’ve spiralled the whole thing, let it naturally loosen itself a little bit so it widens slightly and looks like a blooming flower. Follow suit with all four of your circles (you might also choose to make more, if you really want to, but we liked the idea of gathering four in the corner). Make sure you glue the little outer edges down so your flowers don’t widen too much and start to unravel.

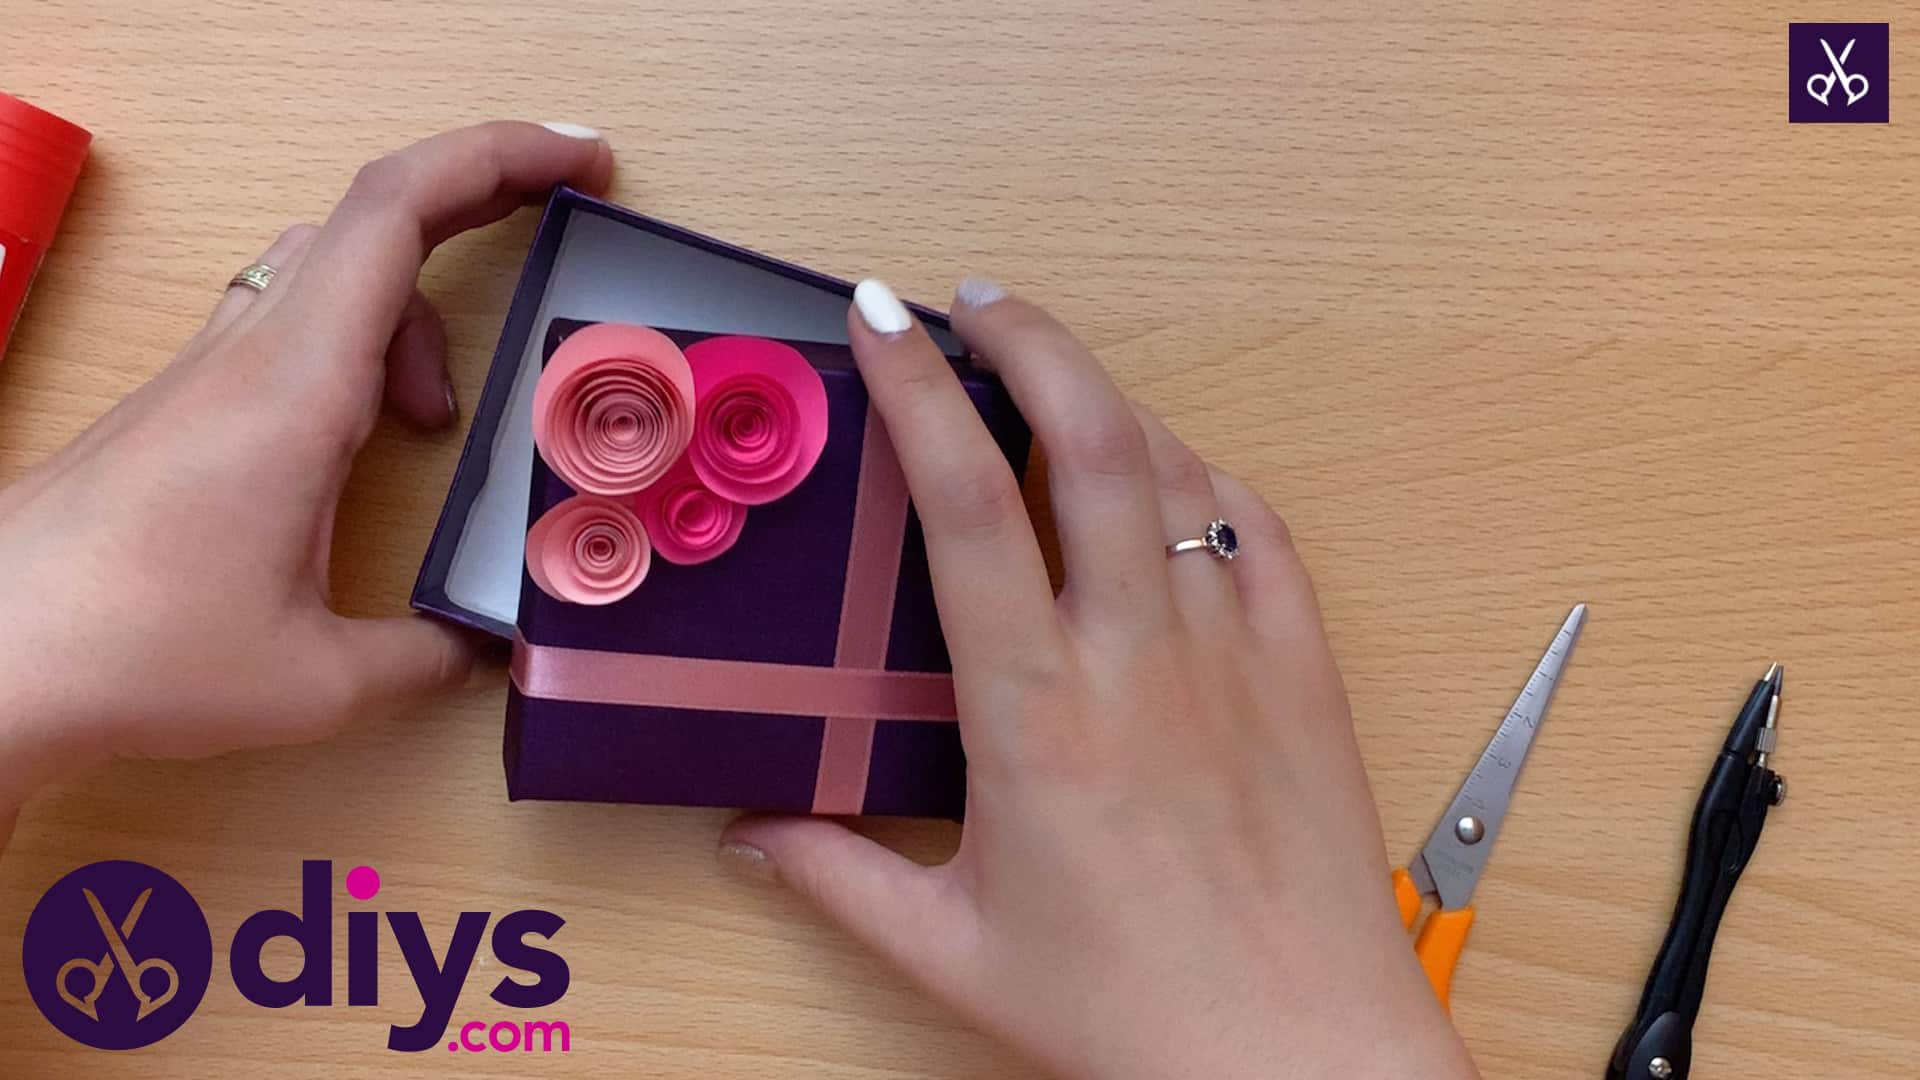
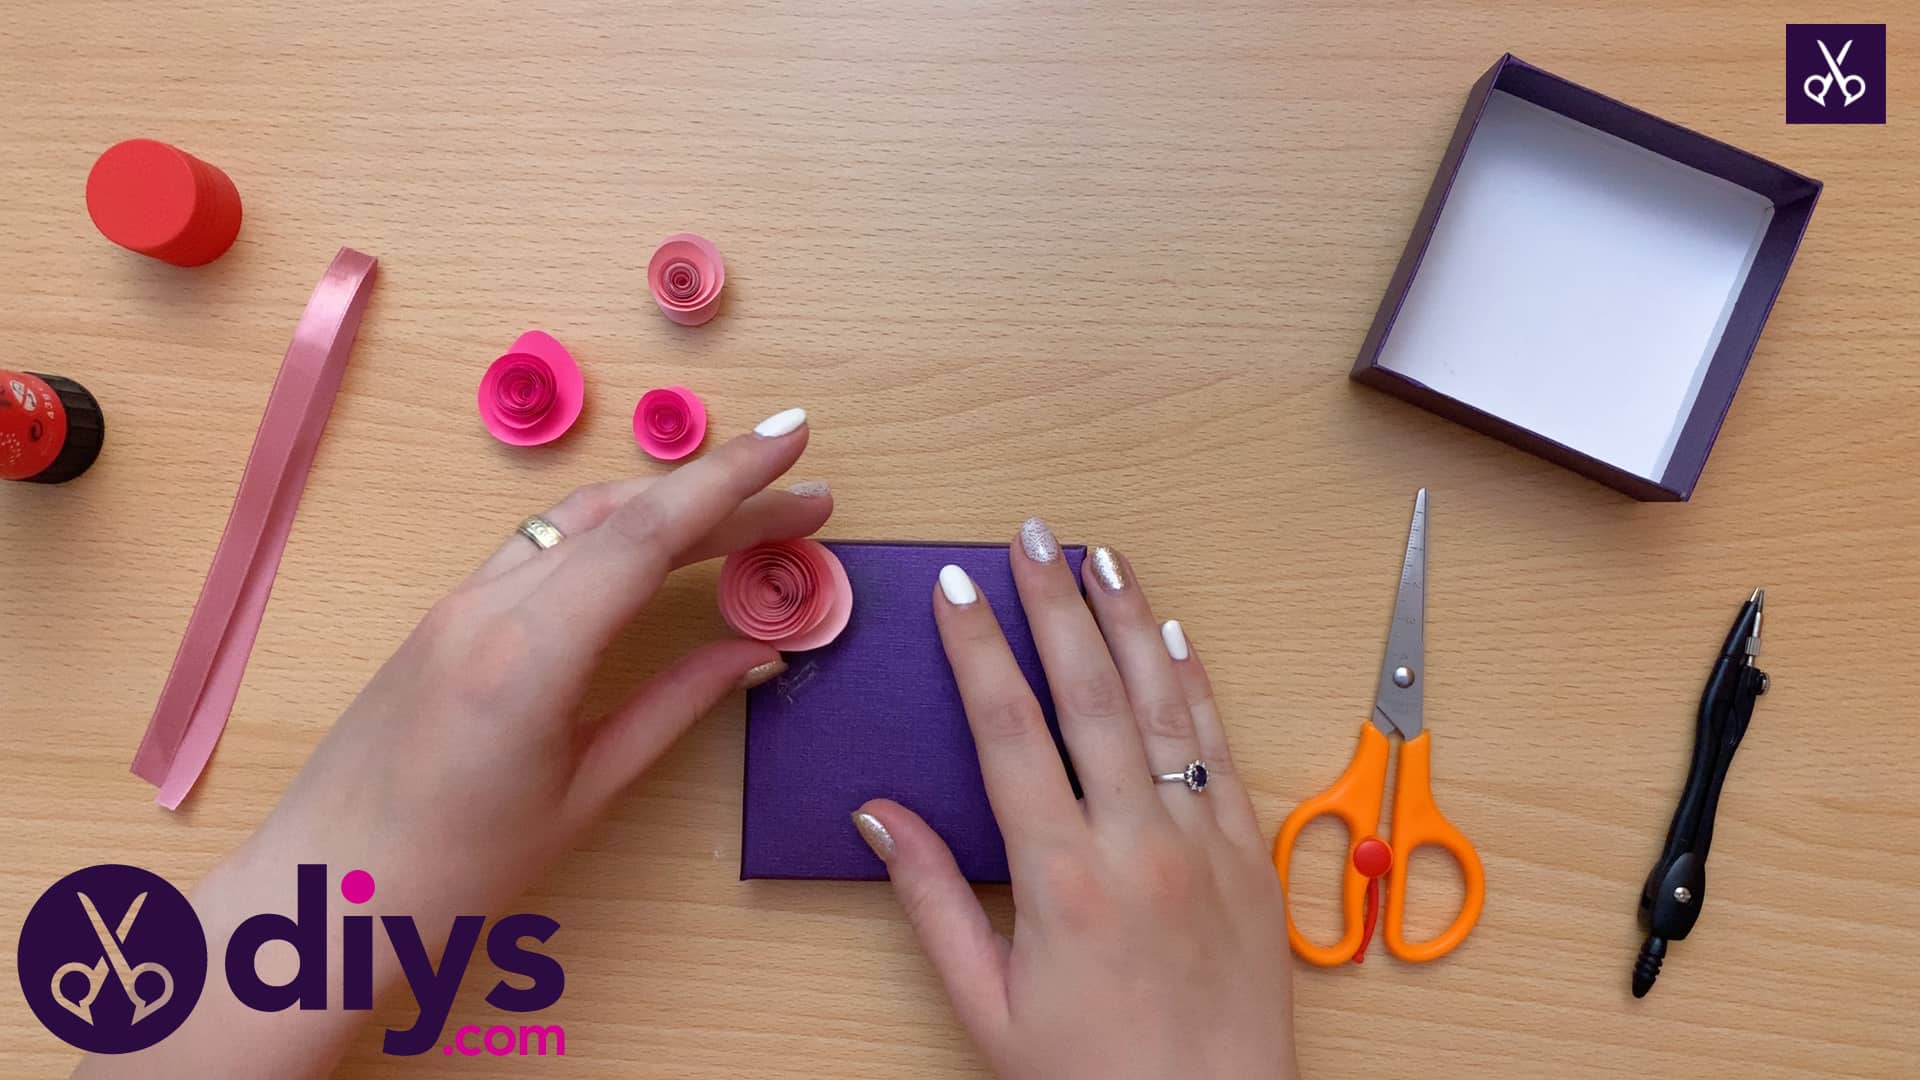
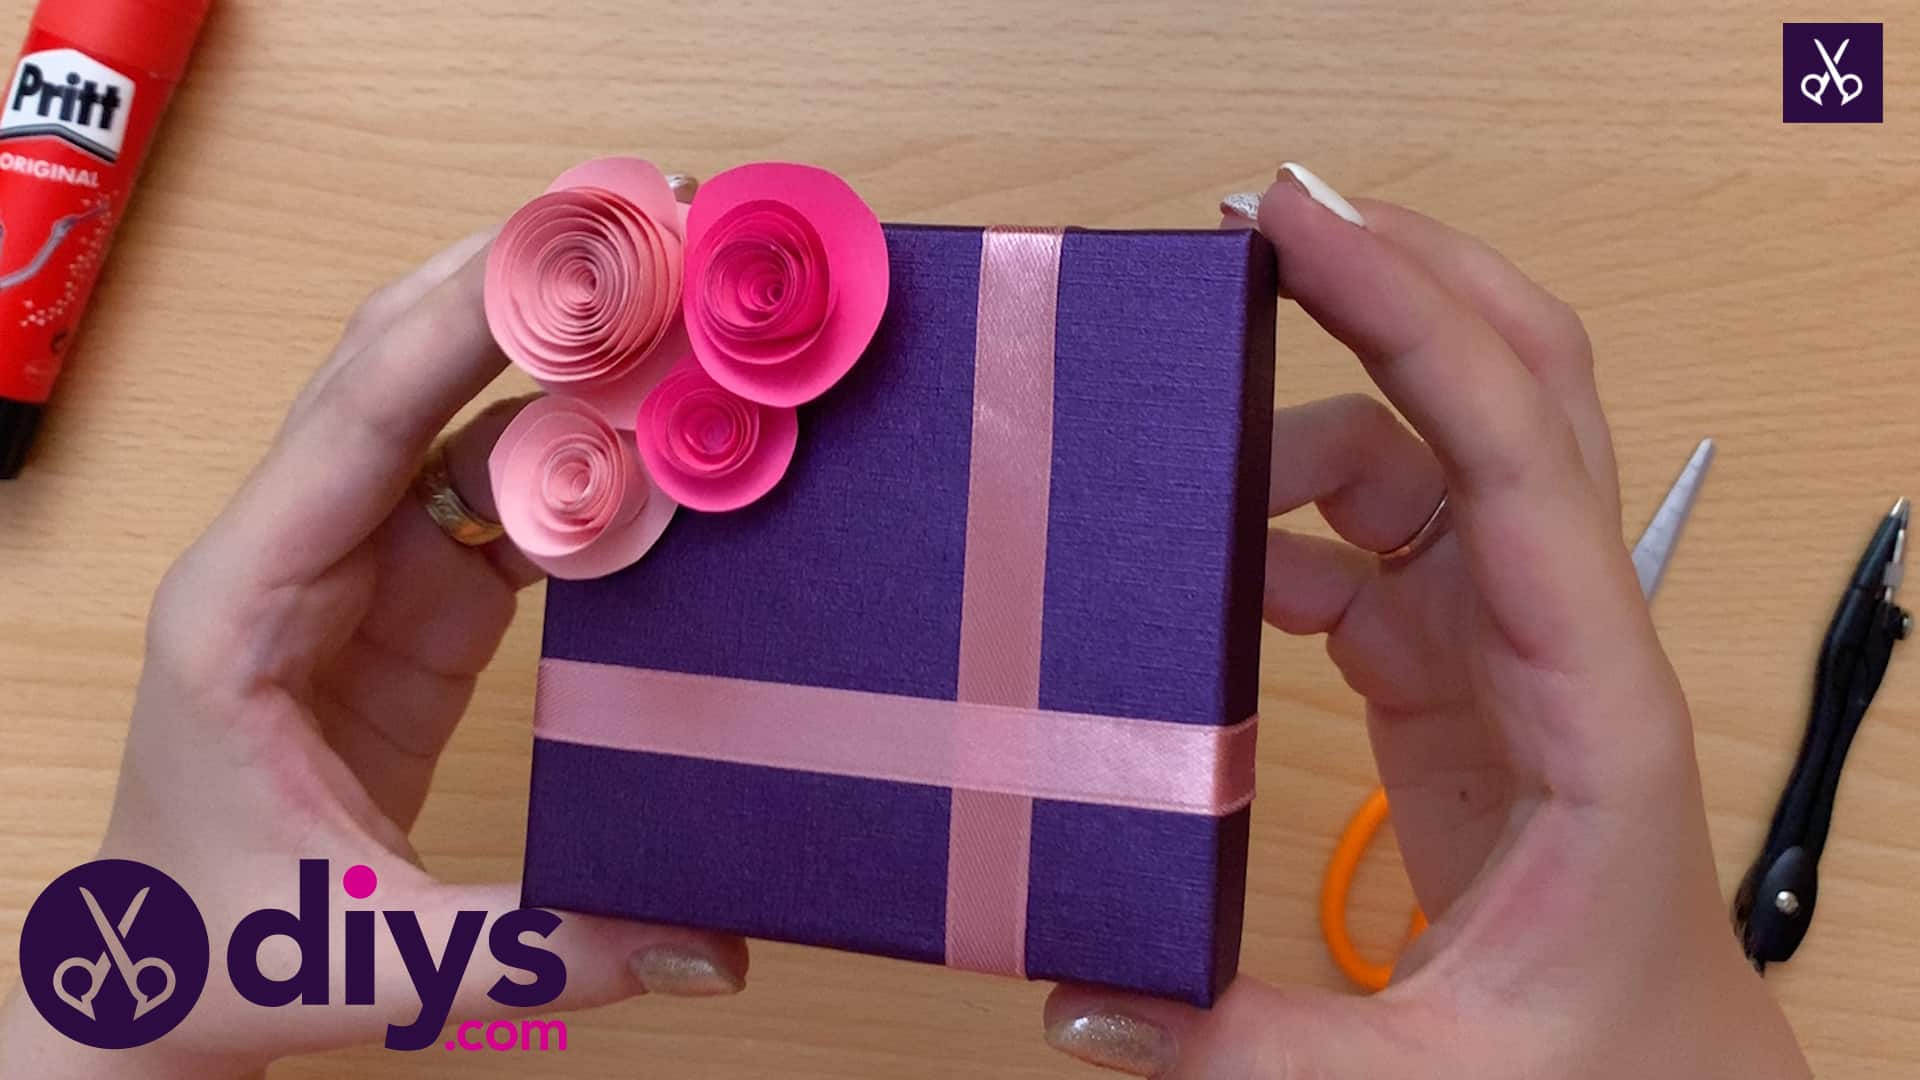
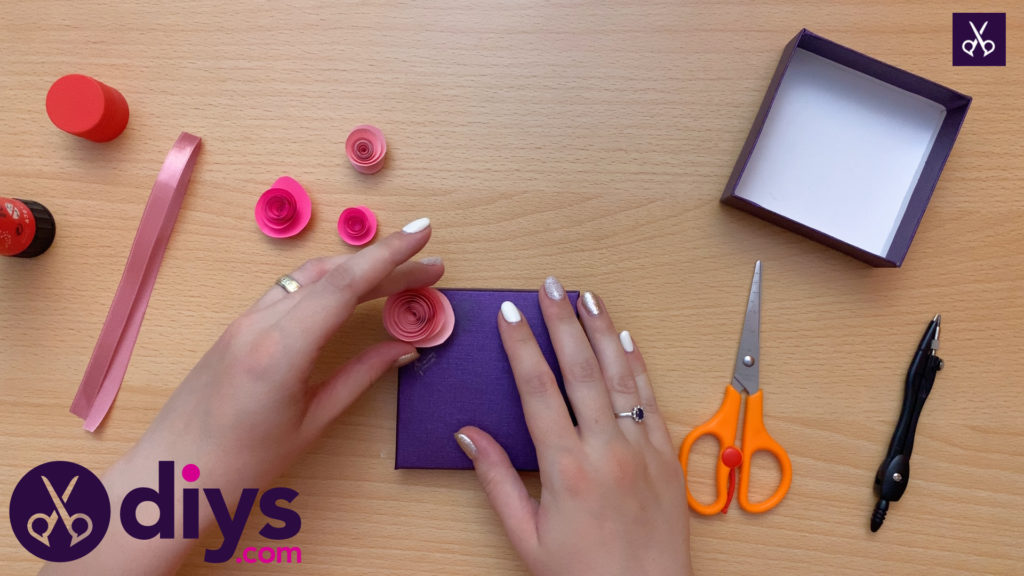
Step 6: cut to box
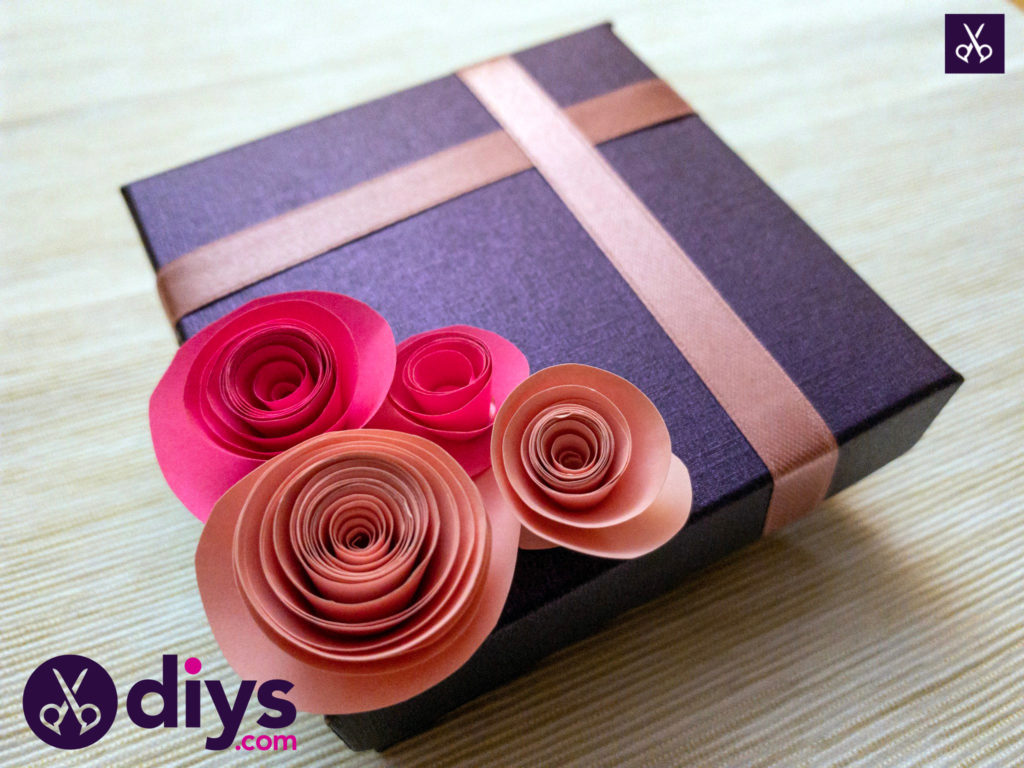
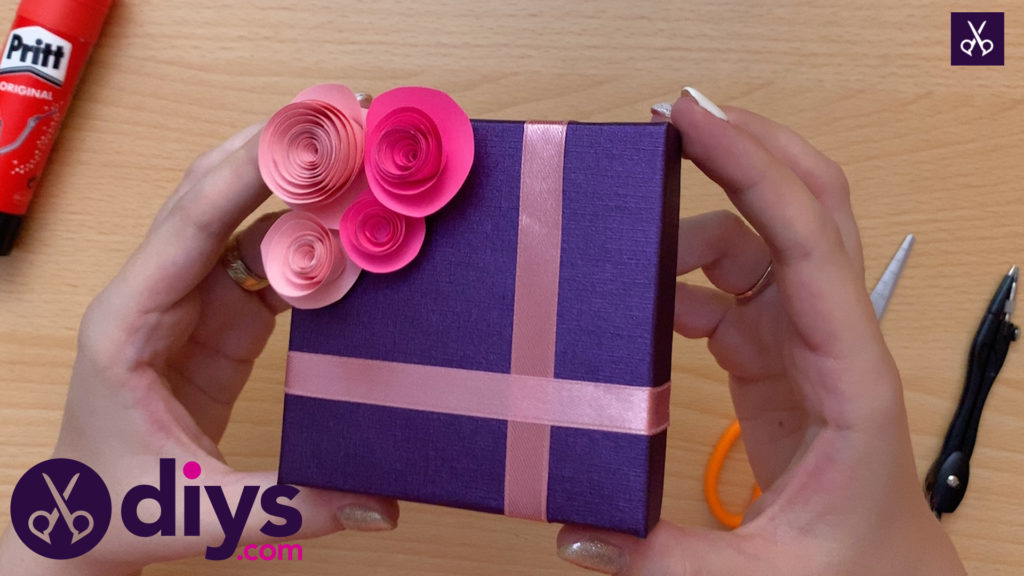
Once you have finished cutting and spiralling all four flowers, glue them to one corner of your box lid, applying the glue to the base where the spiral gathers on the back side. We opted to cluster all four of our flowers in one corner like a little bouquet or bunch, but you could do something like putting one flower in each corner if you prefer.
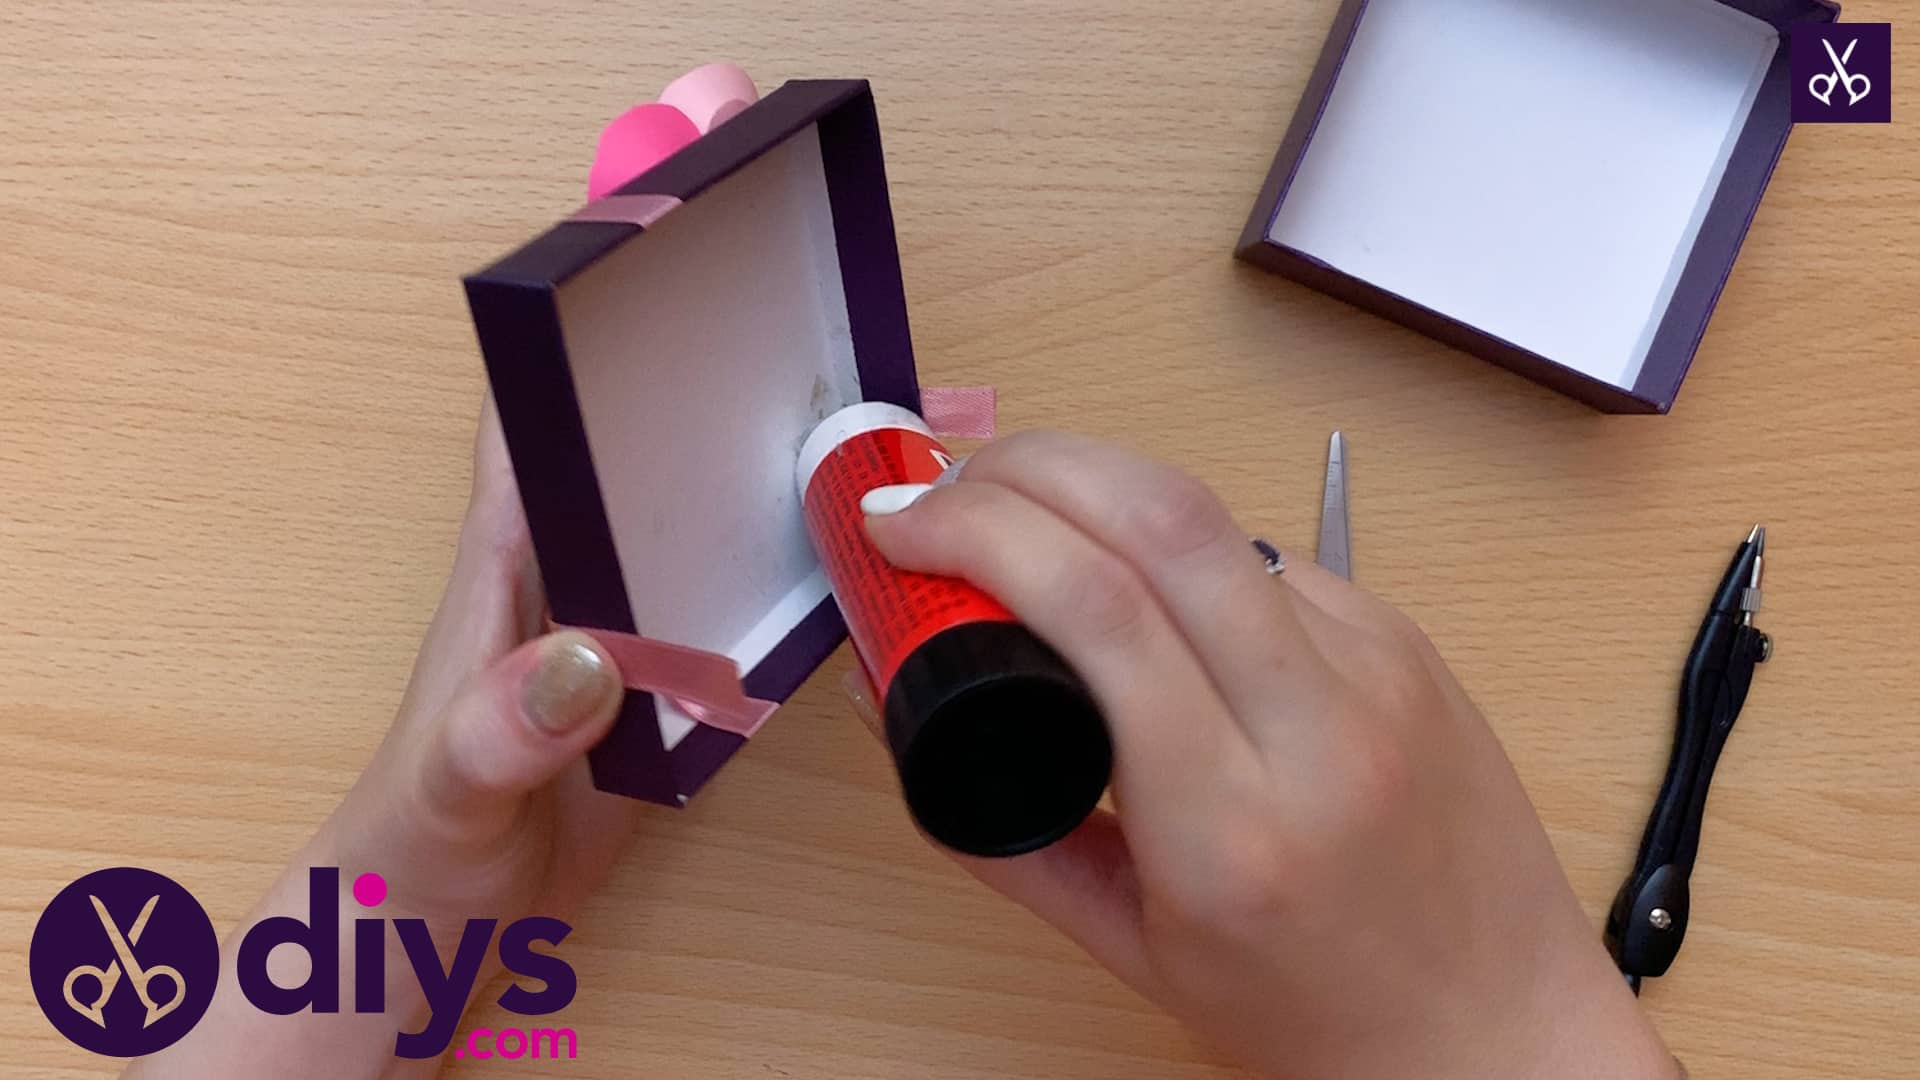
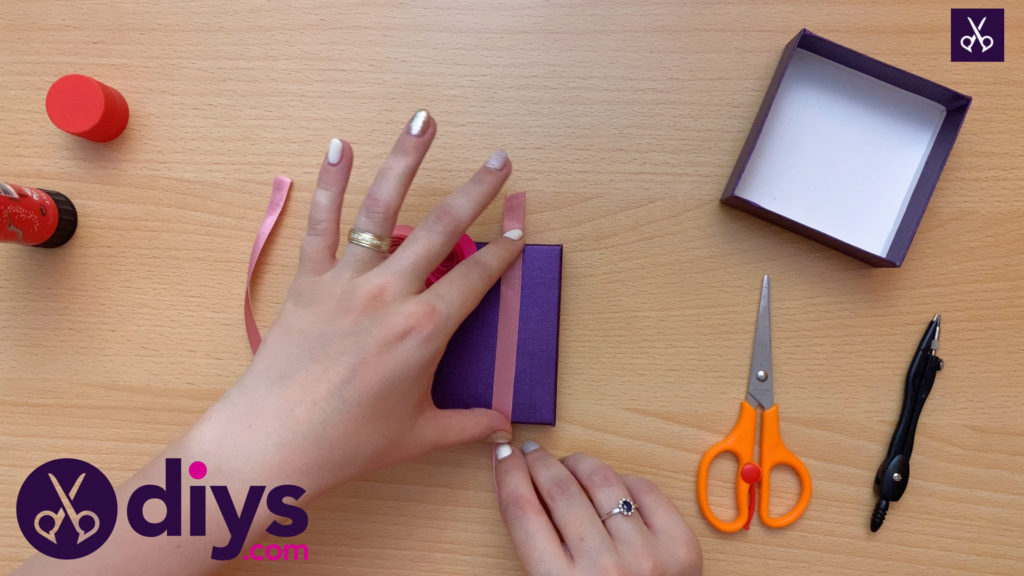
Step 7: Cut your ribbon into two pieces
Before you make the cut, measure it along the top of your box lid to make sure the pieces are long enough to stretch all the way across with a little extra on each end that can wrap underneath; that’s where you’ll tuck the ends under the lid edge and glue them down. Apply glue along the back of your ribbon, place it smoothly across your lid, and glue the ends underneath the edge, as mentioned. We opted to make ours look like a classically wrapped package, putting on piece of ribbon on the far right side vertically, and one perpendicularly to that closer to the bottom and horizontally.

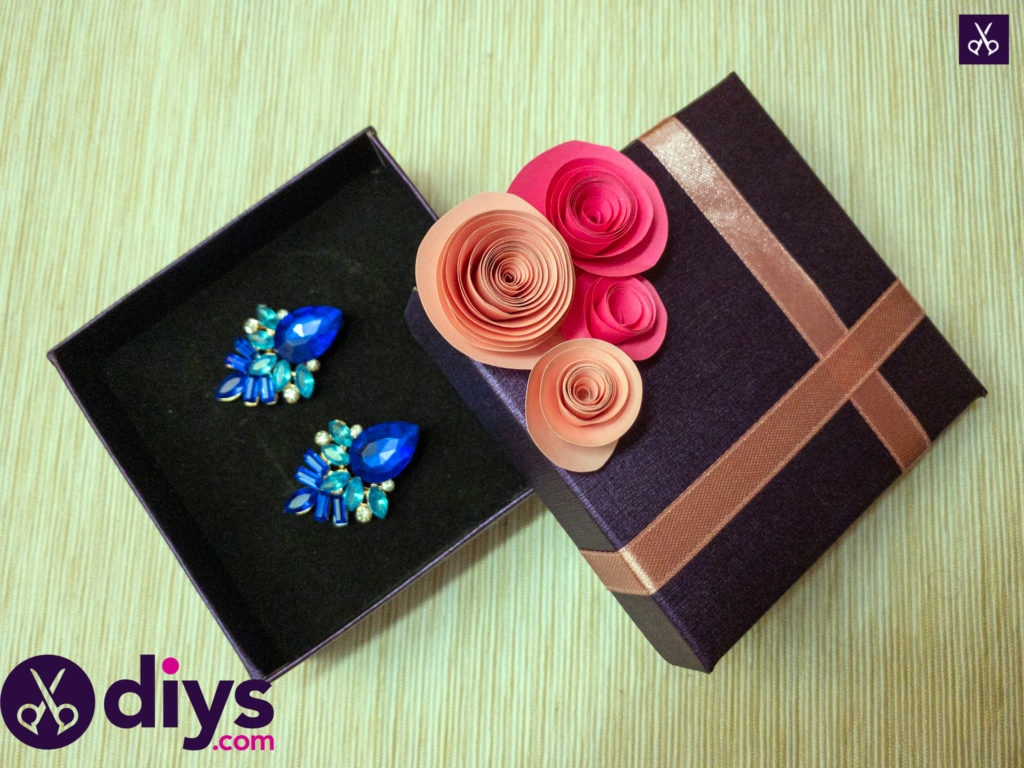
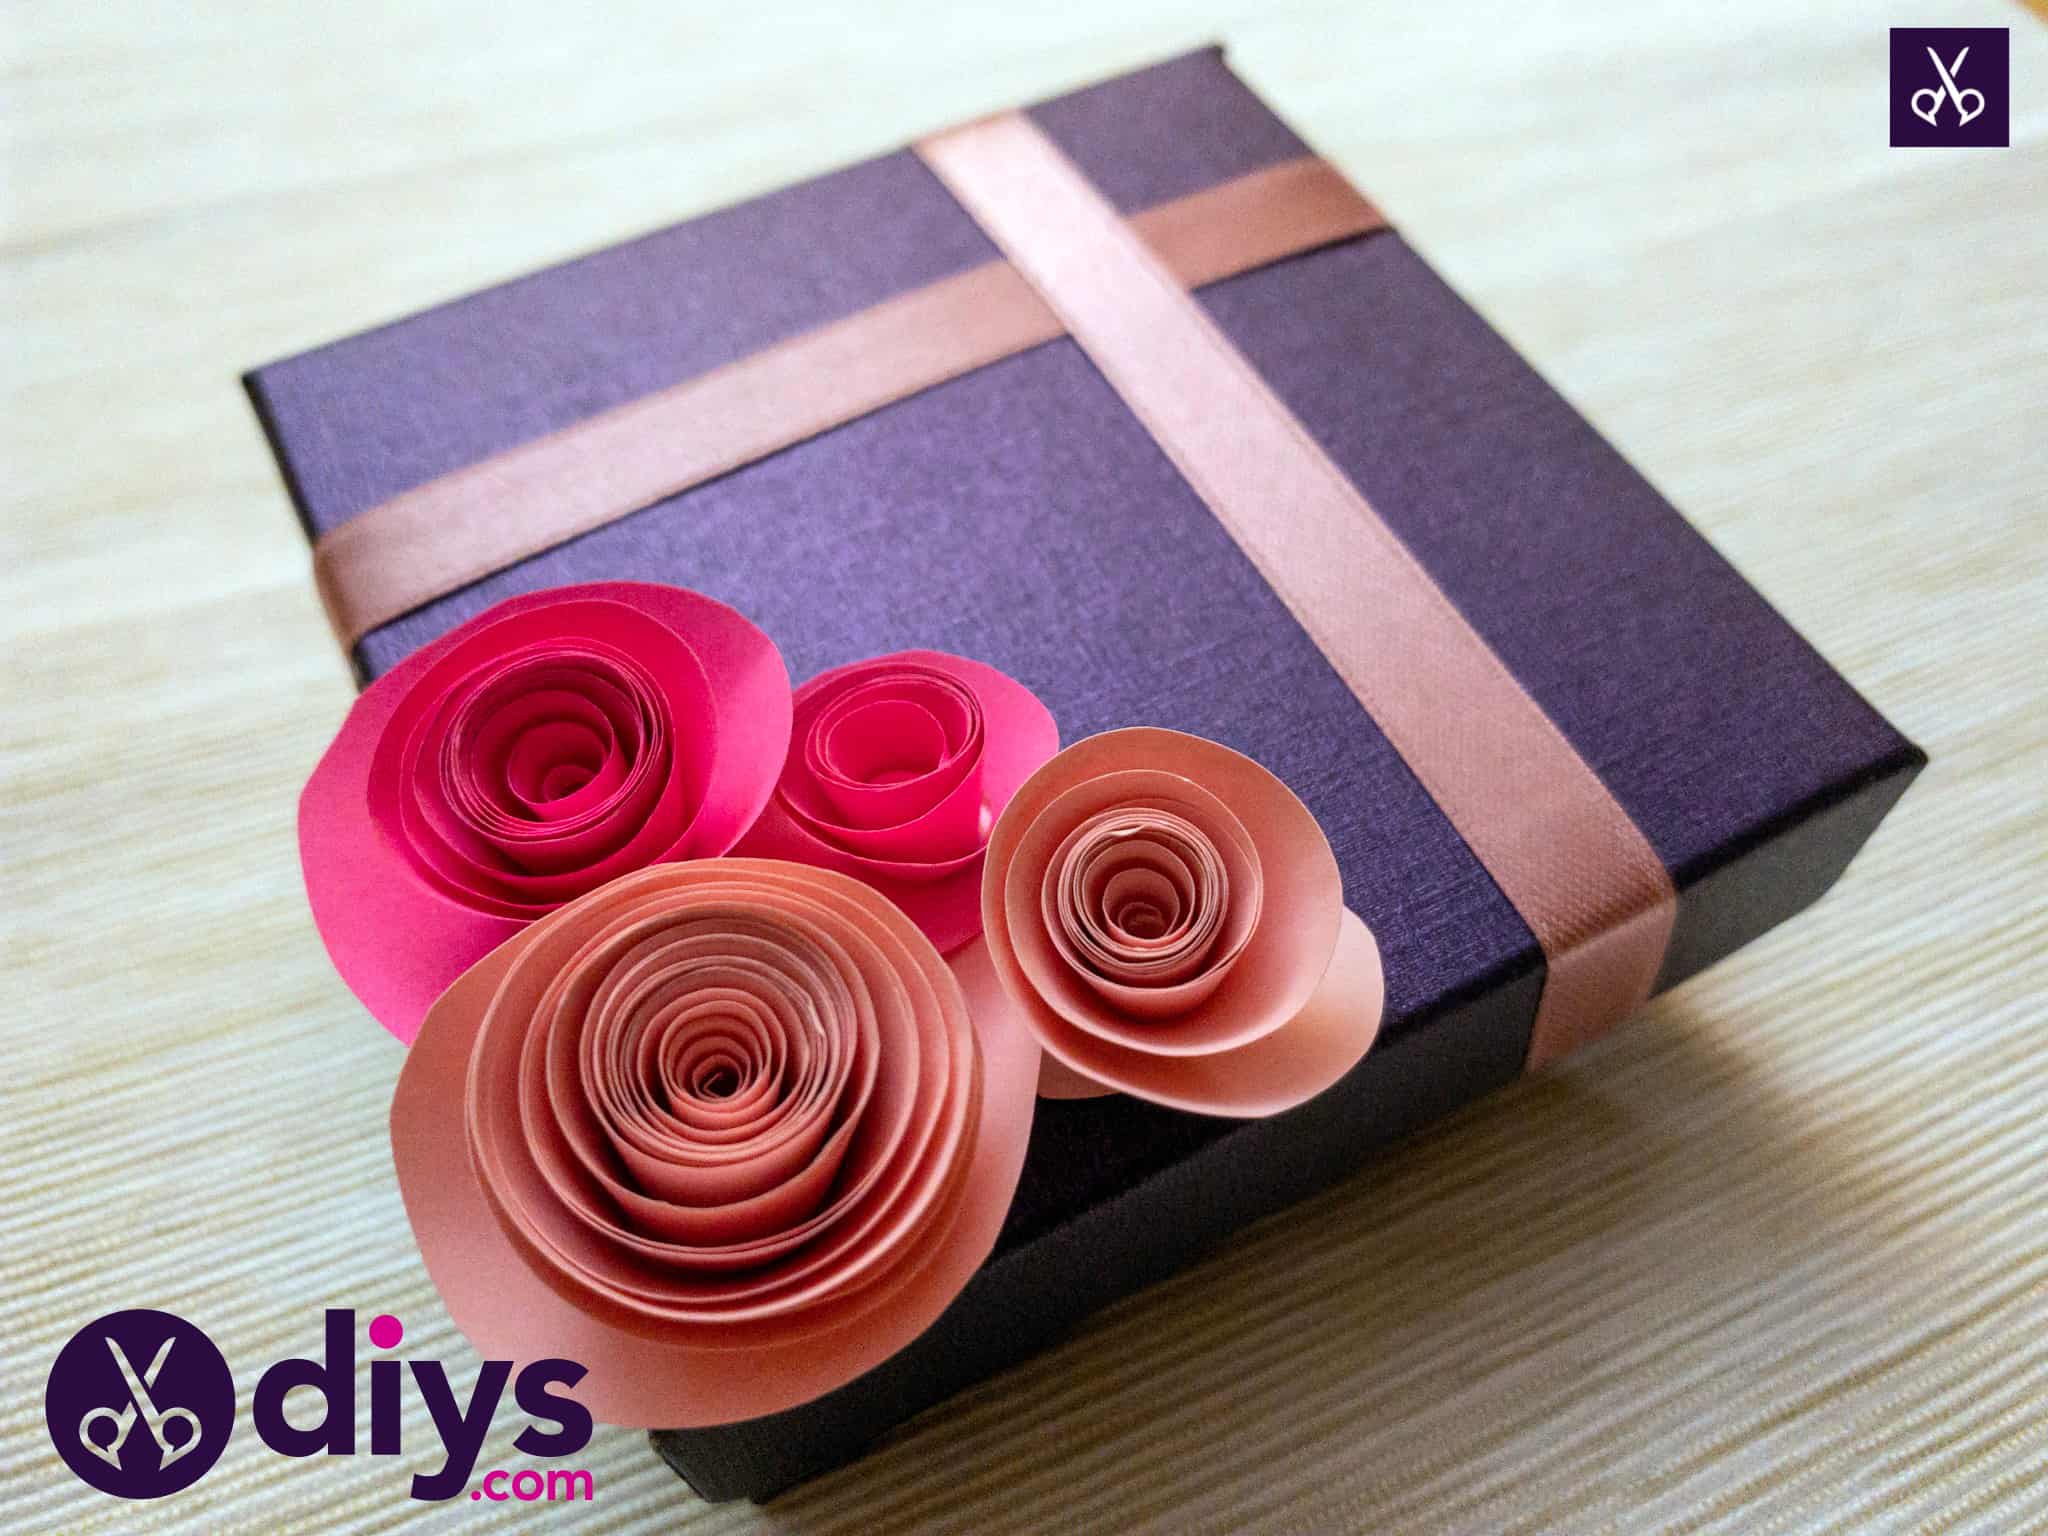
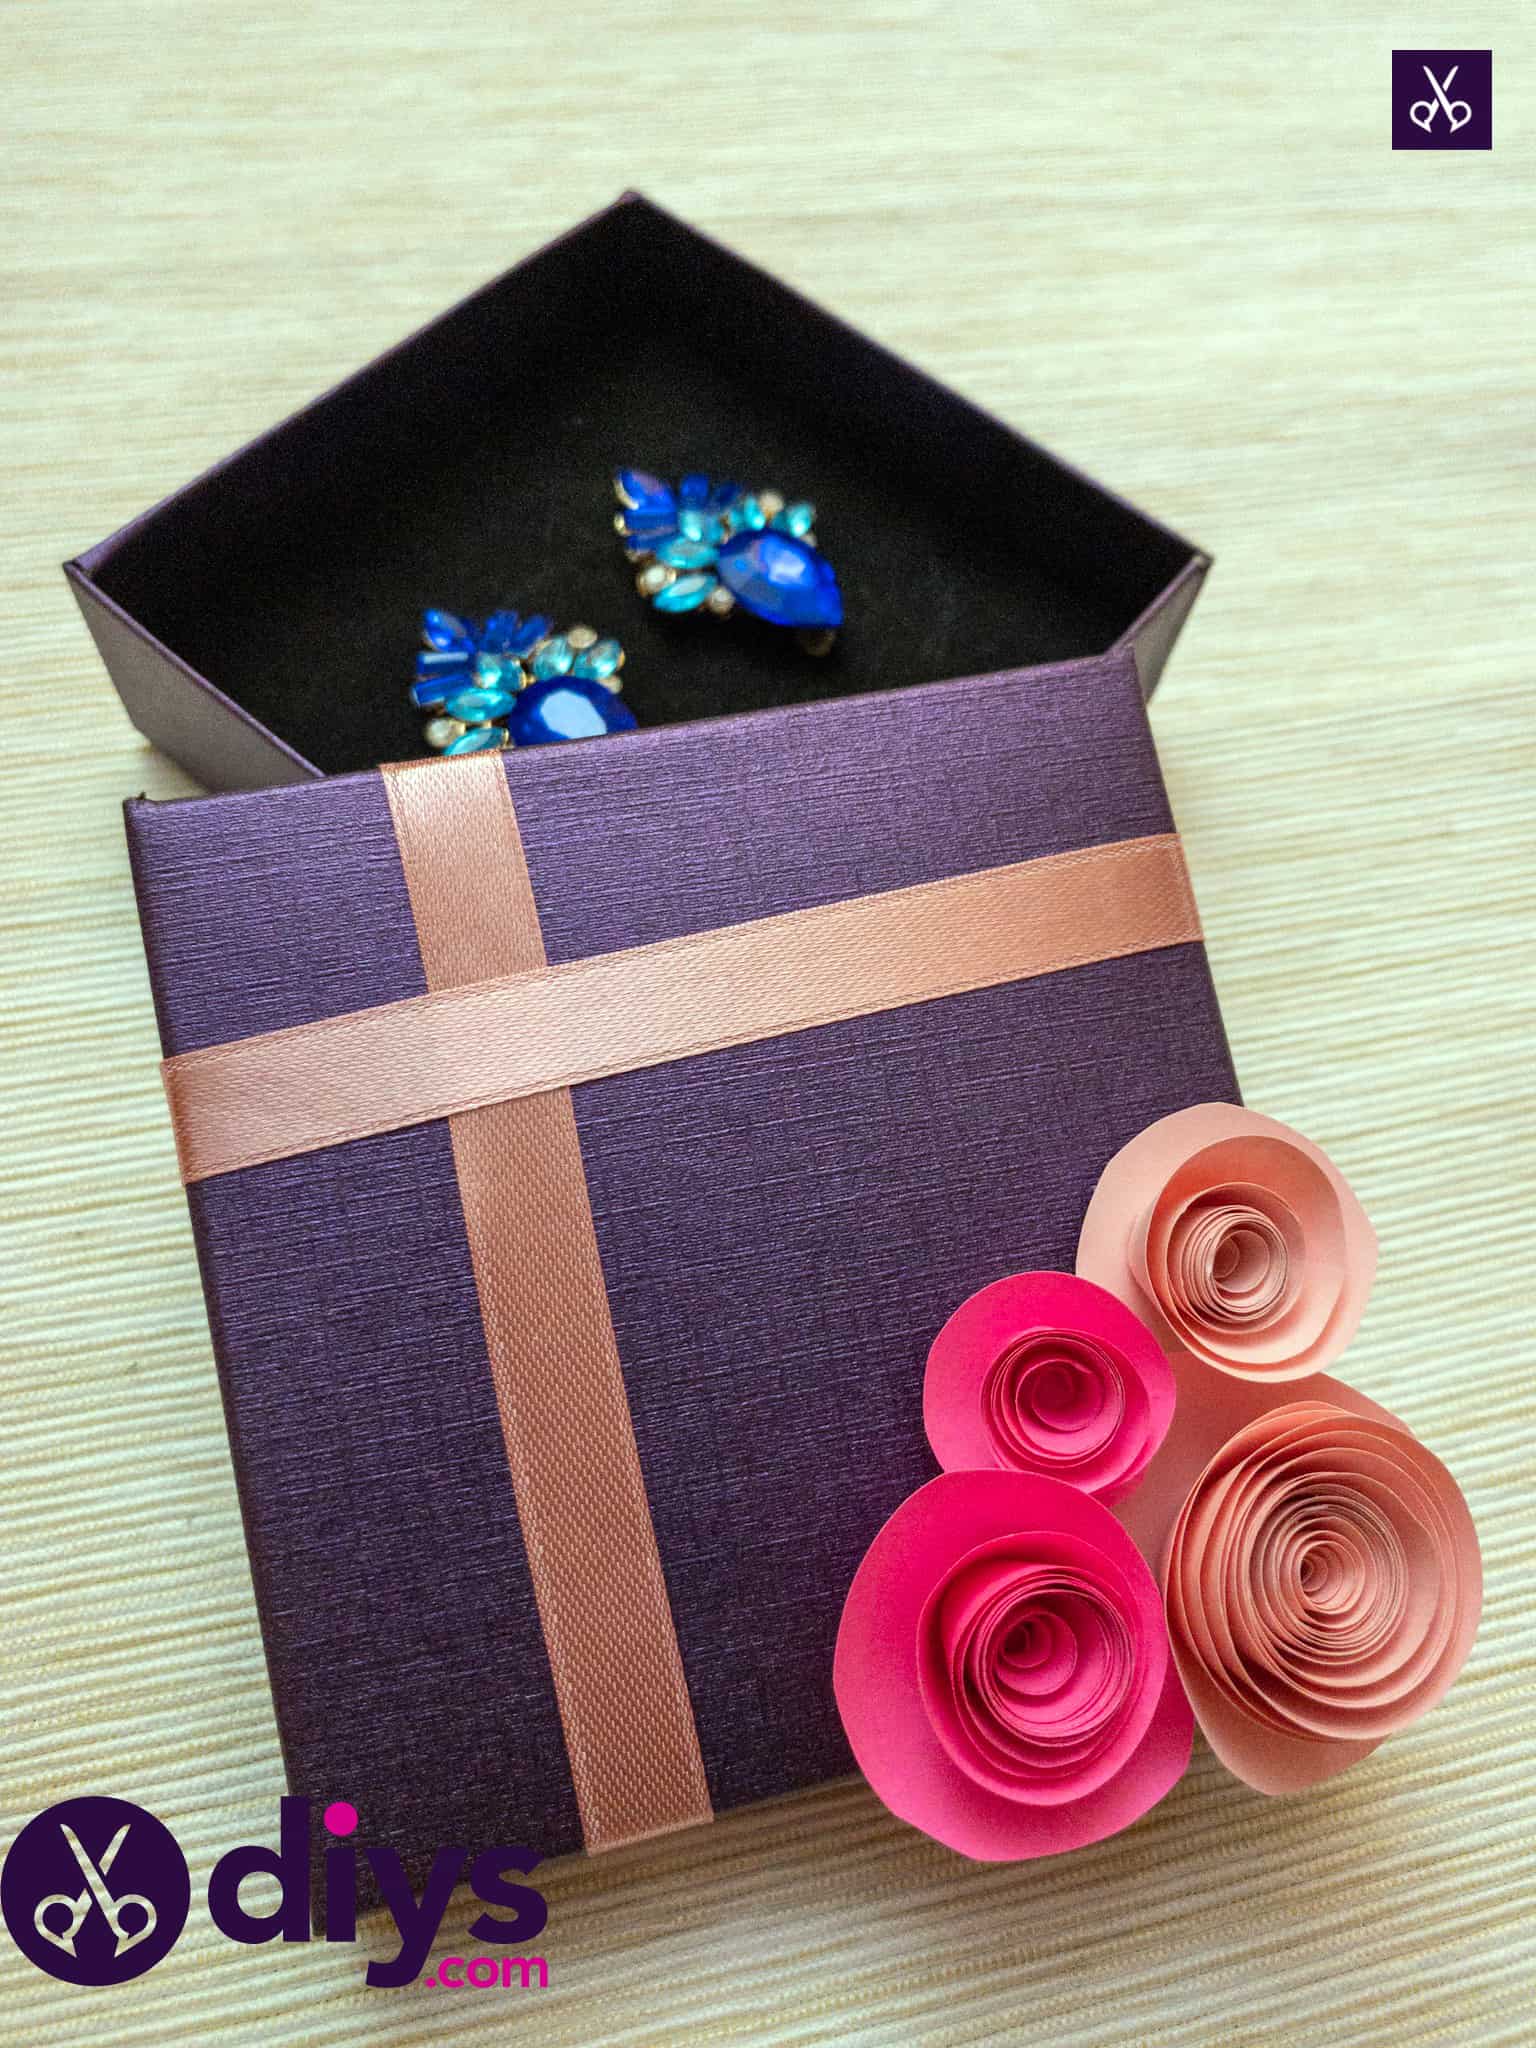
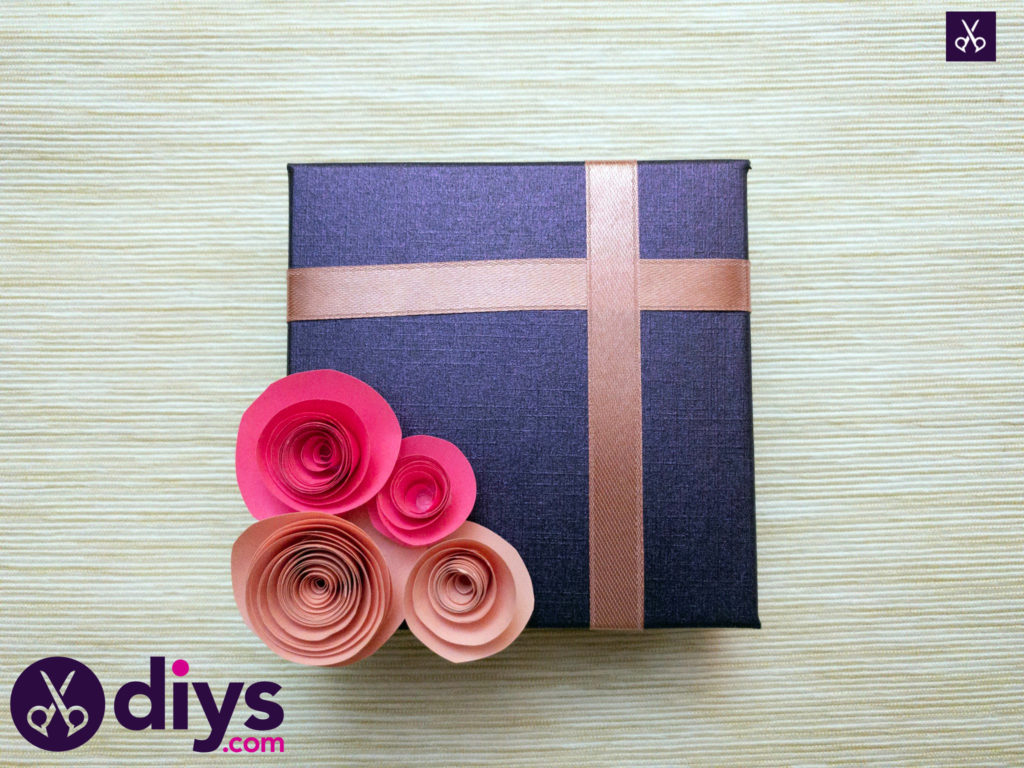
Step 8: all done!
Put your lid on your box once all of your glue has dried and voila! You now have a cute floral gift box.

Remember that you can always customize your piece from what we’ve done as well! This design would look awesome with even more flowers, for example, if you have the time.
You can find a full video tutorial for this super fun craft here!