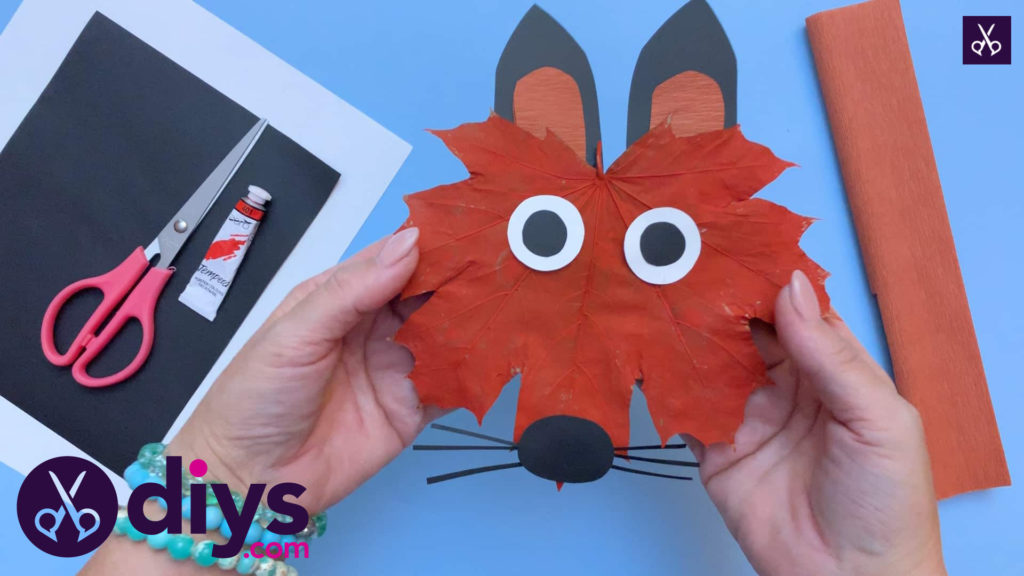
How to Make a Cute Fox from an Autumn Leaf
Updated on November 19, 2025


In my house, the biggest crafting hit with my kids is always a project that lets them make something using supplies that are a little bit unconventional. Given that my kids are also total outdoors lovers, it came as no surprise to me when they yelped in excitement at the idea of crafting with actual fall leaves that they’d collected in our backyard. In fact, they wereso enthusiastic about the idea of turning a leaf into a little fox that I thought other kids might love the idea just as much, so I decided to lay it out step by step!
Here are the full instructions for how I helped my little ones use some simple cutting, pasting, and painting techniques to make their leaf foxes. If you’re the kind of person who has always preferred video tutorials to following written word, scroll to the bottom to find precisely that instead!
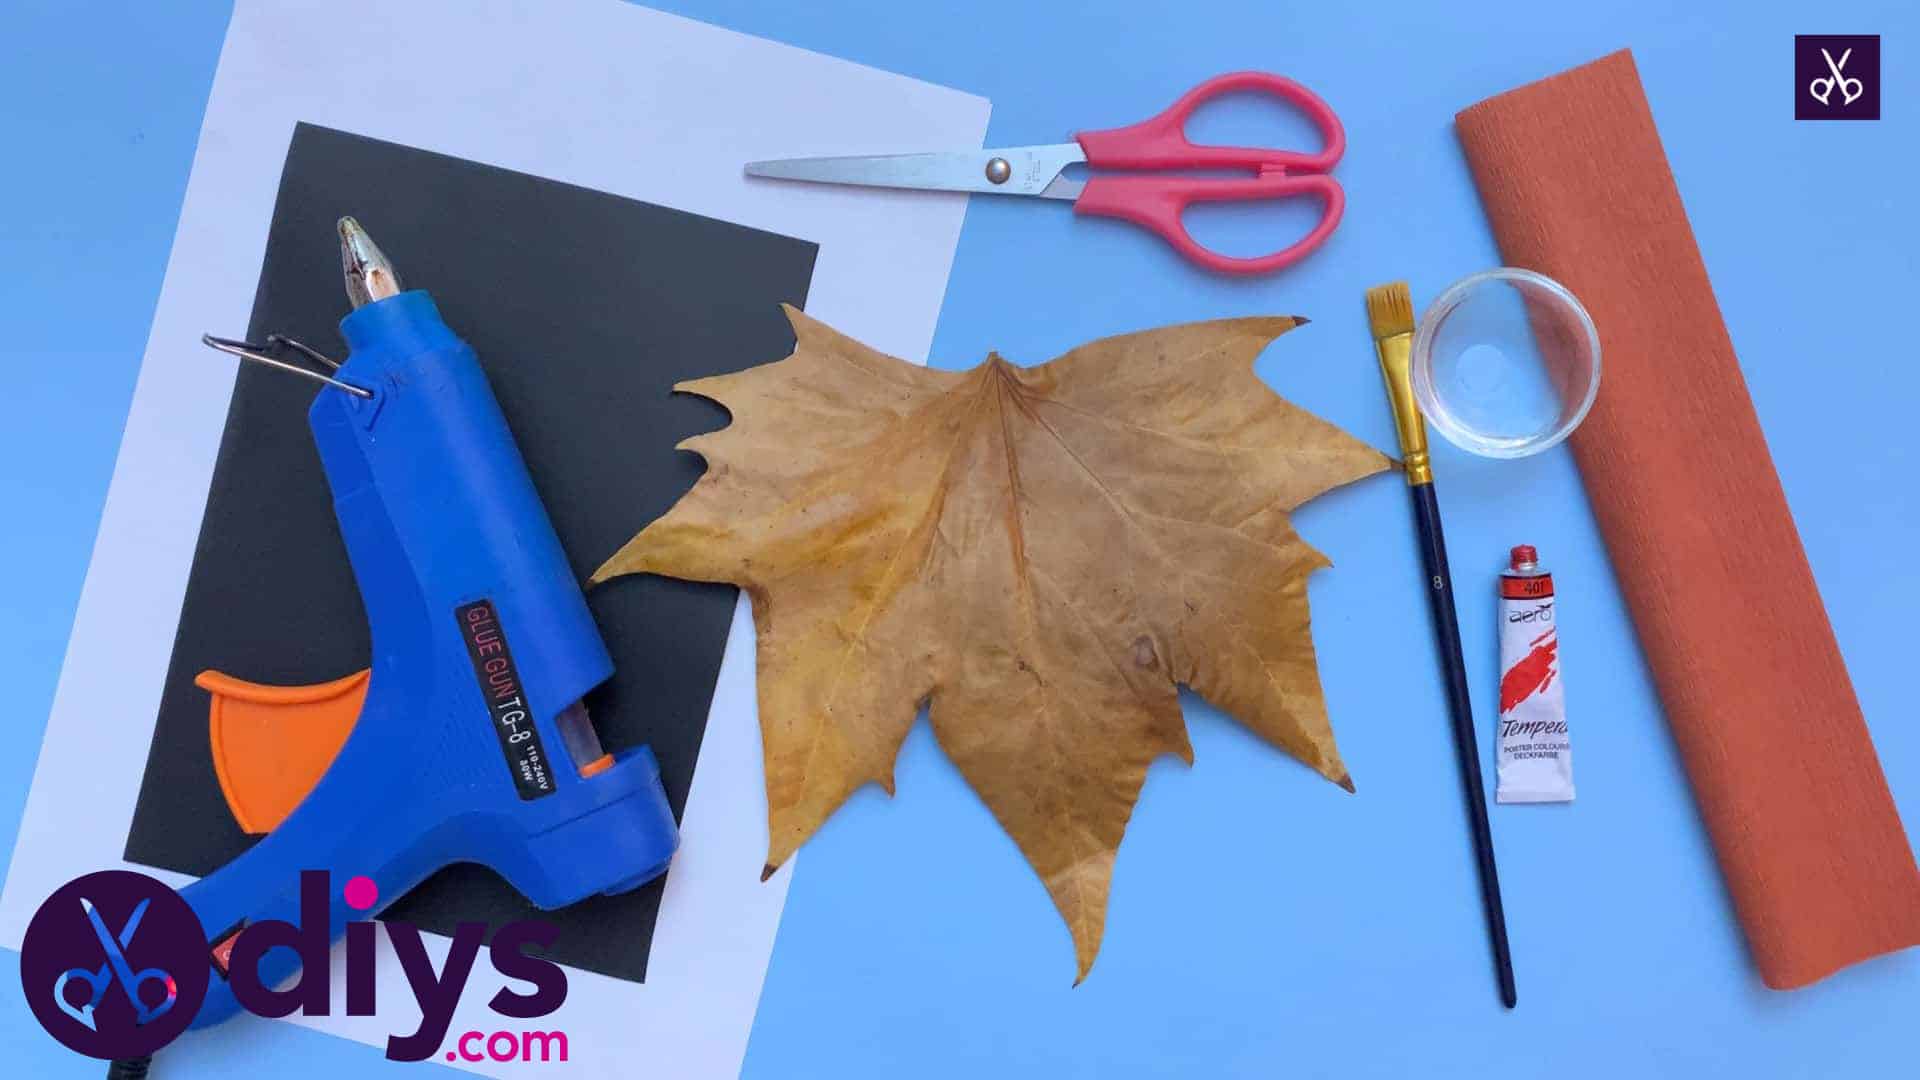
For this project, you’ll need:
- Brown crepe paper
- Red paint
- A paintbrush
- Scissors
- A large fall leaf
- White and black paper
- Glue gun
- Optional: a small cup of water (if the kind of paint you’re using requires it)
Step 1: prep
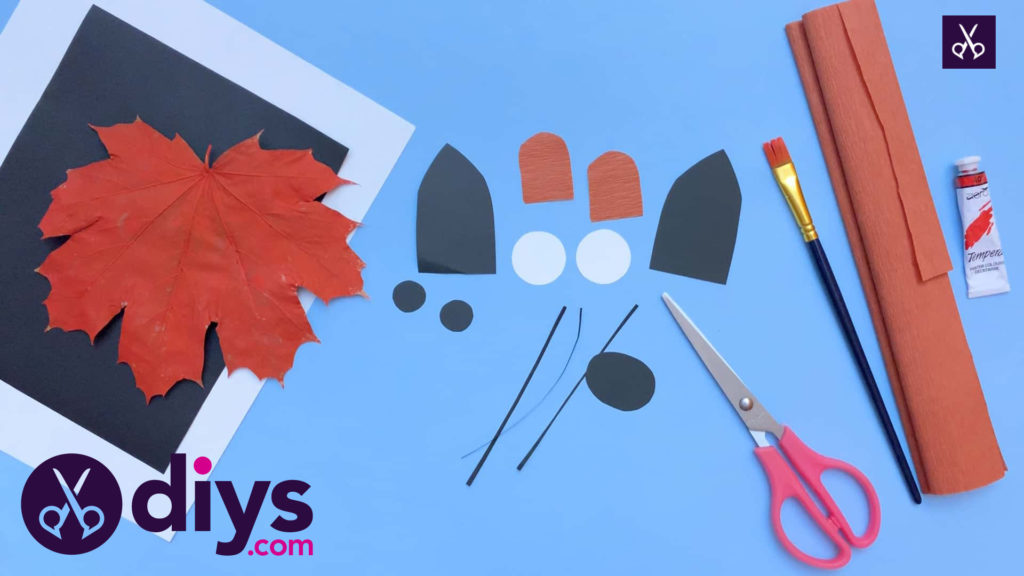
Gather your materials.

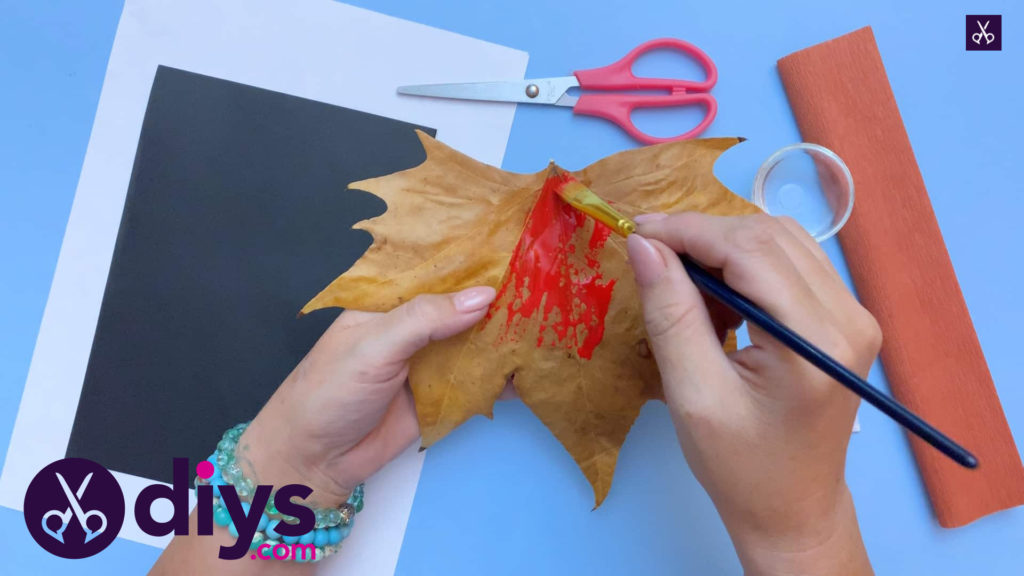
Step 2: add some paint
Squeeze some red paint carefully onto your fall leaf.
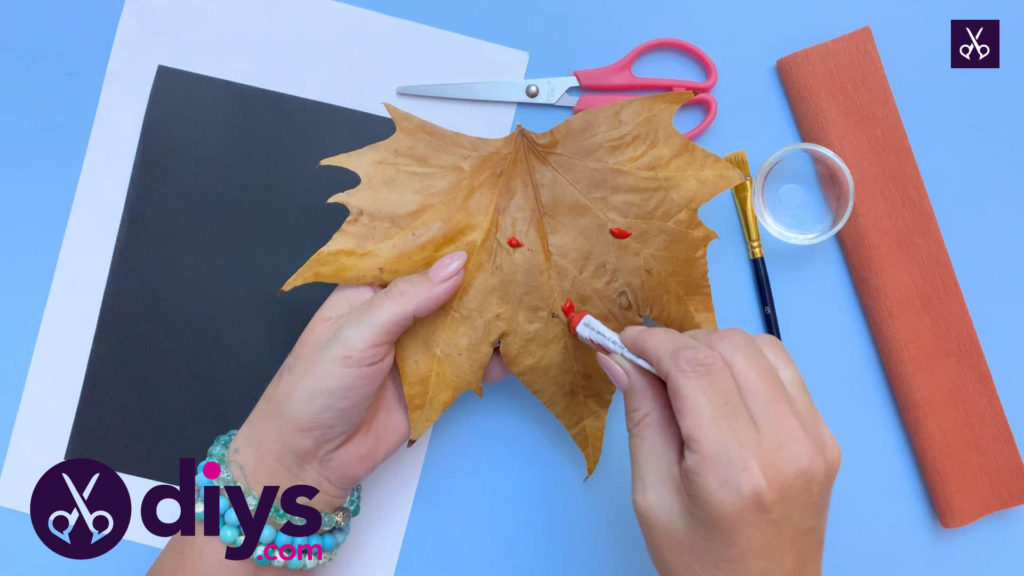
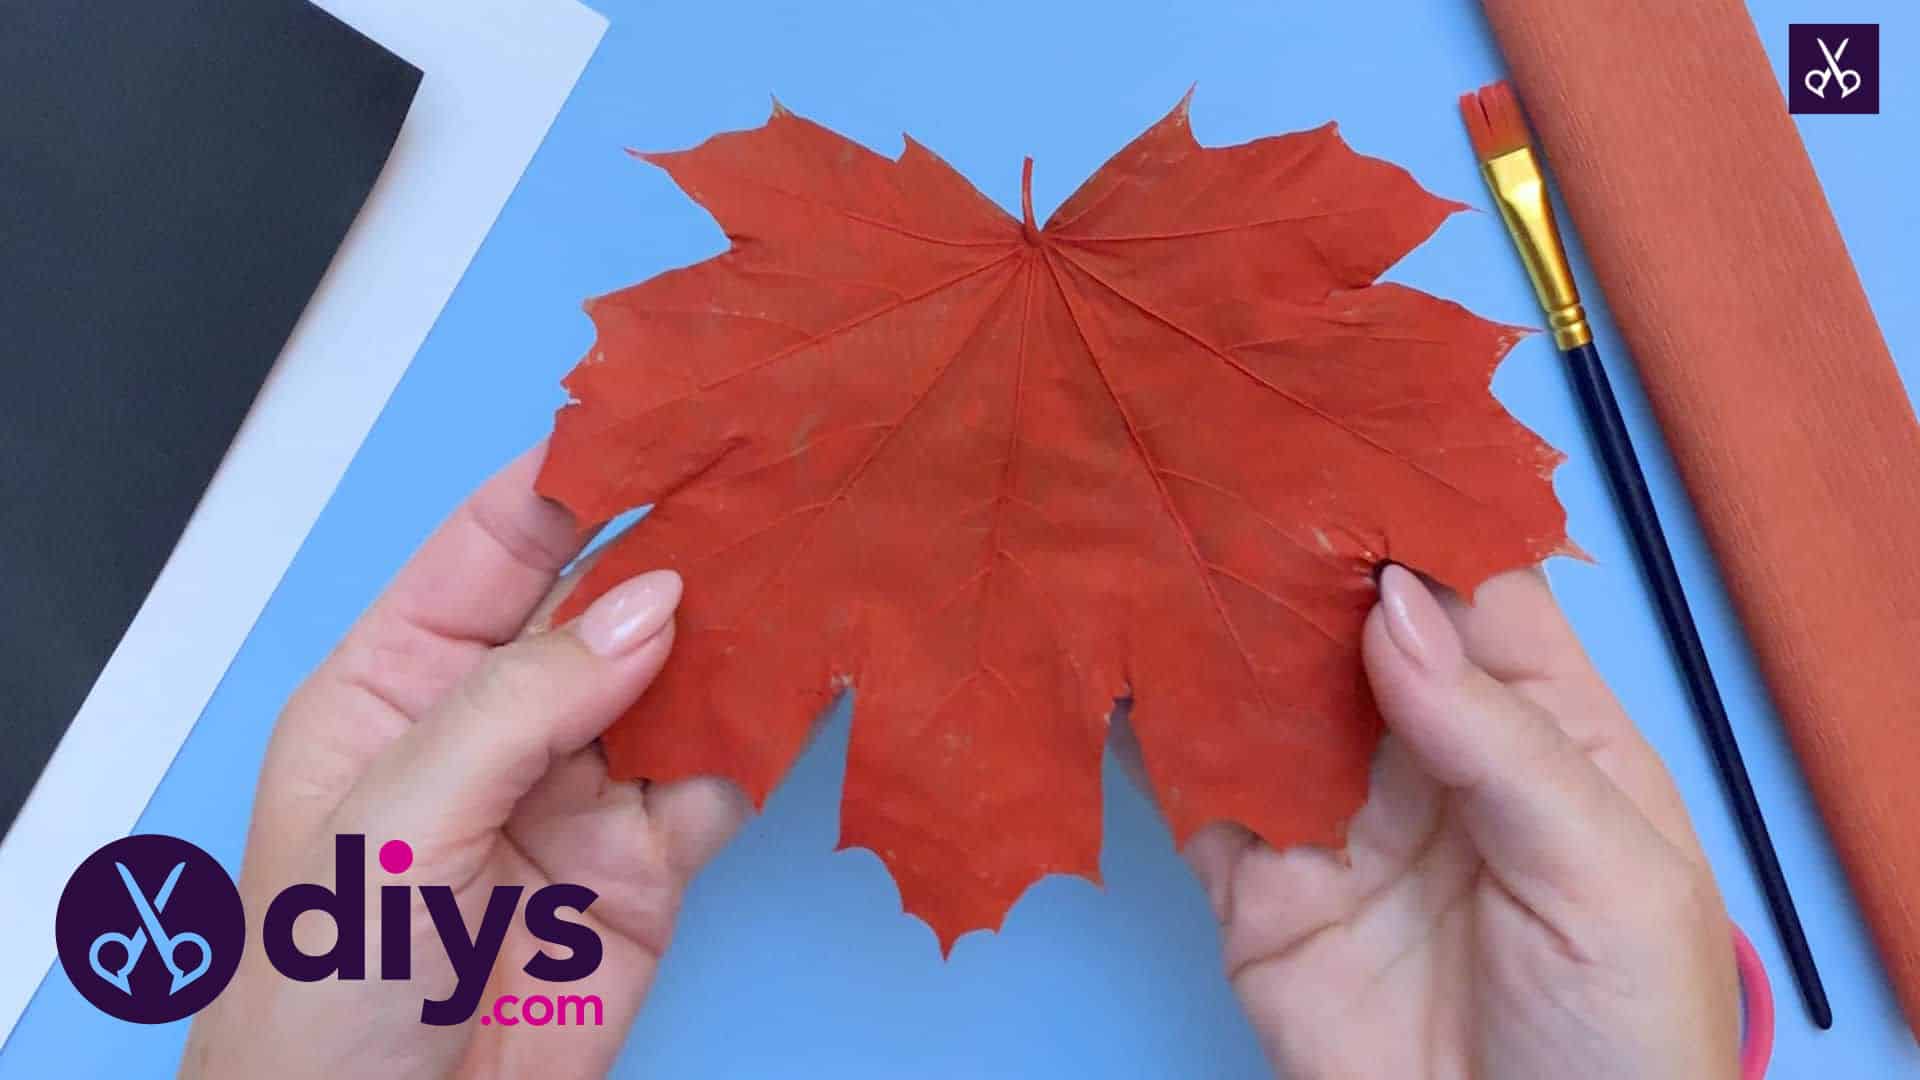
Step 3: paint the leaf
Use your paint brush to spread the paint all across the surface of your leaf. Keep going until it’s nice and even and the whole leaf is covered.
Step 4: let dry
Set your leaf down until the paint has dried entirely.

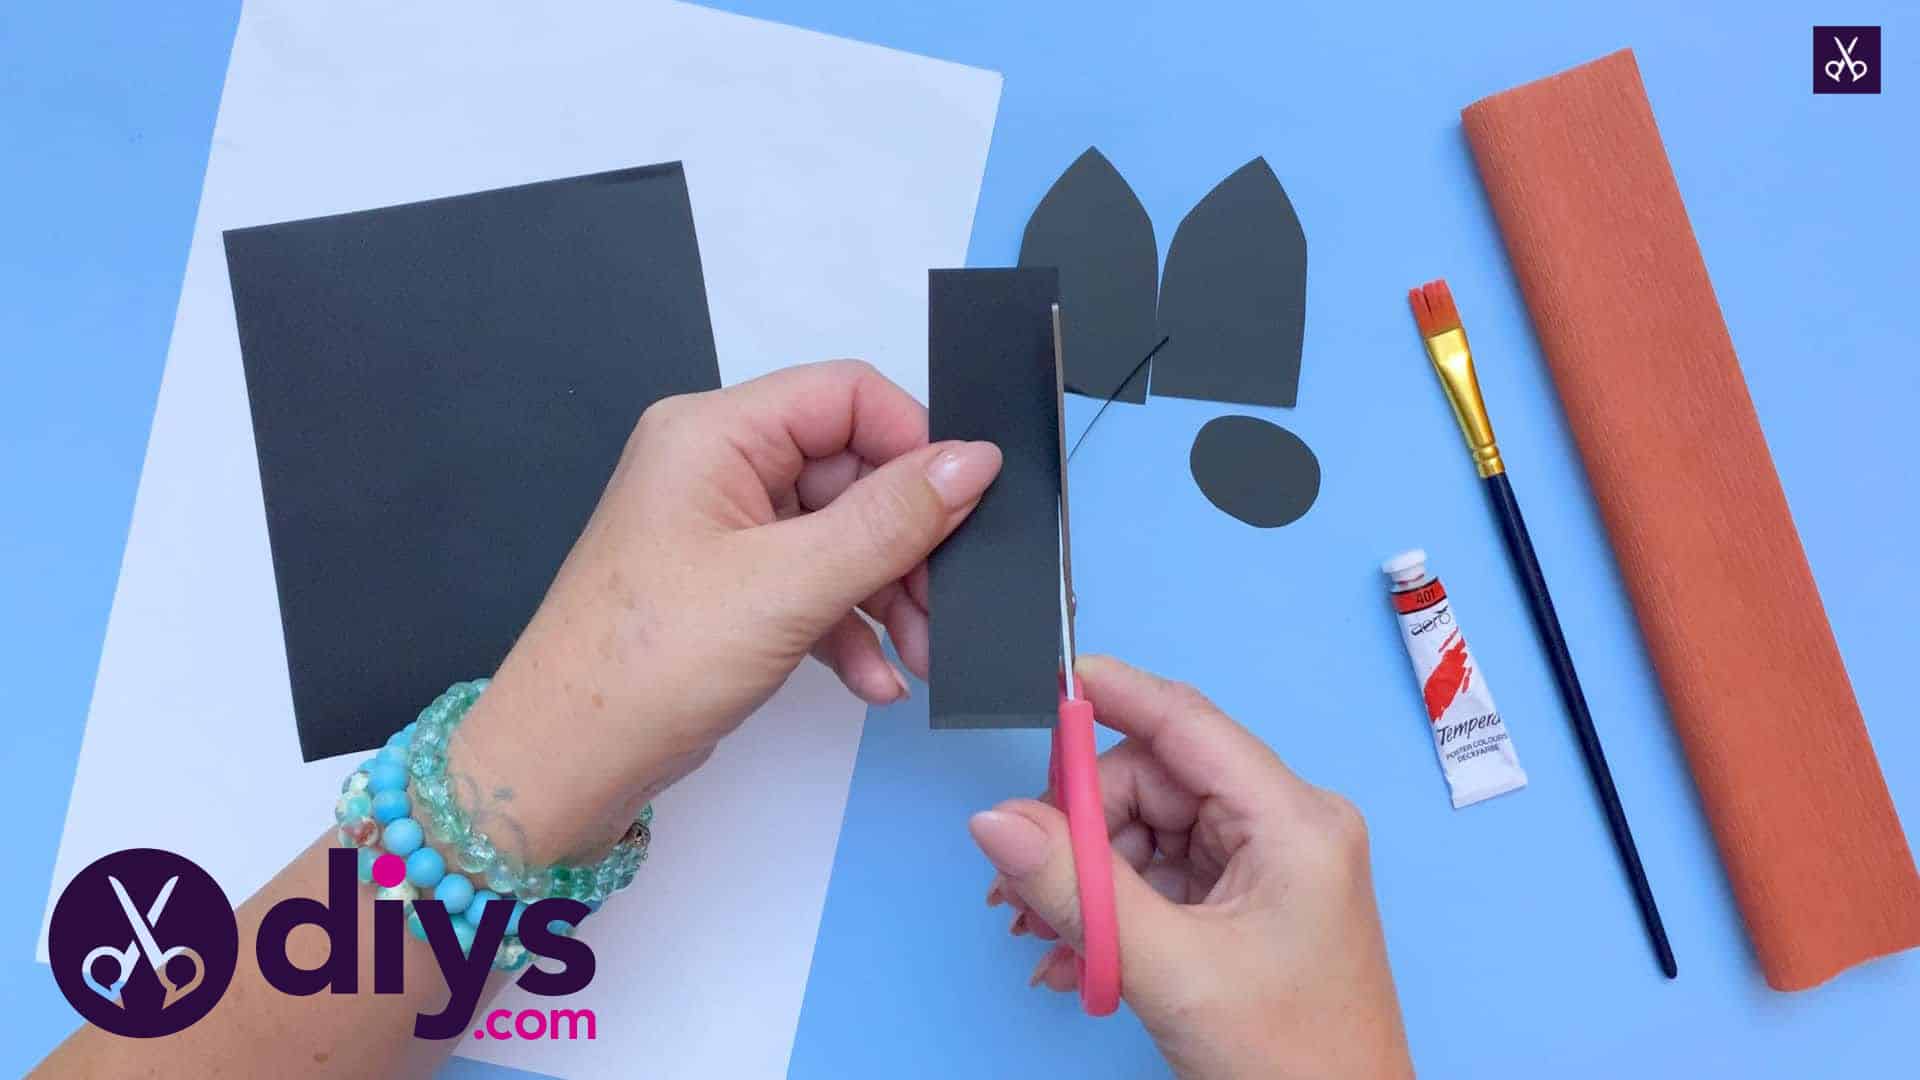
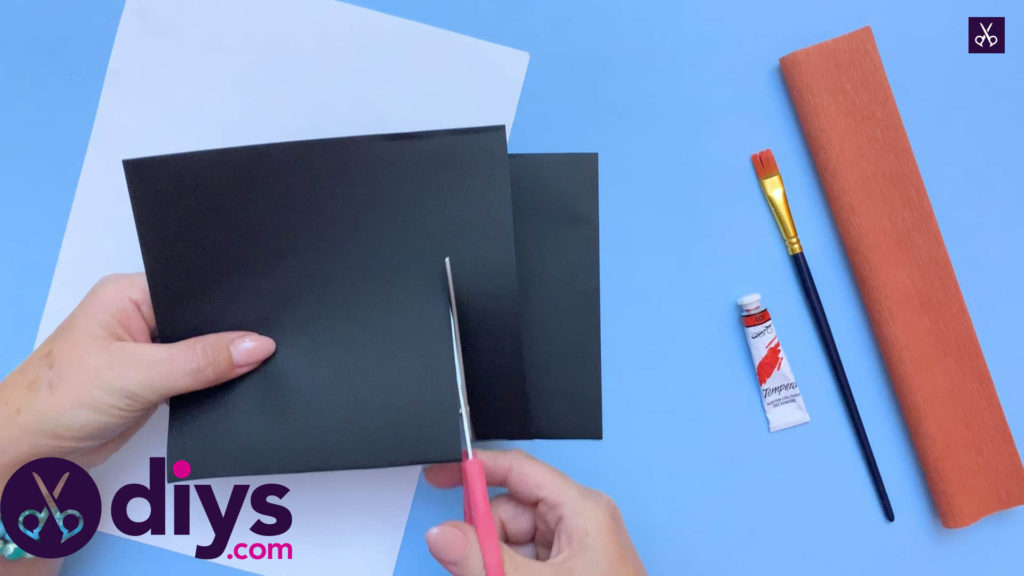
Step 5: cut black paper
Cut two rectangles from your black construction paper.
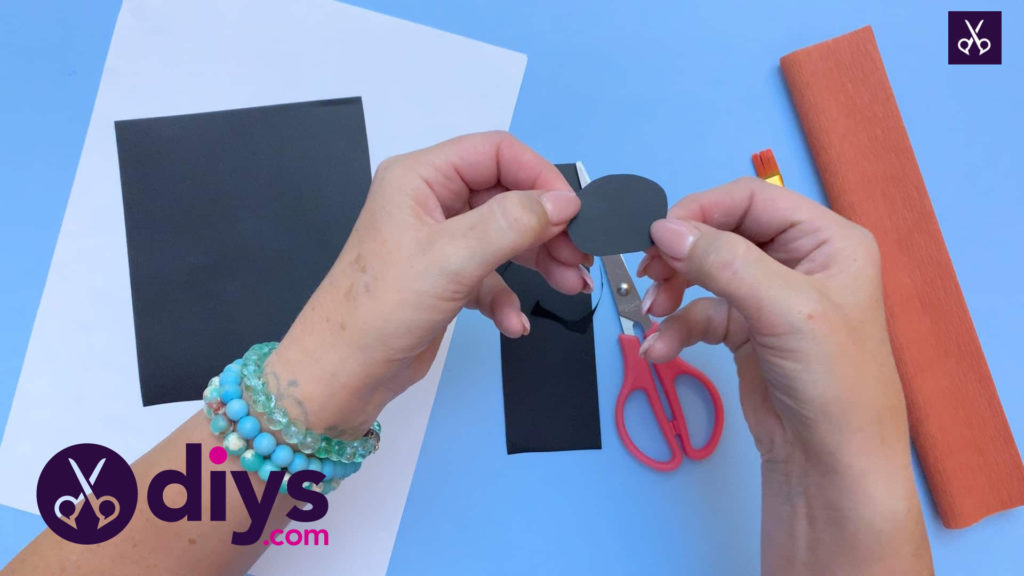
Step 6: cut oval
Cute a wide oval shape from one of your black rectangles. This piece will make up your fox’s nose.
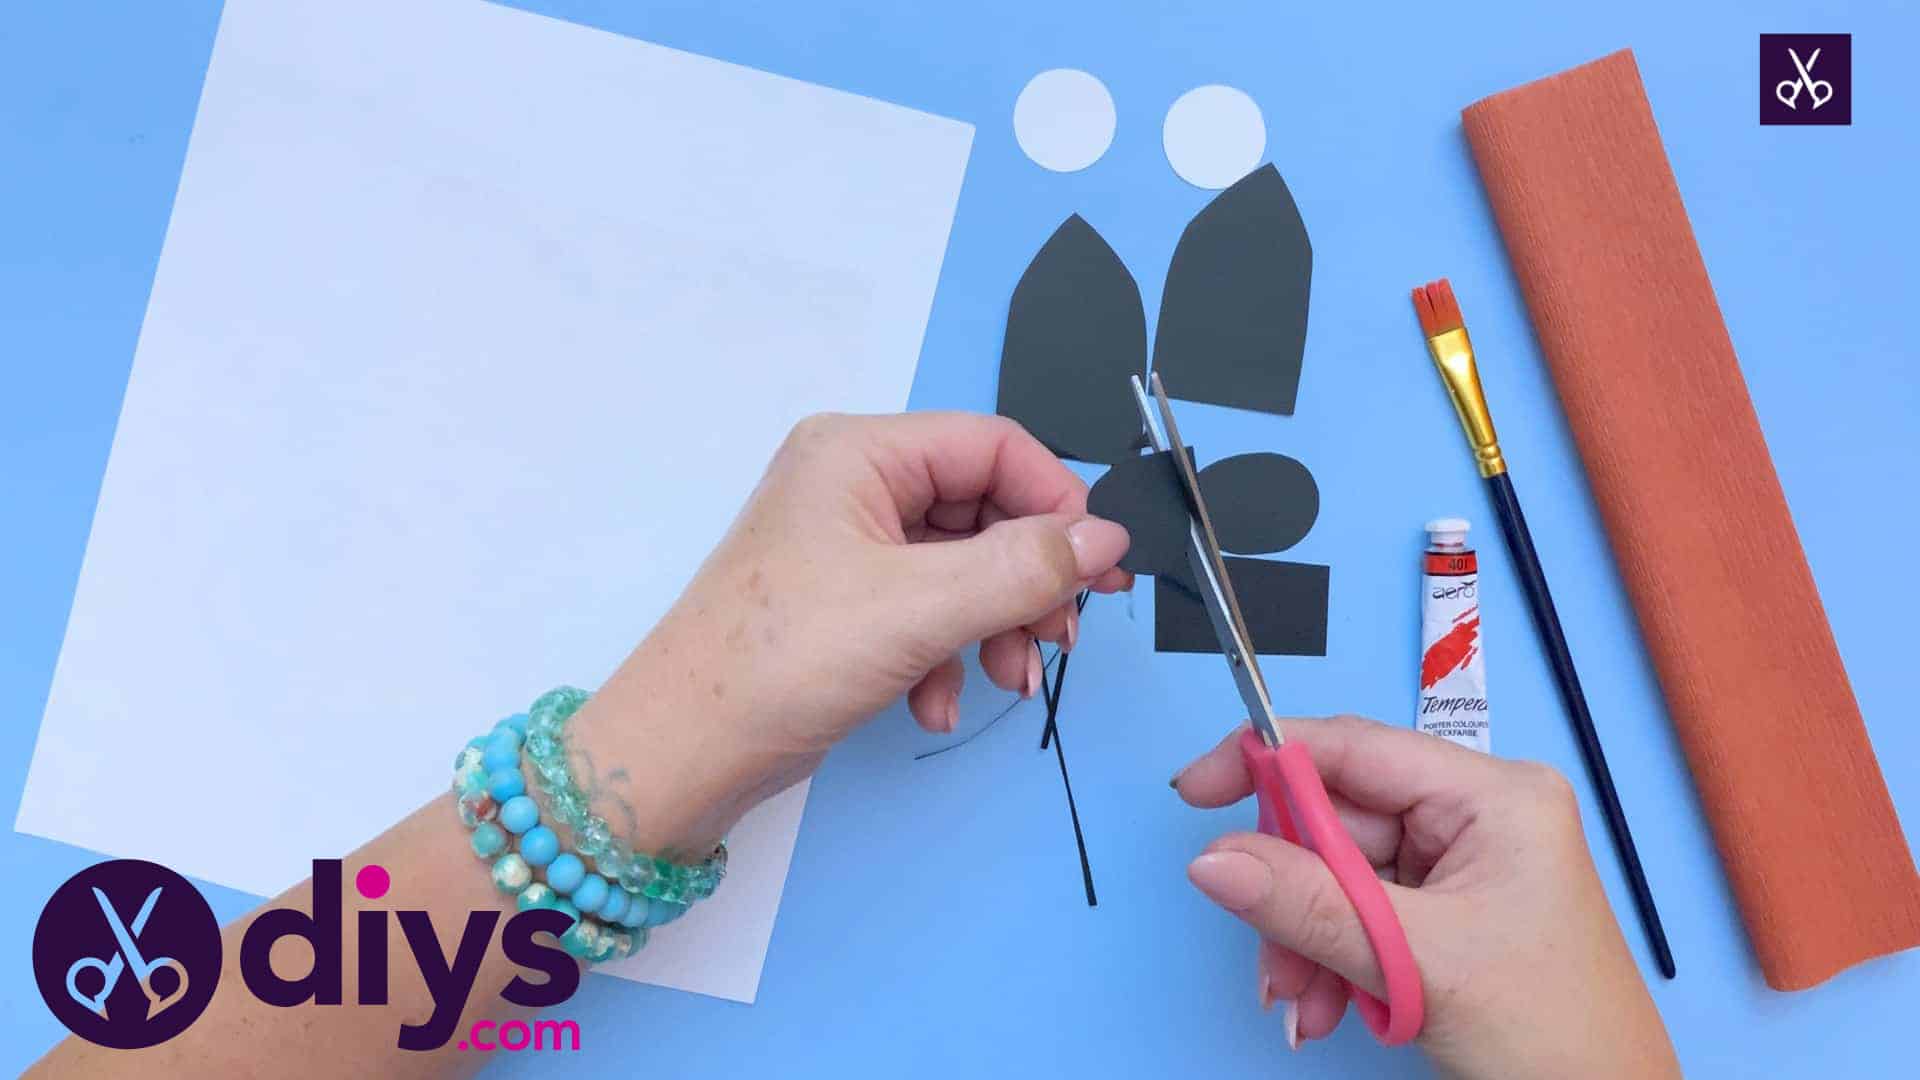
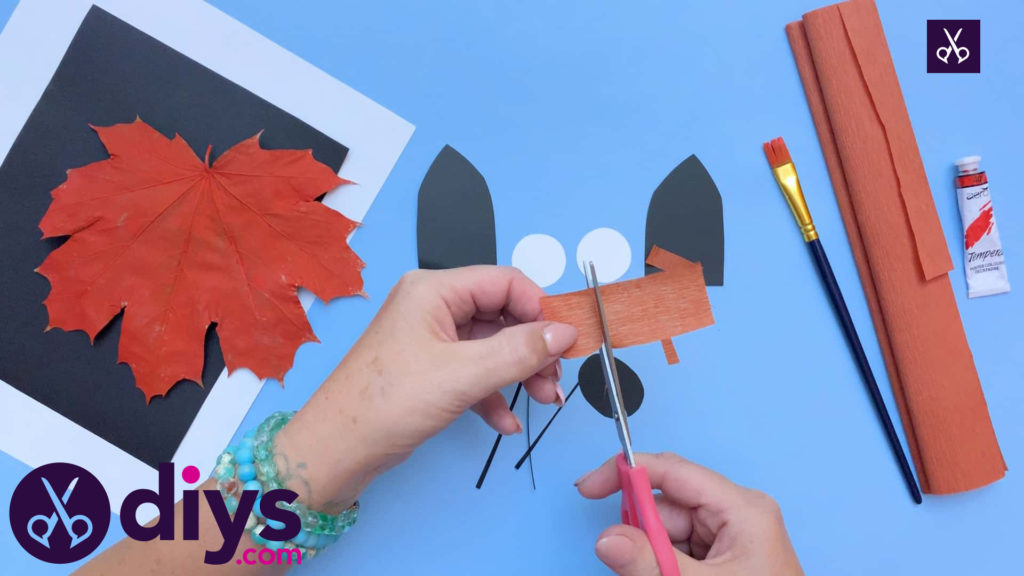
Step 7: cut ears and whiskers
From the same black paper rectangle that you cut your nose shape from, cut out two pieces of the same size that look like rectangles but with tapered points at the tops. These will be your fox’s ears. Then, from the other black paper rectangle that is still whole, cut three very thin strips that are the same length as the whole shape. These will be your fox’s whiskers!

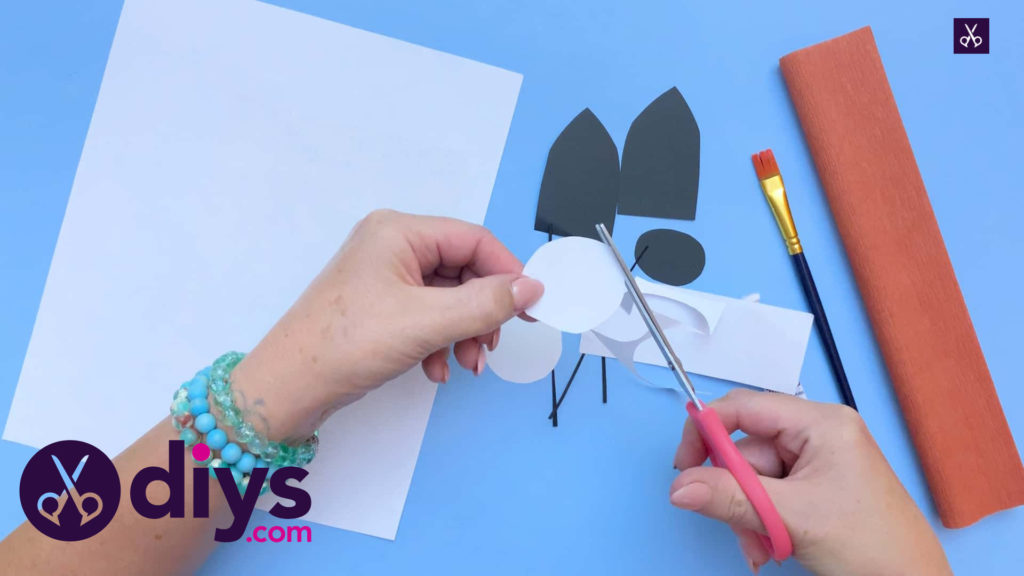
Step 8: make the eyes
From your white paper, cut two circles that will make up the whites of your fox’s eyes. We made ours slightly smaller than the oval size of the nose we cut out earlier.
Step 9: make pupils
From one of your remaining black pieces of paper, cut two smaller circles that will fit in the center of your white circles, still leaving a ring of white around the outside. These will be the pupils of your fox’s eyes.

Step 10: all the shapes
Cut a similar shape to your black ears from your brown tissue paper, but with a more rounded shape at the top rather than a distinct point like before. This time, however, make them slightly smaller than you did before so that some of the black shape would still show around them if you layered the two. You now have all of your shapes cut!
Step 11: start gluing
Using your glue gun, stick the brown tissue paper pieces neat the bottom and center of your black ear shapes, creating the insides of the fox’s ears.

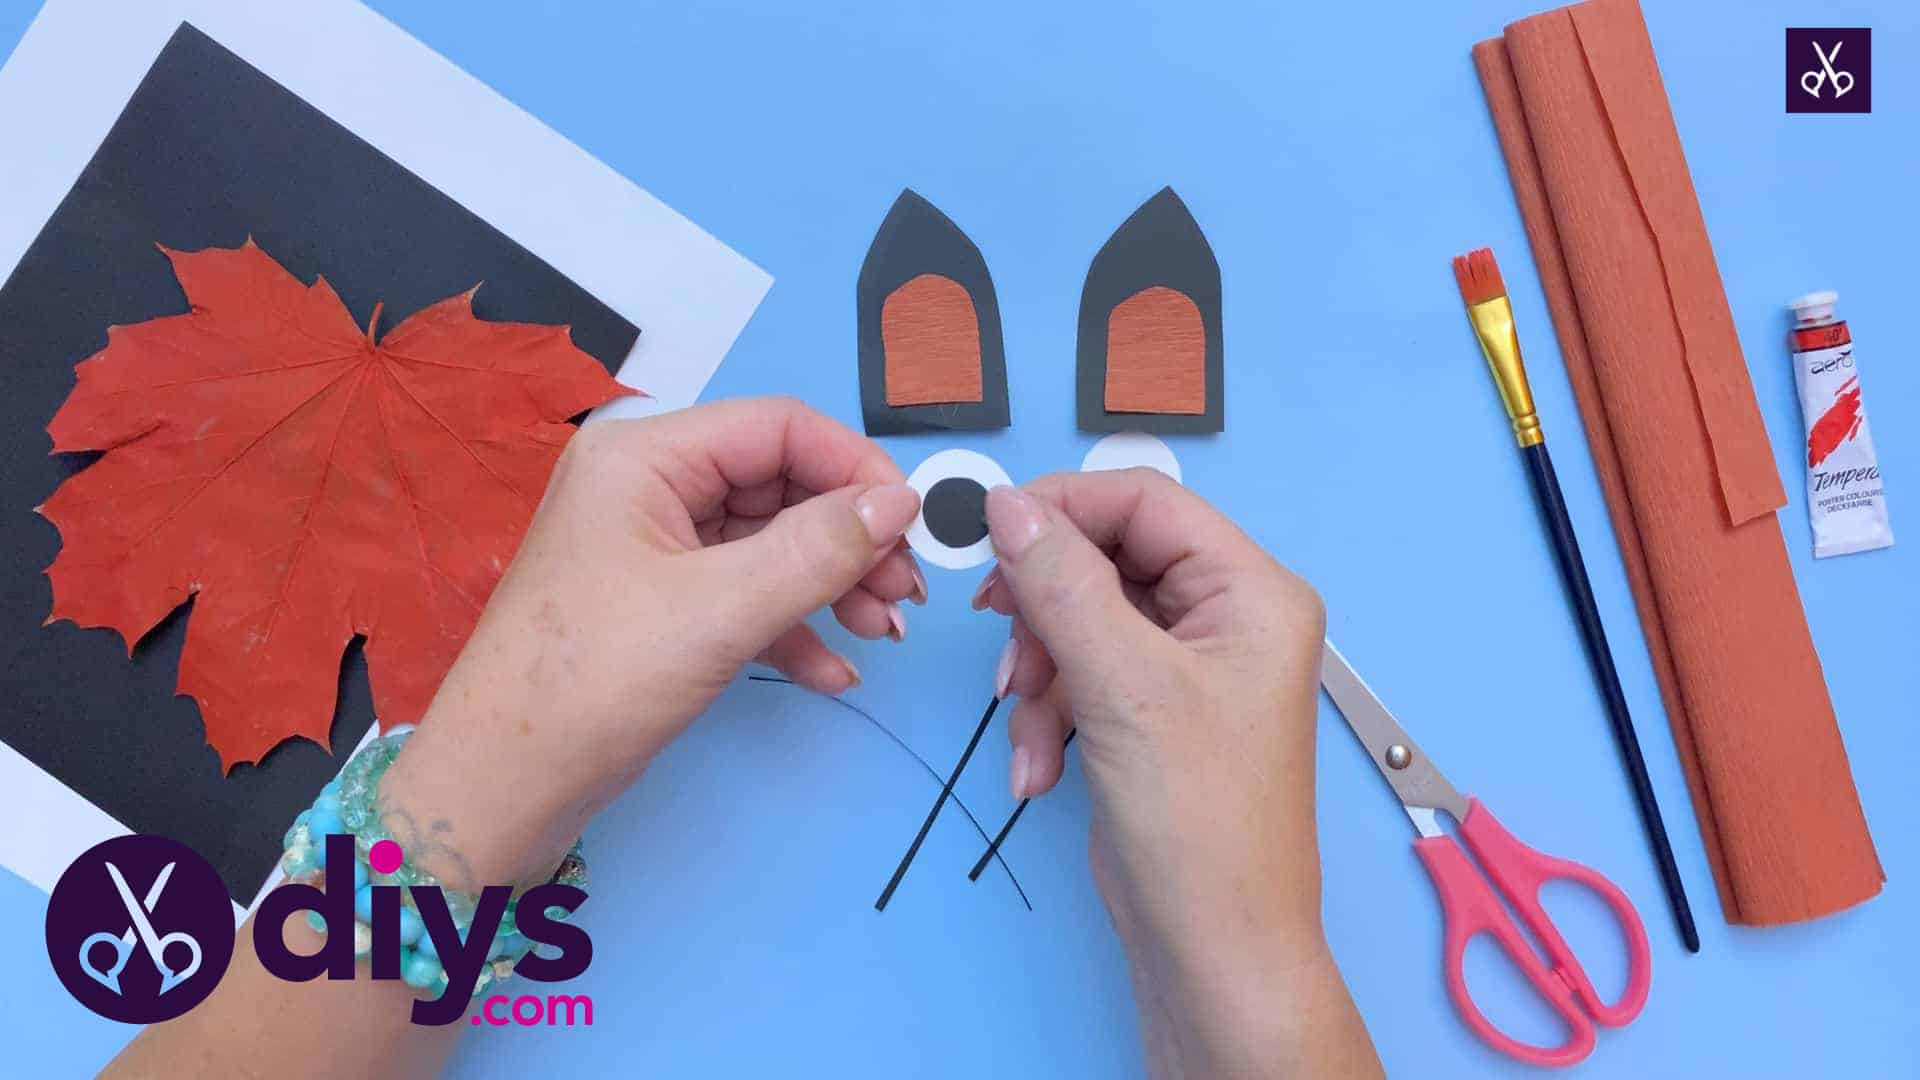
Step 12: layer the eyes
Next, layer your eyes in a similar ways. Use your glue gun again to stuck the black pupils into the center of the white circles in order to make your fox’s eyes.

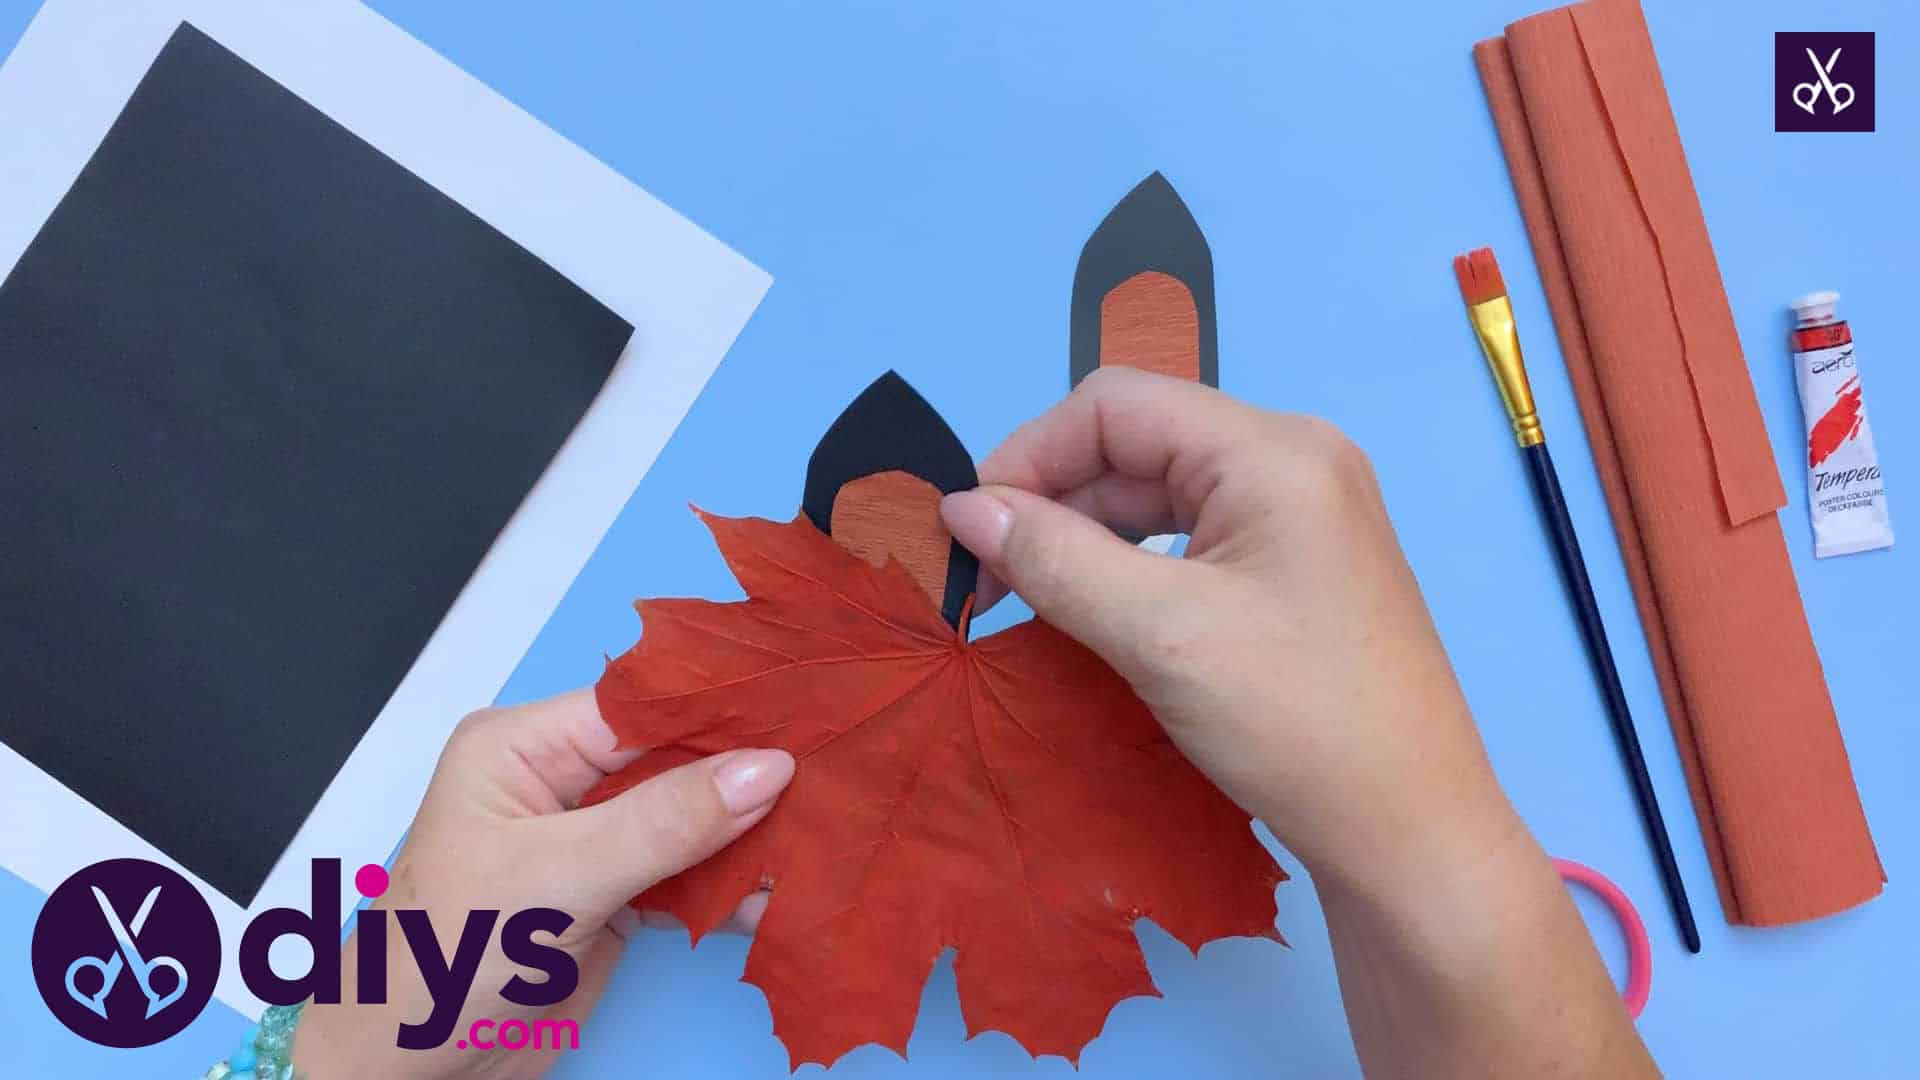
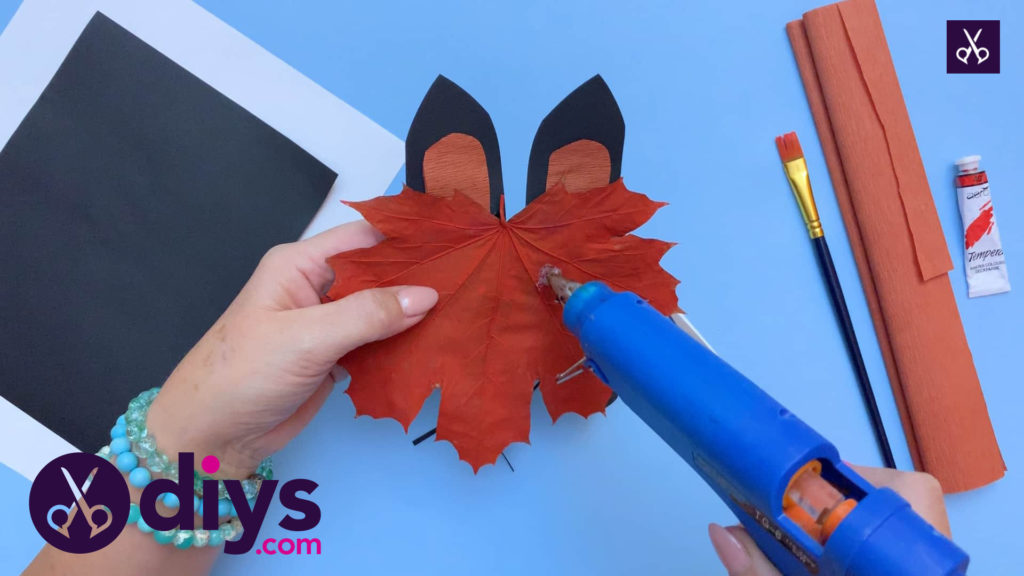
Step 13: glue ears on
Apply glue to the bottom edges of your ears and stick them to the backside of your leaf at the top, one on the left and one on the right.

Step 14: glue on eyes
In the center of the leaf but closer to the top where the ears are, use your glue fun to stick your eyes in place on the front surface of your leaf.
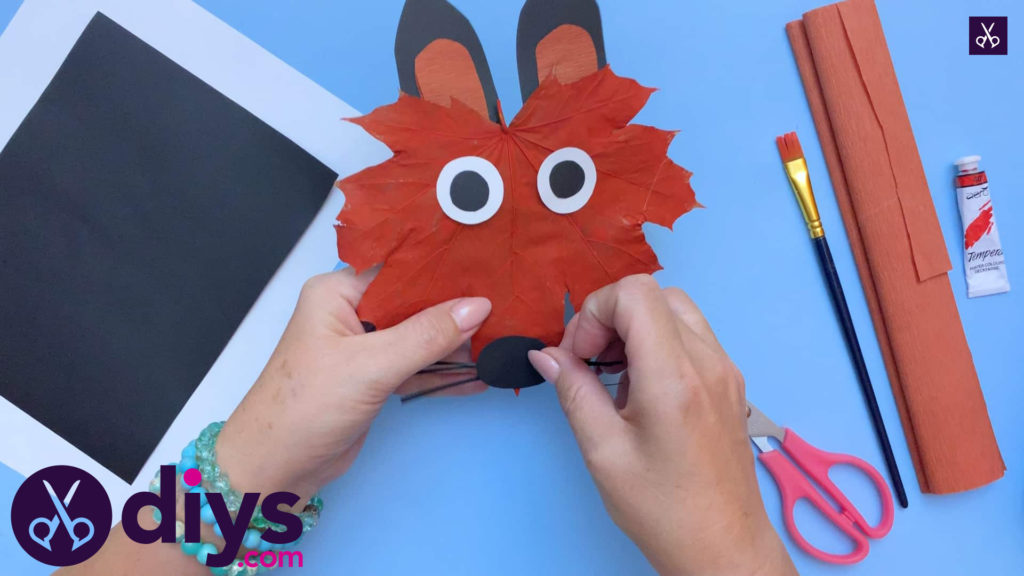
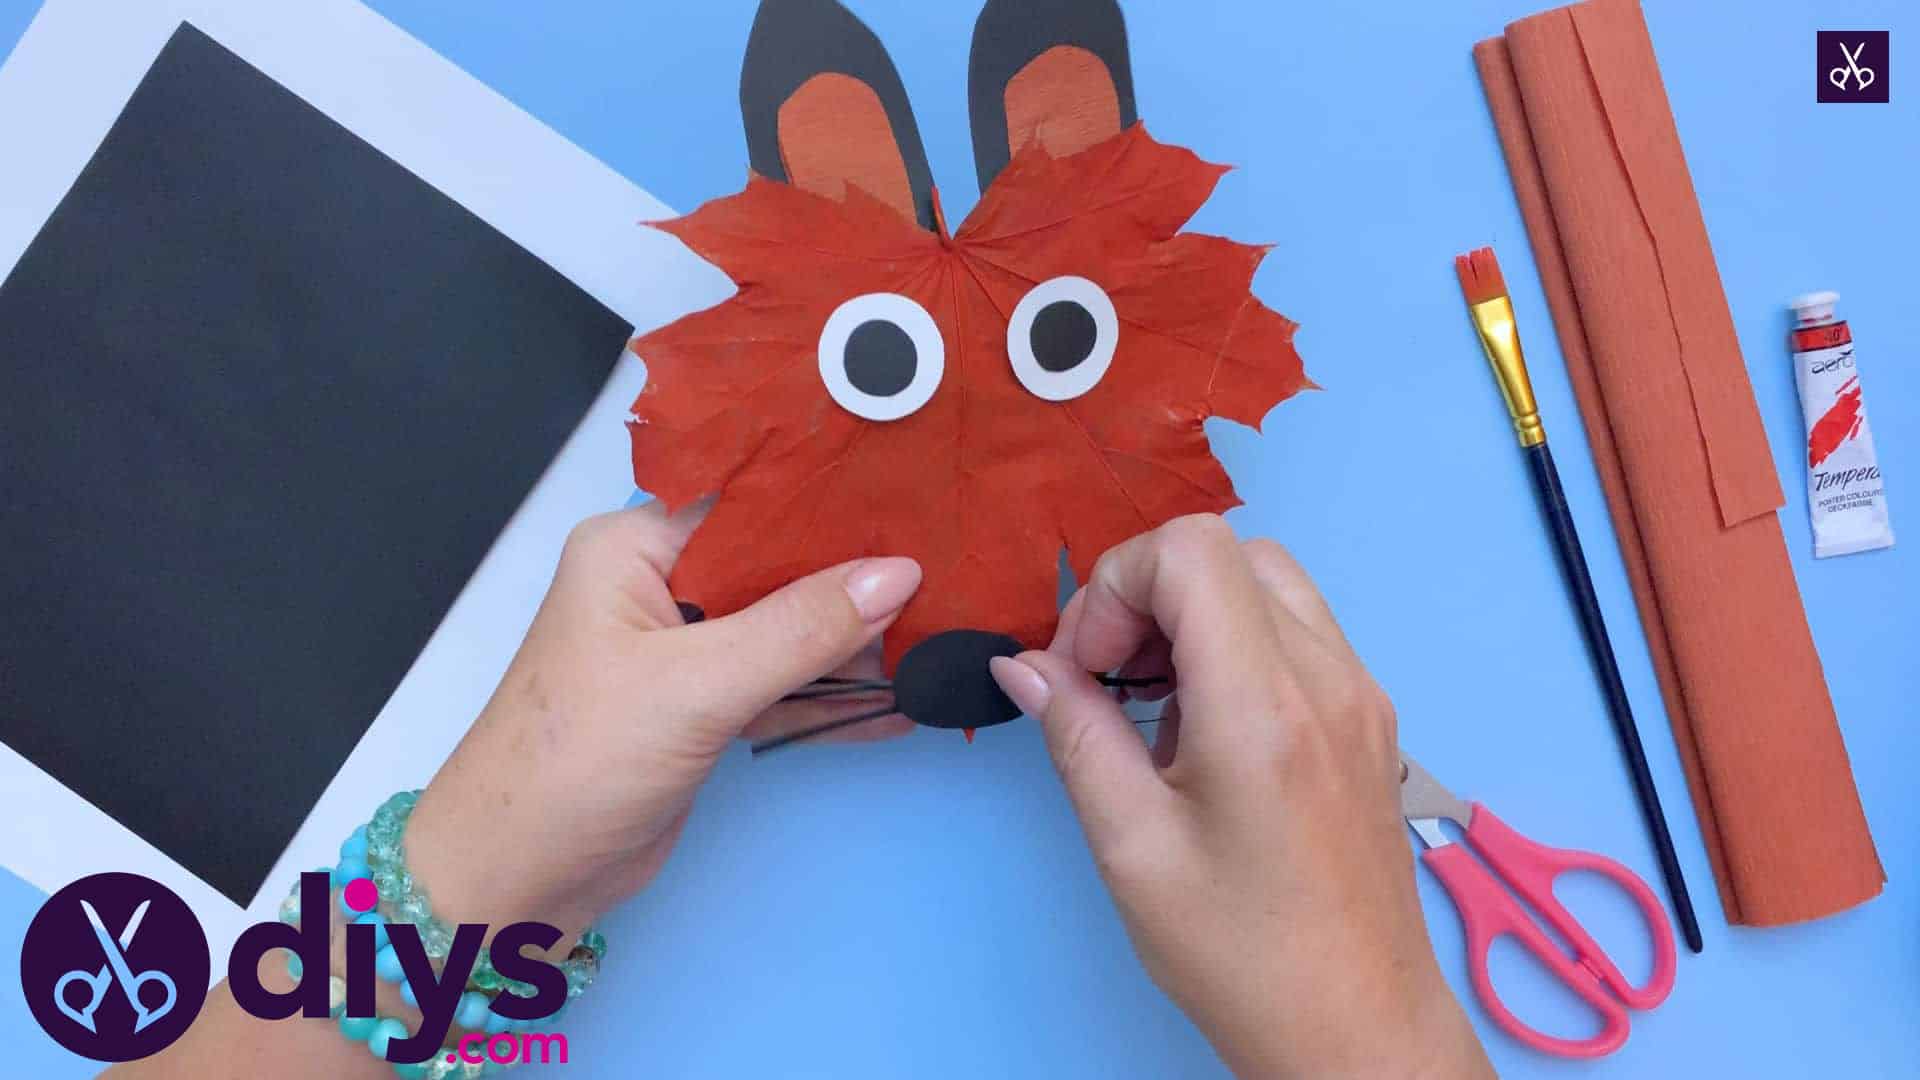
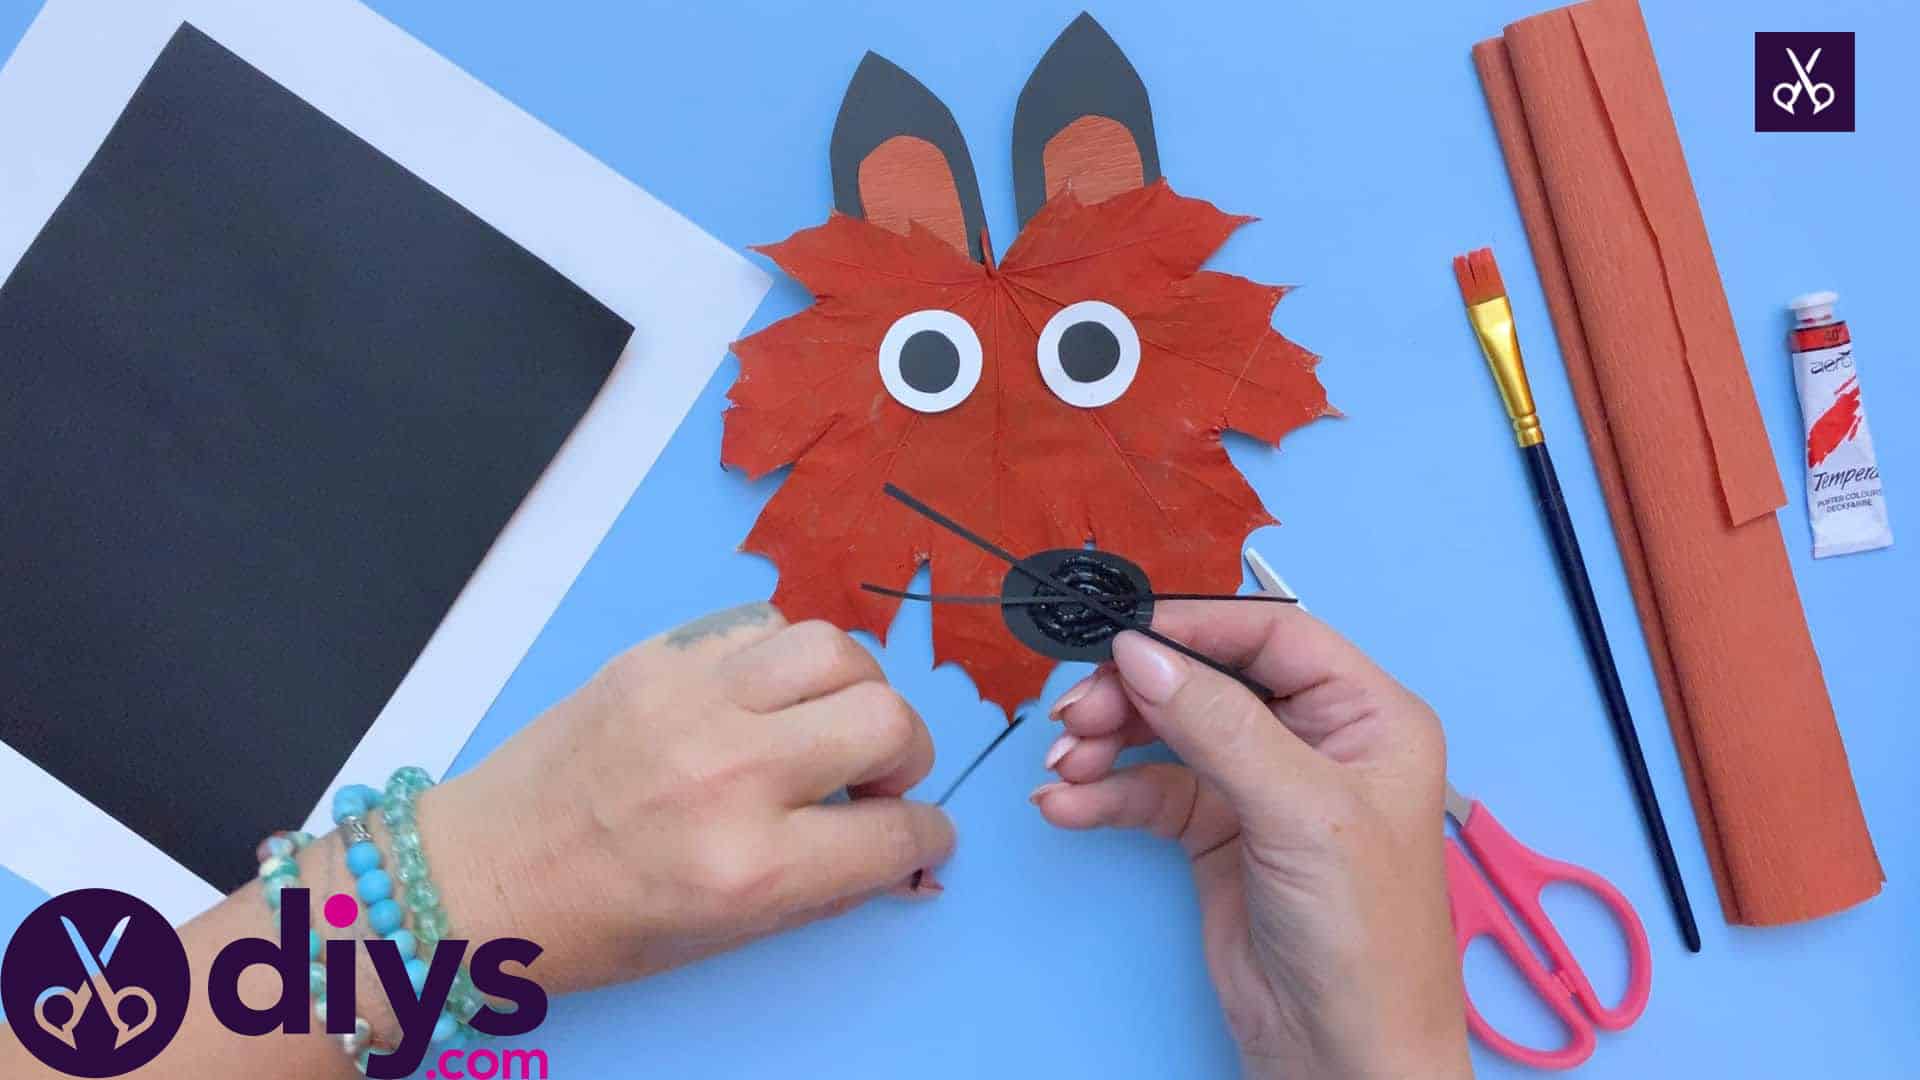
Step 15: glue on nose and whiskers
On the backside of your oval shaped paper nose, apply glue and stick your whiskers down. I did this by crossing them in the center so they stick out at even angles on each side; two lying over each other diagonally like an X and the third horizontally, all overlapping at their centers.

Step 16: finish
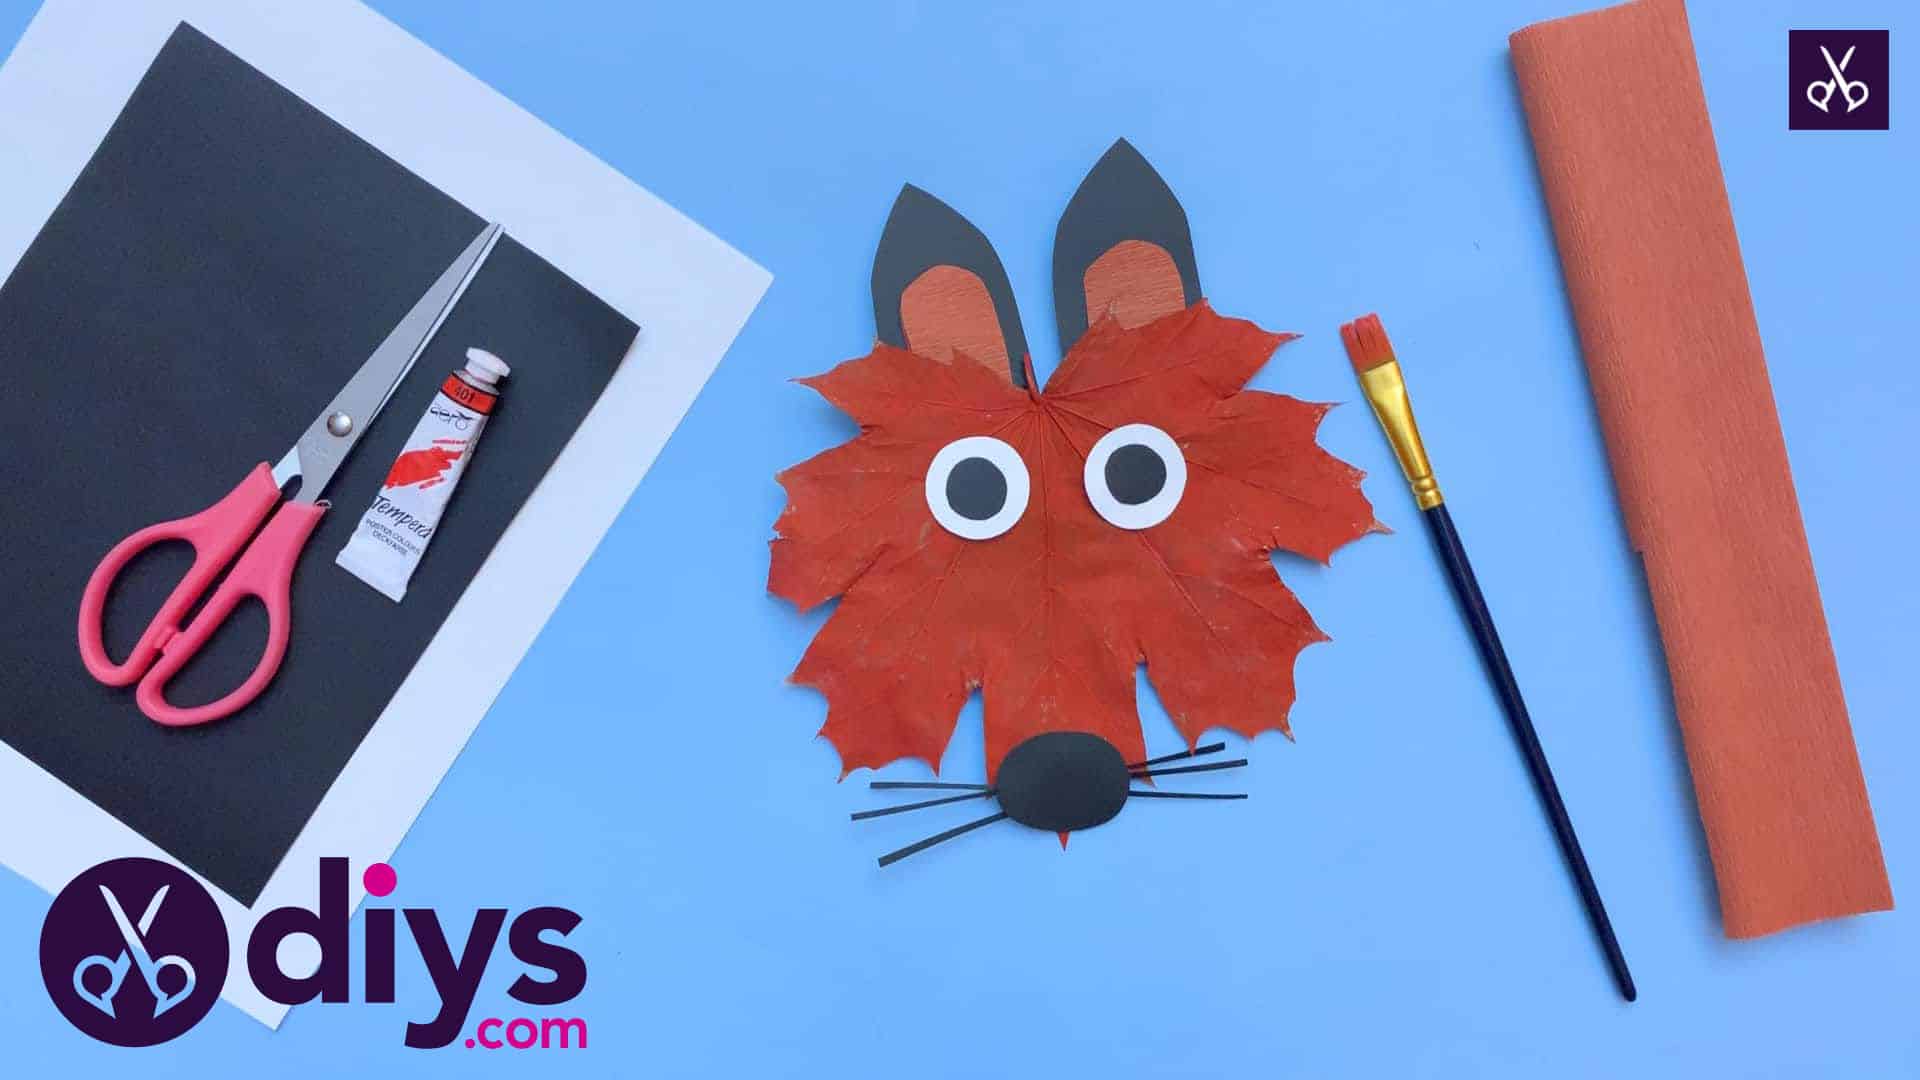
Stick your nose in place at the bottom-most part of your leaf. I placed mine in the center point so that it looked like the fox’s little snout, with its nose and whiskers right at the end.
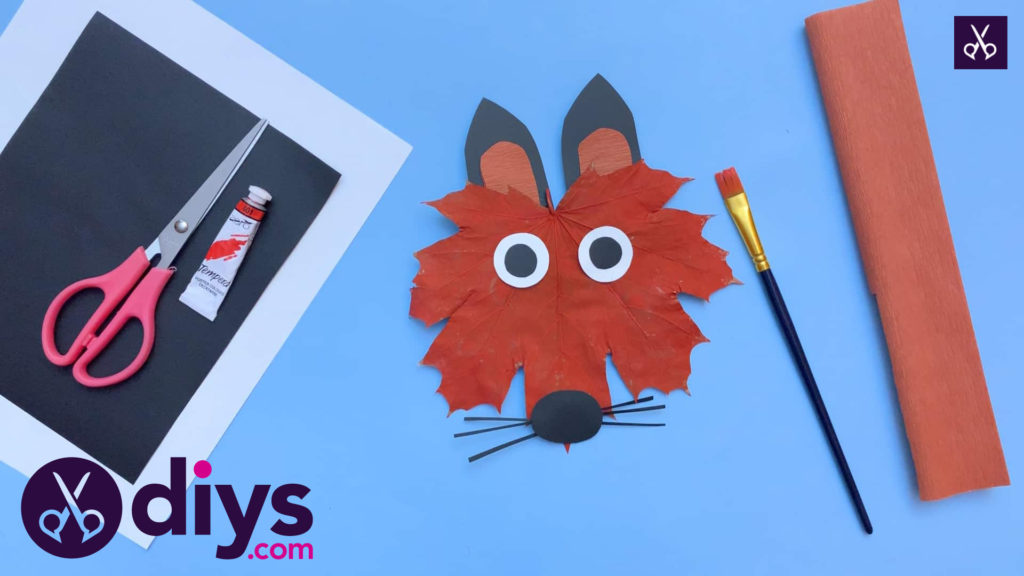
Voila! You have a fall fox made from an actual leaf! Just in case you’d like to try this project out for yourself, here’s a fantastic tutorial video to help you!