DIY Concrete Lego Block Keychain
Updated on November 19, 2025


Whenever I’m trying to come up with cool crafting ideas to do with my kids, I try to think of ways to combine their love for creativity with the things they like elsewhere, like toys or TV characters. That’s how we found ourselves all crafting funny Lego inspired concrete keychains last week! My whole household has beenobsessed with DIY concrete lately. There’s just something so satisfying about mixing and moulding it yourself, which is part of the reason these cool block keychains were such a hit.
In fact, I was so happy with the way this project turned out that I actually made an additional one just so I could document the process and share it with other people who might be interested! Check out these step by step instructions complete with photos. If you’d rather follow along with a video tutorial instead of written words, scroll to the bottom of this post to find just what you’re looking for.
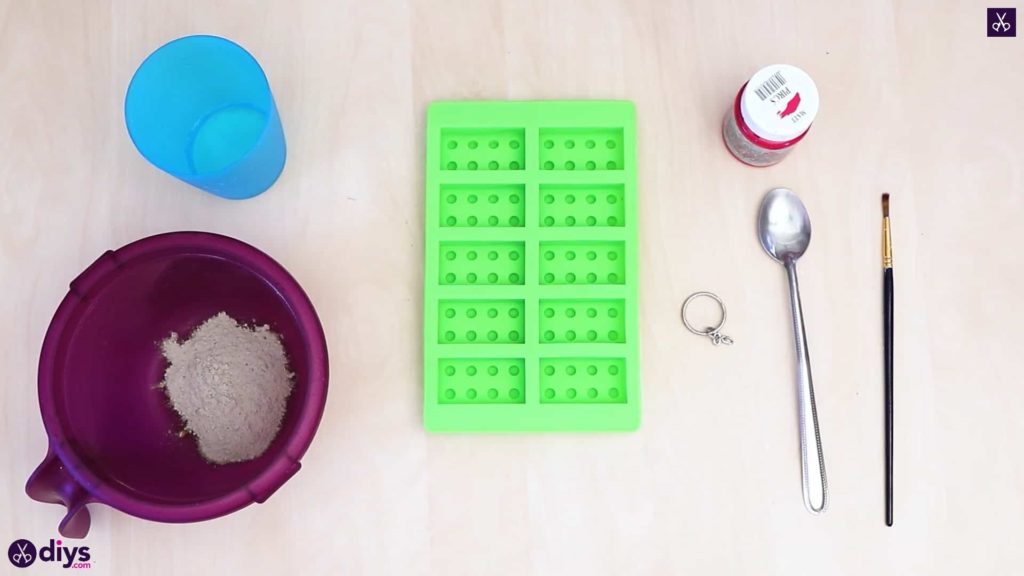
For this project, you’ll need:
- A silicone form
- DIY fine particle cement
- Water
- A plate
- A spoon
- A paintbrush
- Red paint
- A key ring and chain
Step 1: Gather your materials!
Concrete is messy so it’s good to get everything you need first.
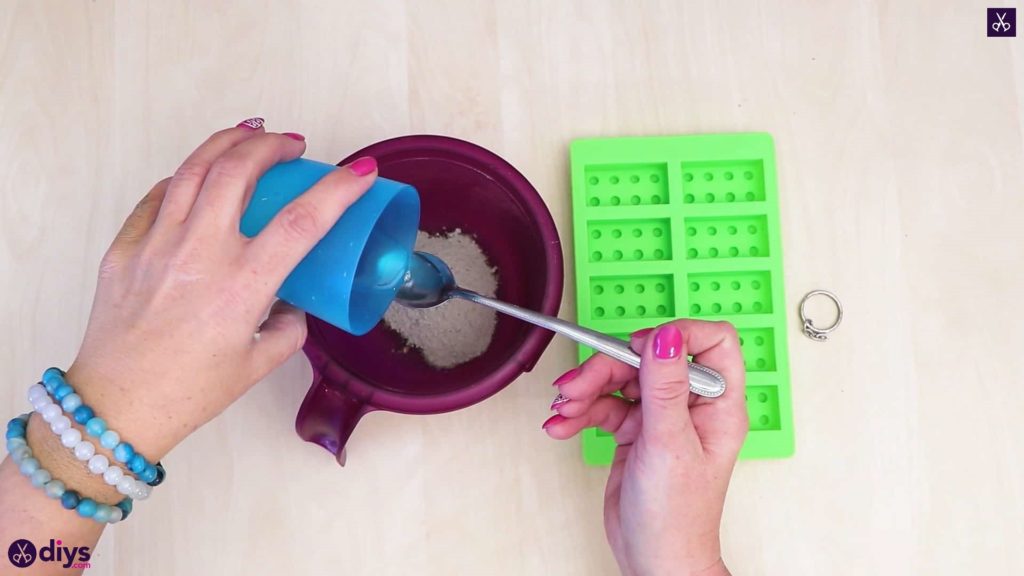
Step 2: mix concrete
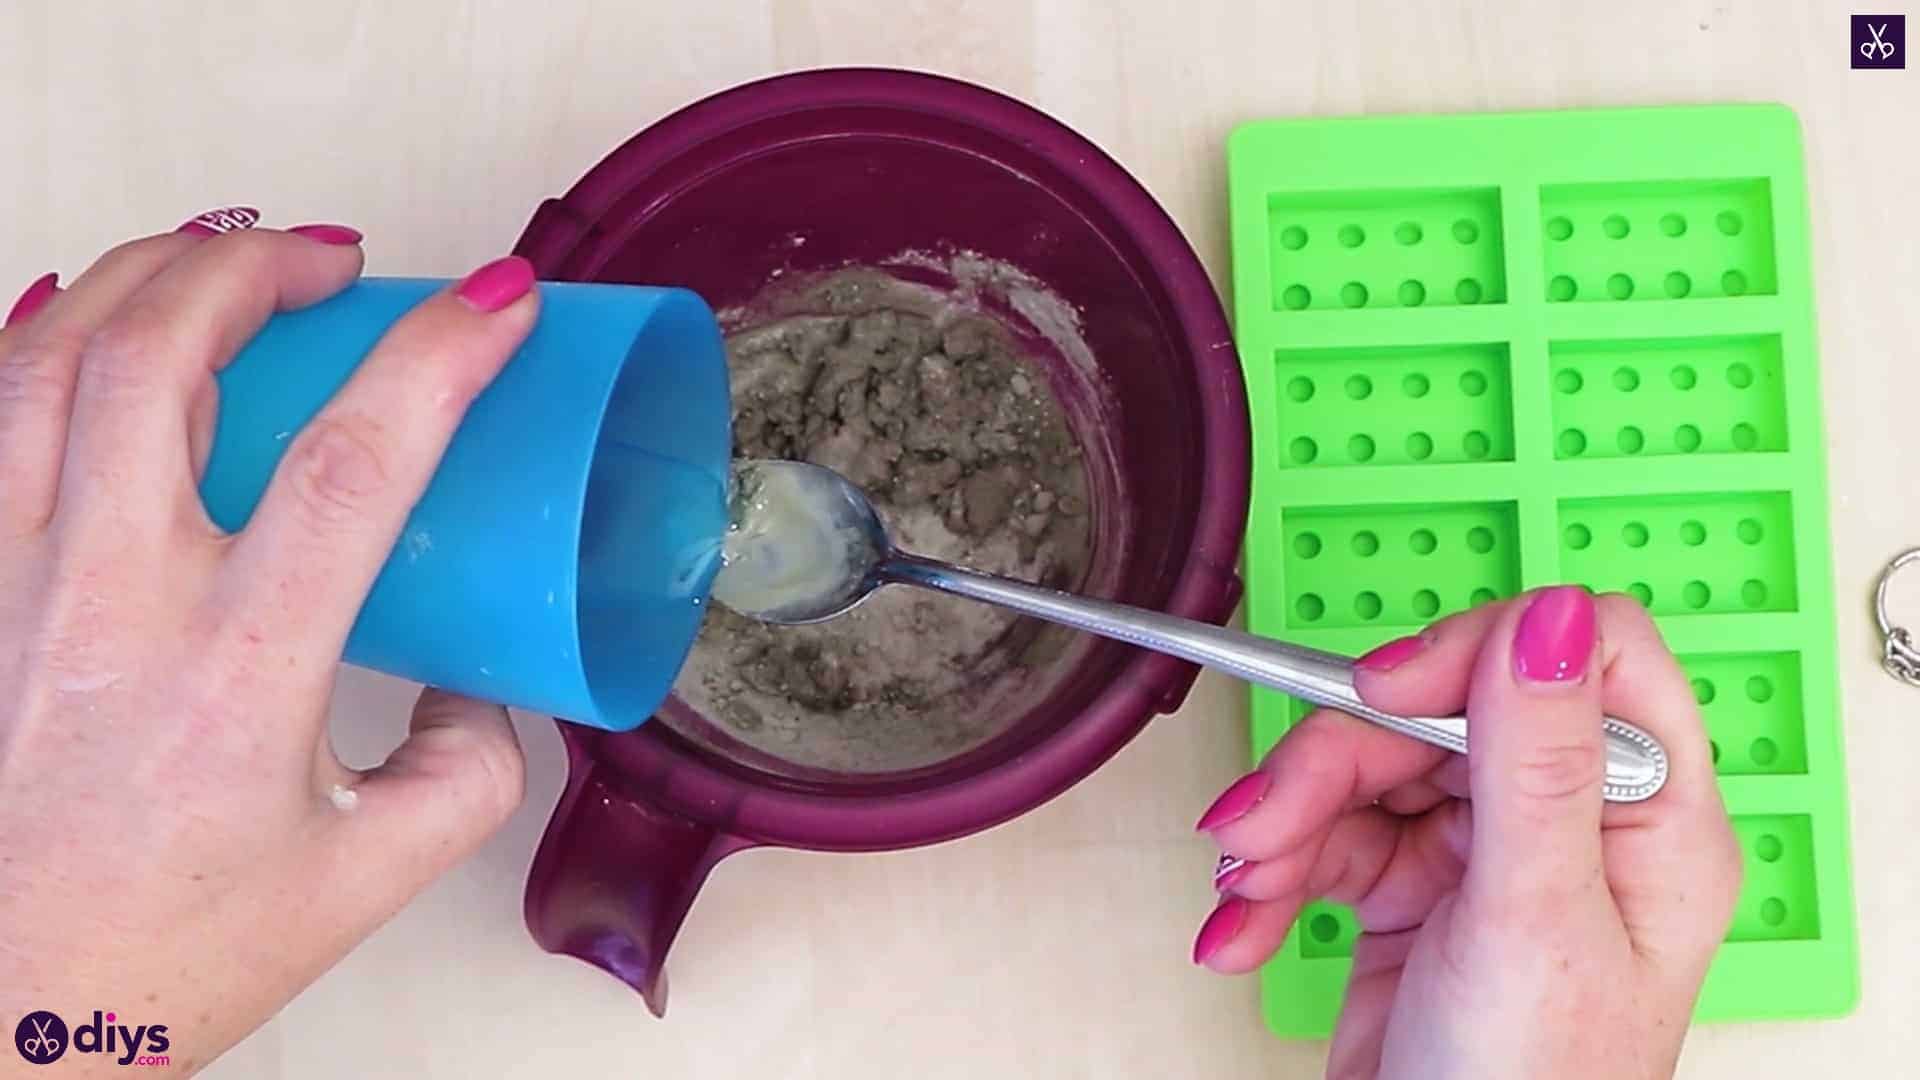
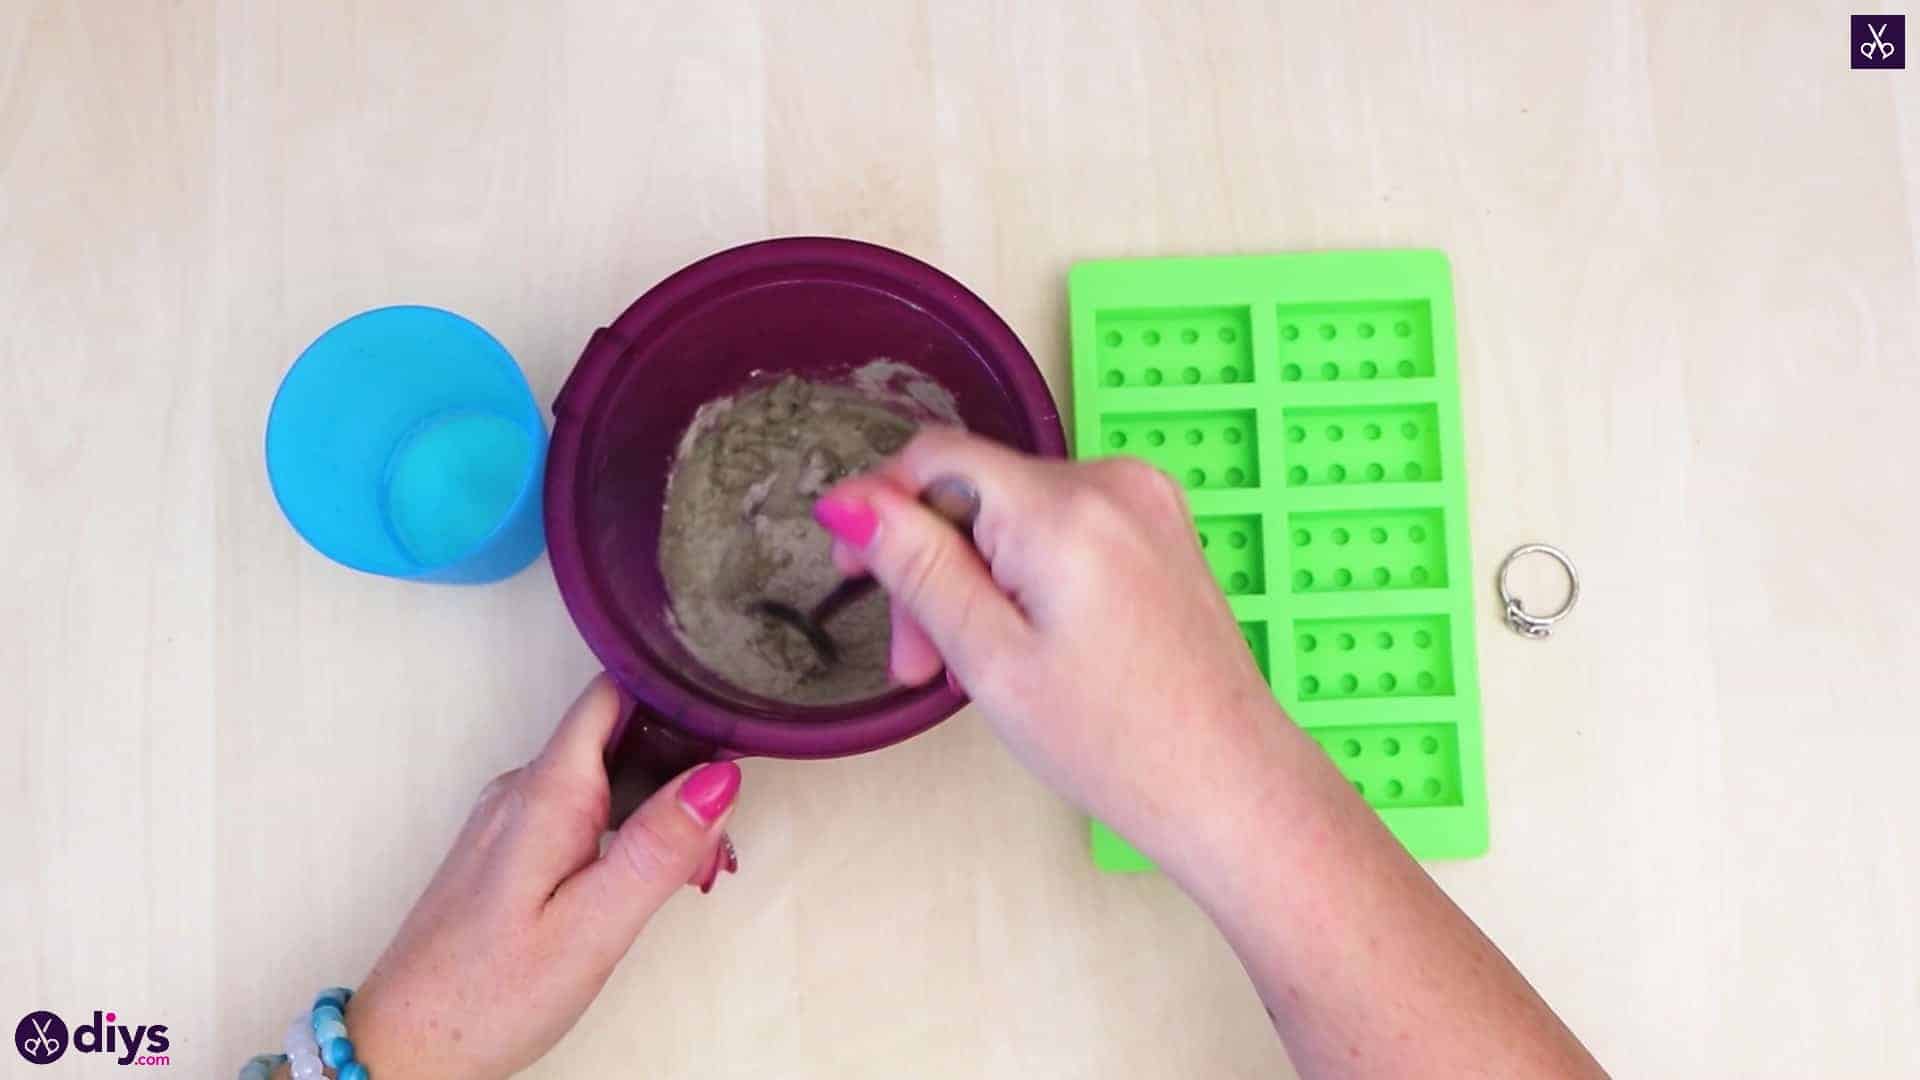
Mix your concrete! Pour water into your mix and use your spoon to stir it. Follow the instructions on the back of your DIY concrete package to get the ratio of water and mix right, as it can vary from brand to brand.


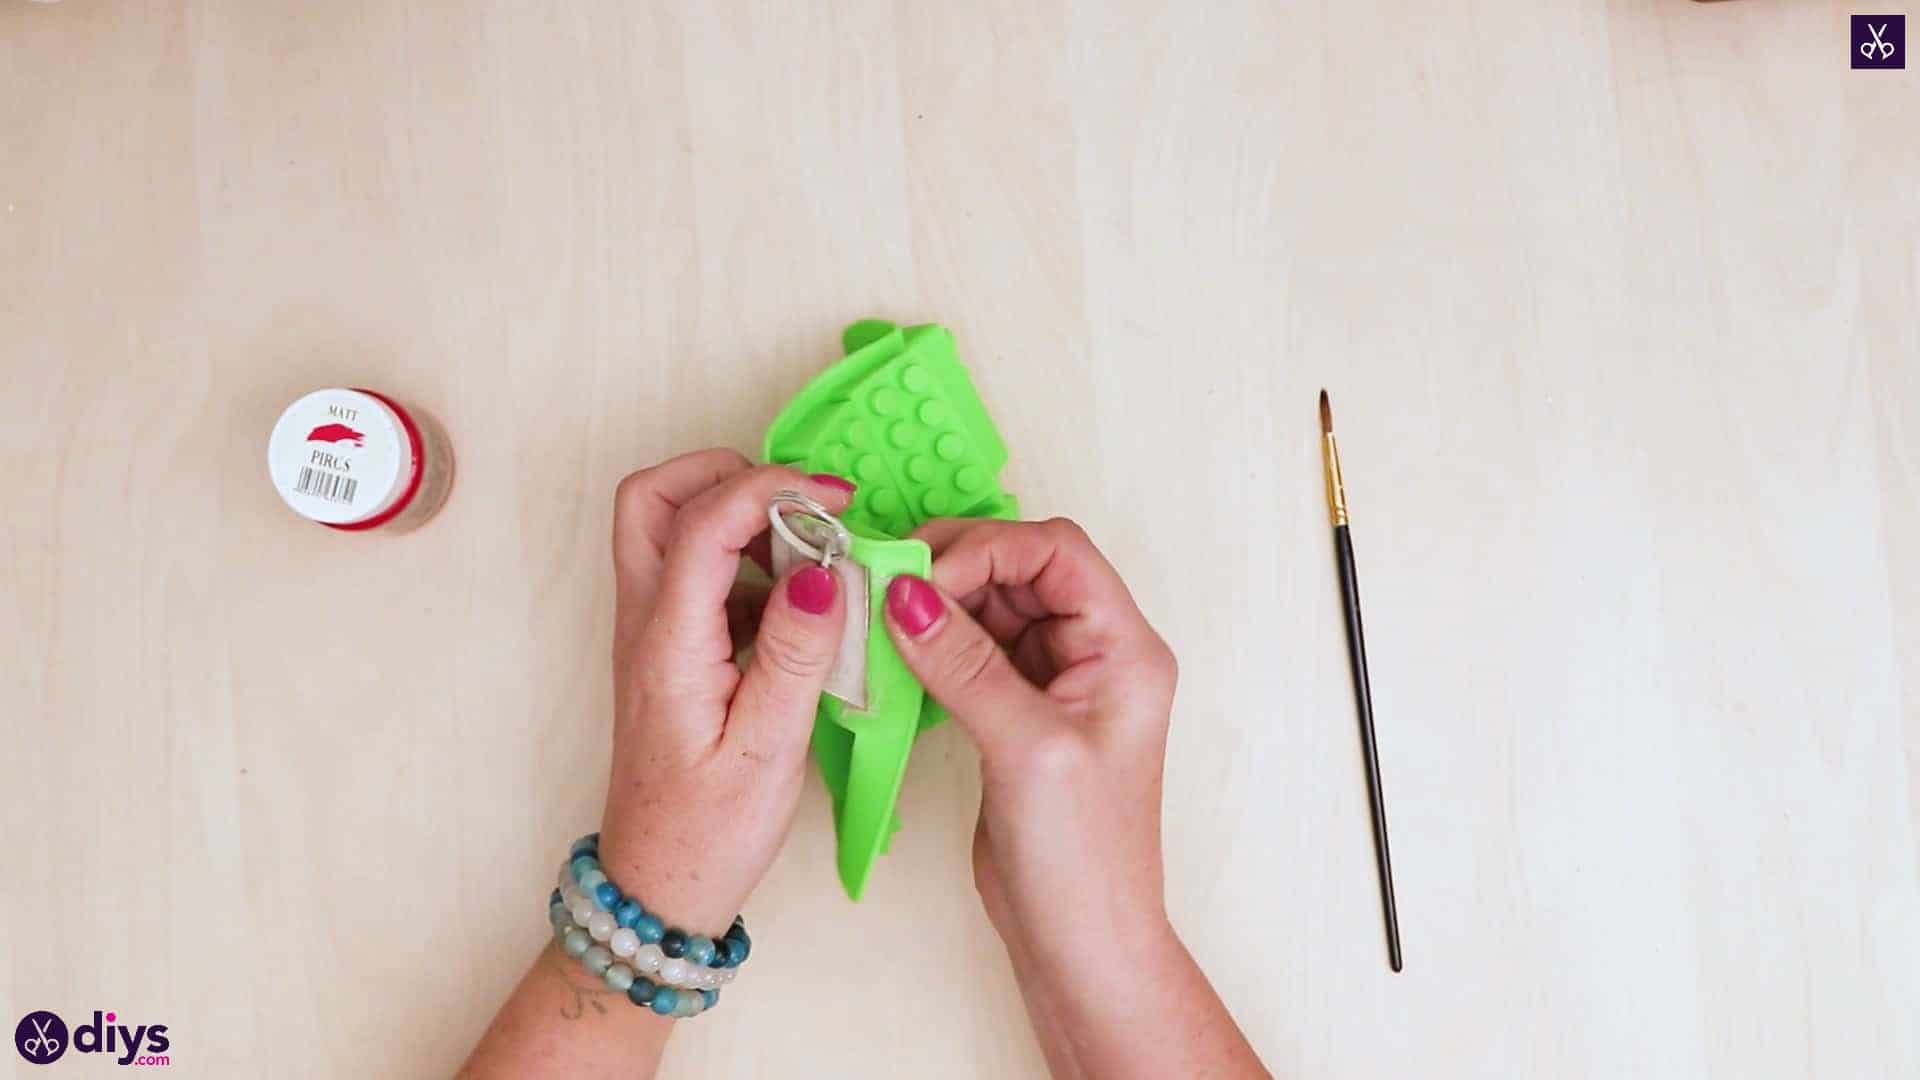
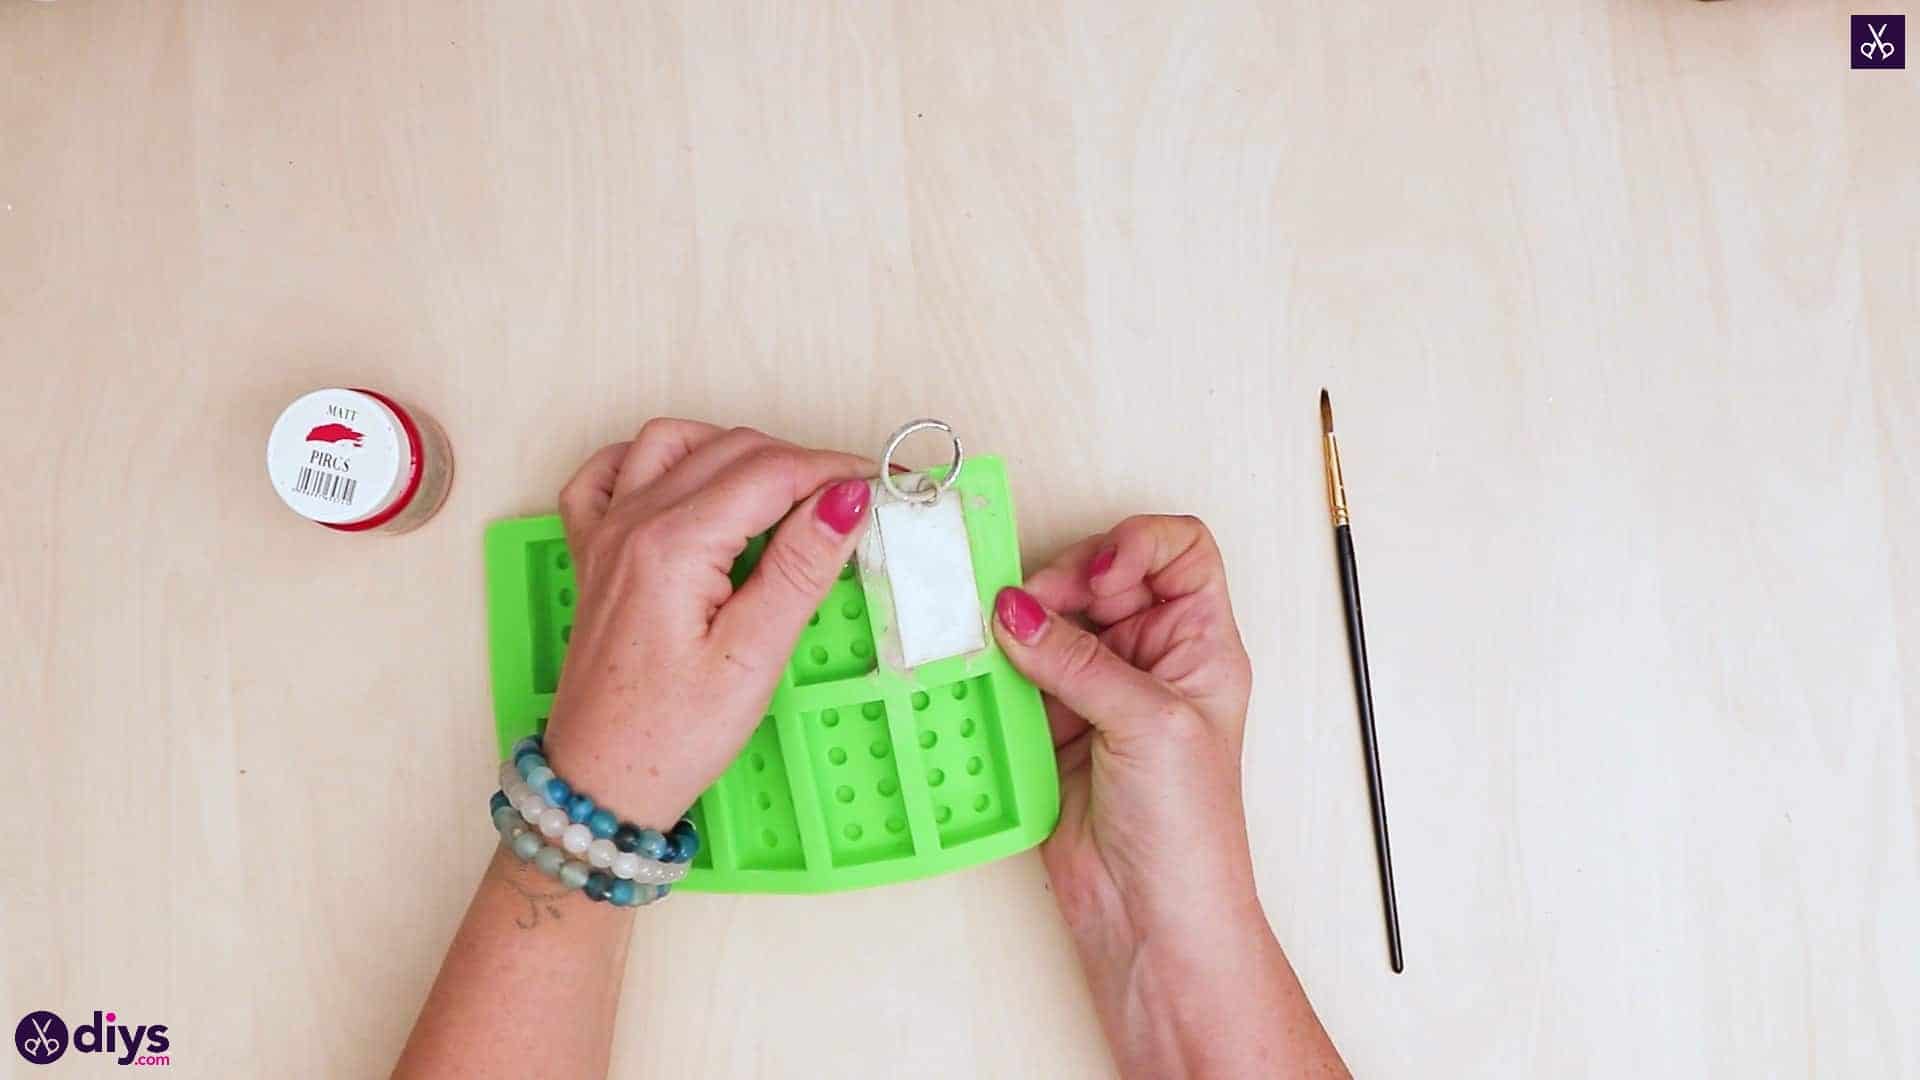
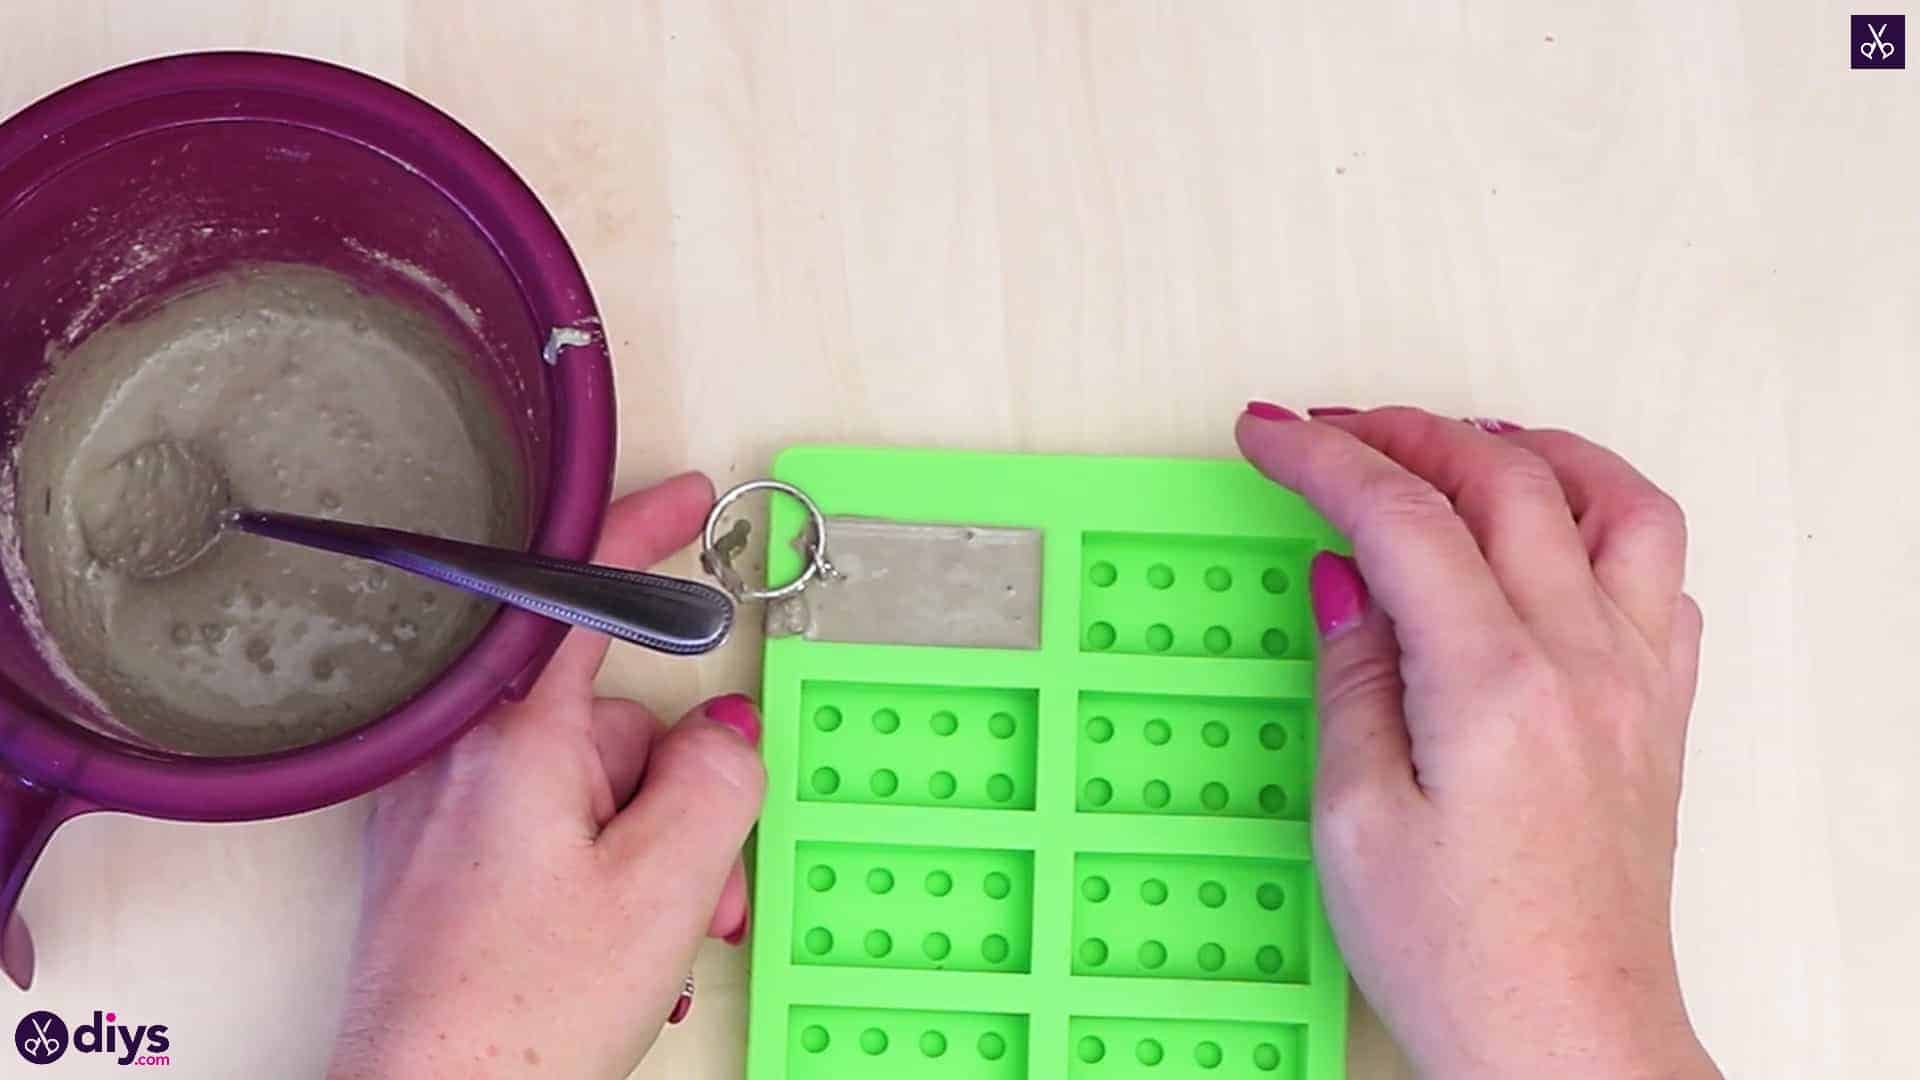
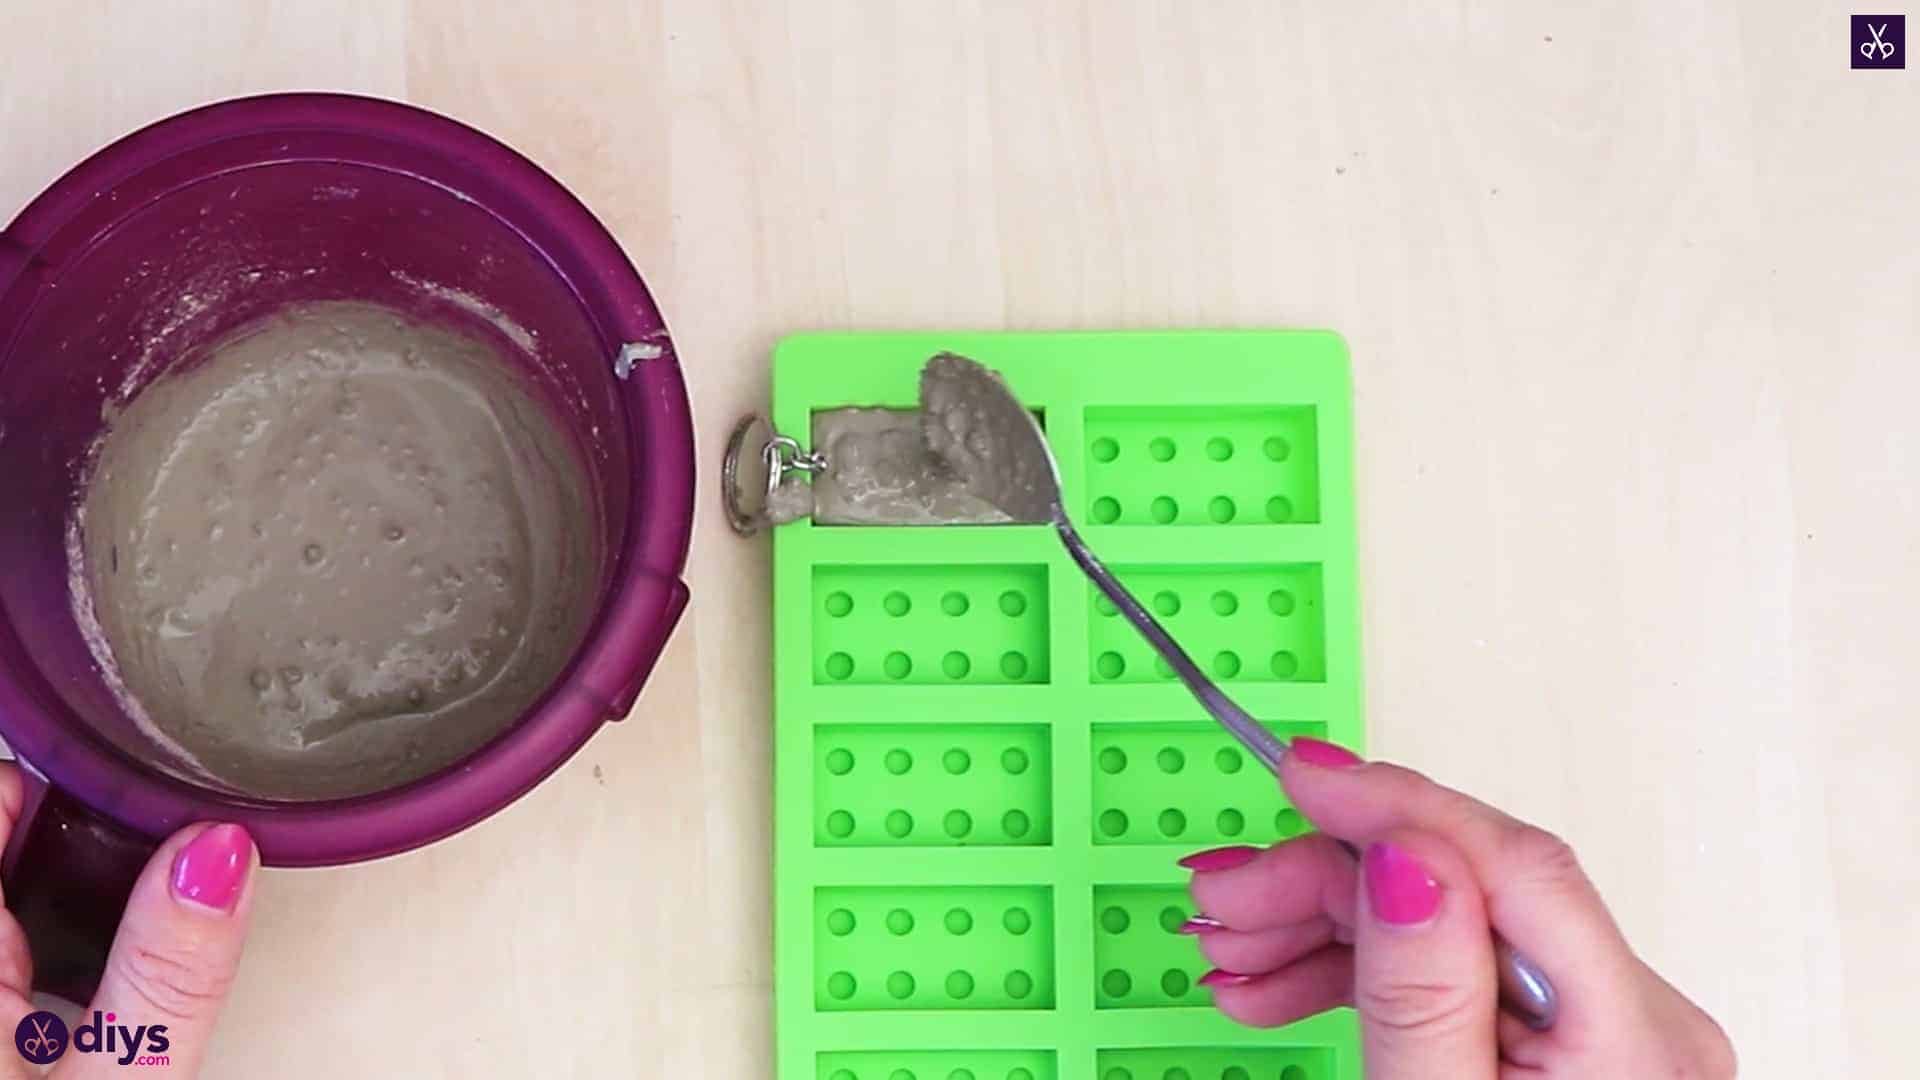
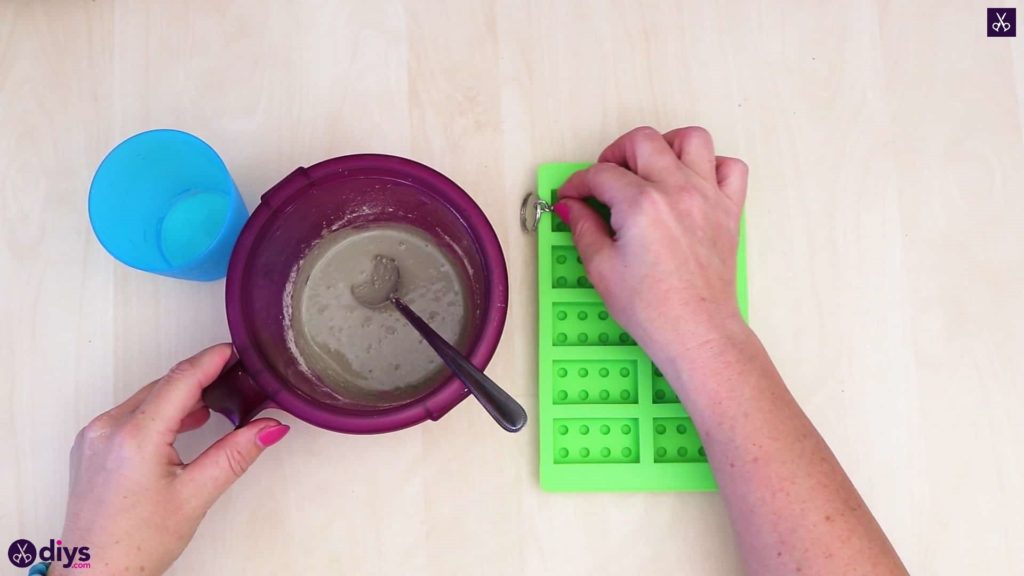
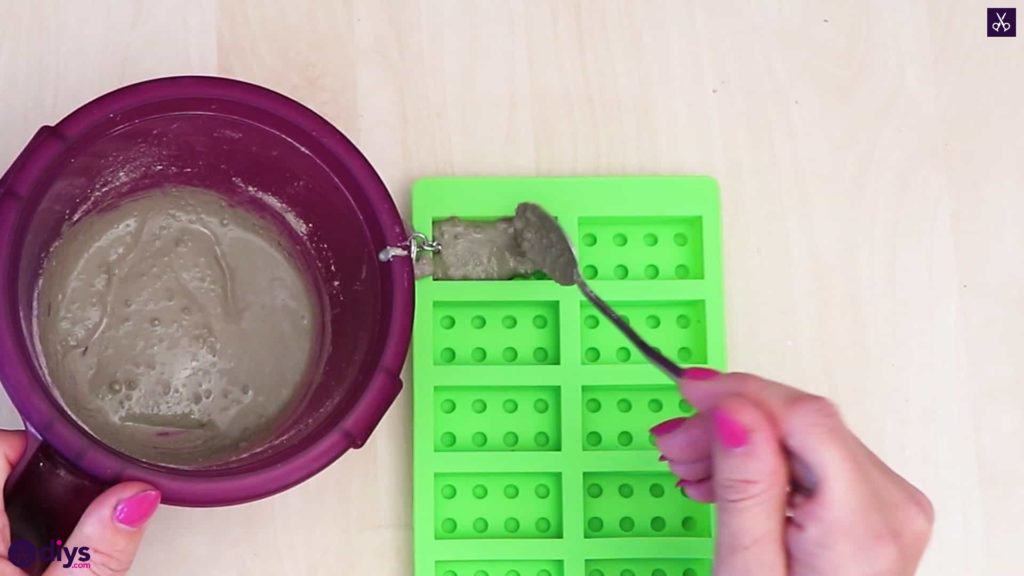
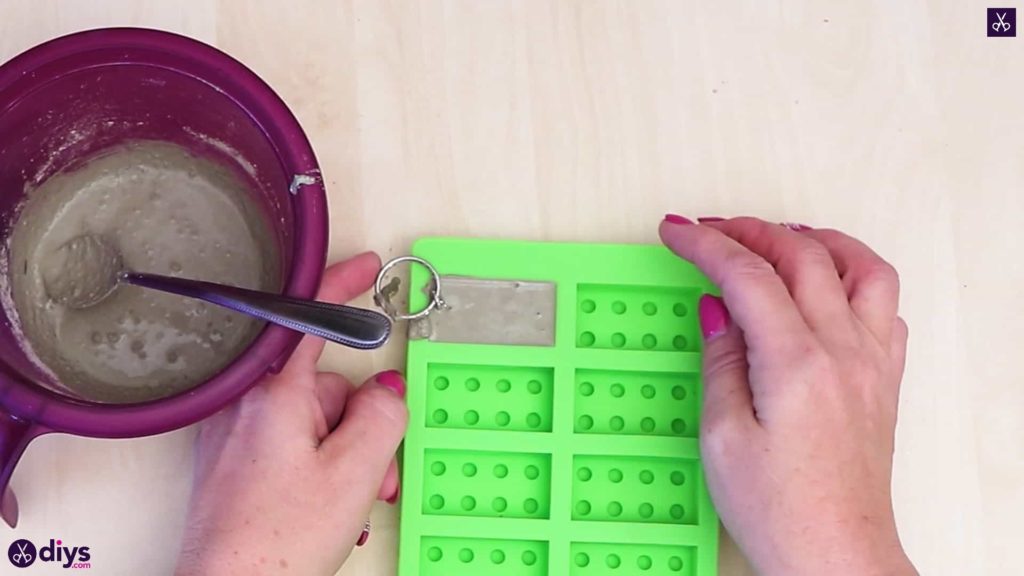
Step 3: fill the mold
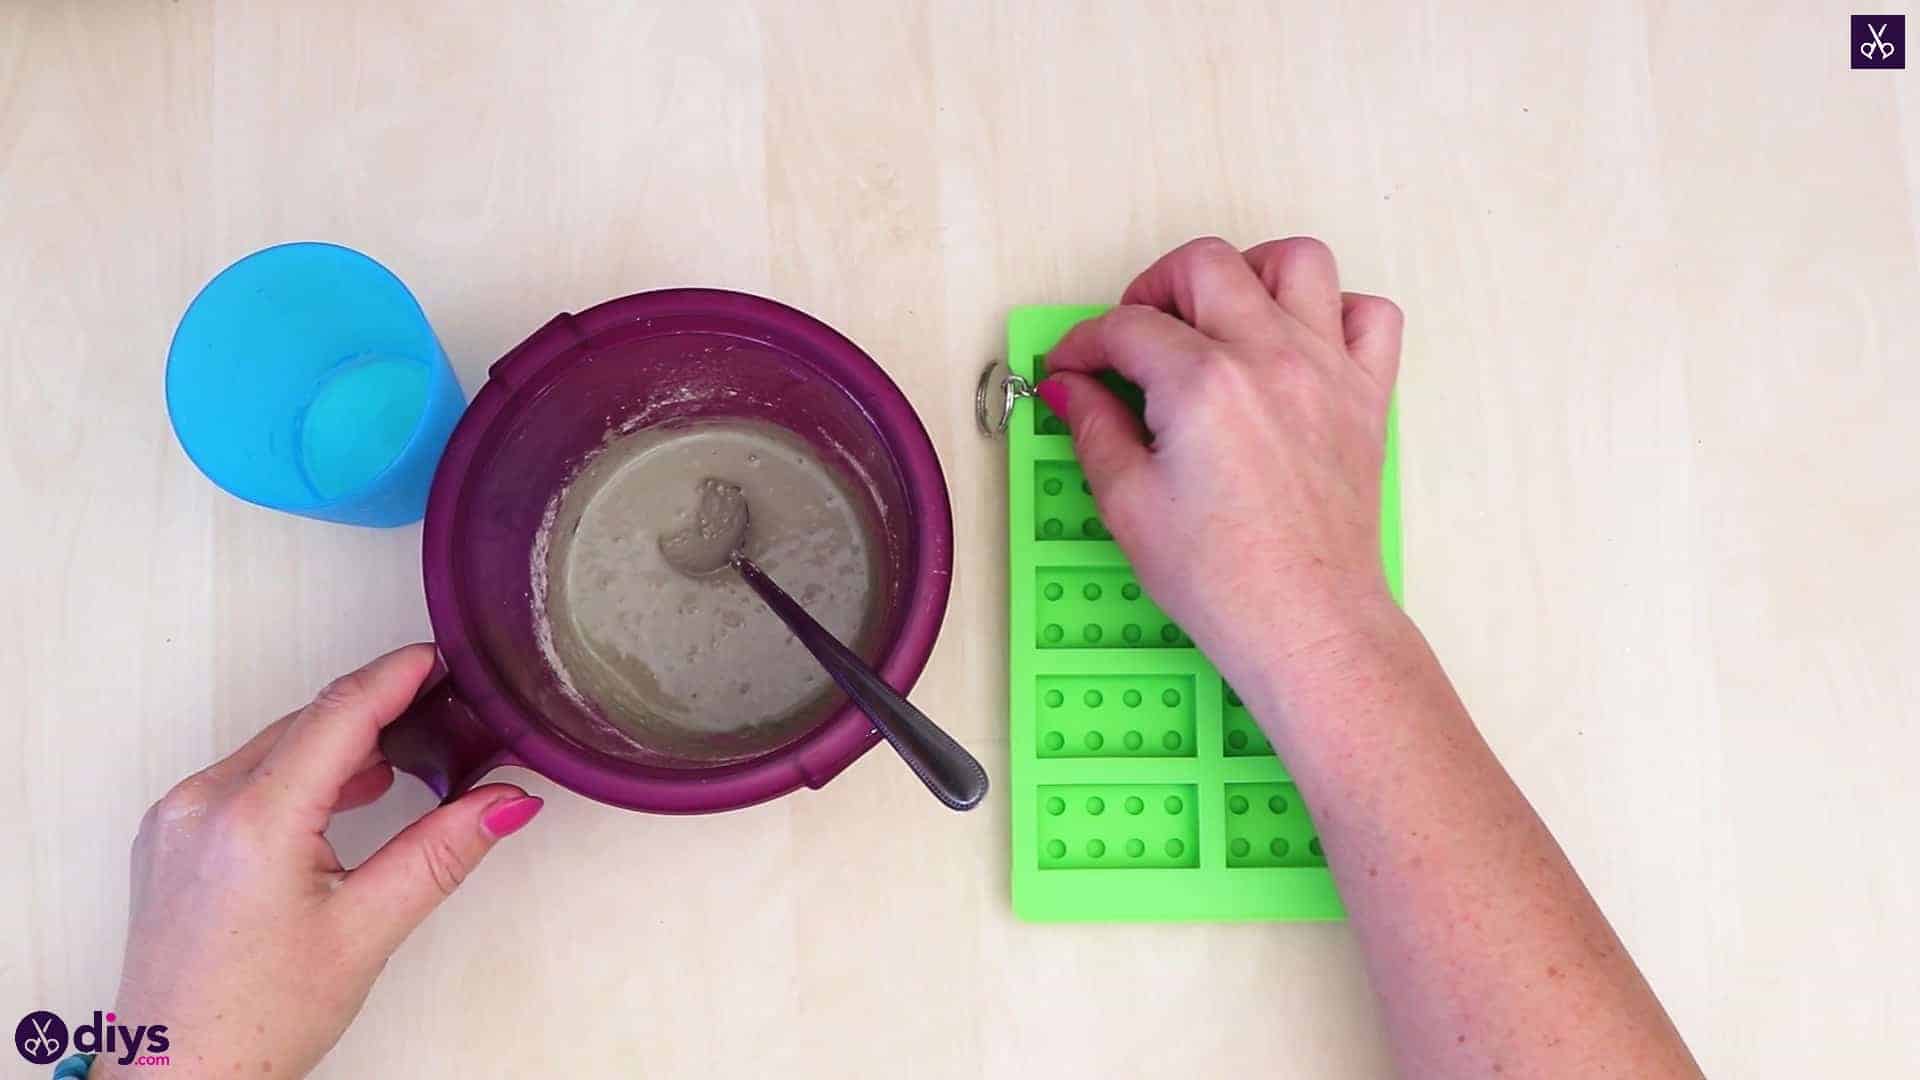
Take the end of your chain that doesnot have the key ring attached to it and lay it over the side of your silicone form so that free end sits inside one of the Lego block shapes. Then use your spoon to fill that block mould with concrete, submerging the end of that chain right into the concrete where it will anchor as the mixture dries. Tap the form lightly on the tabletop to level out the surface of the mix in order to be sure you get a flat side as it dries, and also to get out any air bubbles. Set the form side to dry.


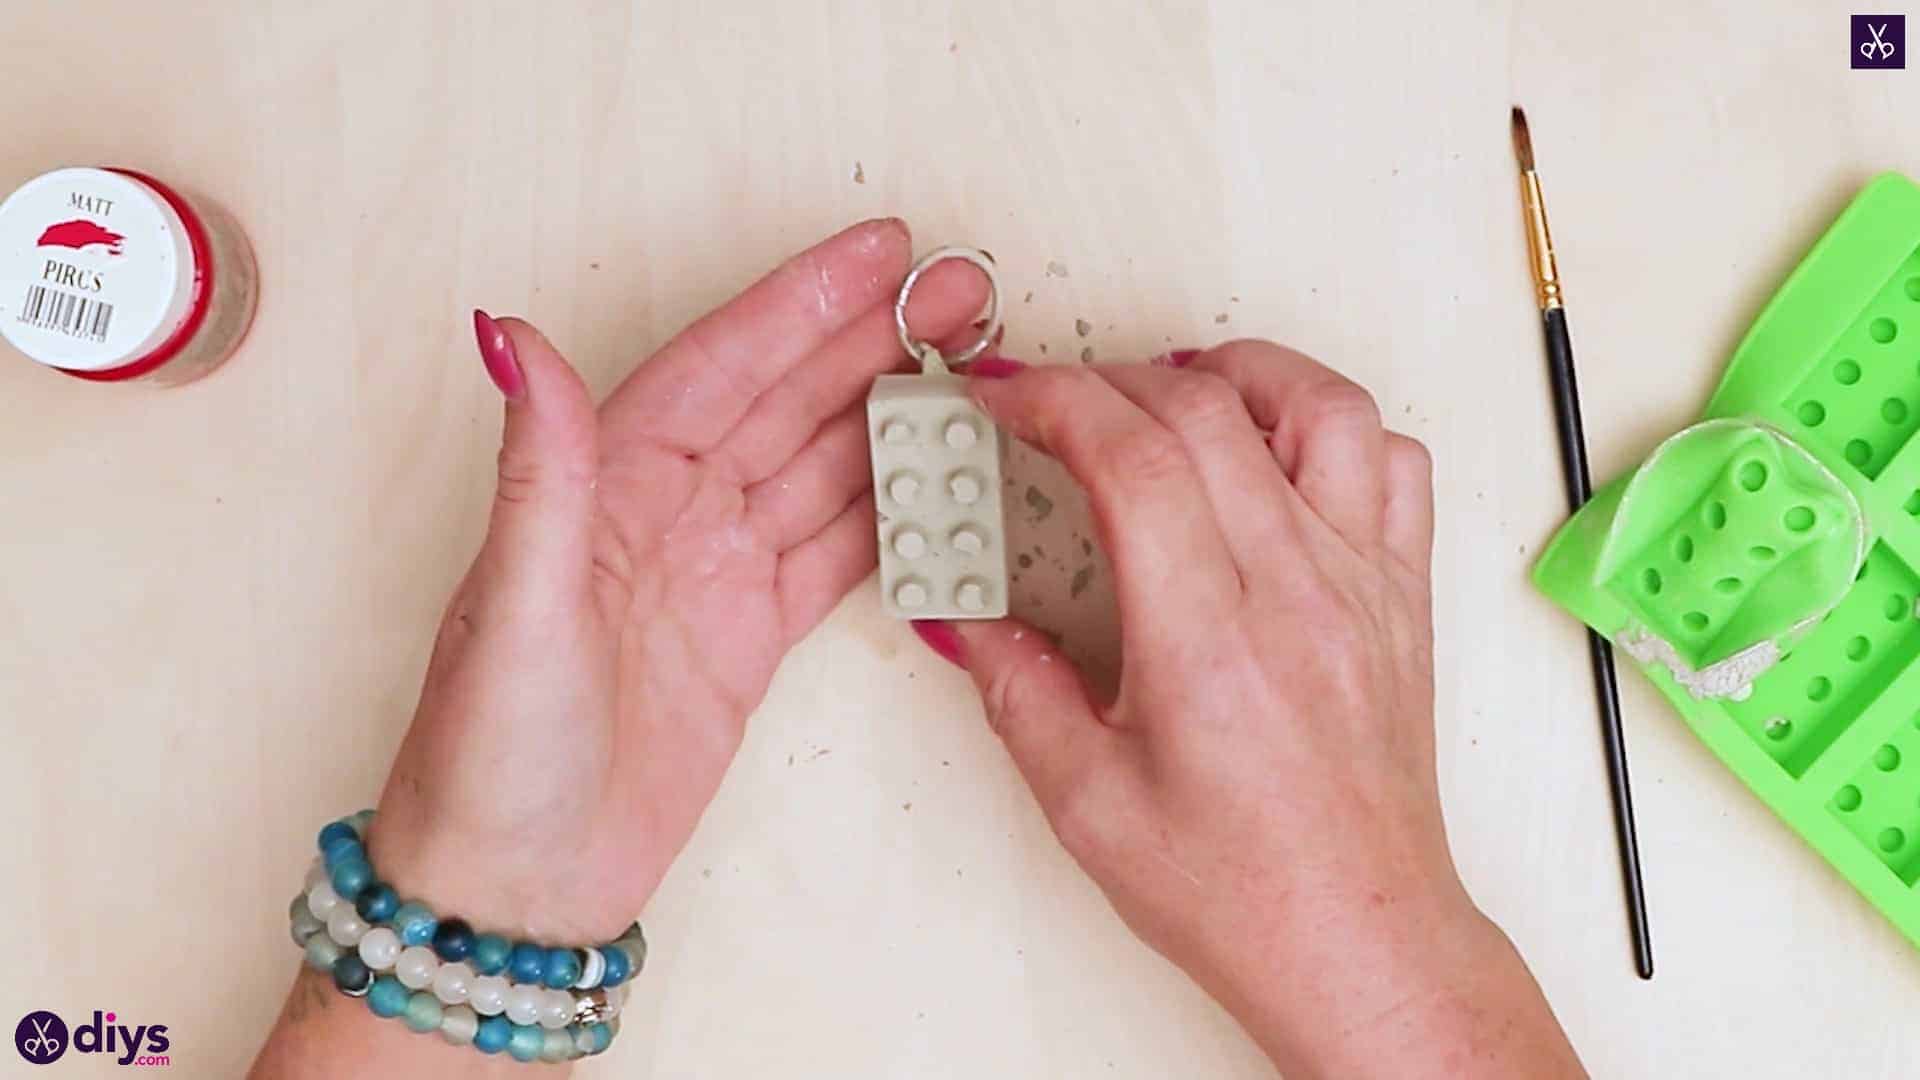
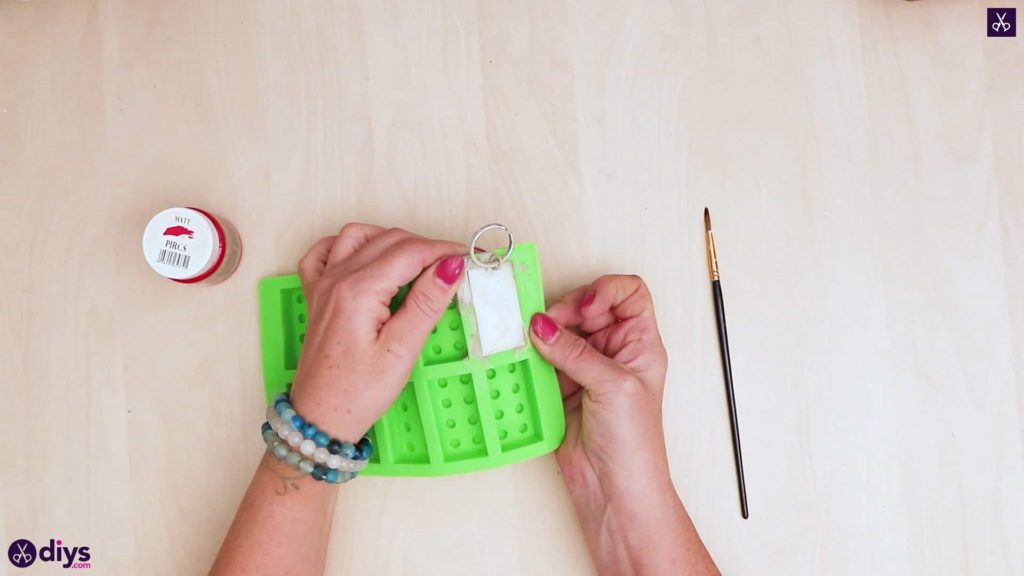
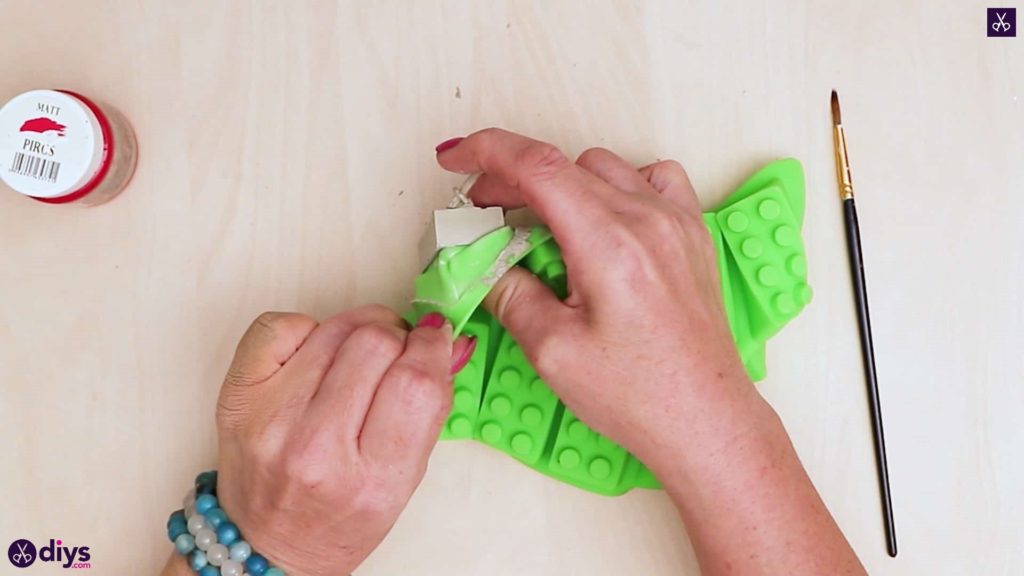
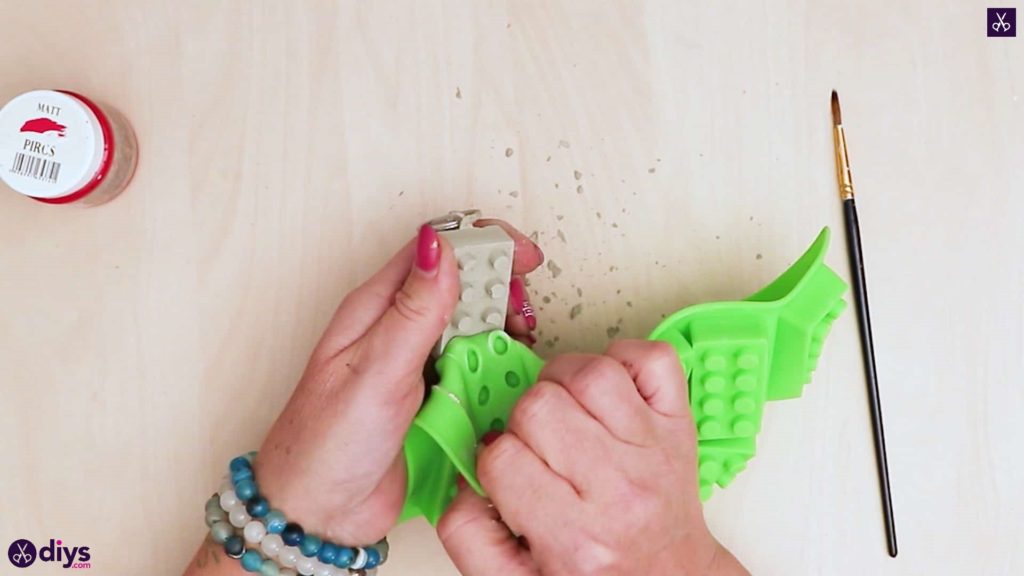
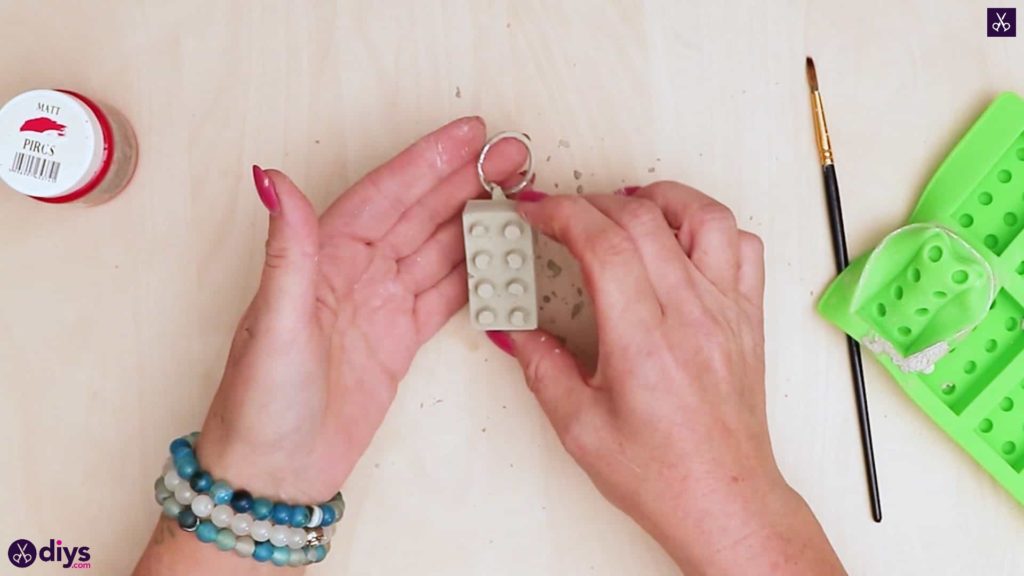
Step 4: remove from mold
Once the concrete has dried fully, remove the new Lego block shape from your silicone form! Mine was soft enough that I could just pull the sides away from the block and use my thumbs to poke the block out from the underside.
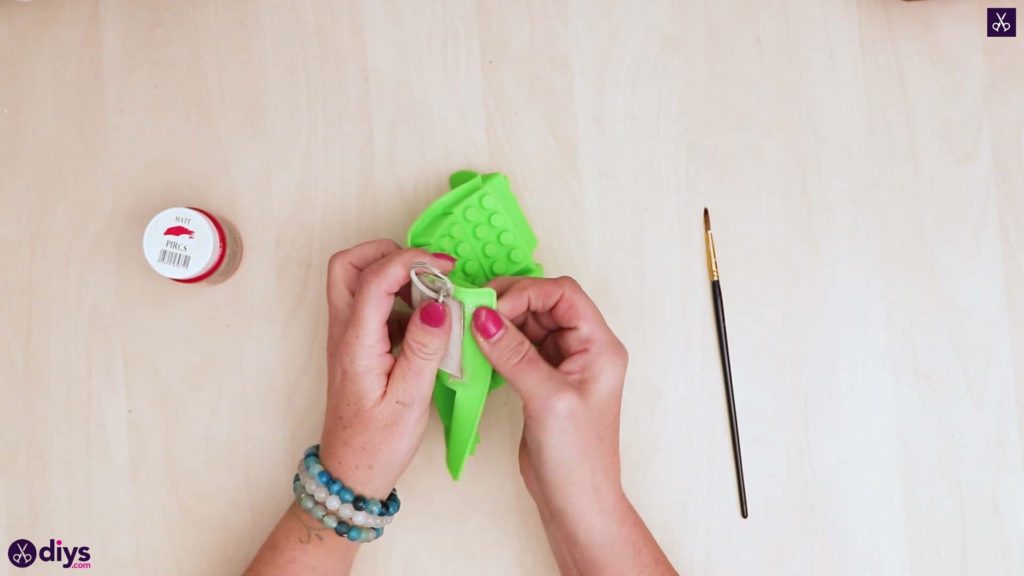
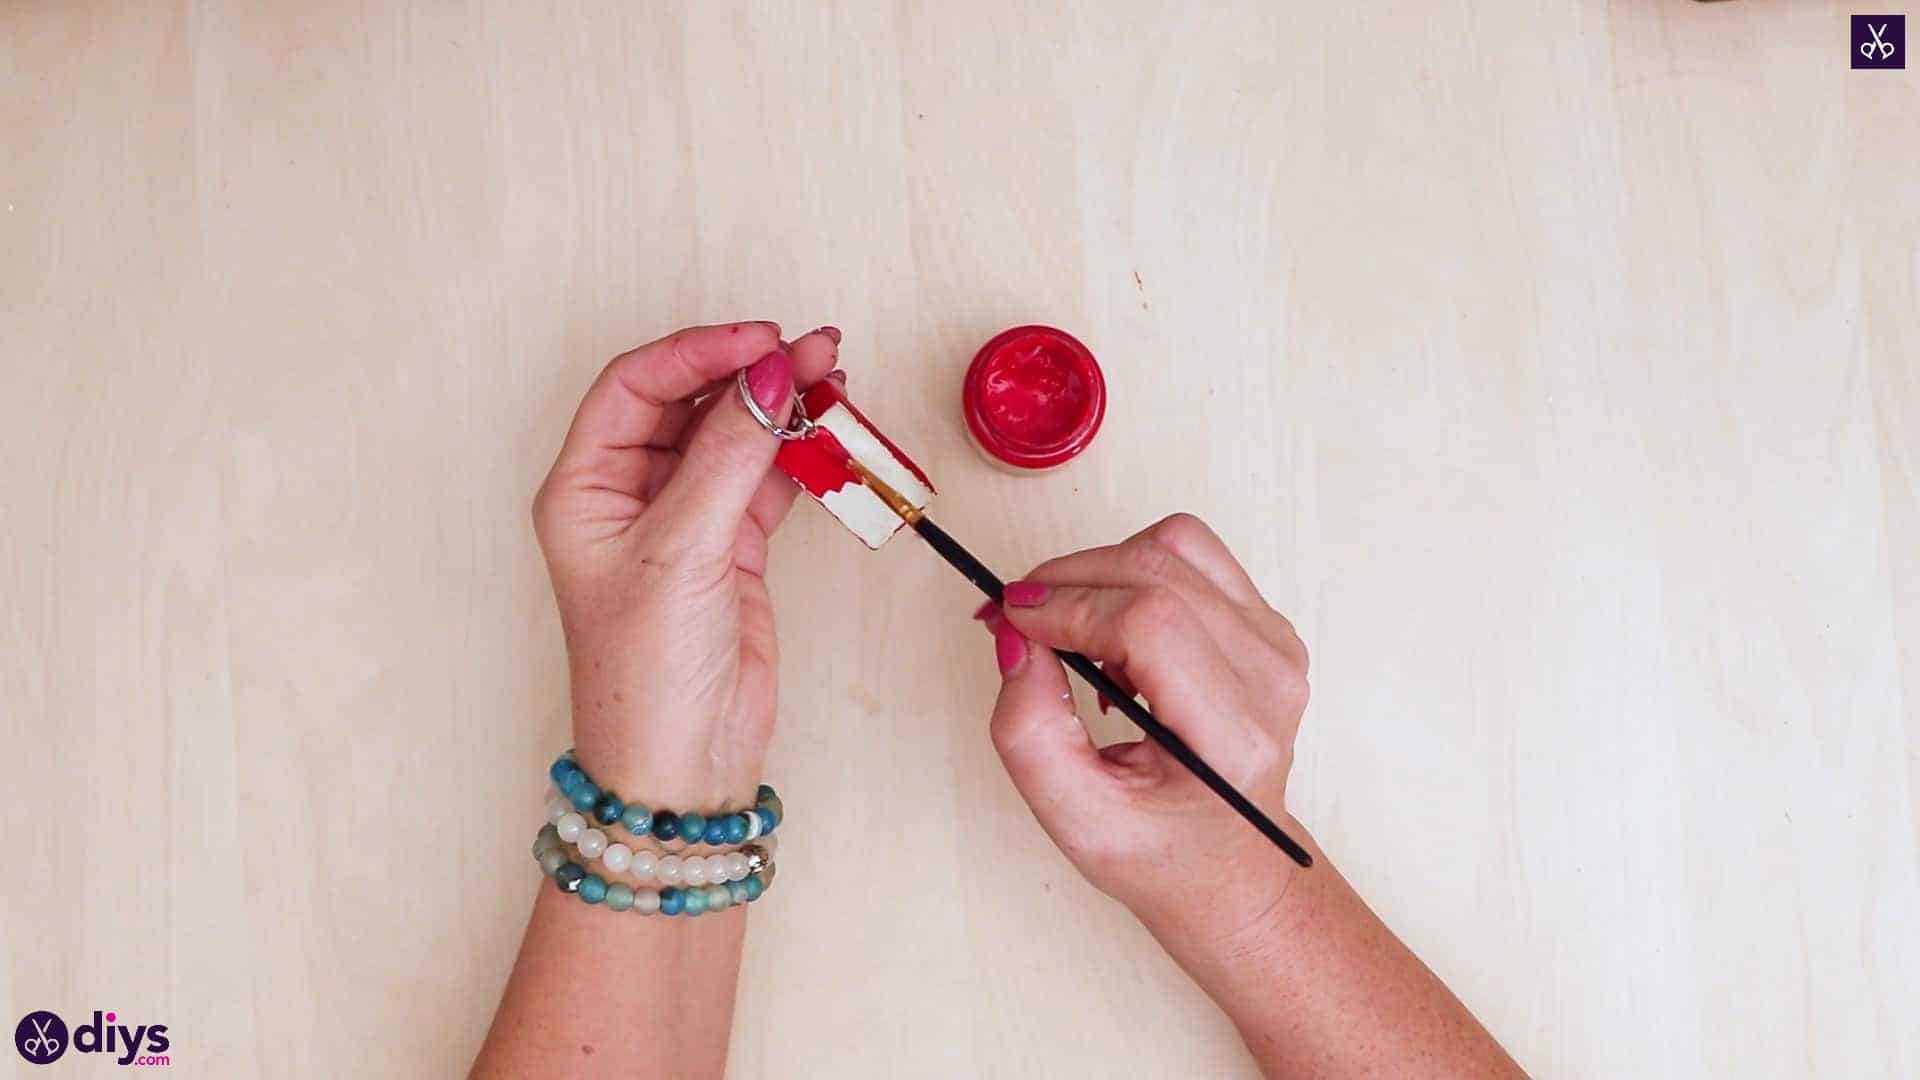
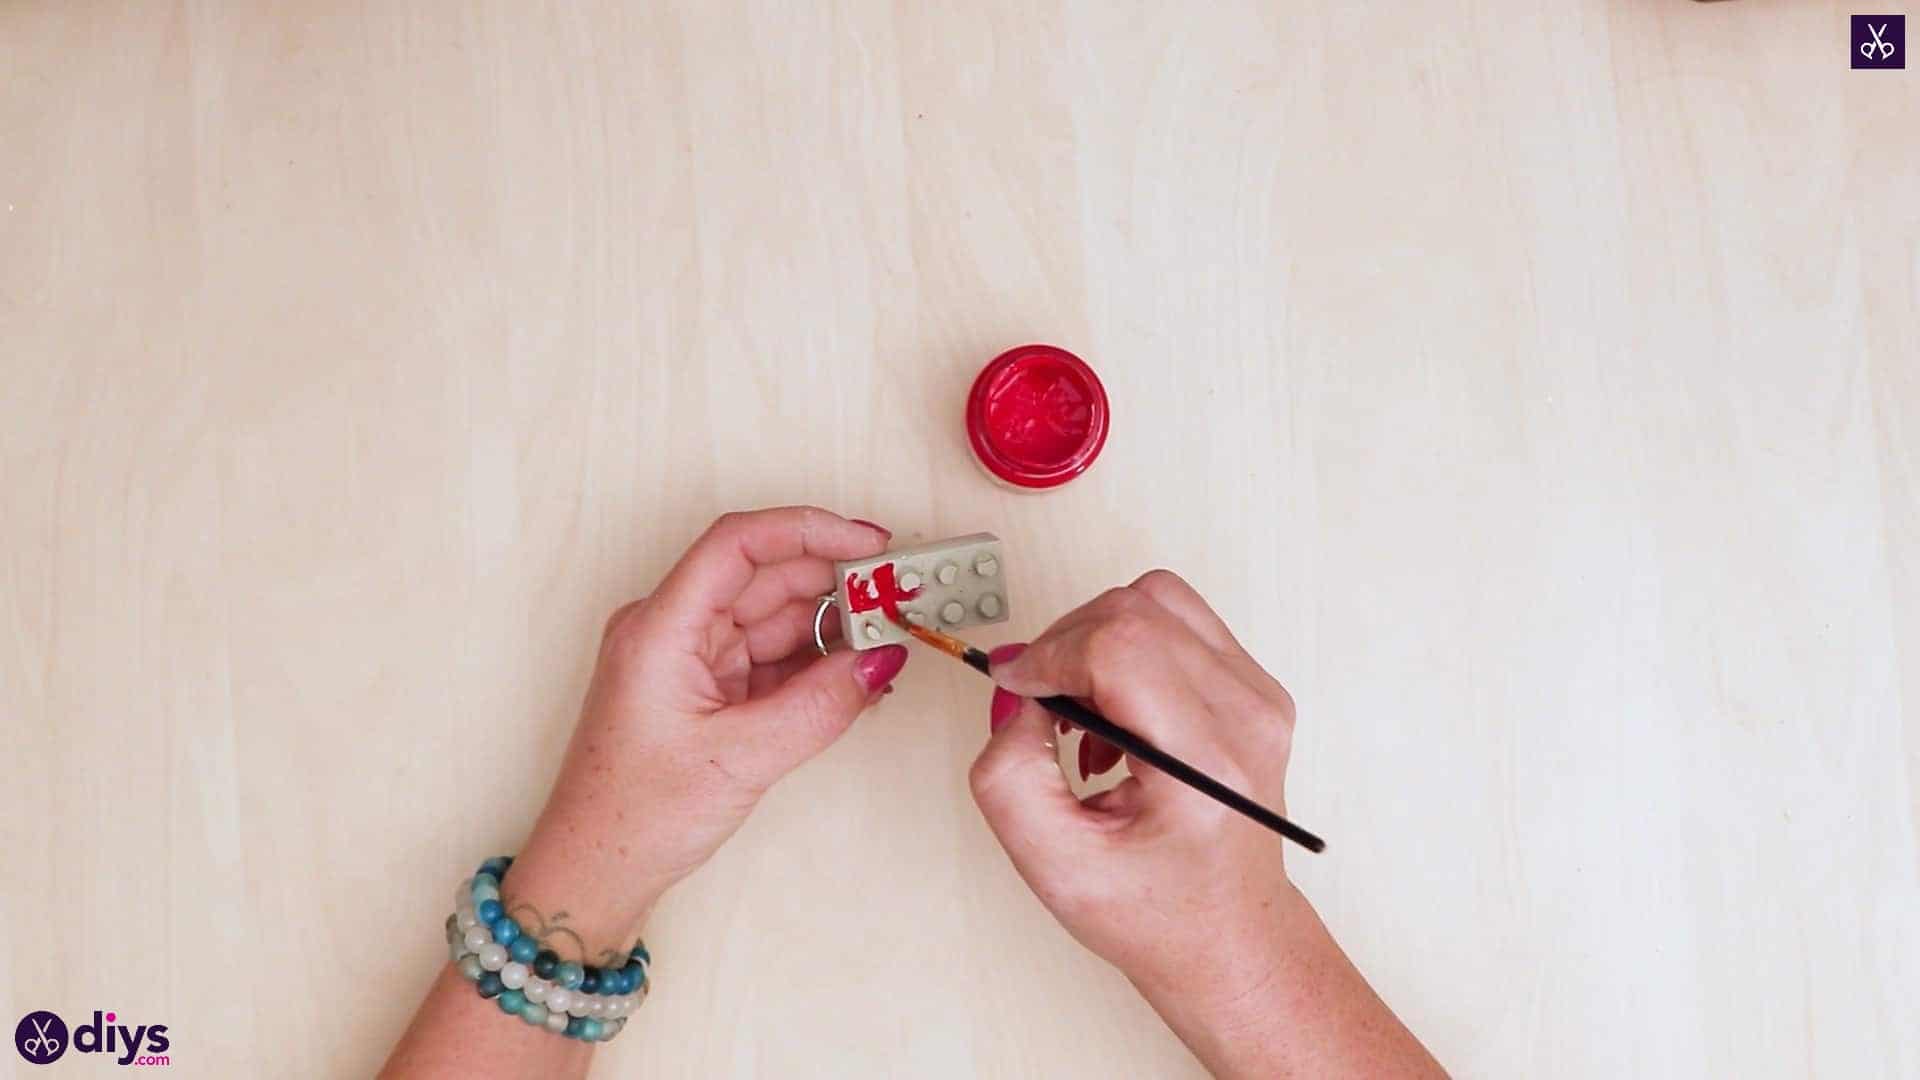
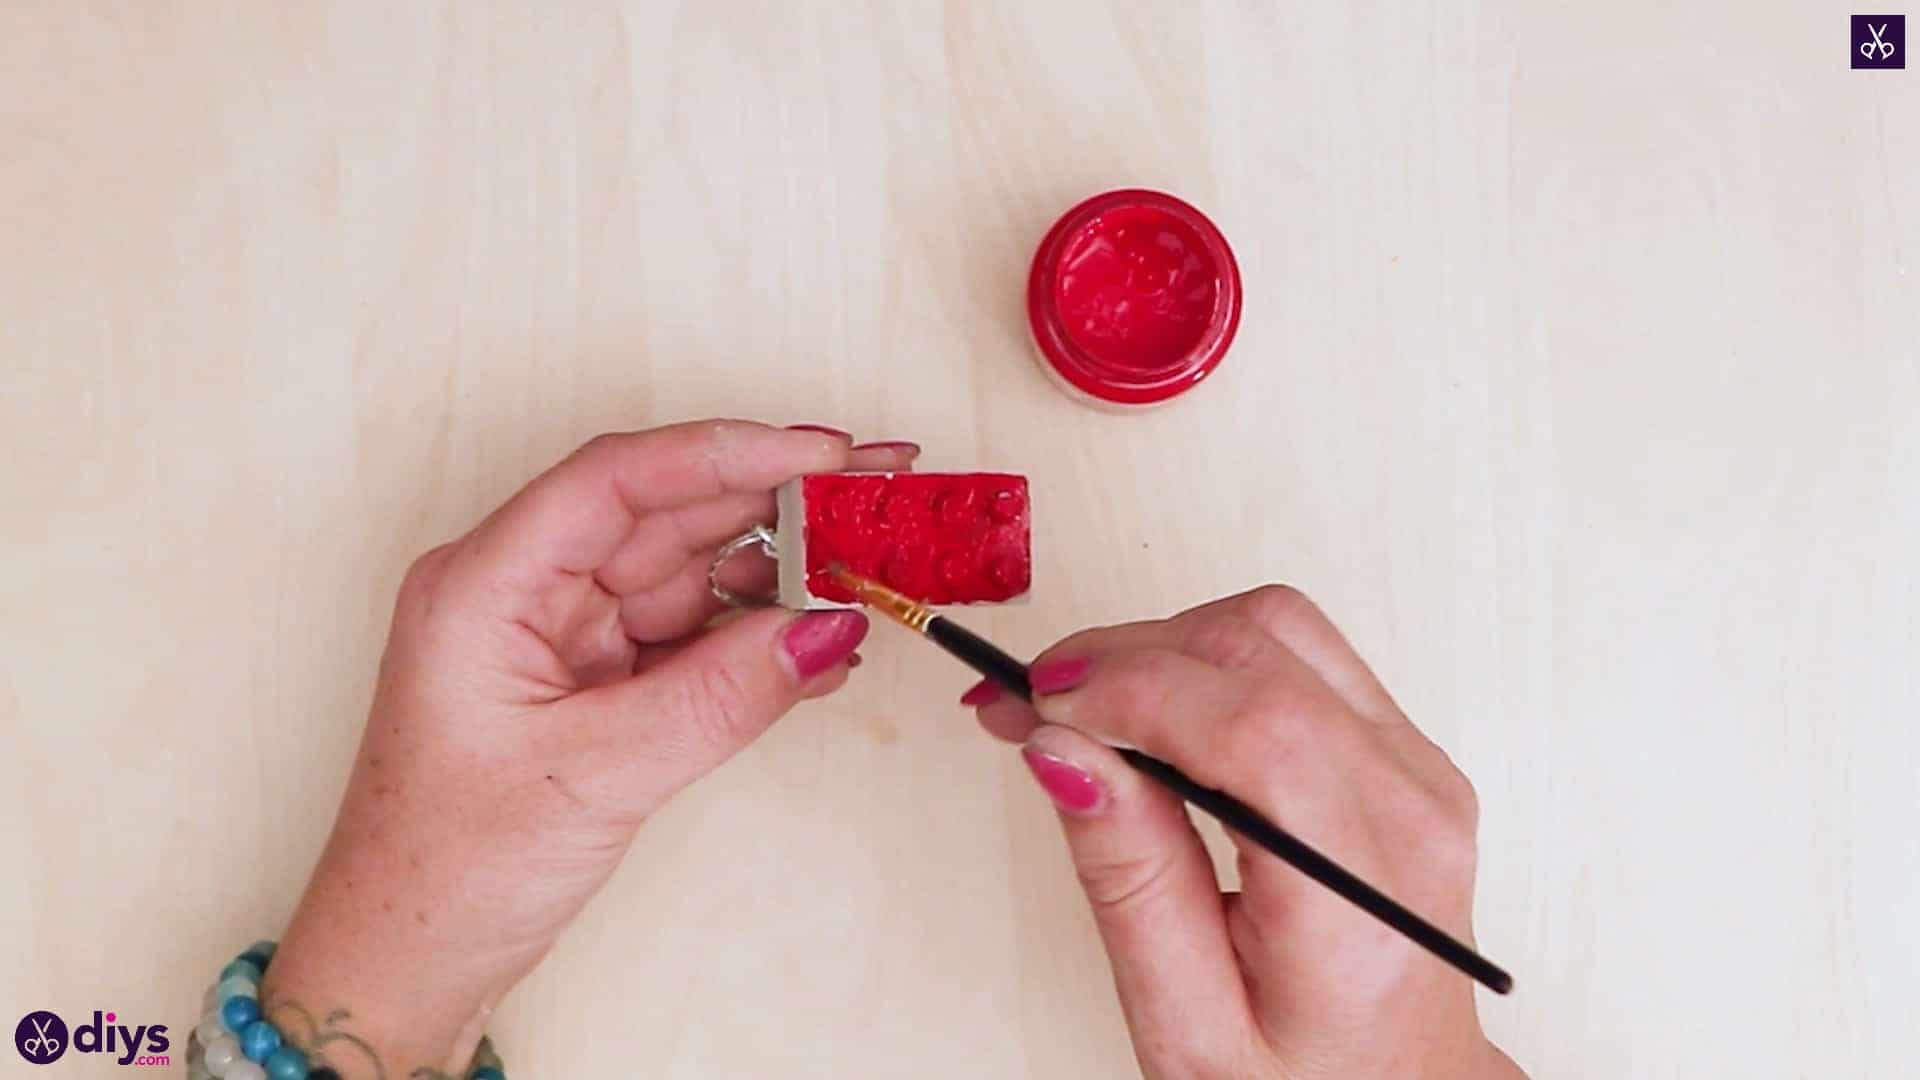
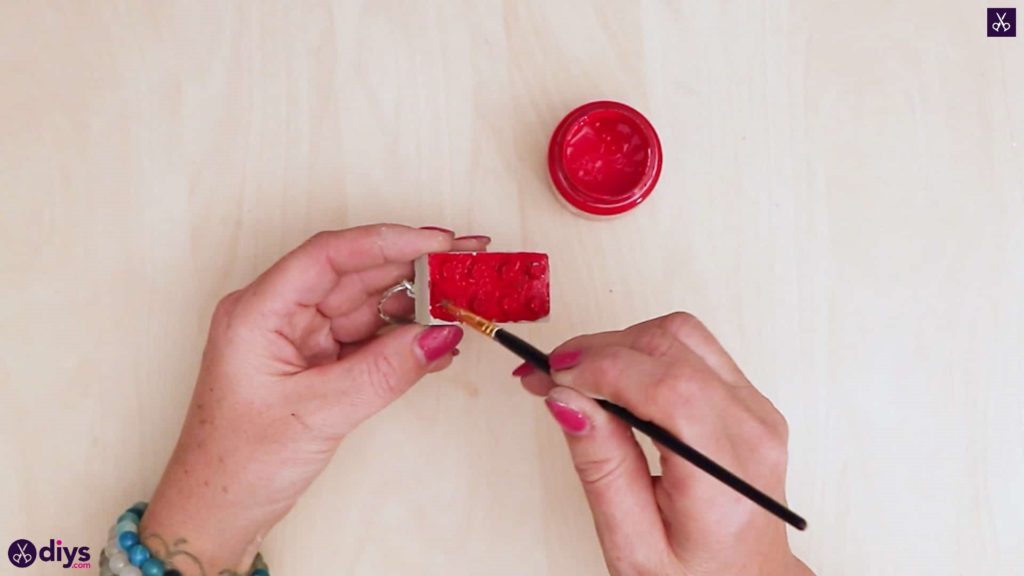
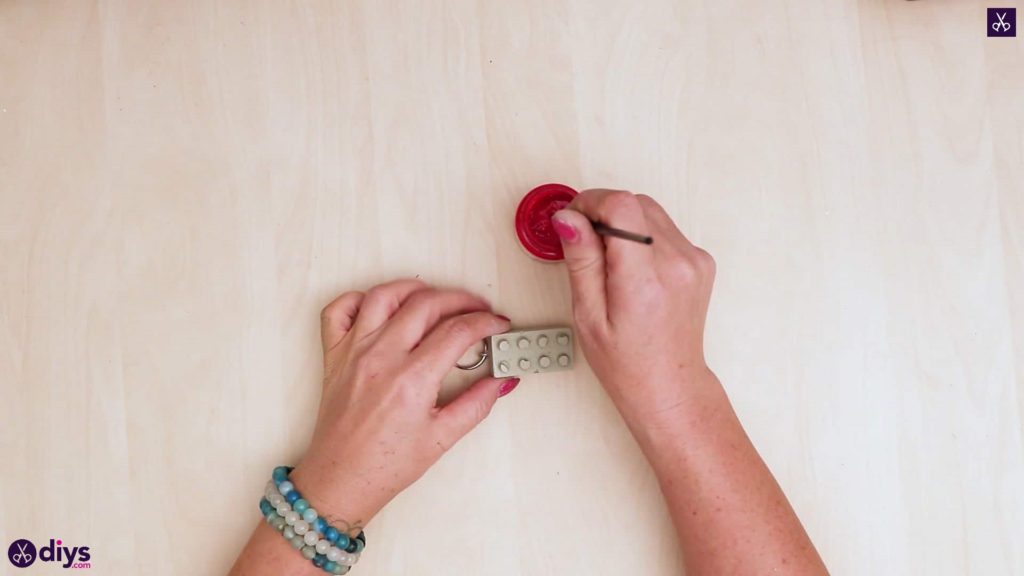
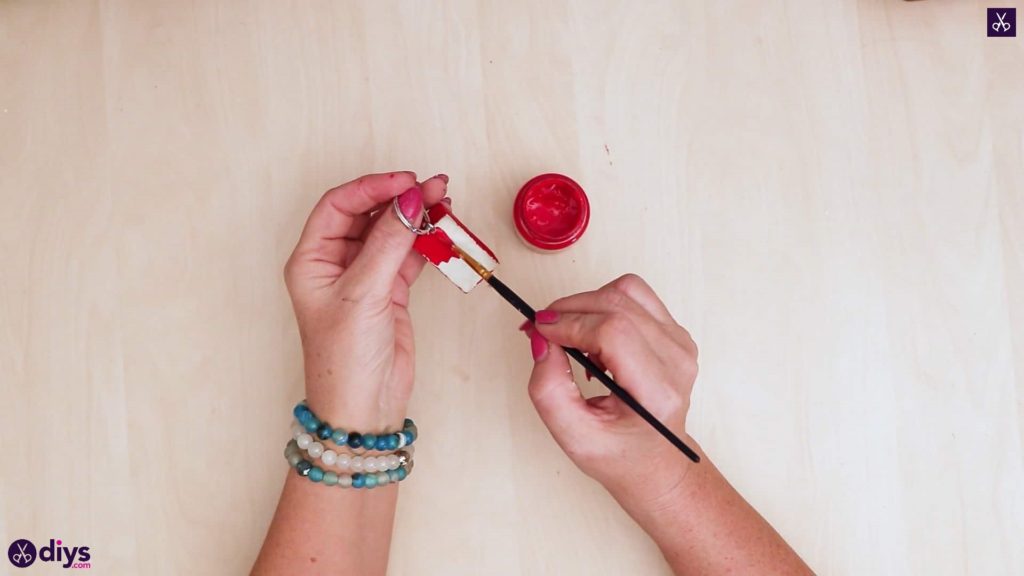
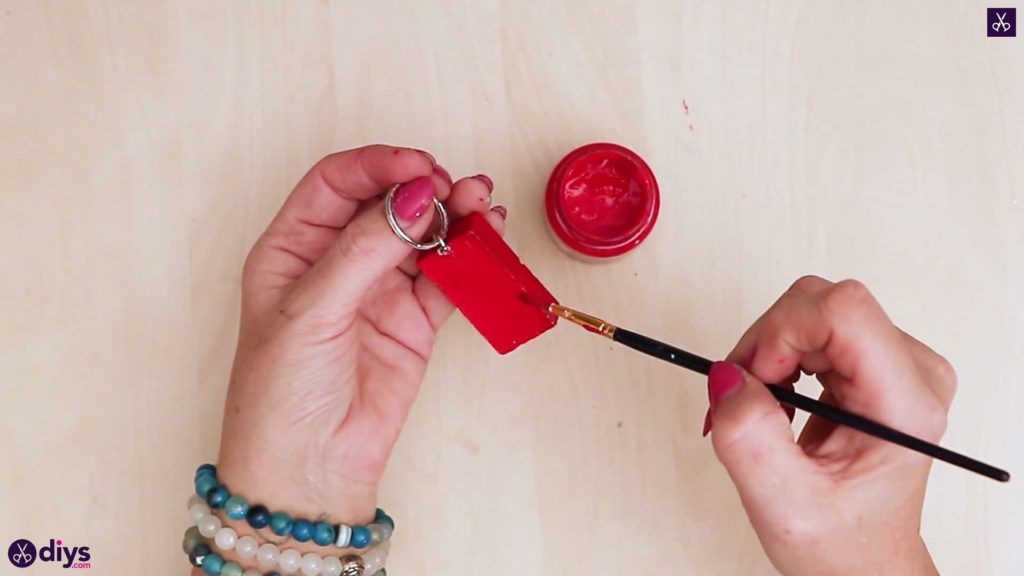
Step 5: paint
Use your paintbrush to paint your Lego block a bright colour! Make sure you get all the way in between the teeth on the top of the block. I chose to make mine red, but my kids did other colours and you can do whatever bright shades you choose.

Your Lego inspired keychain is all finished! Just in case you’d like to try this project out for yourself, here’s a fantastic tutorial video to help you!