DIY Concrete Jewelry Holder Dish
Updated on November 19, 2025
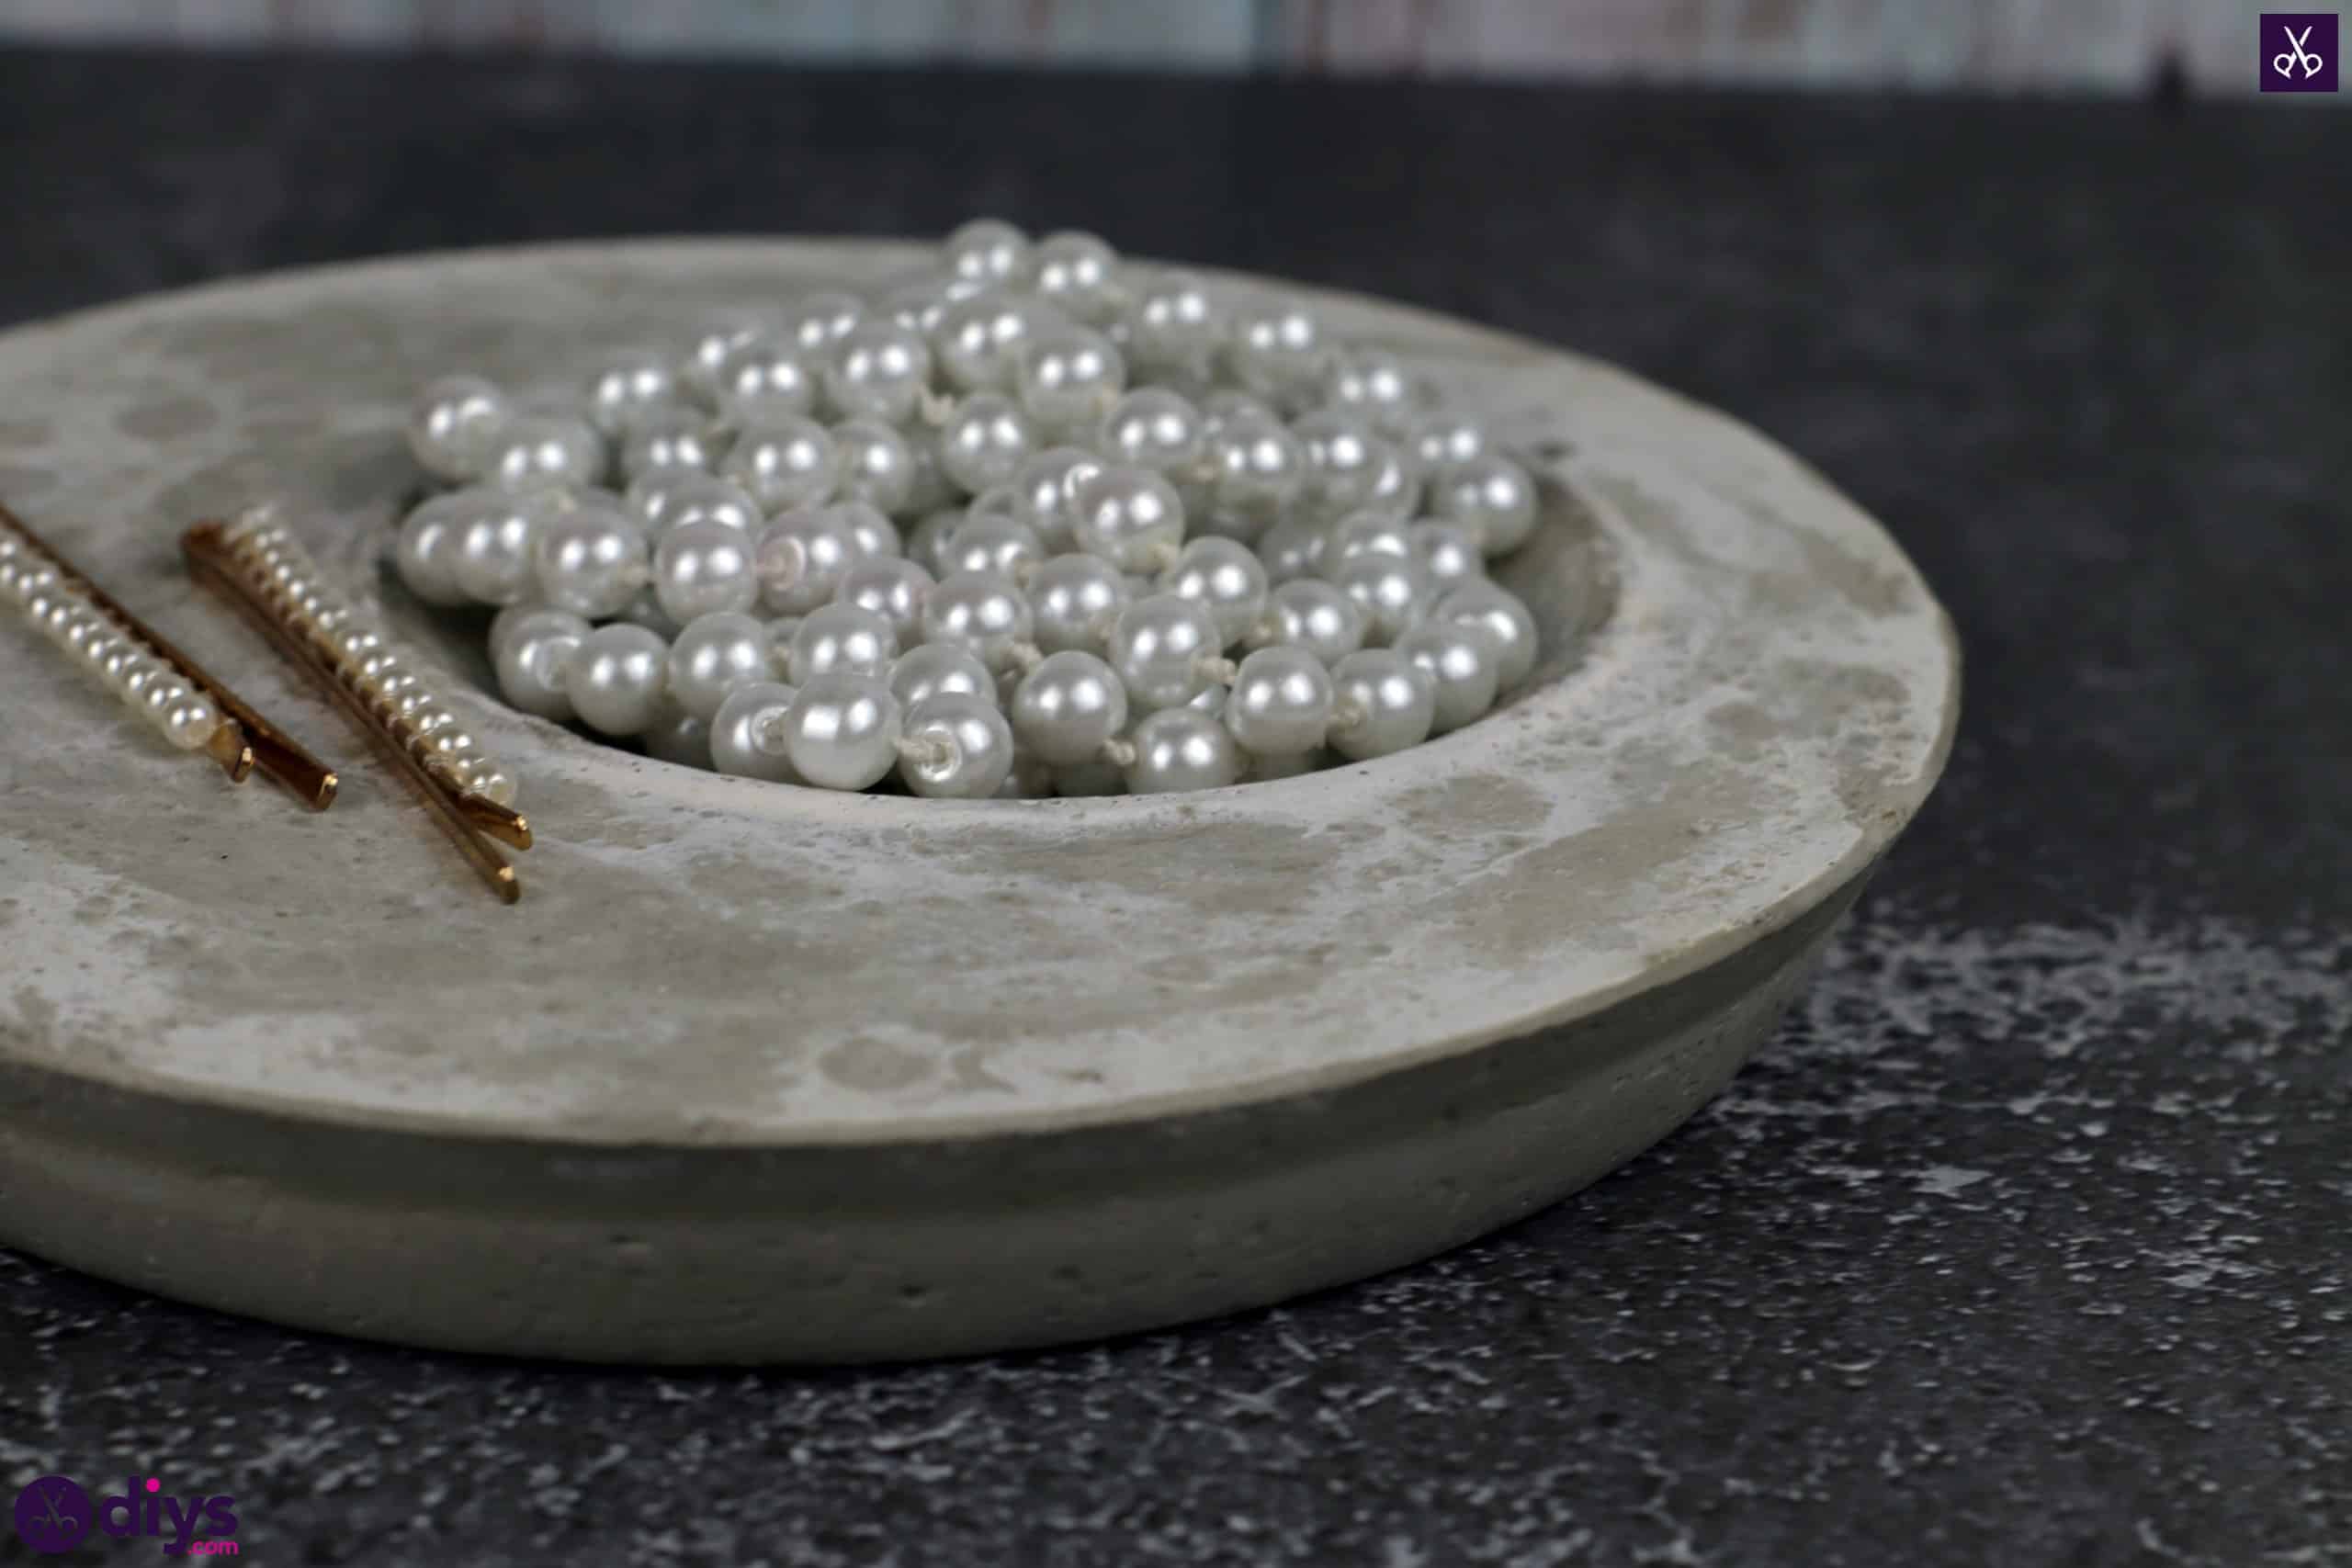


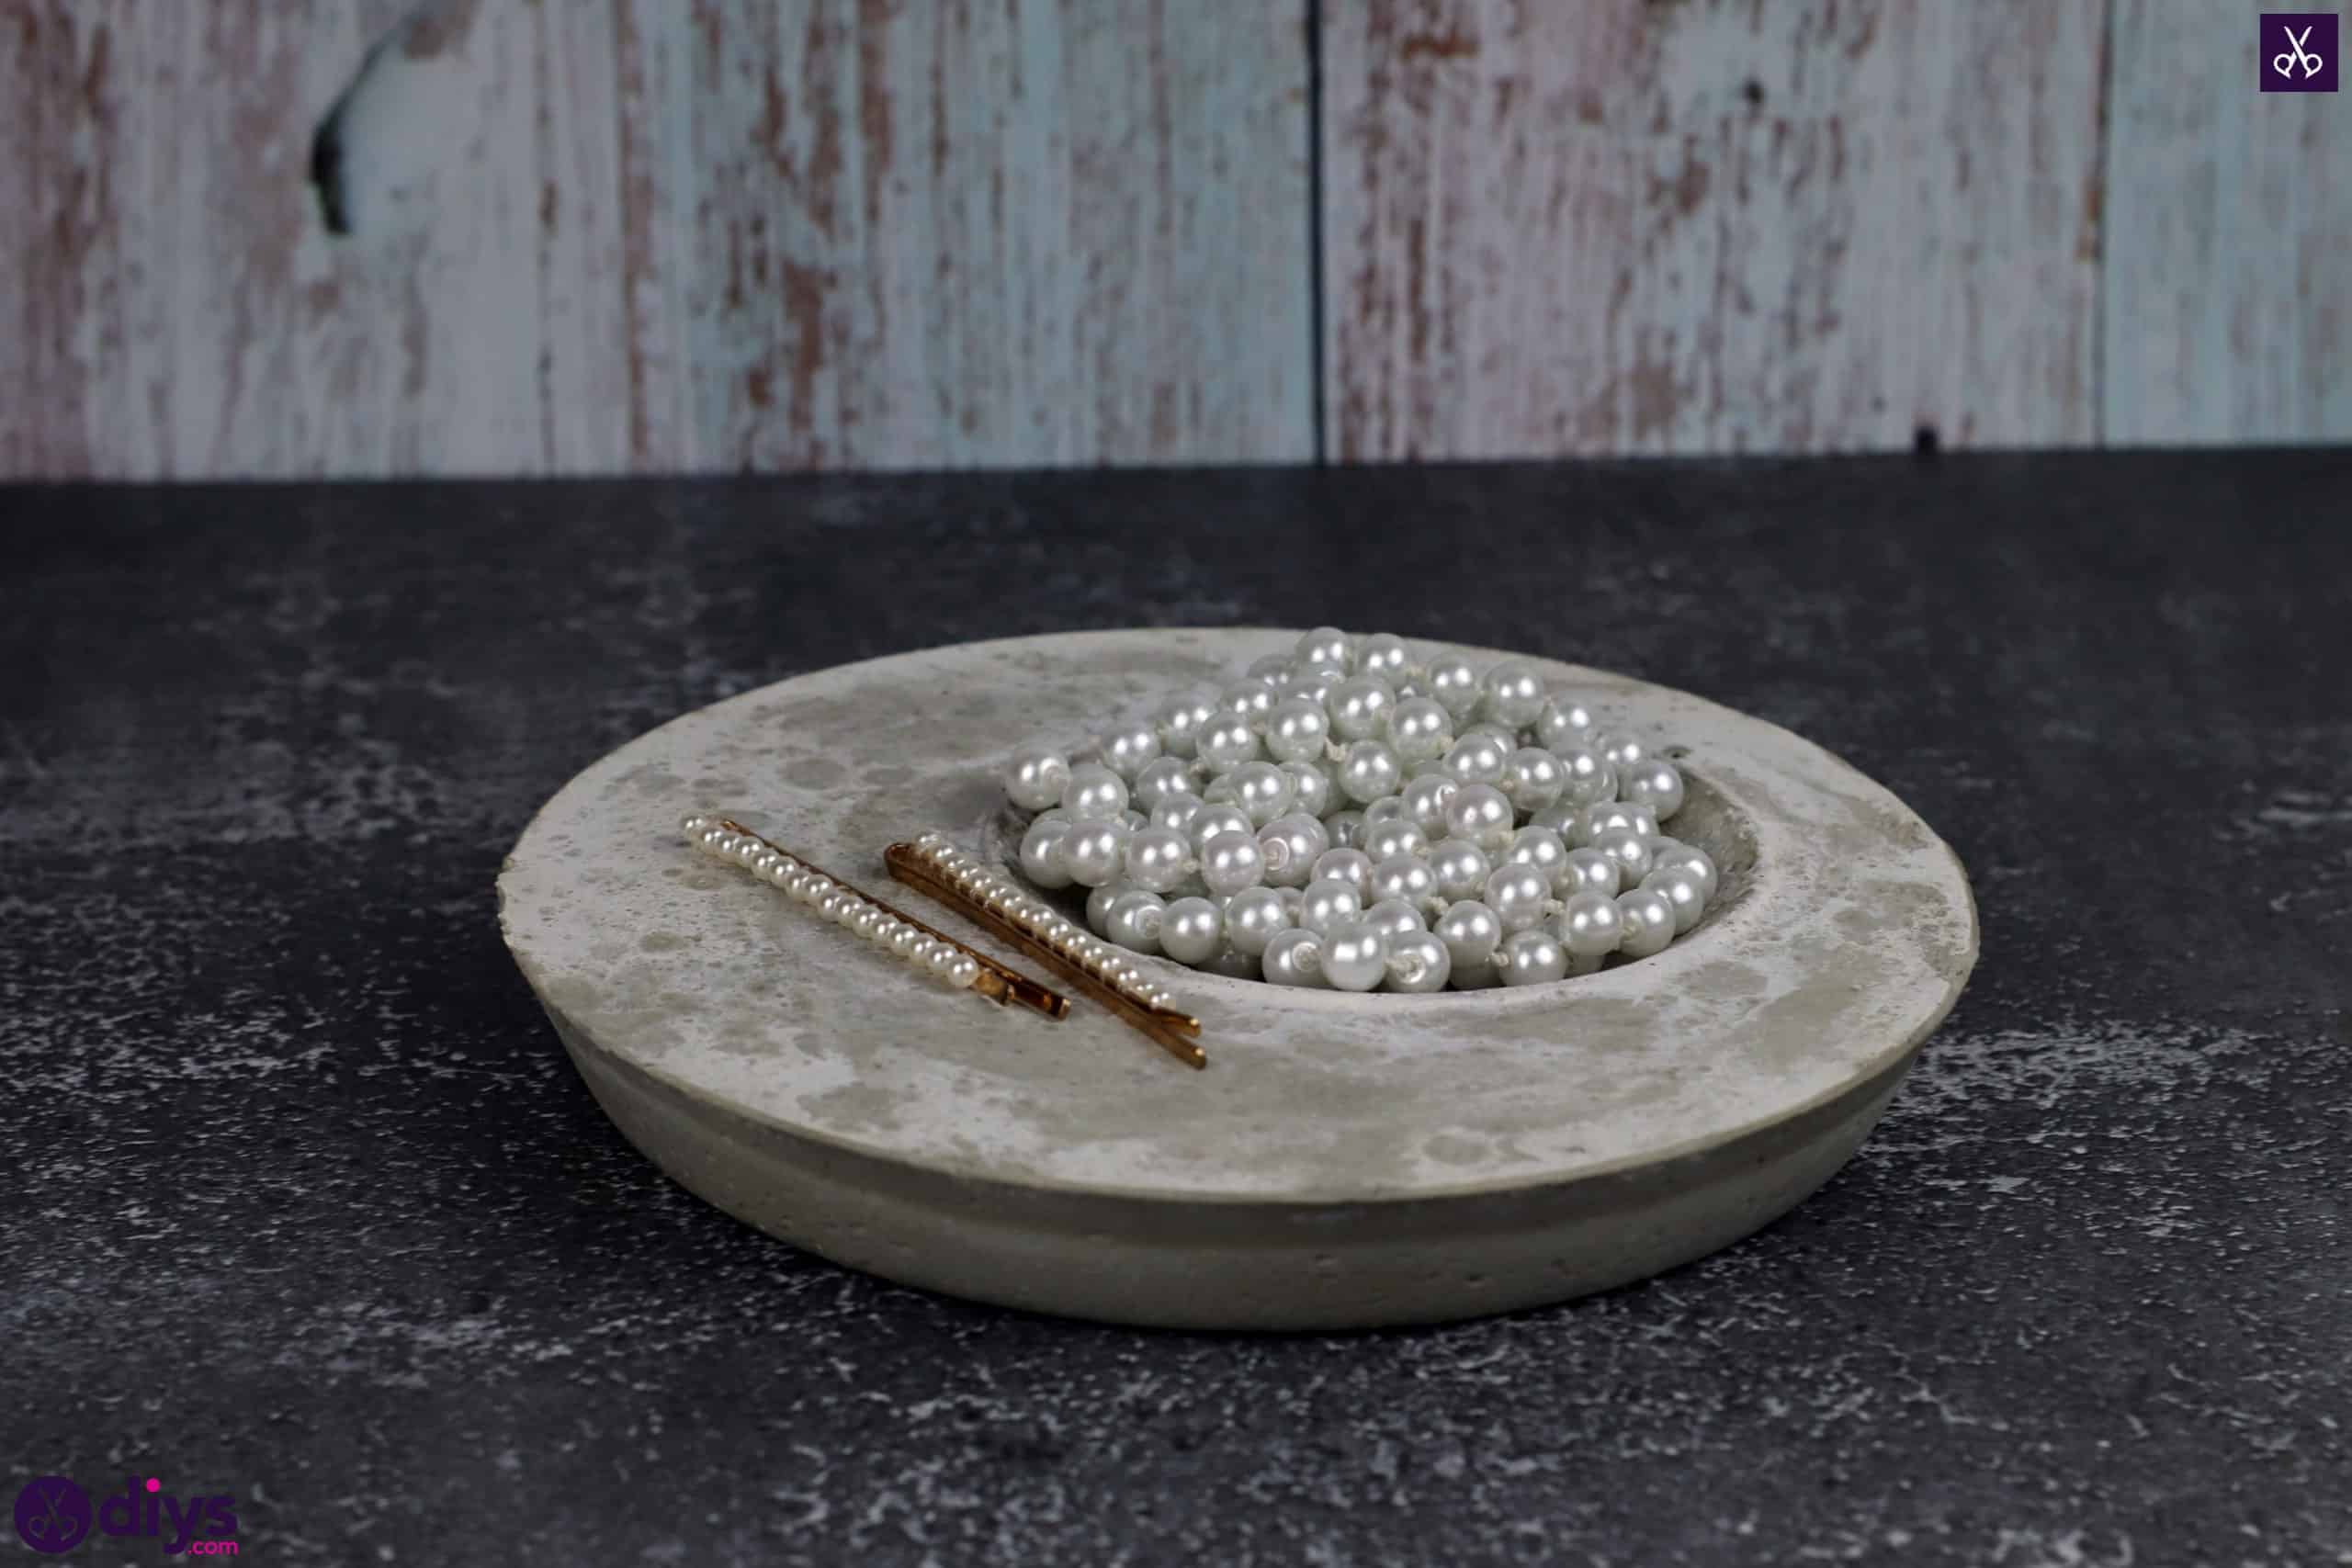
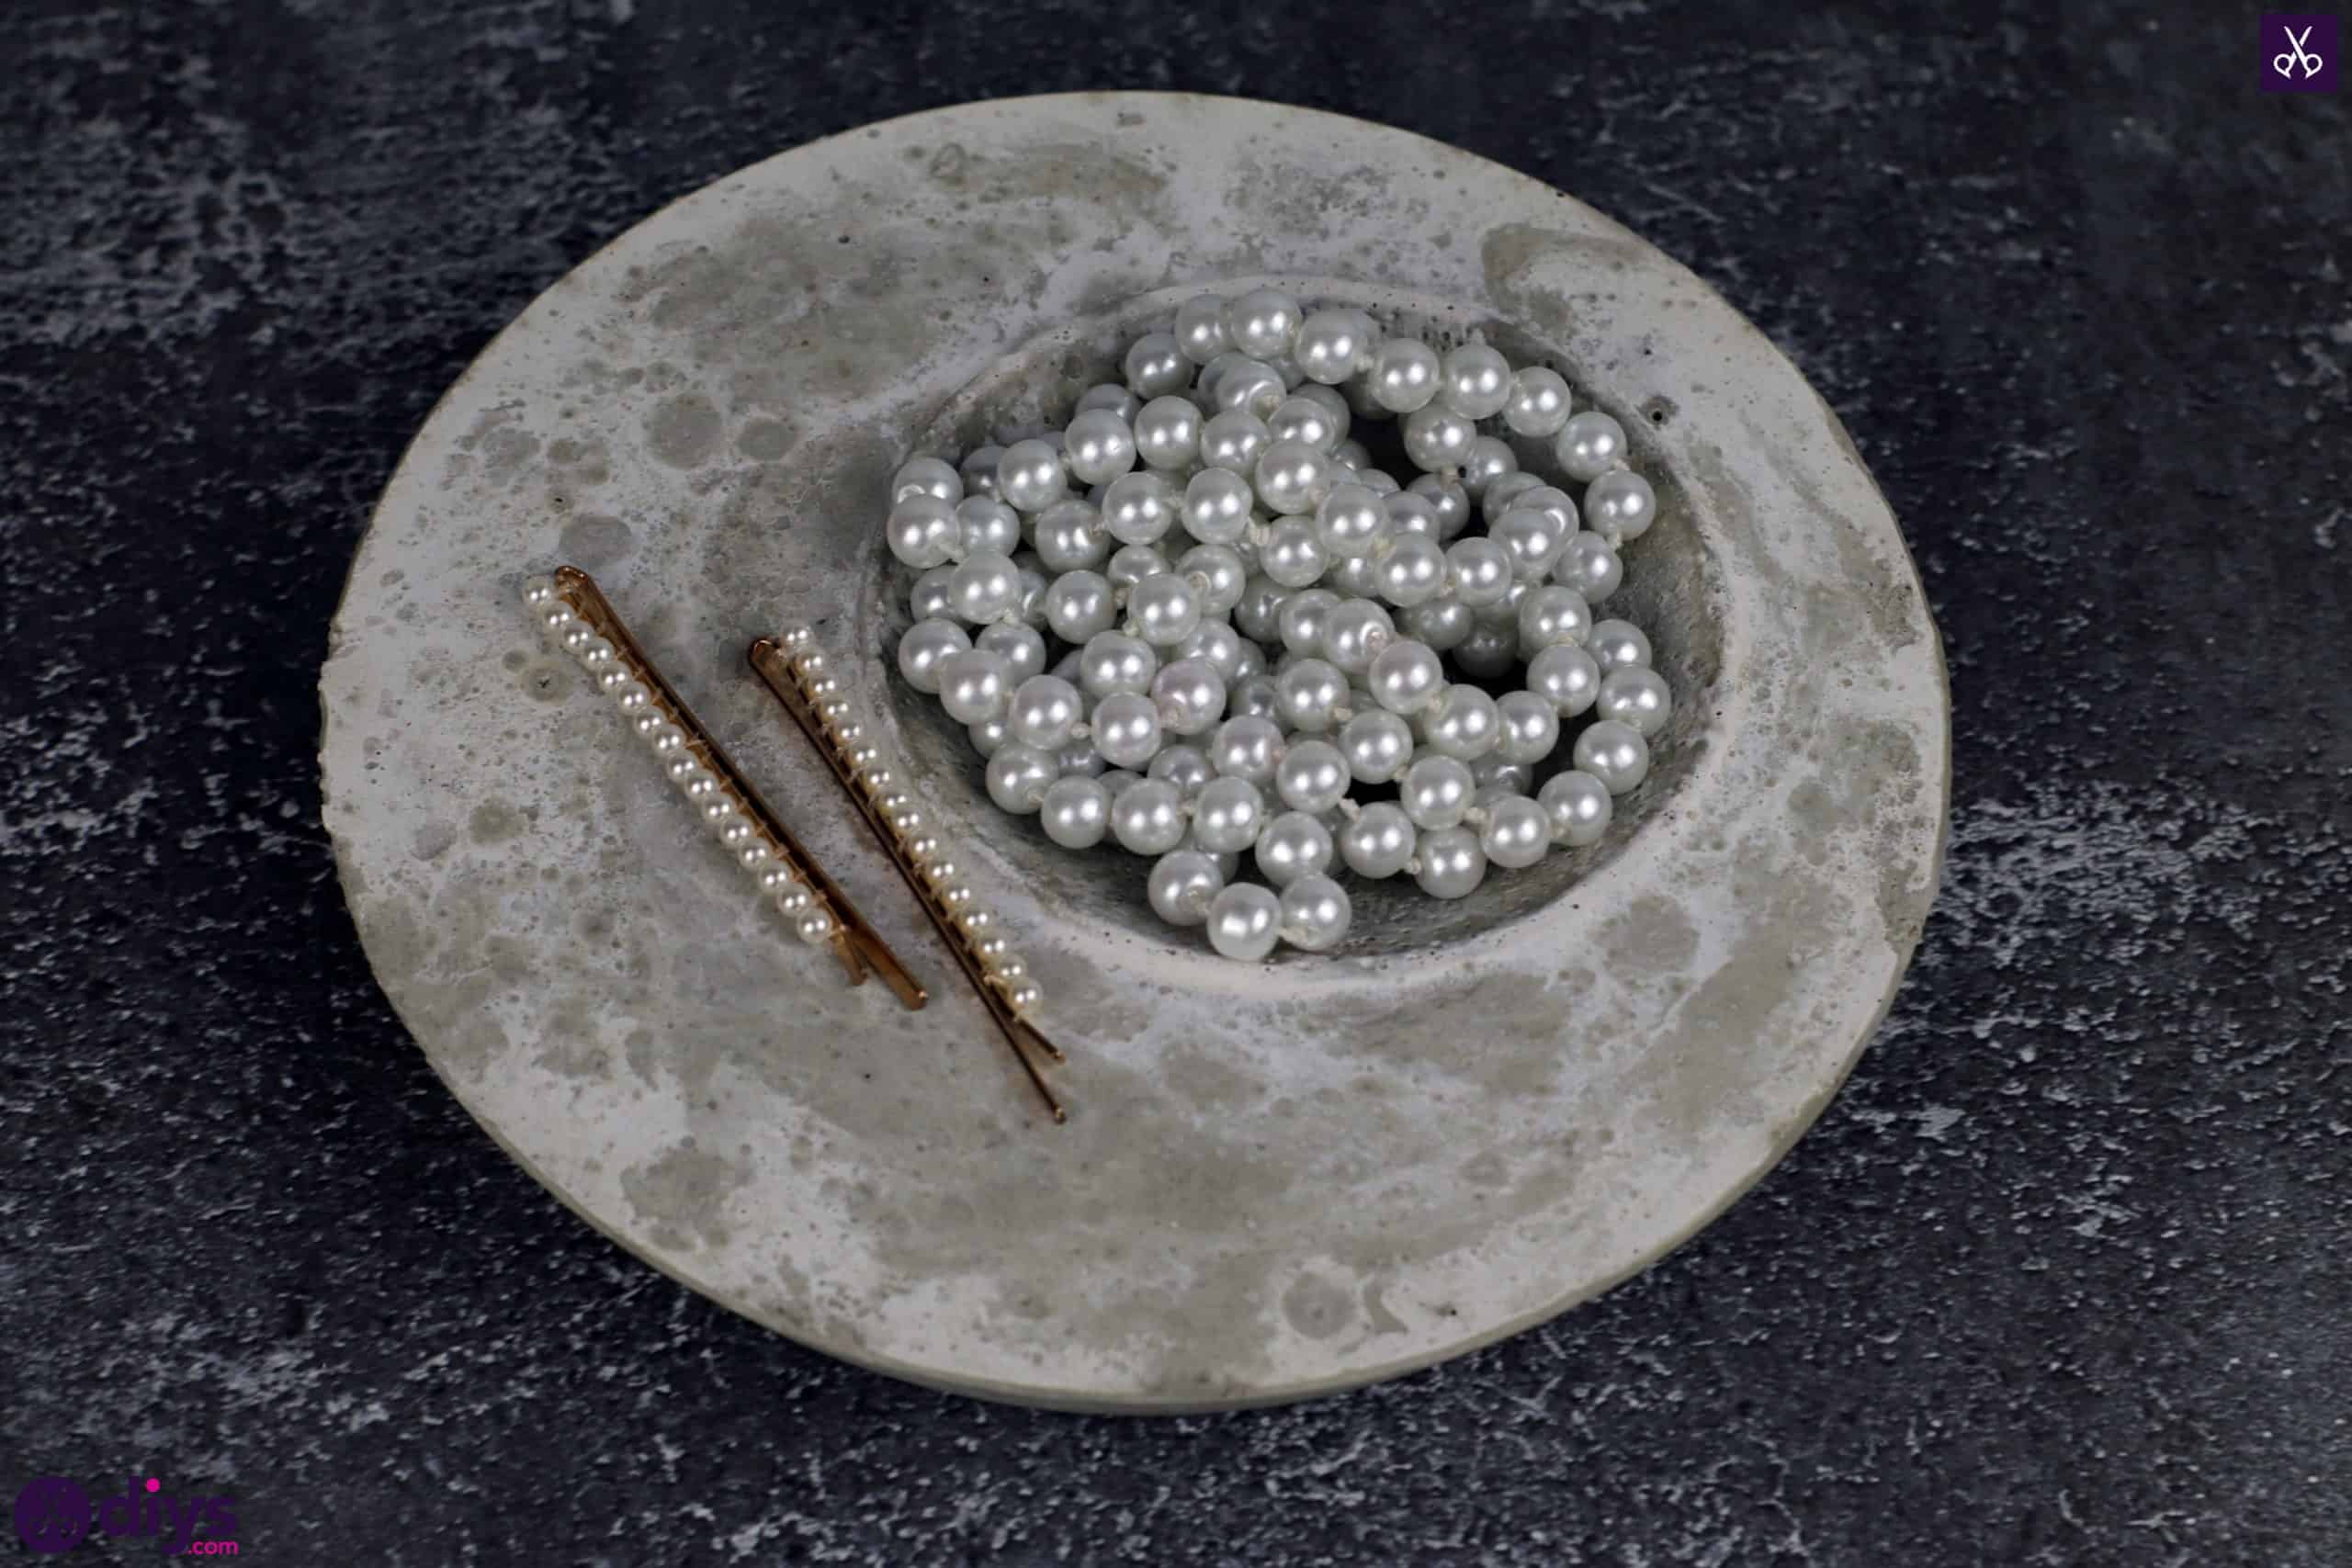
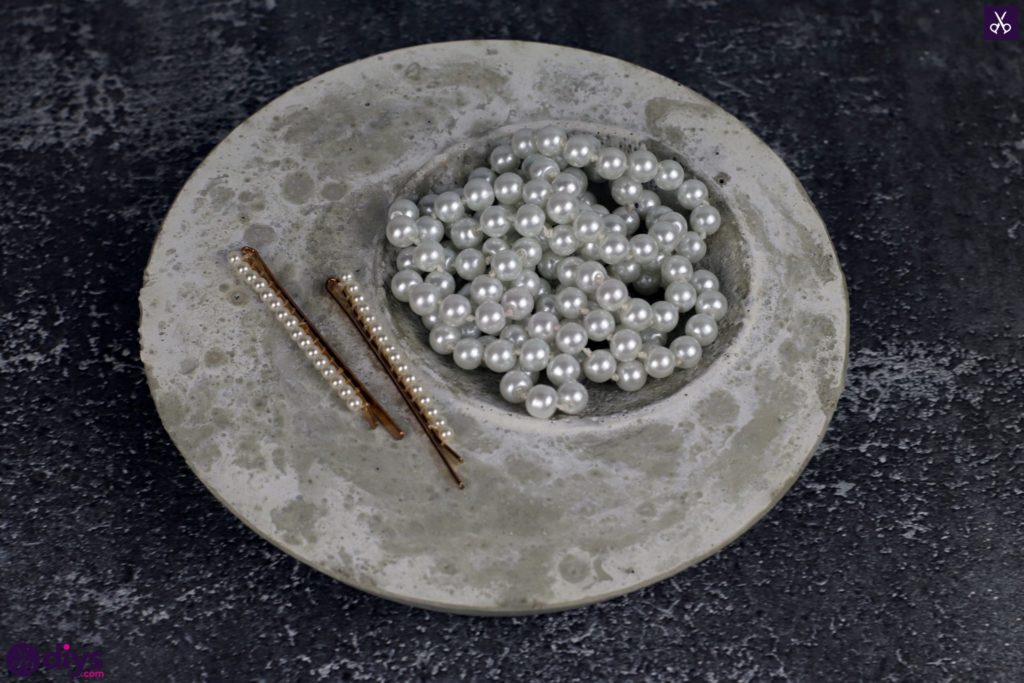
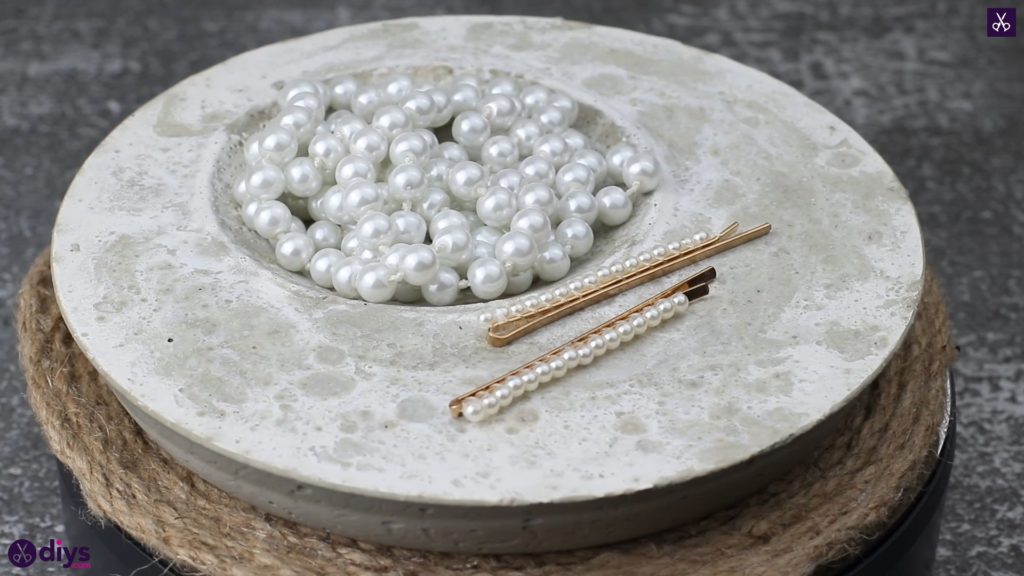
My love for cement crafts absolutely stems from my admiration of industrial chic and minimalist home decor aesthetics that put concrete to good use, which explains why I’ve been feeling the urge to make and display more DIY cement projects in my home. It’s always a bonus, however, when those projects can be both decorative and useful or practical! When I accidentally shattered my glass jewelry stand, for example, and needed a place to put the rings, necklace, and bracelets that I wear everyday on my nightstand while I sleep, making myself a brand new minimalist looking jewelry plate out of DIY cement was the first idea that came to my mind.
Check out these step by step instructions complete with photos! If you’d rather follow along with a video tutorial instead of written words, scroll to the bottom of this post to find just what you’re looking for.
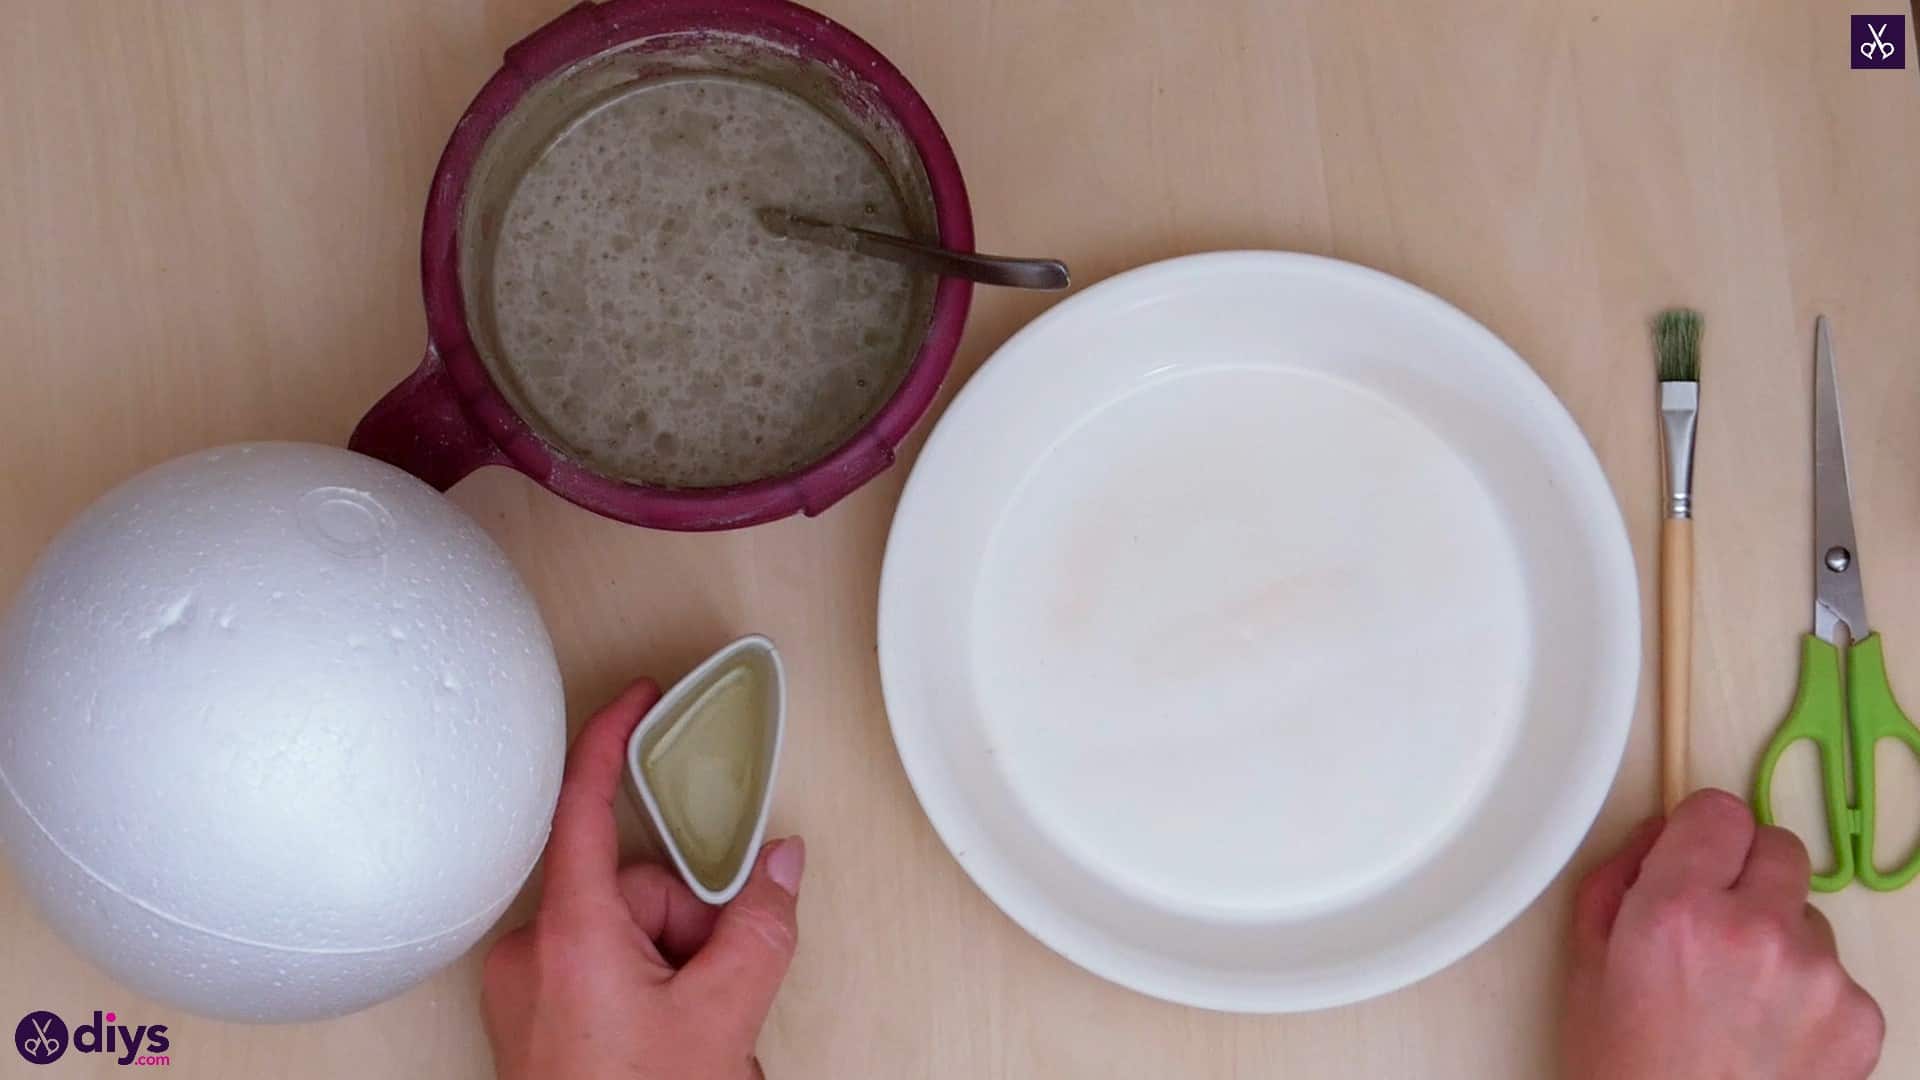
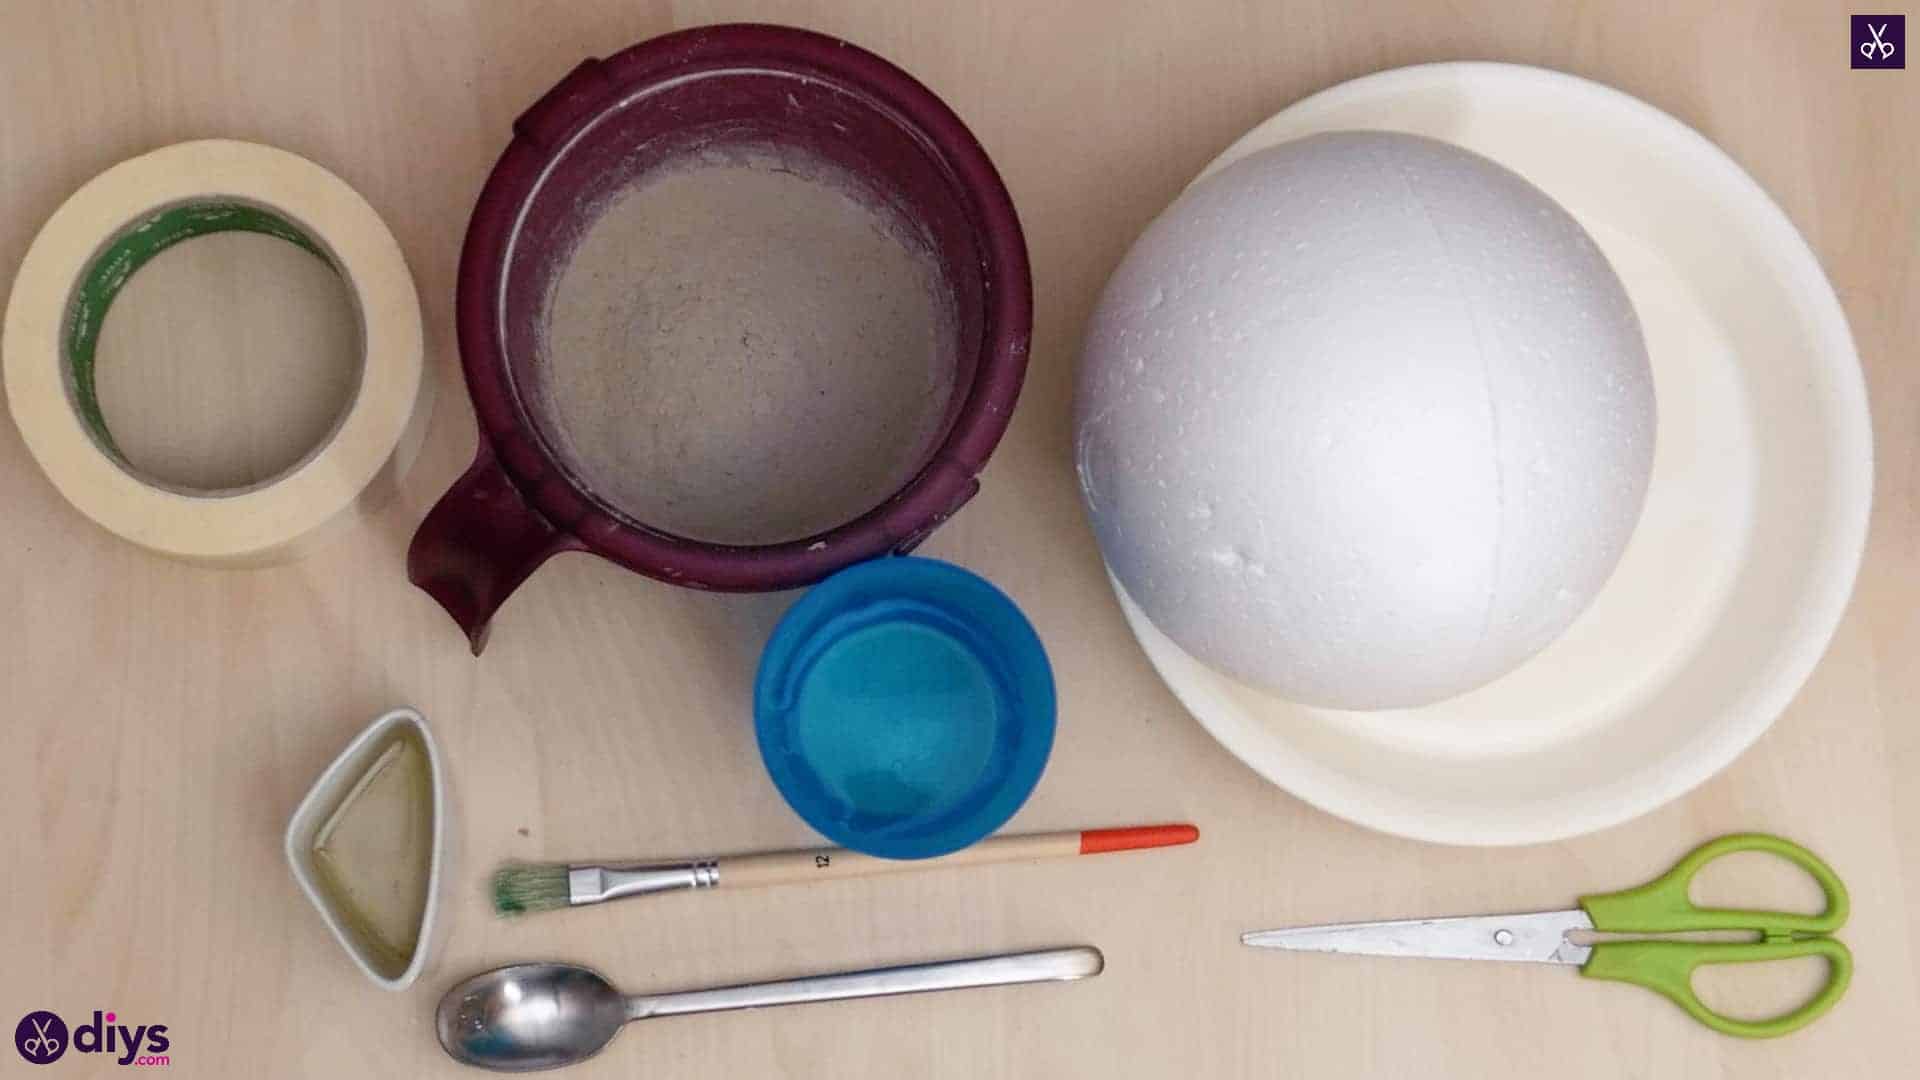
For this project, you’ll need:
- DIY fine particle cement
- Water
- A flat dish with edges (like a small casserole dish)
- A spoon
- Scissors
- Tape
- Oil
- A paintbrush
- A styrofoam ball
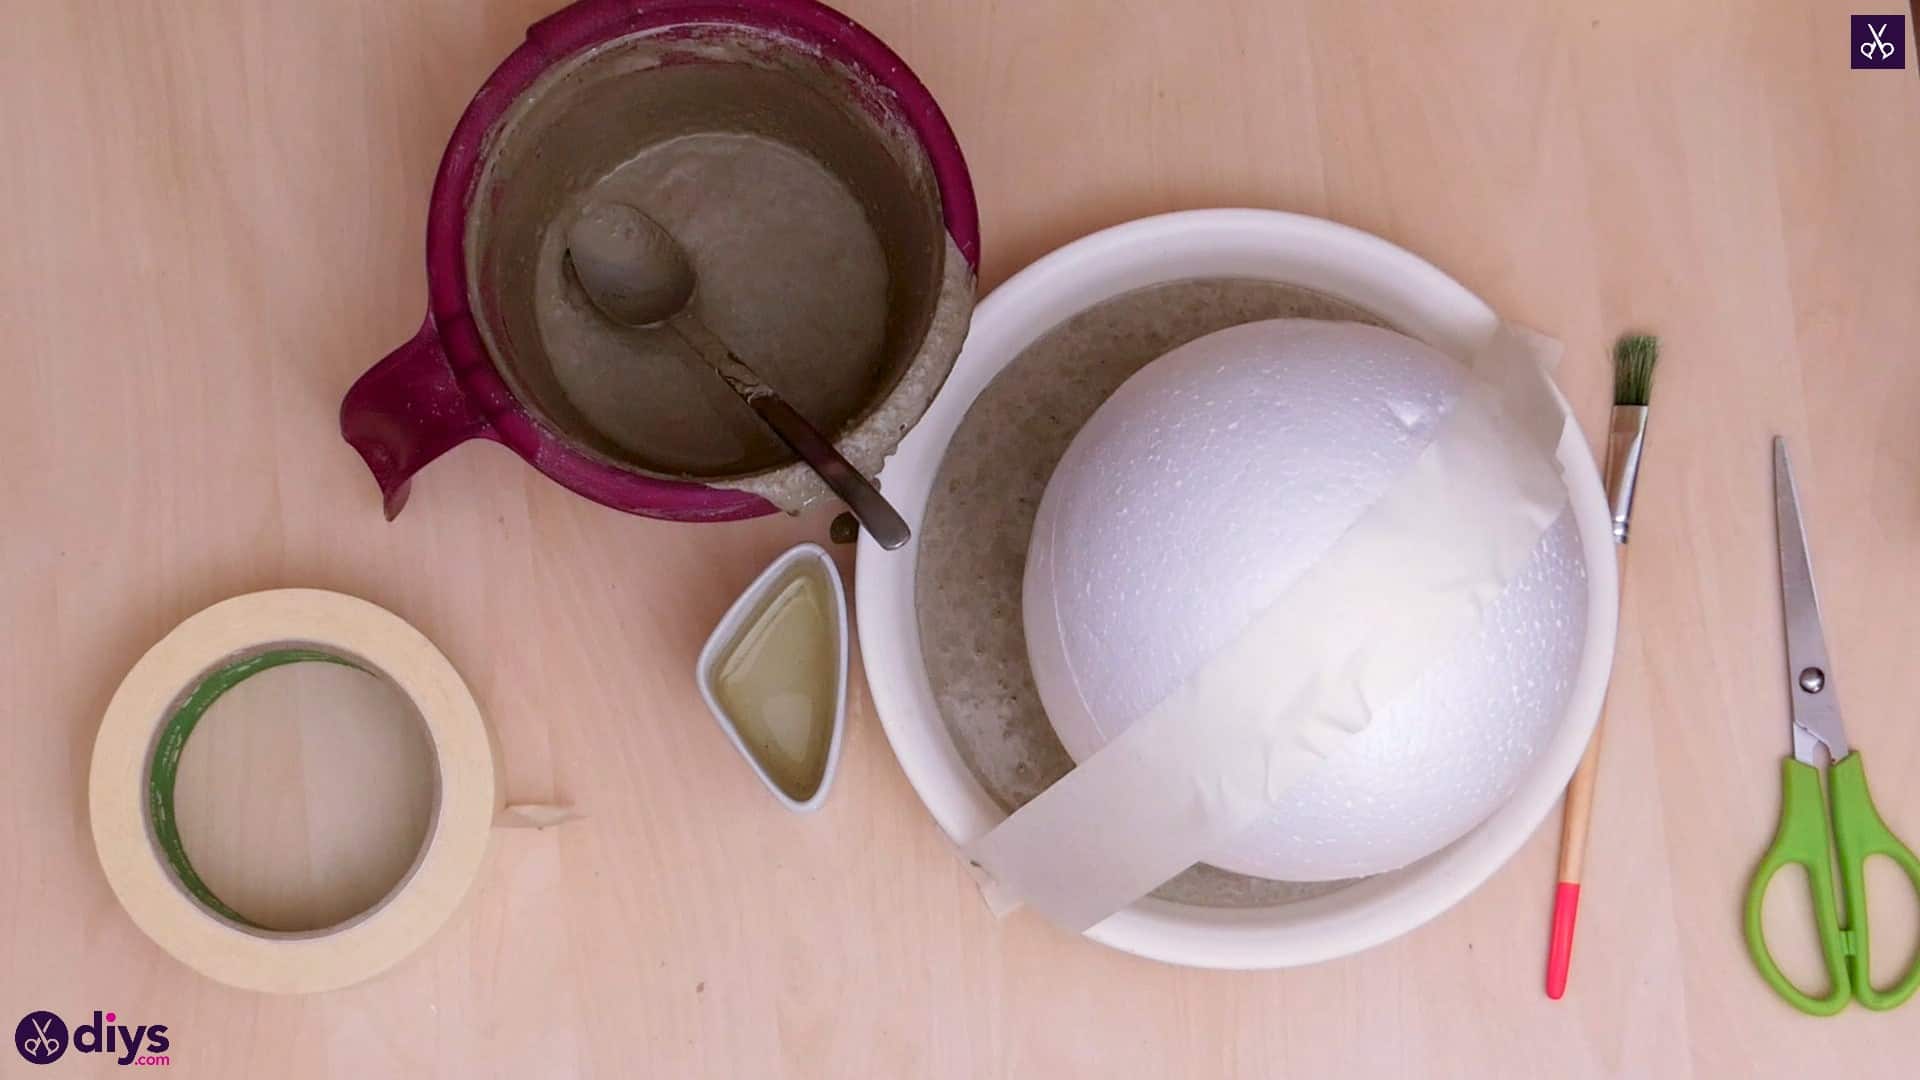
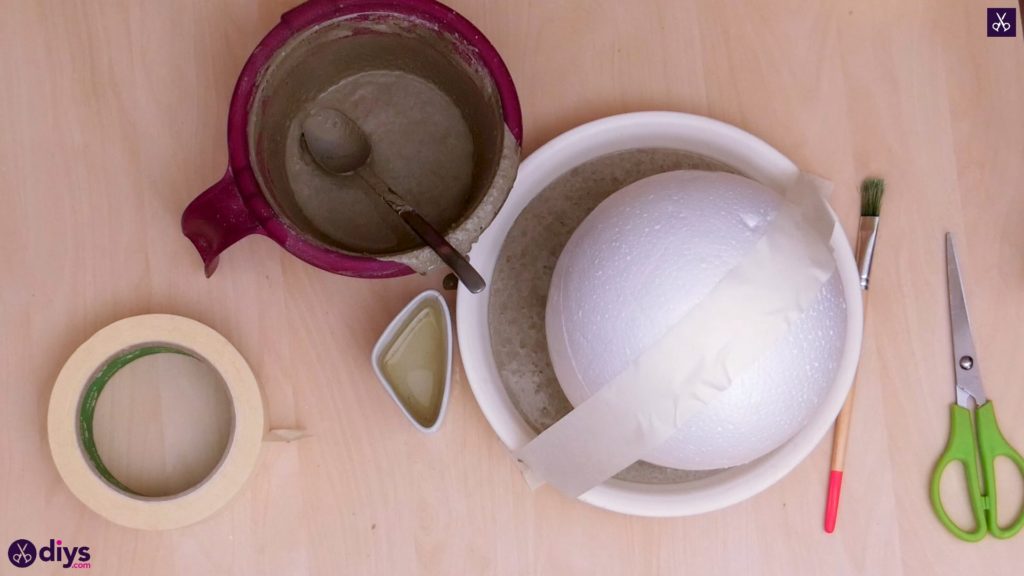
Step 1: Gather your materials!
Check your list and make sure to gather up everything you need.

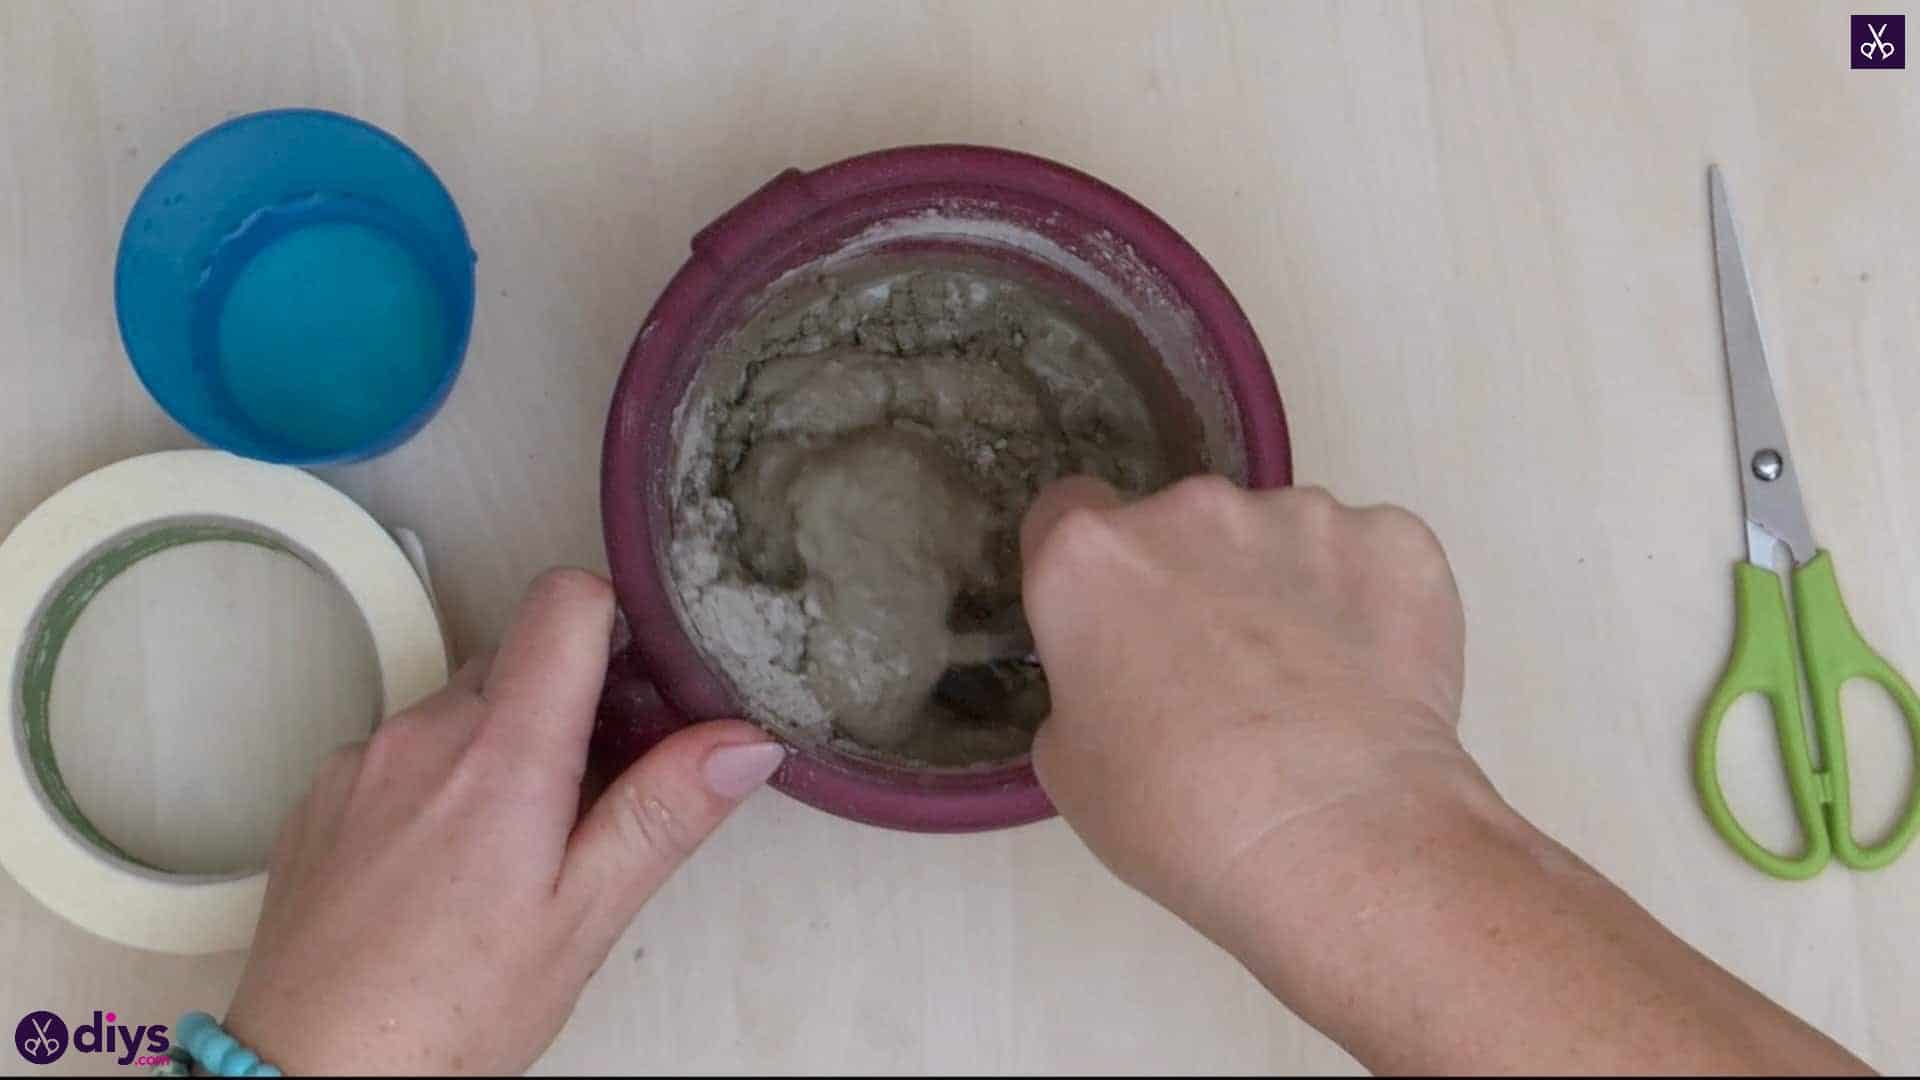
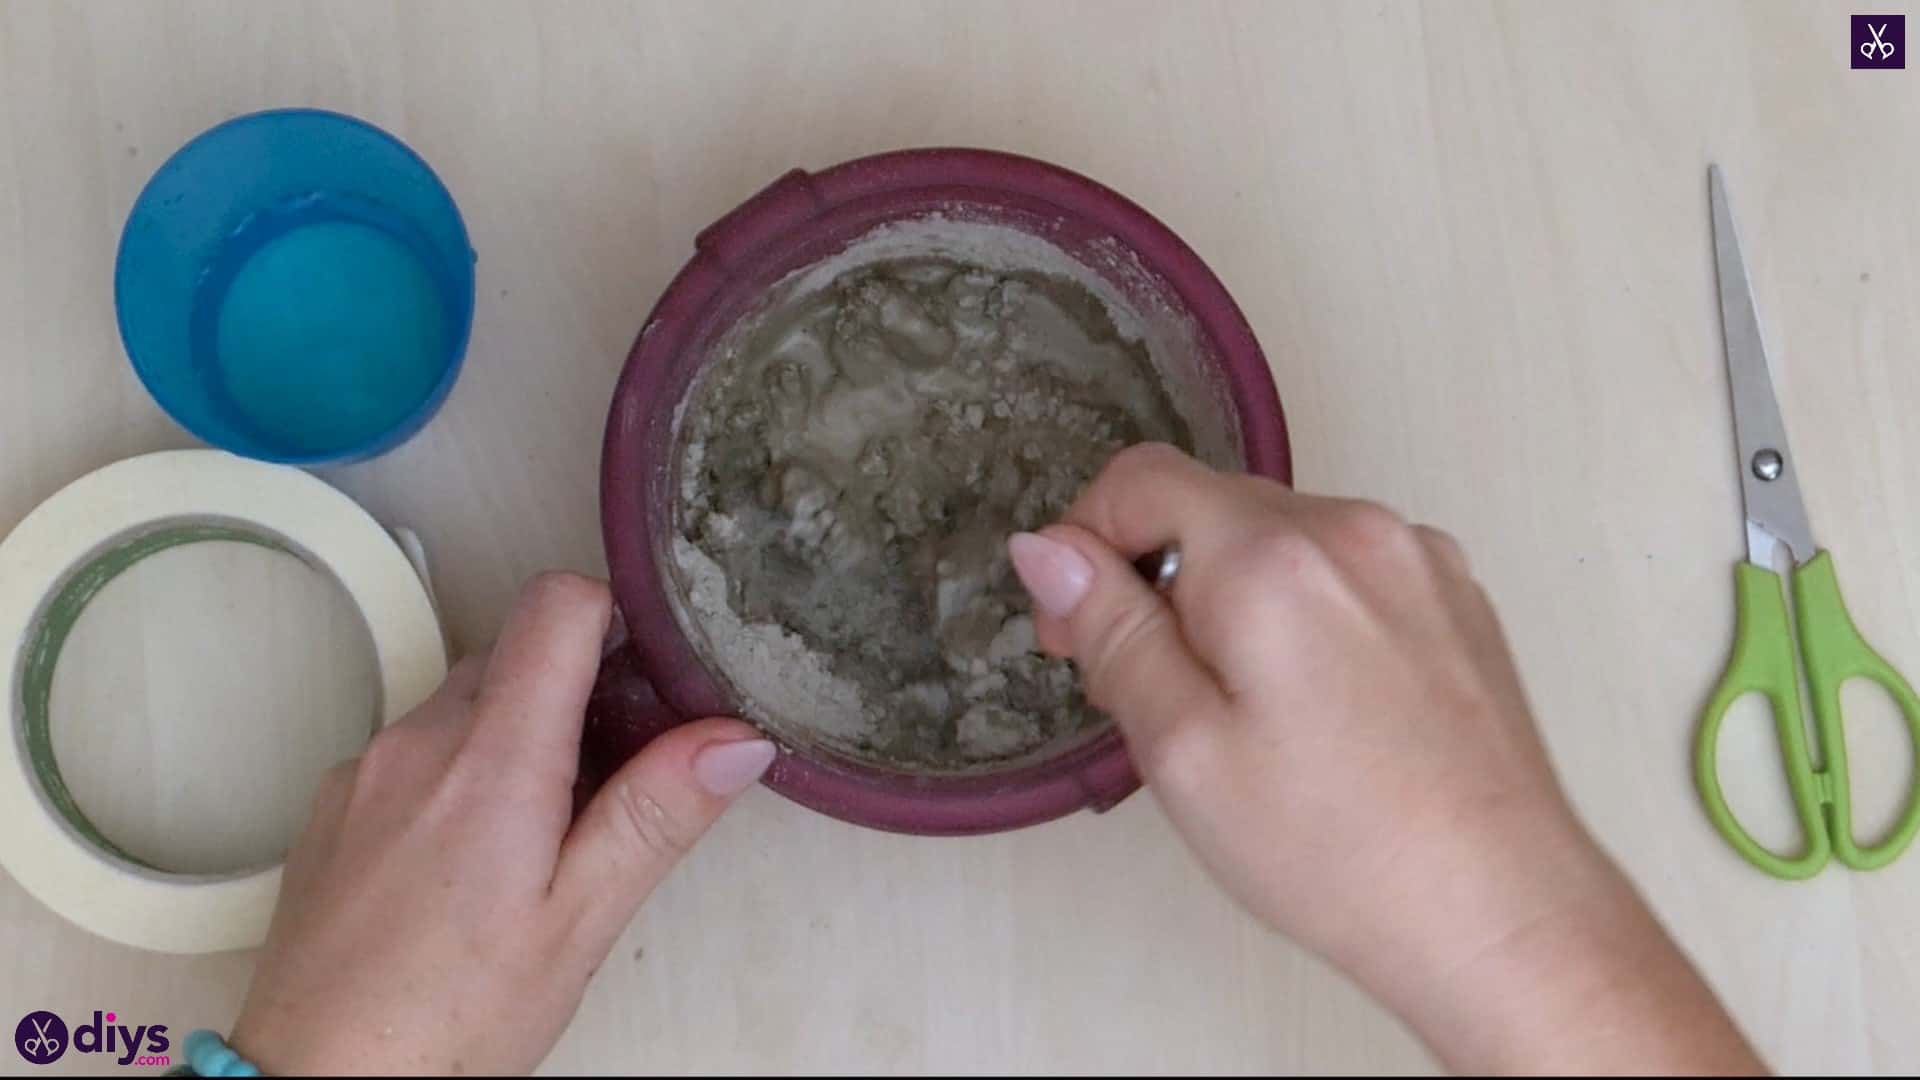
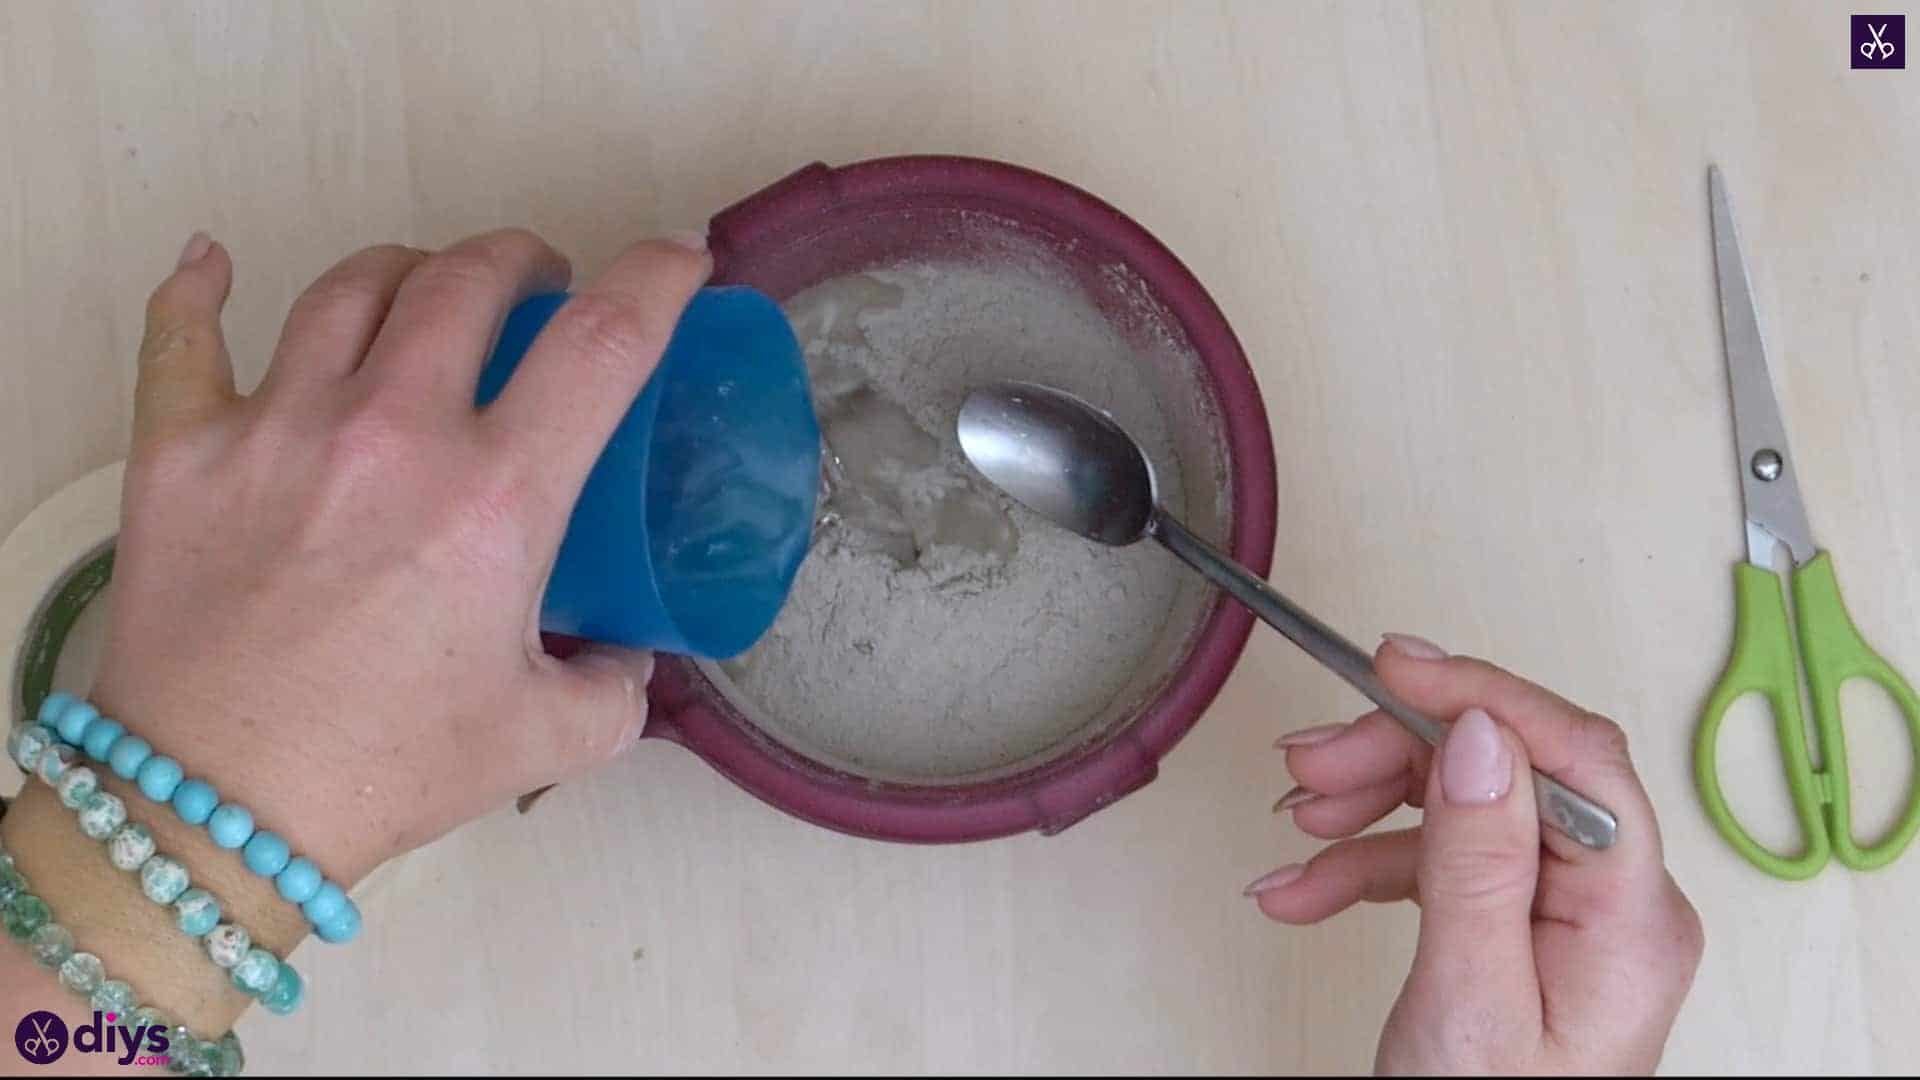
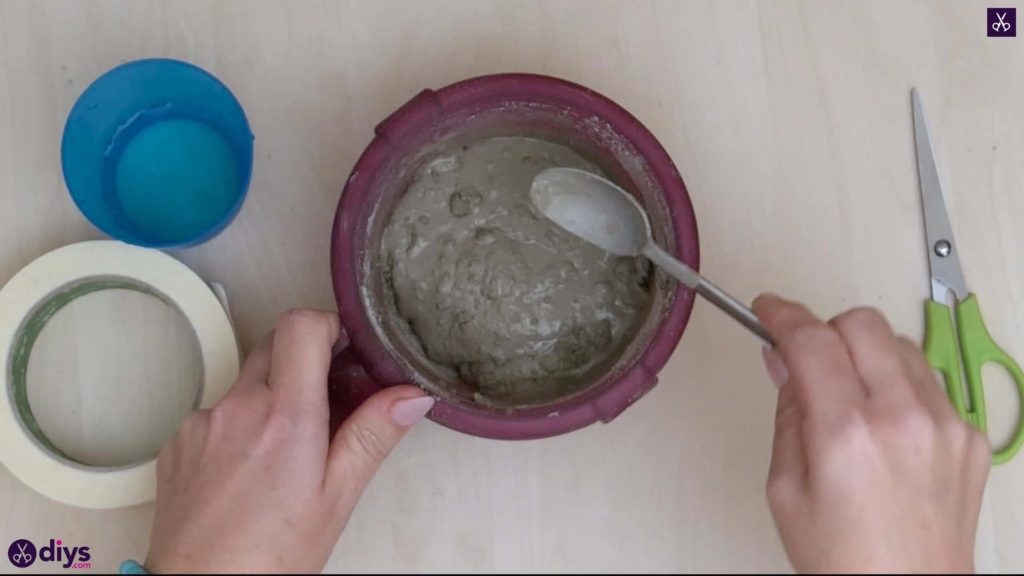
Step 2: mix your concrete
Add water to your DIY fine particle cement mix and use your spoon to stir it until it’s the right consistency and free of clumps. Follow the directions on the back of your particular mix to get the right ratio of water to cement, since it can vary from brand to brand.


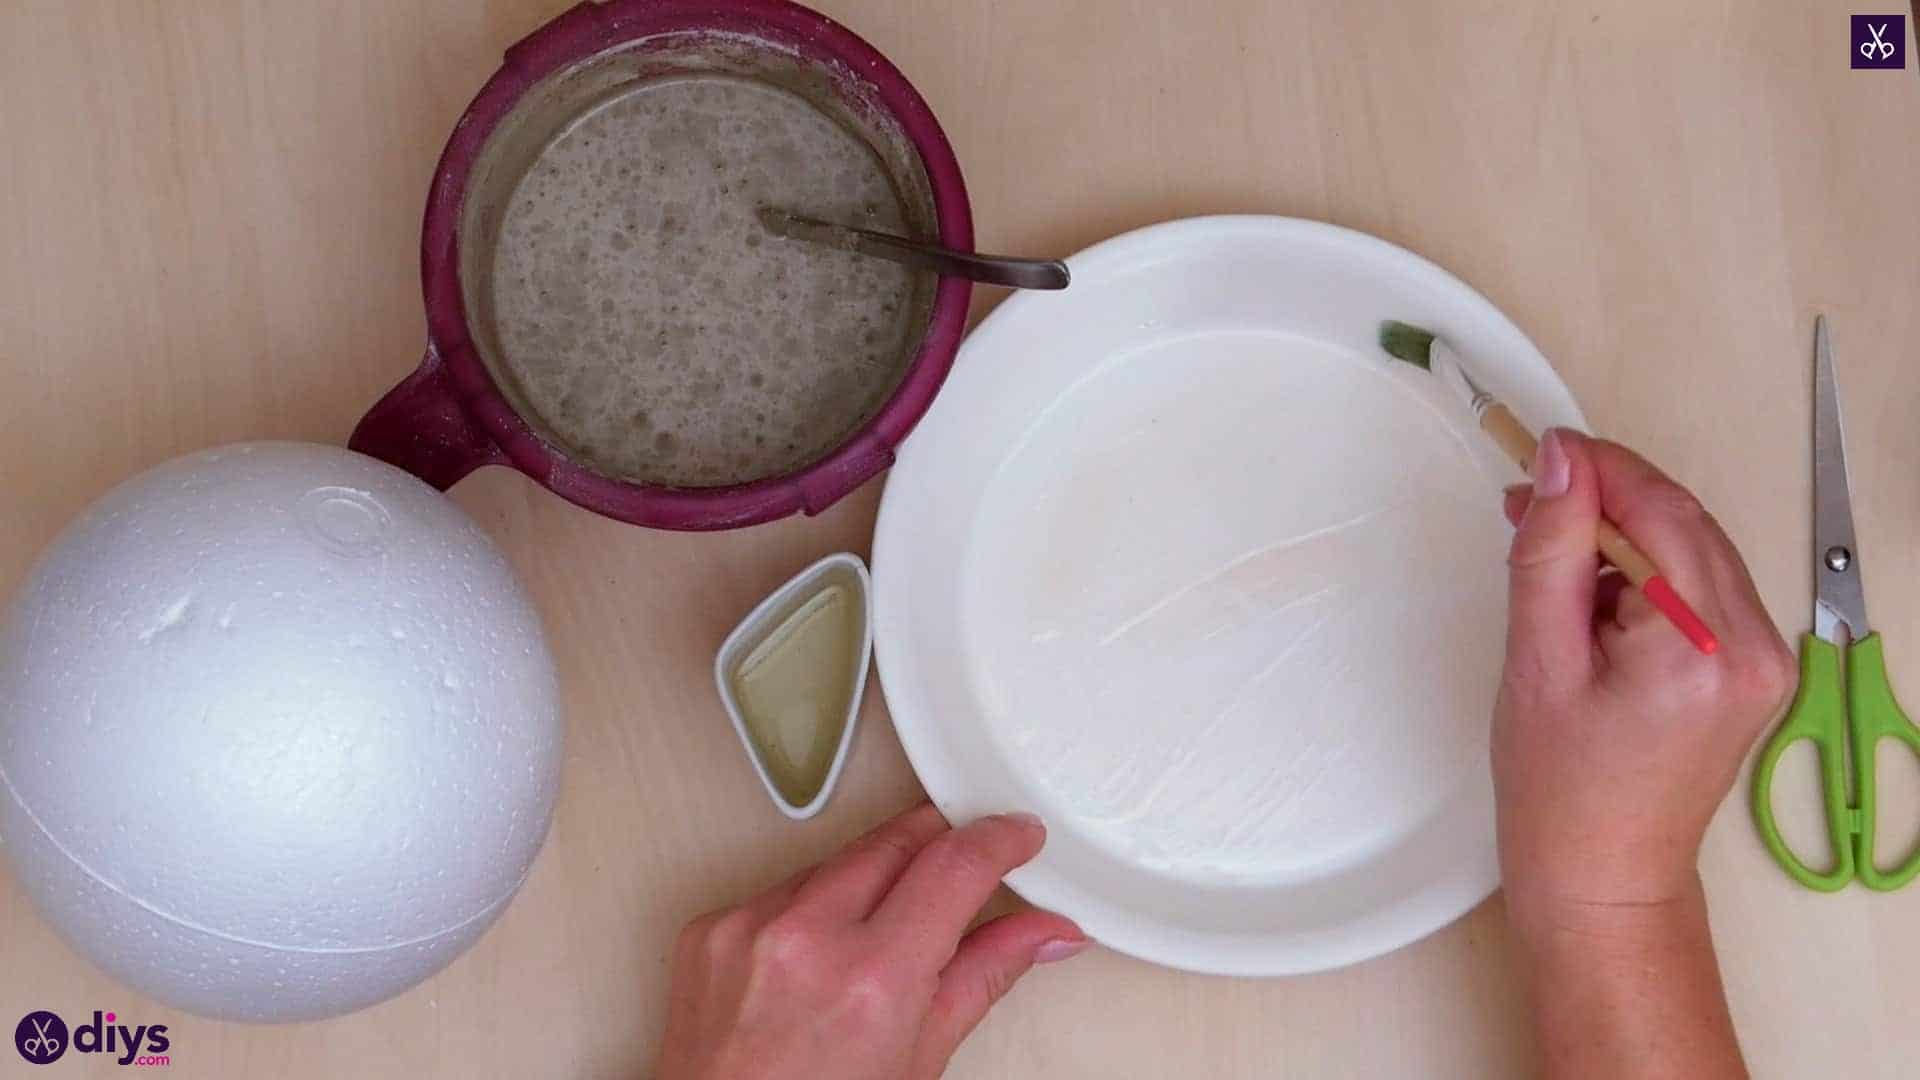
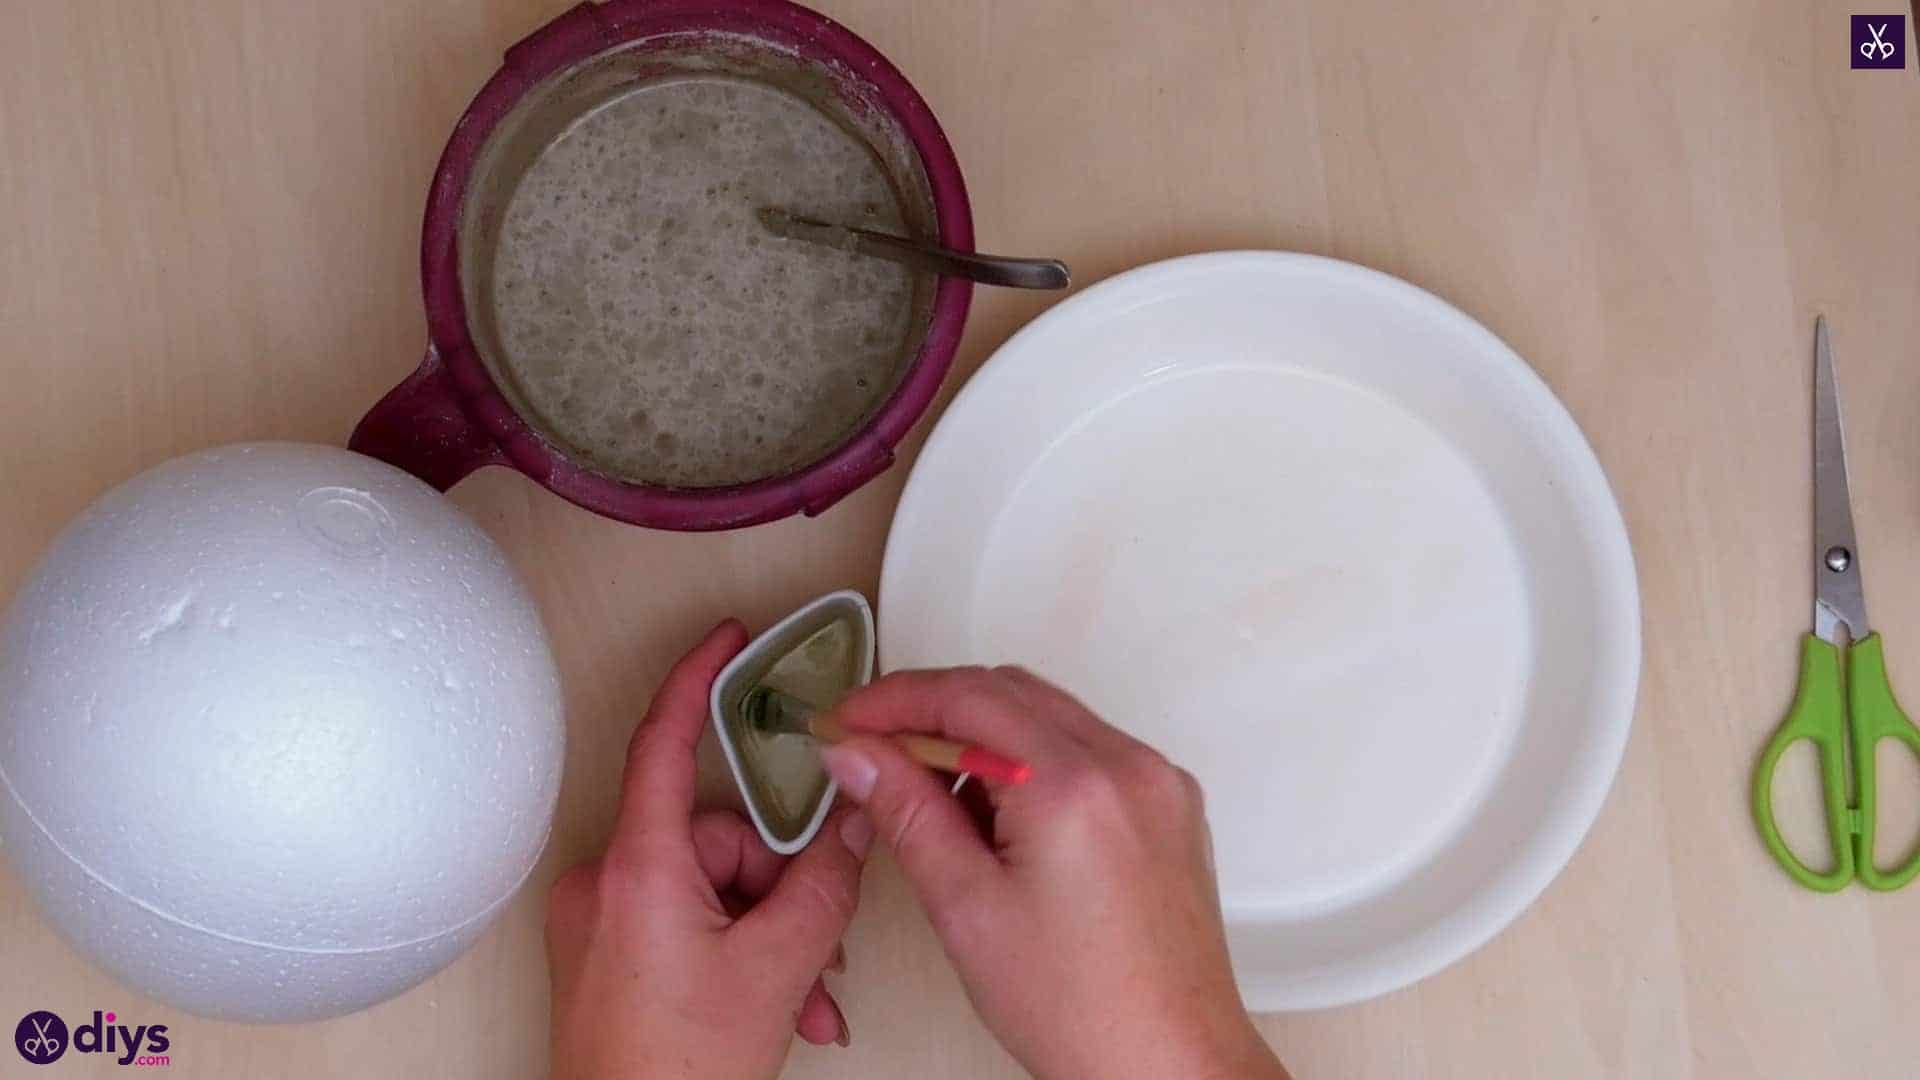
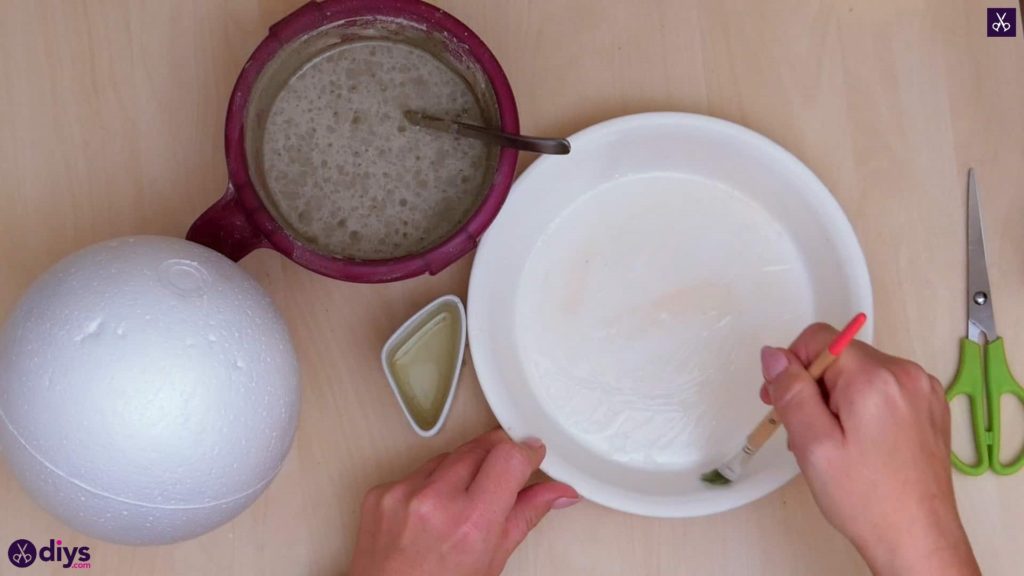
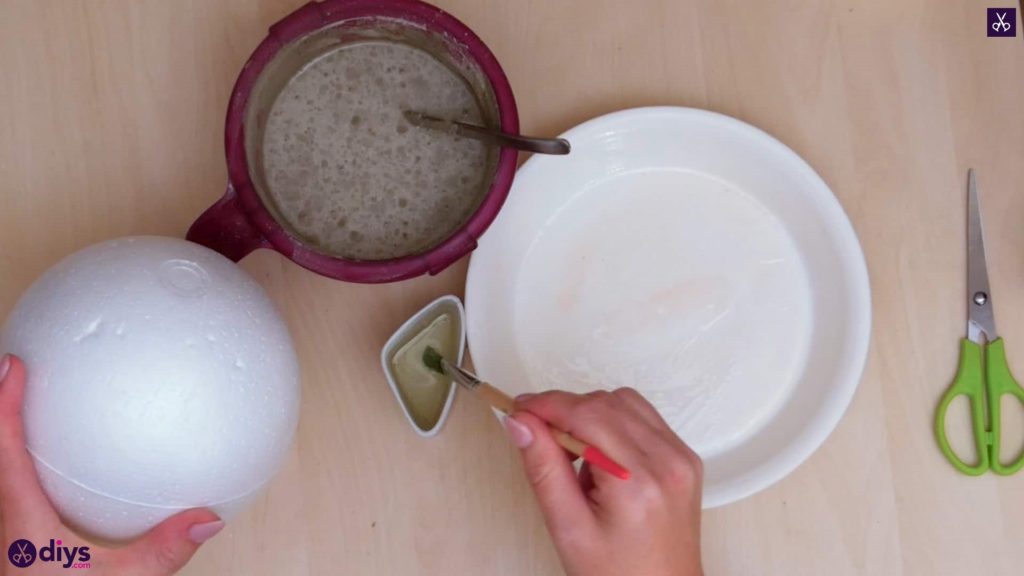
Step 3: oil your molds
Use your paintbrush to apply oil to the entire inside surface of your dish, all across the bottom and up the sides. This oil will stop your cement from sticking to the dish as it dries and make it much easier to remove the final shape later on.


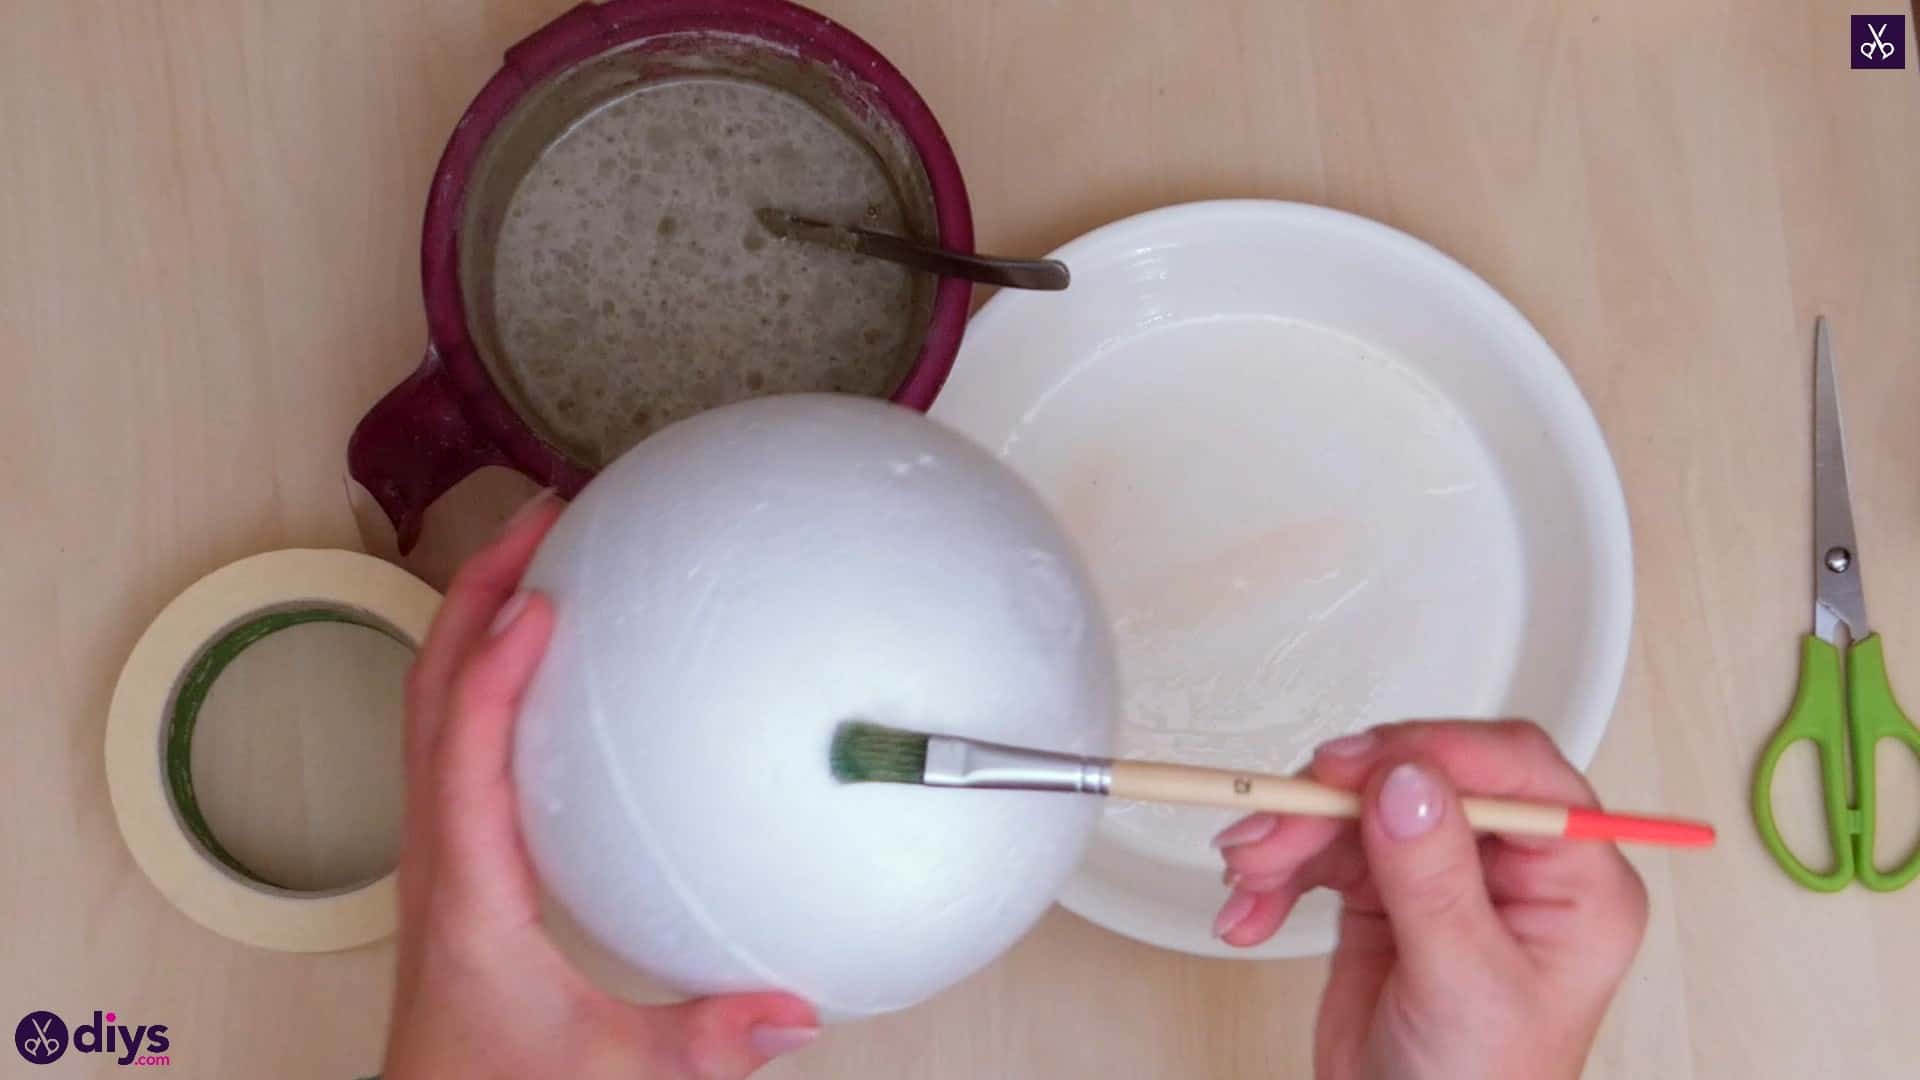
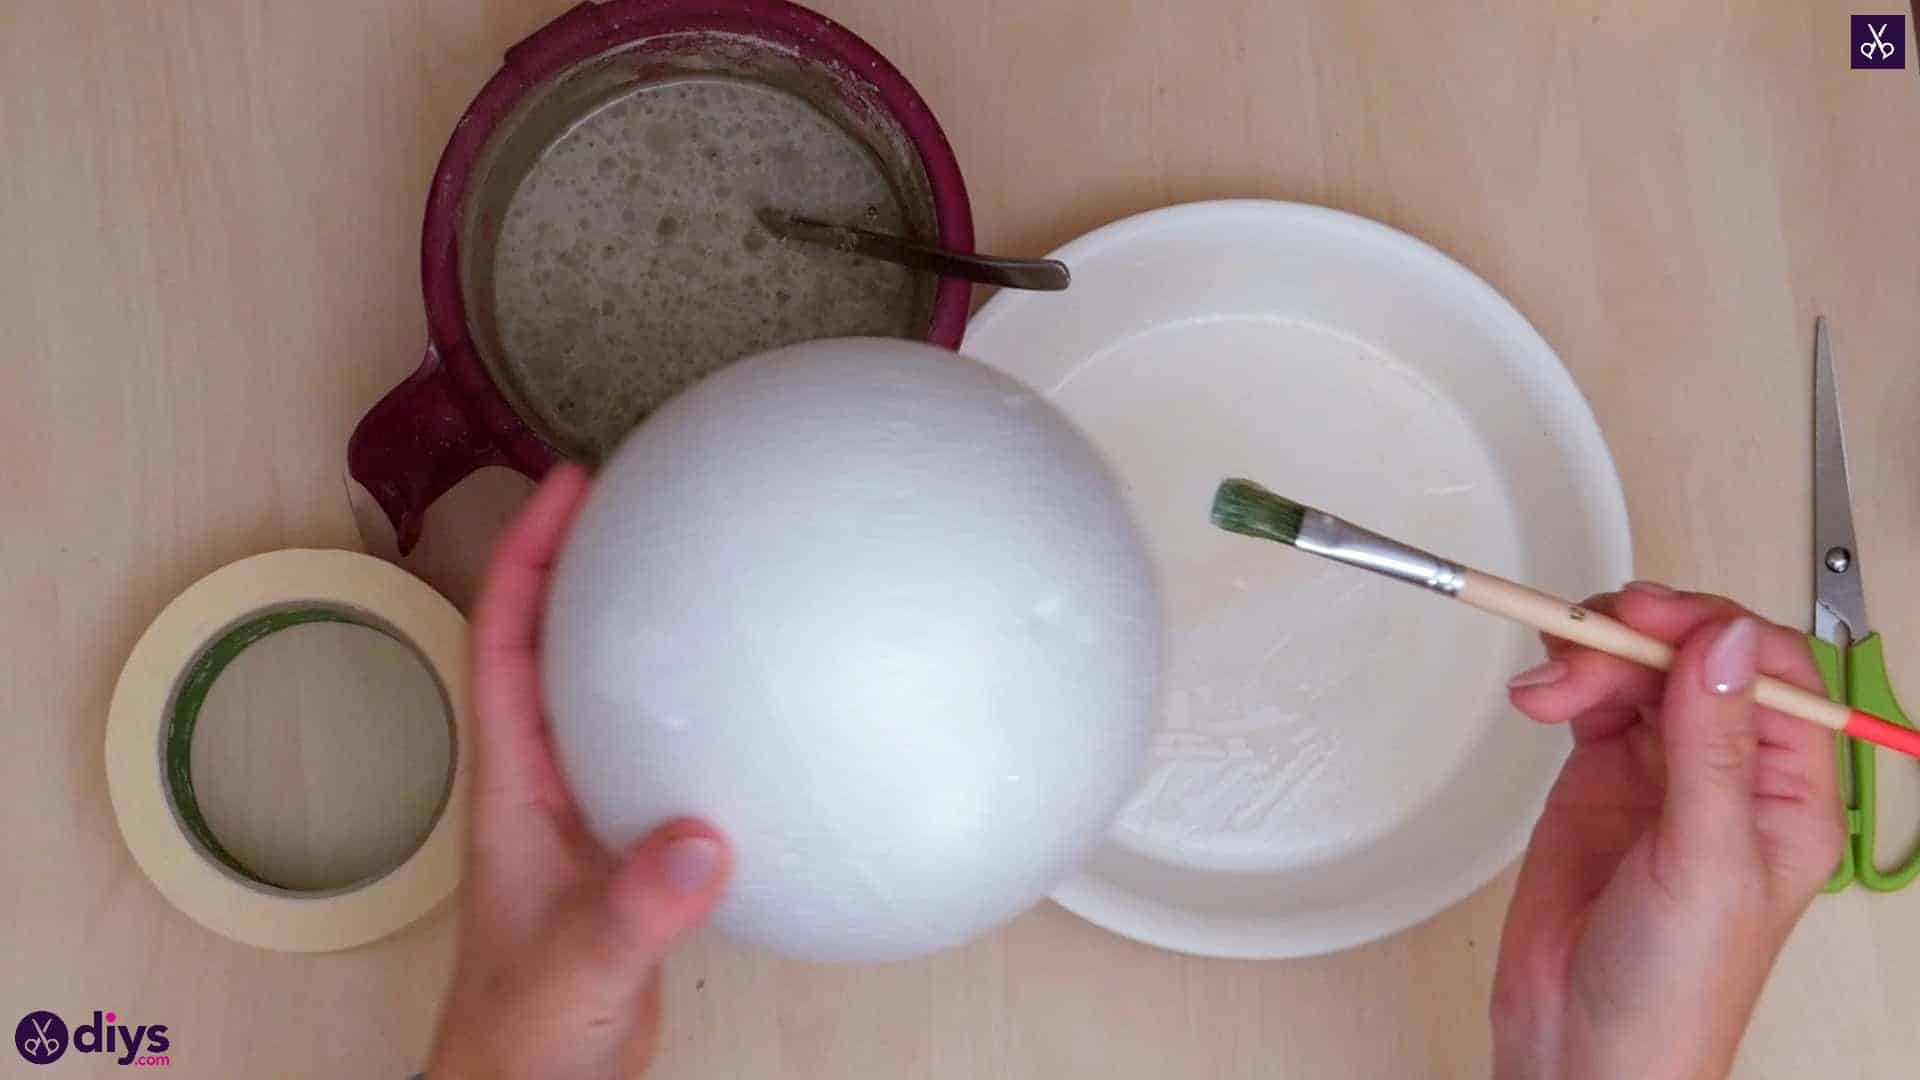
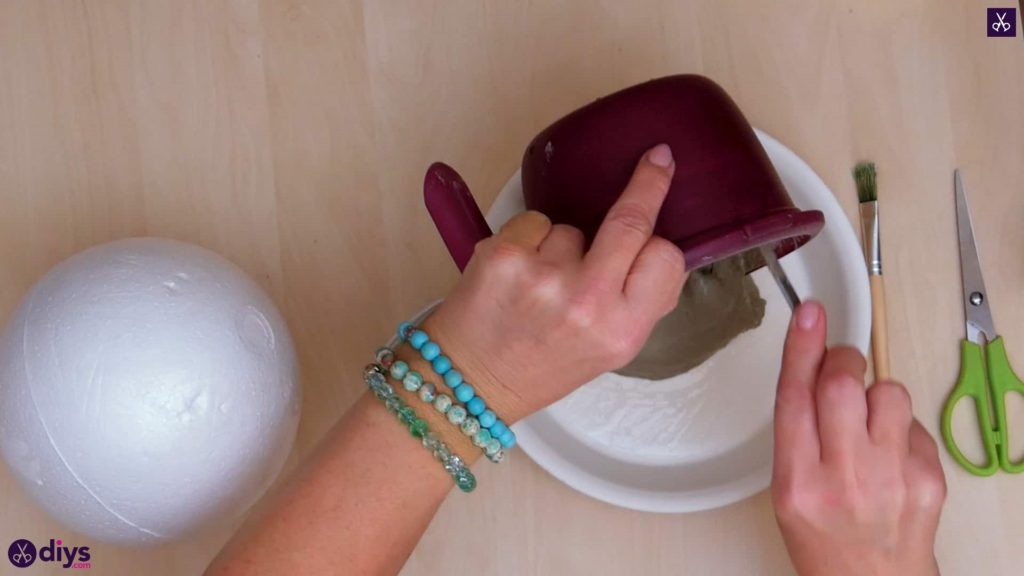
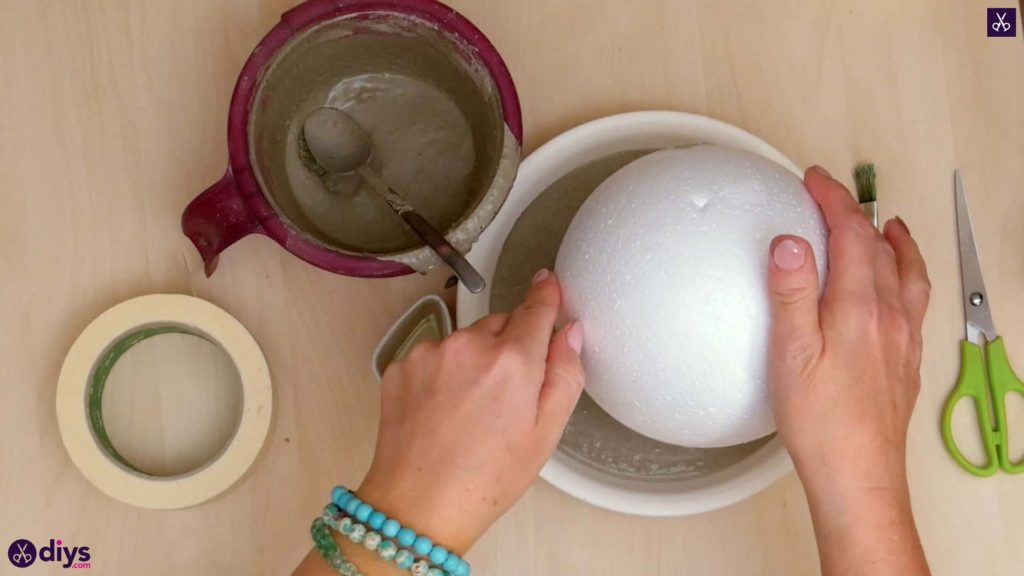
Step 4: oil the ball
Next, apply oil to one half of your styrofoam ball; this will be the half you sink into the cement to make a depression in its surface that will hold pieces of jewelry that won’t sit well on a flat surface. Applying oil to the half of the ball that you’ll sink into the cement makes sure that the mix won’t stick to the styrofoam as it dries. Set it aside for a brief moment.


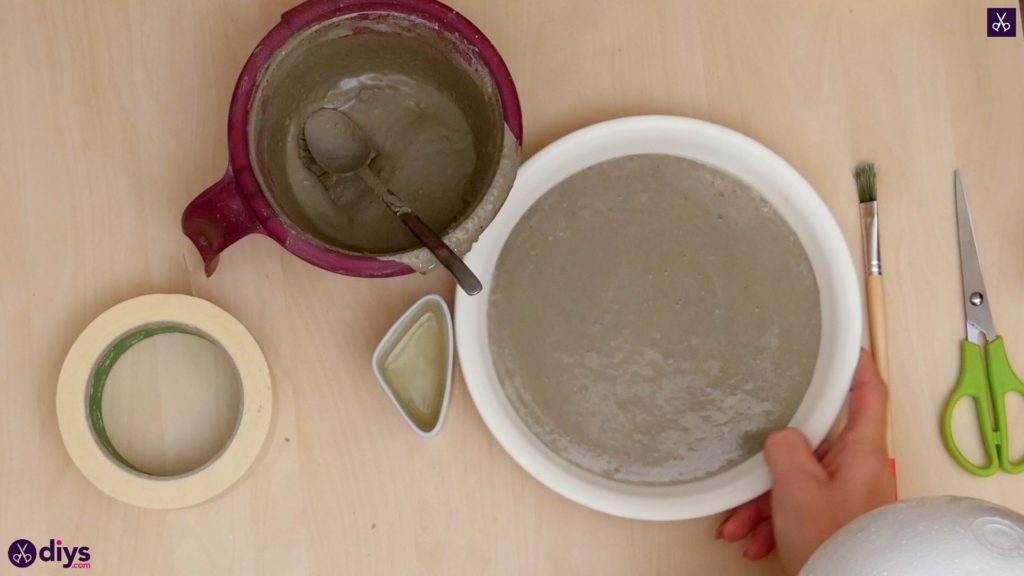
Step 5: pour the concrete
Pour your cement mixture into your oiled dish! Fill it as high as you please (which will determine how deep your dish is) and then use your spoon to smooth the surface of the cement. You can also lightly tap the bottom of the dish on the tabletop to break down clumps and burst any air bubbles, getting you a smoother and stronger finished product.


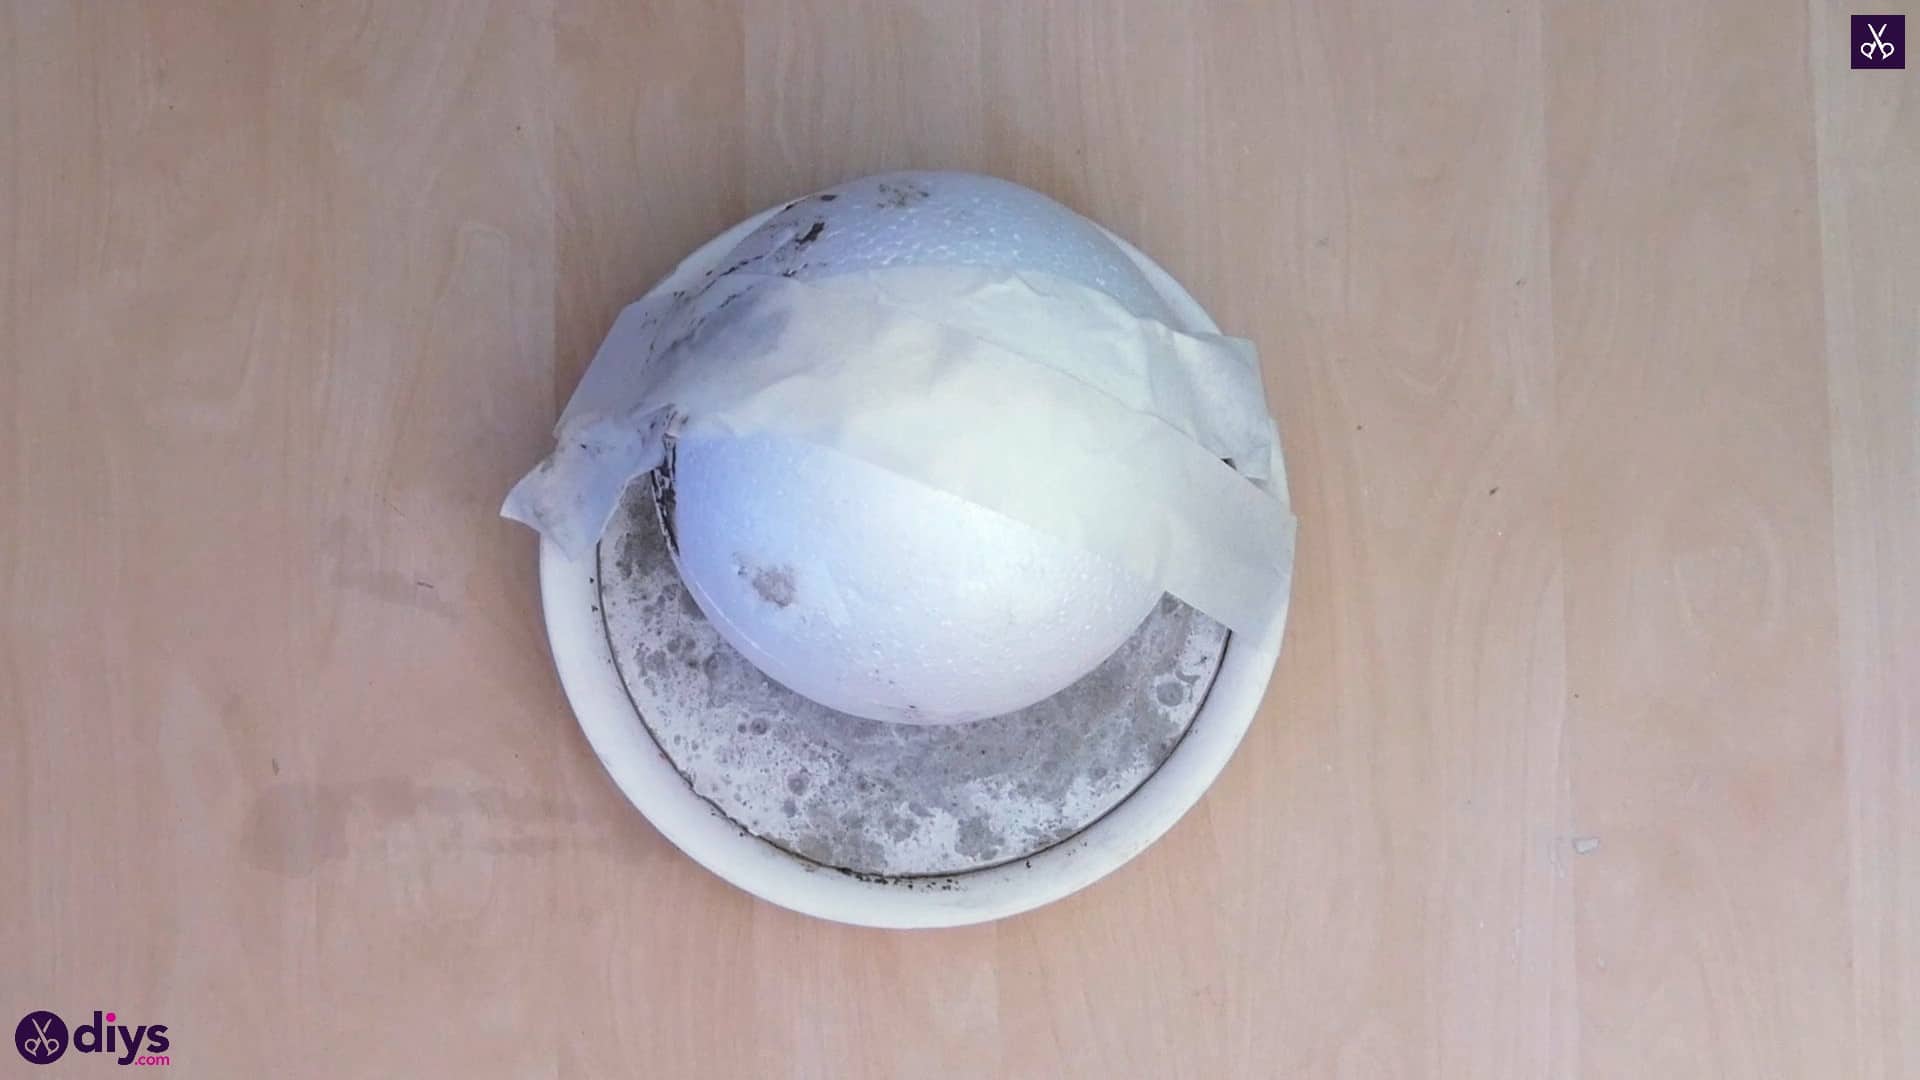
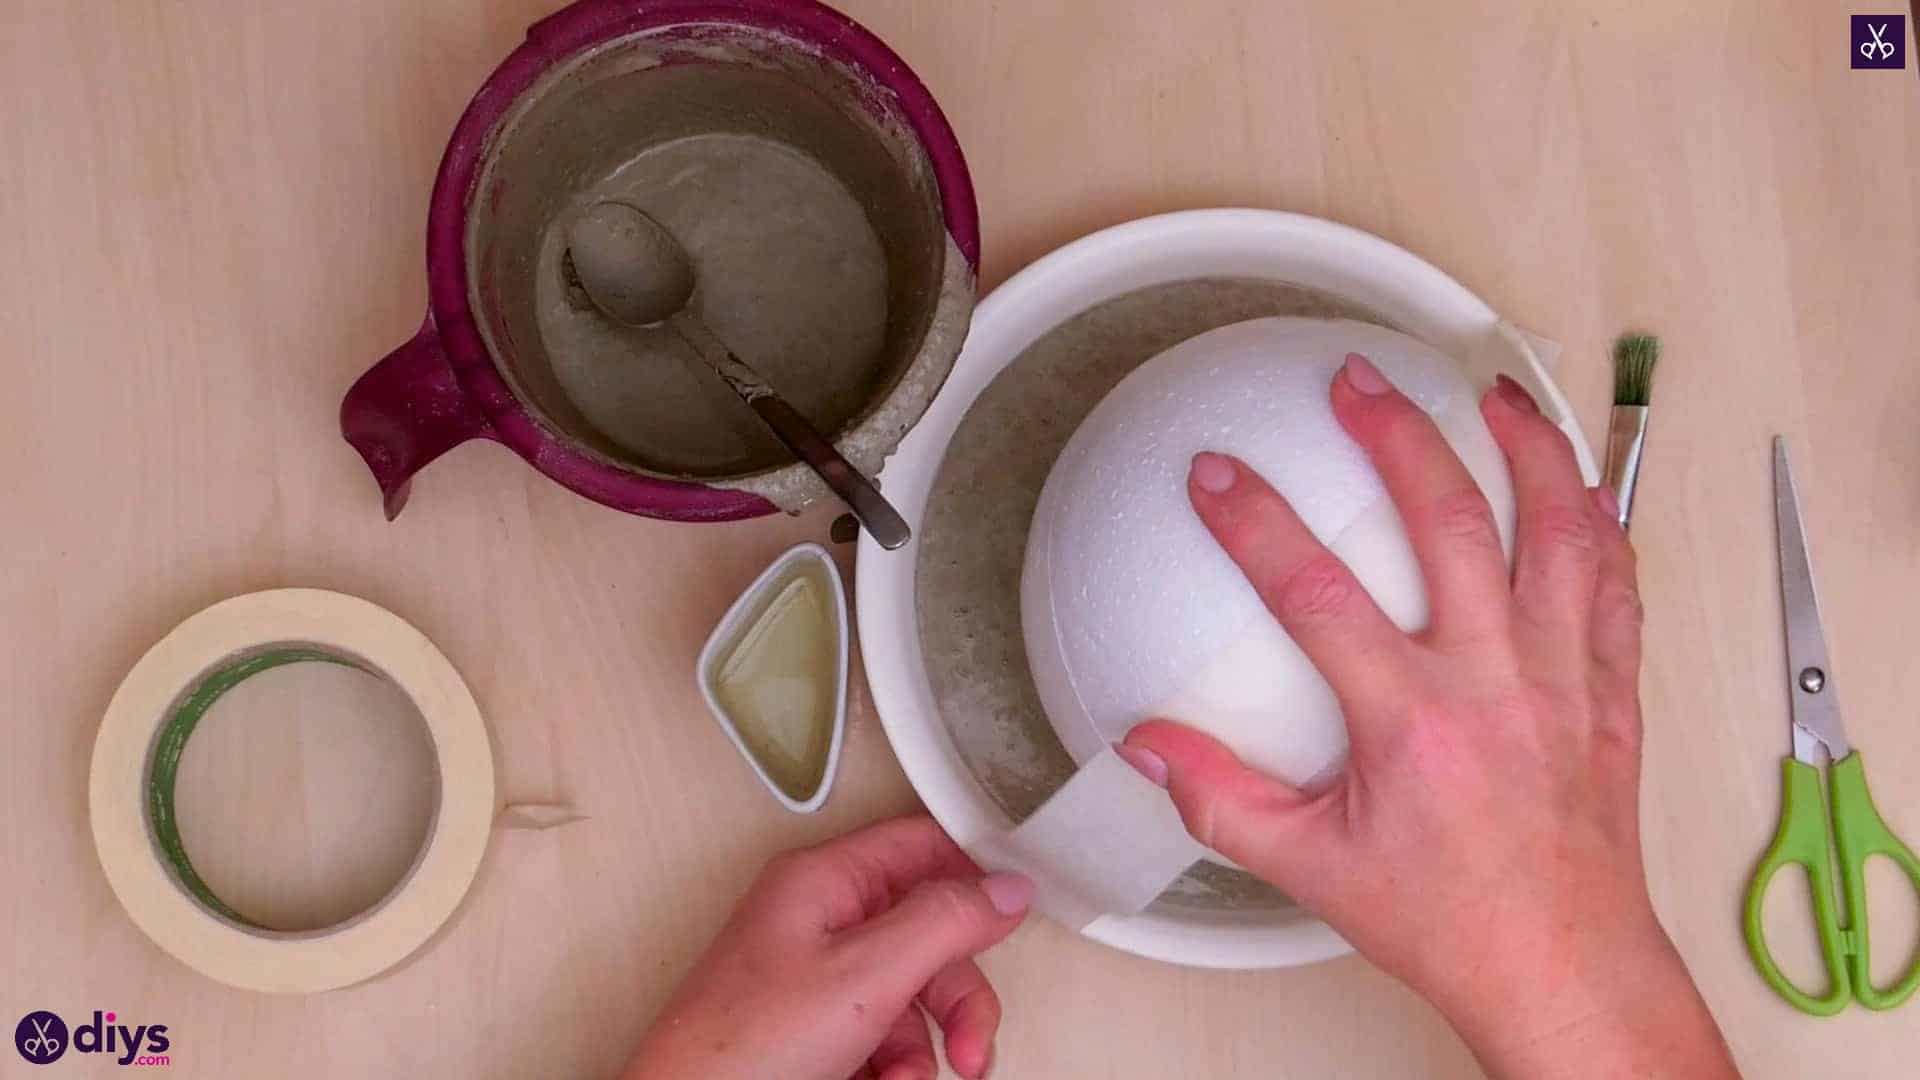
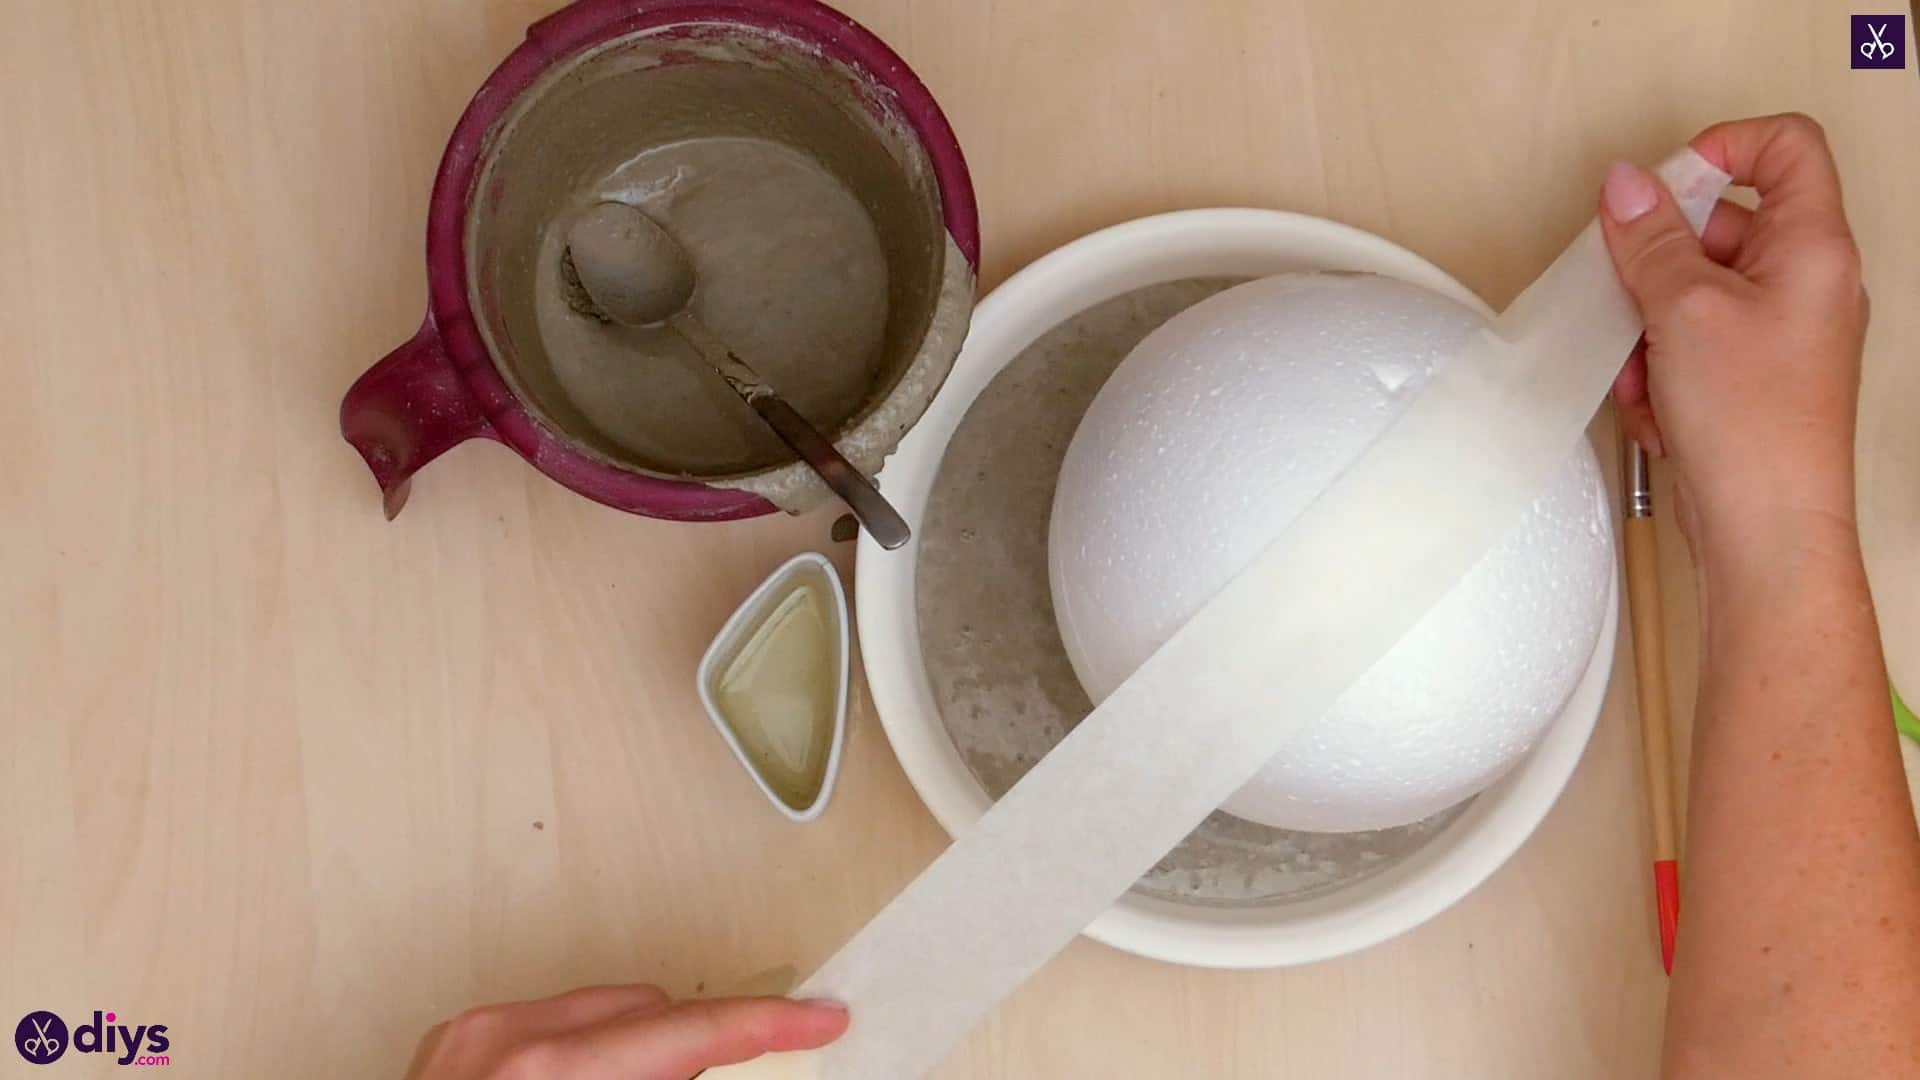
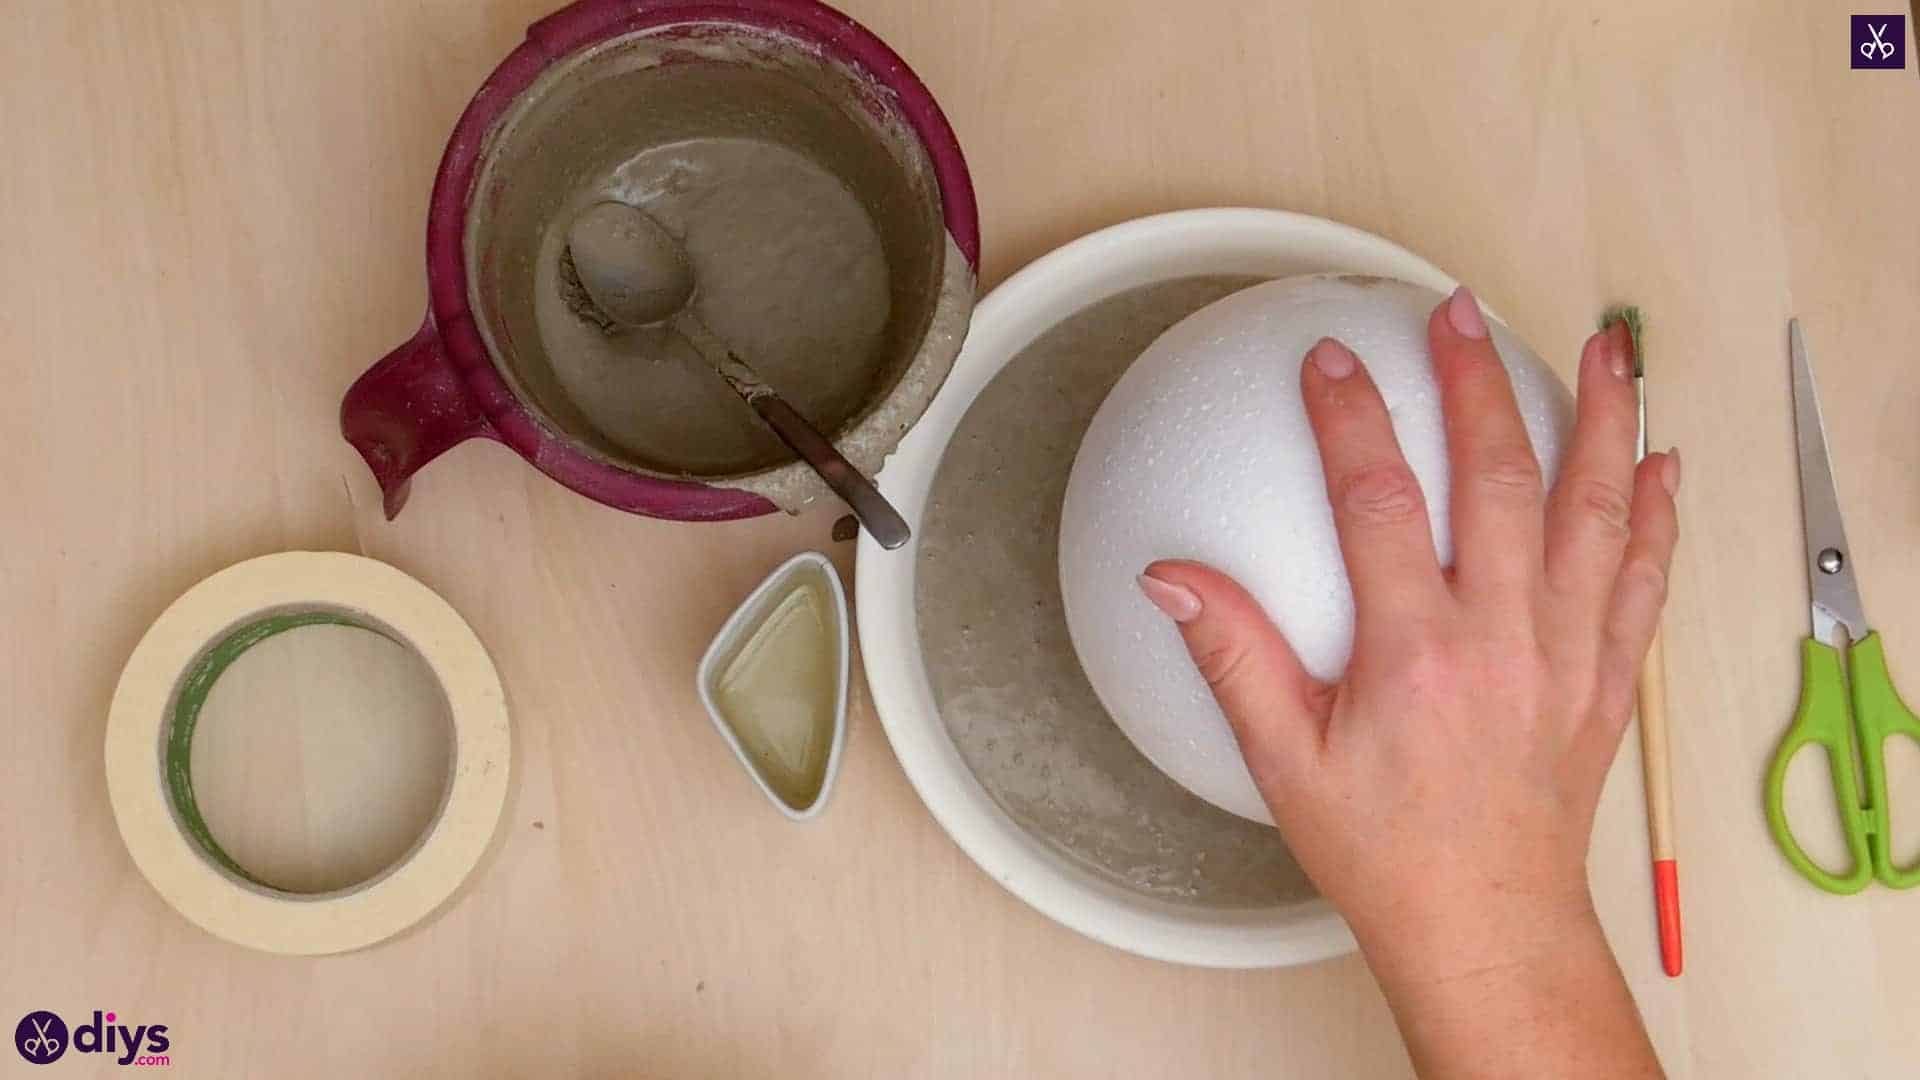
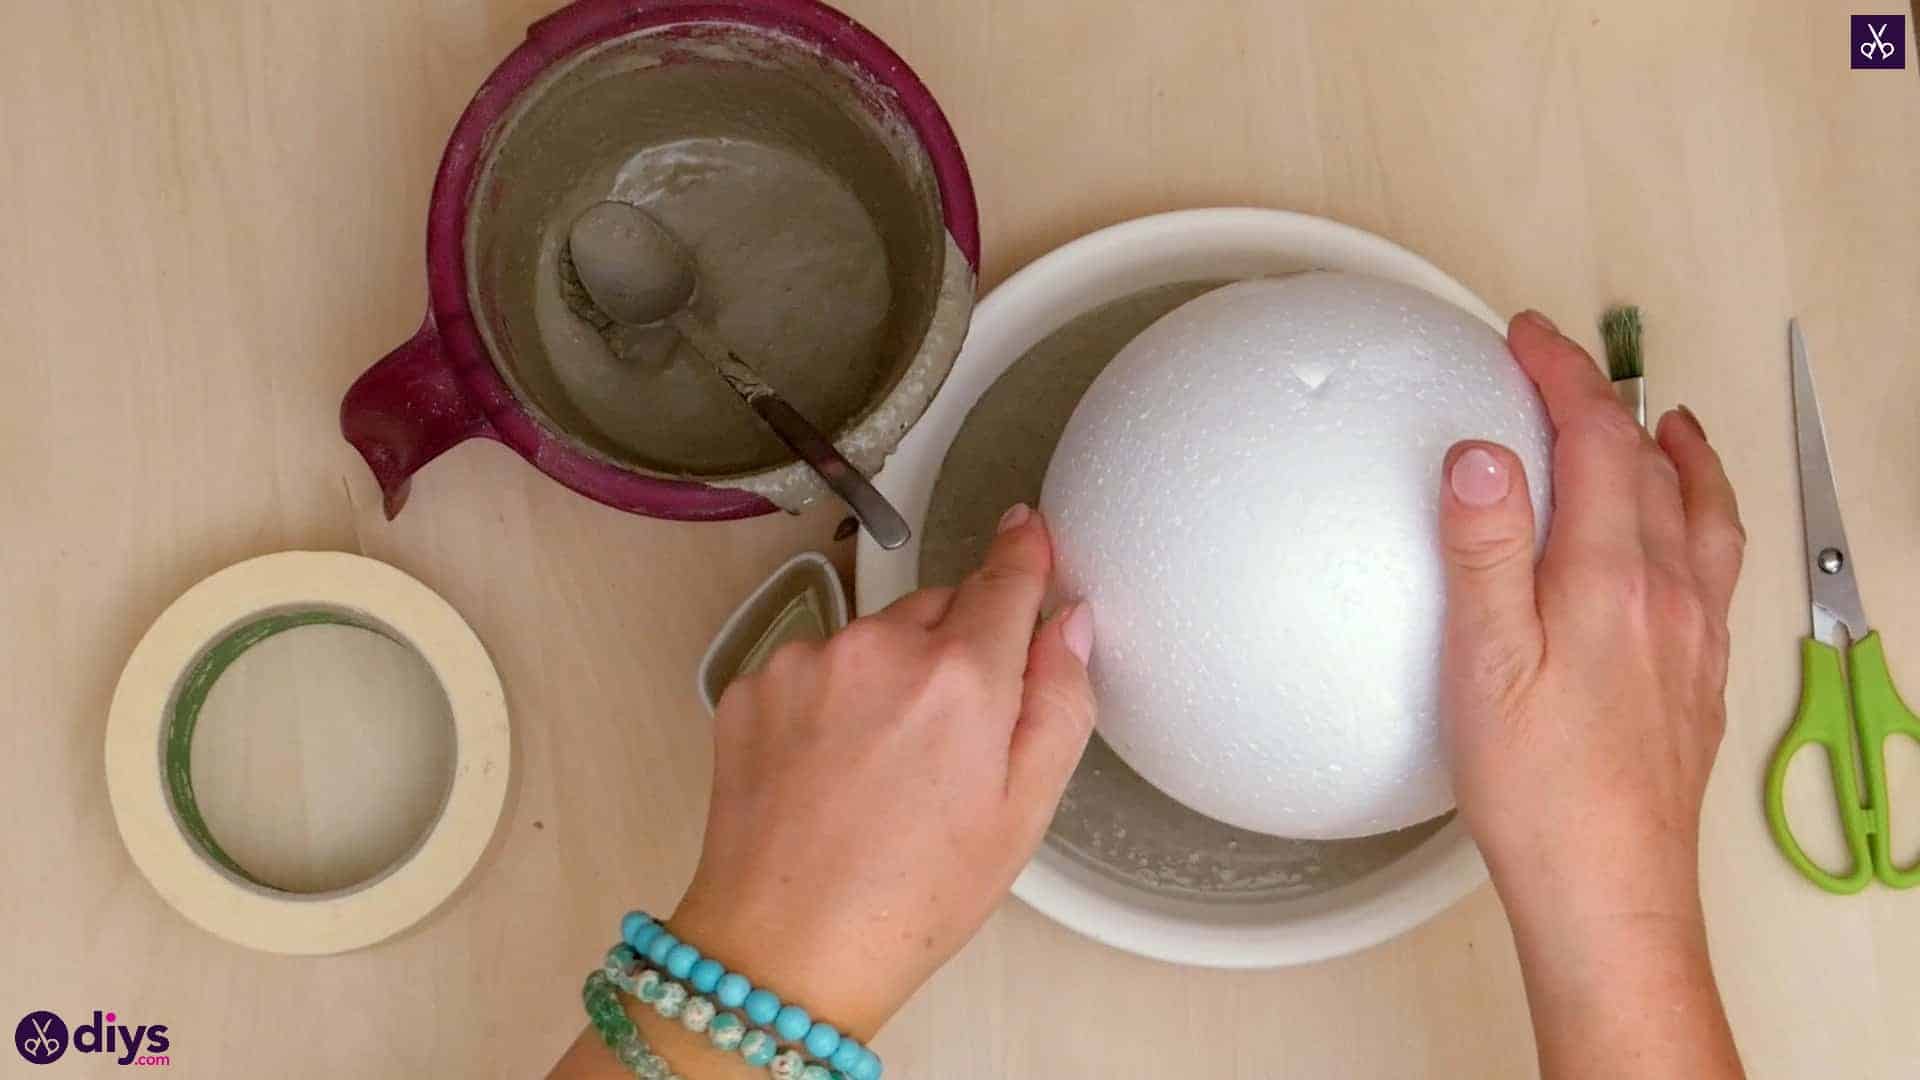
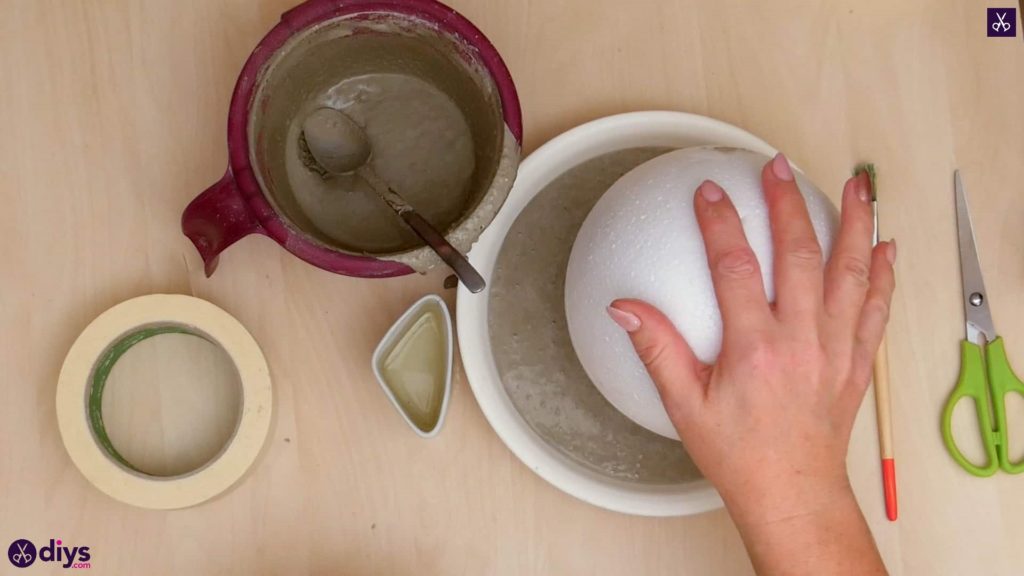
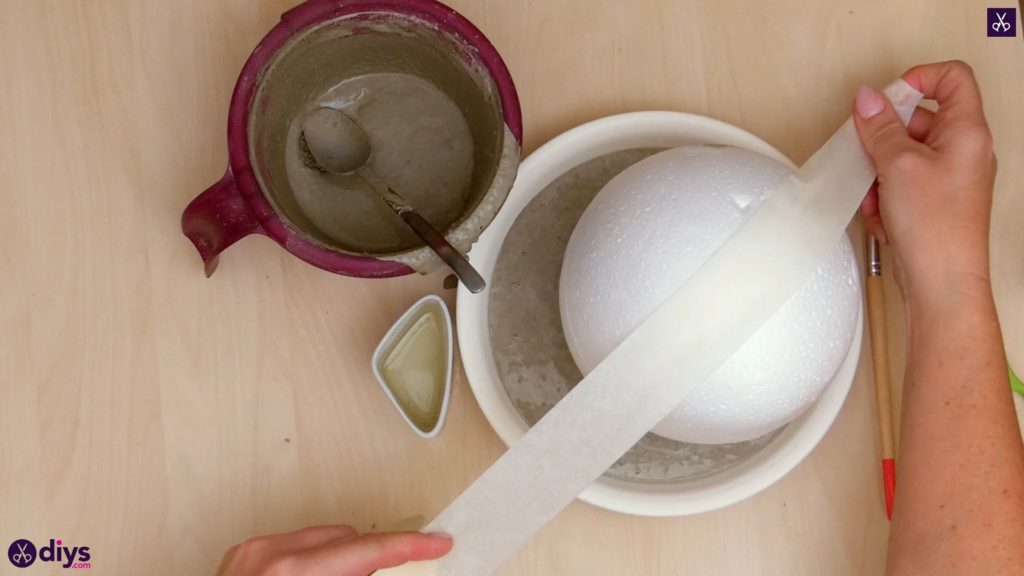
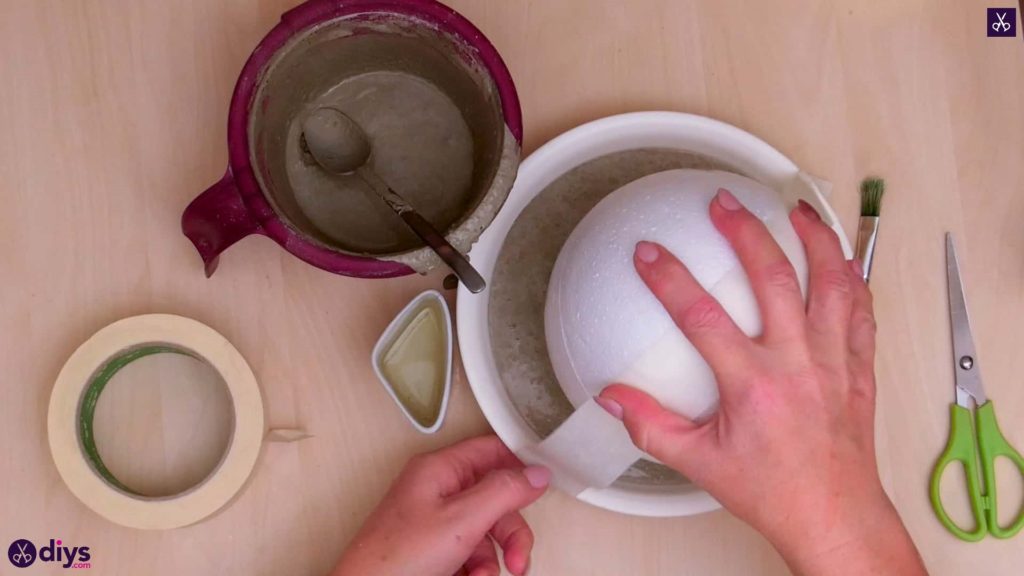
Step 6: add the ball
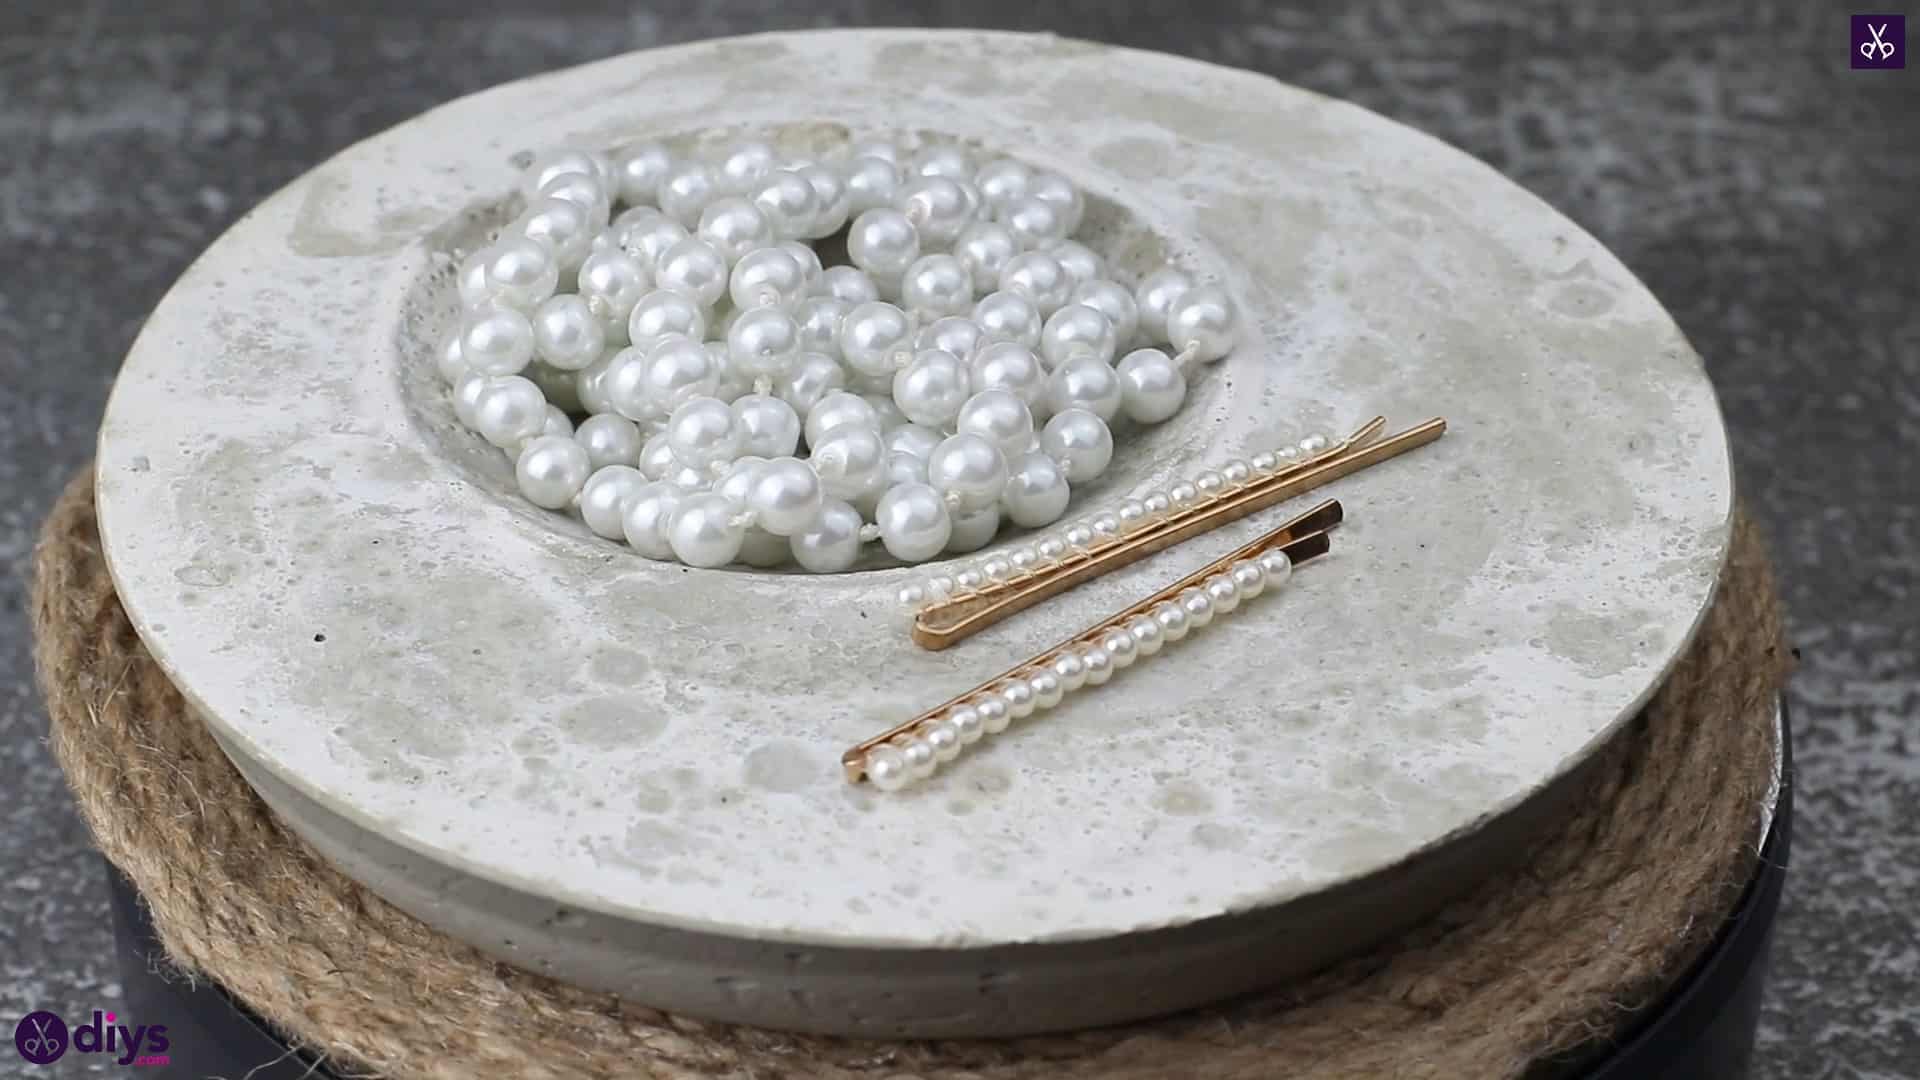
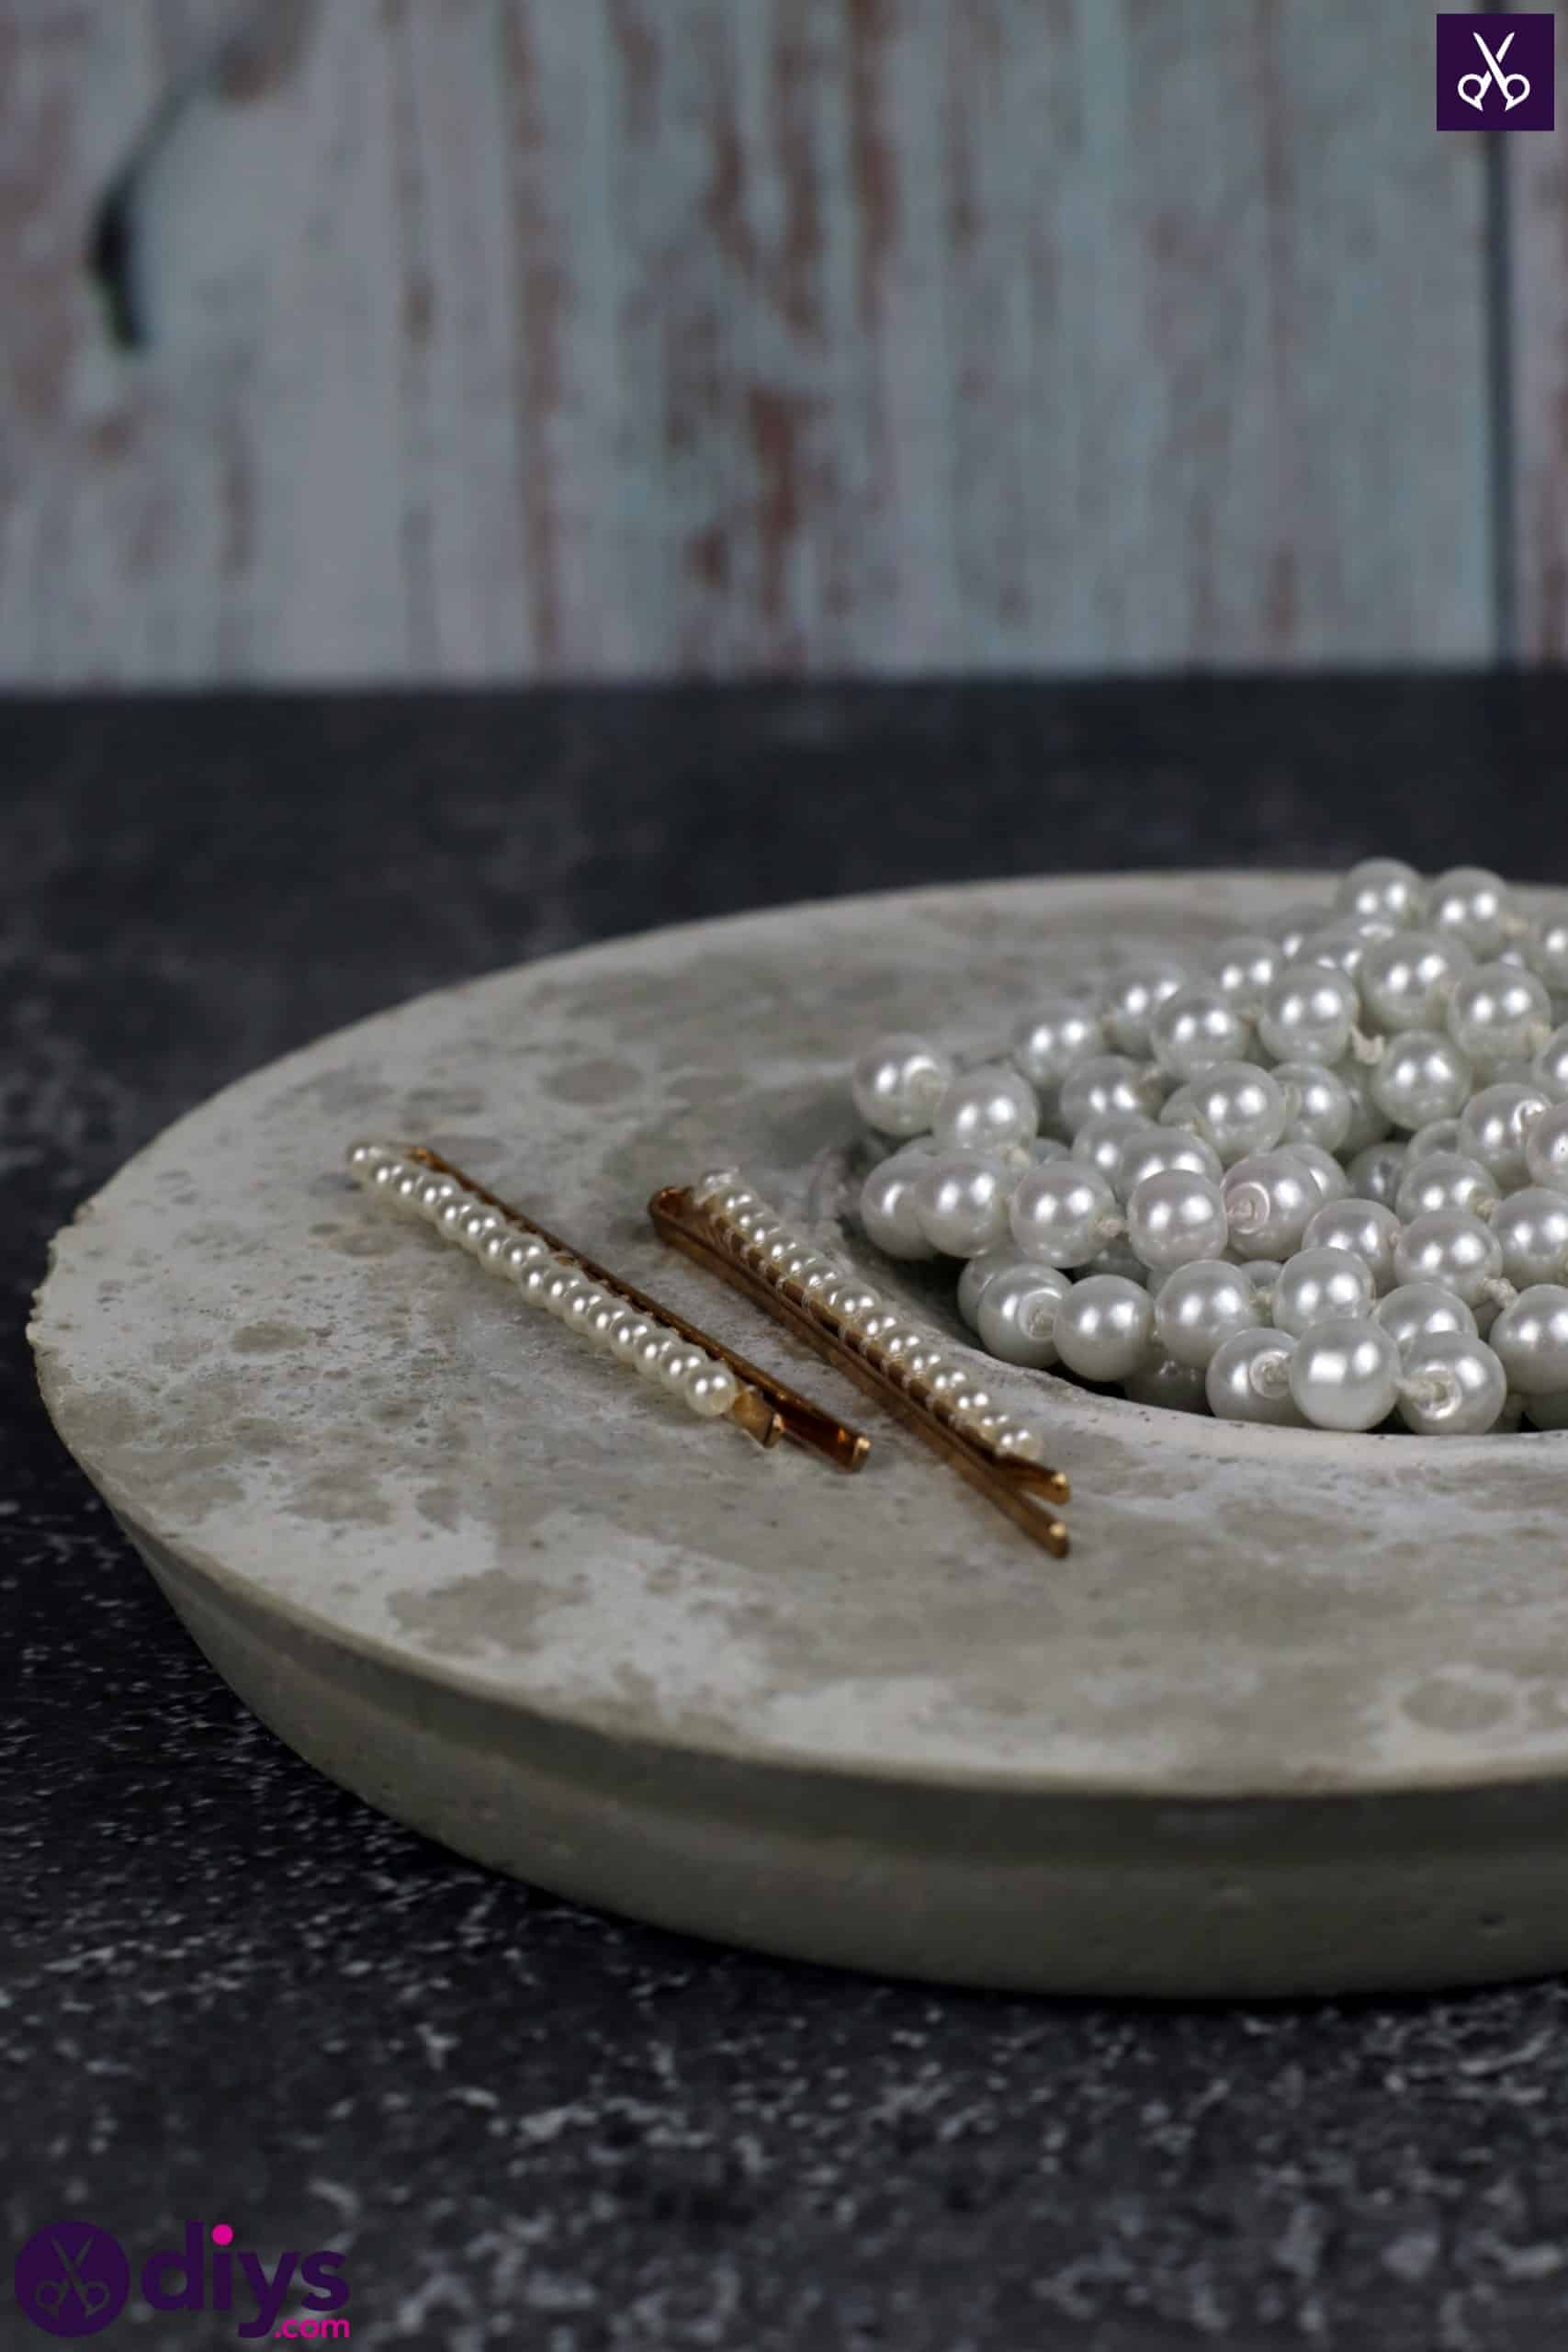
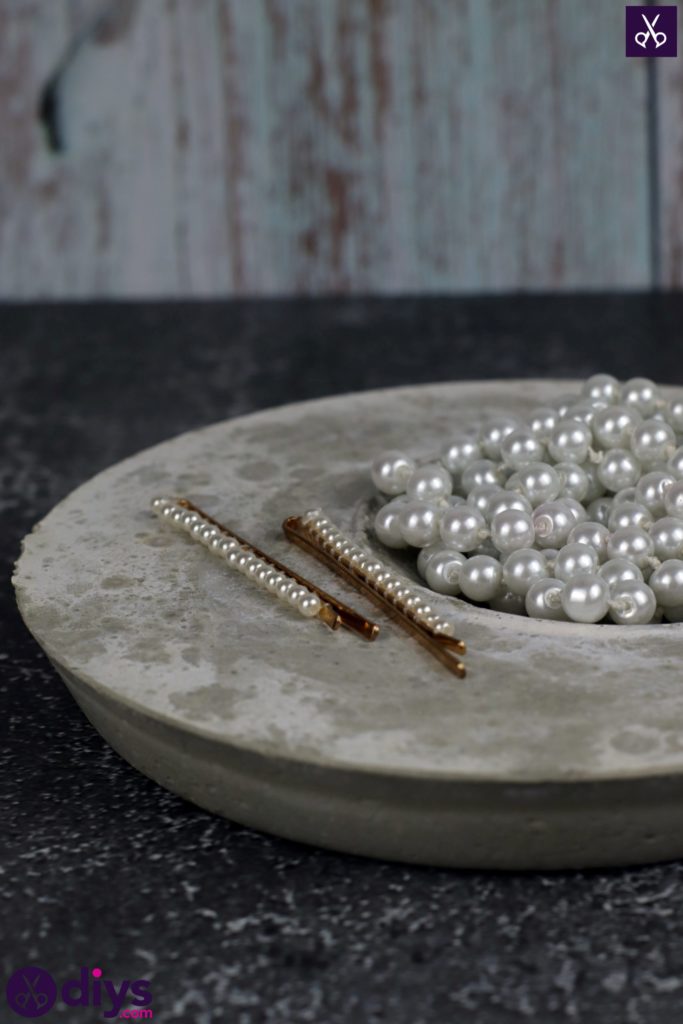
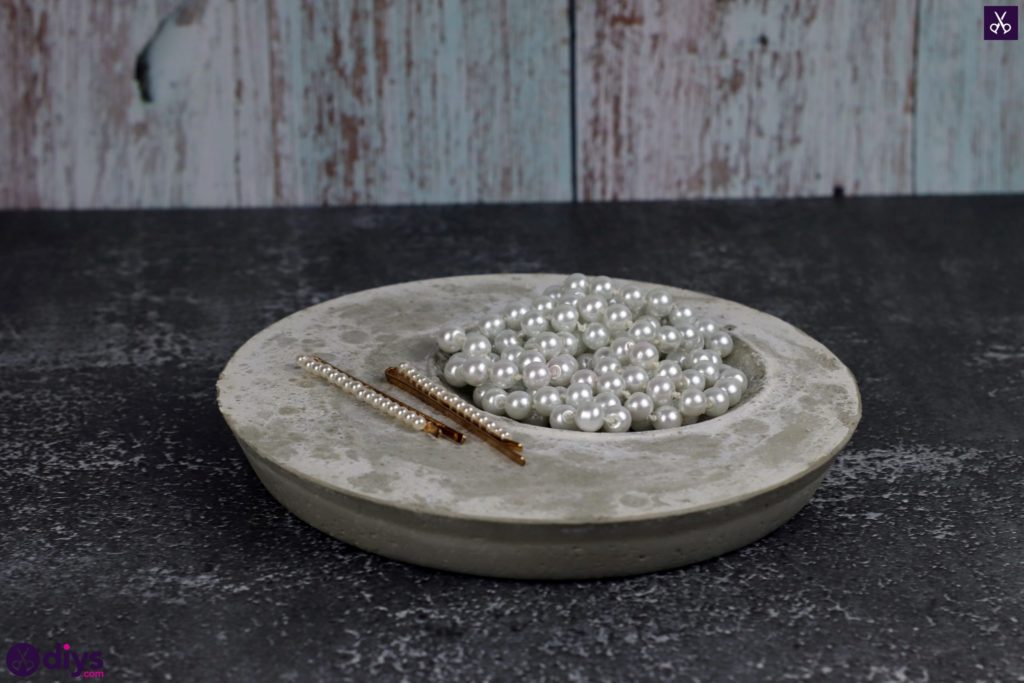
Now press the oiled side of your styrofoam ball into the surface of your cement to make the little depression that will hold small jewelry pieces and so on later. I set mine off to one side rather than in the centre of the circular dish so that I left room for a flat space that other pieces like my watch, which won’t roll of the edge because it’s flat, or hair pins can sit on. Once you’ve got the ball where you want to make that dip, press it down a little bit but not so much that it touches the bottom of the dish; you don’t want the cement to dry with a hole in the bottom. Hold the ball in place and stretch pieces of tape across its top, from one side of the dish to the other, to keep it still as the cement dries, sticking the tape down on opposite edges of the dish and opposite sides of the ball. Set the whole thing aside to dry.

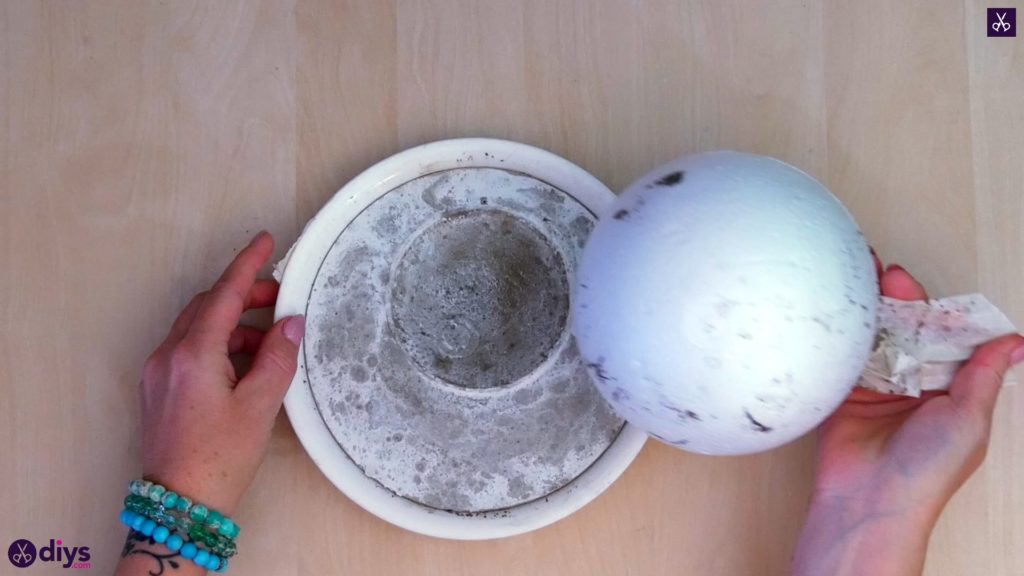
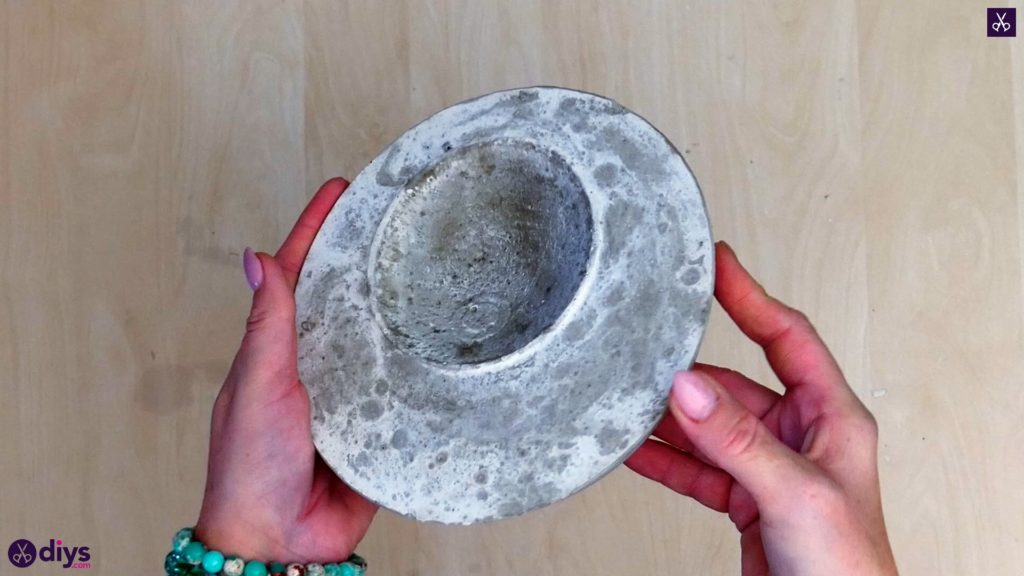
Step 7: remove objects
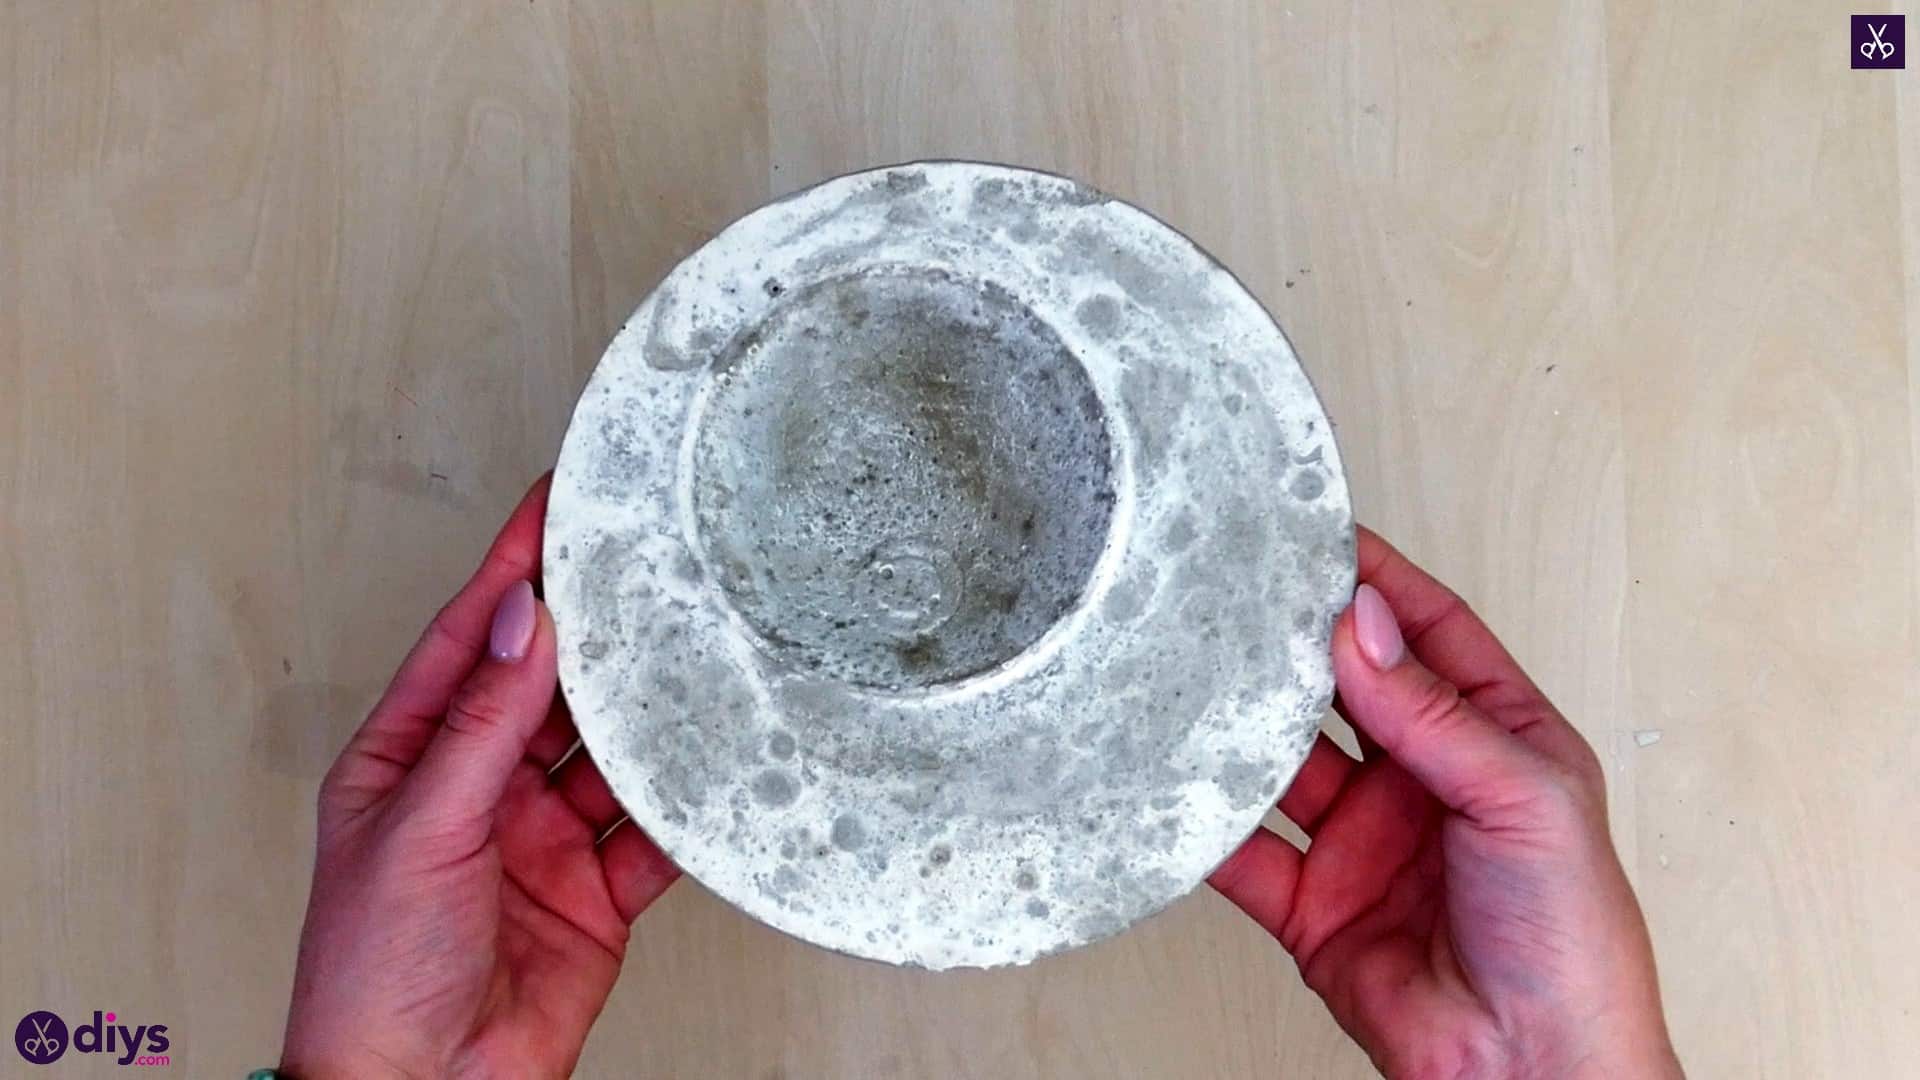
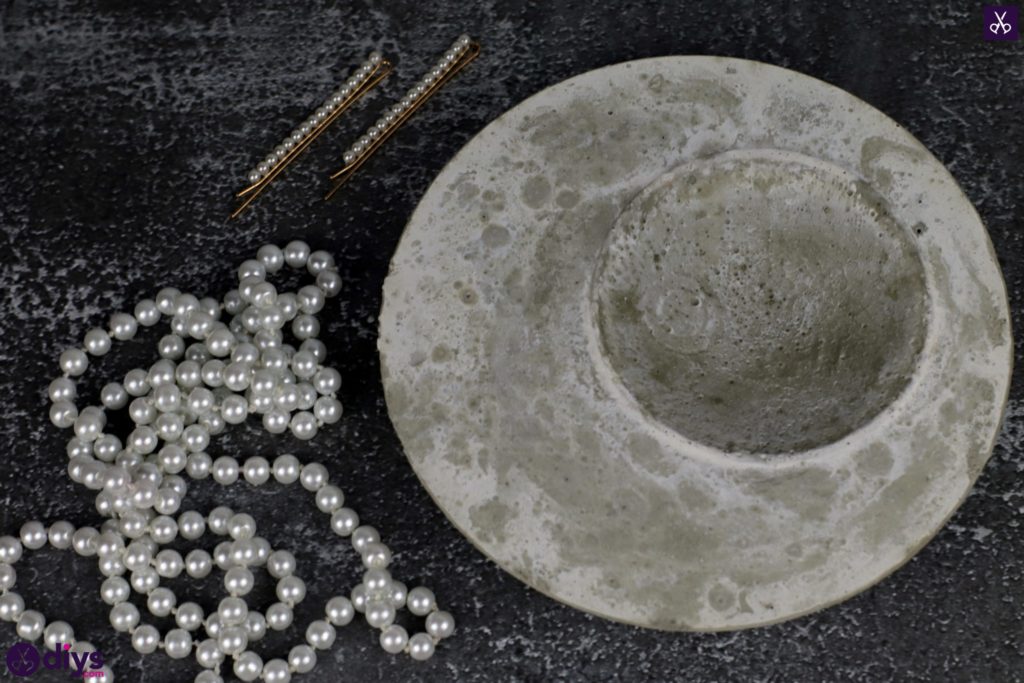
Once the entire project has dried all the way through and the cement has hardened through the centre, remove the tape that’s holding the styrofoam ball in place and lift the ball out of the concave shape it’s made there.

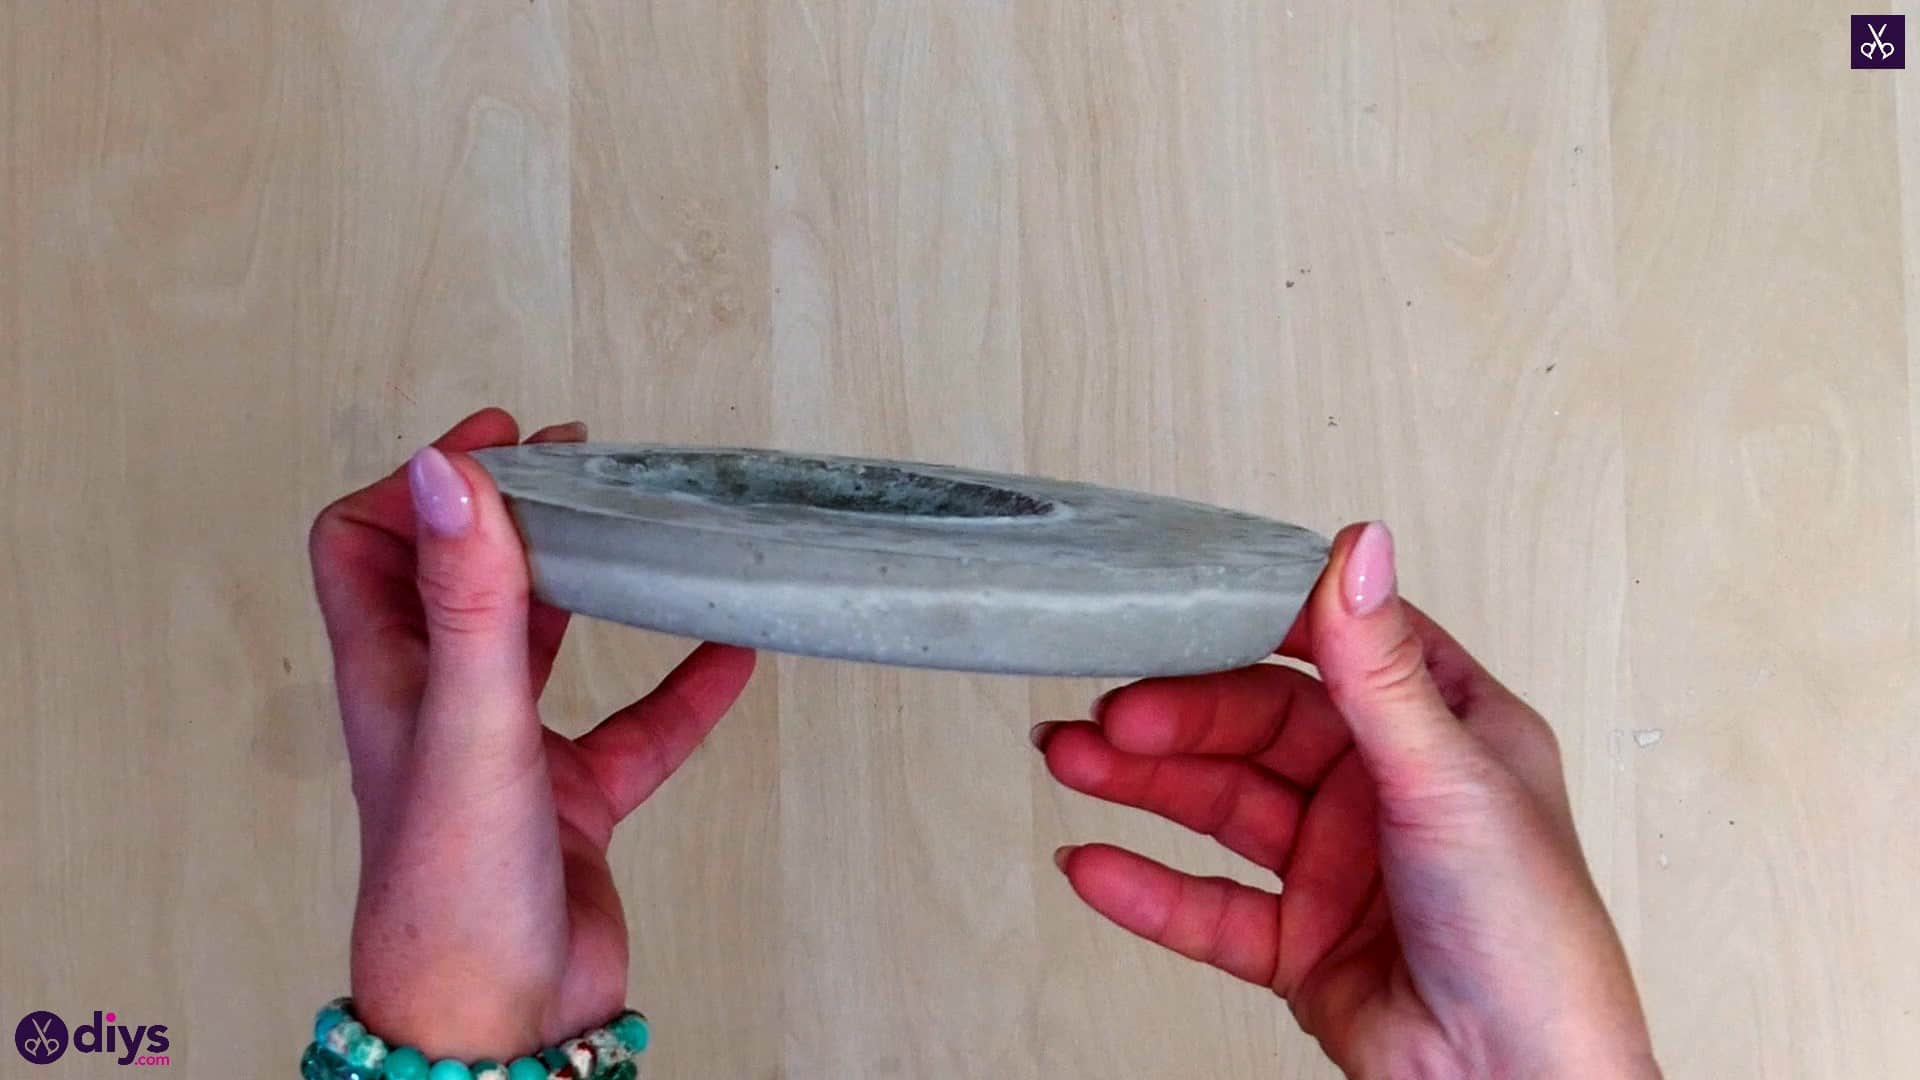
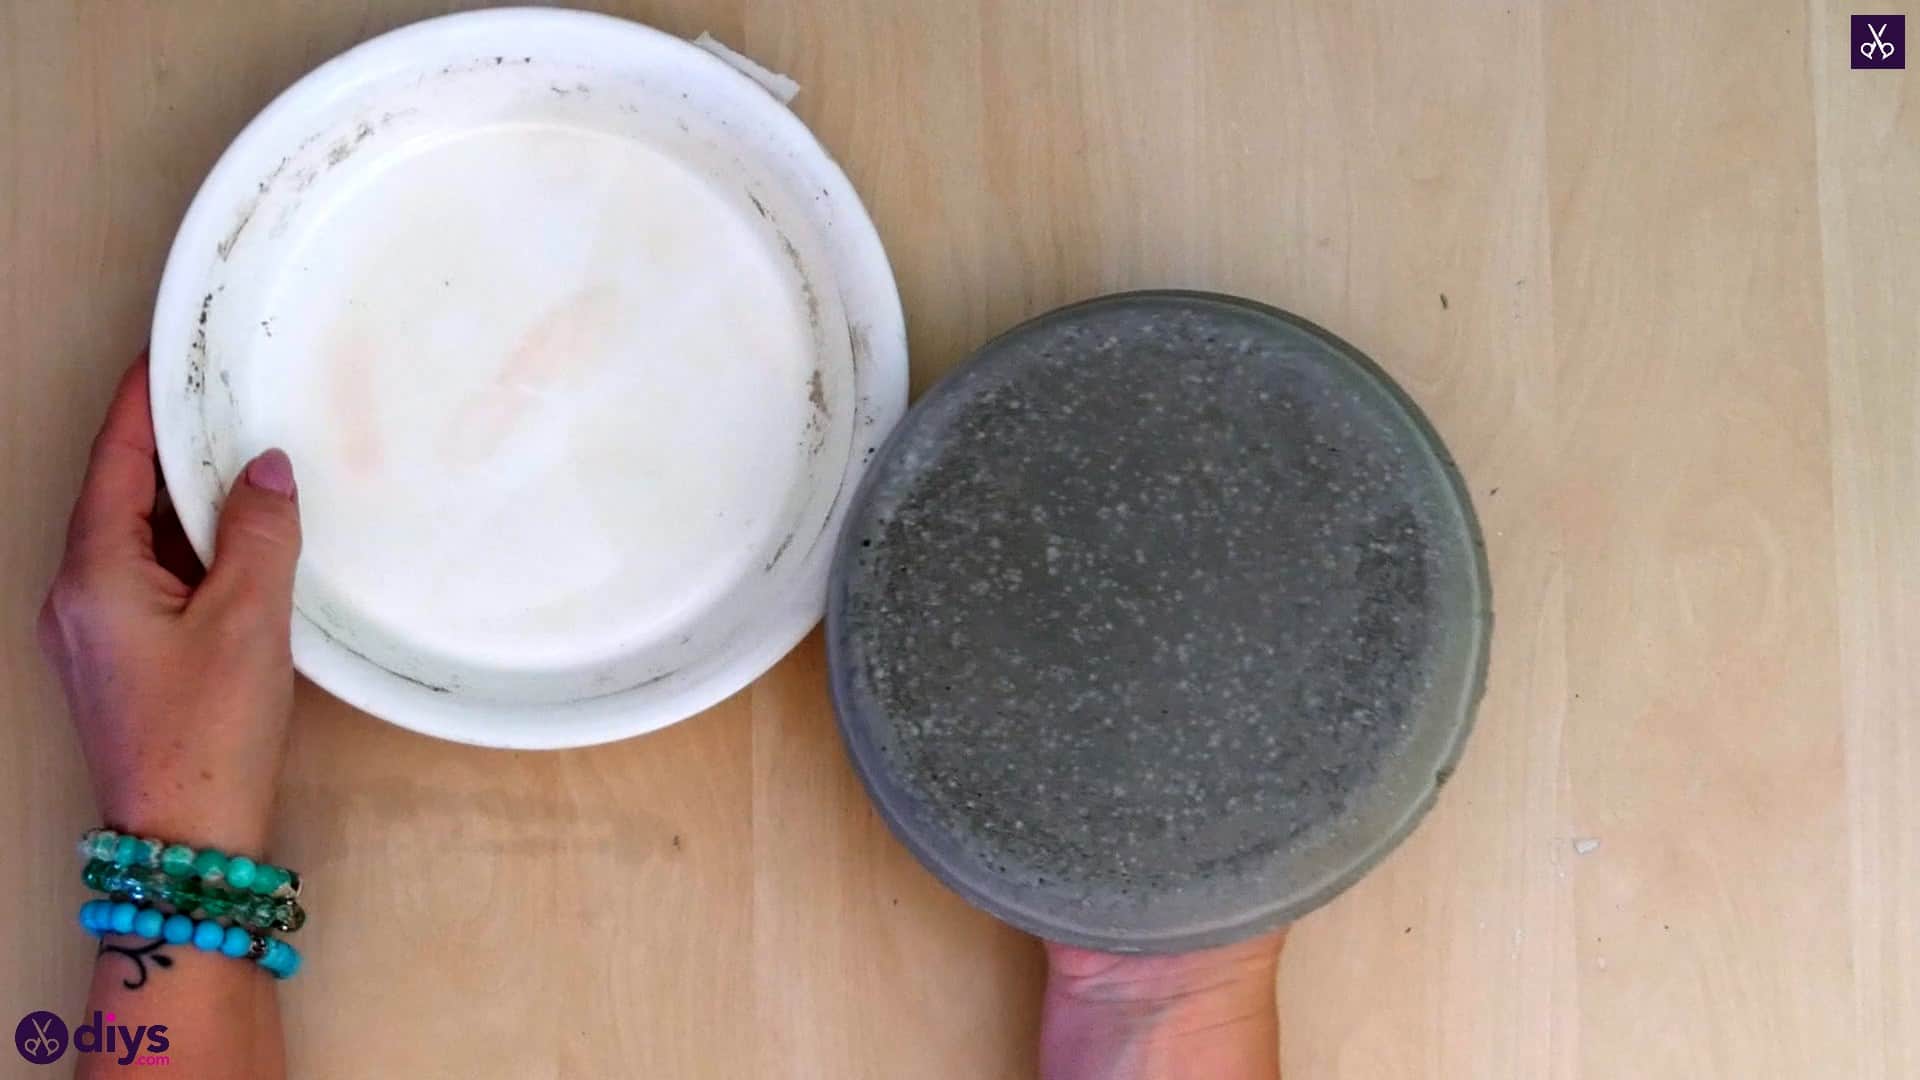
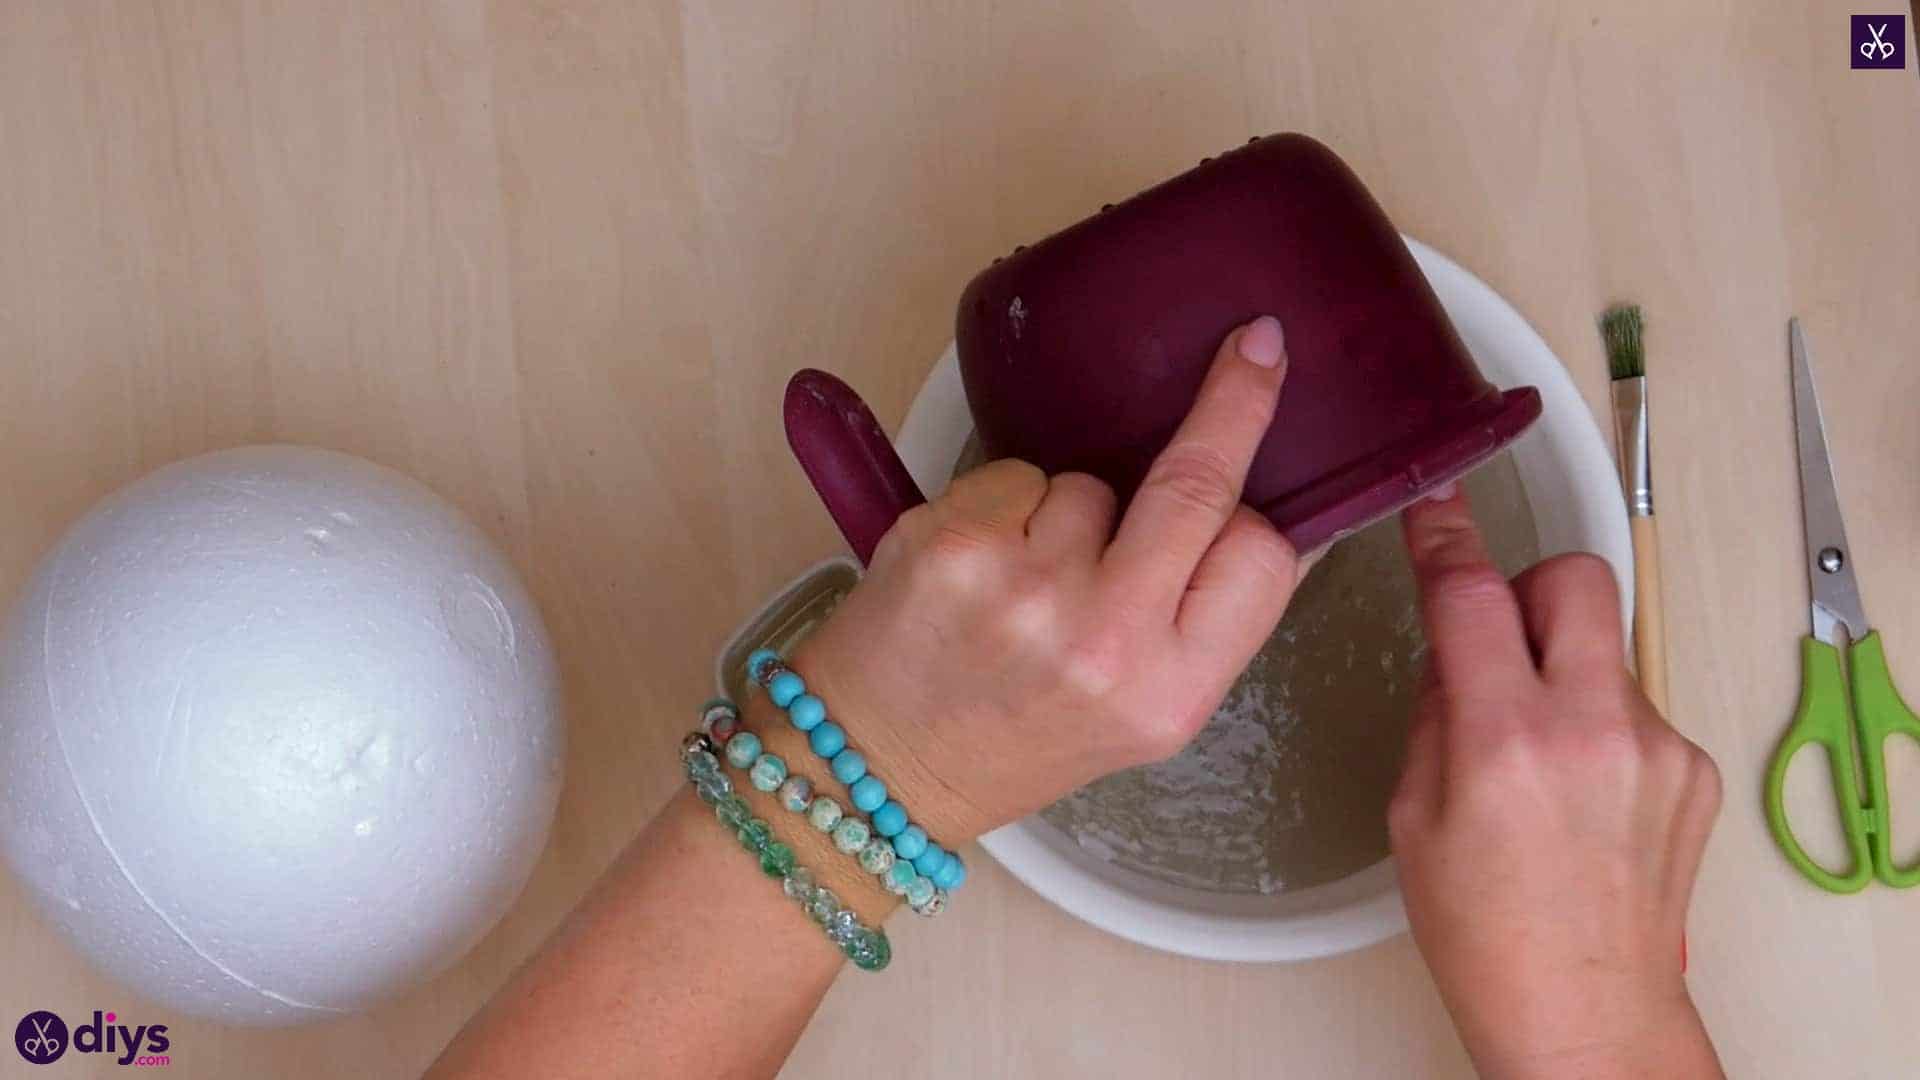
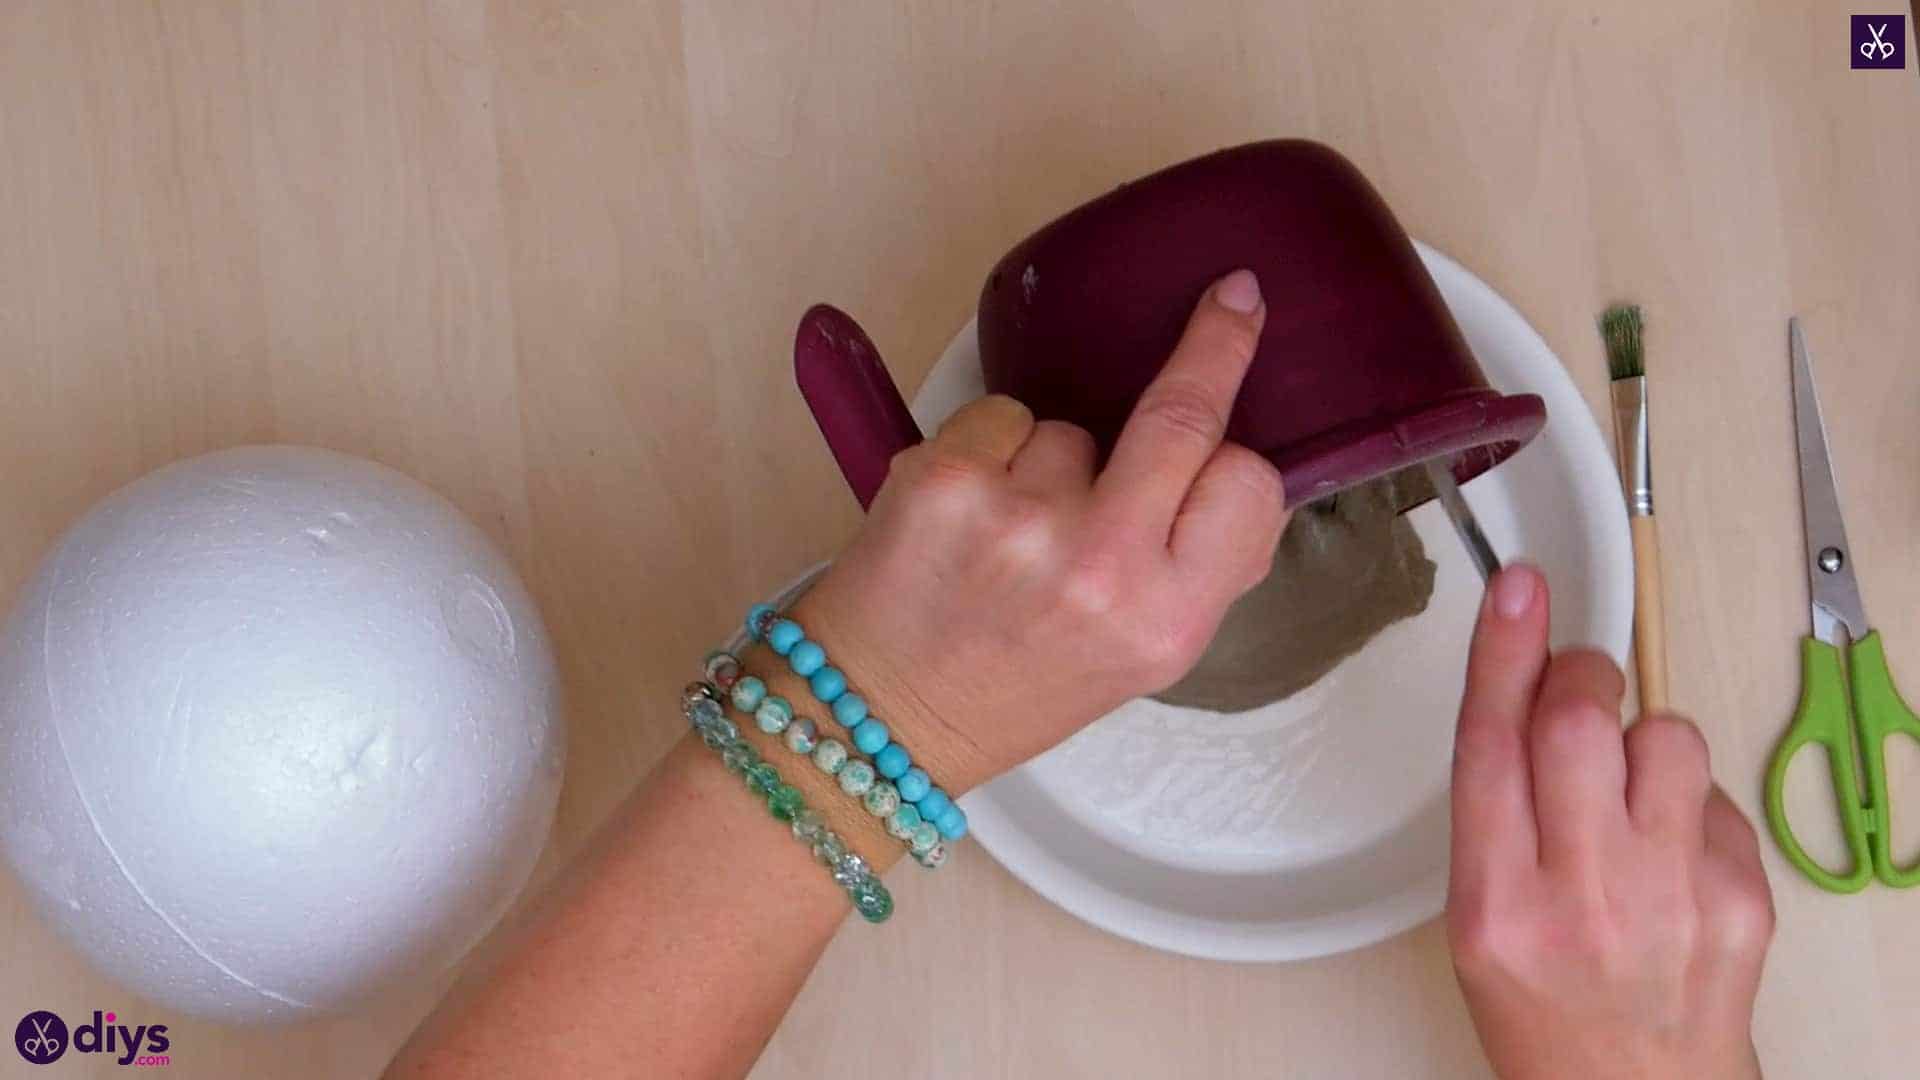
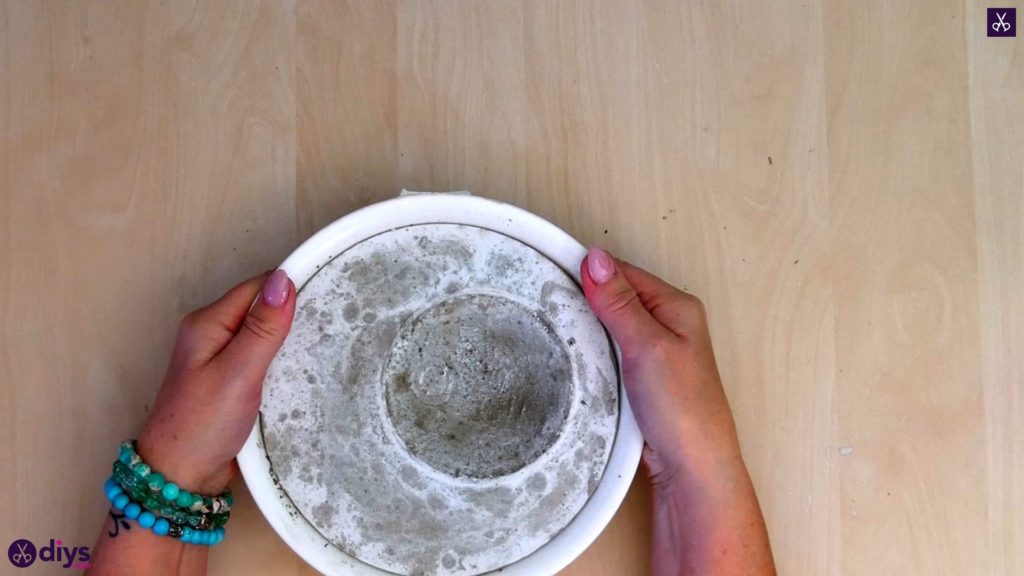
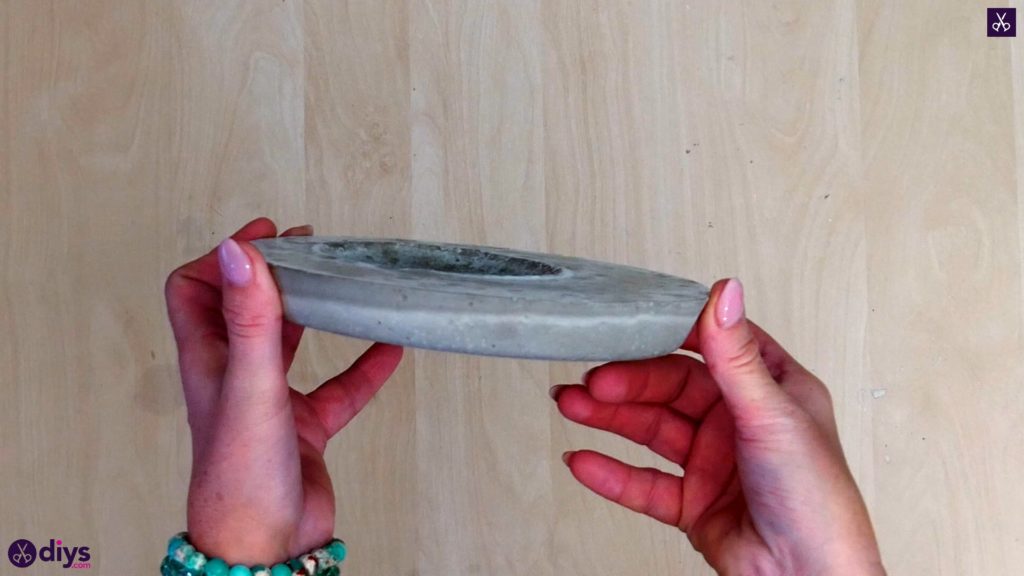
Step 8: remove from mold
Next, free the final shape from the dish! You might have to turn it over and tape on the bottom to get it out, but the oil should make things pretty easy to separate.

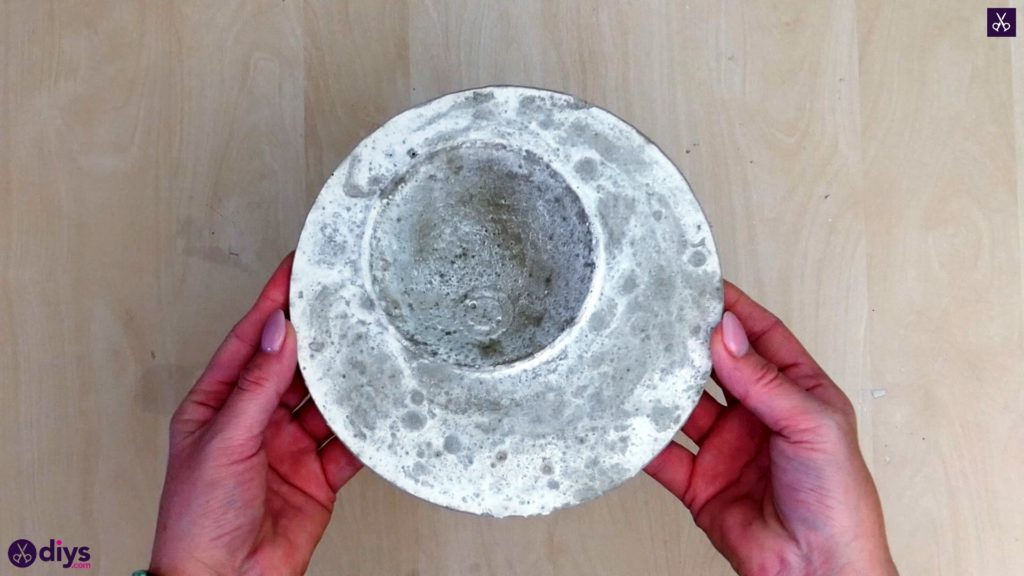
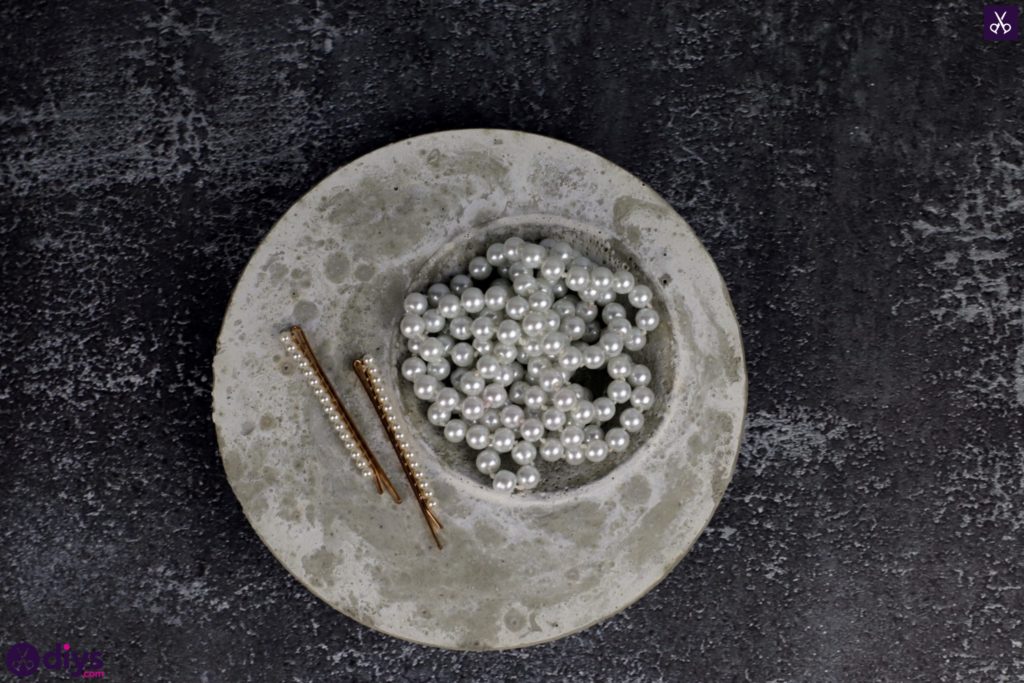
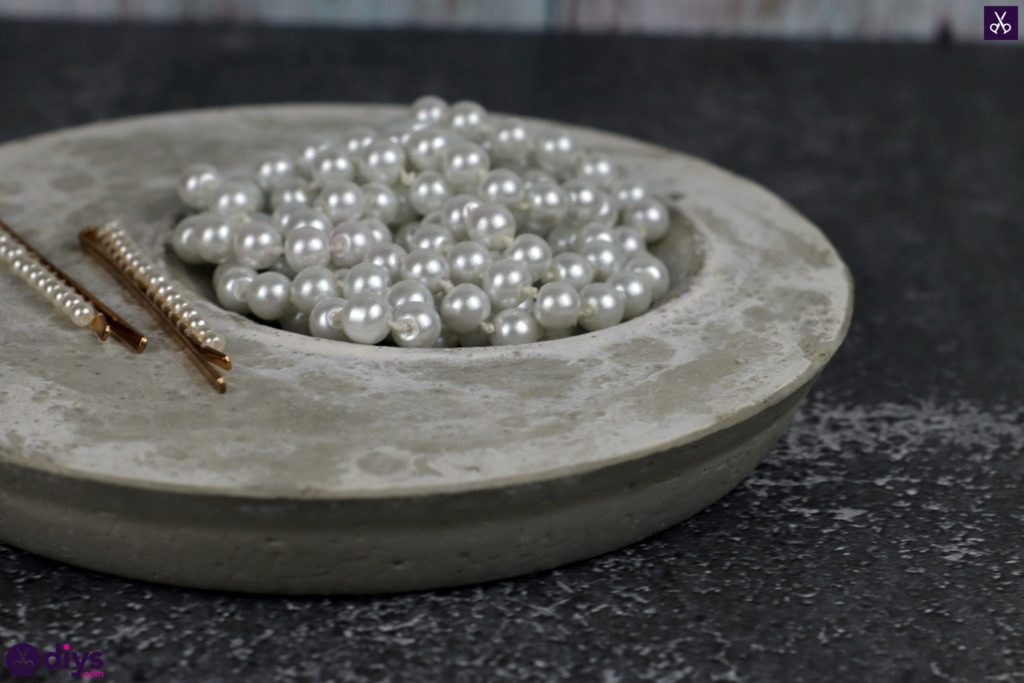
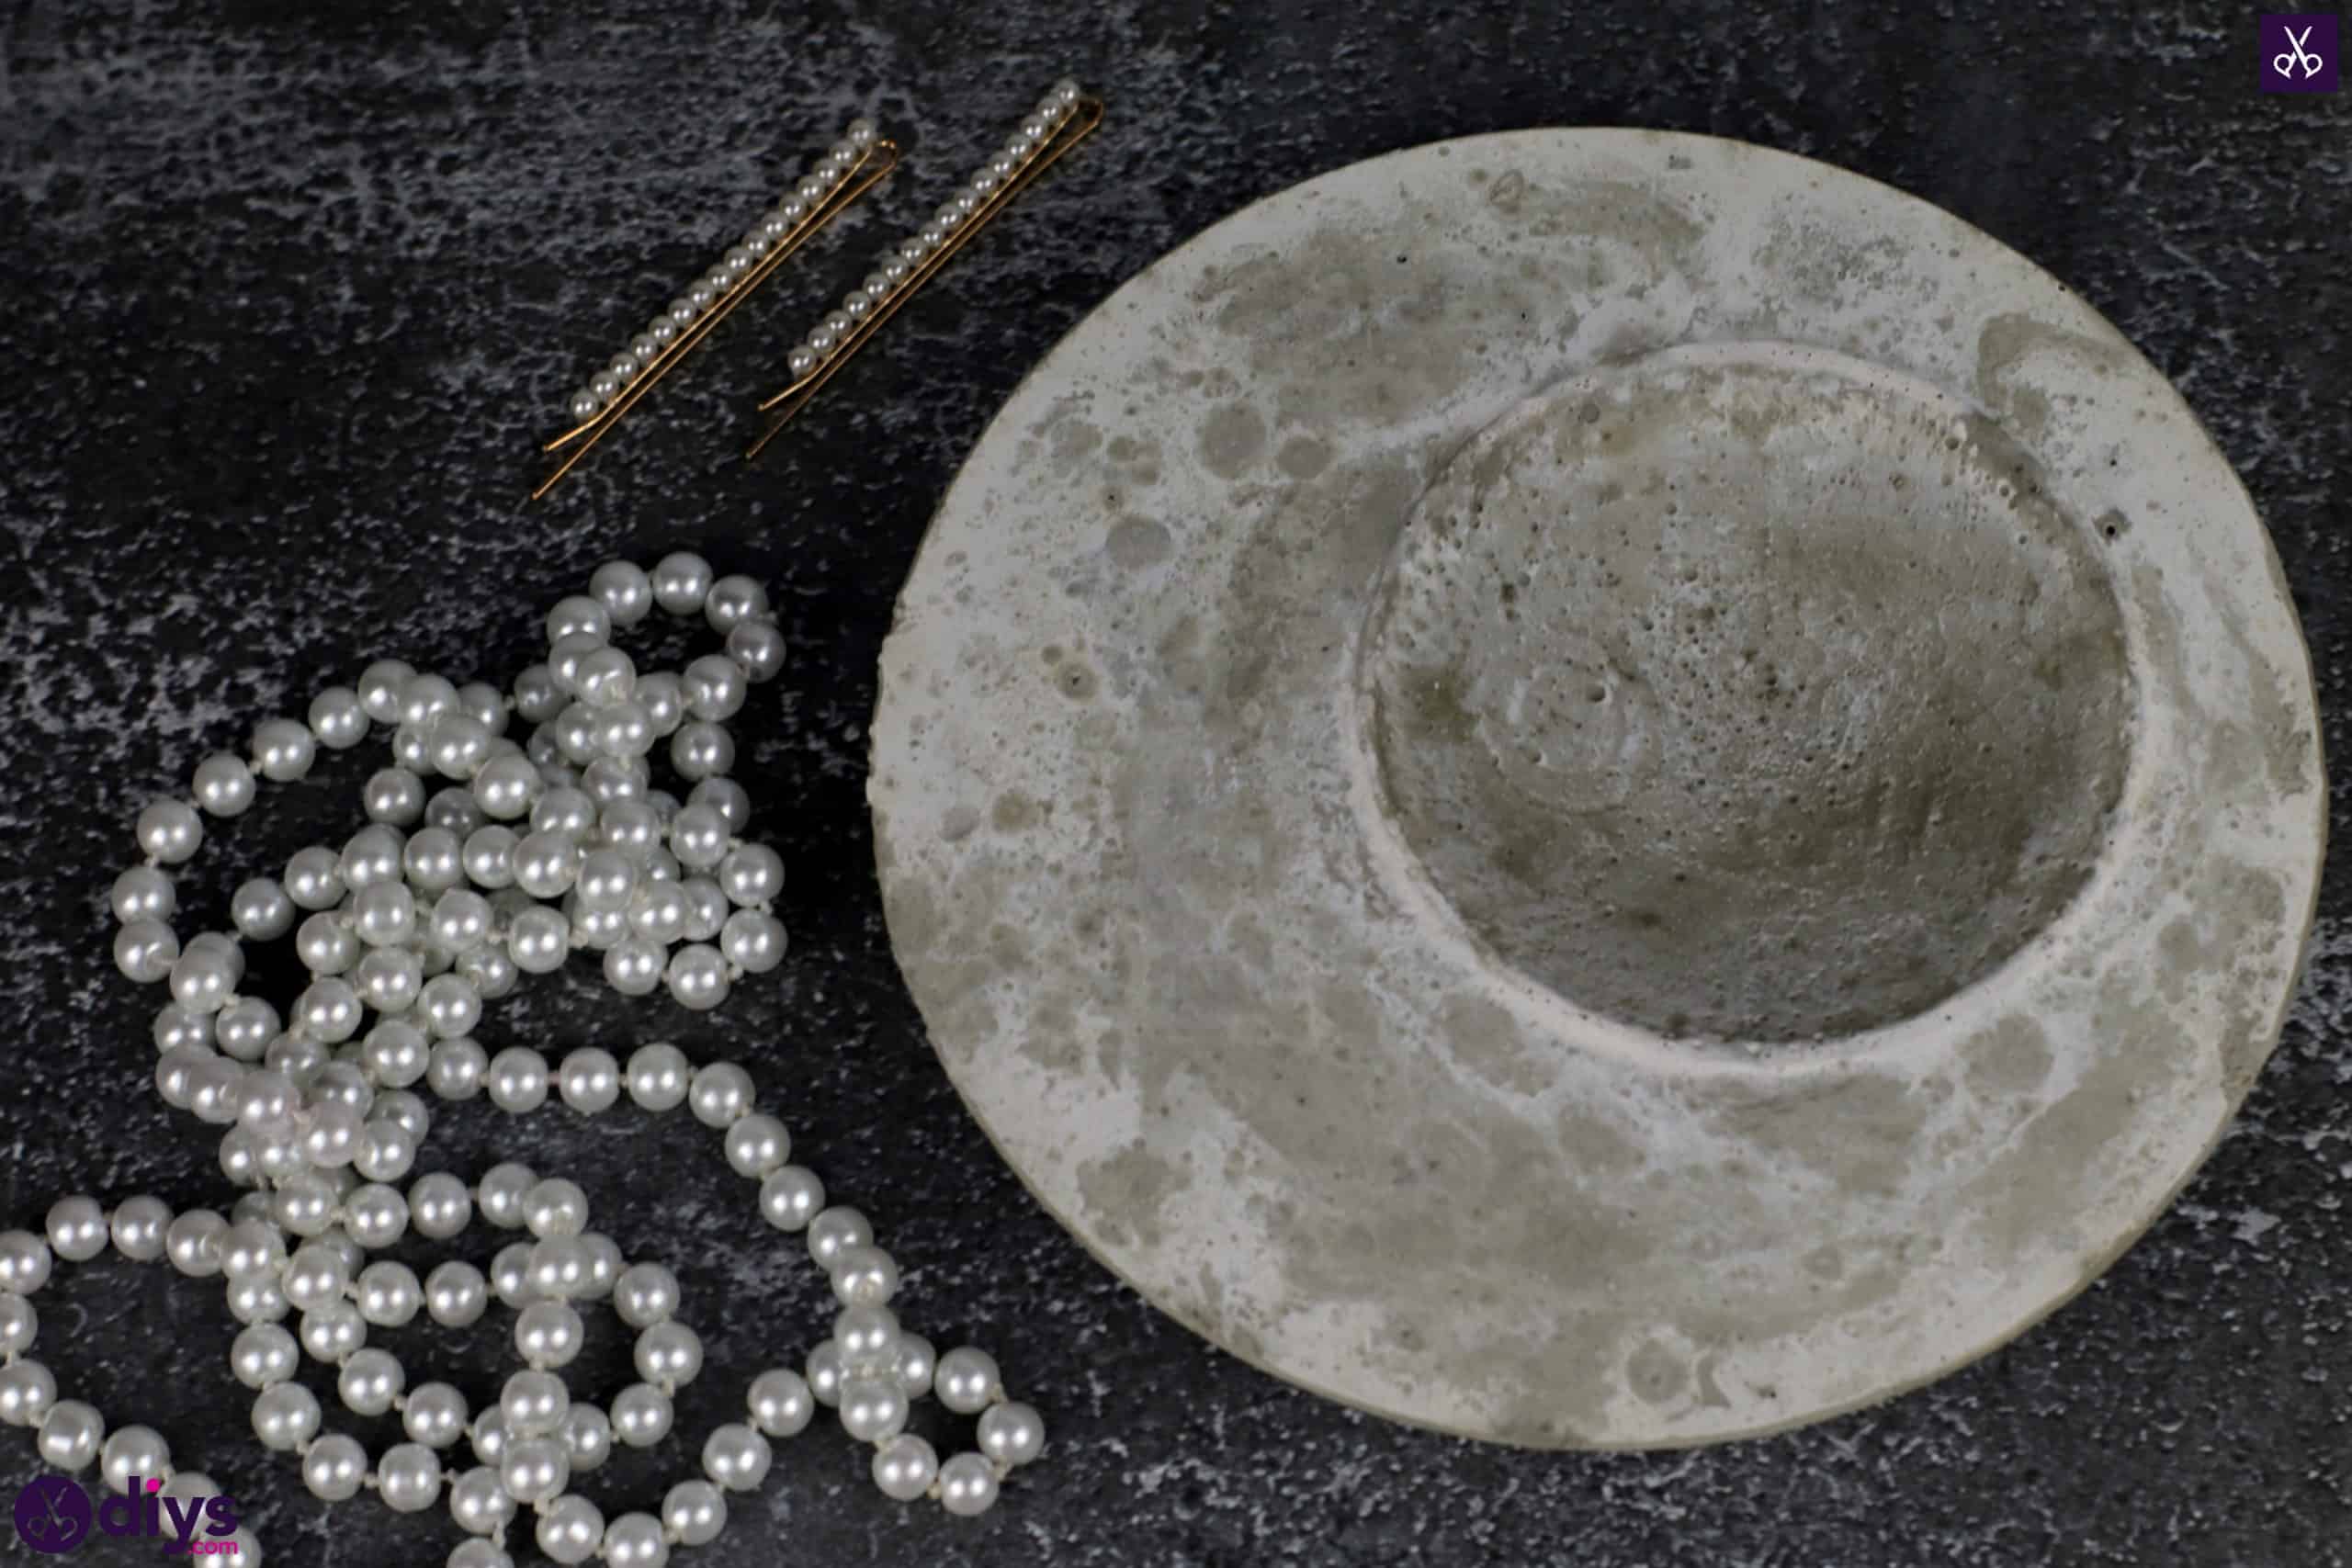
That’s really all there is to it! I chose to leave my cement dish plain and its natural colour, but you could also paint yours however you please if you prefer a brighter look. Just in case you’d like to try this project out for yourself, here’s a fantastic tutorial video to help you!