DIY Concrete Card Holder
Updated on November 19, 2025


A few days ago I came up with the idea of using DIY concrete and upcycled clothespins to make little card holders and I was so pleased with the results that I’ve already finished several; a couple for myself and a few to give as gifts. Check out how I put this DIY concrete card holder together right here!
I’m a big fan of keeping track of my crafting steps so I can show other DIY enthusiasts how I made things if the ask, and these card holders were no exception. Check out these step by step instructions complete with photos! If you’d rather follow along with a video tutorial instead of written words, scroll to the bottom of this post to find just what you’re looking for.
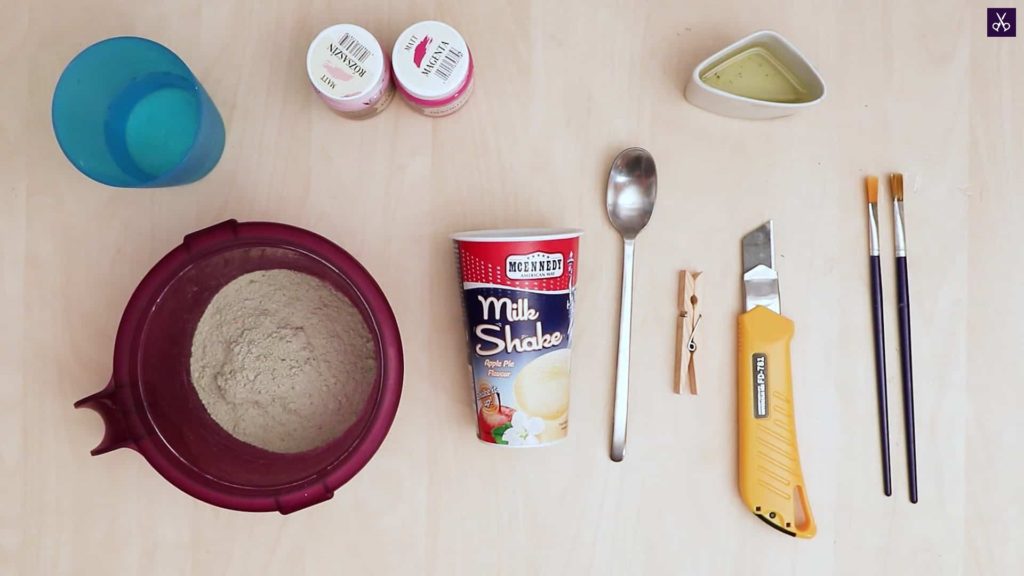
For this project, you’ll need:
- DIY fine particle cement
- Water
- A spoon
- Tape
- Oil
- A paintbrush
- A folding utility knide
- An empty yogurt cup
- A clothespin
- Paint (white and blue)
Step 1: get ready
Gather your materials so you have everything you need within reach!
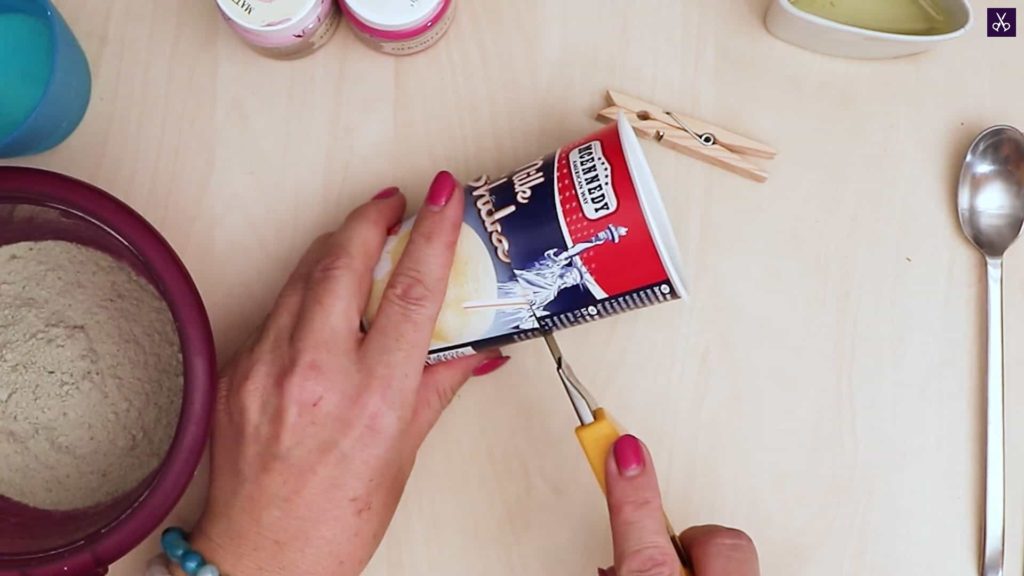
Step 2: cut your cup
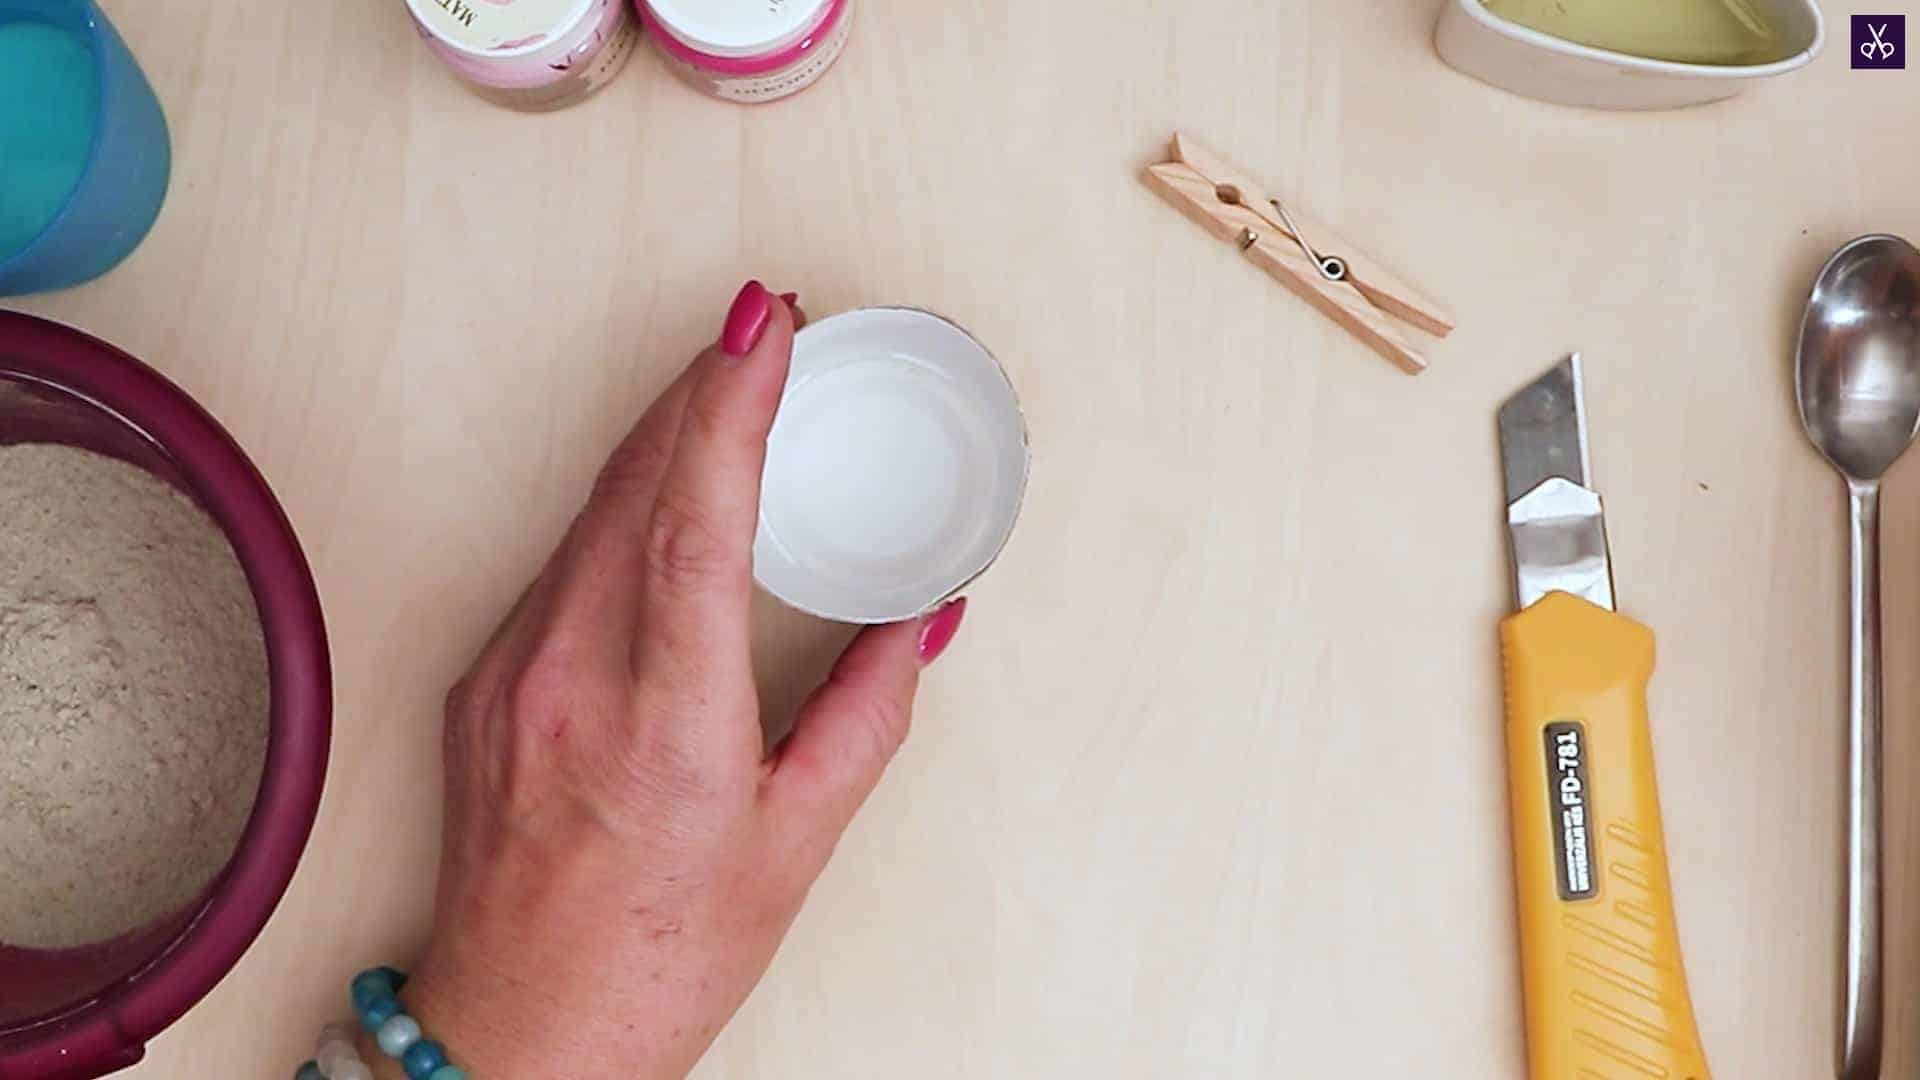
Use your utility knife to carefully cut your yogurt cup to the heigh you want; I wanted my concrete card holder to be bout three inches tall, so I trimmed my cup to a heigh of four inches to leave a bit of excess space to work with in order to avoid spills. You’ll work with the lower half that still has a bottom on it.

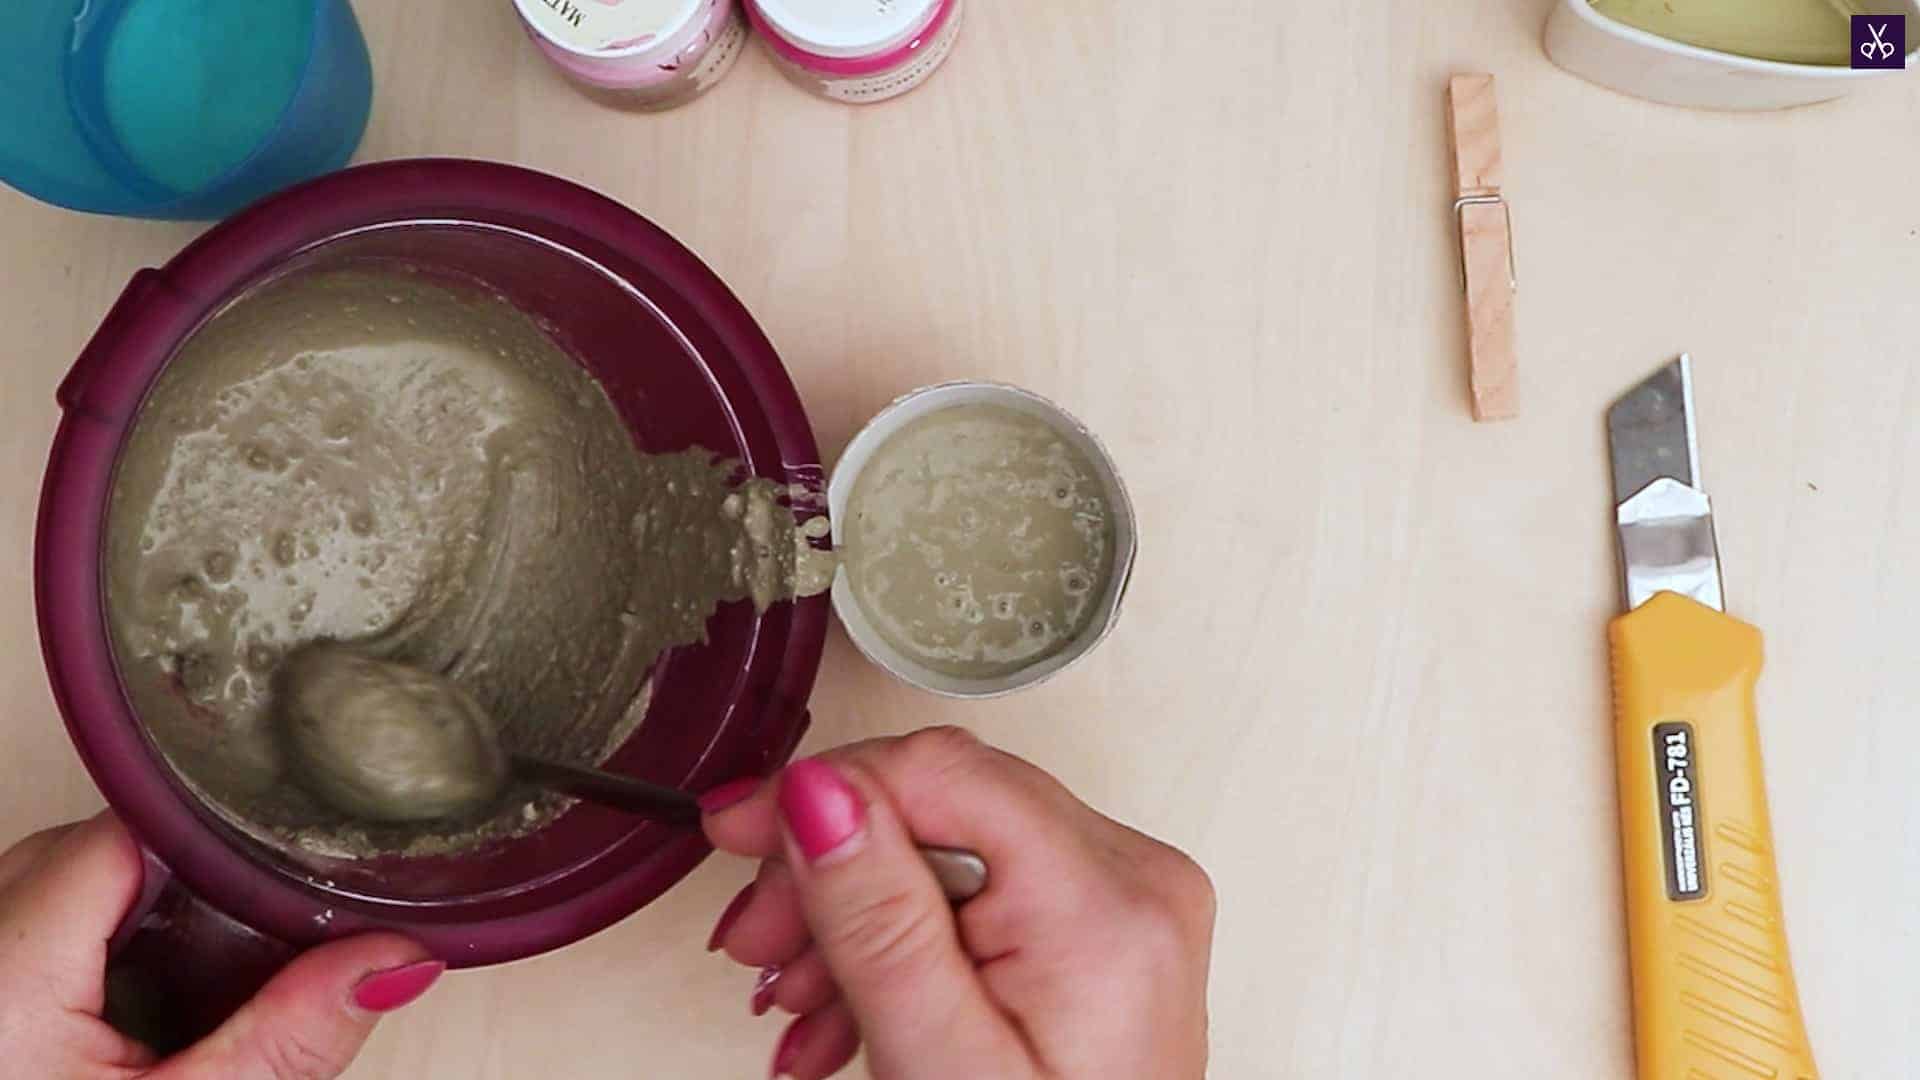
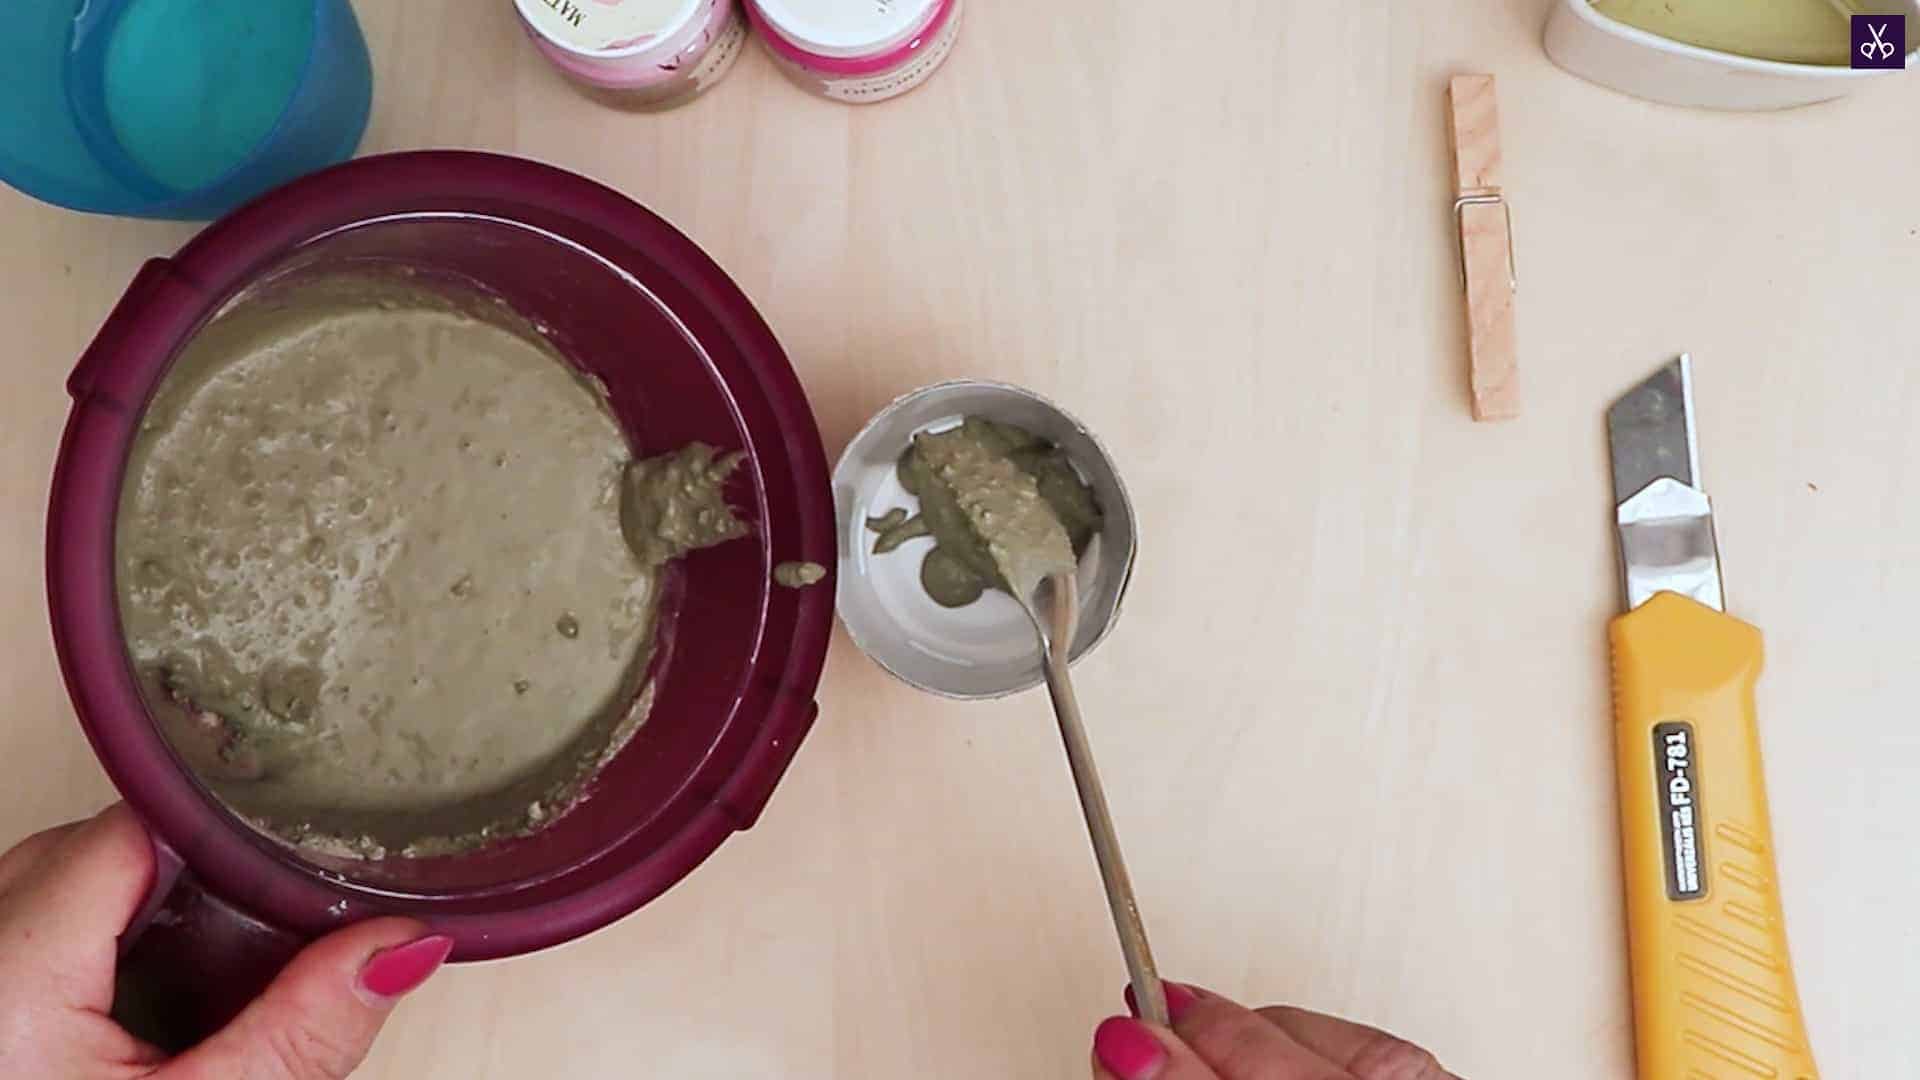
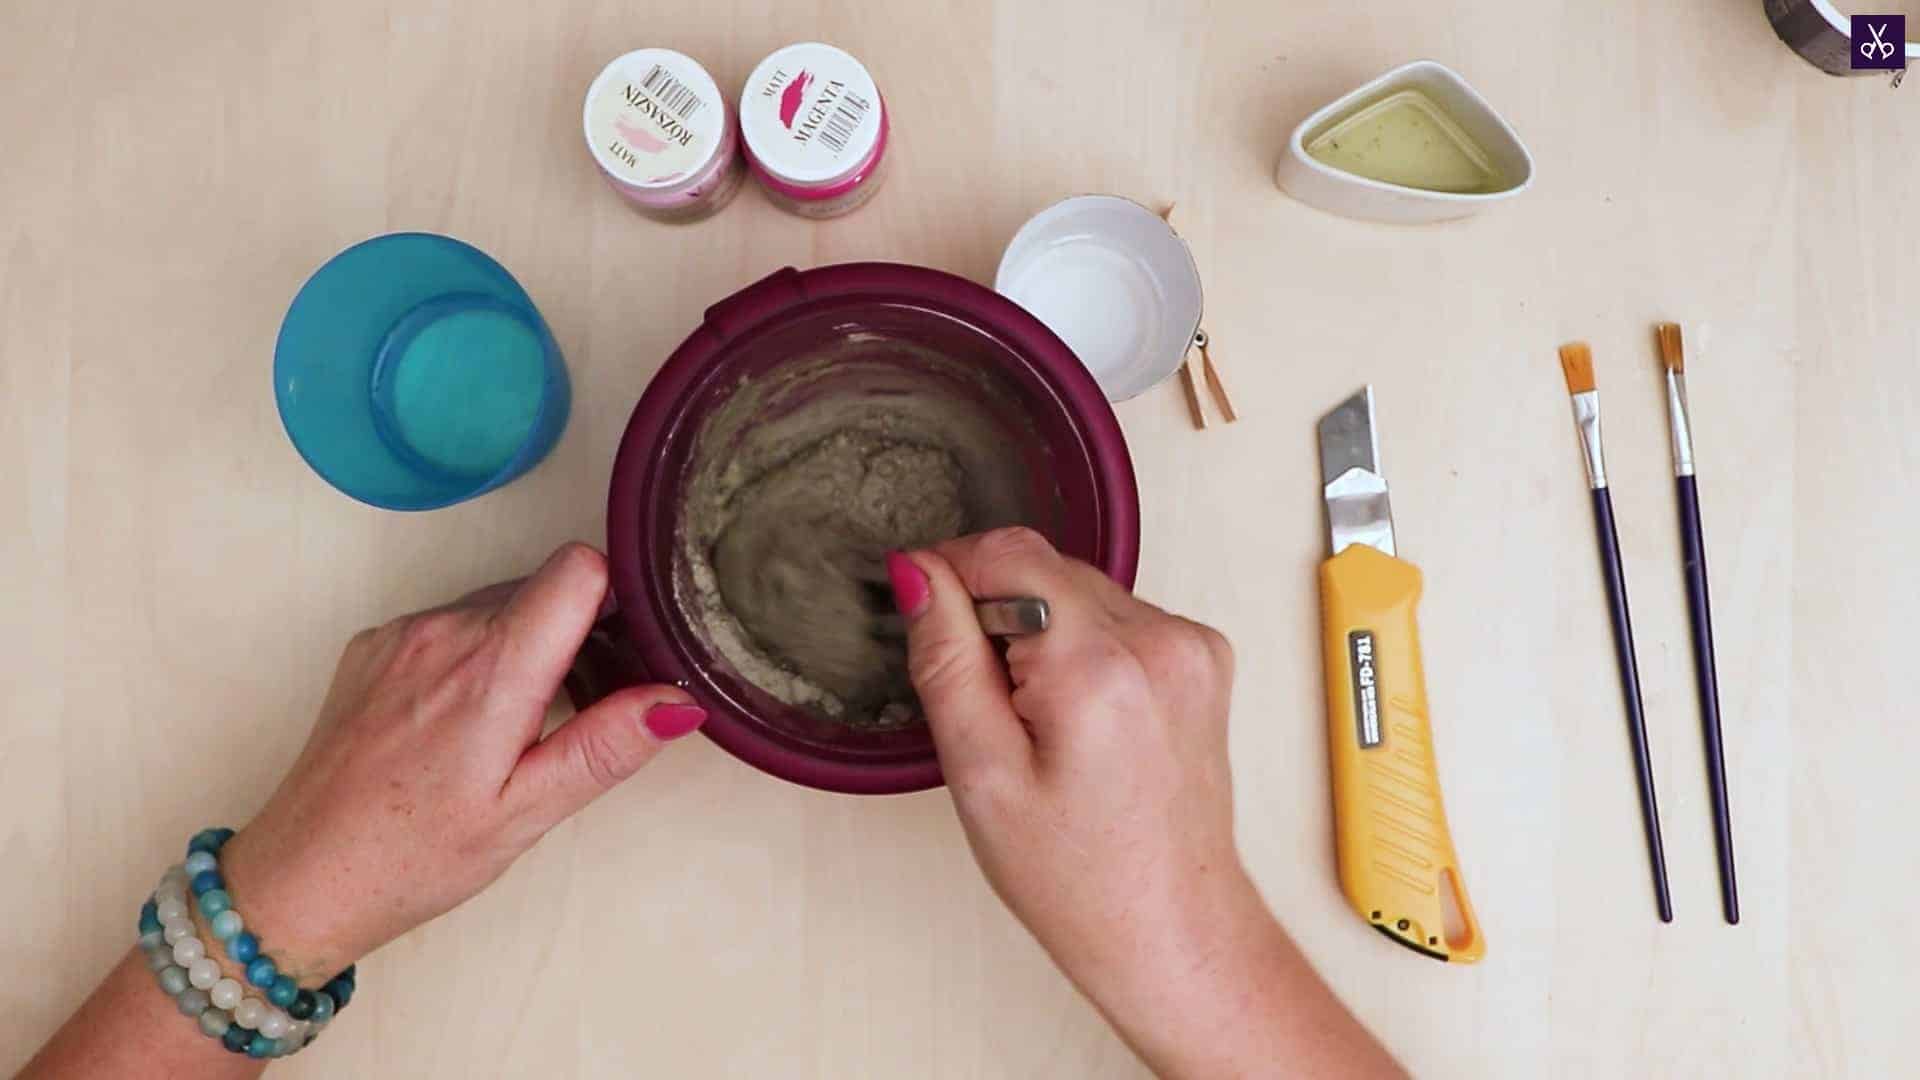
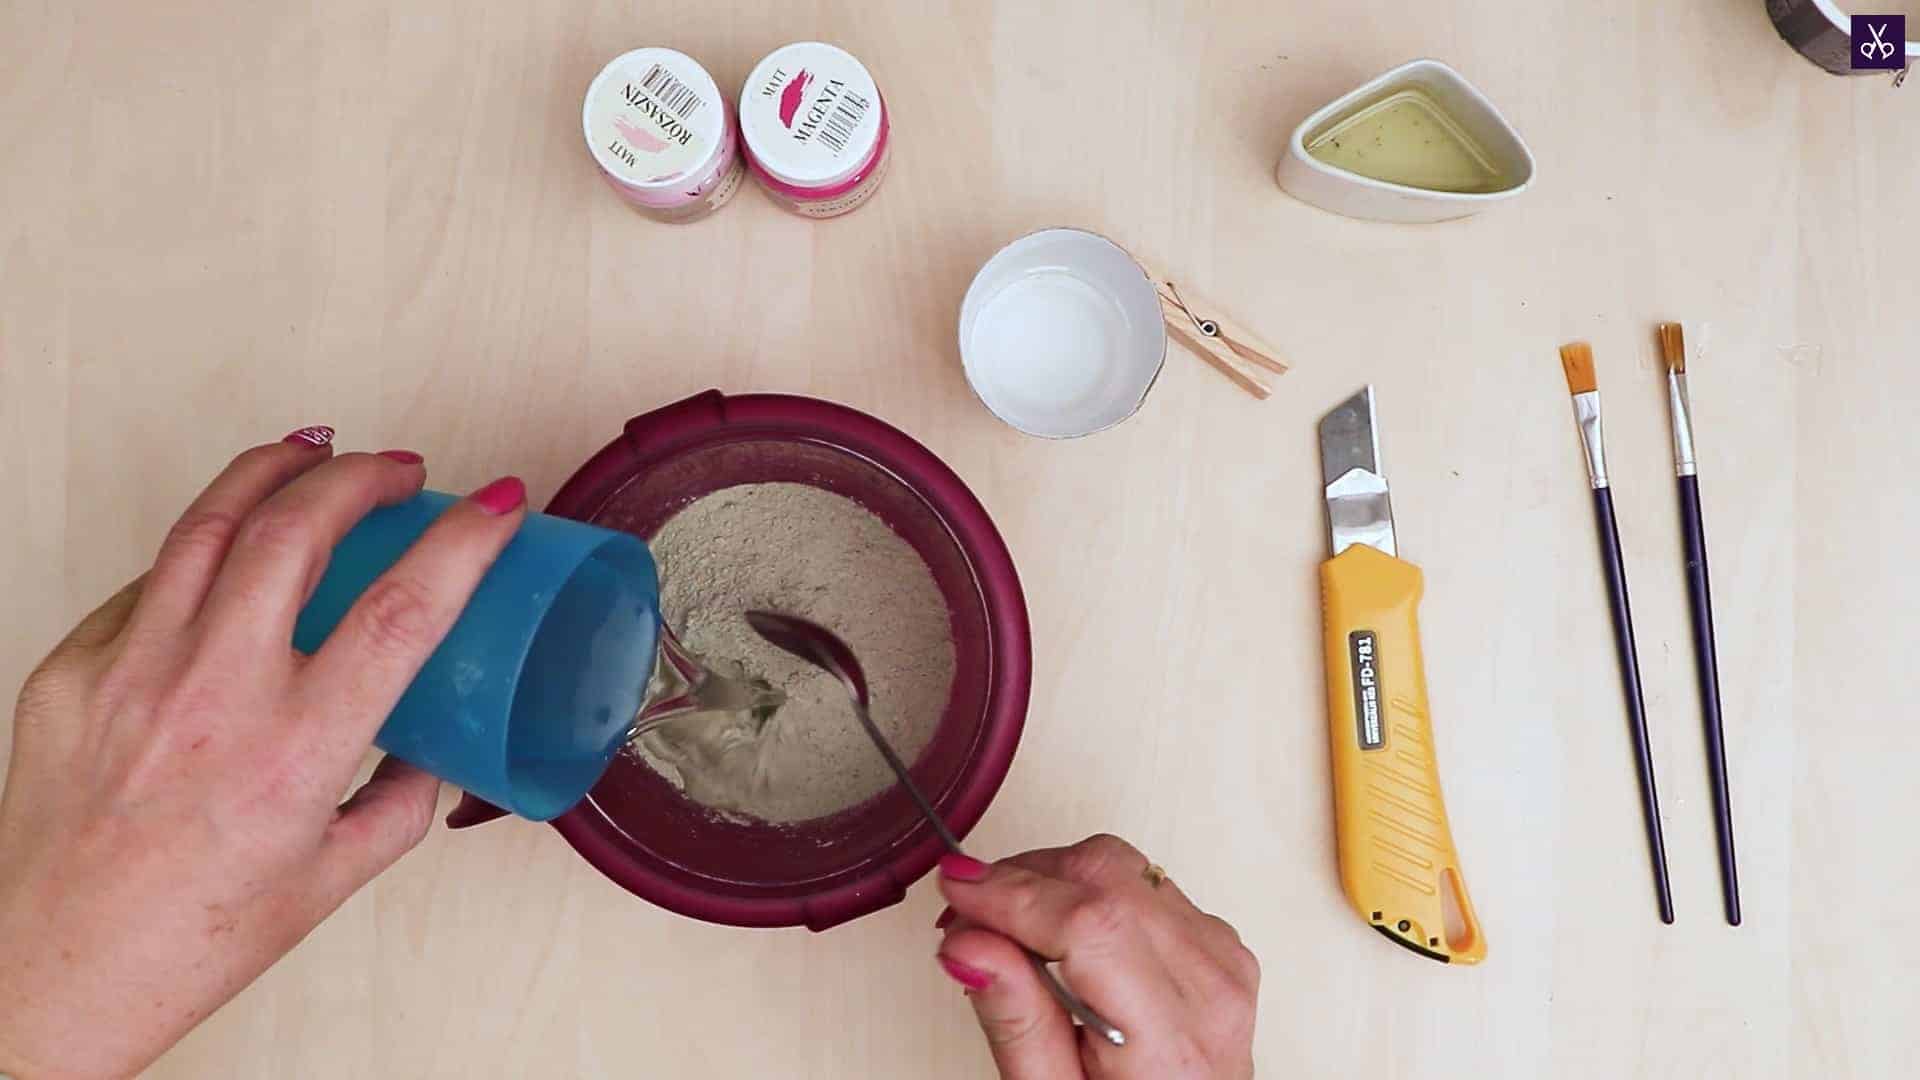
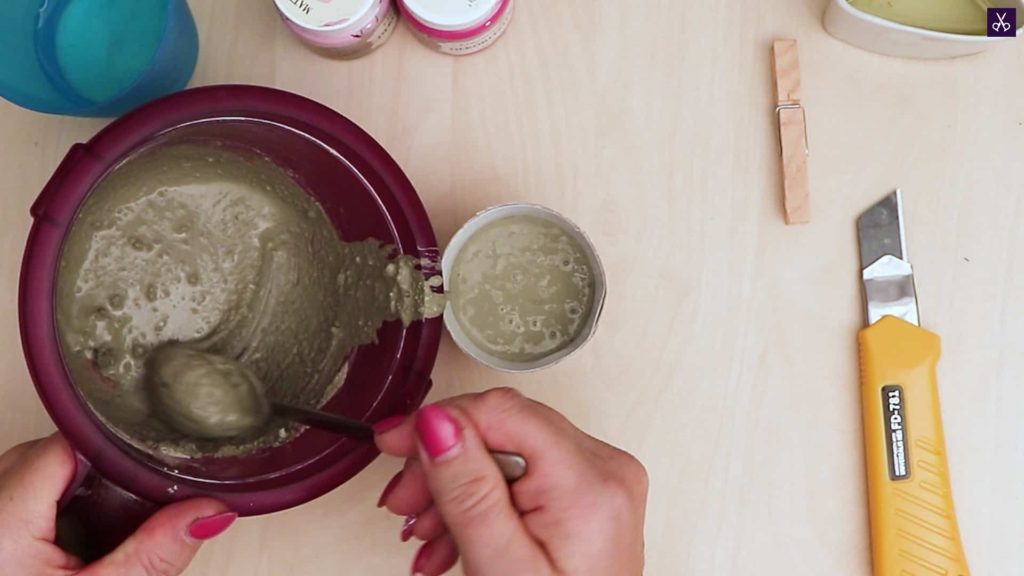
Step 3: mix cement
Use your spoon to mix your DIY fine particle concrete until you have the right consistency. Follow the directions on the back of your package to get the ratio of water to powdered mix right, since it can vary from brand to brand. Next, use a paintbrush to coat the inside of your yogurt cup in oil to stop it from sticking to your concrete as your new piece dries.


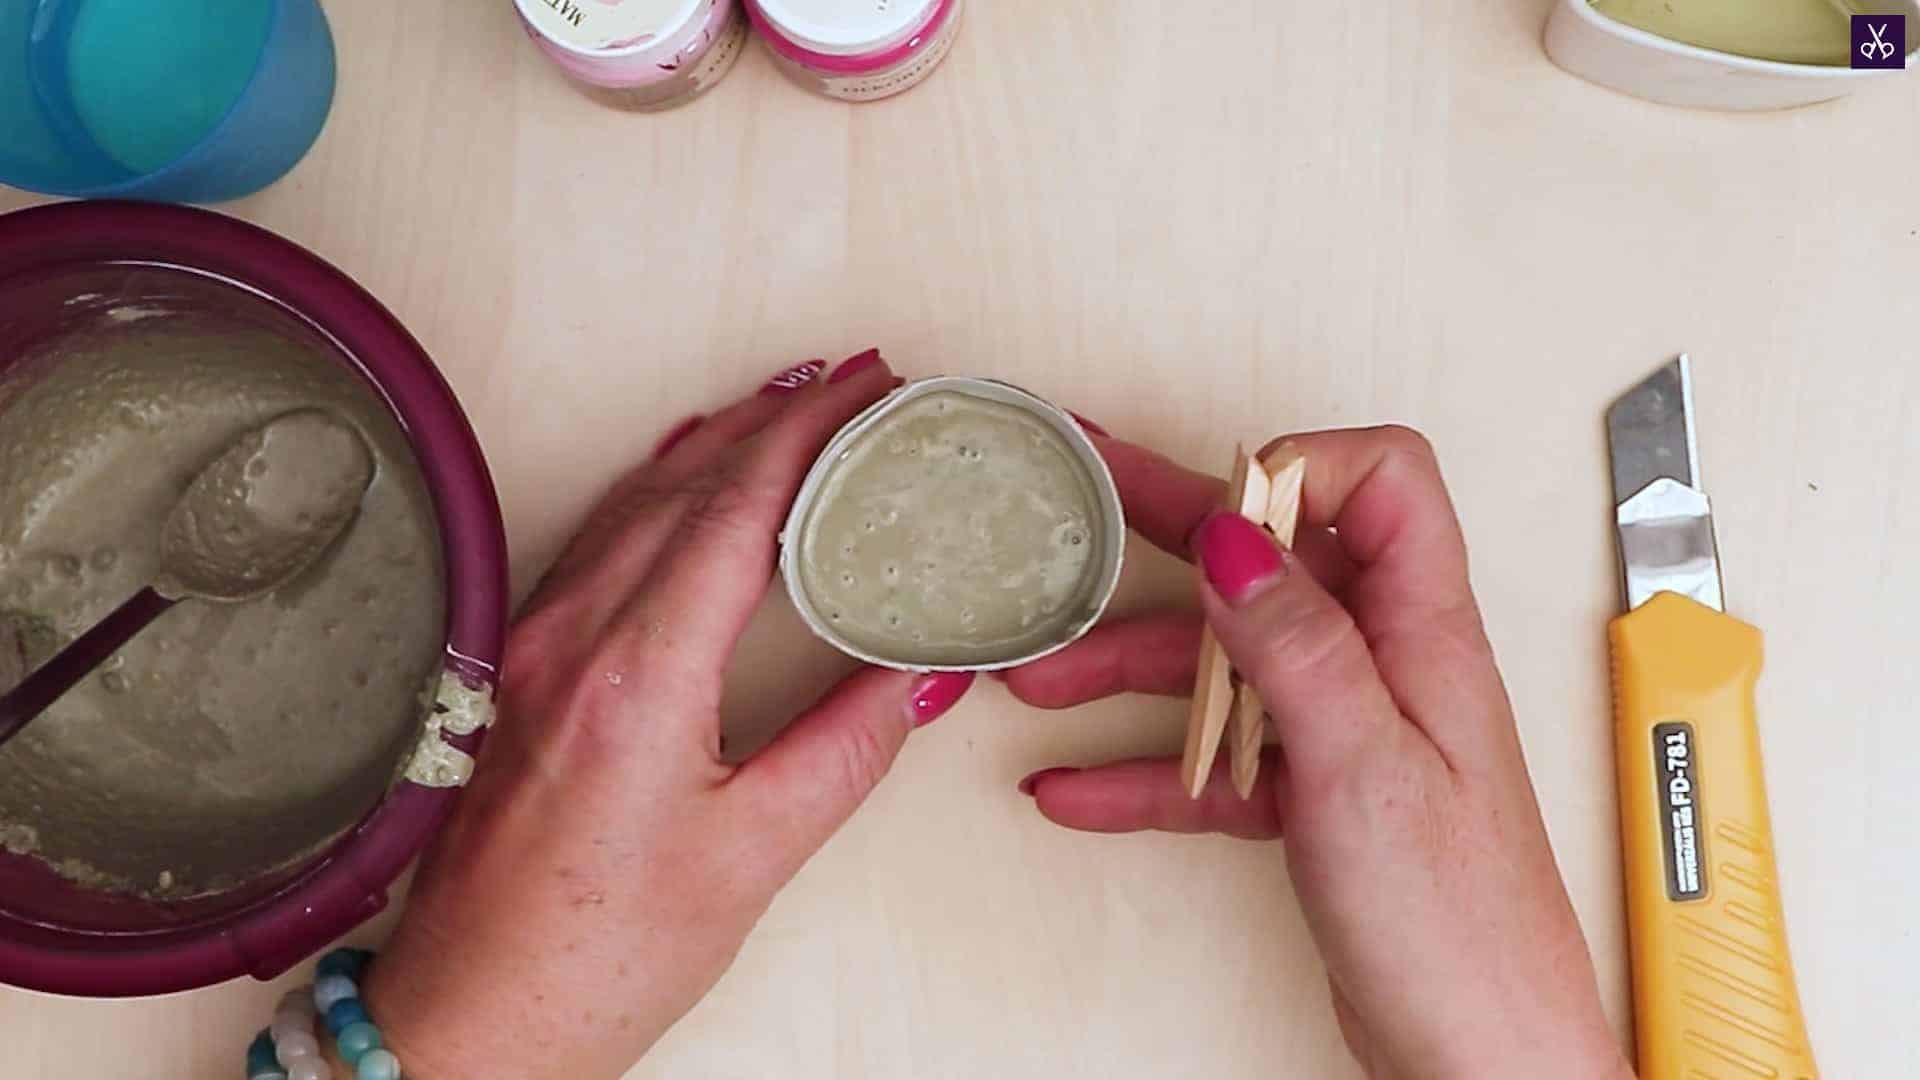
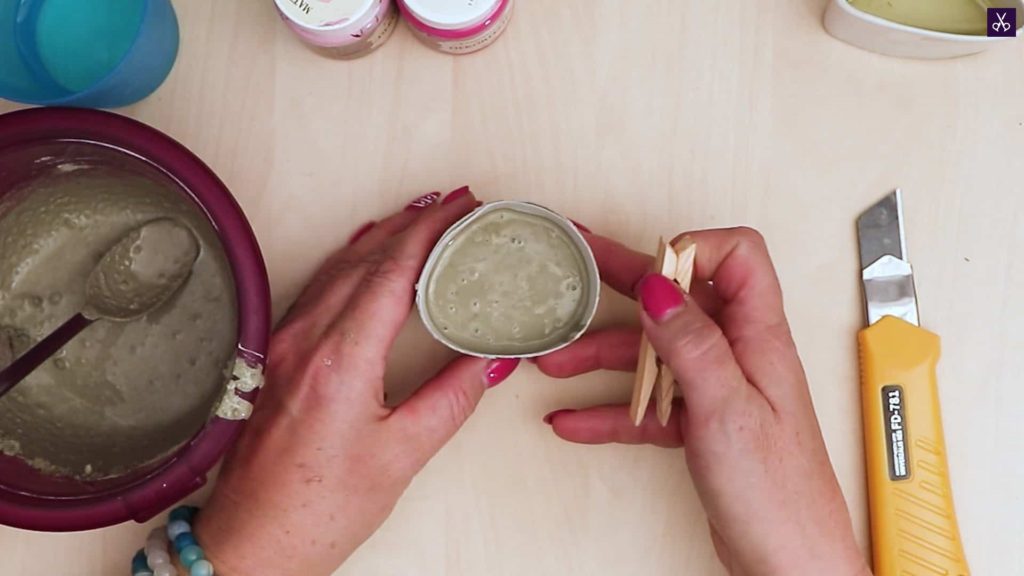
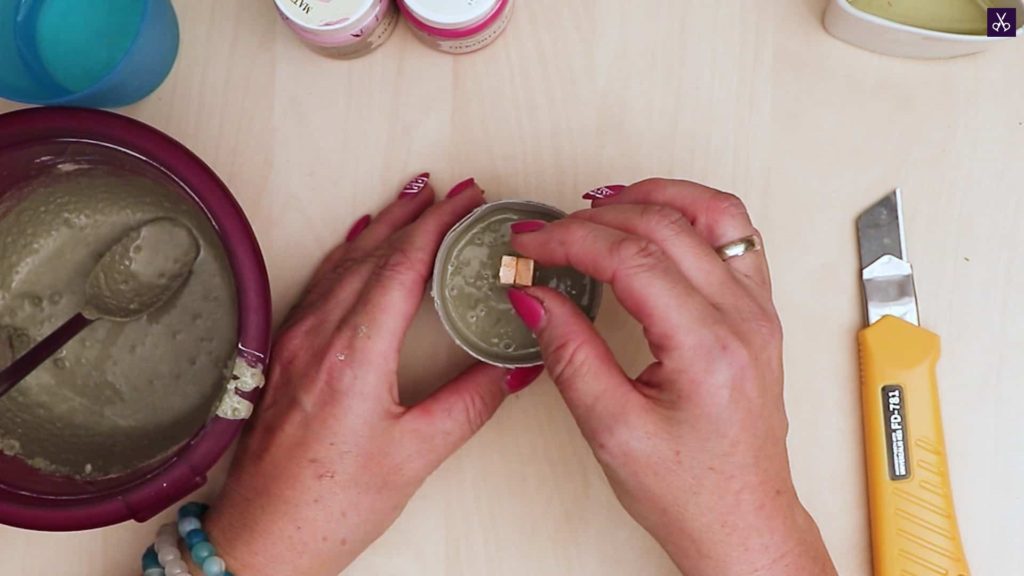
Step 4: fill the cup
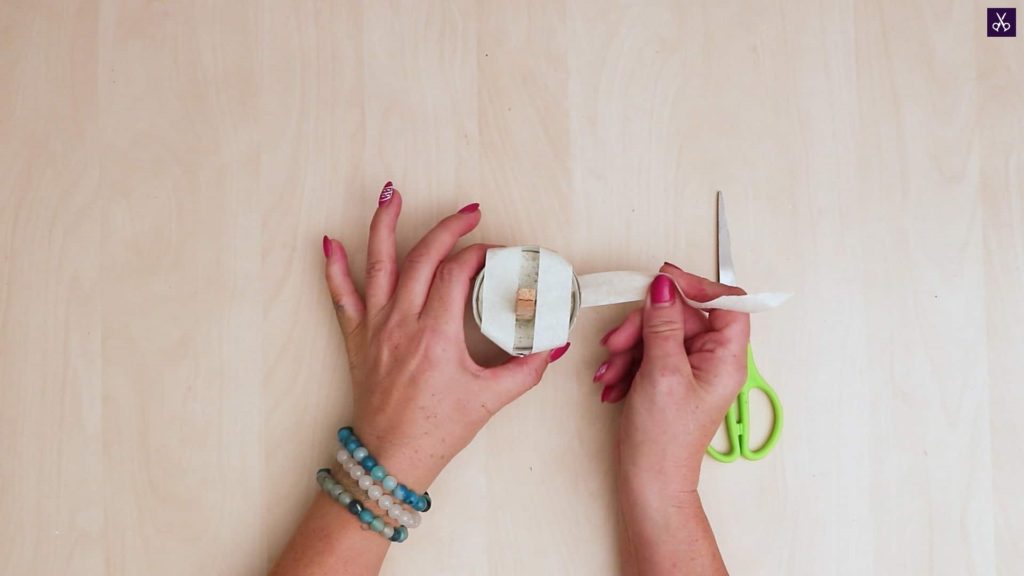
Use your spoon to fill your trimmed yogurt cup! I left some space at the top of mine to avoid spills, but I filled it quite full. Tap the bottom of your yogurt container lightly on the tabletop to even out the surface and get rid of air bubbles on the top. Once you’ve filled the cup, turn your clothespin so the pincher ends are facing downward and submerge it that way into the concrete, right in the centre. Keep the clothespin in place and positioned like that by applying tape across the top of the yogurt cup, from edge to edge on either side of the pin, to hold it upright. Set the whole thing aside to dry.


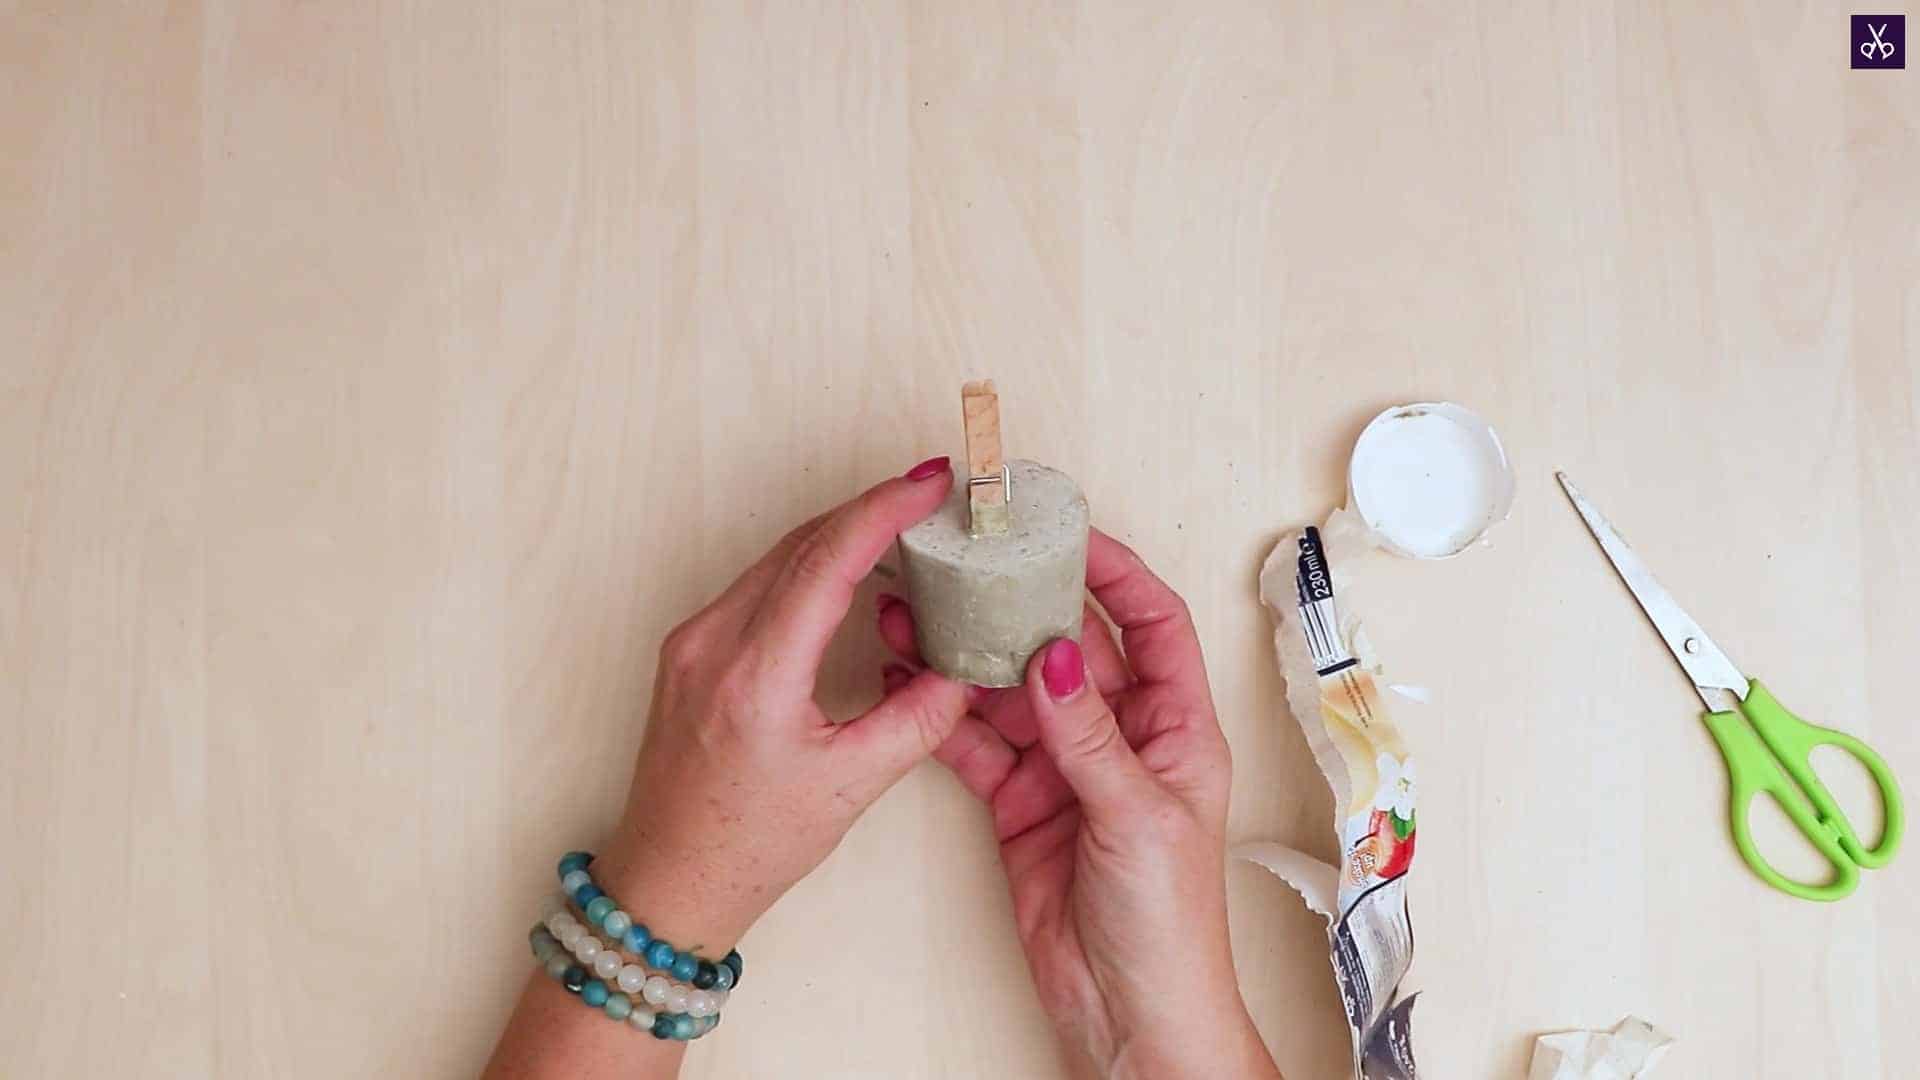
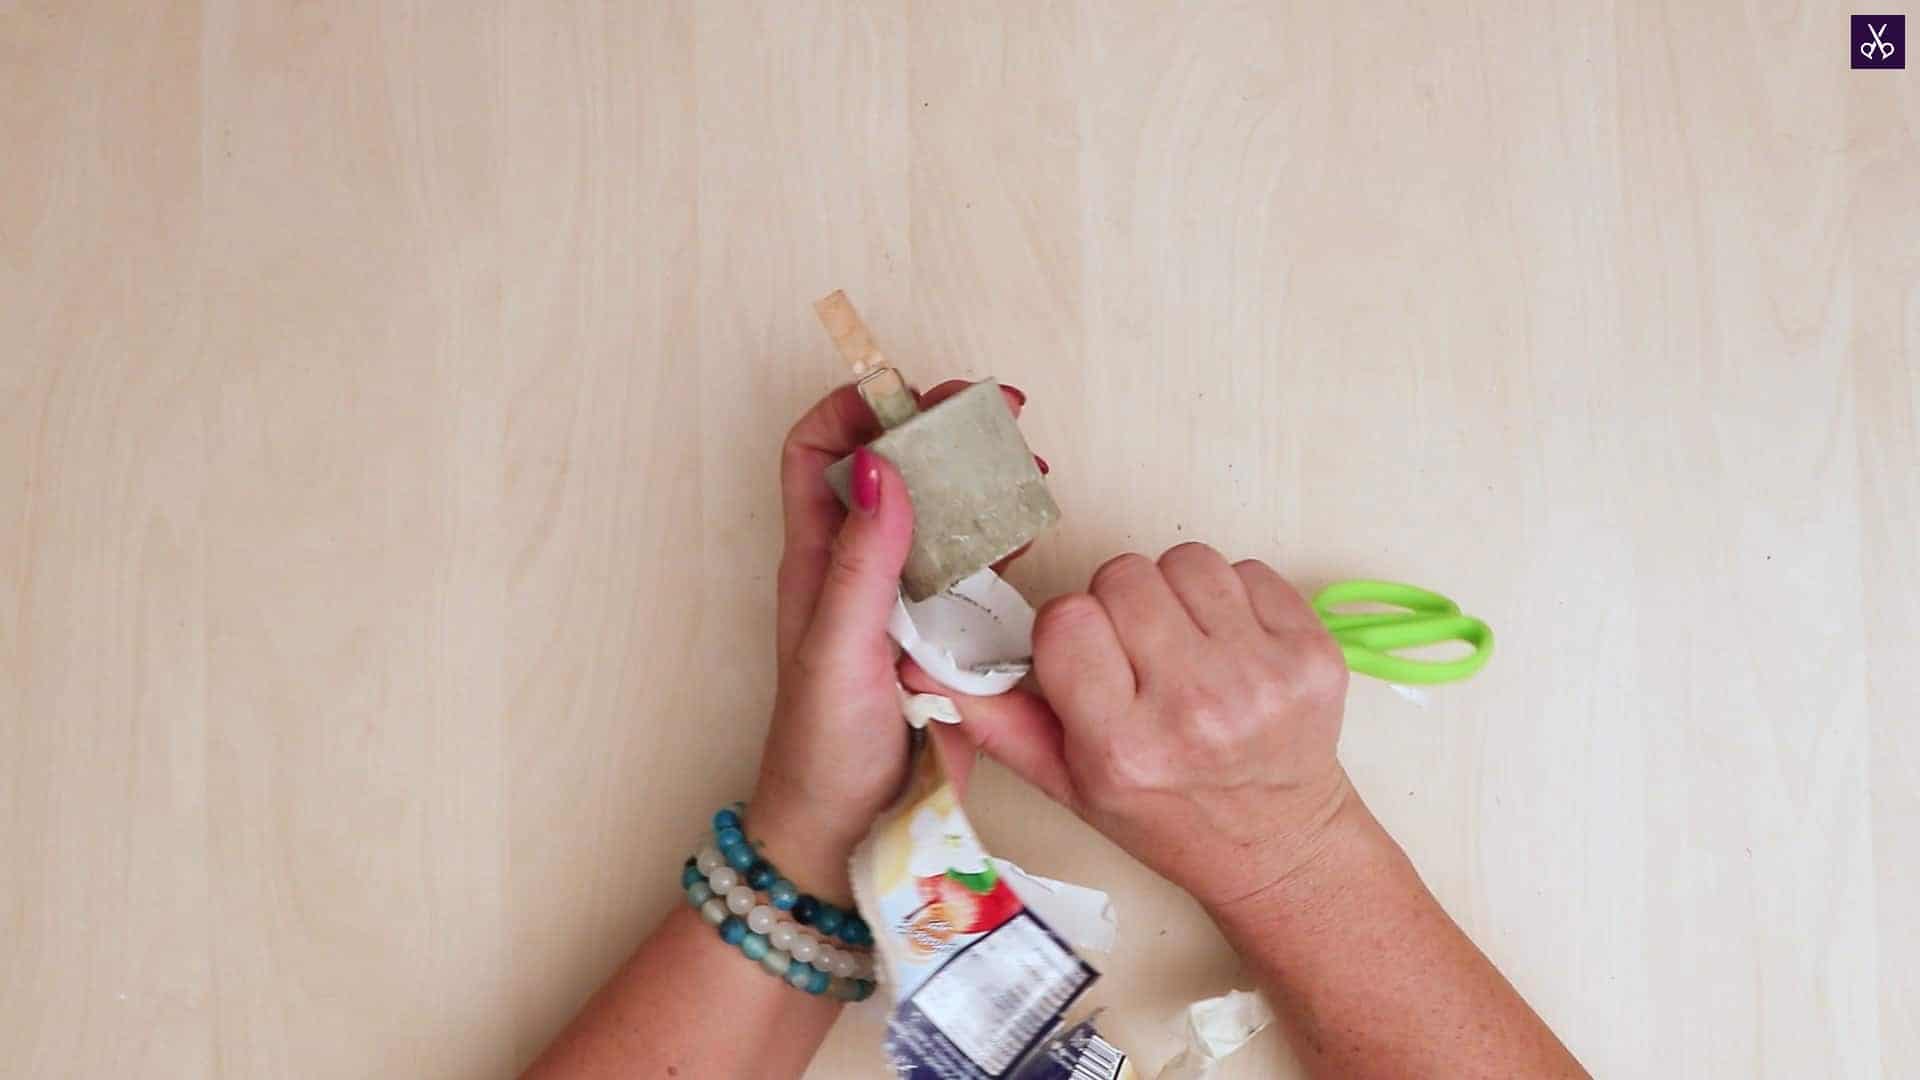
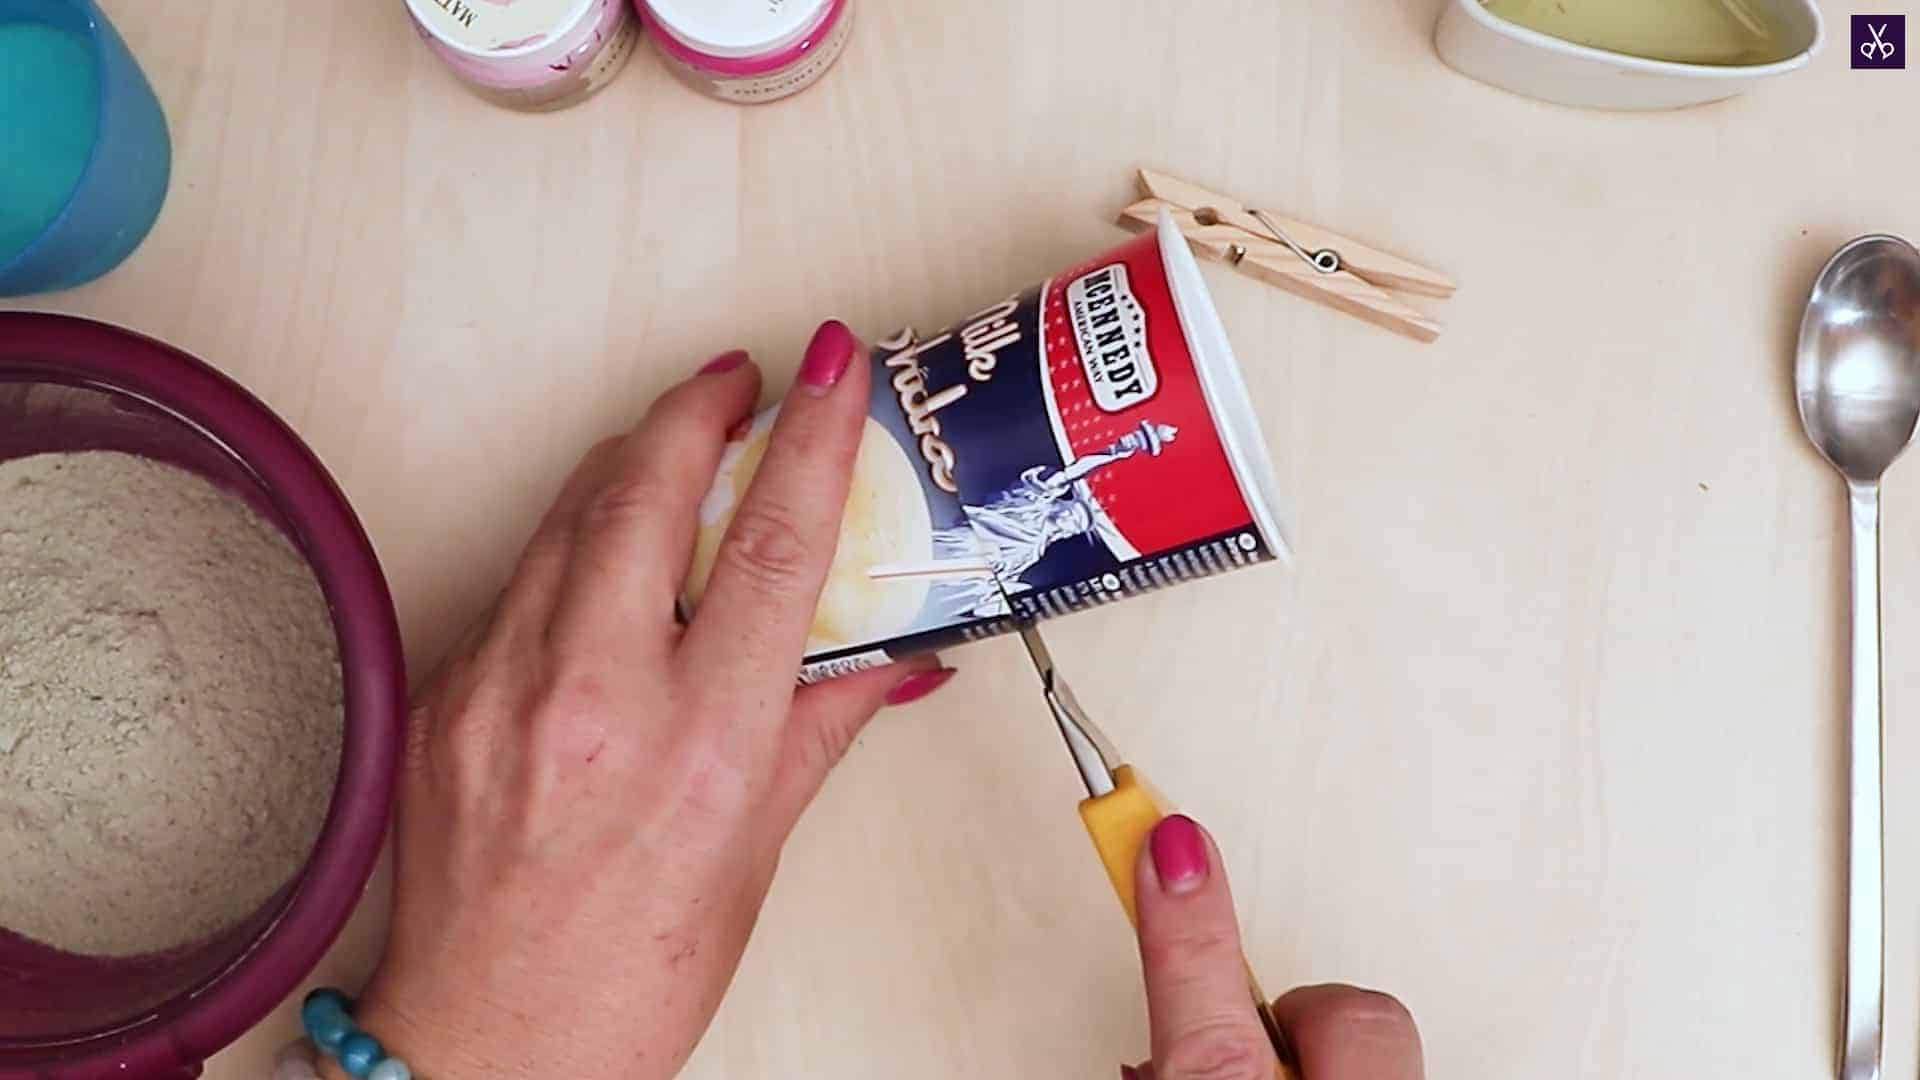
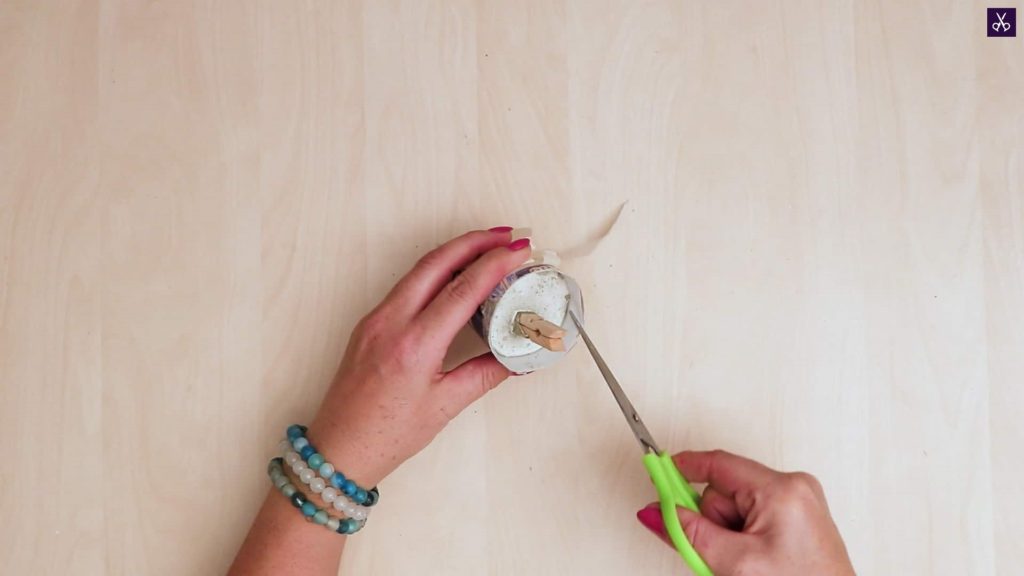
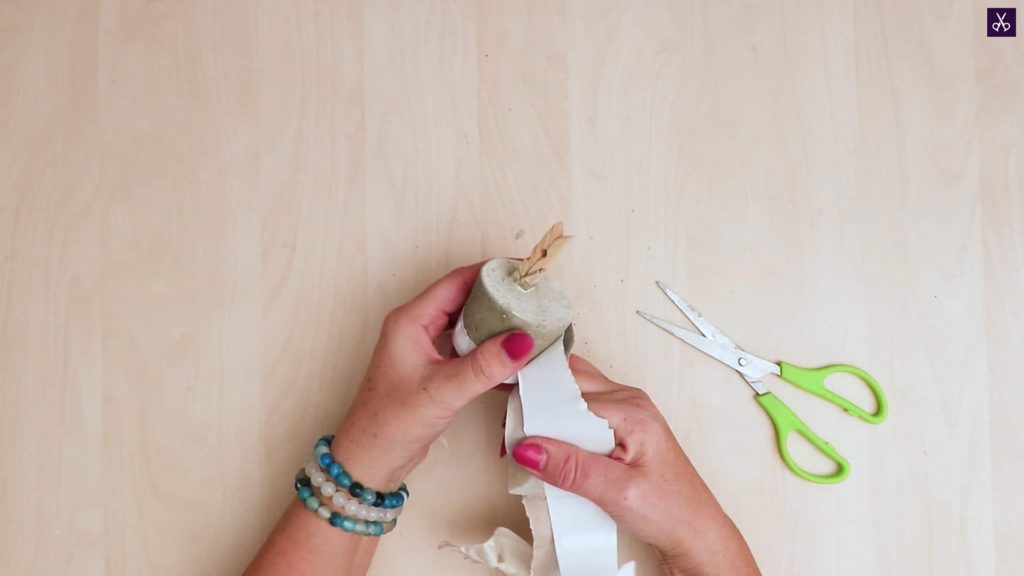
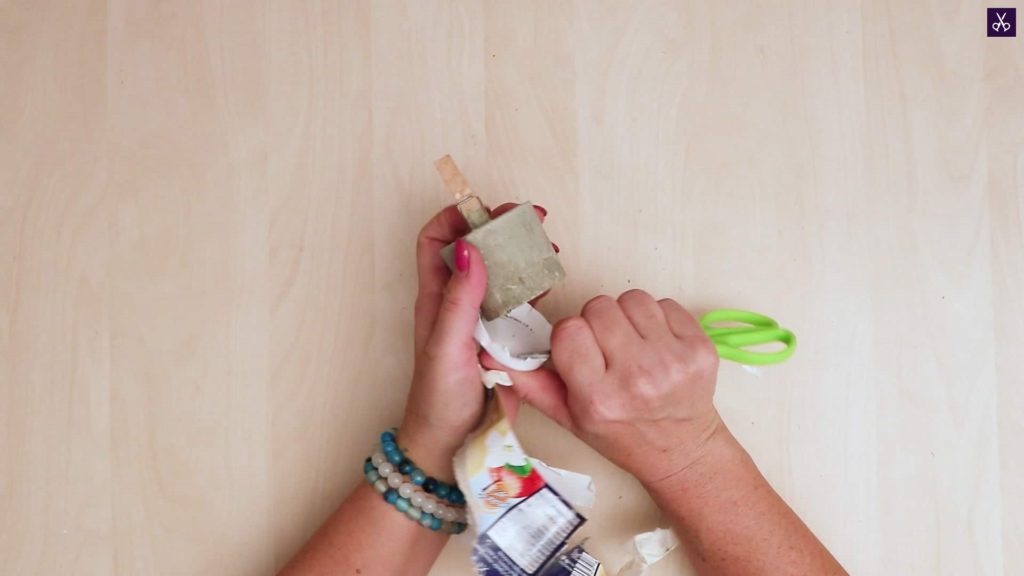
Step 5: remove from mold
Remove the tape from the top of the yogurt cup and make a cut in the side with your scissors. Carefully pull the cup away from the sides of your new concrete piece to remove it. You can use sandpaper or an abrasive block to smooth the surface of the piece if you want.

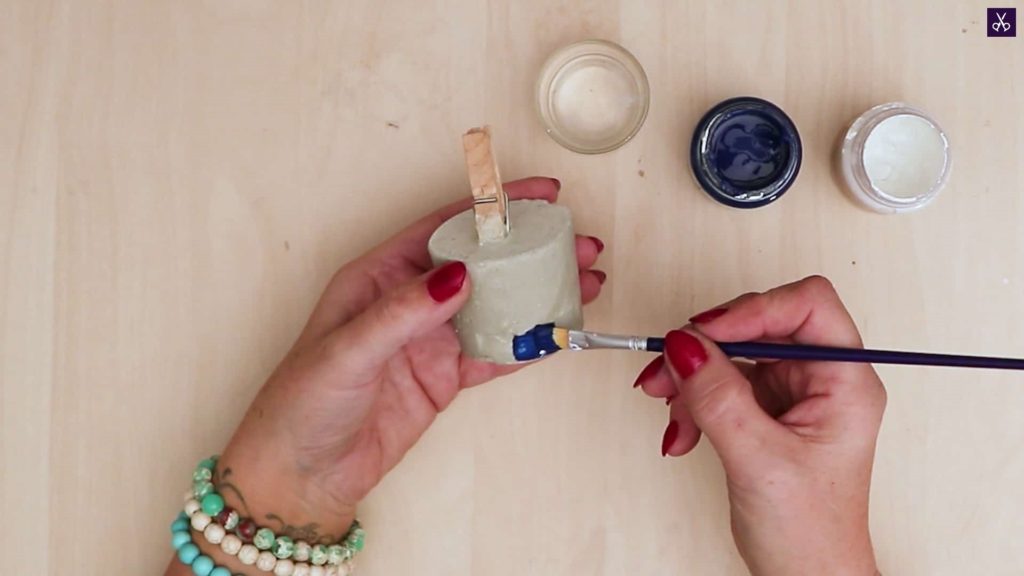
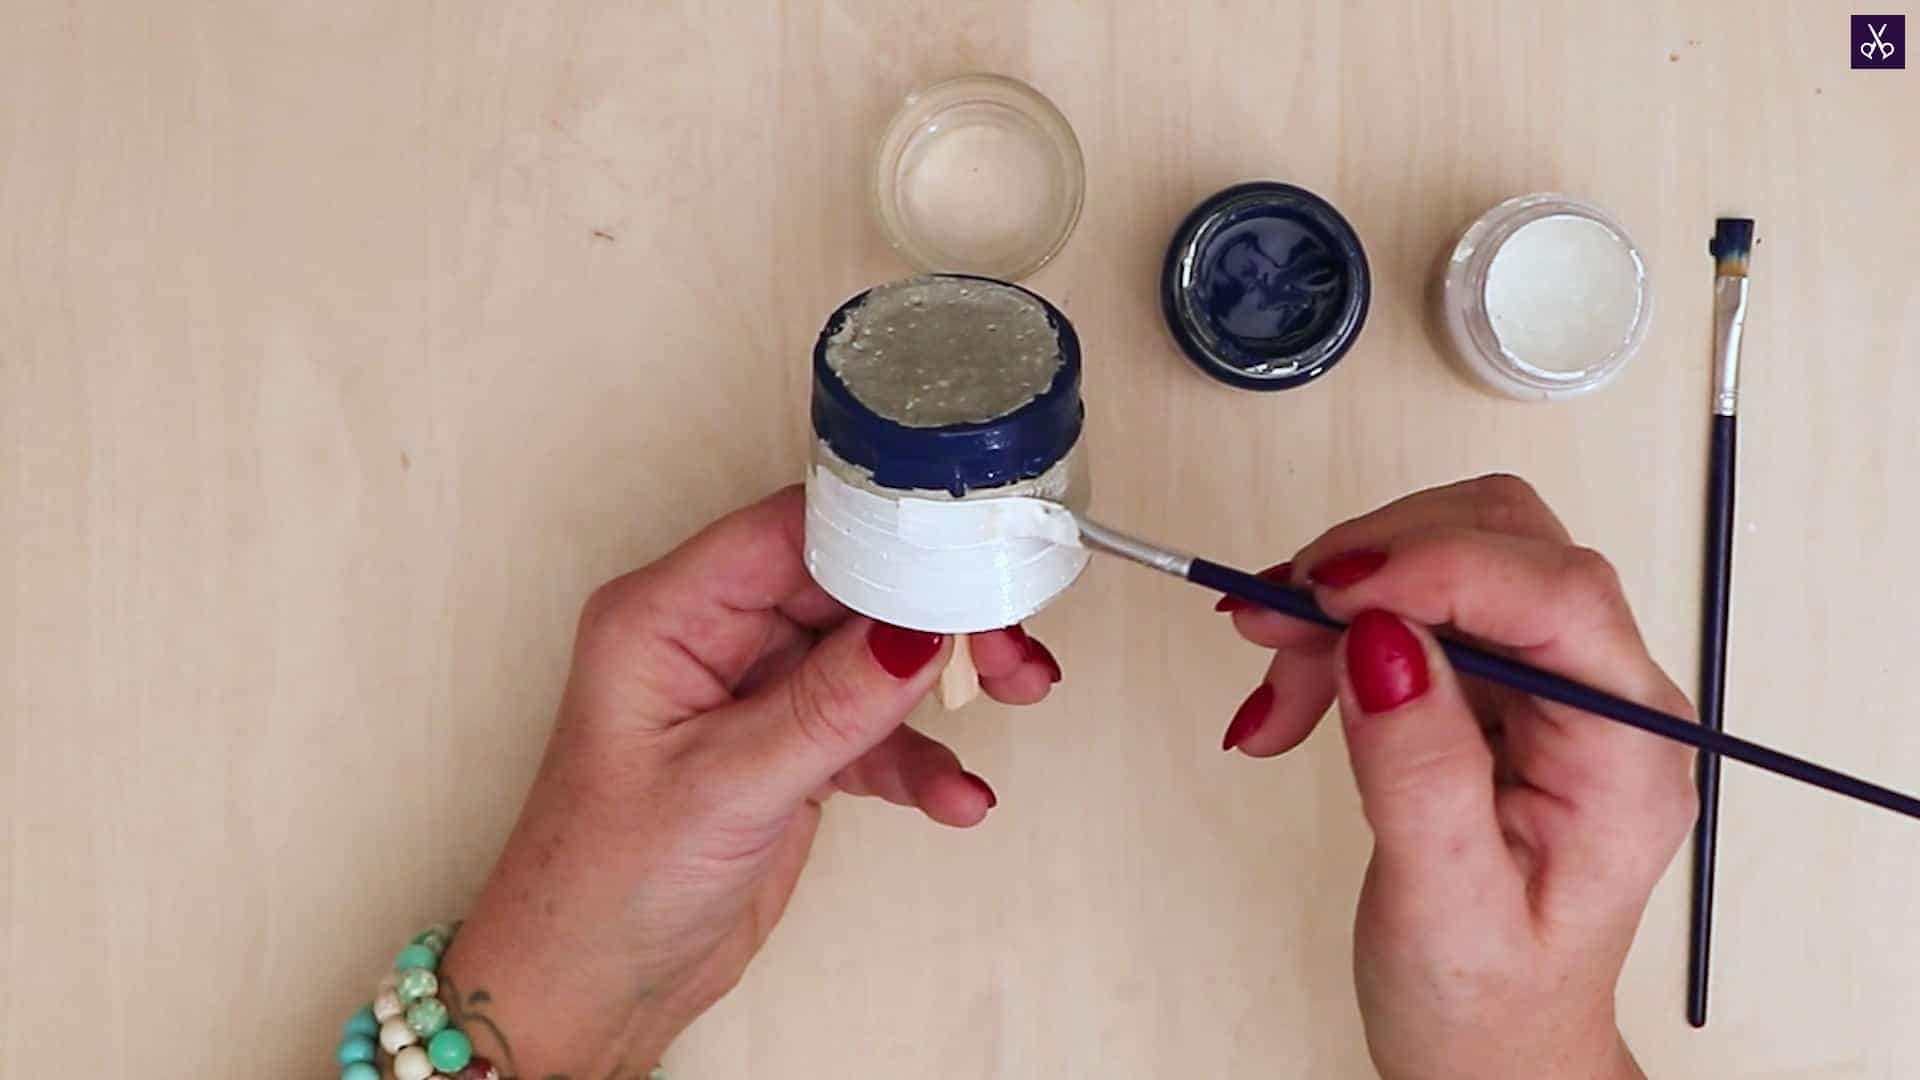
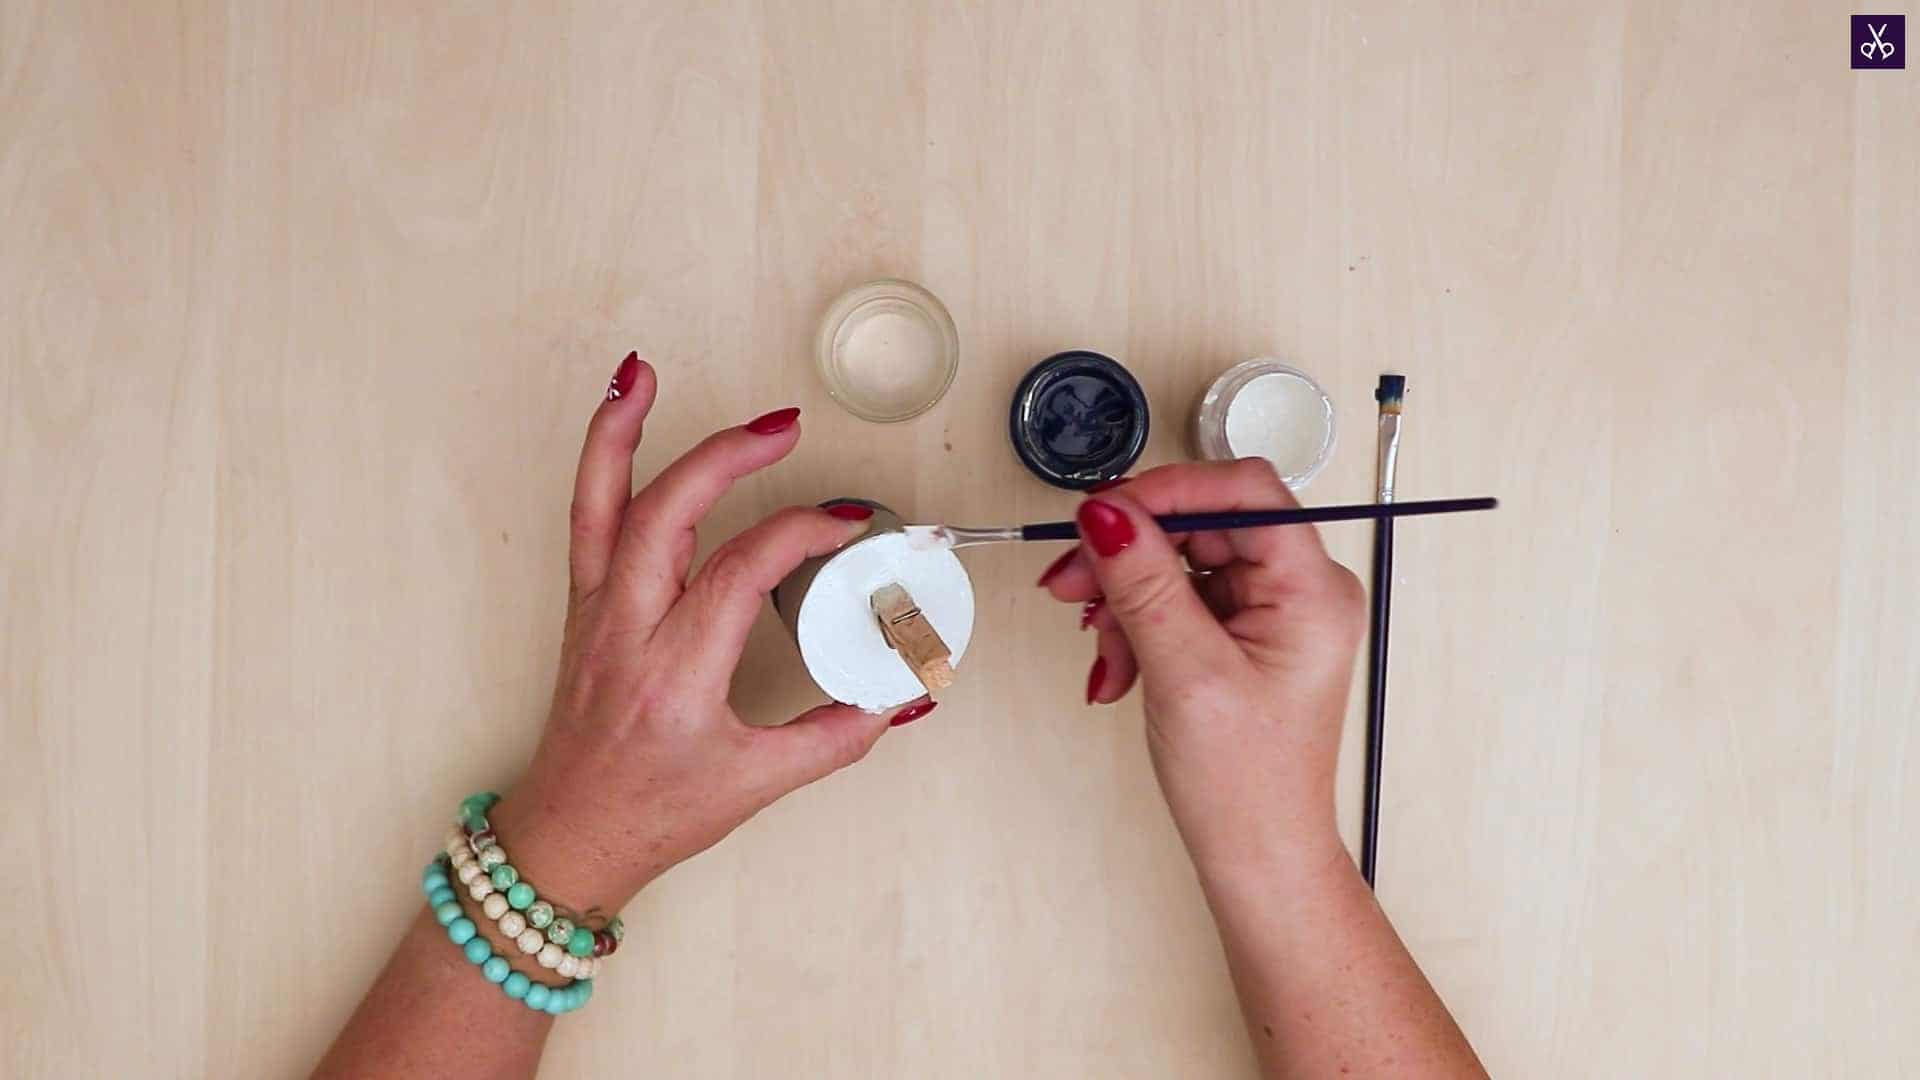
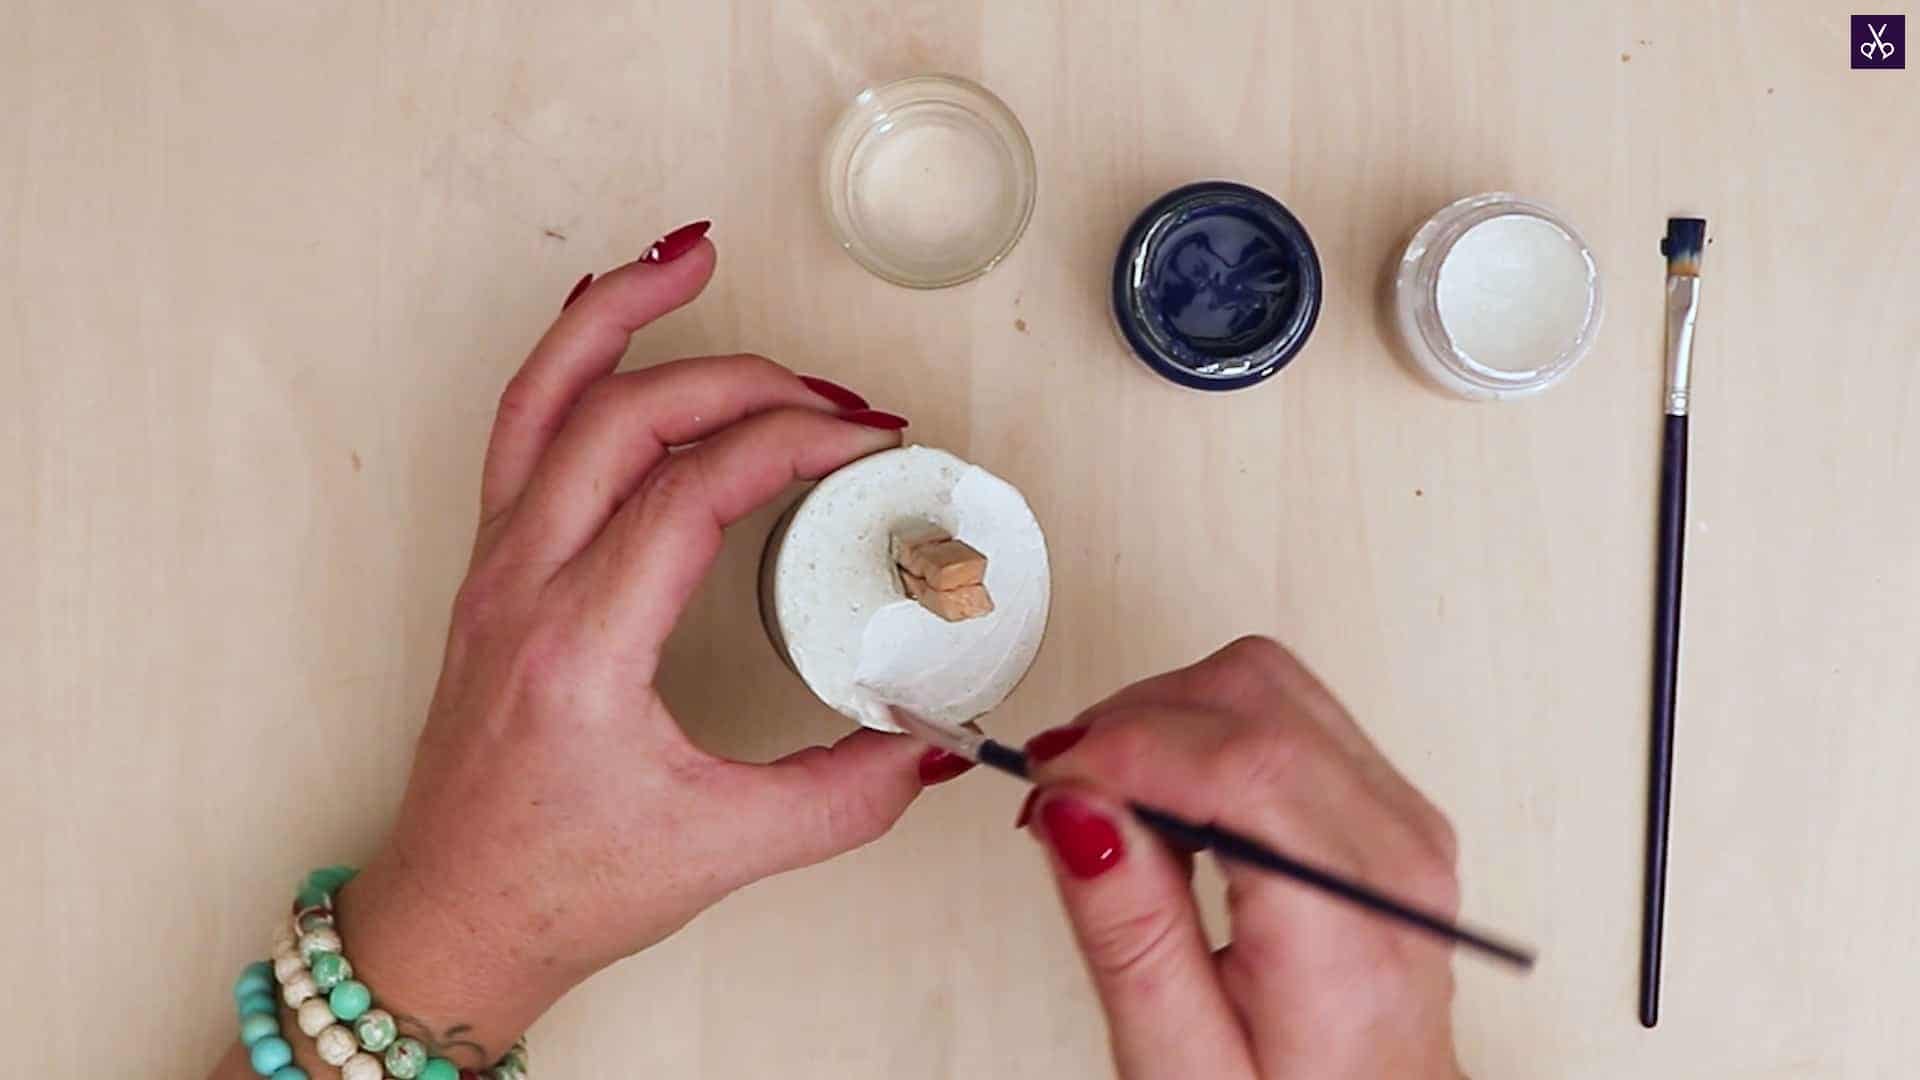
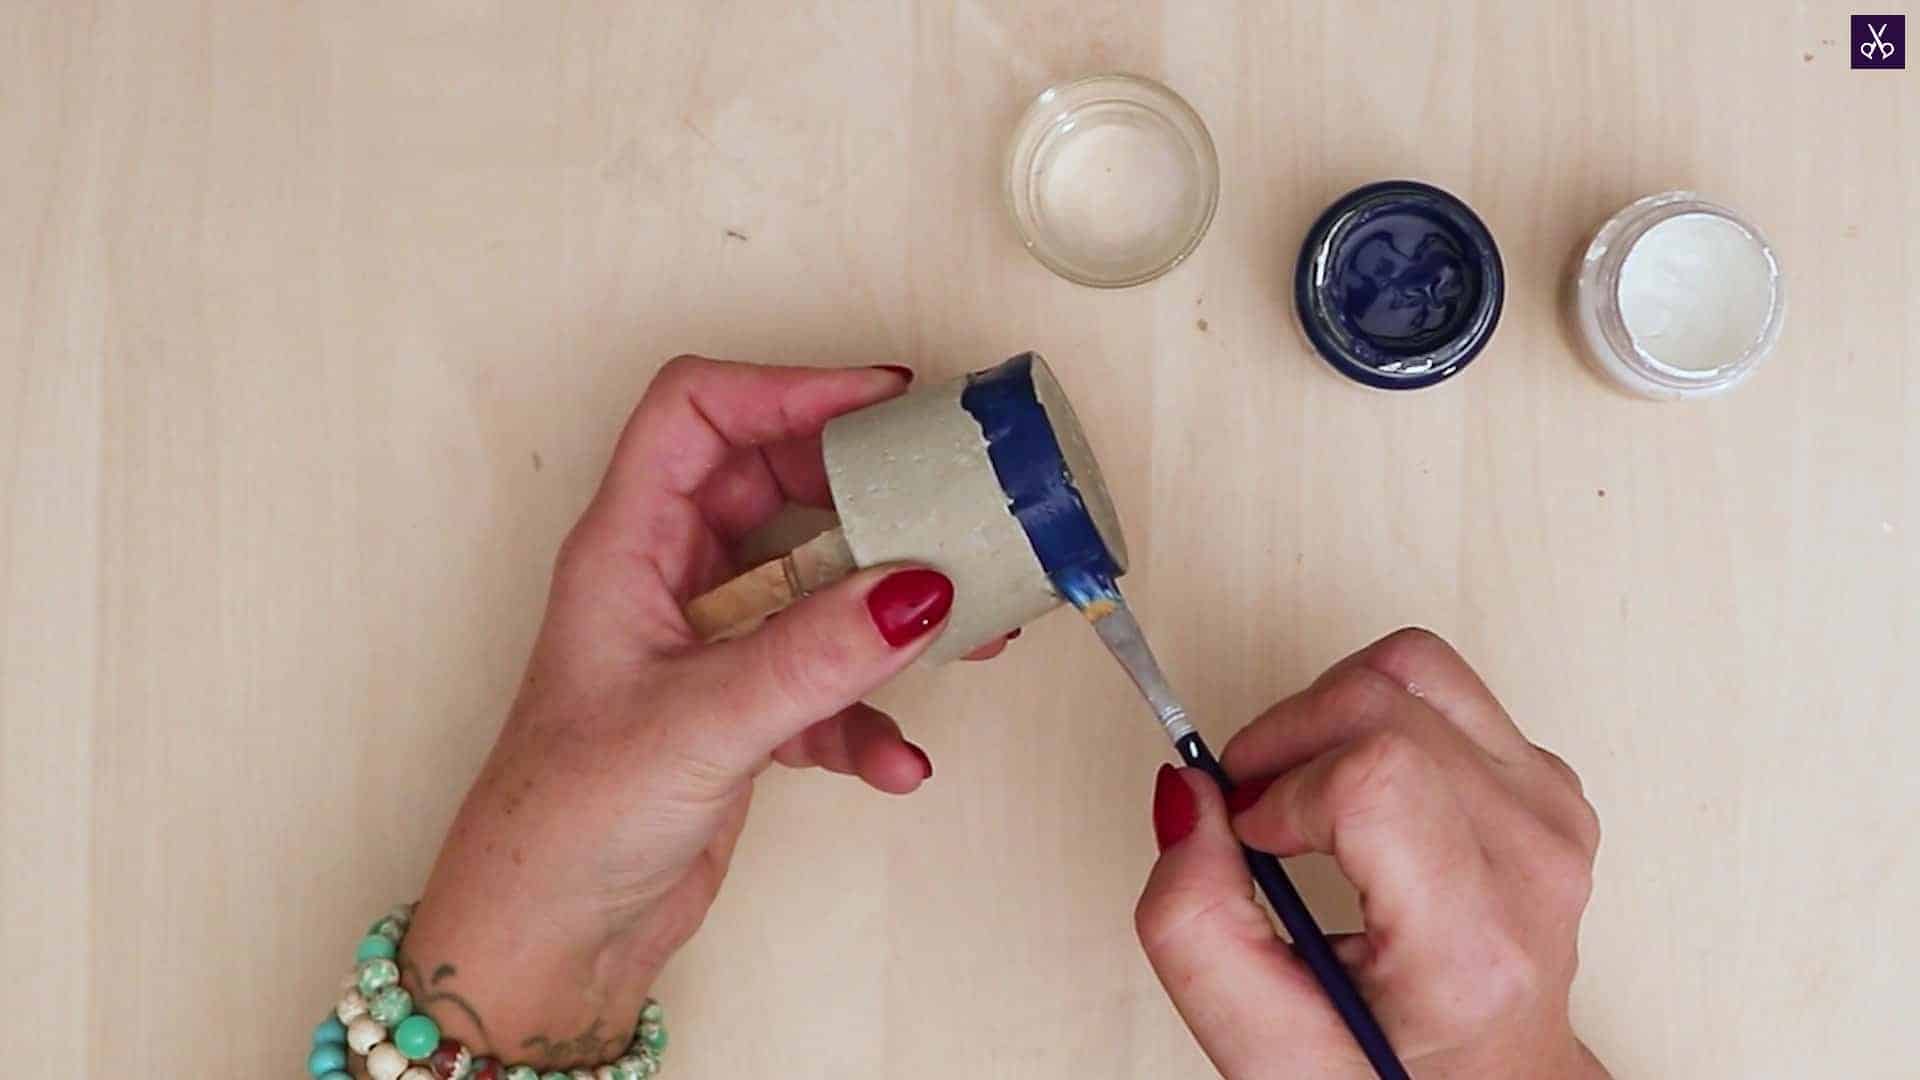
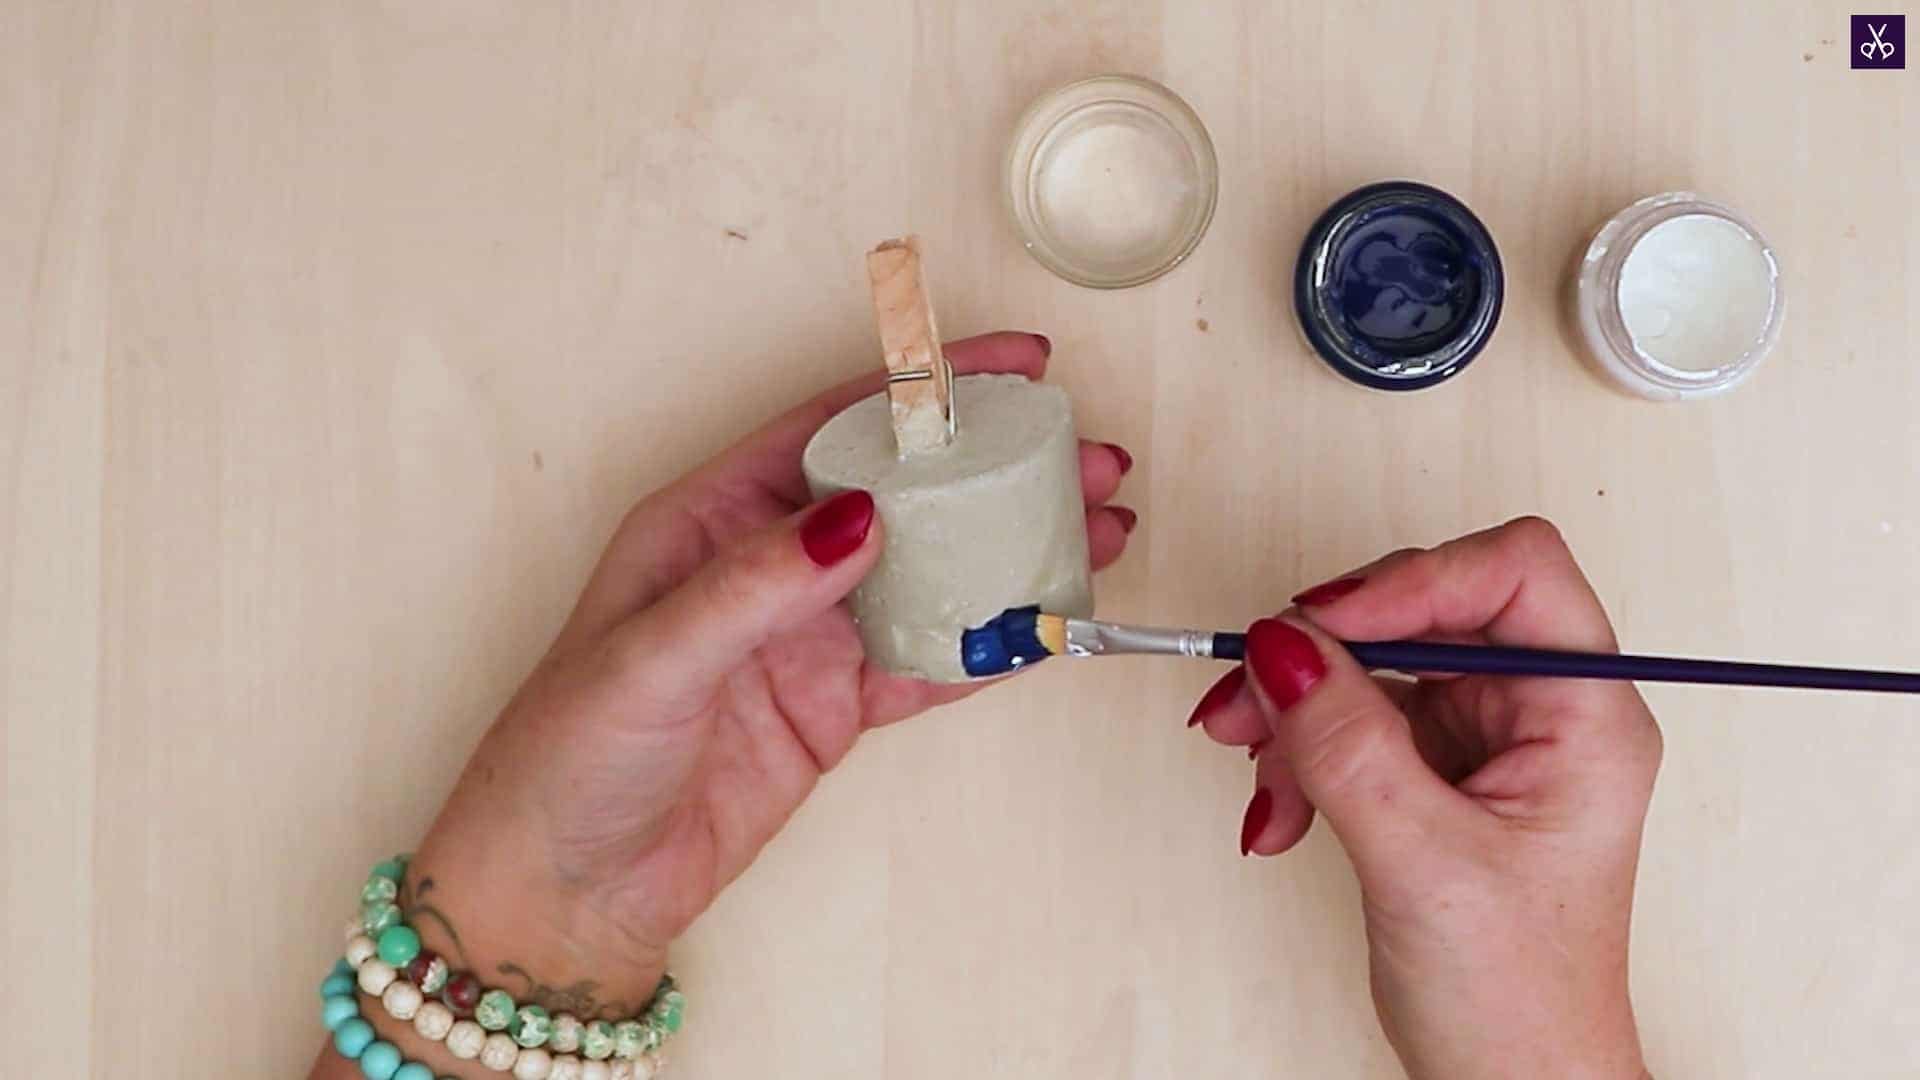
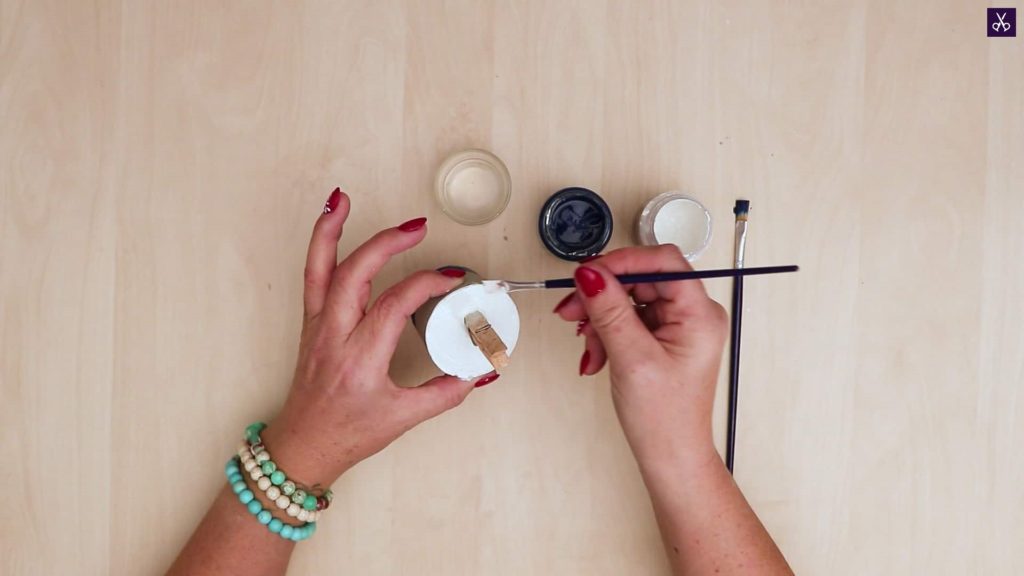
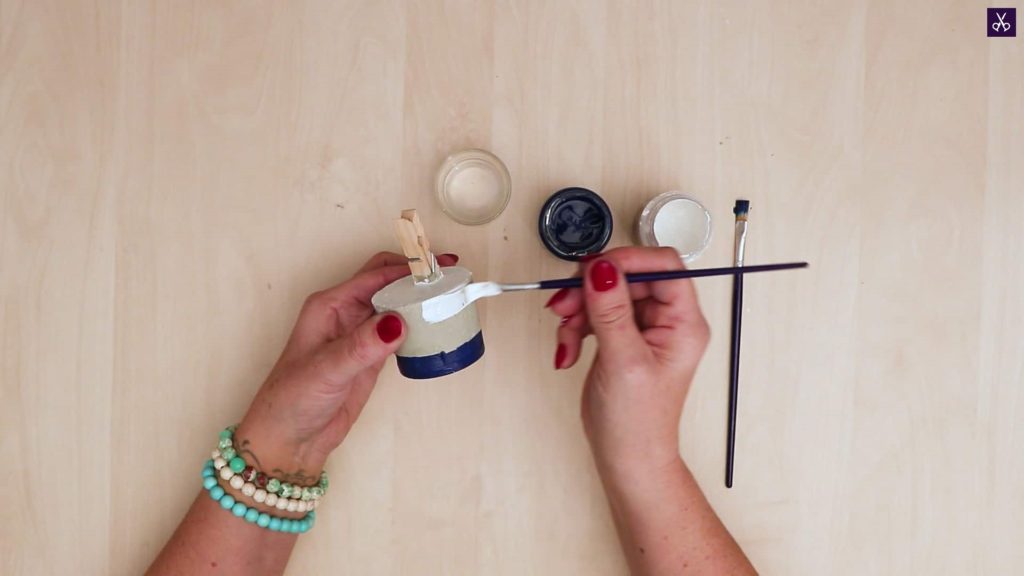
Step 6: paint
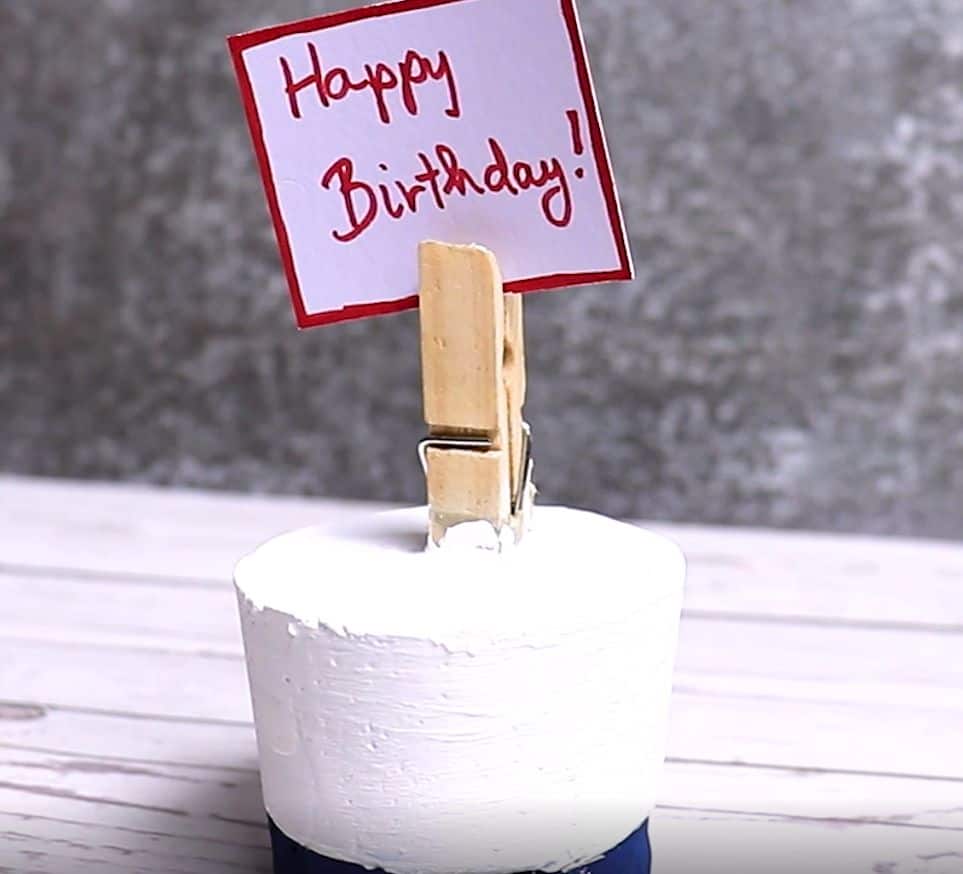
Use your paintbrush to add colour and detail to the concrete block! I decided to use white and blue for a nautical themed piece, painting a navy blue stripe around the bottom edge of the holder and then painting the rest white.


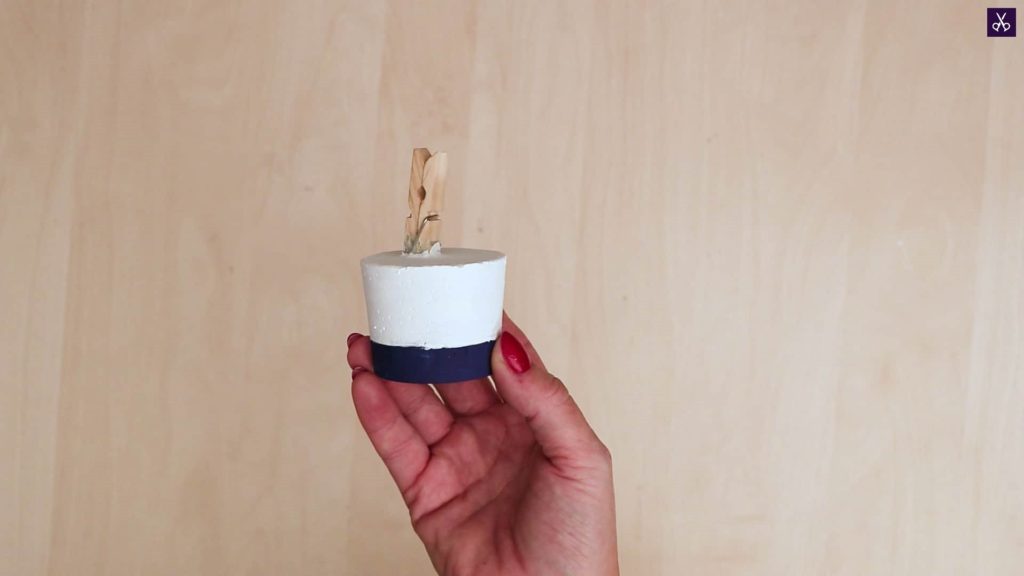
Let your paint dry and slide a greeting, note, or photo in the space between the sides of the clothespin, and voila! You’ve got a card holder. Feel free to get as creative as you please with the painting step in terms of colour and shape! Just in case you’d like to try this project out for yourself, here’s a fantastic tutorial video to help you!