DIY Minimalist Concrete Candle Holder Plate
Updated on November 19, 2025
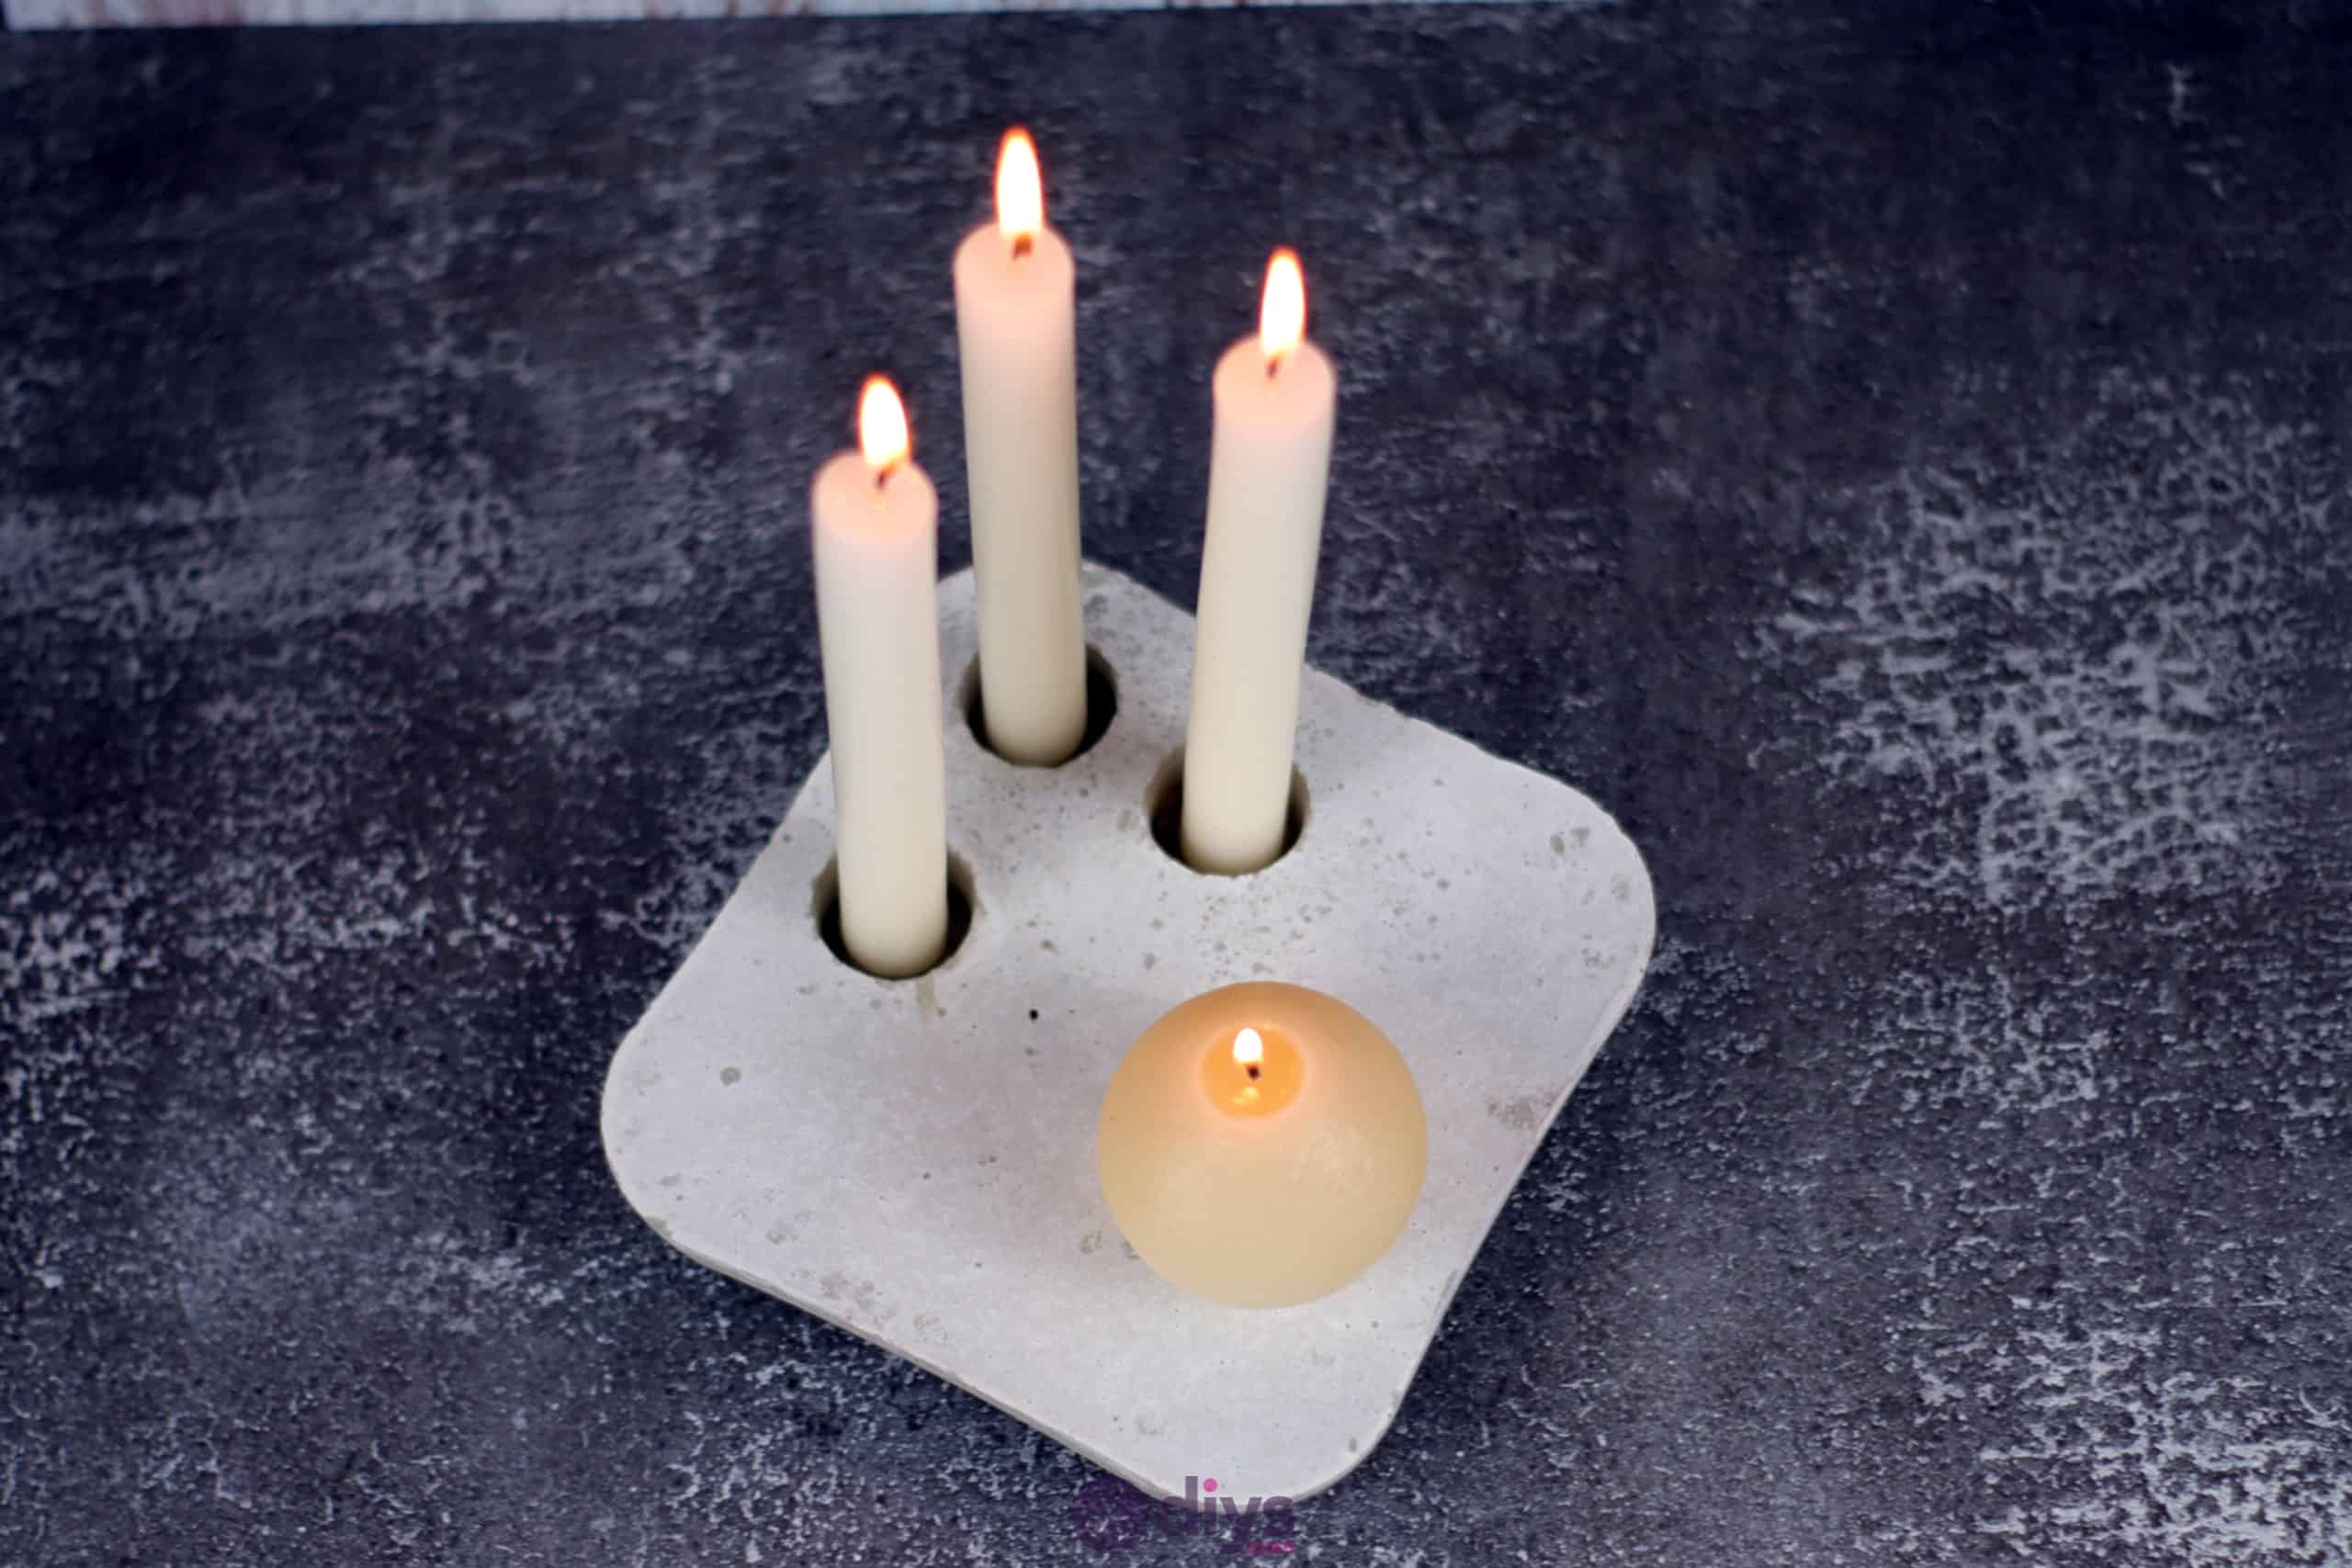


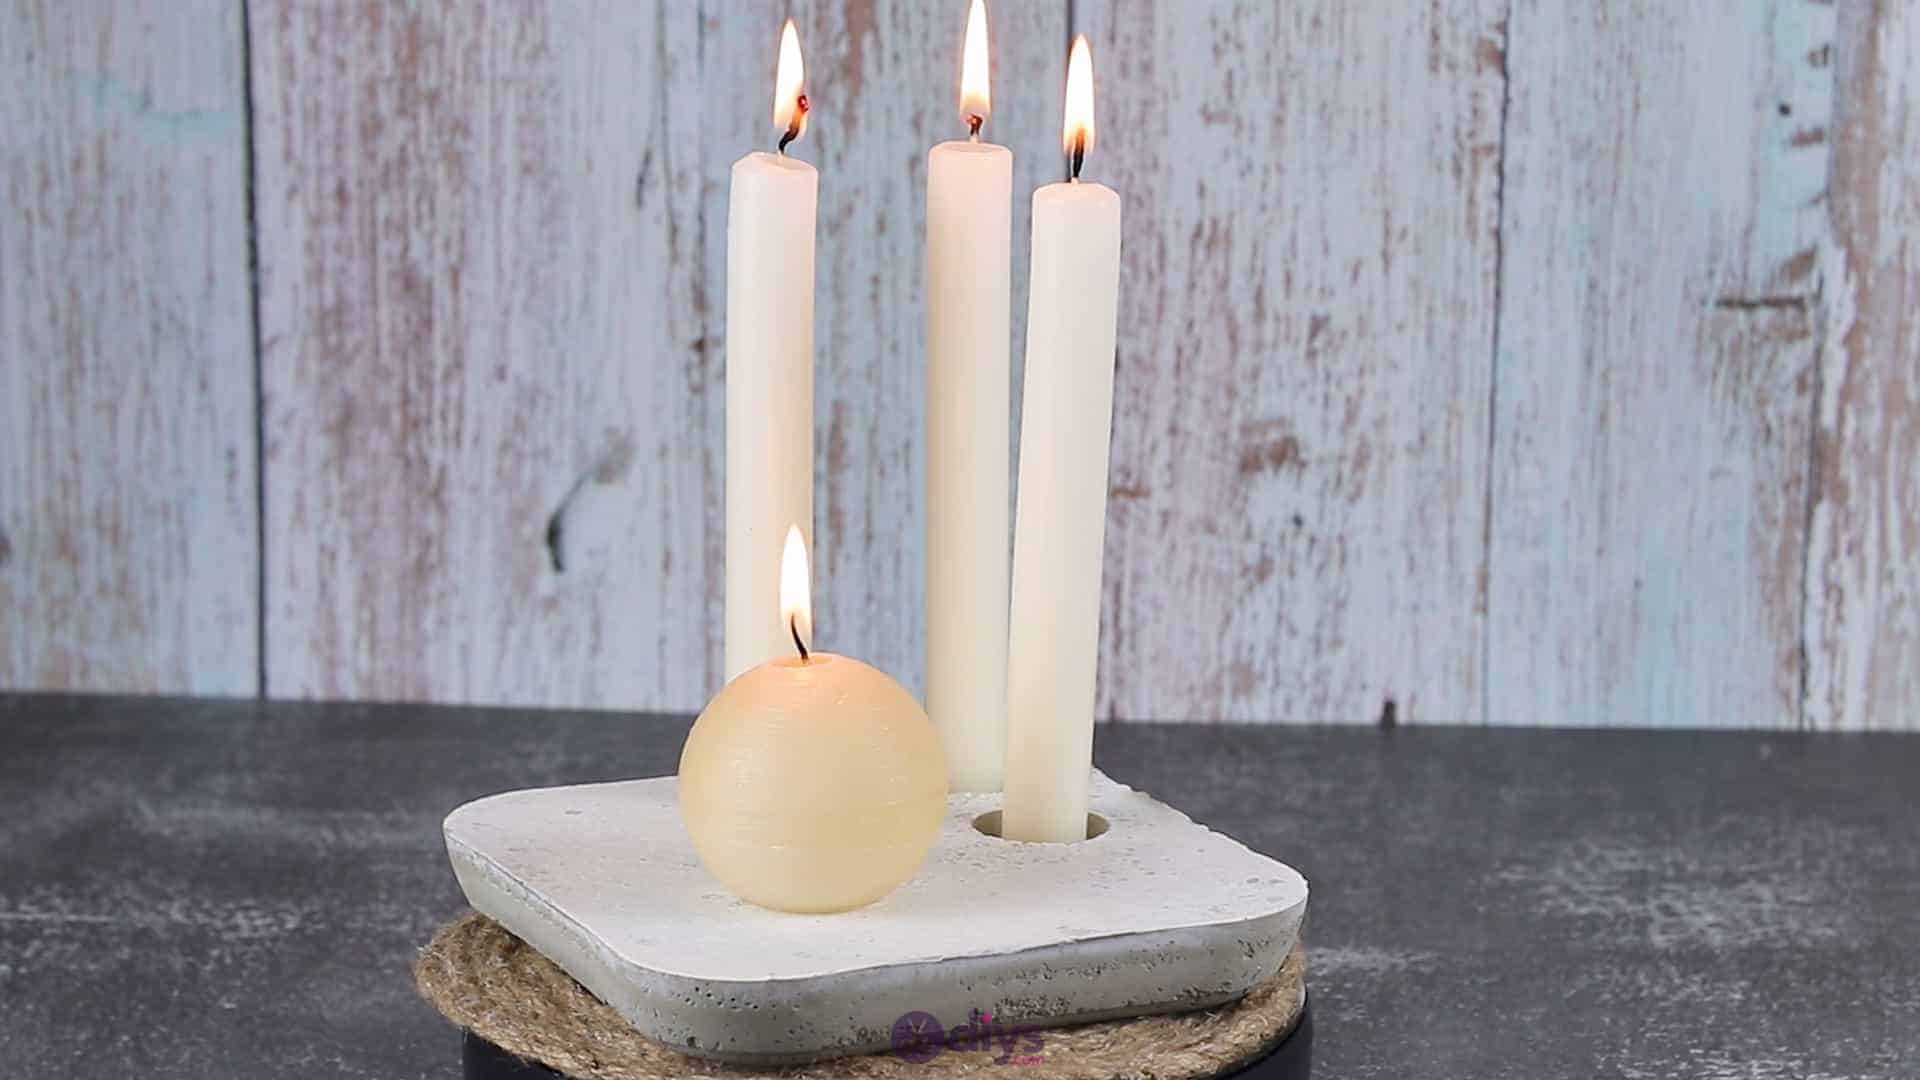
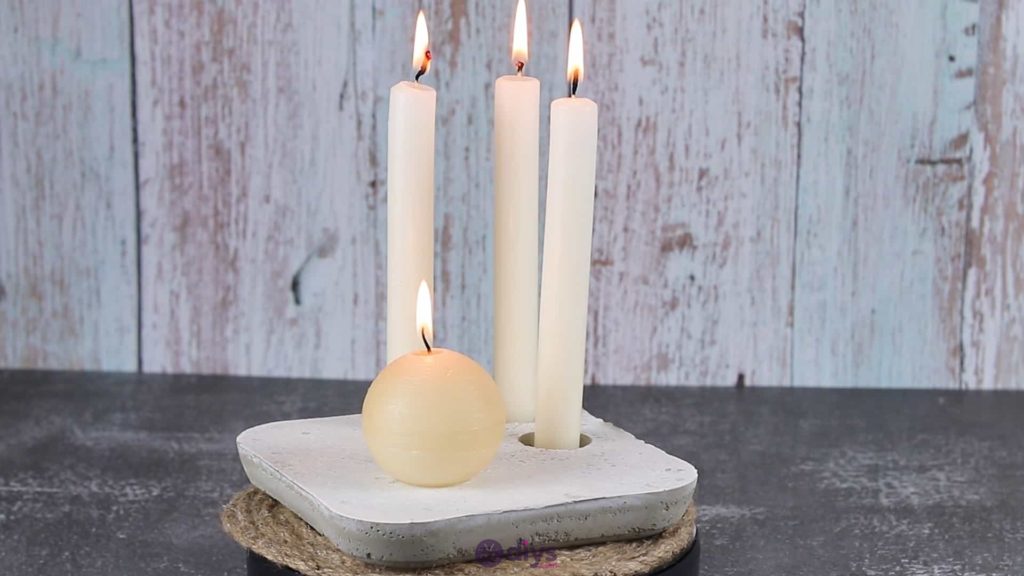
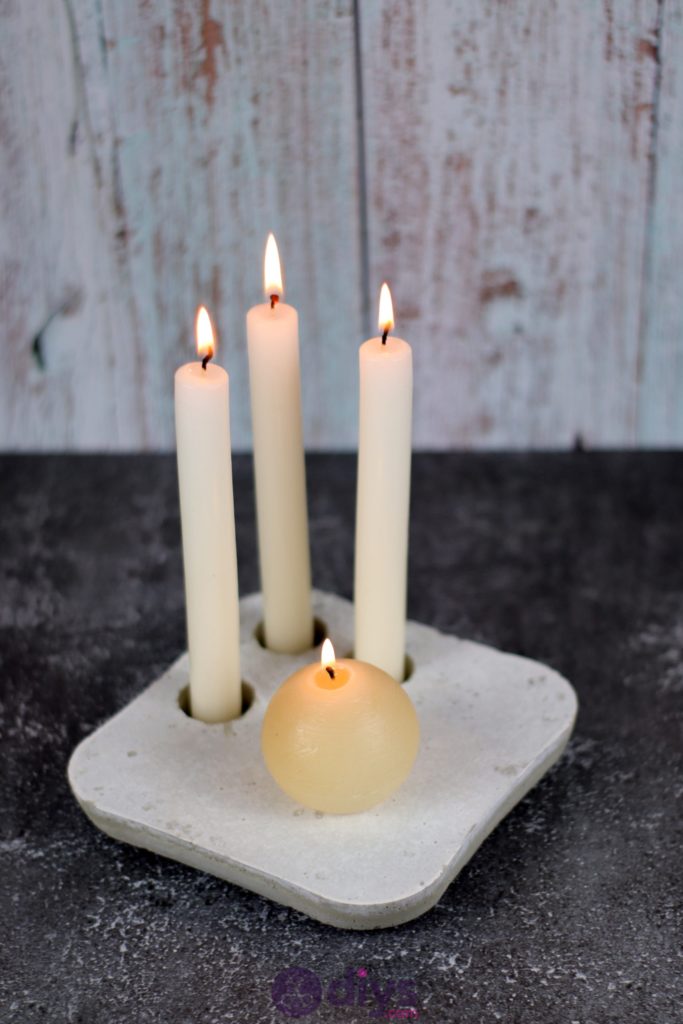
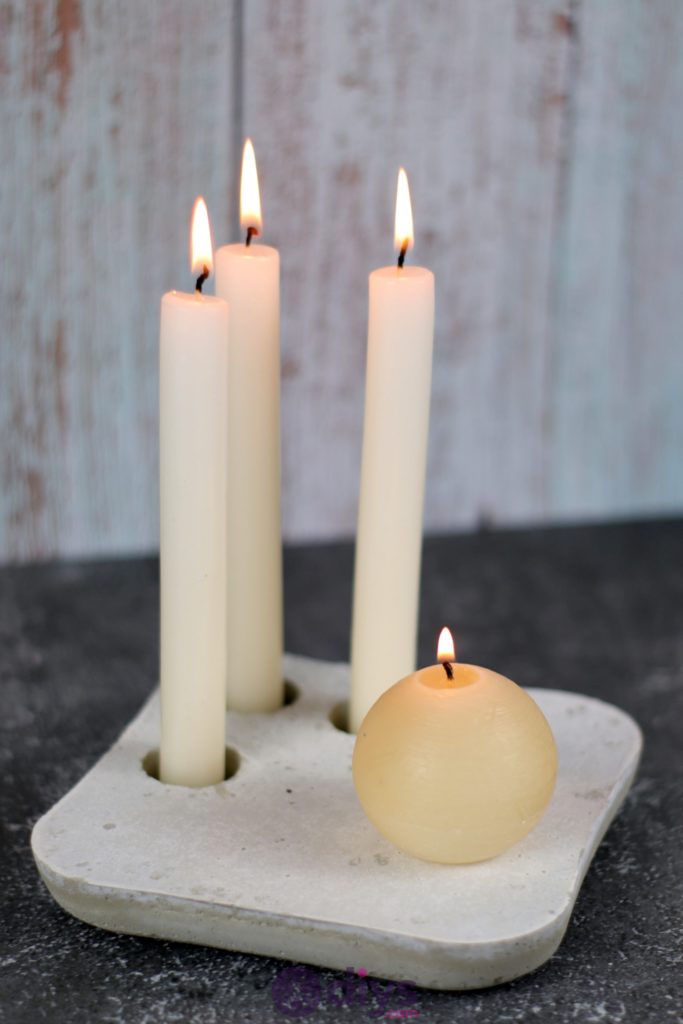
If I had to choose which I liked more between candle based DIY projects and DIY concrete crafts, I’d bevery hard pressed to make a decision. I just love them both so much! I’m sure it would come as no surprise to anyone who knows me, then, that I recently thought up a way to combine my two favourite types of crafts in order to make a concrete candle holder with a bit of minimalist and modern flair. I was particularly pleased with my idea to build it such that it can hold more than one type of candle for a bit of visual variety!

In fact, I was so happy with how my project turned out that I actually decided to make a second one just so I could document the process and show other DIY enthusiasts how I did it. Check out these step by step instructions complete with photos! If you’d rather follow along with a video tutorial instead of written words, scroll to the bottom of this post to find just what you’re looking for.
For this project, you’ll need:
- DIY fine particle cement
- Water
- A mixing bowl
- A square plastic tray
- A spoon
- Scissors
- Tape
- Oil
- A paintbrush
- Hot glue
- Candles
- An empty toilet paper roll

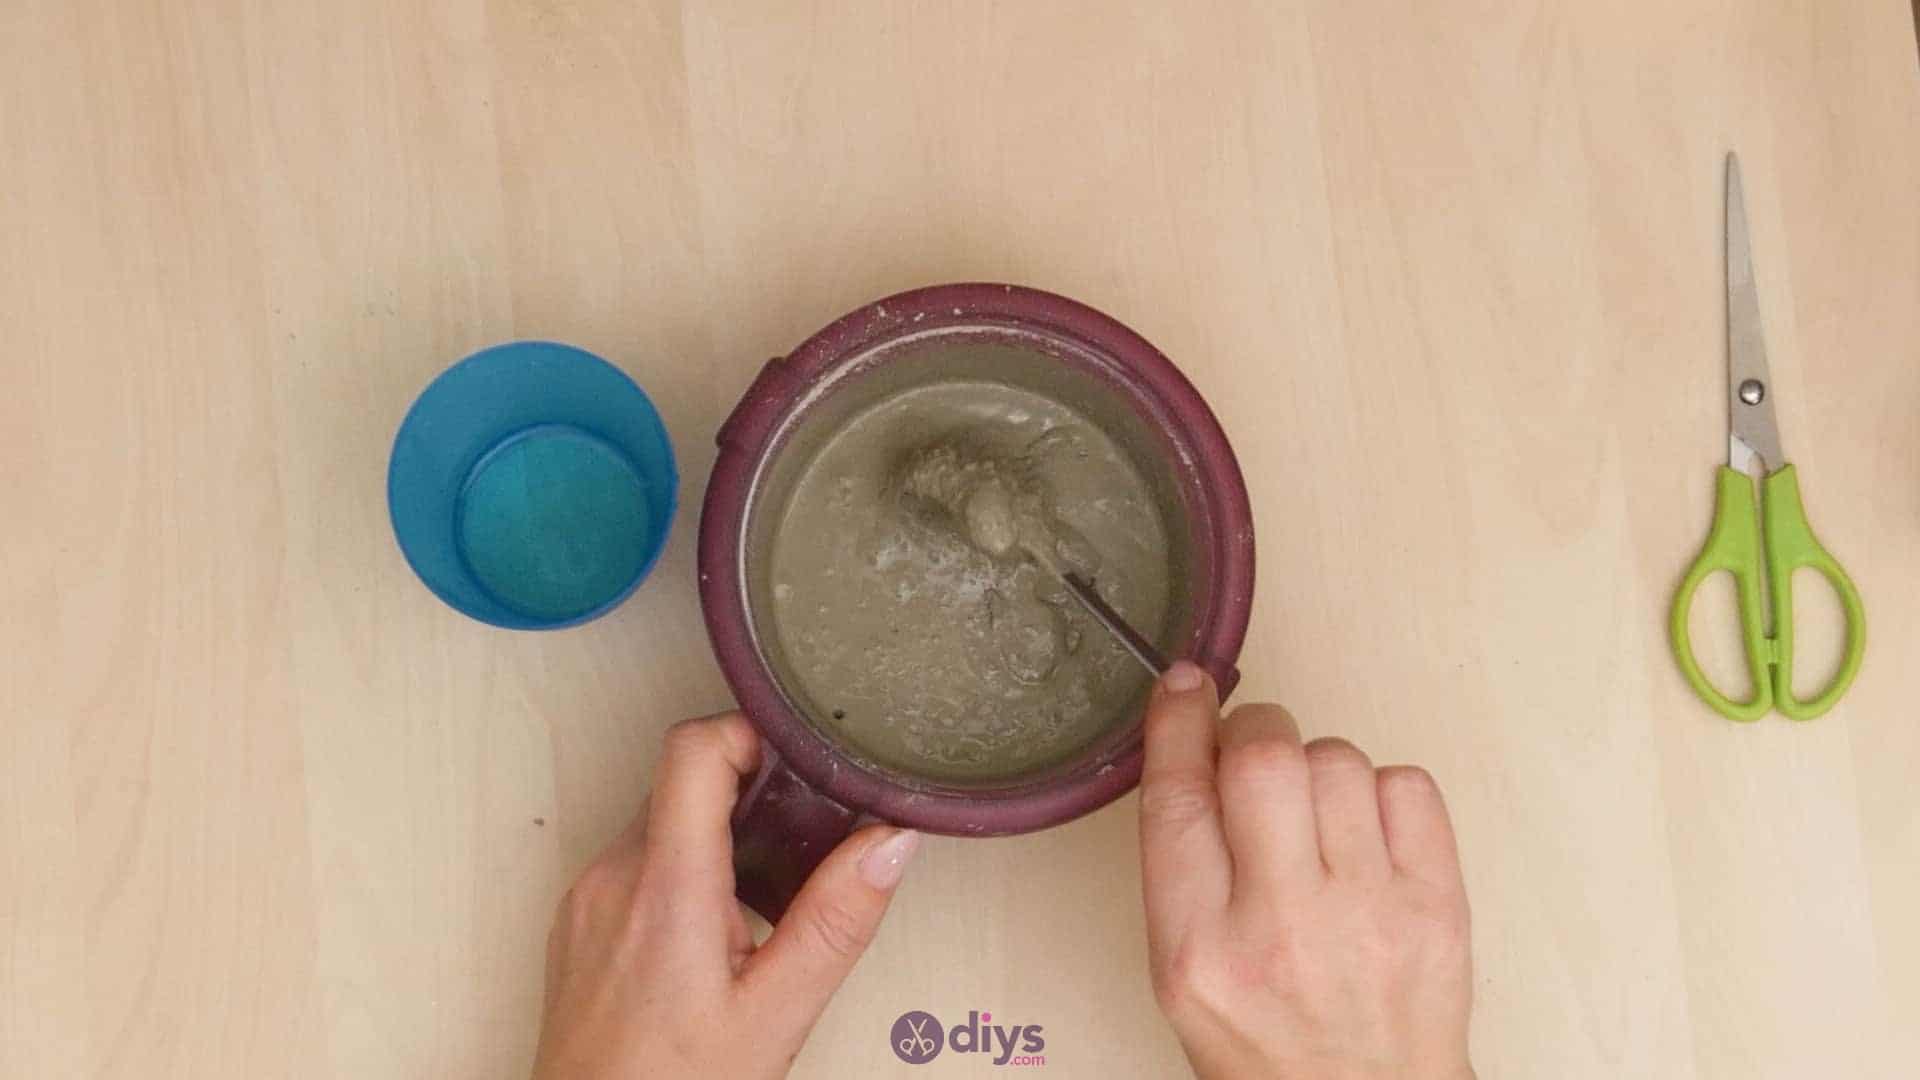
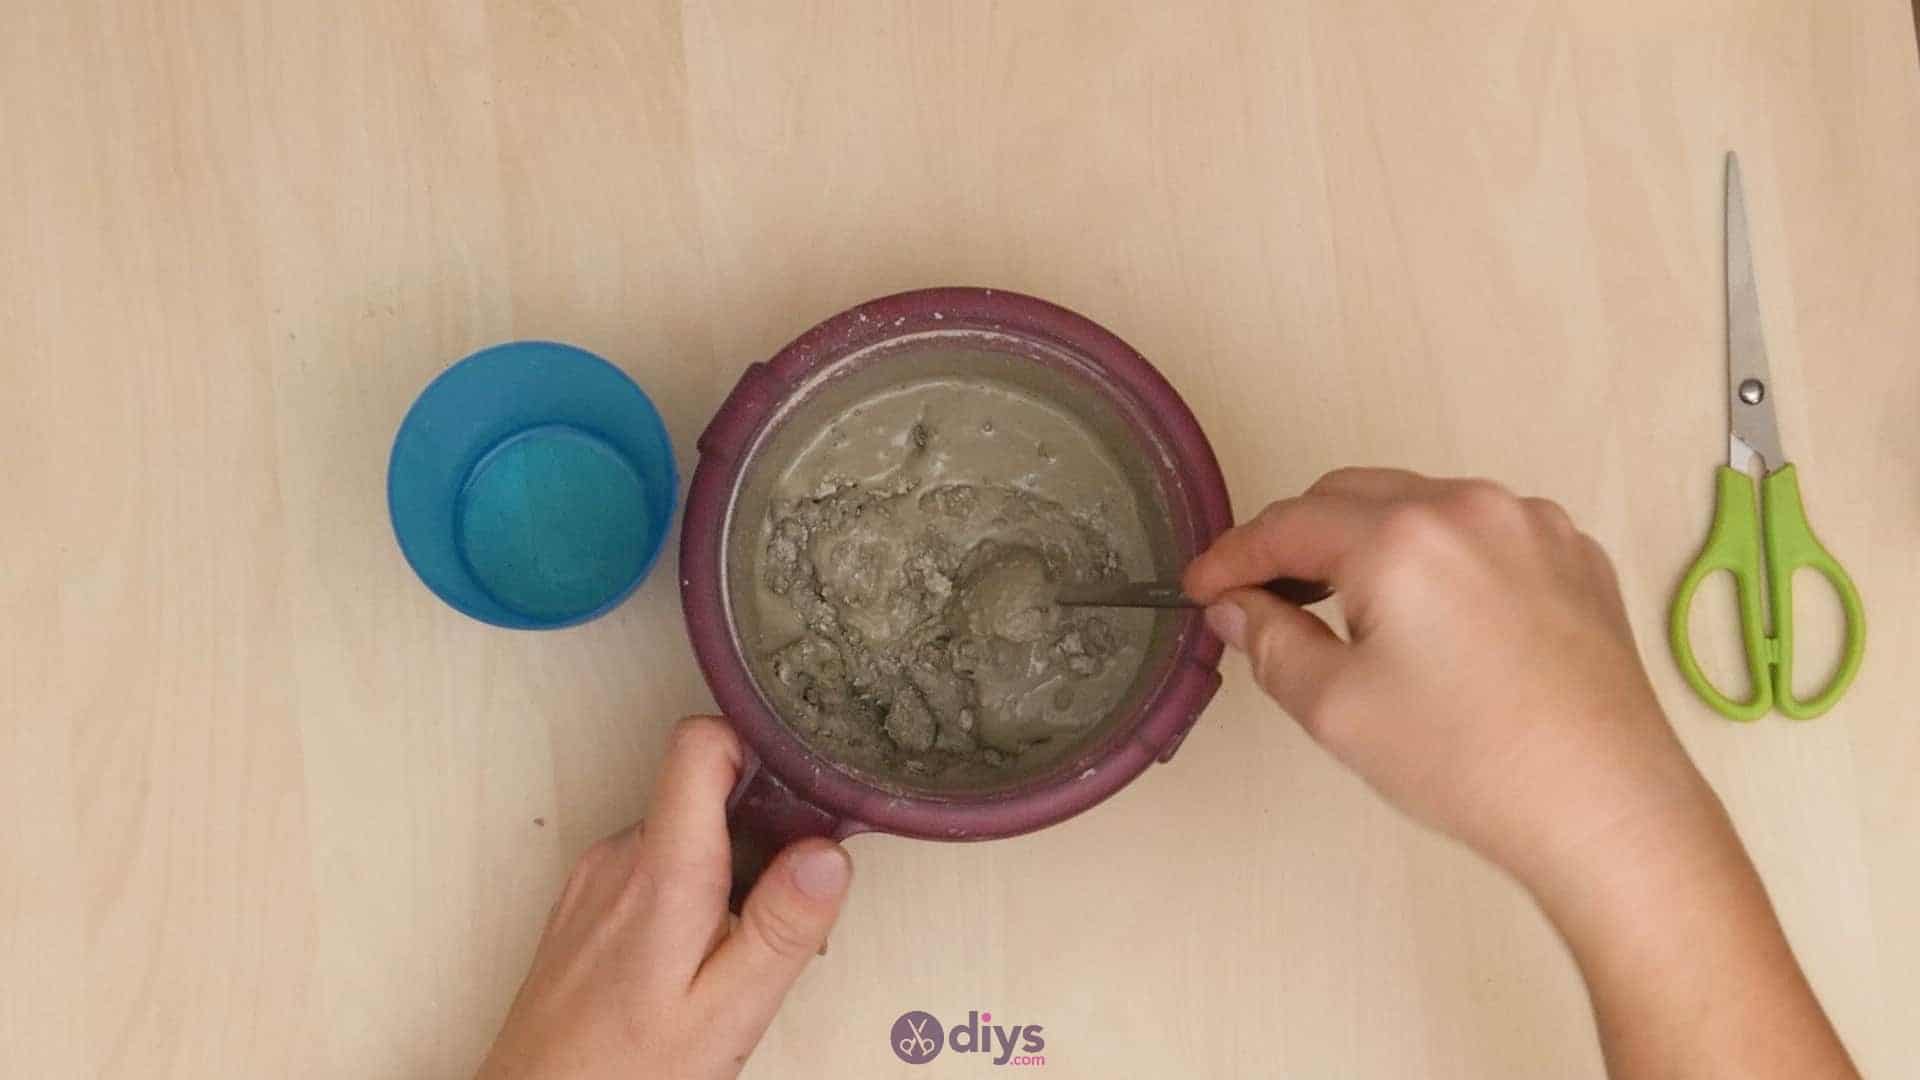
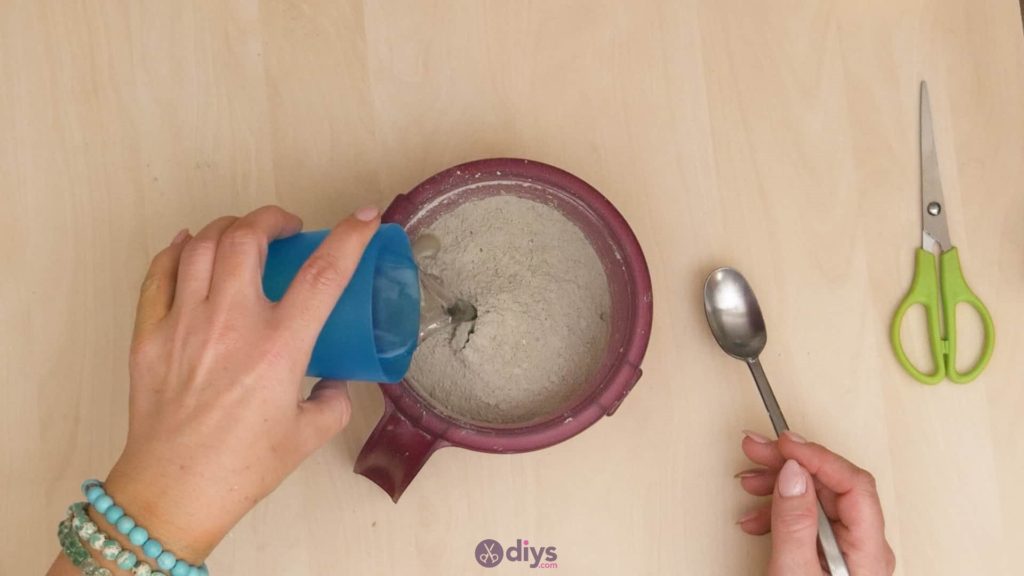
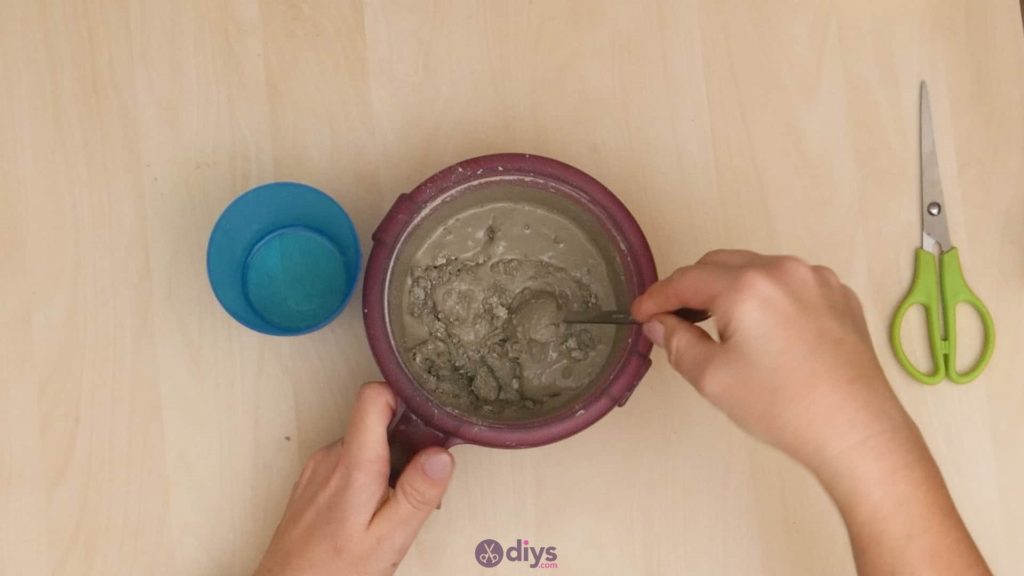
Step 1: mix your concrete
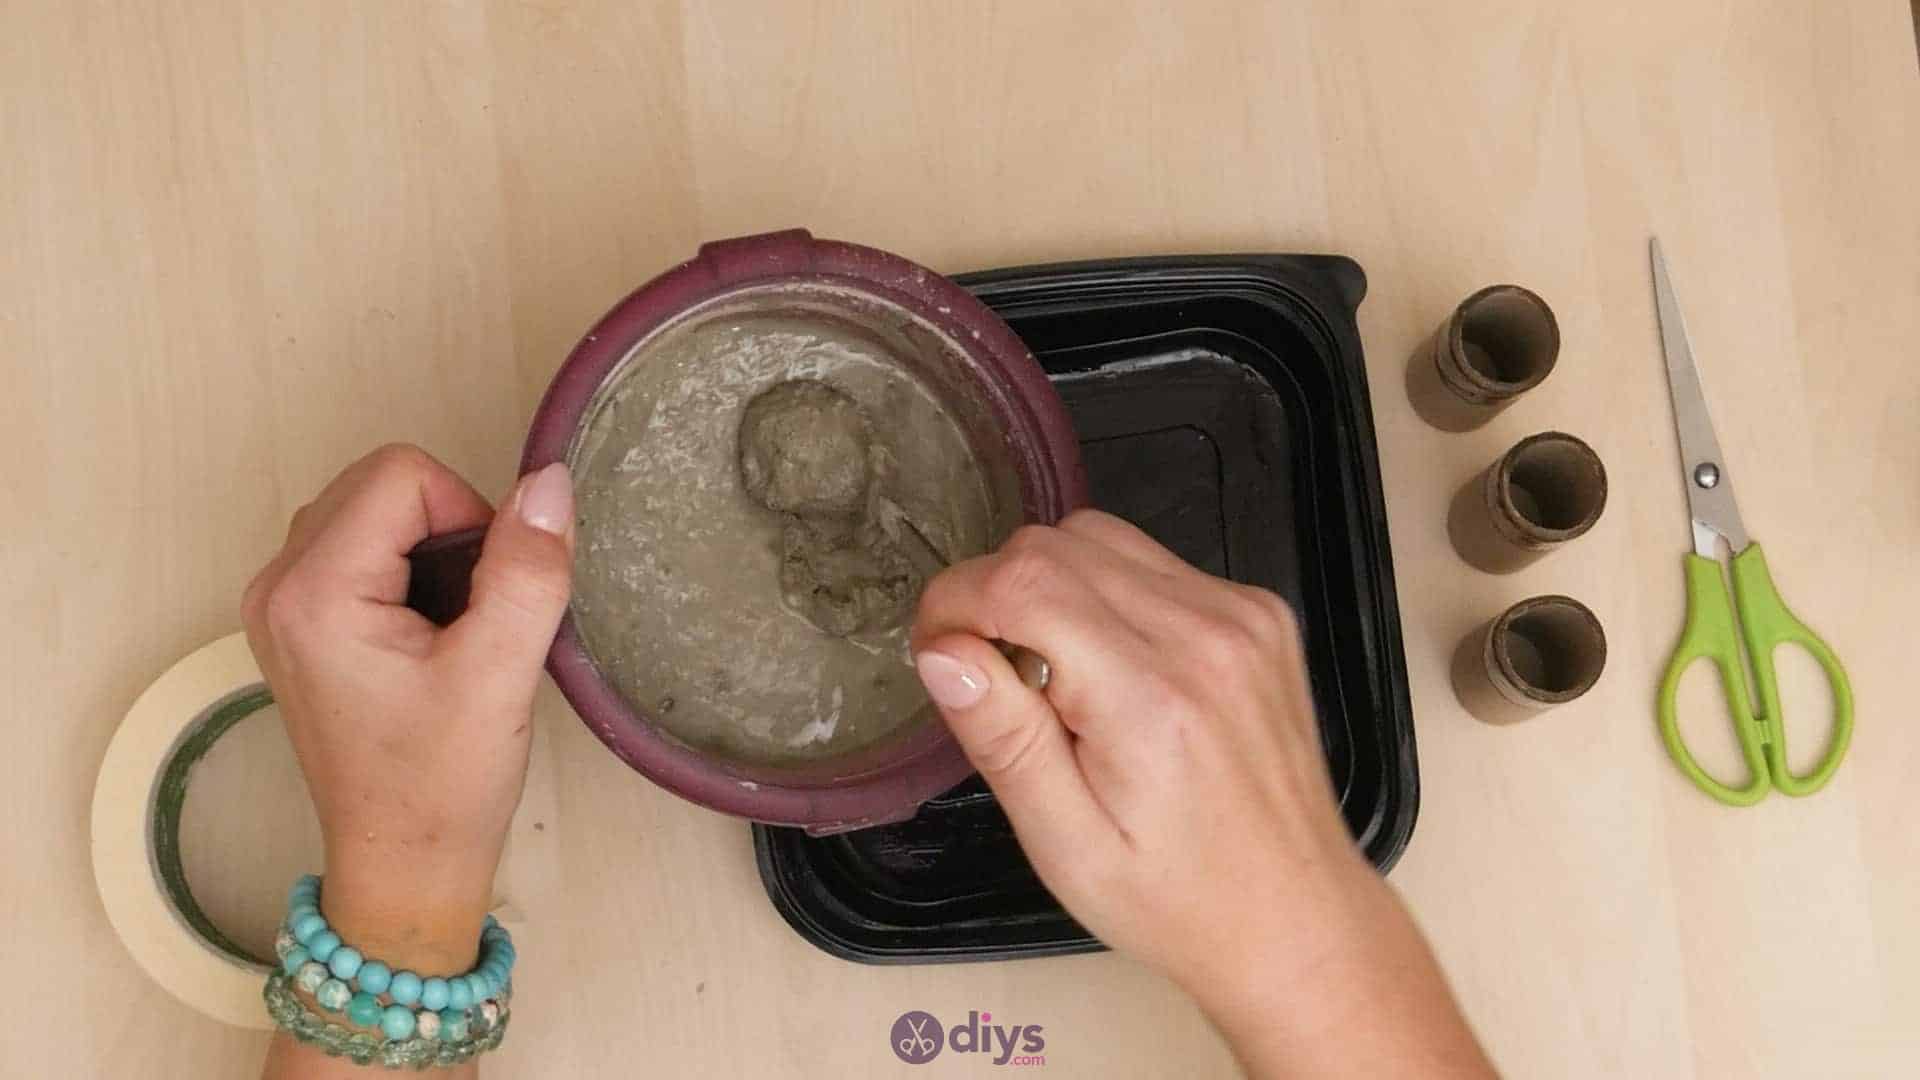
Mix your DIY concrete, using a spoon to stir the powder together with water in a mixing bowl. Follow the instructions on the package of your particular brand to get the ratio of water to fine particle cement mix correct; it can vary from kind to kind to get the right consistency.

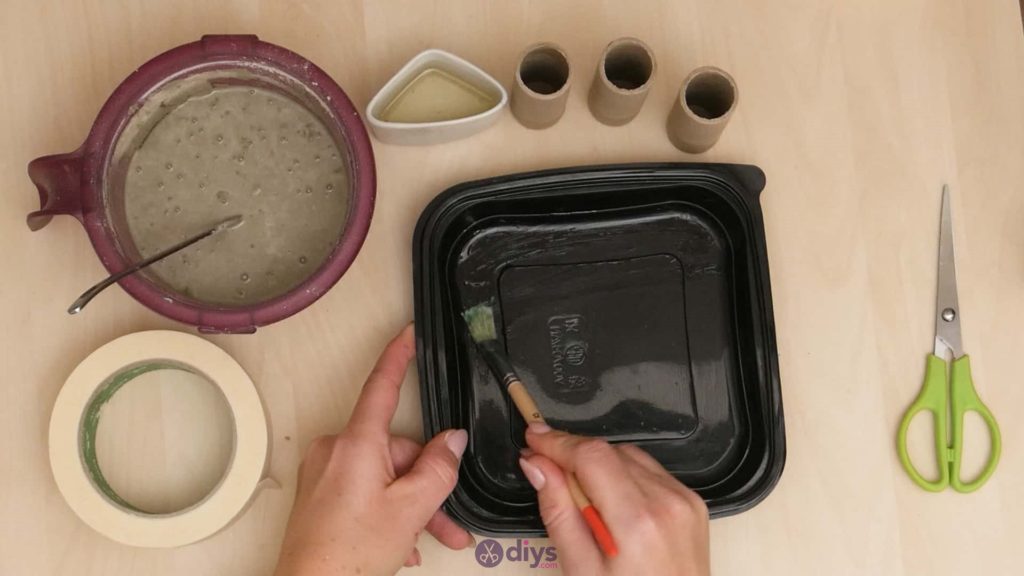
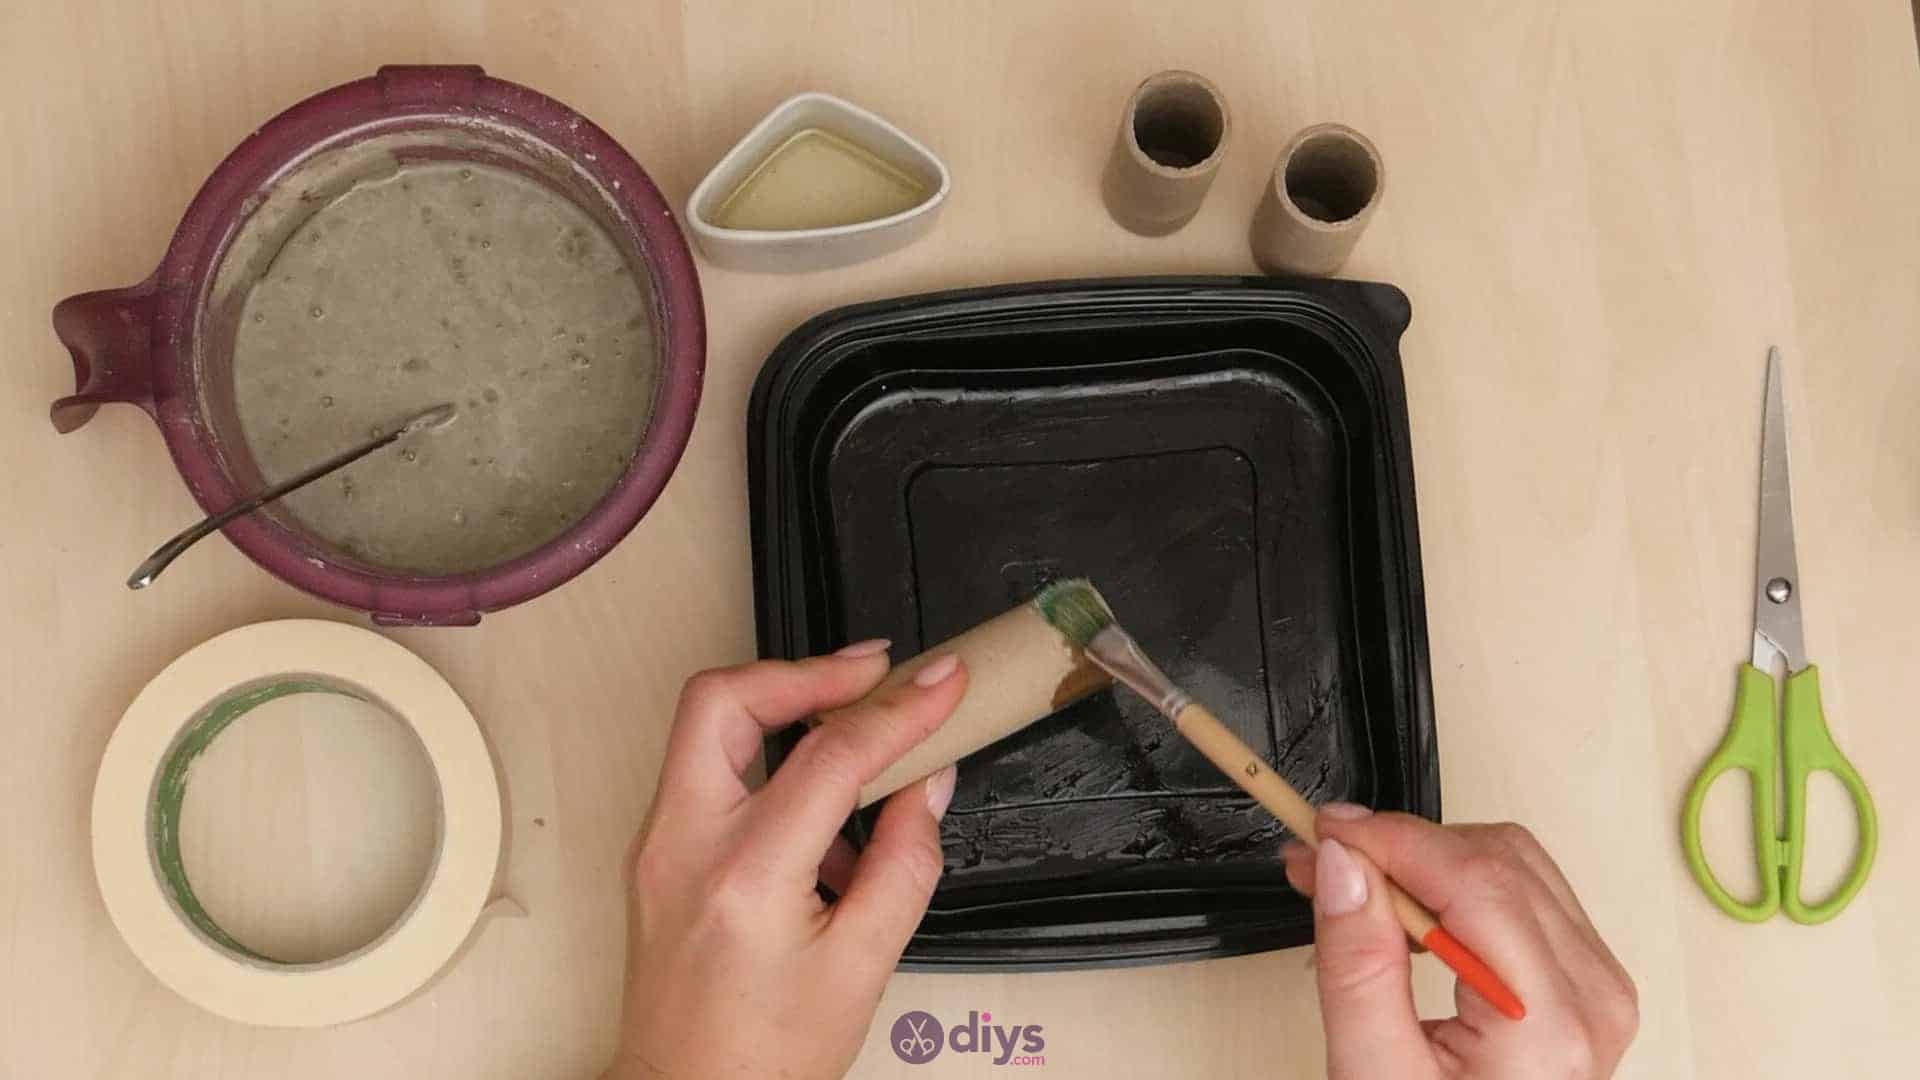
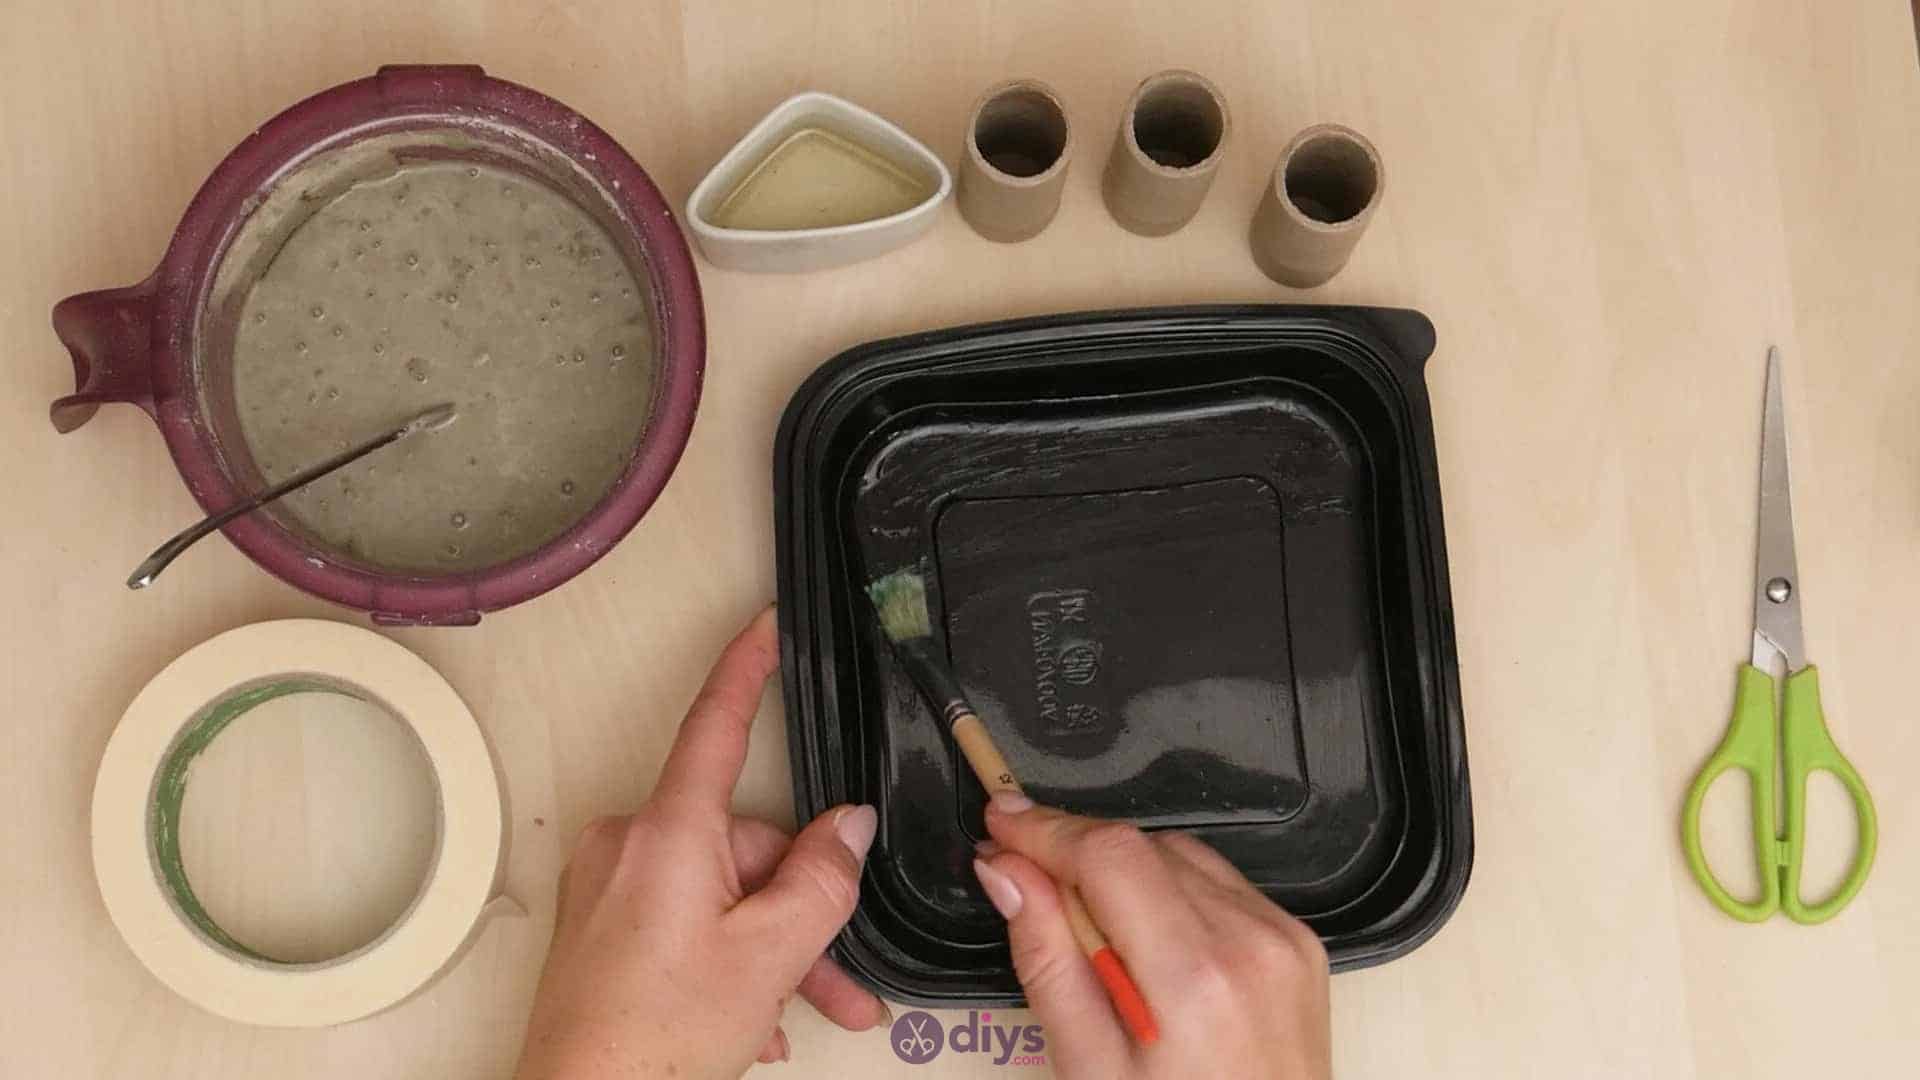
Step 2: coat with oil
Use your paintbrush to coat the entire inside of the tray with oil. This will let you mold your shape and leave it to dry without the concrete mix sticking to the sides too hard, letting you remove the finished shape easier.
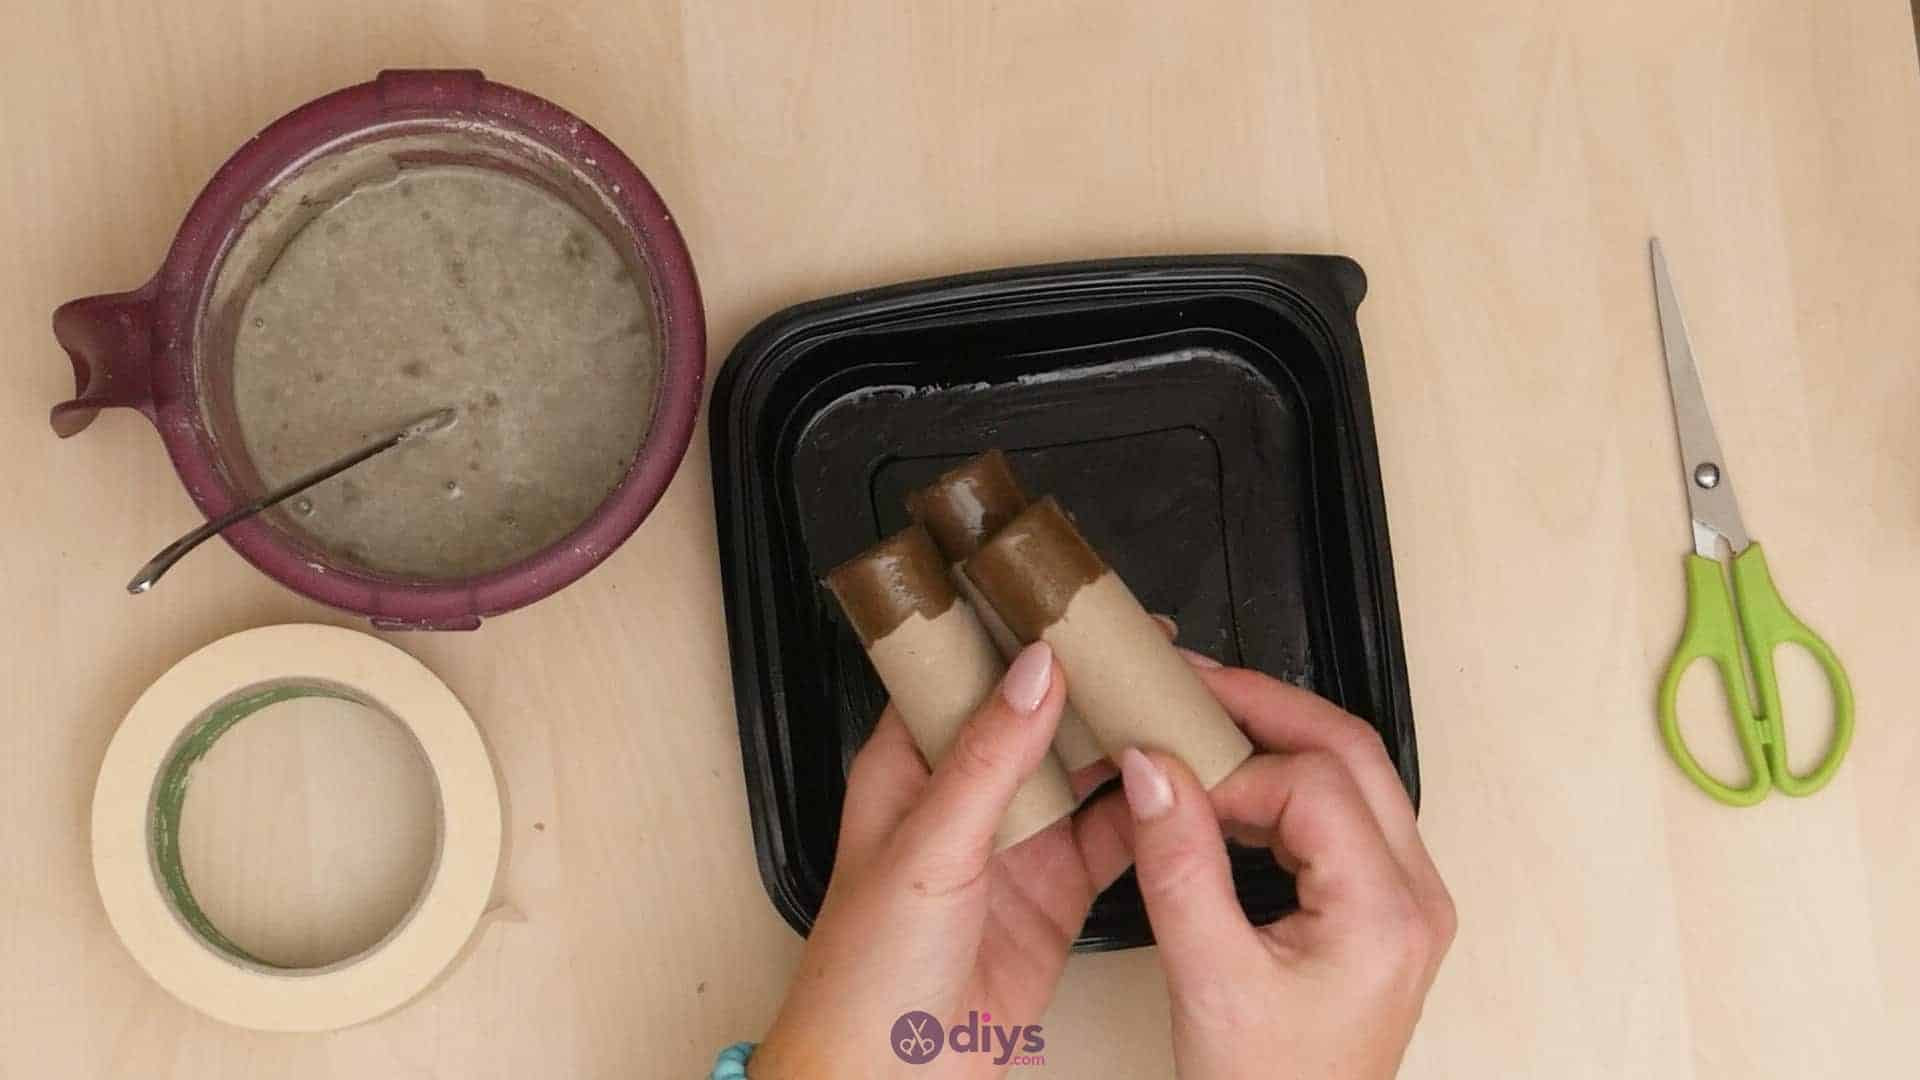
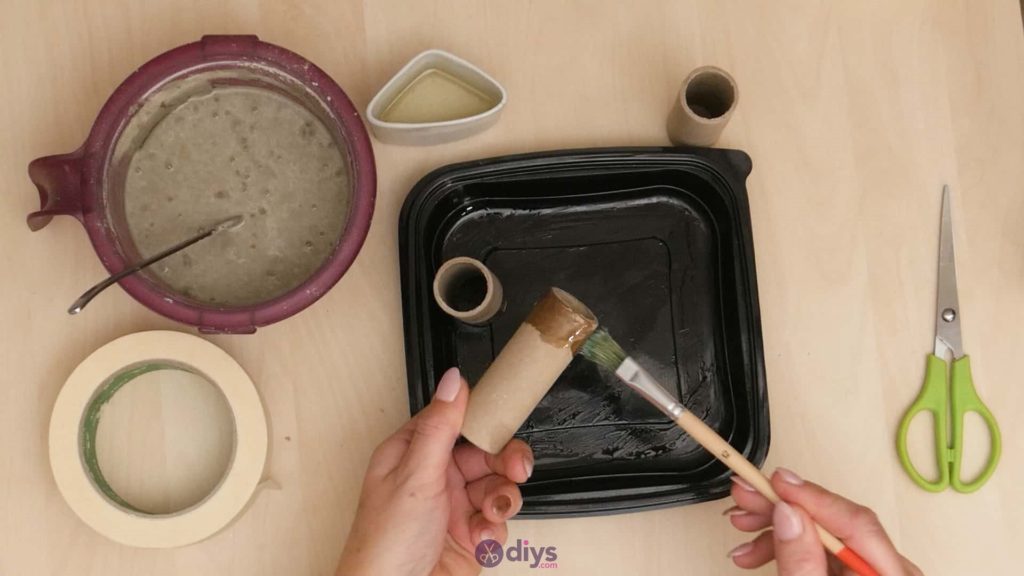
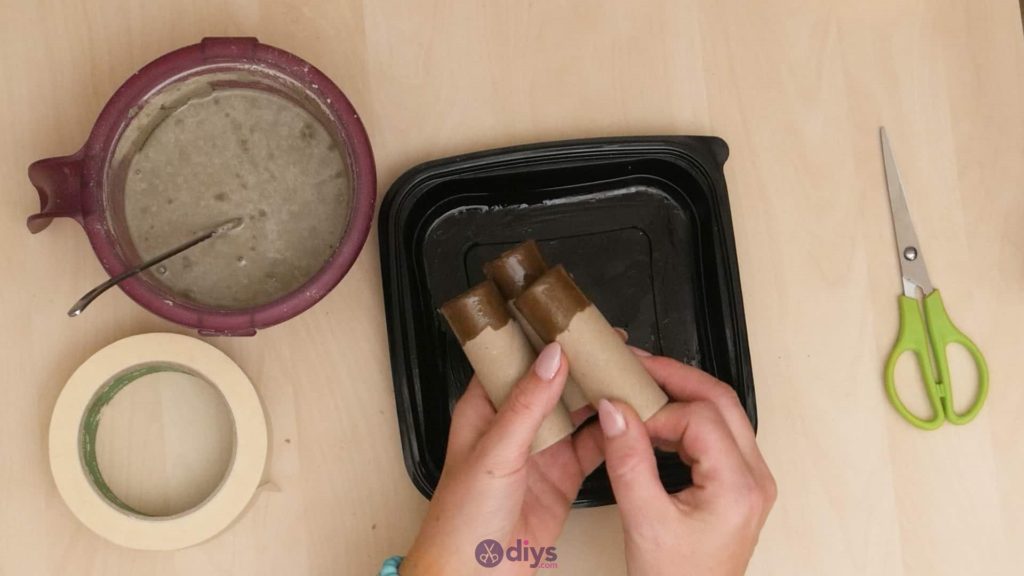
Step 3: oil the rolls
Now use your paintbrush to coat the bottom part of your three empty toilet rolls in oil as well. I coated mine about an inch or an inch and a half of the way up to make sure that the level of concrete filling the tray doesn’t sit higher than the oil line. This keeps the finished product from sticking too badly to the toilet rolls as it dries. Set them aside for a moment.

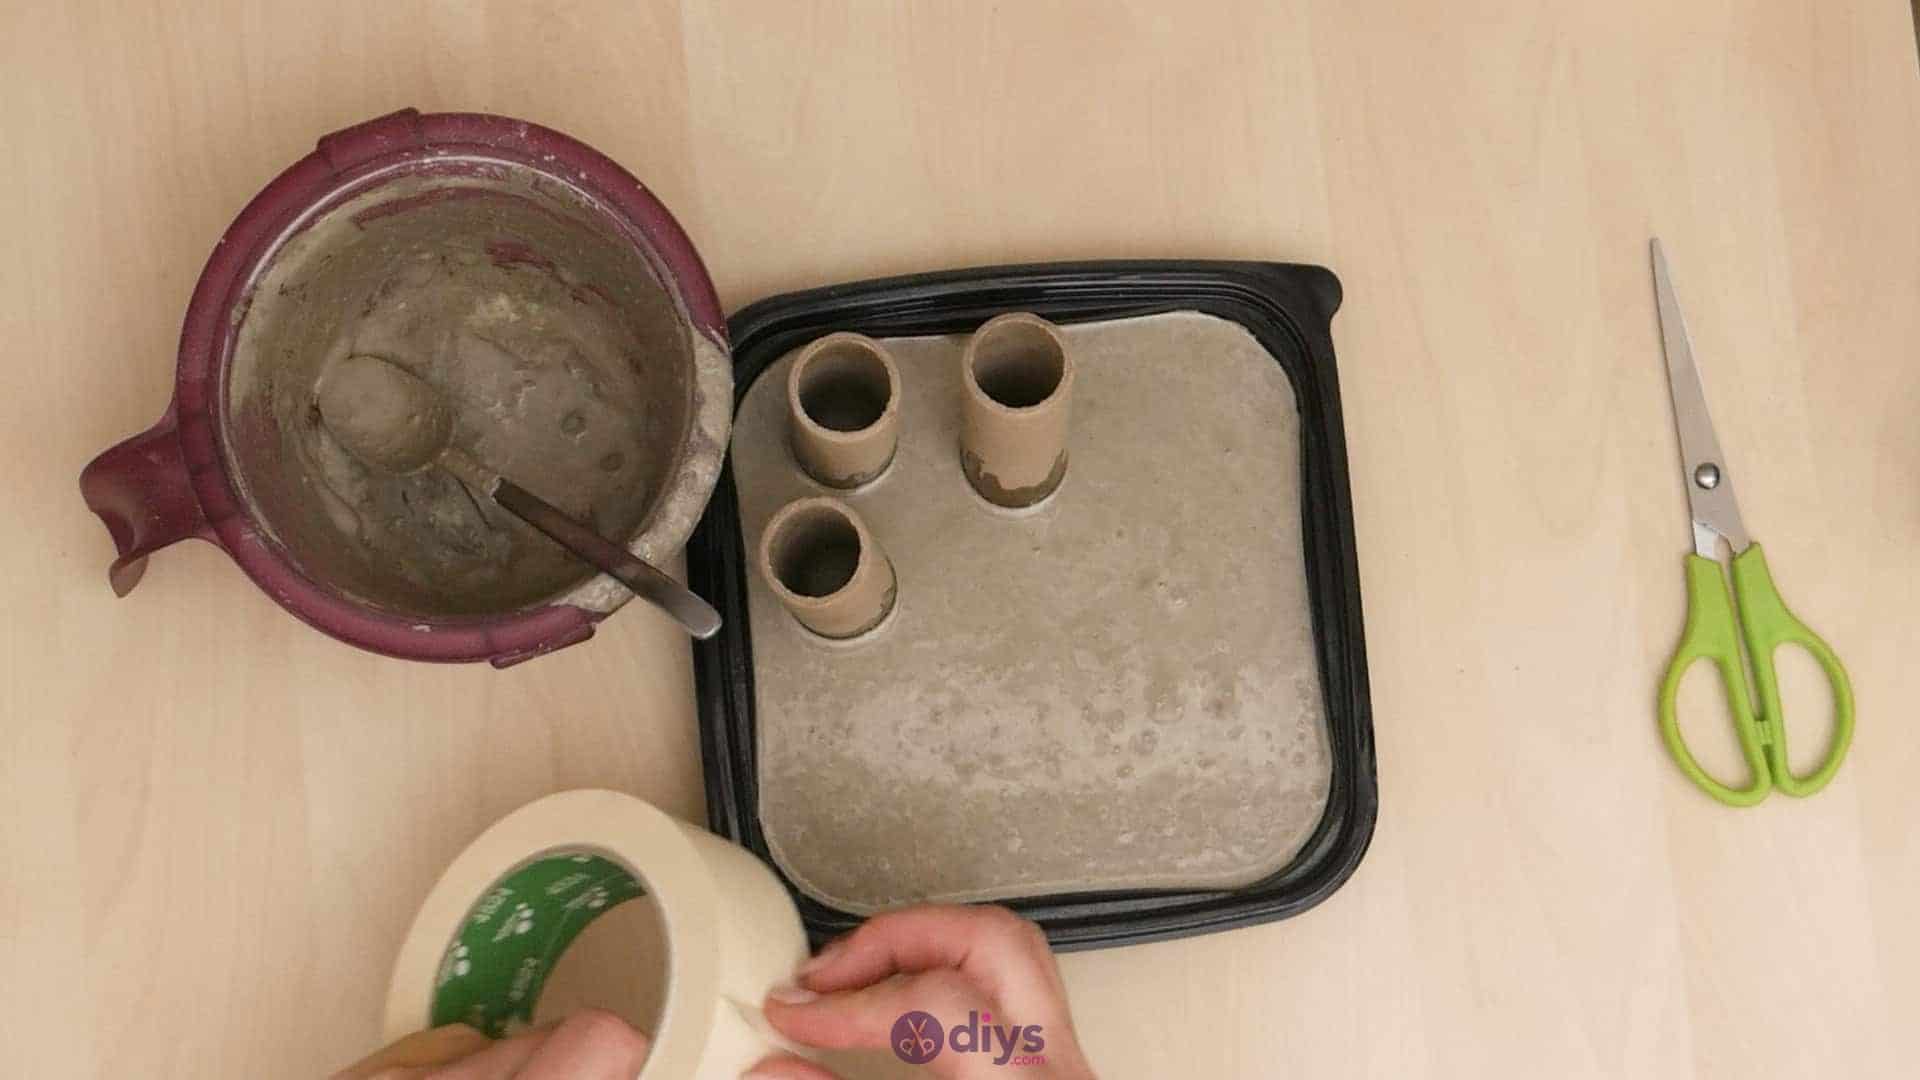
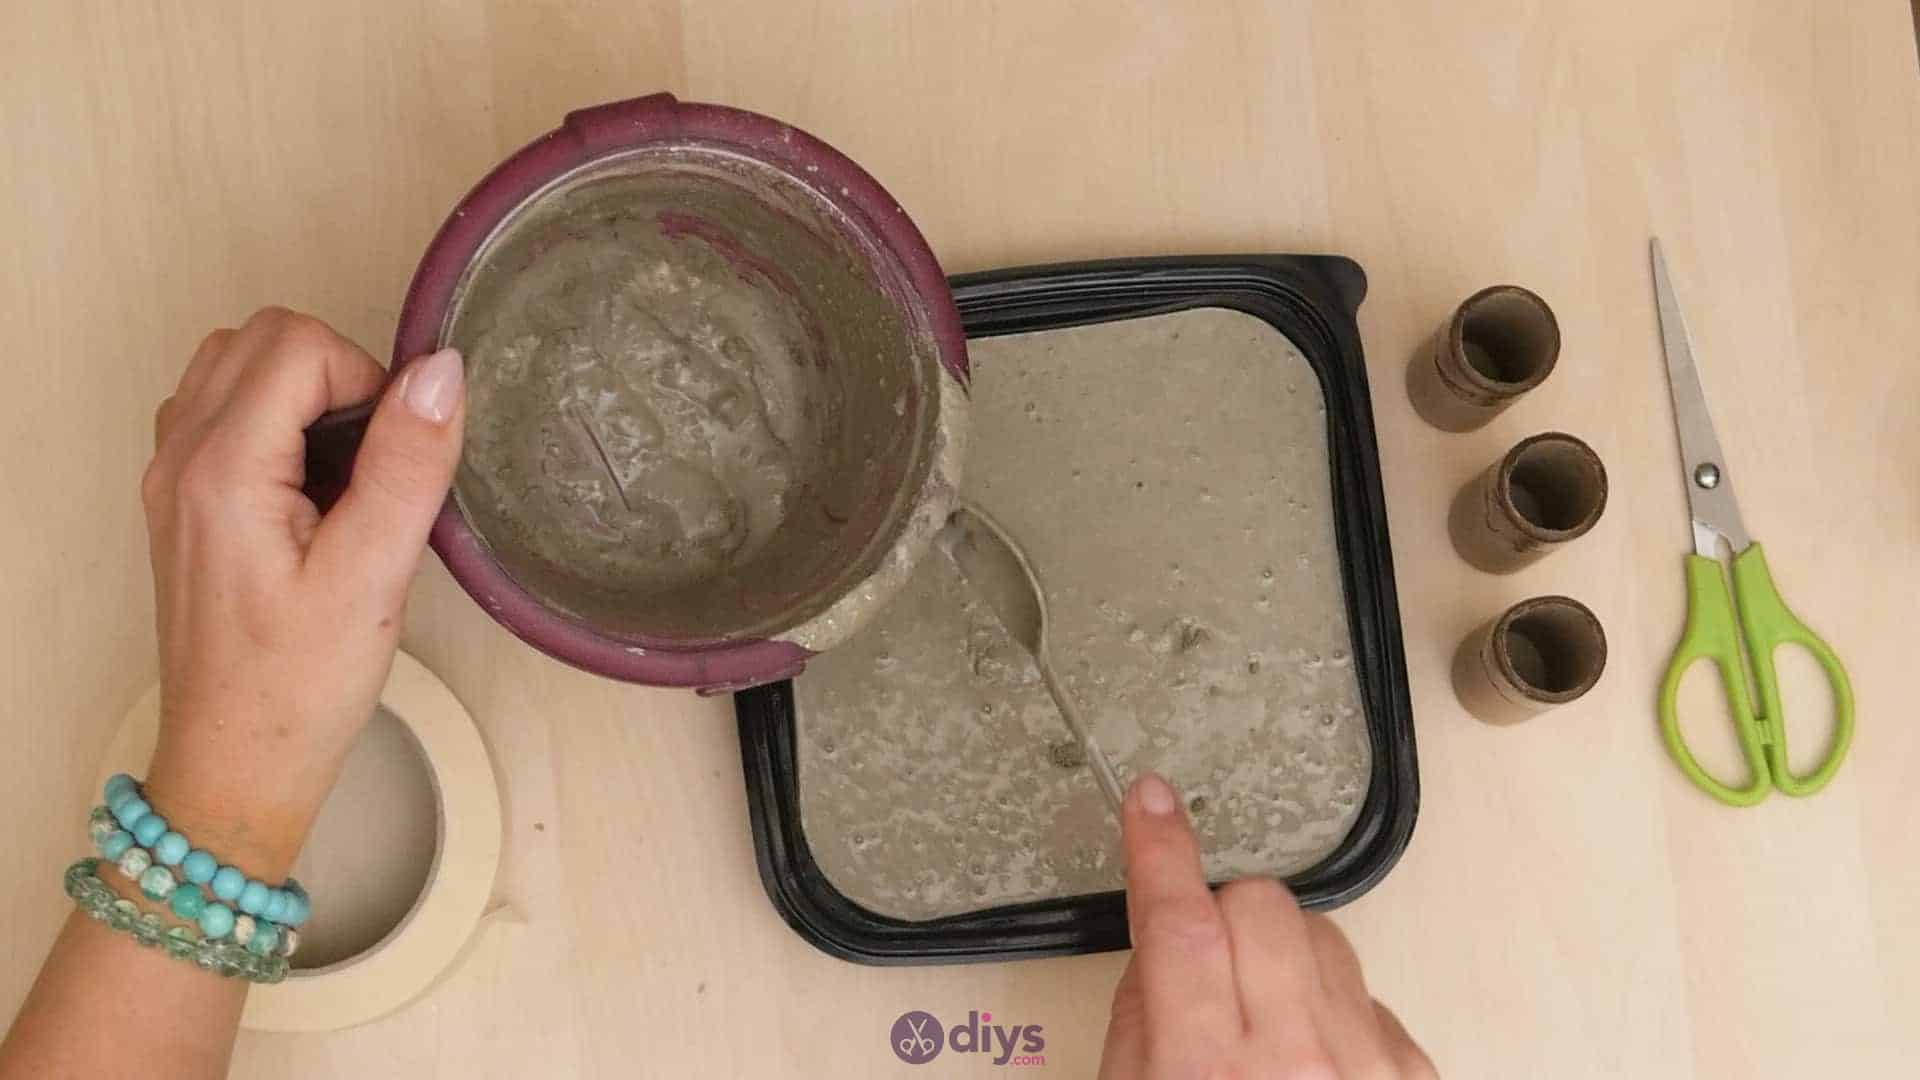
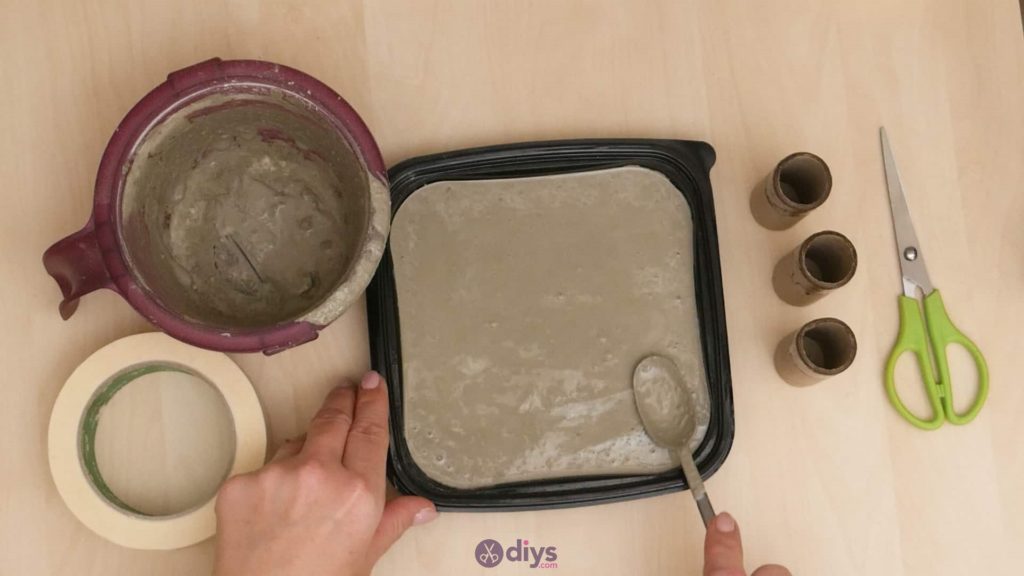
Step 4: pour the concrete
Fill your tray with DIY concrete mix! Once you’ve poured it all in (which I tried to do as evenly as I could), use your spoon to smooth the surface as best you can. You can also tap the bottom of the tray lightly on the tabletop to help get rid of clumps and air bubbles.


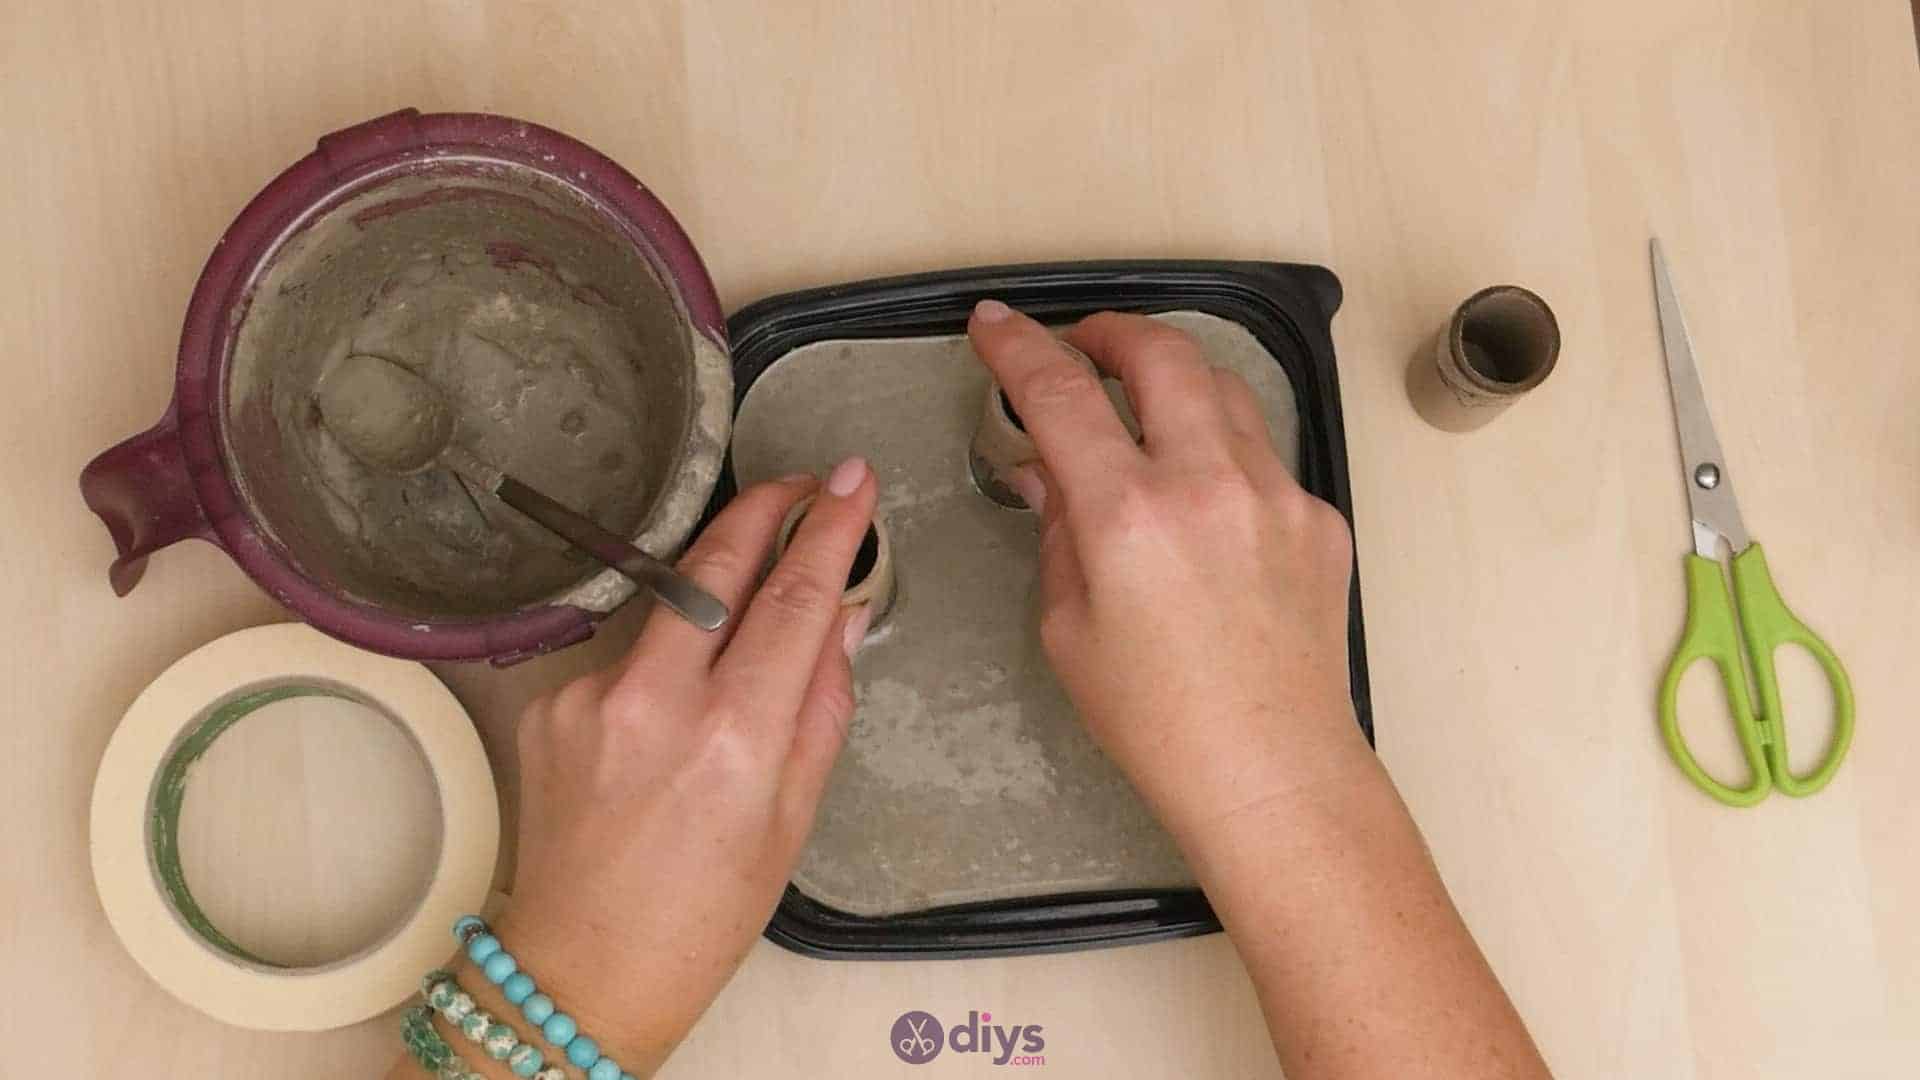
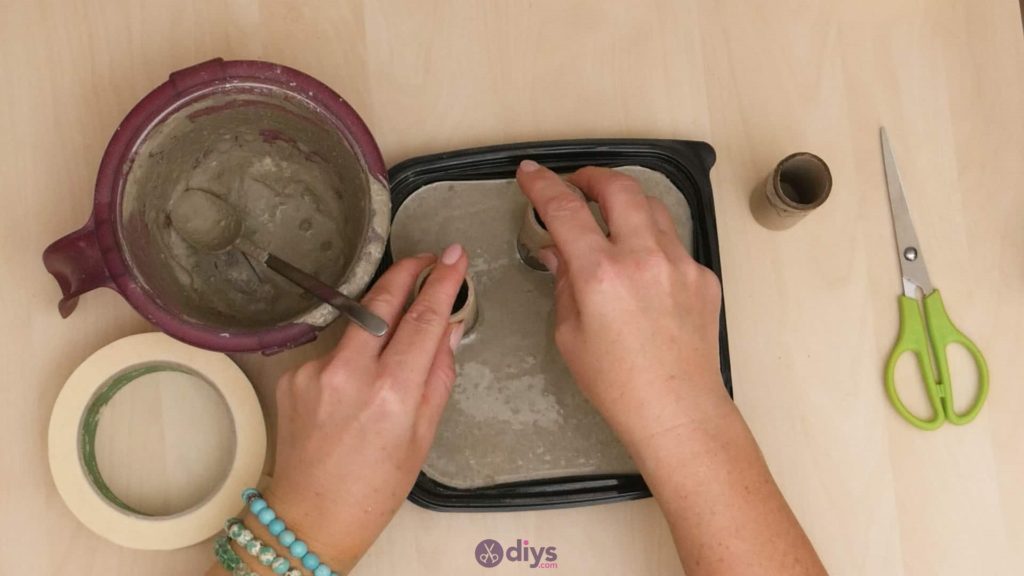
Step 5: place your rolls
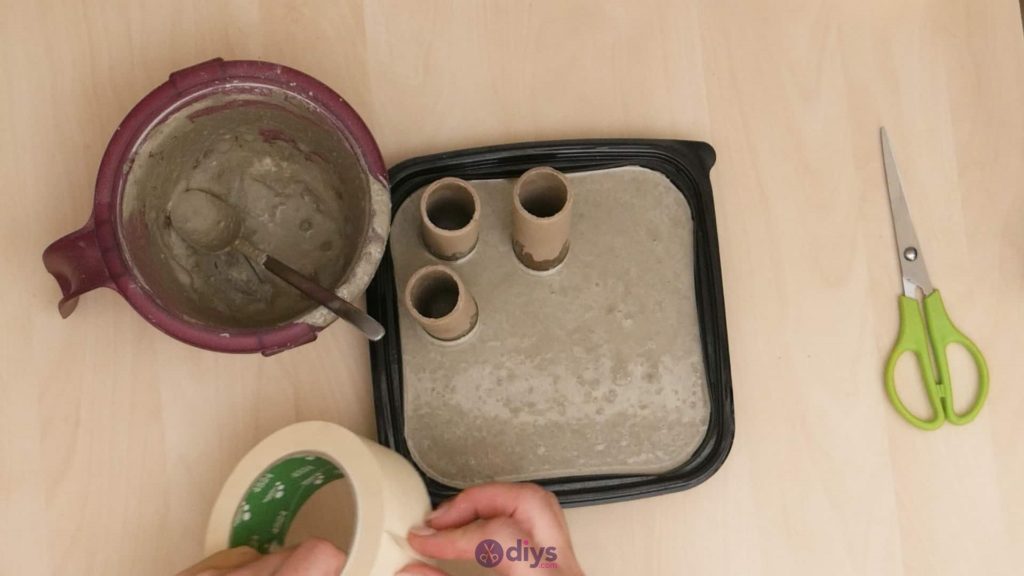
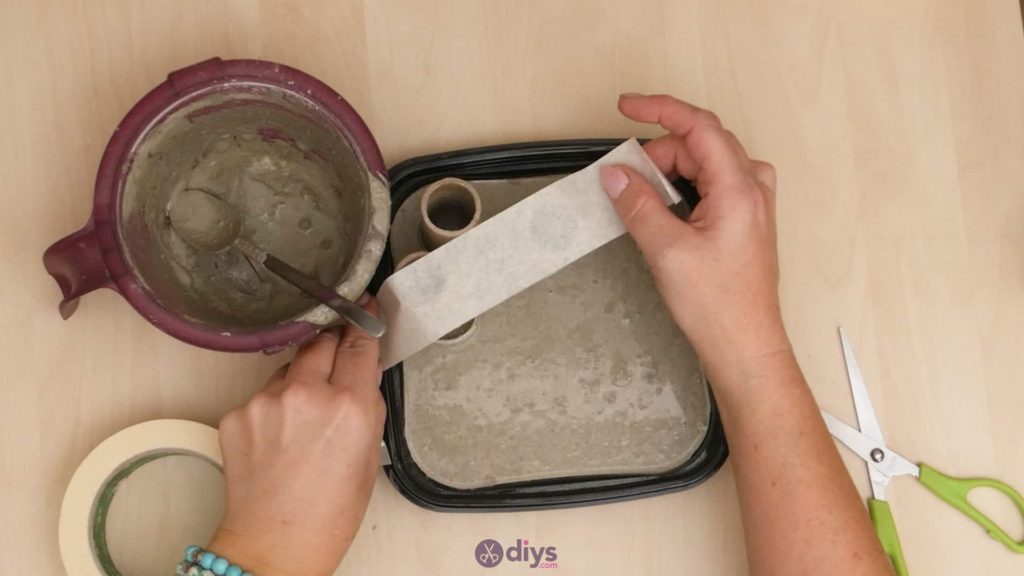
Once you’re happy with how smooth your surface is, place your empty toilet rolls by pressing them down into the concrete mix with the end that you applied oil to facing towards the bottom of the tray. I placed mine all three in a little triangle in one corner, but you can feel free to change that up how you please. Once you’re happy with their placement, stretch tape from one side of the tray to the other across the tops of the toilet rolls so they’re held in place and don’t drift and shift as the concrete mix dries.
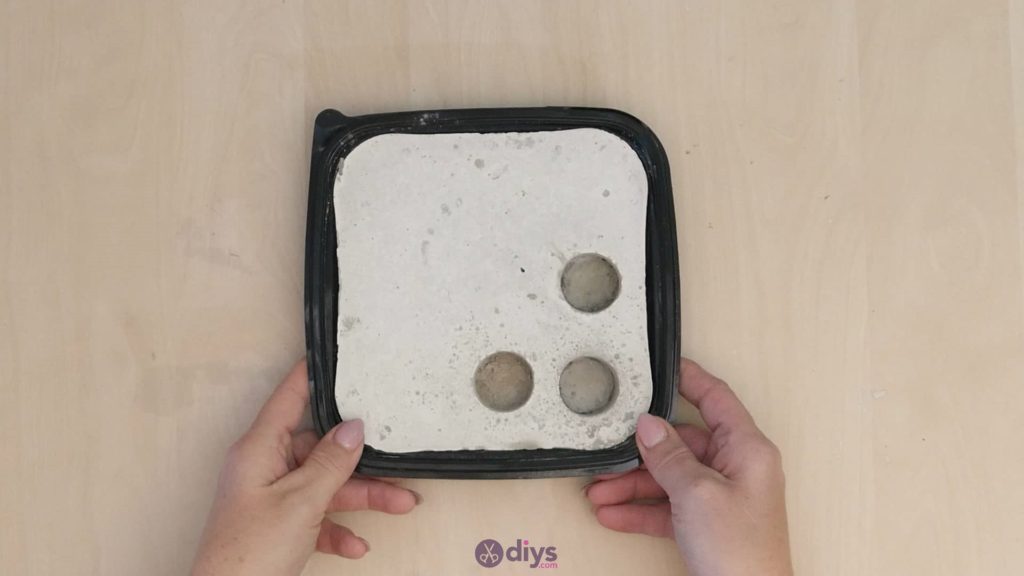
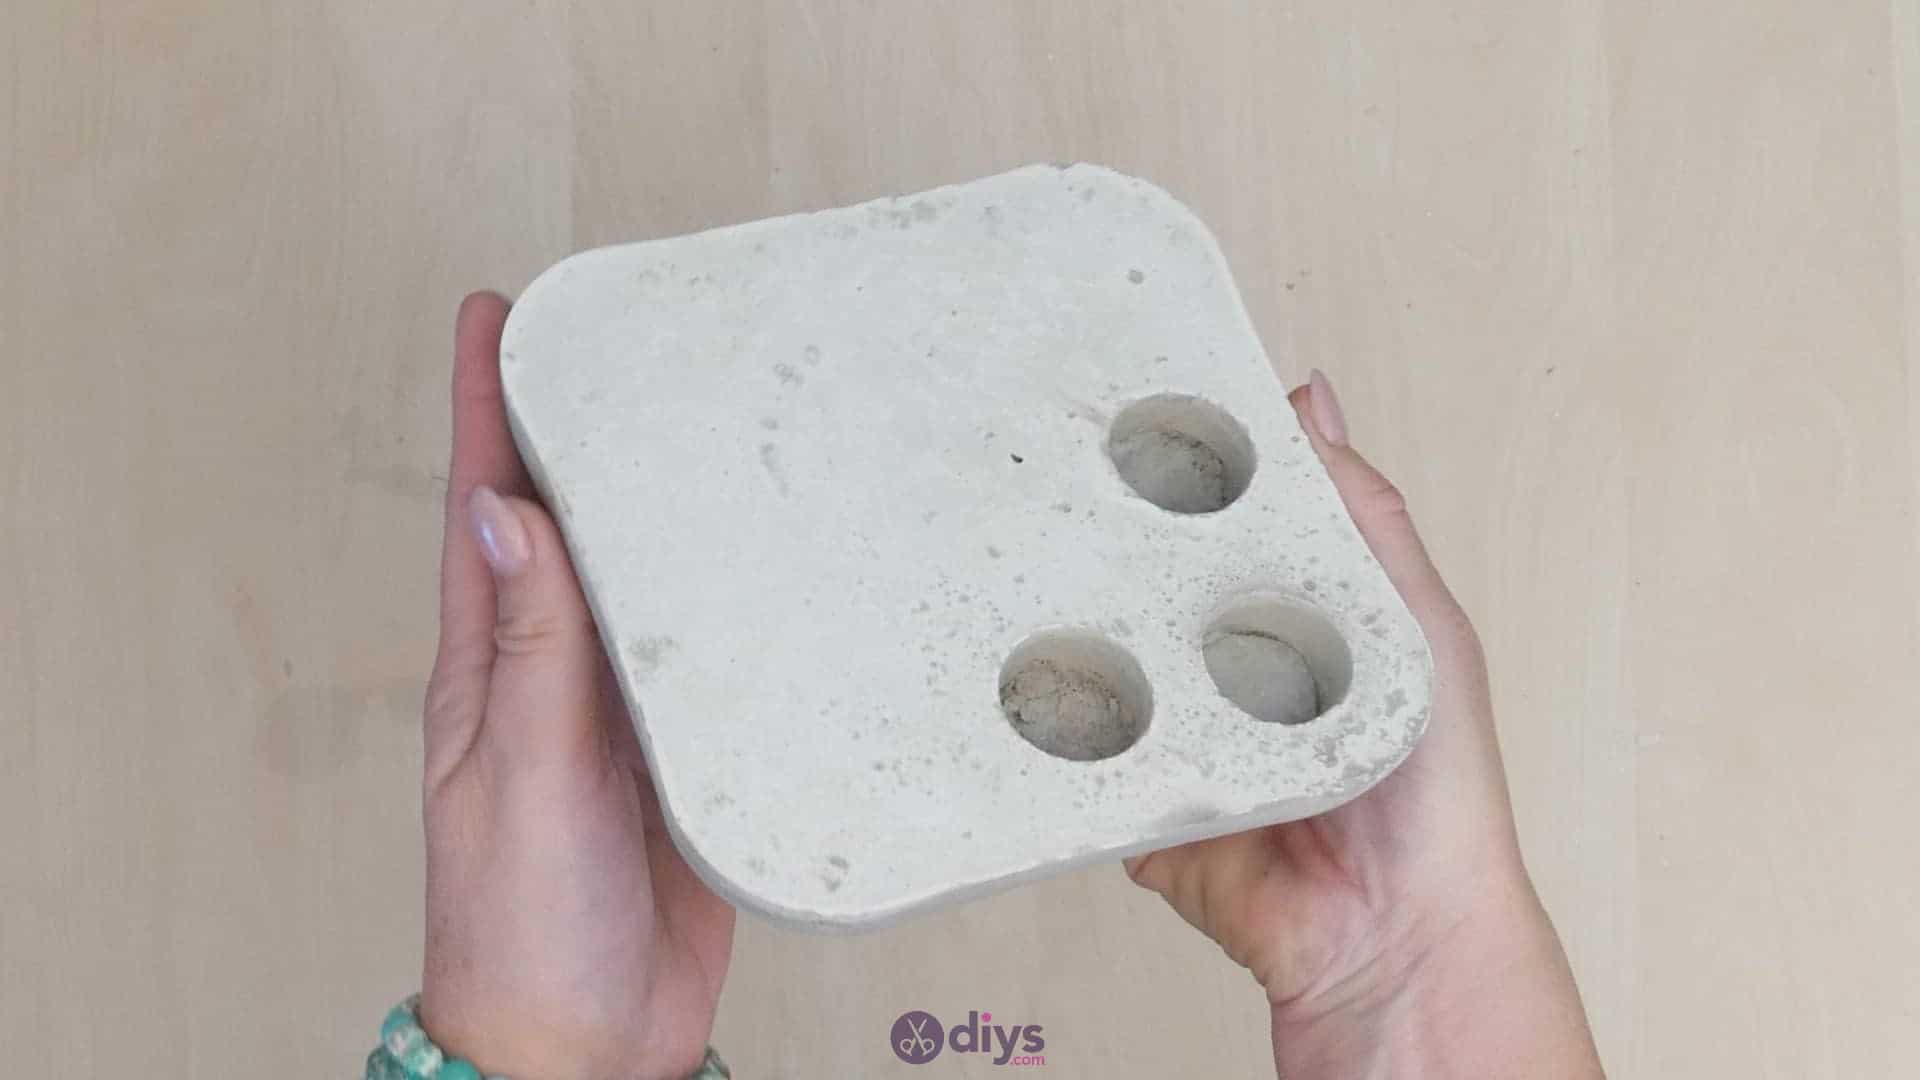
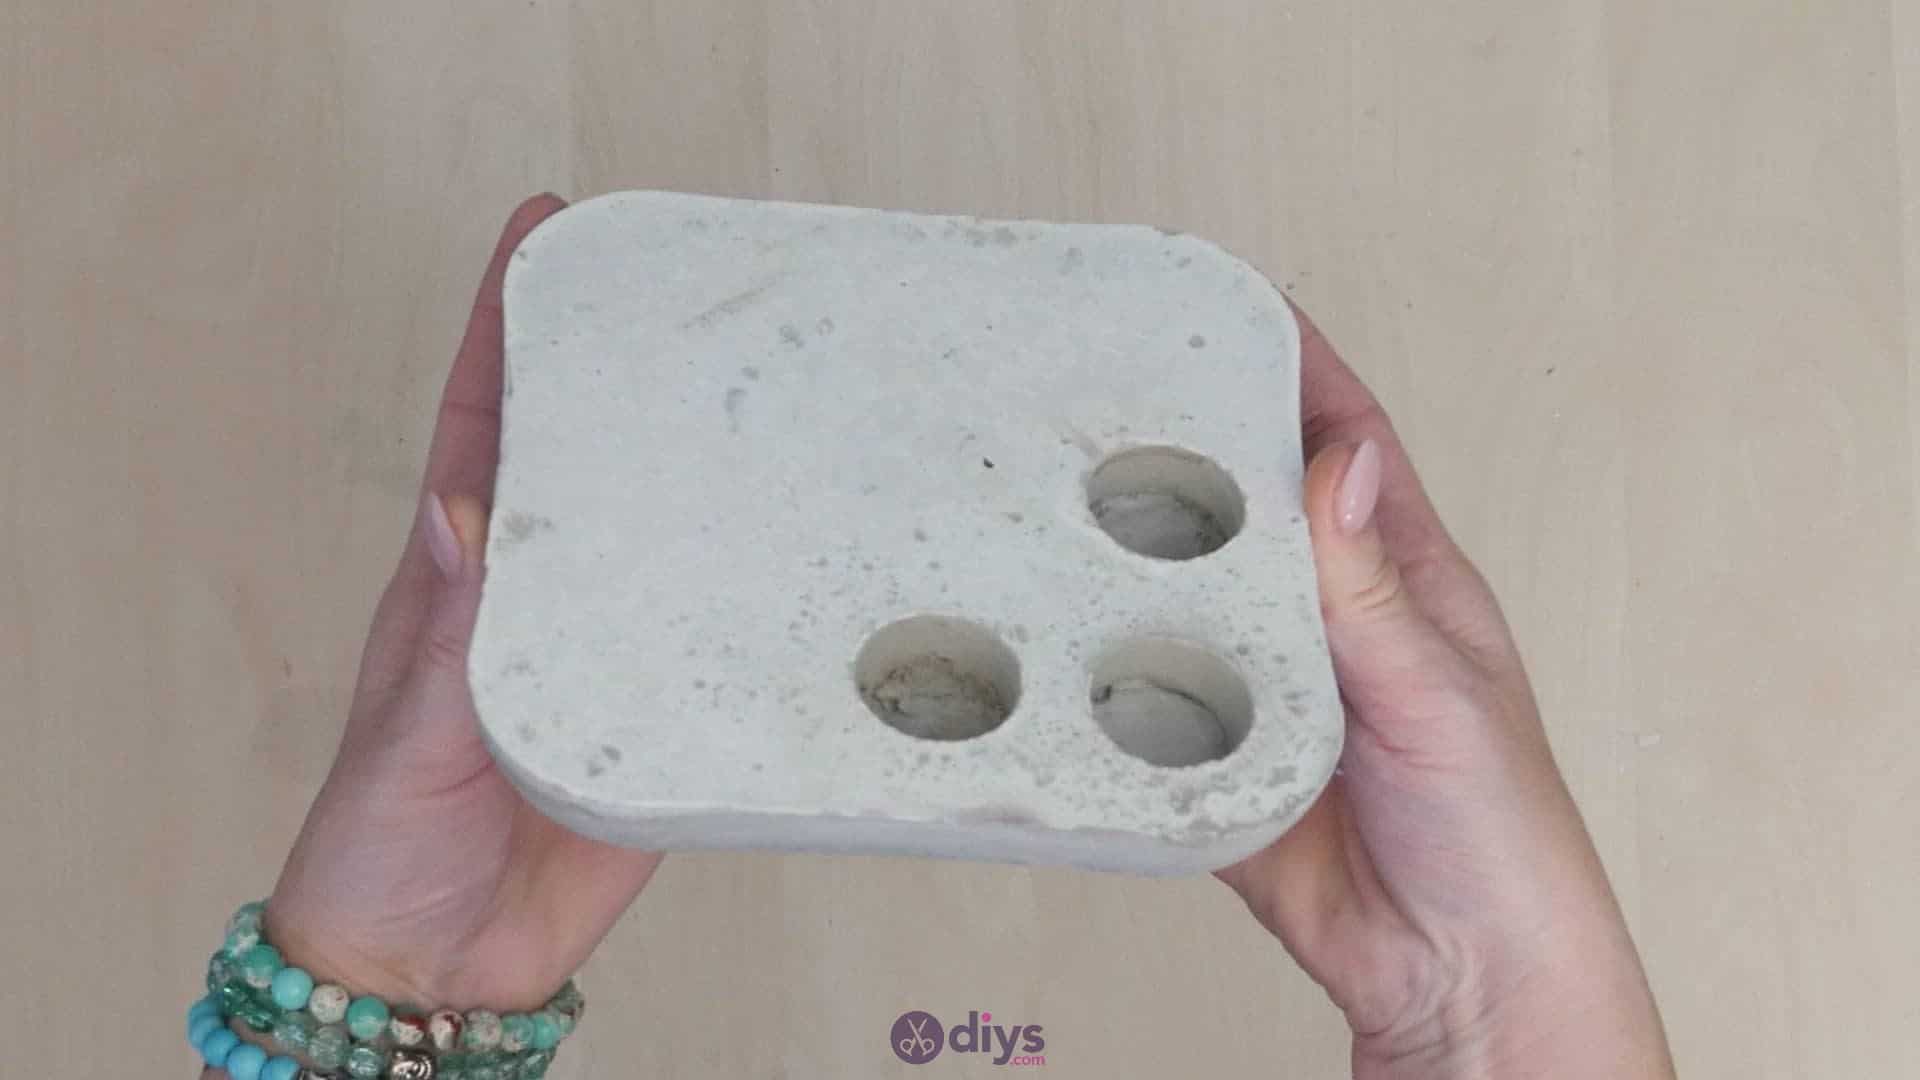
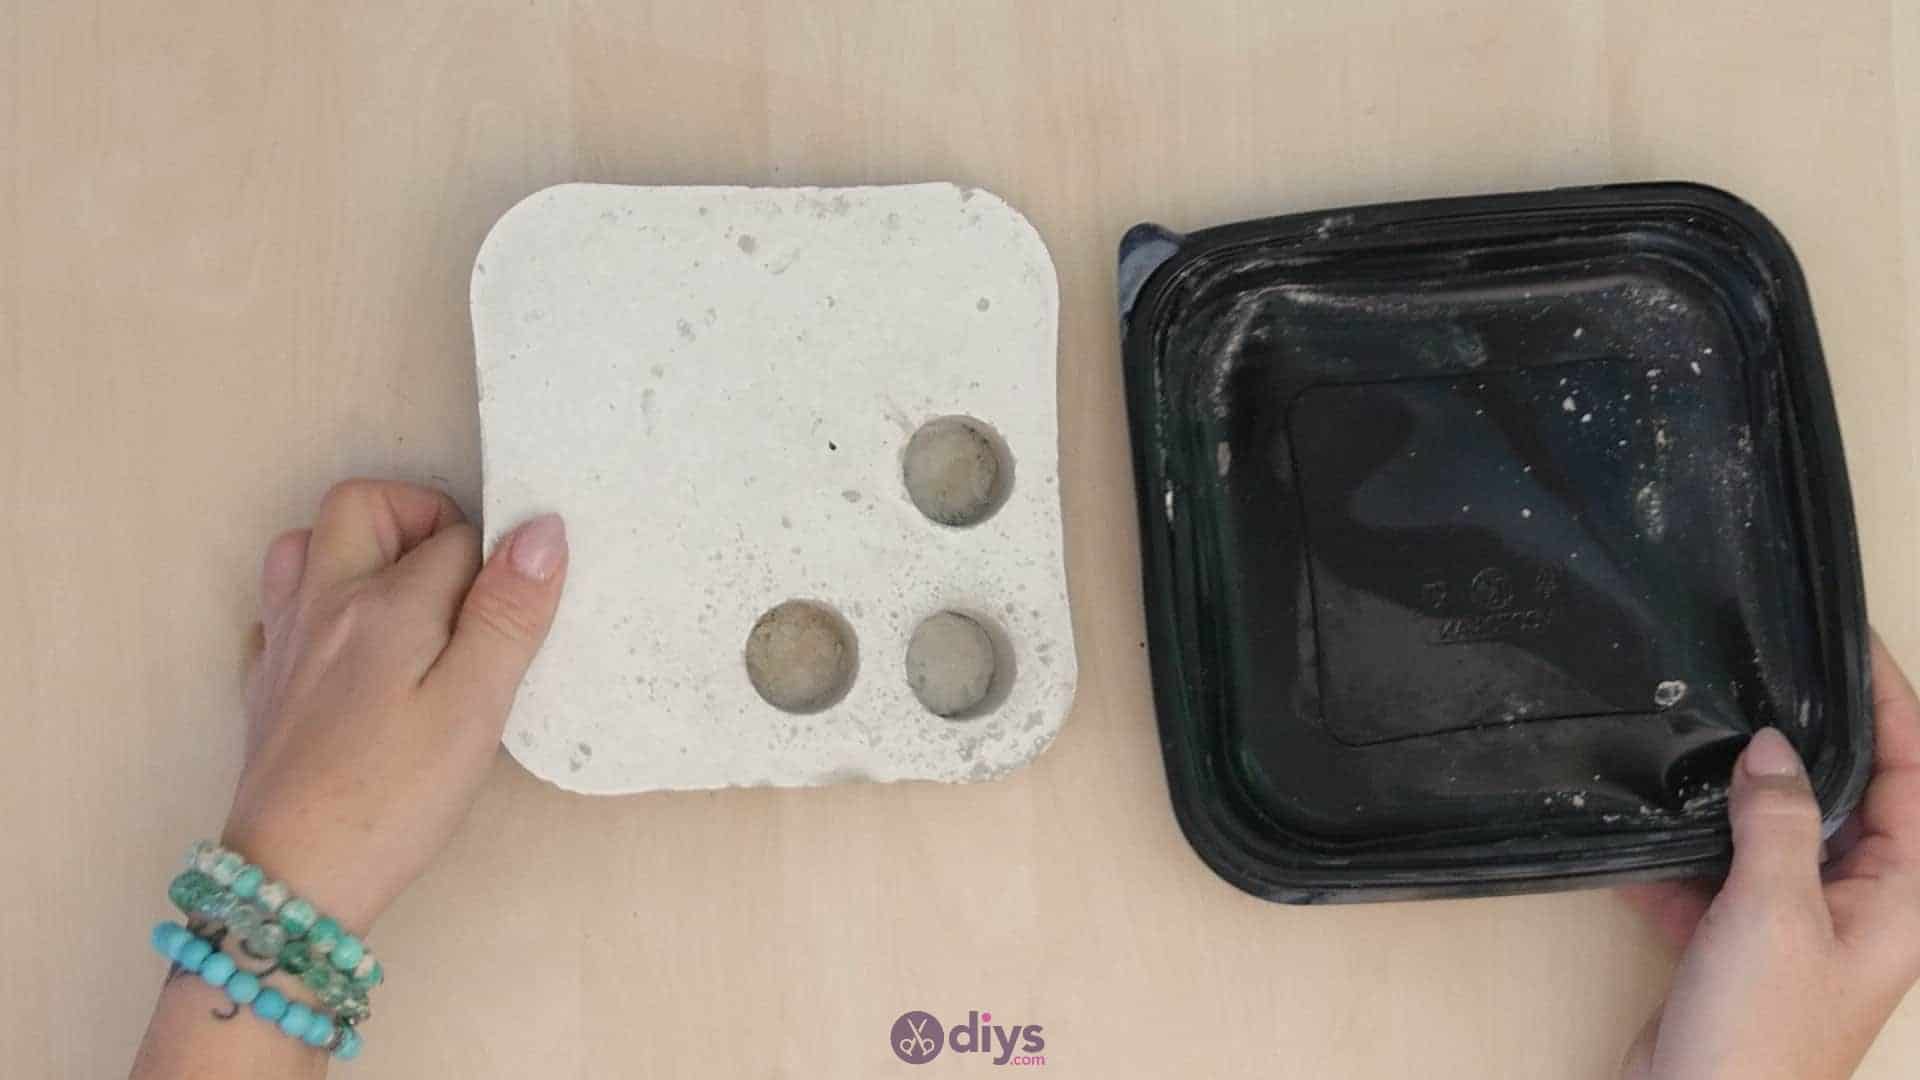
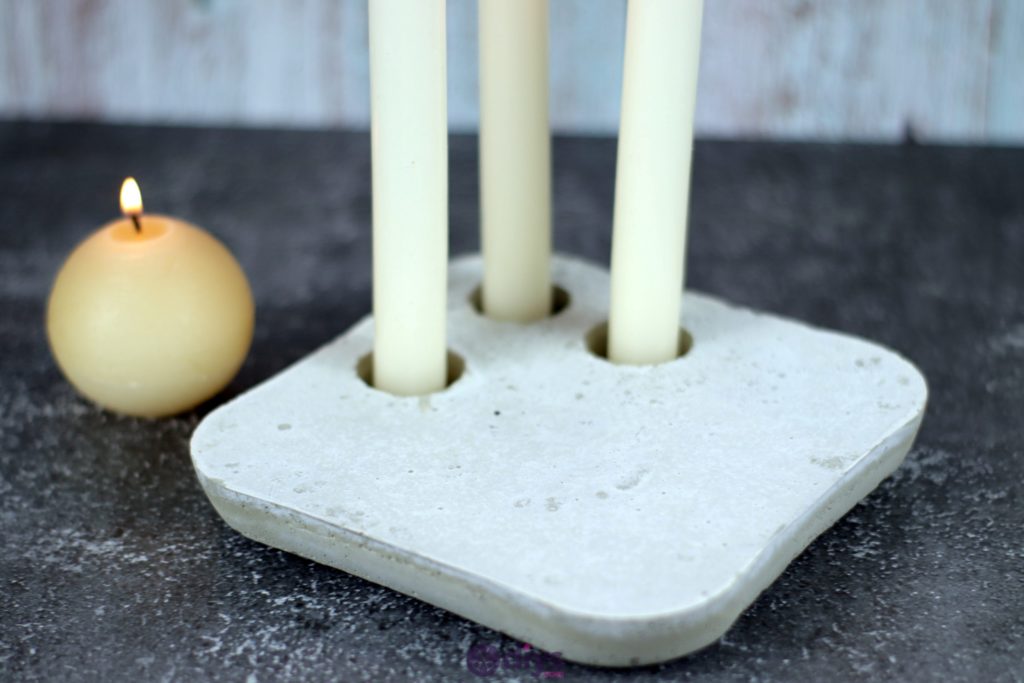
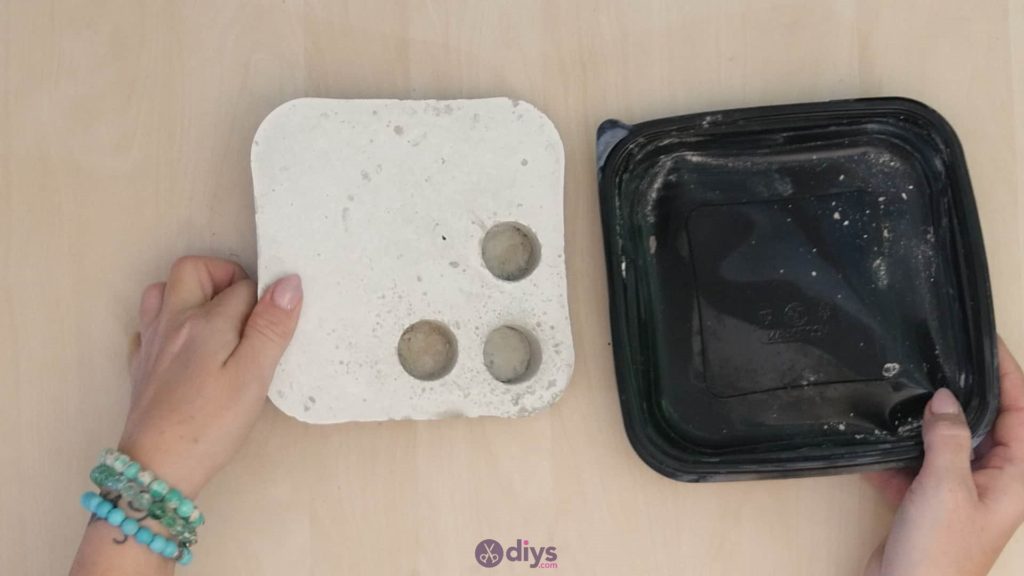
Step 6: remove from molds
Once your concrete mix has dried completely and thoroughly, pop it out of your tray! I should lift away from the sides quite easily thanks to the oil you put down before.
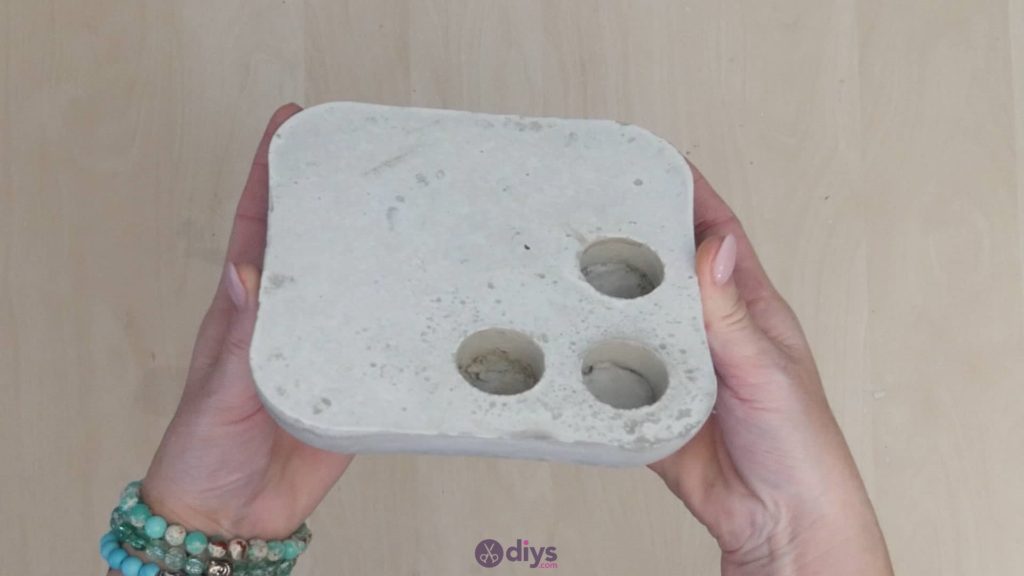
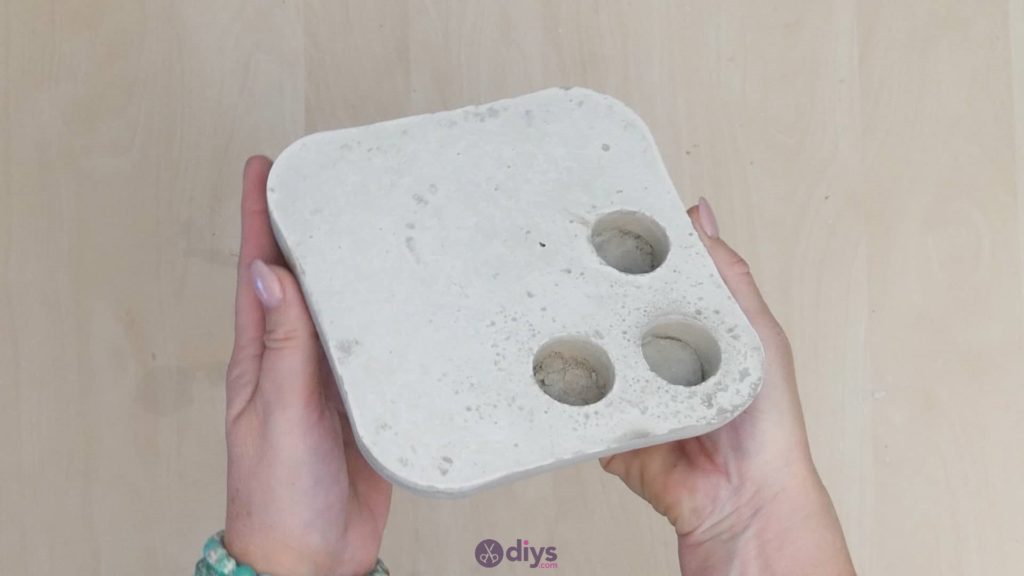

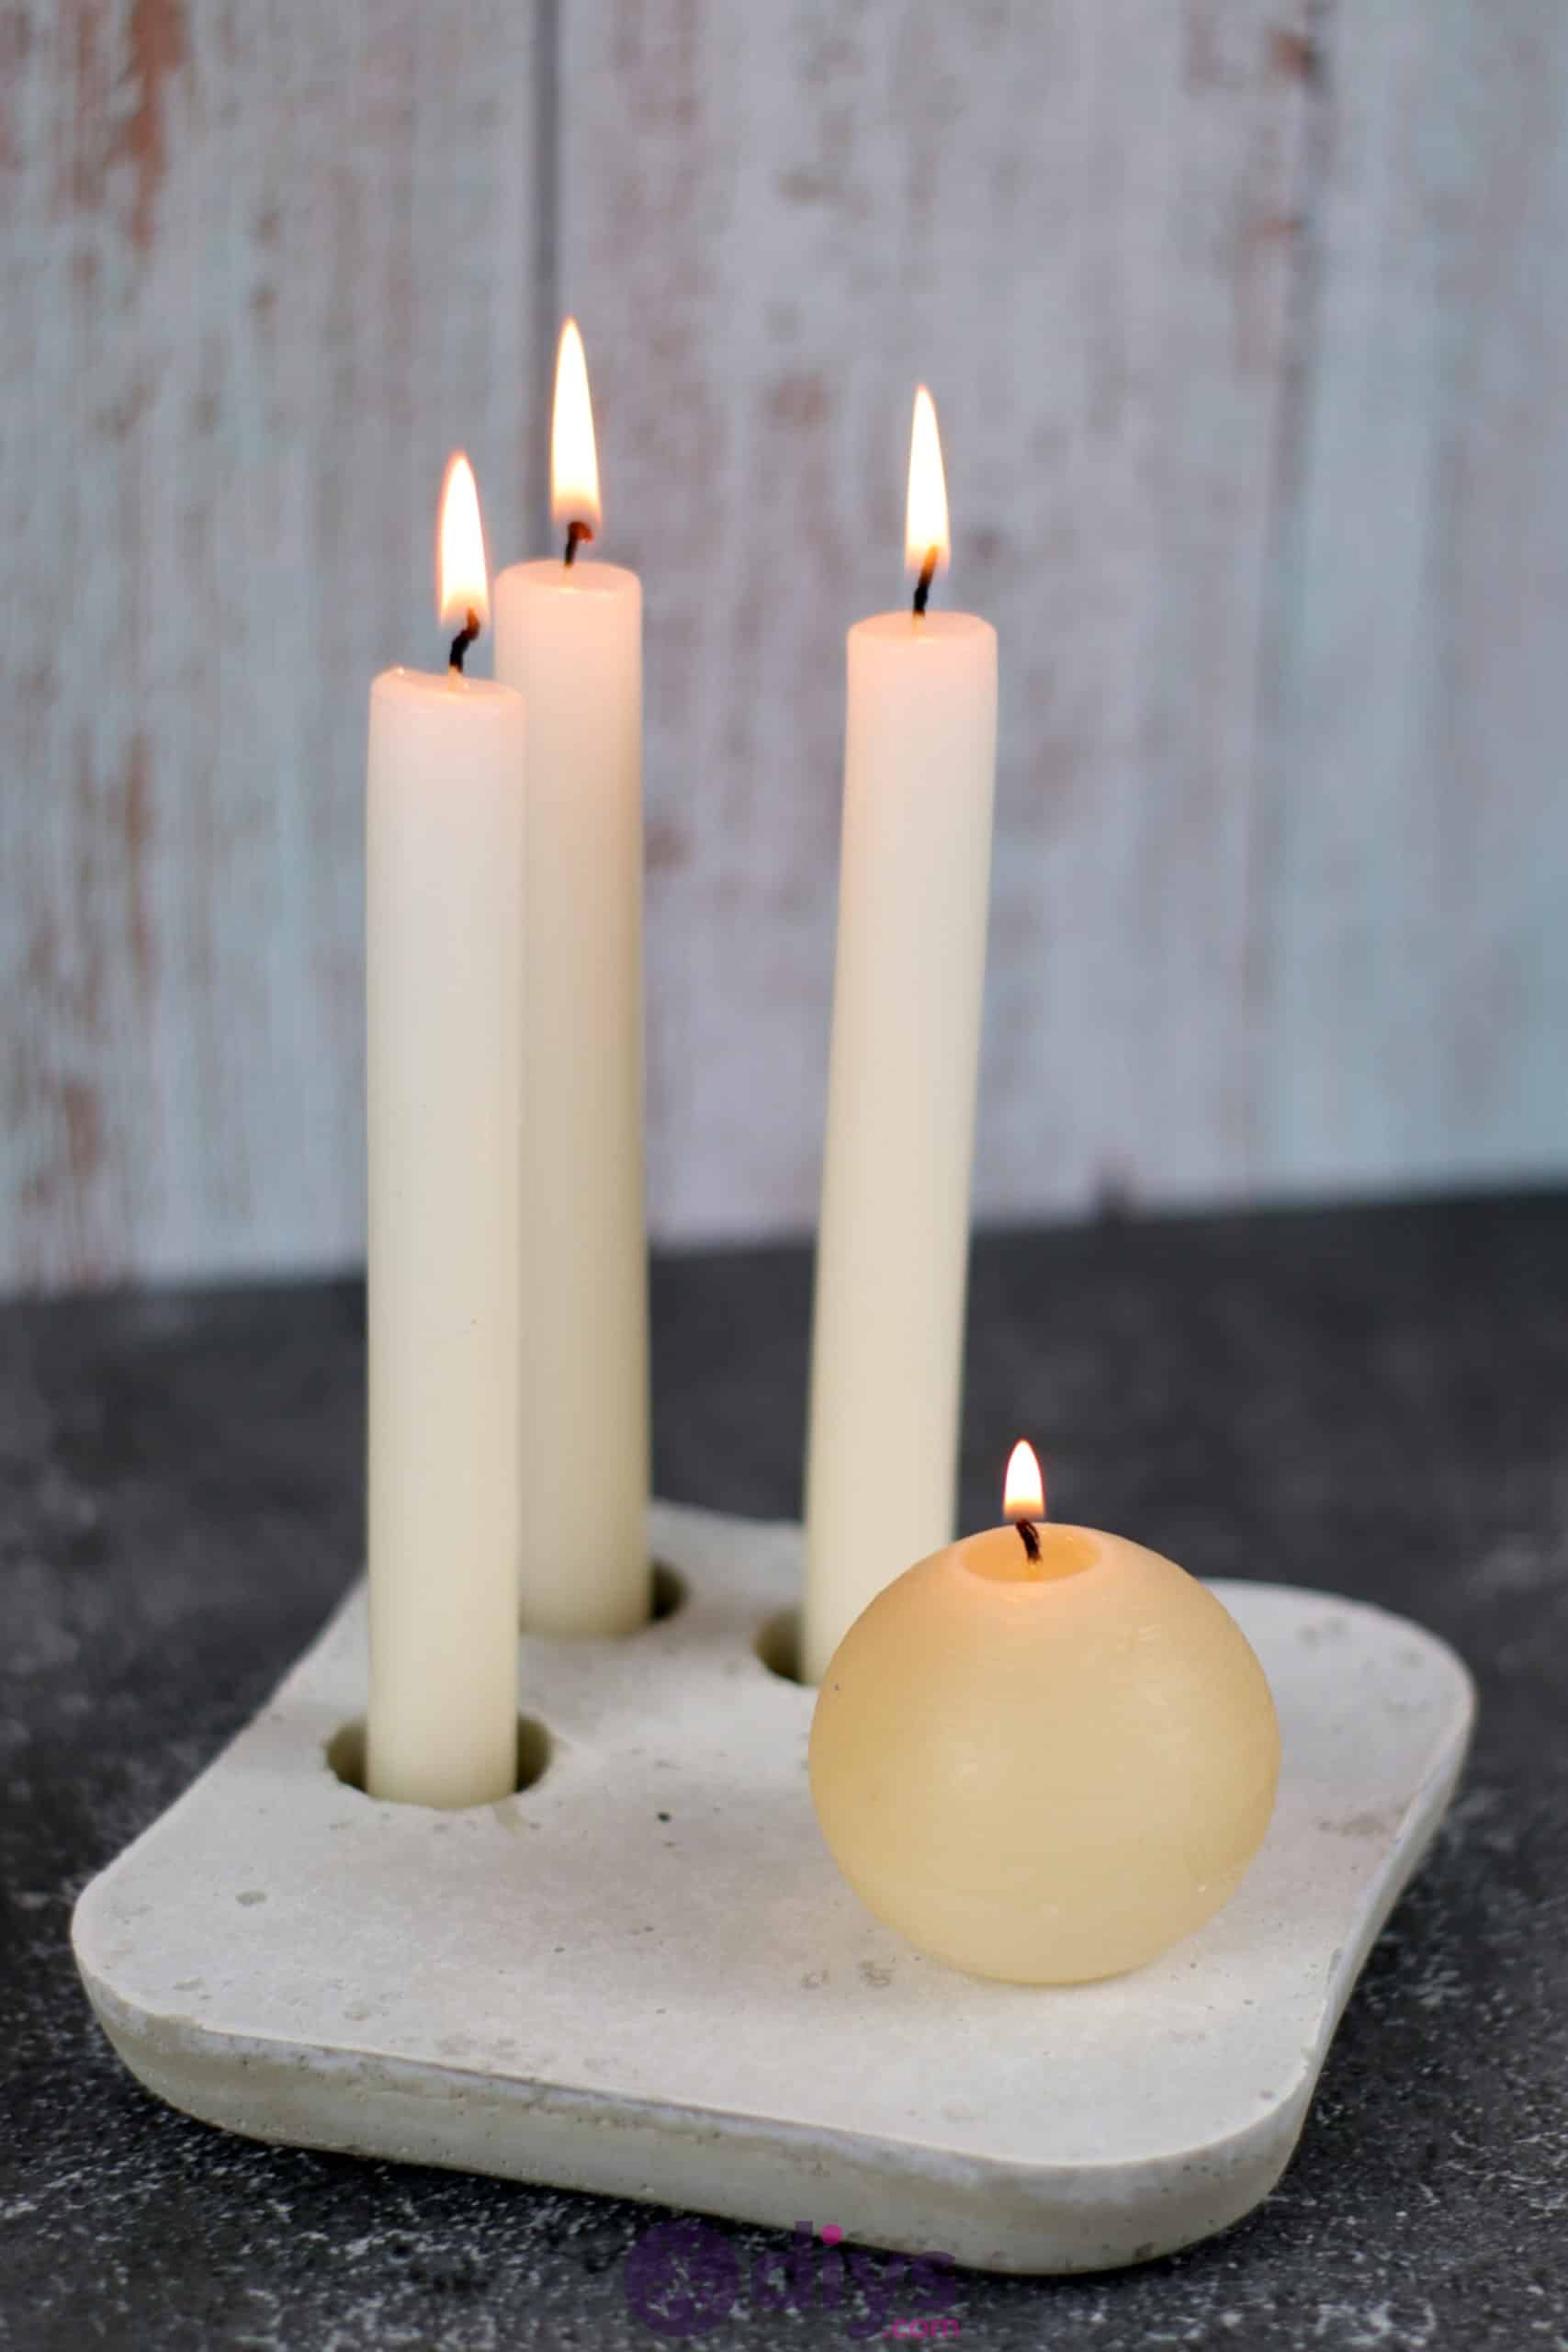
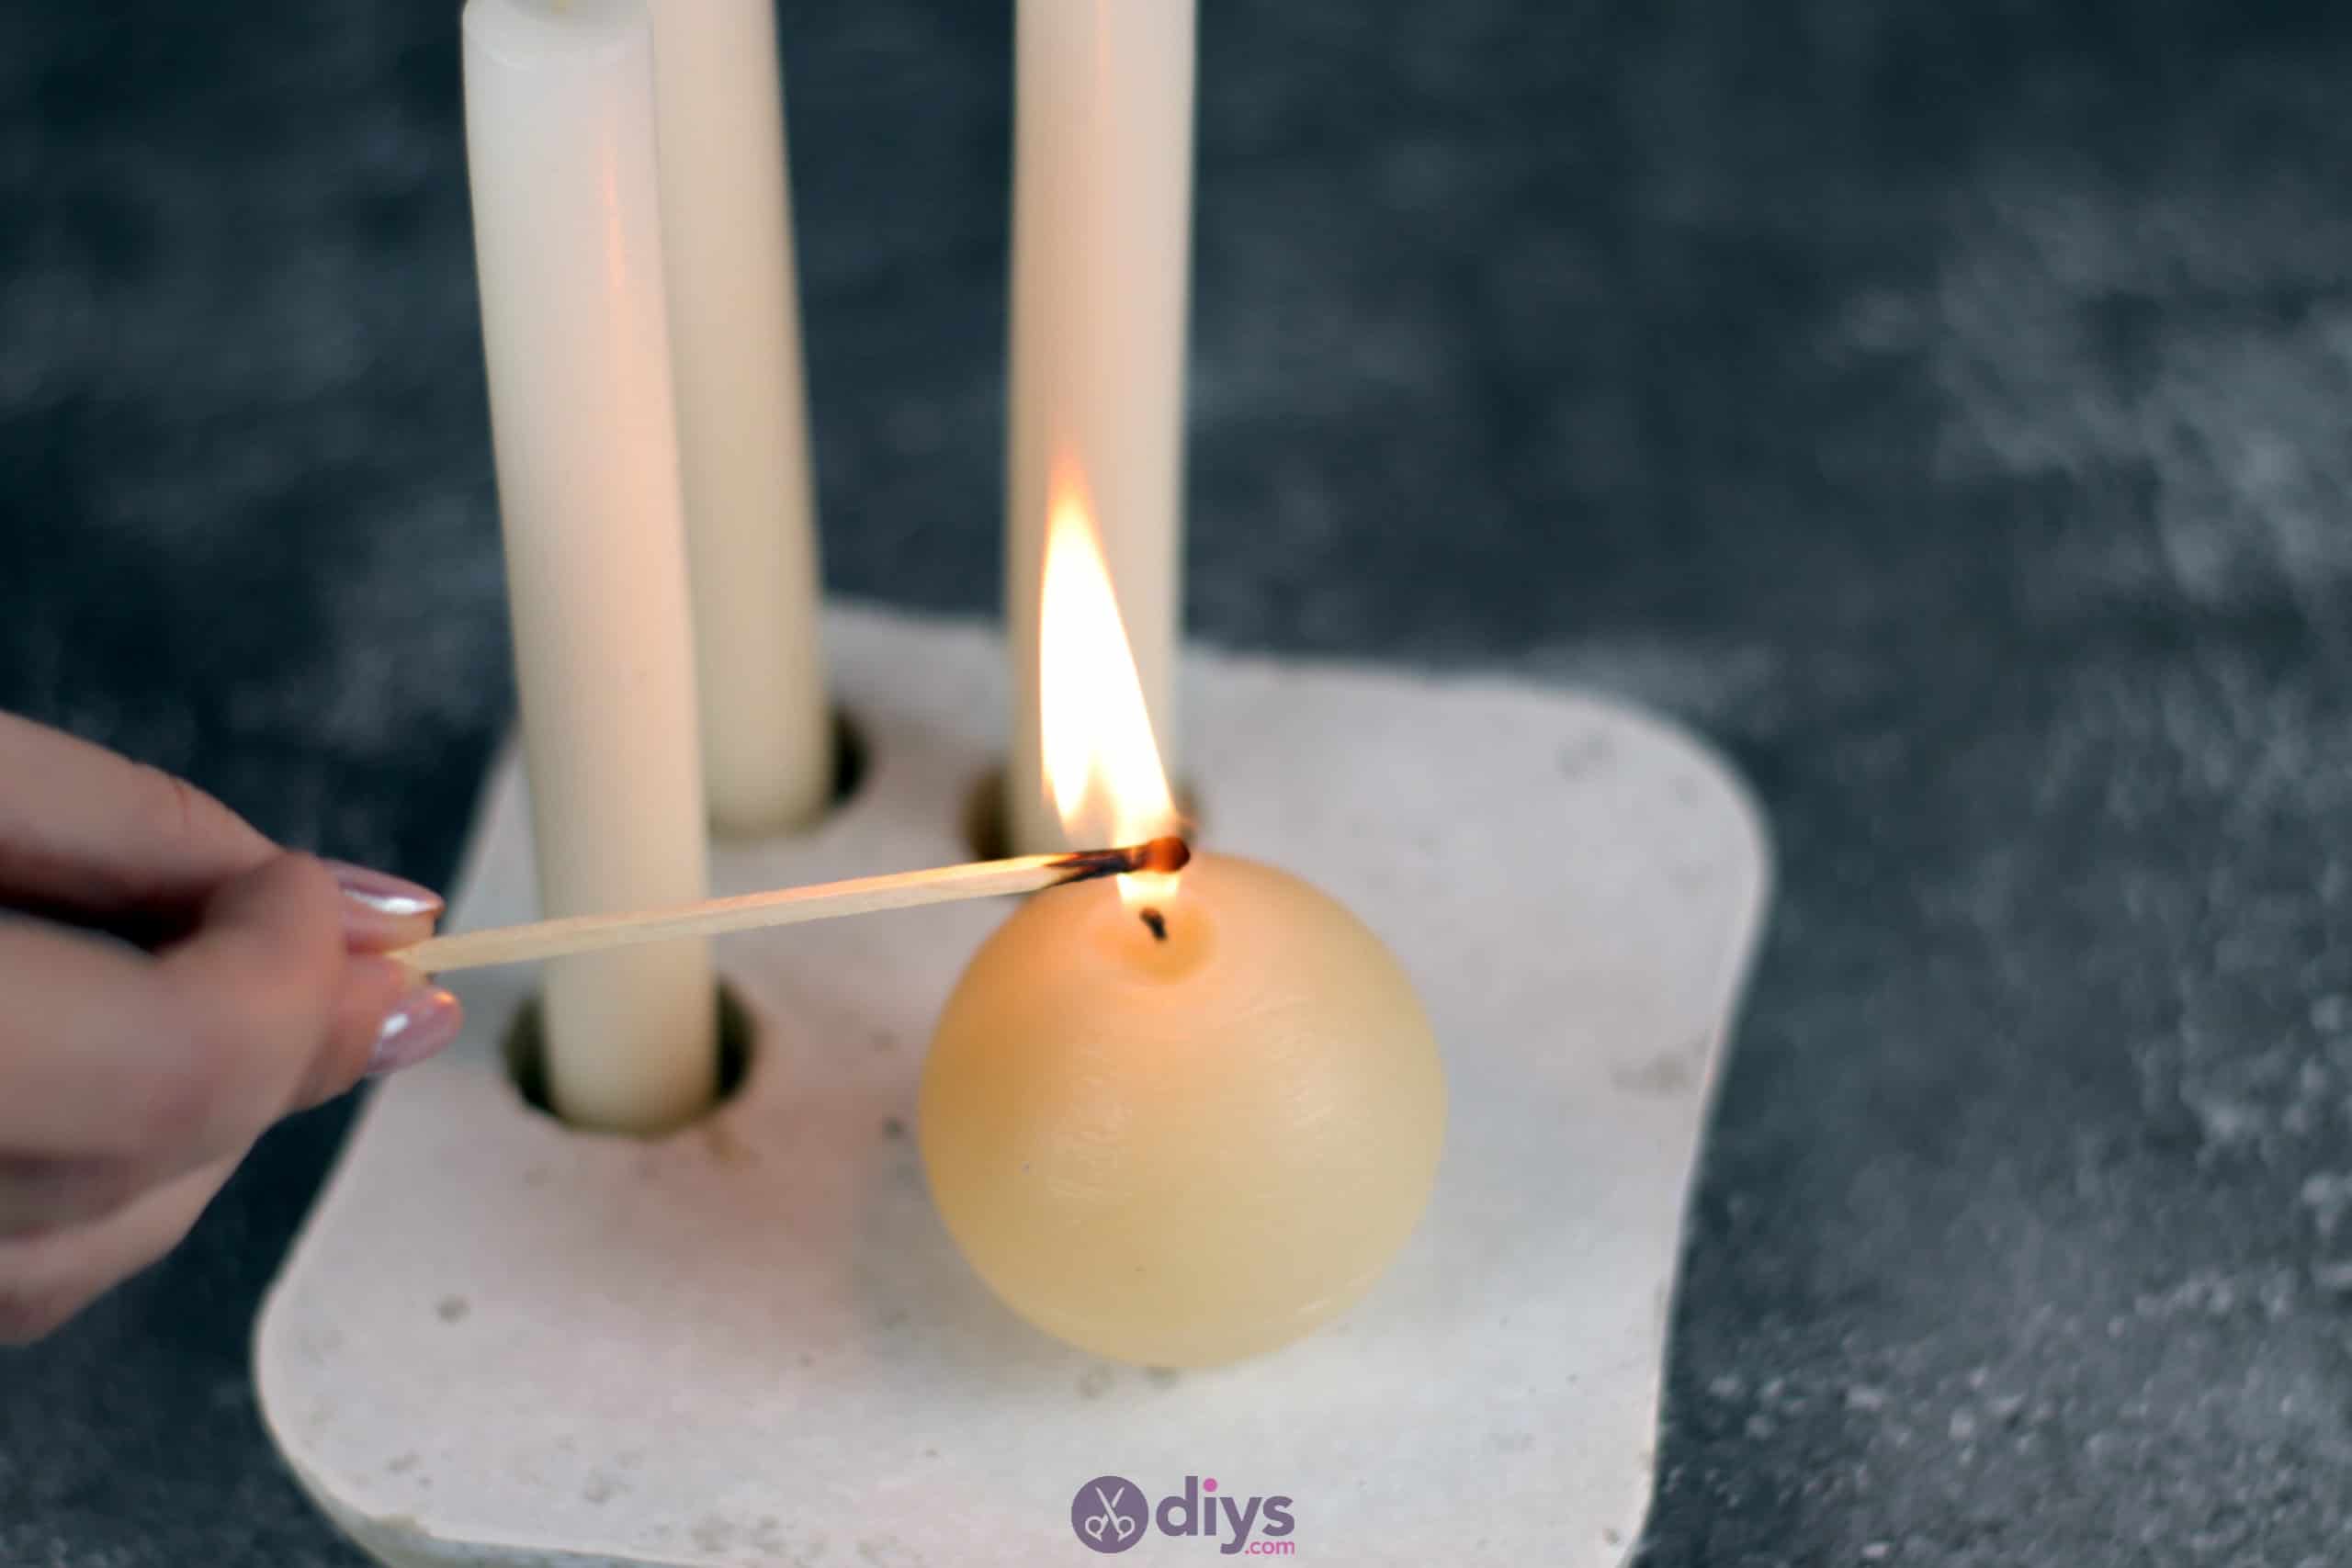
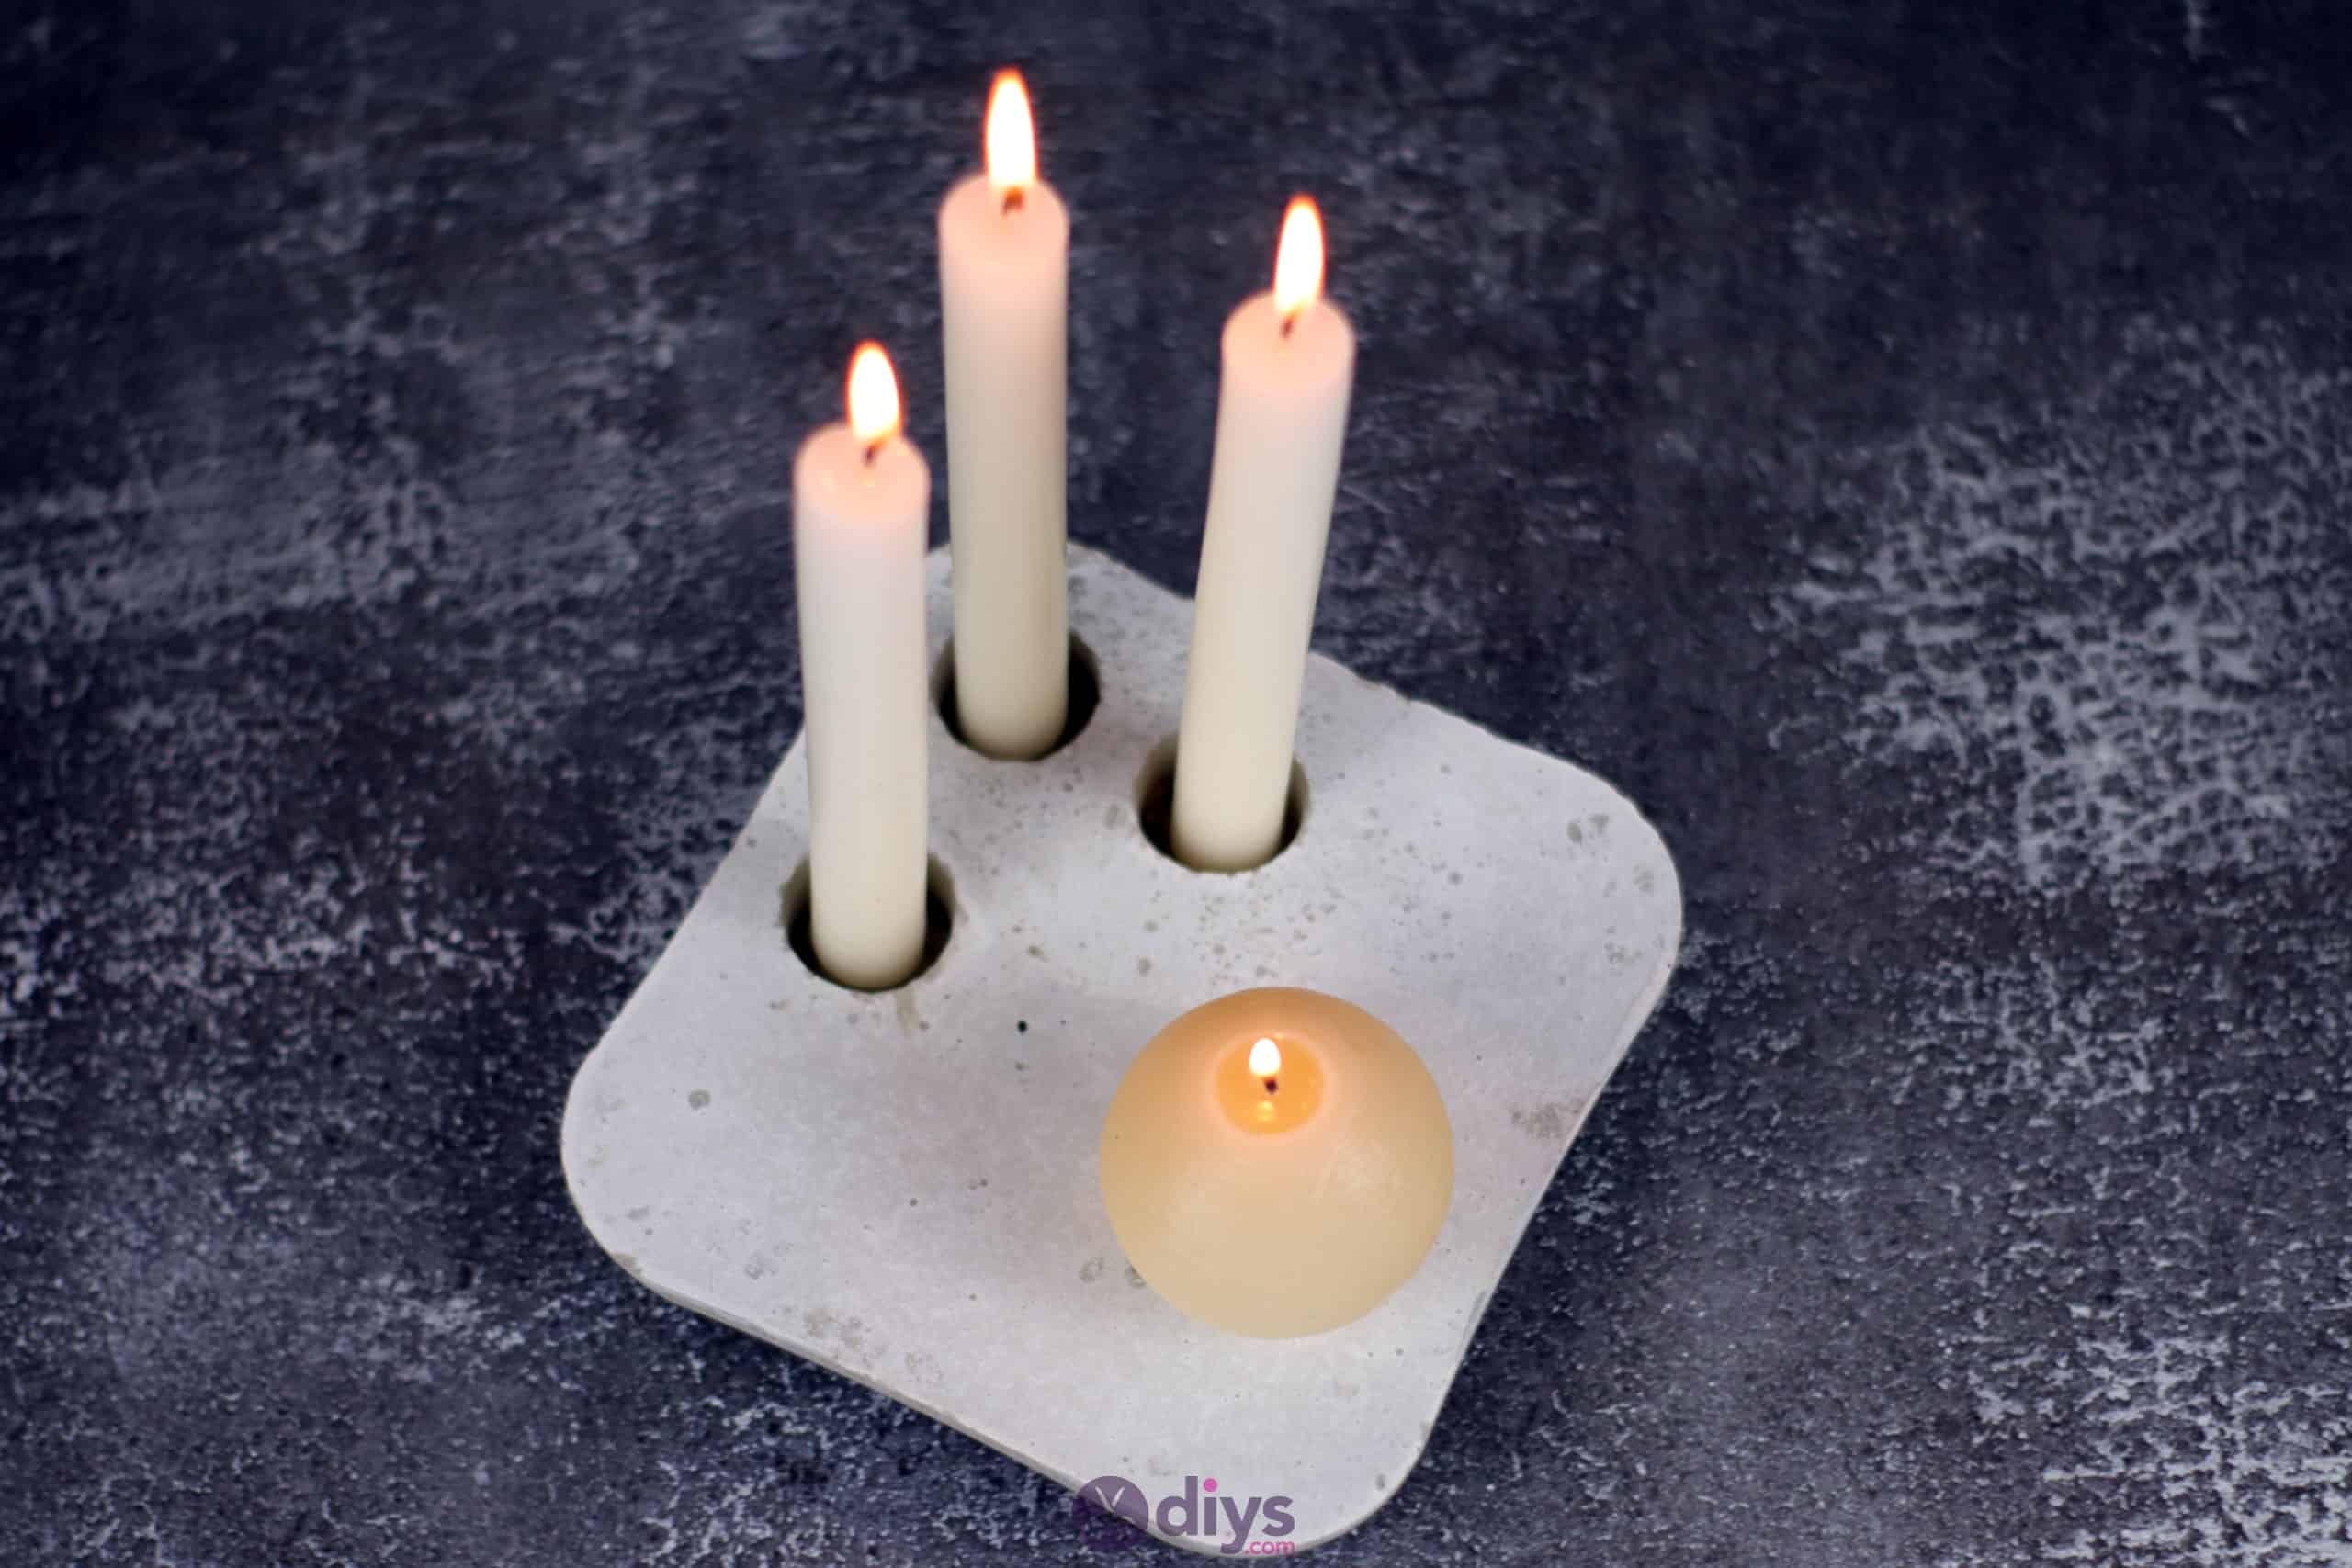
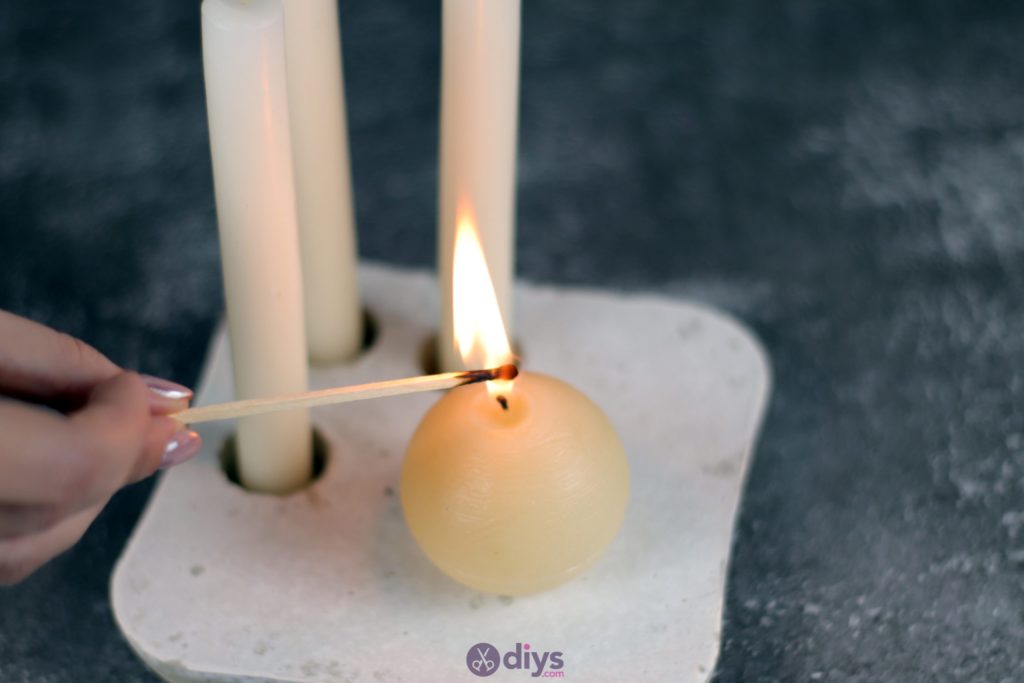
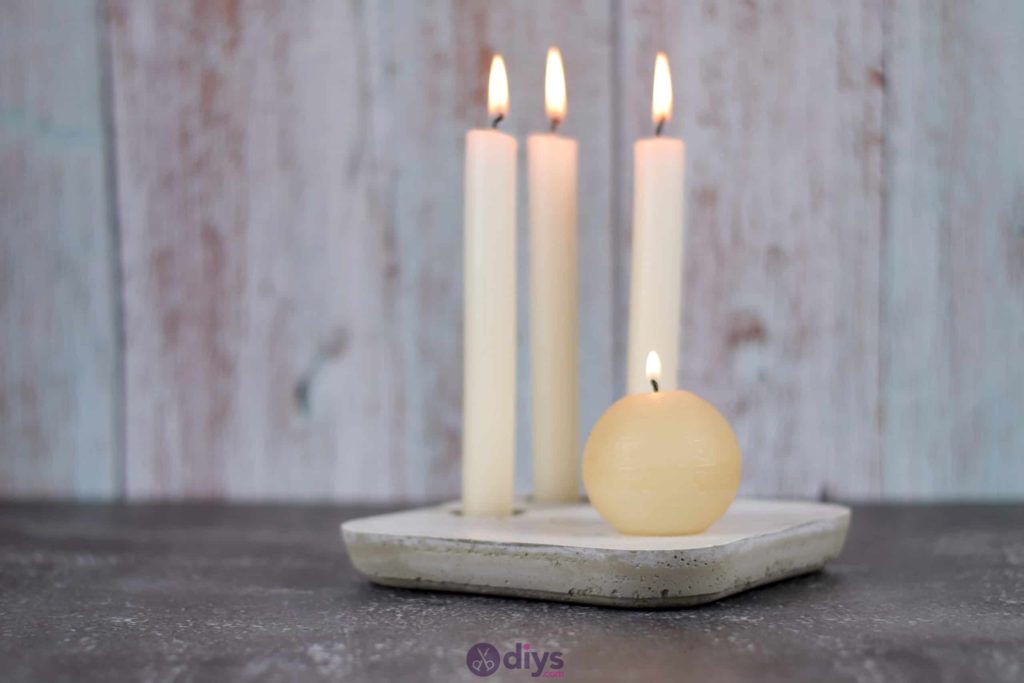
That really is all there is to it! Of course, you can place the toilet paper rolls that make your candle holds in any pattern you like, or even put in more or less of them. I balanced out the look of my three straight standing candles gathered in one corner with a spherically shaped candle that had a flat bottom, setting it on the smooth blank space of the concrete base. Just in case you’d like to try this project out for yourself, here’s a fantastic tutorial video to help you!