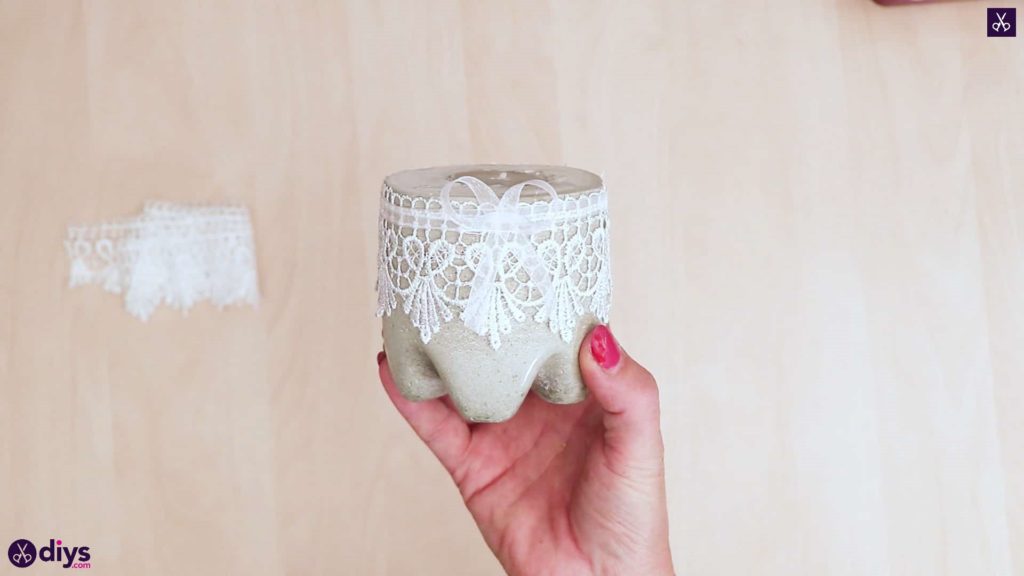
DIY Concrete Candle Holder from a Plastic Bottle
Updated on November 19, 2025


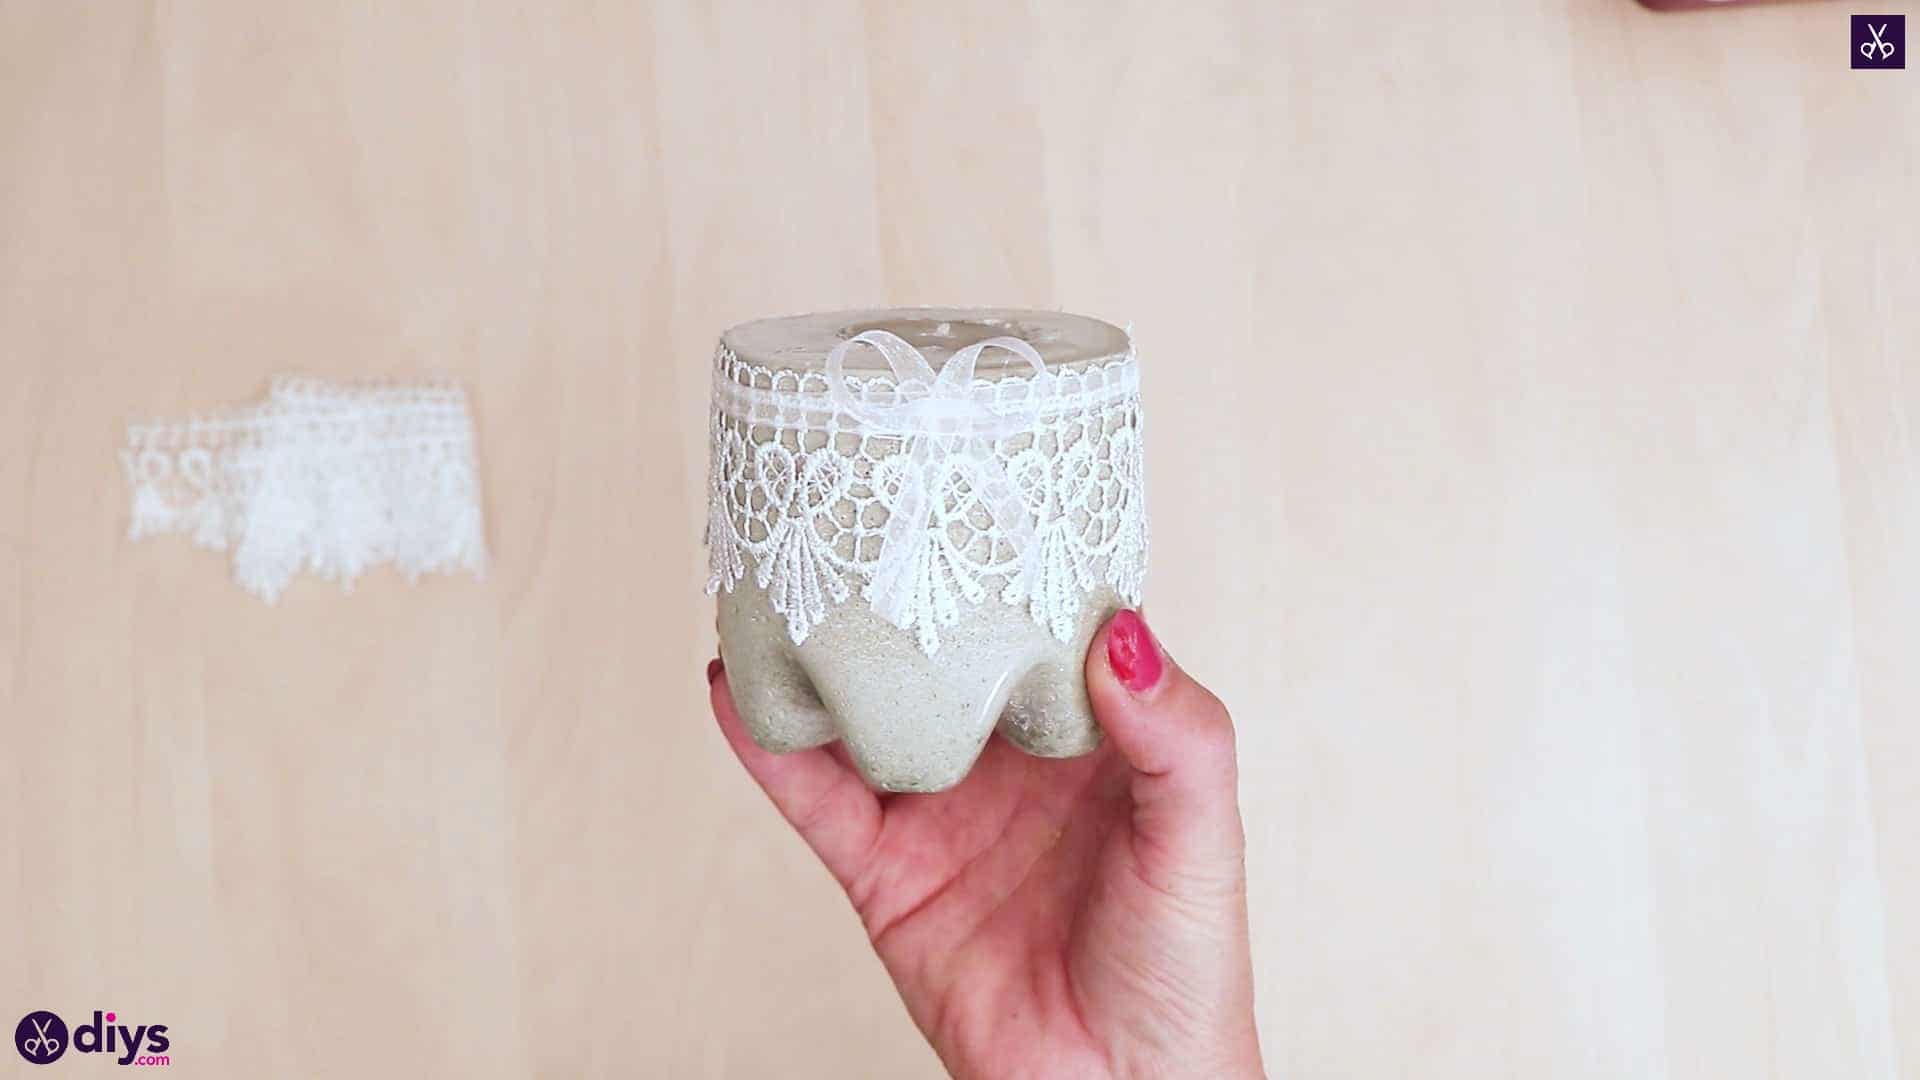
Being a crafter and a candle lover, I’m sure you can imagine just how pleased with myself I felt when I came up with the idea of making a DIY concrete lace trimmed candle holder from a plastic bottle!
Documenting the steps of my crafts so they can be shared with other DIY lovers who want to try my pieces out is one of my favourite parts of creating new things, and this project was no exception. Check out these step by step instructions complete with photos! If you’d rather follow along with a video tutorial instead of written words, scroll to the bottom of this post to find just what you’re looking for.
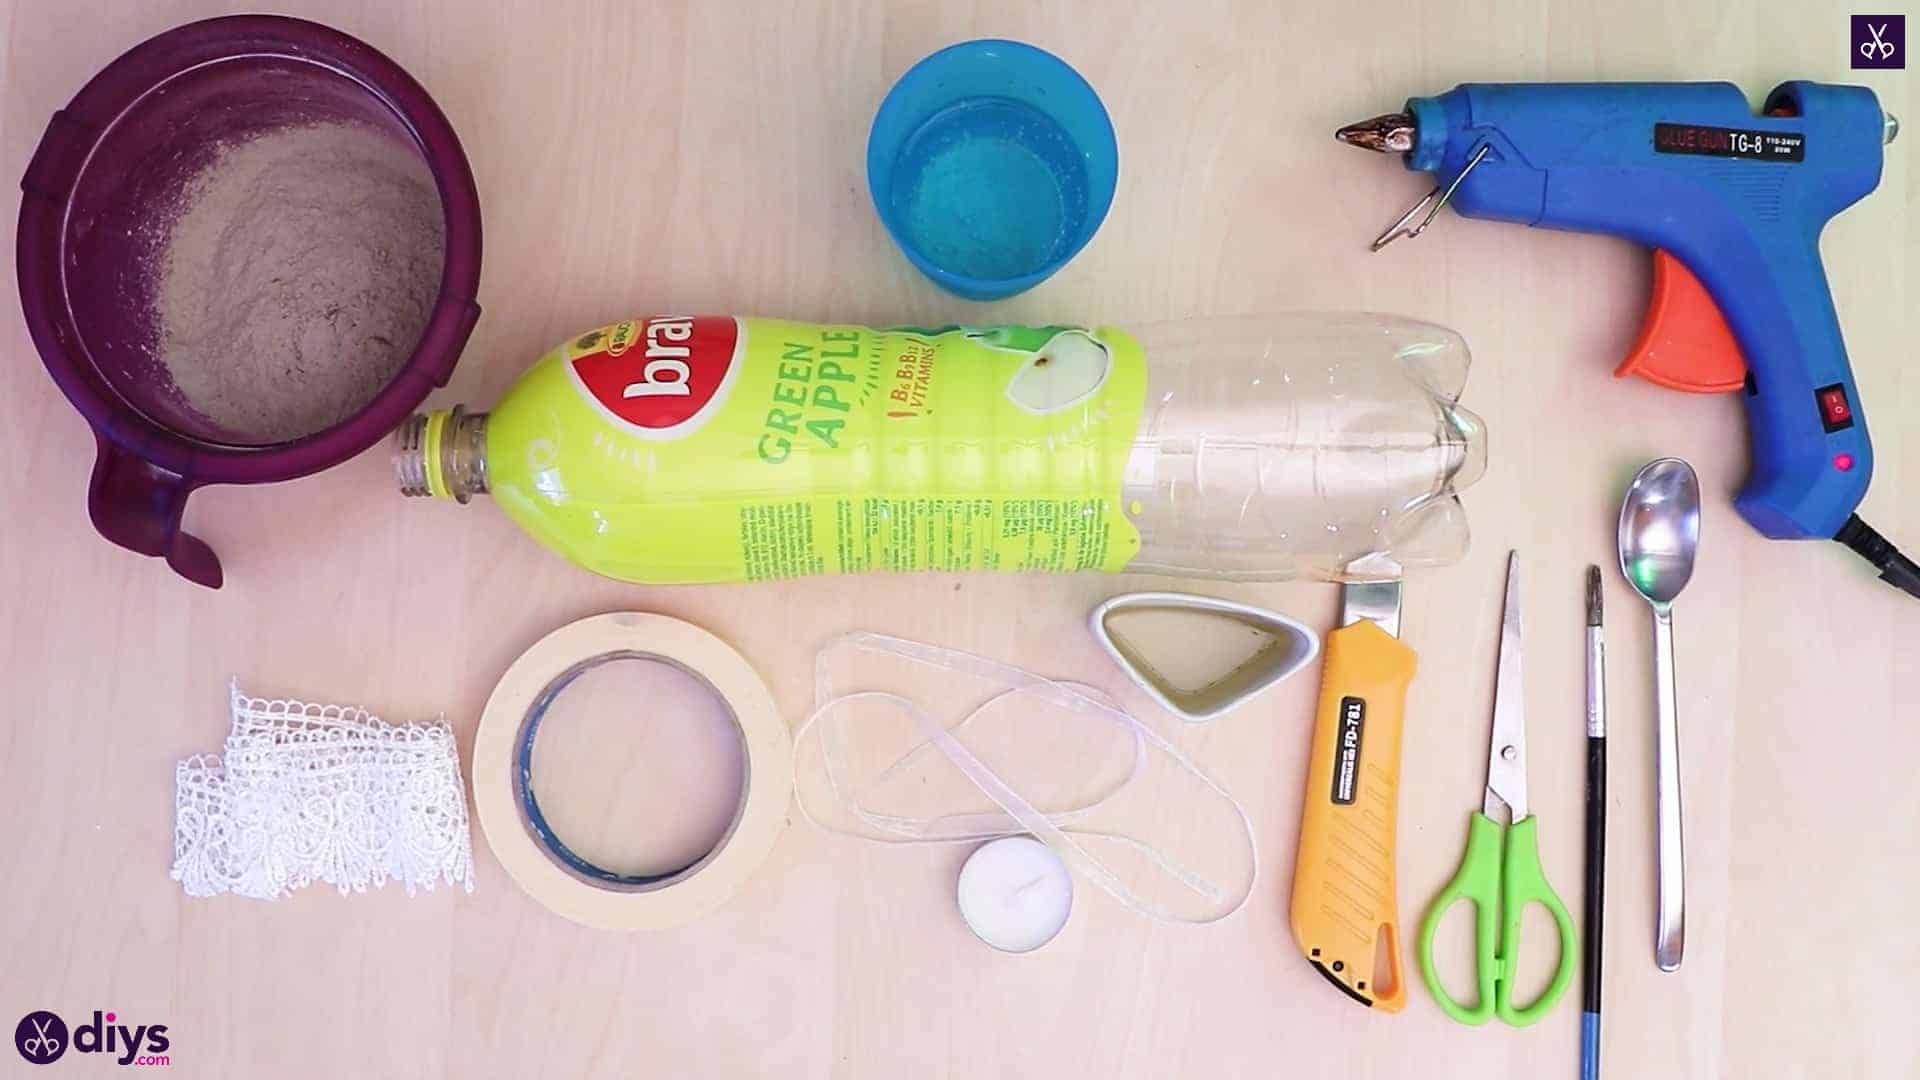
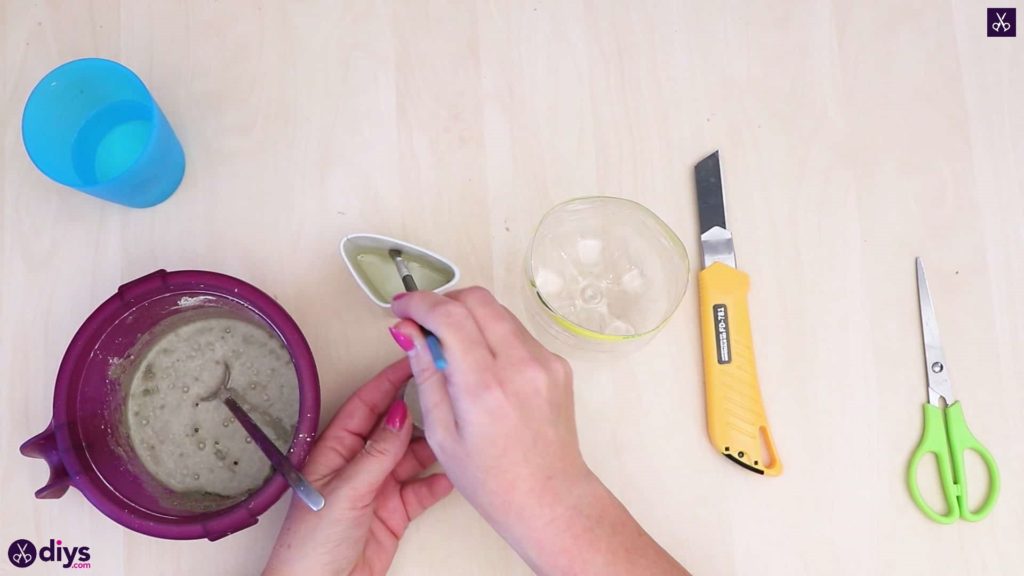
For this project, you’ll need:
- DIY fine particle cement
- Water
- A spoon
- Scissors
- Tape
- Oil
- A paintbrush
- A folding utility knife
- Ribbon (white and lace)
- Hot glue
- Round candle
Step 1: get ready
Gather your materials and place them within reach!

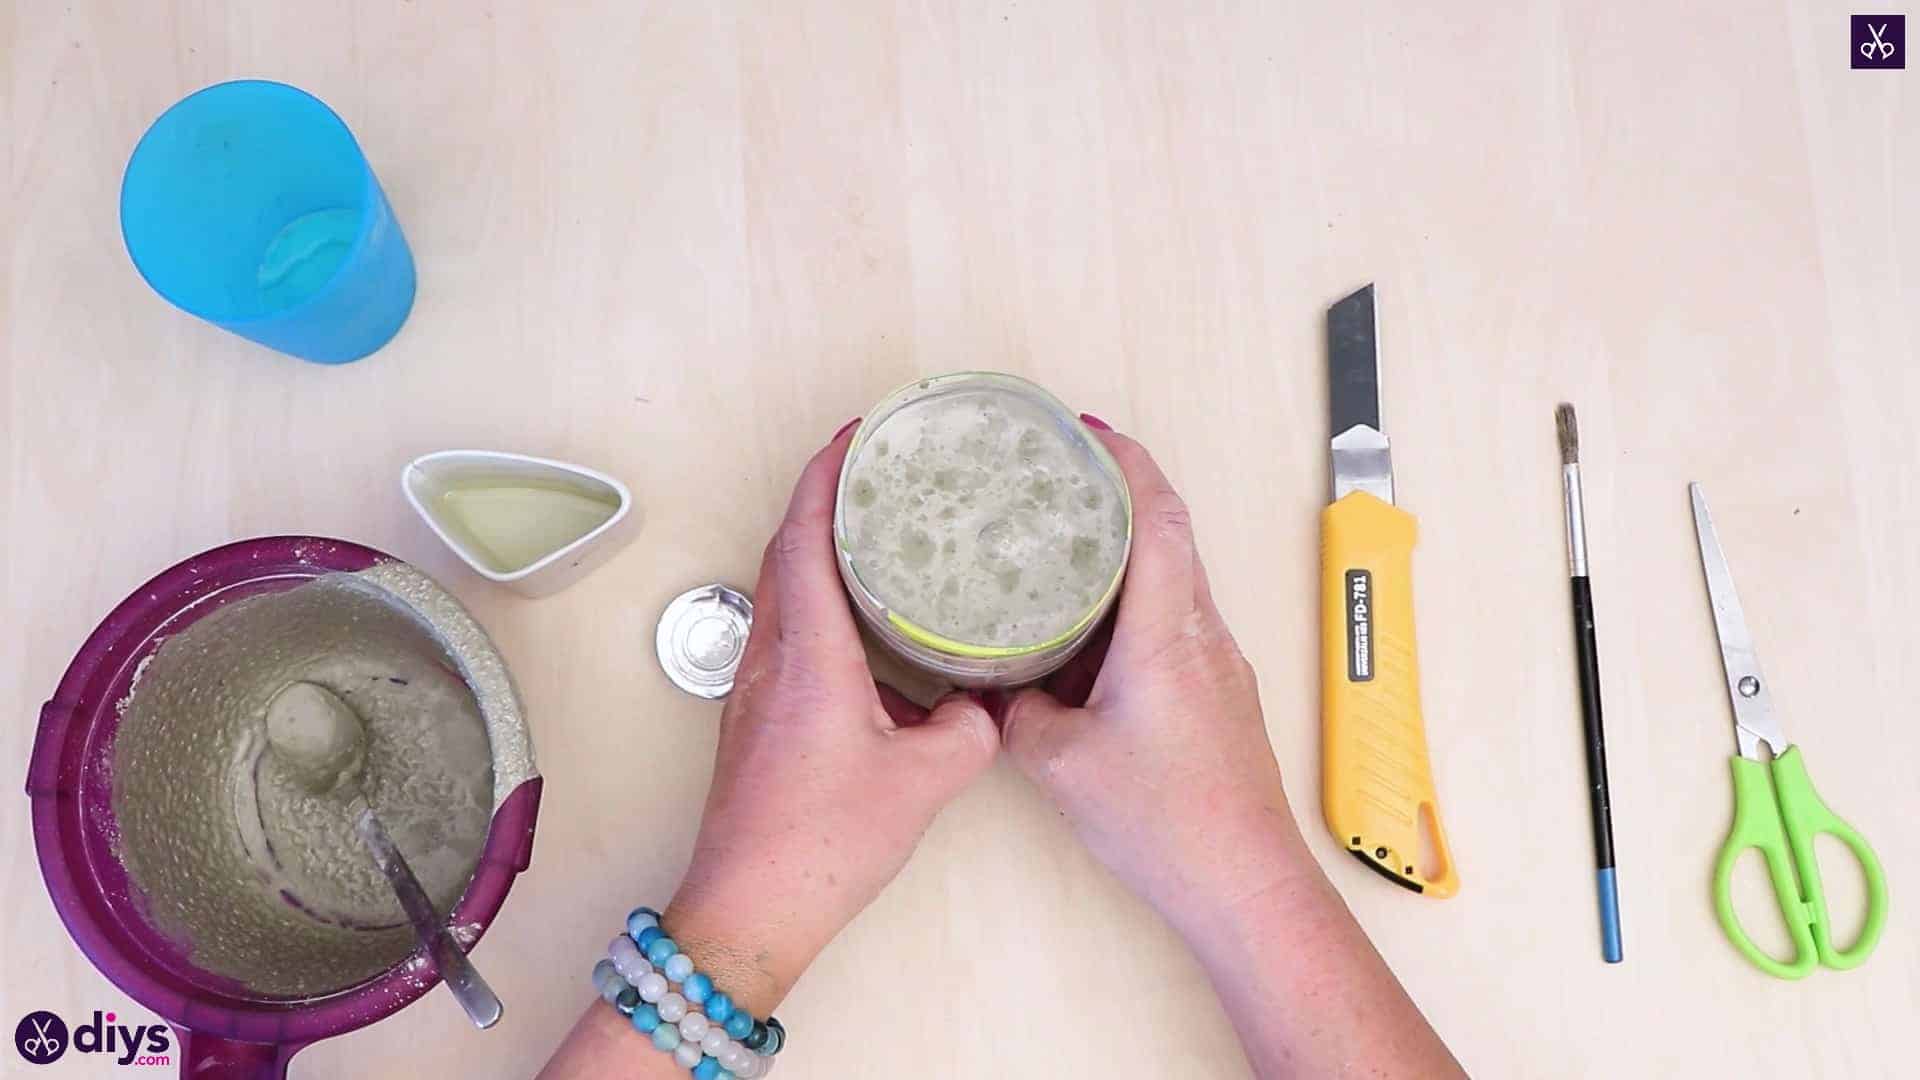
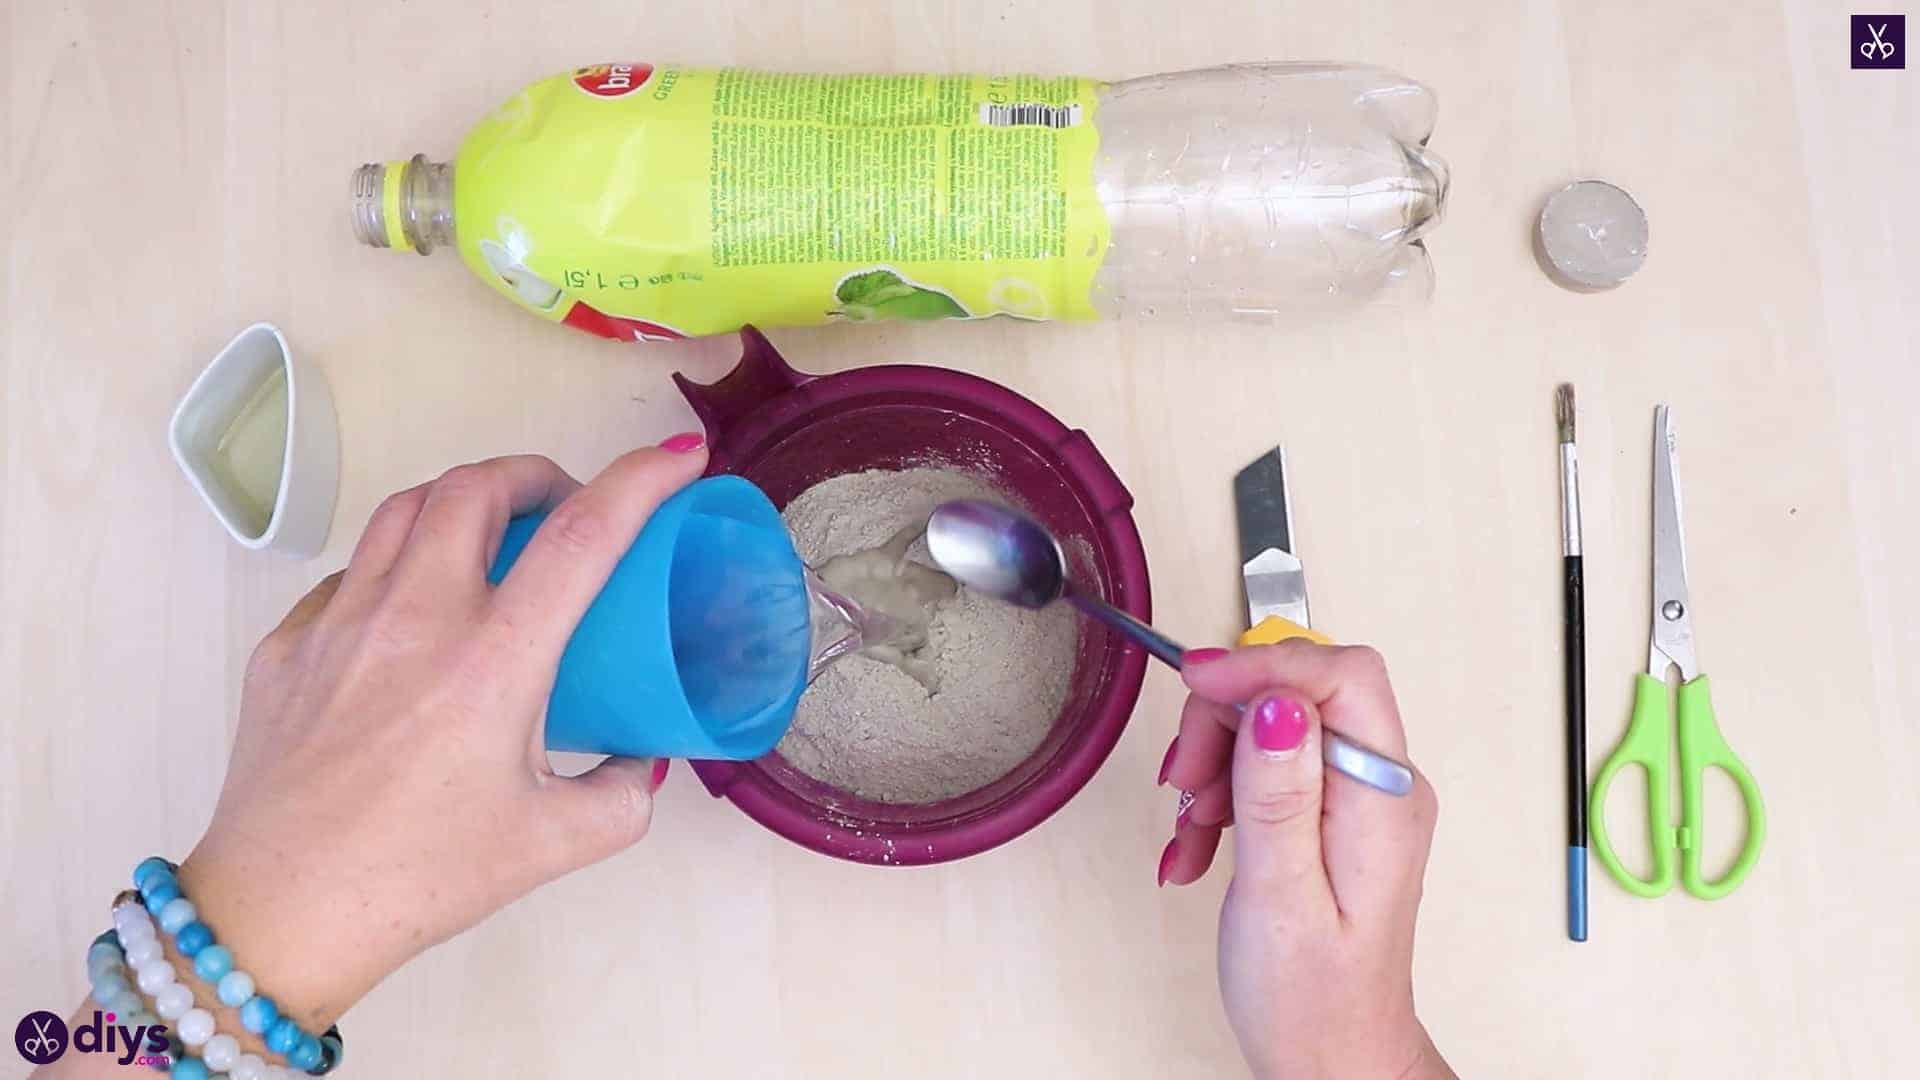
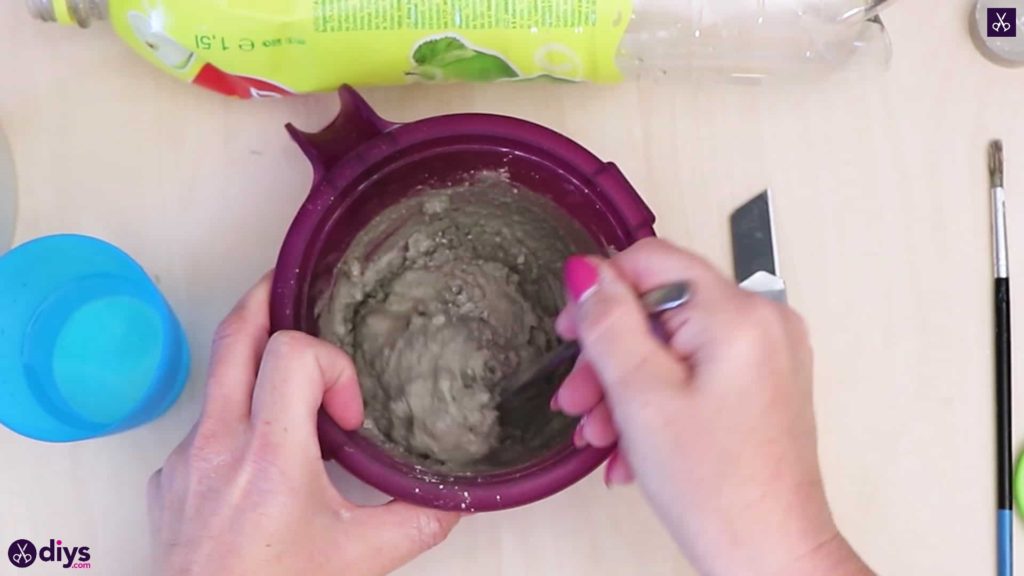
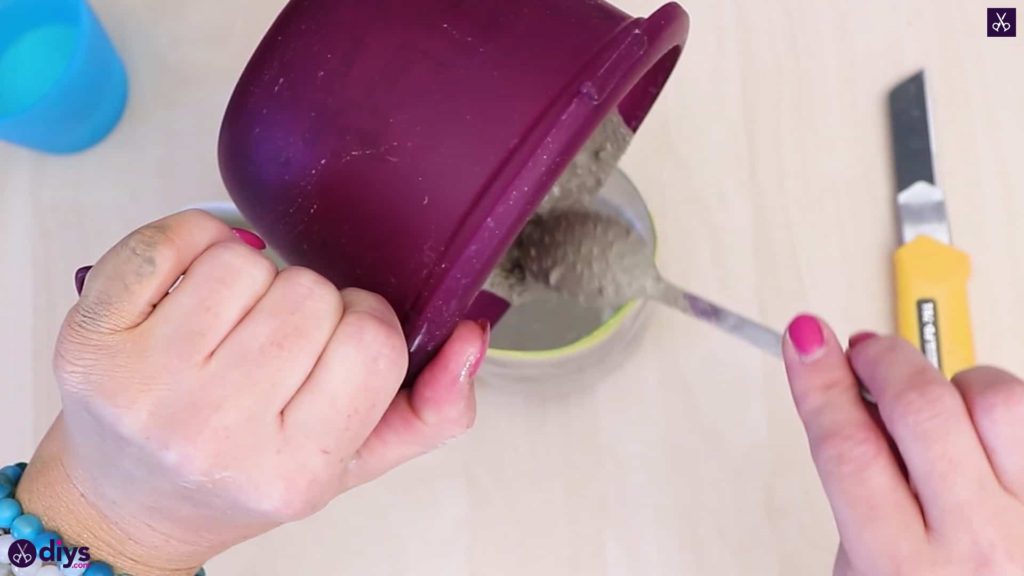
Step 2: mix the cement
Mix your DIY fine particle cement to the right consistency! Follow the instructions on the back of the package to get the ratio of water to powdered mix just right, since it can vary from brand to brand.


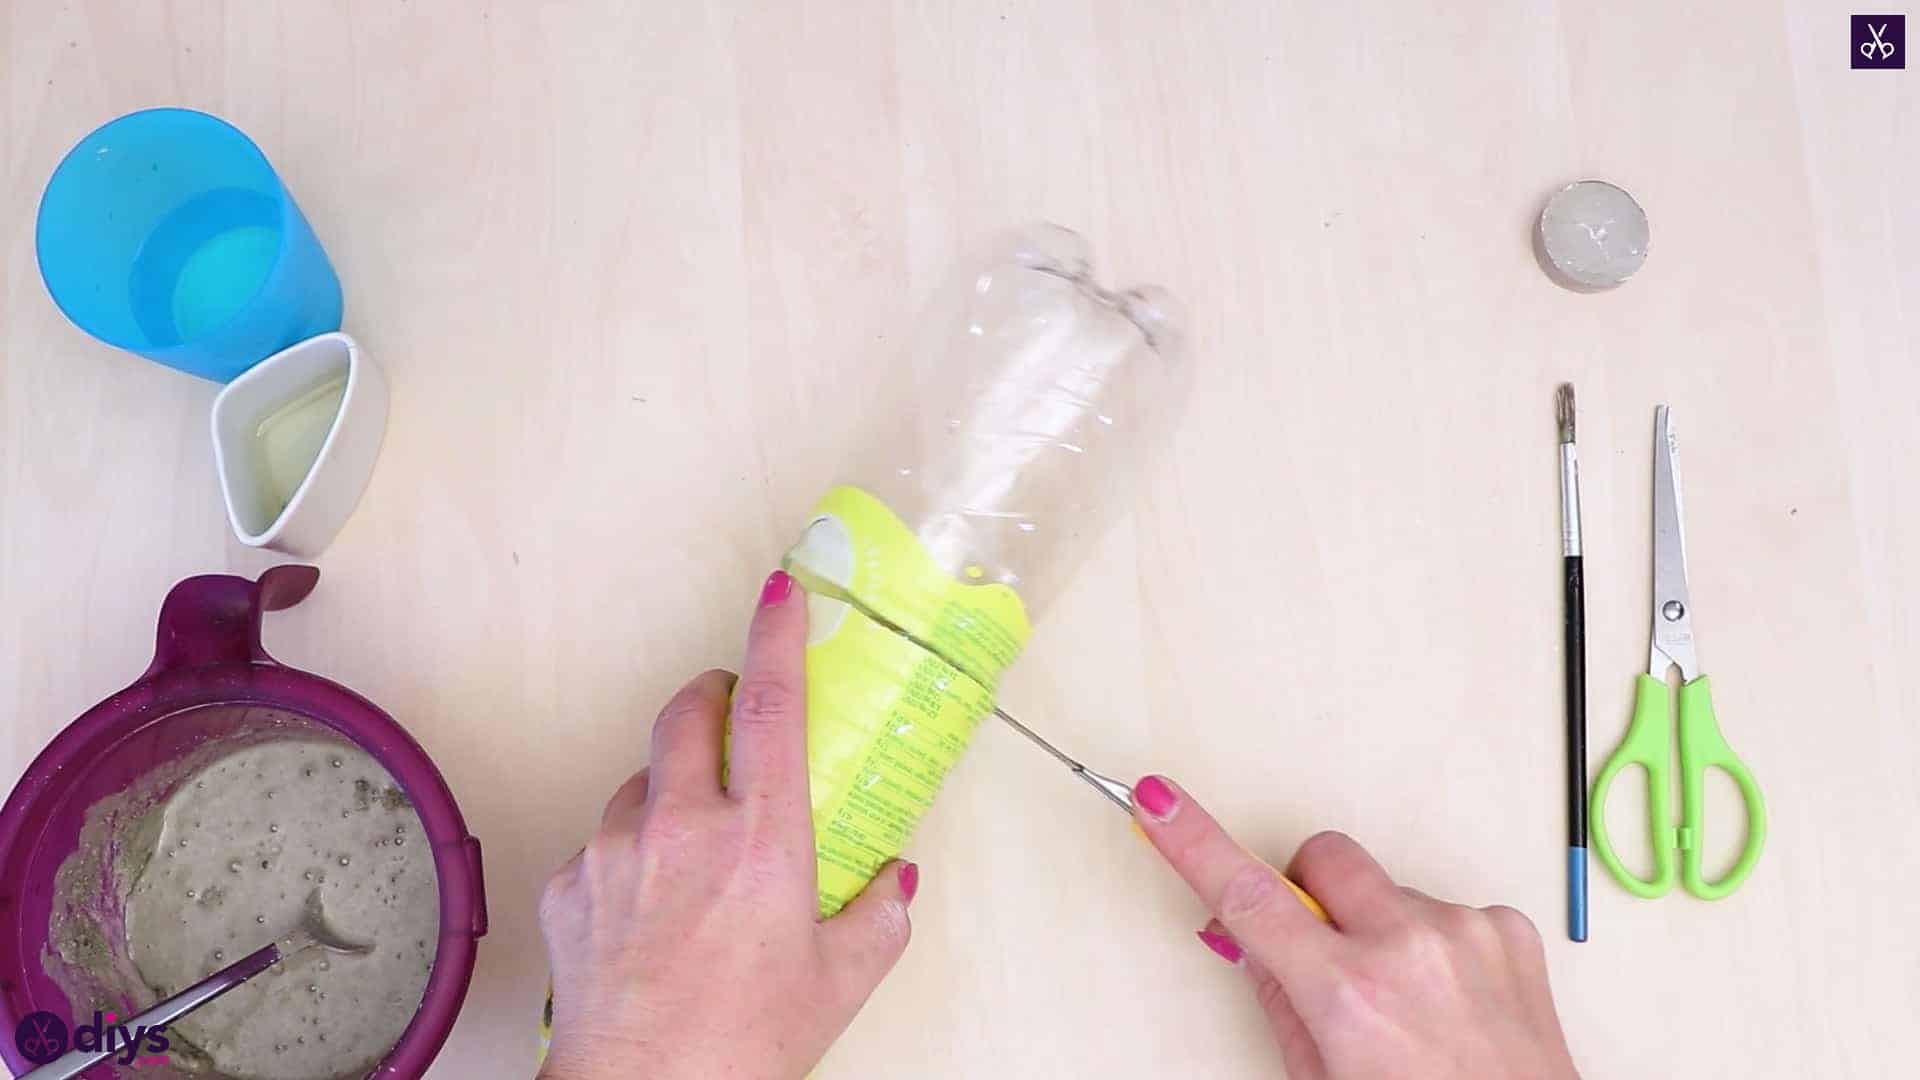
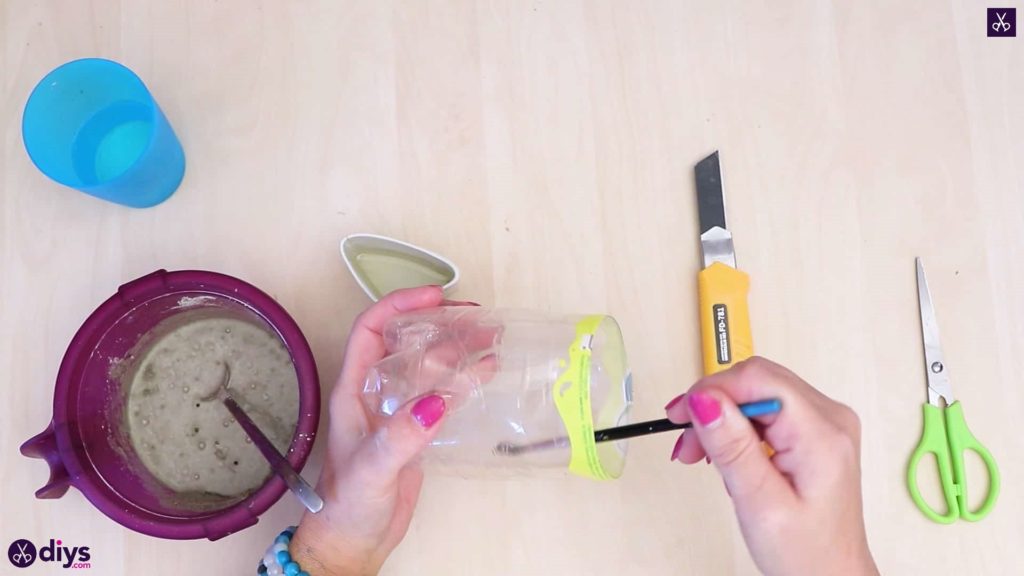
Step 3: cut the bottle
Use your utility knife to cut your plastic bottle in half (you’ll work with the bottom end and can recycle the top), and then use your scissors to trim the bottom half down to just a little taller than the height you want your actual candle holder to be. Leave yourself a little excess to work with in order to avoid spills.


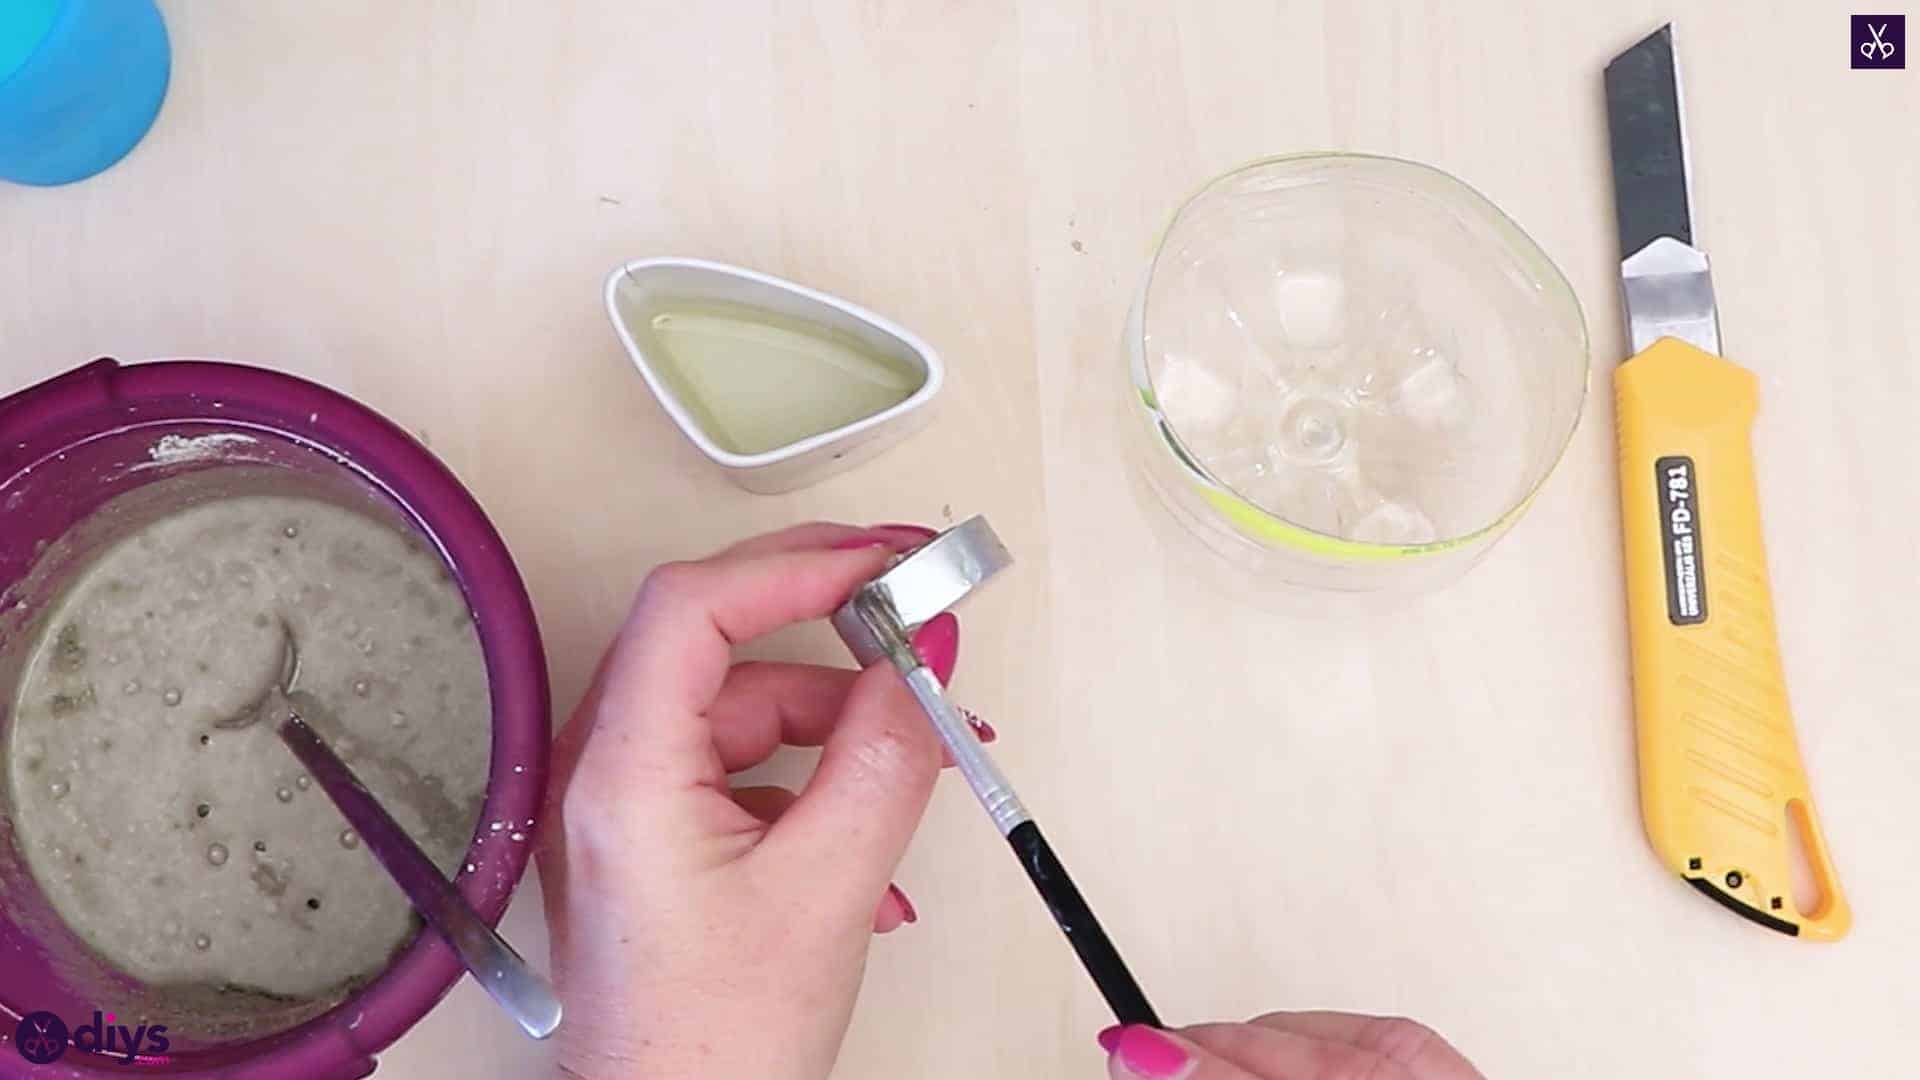
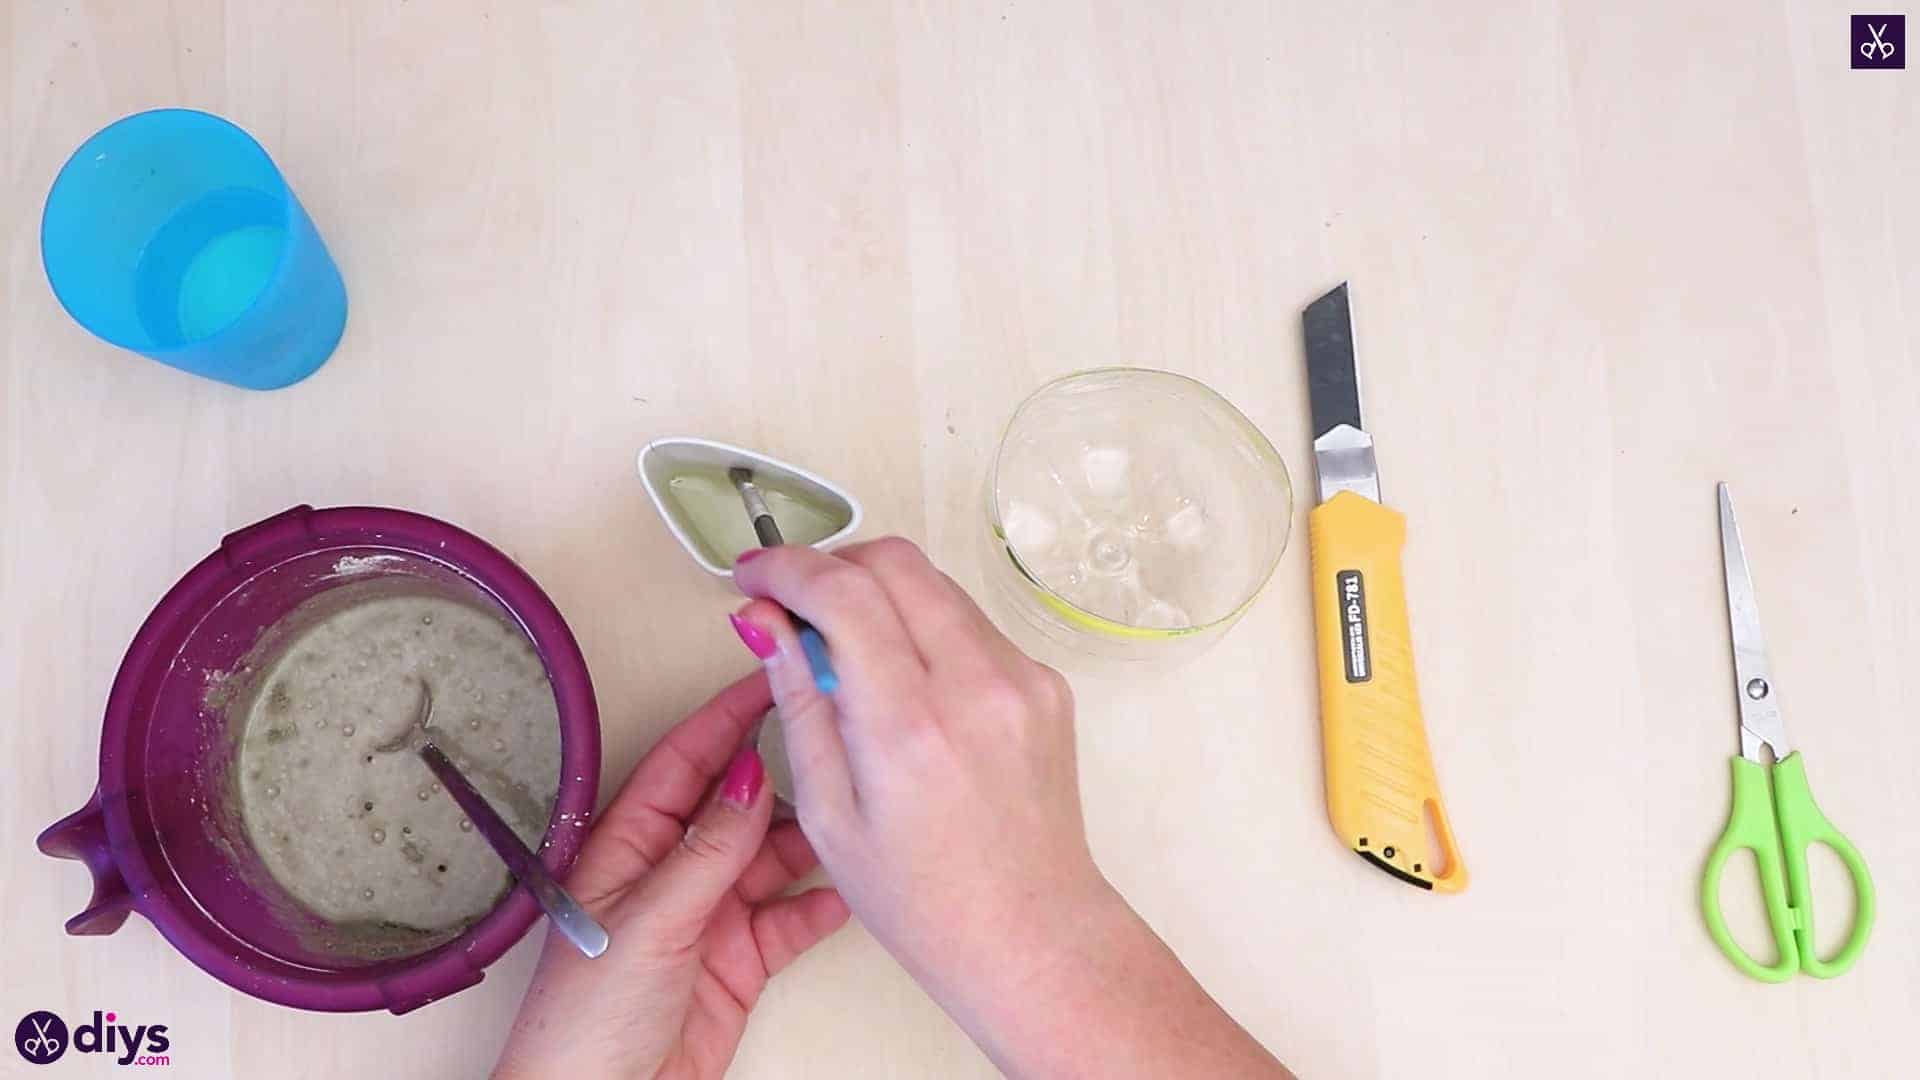
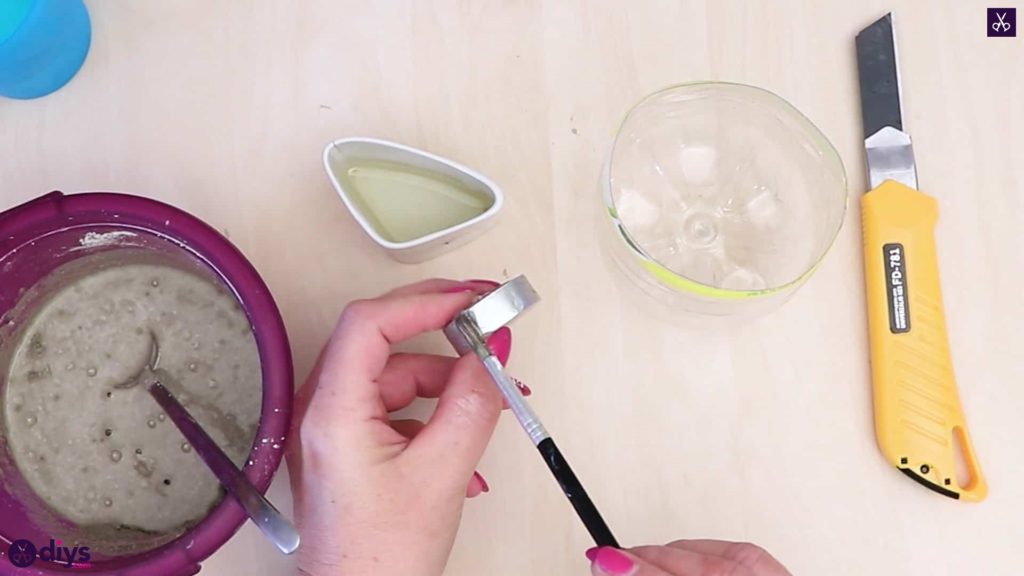
Step 4: oil the molds
Use your paintbrush to coat both the outside of your tea light candle’s little metal trayand the inside of your bottle half in oil in order to prevent the concrete mix from sticking to them as the piece dries.
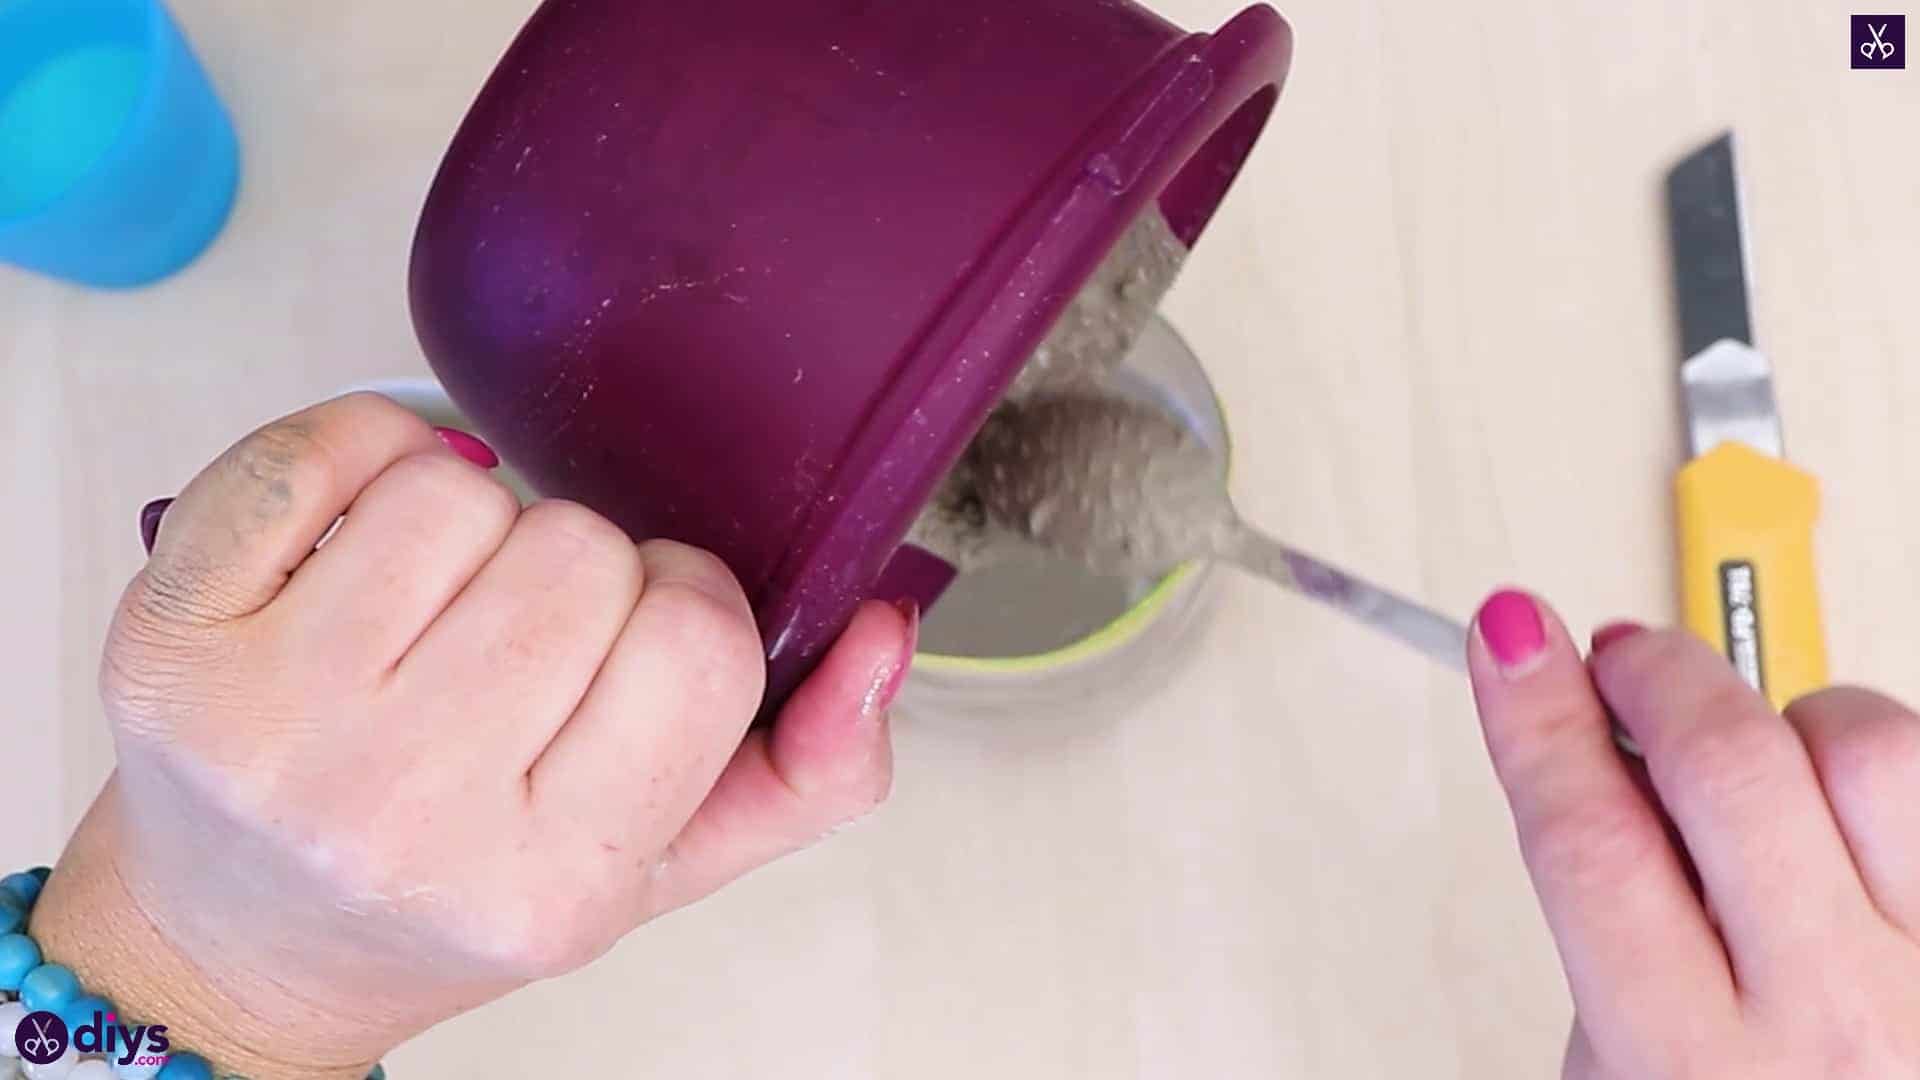
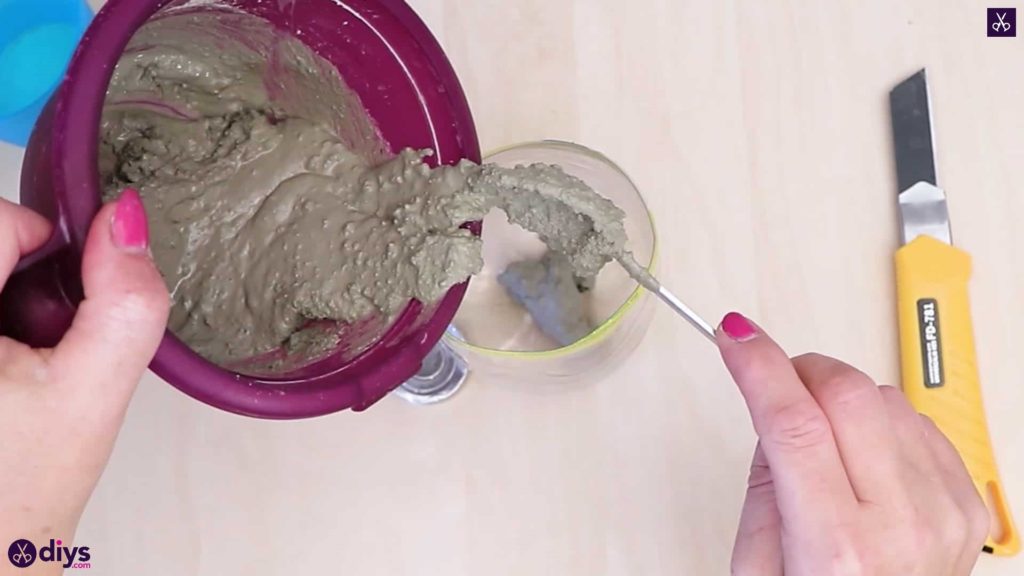
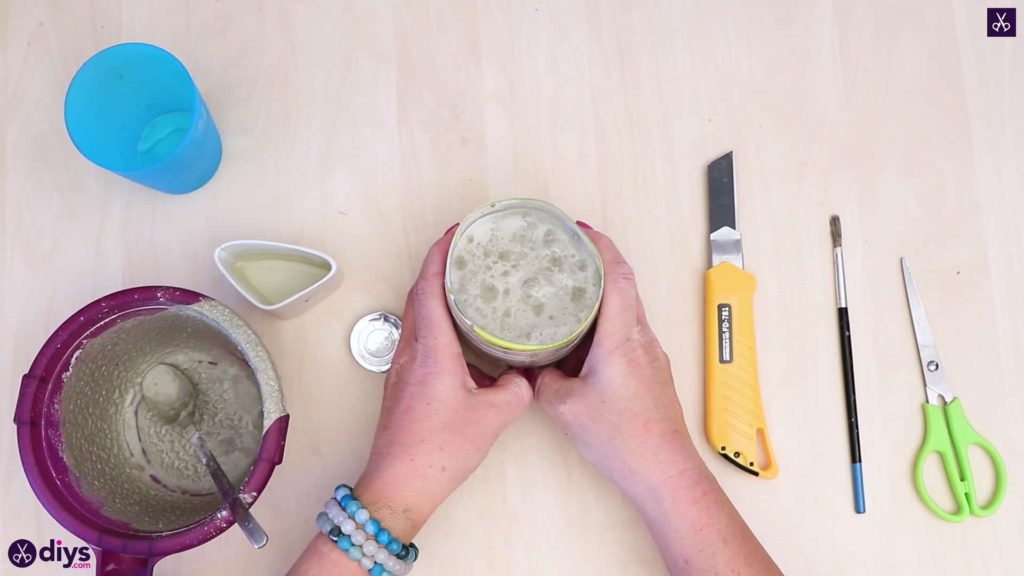
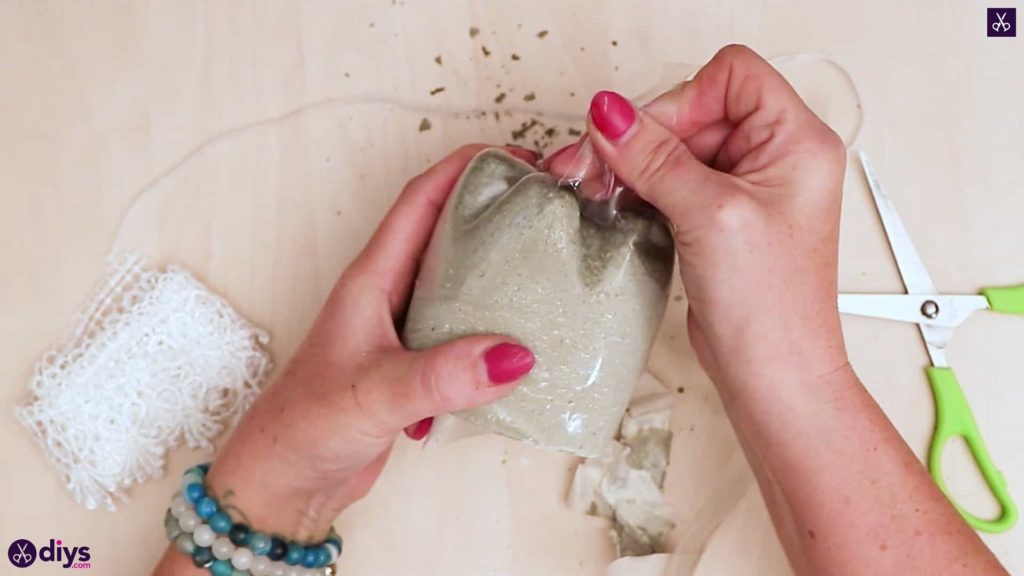
Step 5: pour cement
Fill your halved water bottle with your concrete mix! Once you’ve filled it to your heart’s content, tap the bottom of the bottle on your table or worktop to even out the surface of the concrete and get rid of chunks and air bubbles. Place your candle lightly on the surface of your concrete, right in the center, pressing it down into the mix ever so slightly. Don’t worry about it sinking; the concrete is too dense for a flat shape like that to sink with any significance. Place pieces of tape across the top of the candle from the edges of the bottle if you’re worried it will drift from its place in the center, then set the whole thing aside to dry.
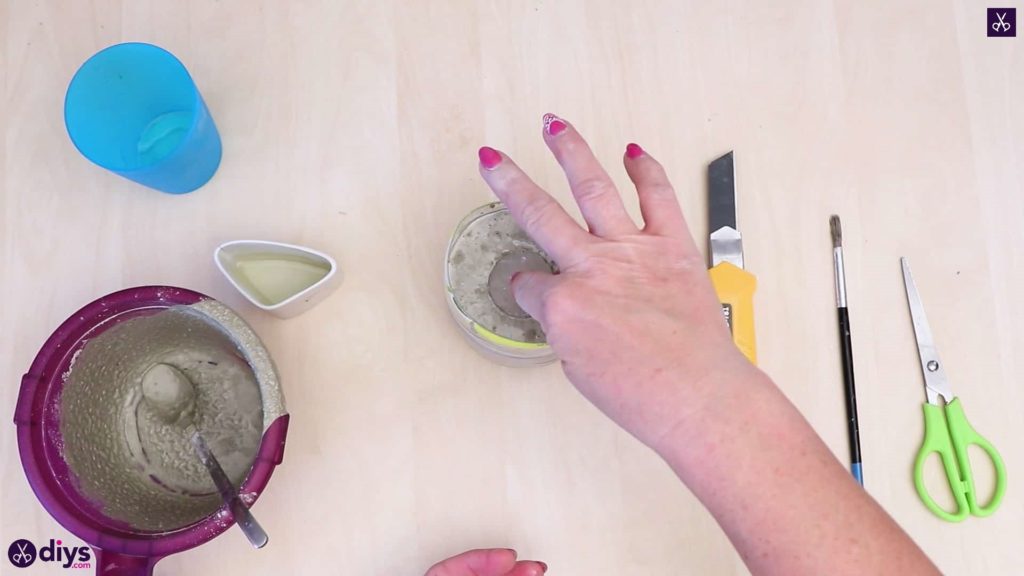

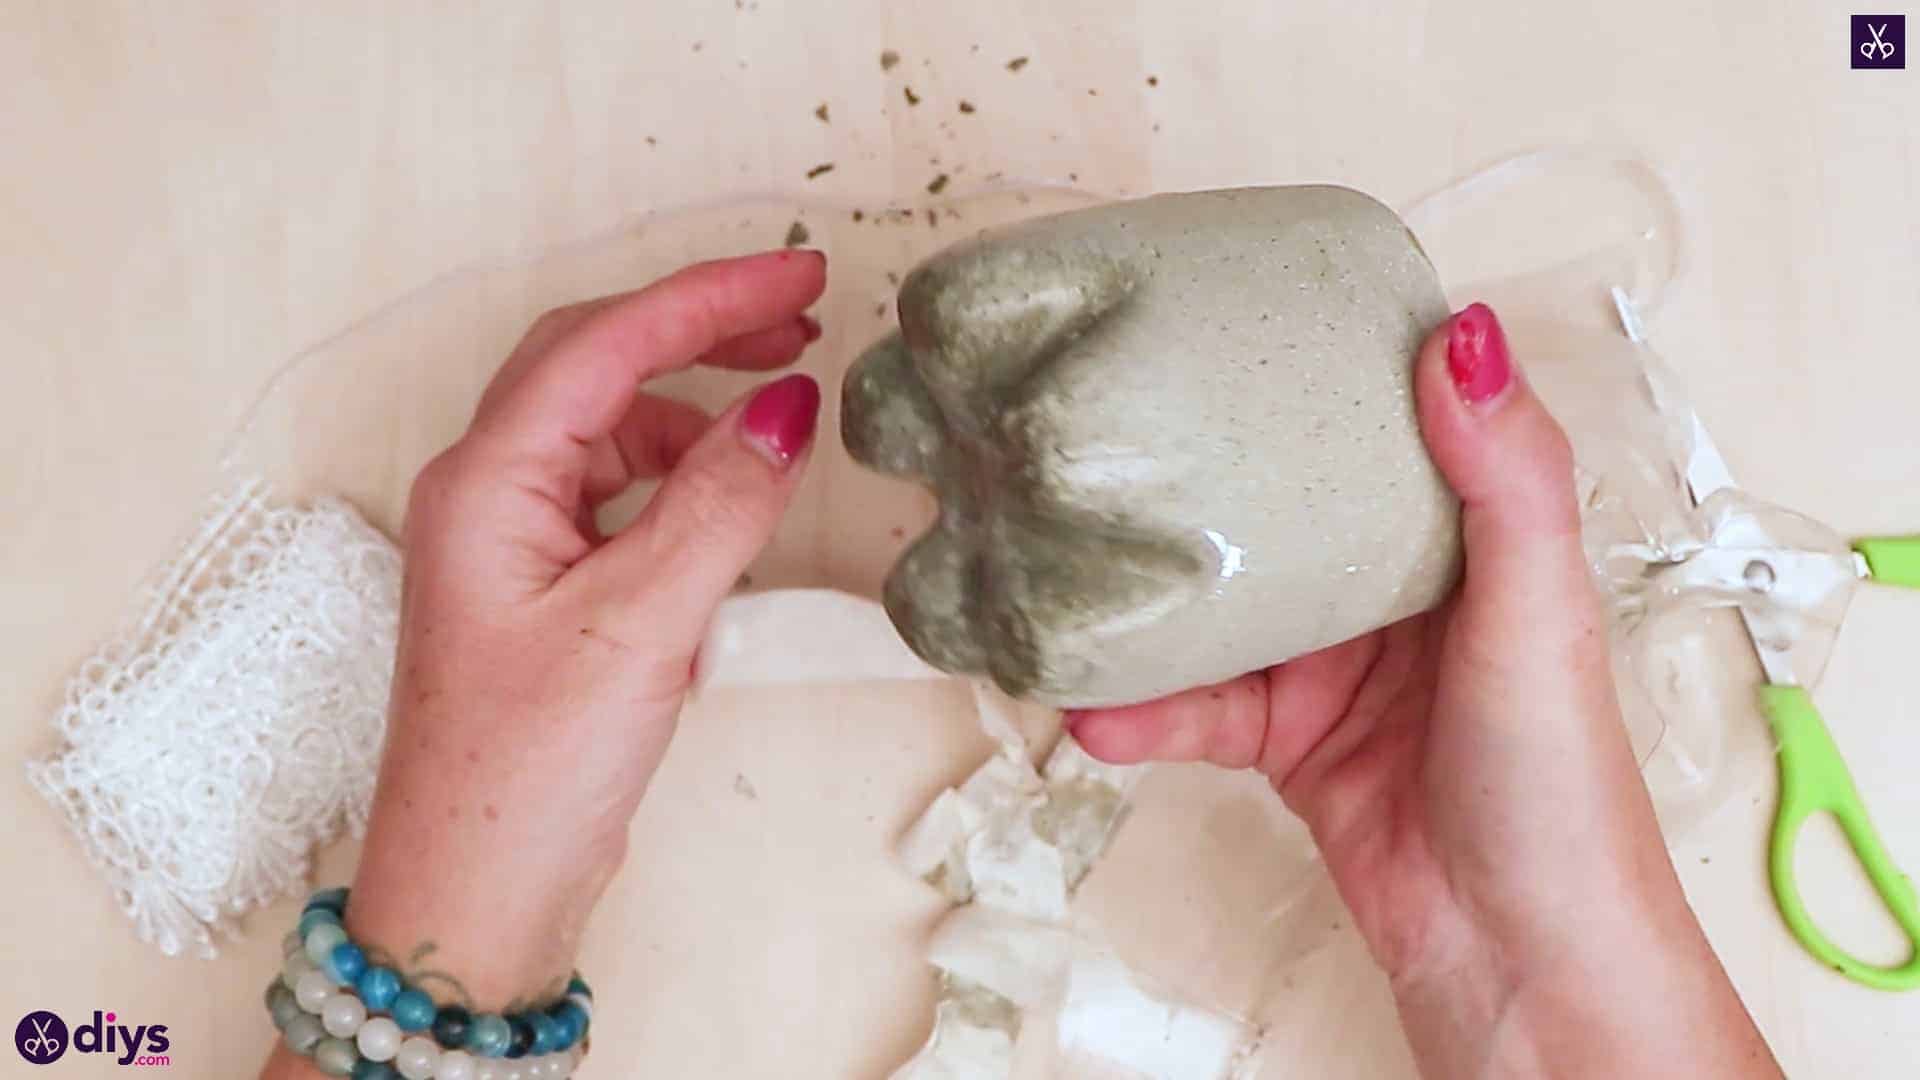
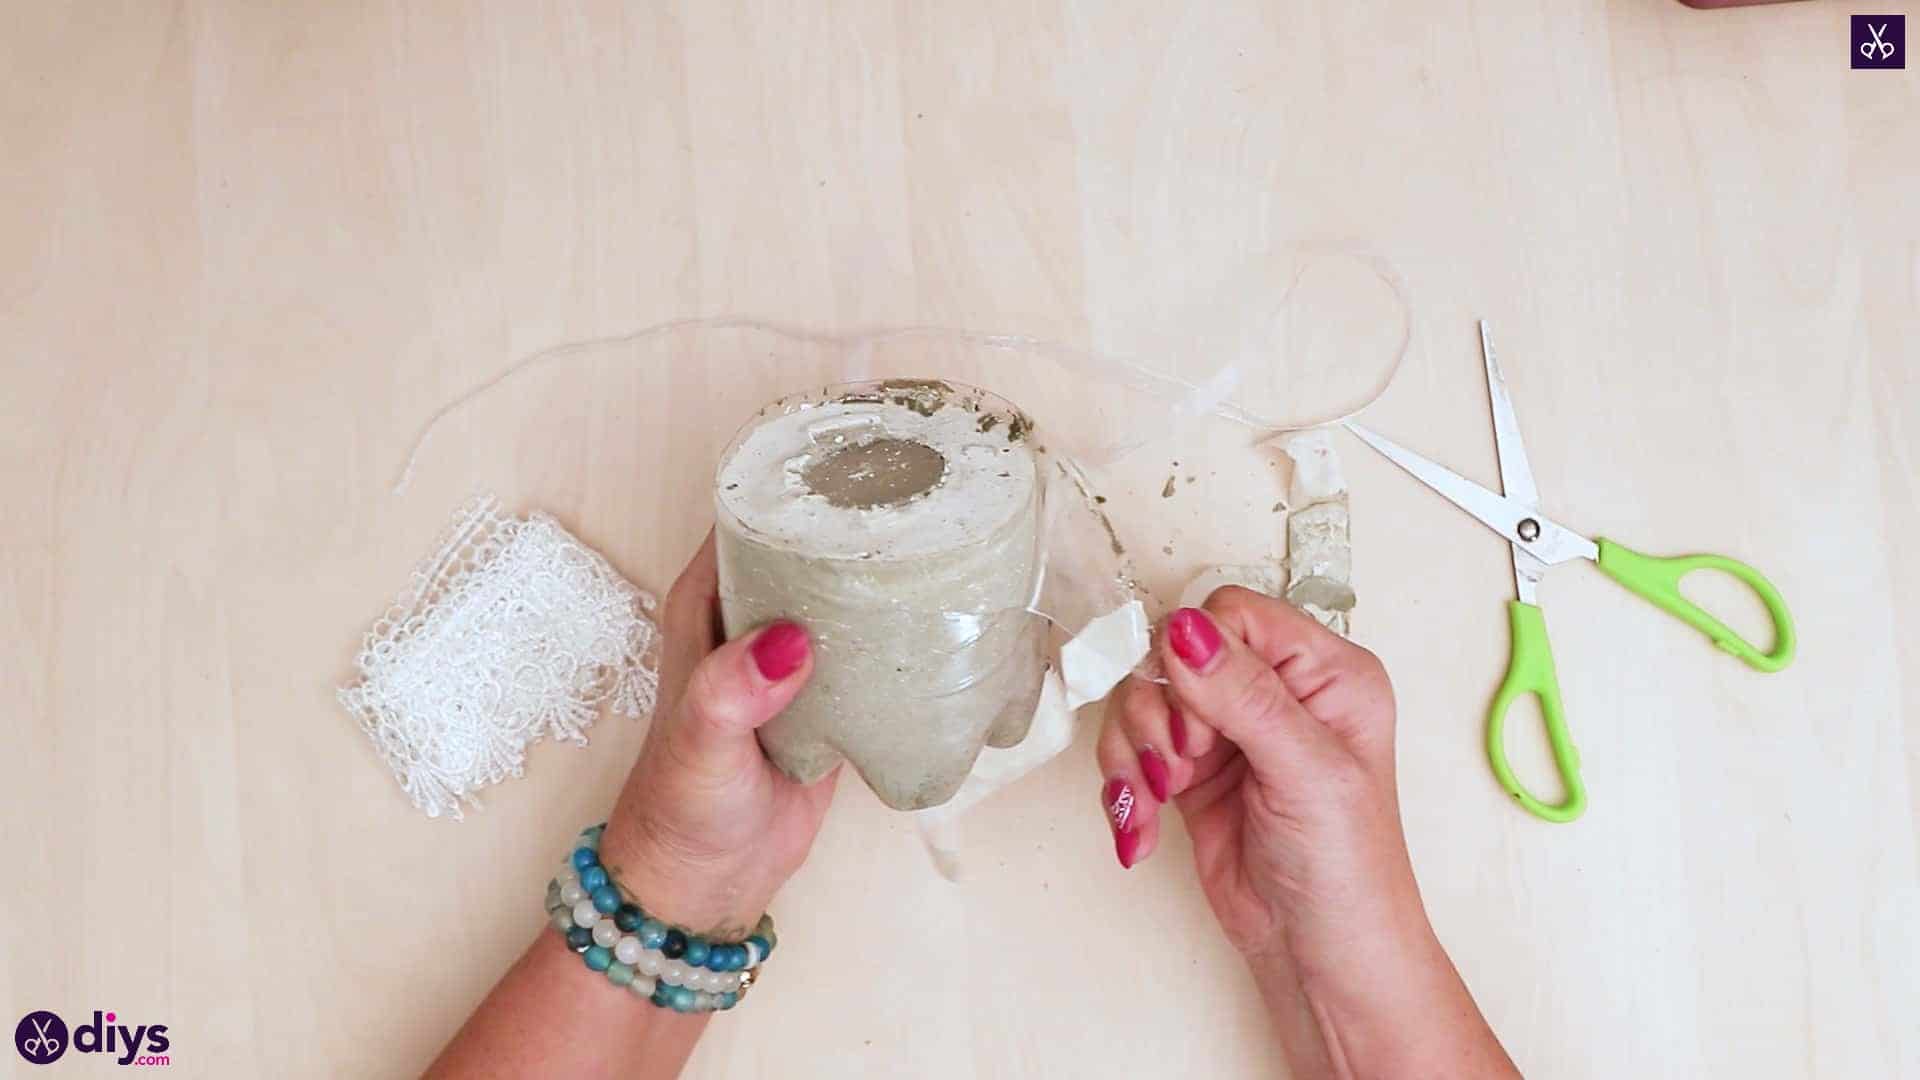
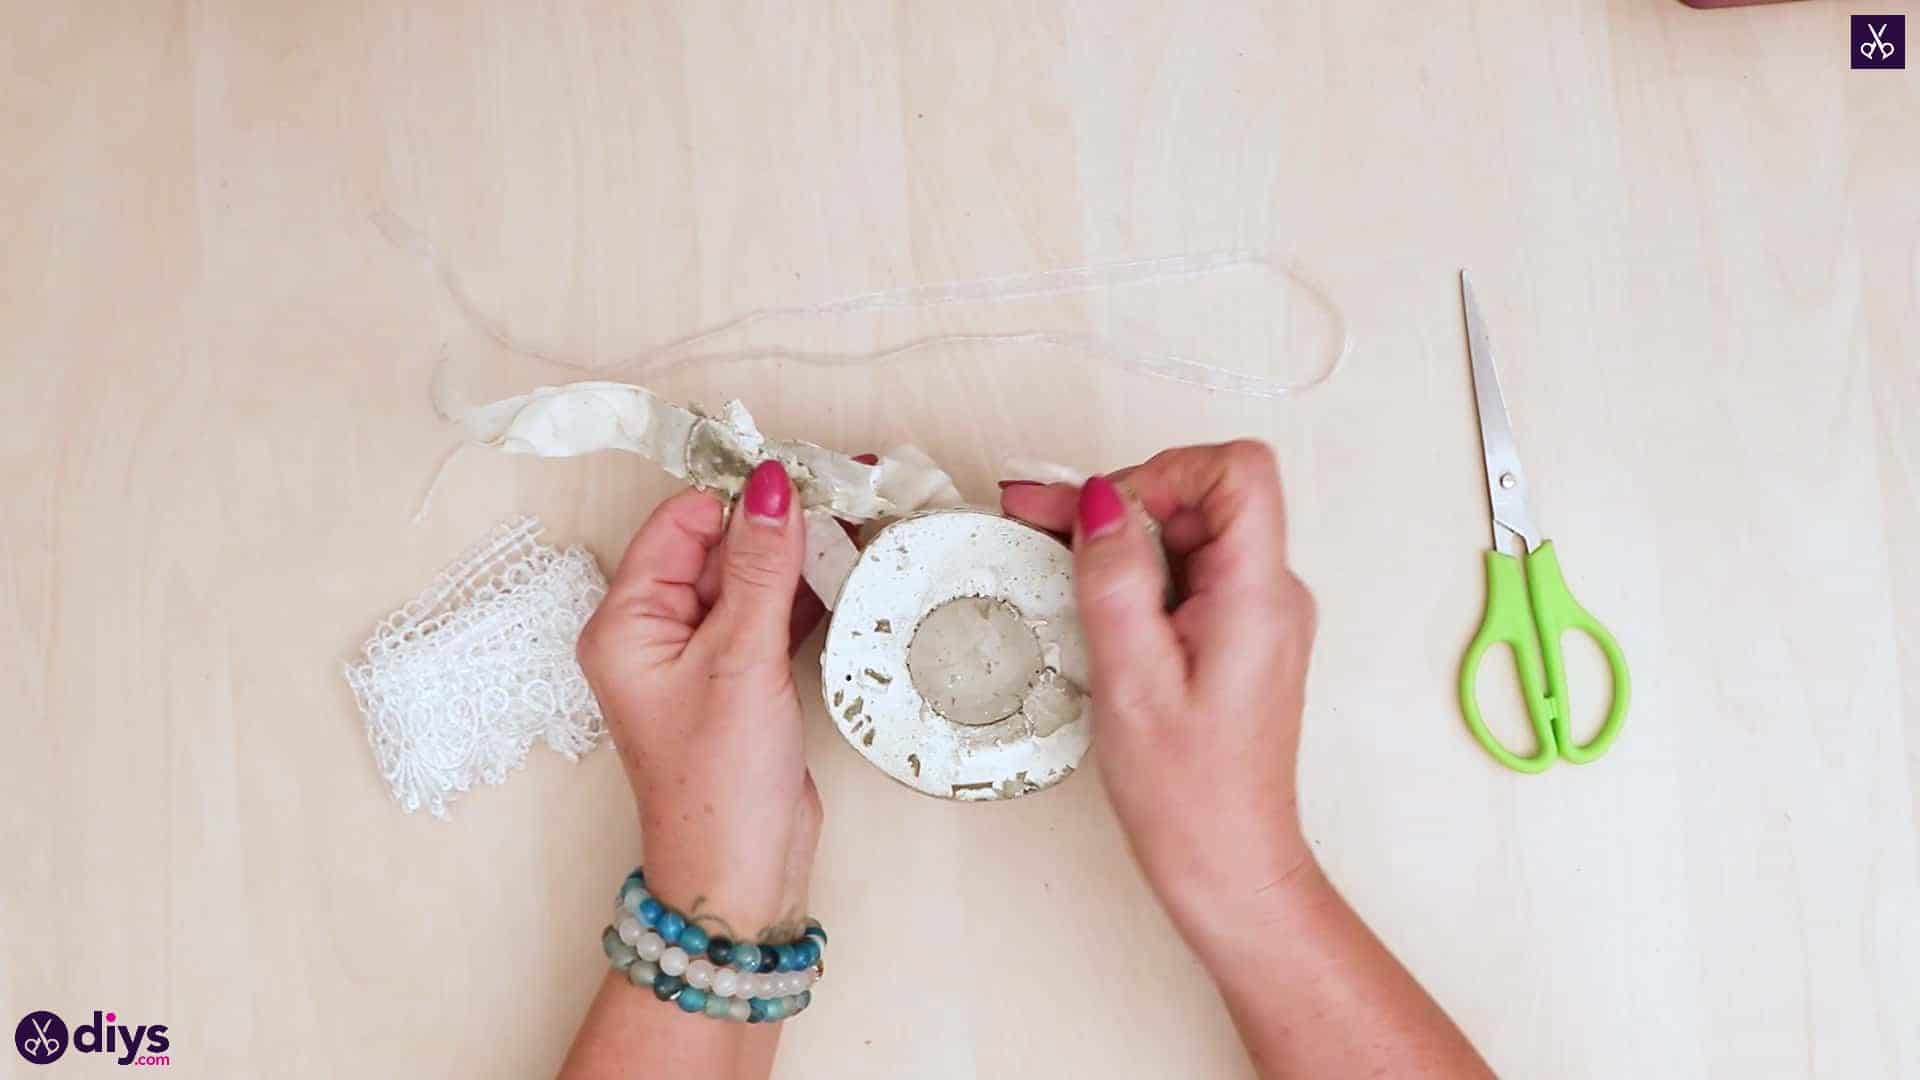
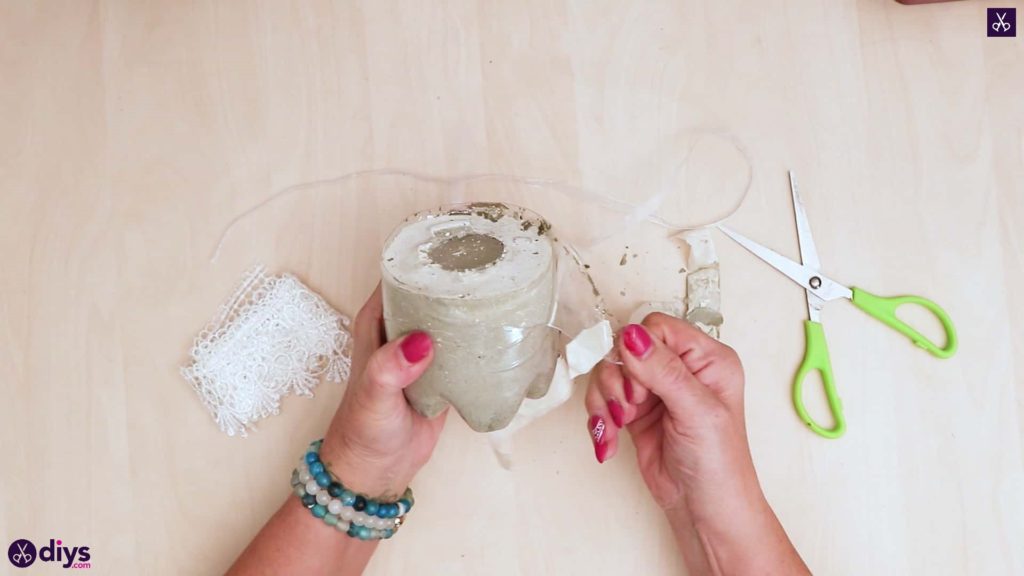
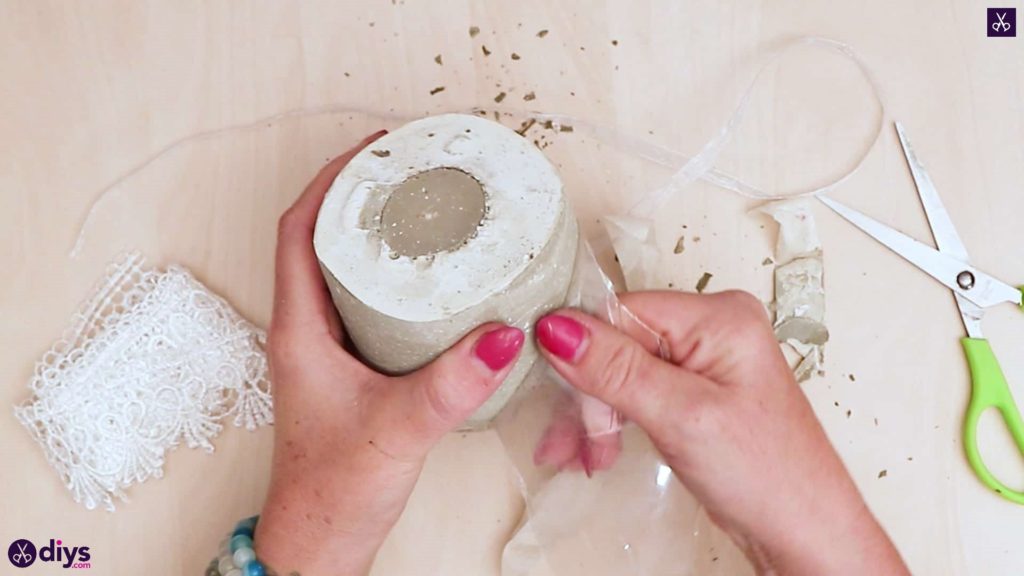
Step 6: remove from molds
When your whole concrete piece has dried thoroughly, remove any tape you place across the top of the bottle. Use your scissors to make a cut in the side and start pulling the bottle away from your concrete until you’ve free your new piece entirely. If you want, you can use a piece of sandpaper or an abrasive block to smooth the entire outside surface of the new concrete piece.


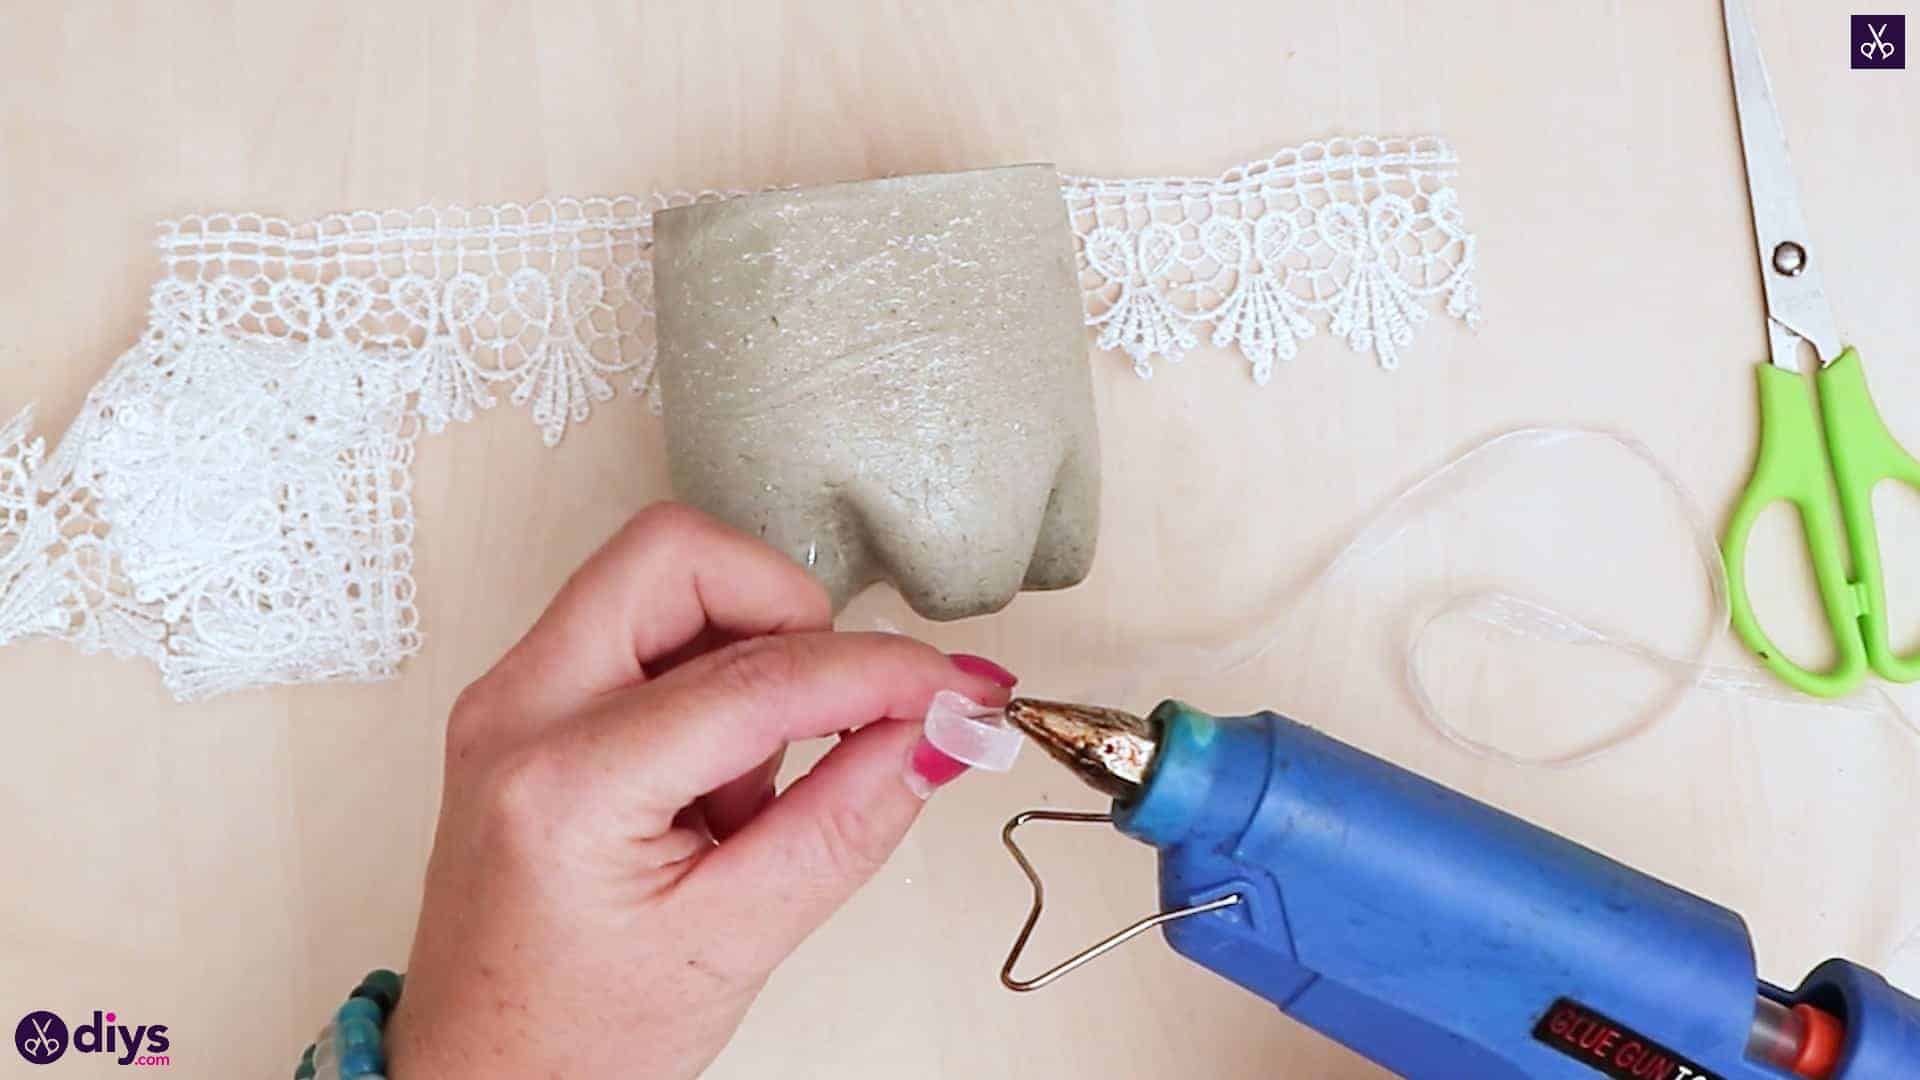
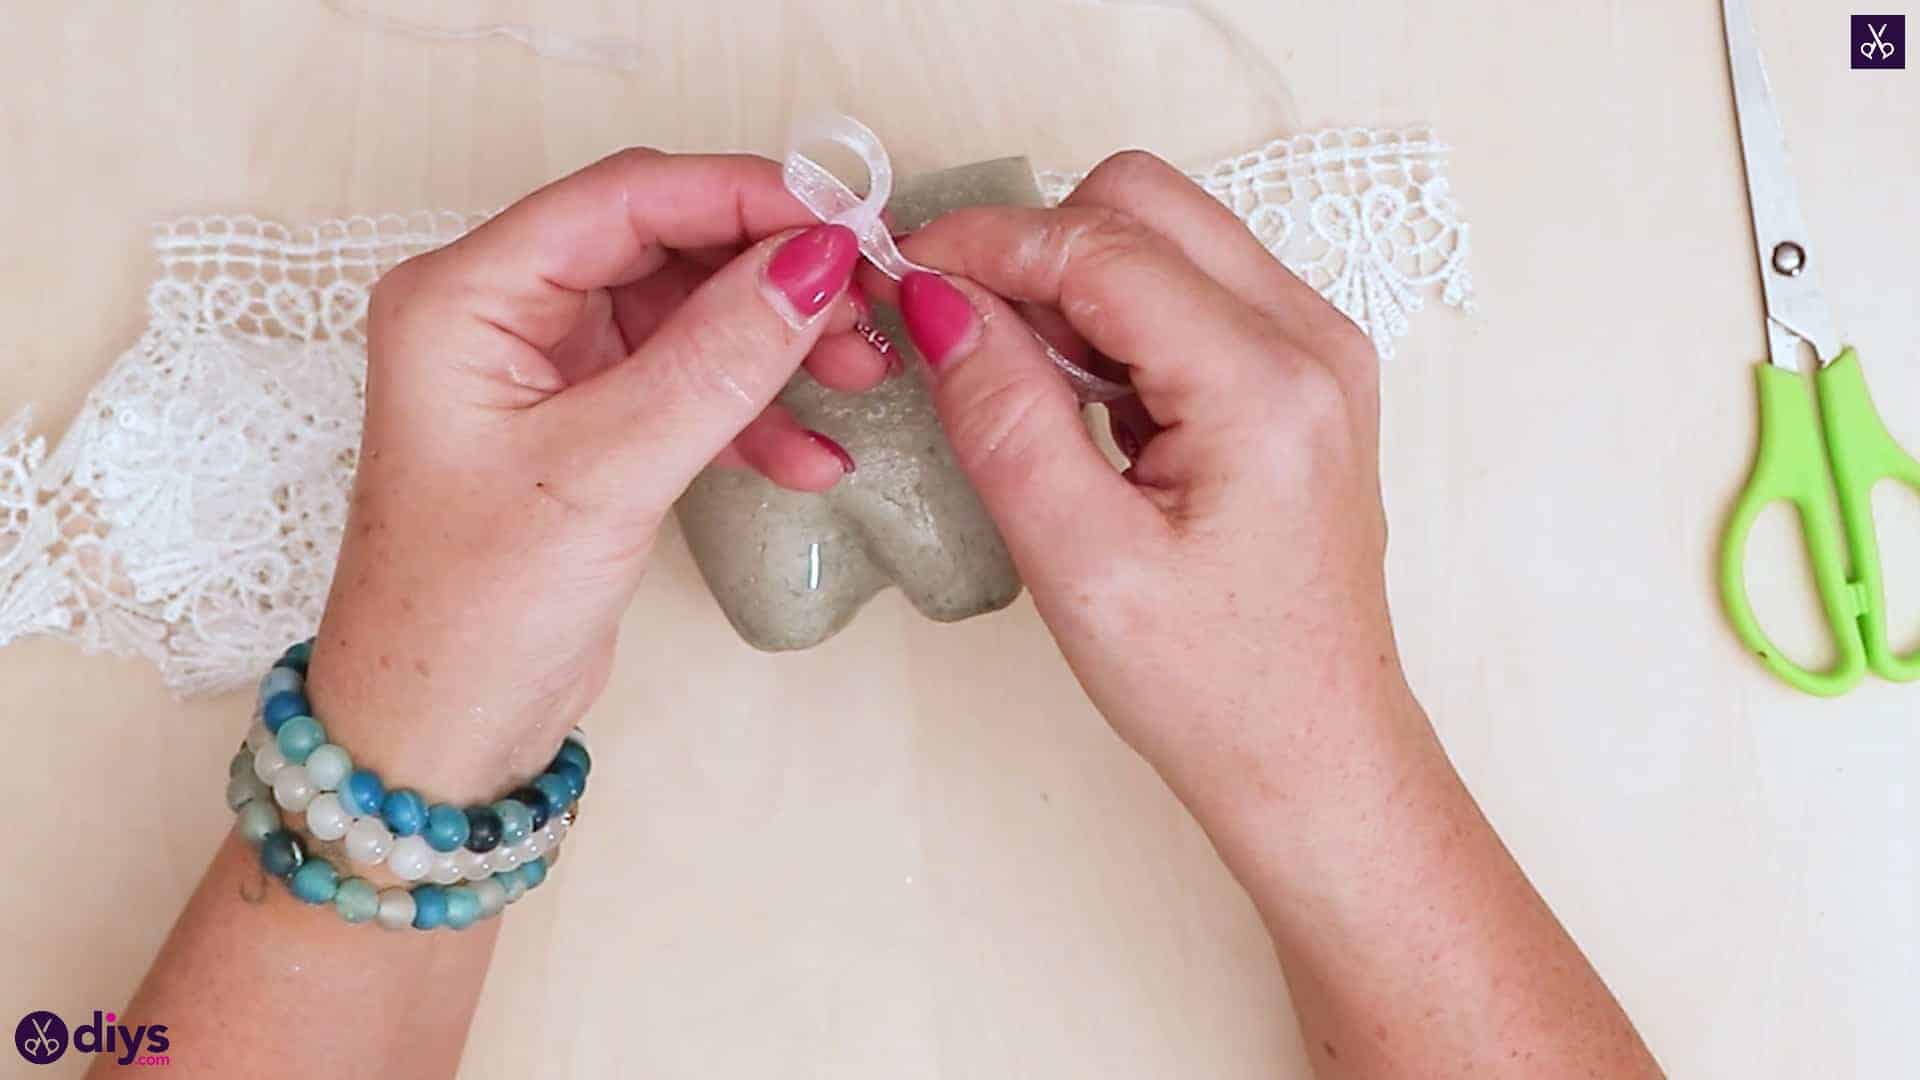
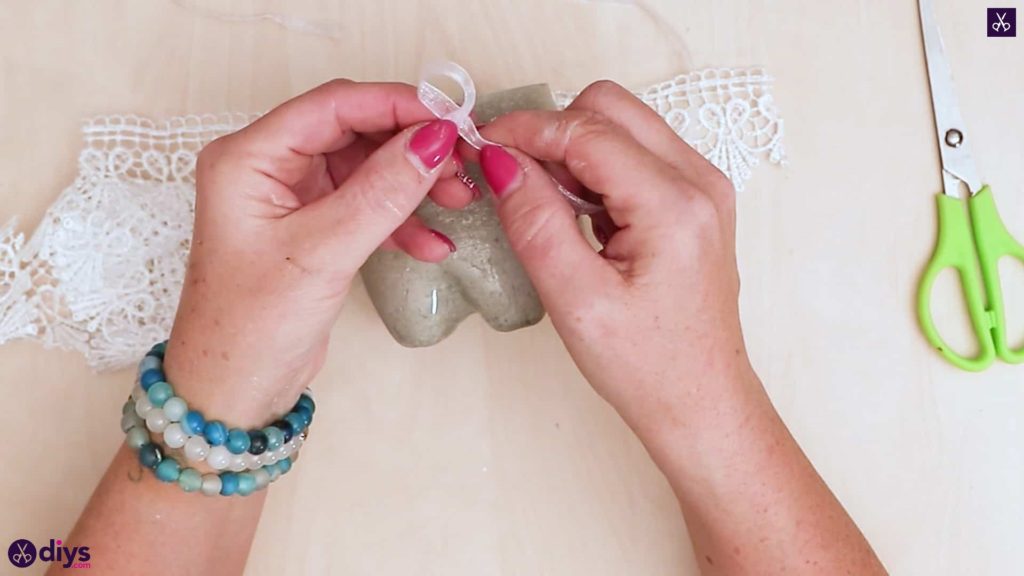
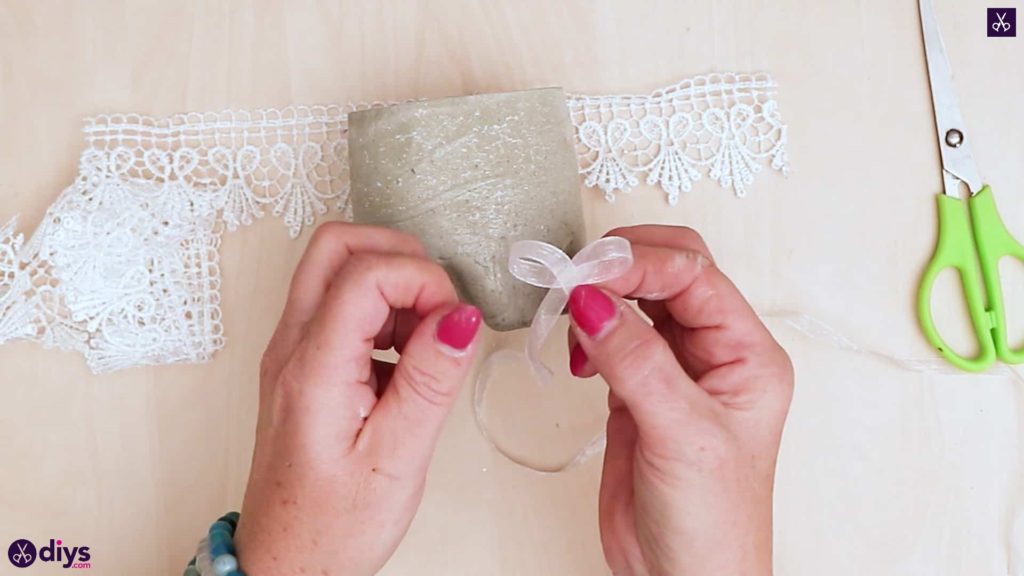
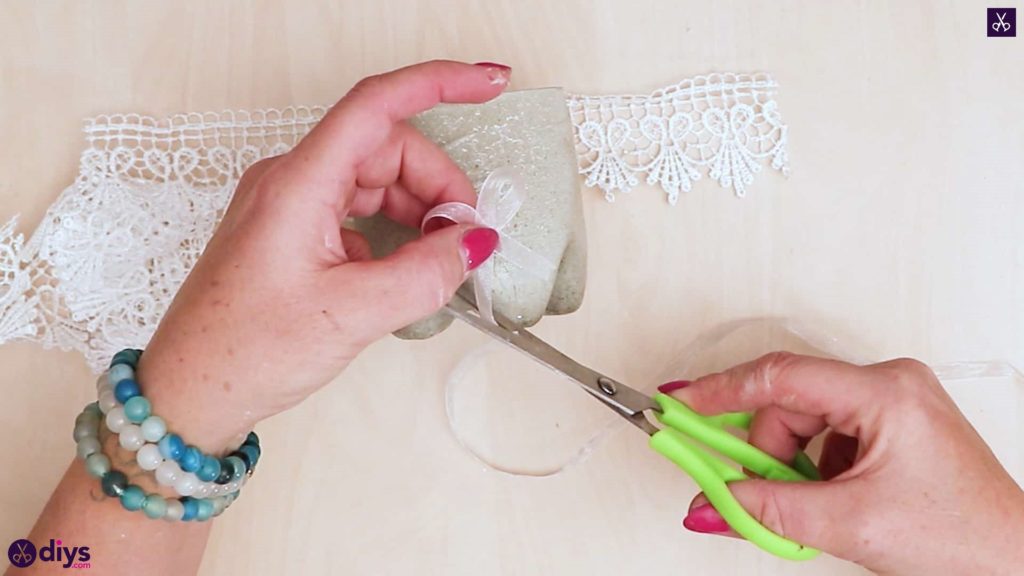
Step 7: add ribbon
Make a little white bow from your white ribbon. Curl the end inward on itself, making a loop and crossing it over so the end sticks out about an inch long on the other side. Apply a dot of glue where the ribbon crosses itself. Do the same on the other side to make a second loop and glue it in place the same way. Trim the ends until they’re the same length; I cut mine on an angle so stop them from fraying. Set the bow aside for a moment.

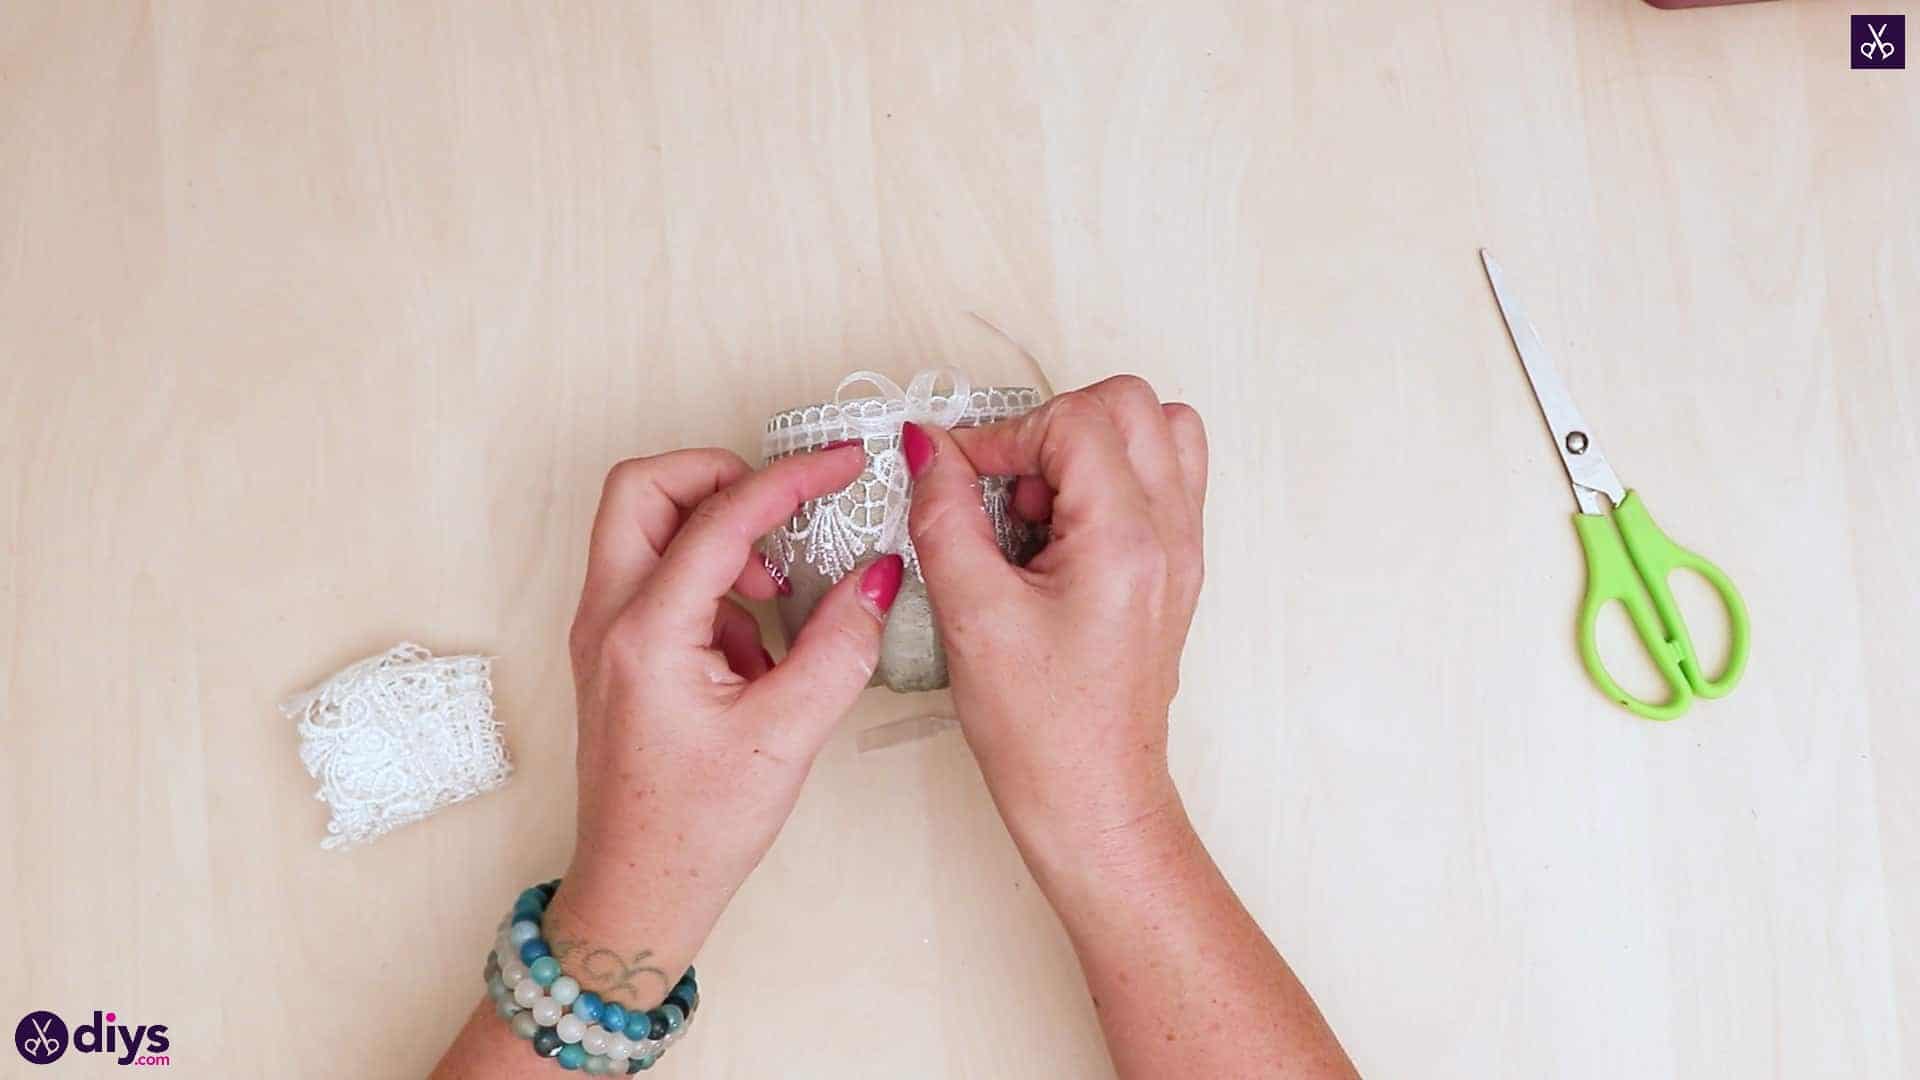
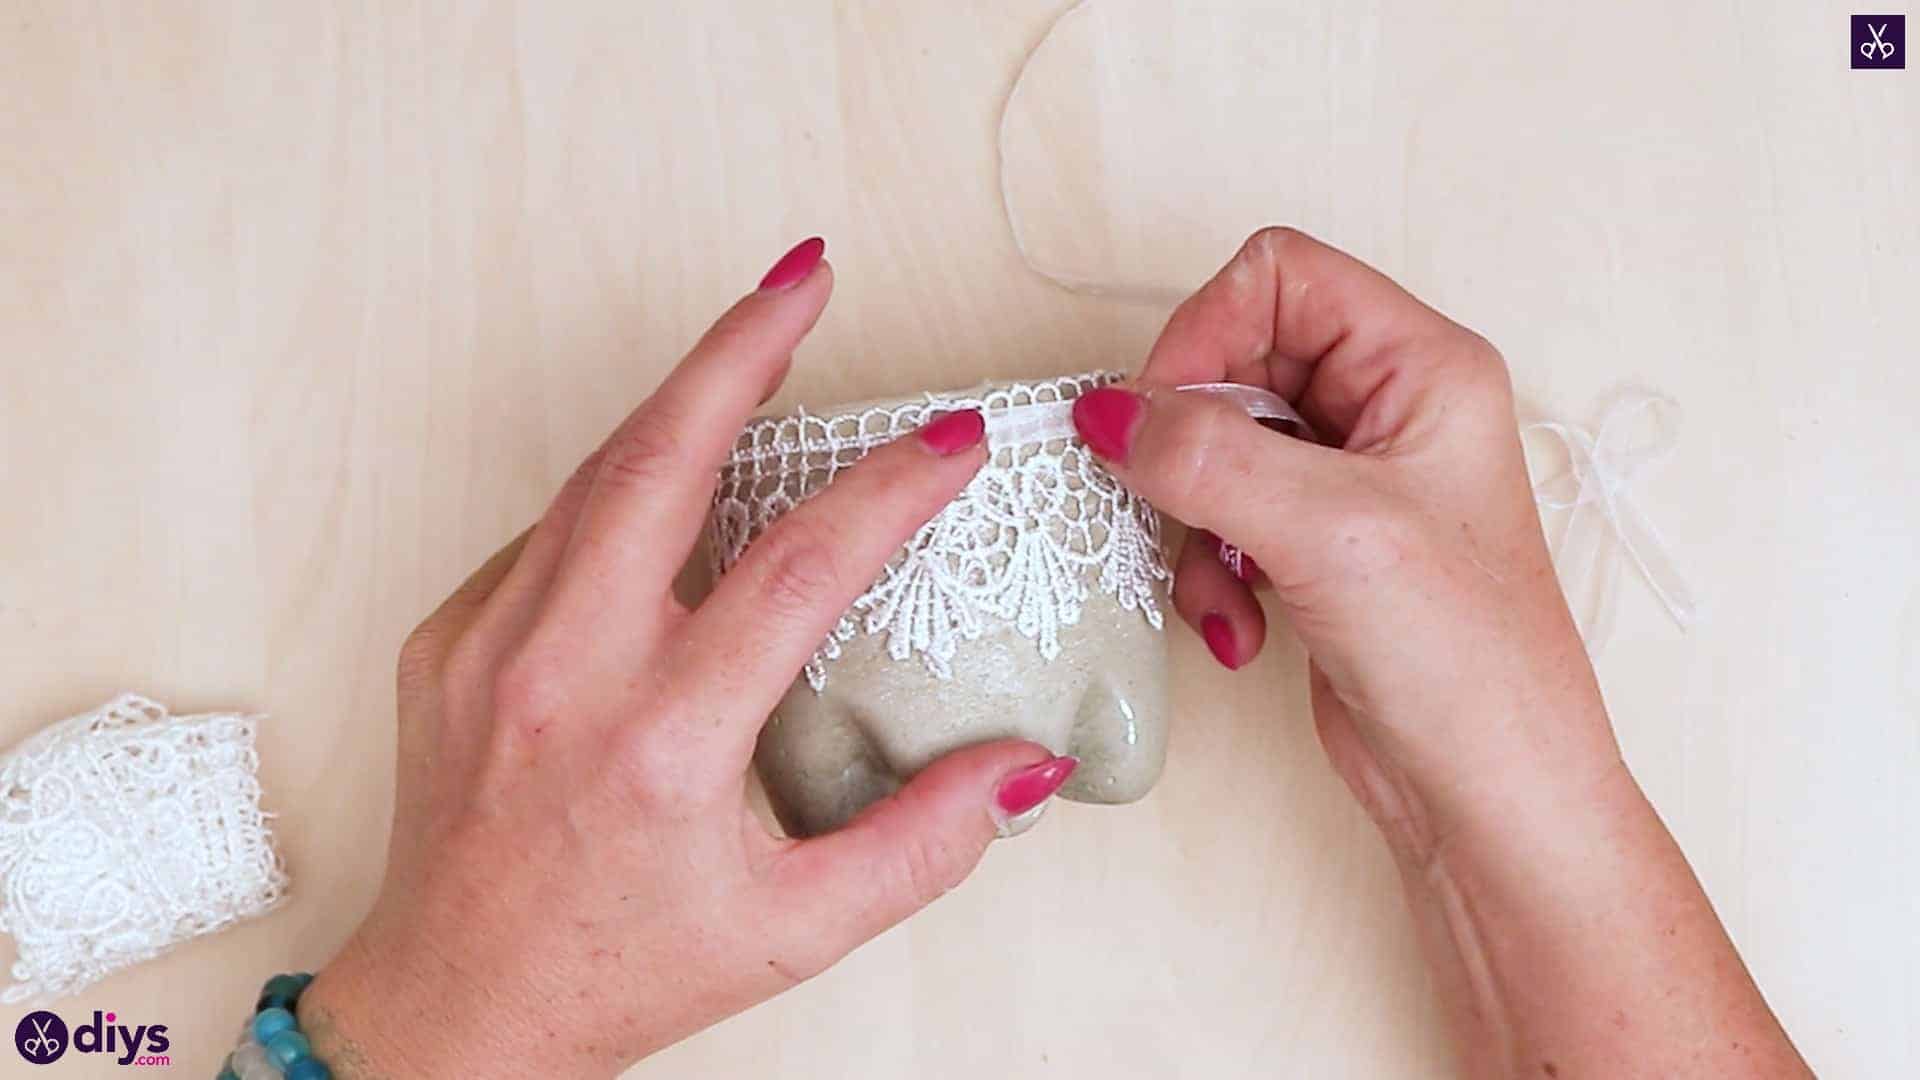
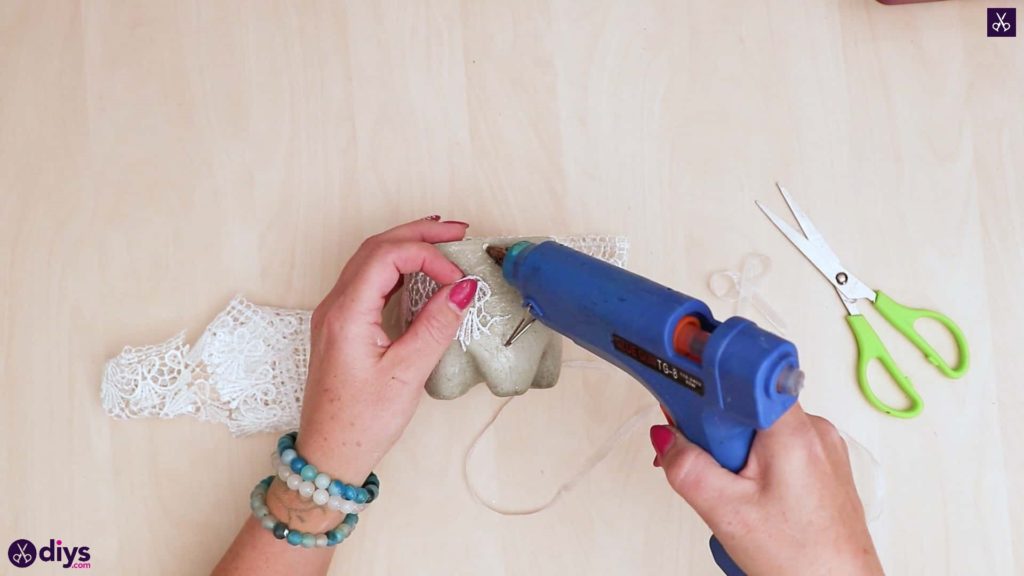
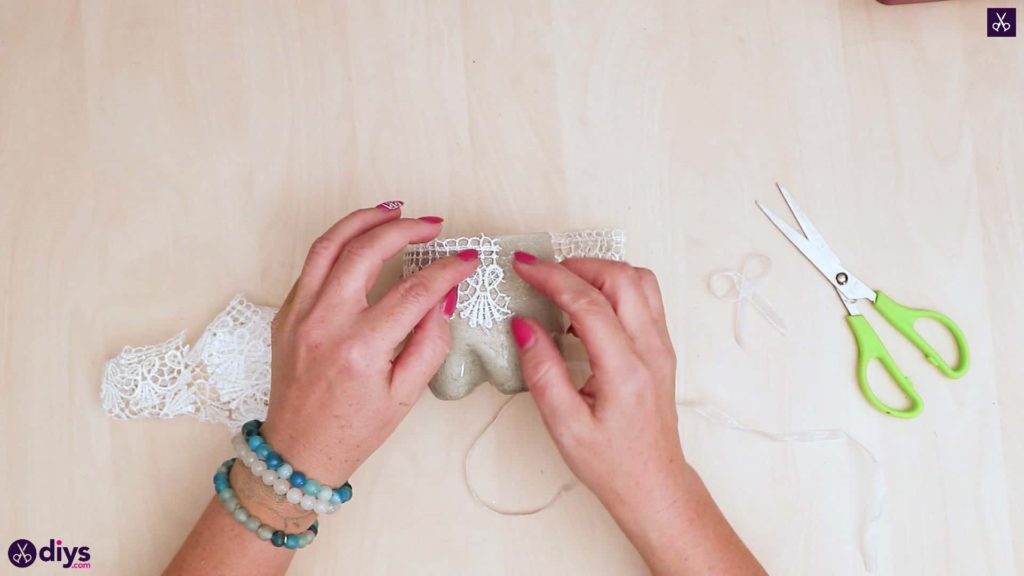
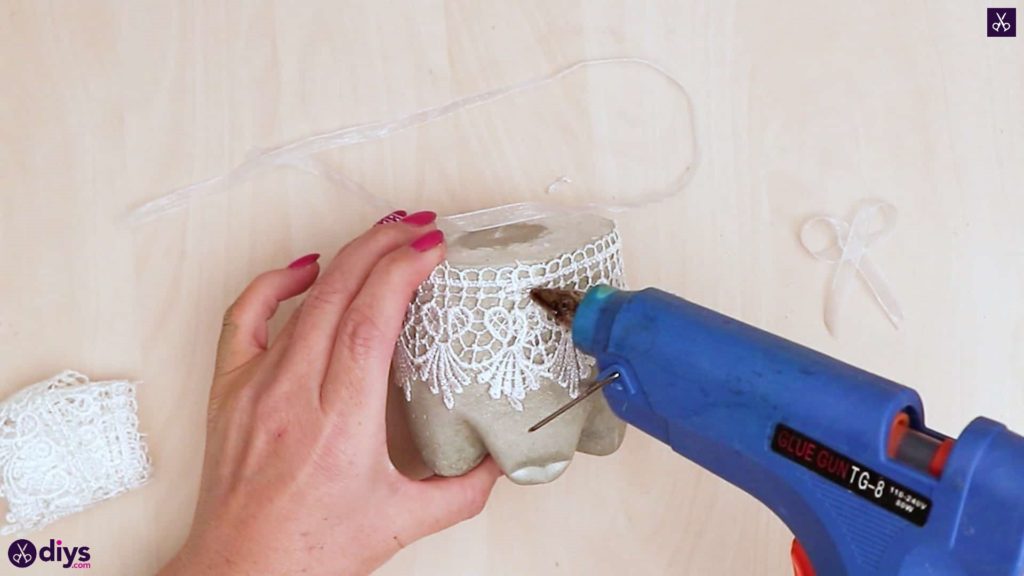
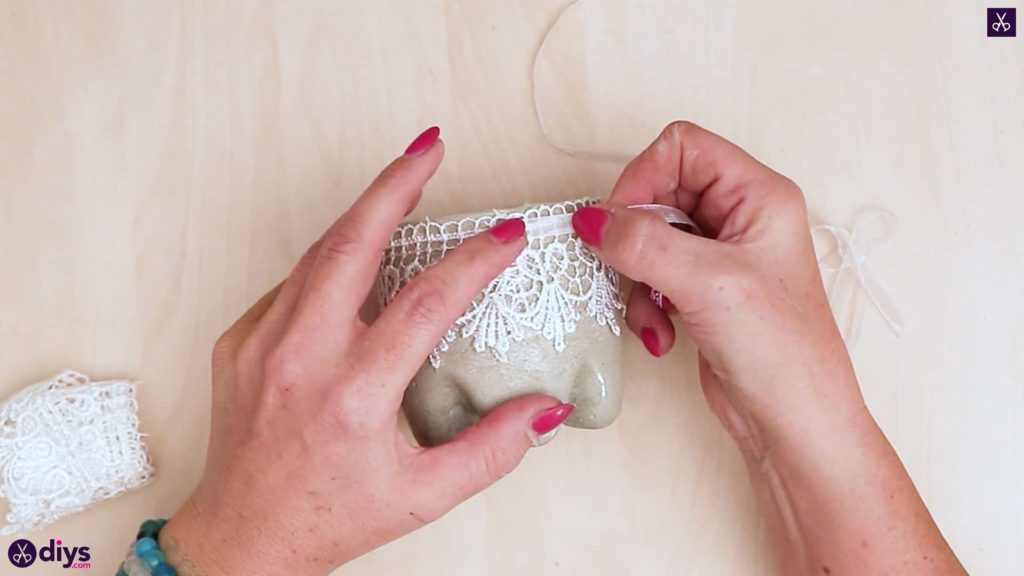
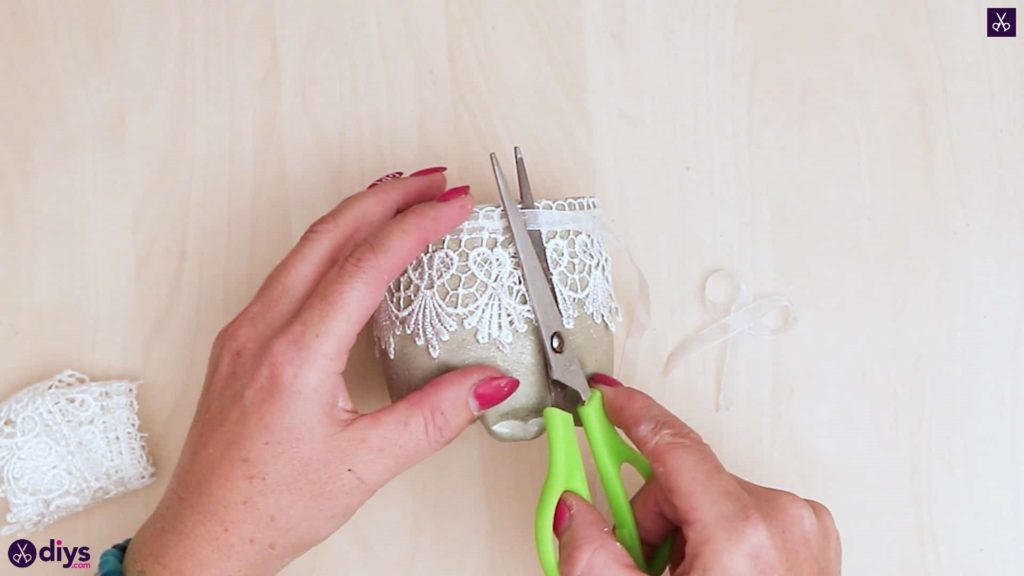
Step 8: adding lace
Apply a dot of glue to whatever side of your candle holder you’d like to consider the back, near the top edge, and stick one end of your lace trim down here. Wrap the lace around the holder, keeping its edge even with that top edge, until you meet back up with the end you just glued down. Trim the excess to make a new end even with the other, or overlapping every so slightly, and apply another dot of glue, sticking that new end down so the two meet and fully cover the top of the holder.

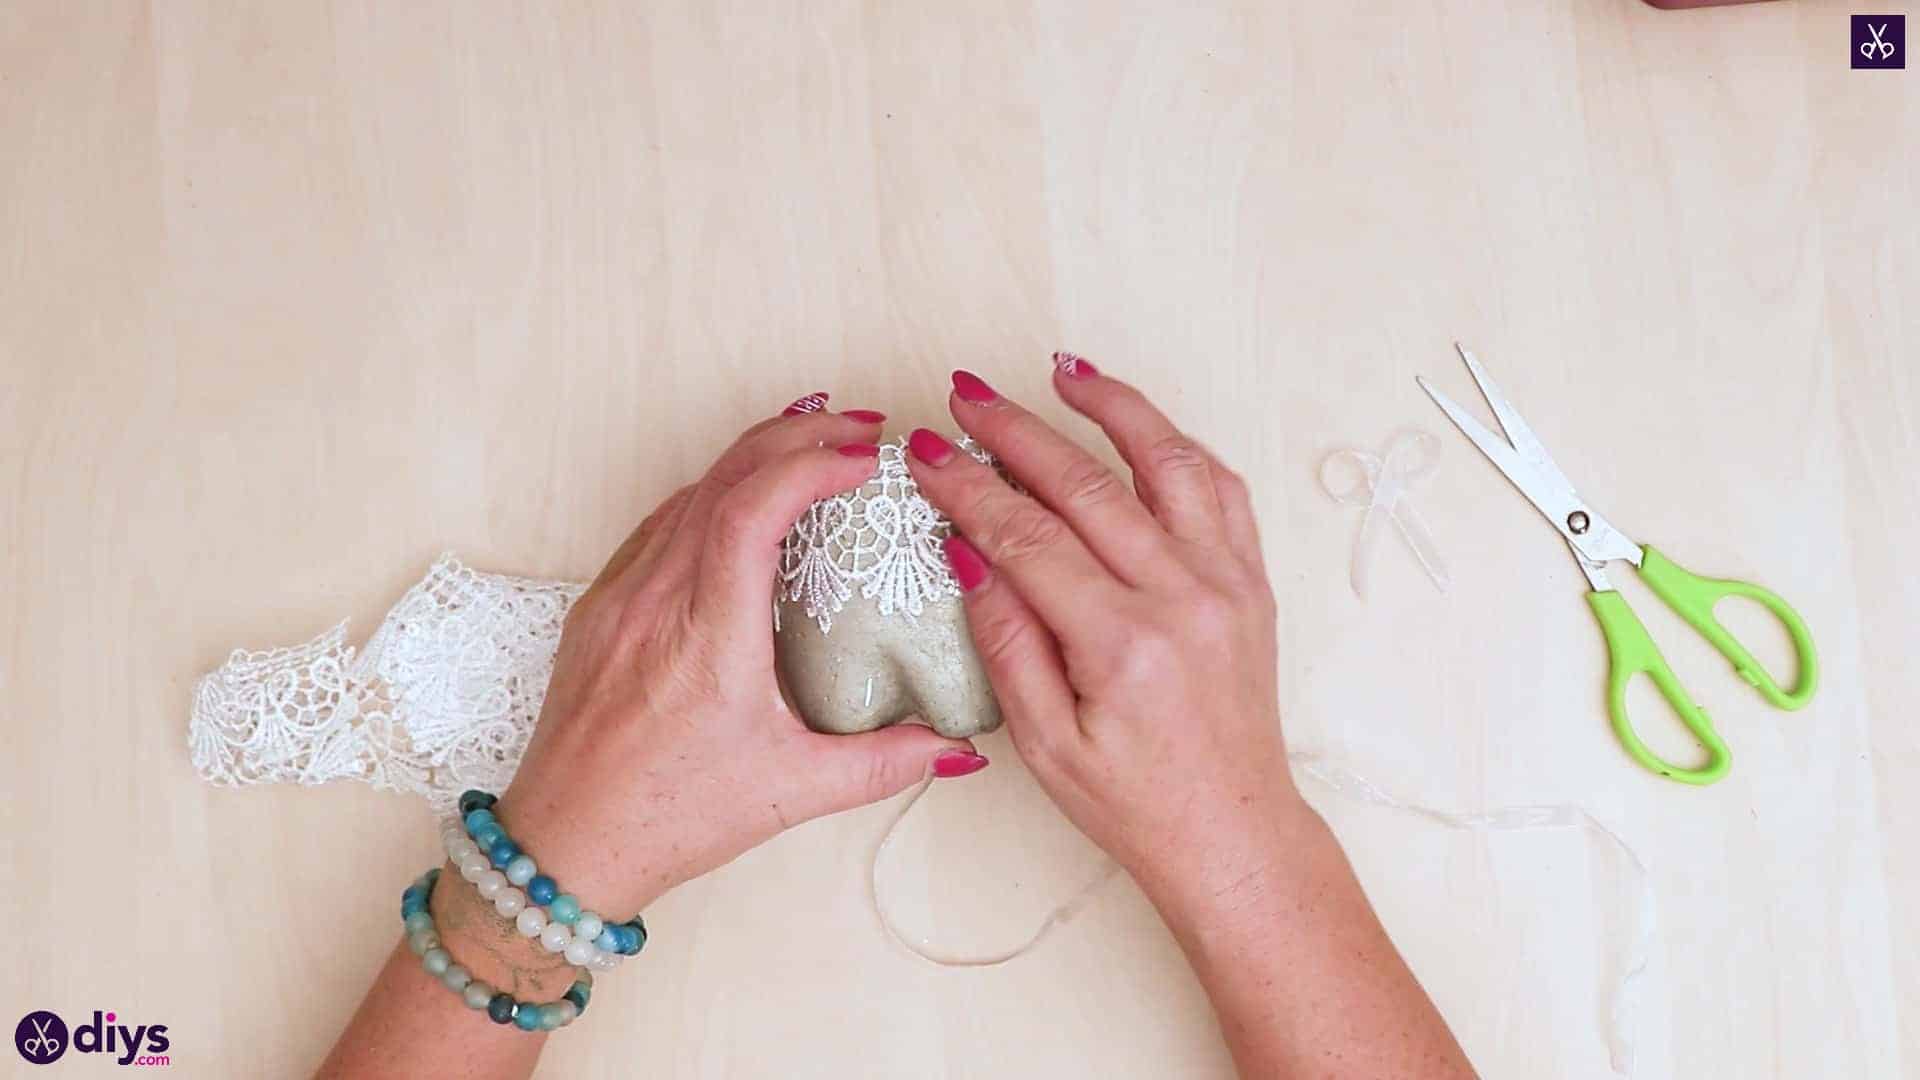
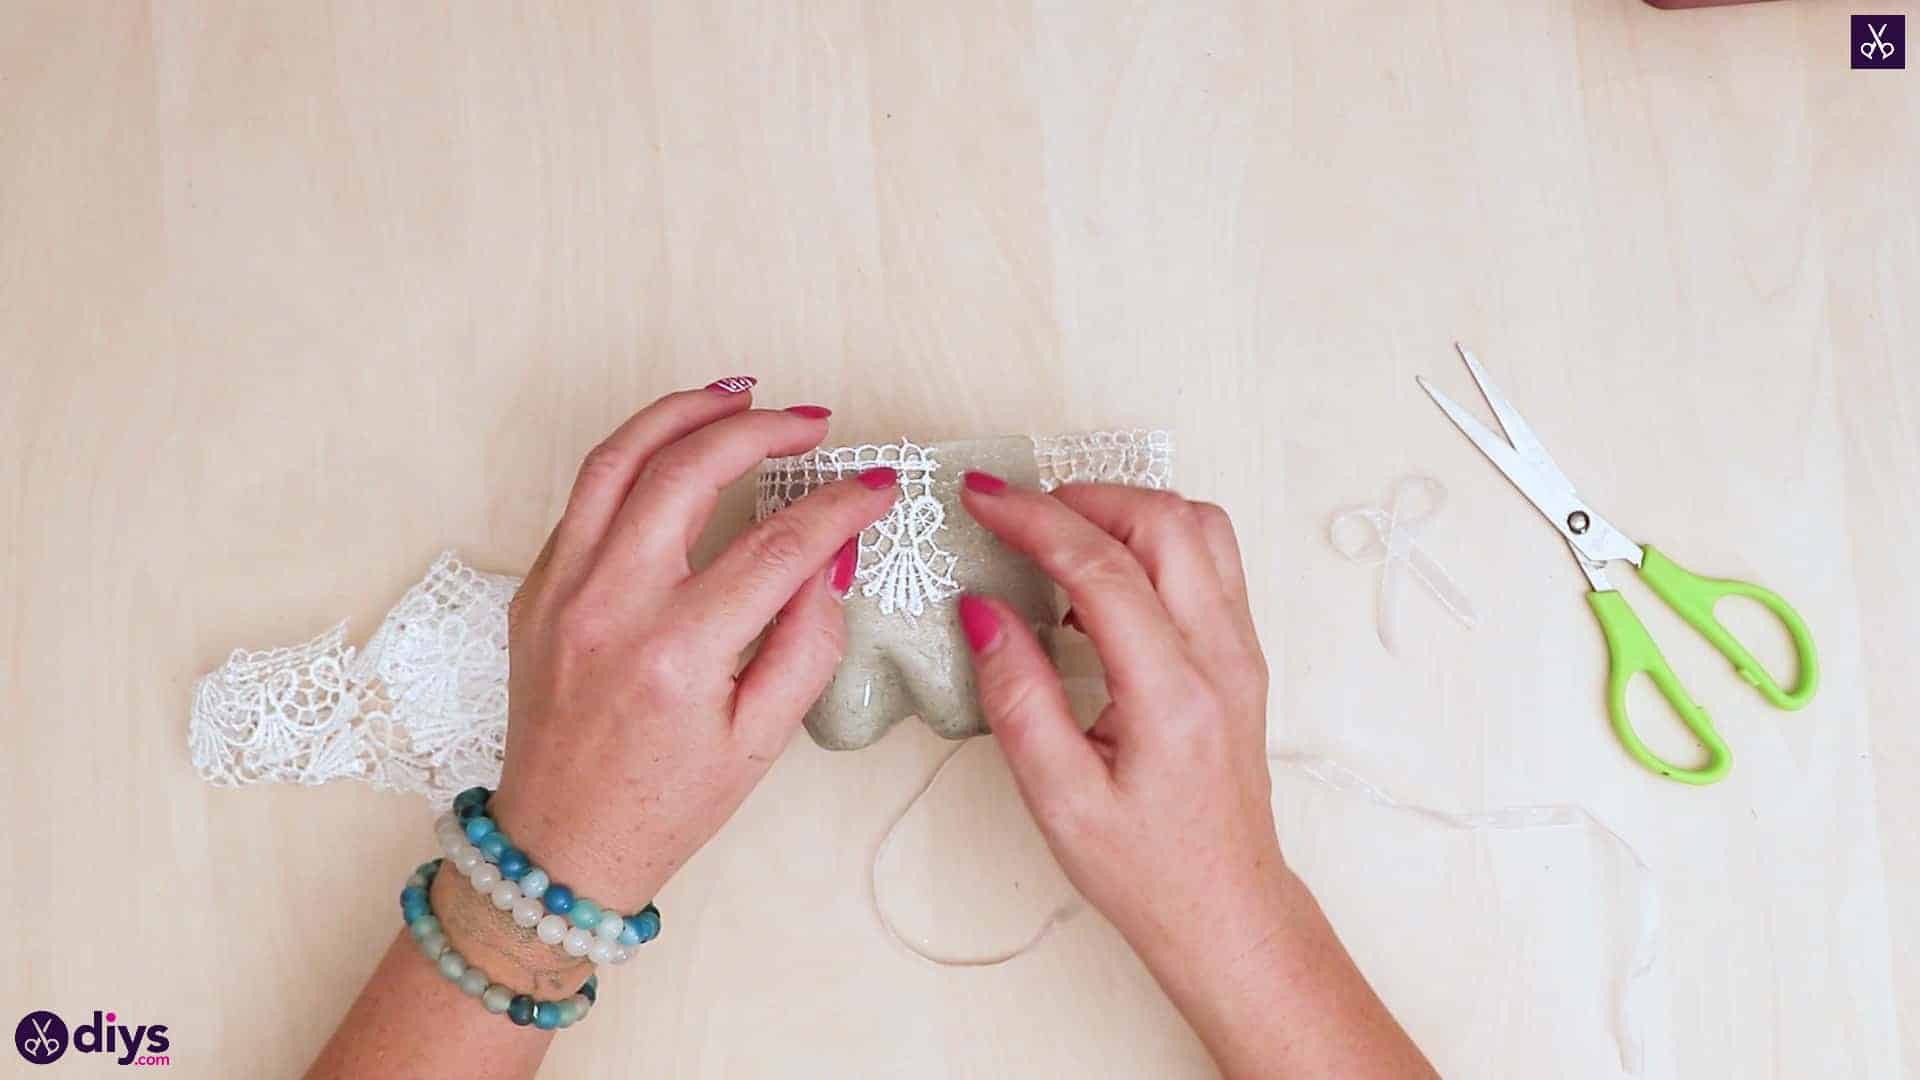
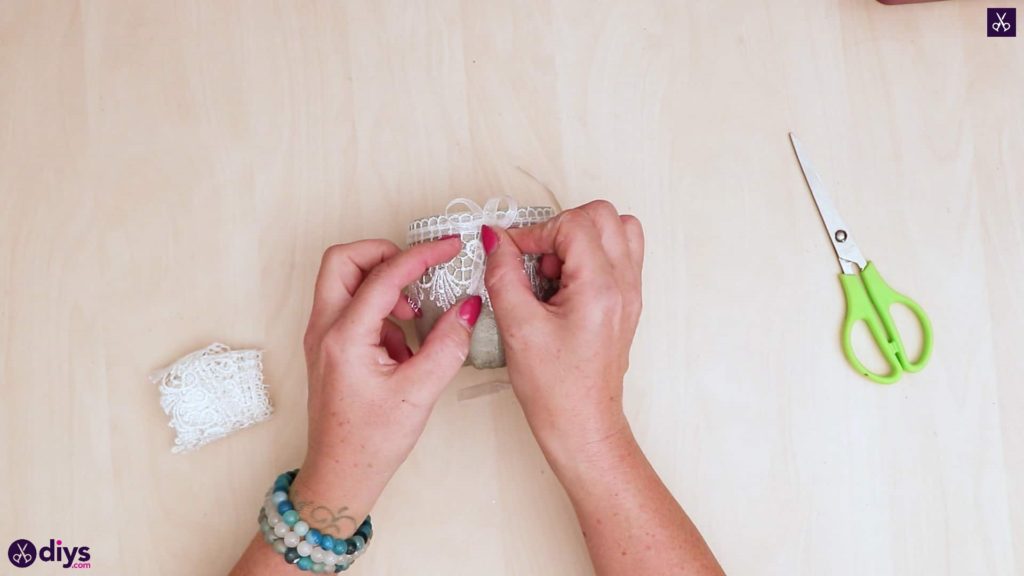
Step 9: repeat
Repeat this gluing, wrapping, and trimming process once more, this time with the leftovers of your white ribbon and on top of the lace trim, for contrast. I did mine slightly below the edge, so the delicate detail at the top of the lace trim still showed rather than being covered. Once you’re done that, turn the holder back to the side you’d like to consider the front. Put a dot of glue in the center of the length of white ribbon there and stick the back of the bow into it.
Your concrete and lace candle holder is all ready to be put on display! Just in case you’d like to try this project out for yourself, here’s a fantastic tutorial video to help you!