DIY Birthday Card from Paper and Washi Tape
Updated on November 19, 2025


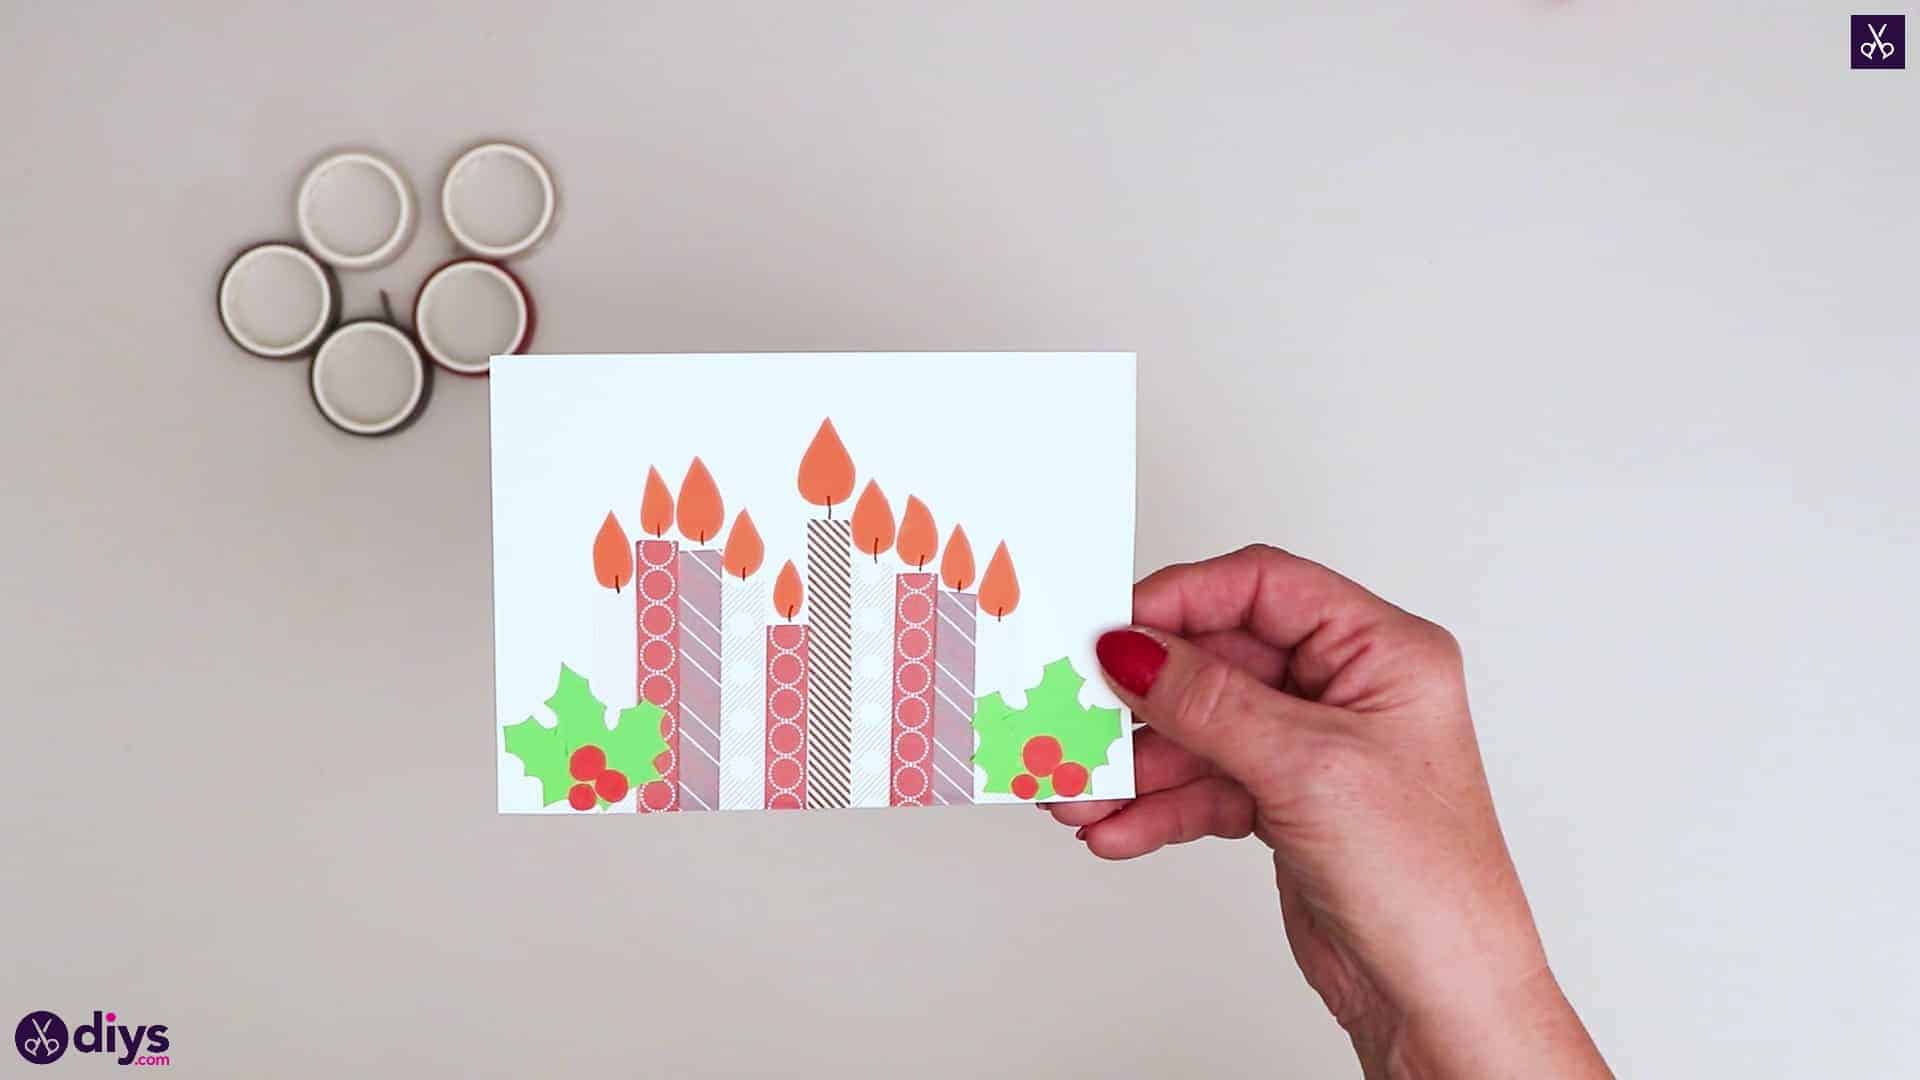
Recently, I had a friend celebrate a birthday in the winter and fully embrace the seasonal timing with a gathering full of classic winter activities, so I decided to make them a card that was a little bit seasonal as well! Check out how I put together this gorgeous DIY birthday card from paper and washi tape right here!

Just in case anyone else would like to try their hand at making a wintery birthday card too, I made sure to document all of my steps so that other crafters can follow along. Check out these step by step instructions complete with photos! If you’d rather follow along with a video tutorial instead of written words, scroll to the bottom of this post to find just what you’re looking for.
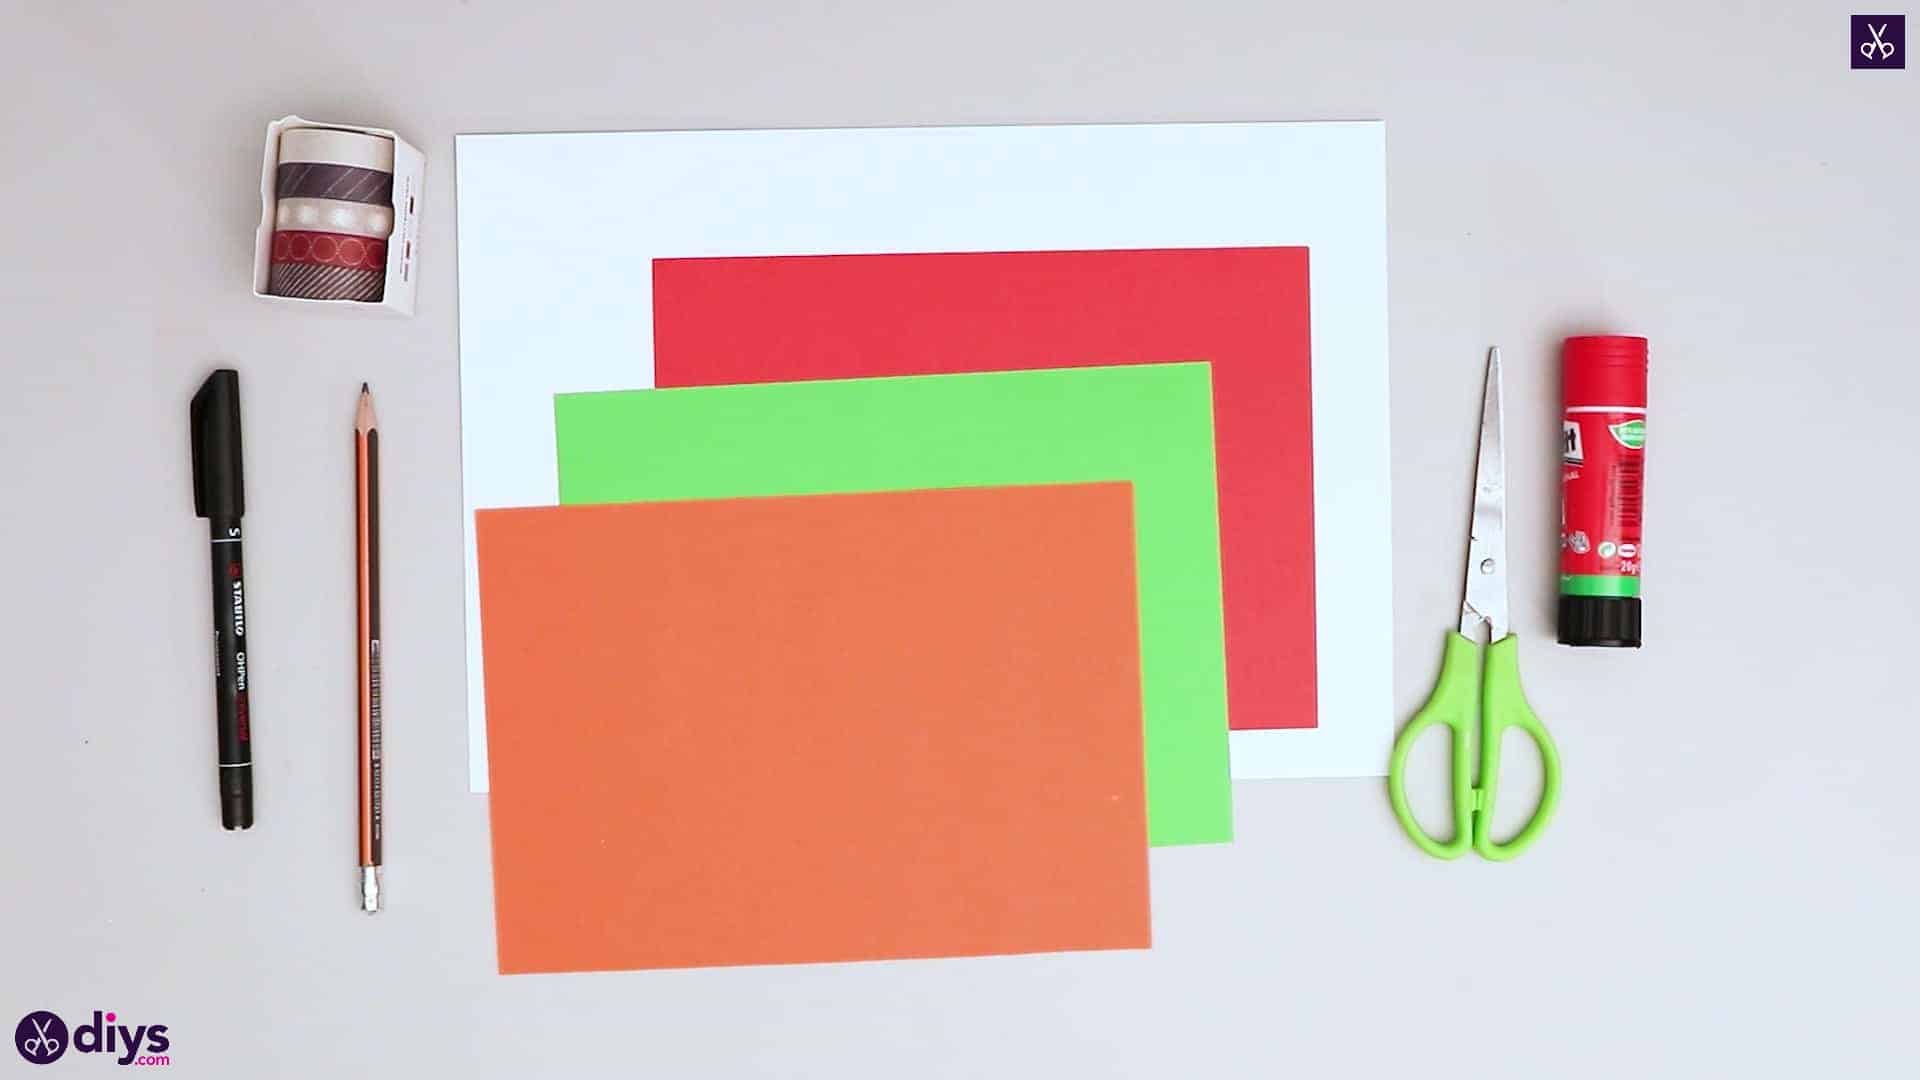
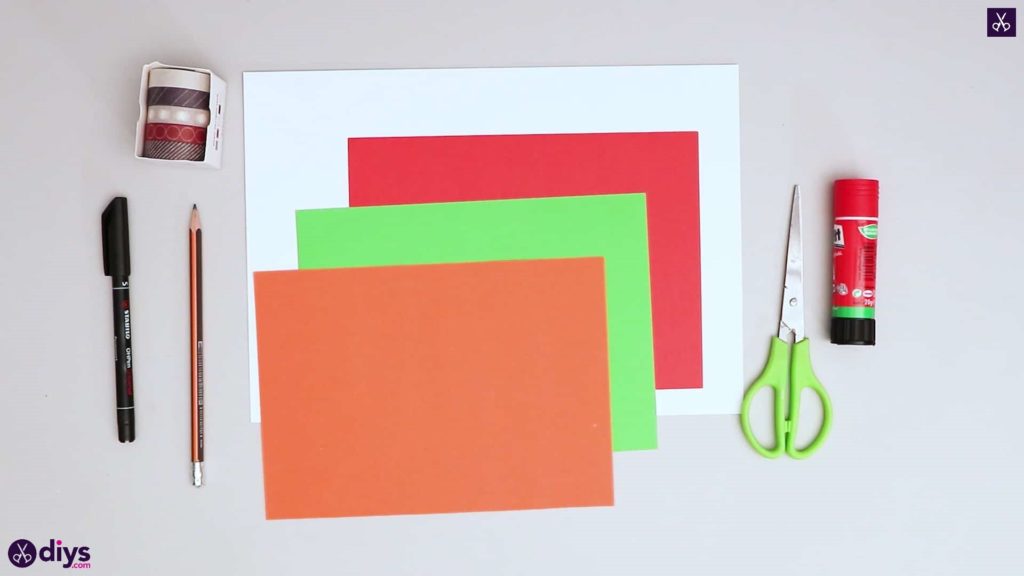
For this project, you’ll need:
- White card paper
- Scissors
- A glue stick
- Construction or scrapbooking paper (red, orange, and green)
- A pencil
- A black marker
- Washi tape
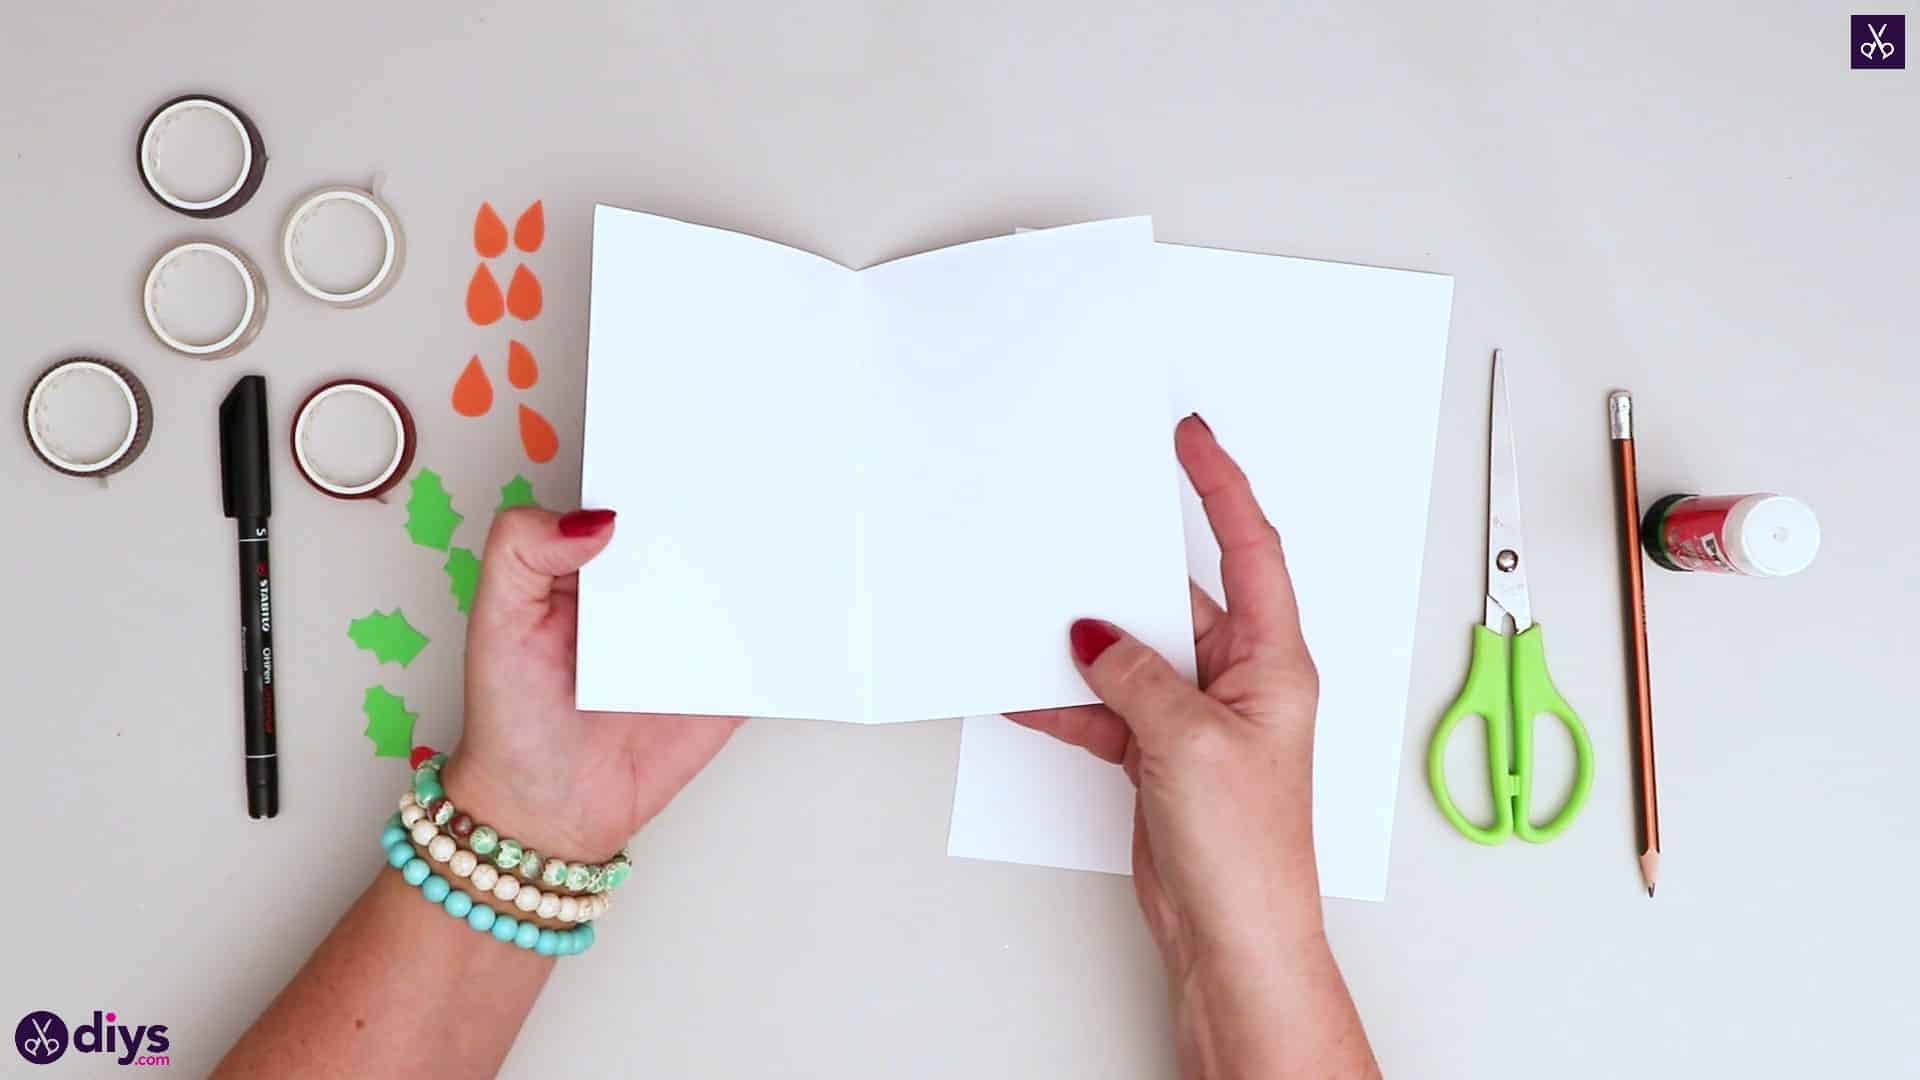
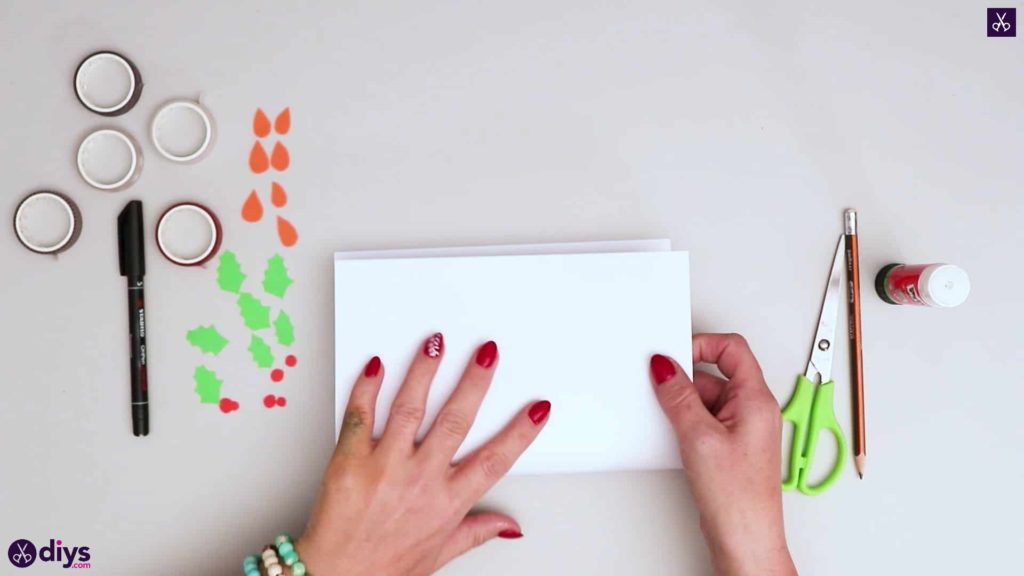
Step 1: check the list
Gather your materials form your list and put everything in front of you!
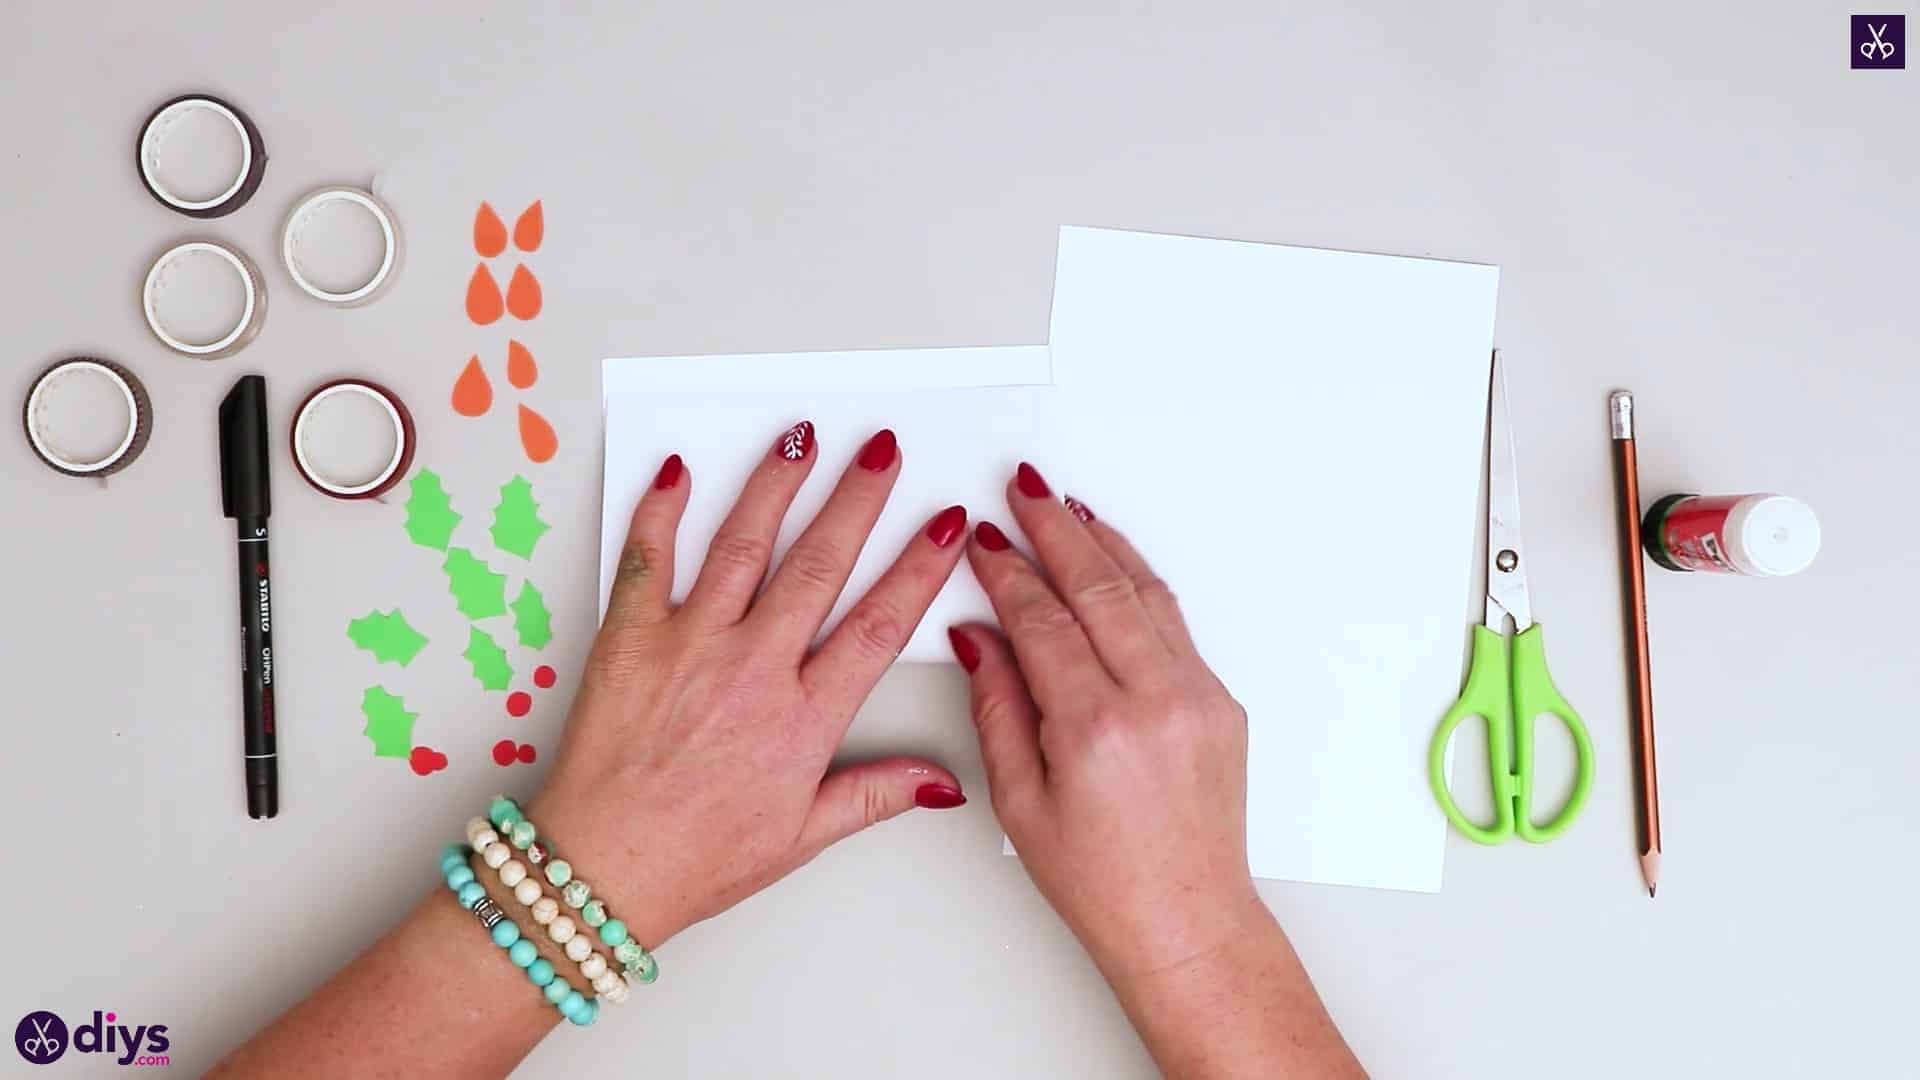
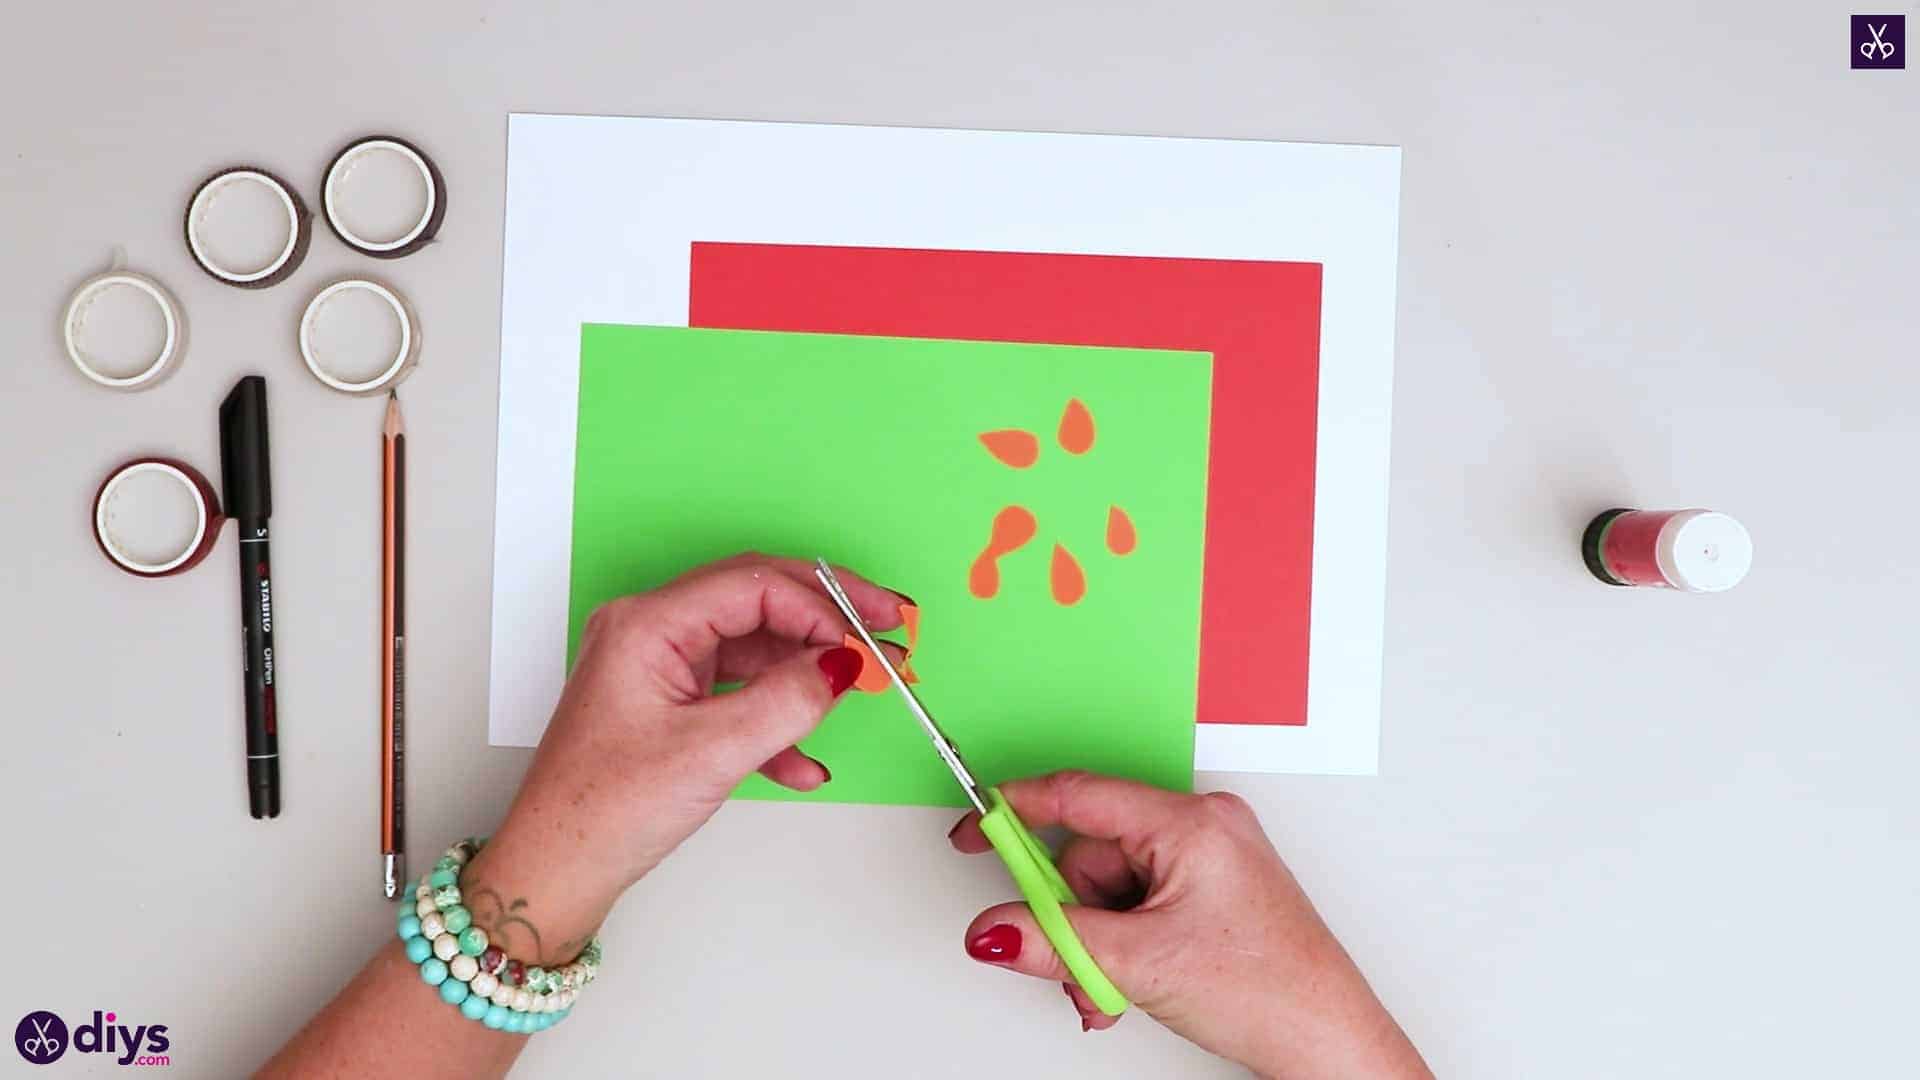
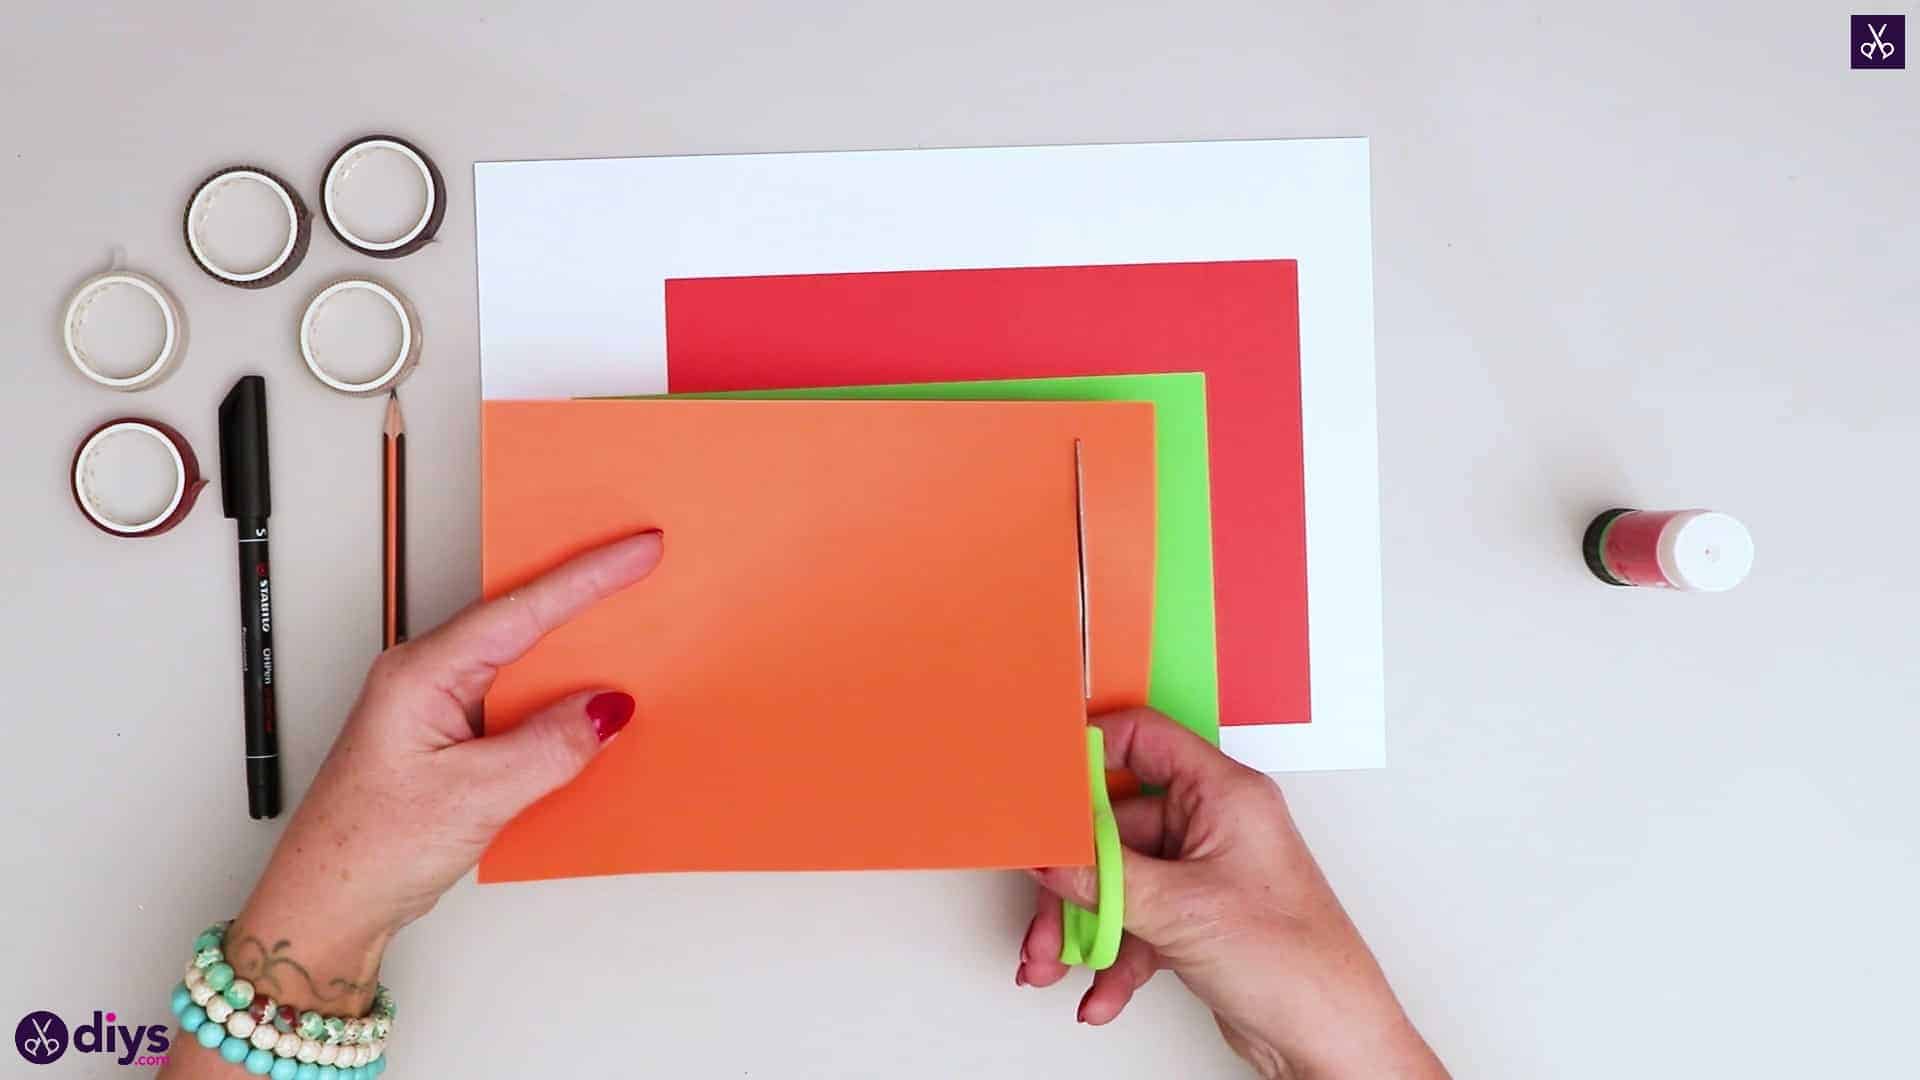
Step 2: cut strips
Turn your orange piece of paper horizontally or landscape so that its shorter end becomes its height. Cut a strip about half an inch wide from this end, using the full height of the page. Next, cut this strip into ten roughly evenly sized squares. Cut each of these squares into a simple teardrop shape, each with one wider rounded end and one end that tapers into a point. These will be your candles’ flames. Set them aside for the moment.


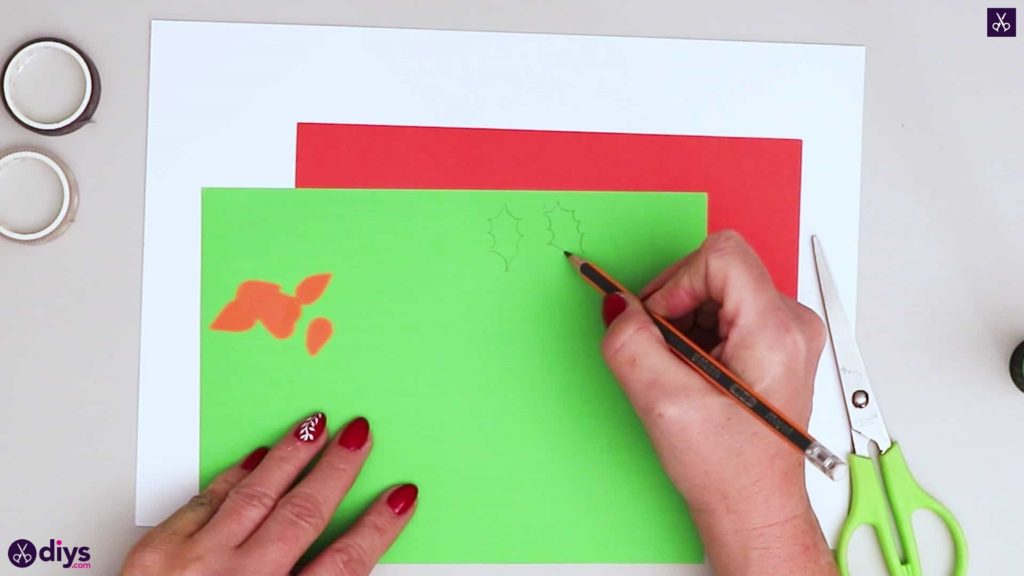
Step 3: cut hollies
One your green piece of paper, draw and cute out the shape of seven spiky holly leaves. Set this aside with your orange flames.
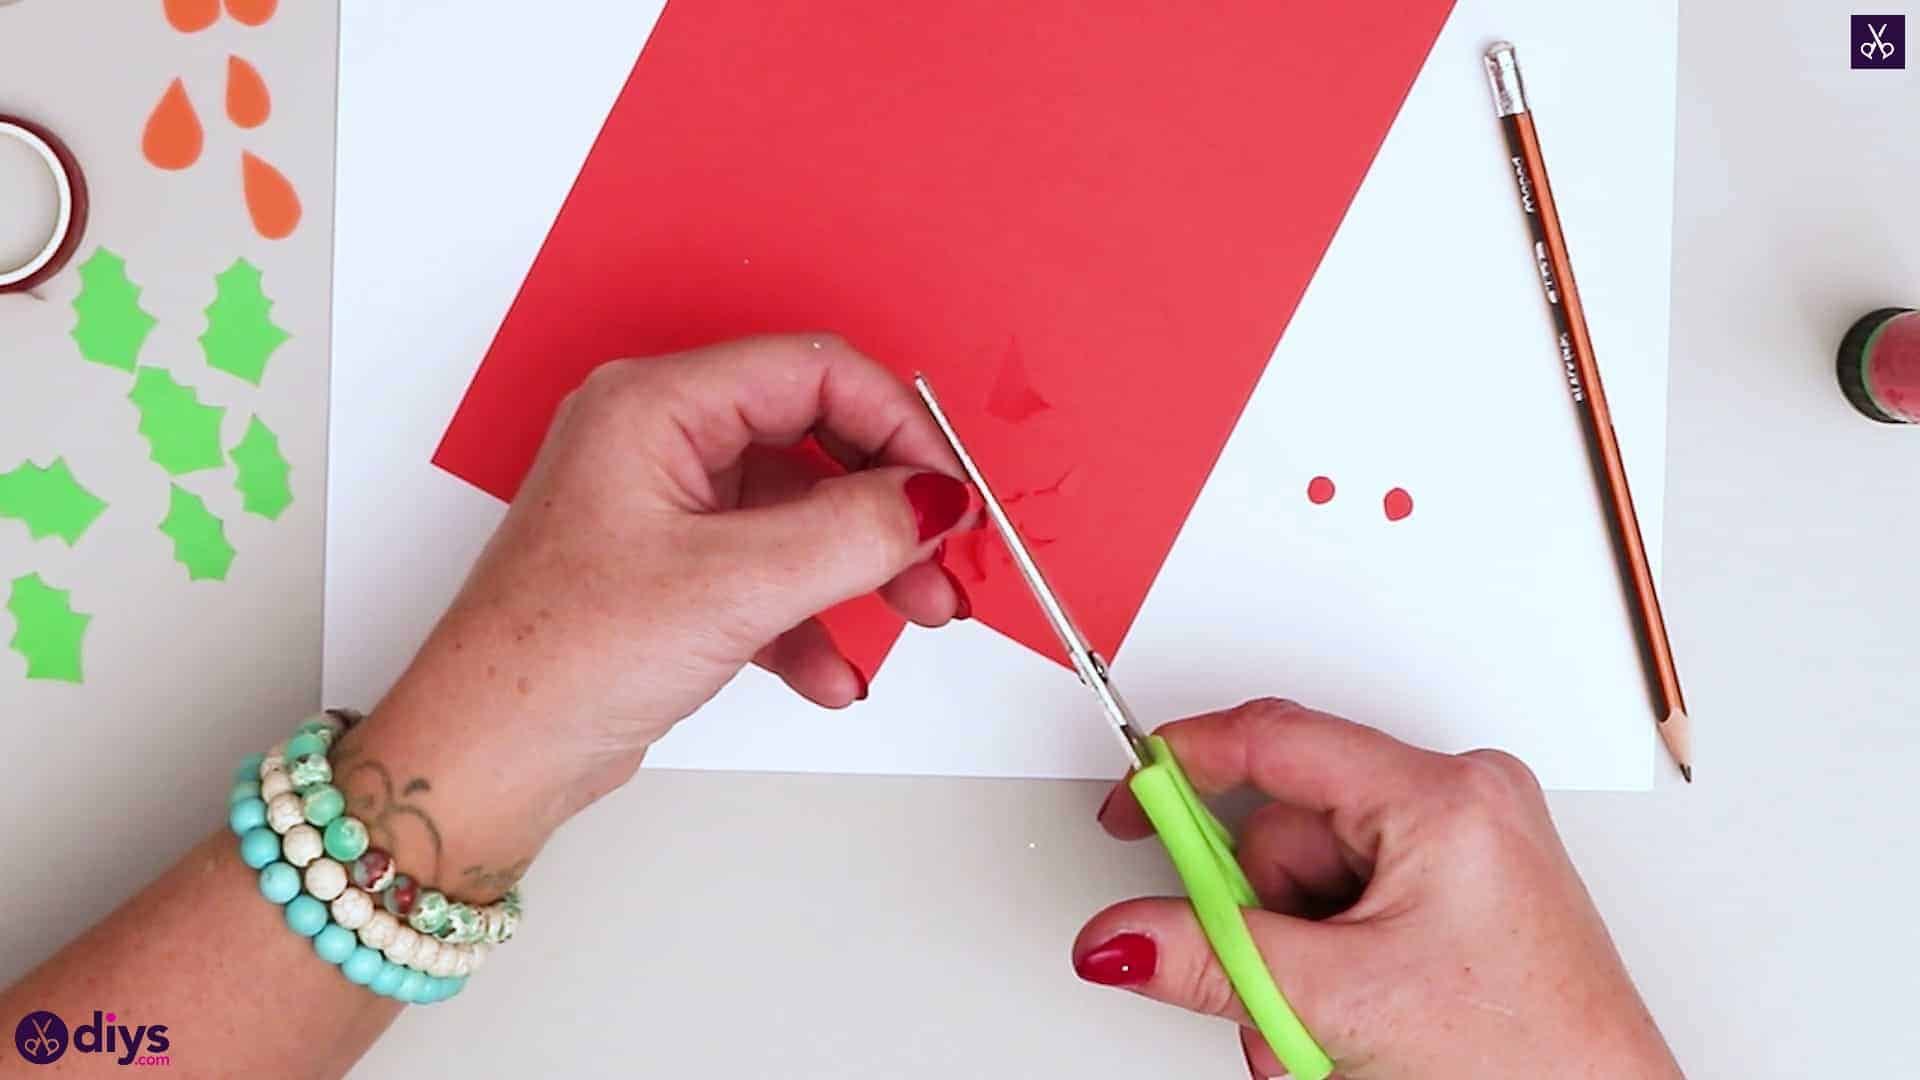
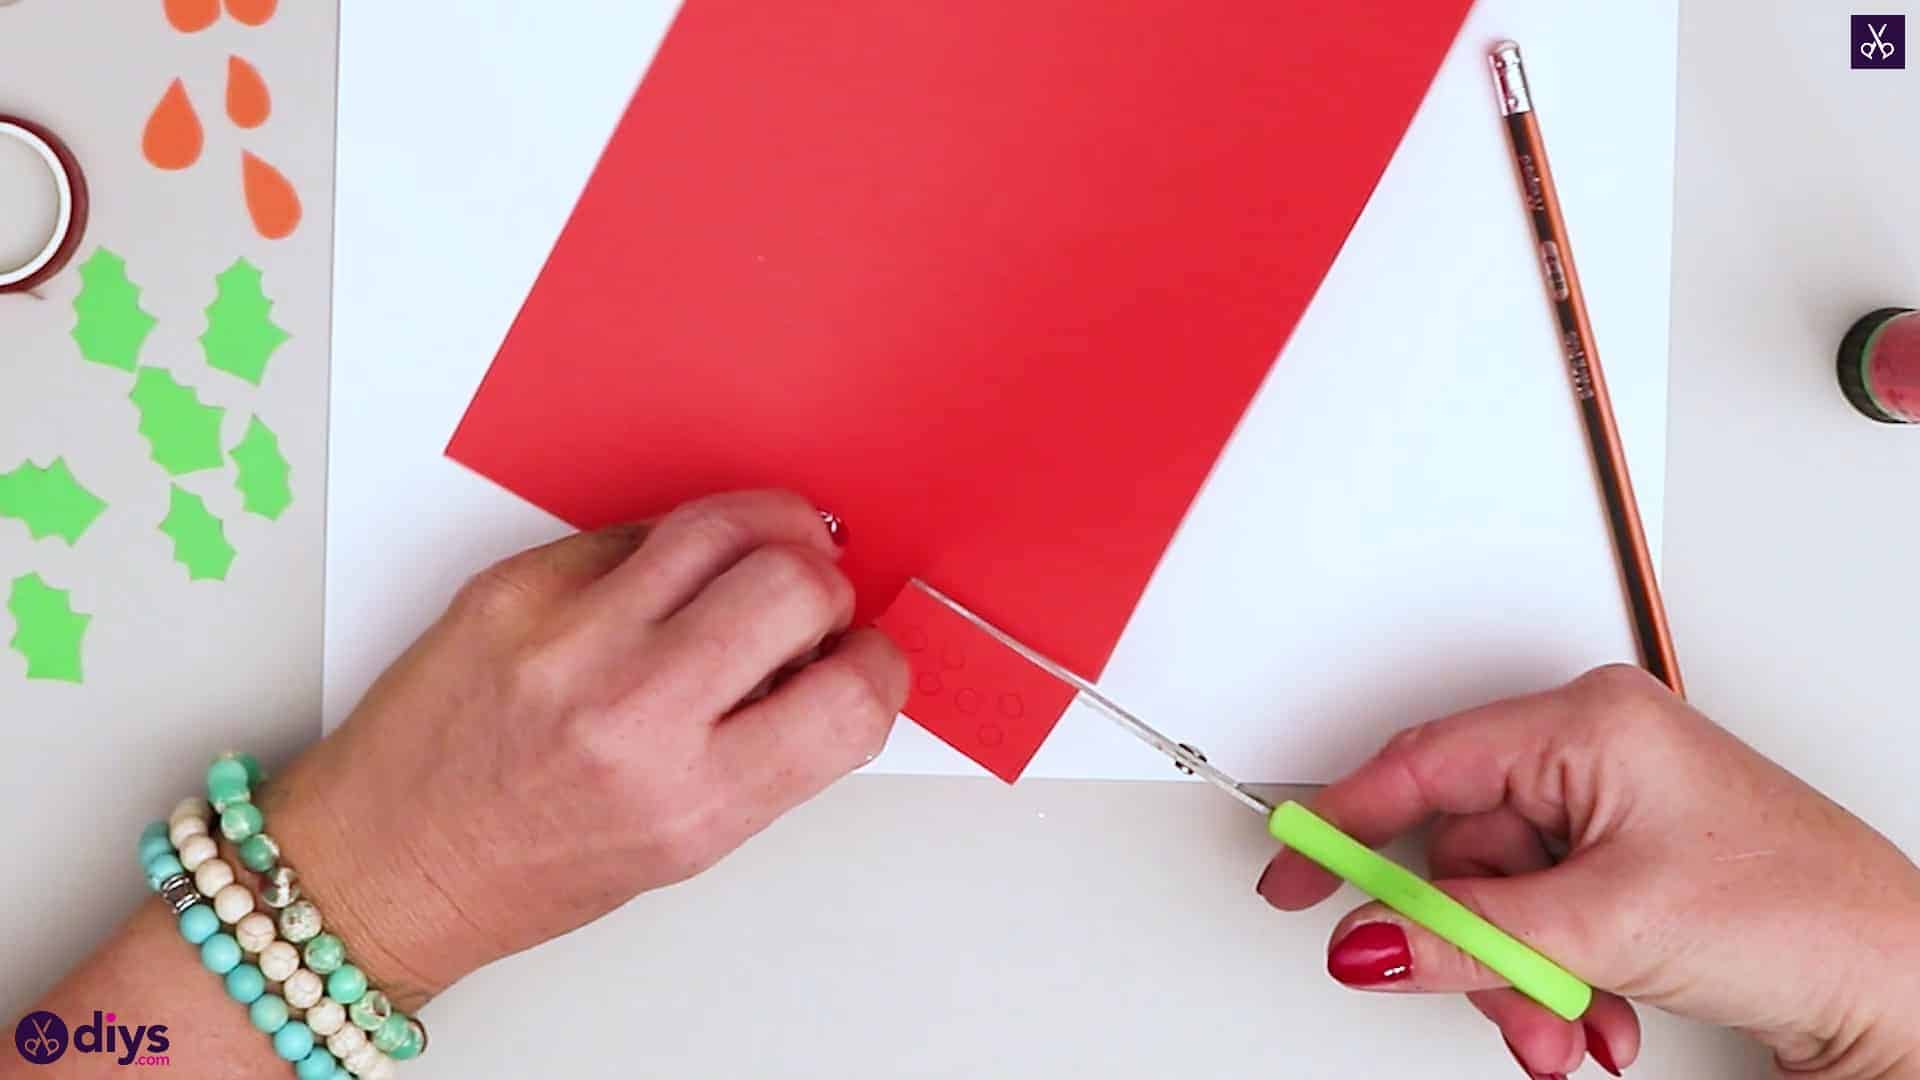
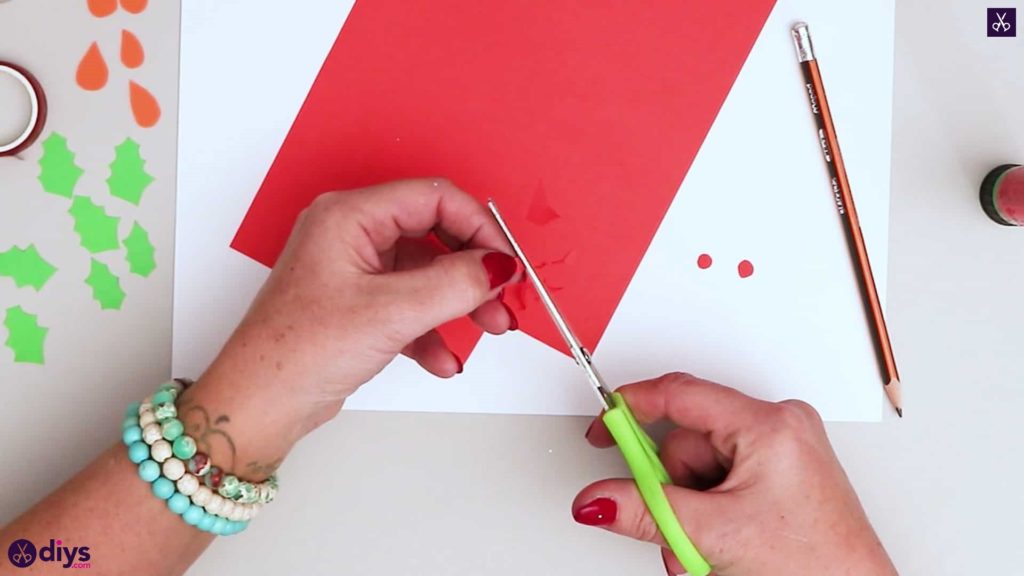
Step 4: cut berries
On your red piece of paper, draw and cut out six very little red circles to look like holly berries. Set them aside with your other pieces until you’re ready to embellish the card.


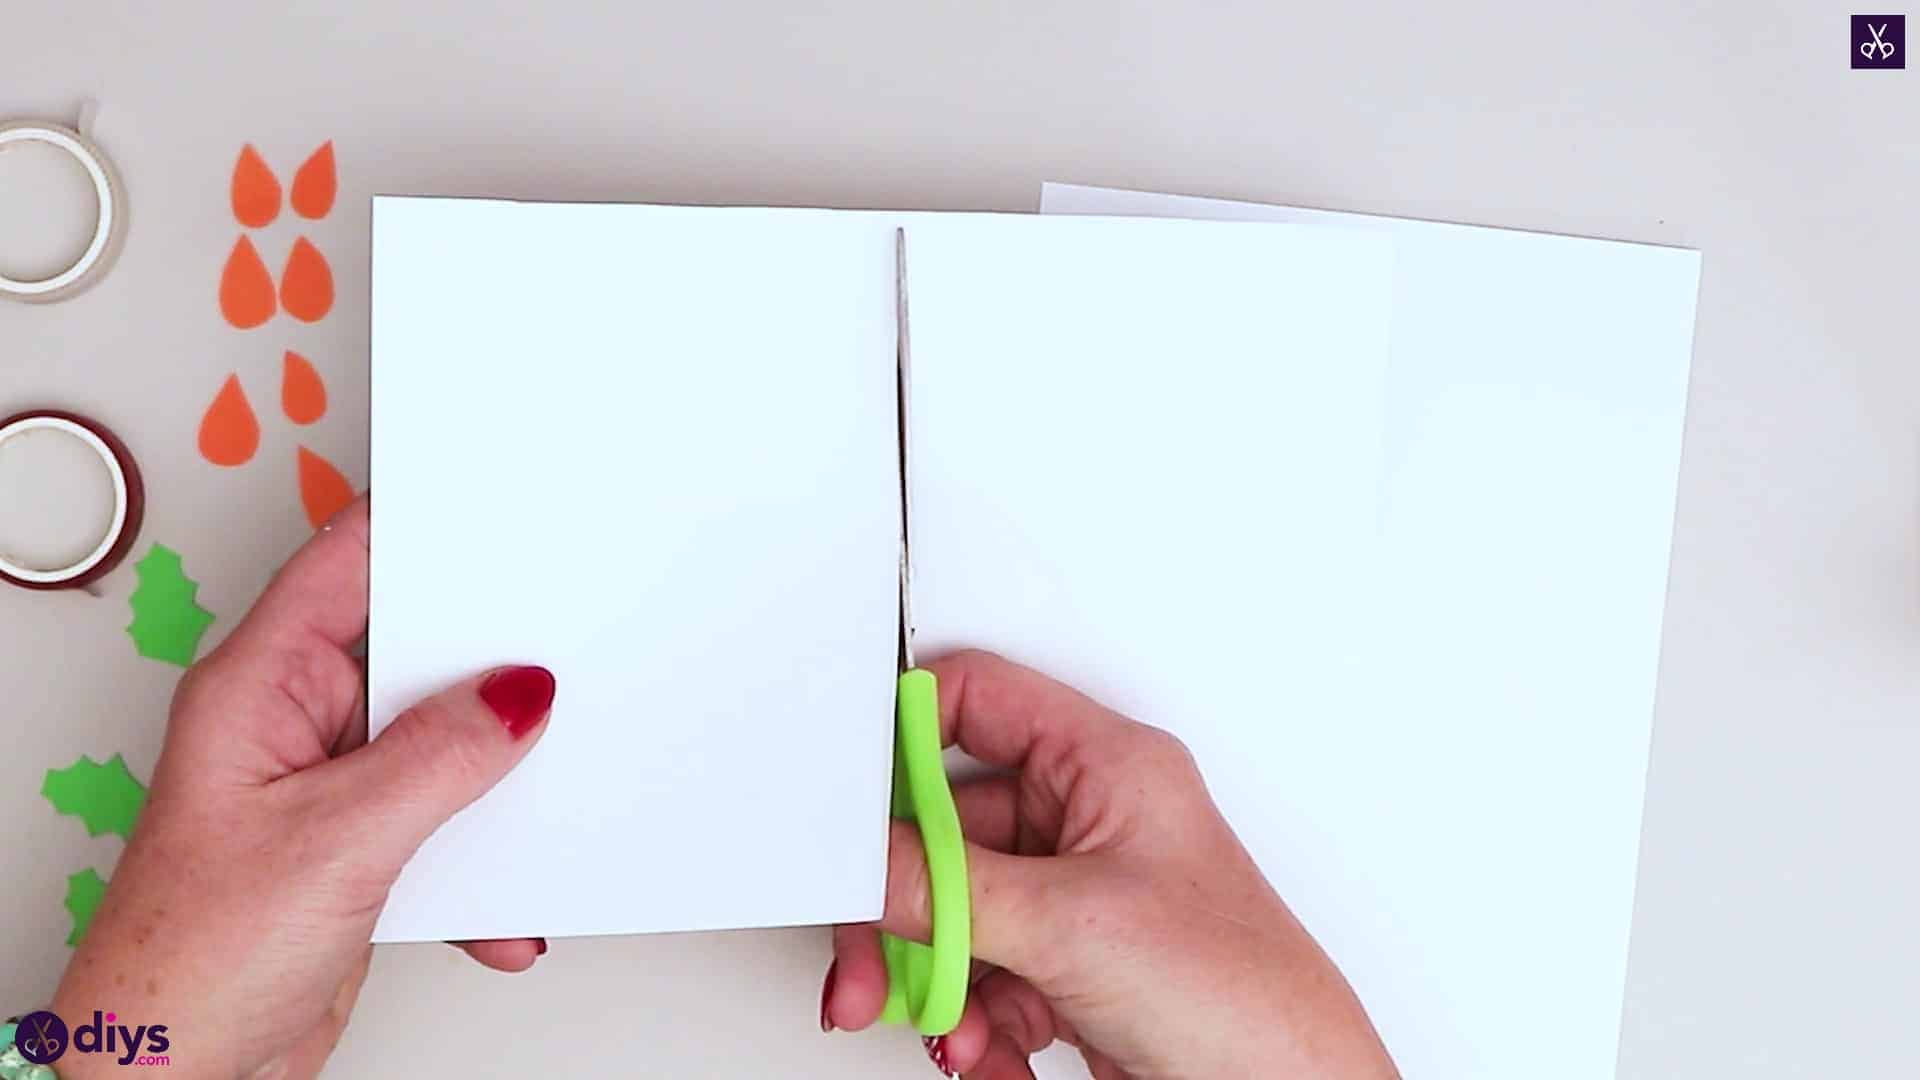
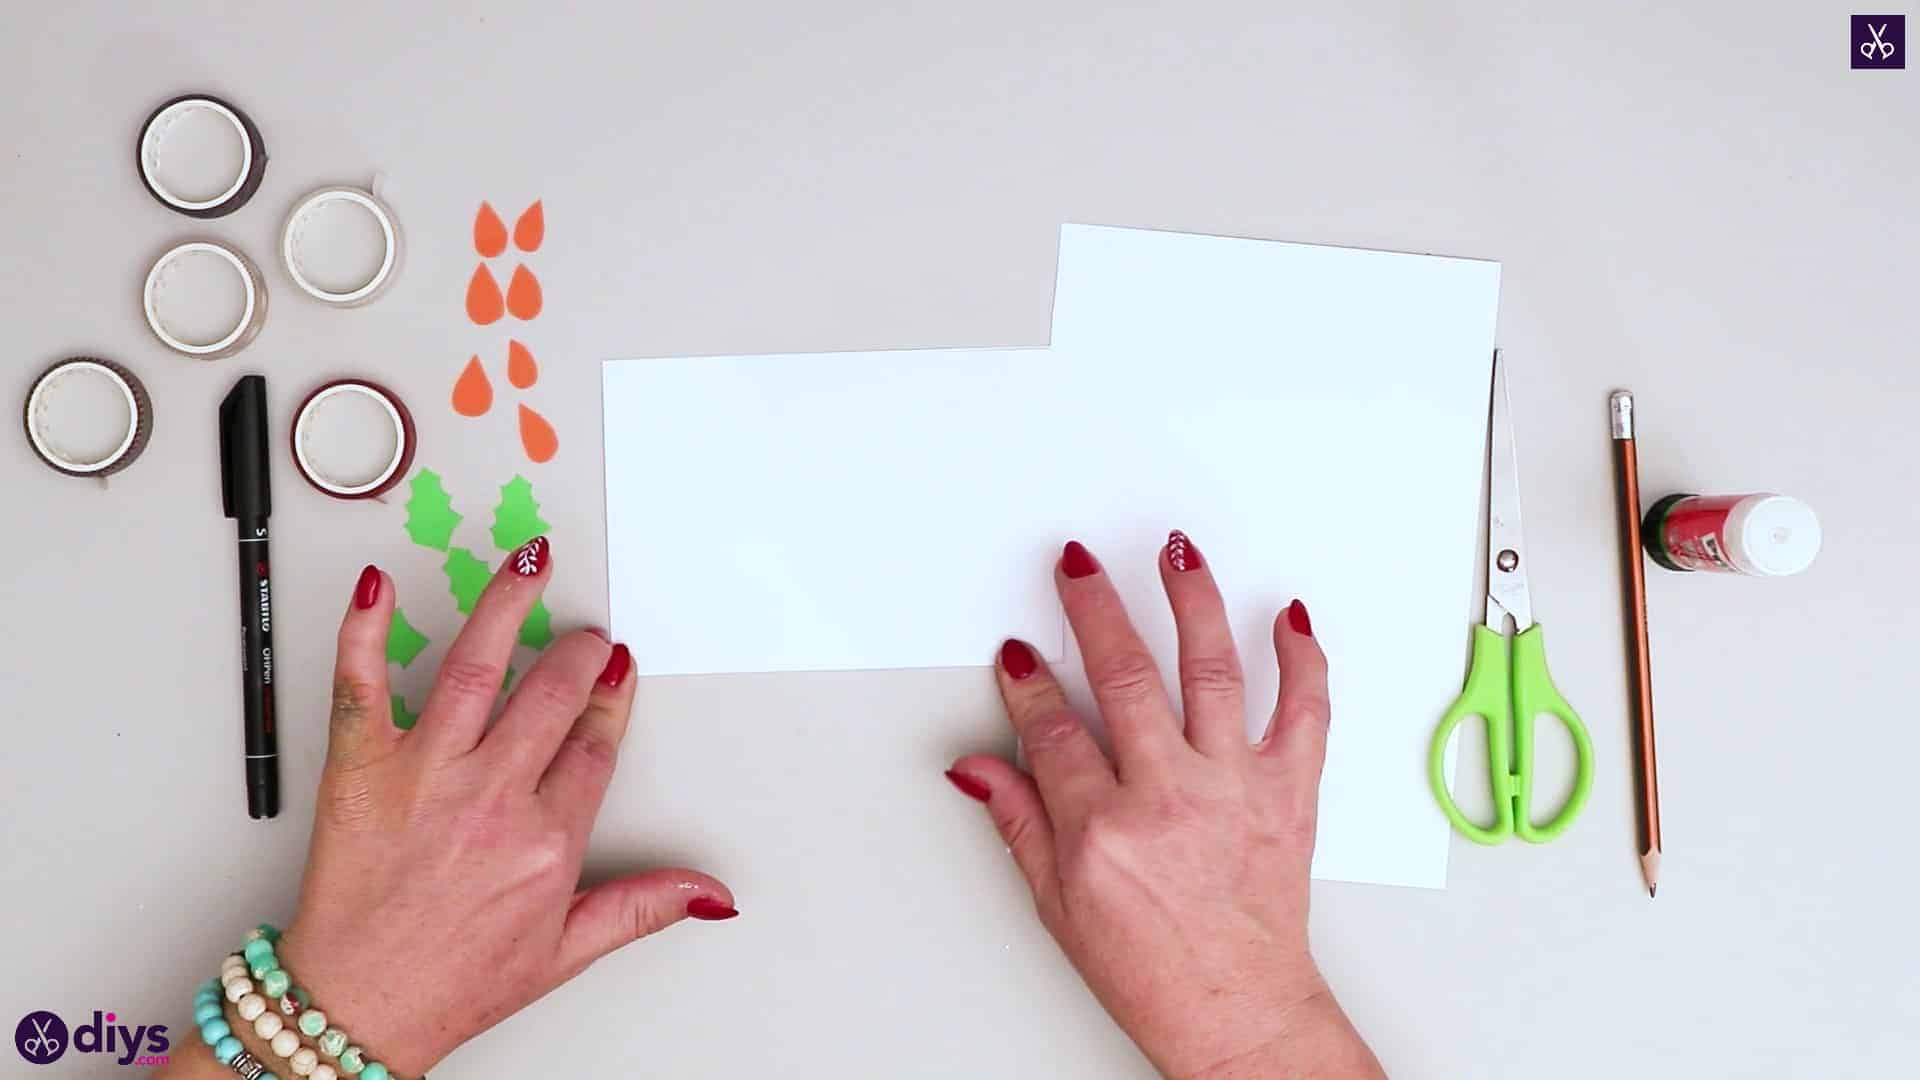
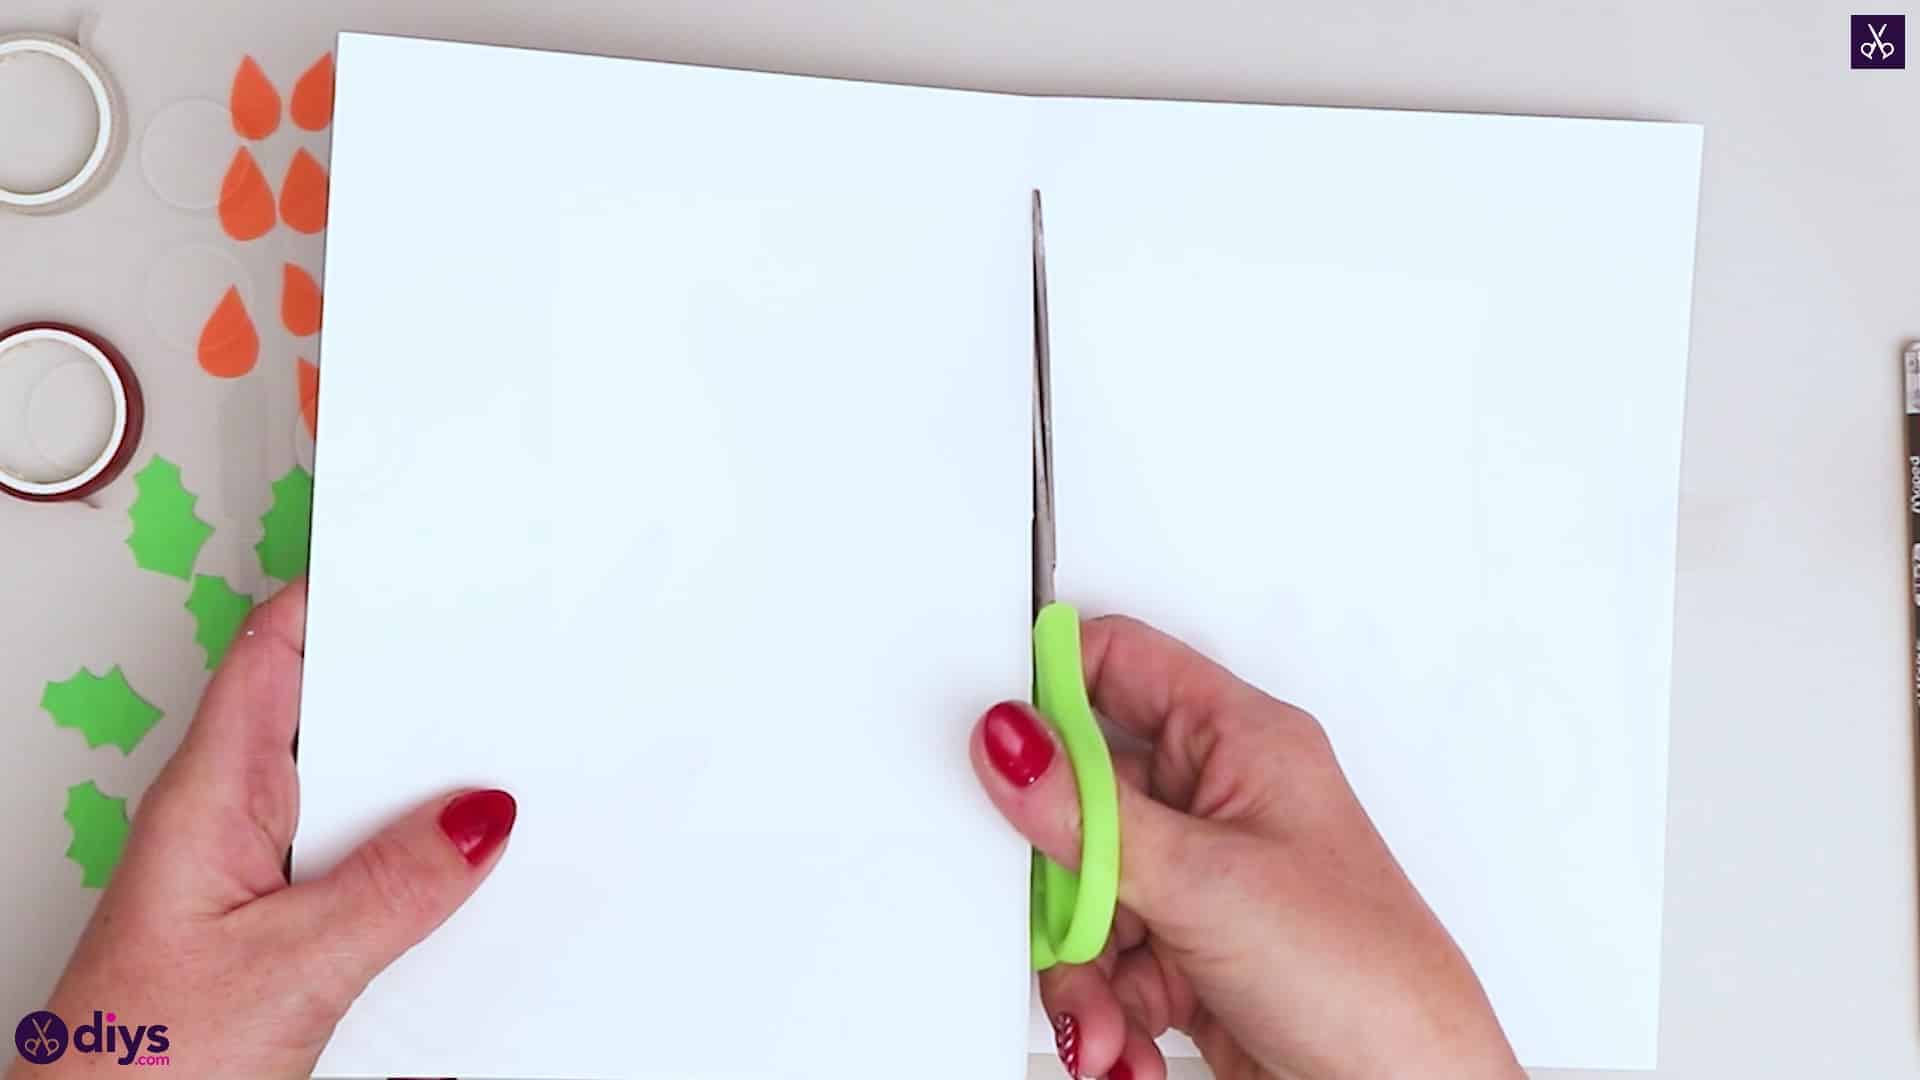
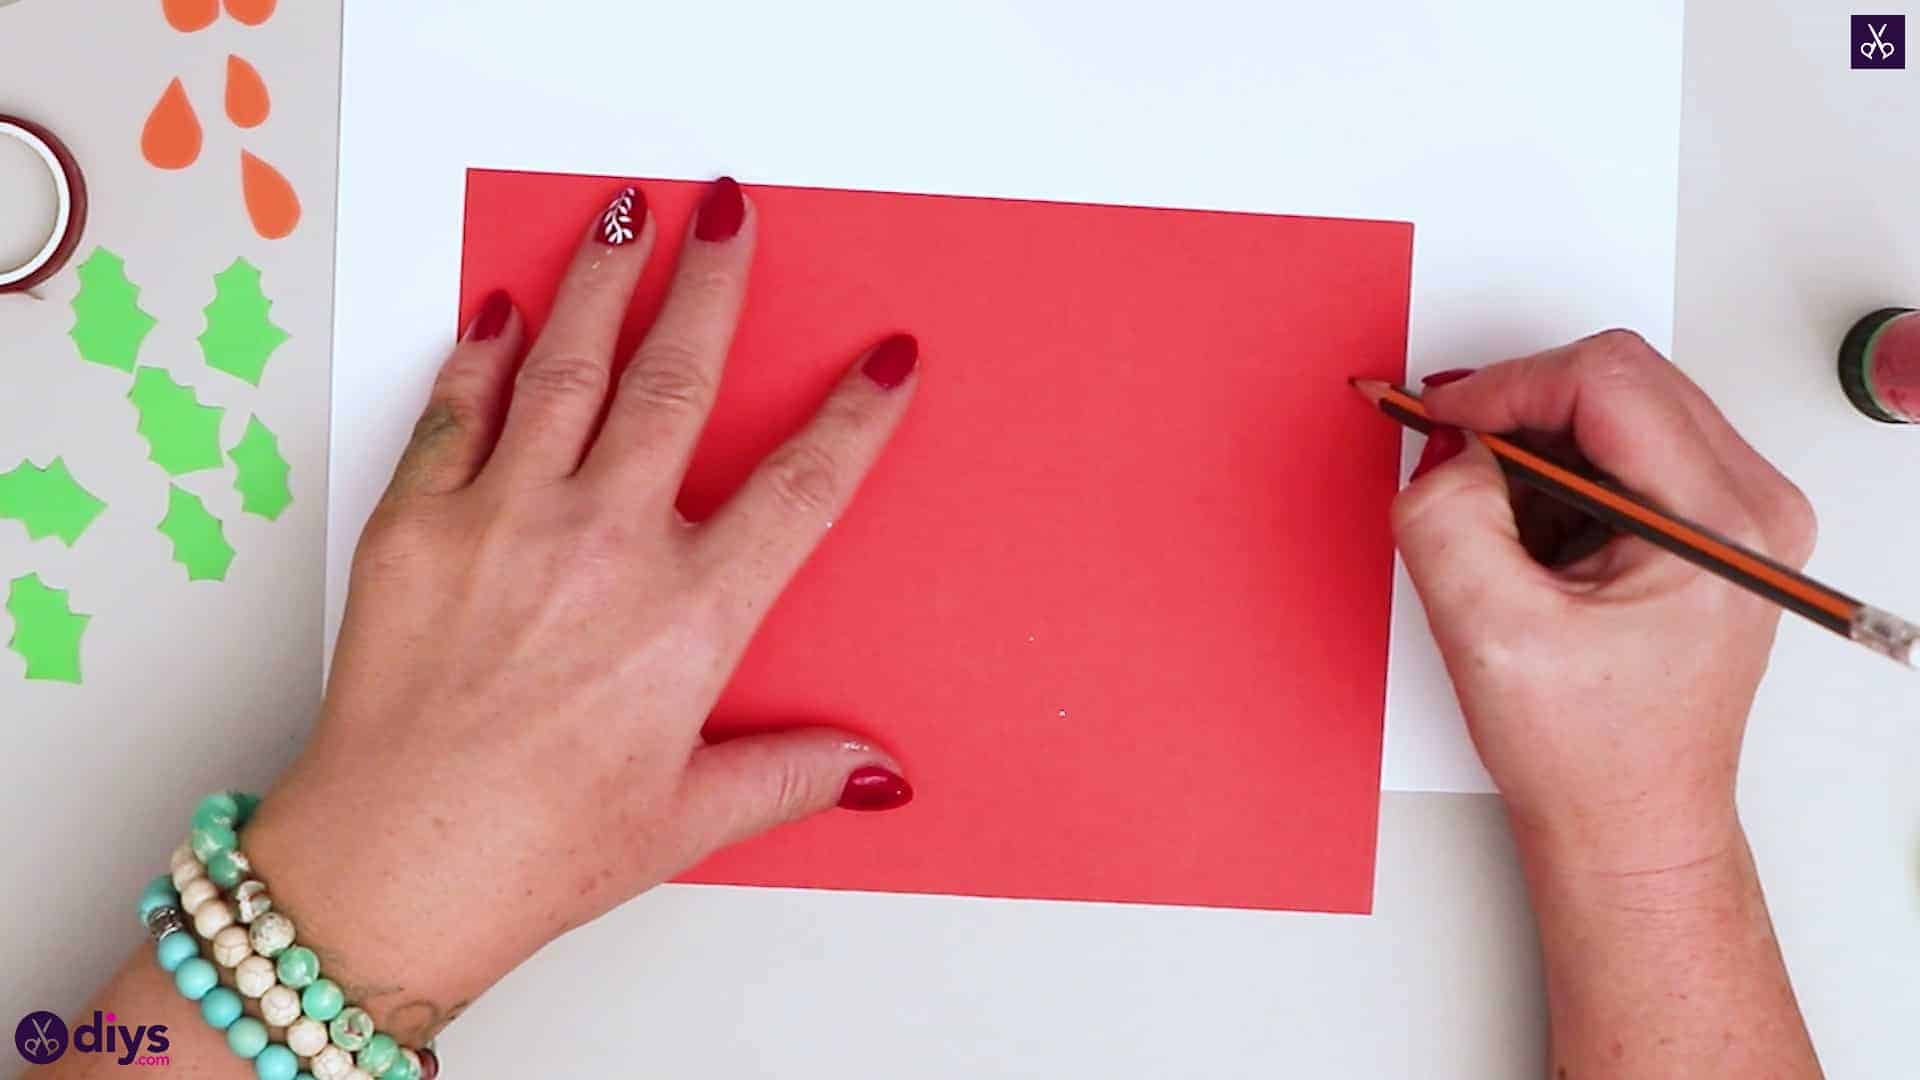
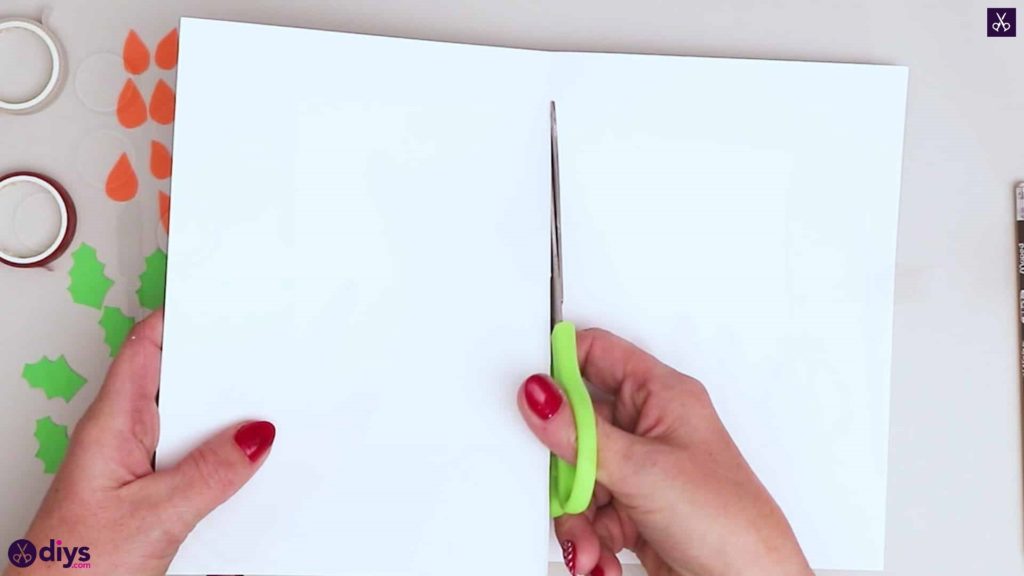
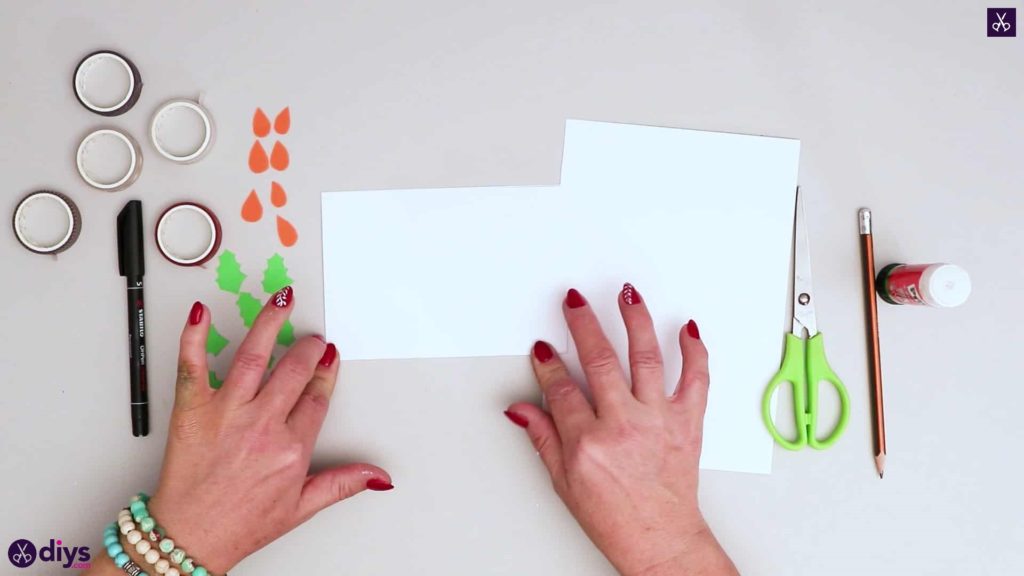
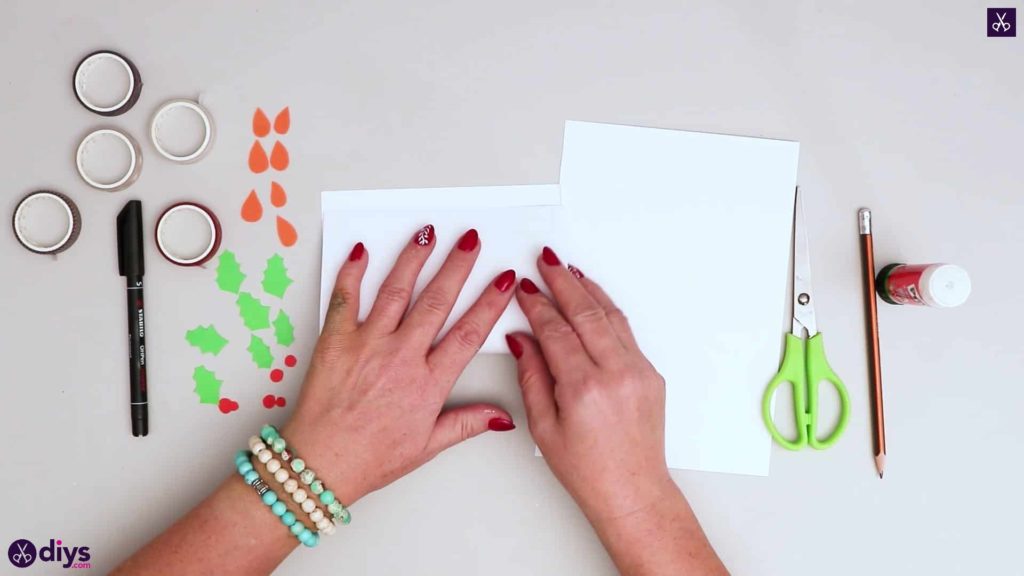
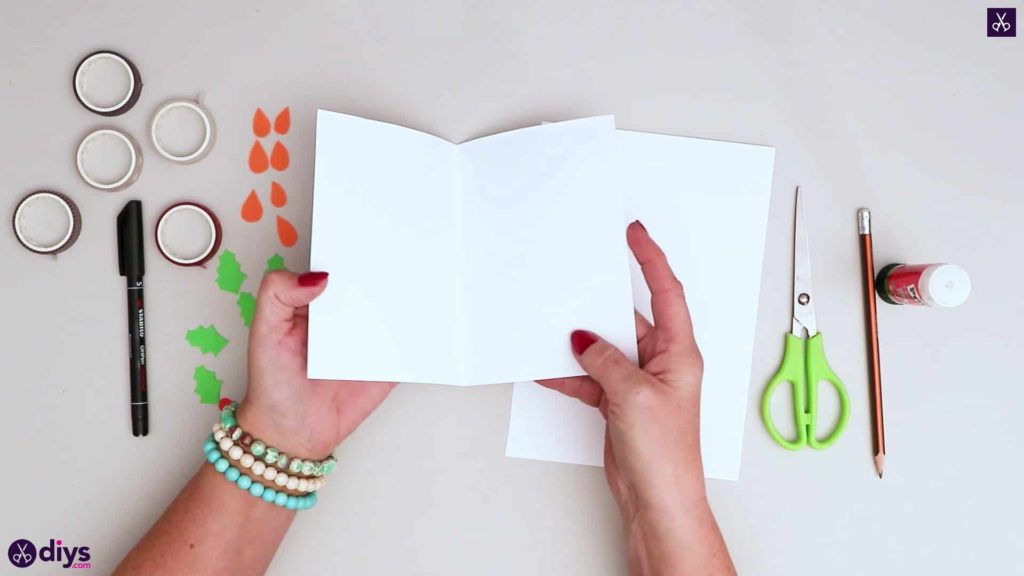
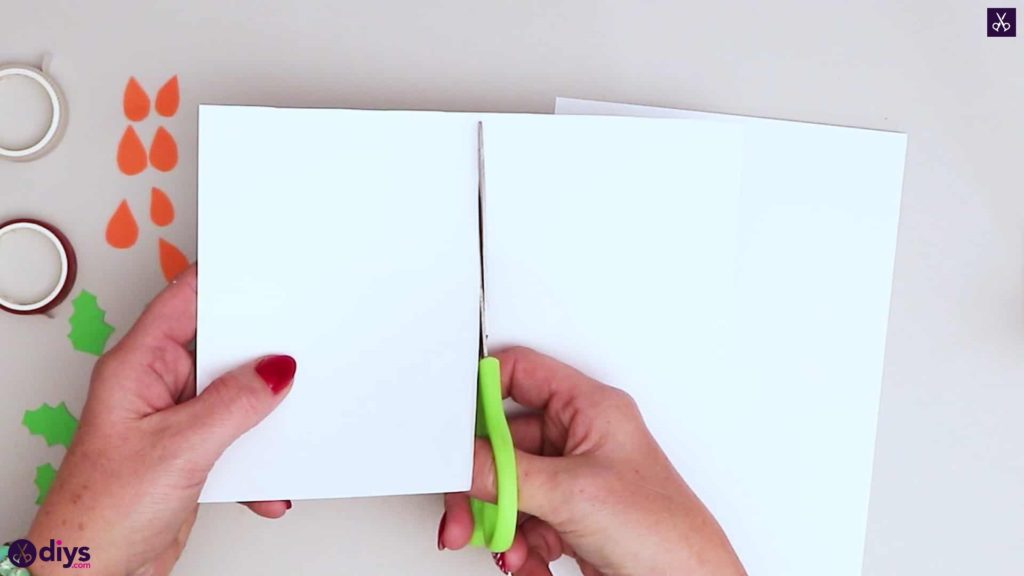
Step 5: fold the card
Turn your white piece of card paper to lay vertically or portrait. Bring the shorter bottom edge up to meet evenly with the top edge and crease the fold. Unfold it again and use your scissors to cut the page in half along that line. Set one half aside (you won’t need it) and then repeat the process with the other half, folding it in half by laying it portrait, bringing the bottom edge up to meet the top edge, and creasing the fold. Once more, unfold this piece and cut it in half along that center line. Set one half aside (you won’t need this either) and turn your last piece to sit horizontally or landscape. This is the part you’ll make your card with.
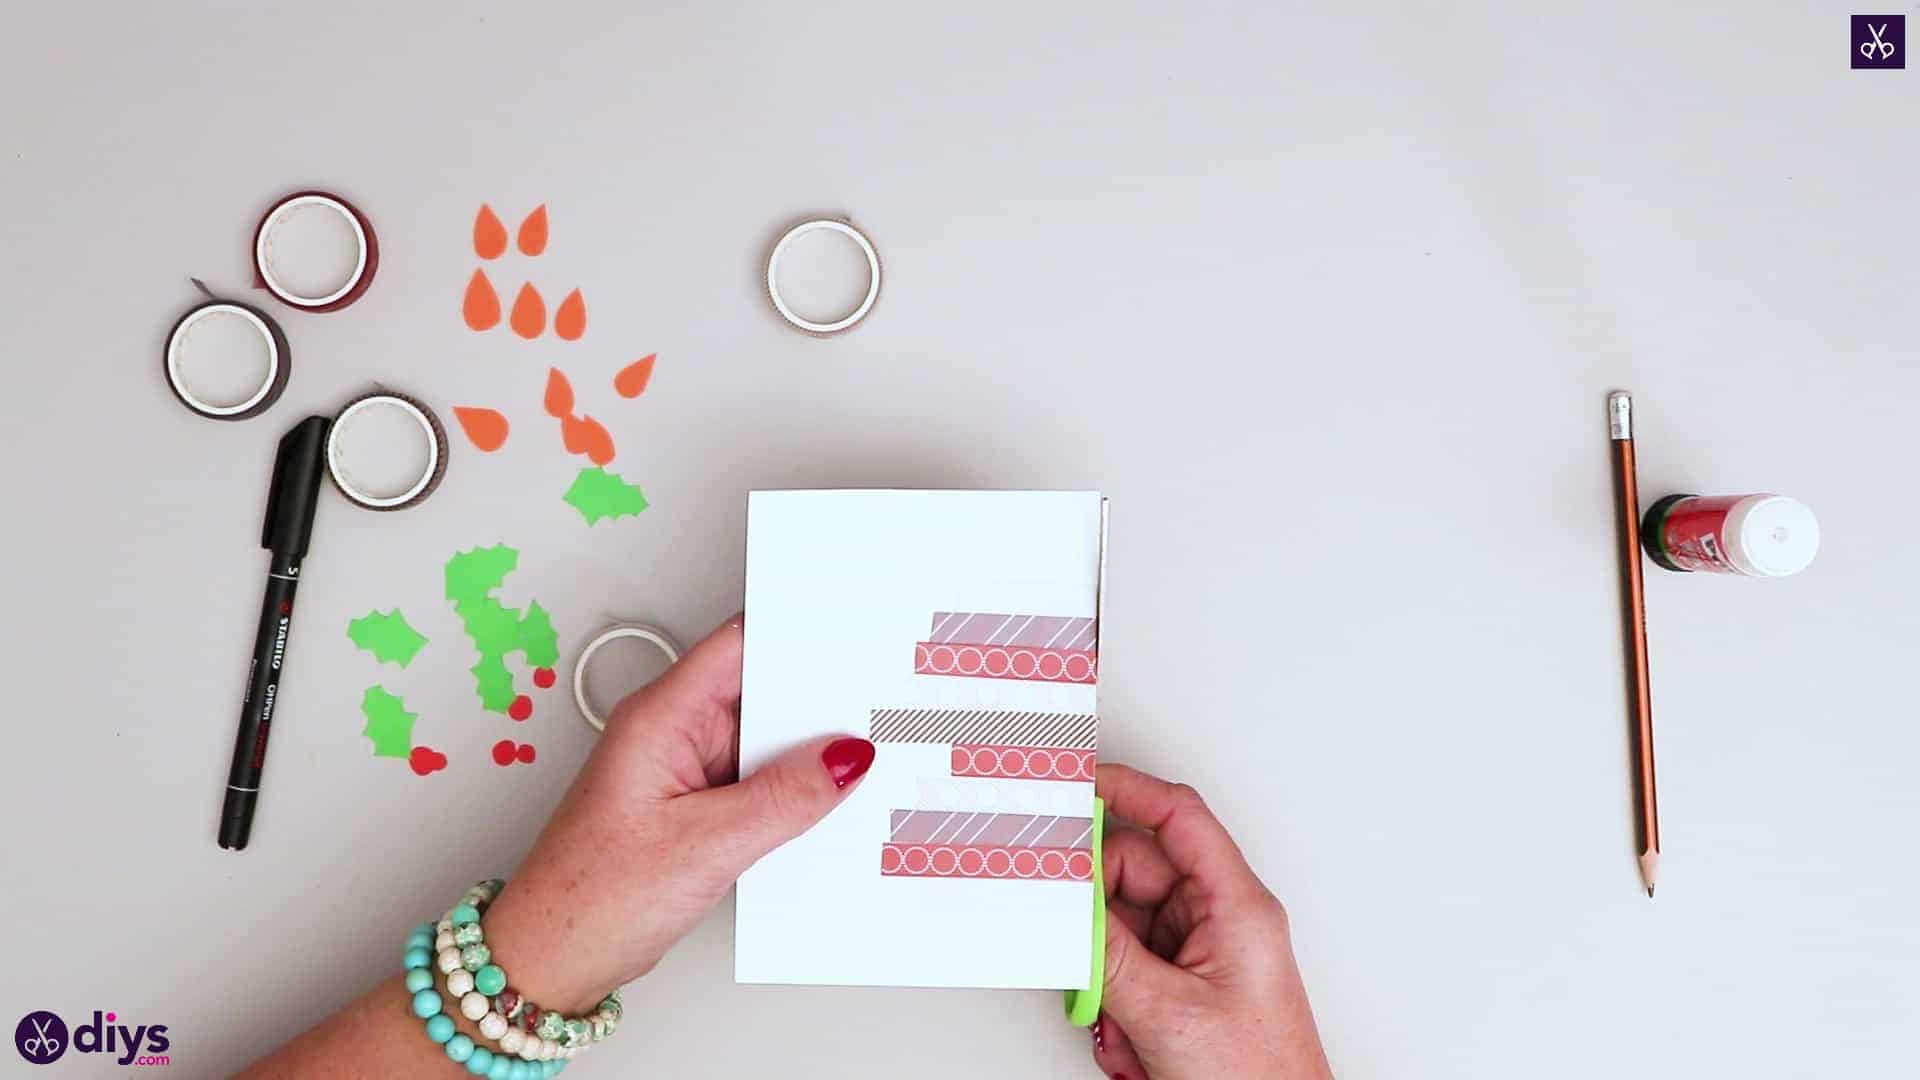
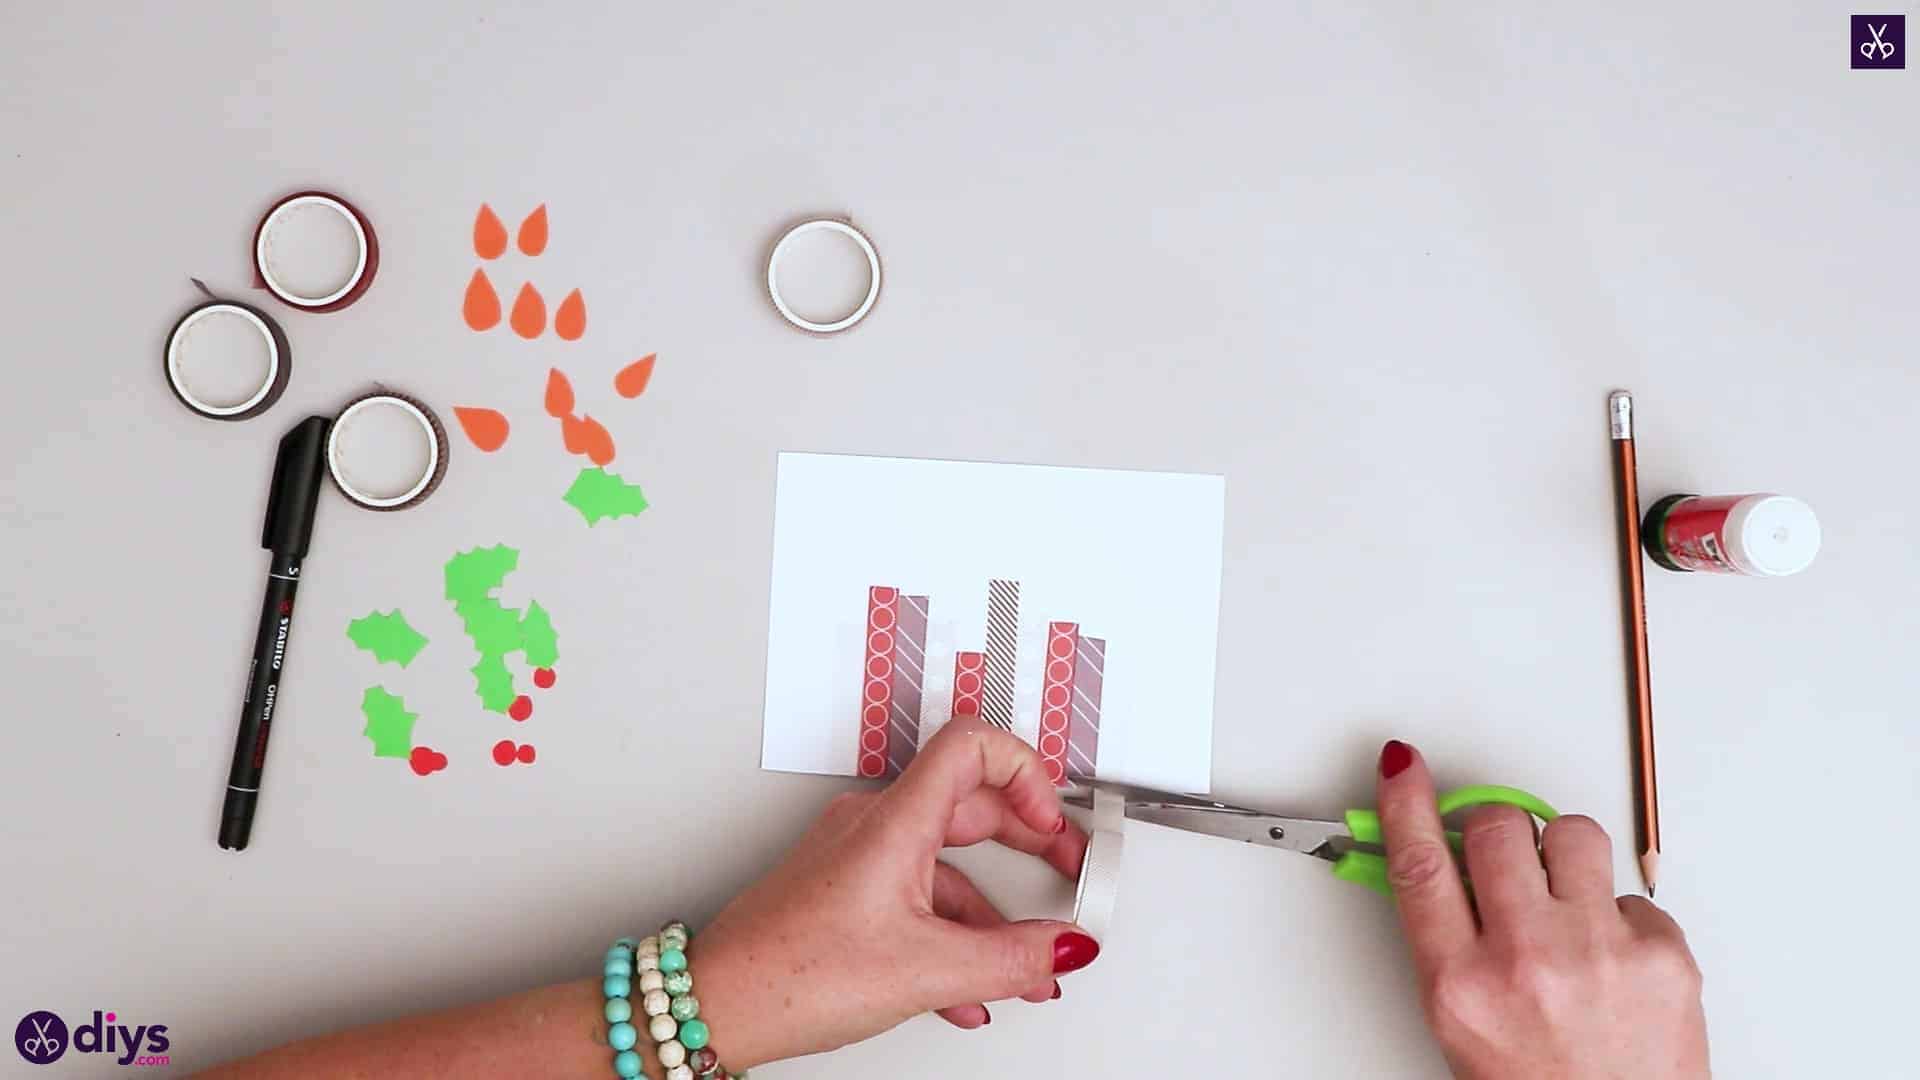
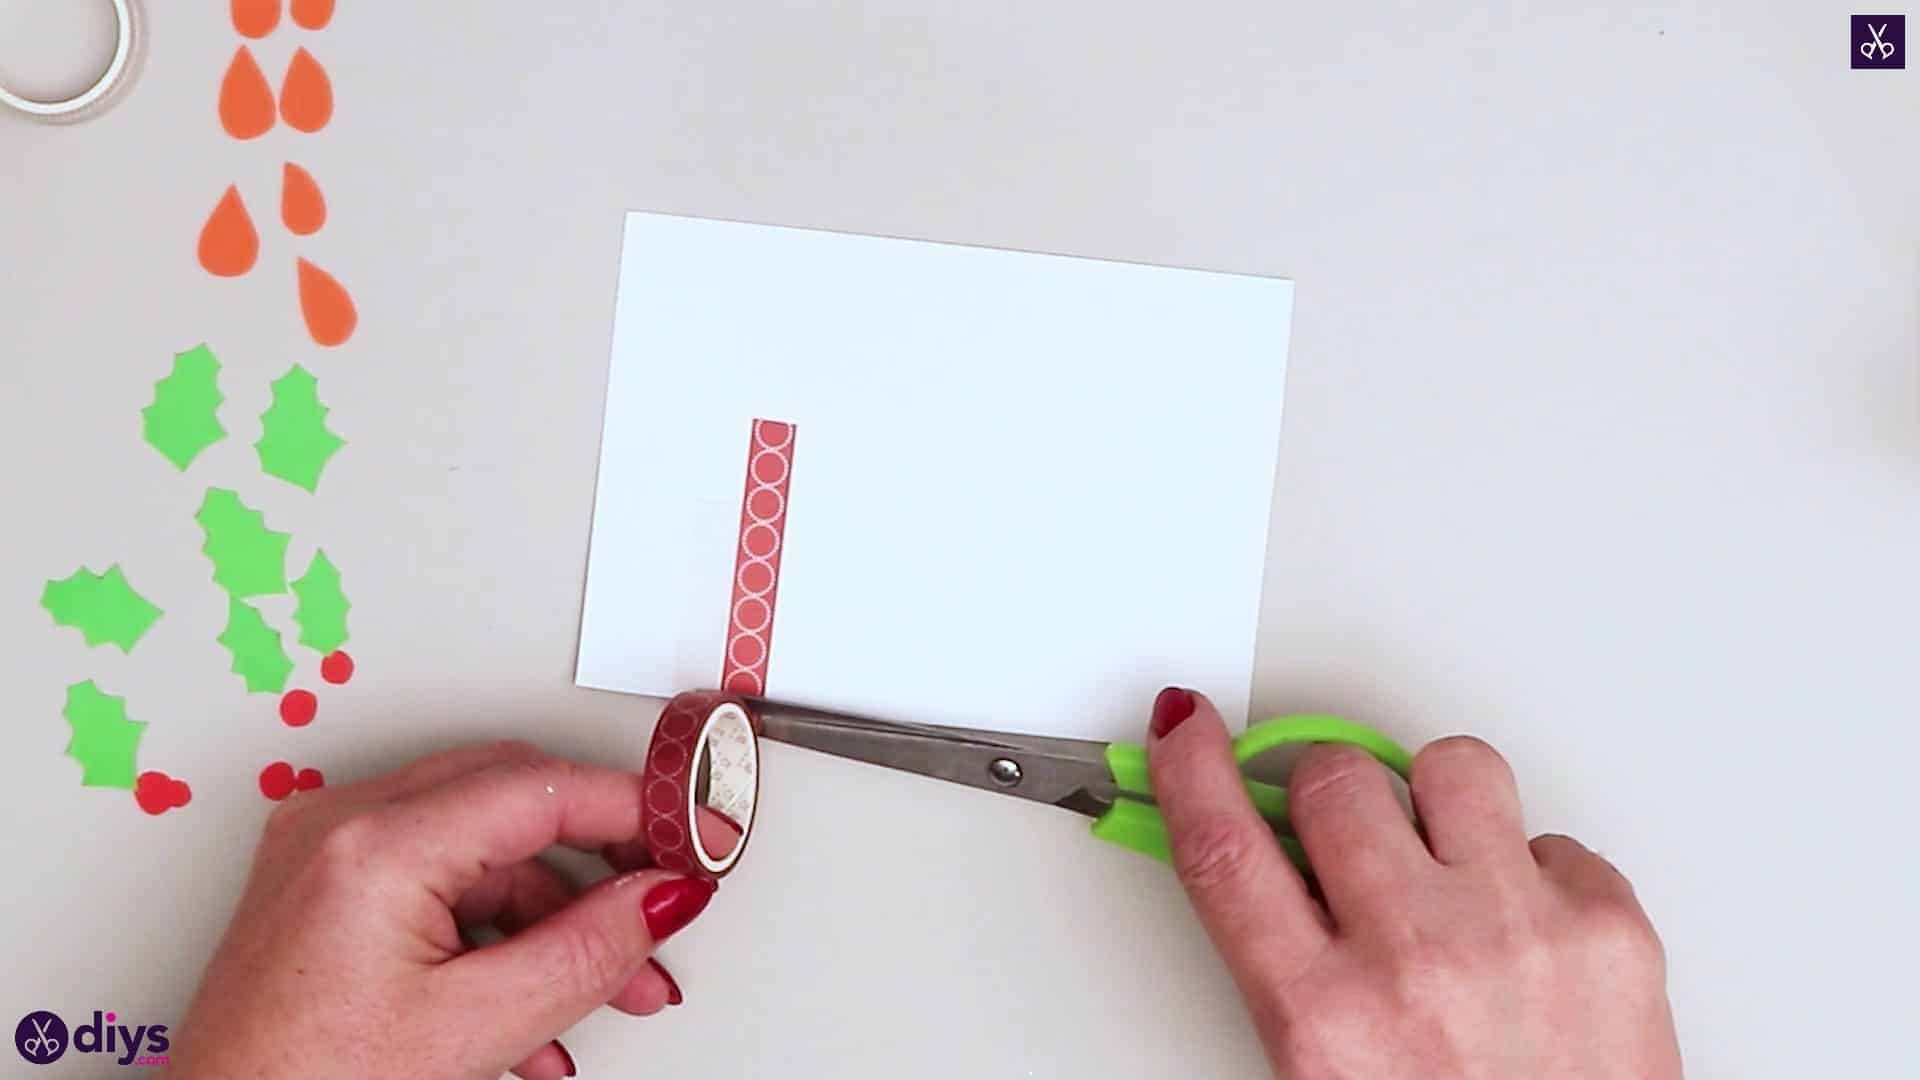
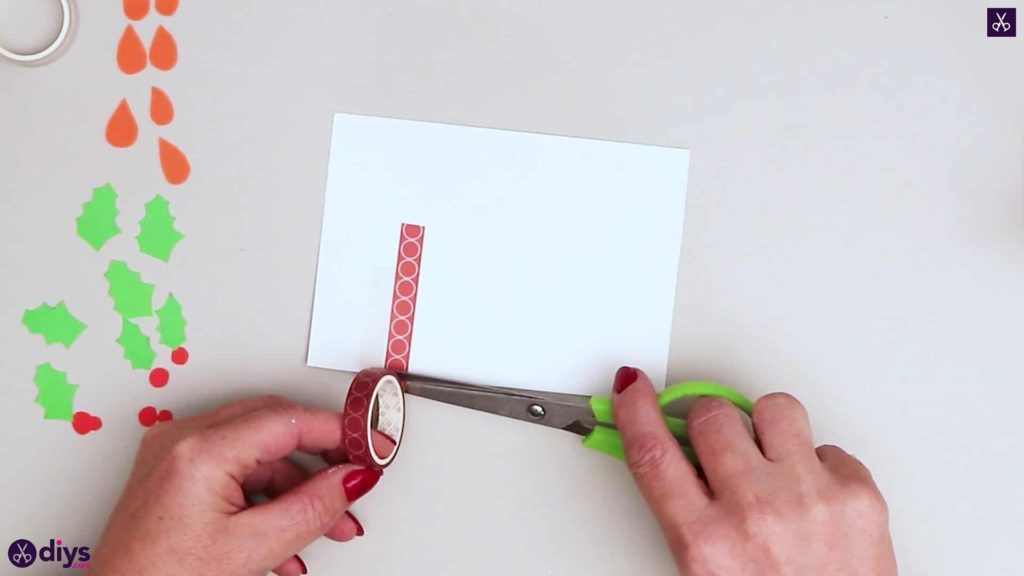
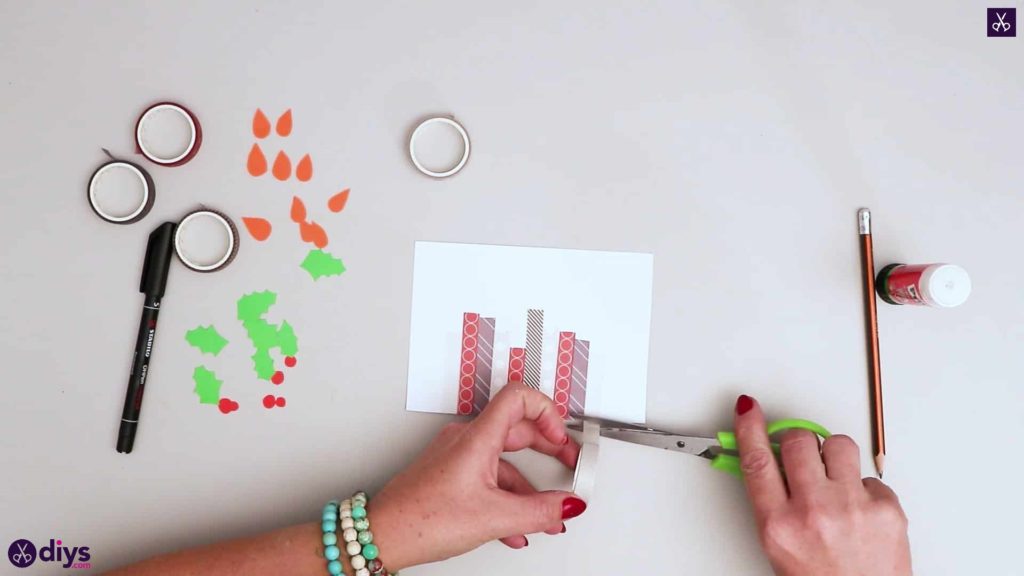
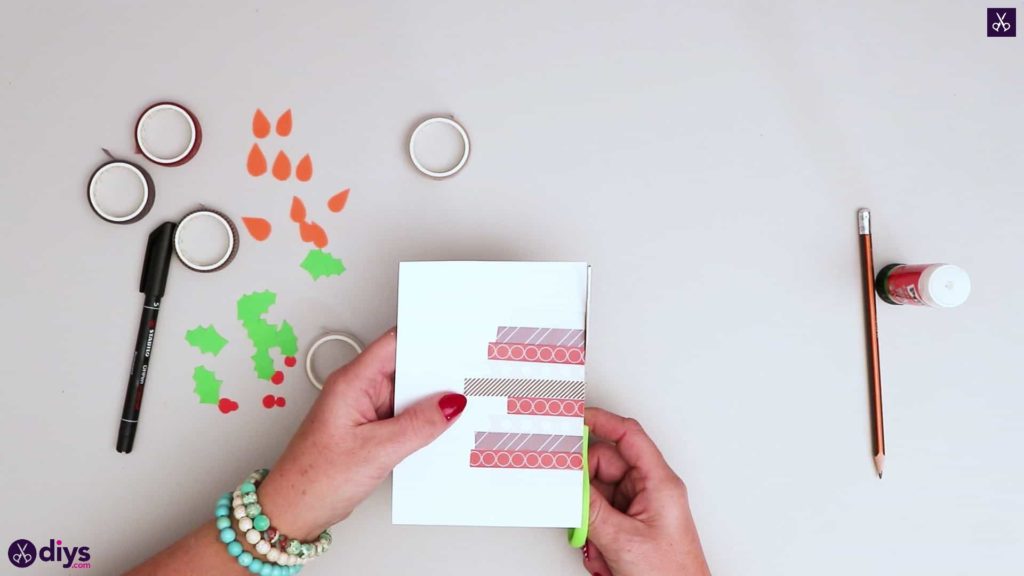
Step 6: make candles
Make the candle sticks on the front of your card! I did this with differently coloured and patterned washi tape. Start by placing the end of the tape where on the card you wan’t that candle to end (i.e. decide how tall you want that candle to be) and pulling the tape straight downward to the bottom edge of the page, cutting it off there. I made ten candlesticks in different colours and heights across the front of my card. When you’re done, use your scissors to trim the bottom edge more even and get rid of excess tape if necessary.
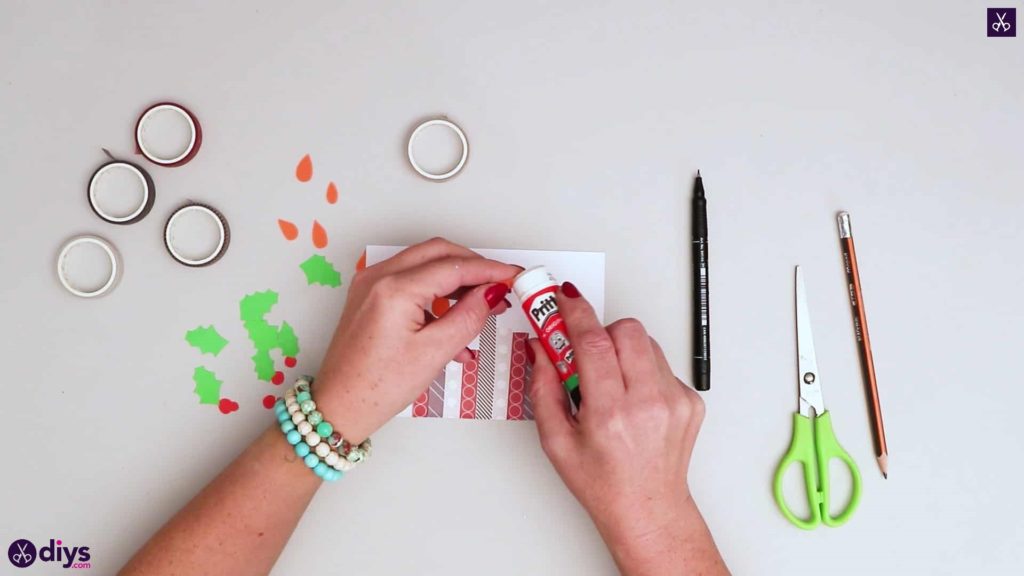
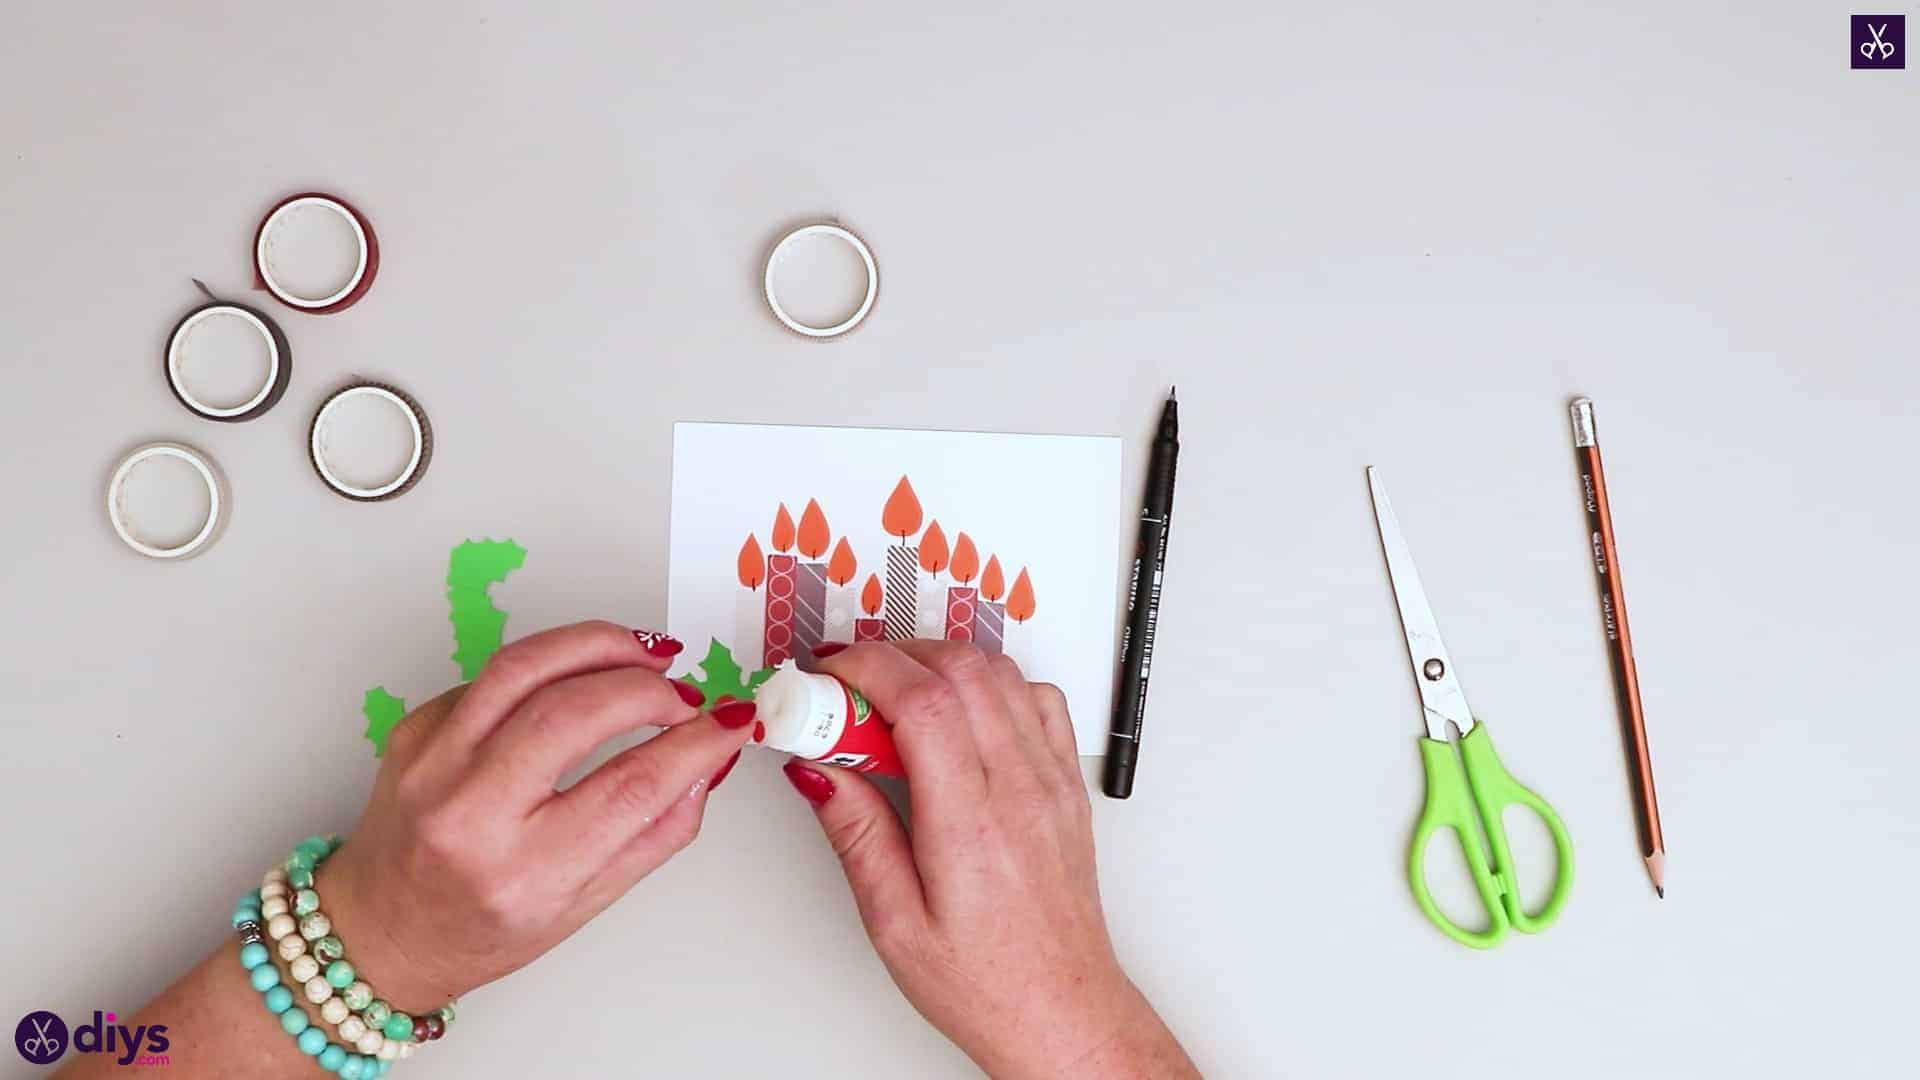
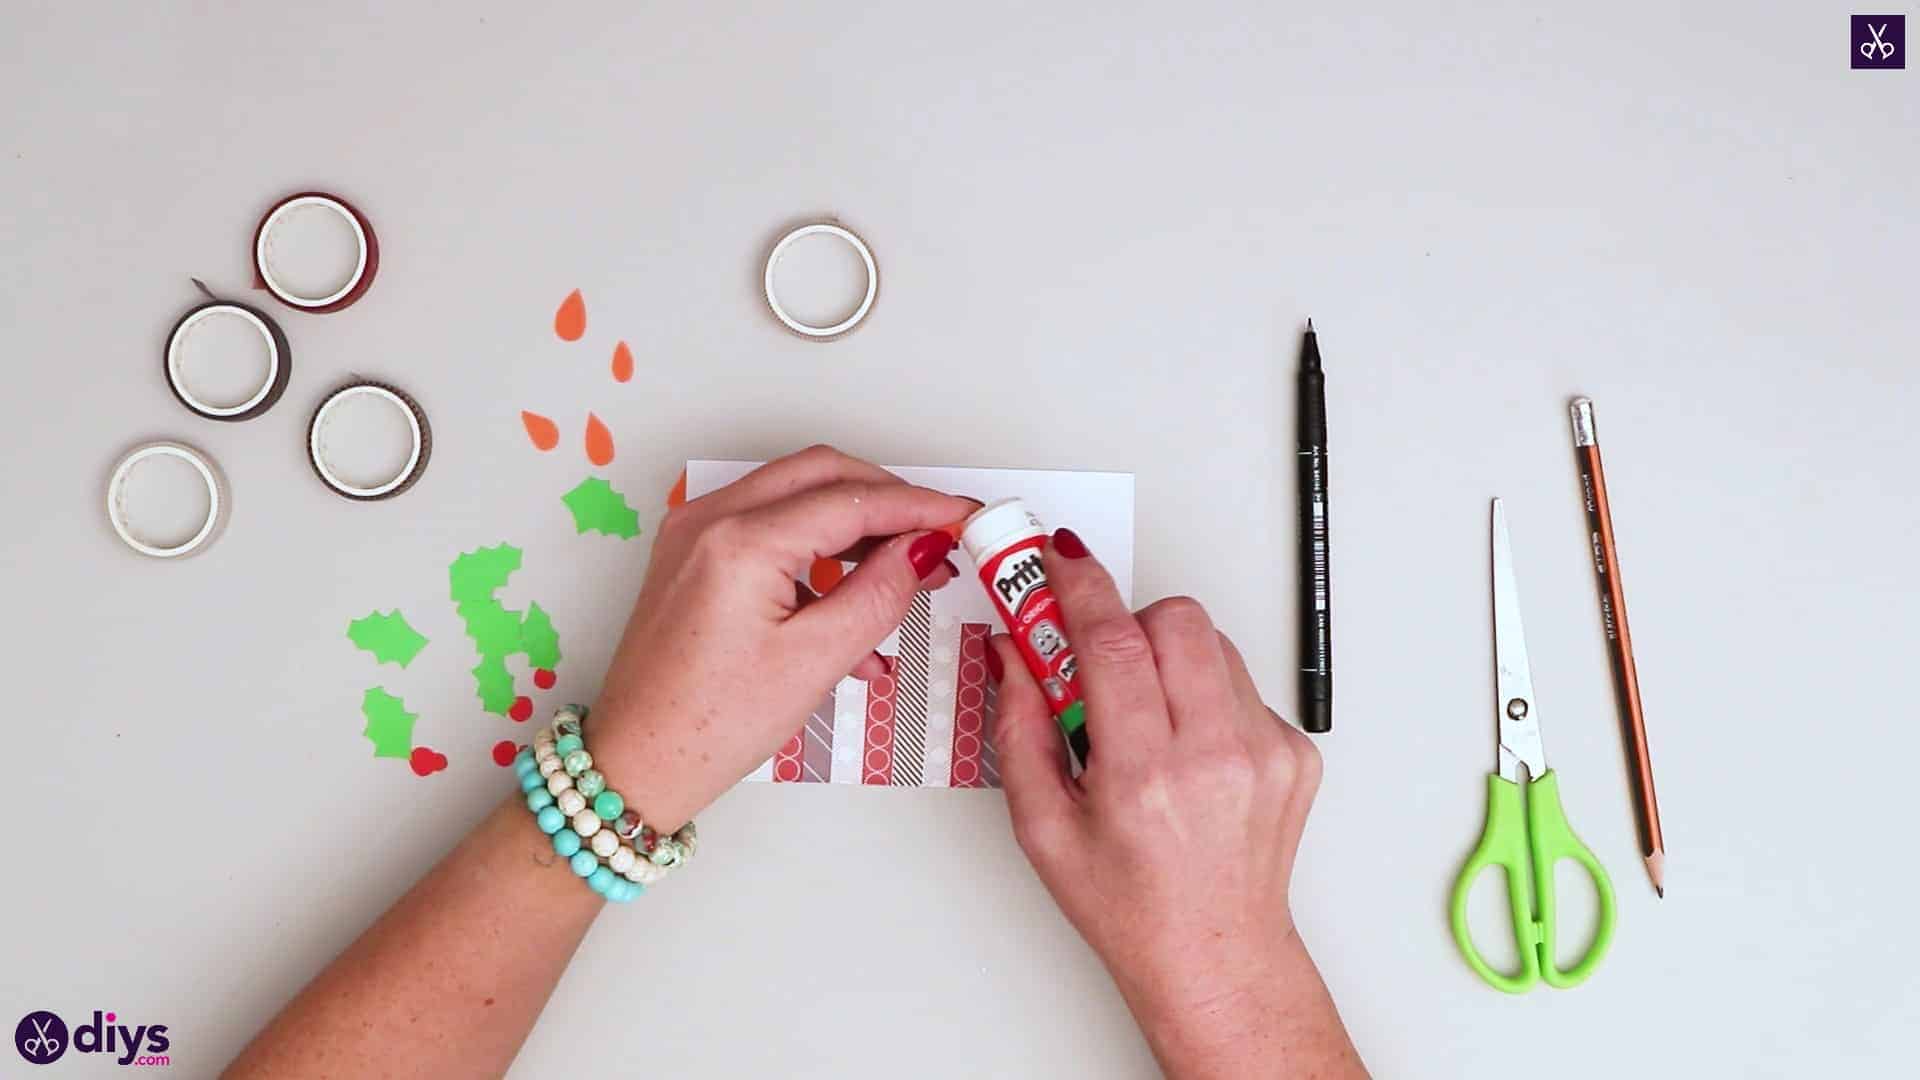
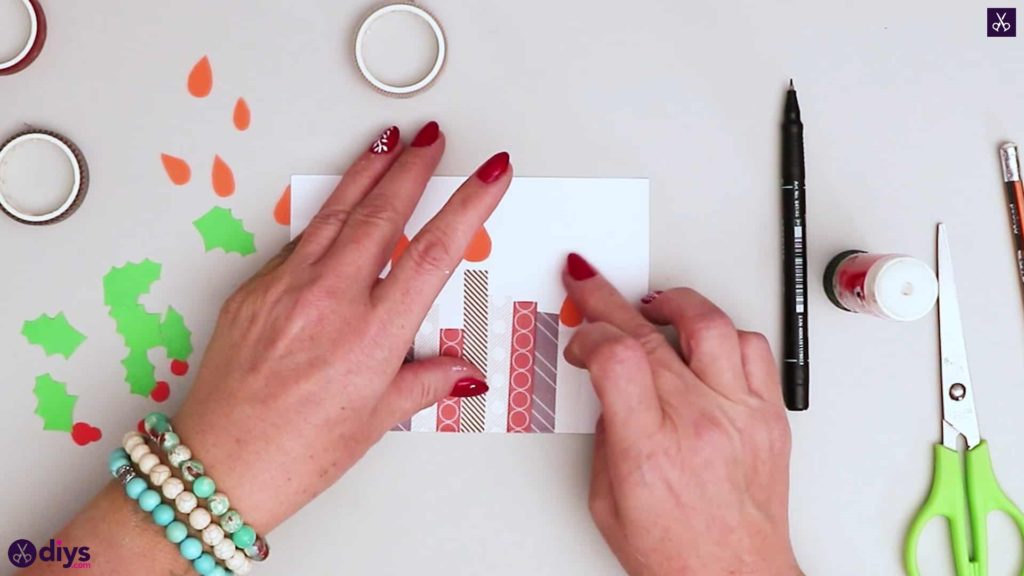
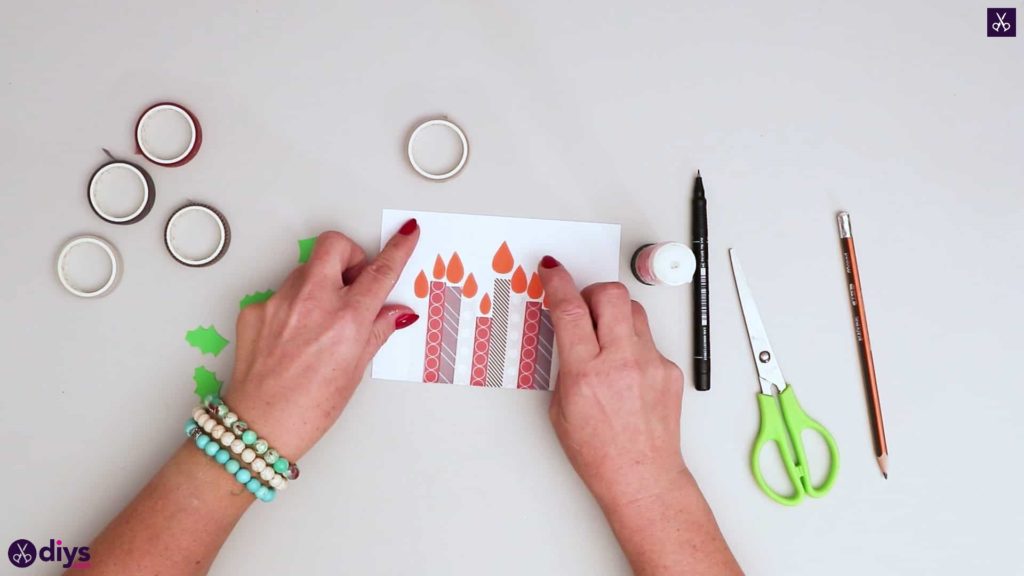
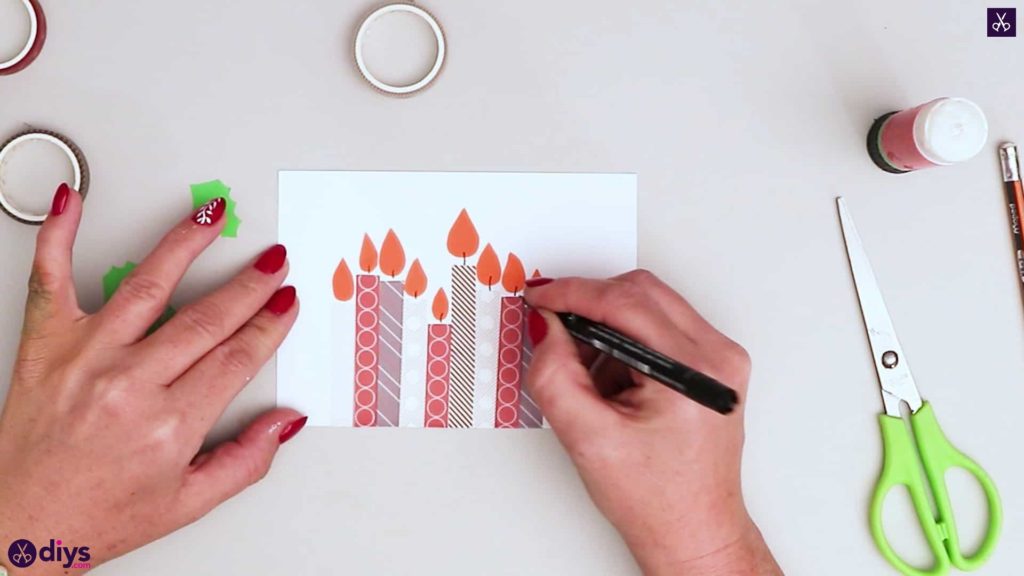
Step 7: glue
Glue one flame down slightly above each of your candlesticks. Then use your black marker to draw a little line connecting the top of your candle to the bottom of its flame, like a candle wick.
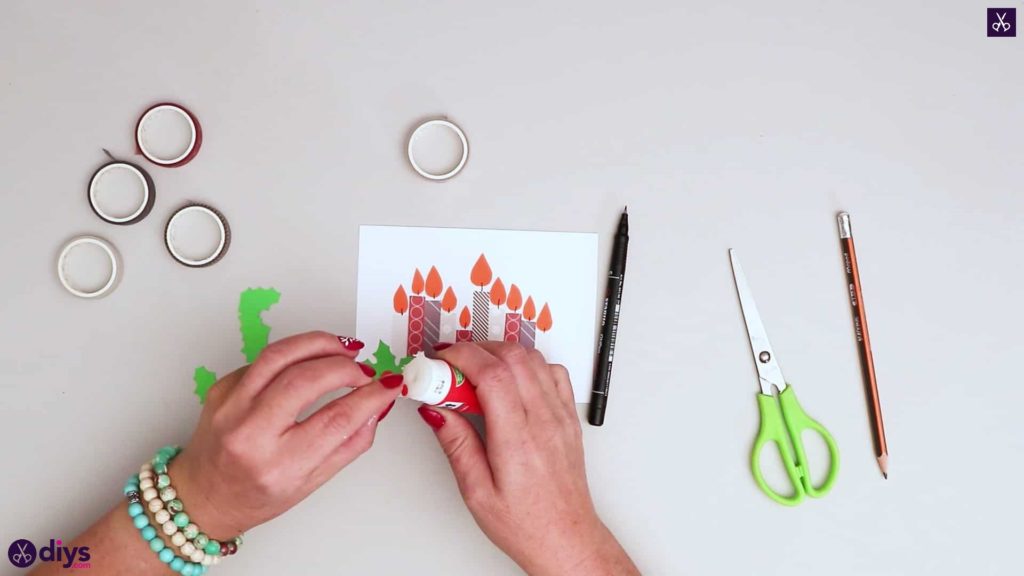
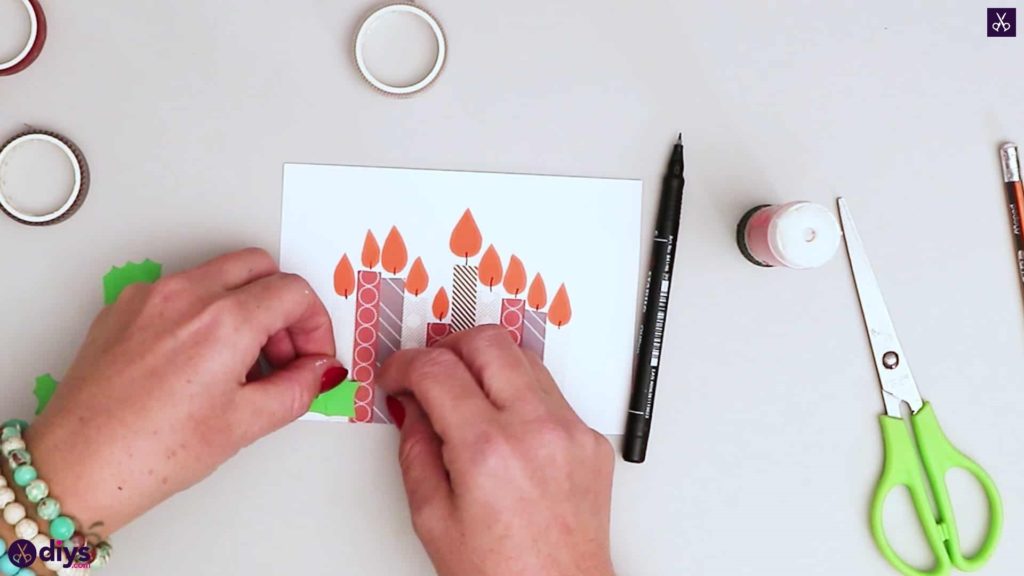
Step 8: glue hollies
On each side of the card, in the corner at the ends of the row of candles, glue down your holly leaves. I gave one side an extra leaf for variation, but overlapped their skinnier point ends at the bottom in each, splaying the other ends out how they best looked and fit. Divide your red berries between the leaves and glue those down in the centre of each cluster over the overlapped bases.

Your card is all finished except for a nice message and birthday greeting written on the back side and signed with your name! Just in case you’d like to try this project out for yourself, here’s a fantastic tutorial video to help you!