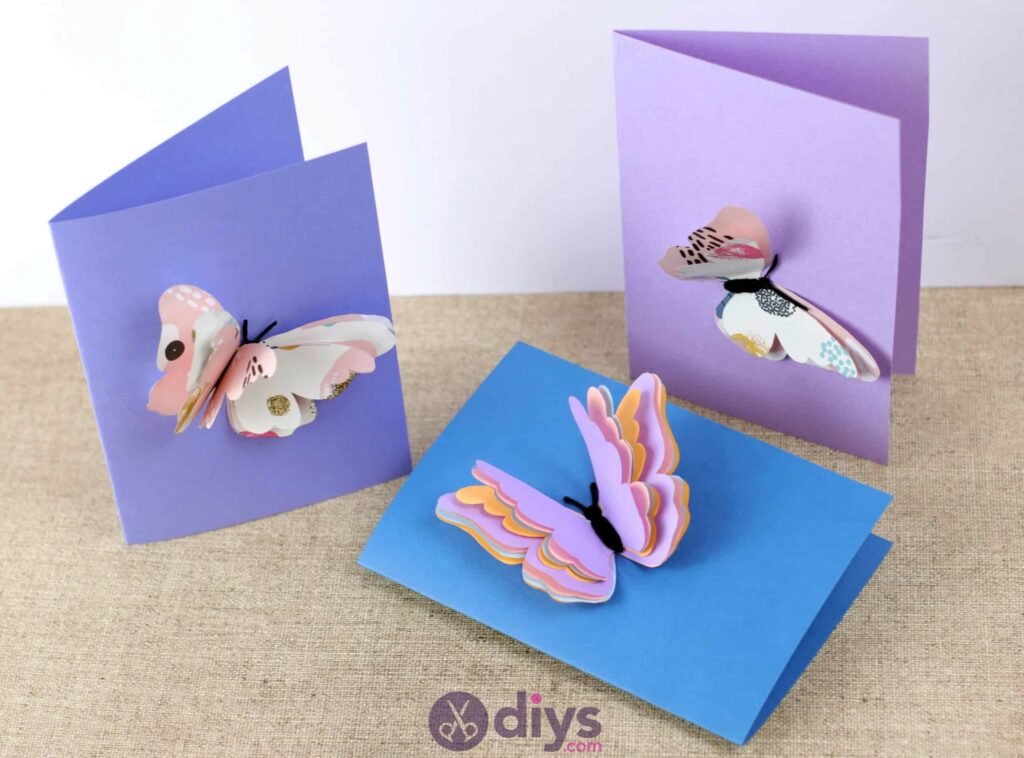
DIY 3D Paper Butterfly Card
Updated on November 19, 2025


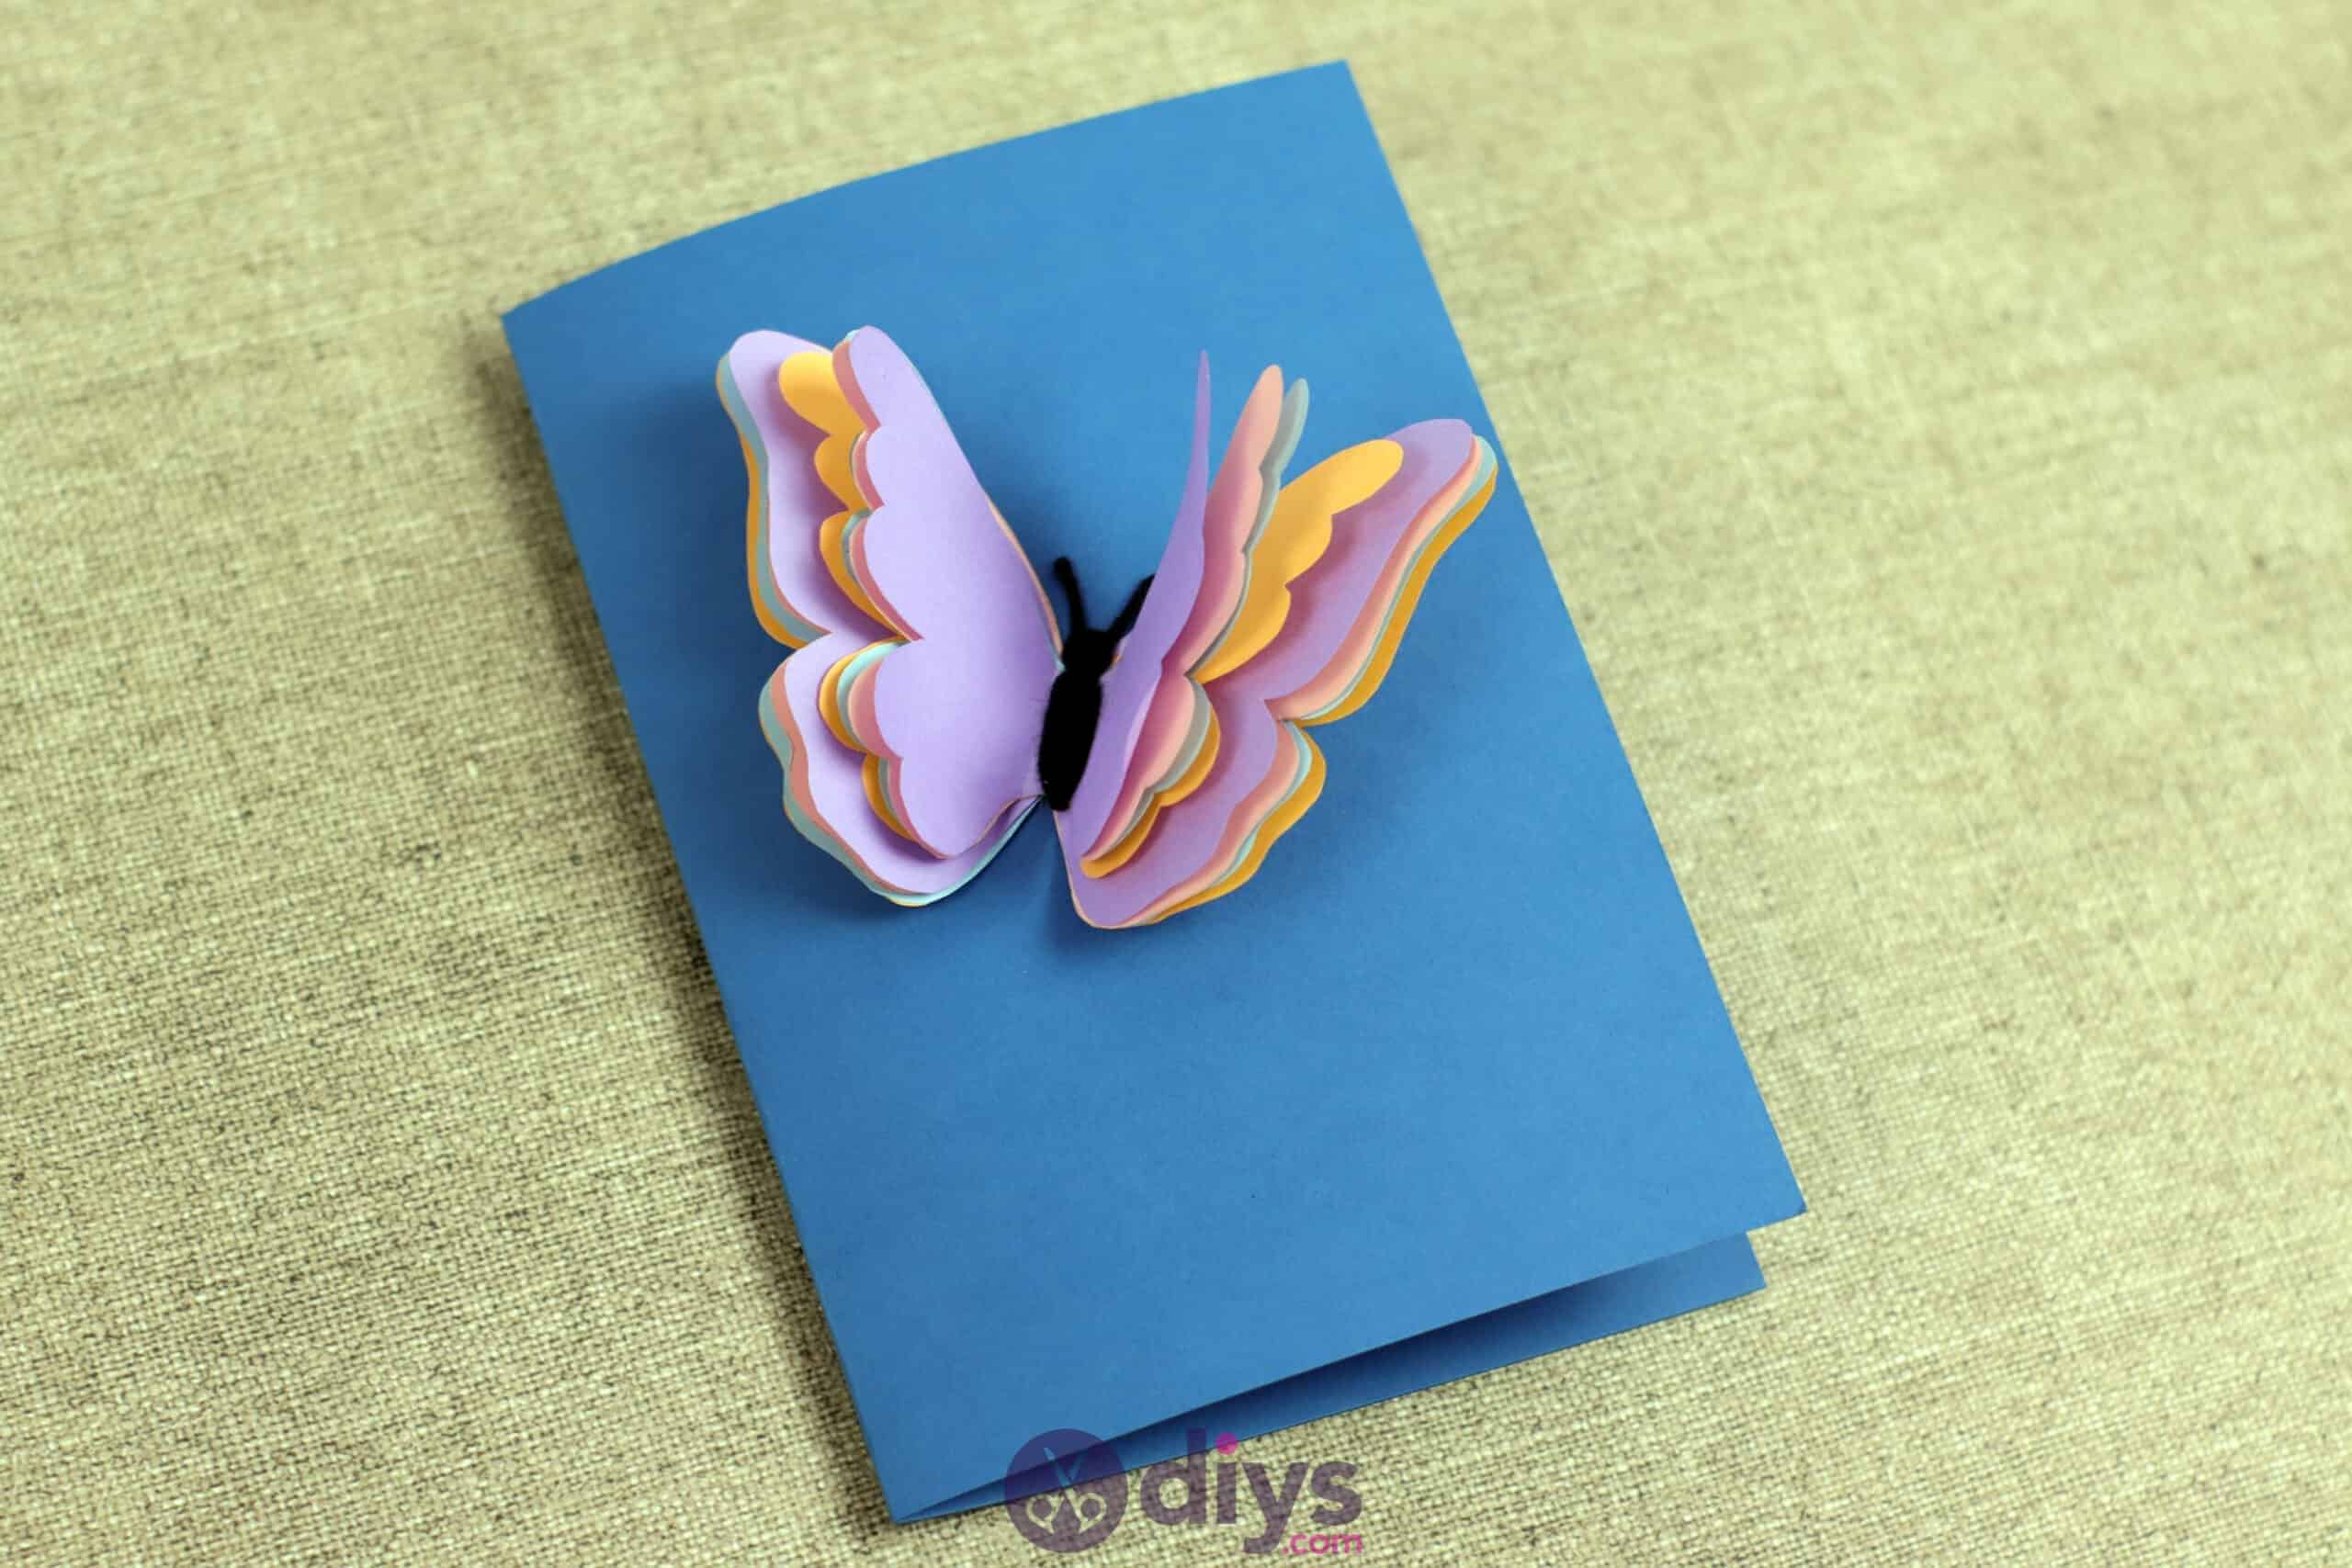
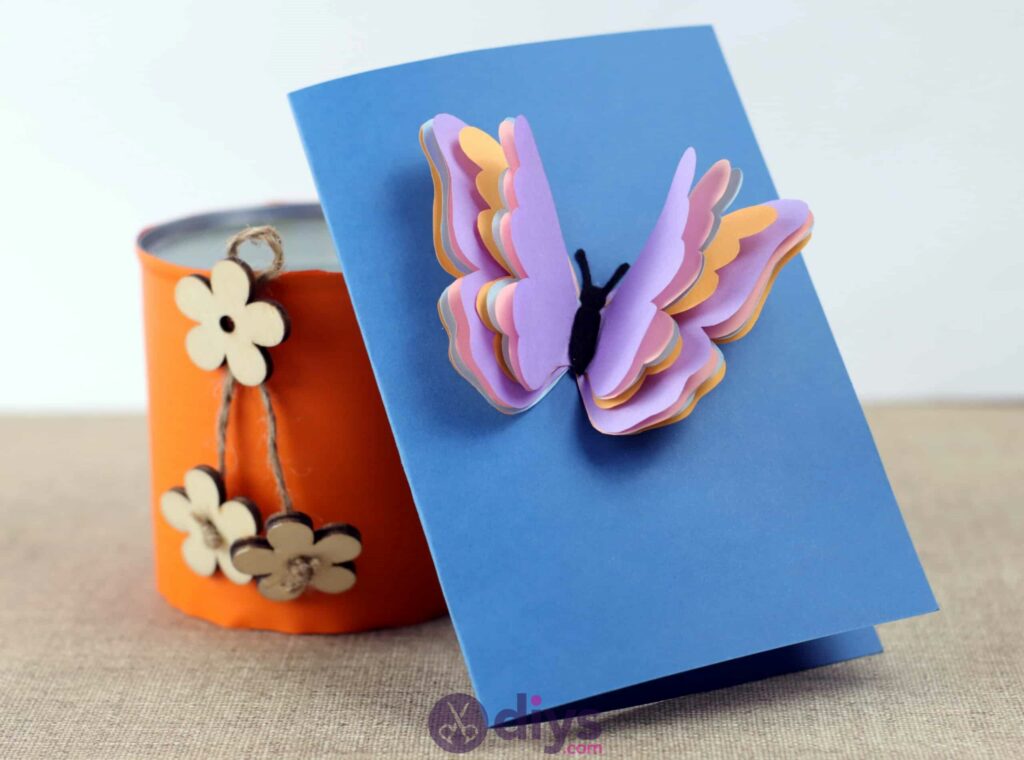
Don’t you just love those gorgeous handmade cards everyone has these days? Well, you can make them, too, with this super easy step by step tutorial on how to make DIY 3D butterfly cards! Scroll on and see how we made this one.

Switch up the colors or even shapes to personalize this creation. You can find full step by step instructions complete with photos below, or scroll to the bottom to see a video tutorial instead!

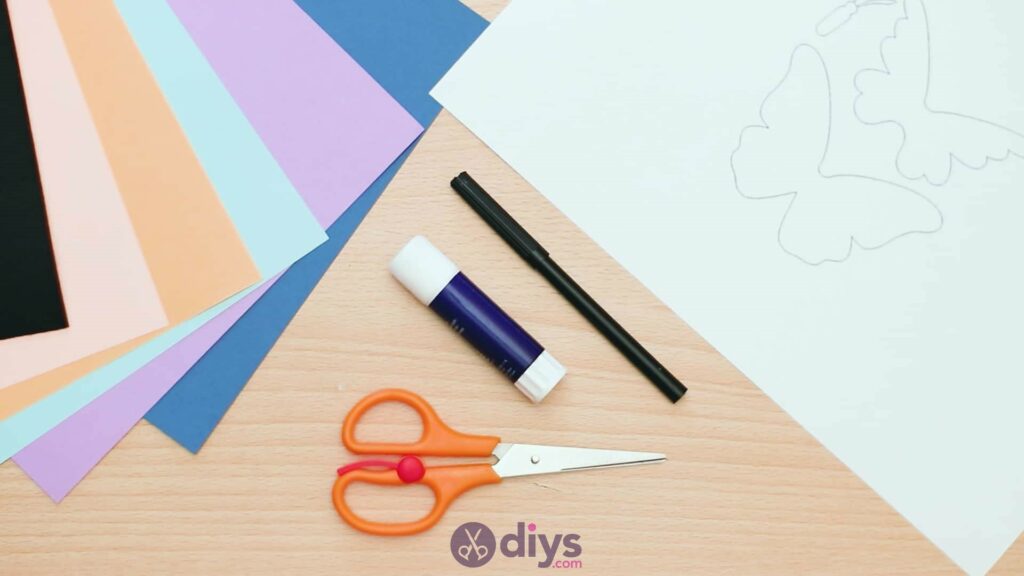
For this project, you’ll need:
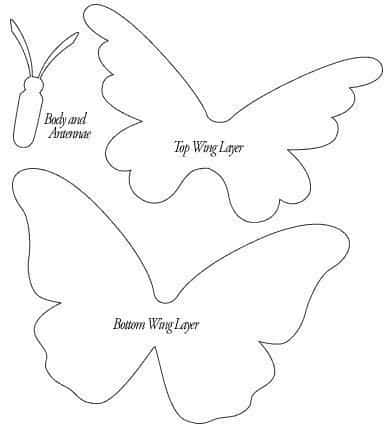
- Template (provided below)
- Coloured cardstock (black and several kinds or patterns that you like all together)
- Paper
- Glue stick
- Scissors
- Marker
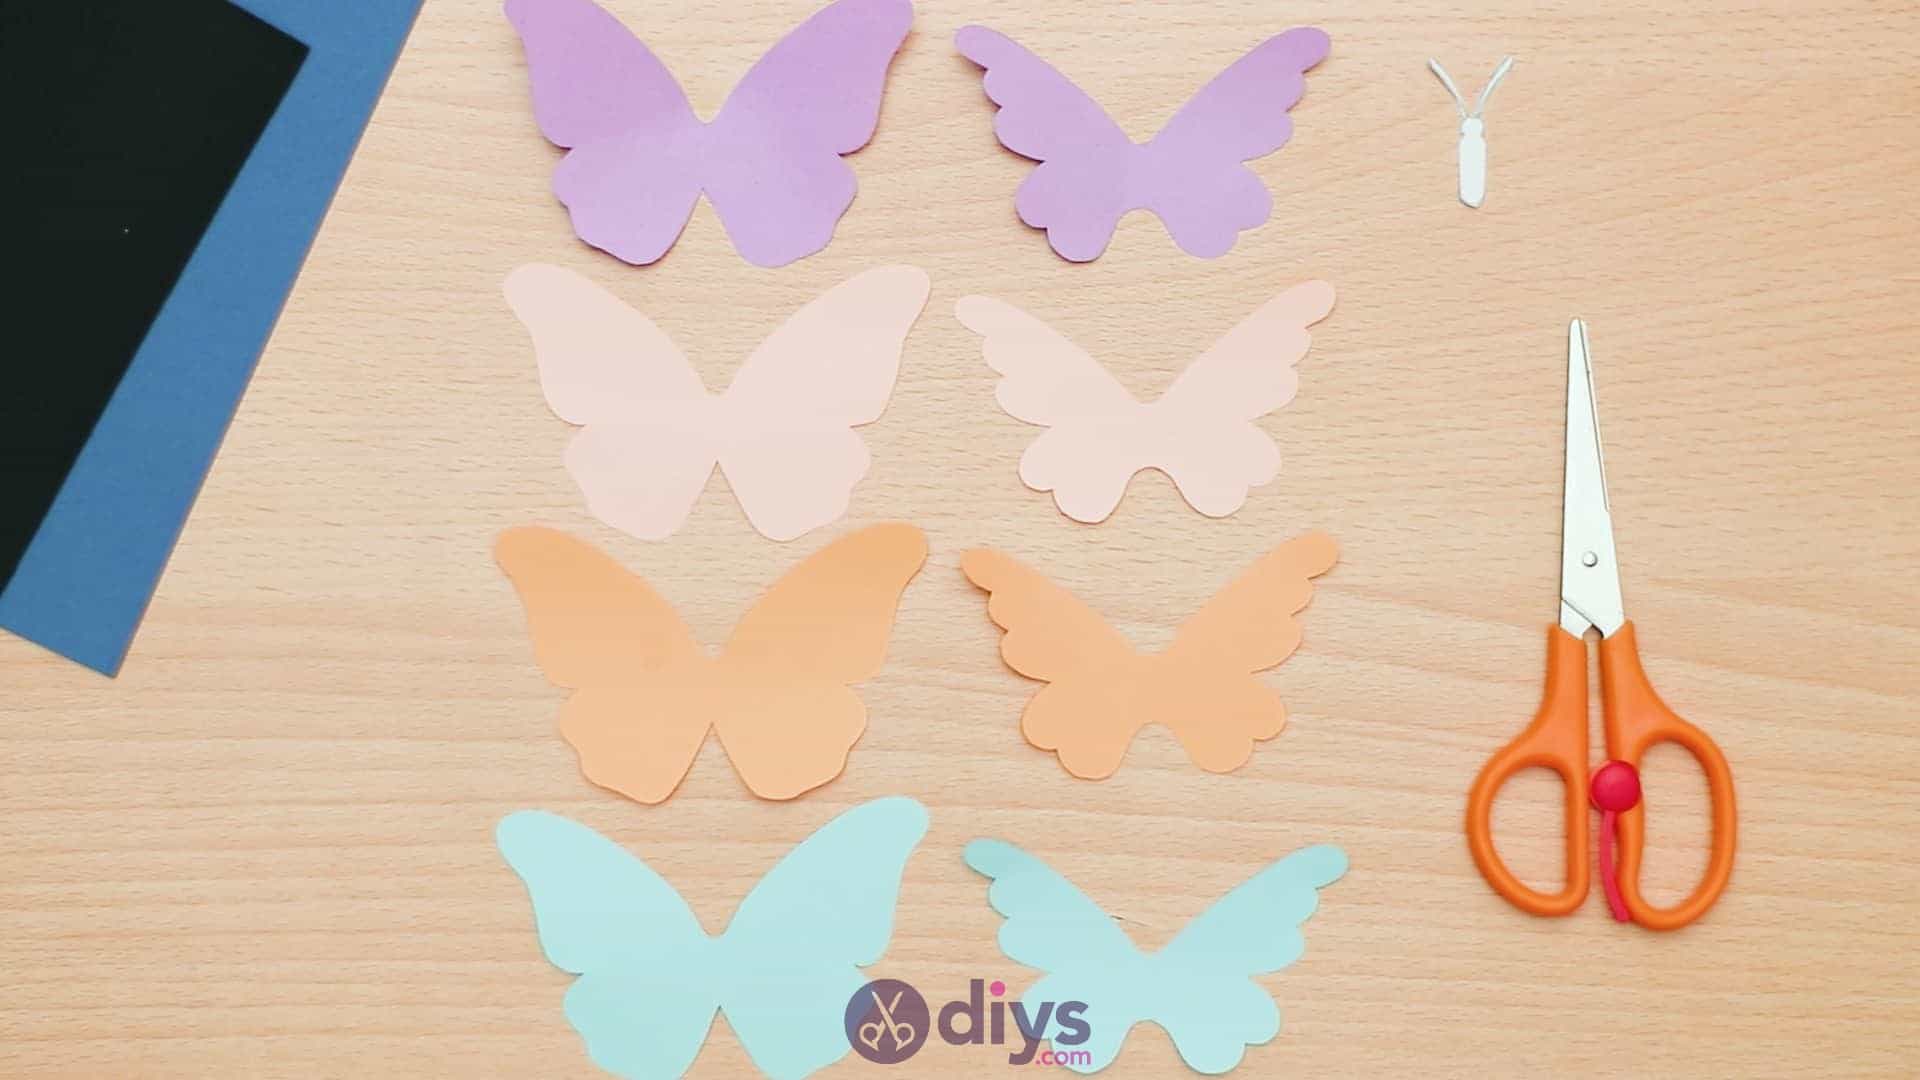
Step 1: Gather your materials!
I printed my template beforehand, and also made sure to have all my items in front of me.
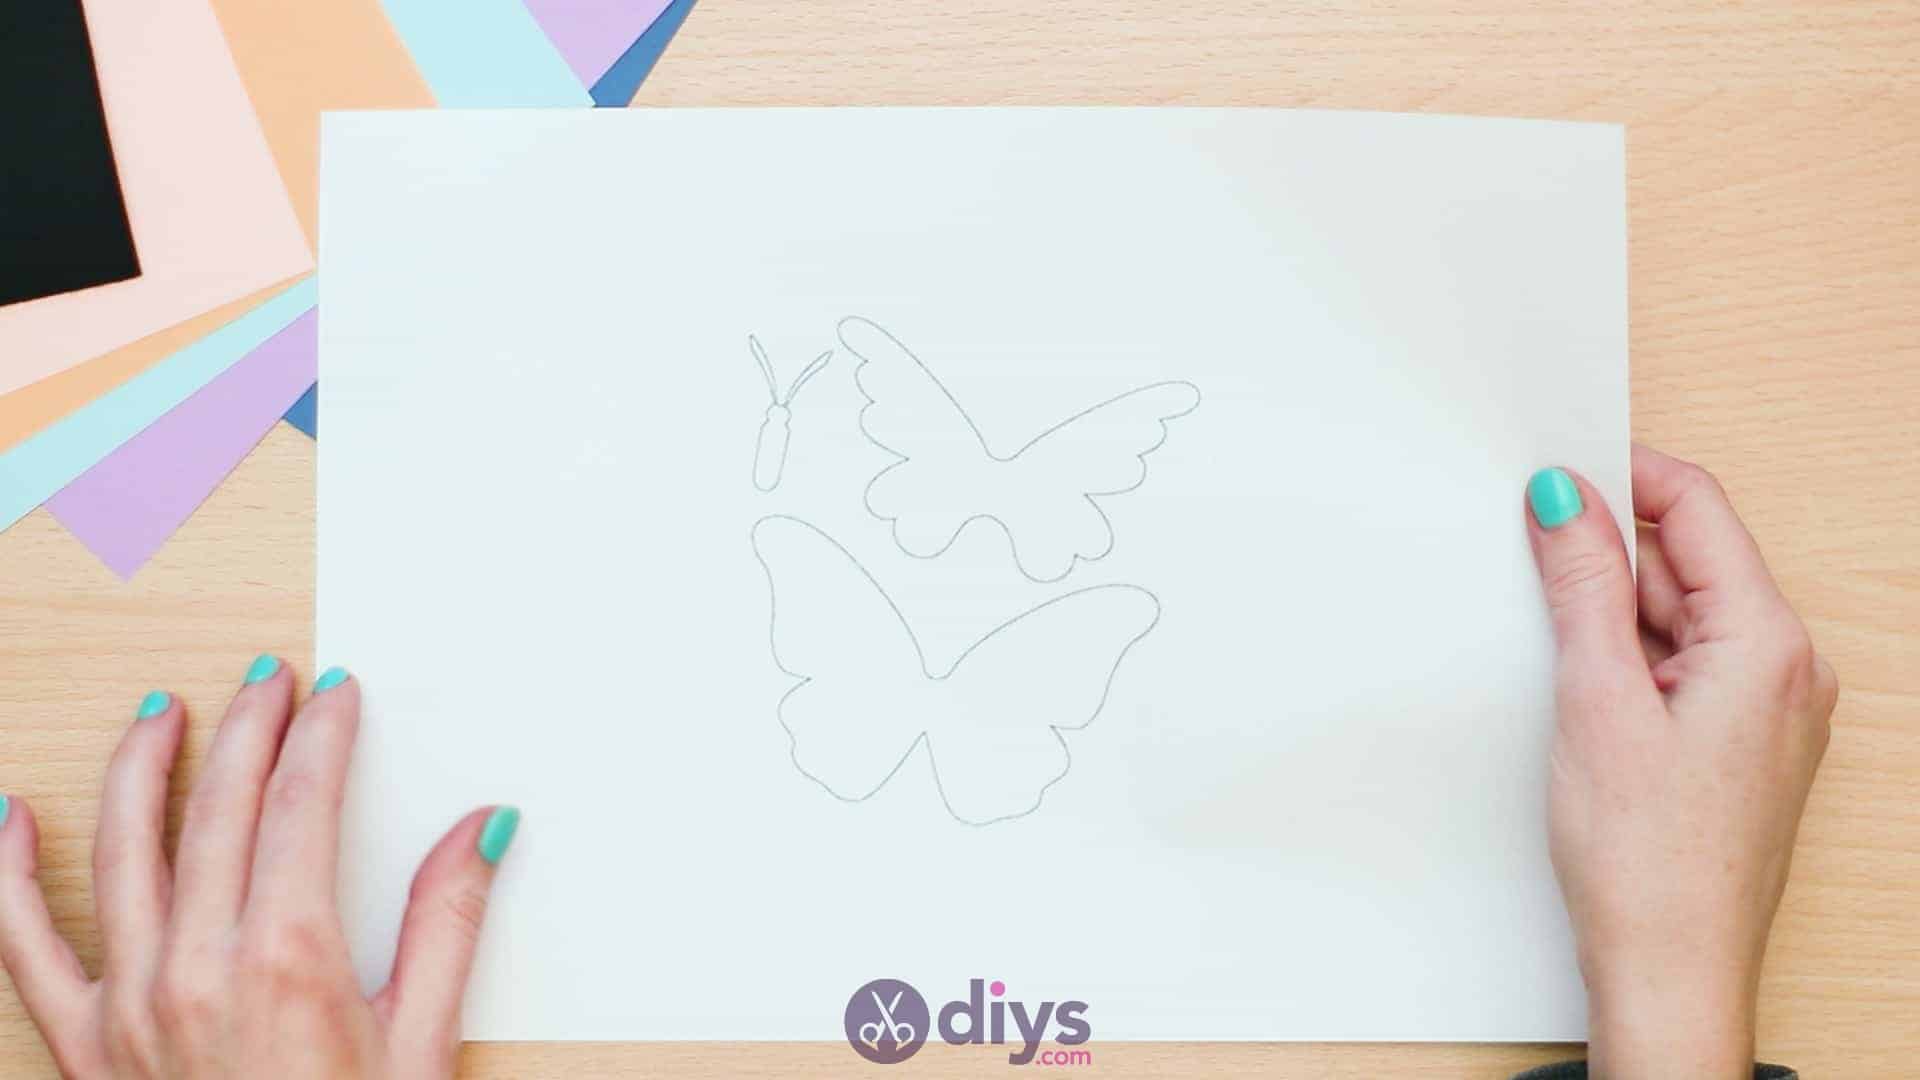
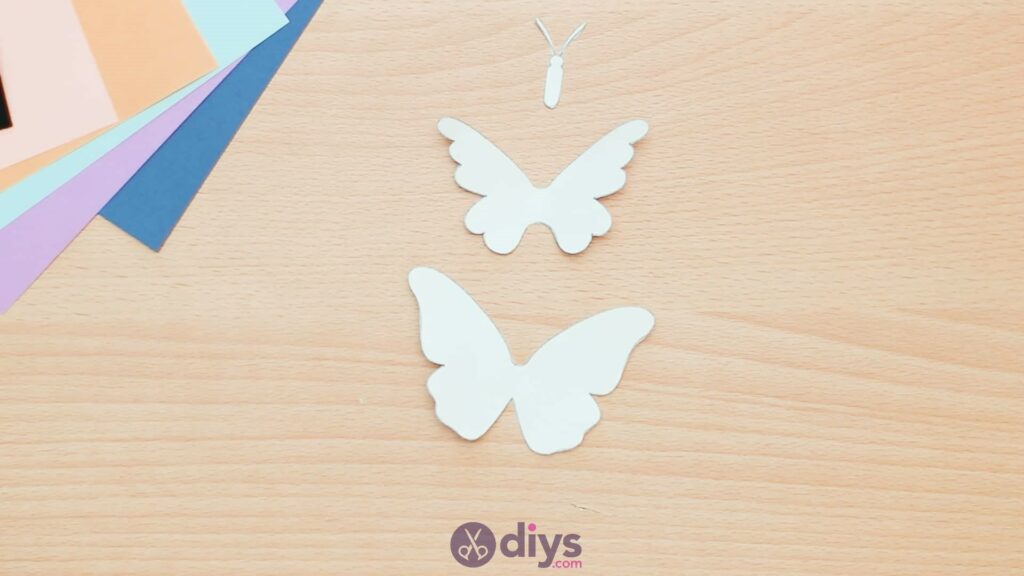
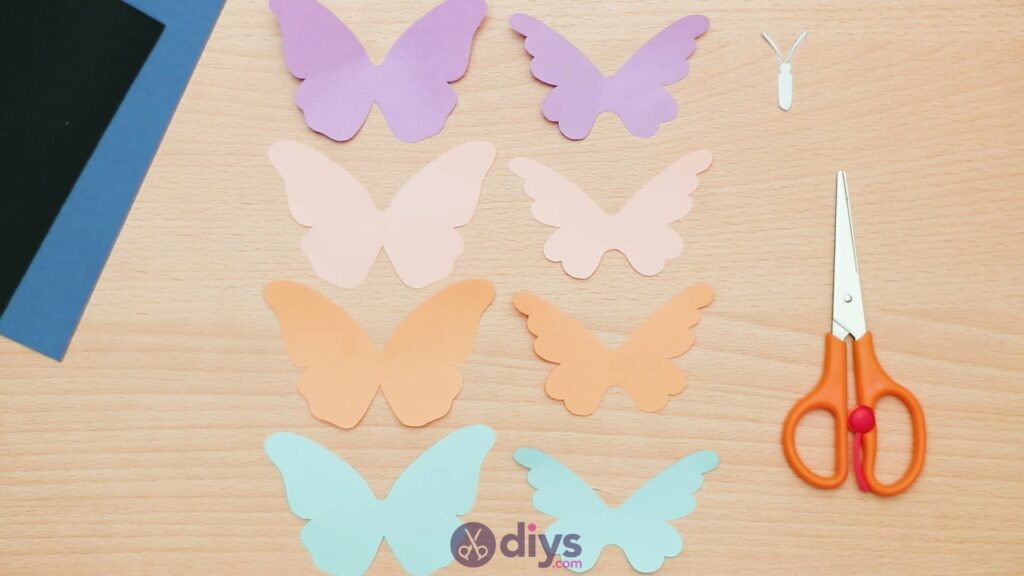
Step 2: cut it out
Cut all three pieces printed on your template piece out; you’ll need the body, the larger base wings,and the smaller layering wings.

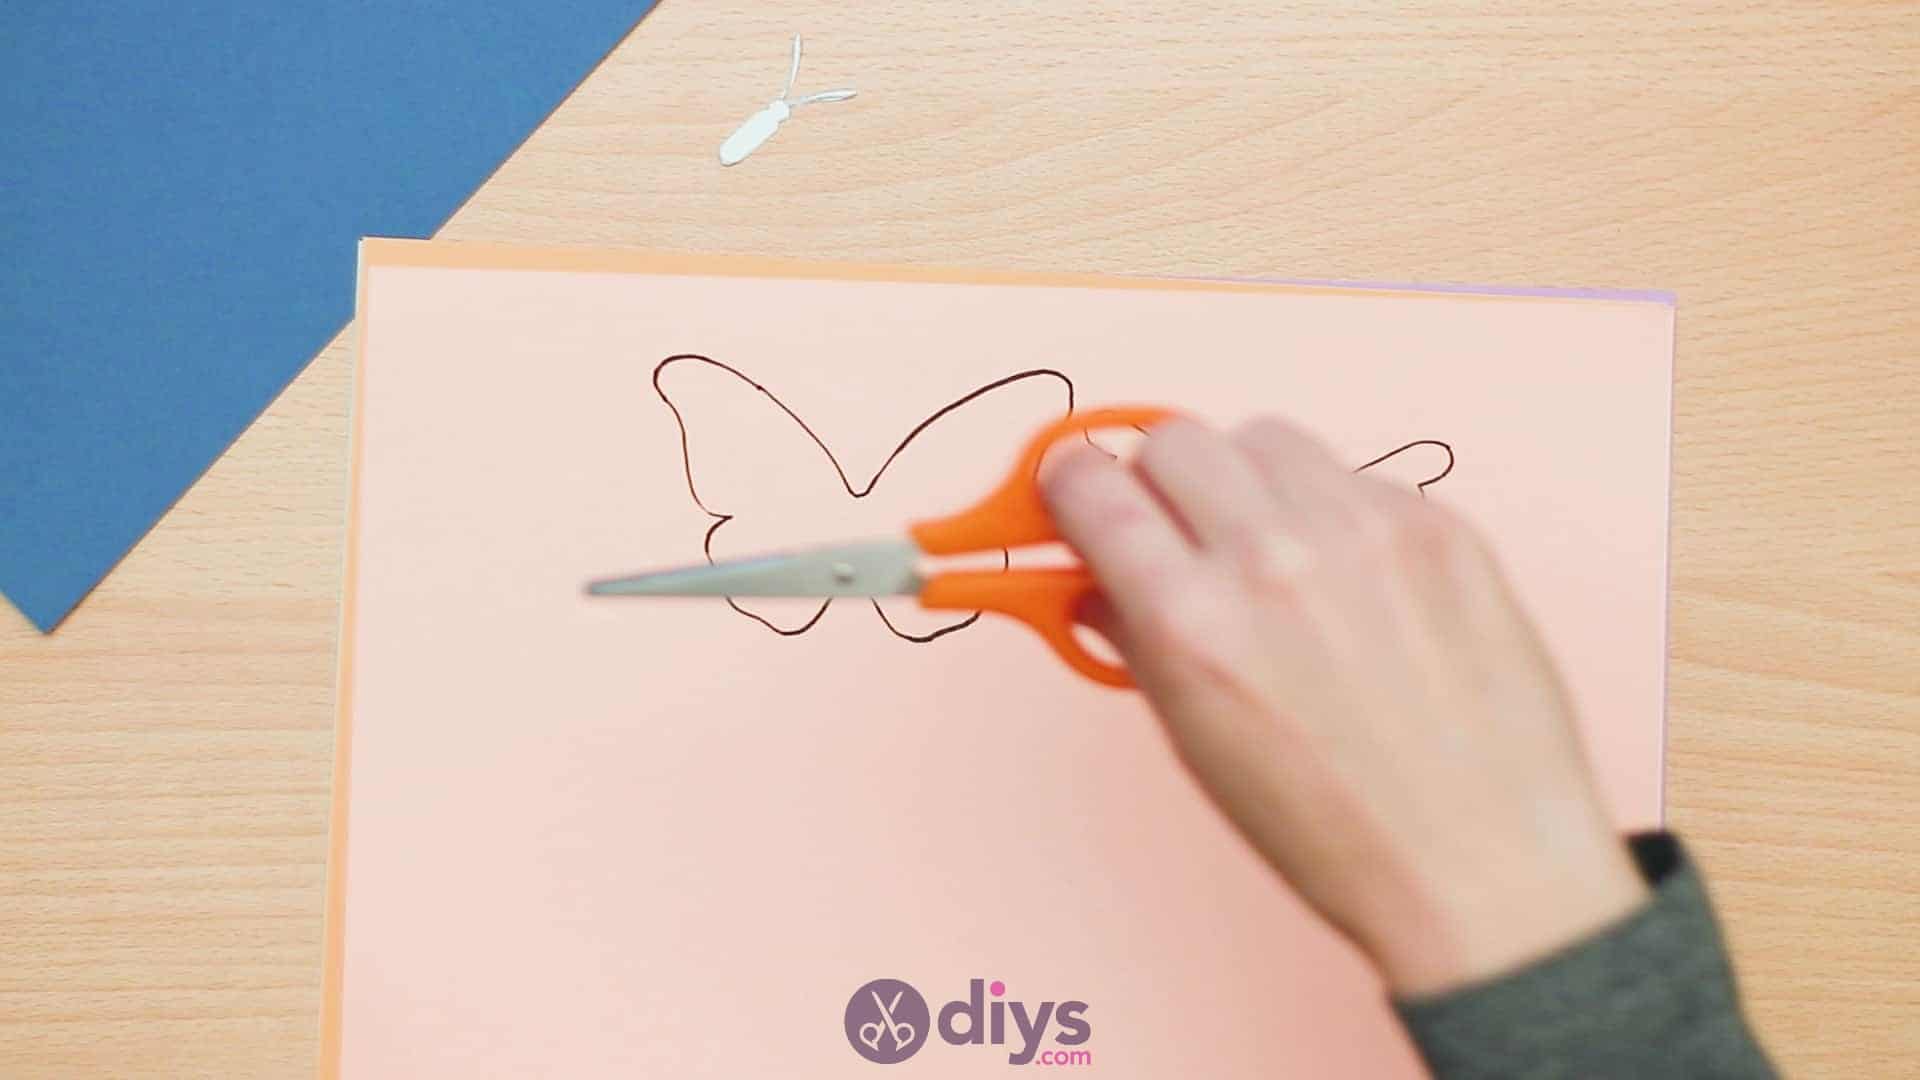
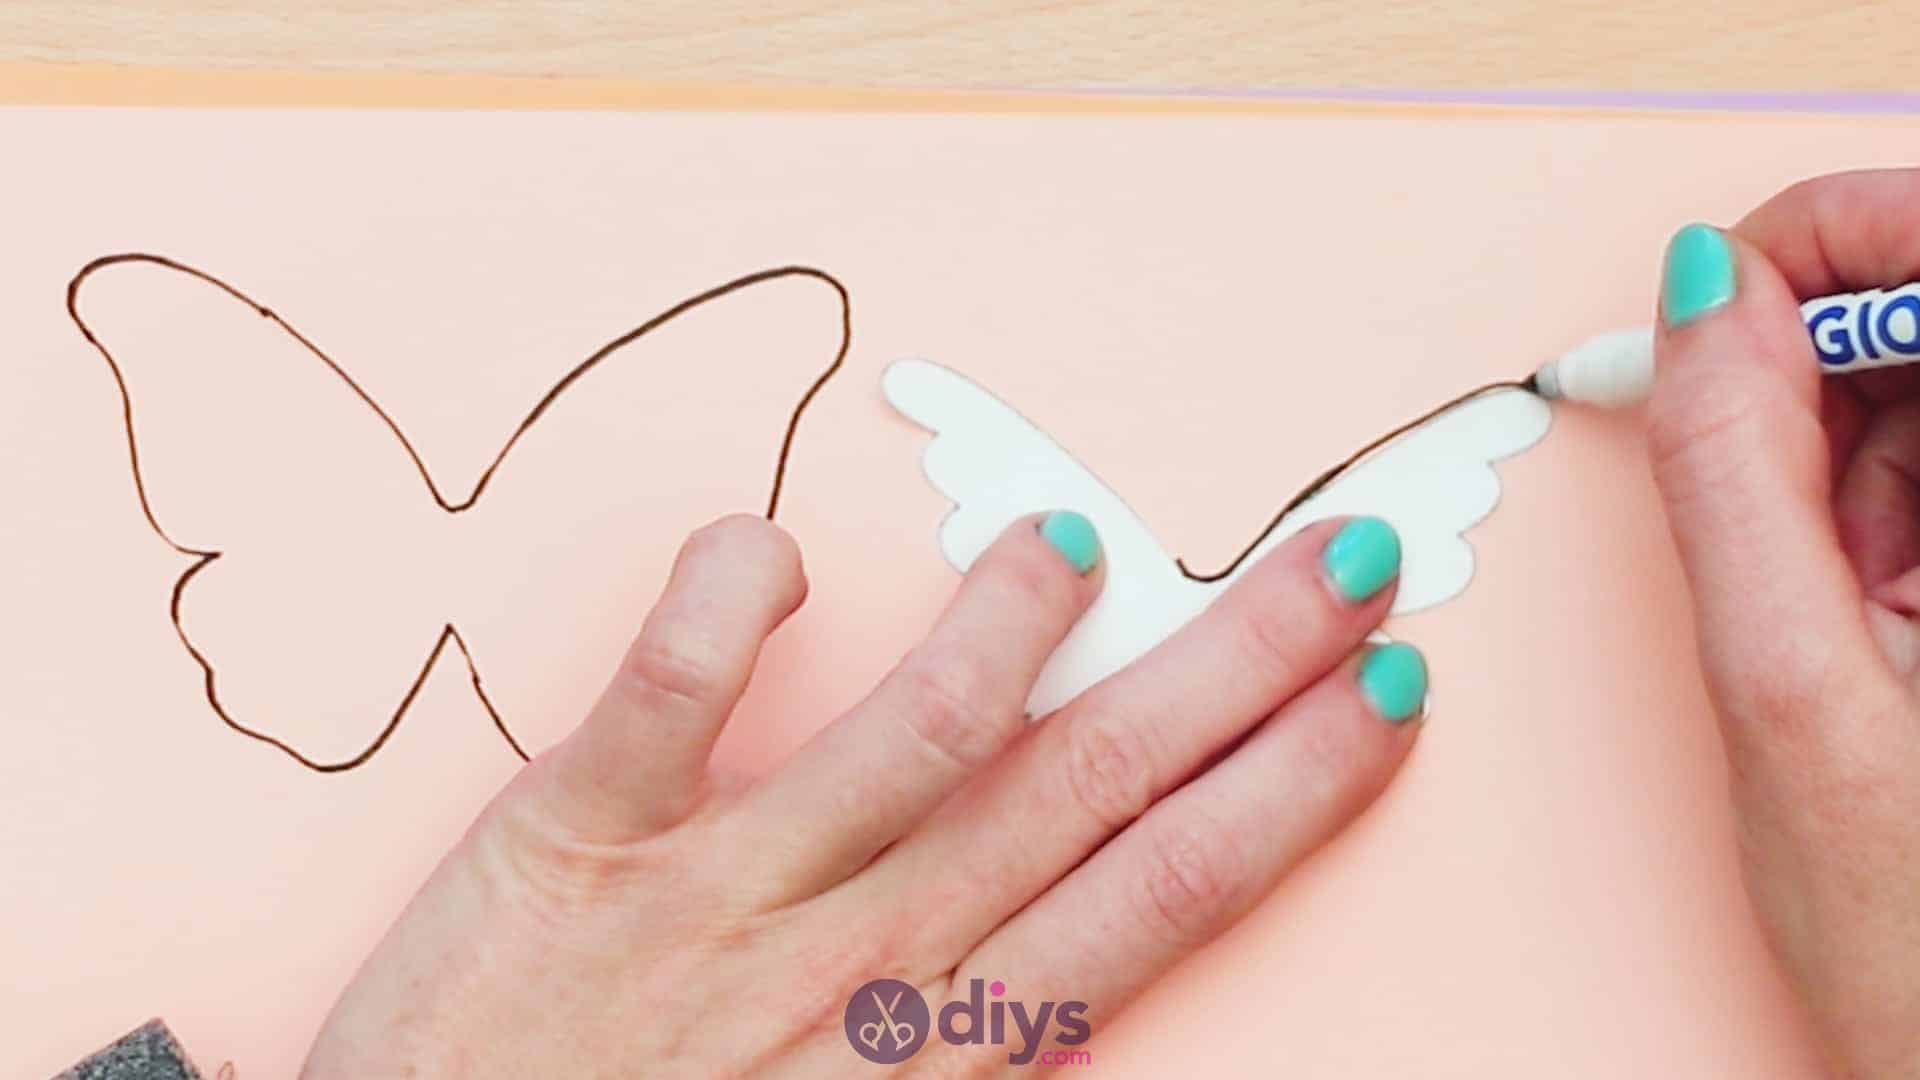
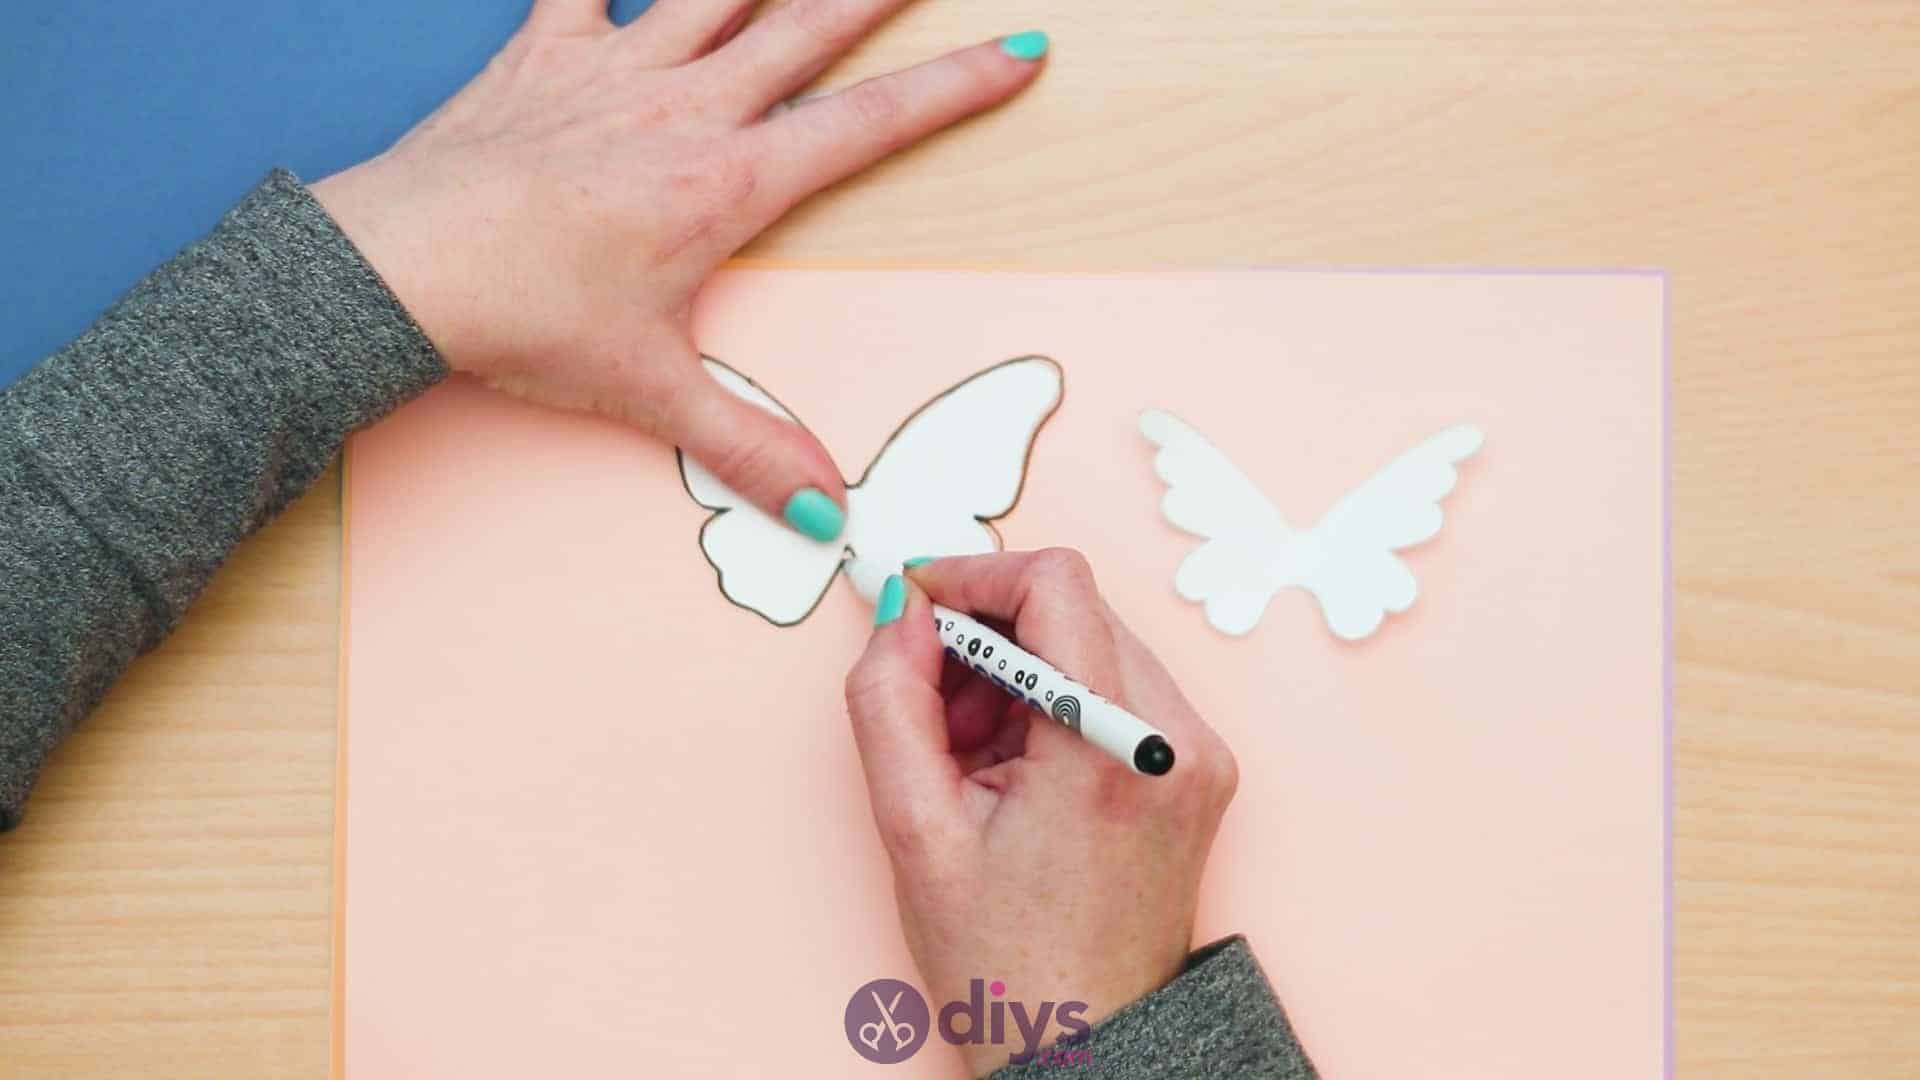
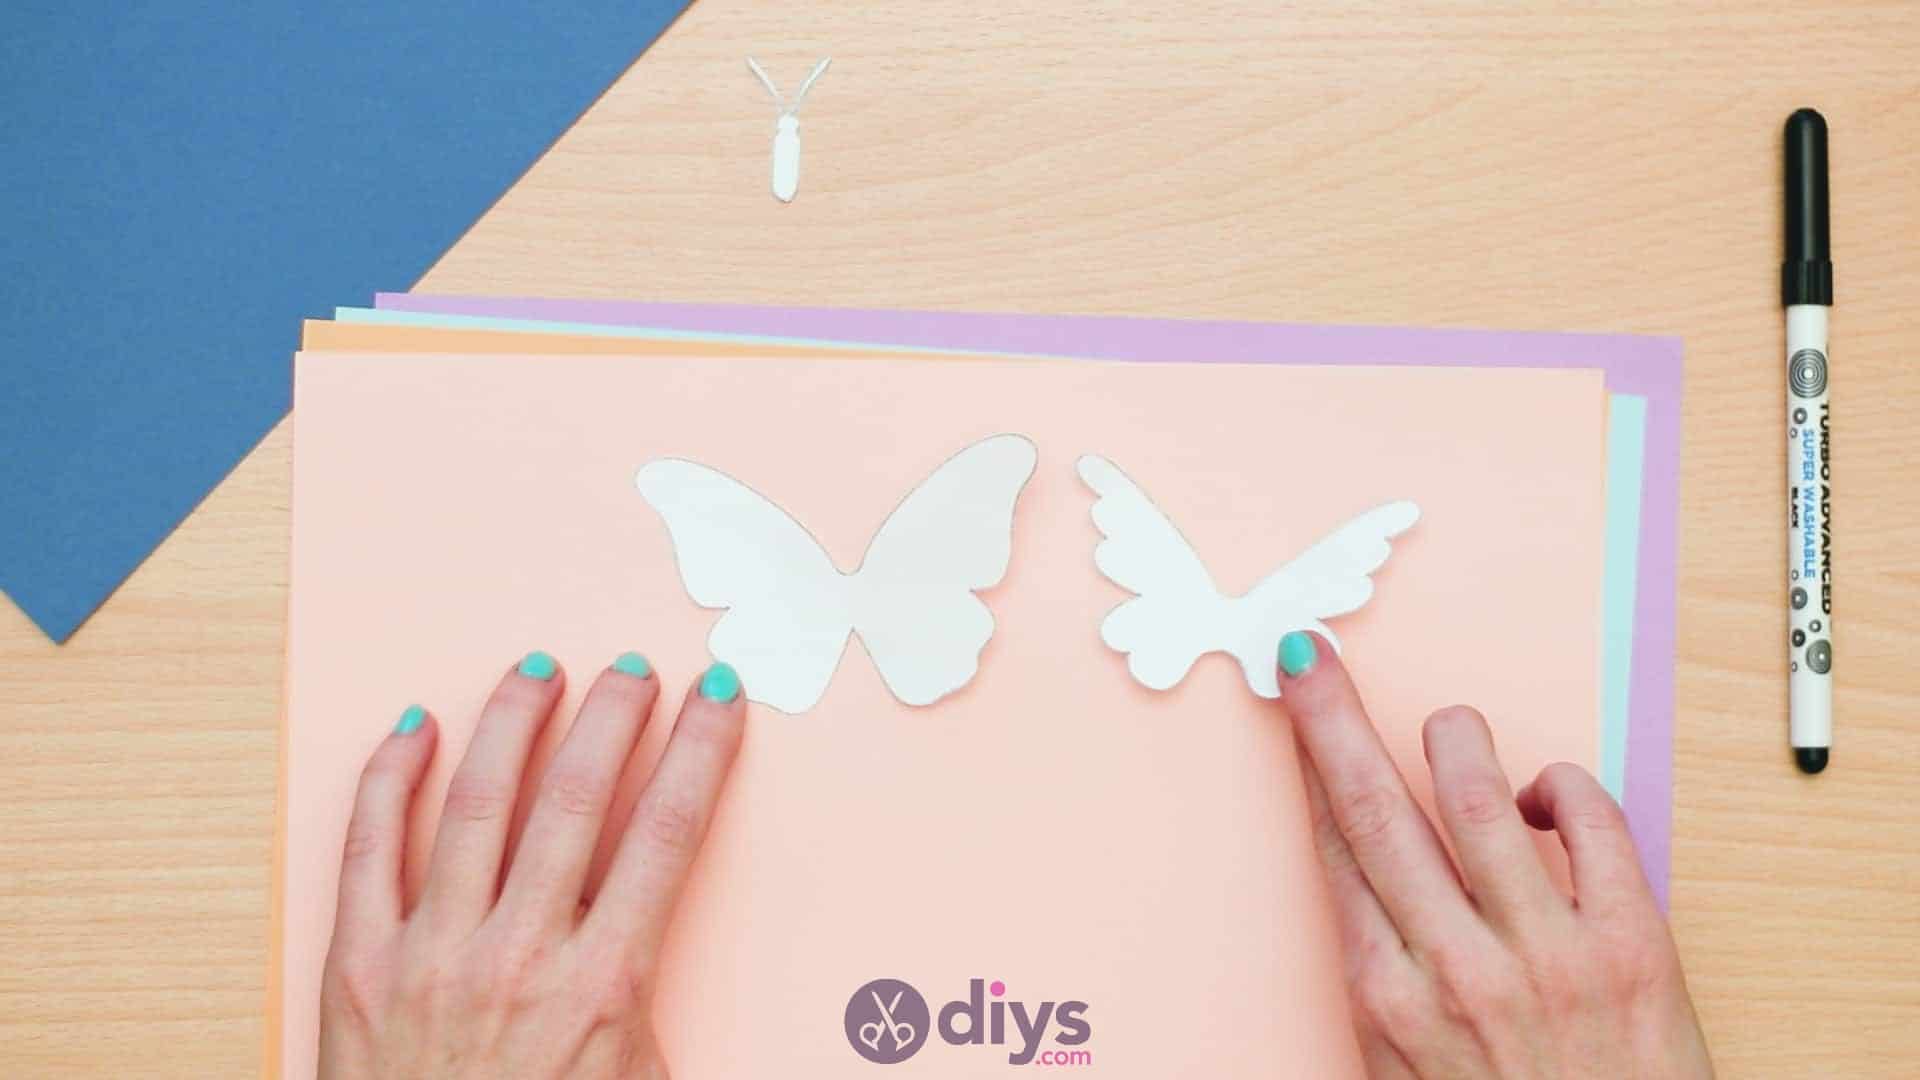
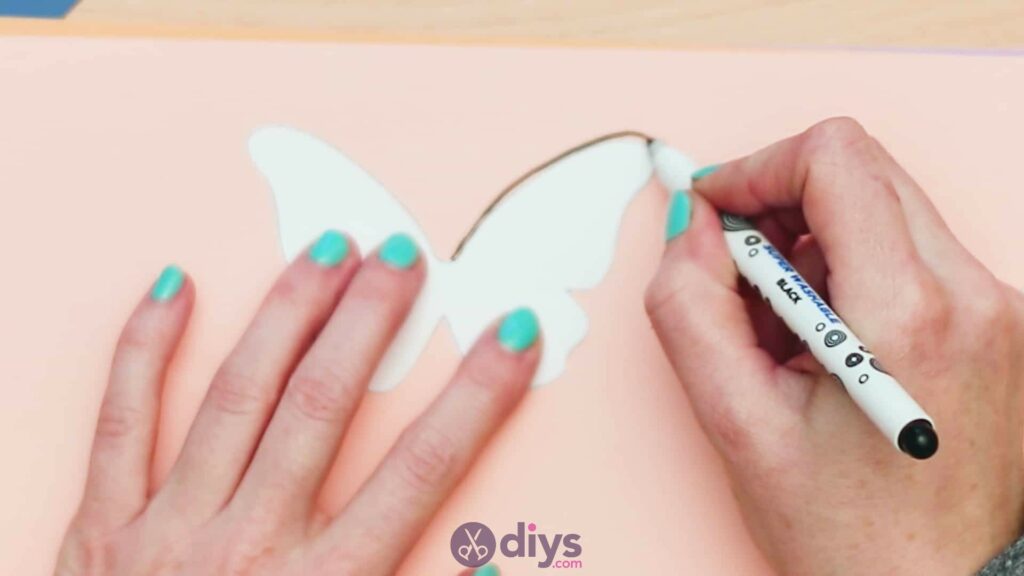
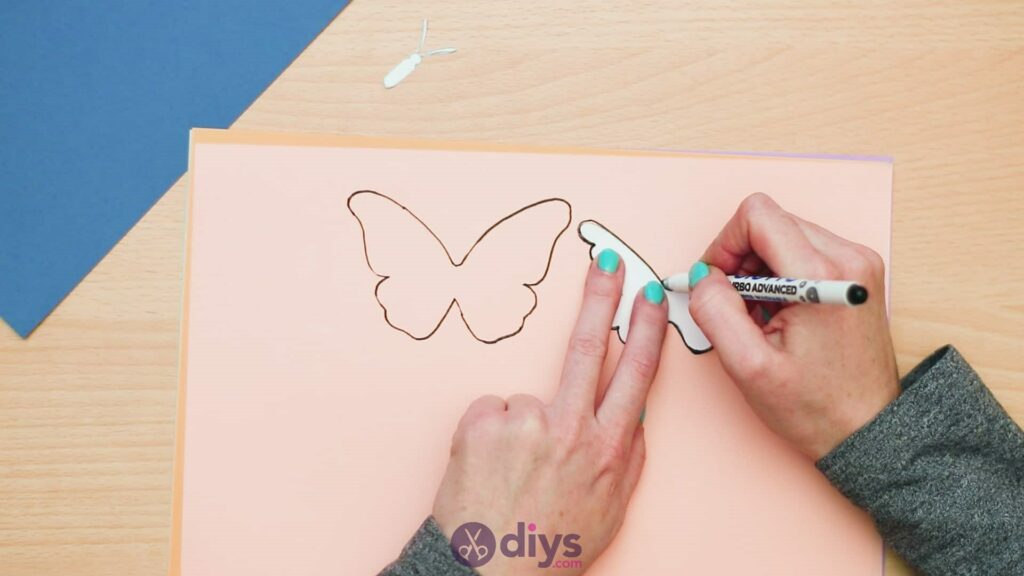
Step 3: trace it
Place your two wing pieces on top of your first piece of coloured paper (not including the piece that you’d like to save to make your base card from). Hold each one in place with one hand while you use the other hand to trace around it with your marker ora pencil. Make one large set of wings and one smaller set of wings on that particular colour and then cut them both out, aiming to cut off as much of your traced line as you can without compromising your shape. Repeat this process forall of your other colours of paper (except your base card piece). I made four colours of wings; one each in the small size and one each in the large size four a total of eight wings.


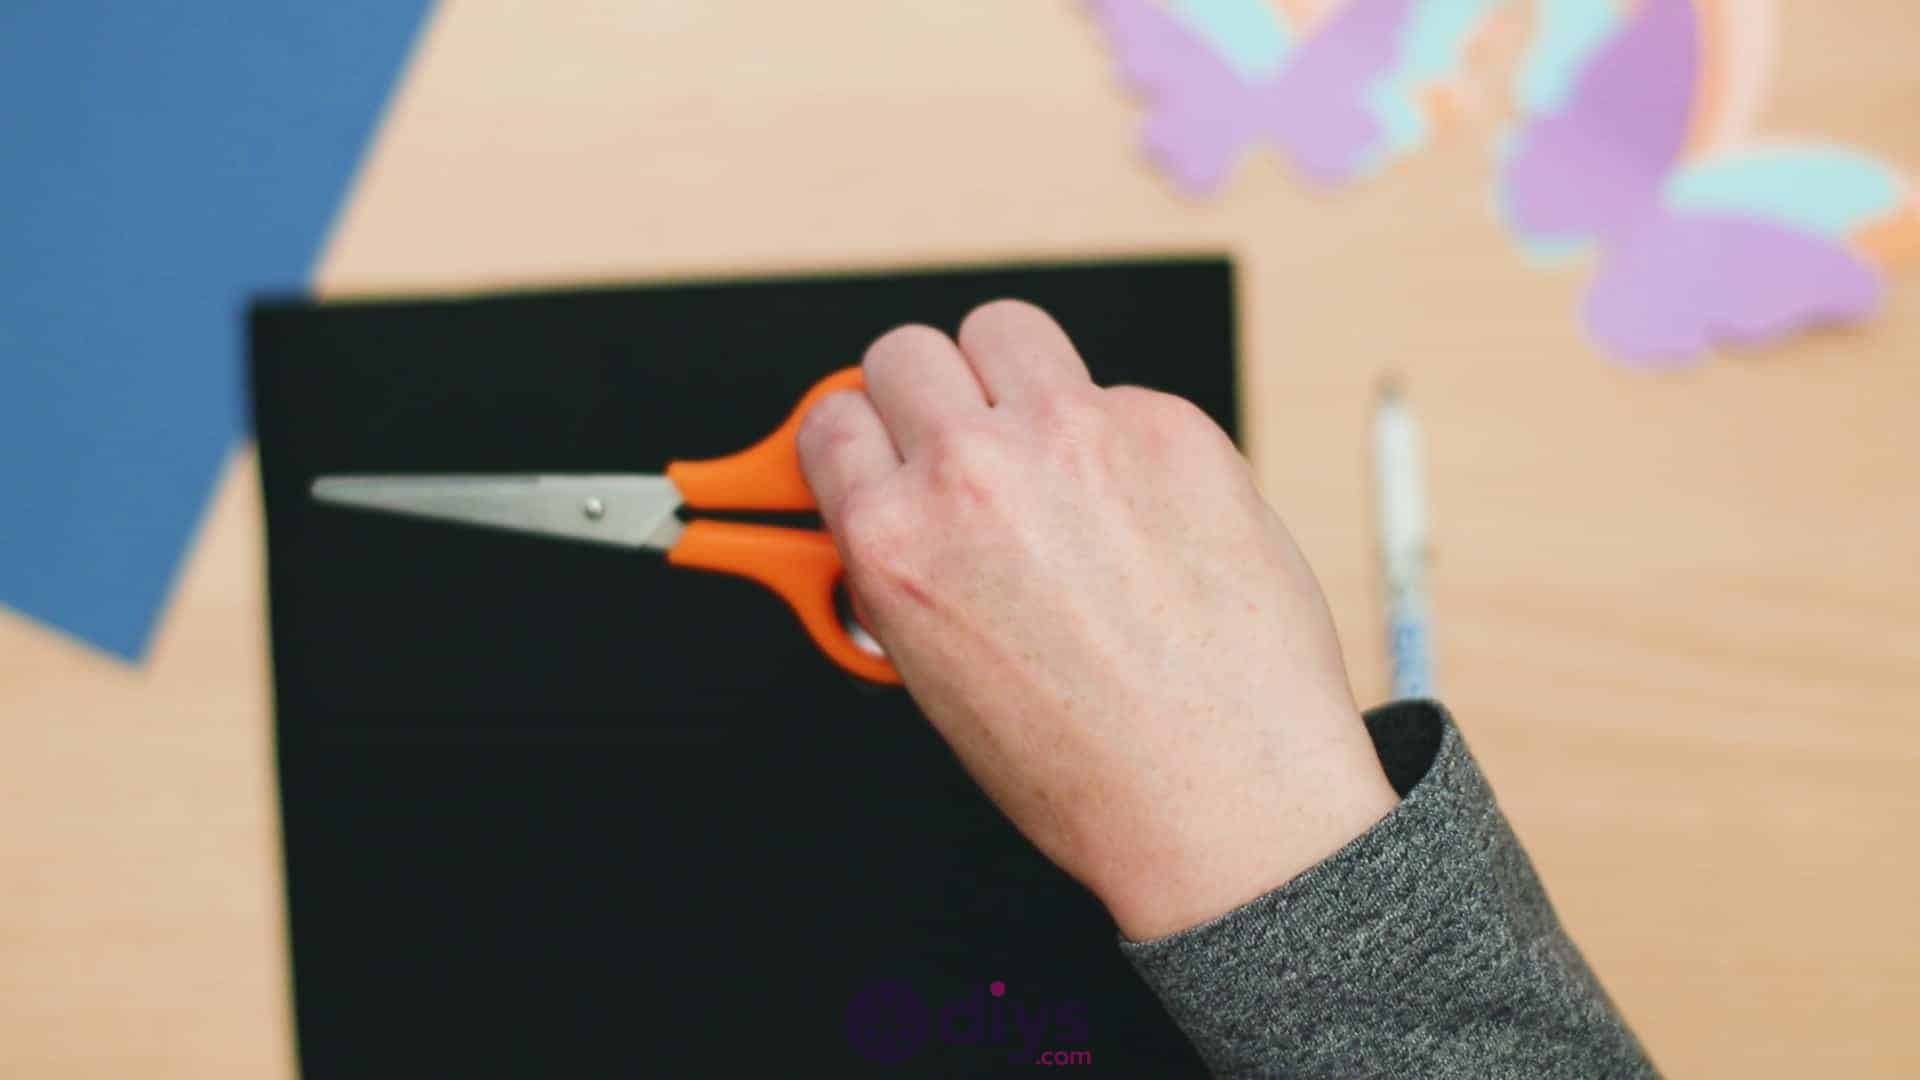
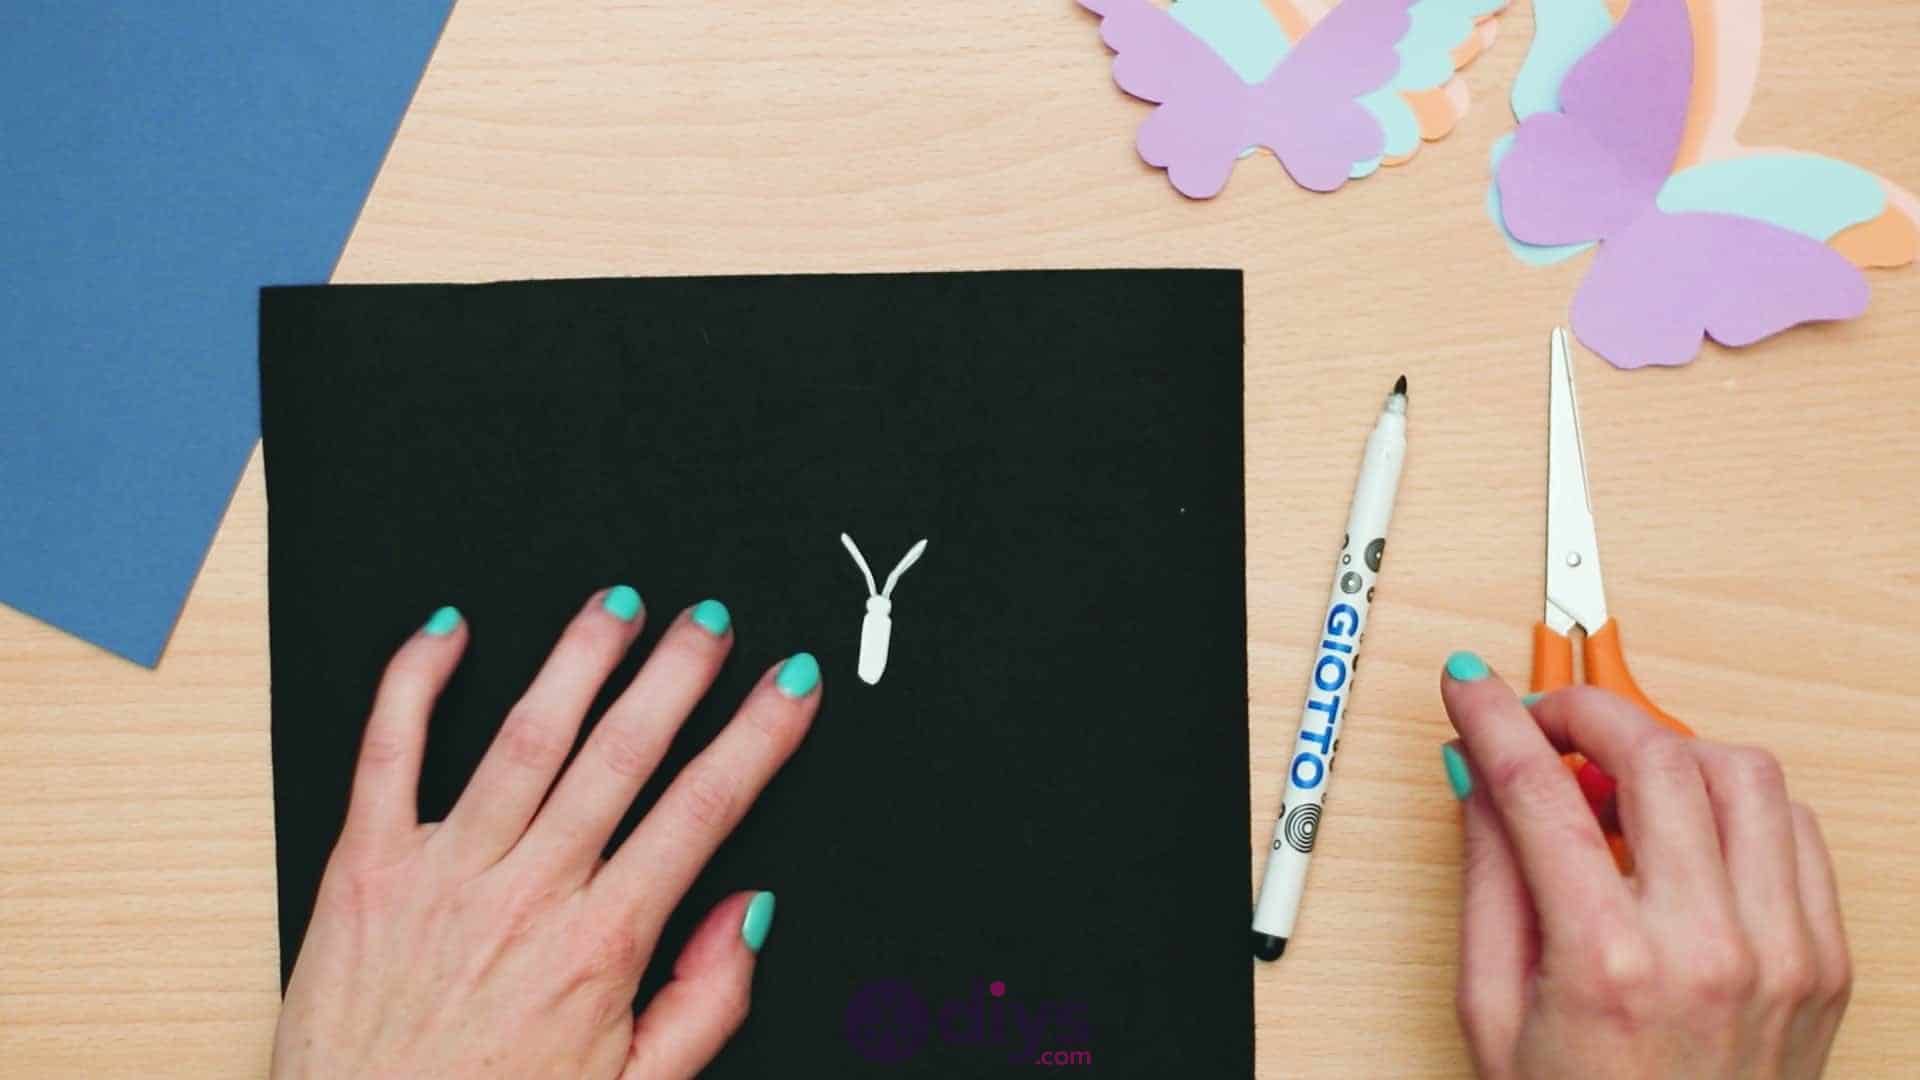
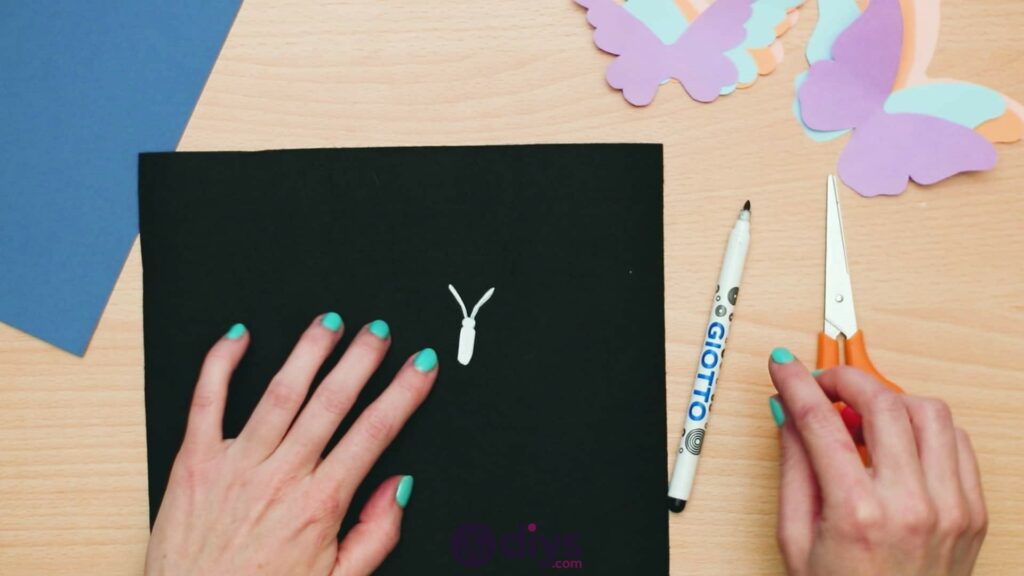
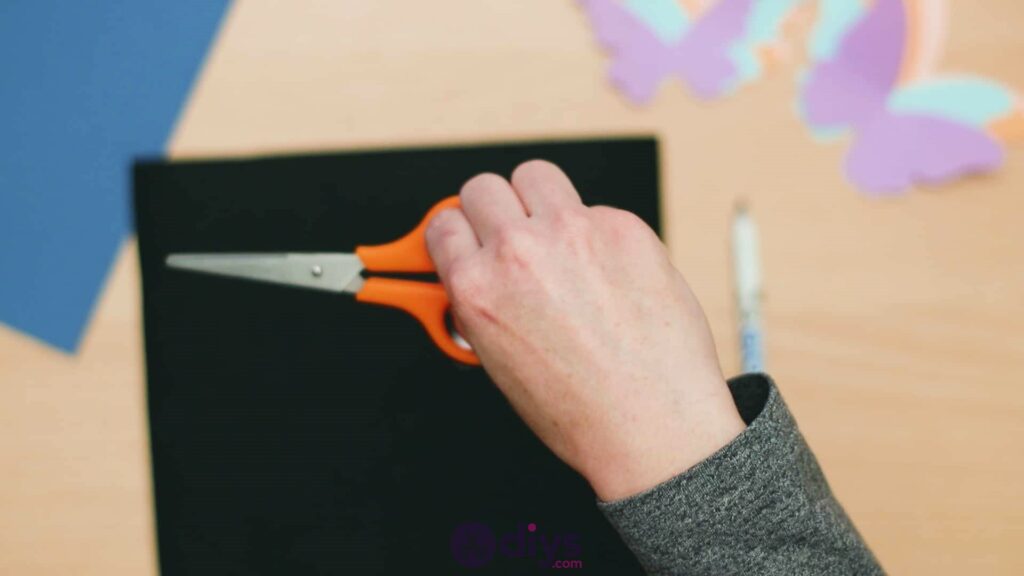
Step 4: trace and cut
On your piece of black cardstock (or you could use felt if you preferred), trace the shape of your butterfly’s body and cut it out. This will sit in the top centre of all of your wing layers and anchor them in place.

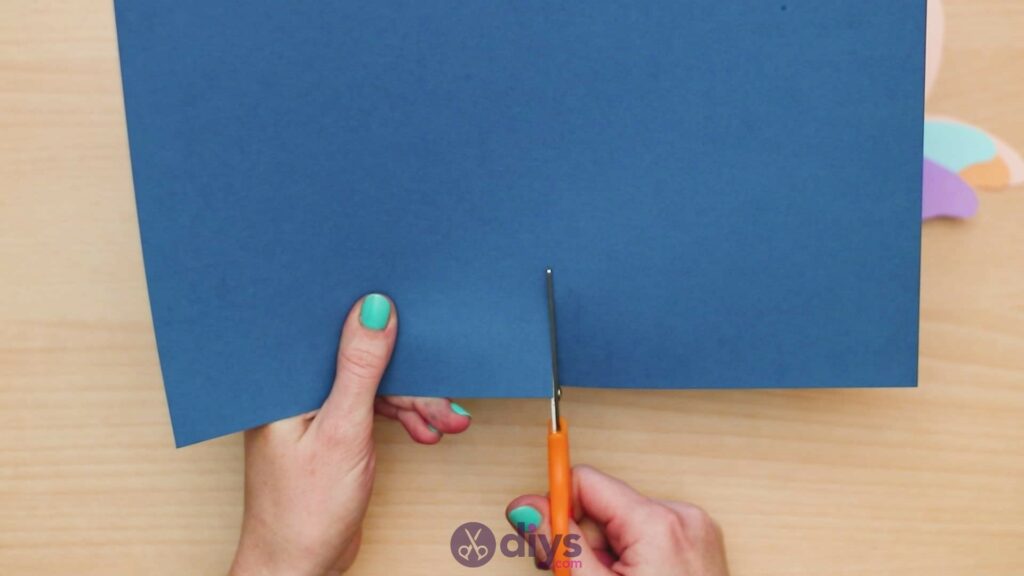
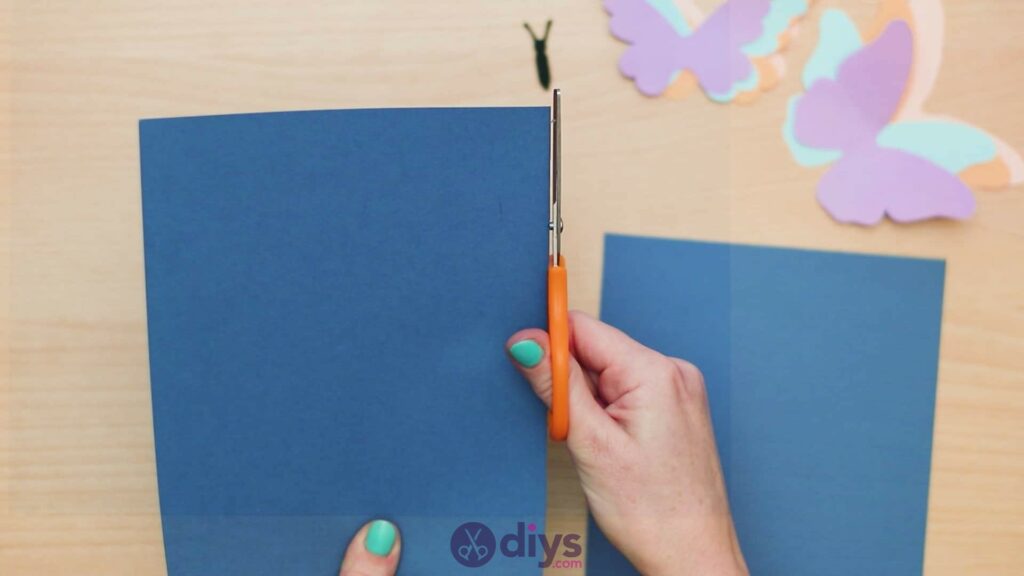
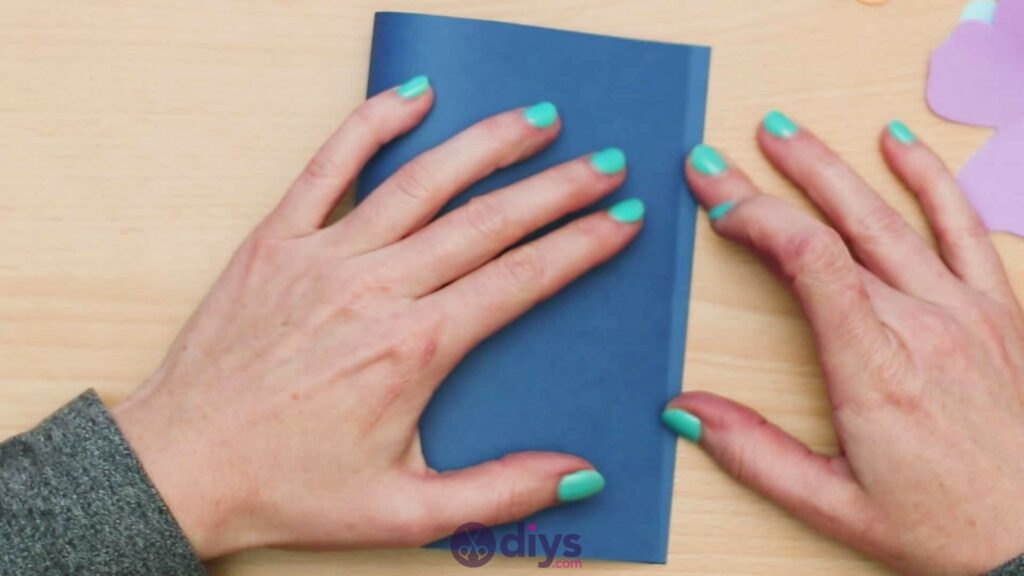
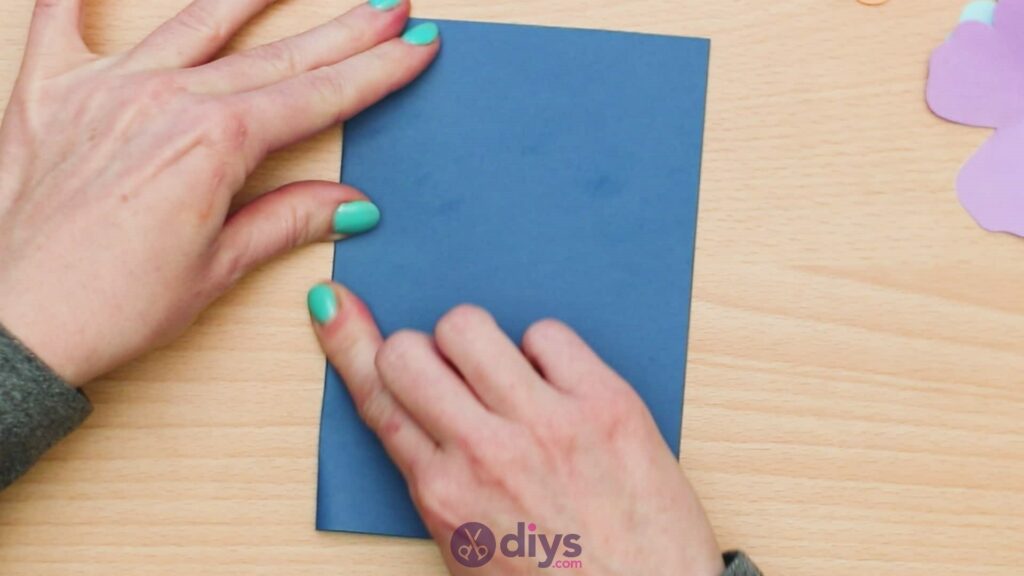
Step 5: fold the cardstock
Make your simple base card. Take the piece of cardstock you saved for the card and turn it horizontally so it sits landscape-wise, with its long edges at the top and bottom and its short edges on the sides. Find the halfway point along the bottom long edge and cut the piece of card in half up its height, setting one half aside for later projects. Use the half you’ve held onto to make your card by turning it 90 degrees so that its short edges become its sides and folding it in half so that those sides meet evenly and you can crease it neatly at its centre point.
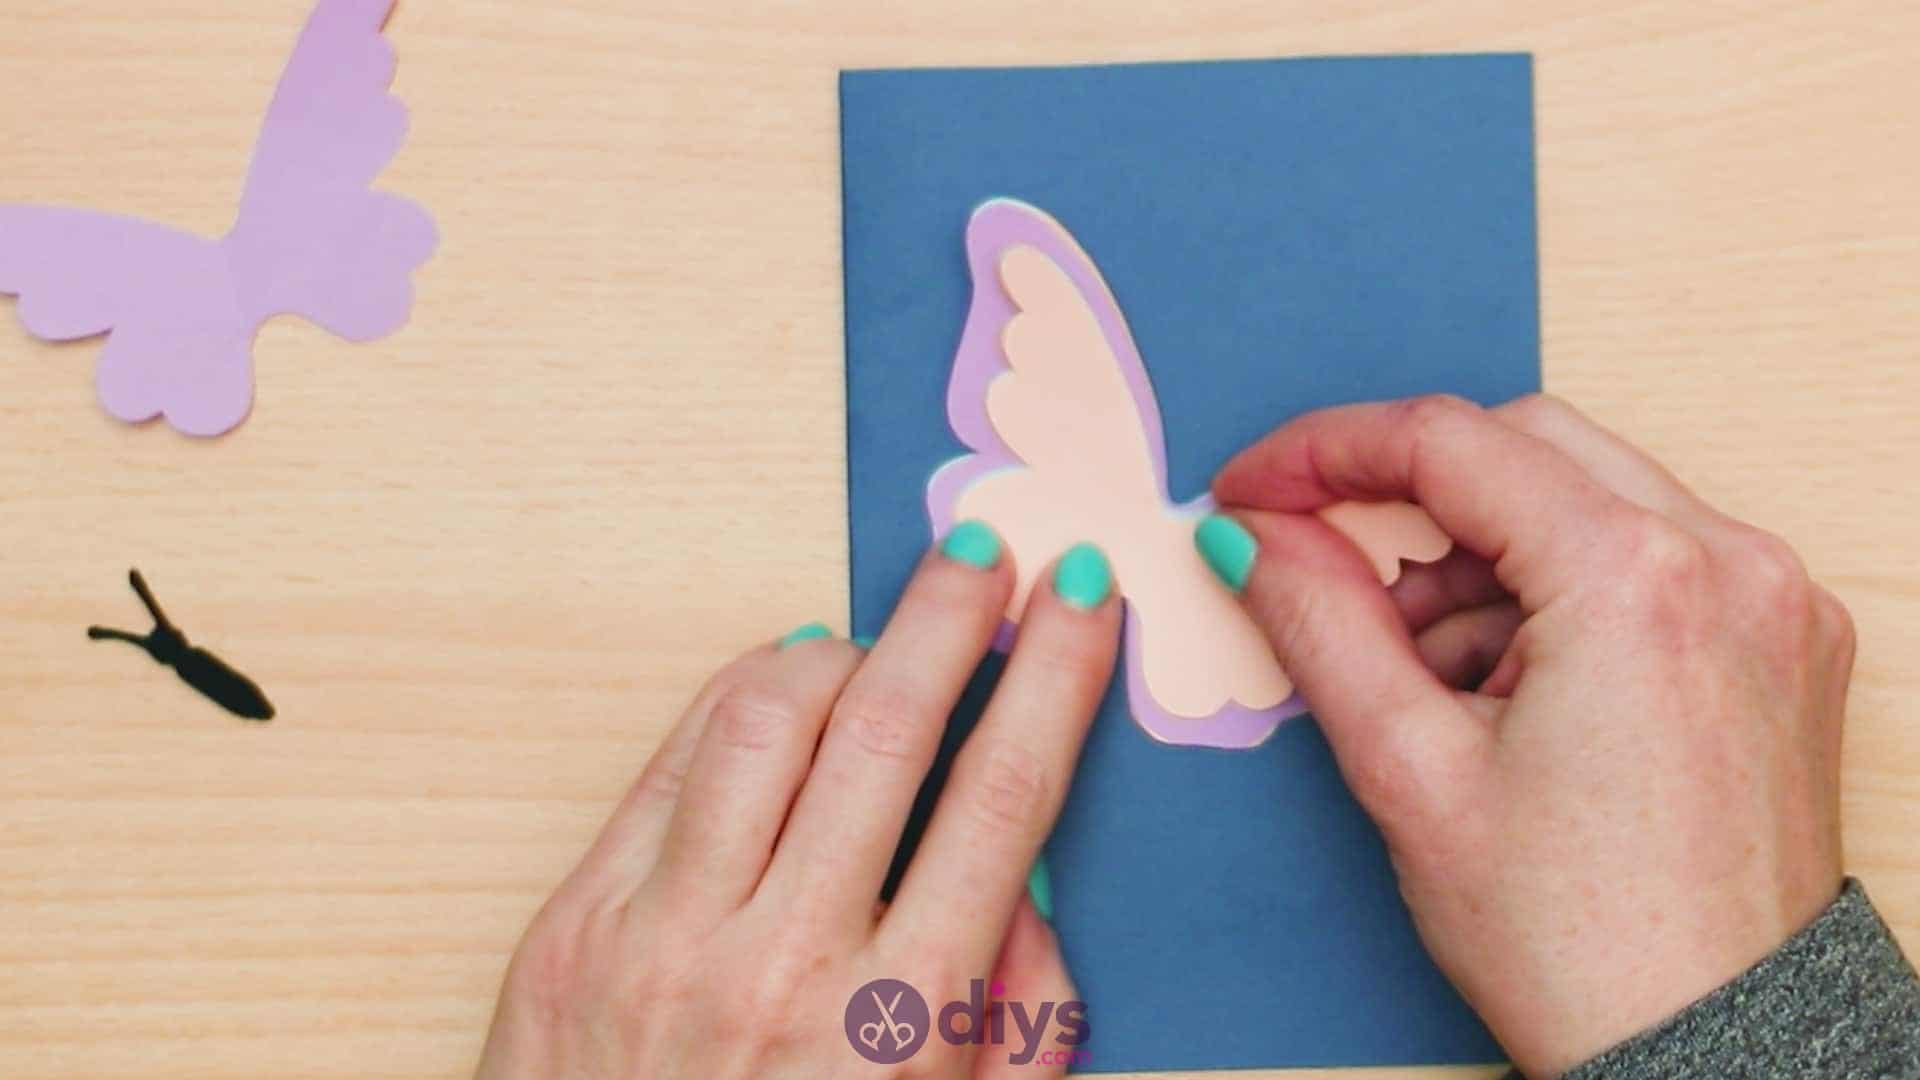
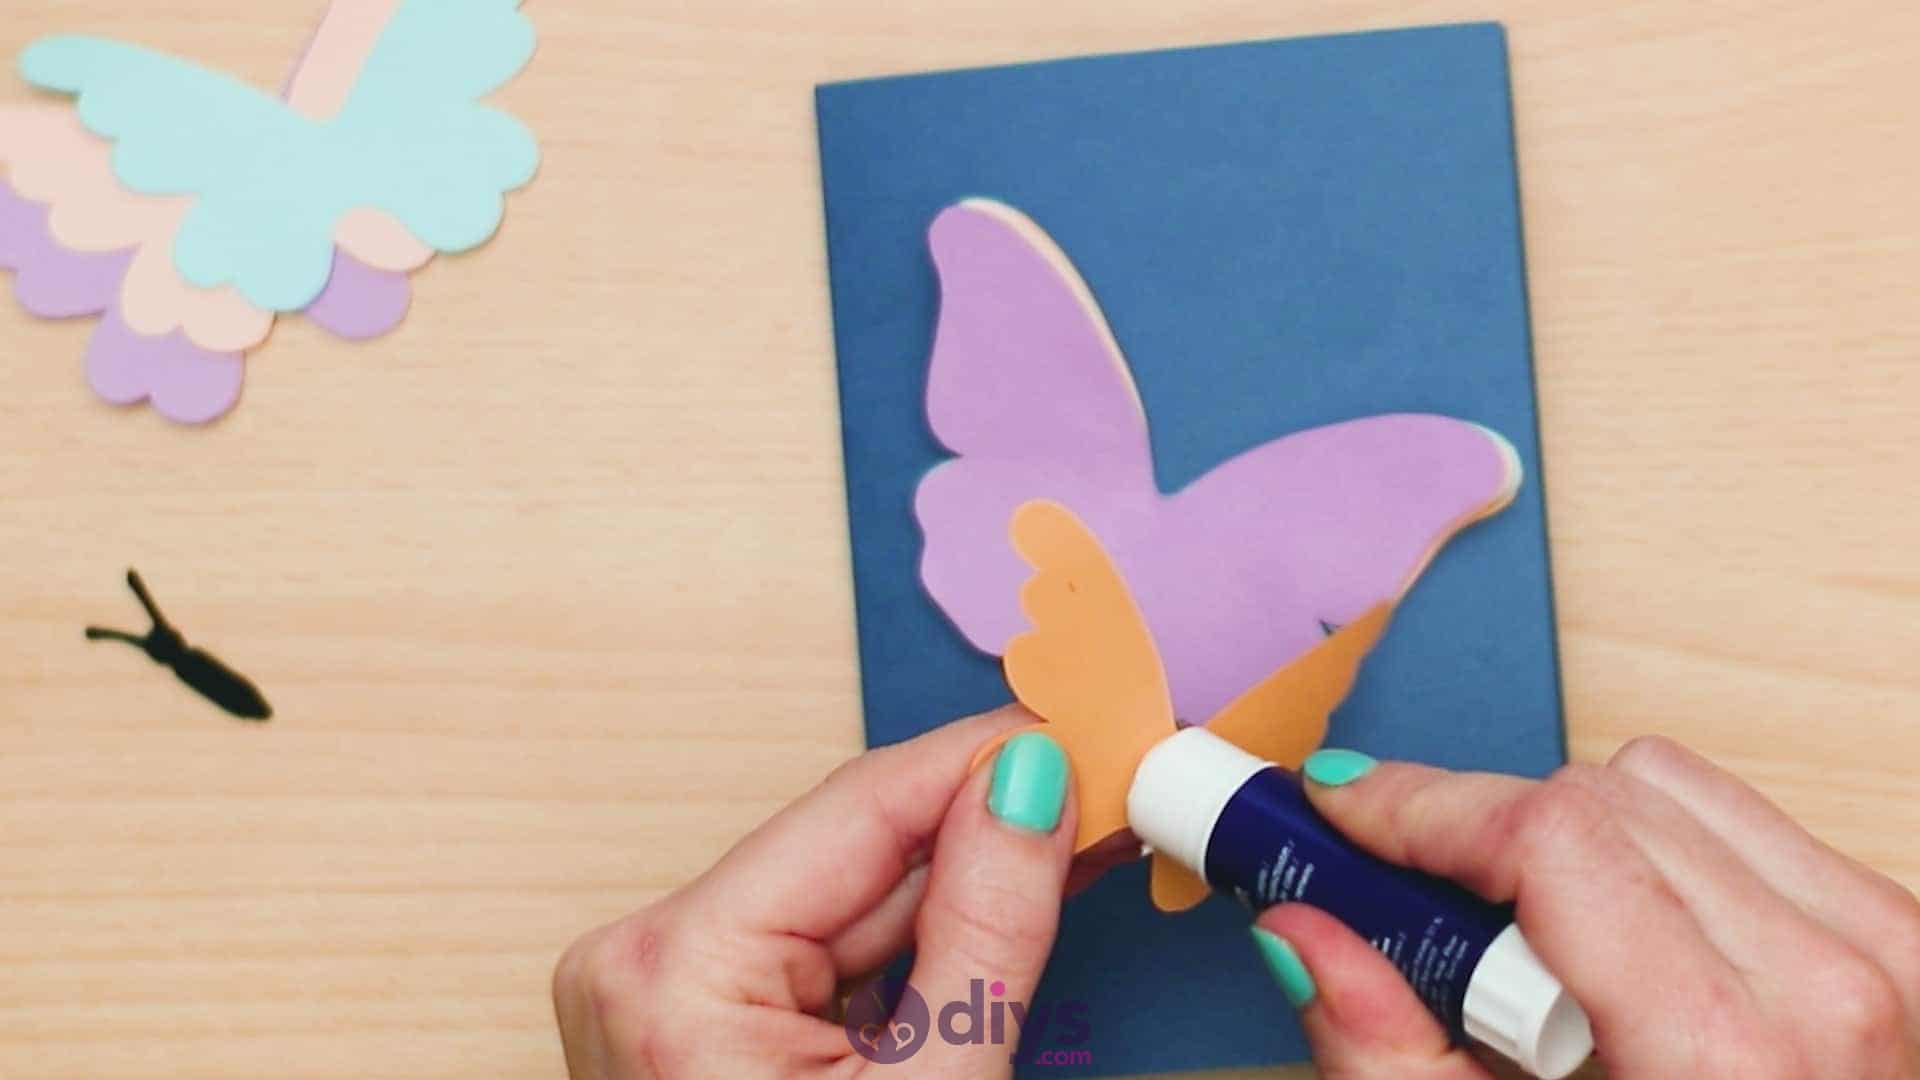
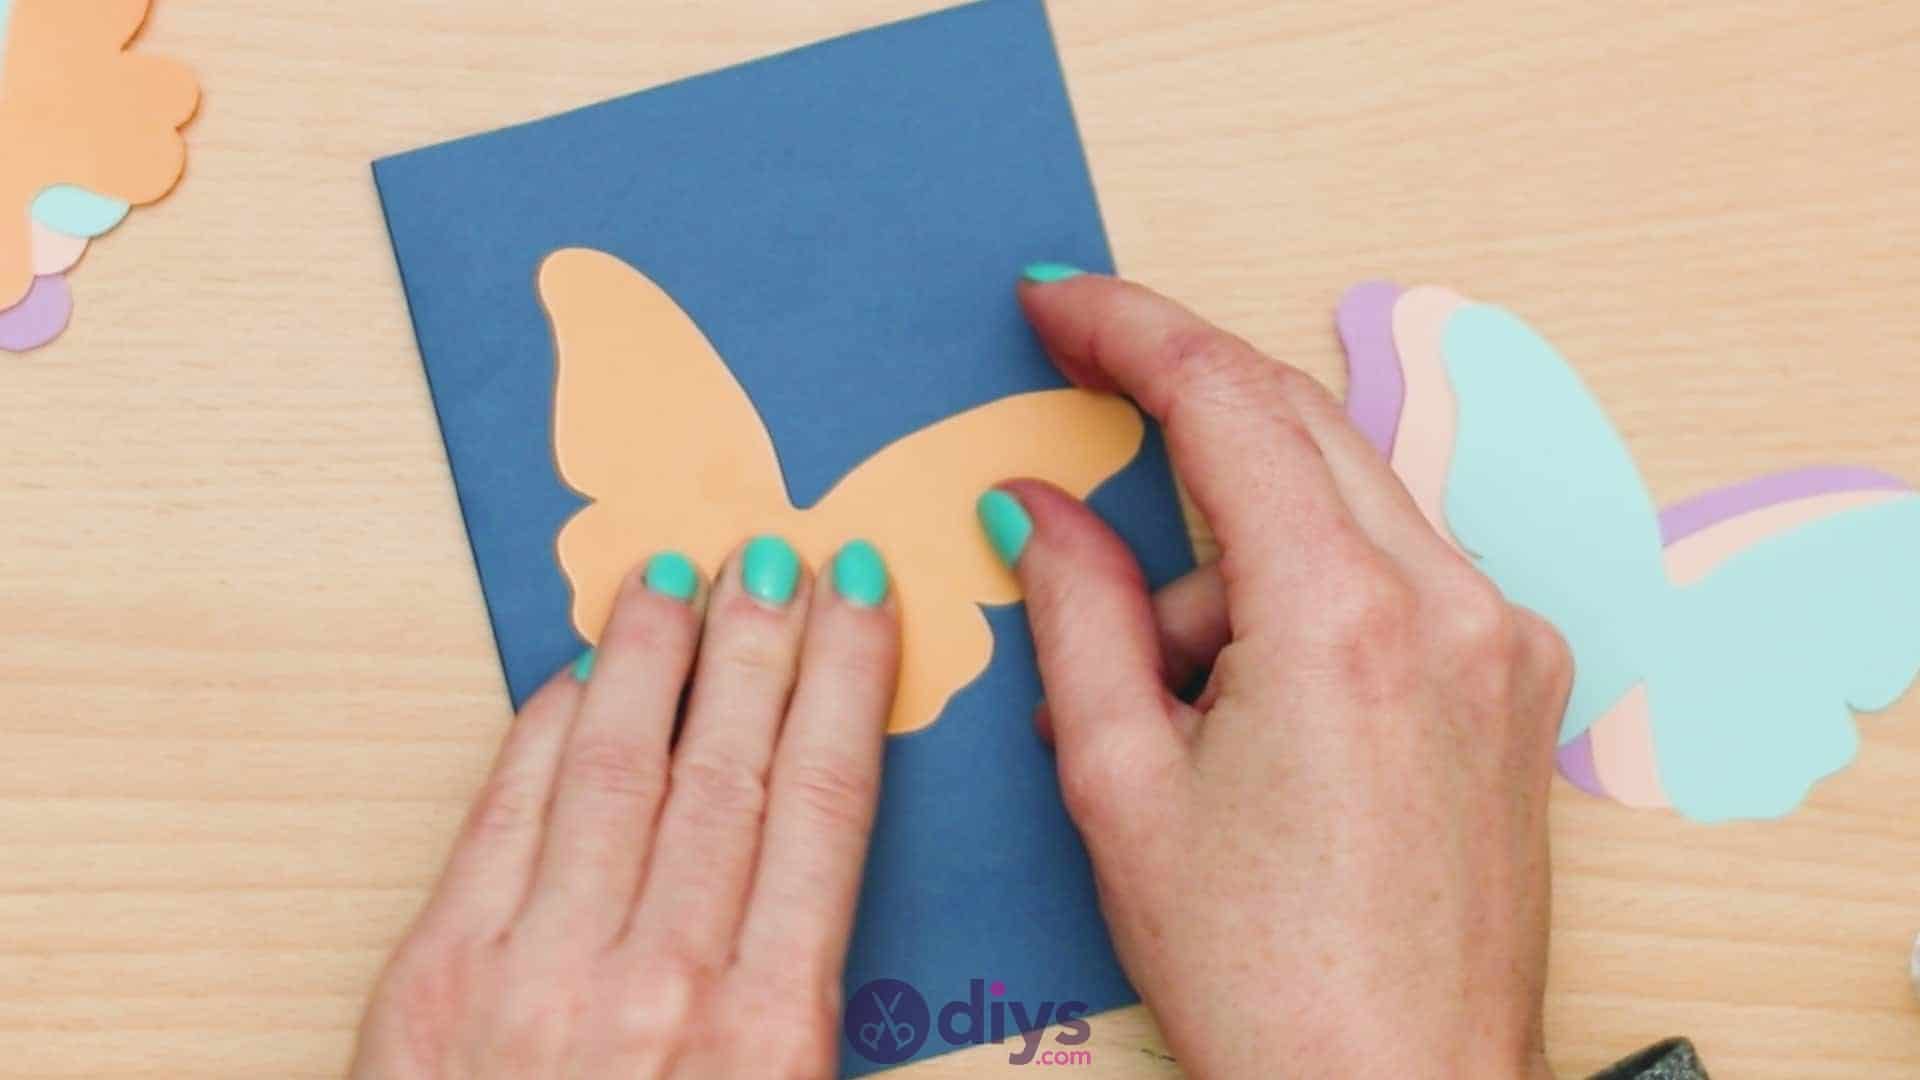
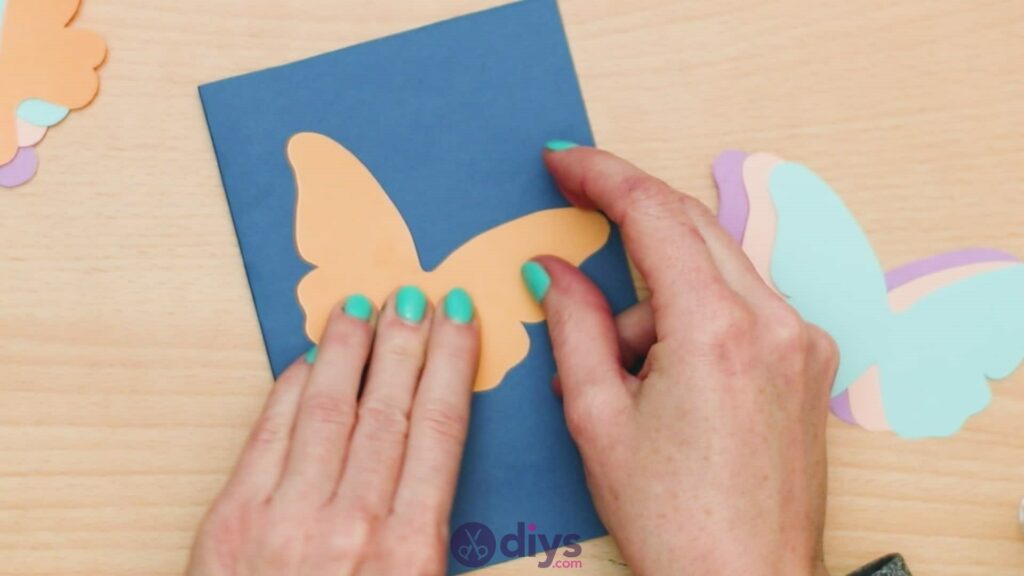
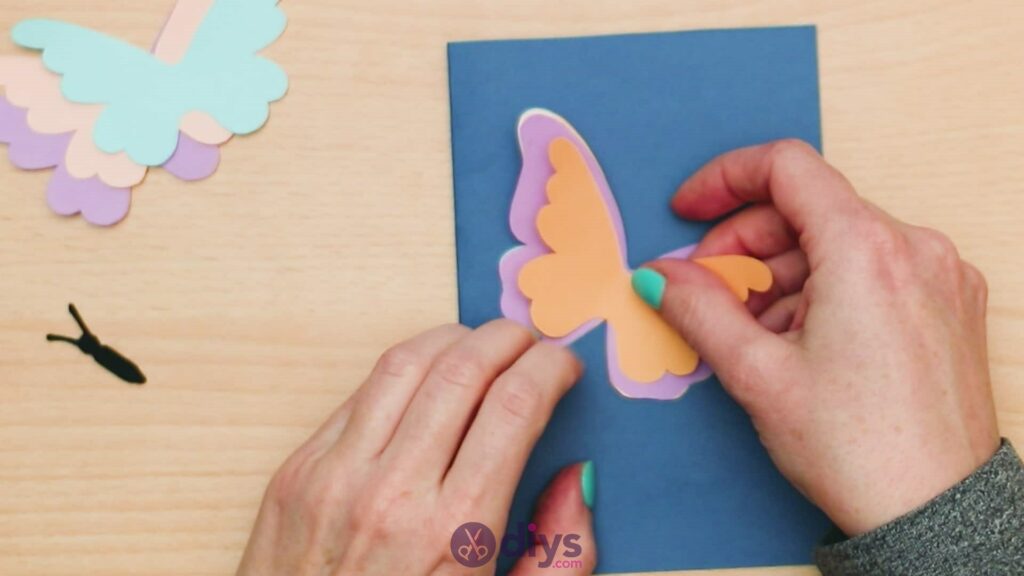
Step 6: layer the wings
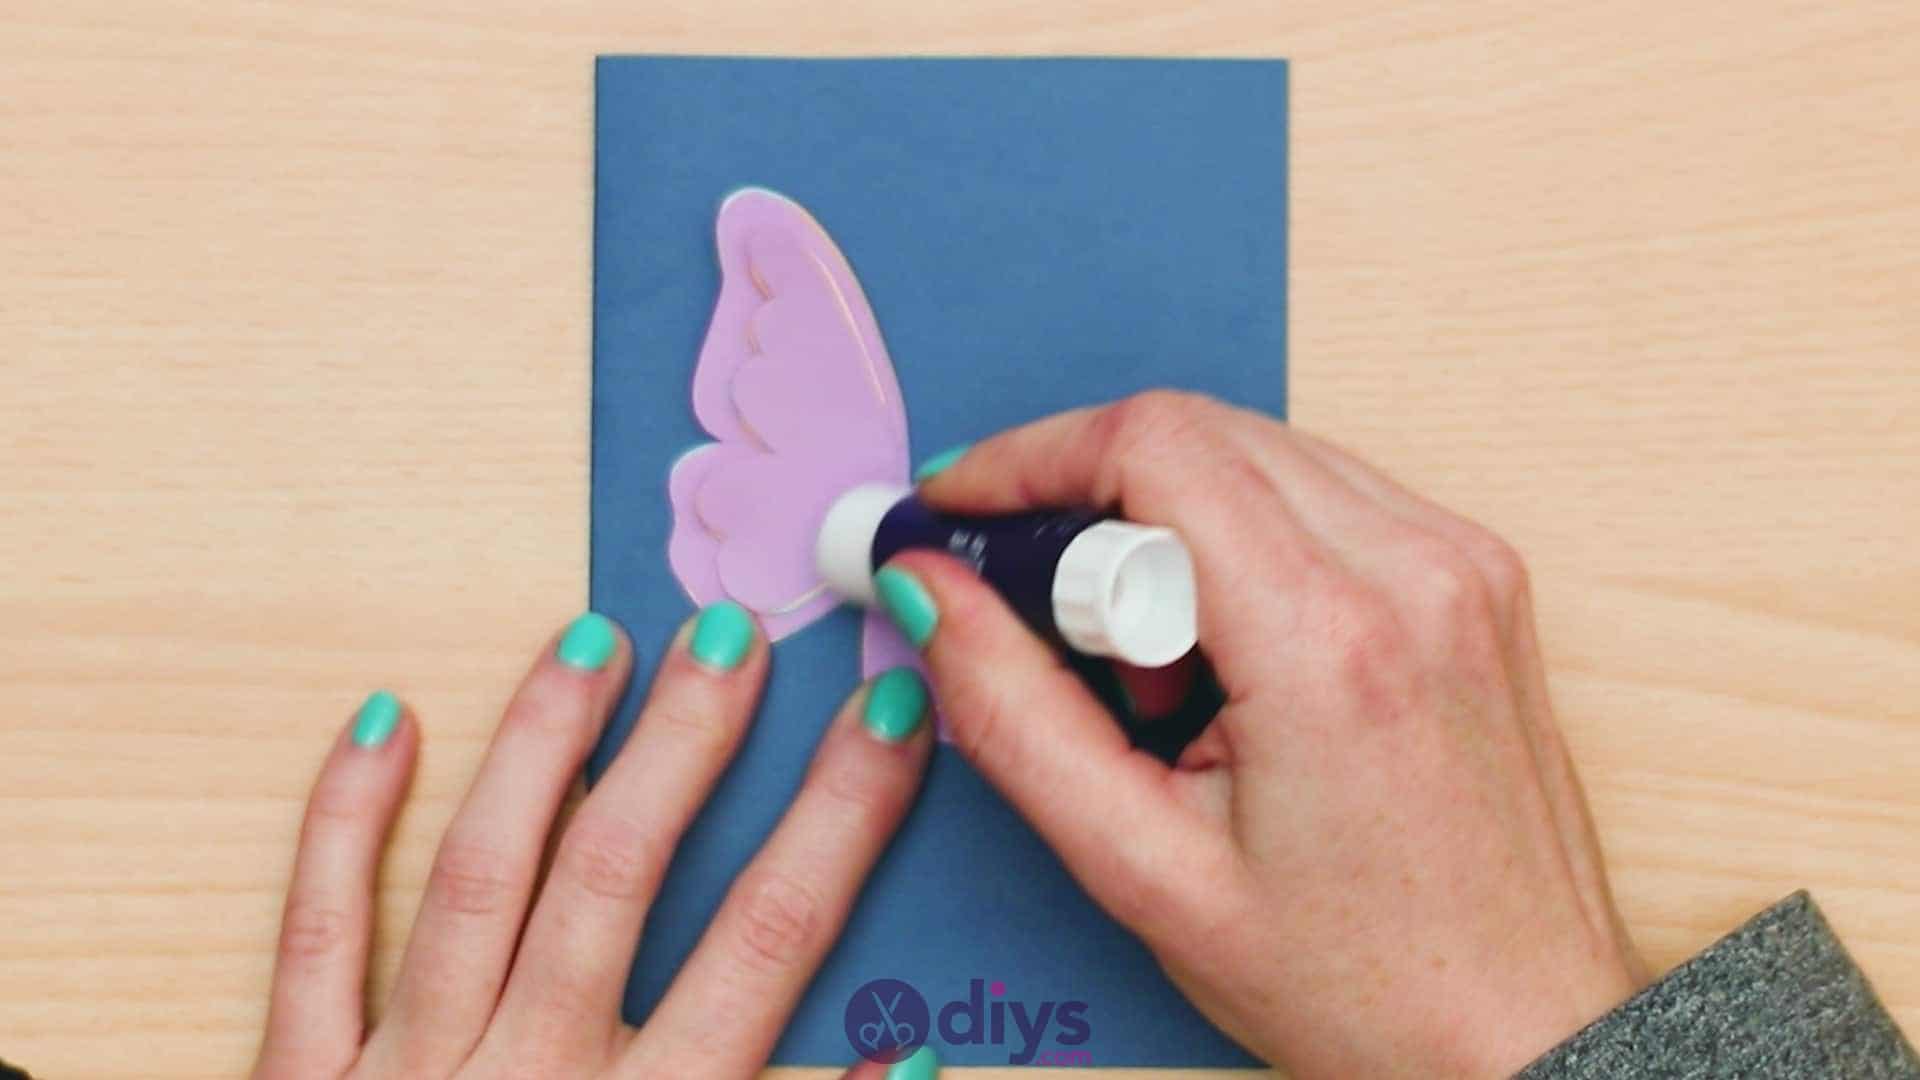
Start your butterfly off by layering your four larger wings. Choose which colour you’d like on the bottom and apply a strip of glue down the centre, between the two wing sides. Donot apply glue to the wings themselves; you’re only sticking the pieces down by their middles. Stick this piece down where and how you want your butterfly to sit on the front of your card. I stuck mine in the middle but on an angle, like the butterfly is flying. Now apply glue in the same way to whichever colour you’d like to put second and stick it right overtop of the first set of wings, lining their centres and edges up evenly like you’re trying to cover the first. You’ll still see the colours later after other steps, but for now you want them directly layered on top of each other. Repeat this process with the third and fourth large wing colours.
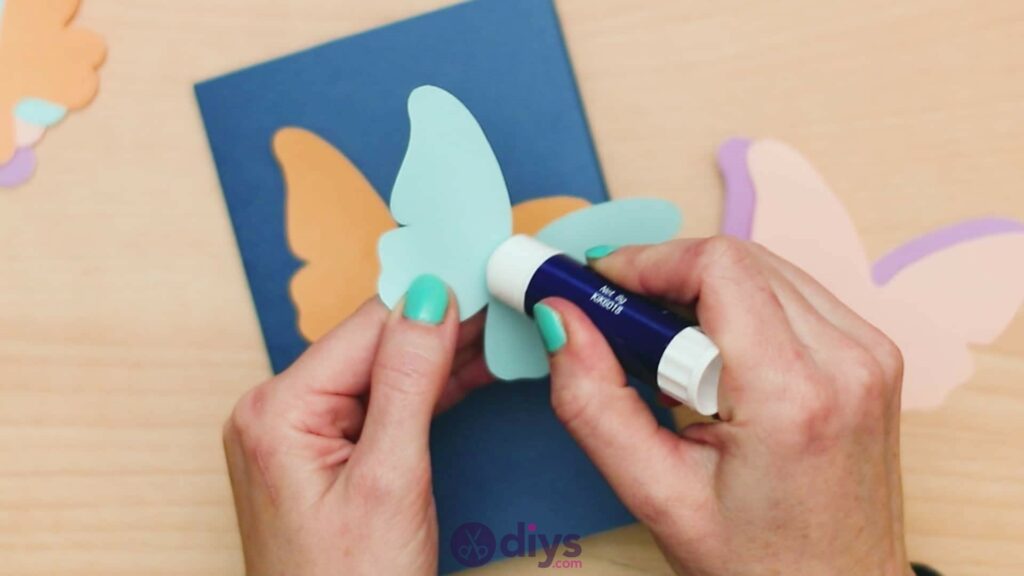


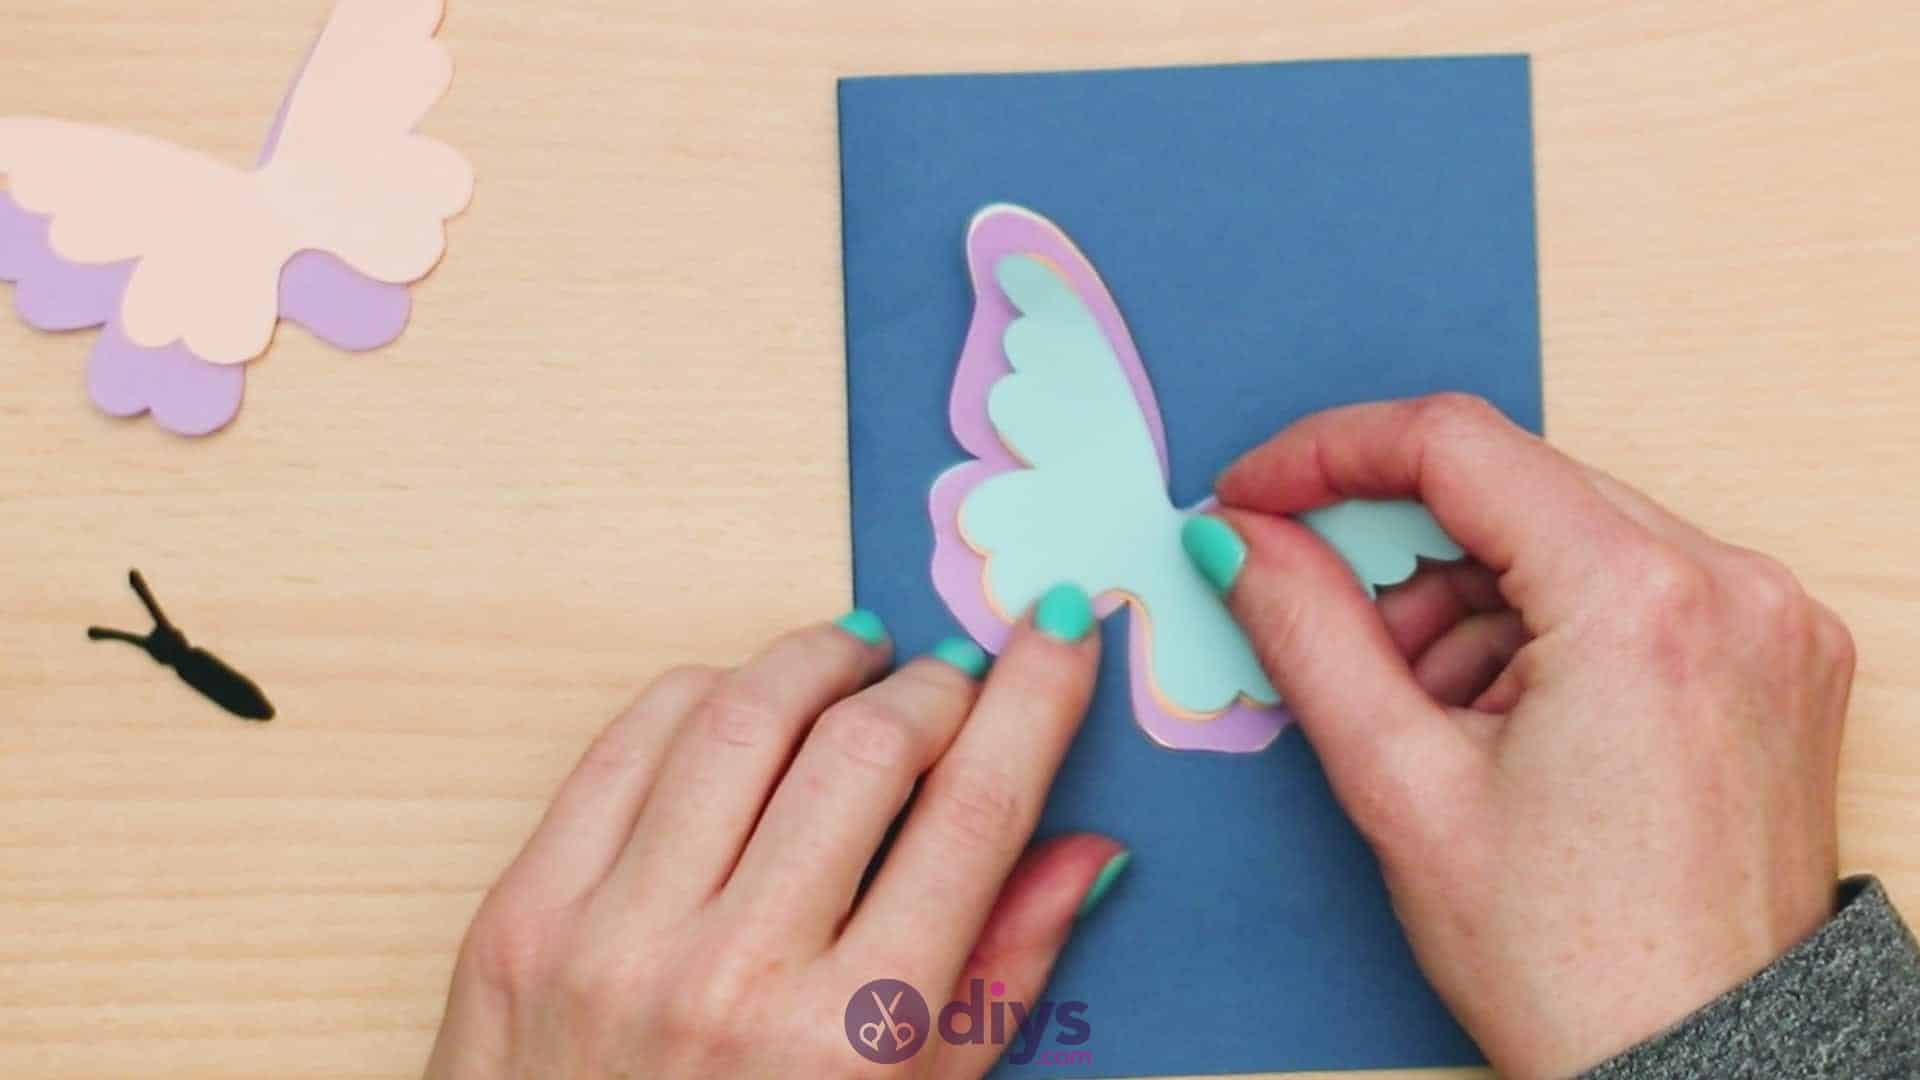
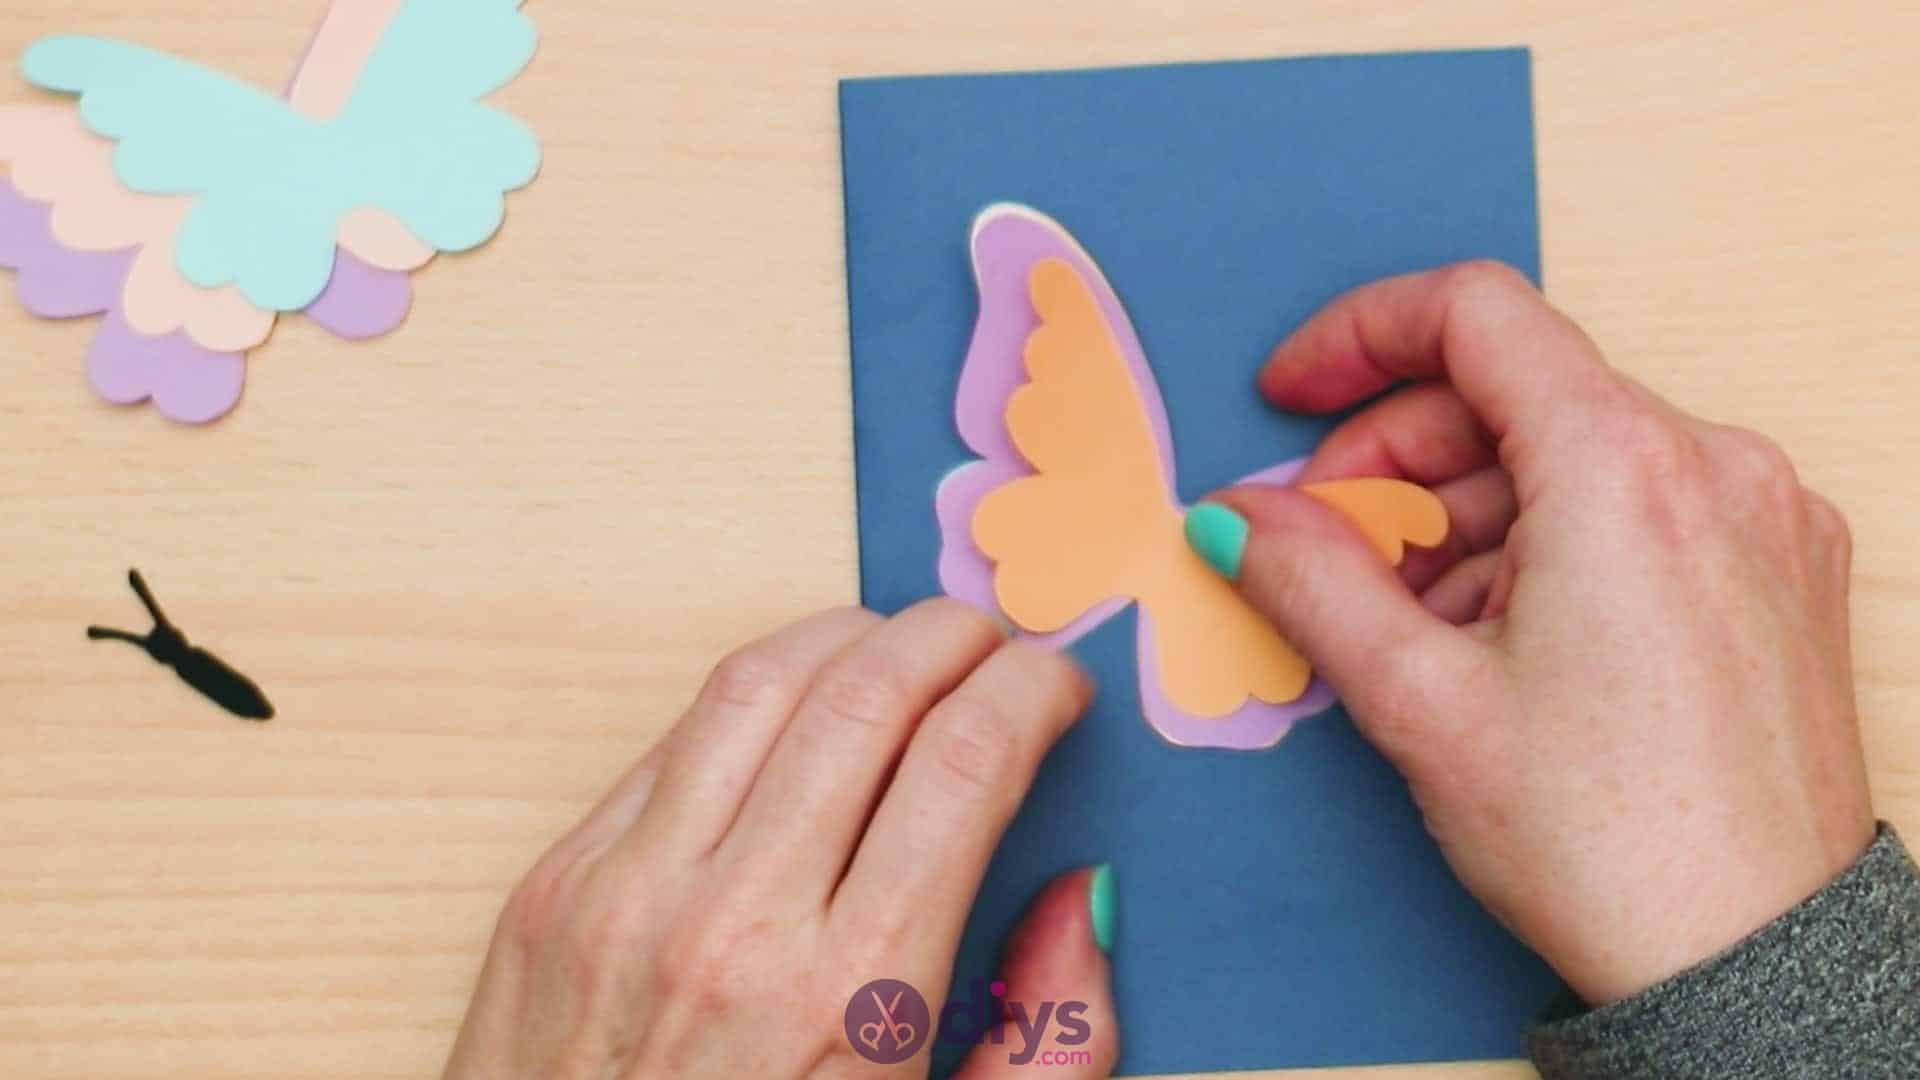
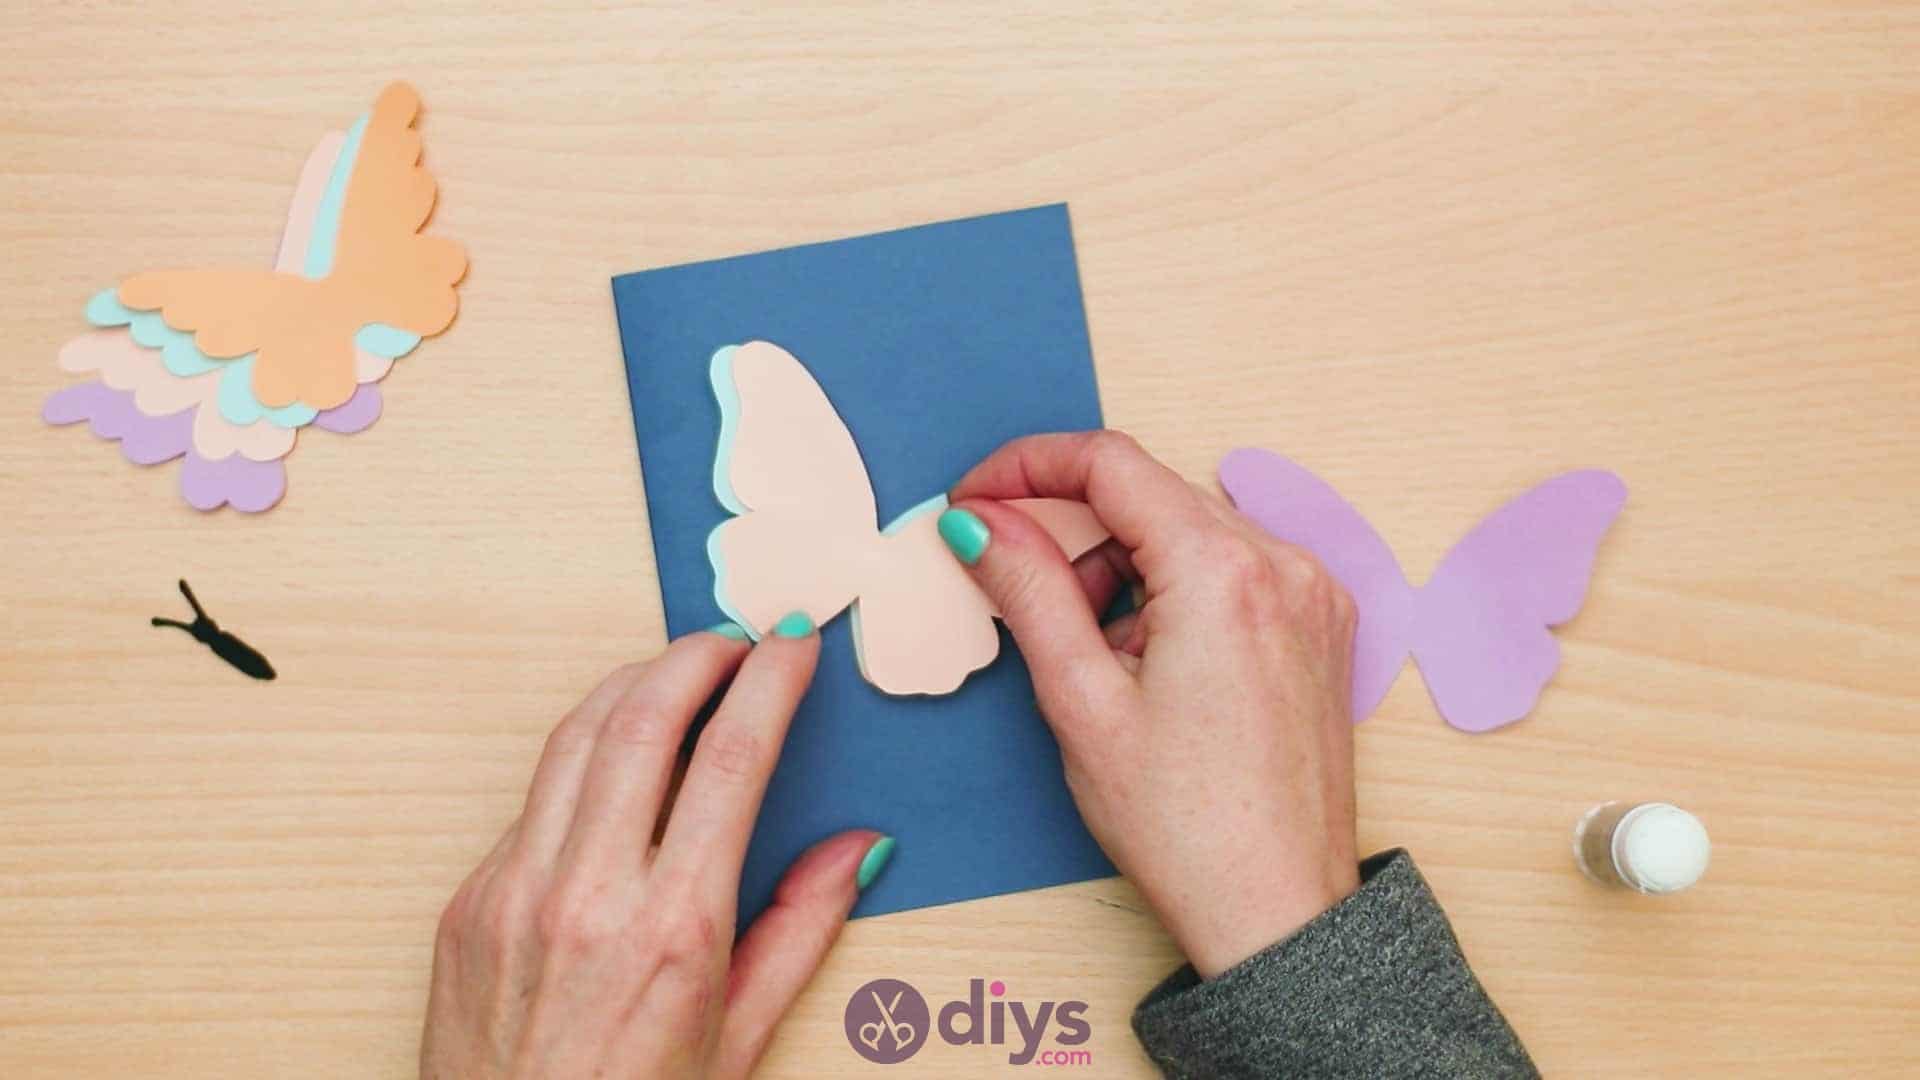
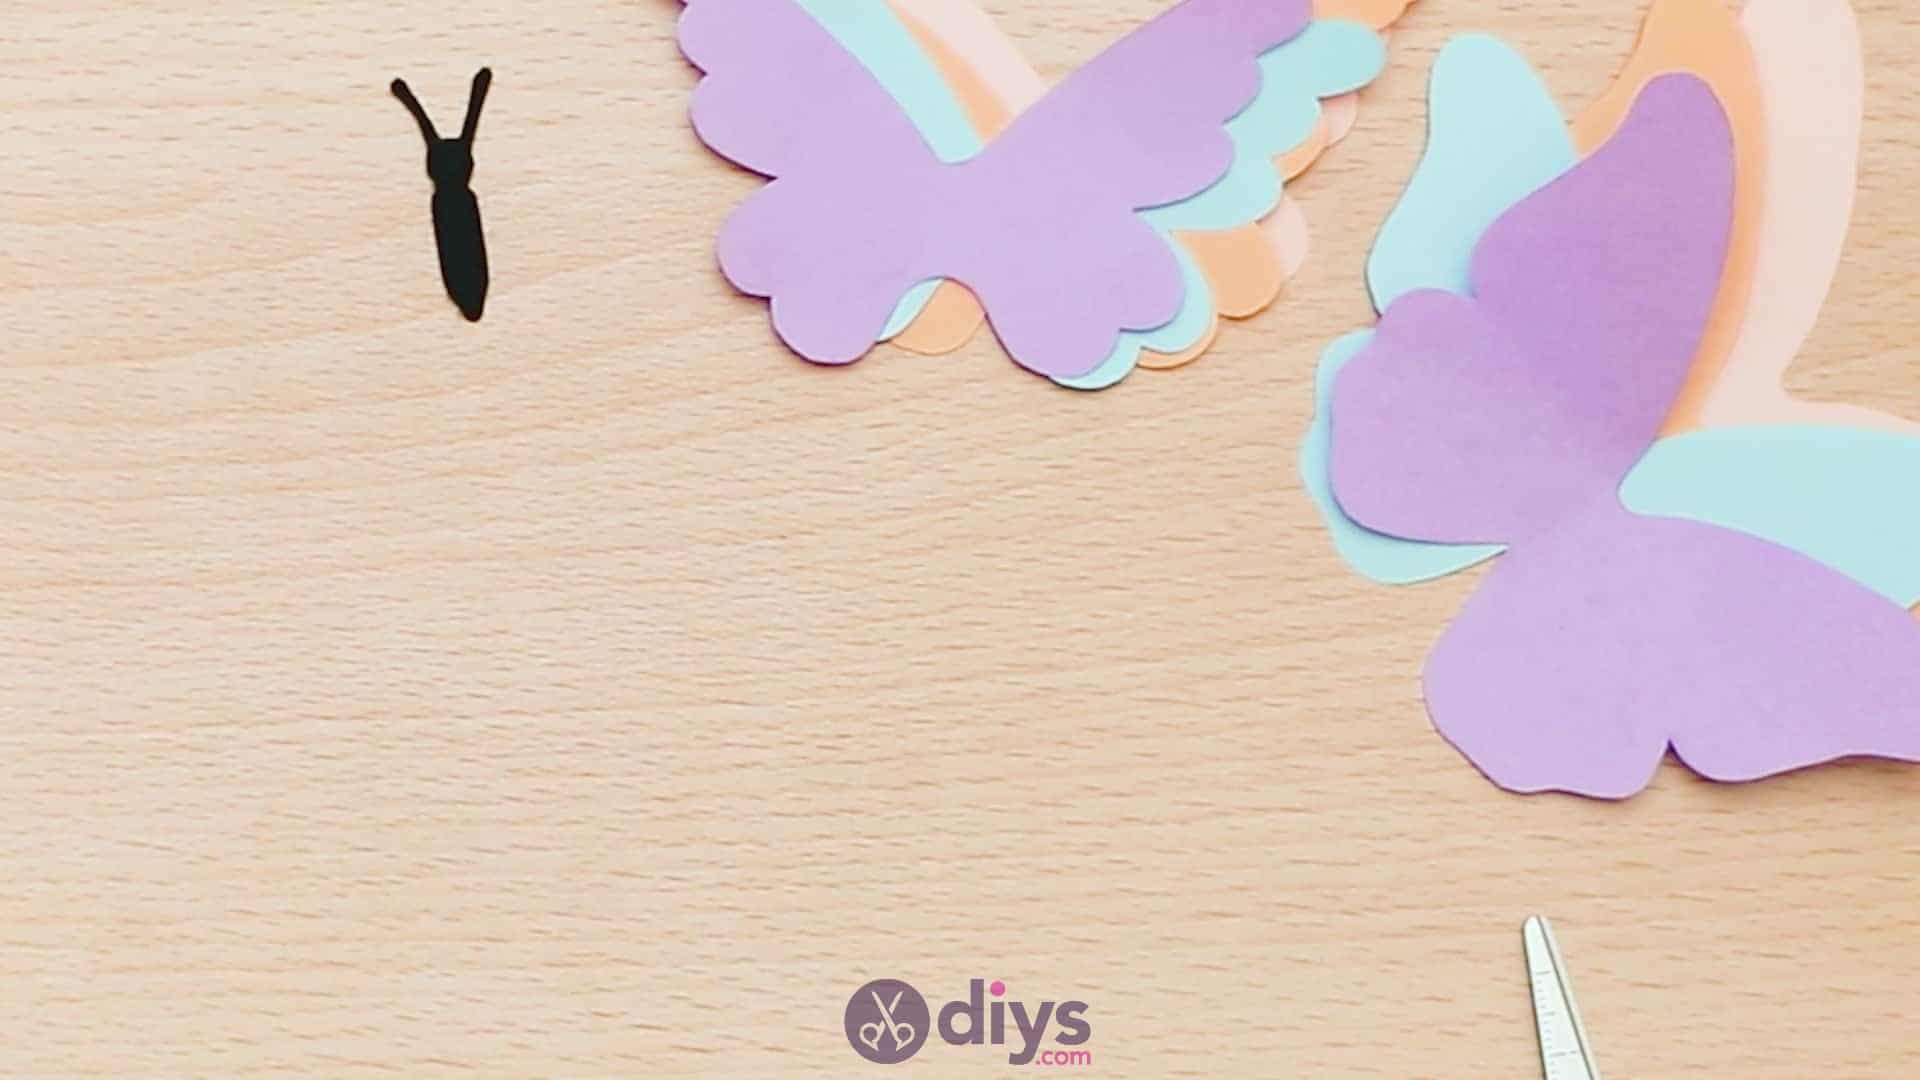
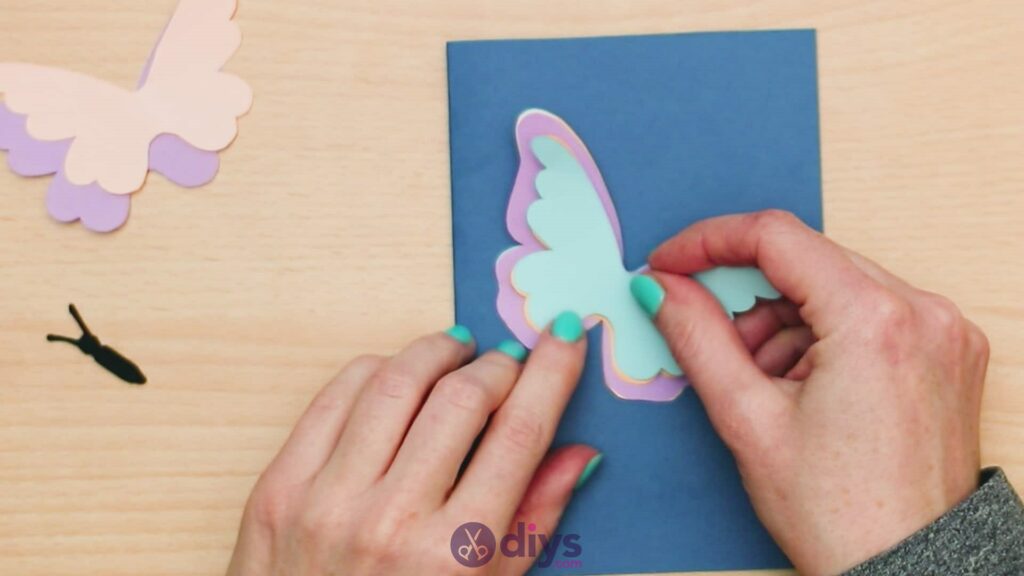
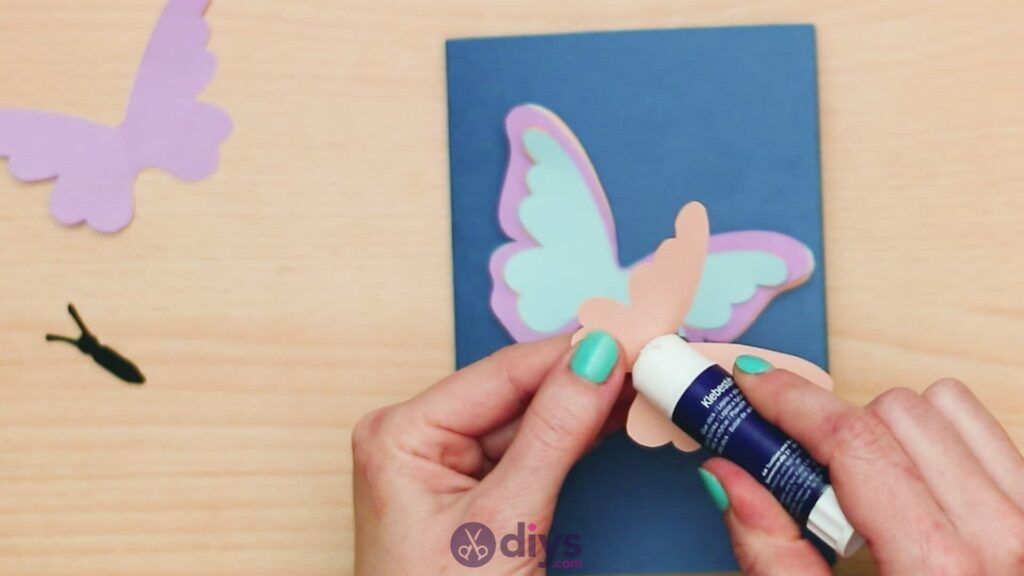
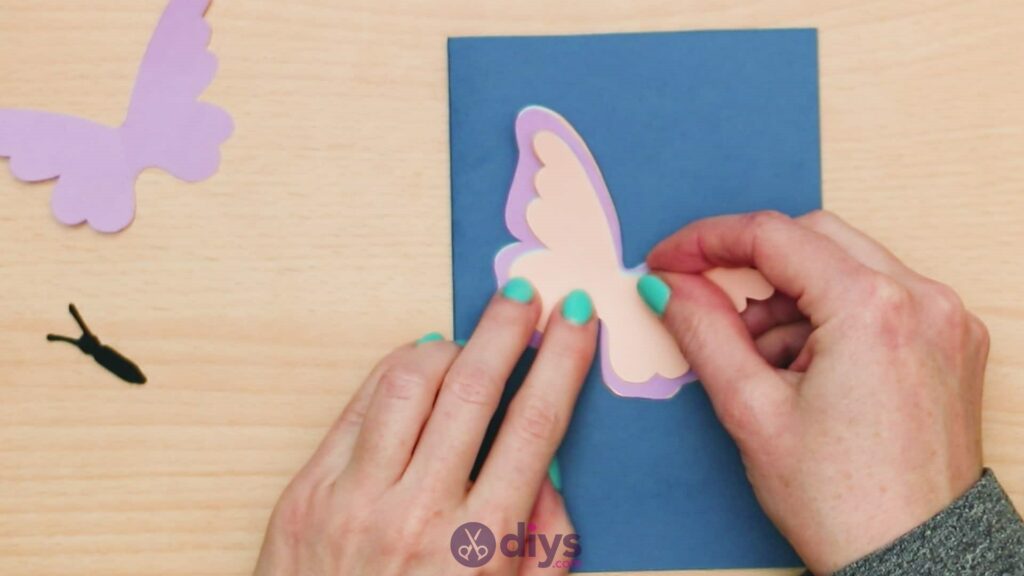
Step 7: repeat
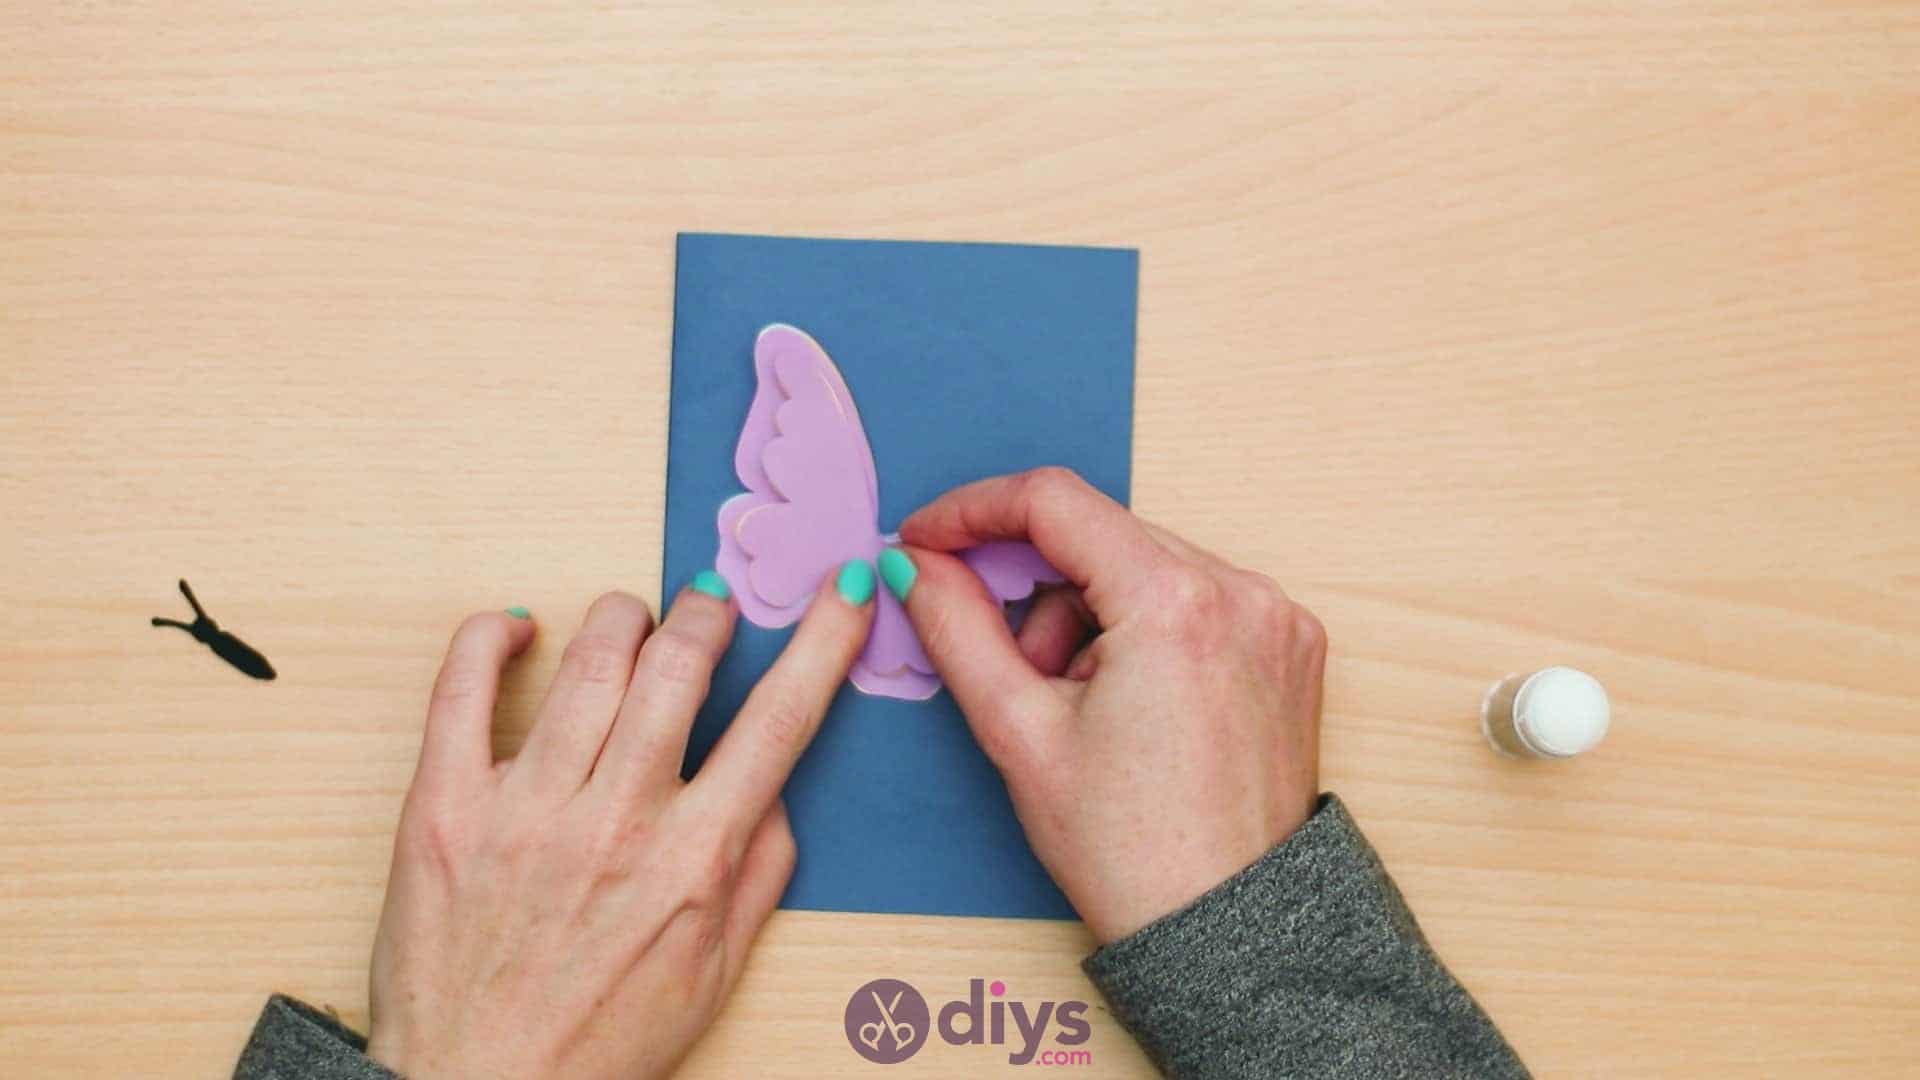
Now you’ll repeat the central gluing and layering process with your smaller sets of wings, lining the first one up with the centre of your last larger pair and then layering the rest by their centres as well, just like before. You can keep the same colour order or change it up. You’ll see how the larger weeks peek out evenly from behind the smaller wings.
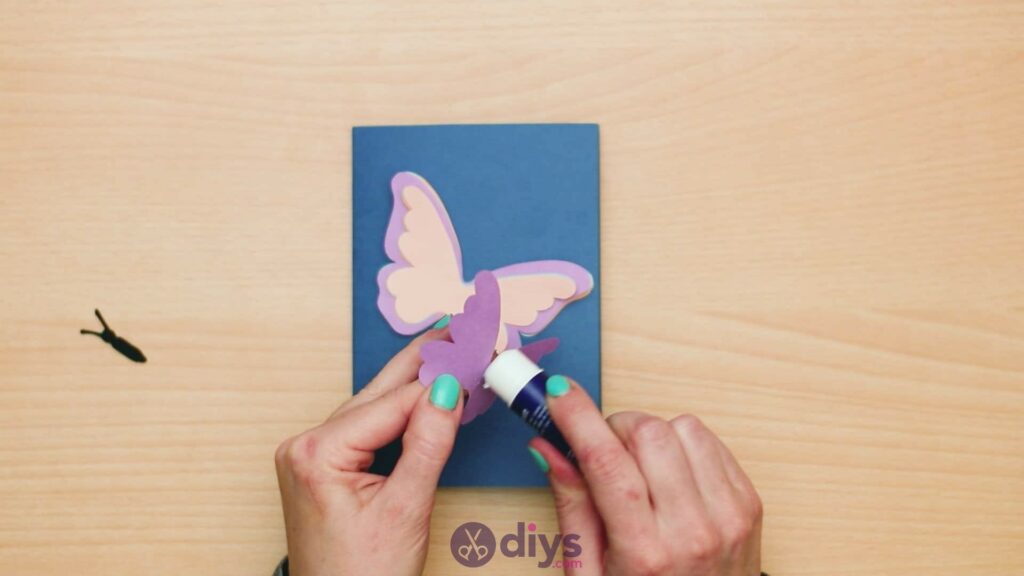
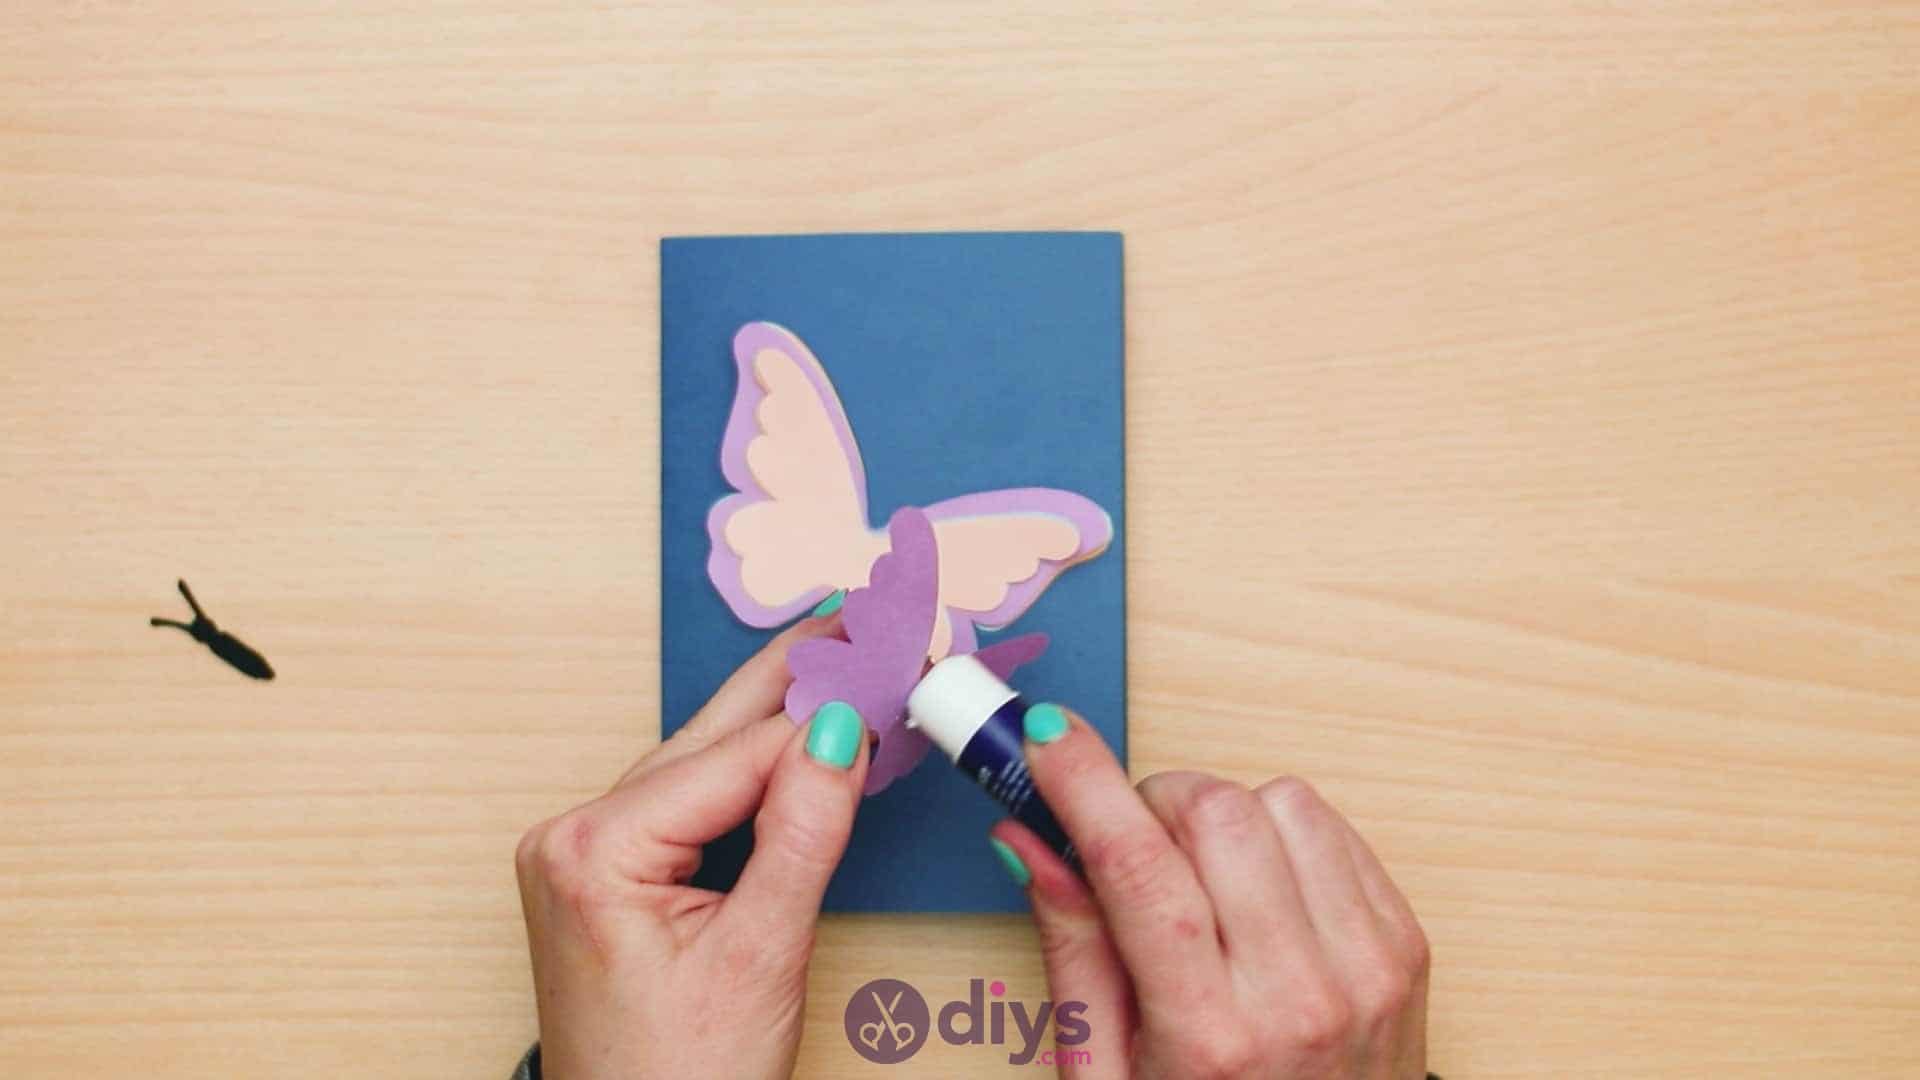
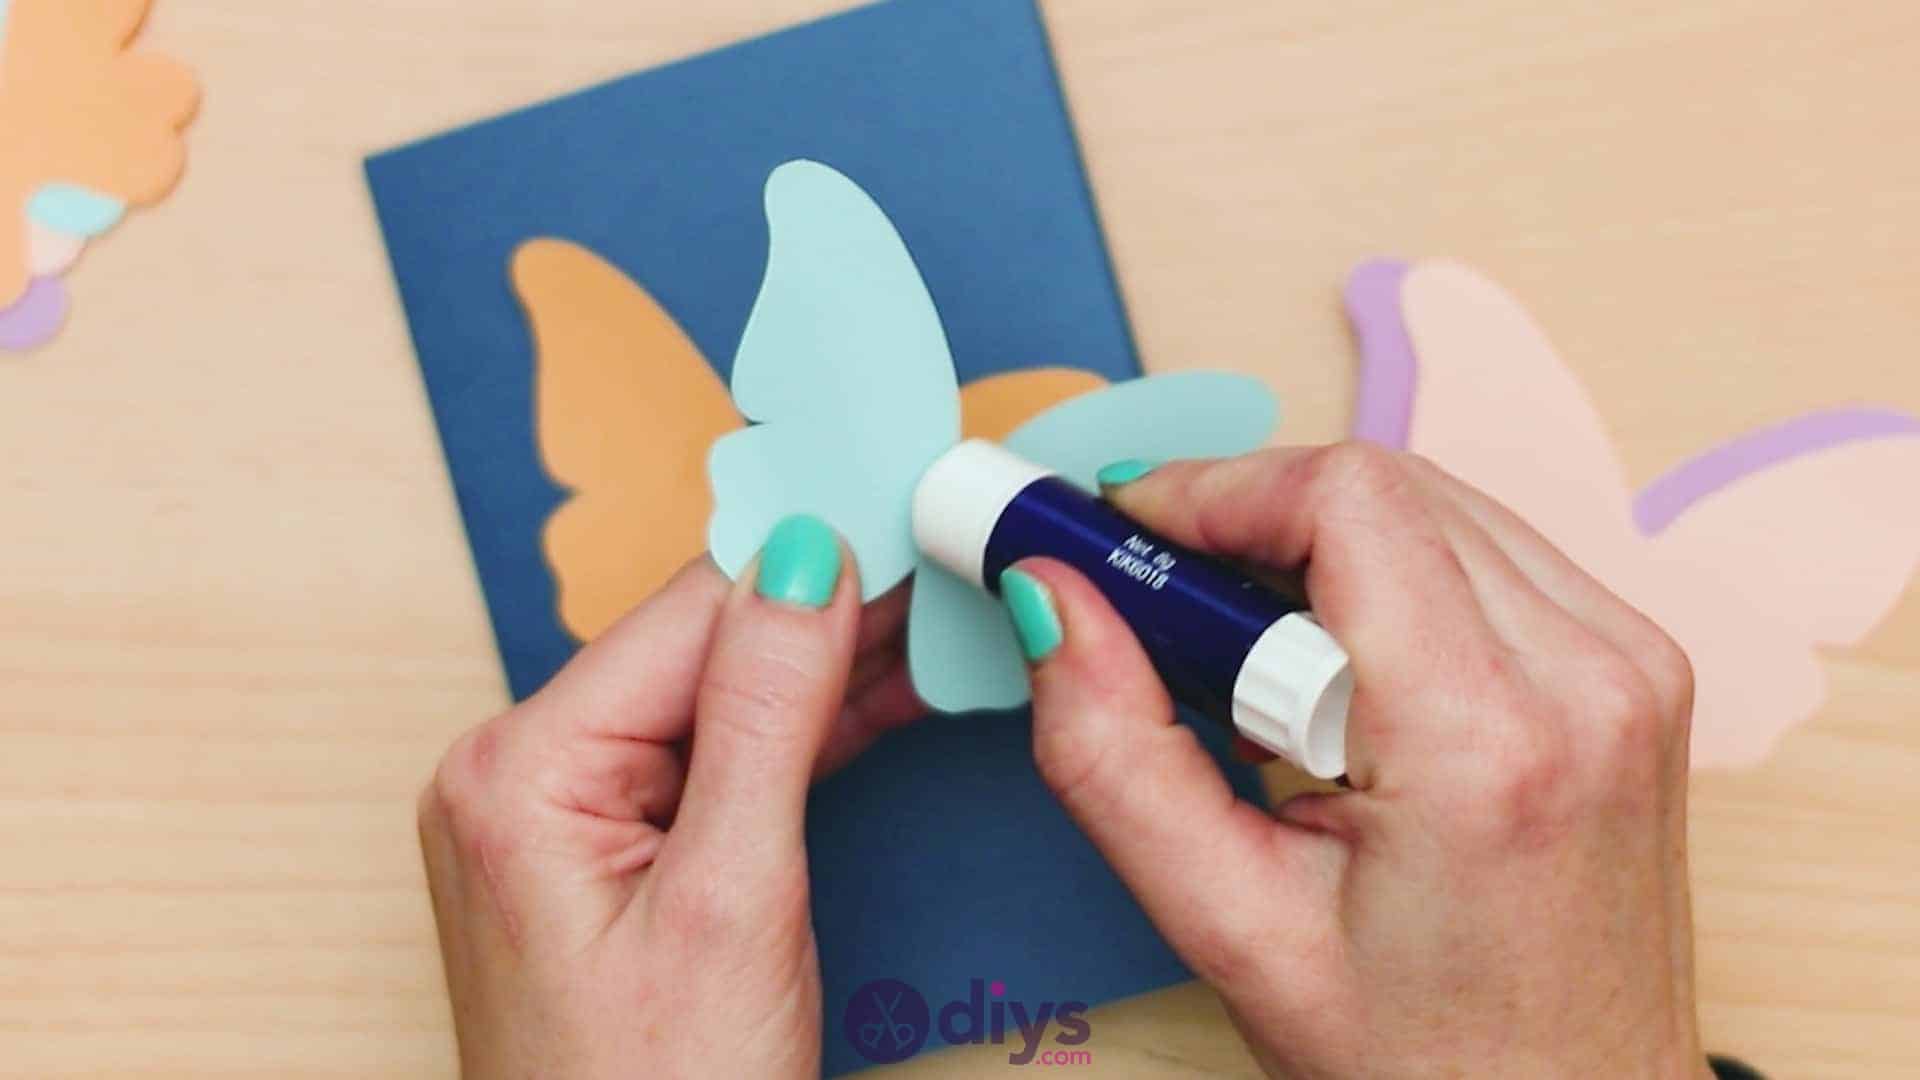
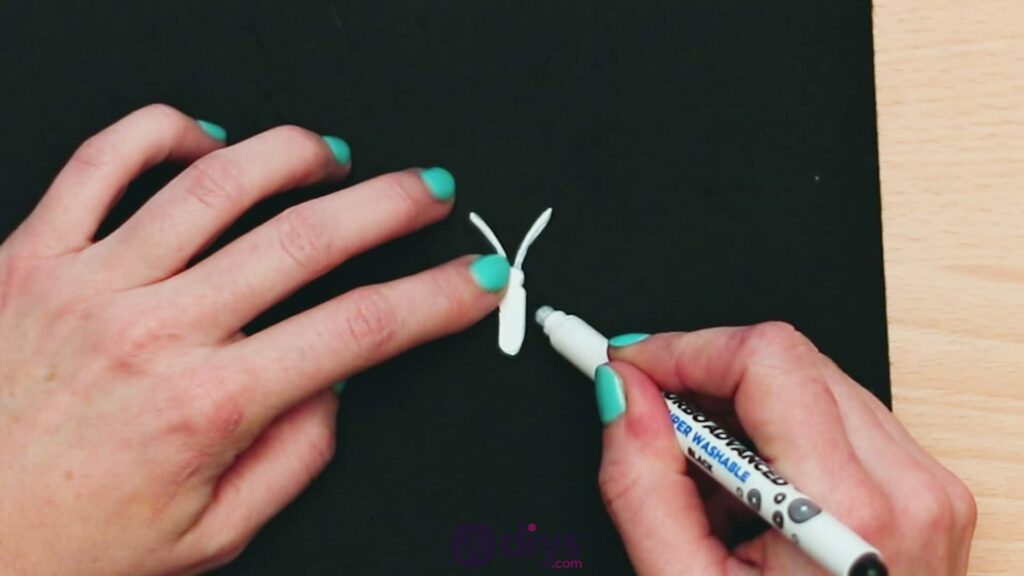
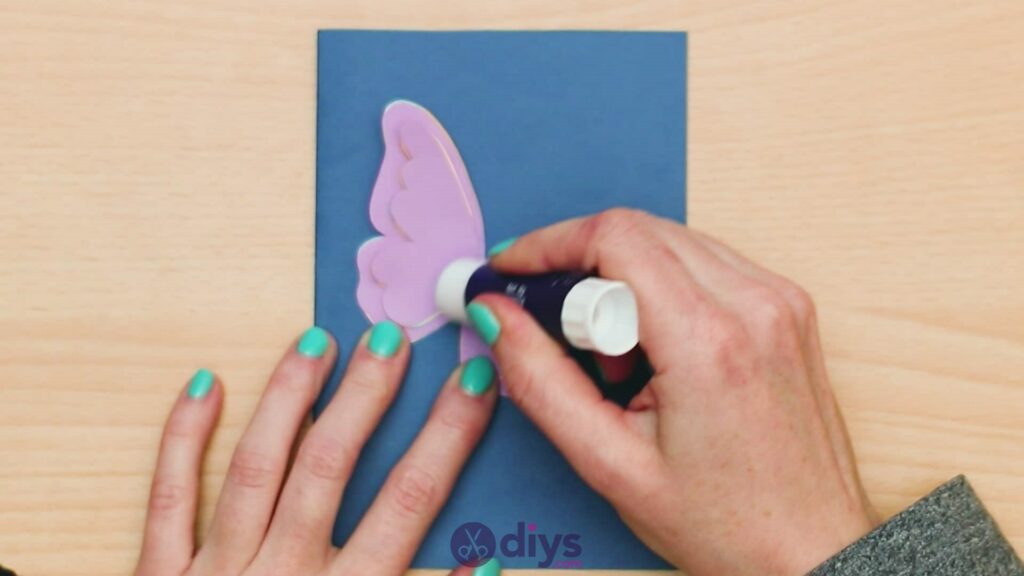
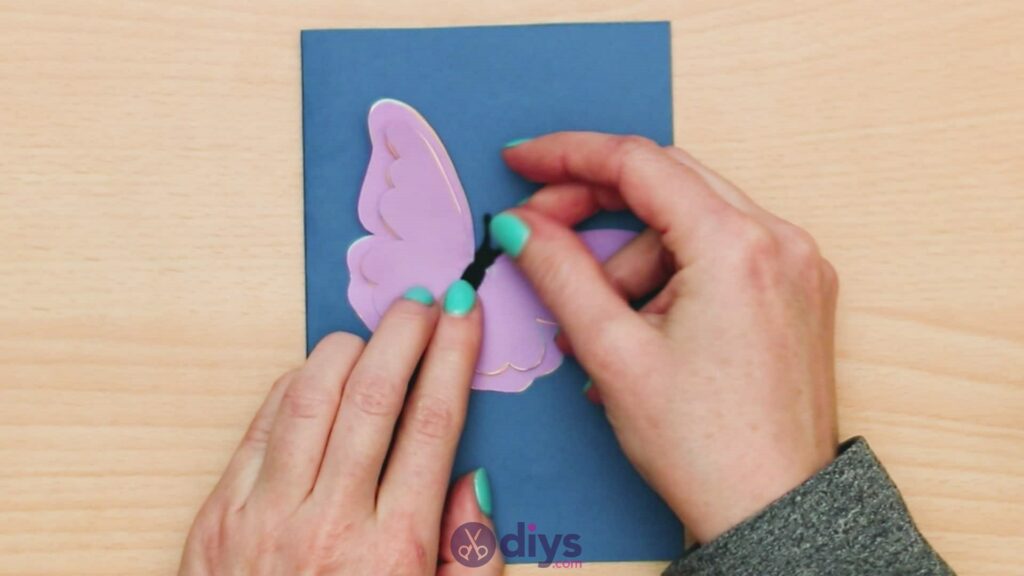
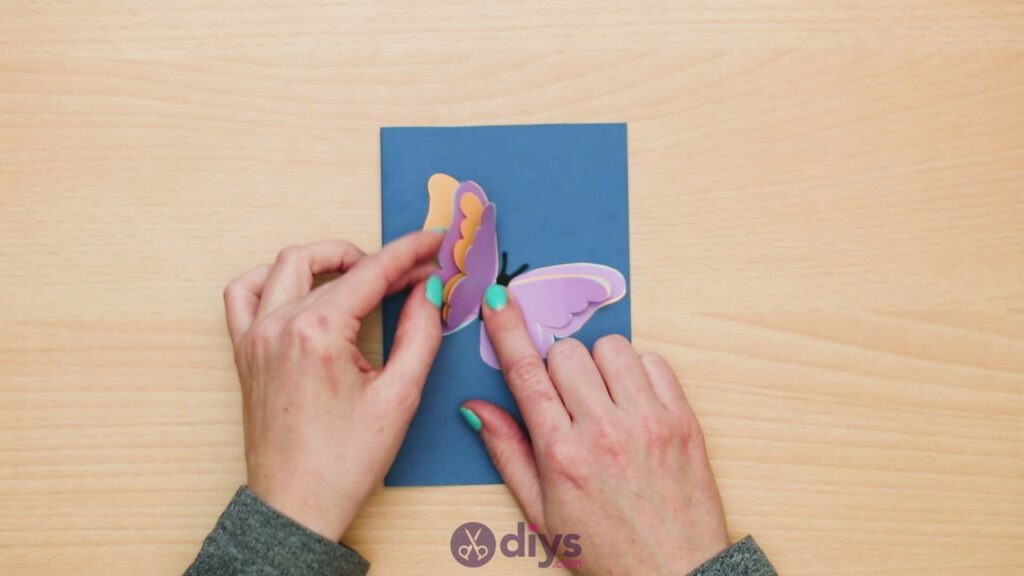
Step 8: attach body
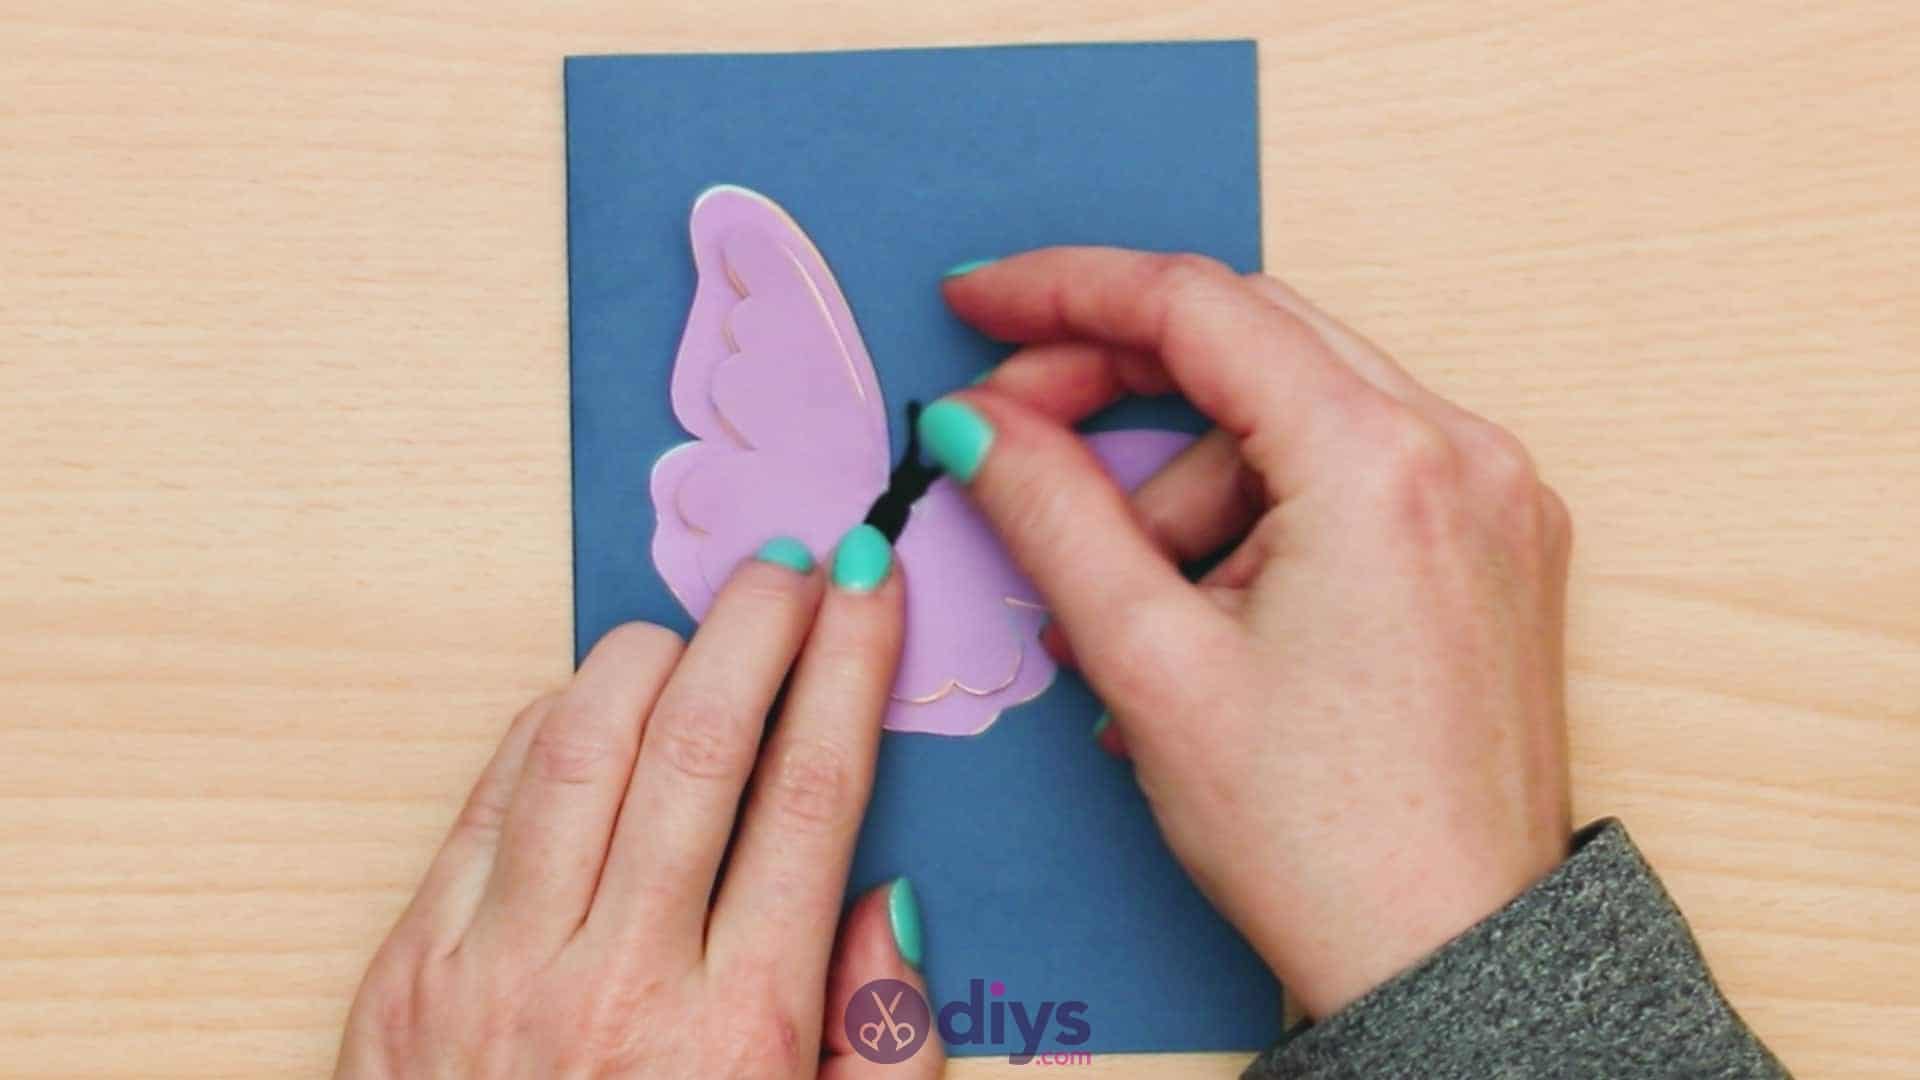
Now apply another central stripe of glue down the middle of your topmost set of wings. Stick the body of your butterfly there so the antennae protrude out between the layered wings at the top and the bottom tip passes between them at the bottom.
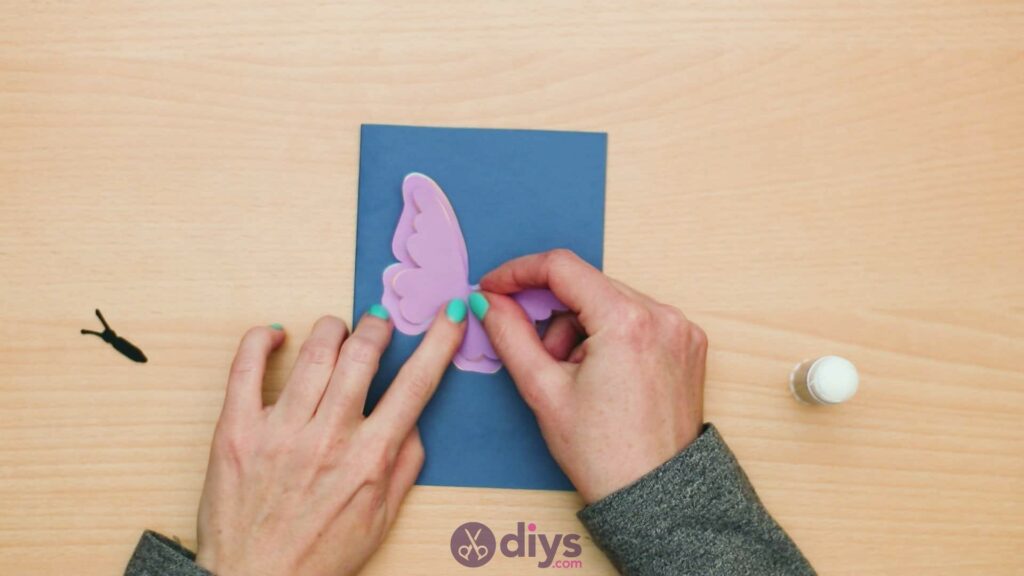
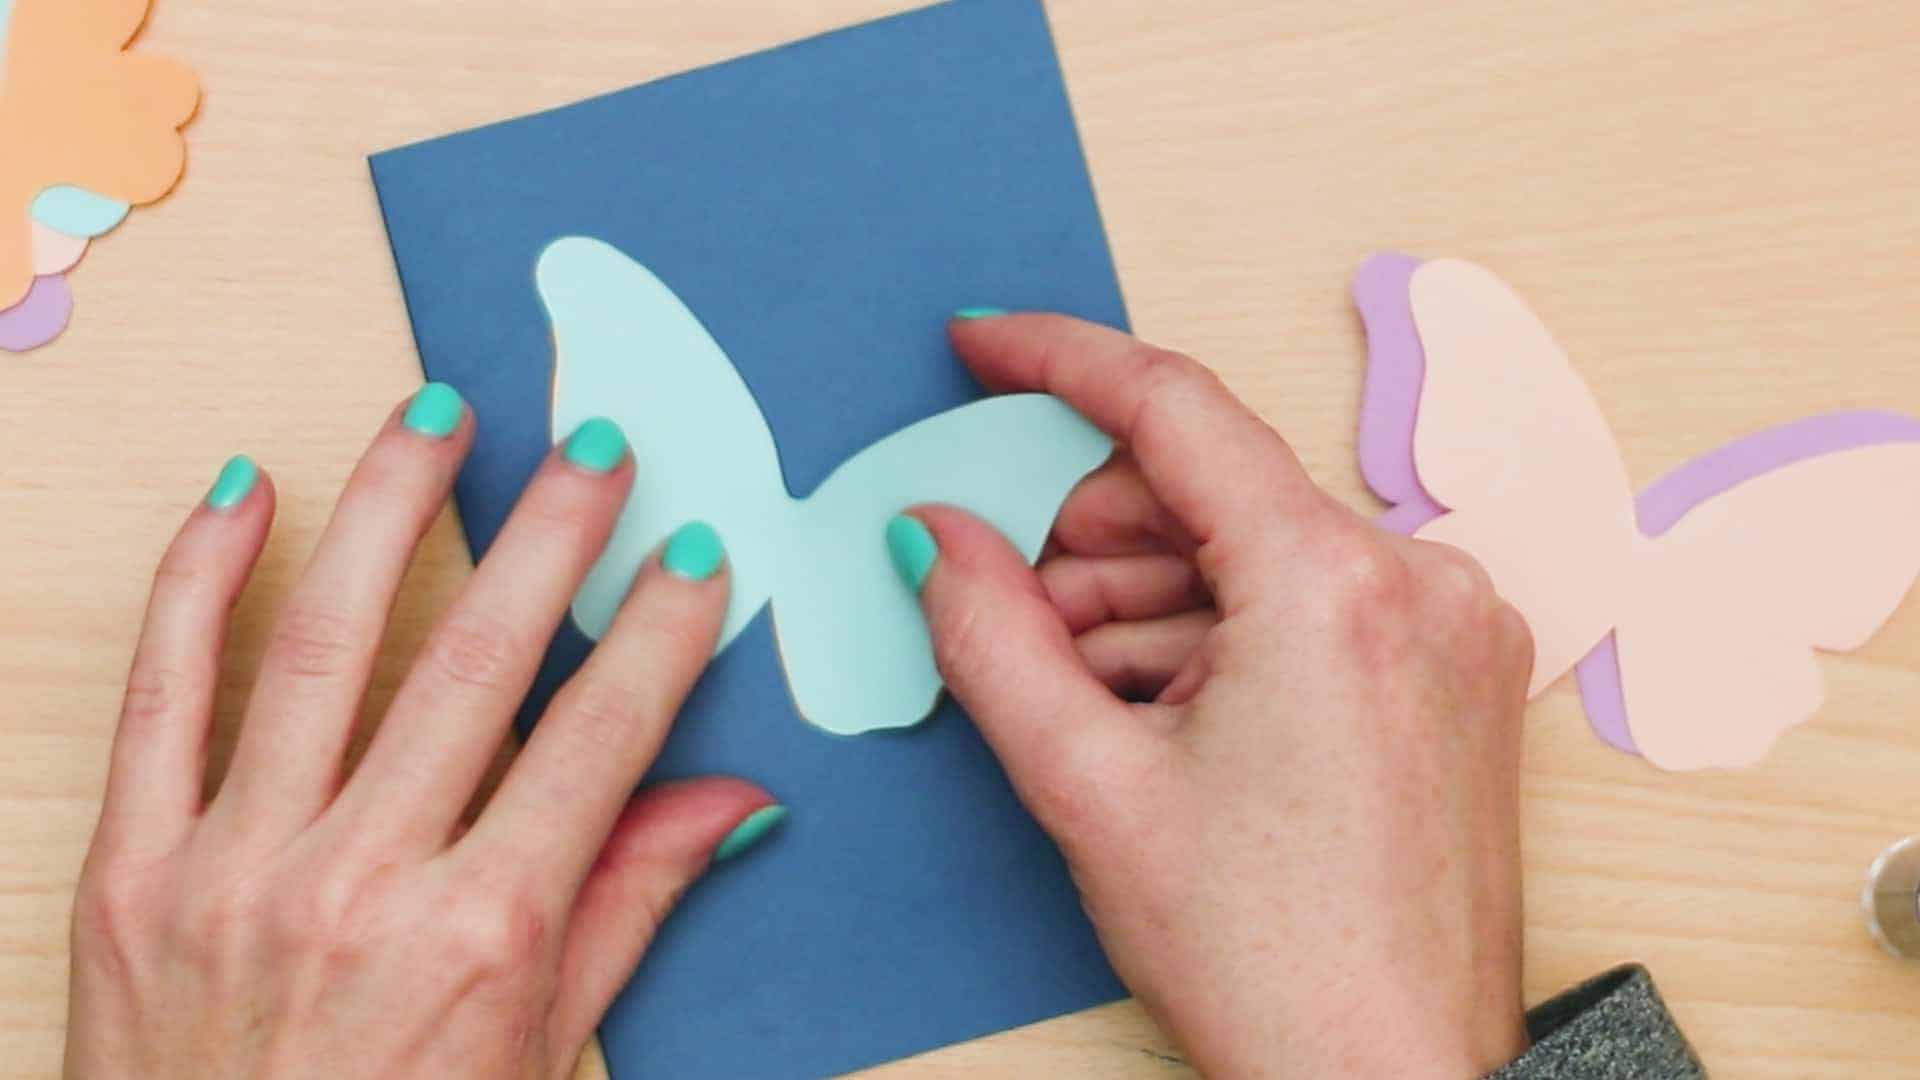
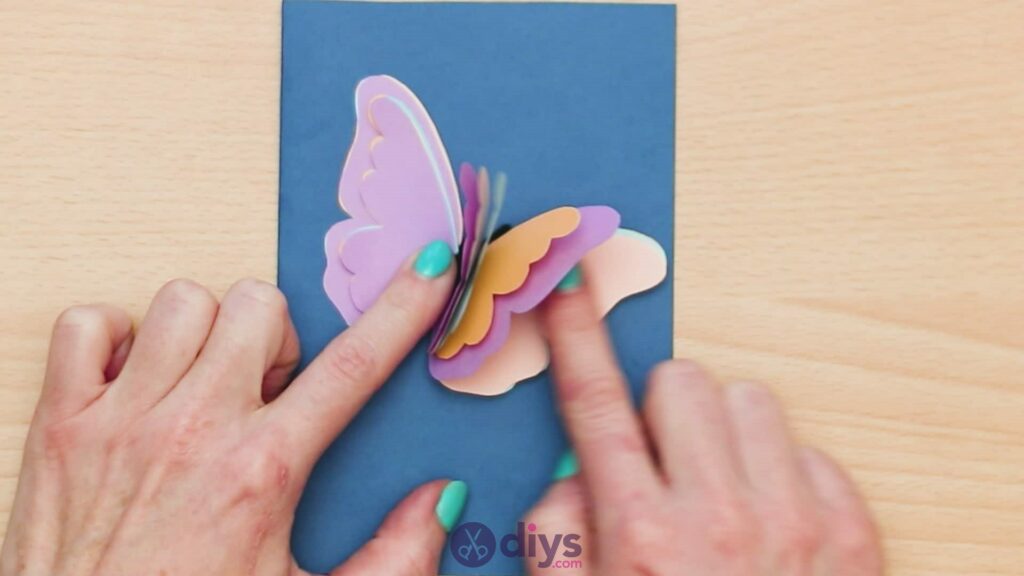
Step 9: bend the wings
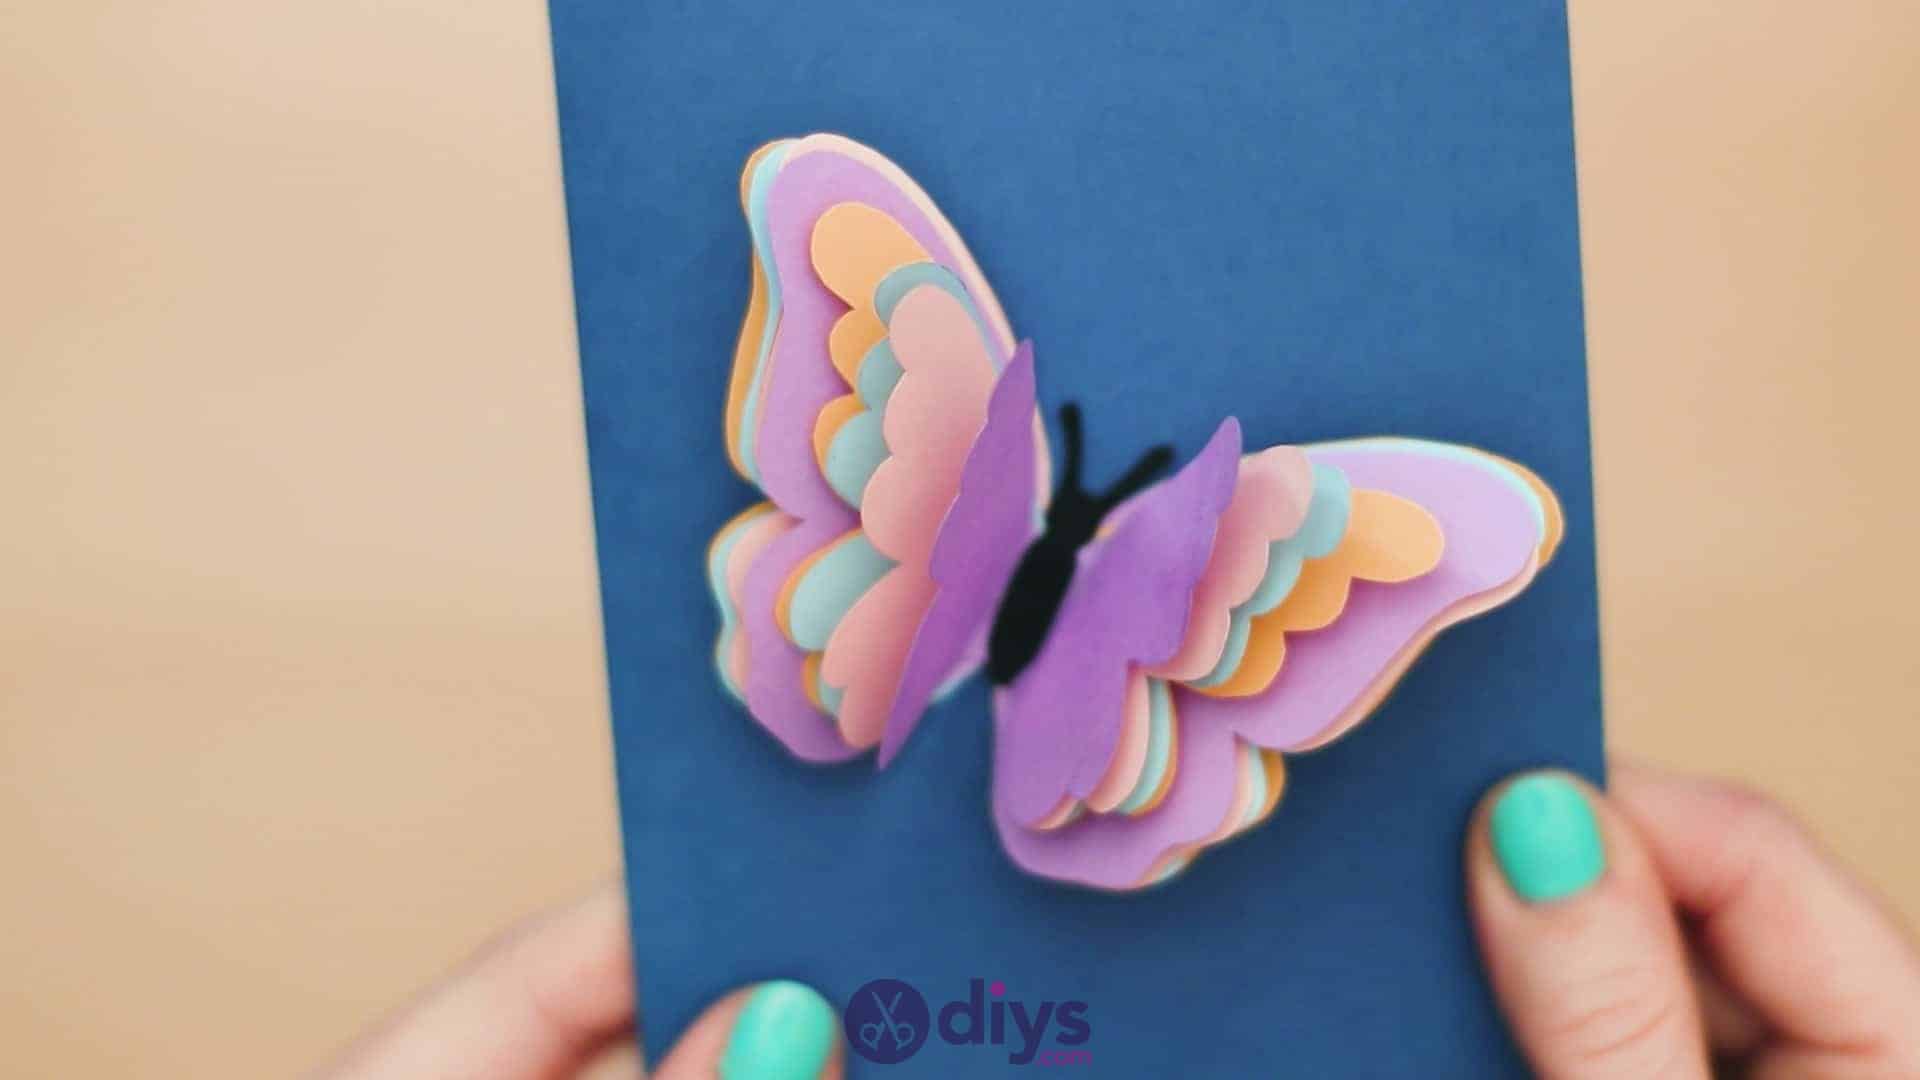
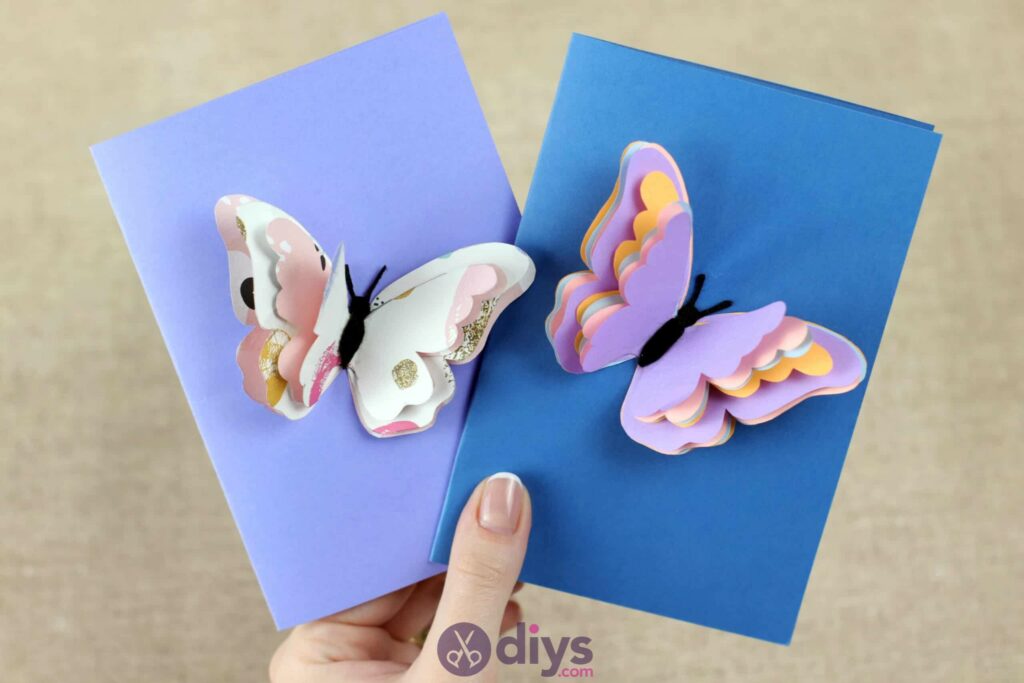
Holding the butterfly’s body in place in the middle with one hand, use your other hand to bend the wings on one side upwards, so they stick up and show off the colours underneath and give the card some dimension. You’ll bend both the larger layers on the bottomand the smaller layers on the top. Swap the other side and bend those wing layers up too so your butterfly looks like it’s flapping its wings to fly.
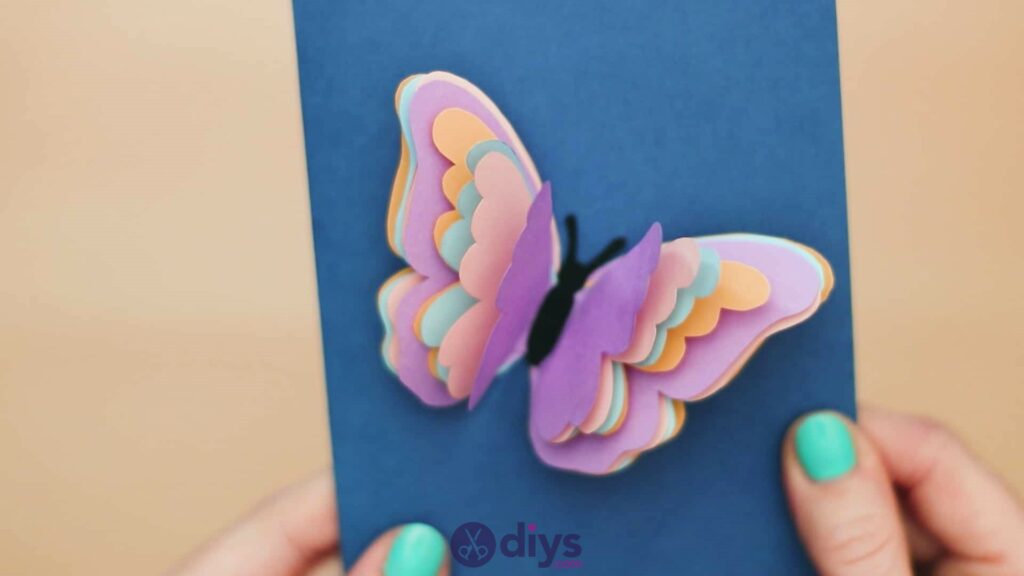
You’re all finished your card! Write a message inside, sign your name, and voila. Of course, you can always feel free to use these basic techniques but embellish your own card differently; sparkles might be a neat addition to the wings, for example. If you’re interested in this project but you’d rather follow along with a video tutorial, check it out here.
So cute
Love it and super easy