Simple DIY Fabric Pumpkins
Updated on November 19, 2025
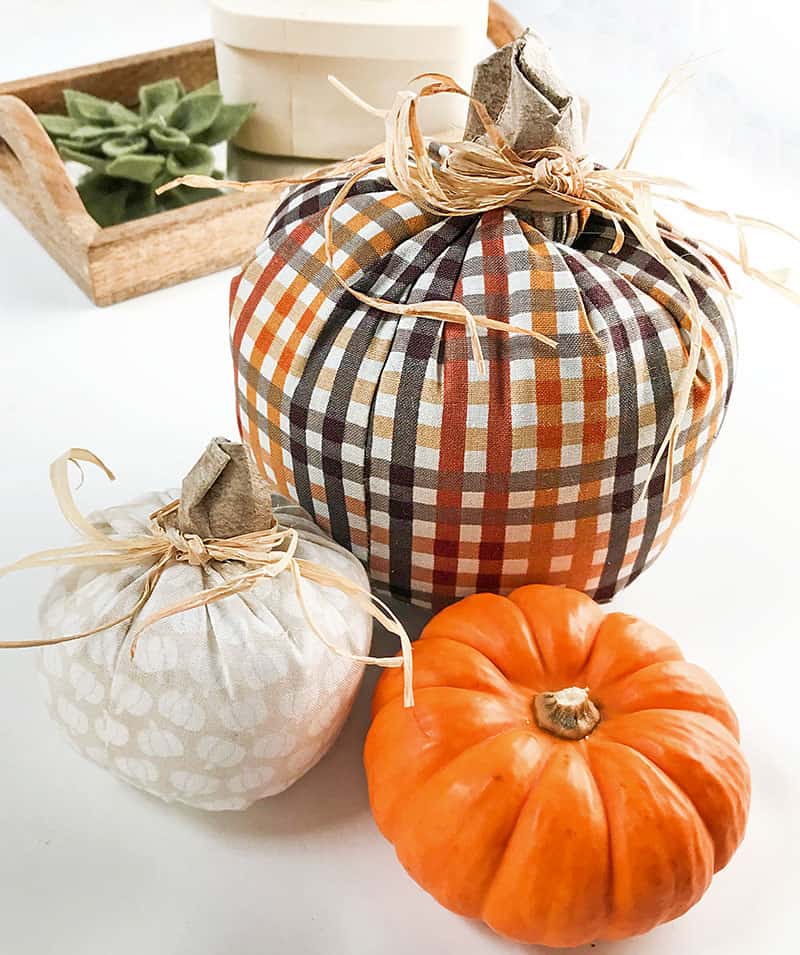
The transition from Halloween to Thanksgiving with these cute and simple DIY fabric pumpkins! It seems more and more people are going straight from Halloween to decorating and getting ready for Christmas.
Thanksgiving always seems to get overlooked and pushed to the side as Christmas comes earlier and earlier every year. I love decorating for Halloween, but I also love keeping the pumpkin theme going throughout the rest of November until we officially hit the Christmas season.
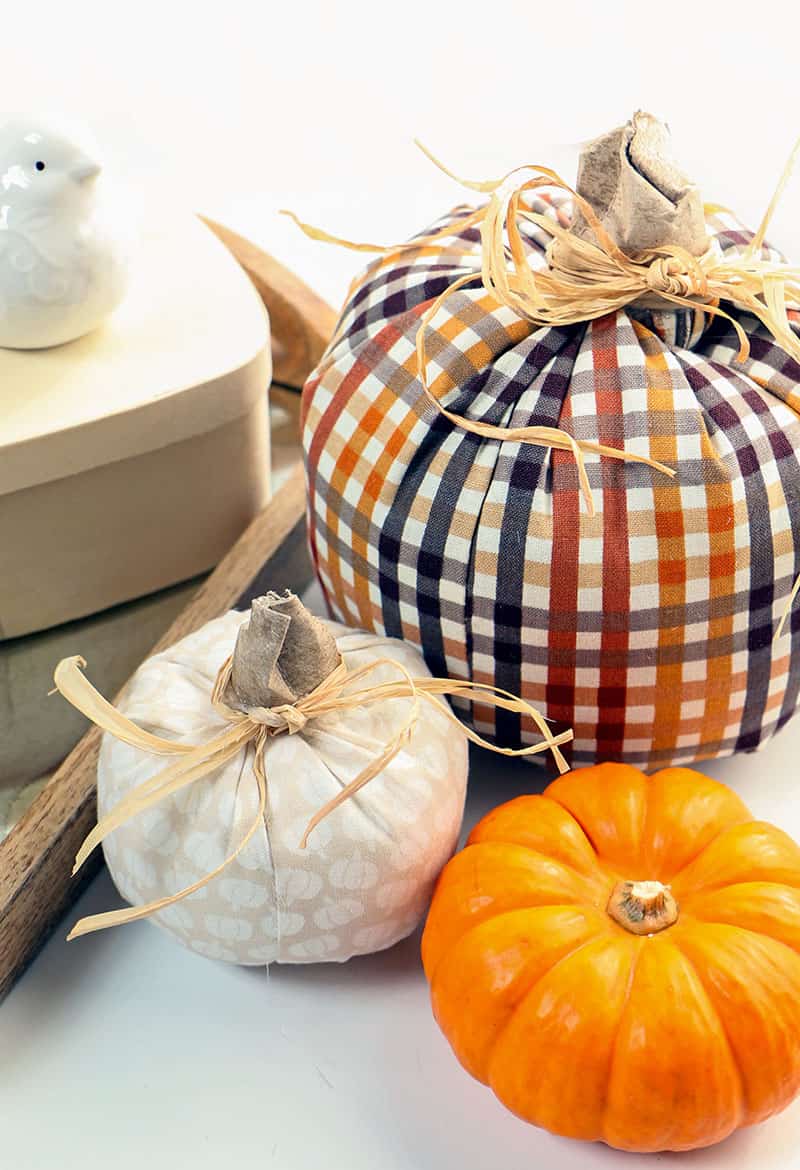
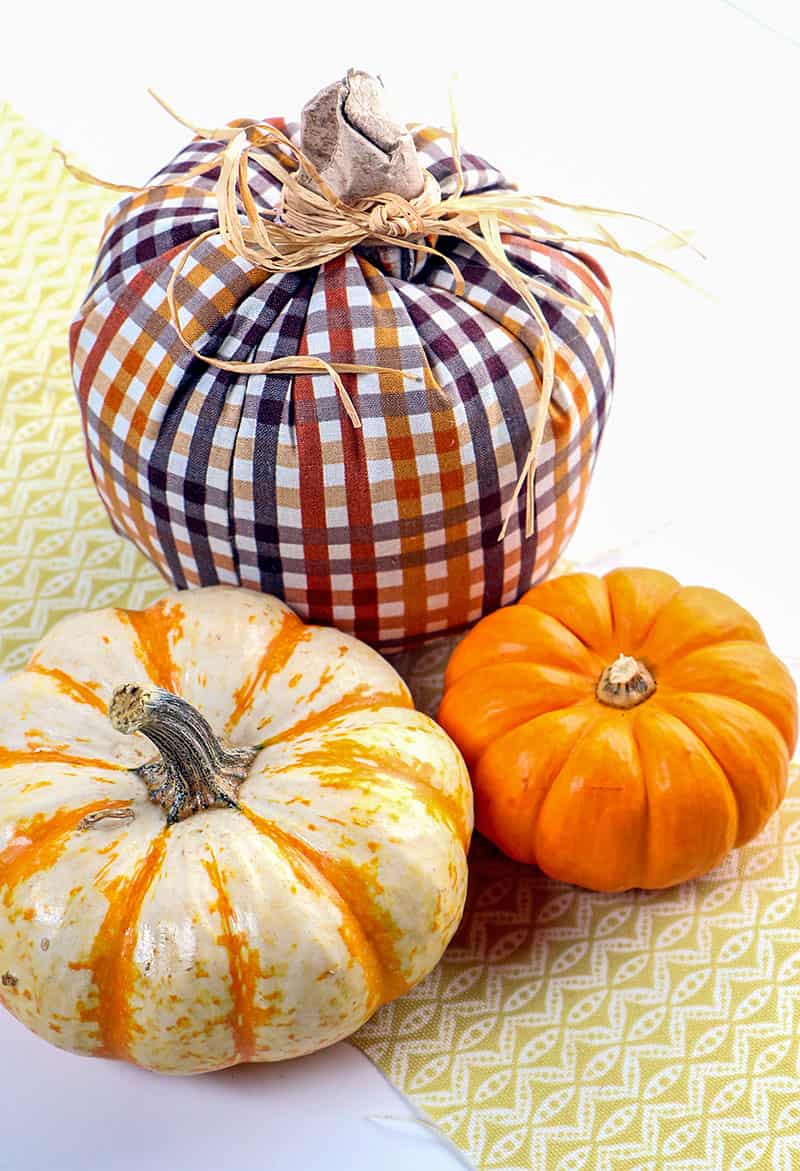
To change out my decor from Halloween to a more generic fall theme, I wanted to create some pumpkins that weren’t just plain orange, but had some fun fall patterns to them. I ended up making pumpkins out of fabric that only require a little bit of sewing. To create the stems, I used an old paper towel roll that I had – I love being able to work in a little upcycle into my projects! My paper towel stems were the perfect touch to complete the look of my simple DIY fabric pumpkins. Check out the tutorial below to see how easy it is to make your own simple DIY fabric pumpkins.
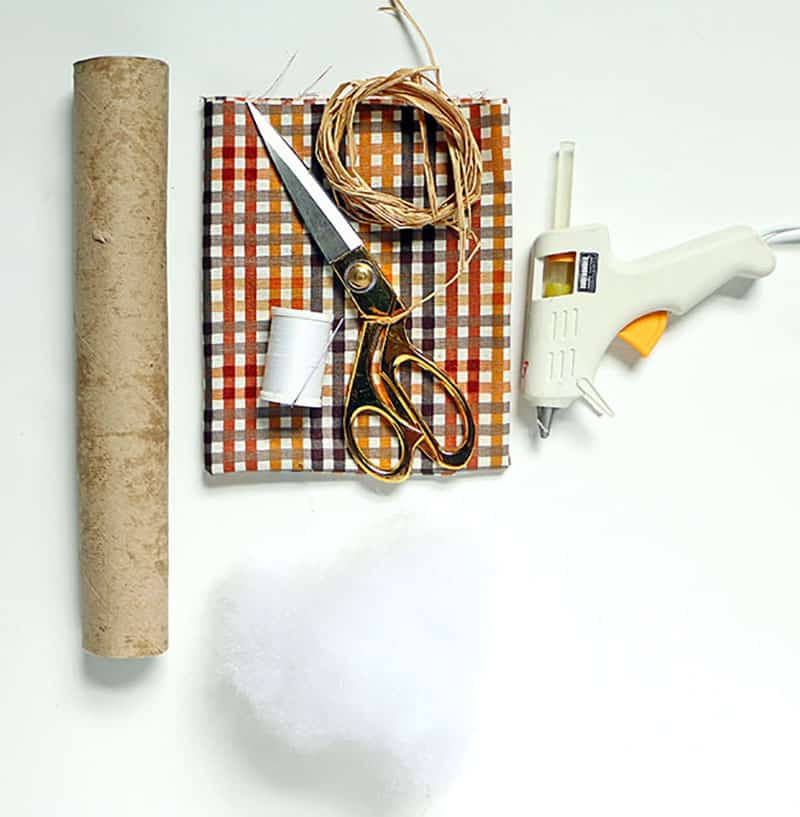
Supplies for the fabric pumpkins:
- 1/2 Yard of Fabric
- Empty Paper Towel Roll
- Needle and Thread
- Hot Glue Gun and Glue
- Raffia
- Batting
Here’s how to create your ownSimple DIY Fabric Pumpkins:
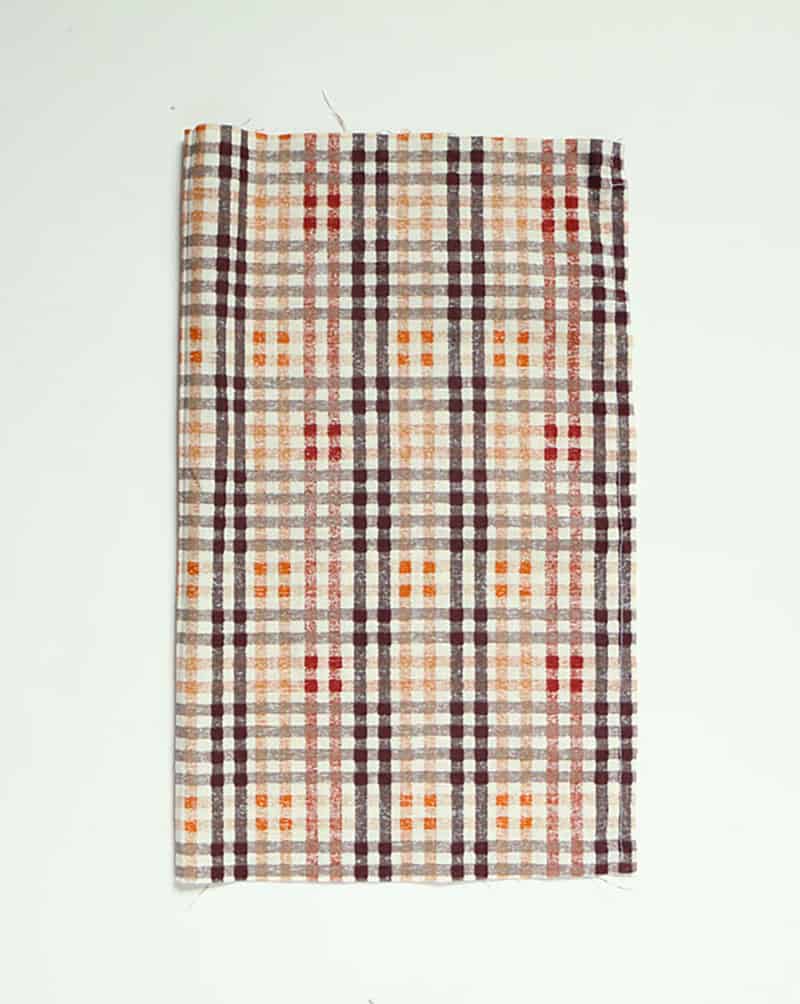
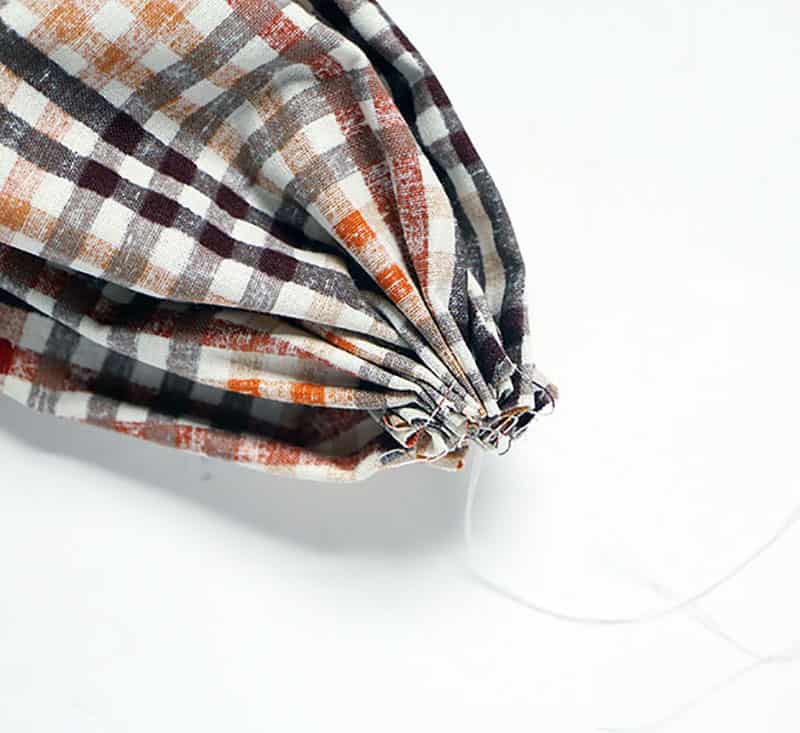
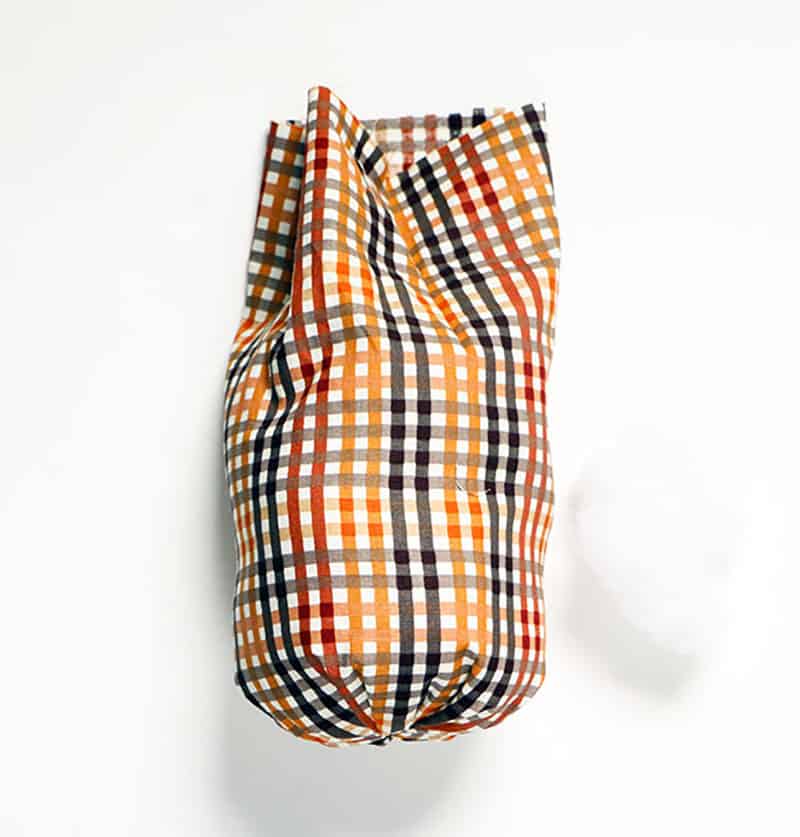
Cut two pieces of fabric 6 inches wide and 11 inches long. After you cut your fabric, hit it with an iron to make sure you get out any wrinkles. Next, place your two pieces of fabric together with the patterned sides facing each other. Sew the sides together, leaving the top and bottom open.Cut a piece of thread that is a yard long and triple it up to make it thicker. Run all three strands through a needle. Start on the bottom of your fabric creating a running stitch. Make your stitch loose and wide. Be sure to not stitch the two pieces of fabric together.
After you’re done with the running stitch on the bottom of your pumpkin, pull your thread tight to cinch the fabric together.
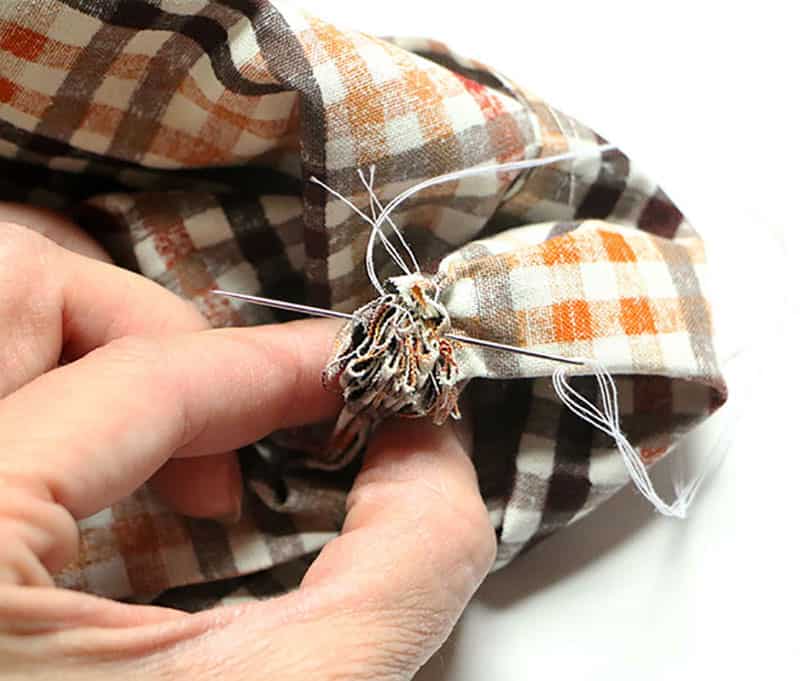
Run your needle through the gathered fabric a few times to make sure it’s nice and secure. Then, tie a knot and cut your thread.
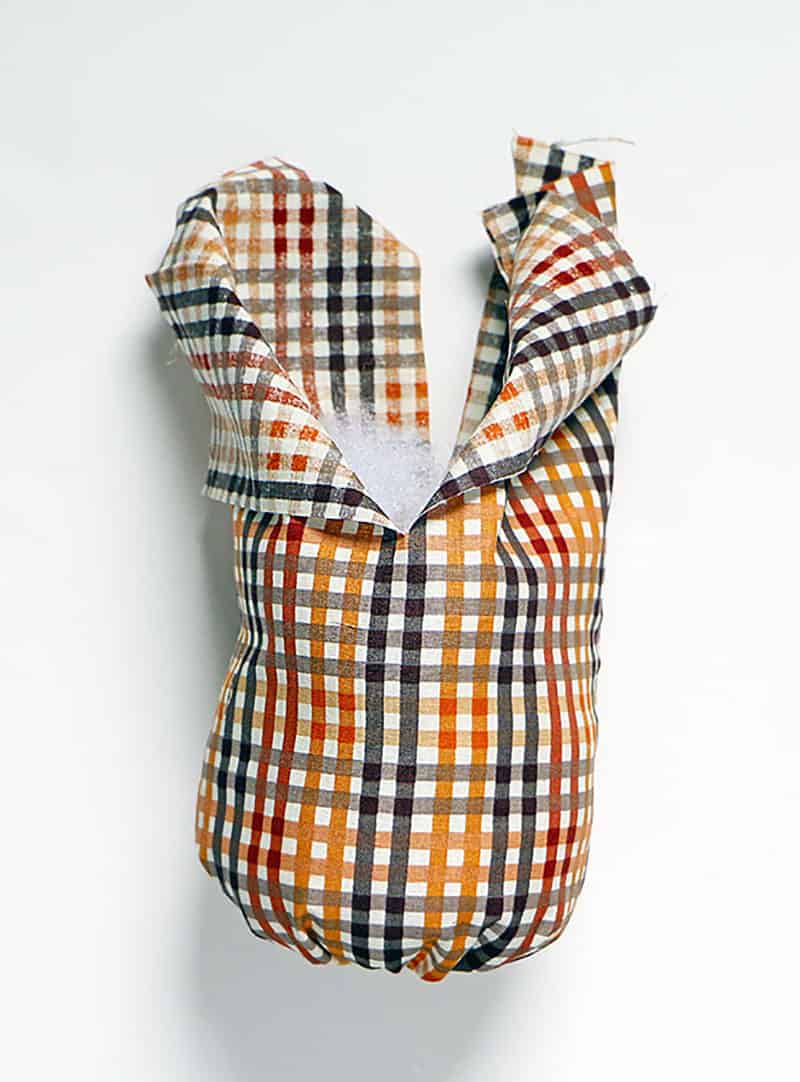
Grab small chunks of batting and stuff it inside of your fabric. You’ll fill it about halfway.
Next, create a slit halfway down on the top and bottom of your pumpkin.
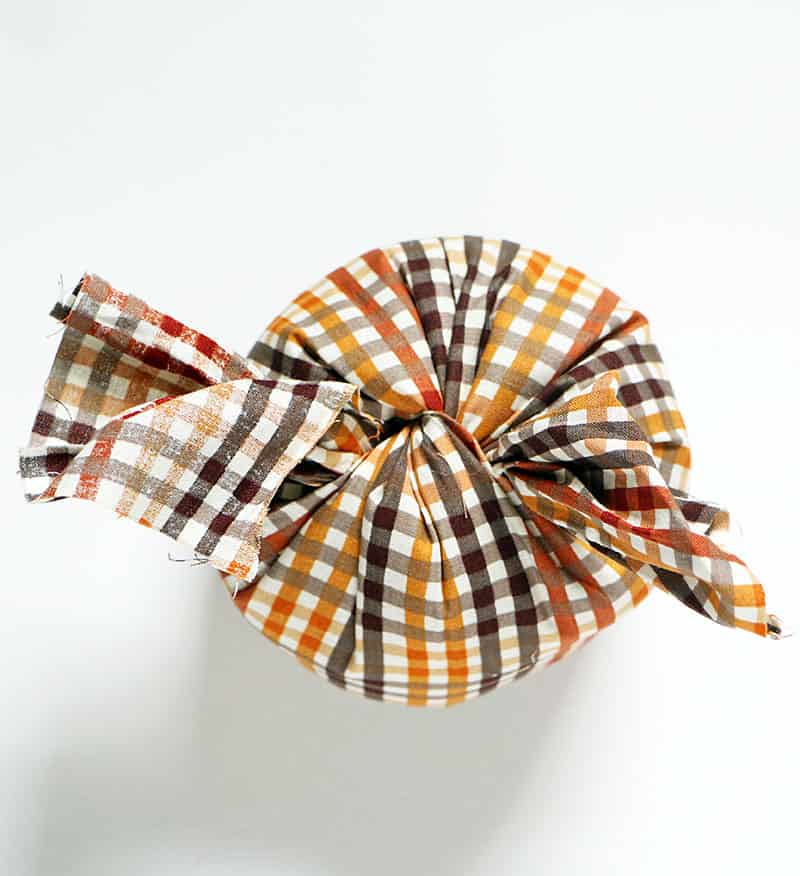
Grab the two pieces of fabric and pull them tight to create a knot.
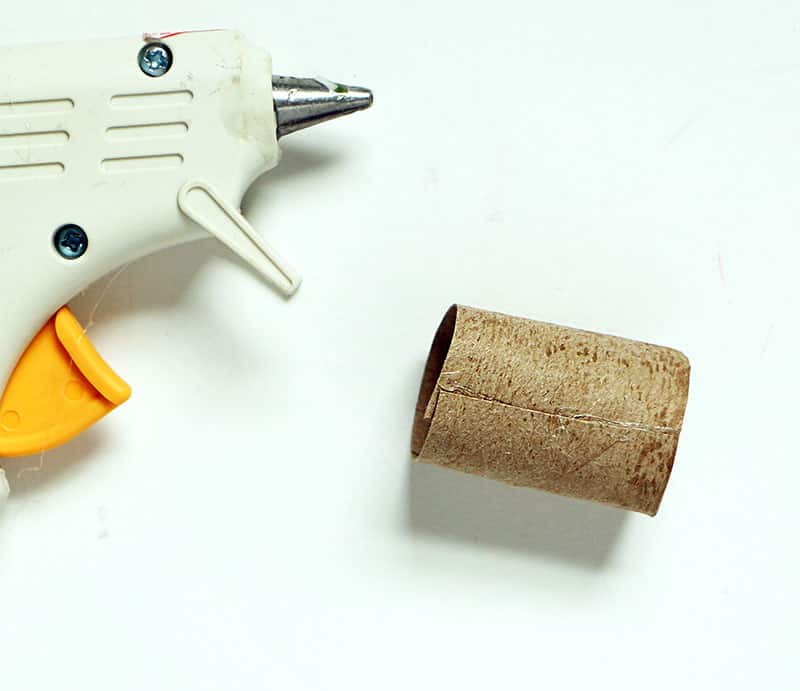
Cut a 2 inch piece from your paper towel roll and then cut it open. Trim down the fabric on your pumpkin and wrap your cardboard around it until you get a snug fit.
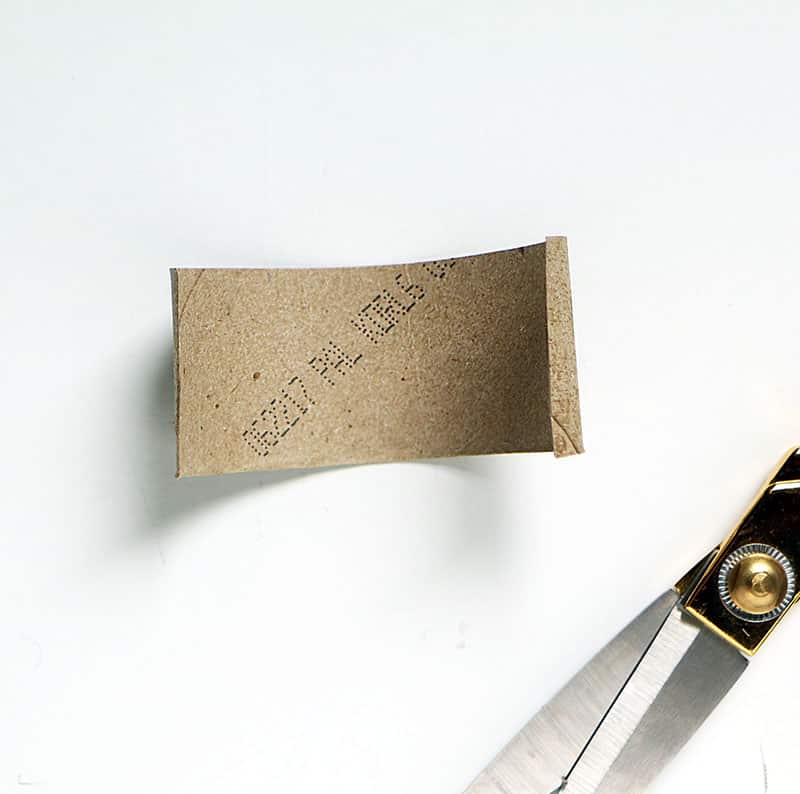
When you find the right size, hot glue the cardboard together to create the stem.
Place the cardboard over your fabric. Add glue to the top inside portion and push the sides together. This will create your stem.
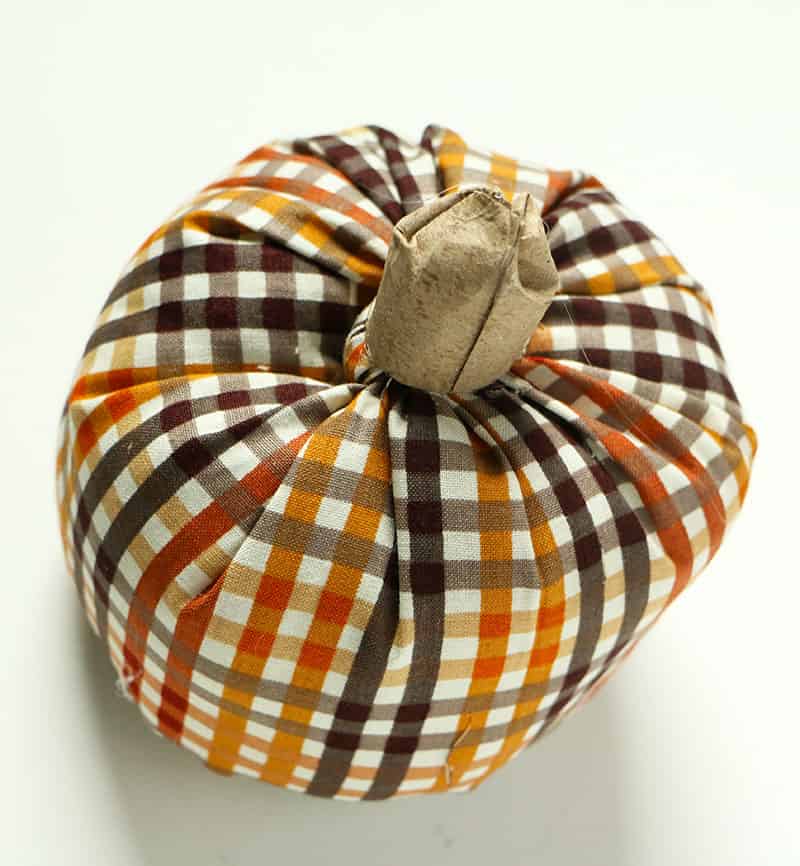
Finally, add hot glue around the base of the stem and press down. Add another layer of glue around the outside of the stem and tie on some raffia to finish it off.
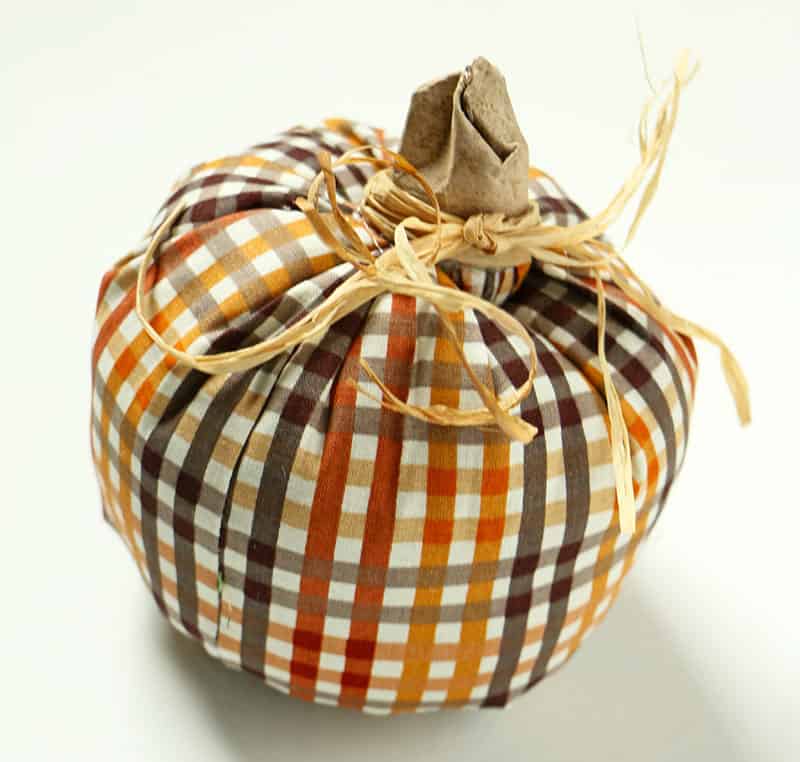
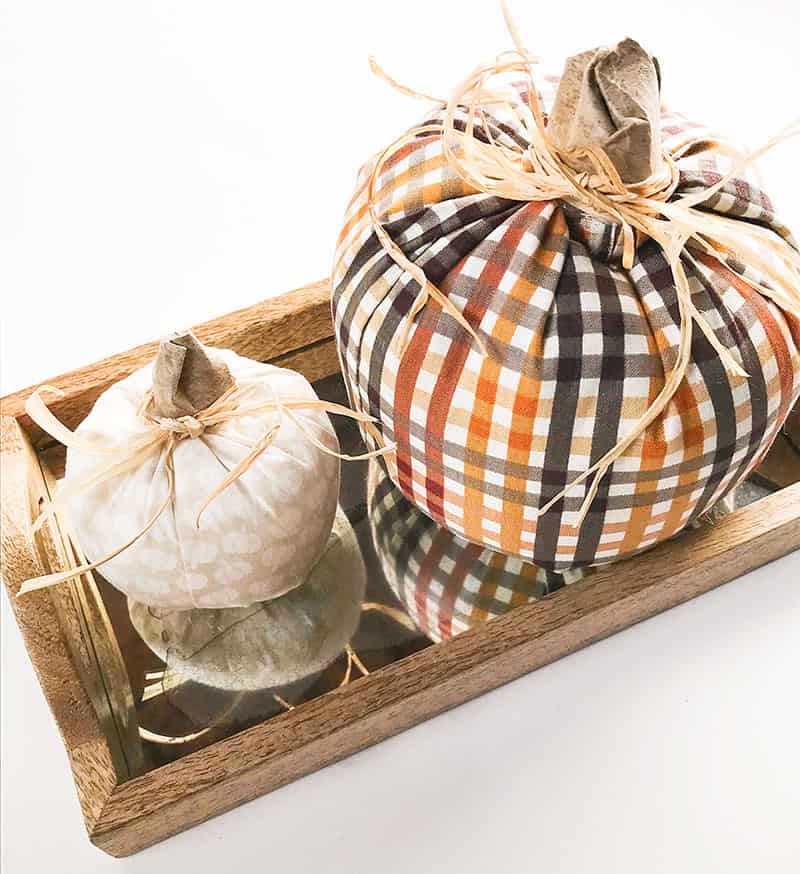
You can create simple DIY fabric pumpkins in different sizes. Just make sure the shape you start with is a rectangle. WARNING: These little pumpkins are addicting – you may find yourself with an entire mantle full!