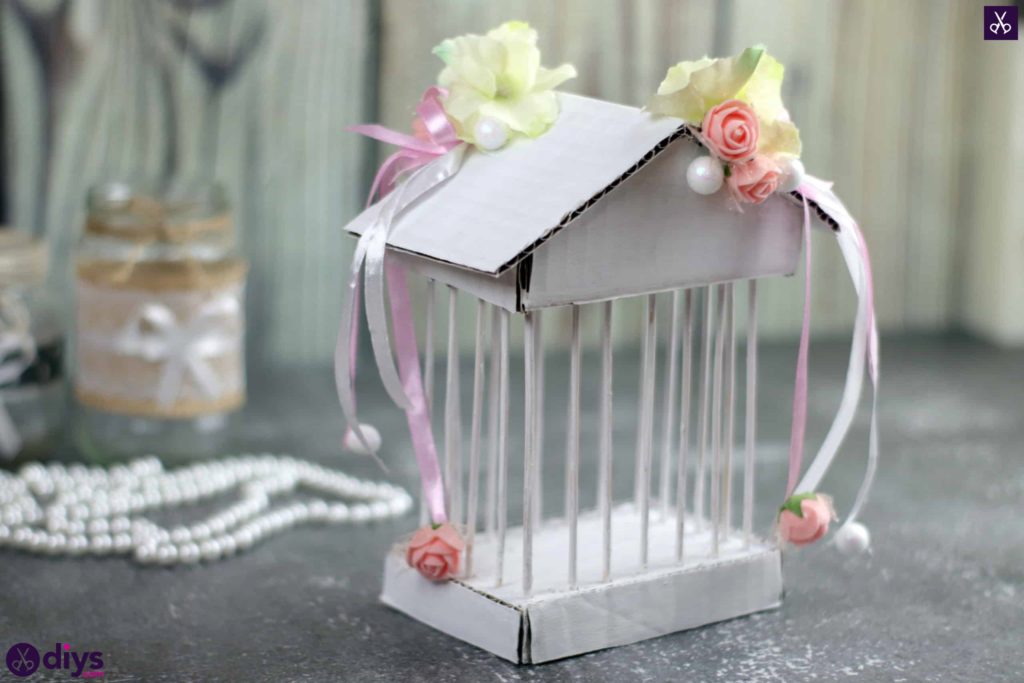
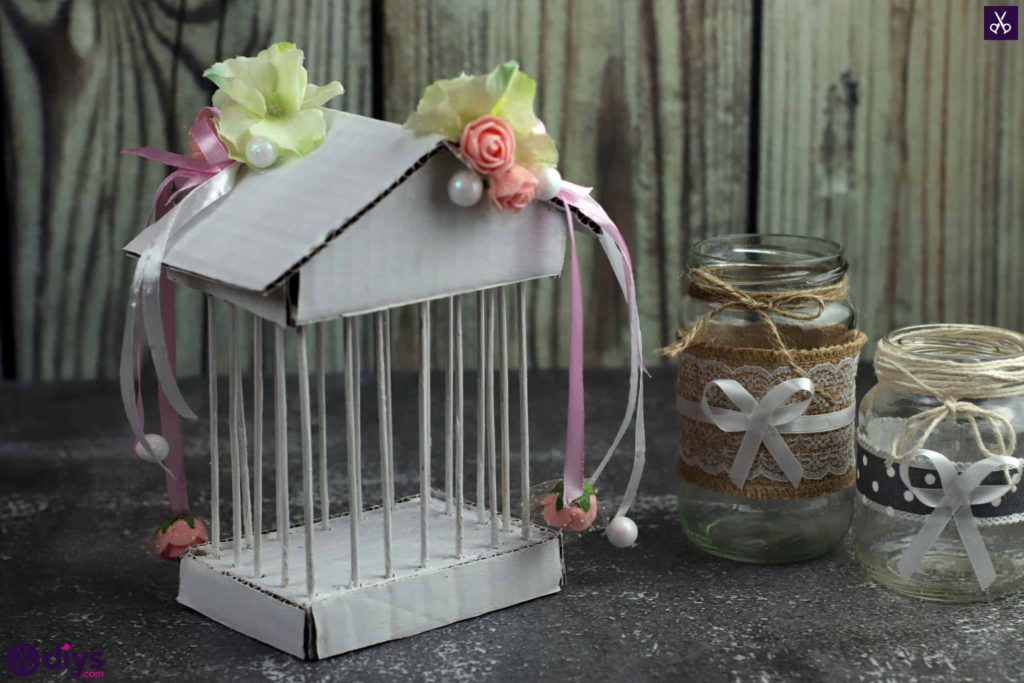
DIY Miniature Cage Centerpiece from Scratch
Updated on November 19, 2025


Last week, I saw a cage style birdhouse in a home decor store and I couldn’t really justify spending the money on the piece… so I went home and used cardboard to make a crafty little tribute version myself! Check out just how I made this DIY miniature cage centerpiece from scratch!
Check out these step by step instructions complete with photos! If you’d rather follow along with a video tutorial instead of written words, scroll to the bottom of this post to find just what you’re looking for.
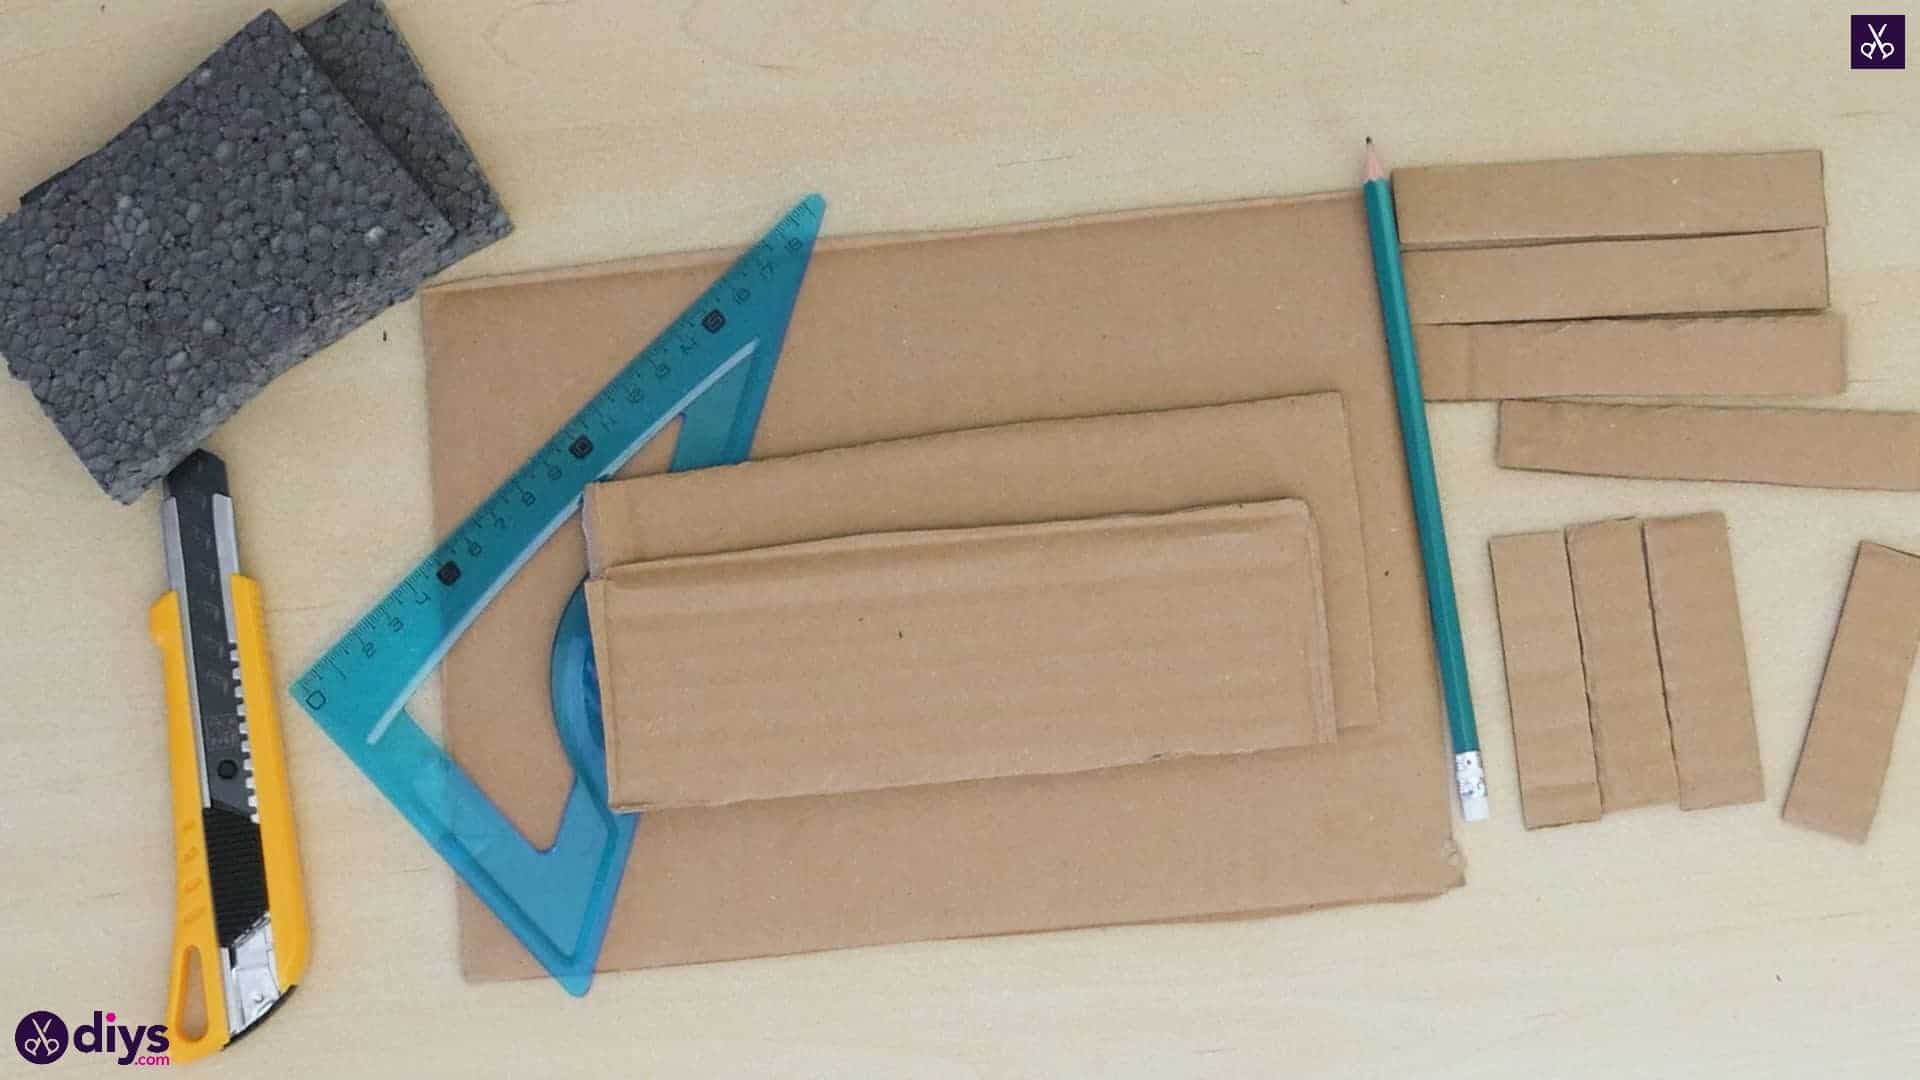
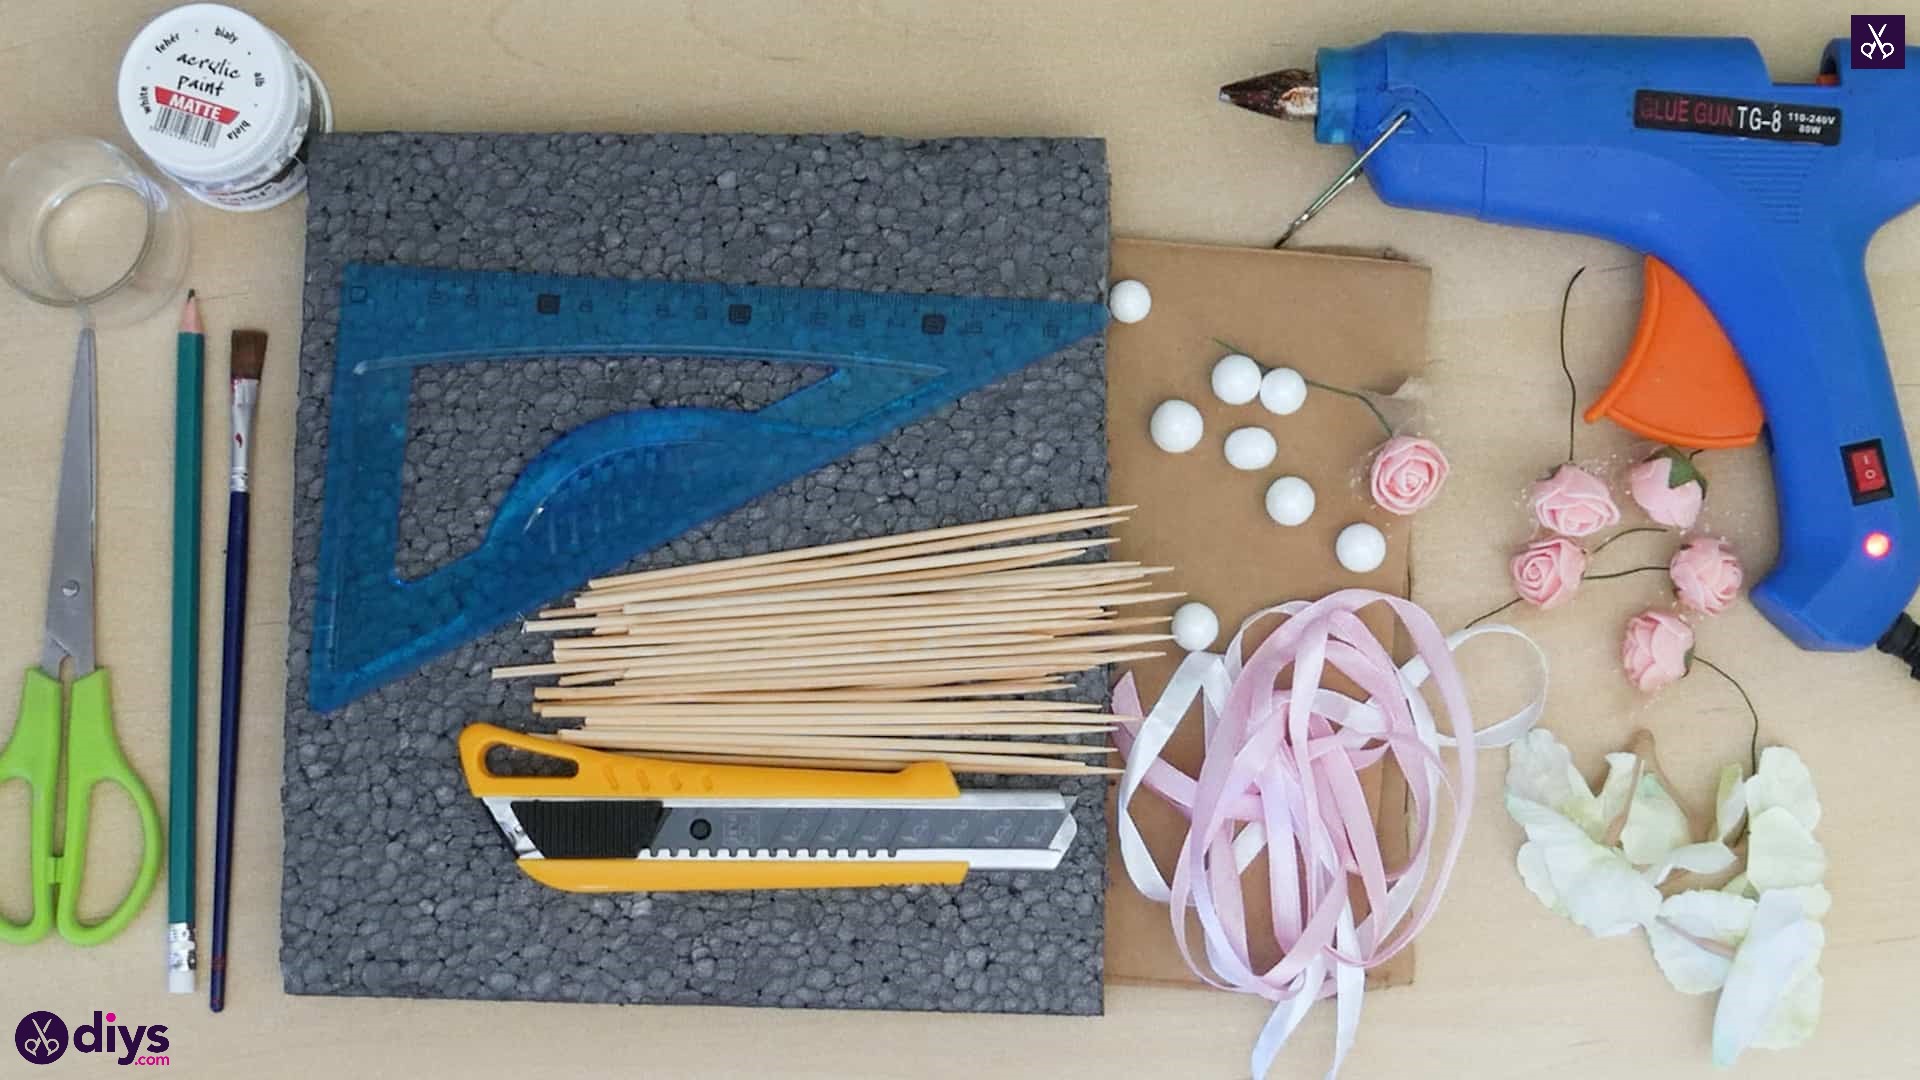
For this project, you’ll need:
- Styrofoam
- Wooden kebab sticks
- Hot glue
- Scissors
- A folding utility knife
- A pencil
- Cardboard
- Ribbon (pink and white)
- White paint
- A paintbrush
- Flower embellishments
- Pearl beads


Step 1: Gather your materials!
Go over your list and ensure you have everything you need first.
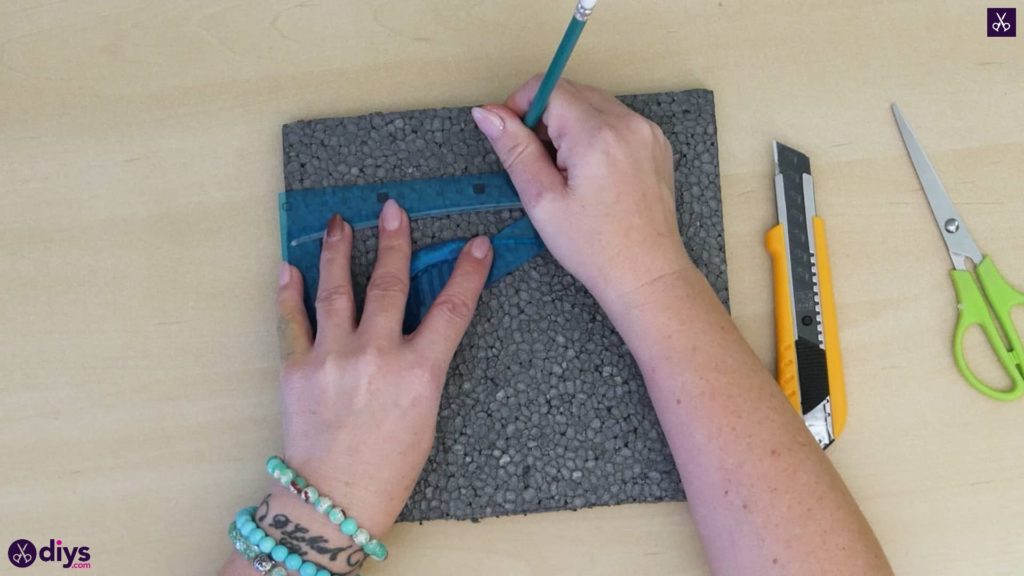
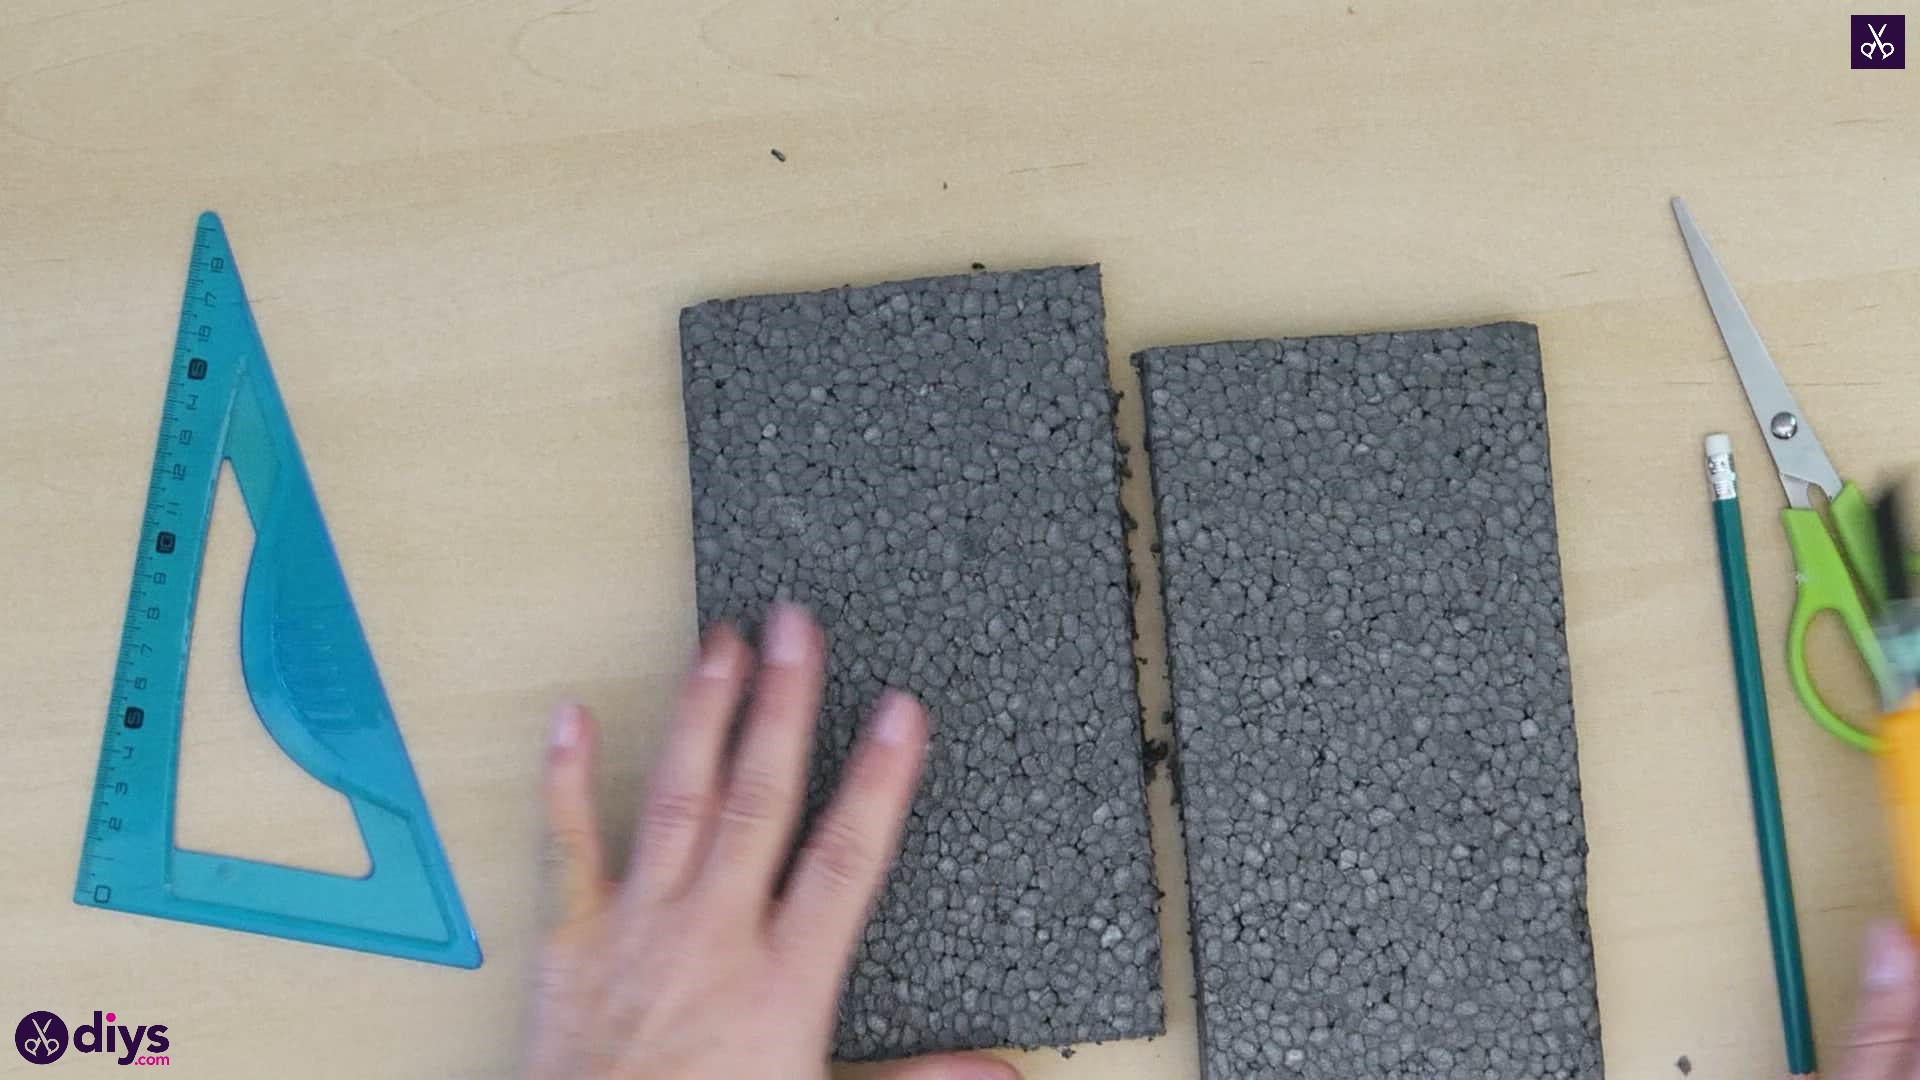
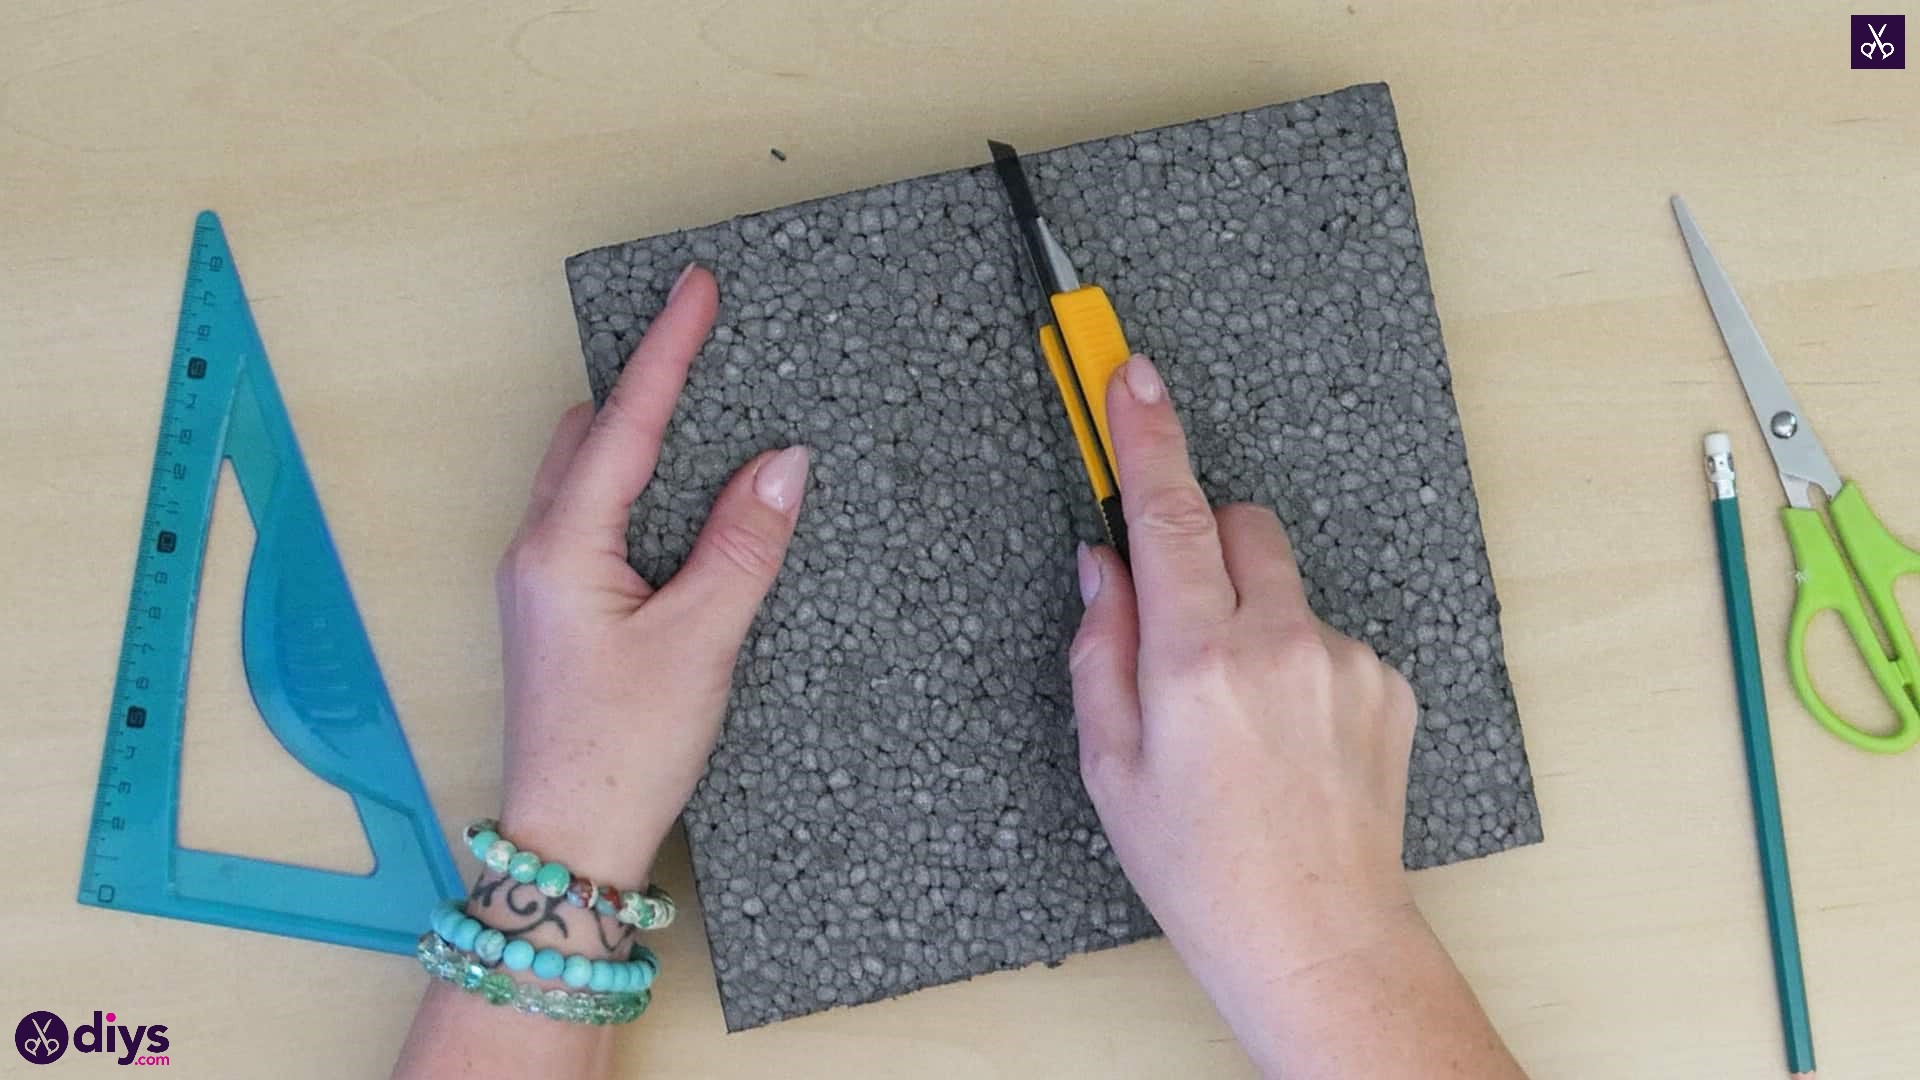
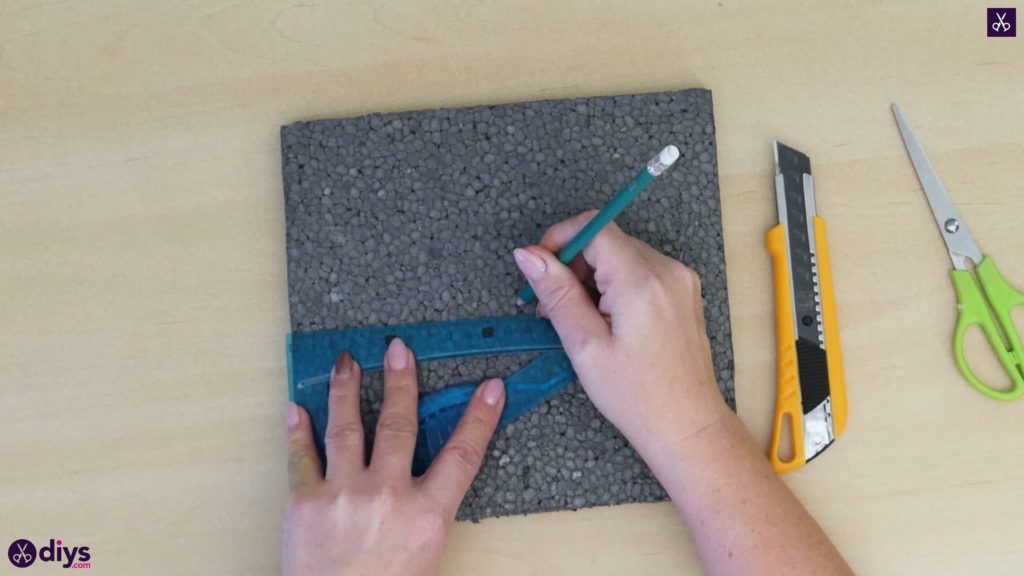
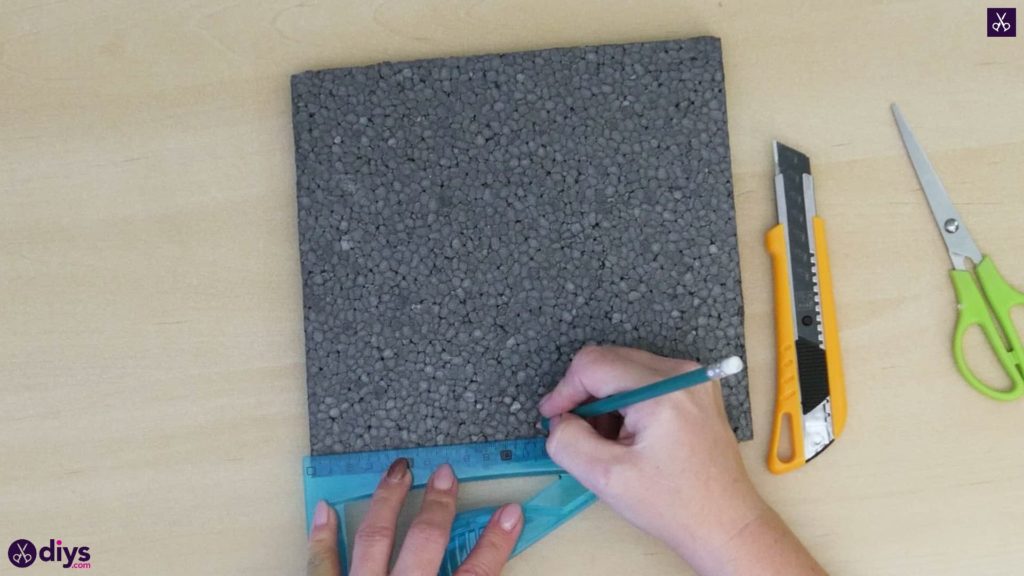
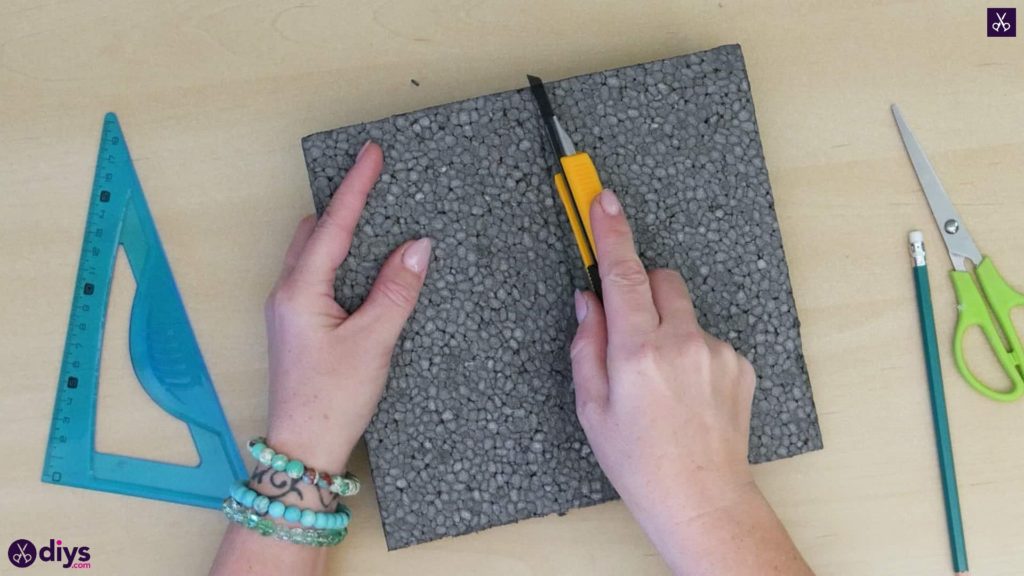
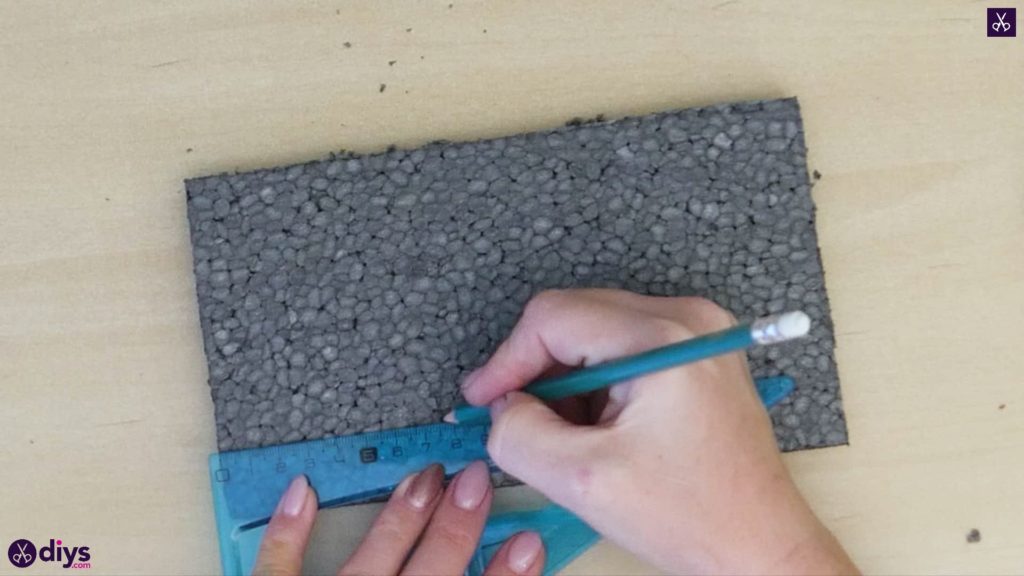
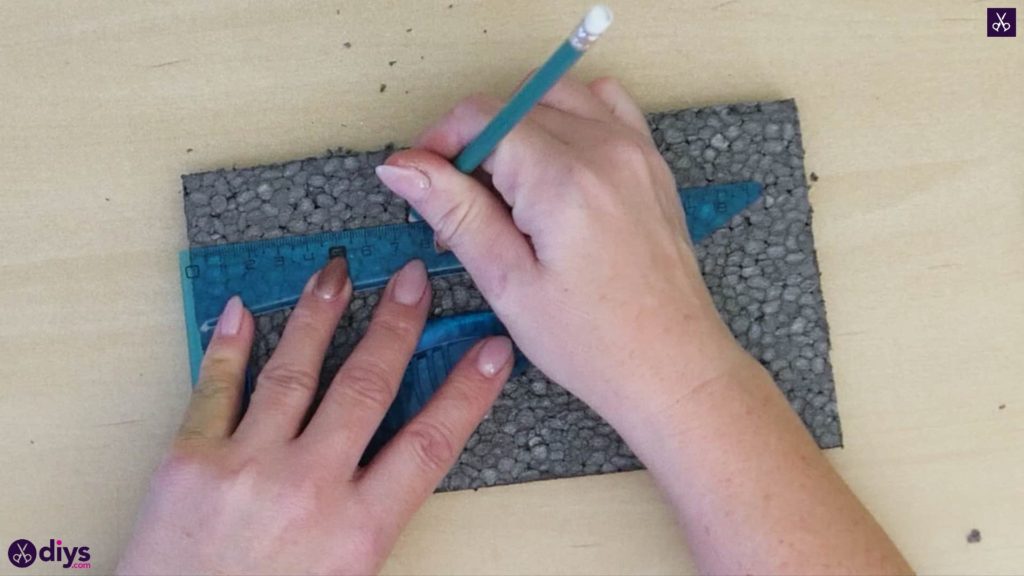
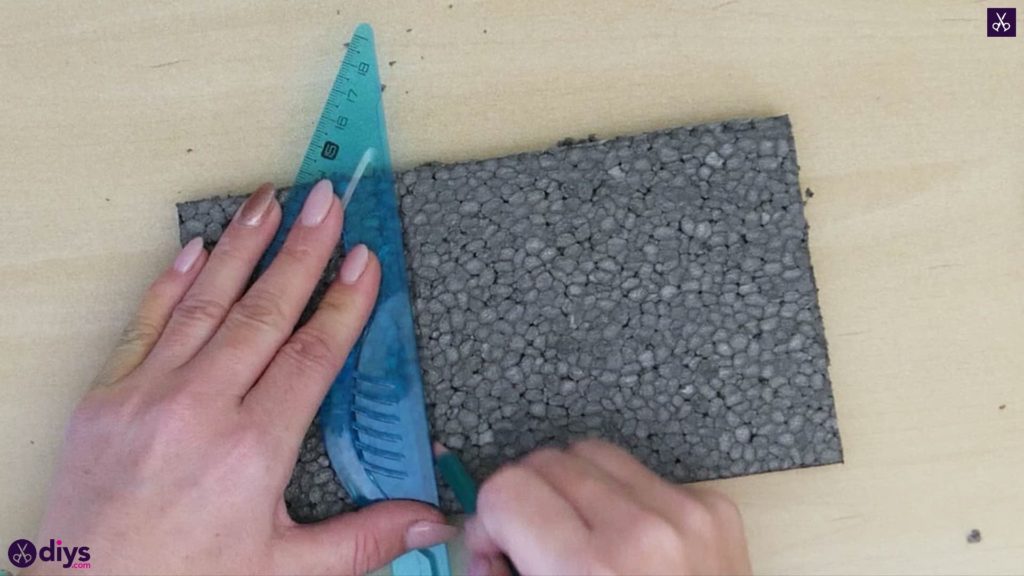
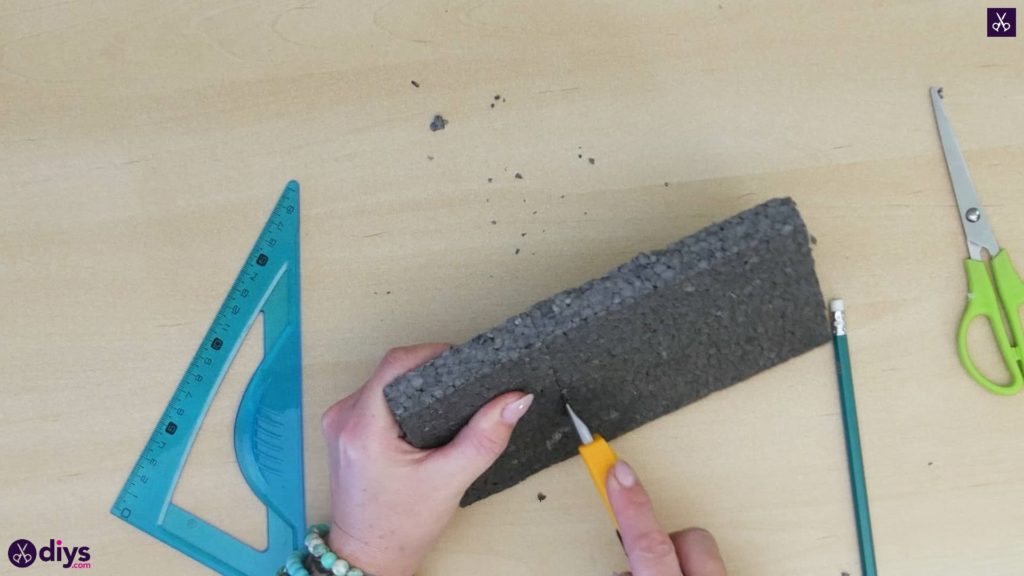
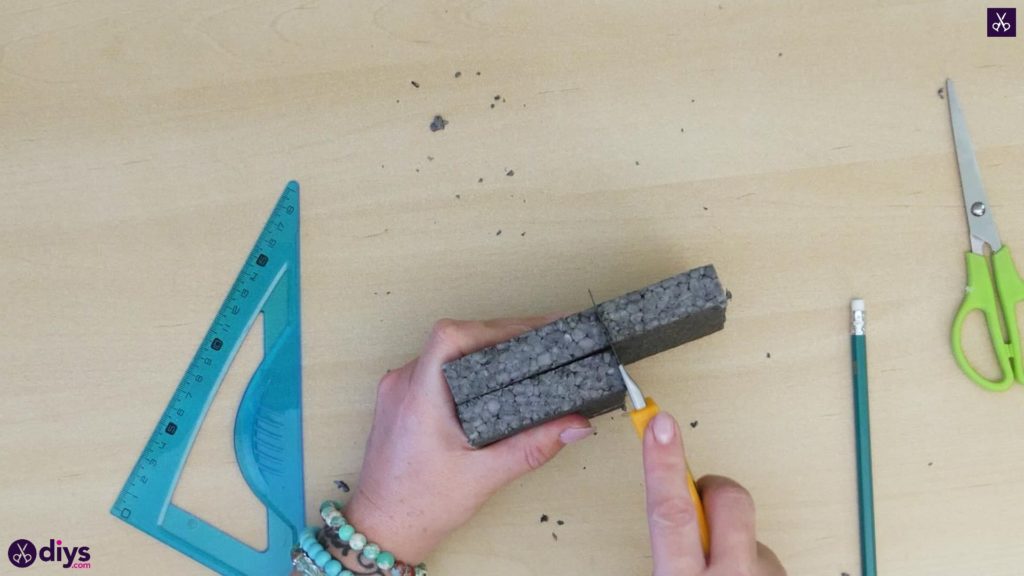
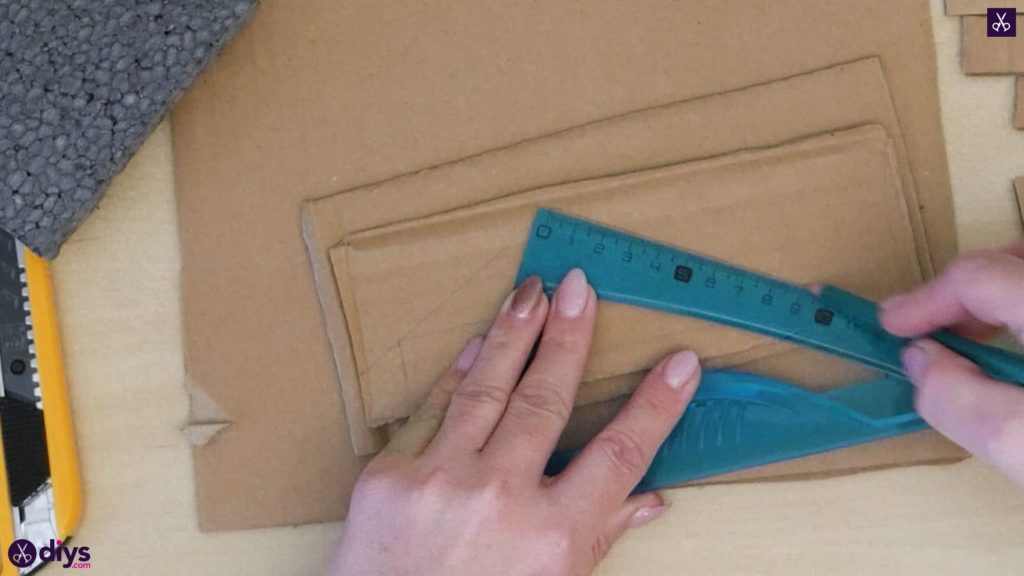
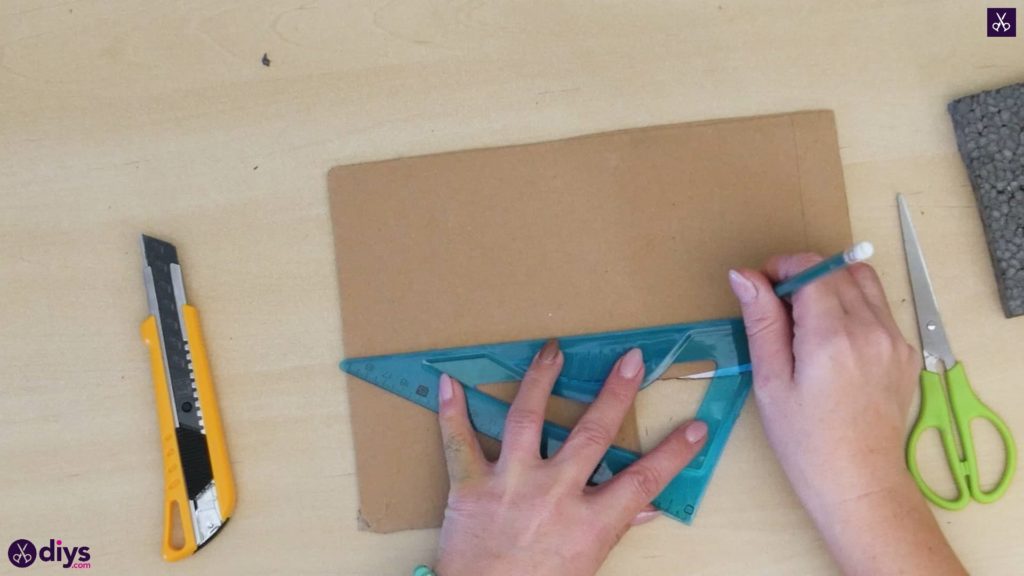
Step 2: mark and cut
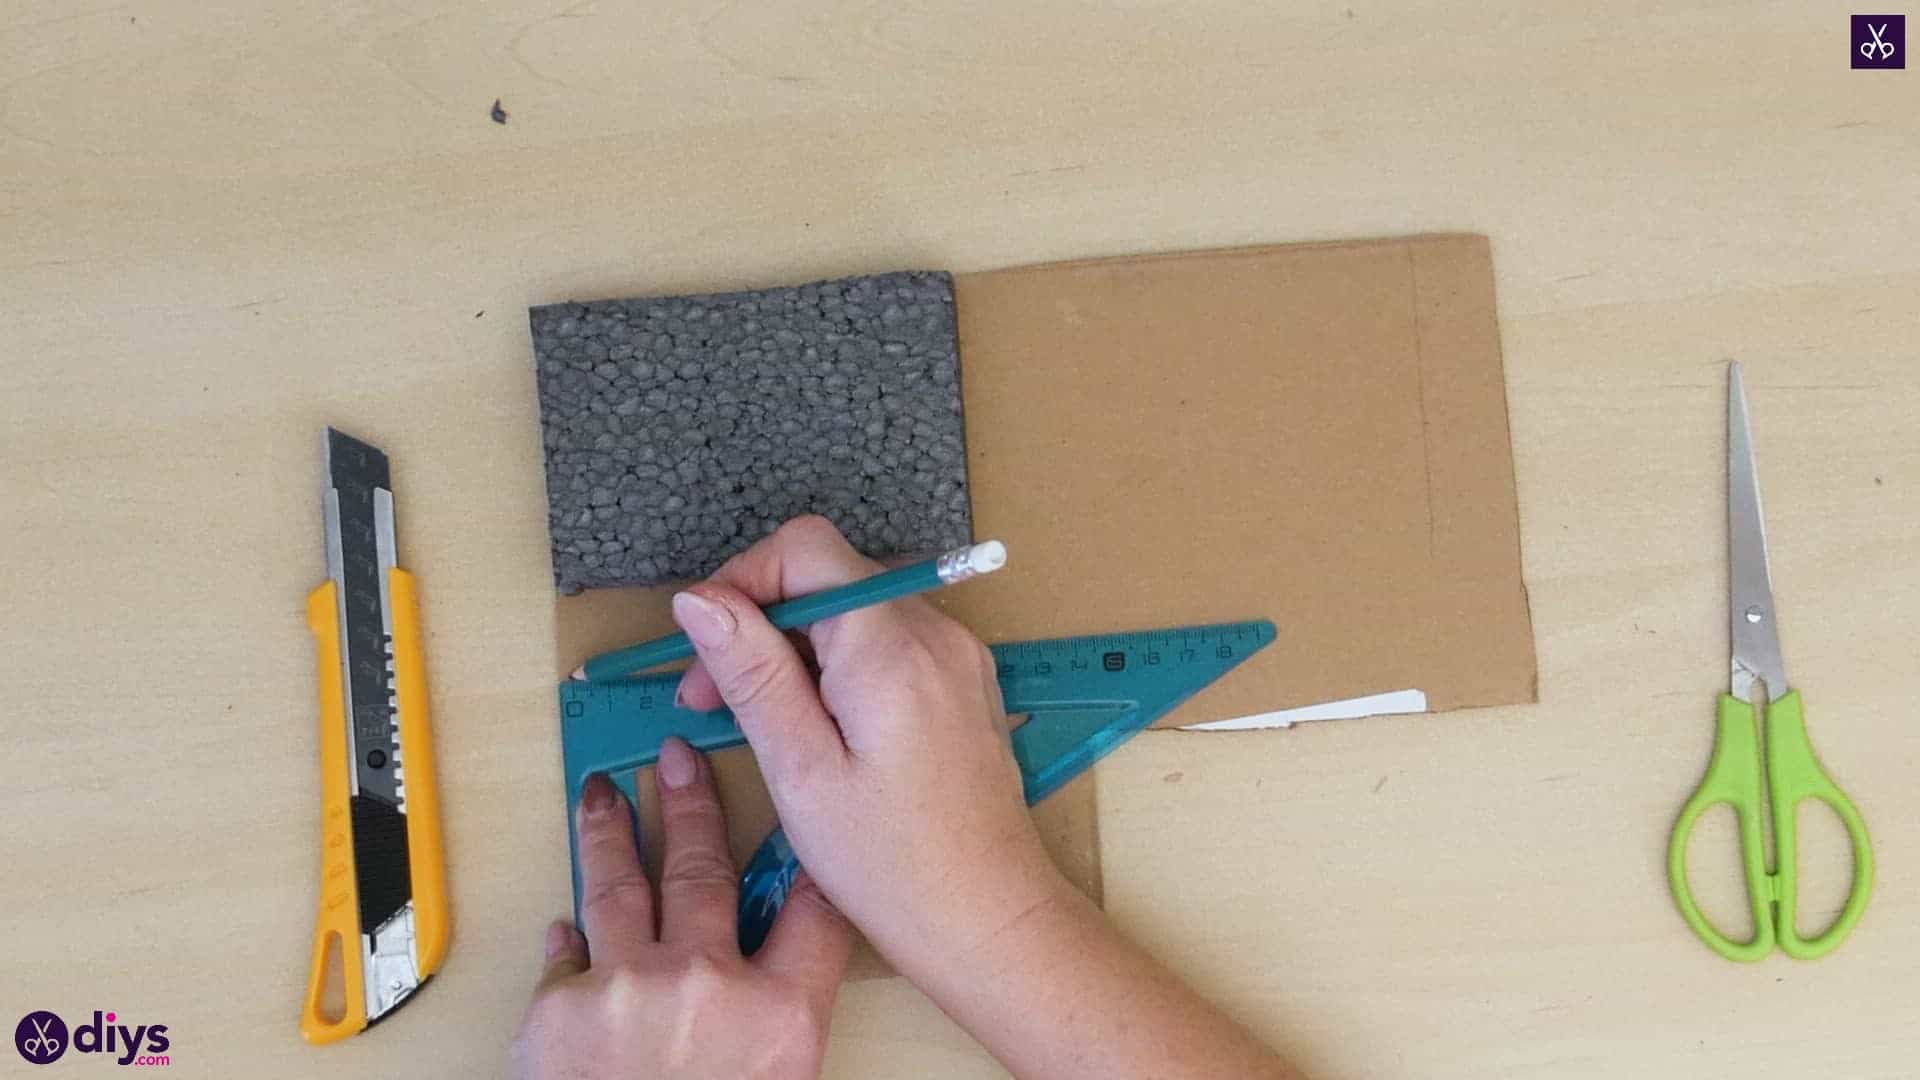
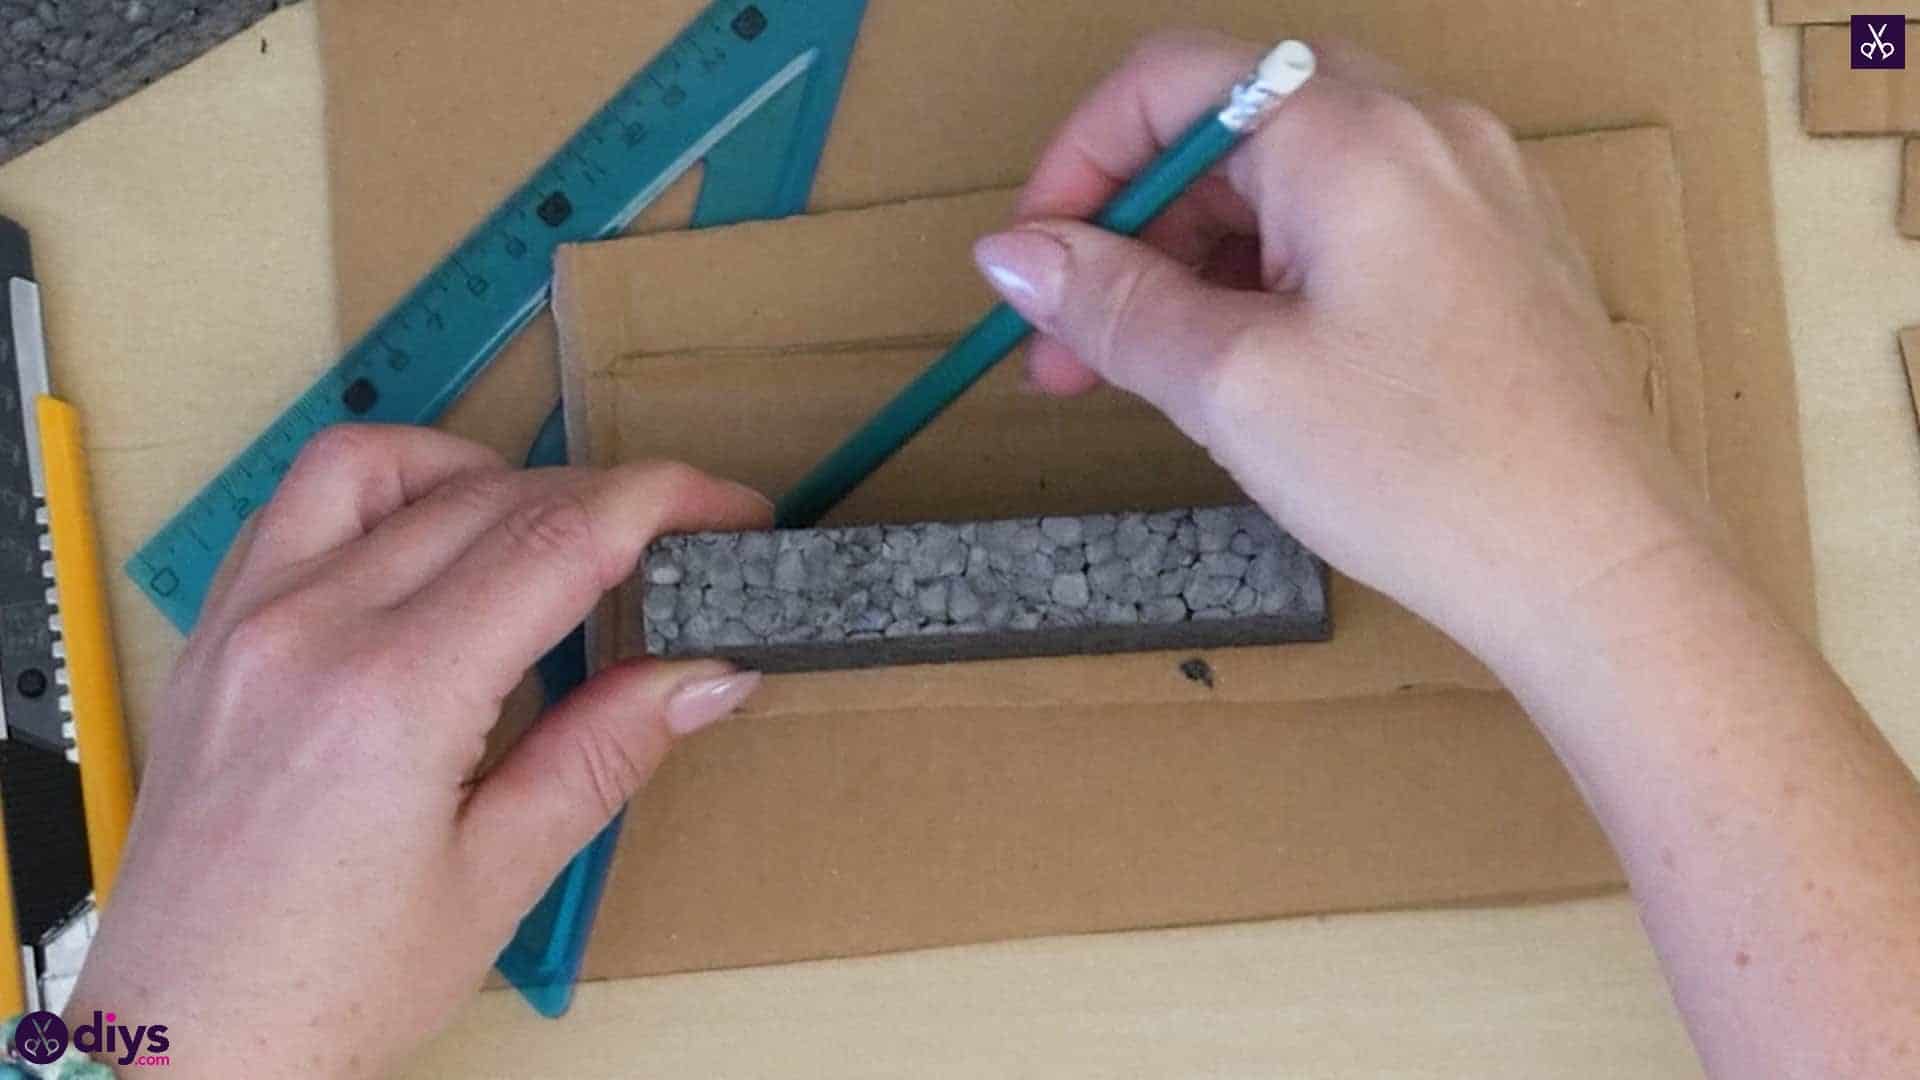
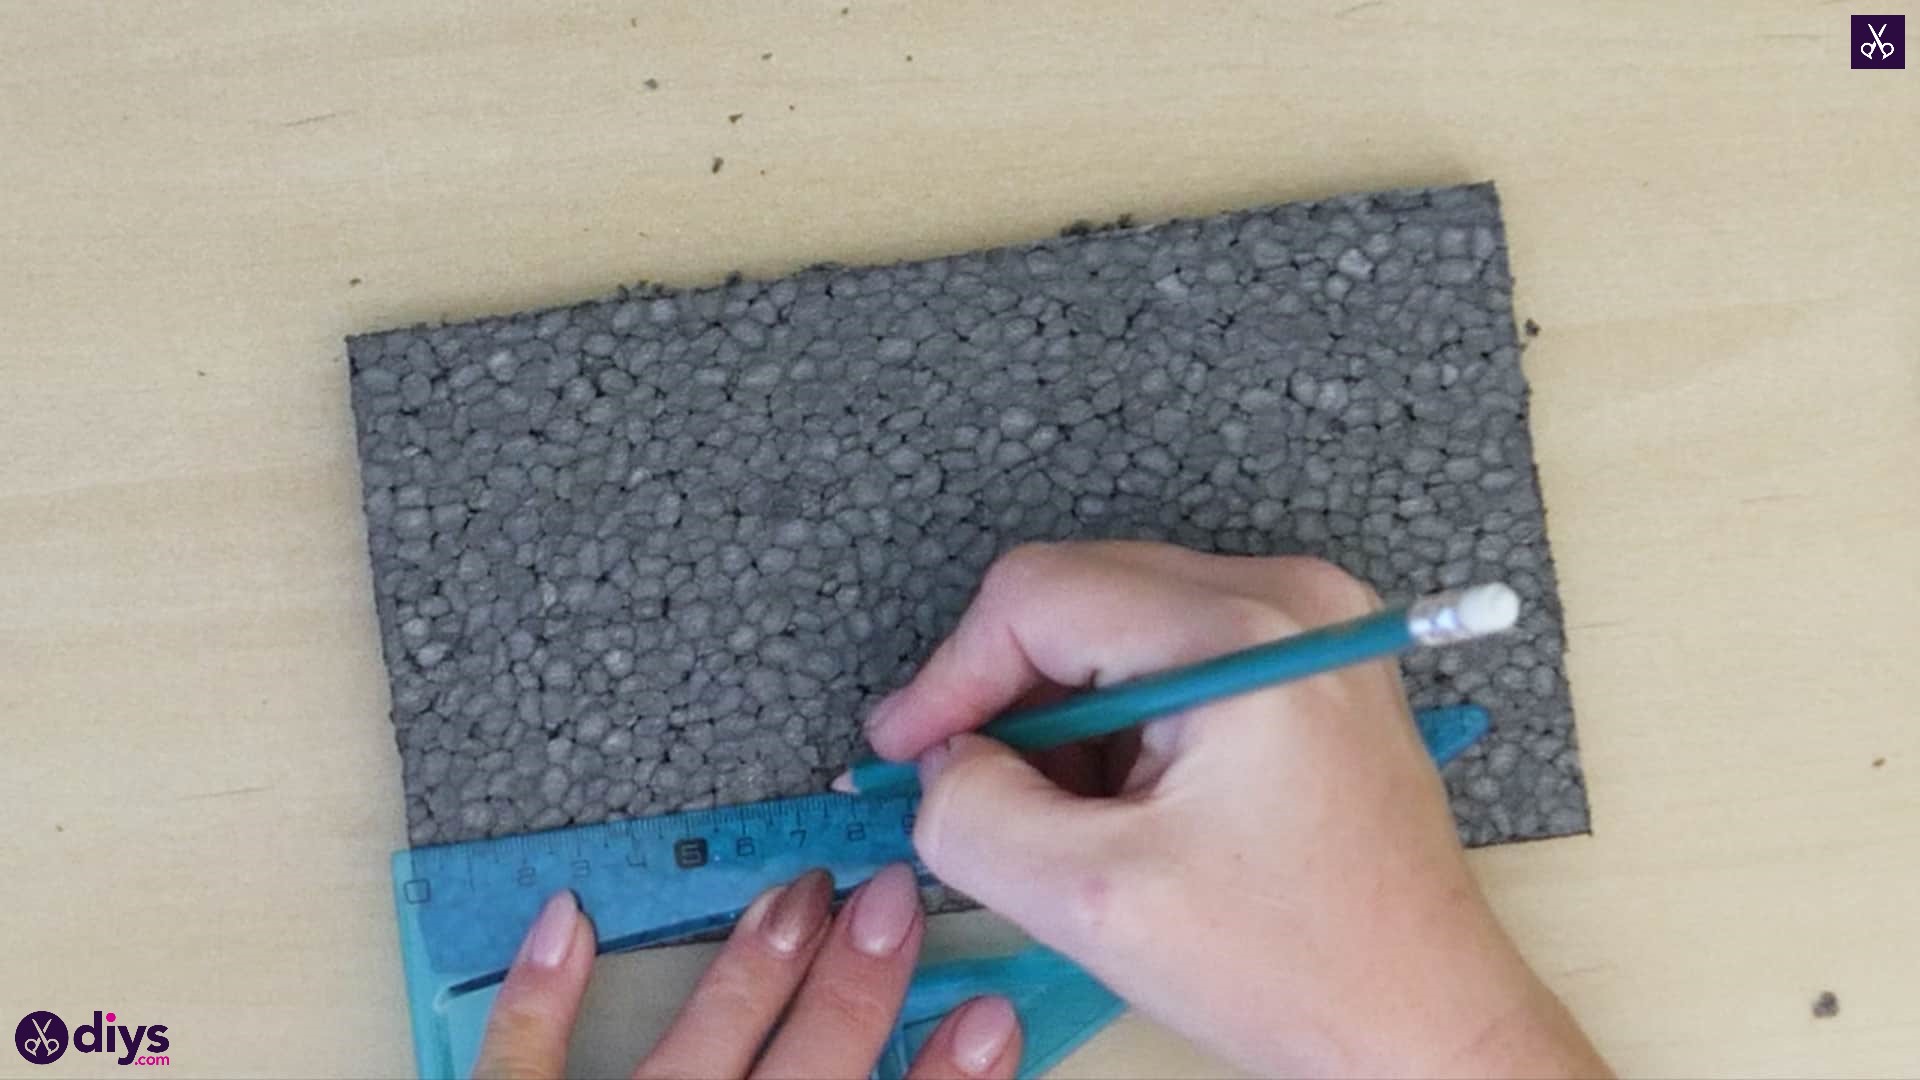
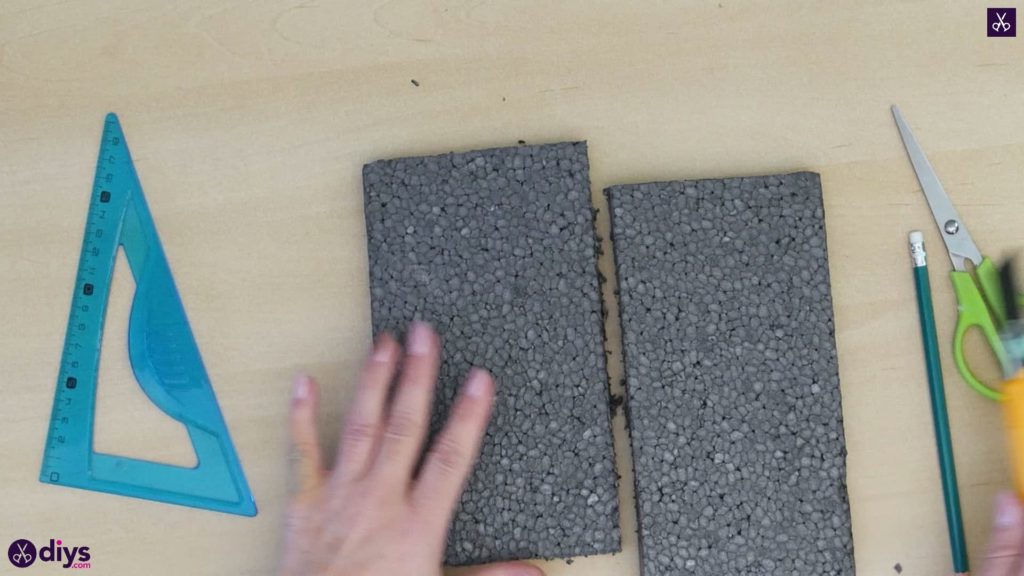
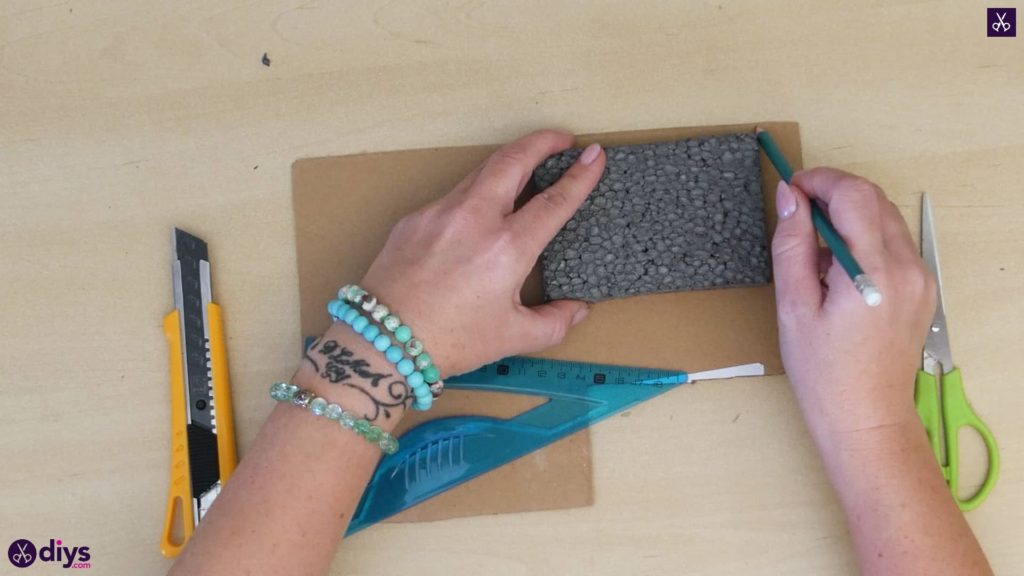
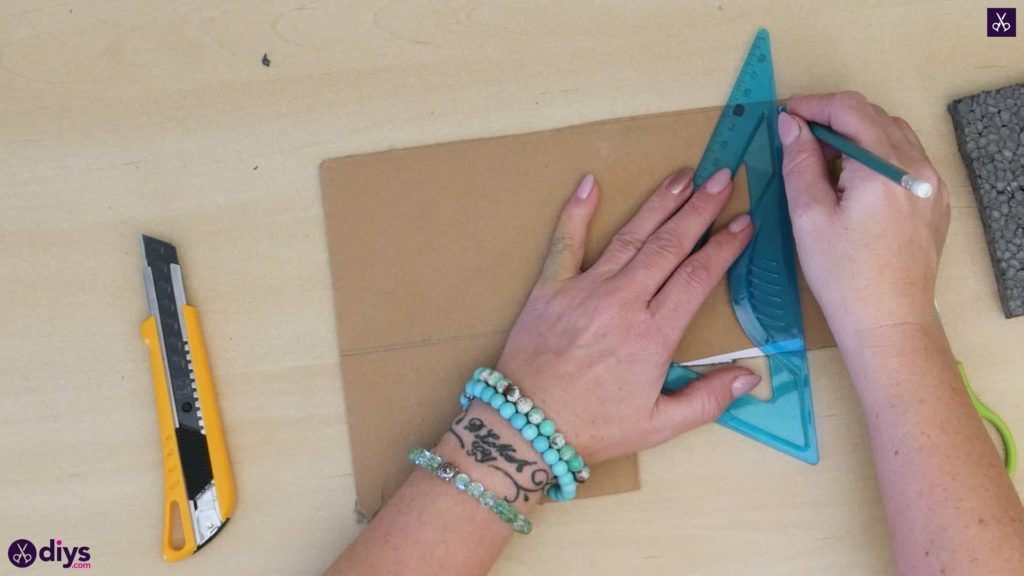
Use your ruler and pencil to mark out rectangular shapes on your styrofoam, making them two inches wide and three inches long. I made sure to draw the actual lines right onto the styrofoam rather than just making ticks because I’m not very good at cutting in a straight line if I don’t have a guide to follow. Use your utility knife to cut out the first correctly sized foam rectangle and then mark out and cut a second of the same size with your pencil and ruler or simply use the first rectangle you cut as a guide to cut the second in the same shape and size.

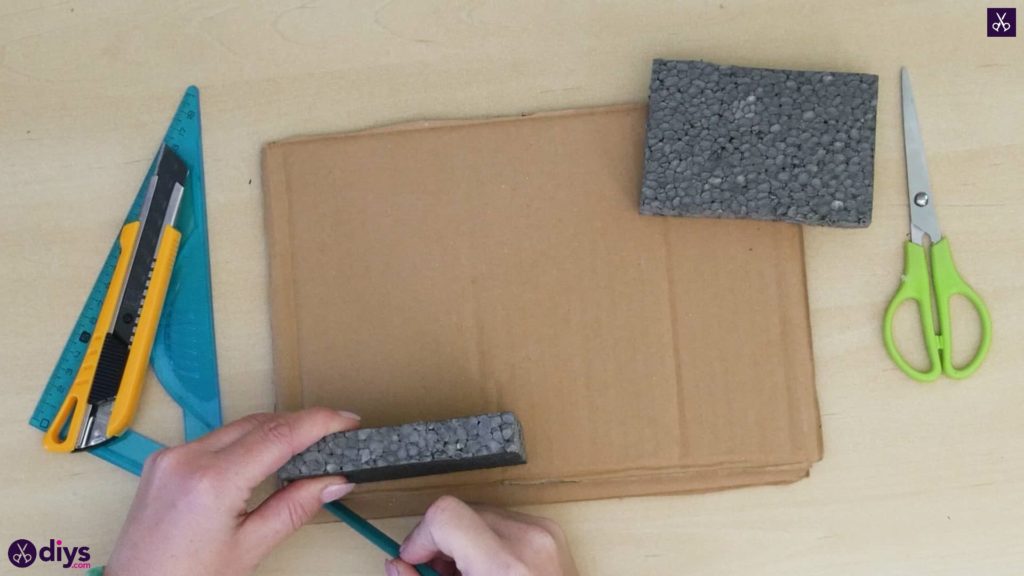
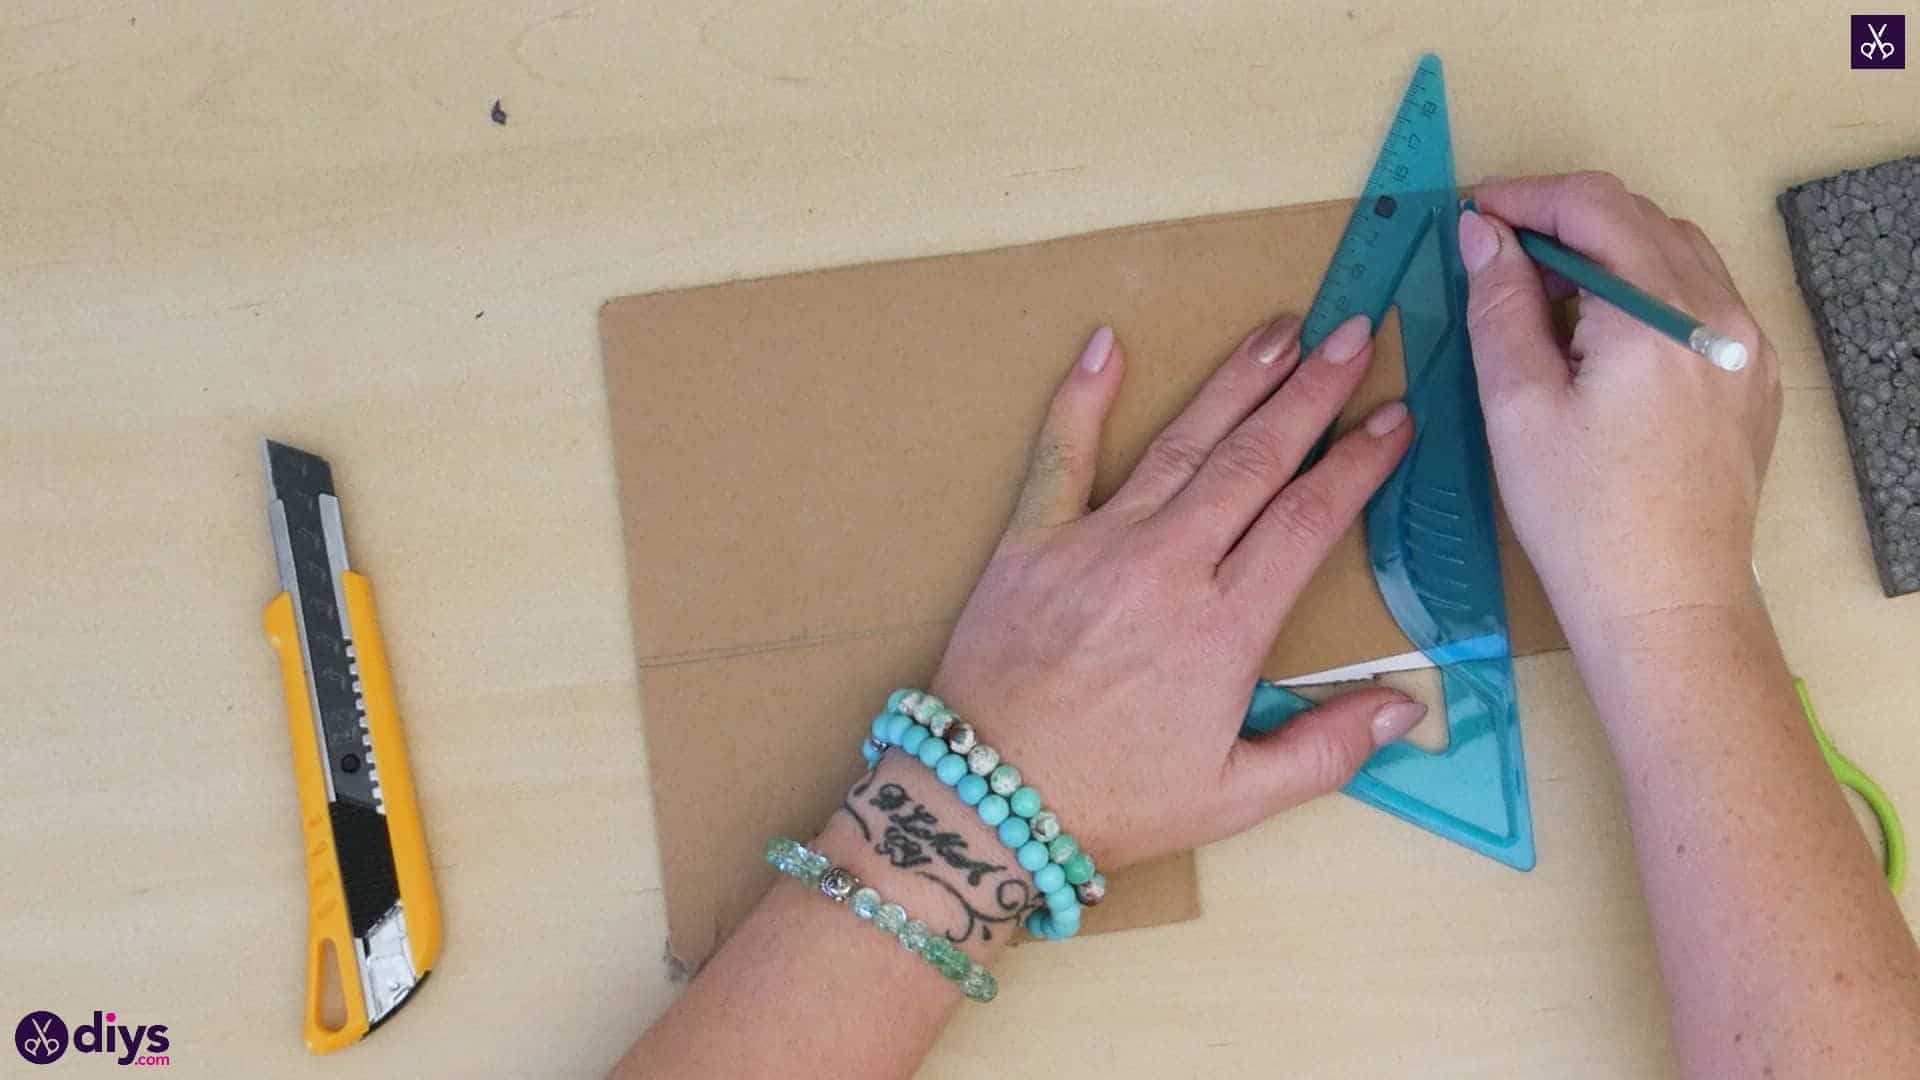
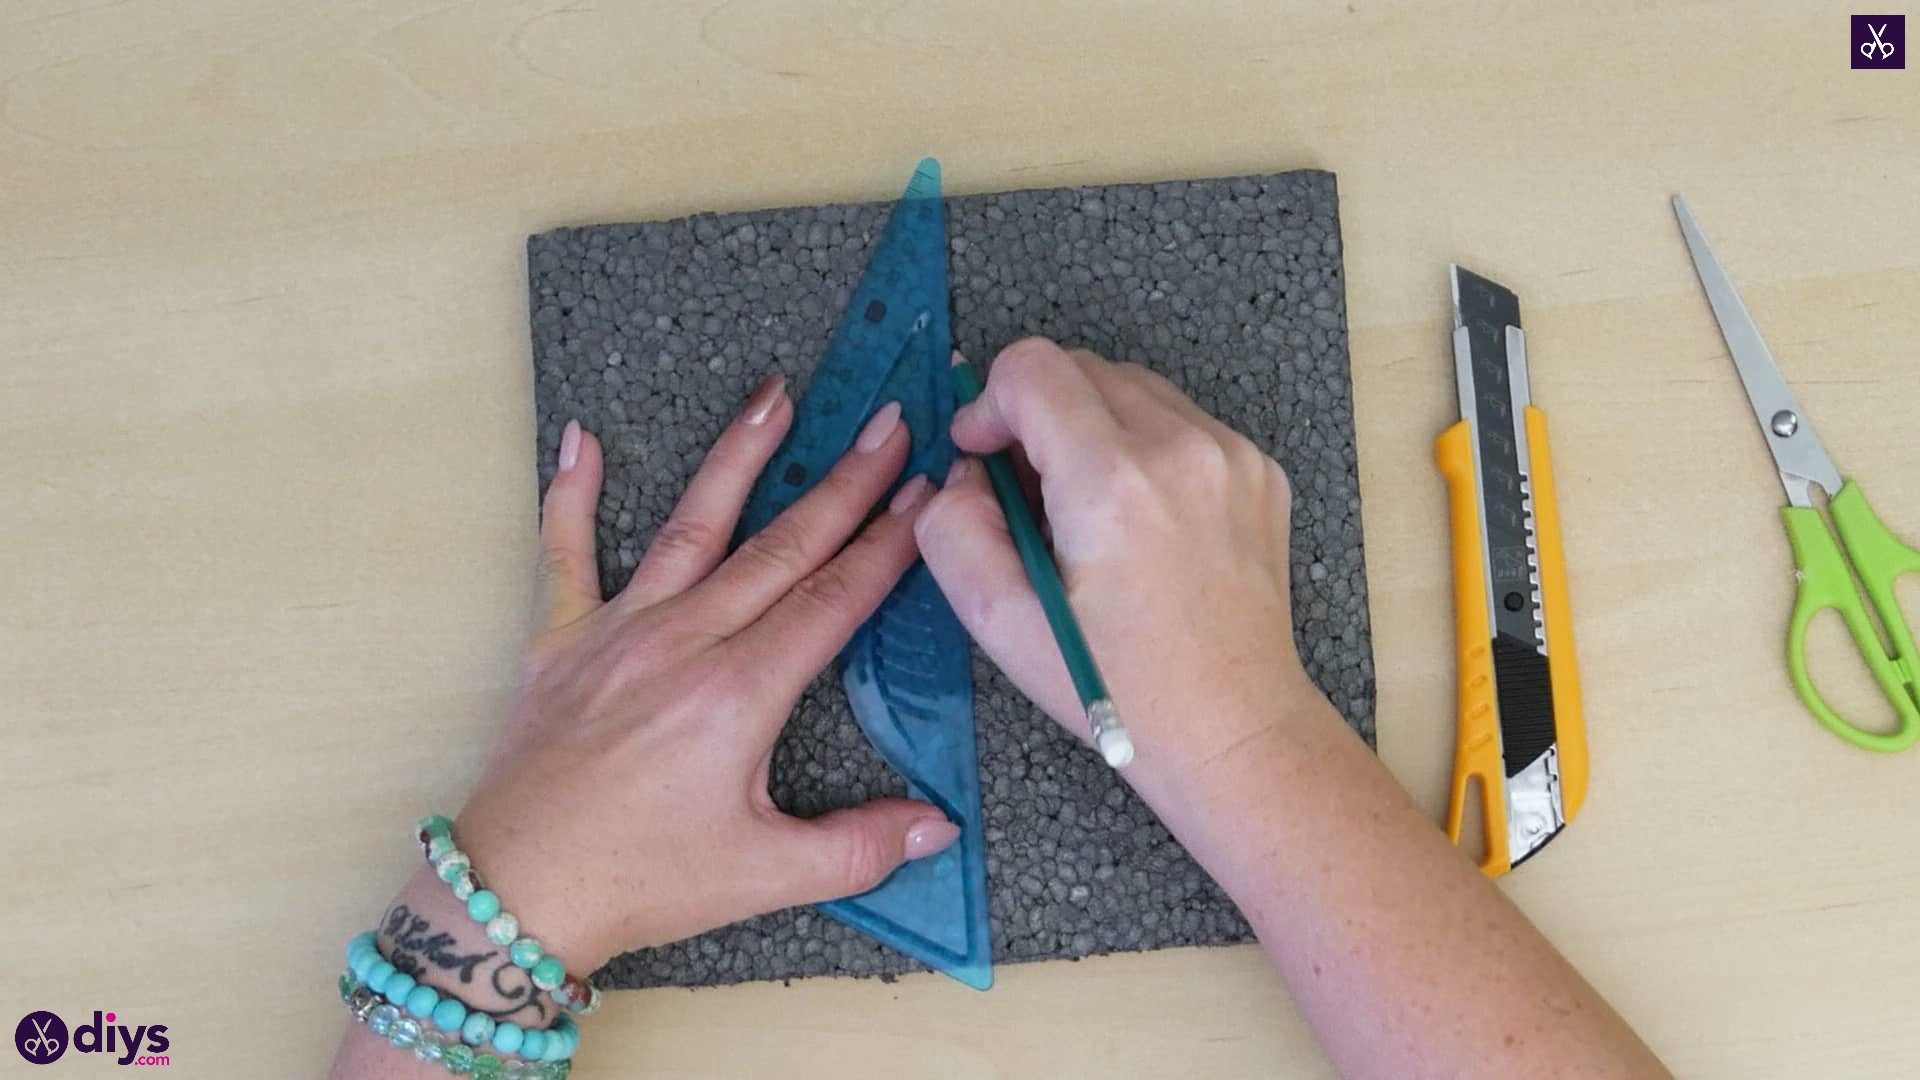
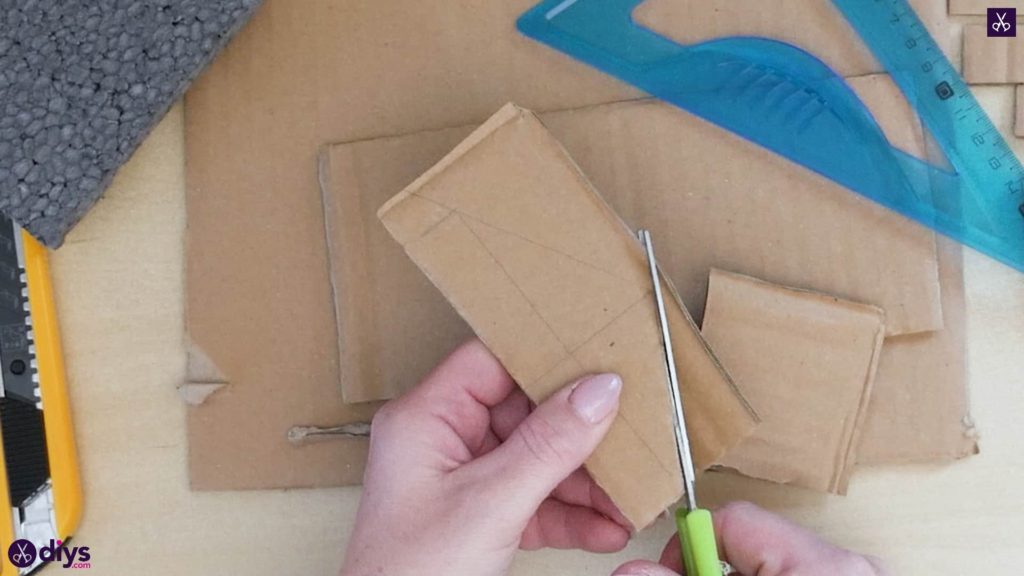
Step 3: measure and cut some more
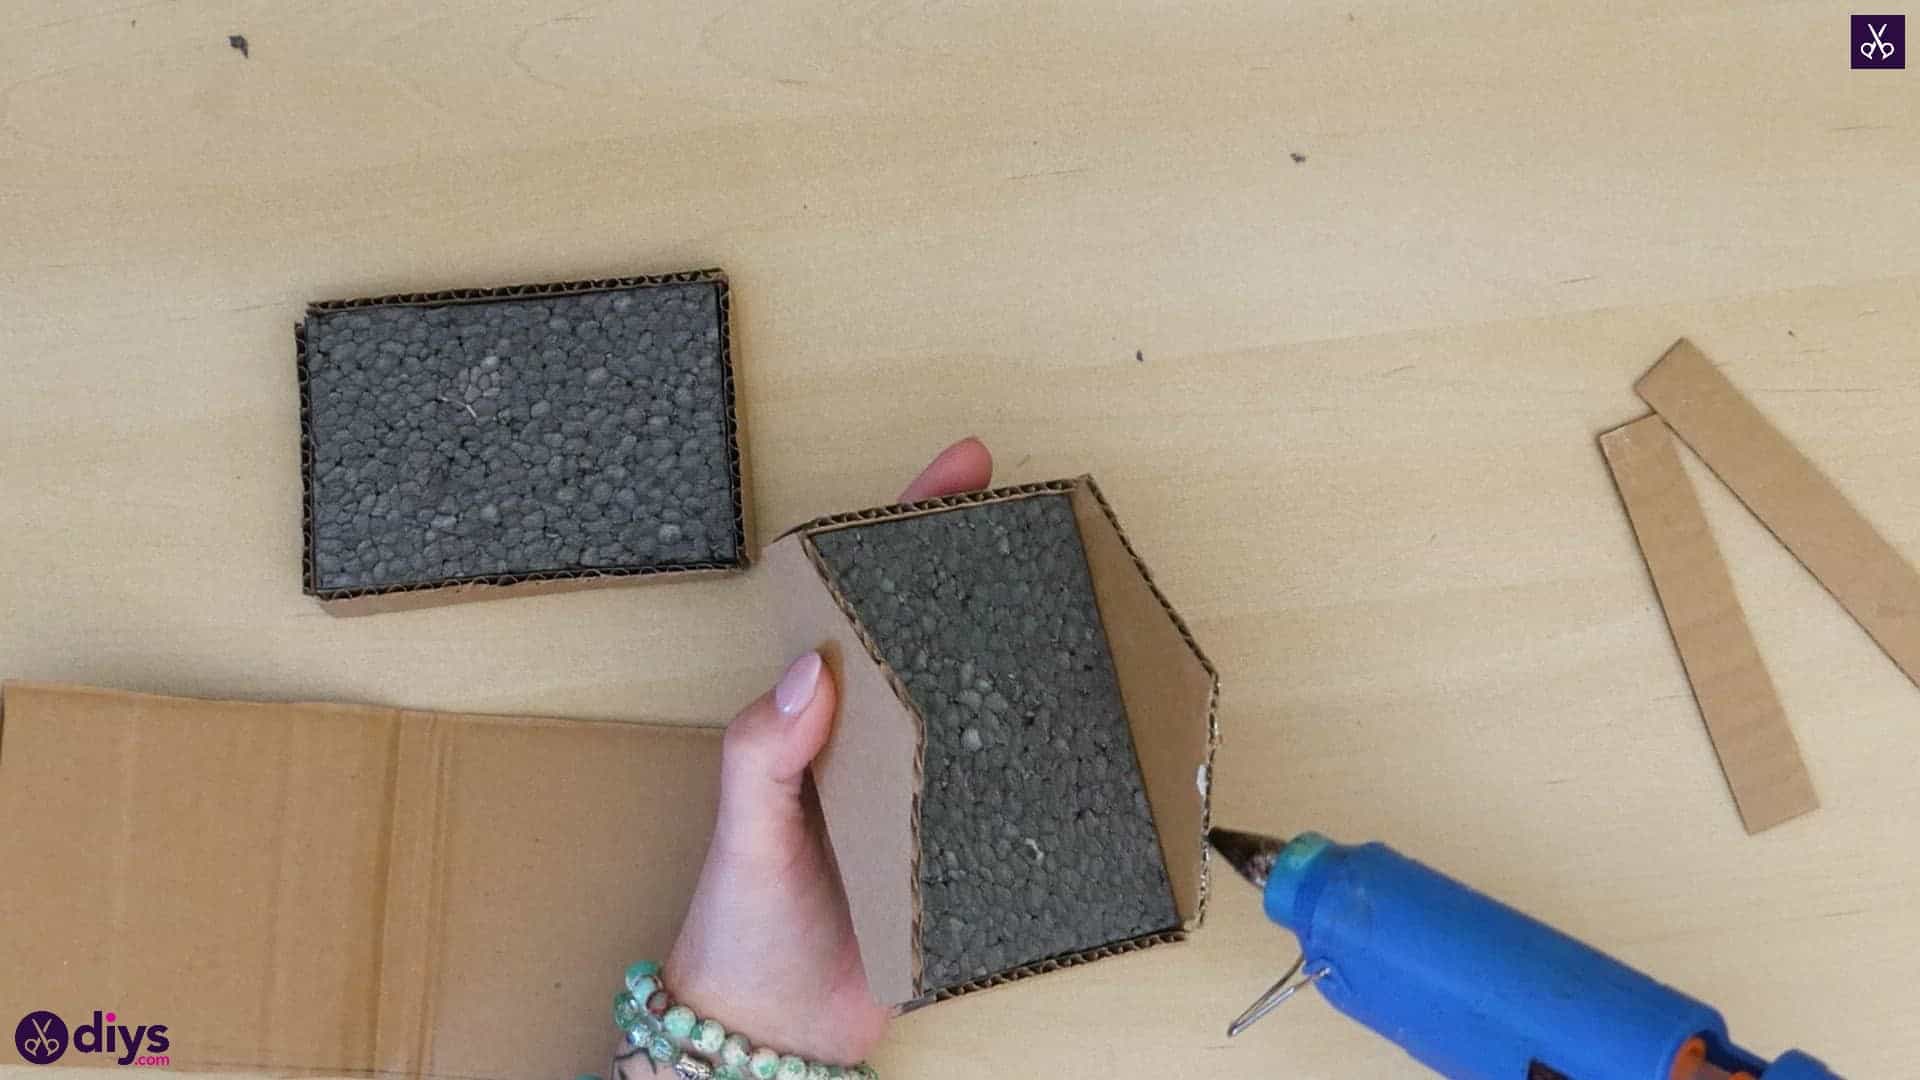
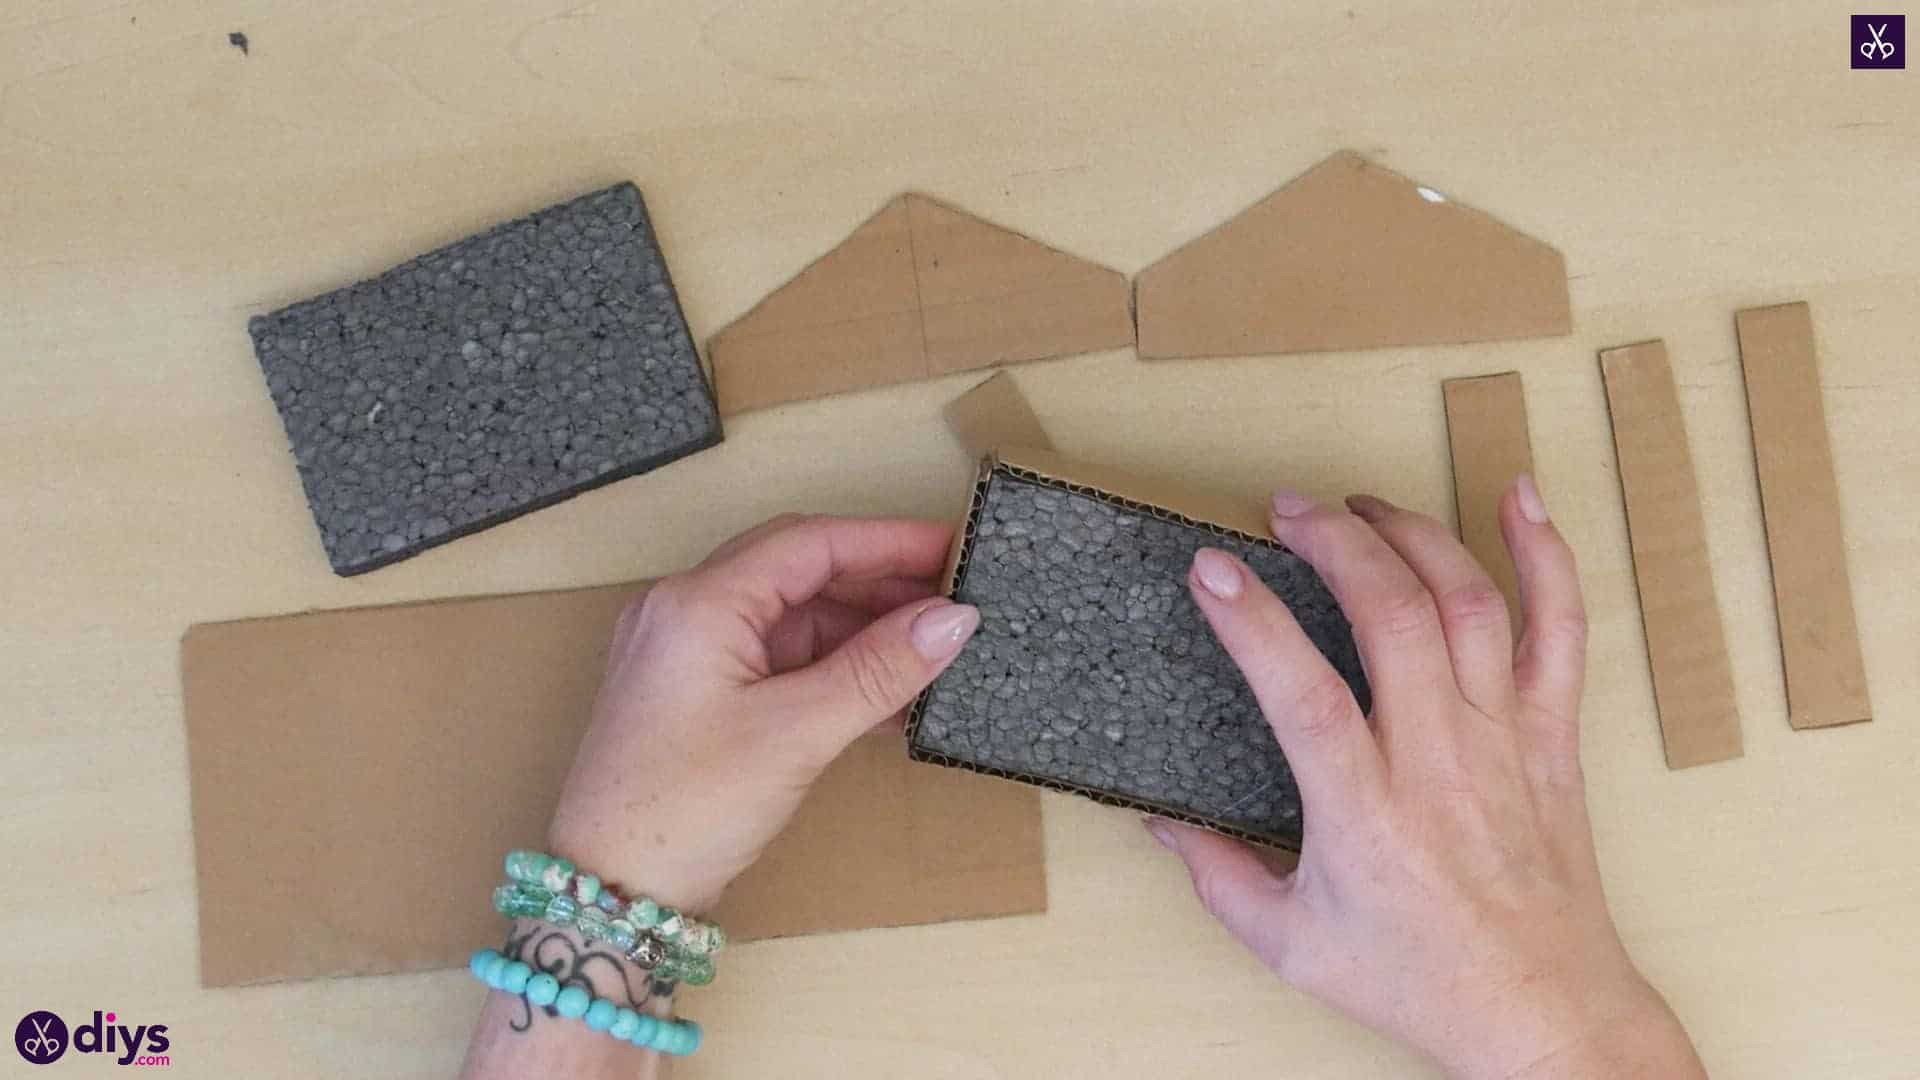
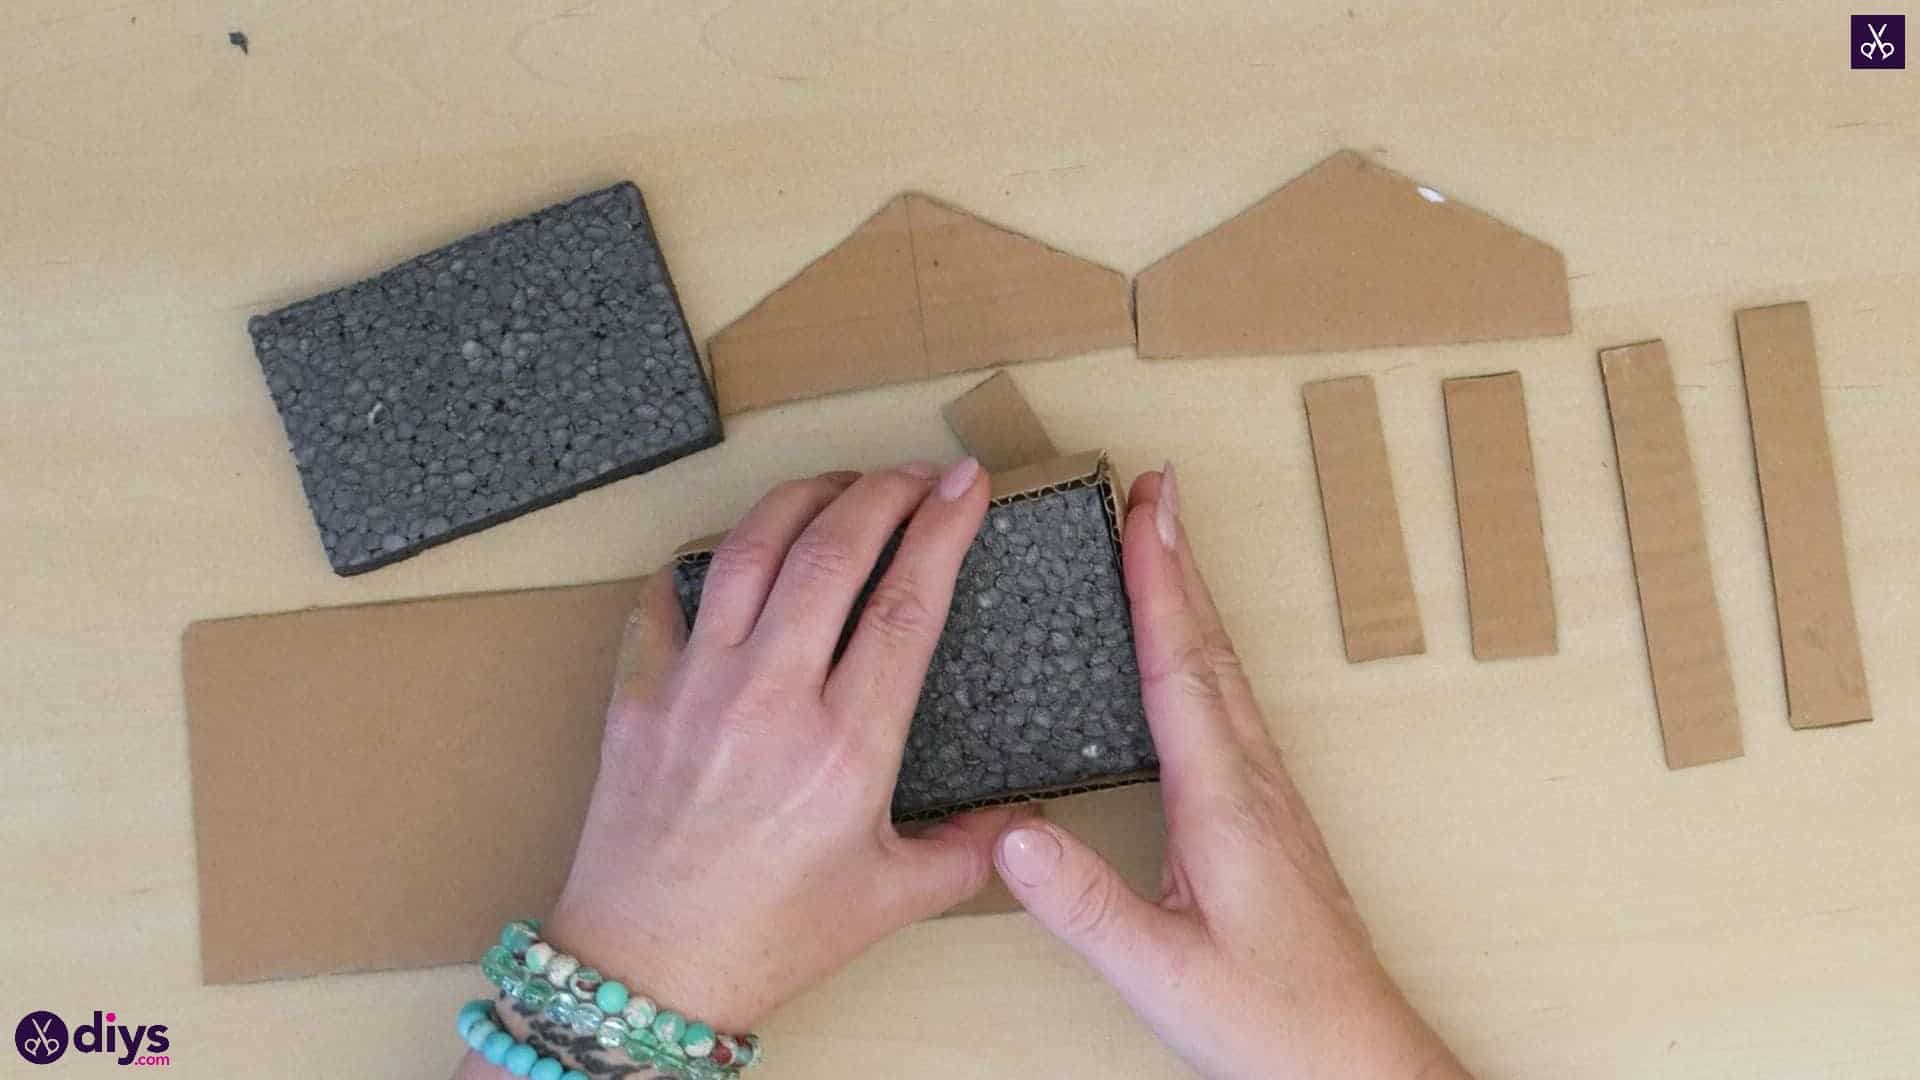
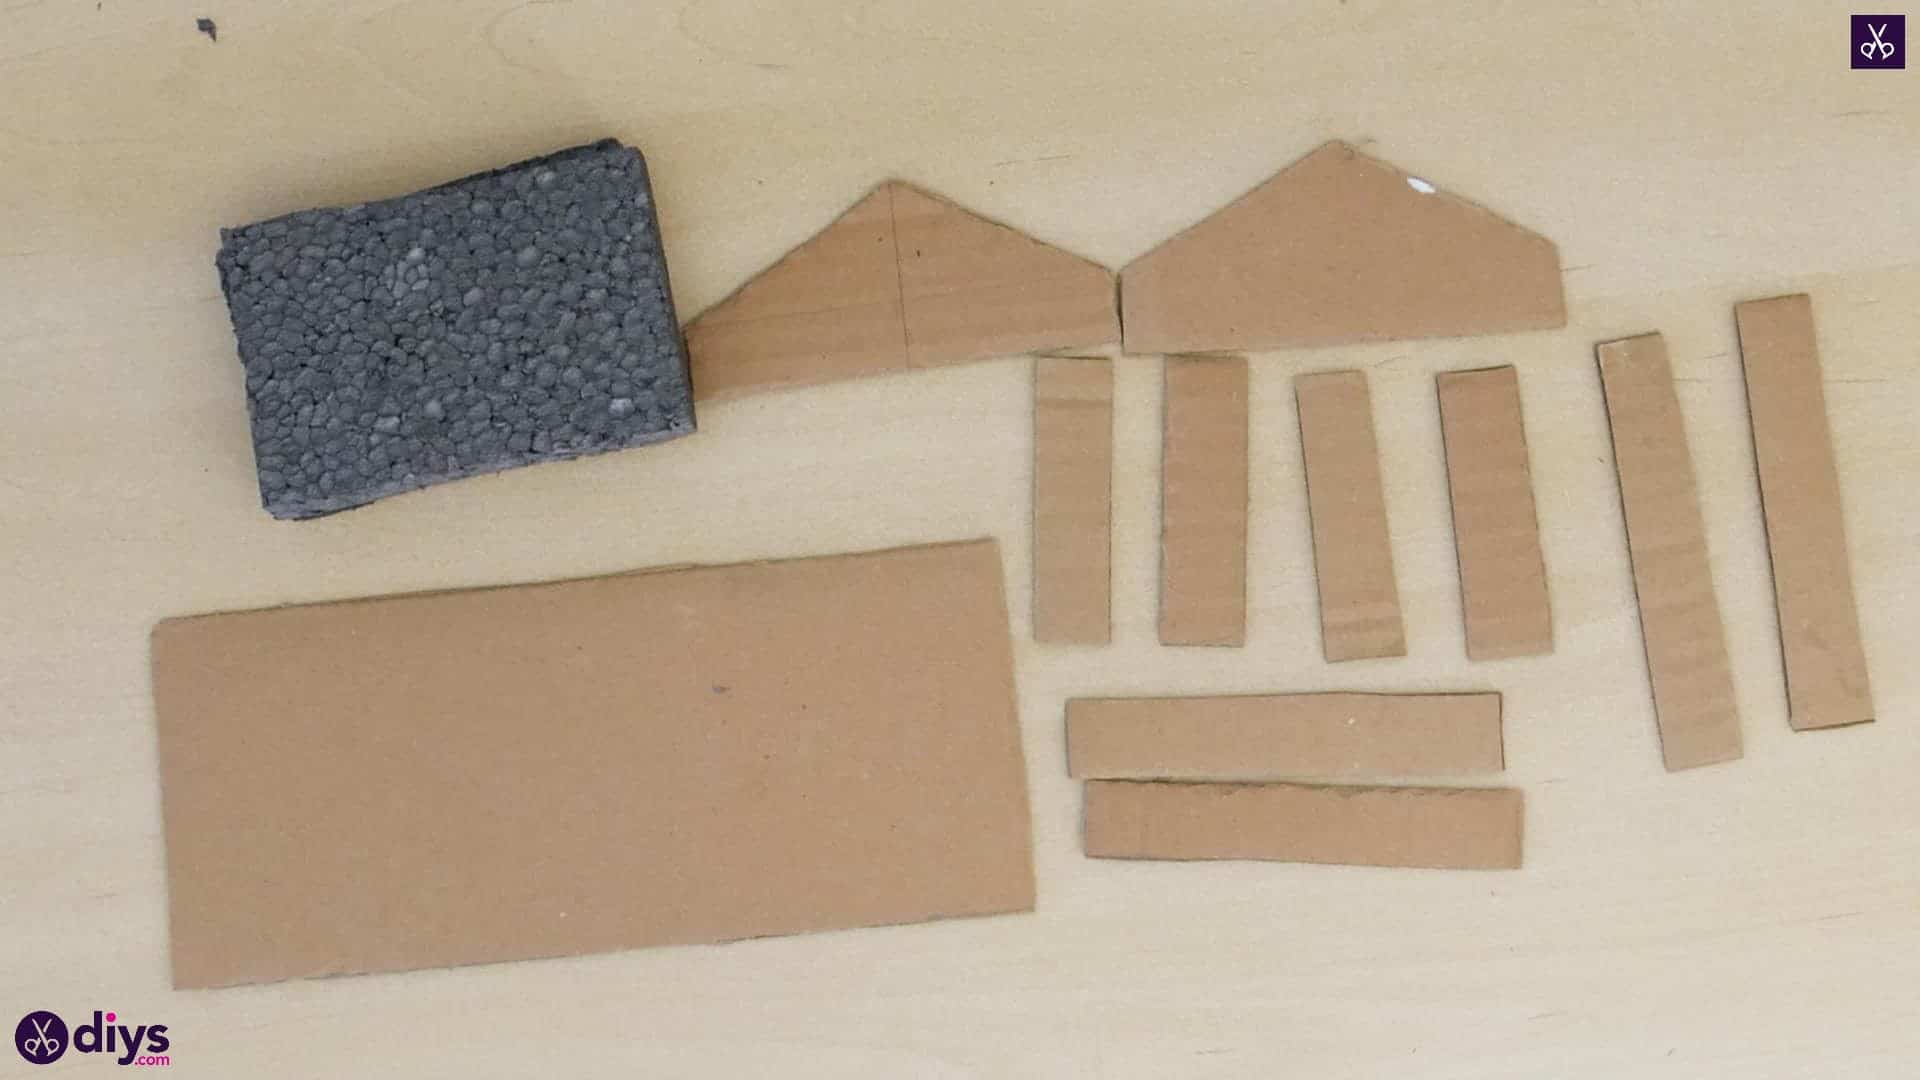
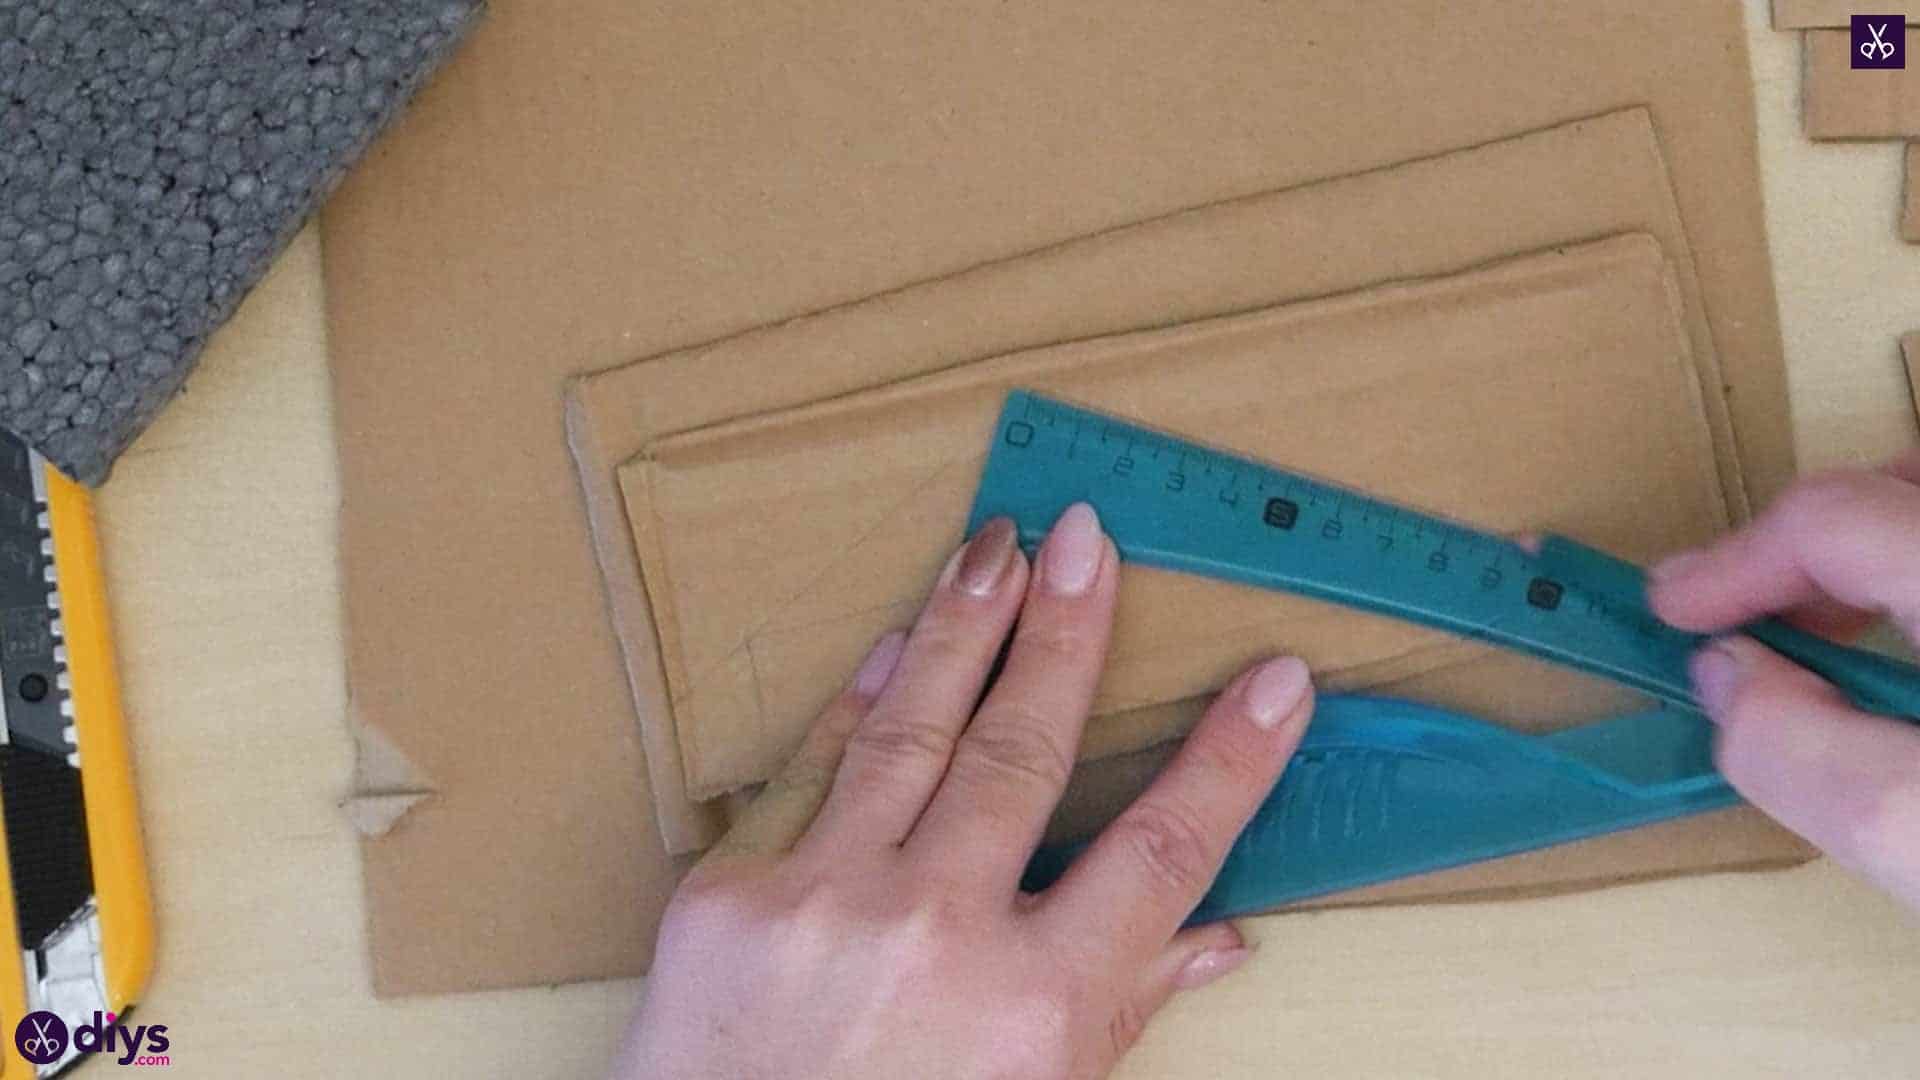
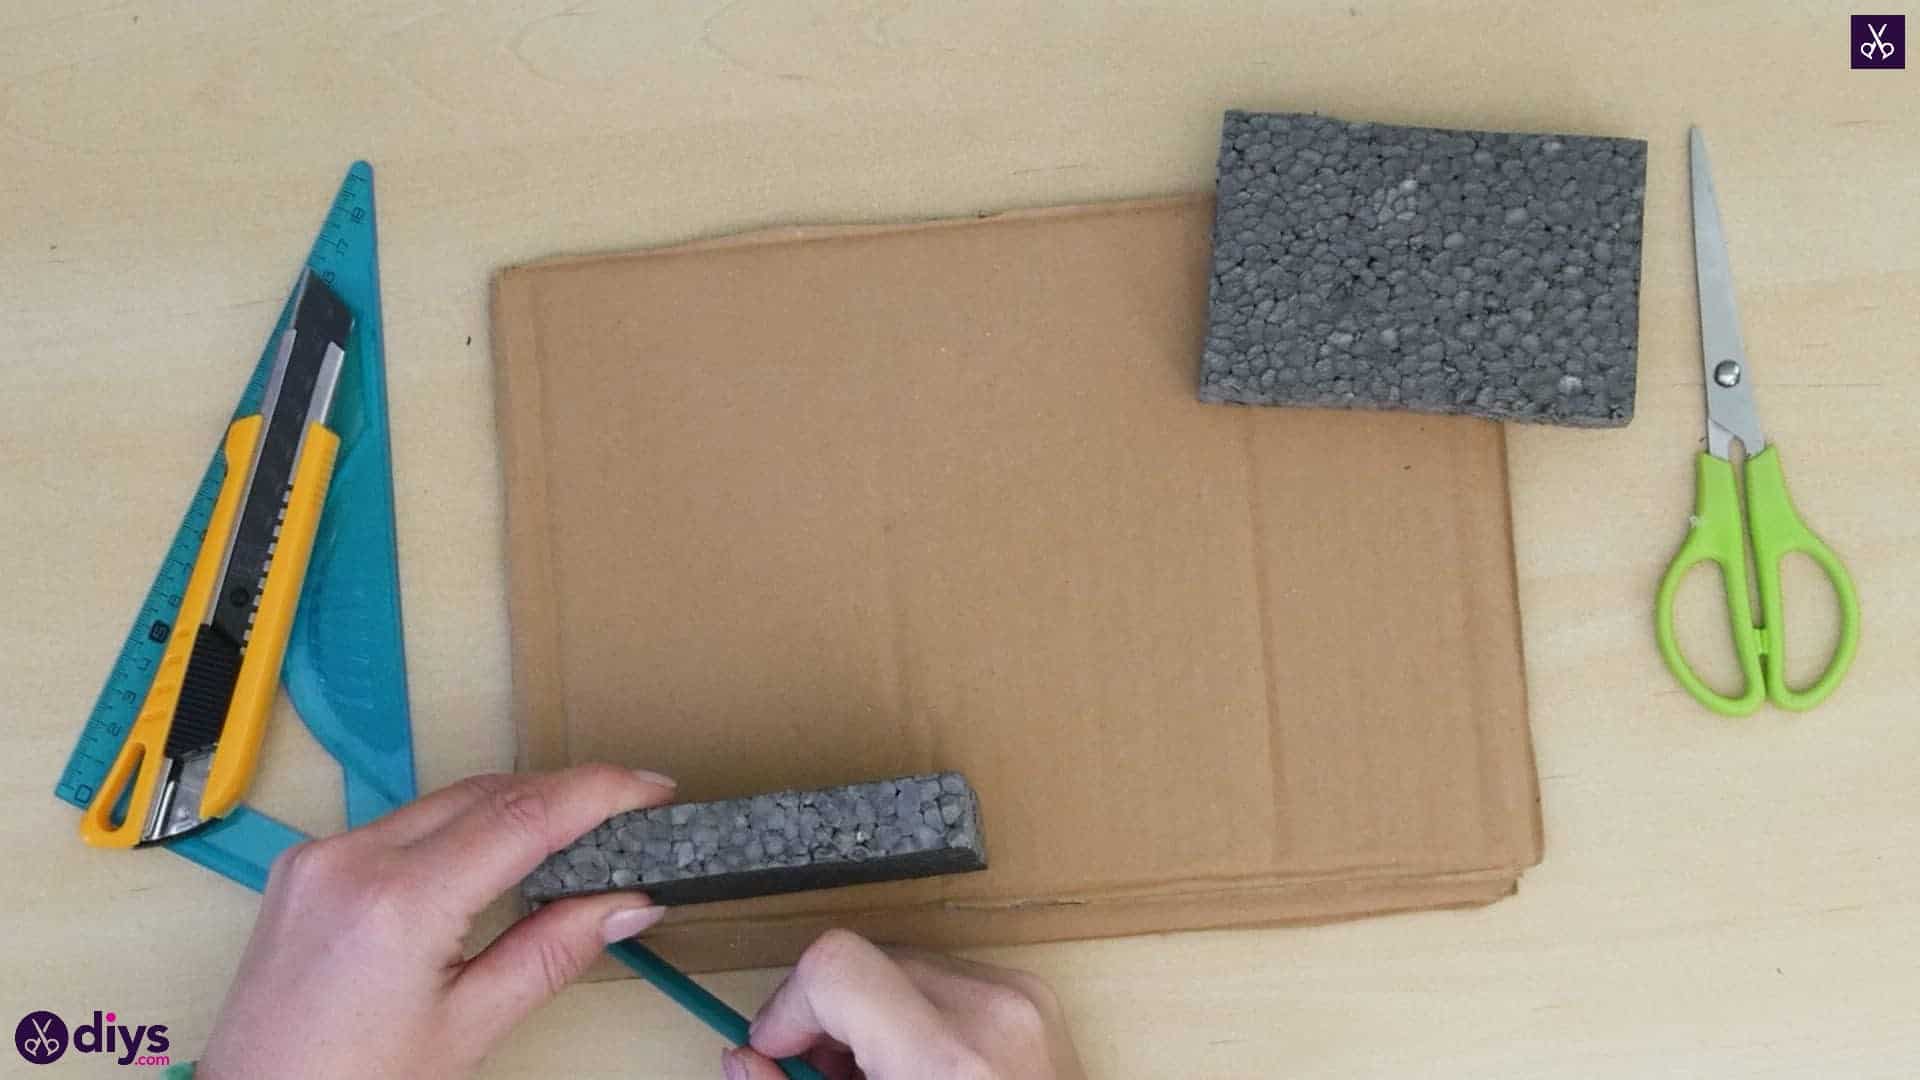
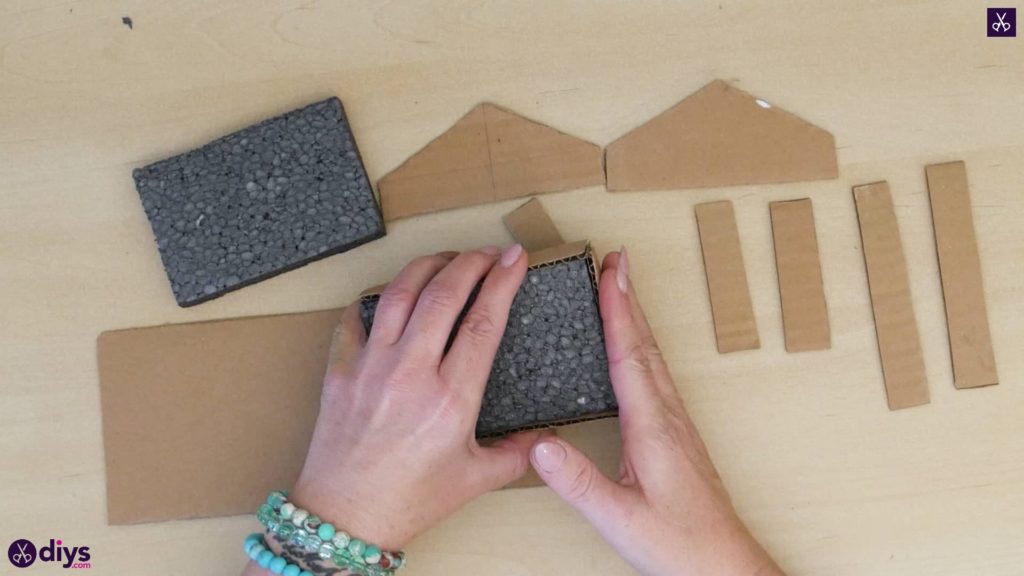
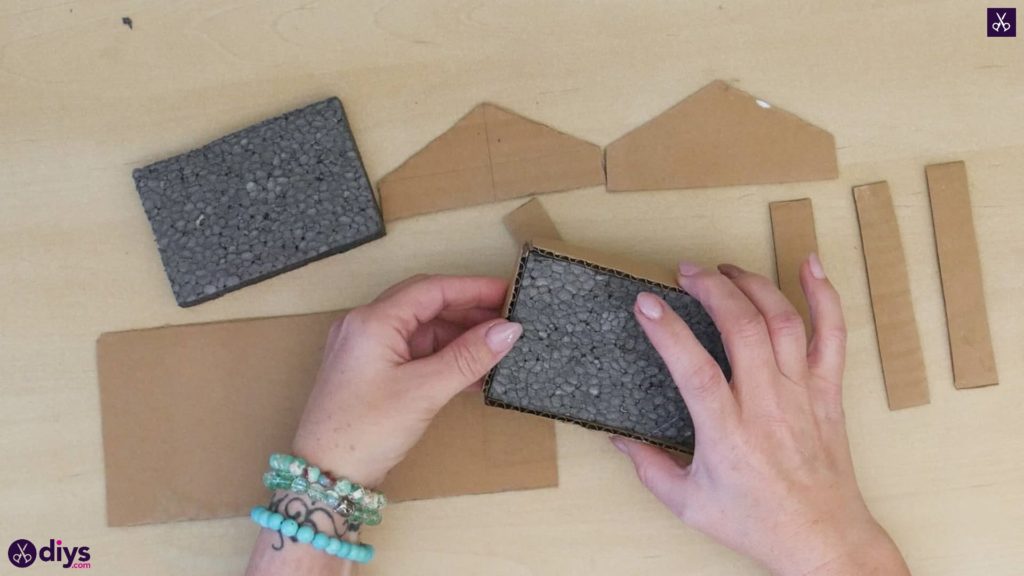
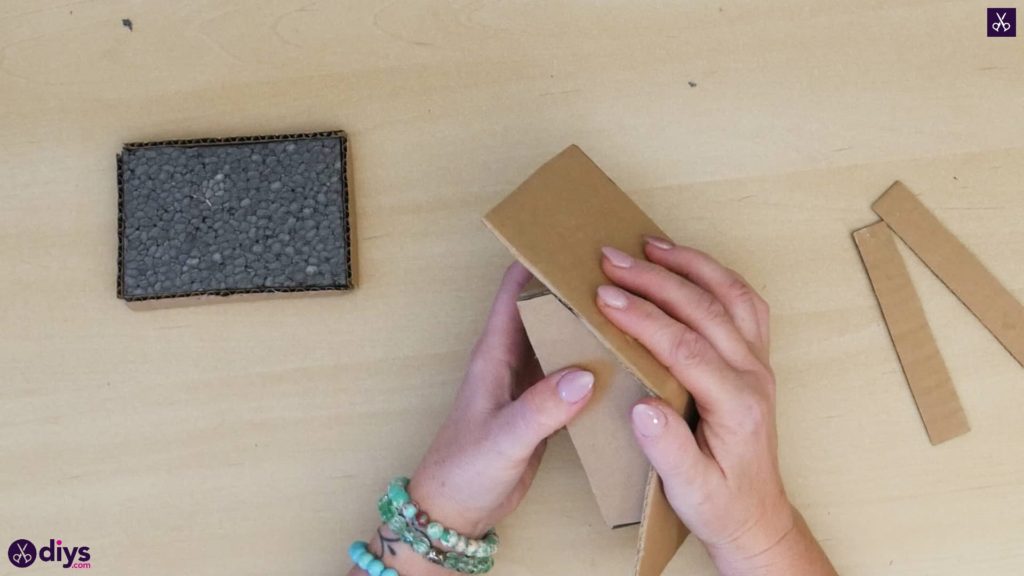
Use one of your styrofoam pieces as a stencil to draw and cut out eight cardboard pieces; four that are the same size as the rectangles’ width and four that are the same size as their length. Each one will be the same height. Tip one of the foam rectangles onto the side you want to trace onto the cardboard, drawing around it with your pencil. Then cut these different sized cardboard rectangles out. Two of the long shapes and two of the short will go with each one of your styrofoam blocks.
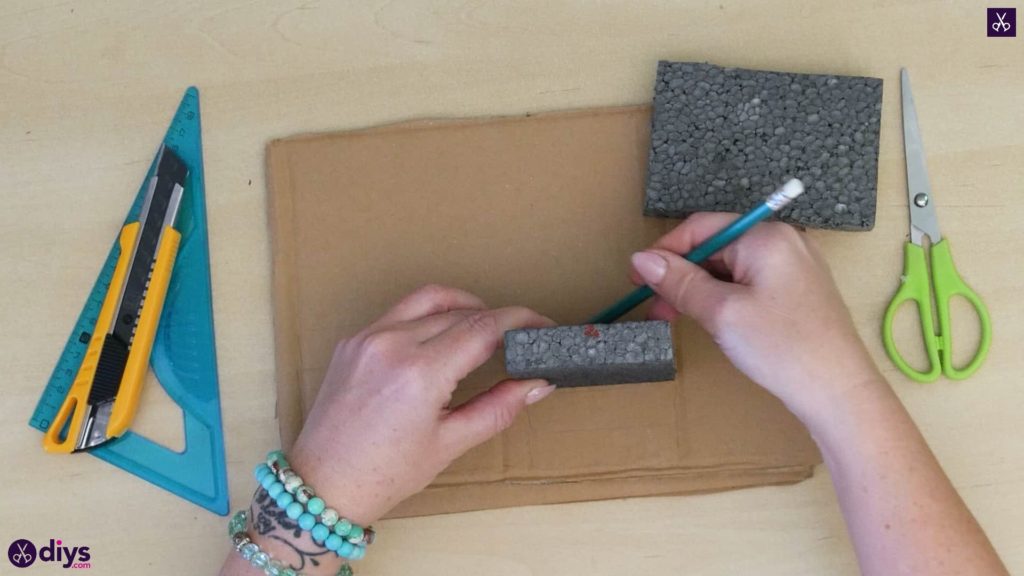

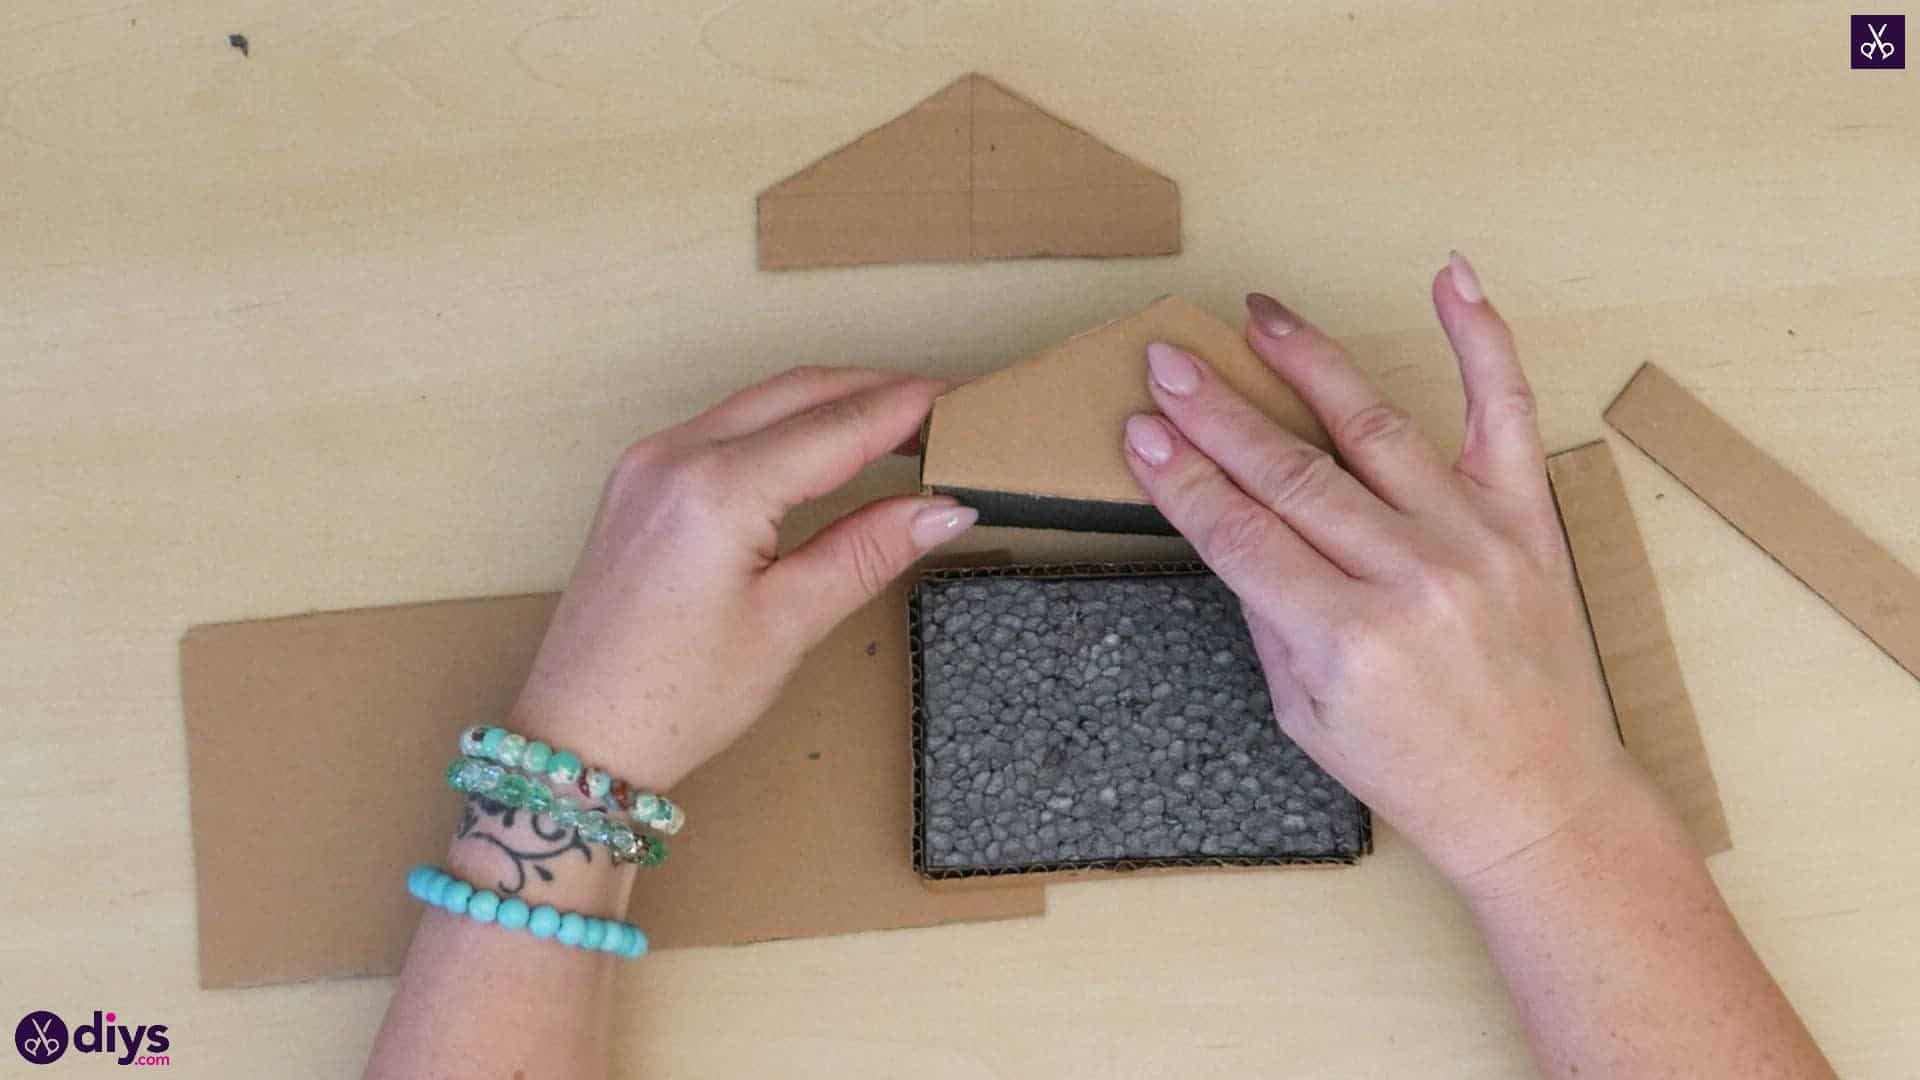
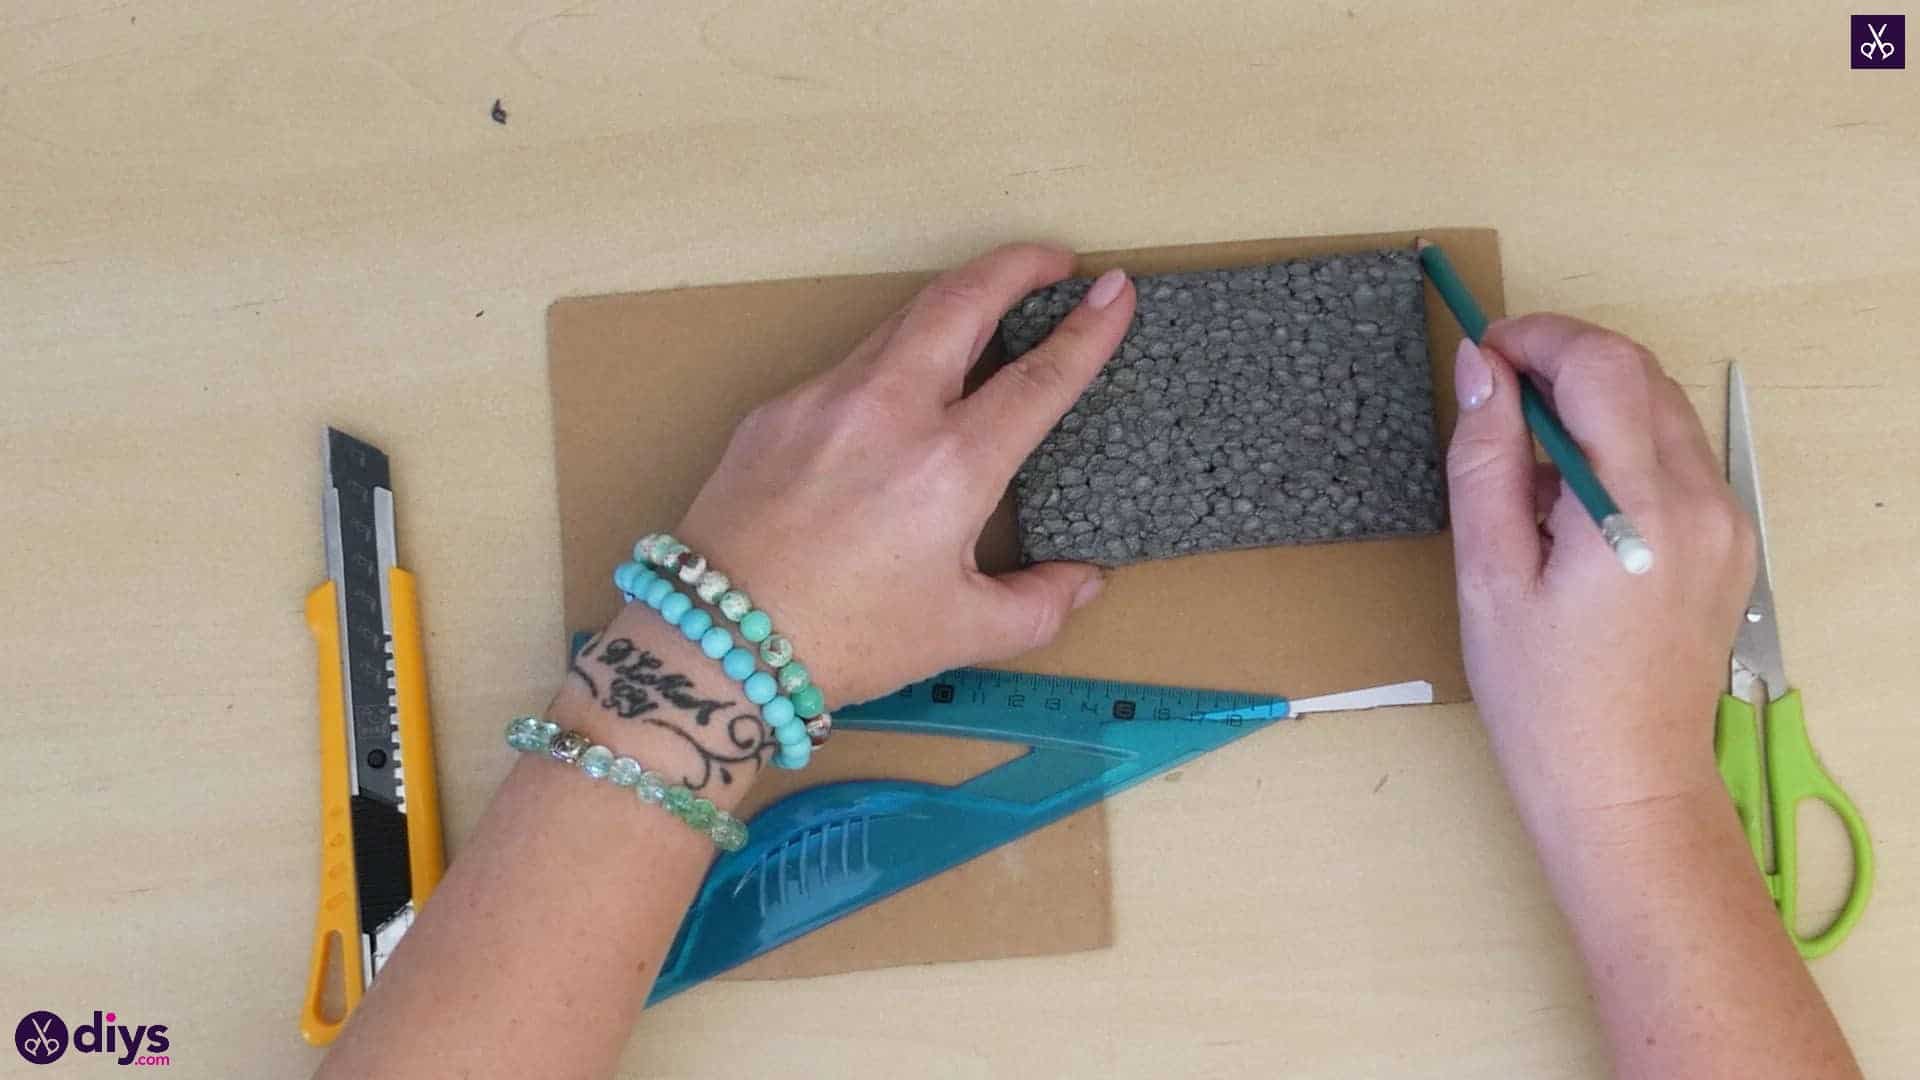
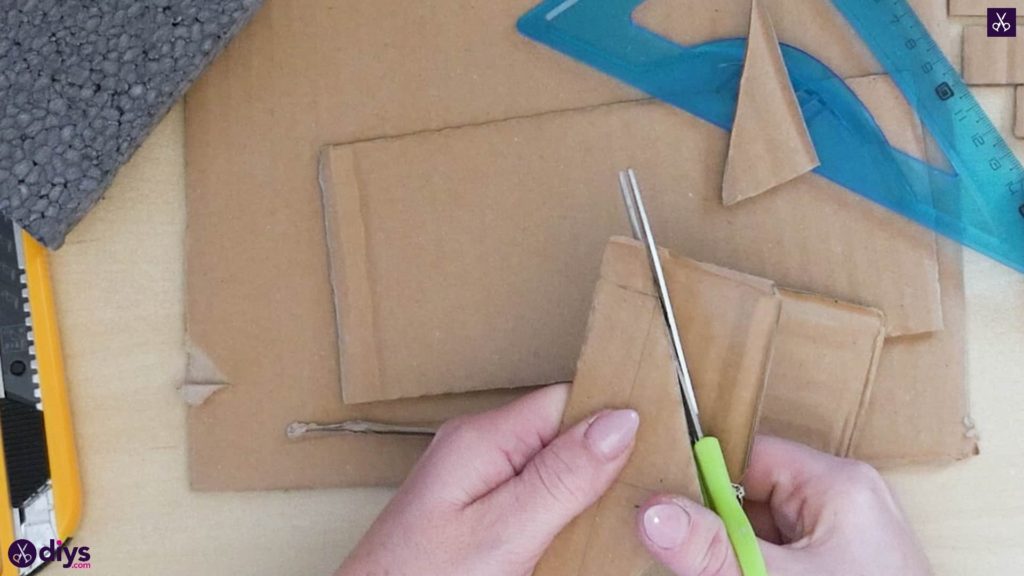
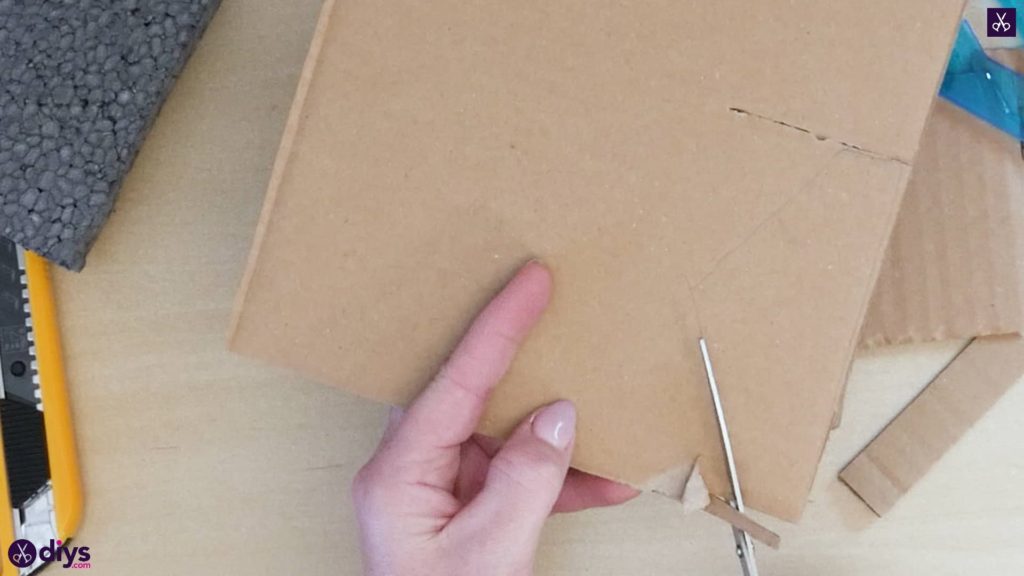
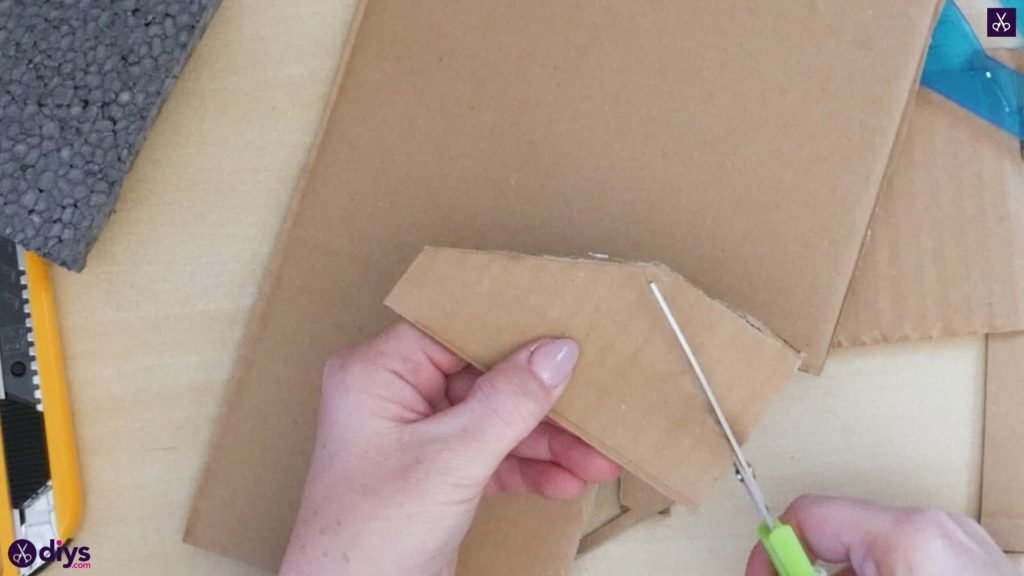
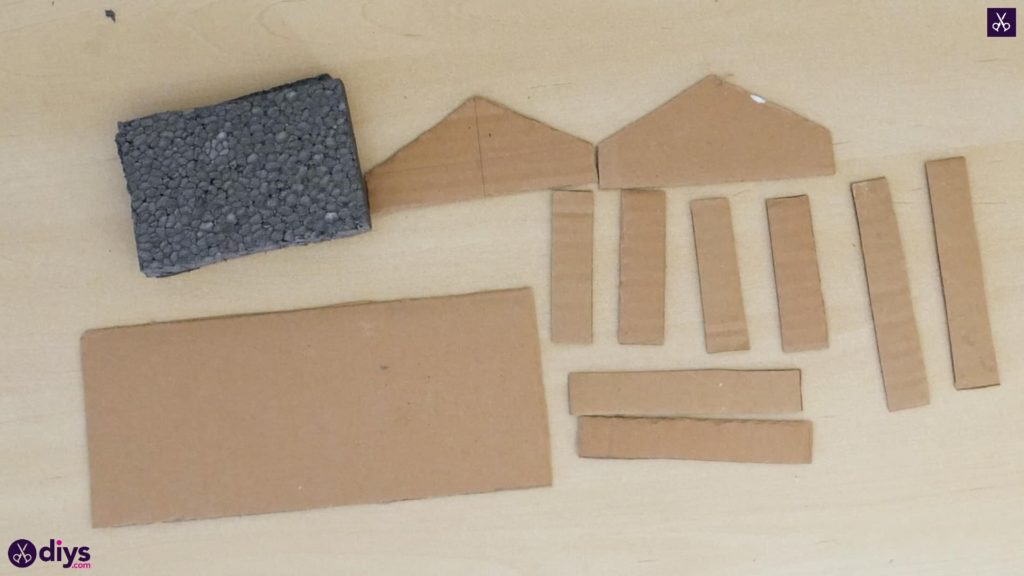
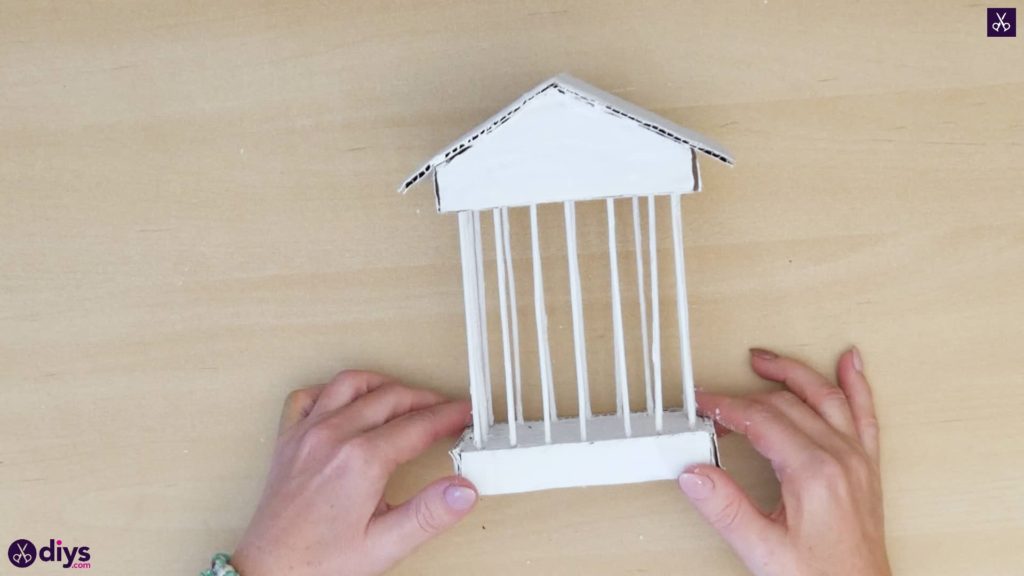
Step 4: make the roof
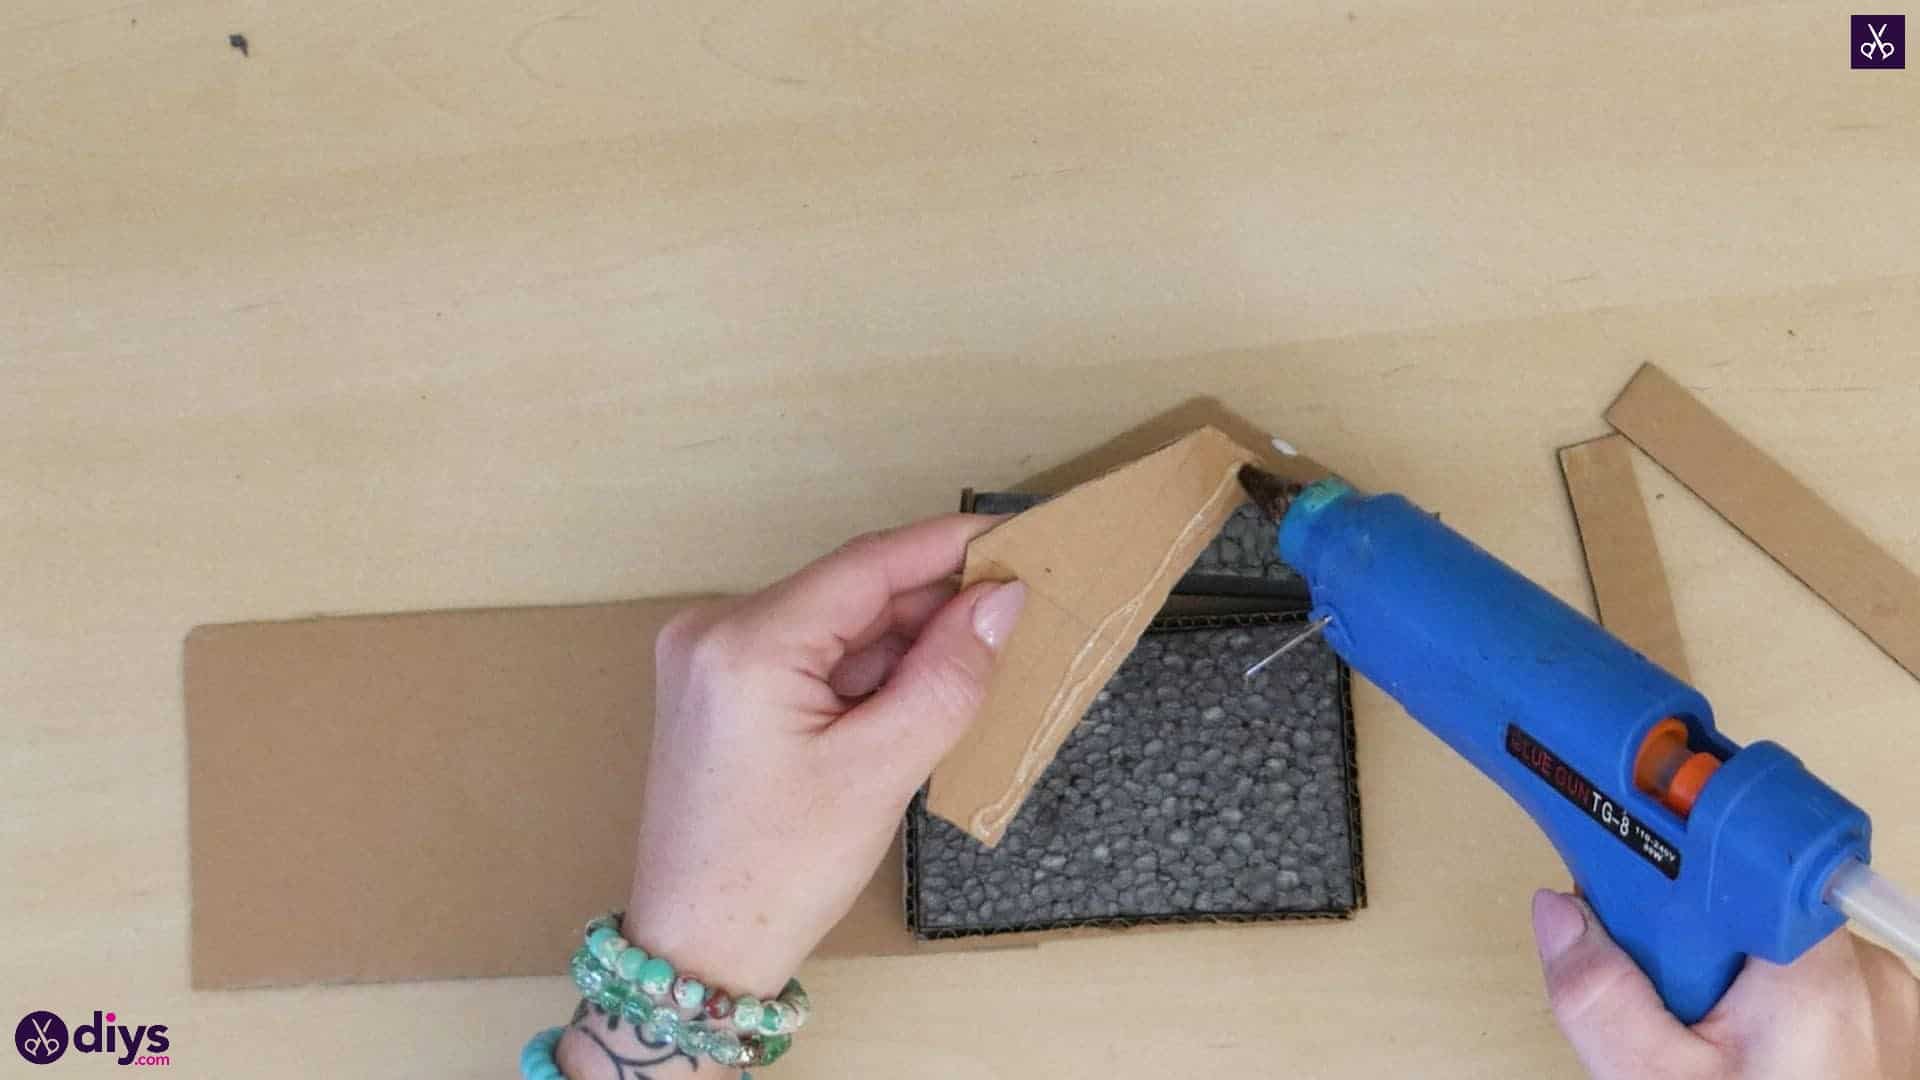
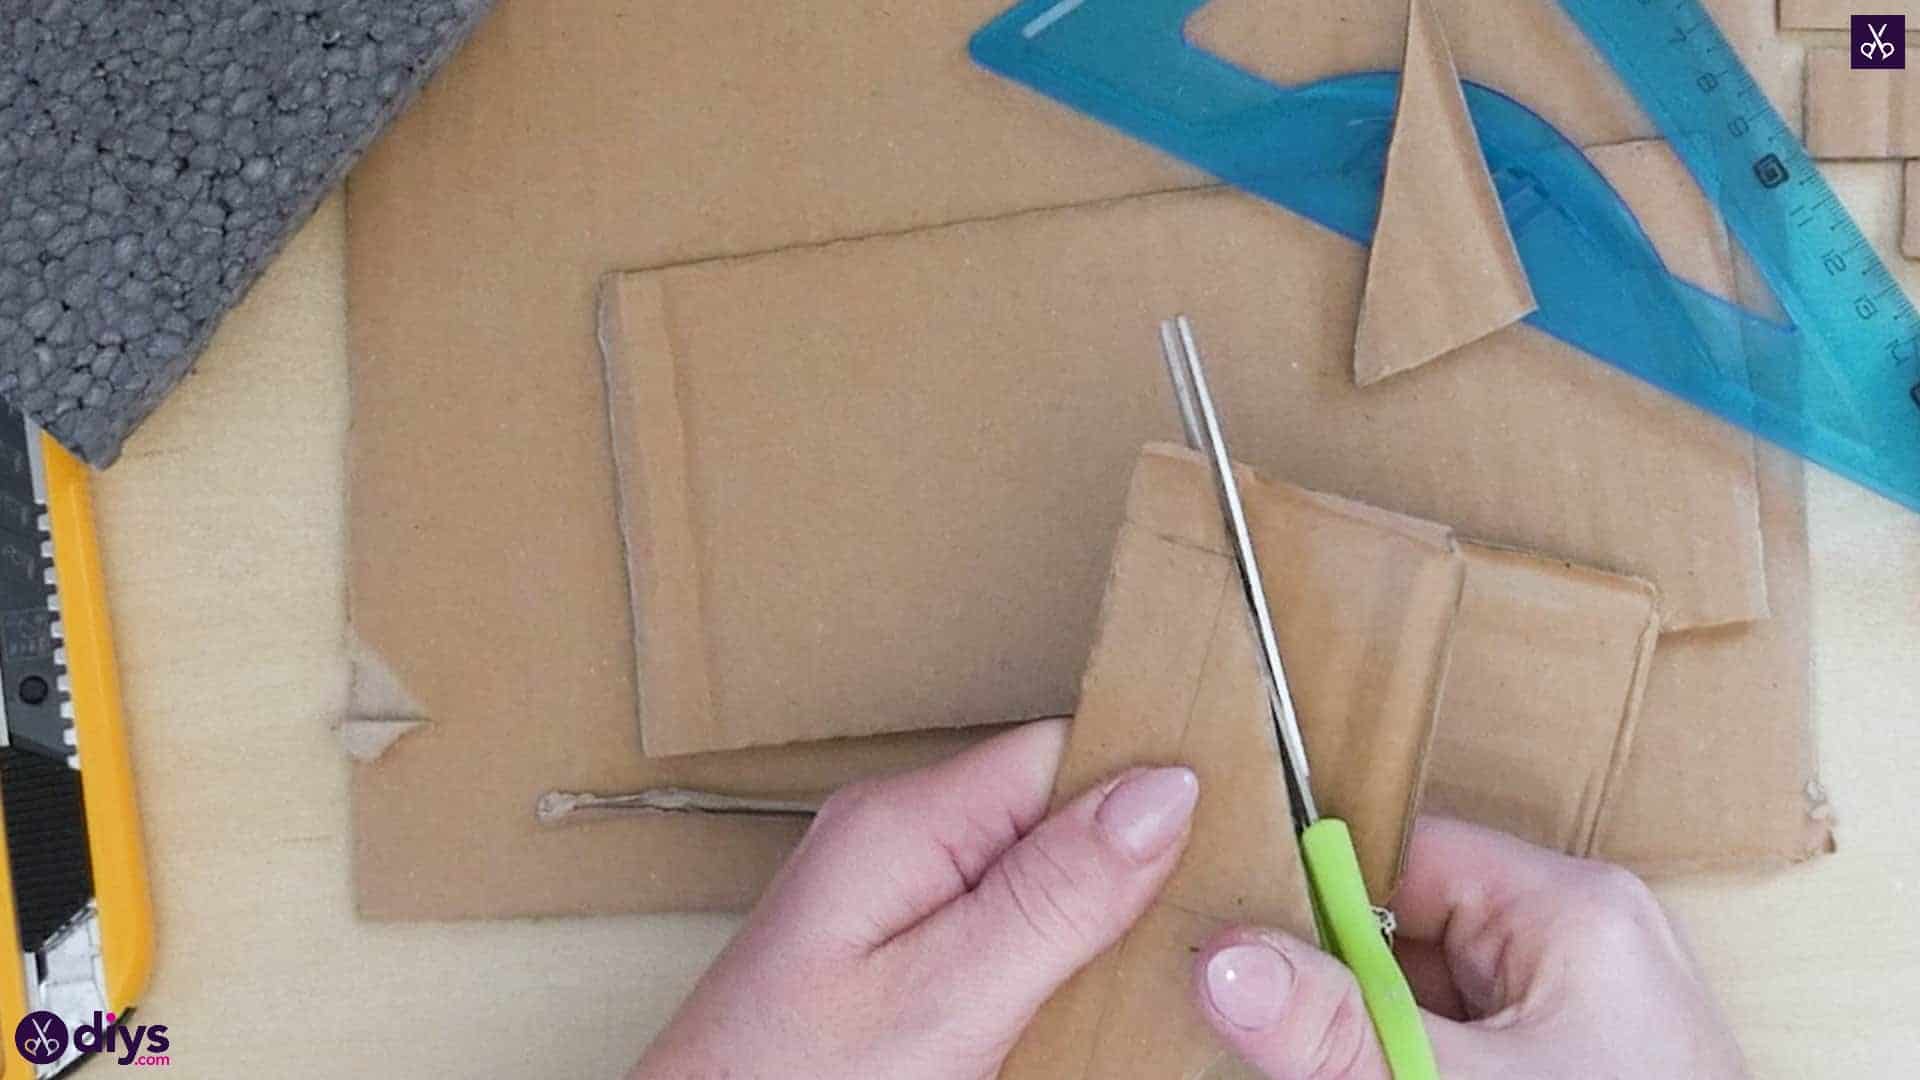
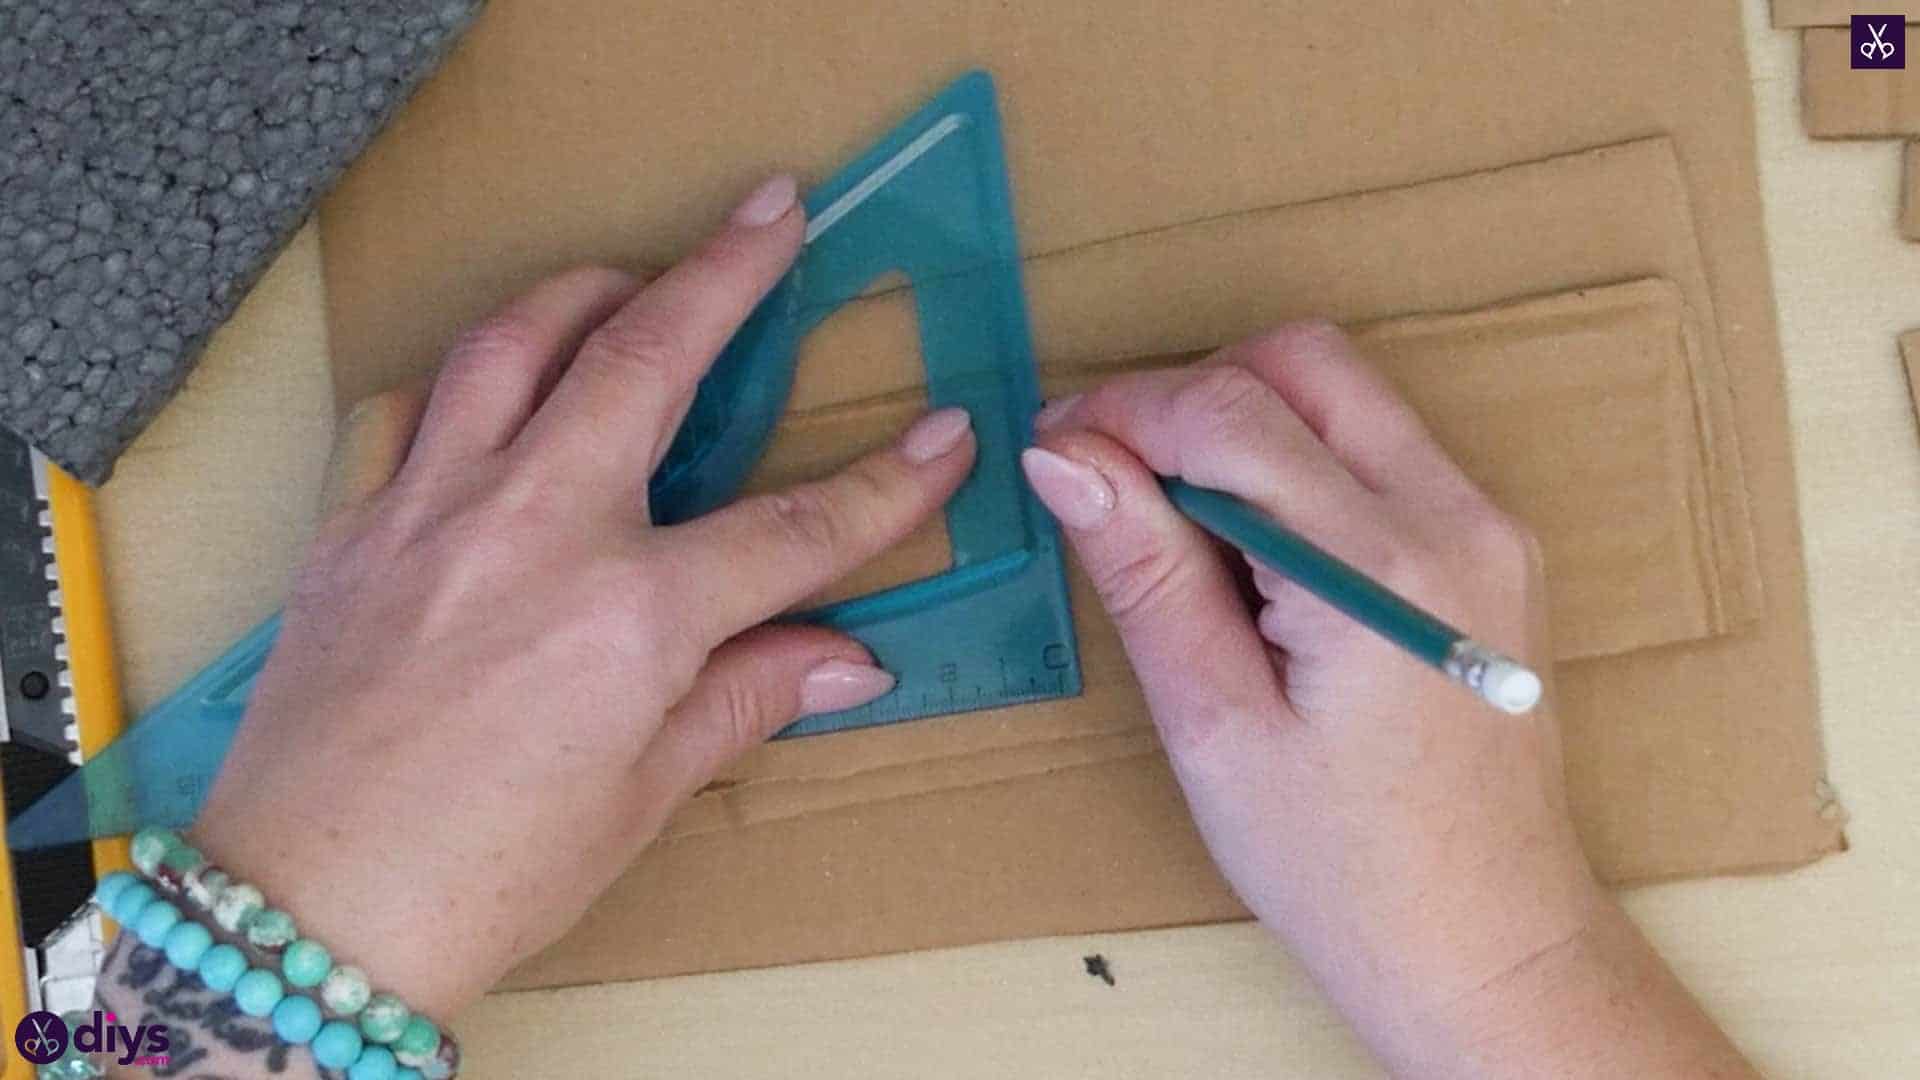
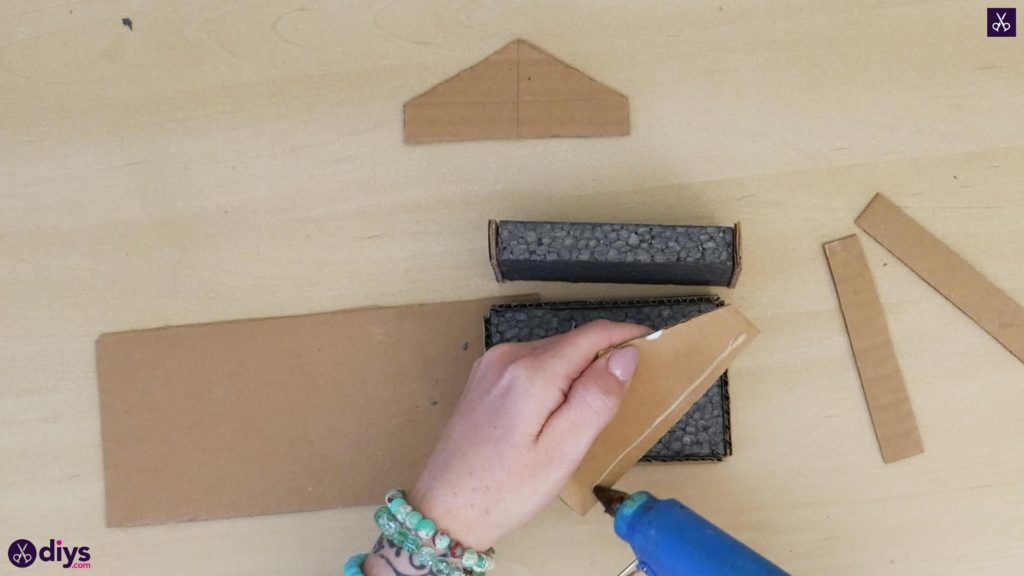
Now you’ll cut out two peaks to make your cage’s roof. Place your styrofoam block down once again on the cardboard to trace around its longest edge side like you did earlier. Before you cut it out, however, use your ruler to measure a straight line up two inches from the middle of the shape you just traced. Then use your ruler and pencil to draw a diagonal line that joins the top of this central line with the end corners of the bottom line of the rectangle on each side. Cut this shape out and either repeat the process or trace the shape to make a second piece the same size.


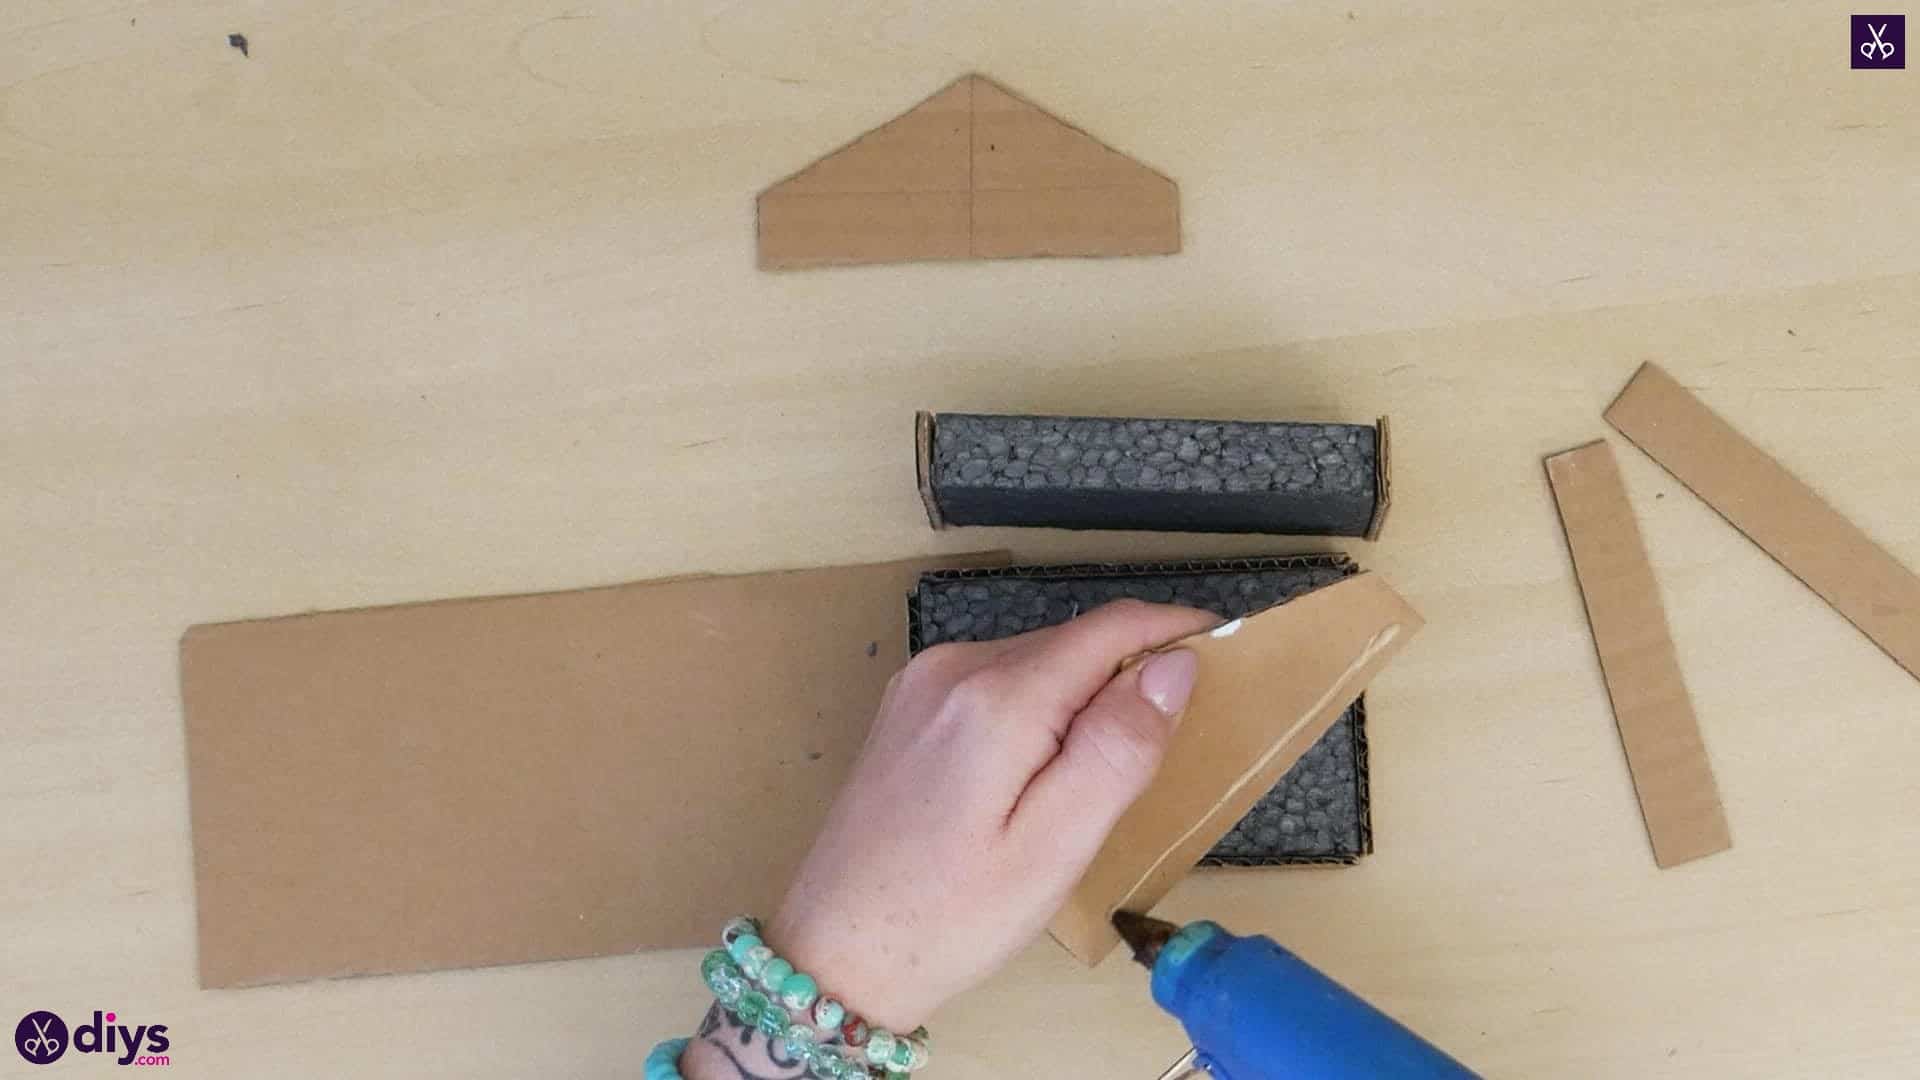
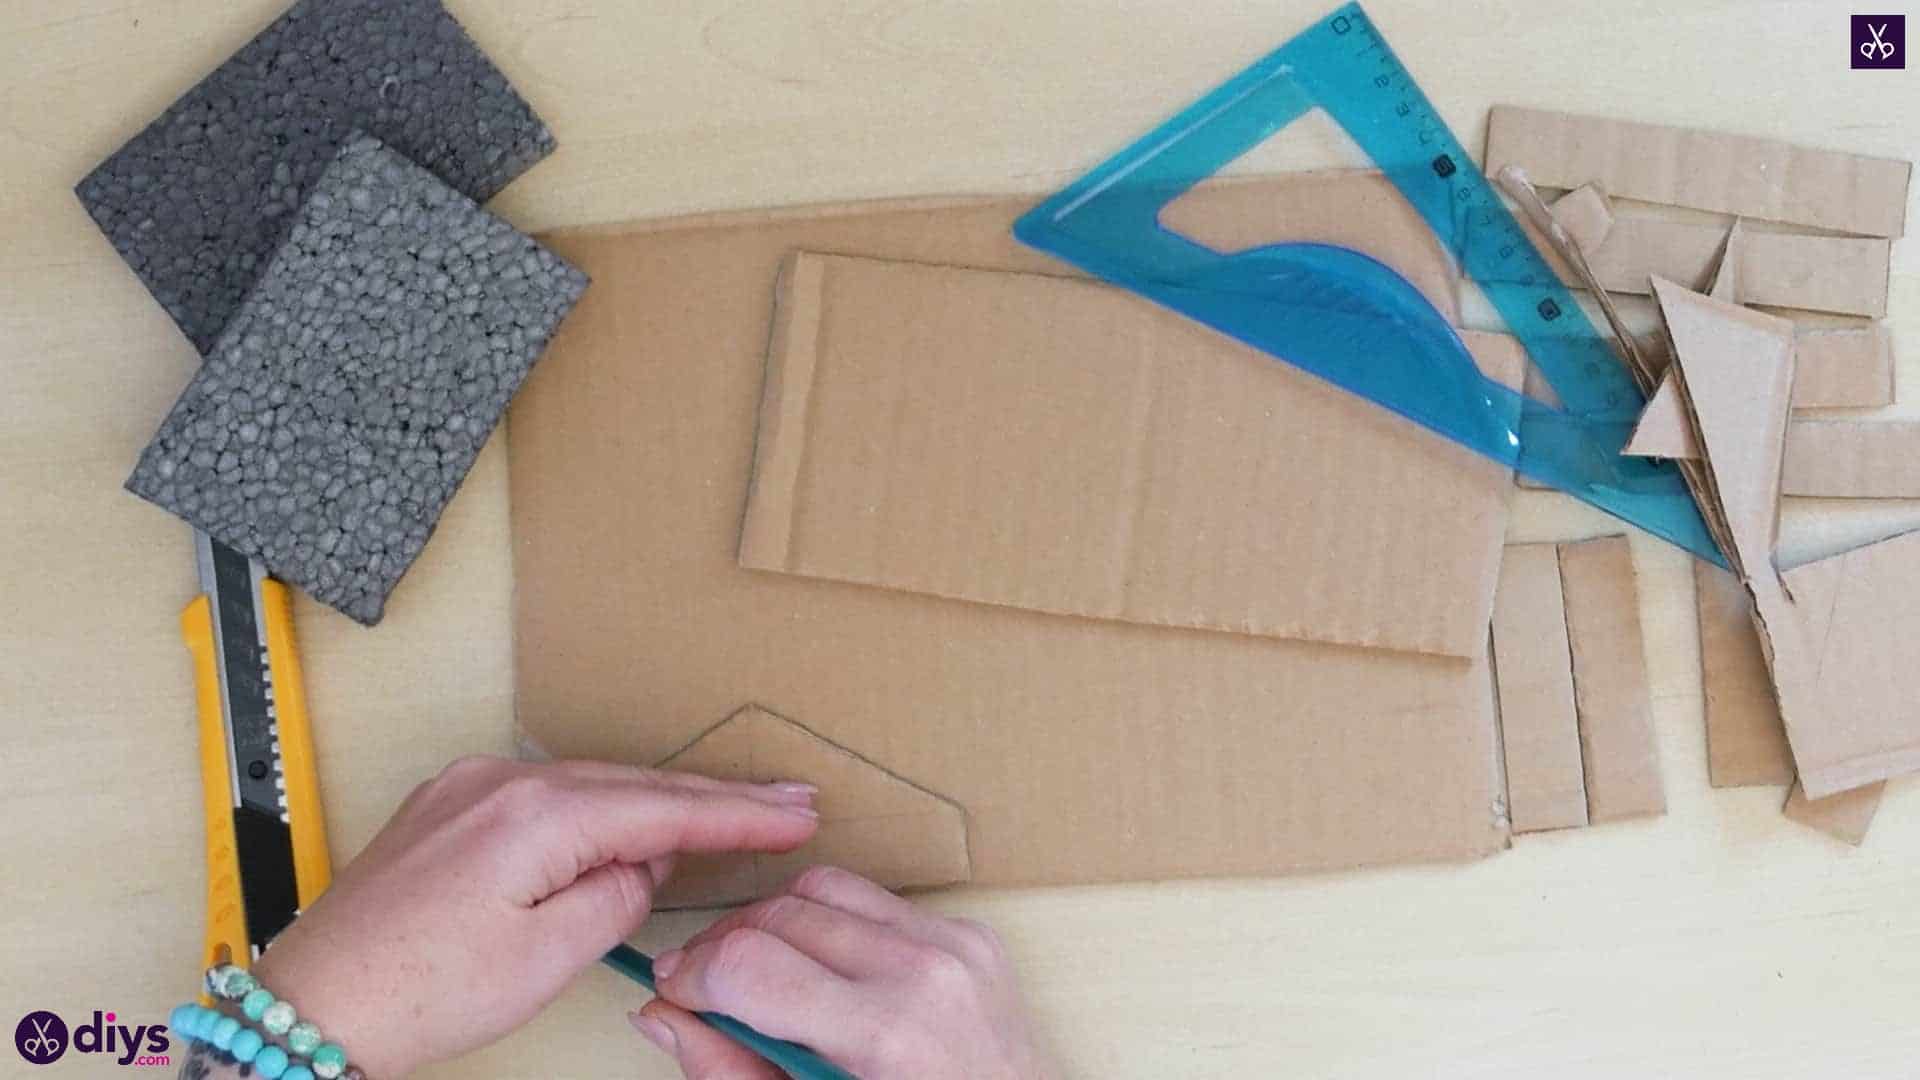
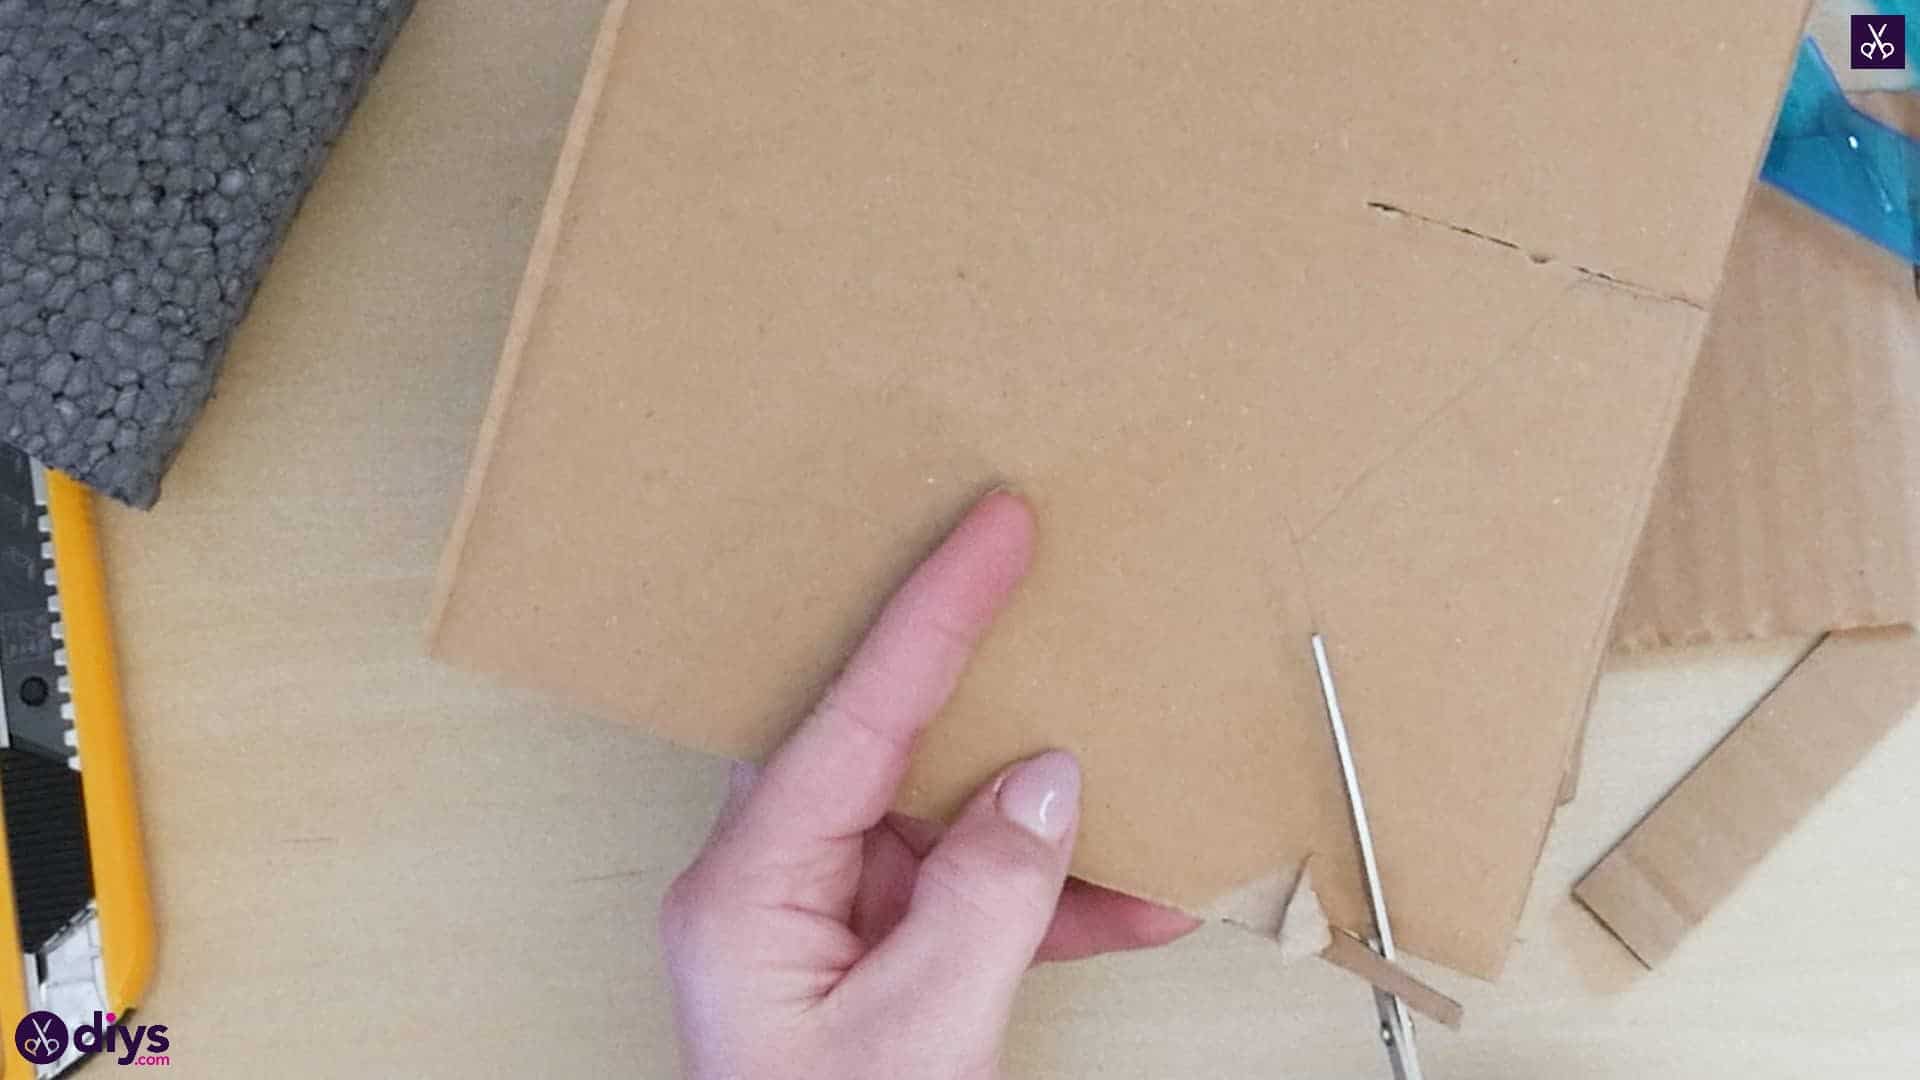
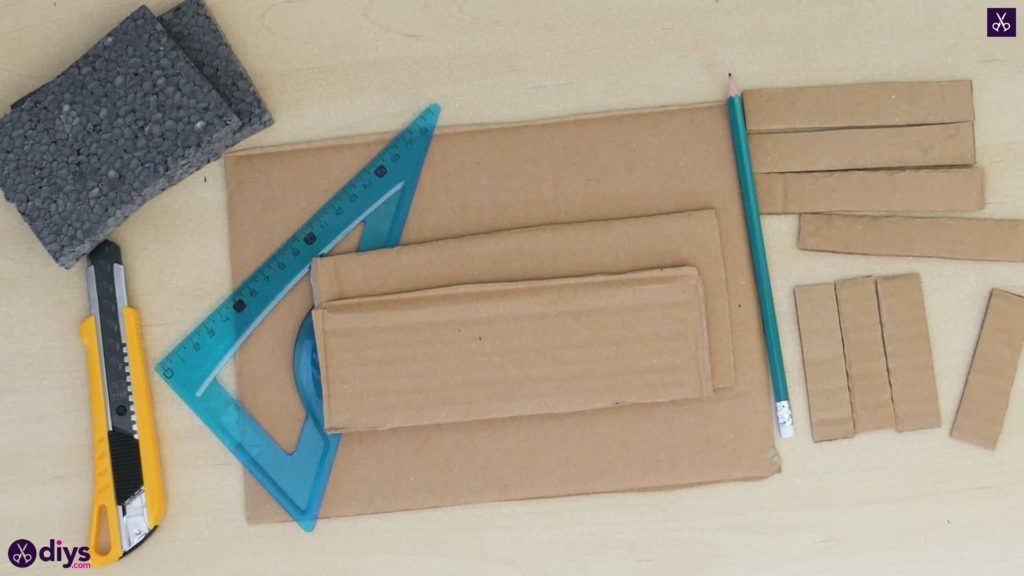
Step 5: base and top
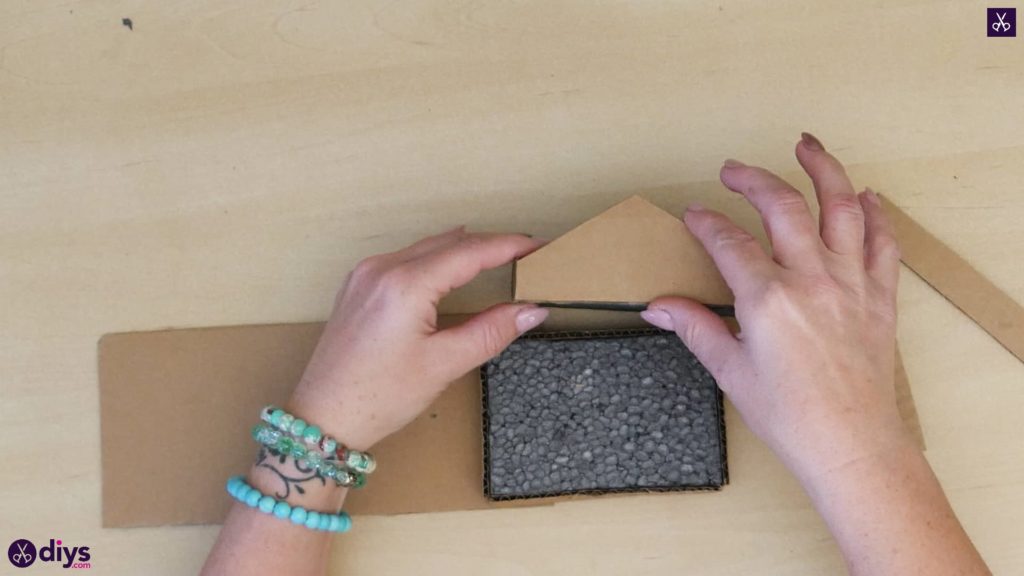
Now draw and cut out a cardboard rectangle that is the same shape and size of both styrofoam pieces laid flat on their wide surfaces and set end to end evenly along their shorter edges. The piece will be the same width as each block, but double as long. You now have everything you need to construct the base and top of your centrepiece!


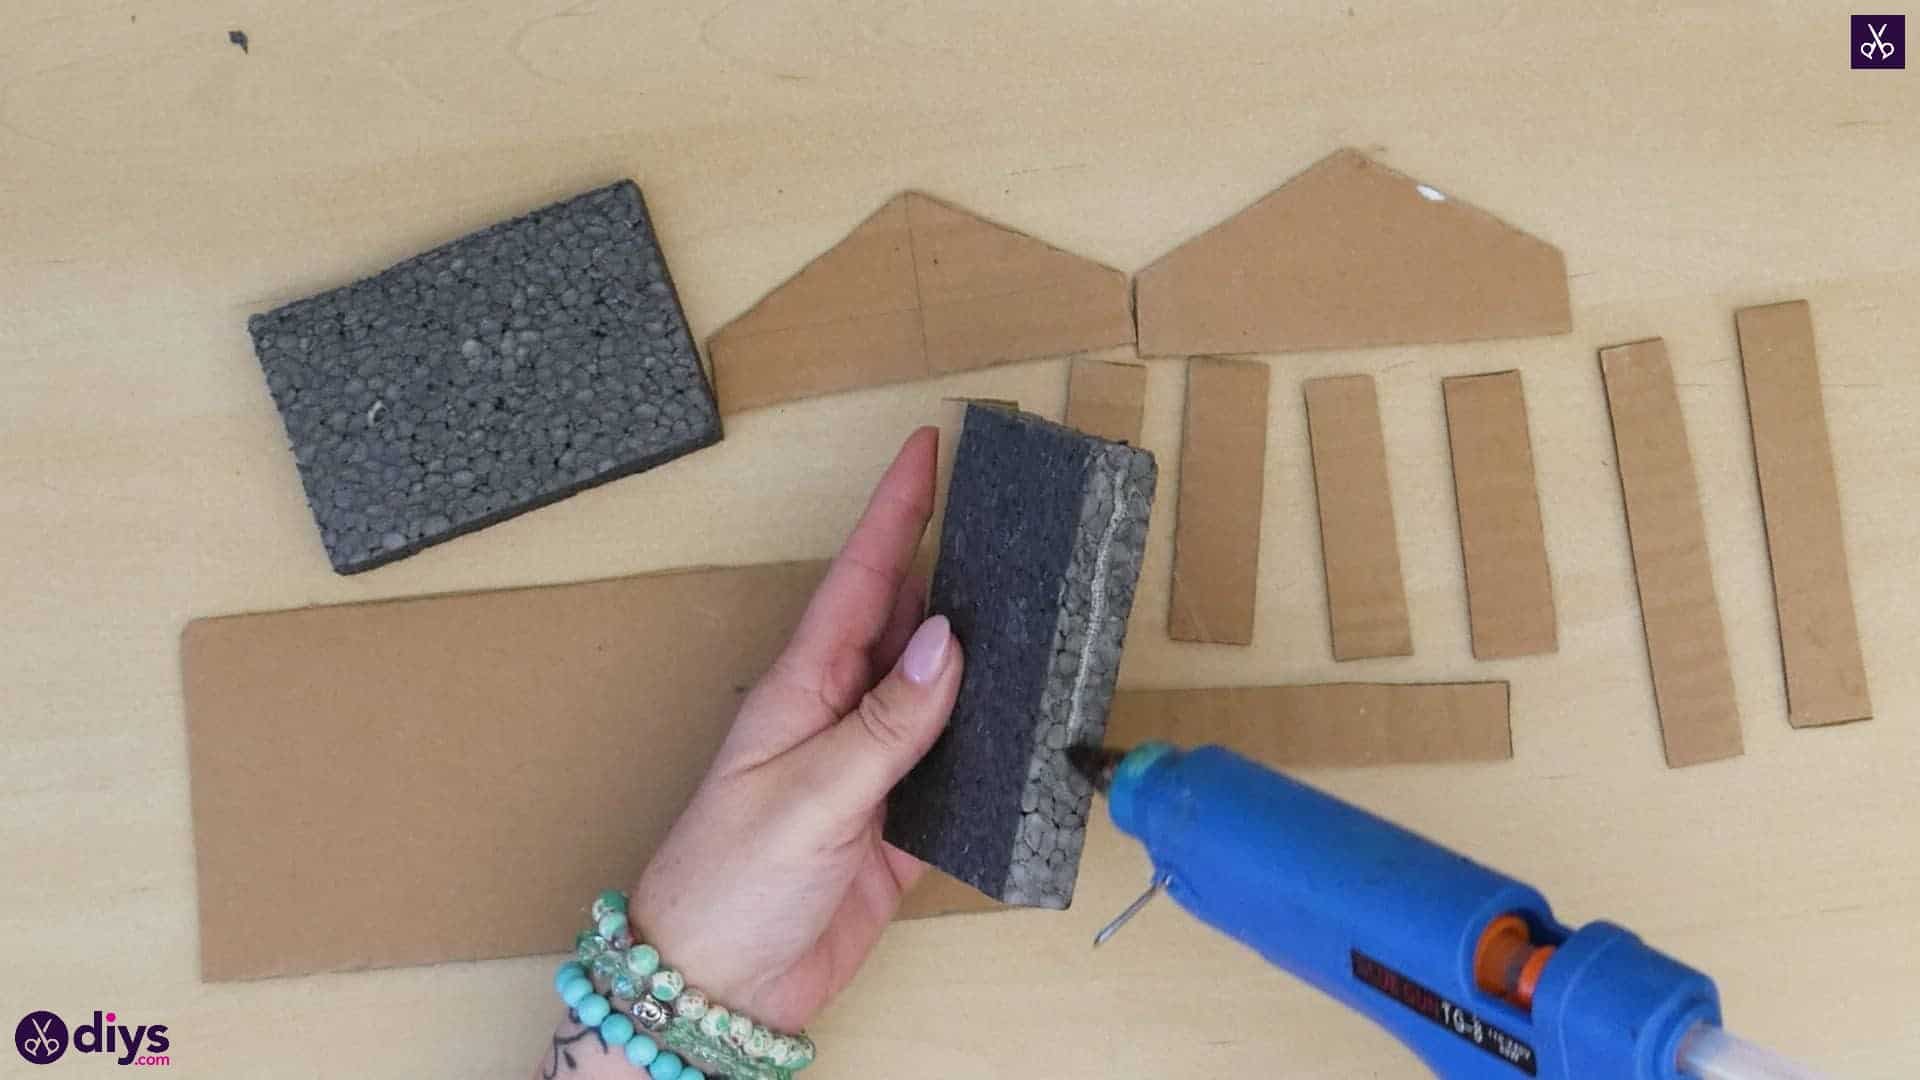
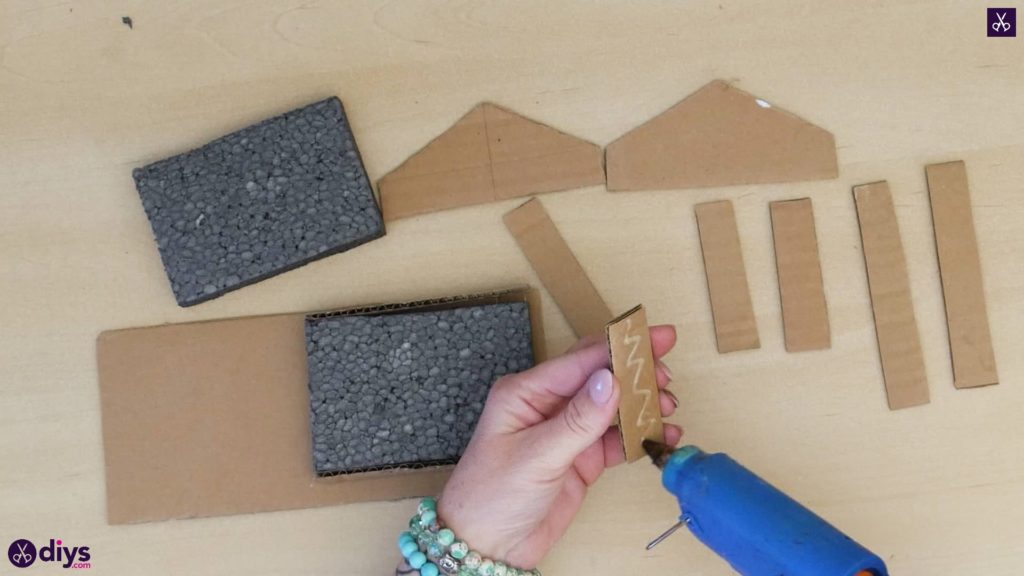
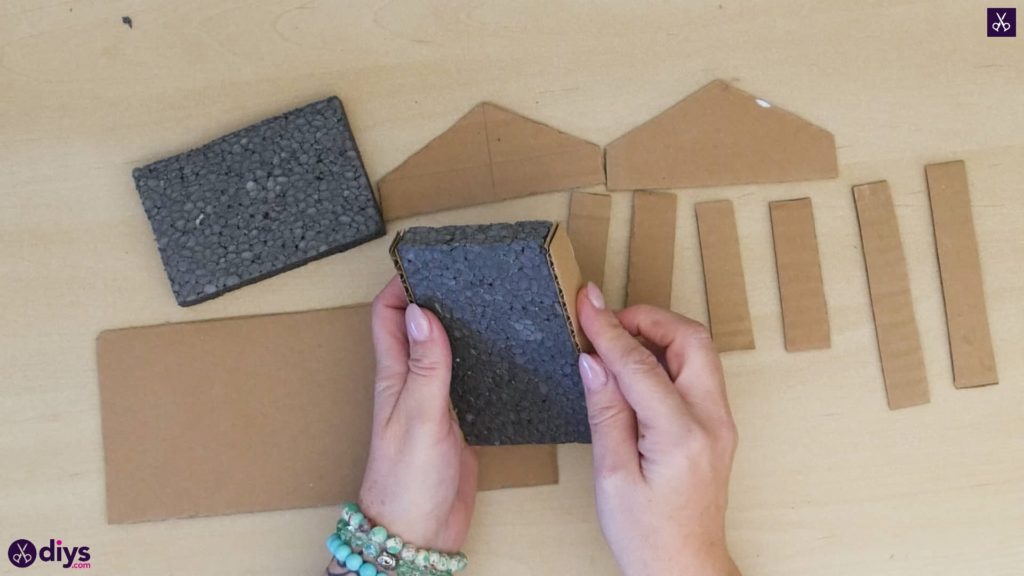
Step 6: start gluing
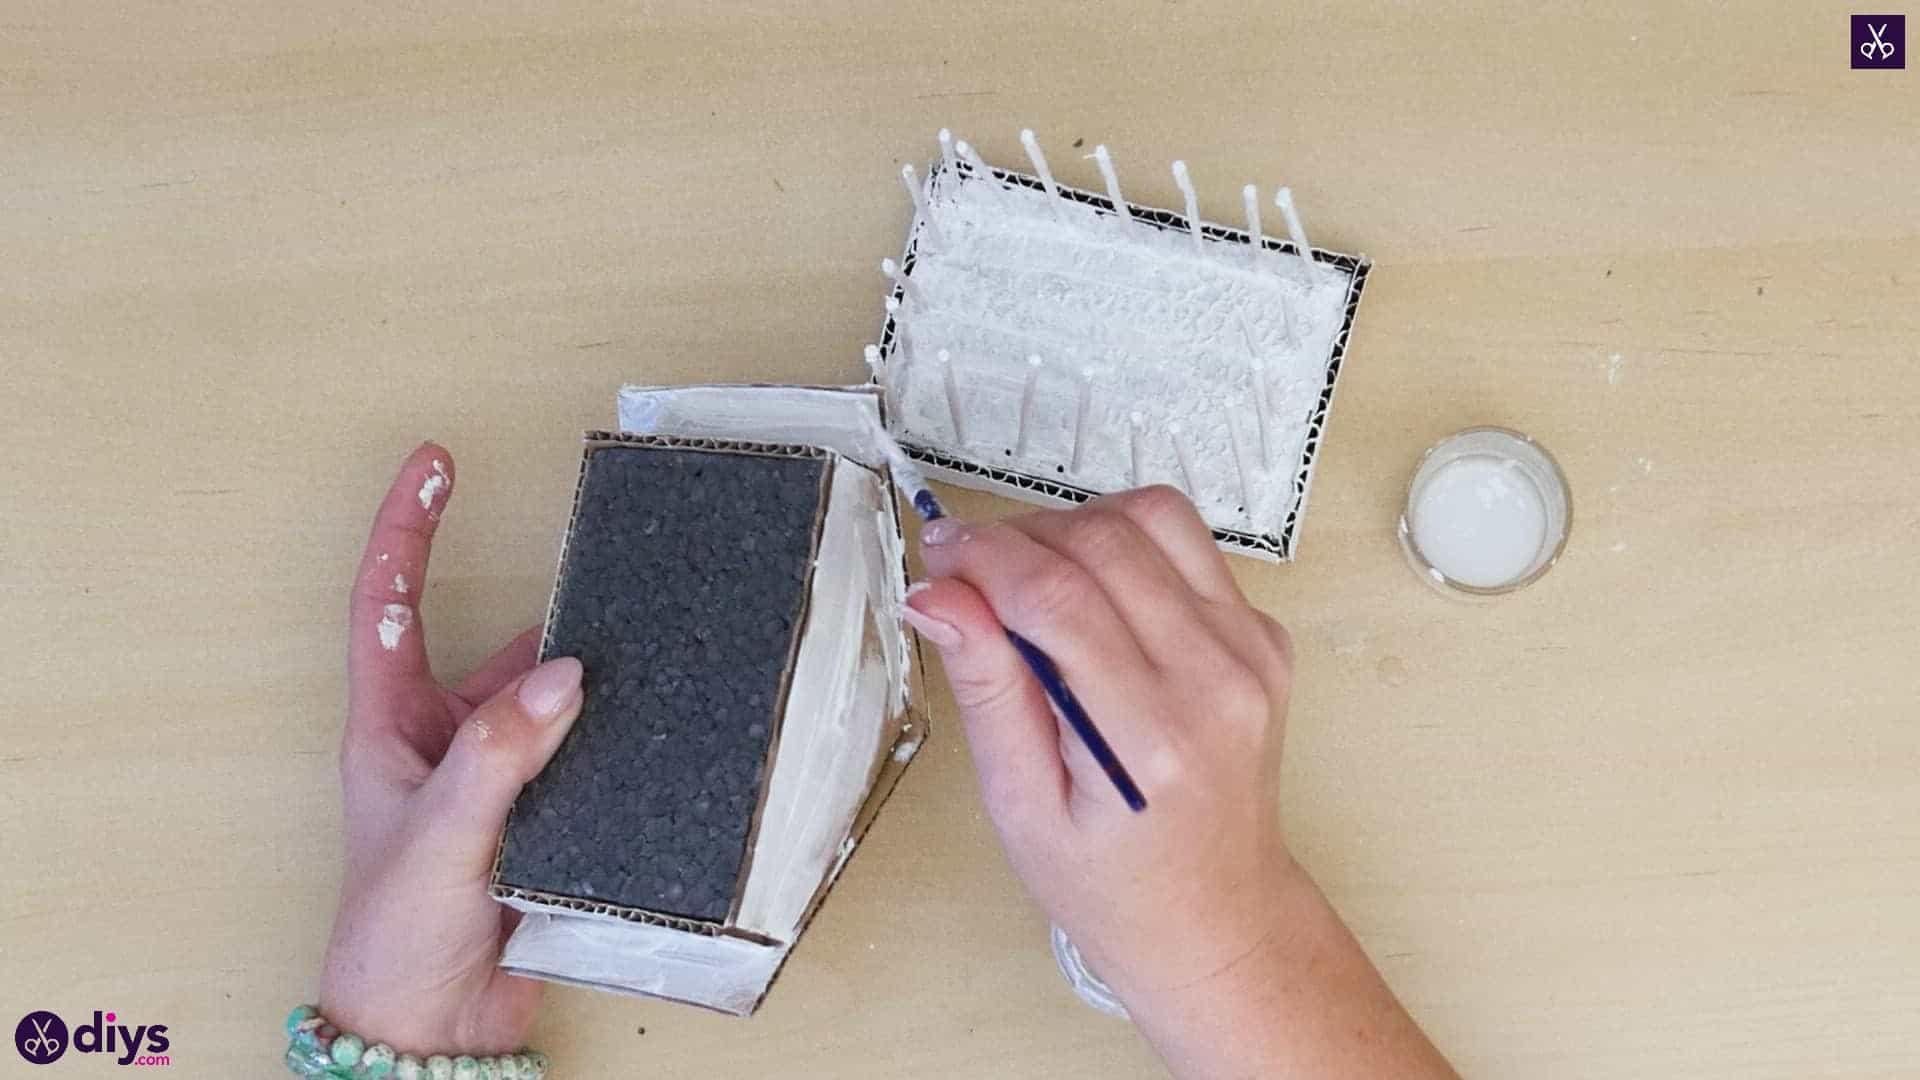
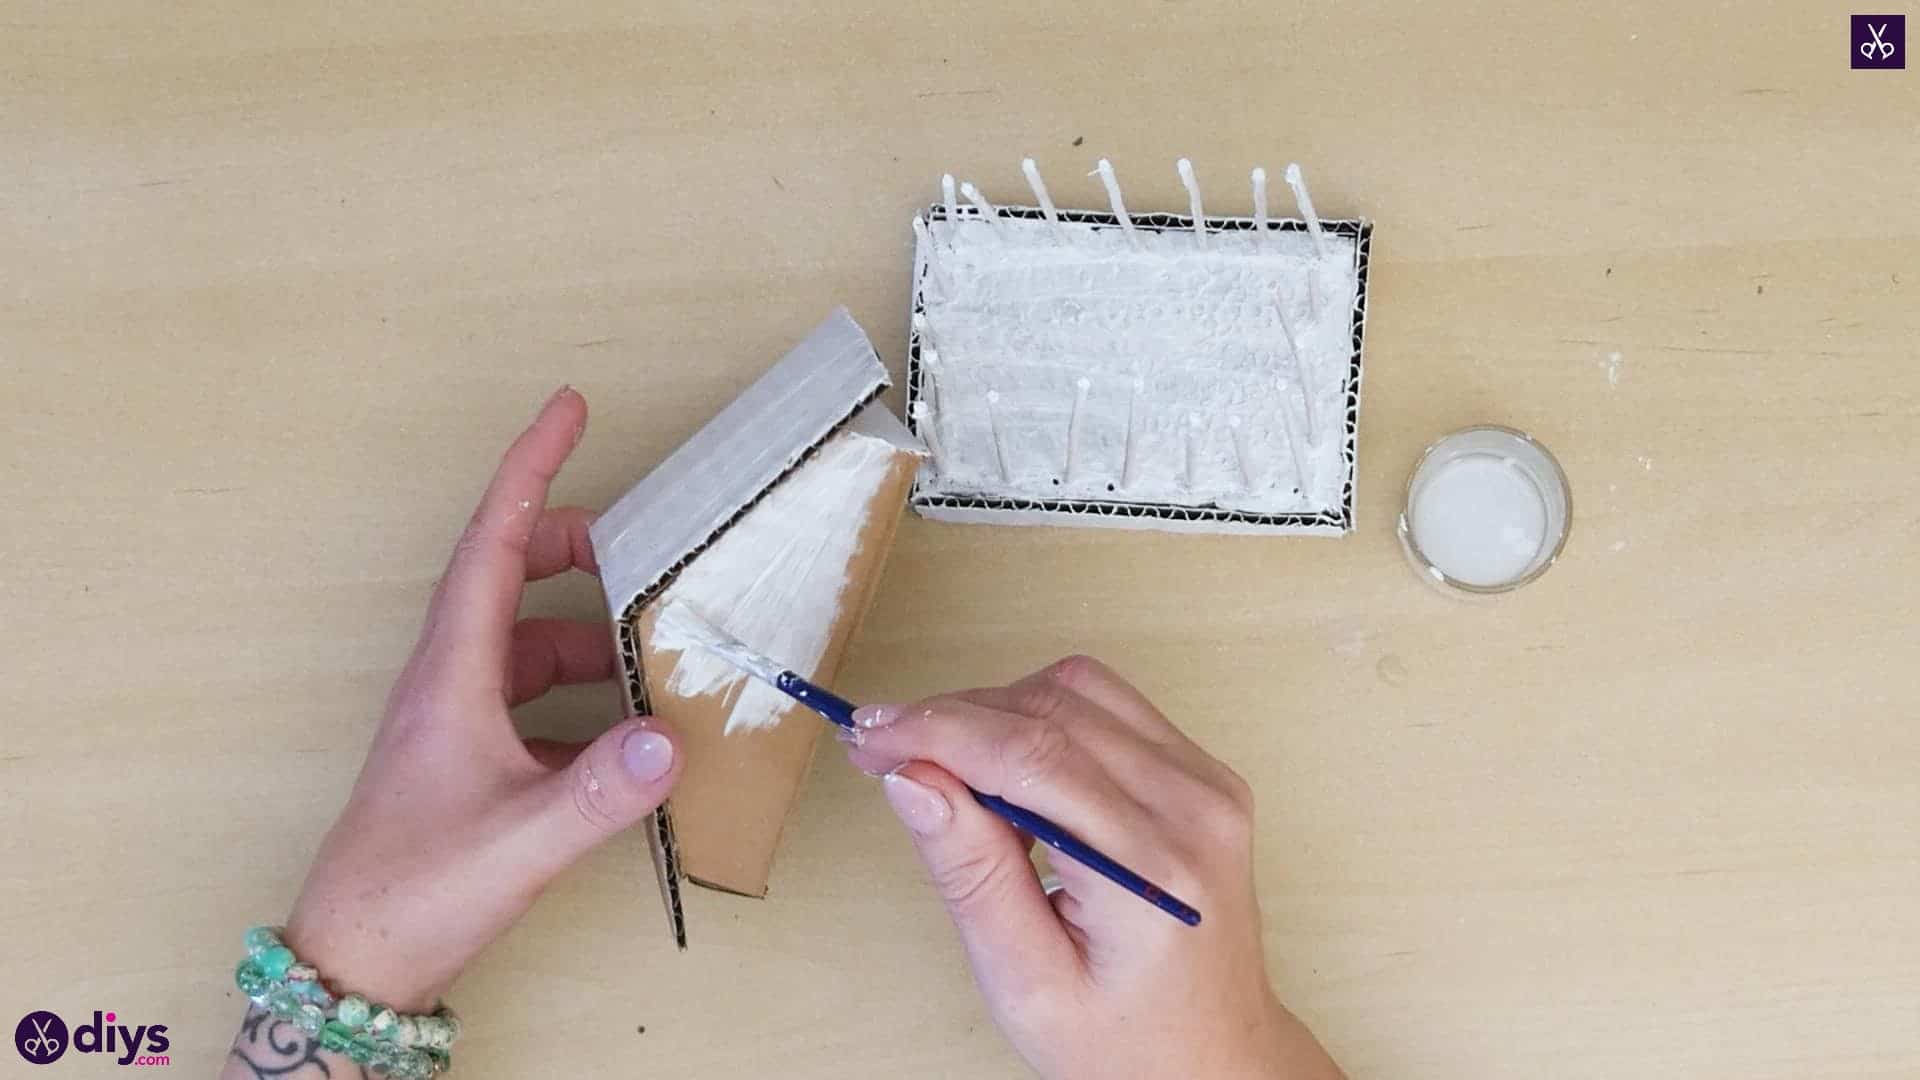
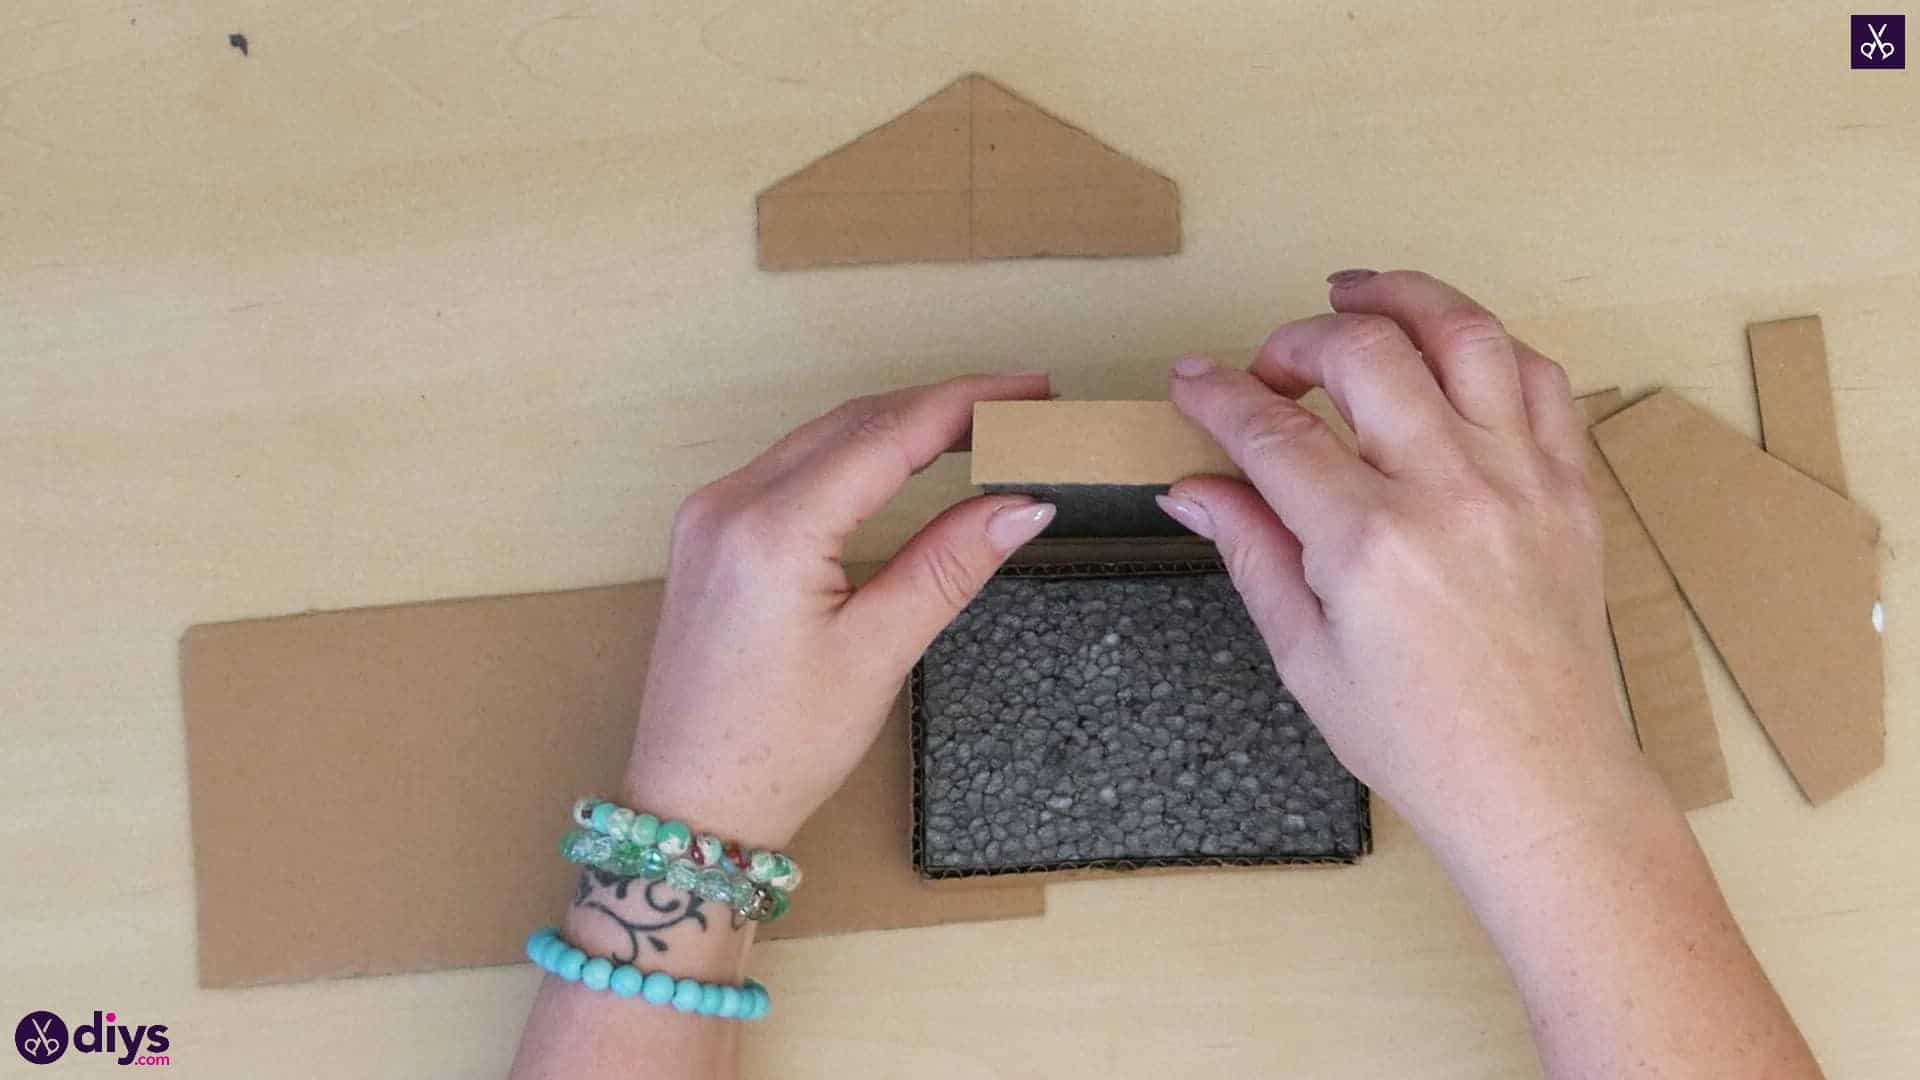
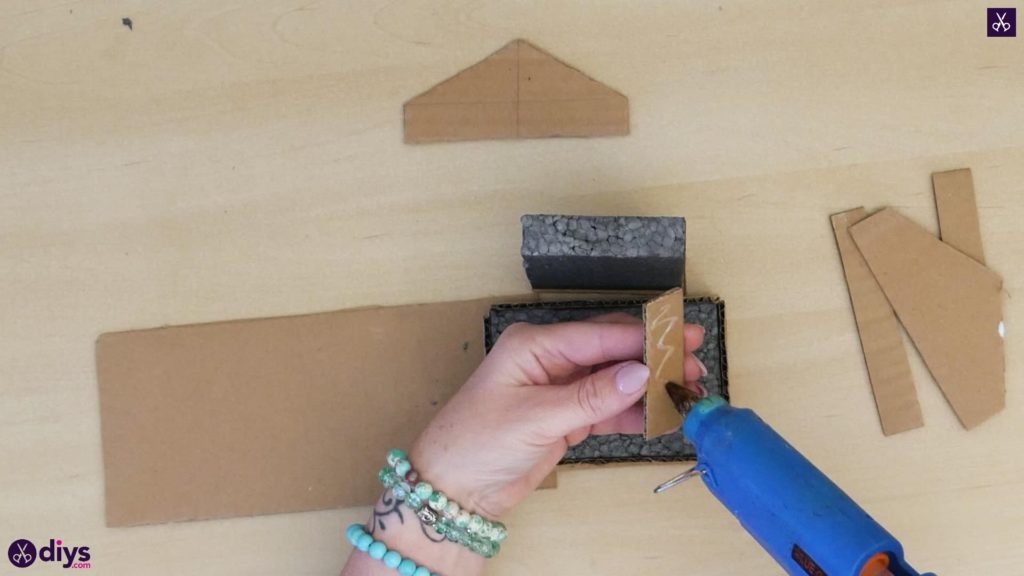
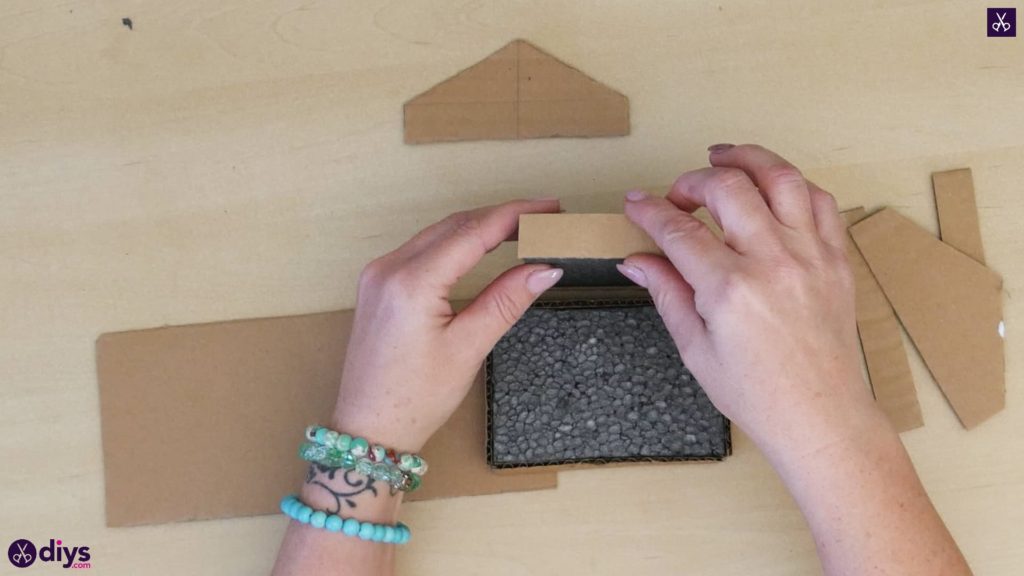
Cover the sides of each of your first styrofoam block in cardboard by gluing the small rectangular pieces you cut out earlier into place on each with your hot glue gun! Match up two long pieces and two short pieces with the long and short sides of the block until it is framed all the way around by cardboard. Repeat this process with the short sides of your second block only. On the long sides, you’ll instead glue down the two peaked roof pieces you cut out earlier. These will be the right length for those sides because you used the block as a guide for the base shape. Now, crease the double-long cardboard rectangle that you cut out earlier right along its centre, in the middle where it measures halfway down its length. Apply hot glue along the cut edges of the peaks yo just glue down and fit the creased cardboard rectangle into place over the peaks so it sits like a rooftop.


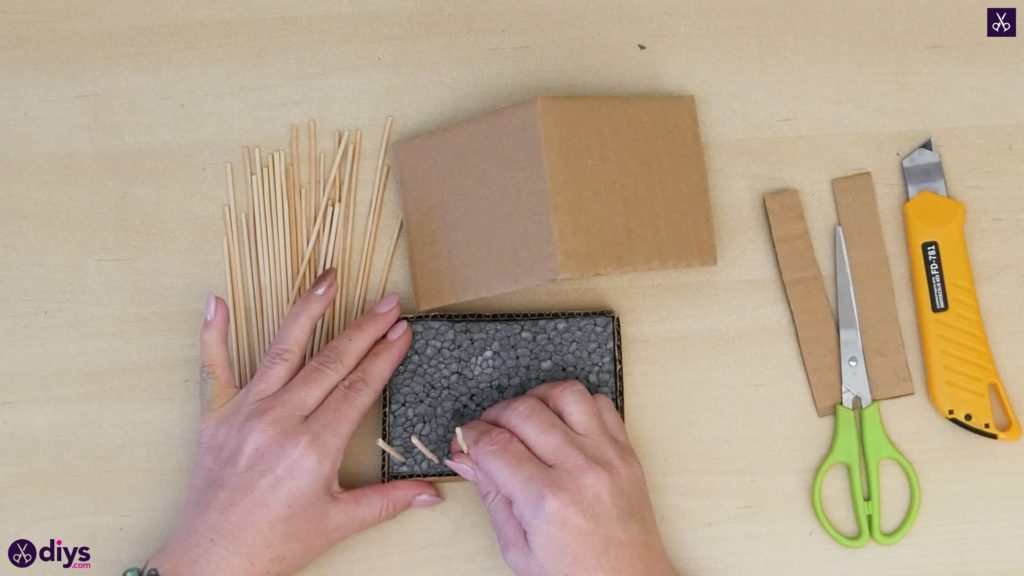
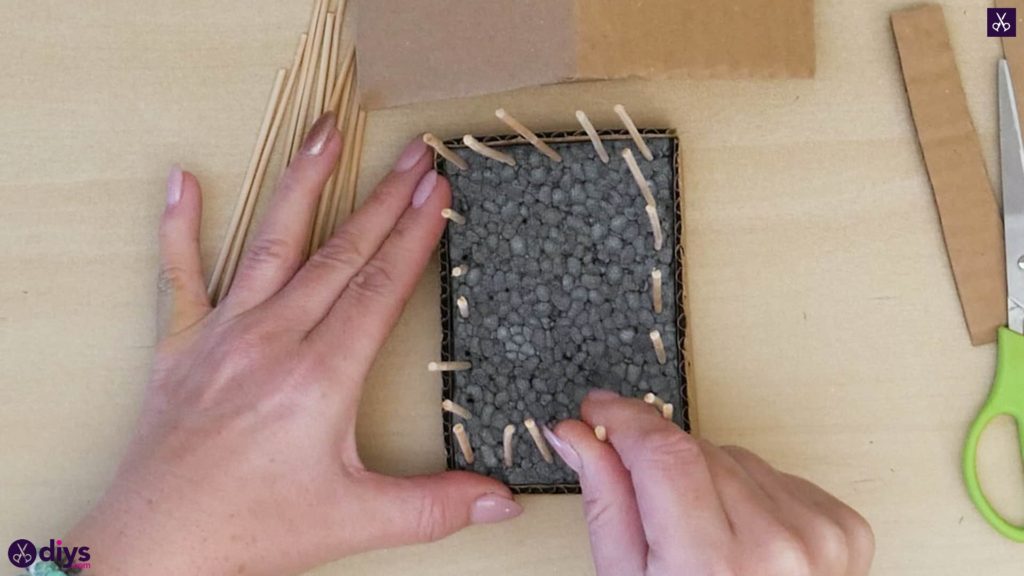
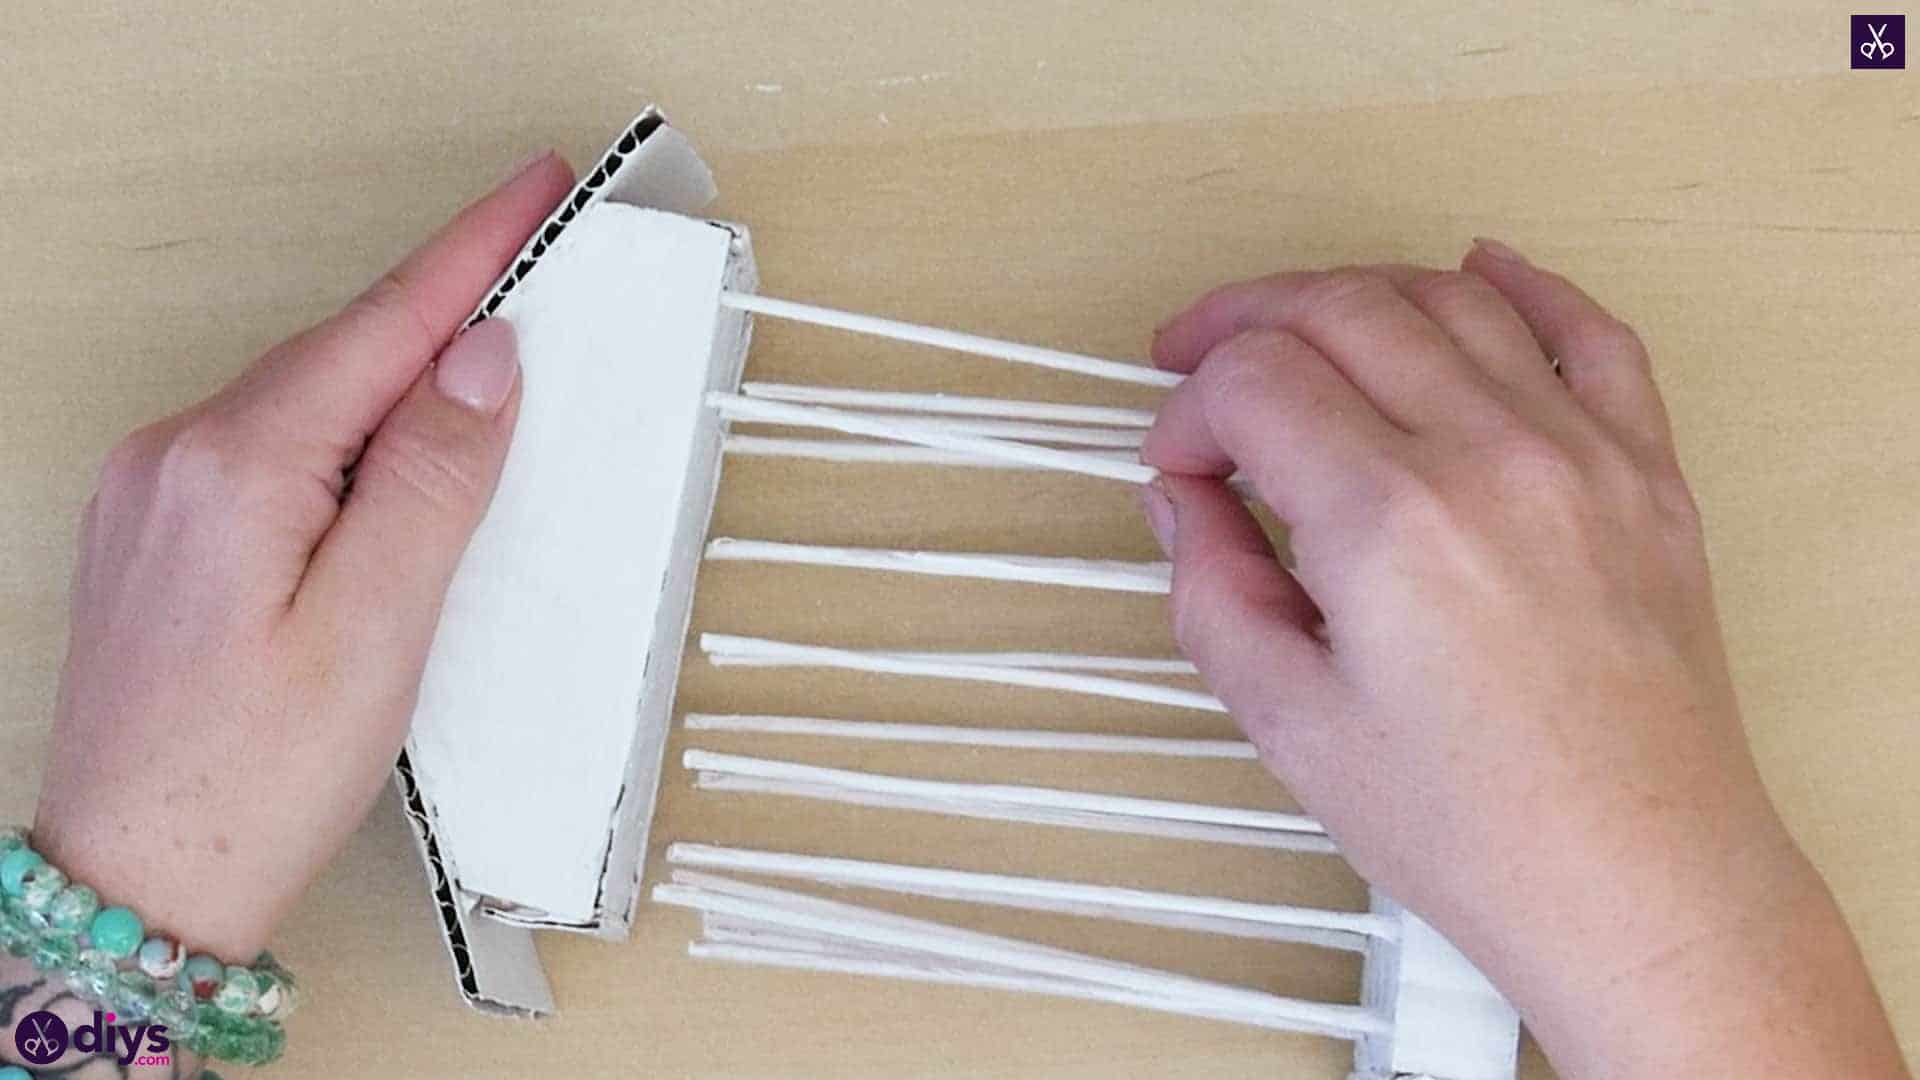
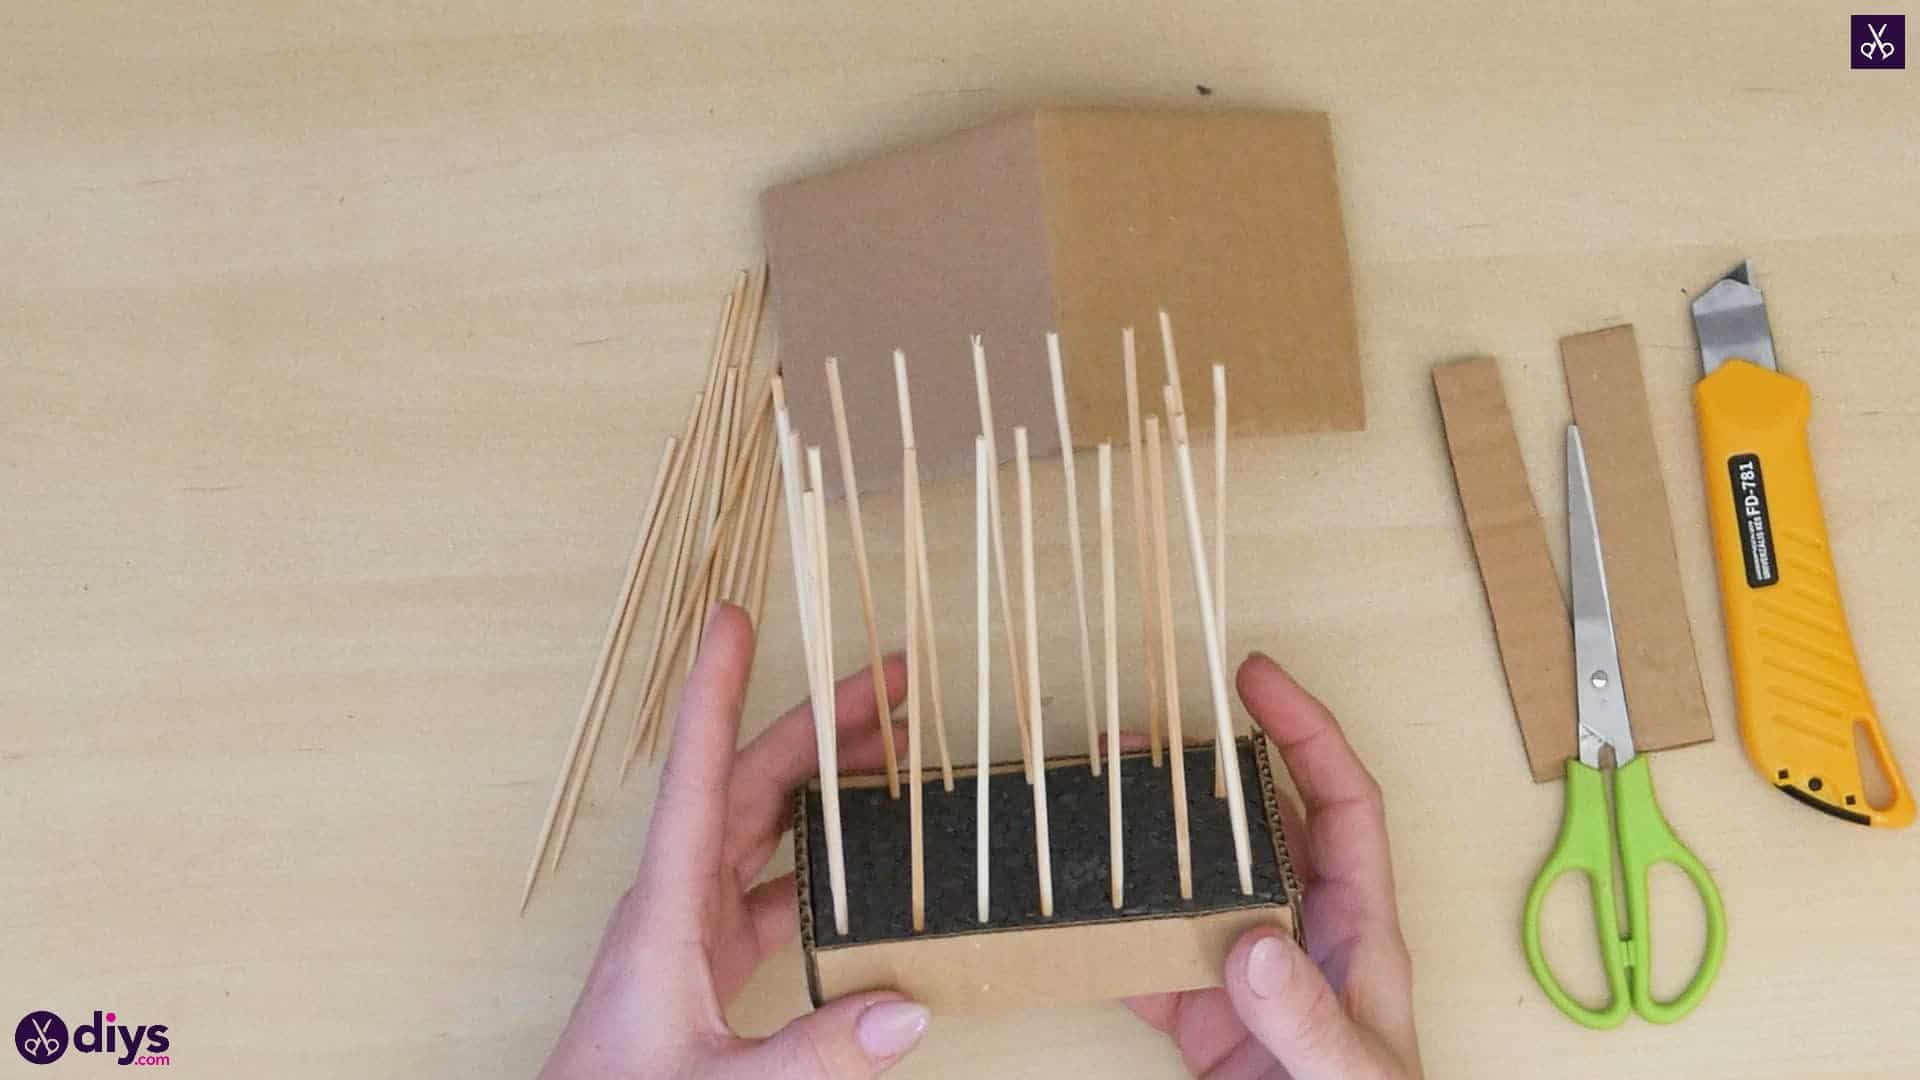
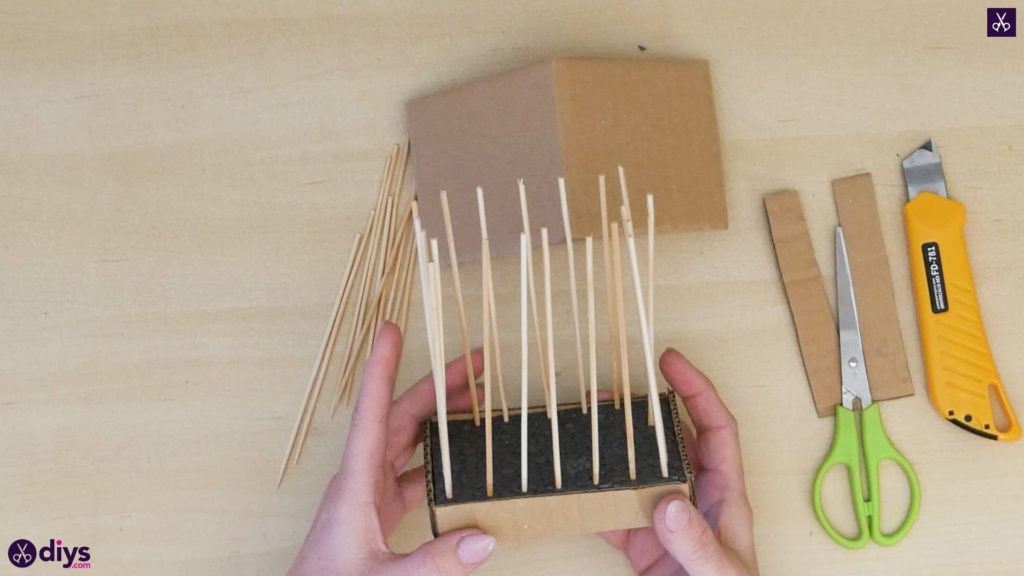
Step 7: cut the kebabs
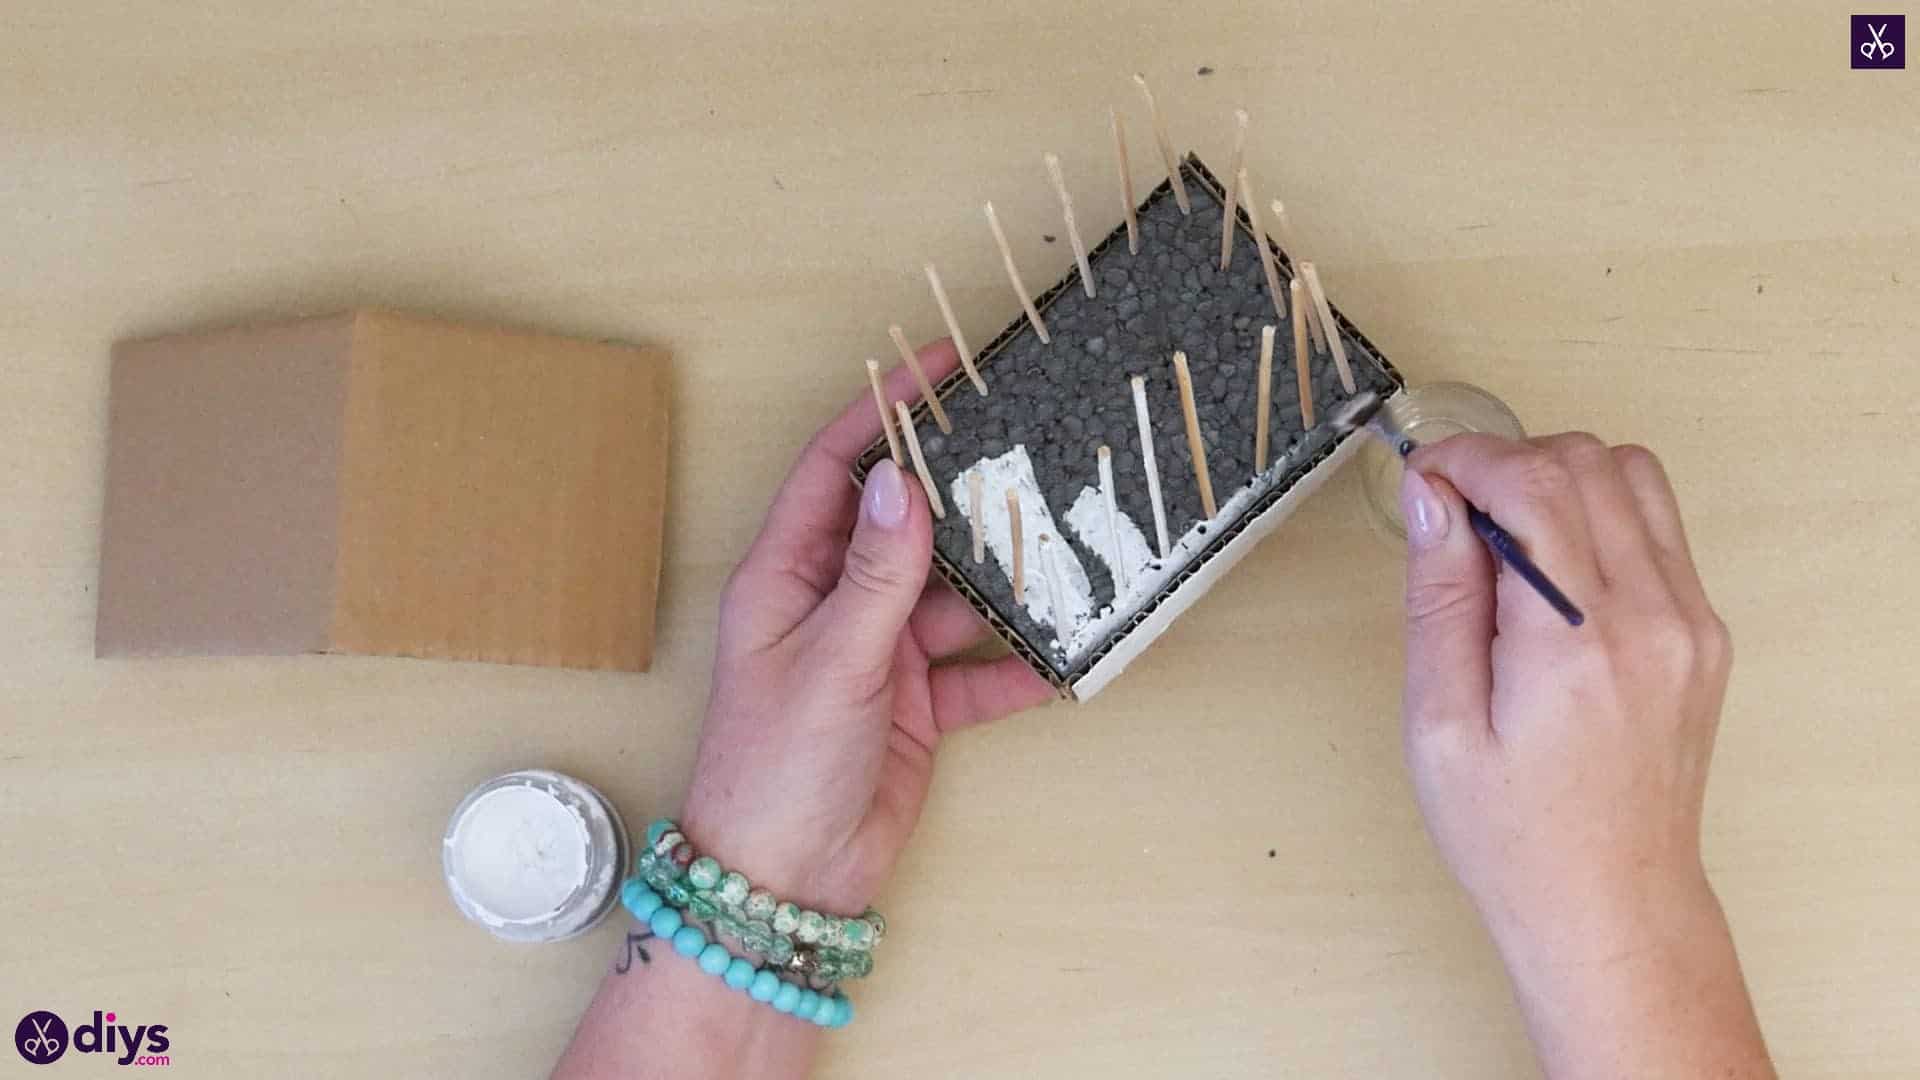
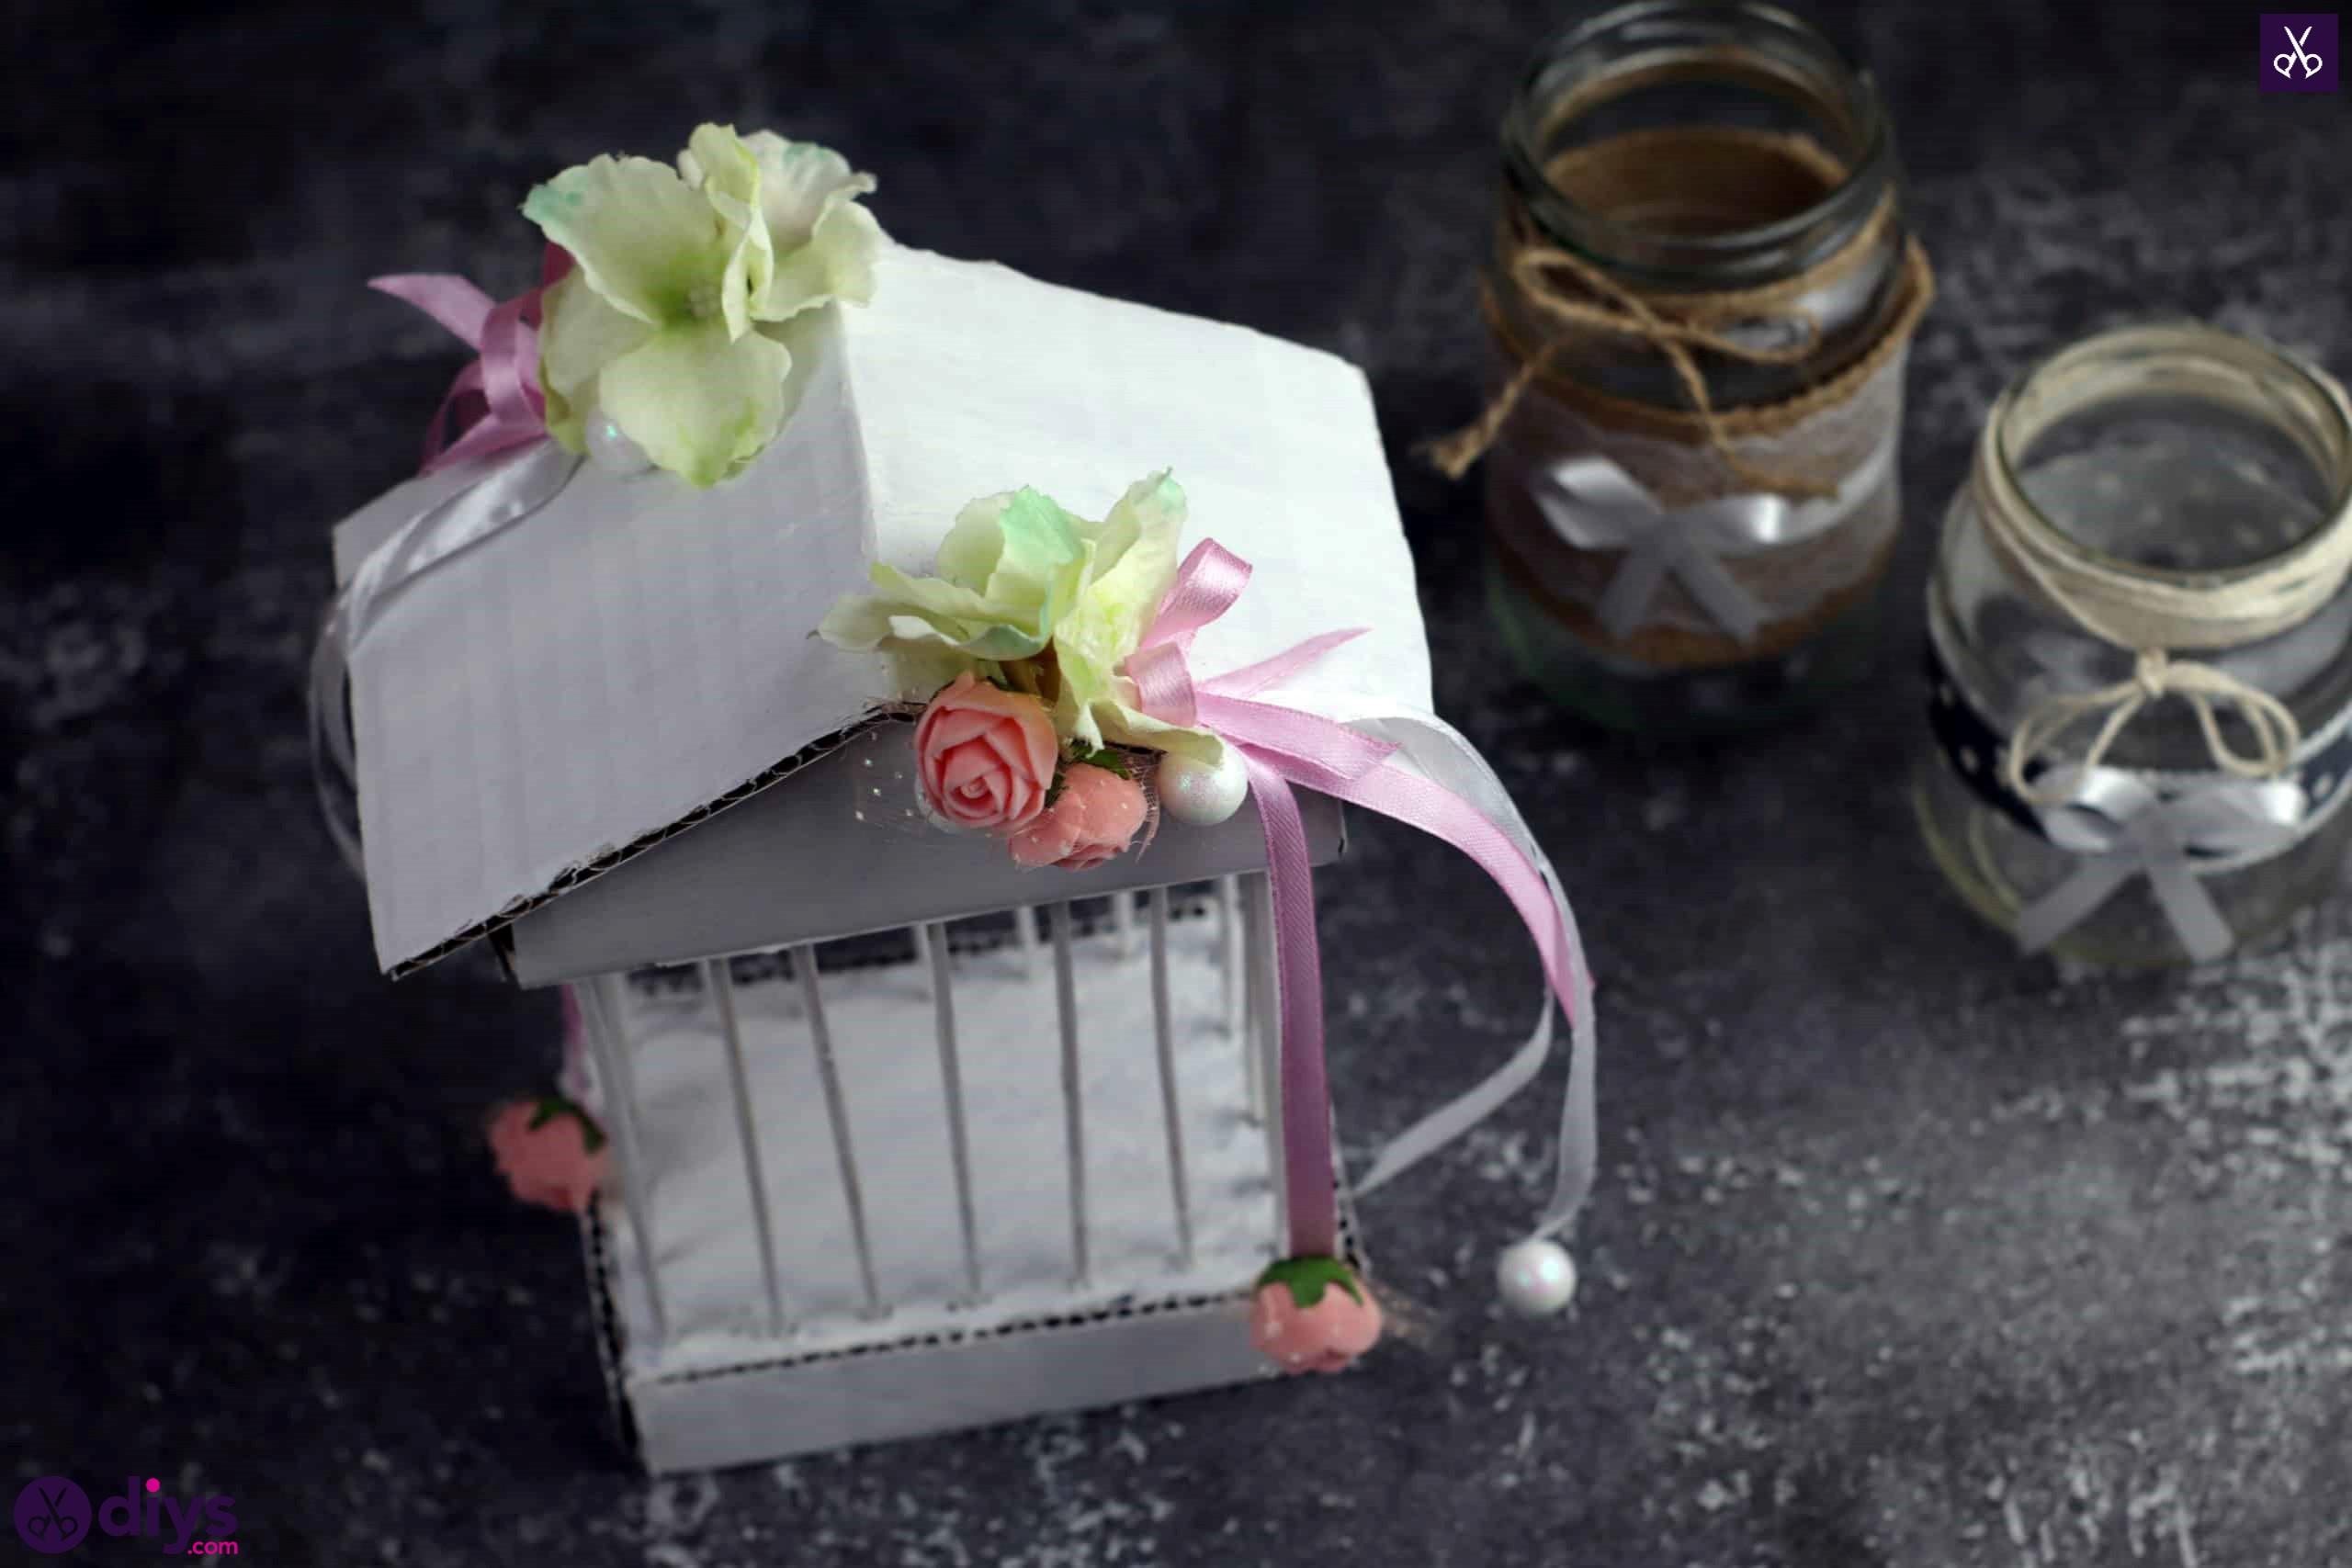
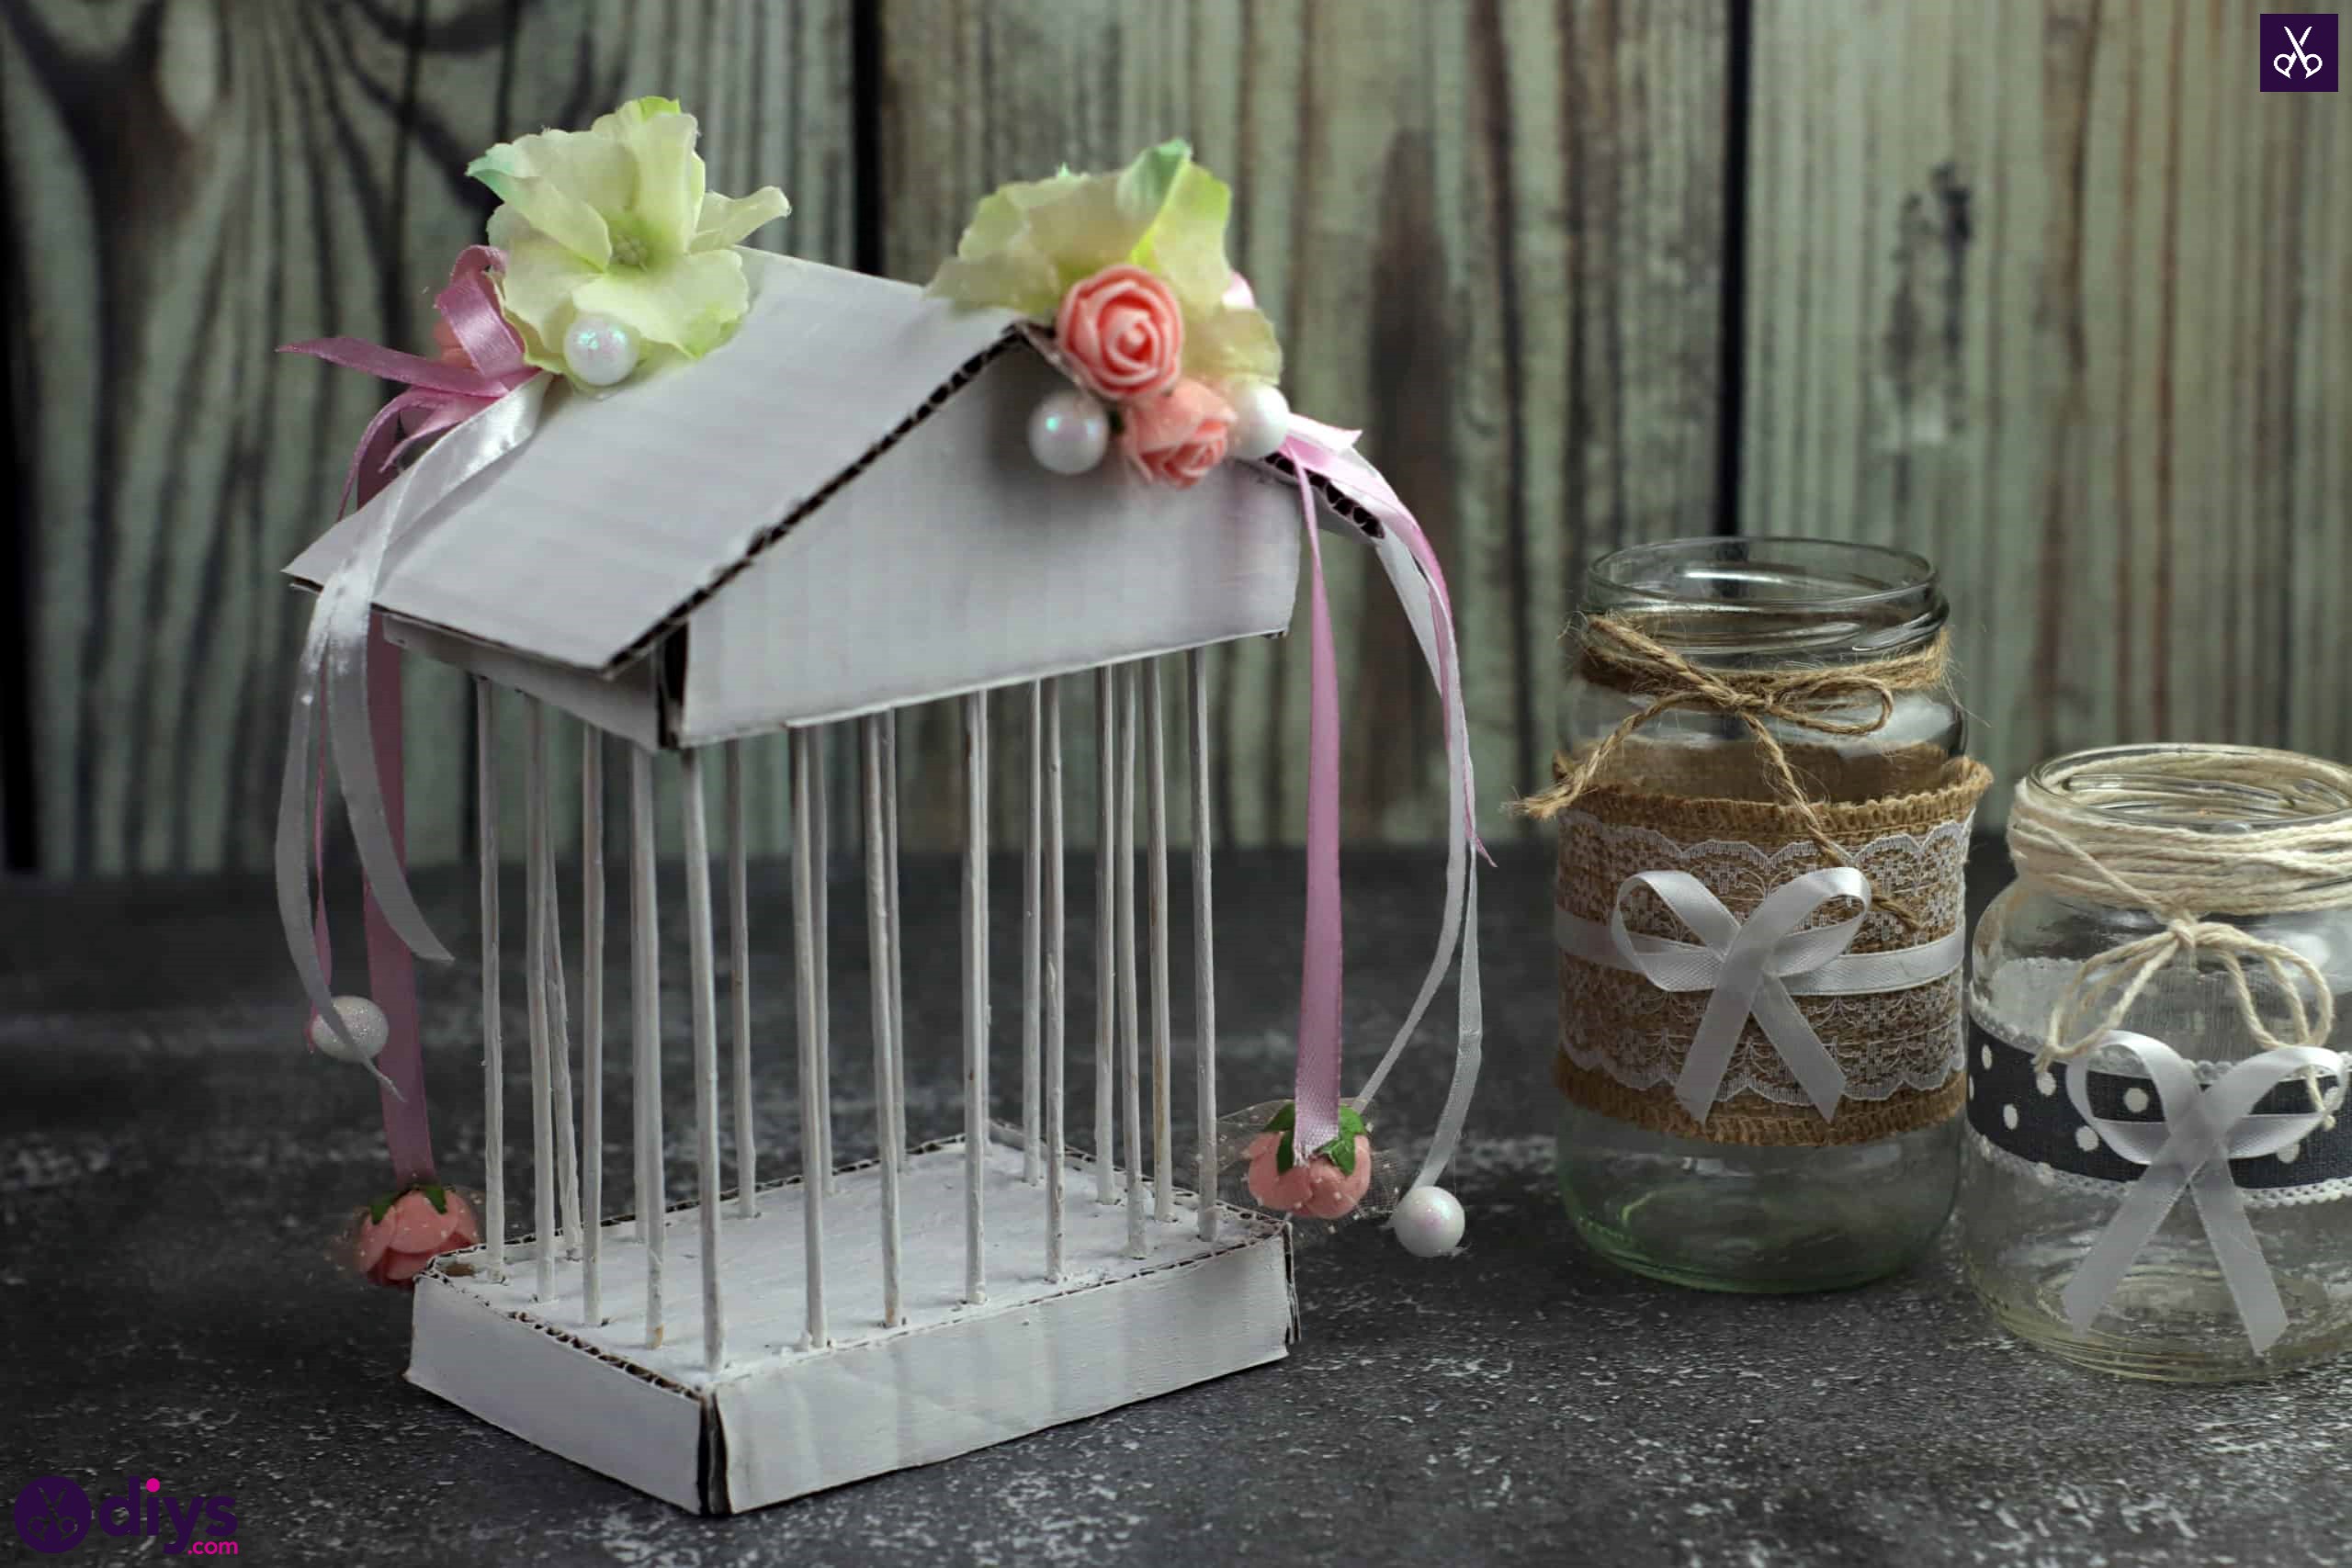
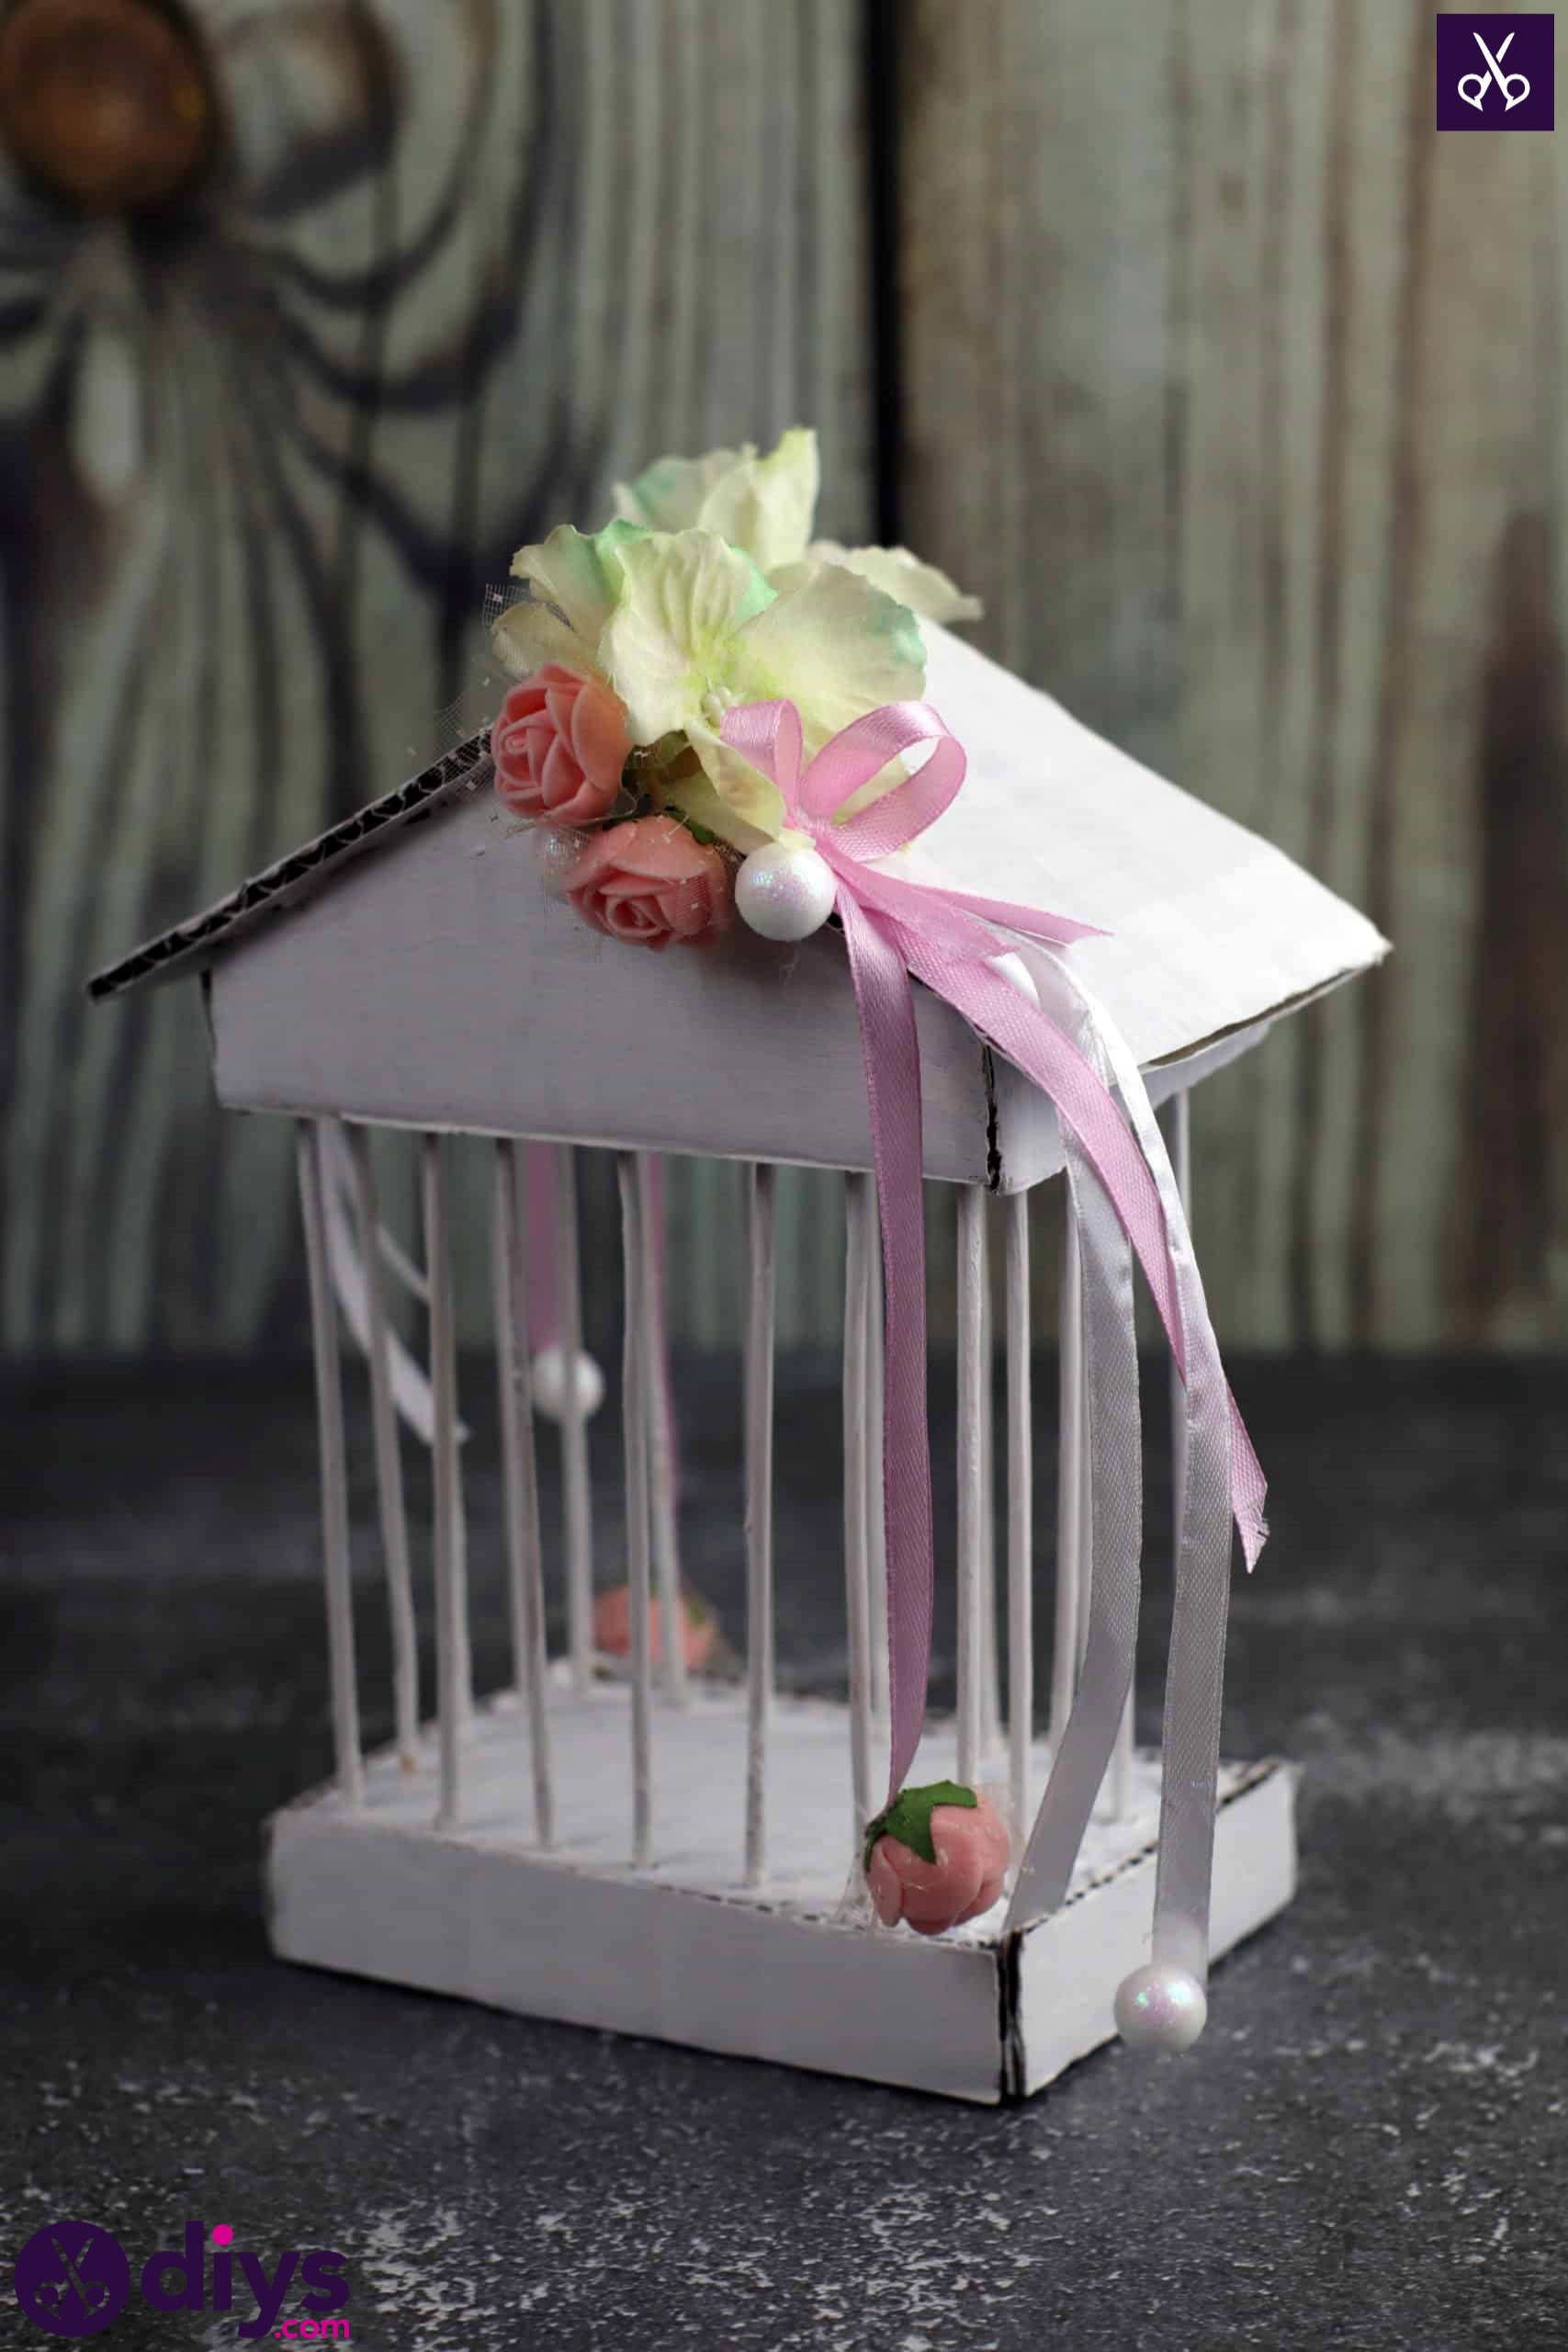
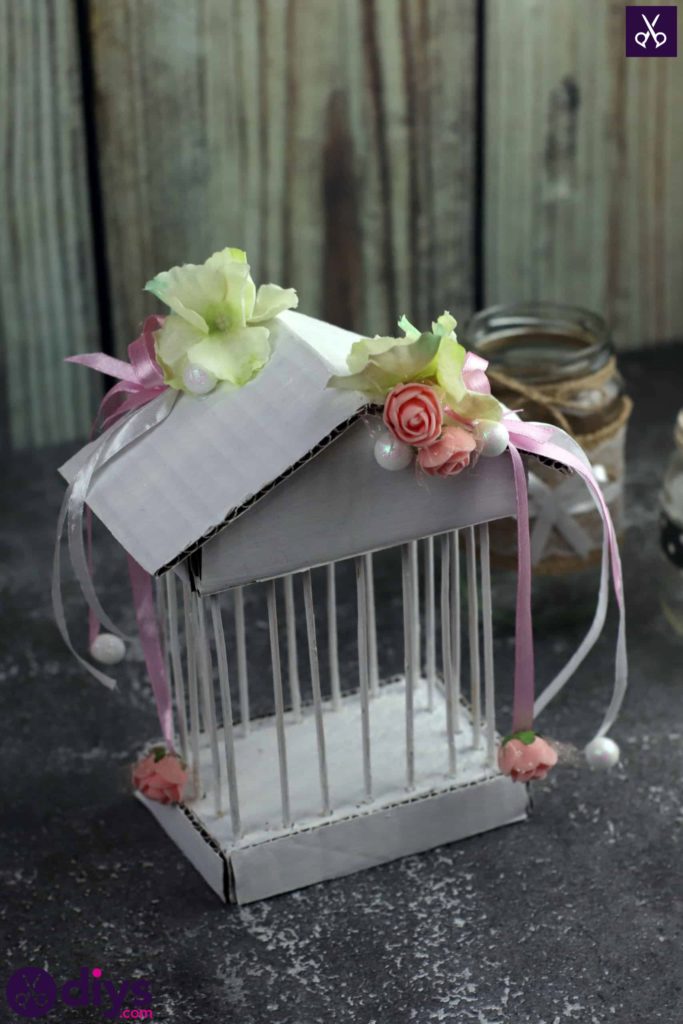
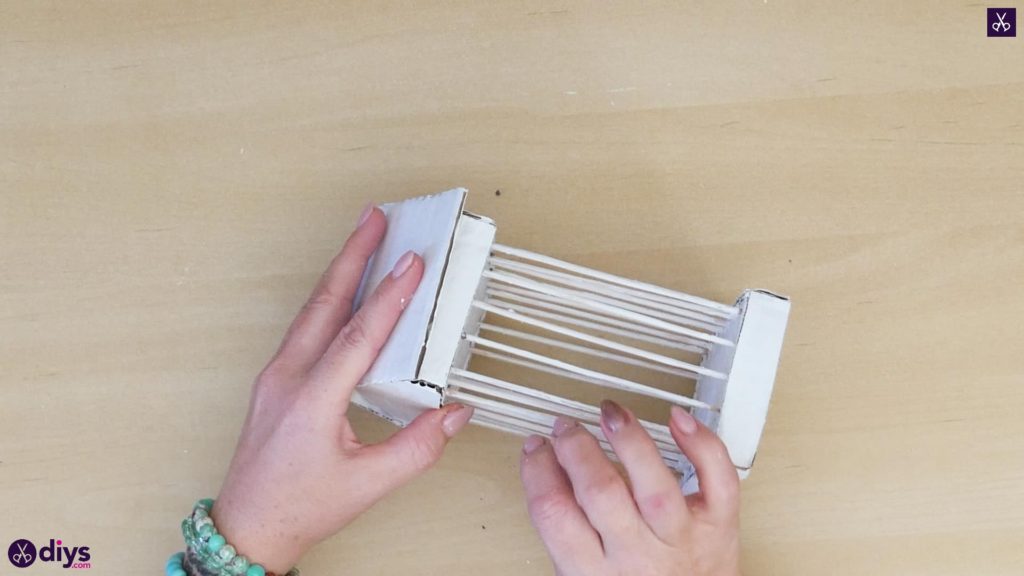
Now cut your wooden kebab skewers to the same height in order to make your cage bars! I made my cage with 20 wooden “bars” in total; one in each of the four corners, three more between the corners down each short side, and five between each corner down each long side. I cut each of these 20 bars to be four inches long. Place these bars by simply pressing their ends deep into your styrofoam so they stick straight up.
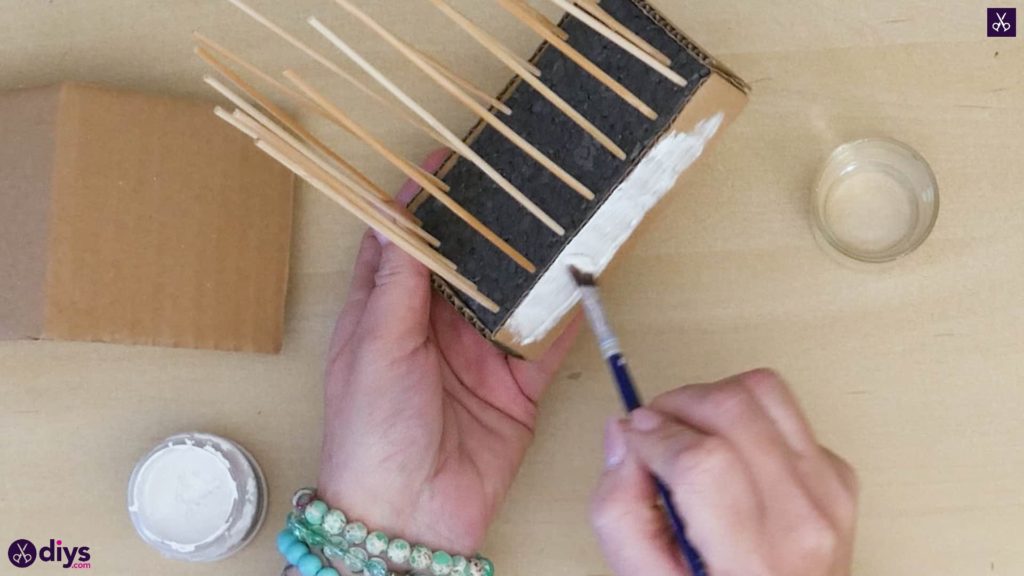

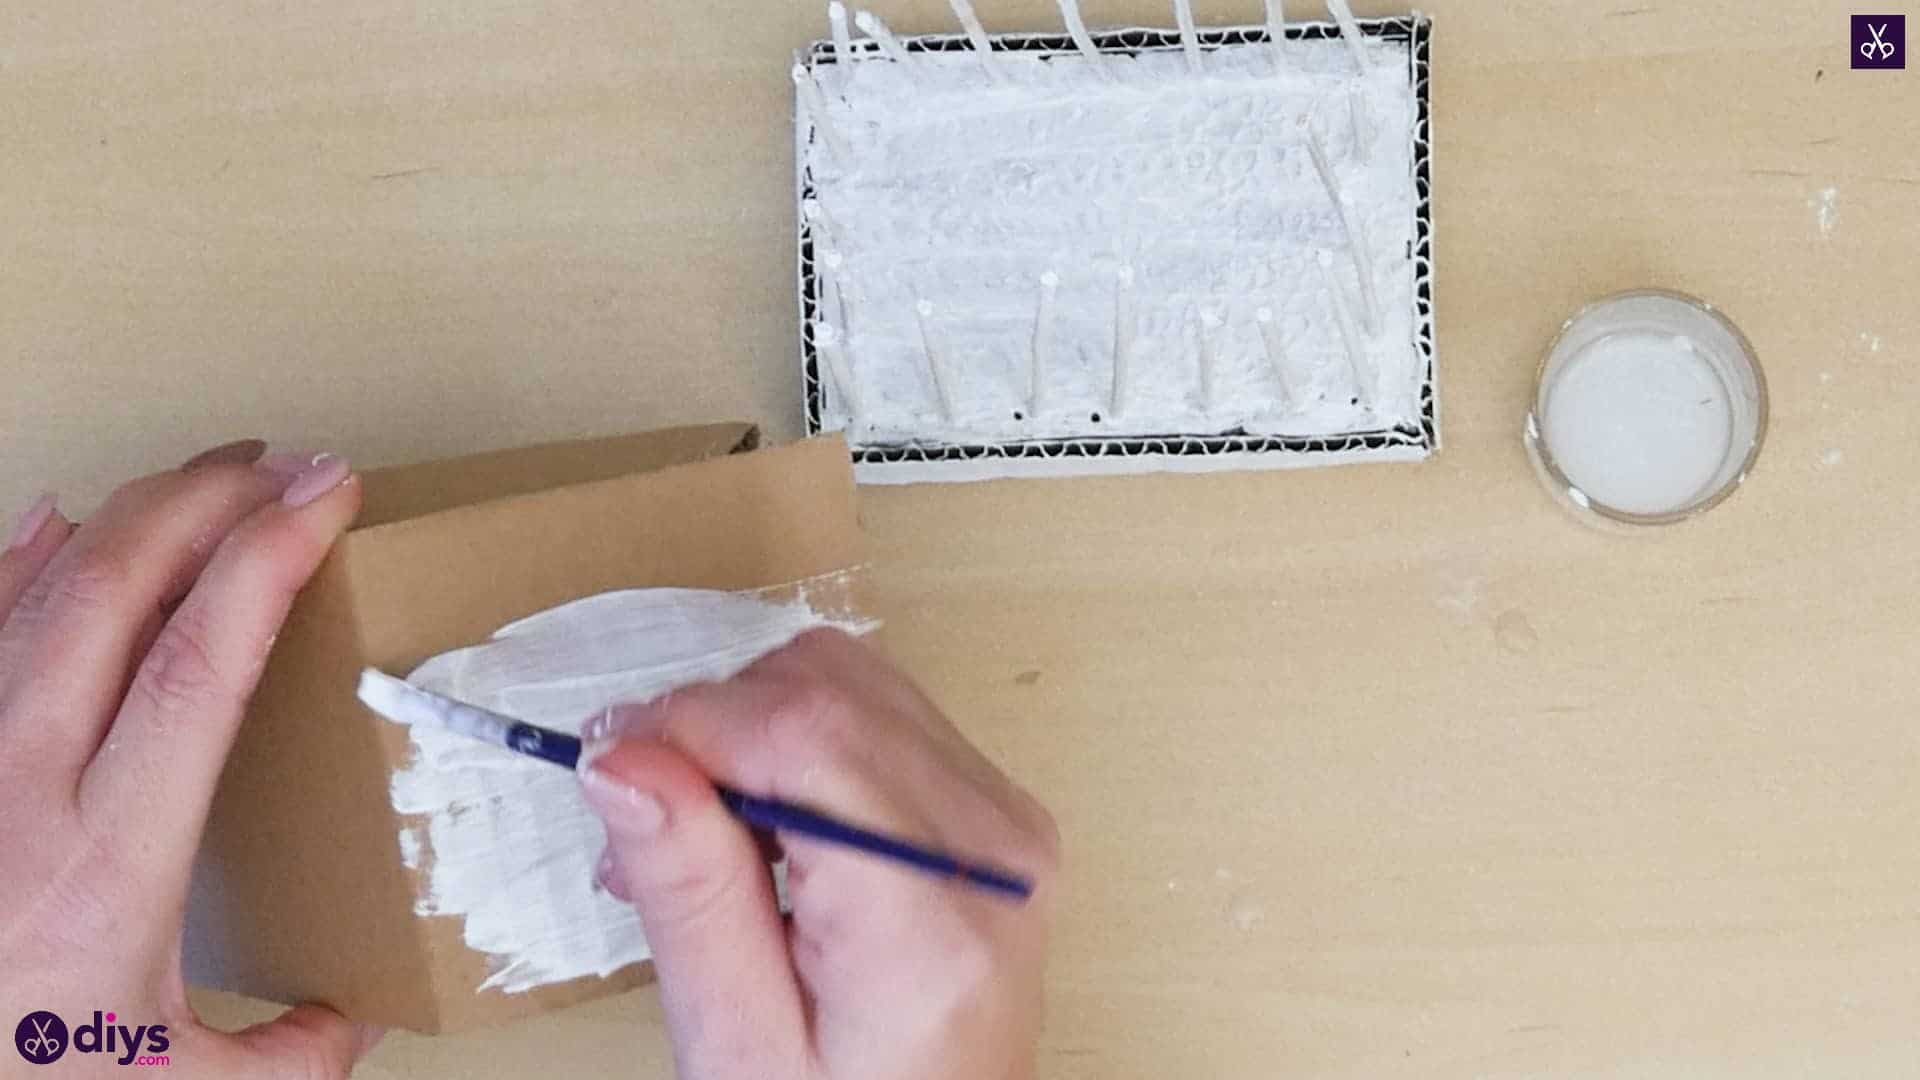
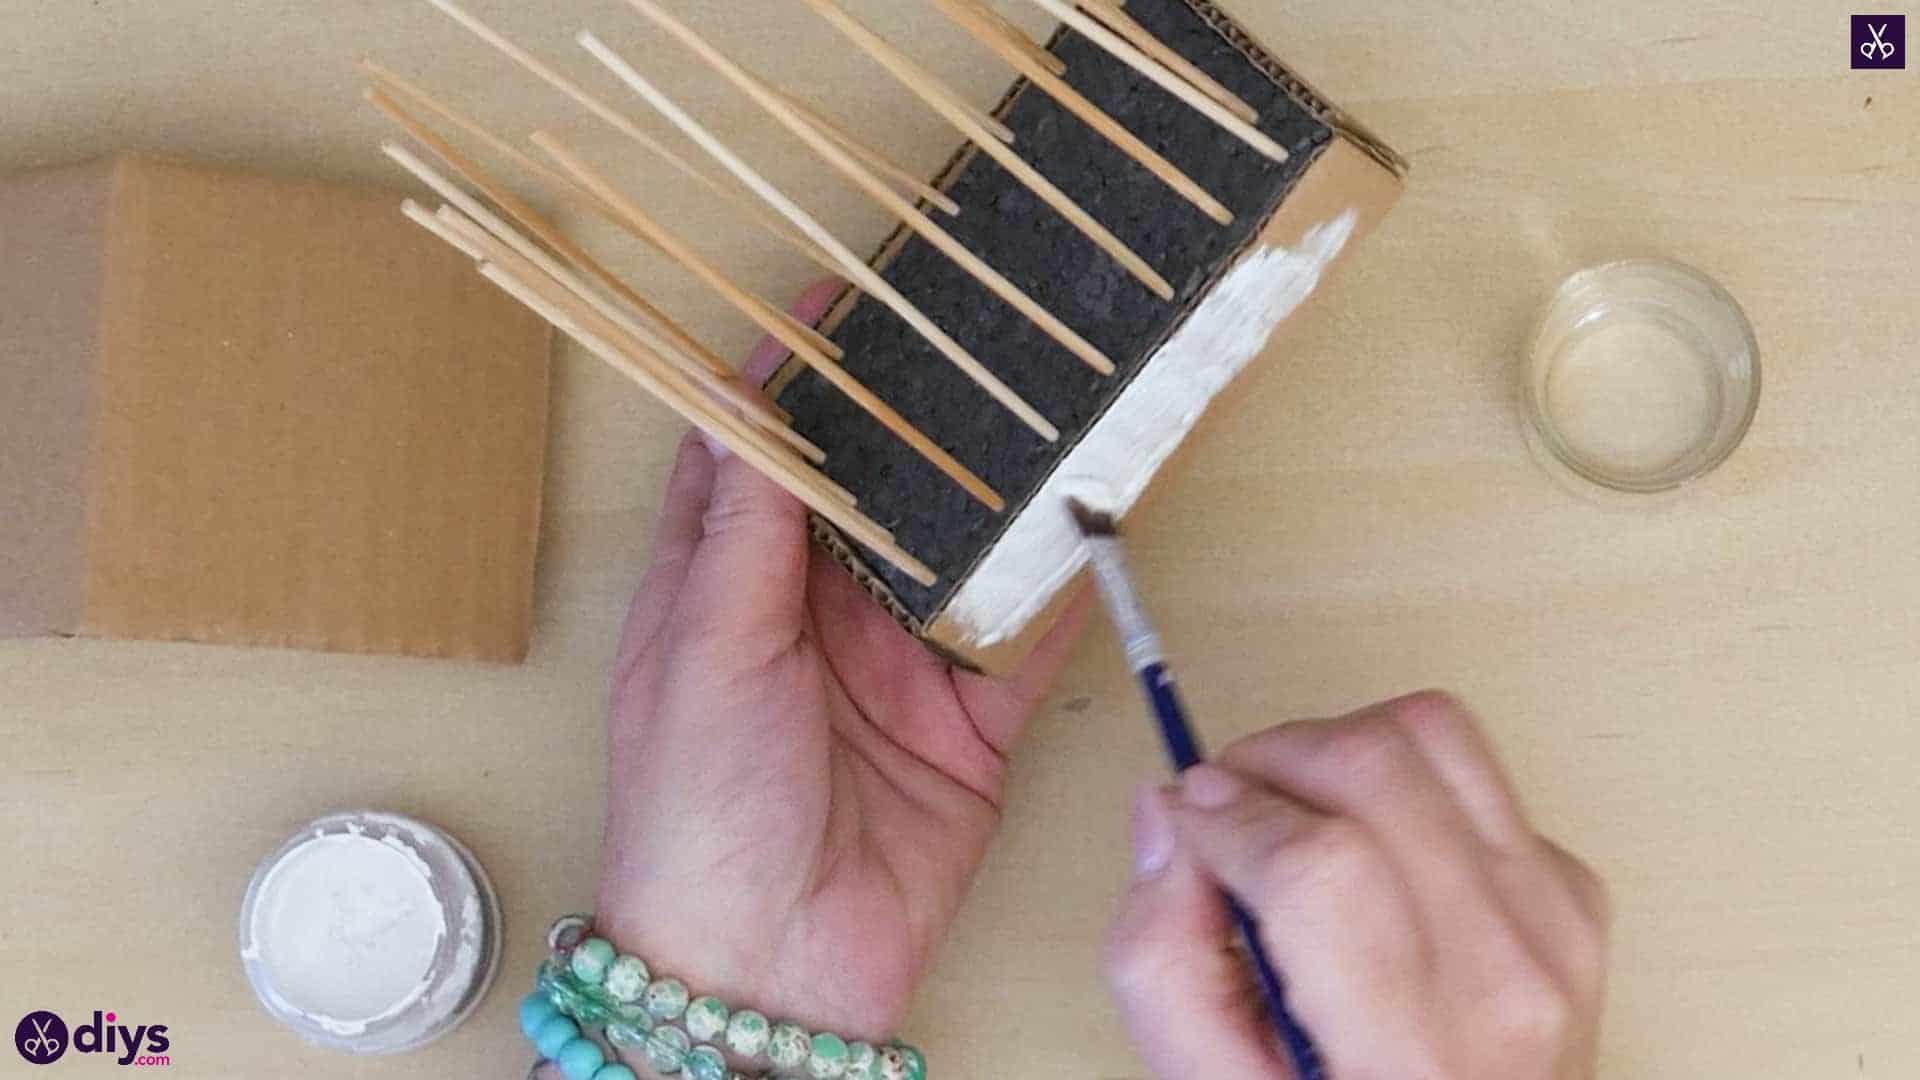
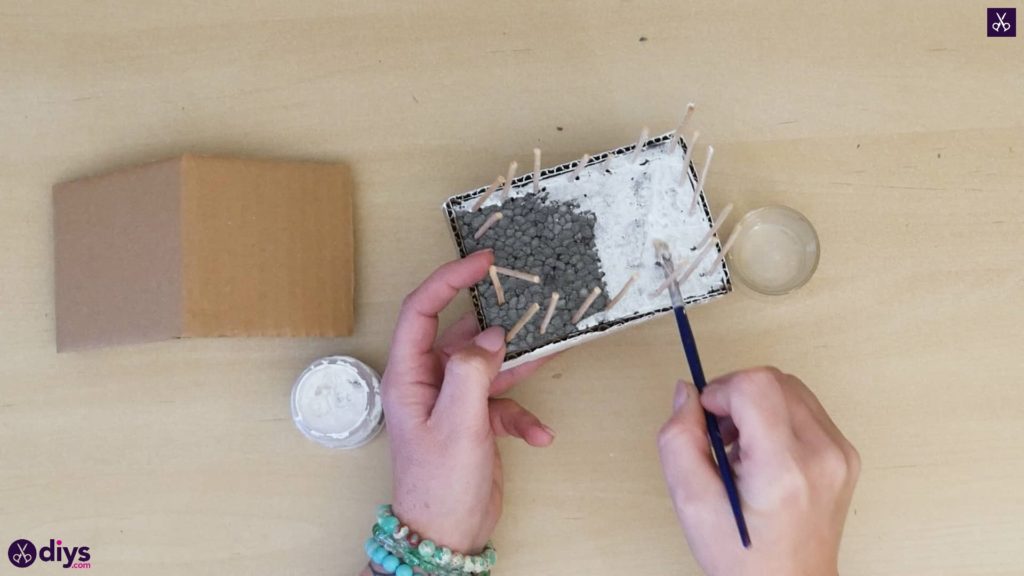
Step 8: paint!
Use your paintbrush to paint the entire piece that you’ve built so far white. You want to paint the cardboard edging, the surface of the styrofoam base, and each of the bars evenly white. Set it aside to dry. While that’s drying, paint your entire top piece with its peaked roof white on all sides, pieces, and surfaces too. Set it aside to dry as well.


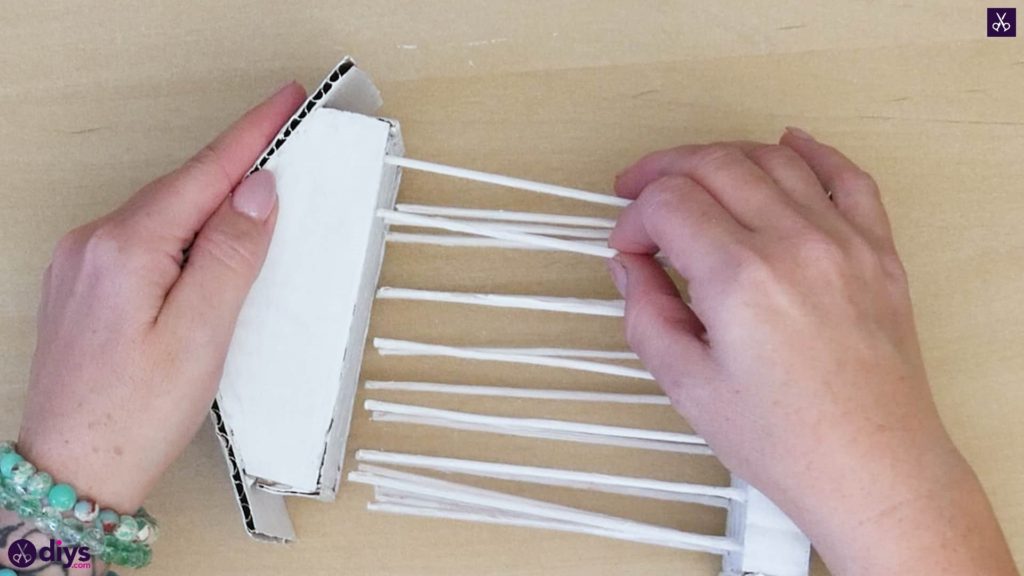
Step 9: adjustments
Once both halves of the cage have dried, turn them on their side so you can see better and stick the free ends of the “bars” into the foam inside the top of the cage. Try to position them so the bars stand straight and the top sits nice and evenly.
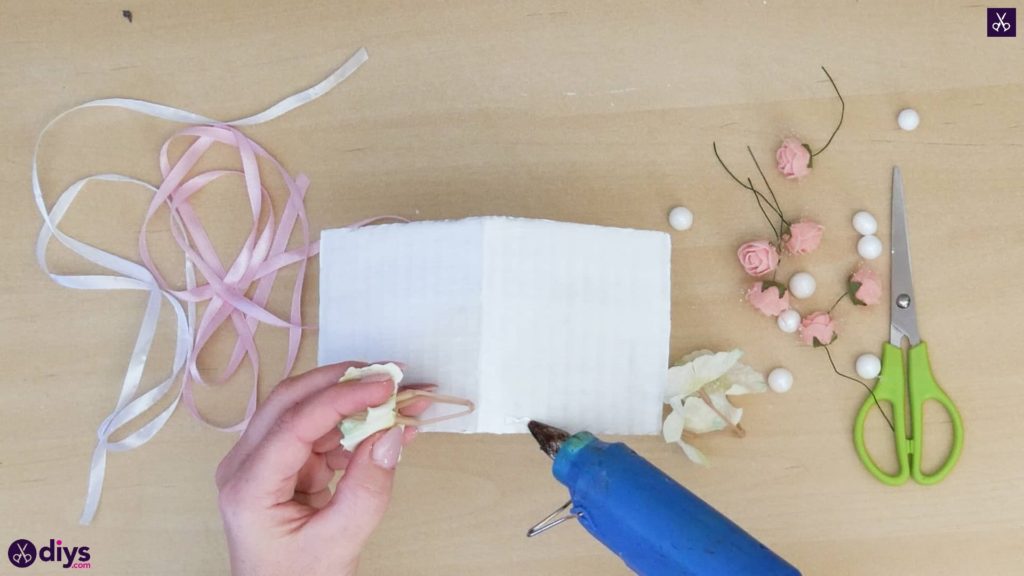
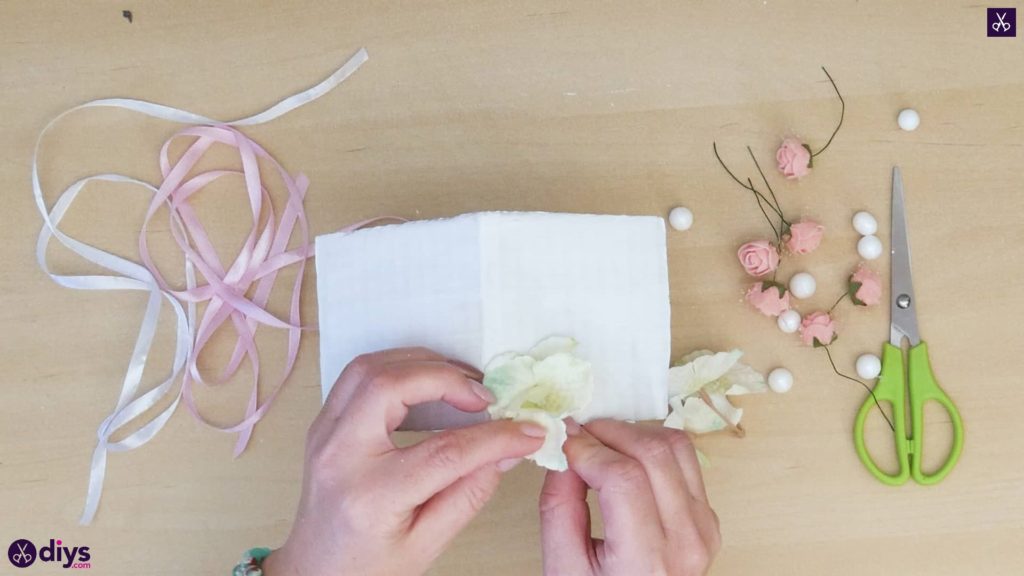
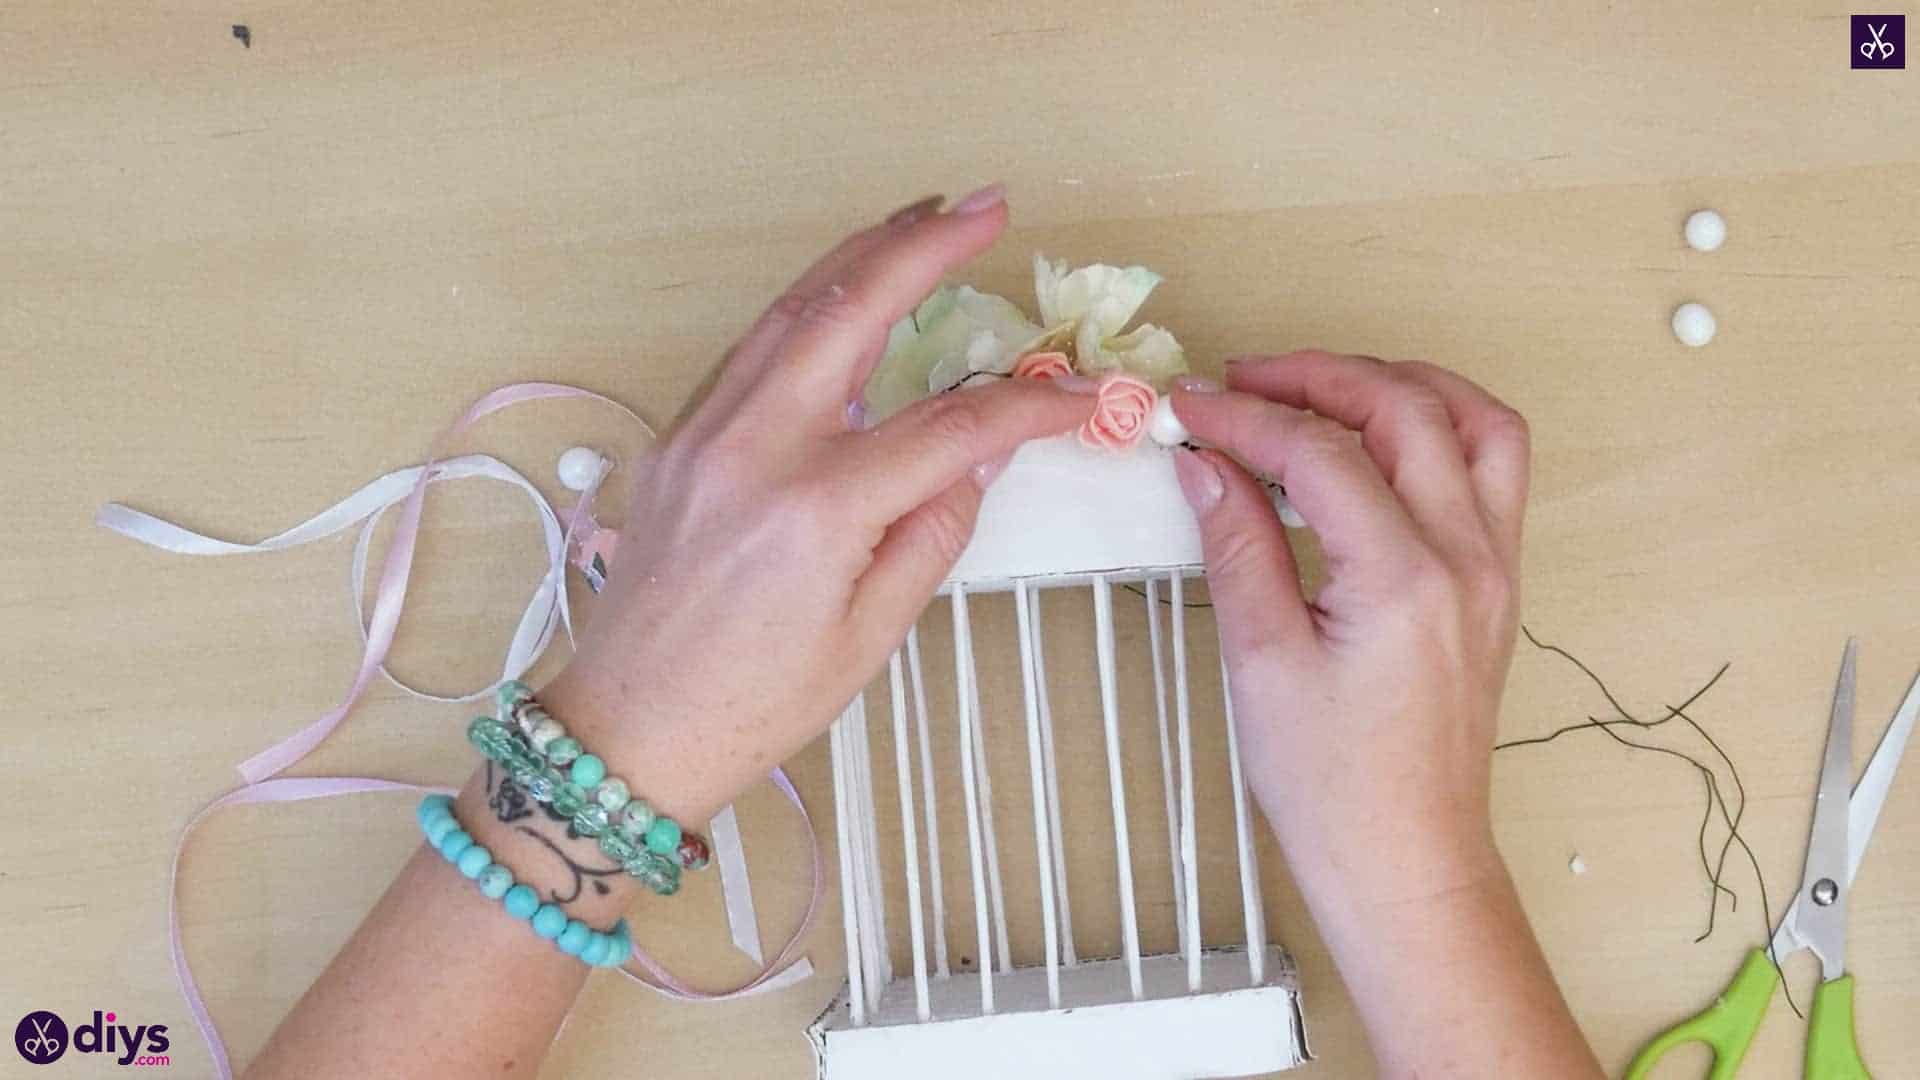
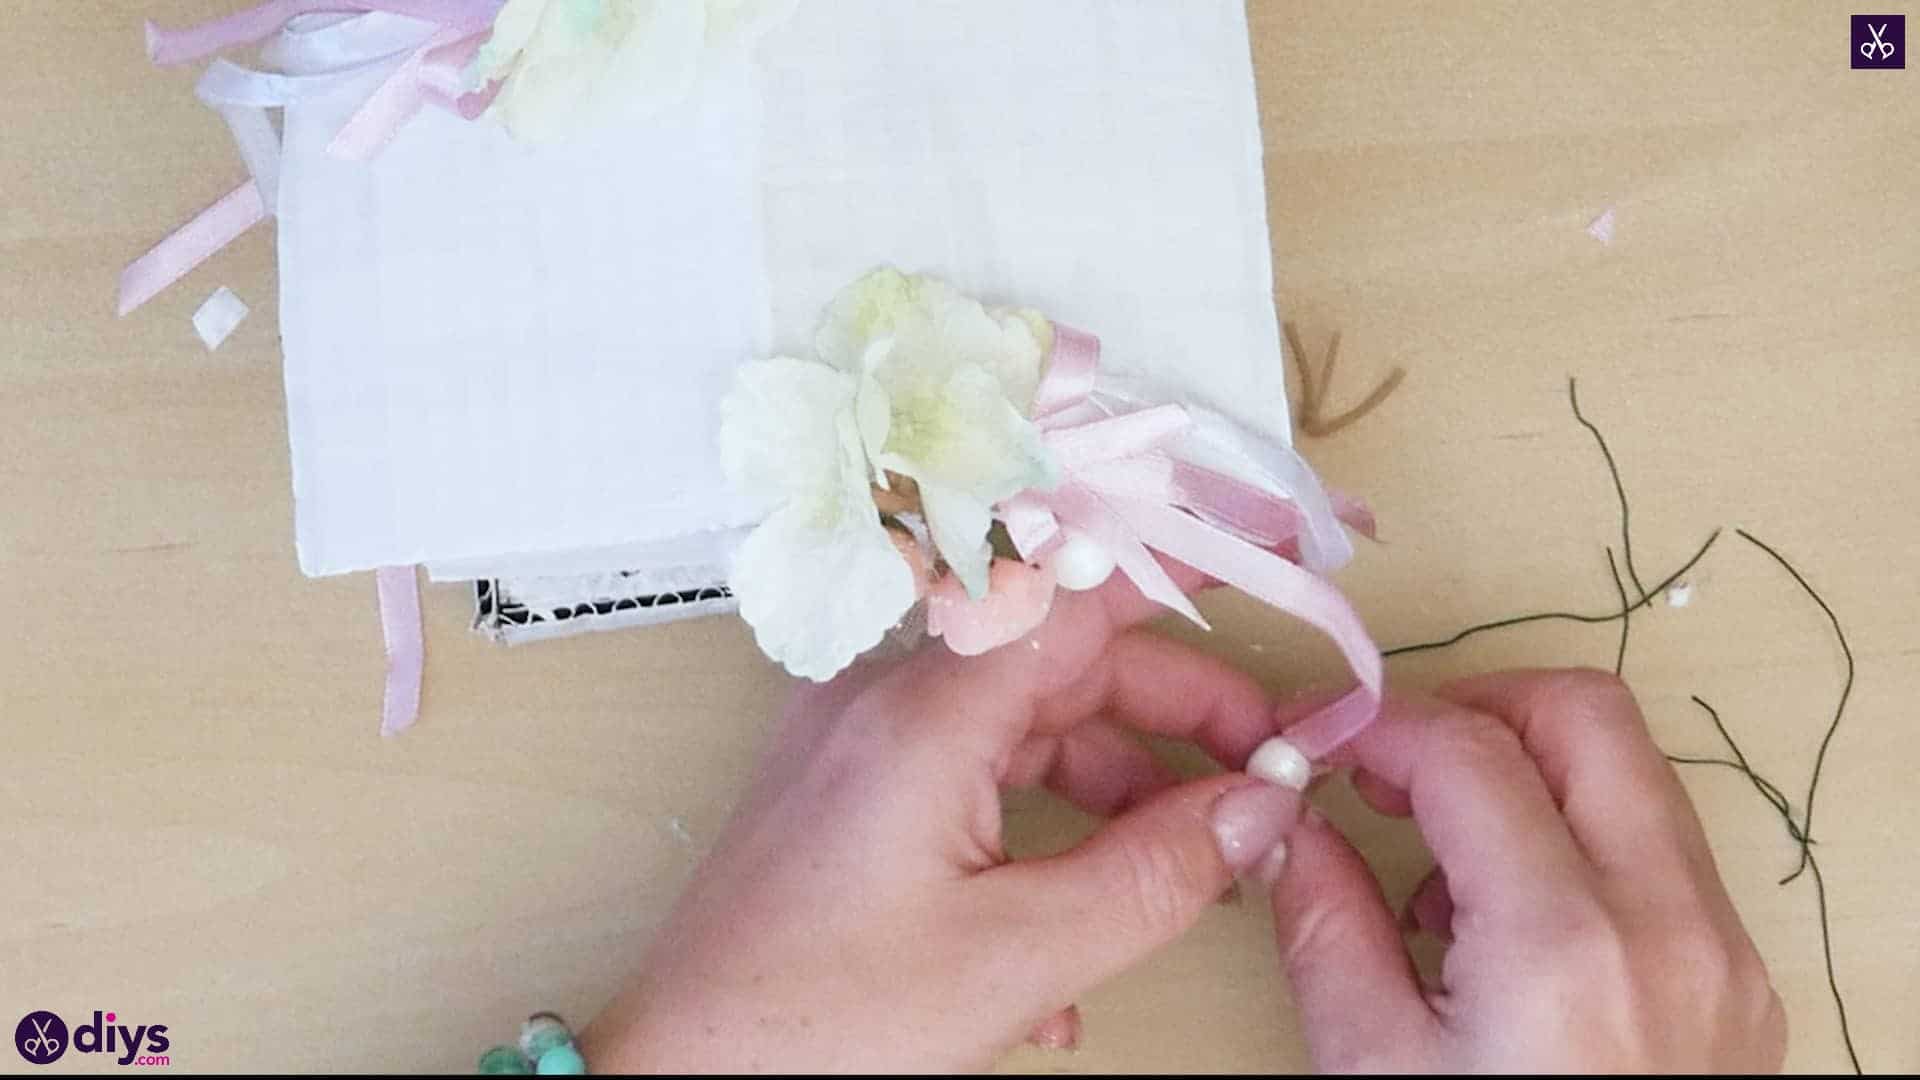
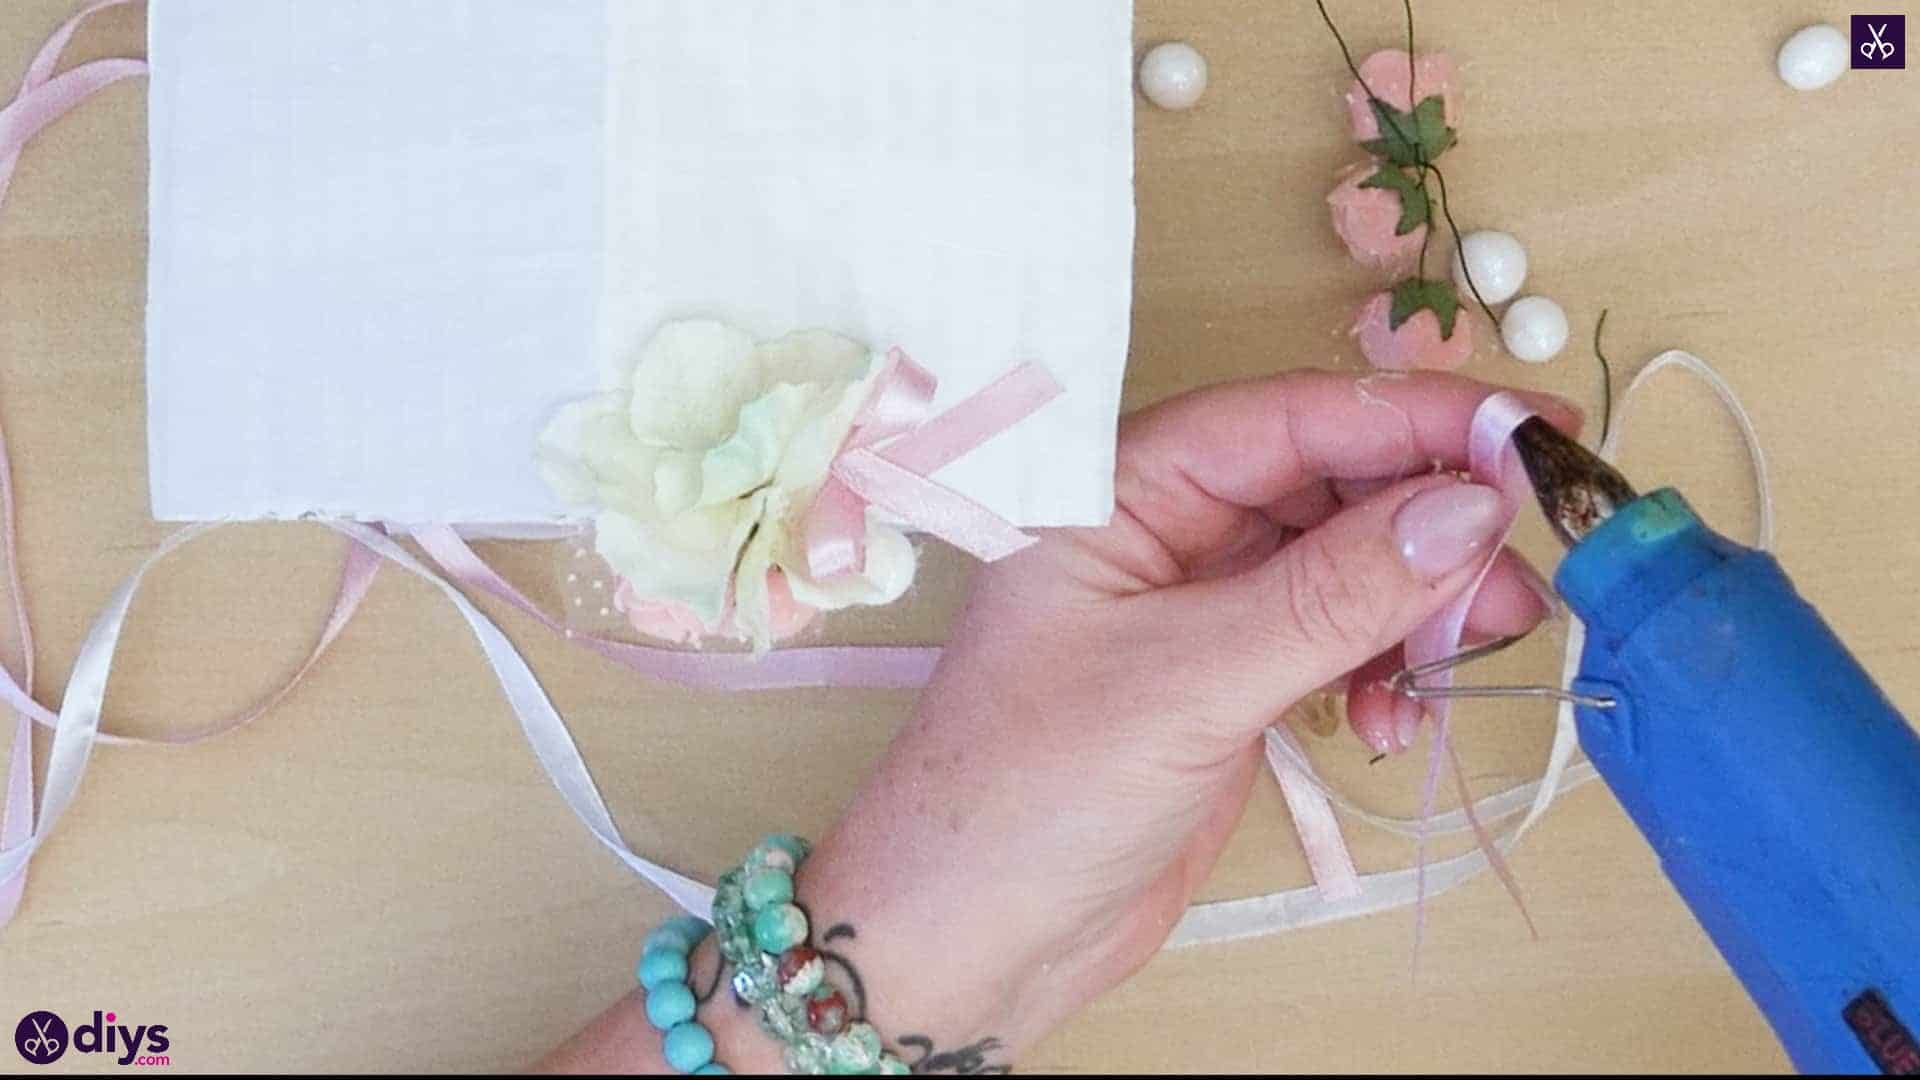
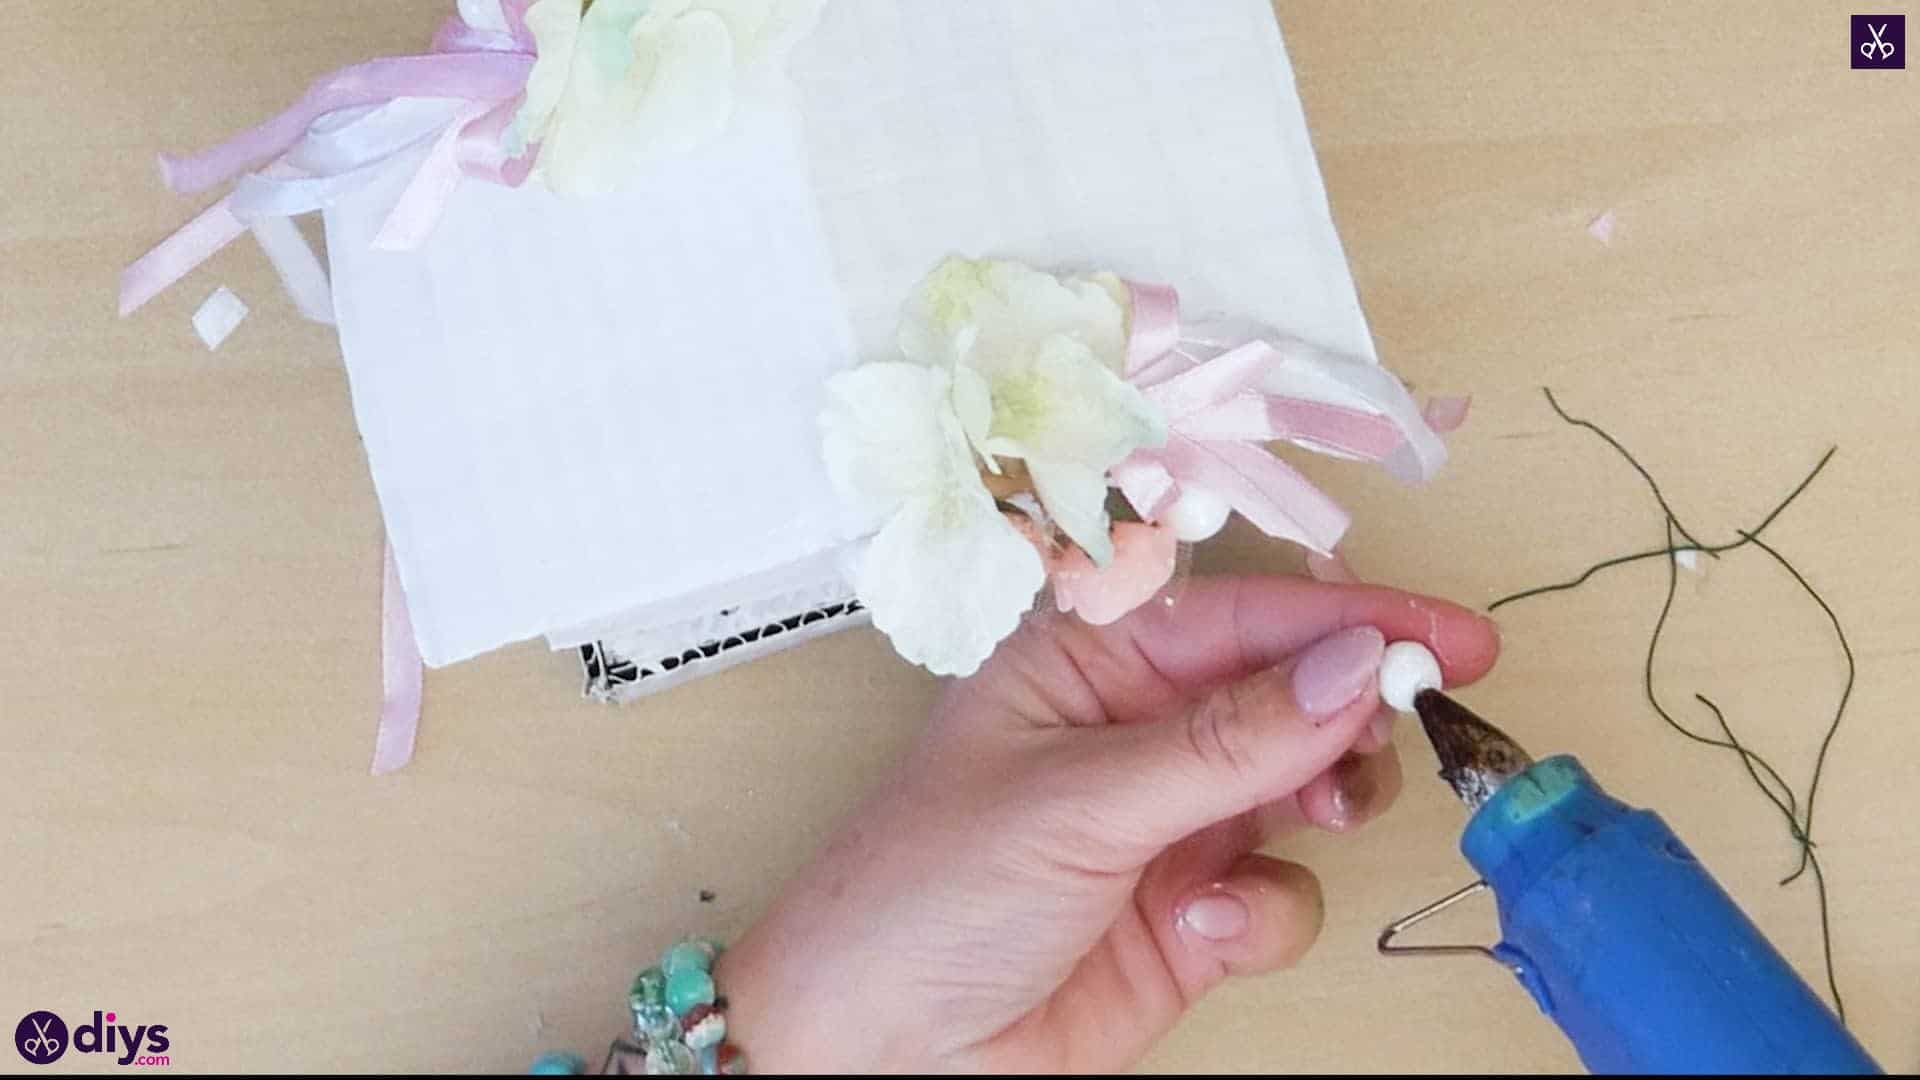
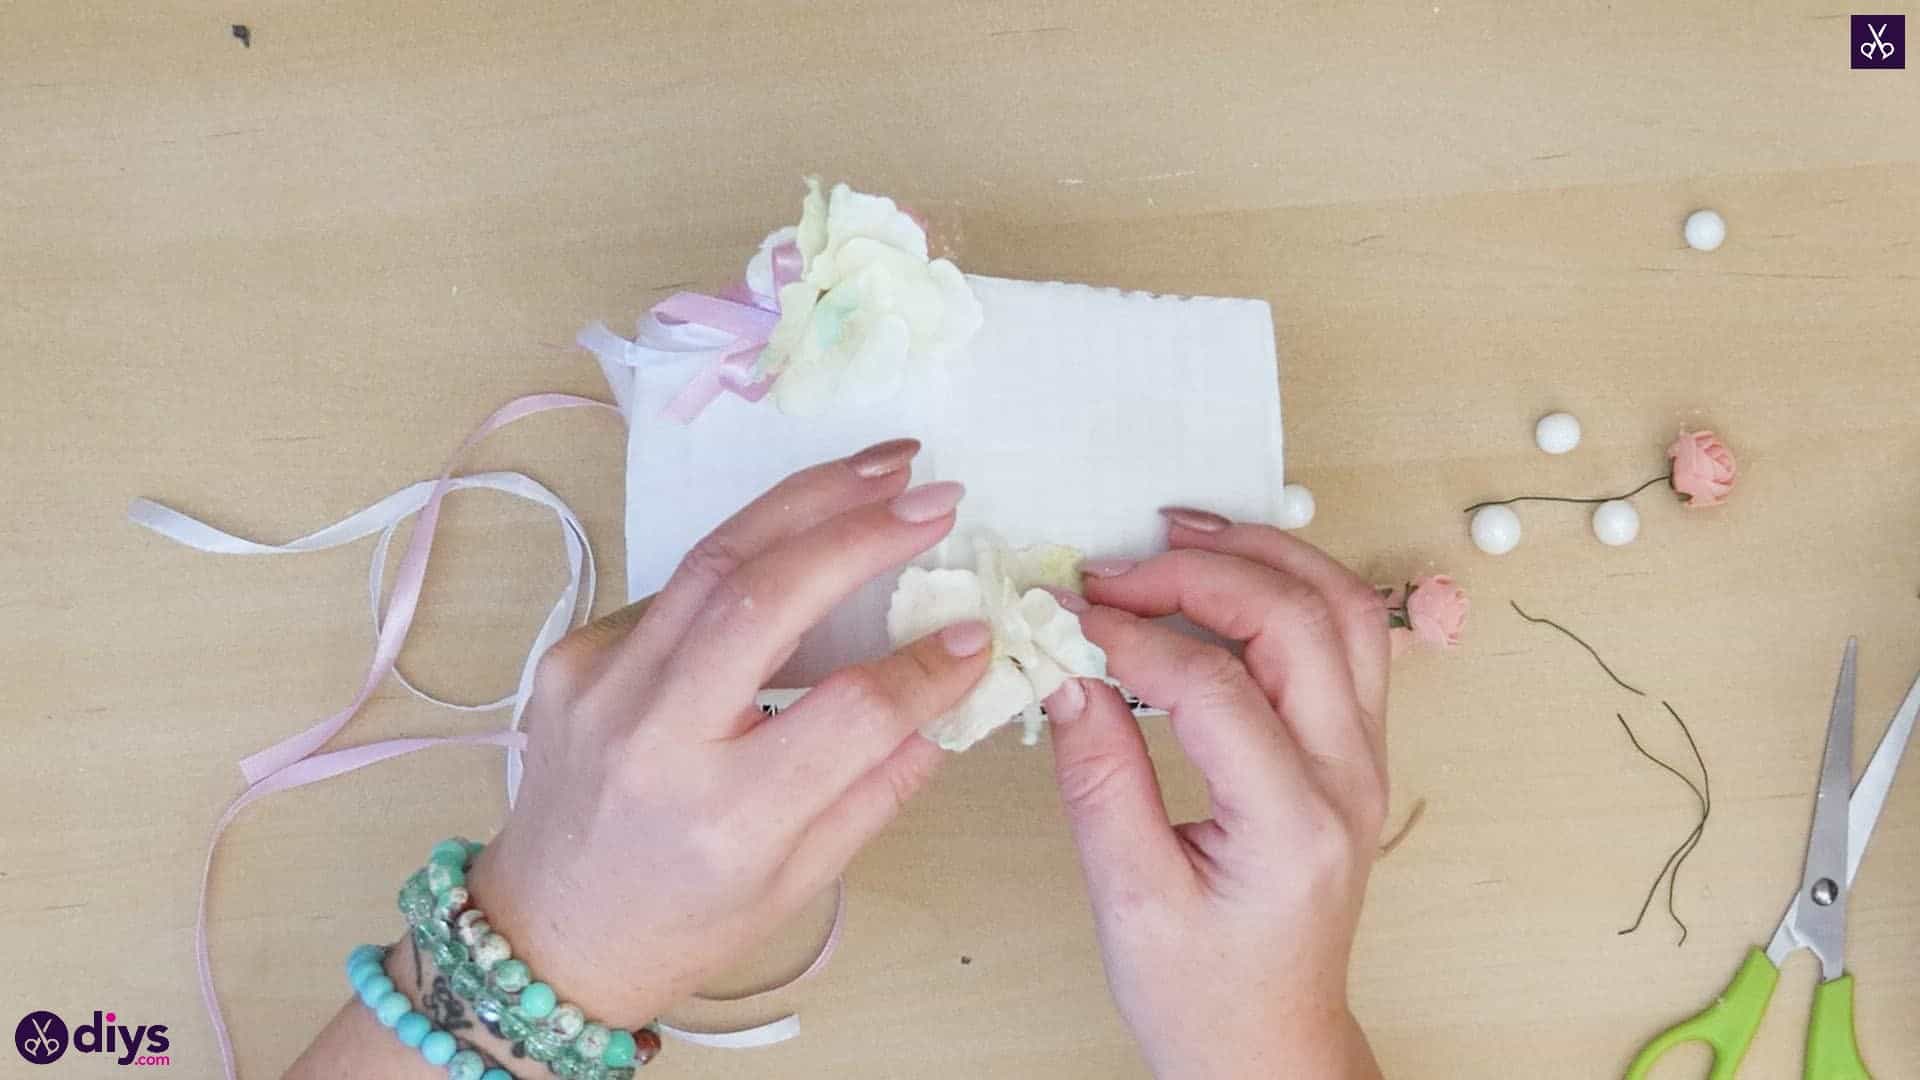
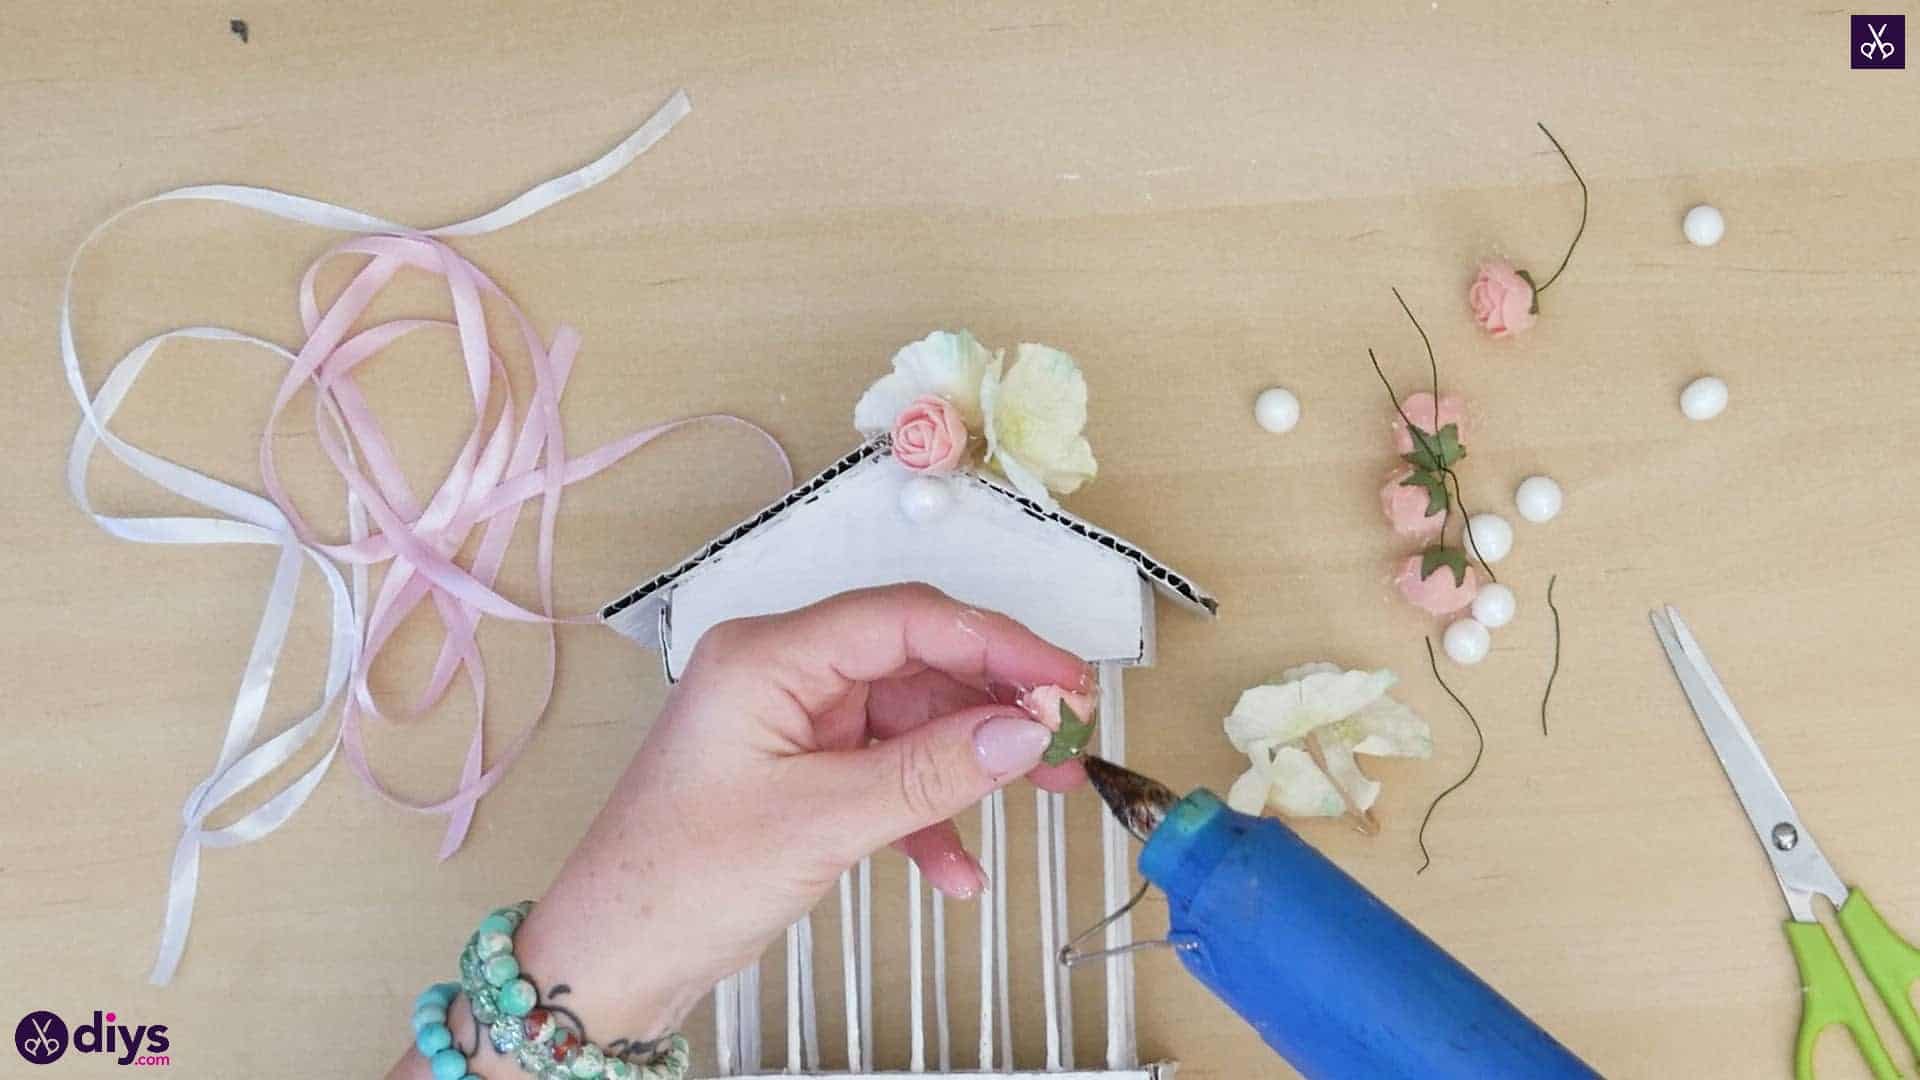
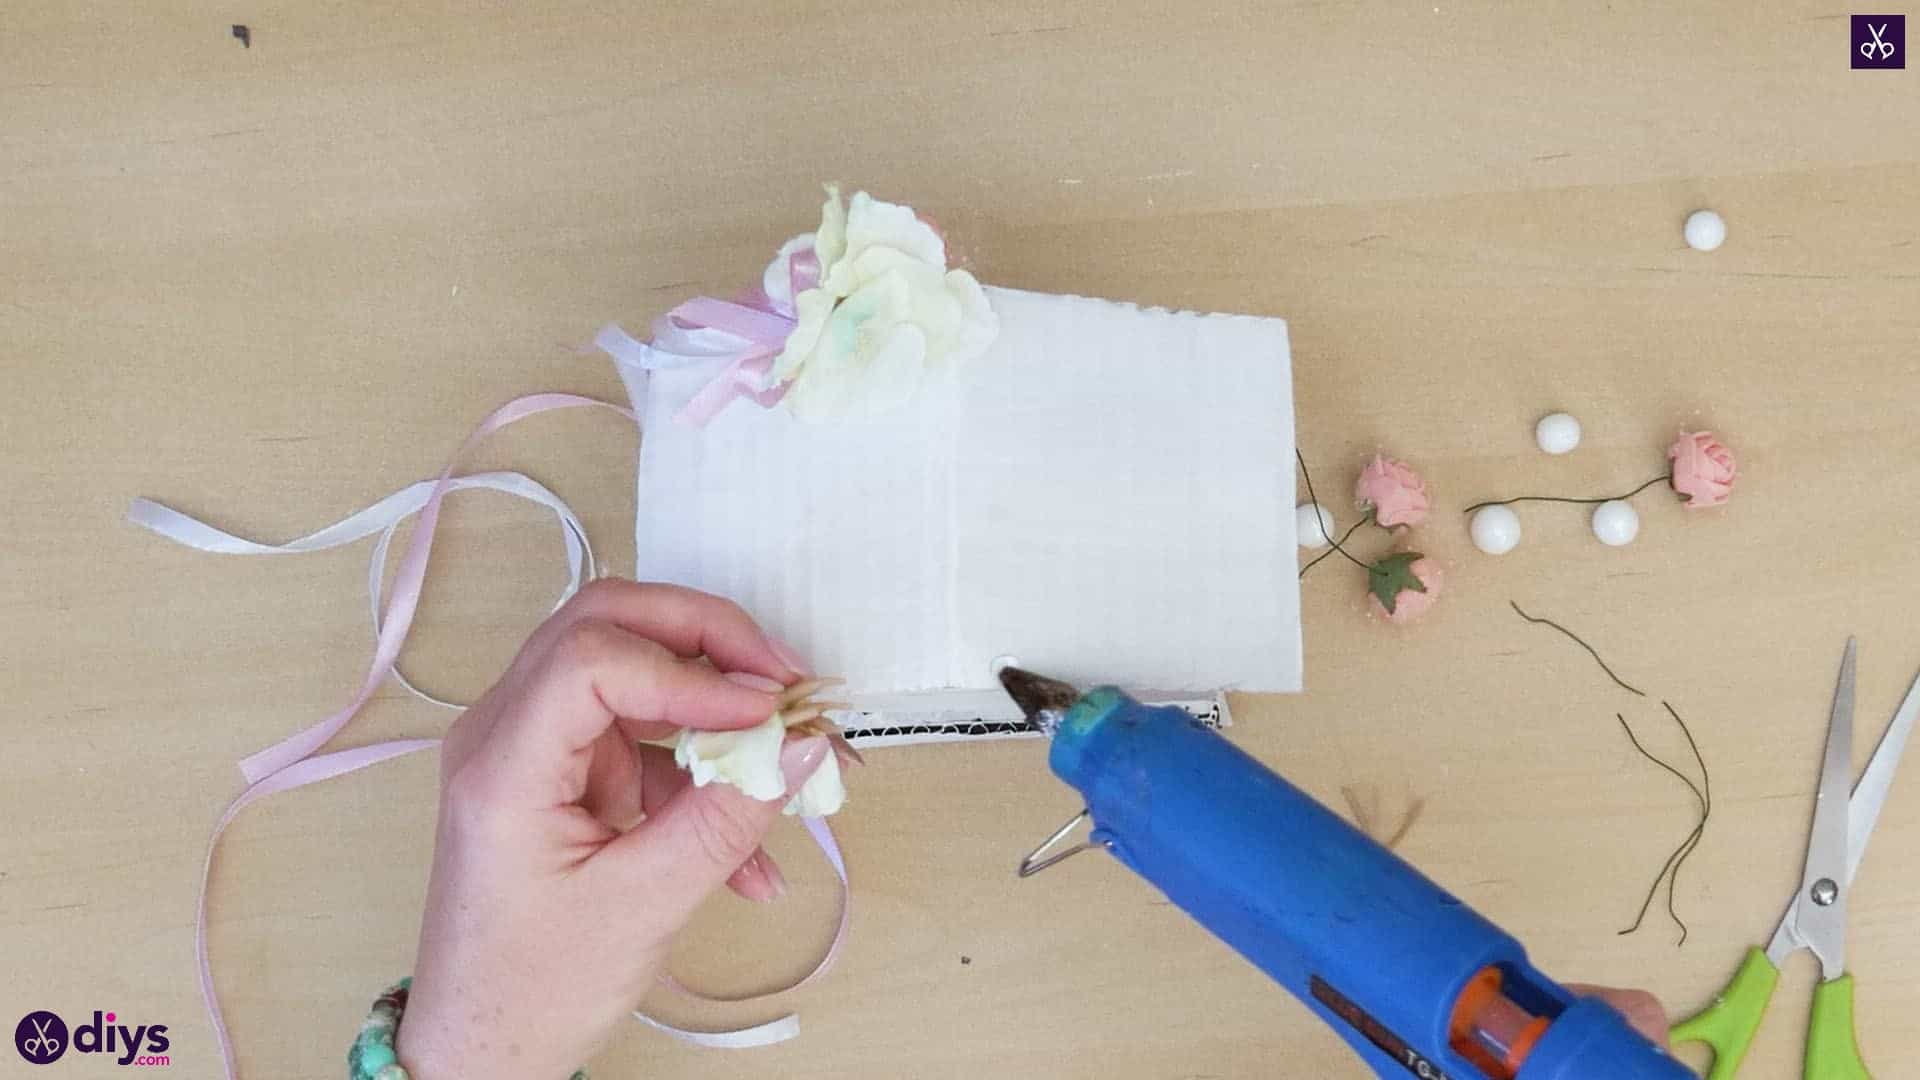
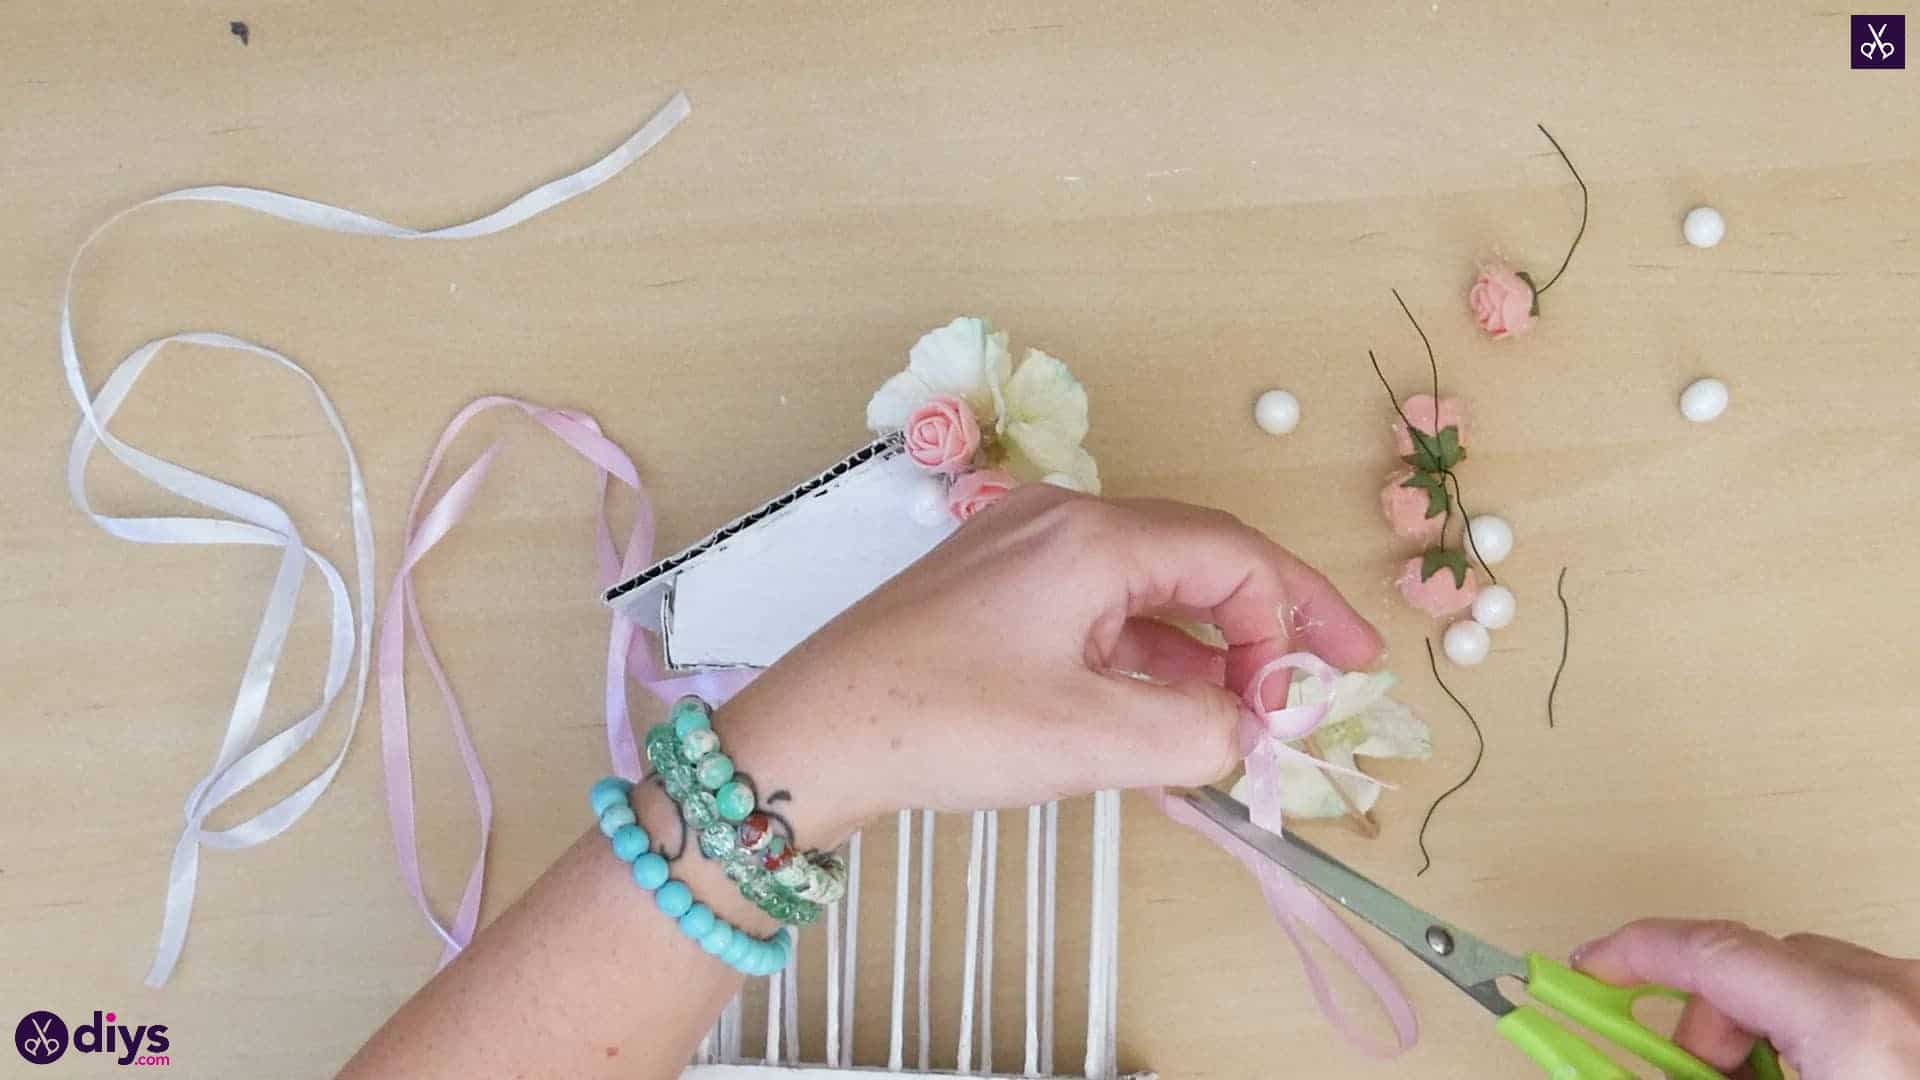
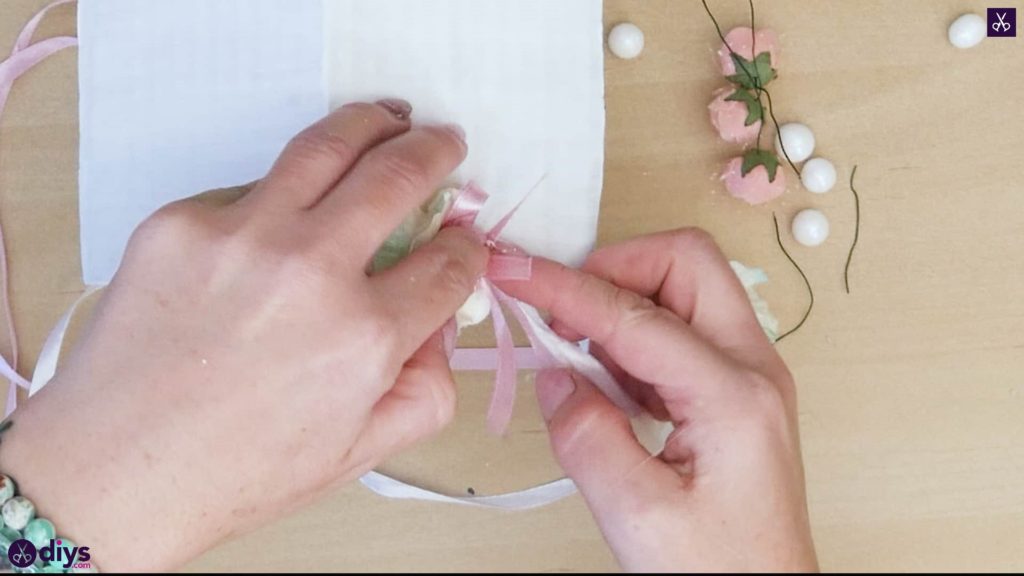
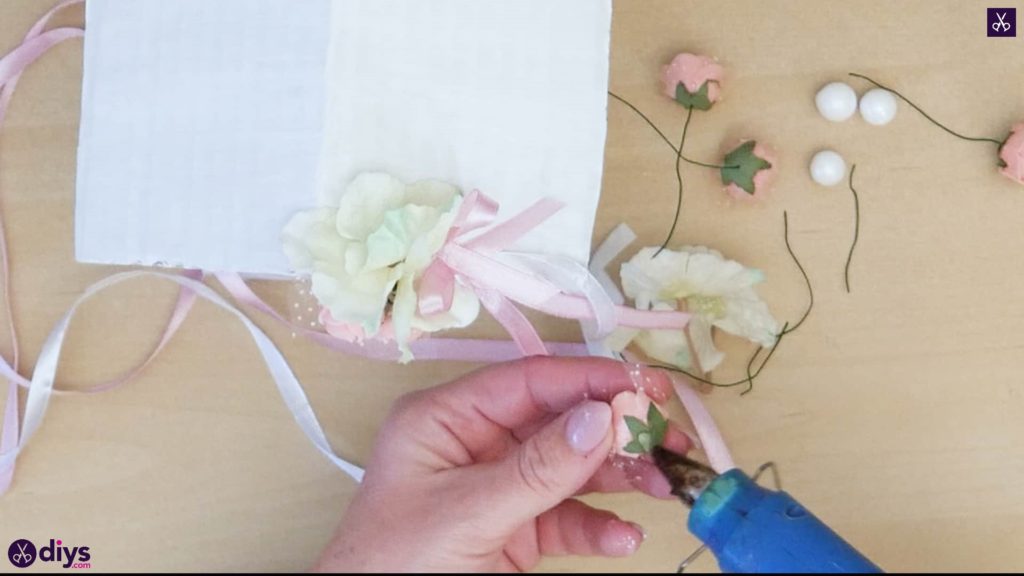
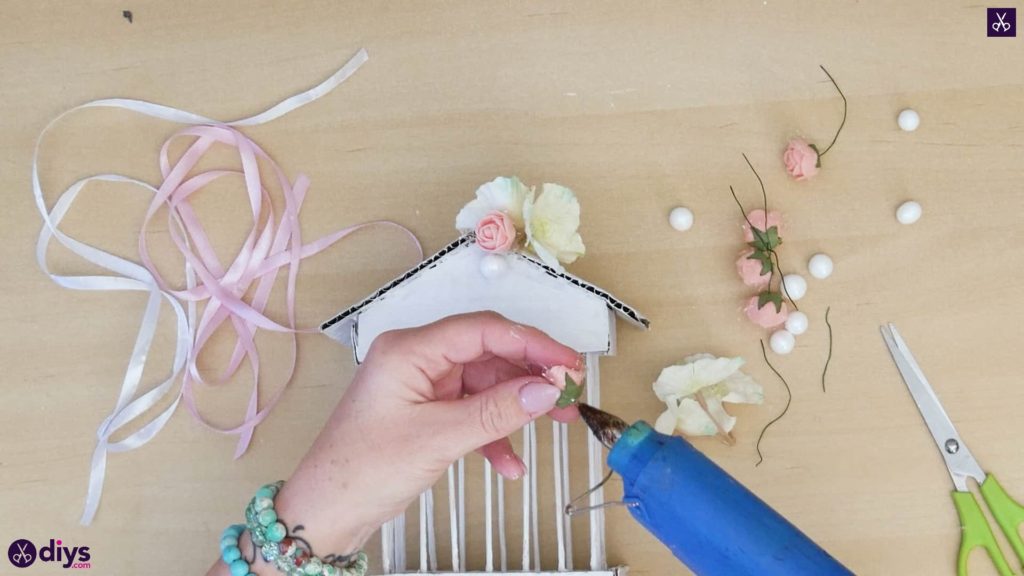
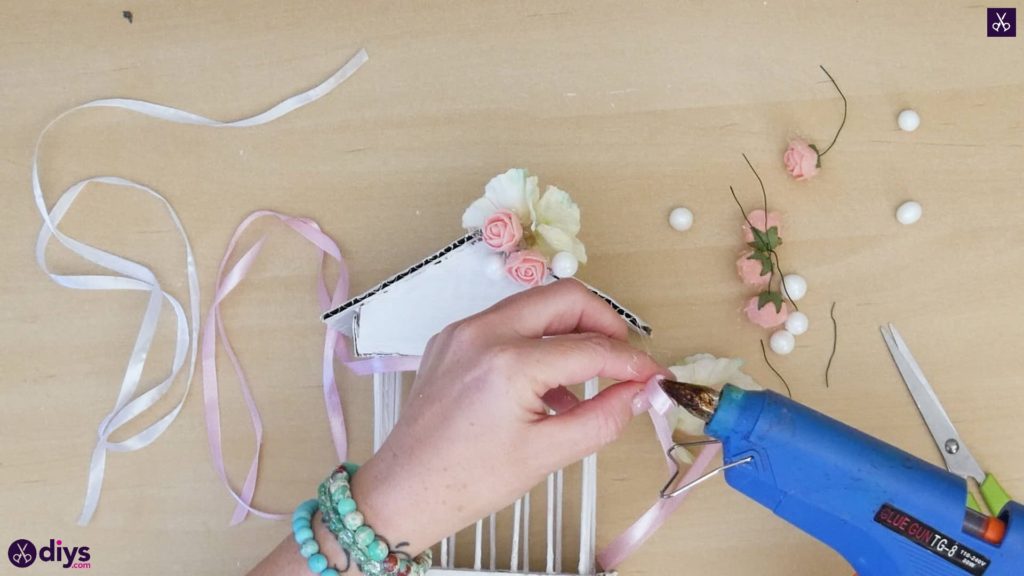
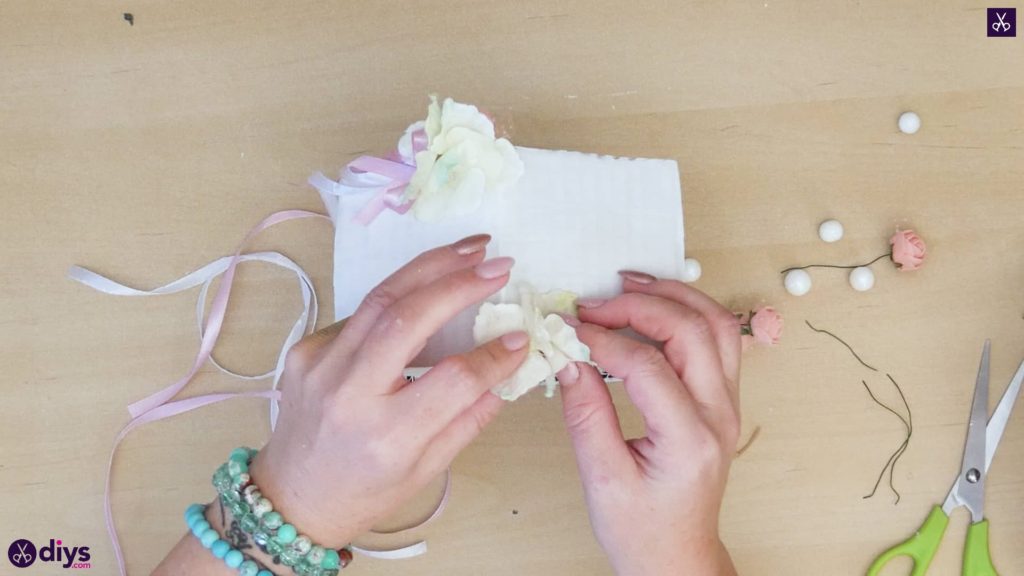
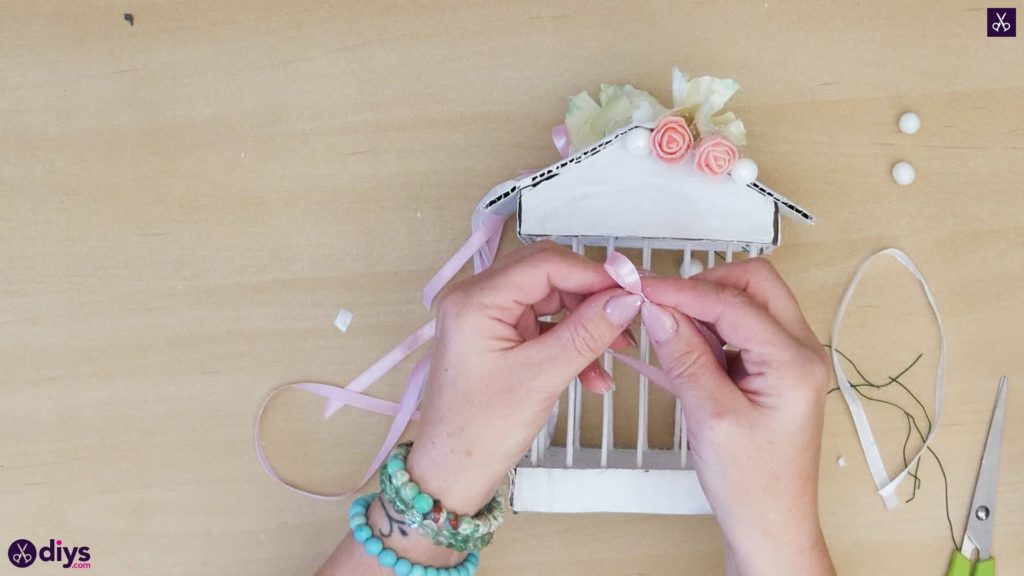
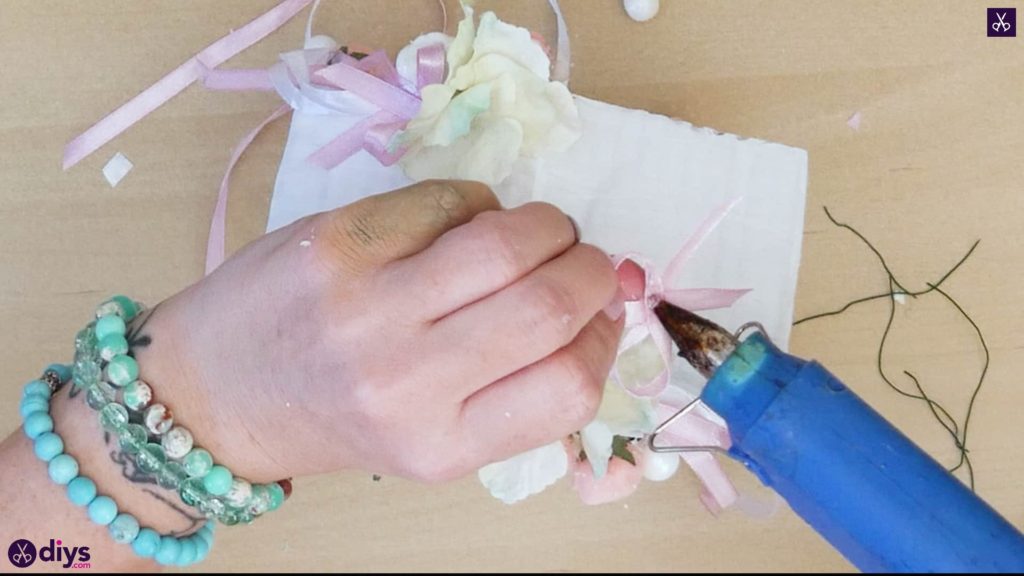
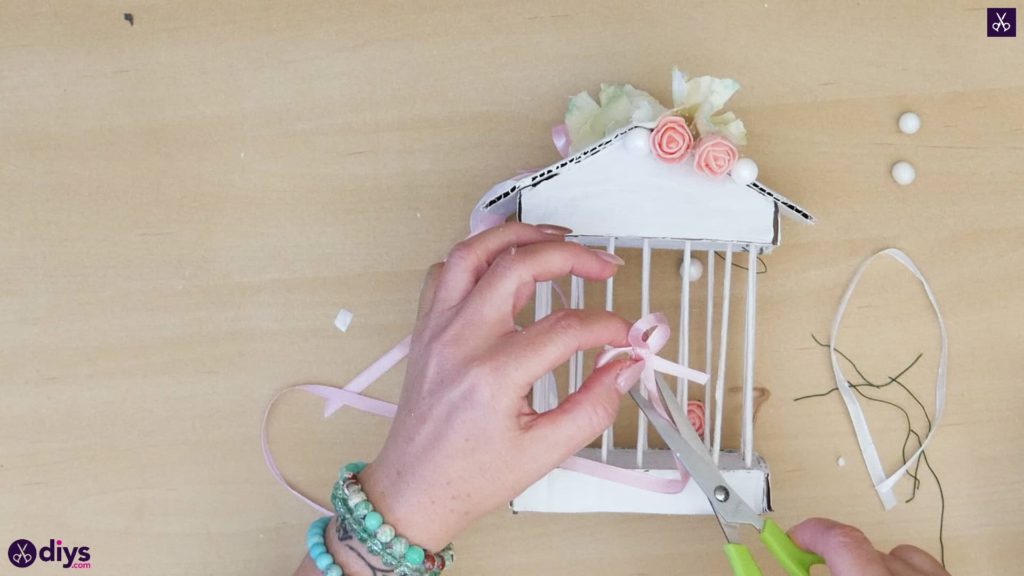
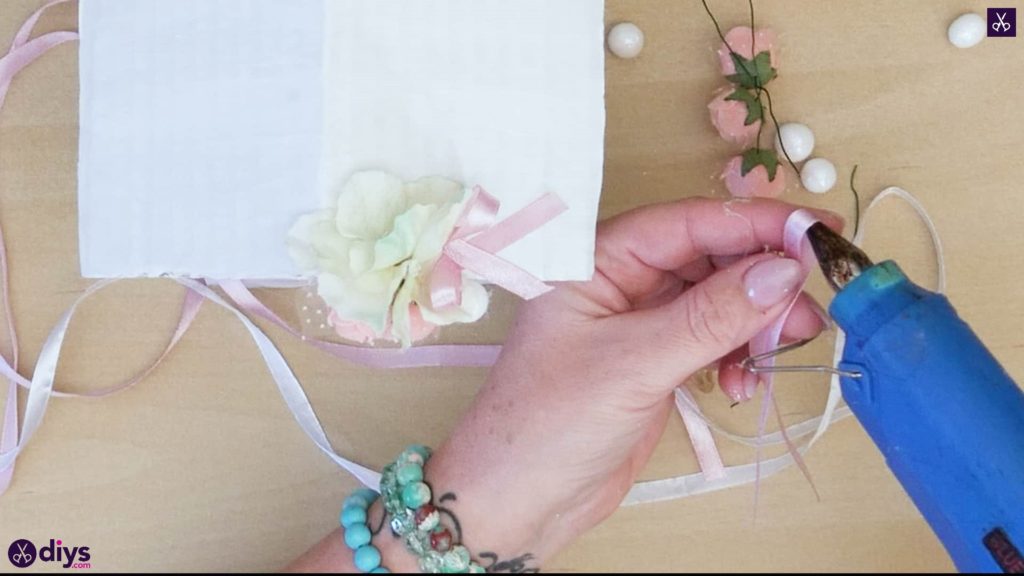
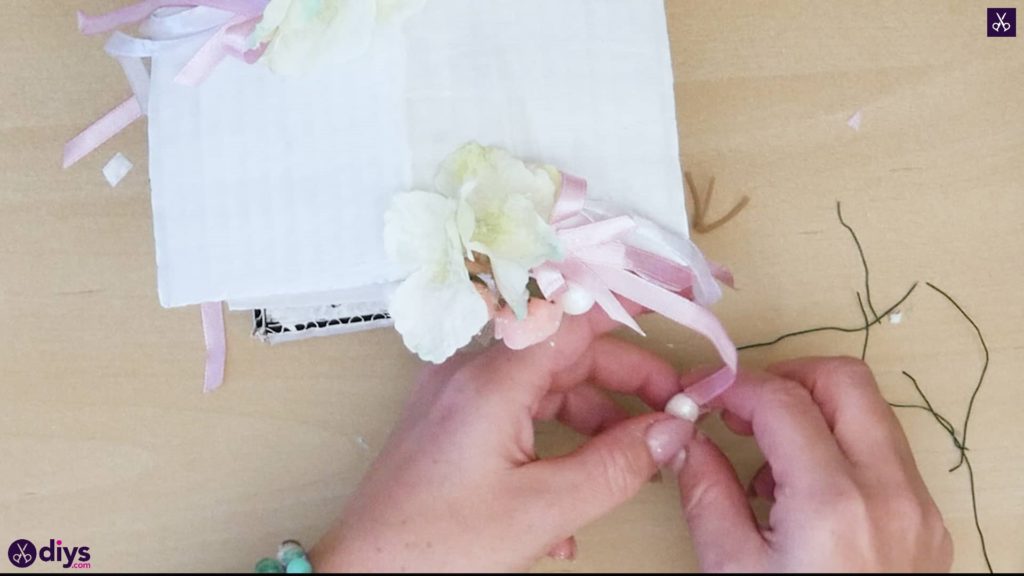
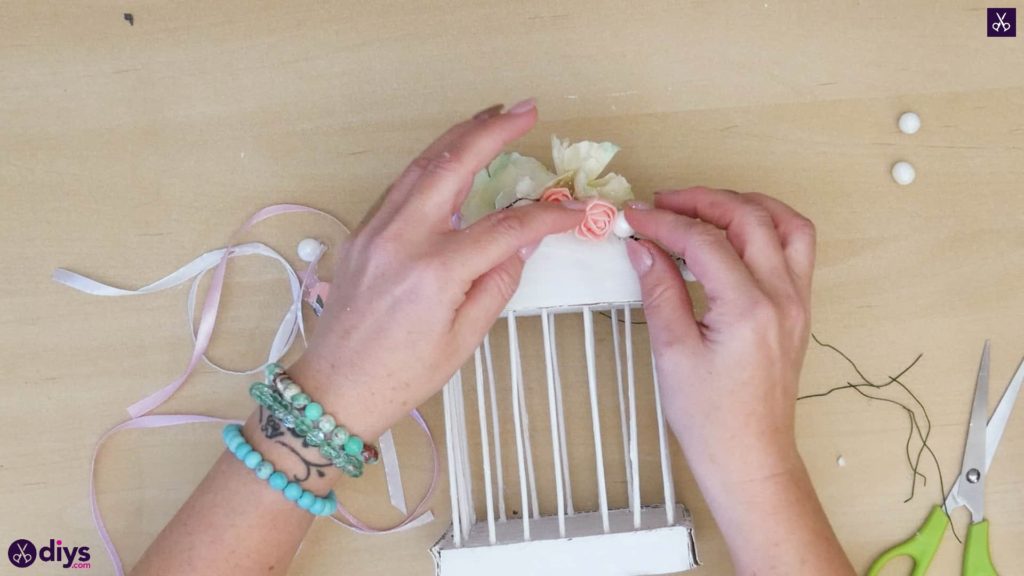
Step 10: embellish
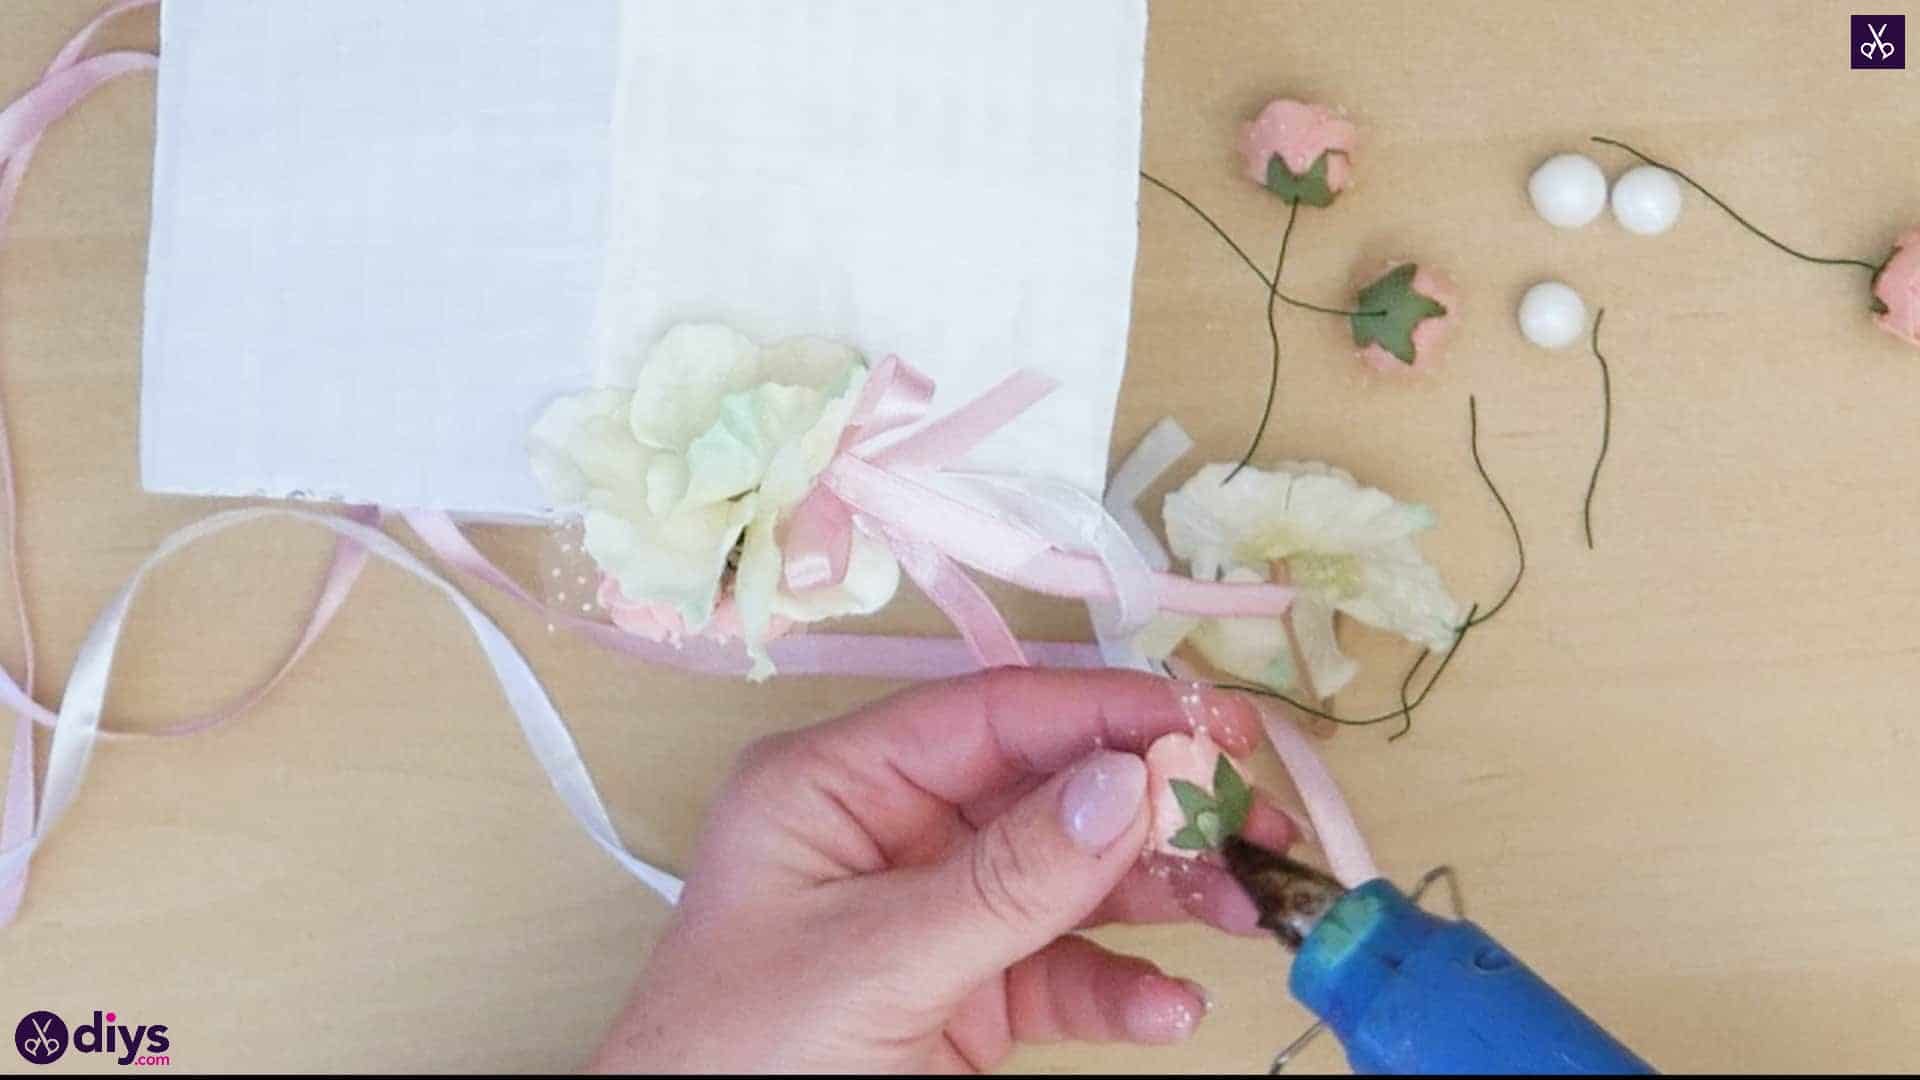
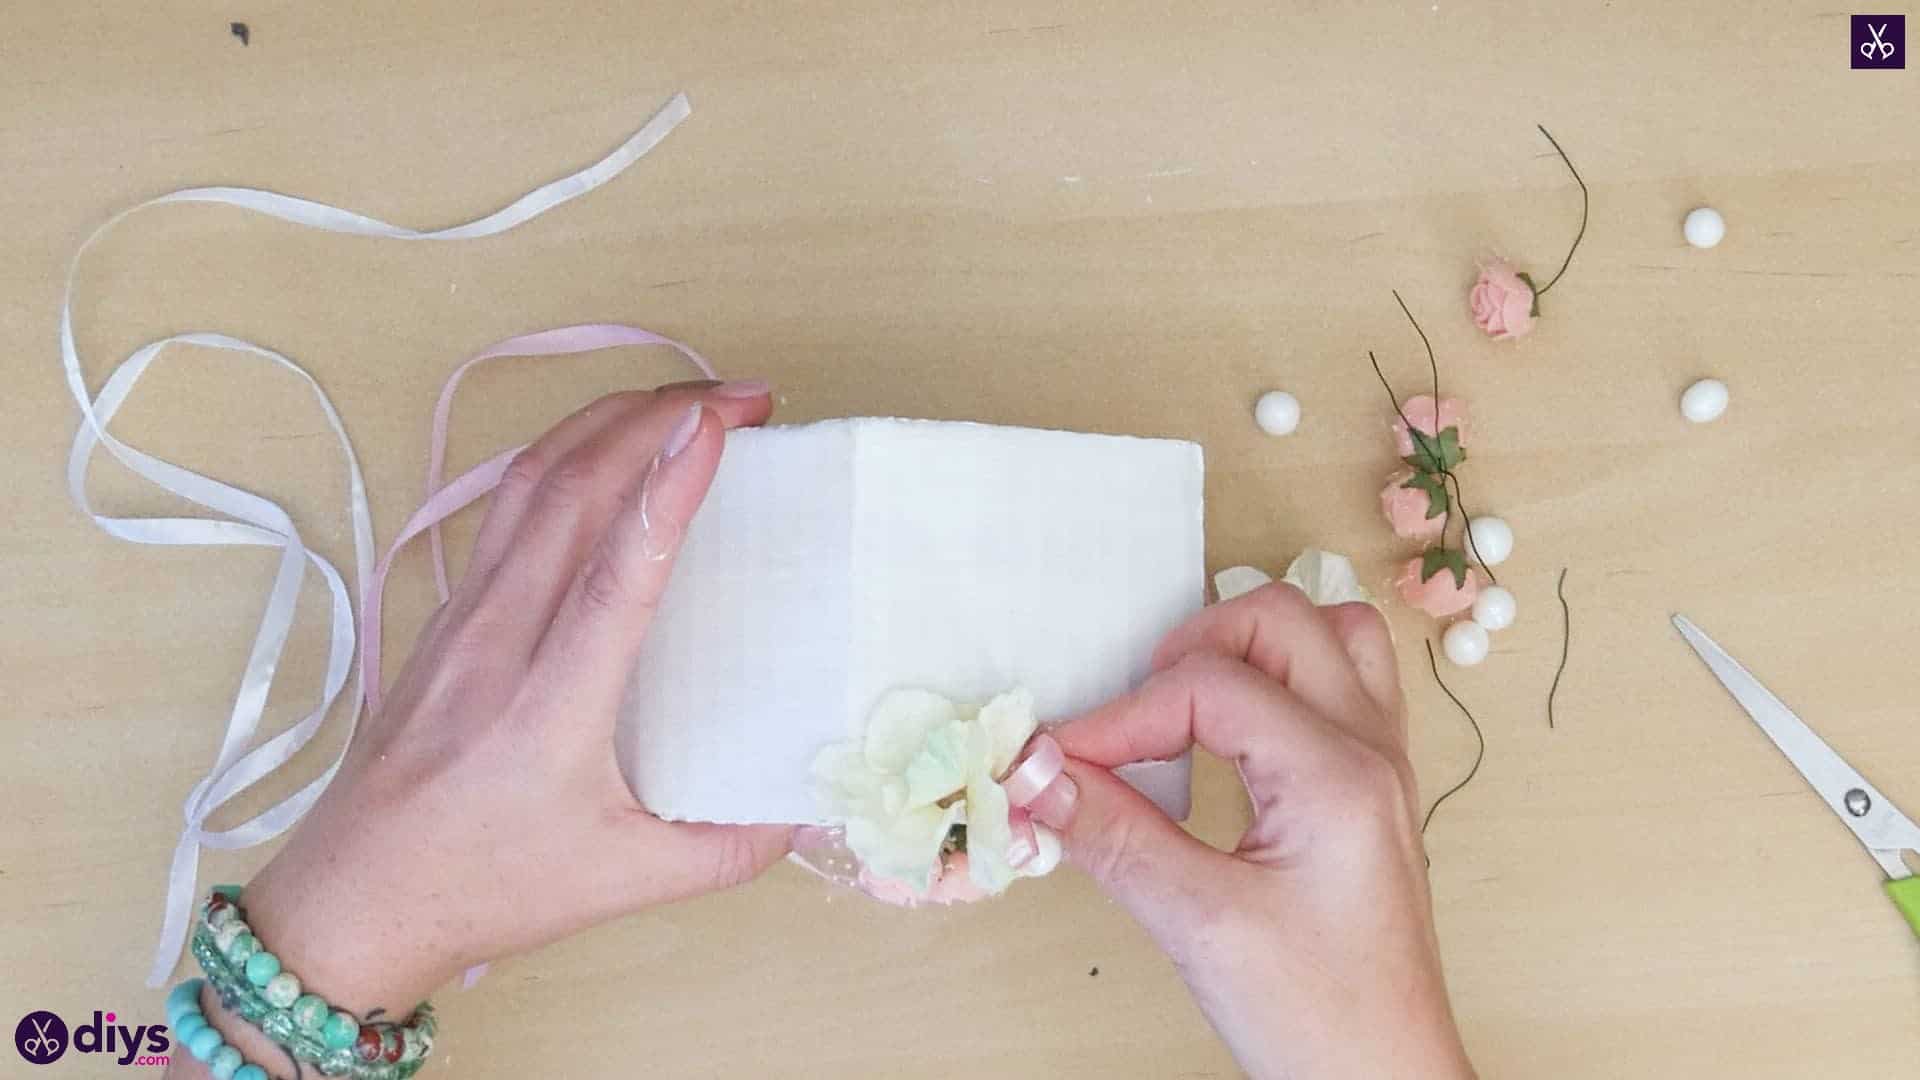
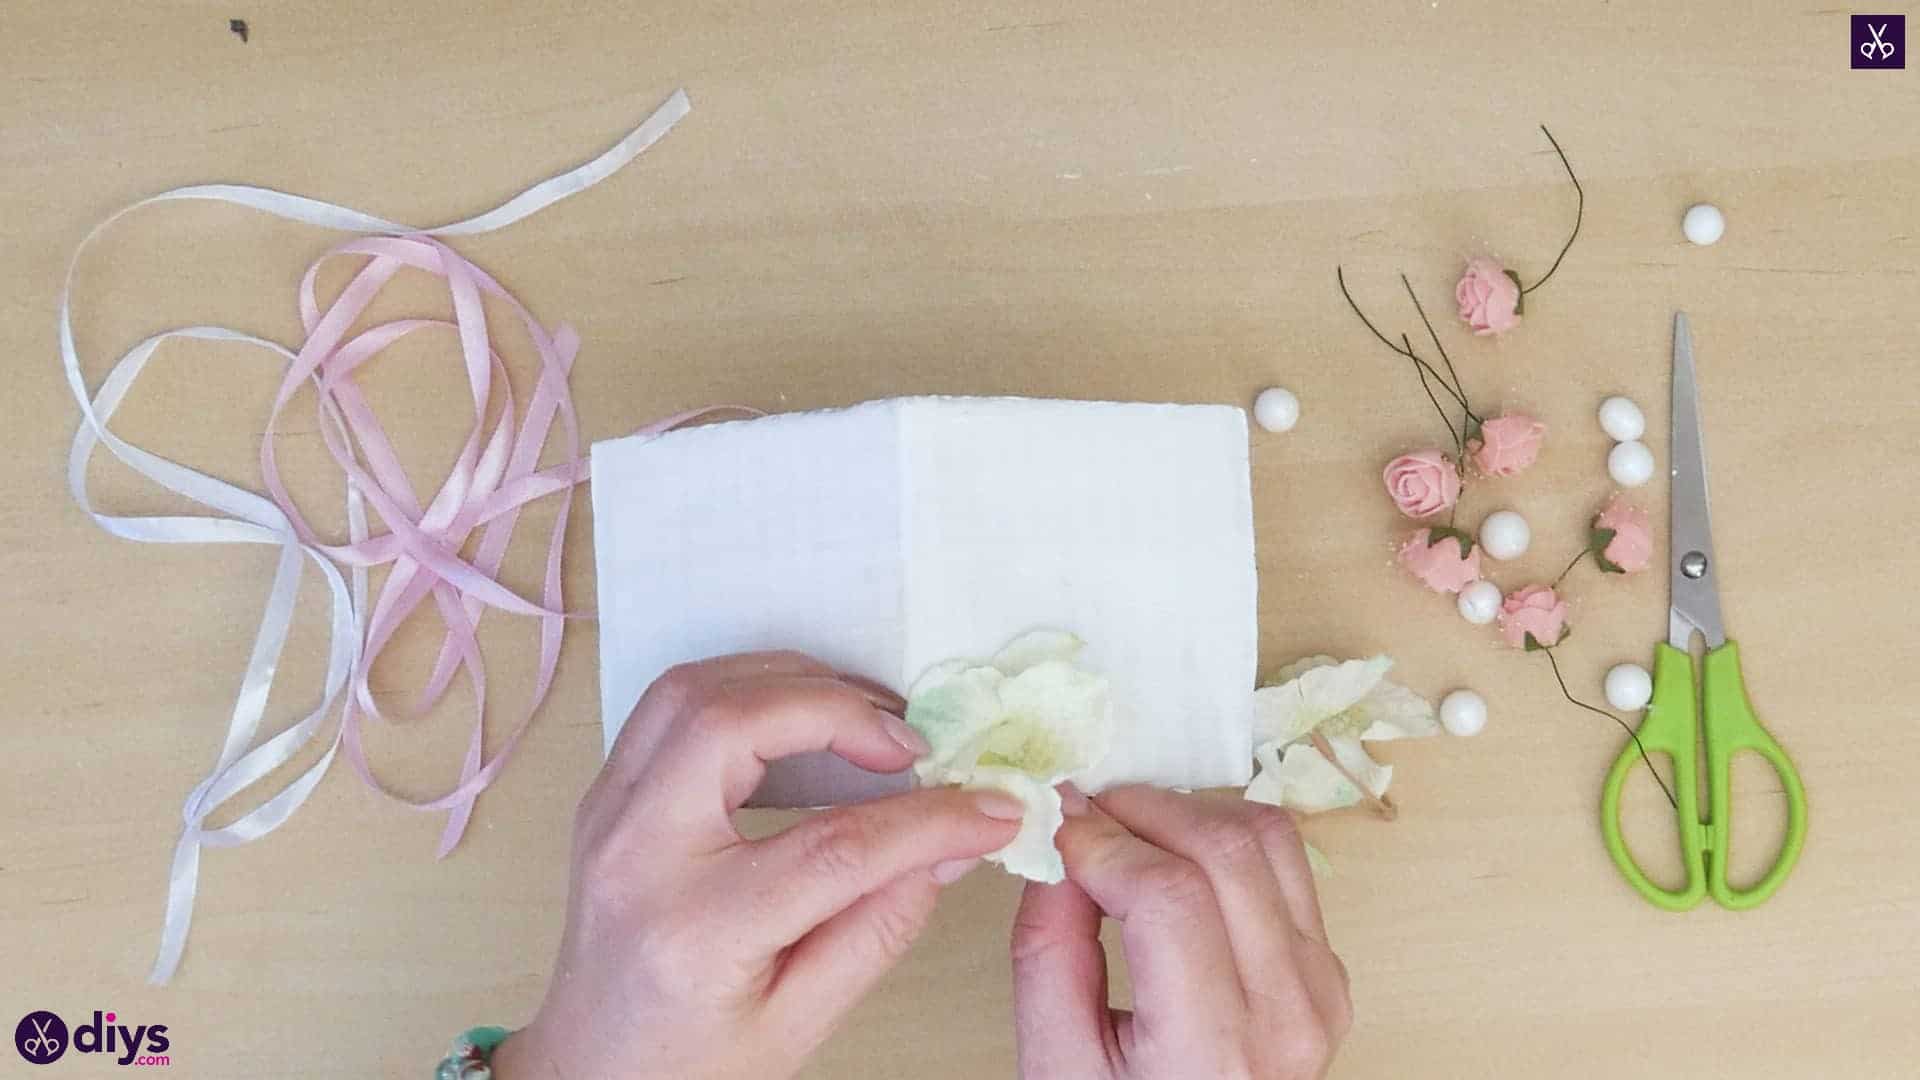
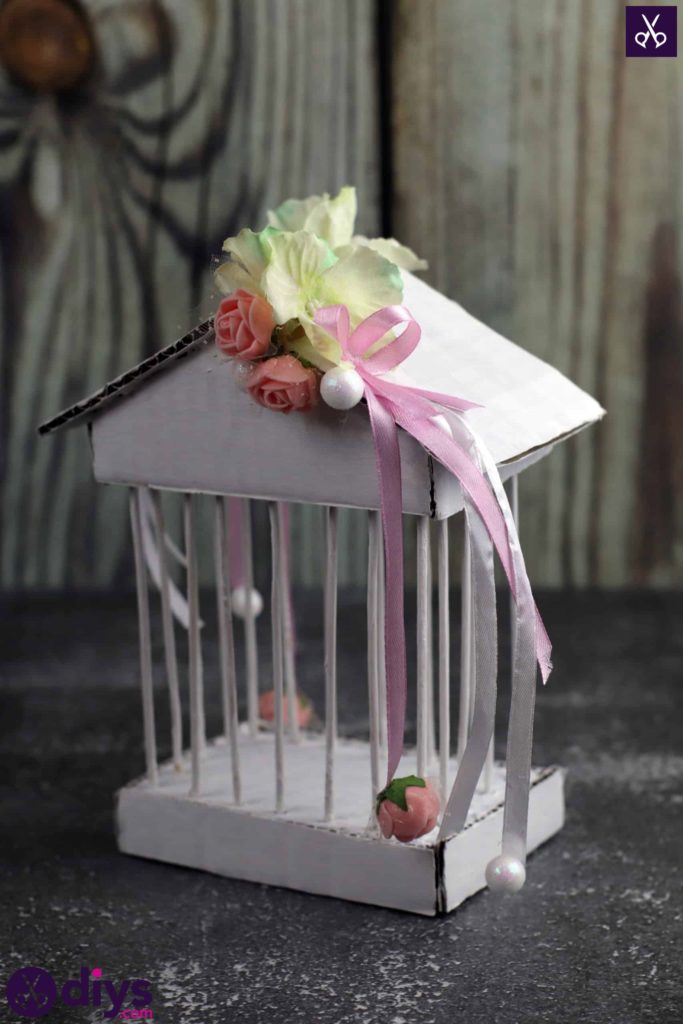
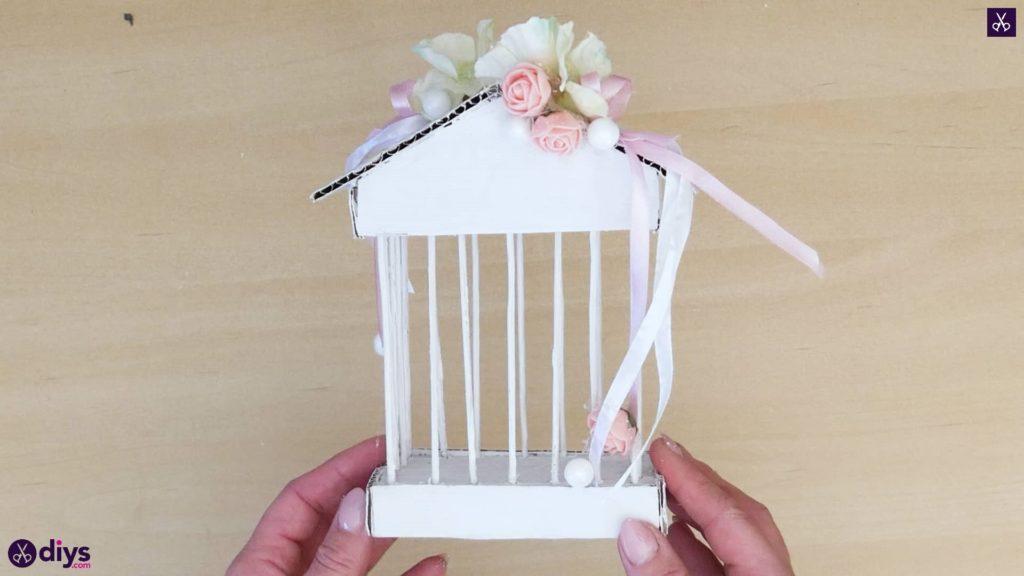
Embellish your cage with flowers, blossoms, beads, and ribbon bows as you please! I made sure to made a bundle at the roof’s peak on either side. I made my ribbon bows by curling one side in to loop and cross over itself, sticking it in place with a dot of glue, and then curling the other side inwards in a second loop to cross over again in the centre. Stop whenever you’re satisfied!


Feel free to try the same piece but in different colours and with different embellishments! You could also create a garden or put a faux bird inside the cage, or cover the entire roof in flowers; the details are really up to you. Just in case you’d like to try this project out for yourself, here’s a fantastic tutorial video to help you!