How To Make Gorgeous Yarn Wrapped Letters
Updated on November 19, 2025


Have you ever seen those beautiful decorative letters that are often sold on websites like Etsy? They are often sought out as gifts for newborn babies, used to decorate nurseries or as decorations for a party venue?
They tend to be quite expensive, so how about we show you just how easy it is to make one of your own. The following tutorial will teach you to make a decorative H, but you can create any letter you want and end up spelling full names if you have the patience for such a project. Here we go!
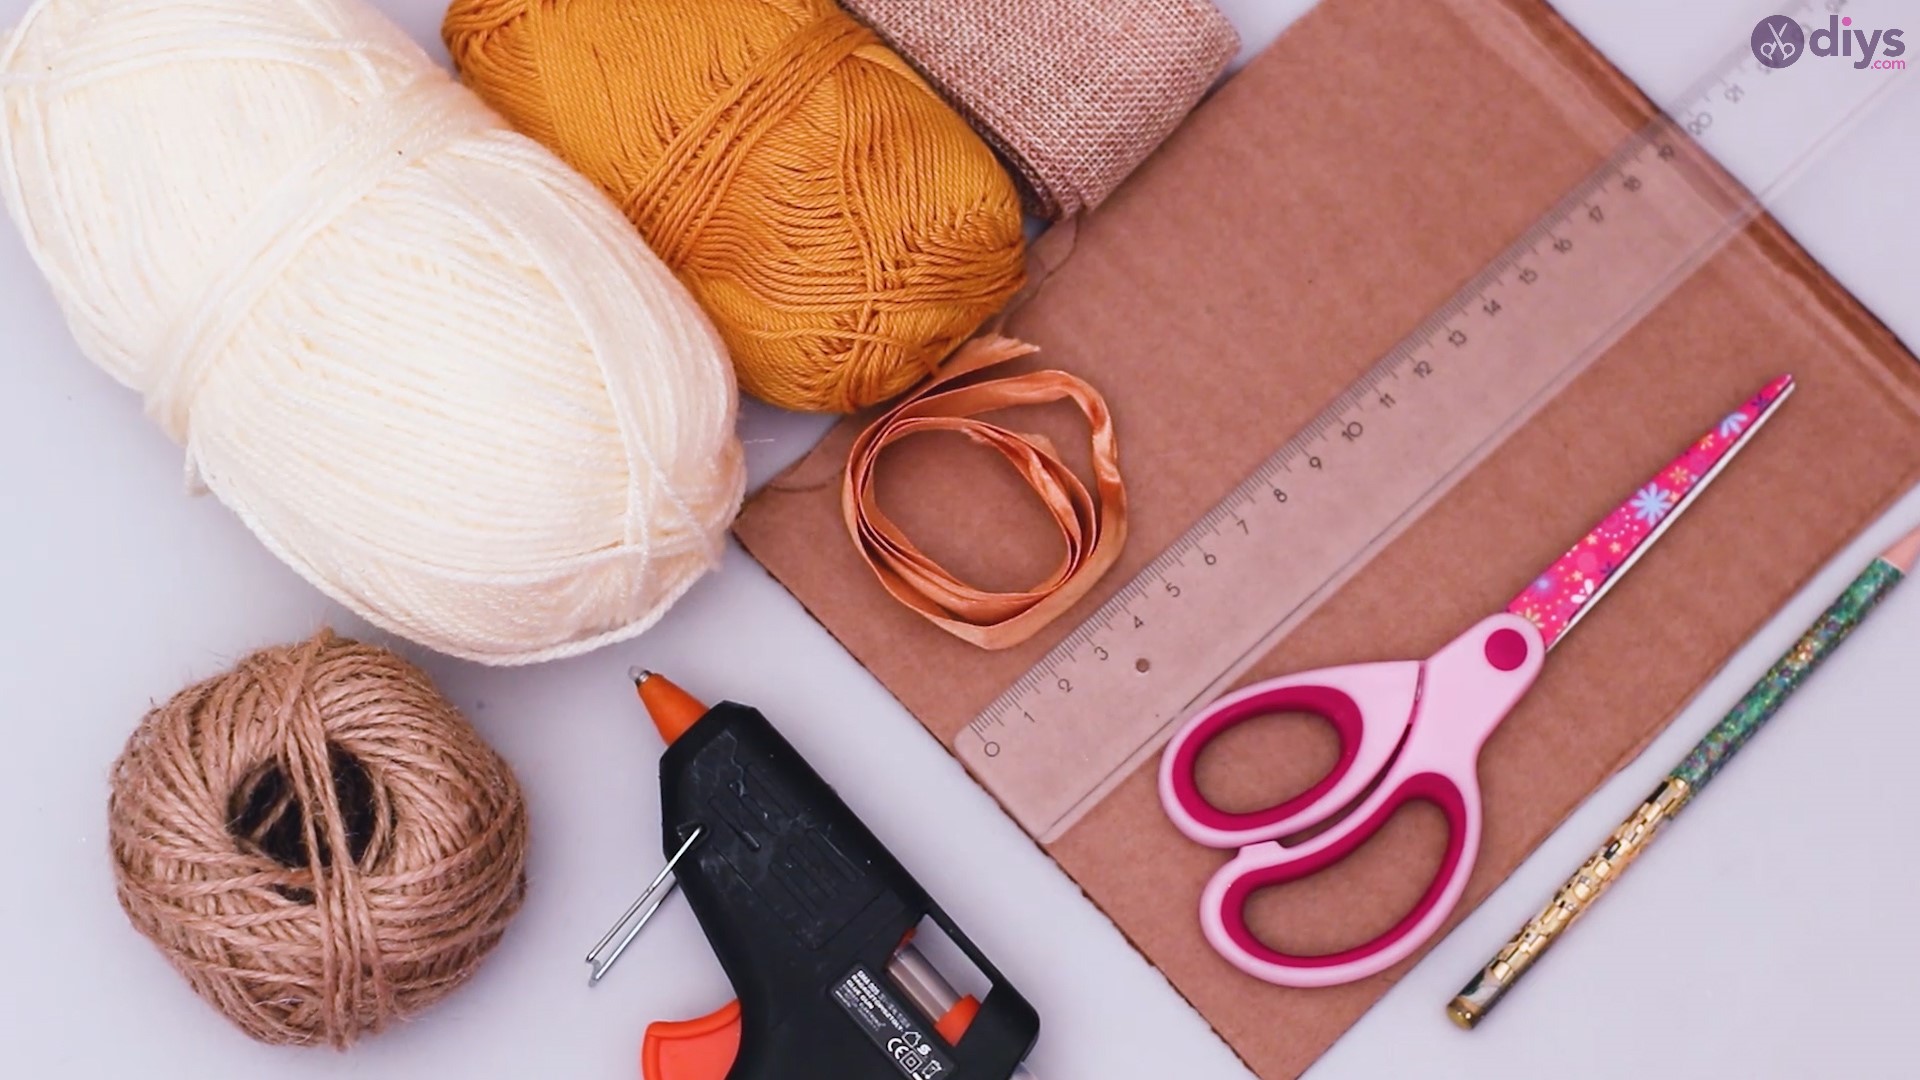
Materials you’ll need for Yarn letter:
- Cardboard
- Pencil
- Scissors
- Ruler
- Silk ribbon
- Jute ribbon
- 2 colors of yarn
- Hemp
- Twine
- Glue gun
How to craft the yarn letters:

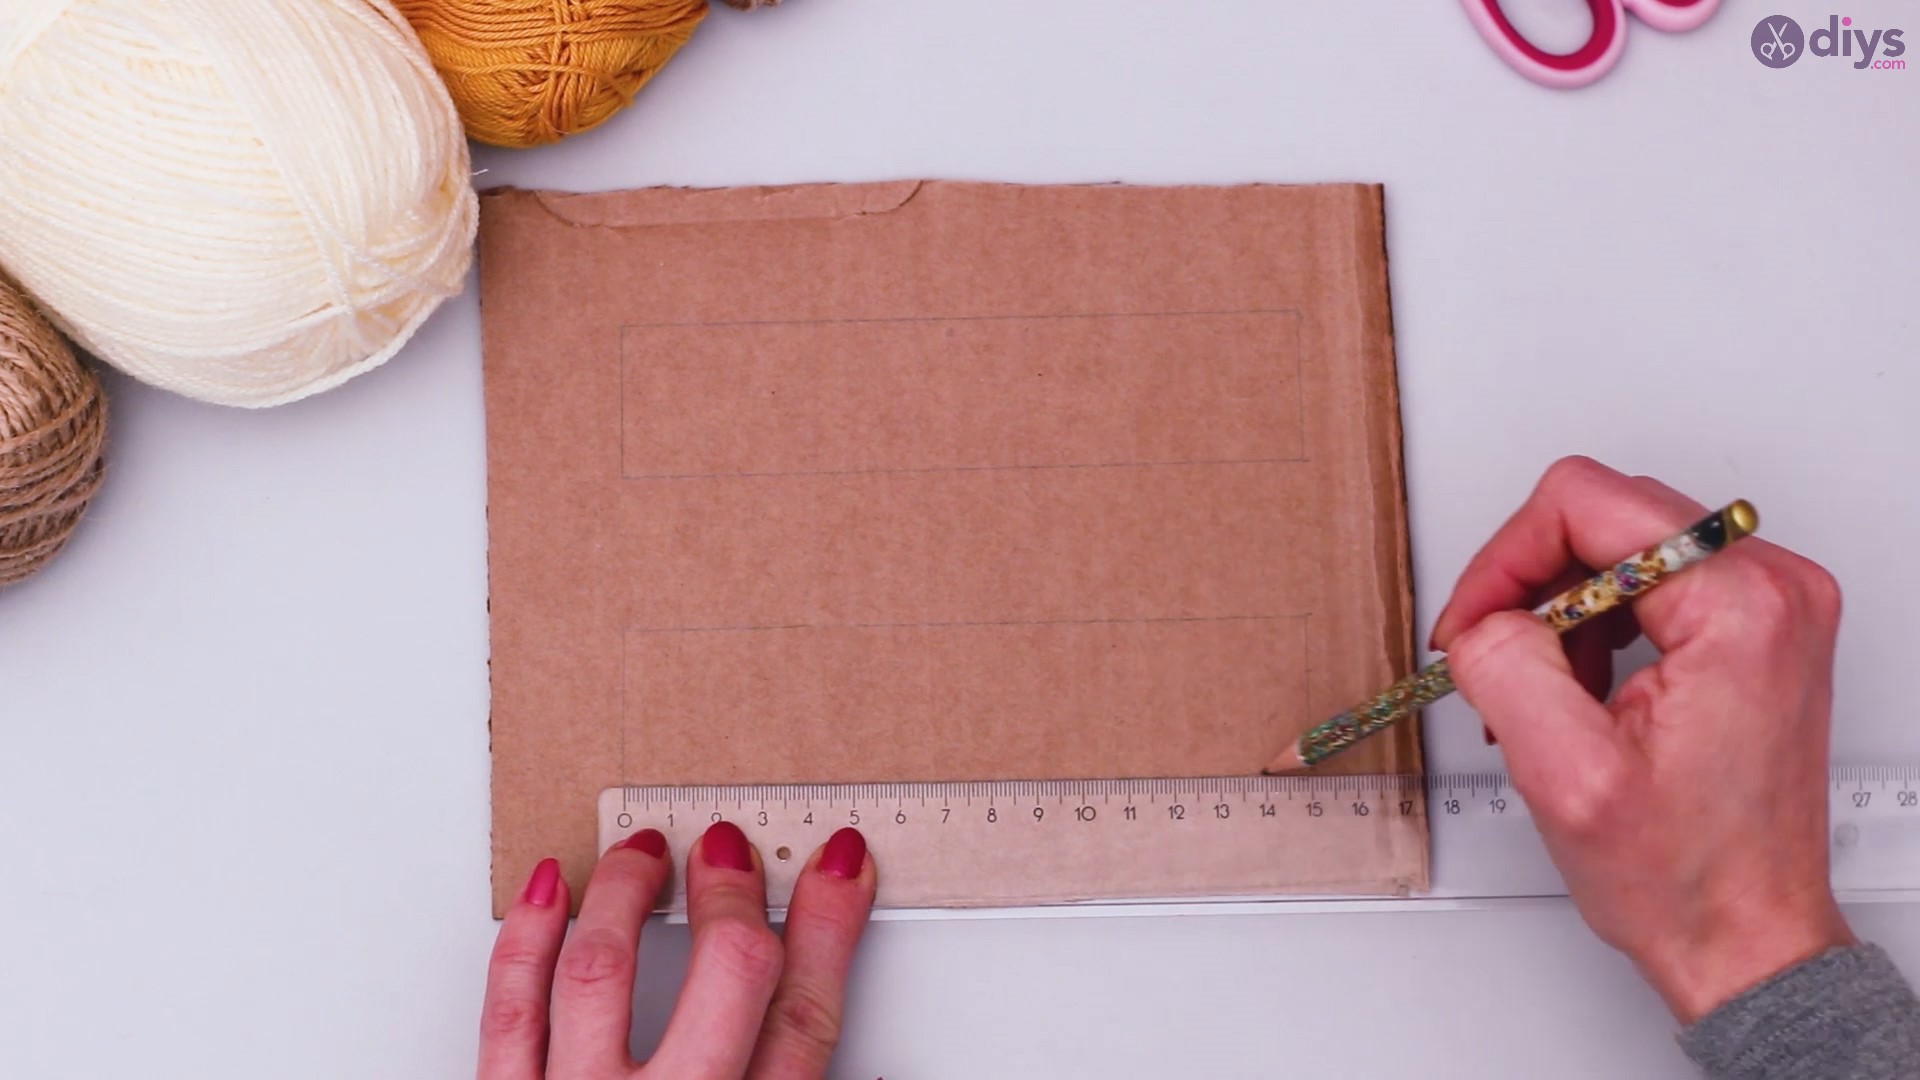
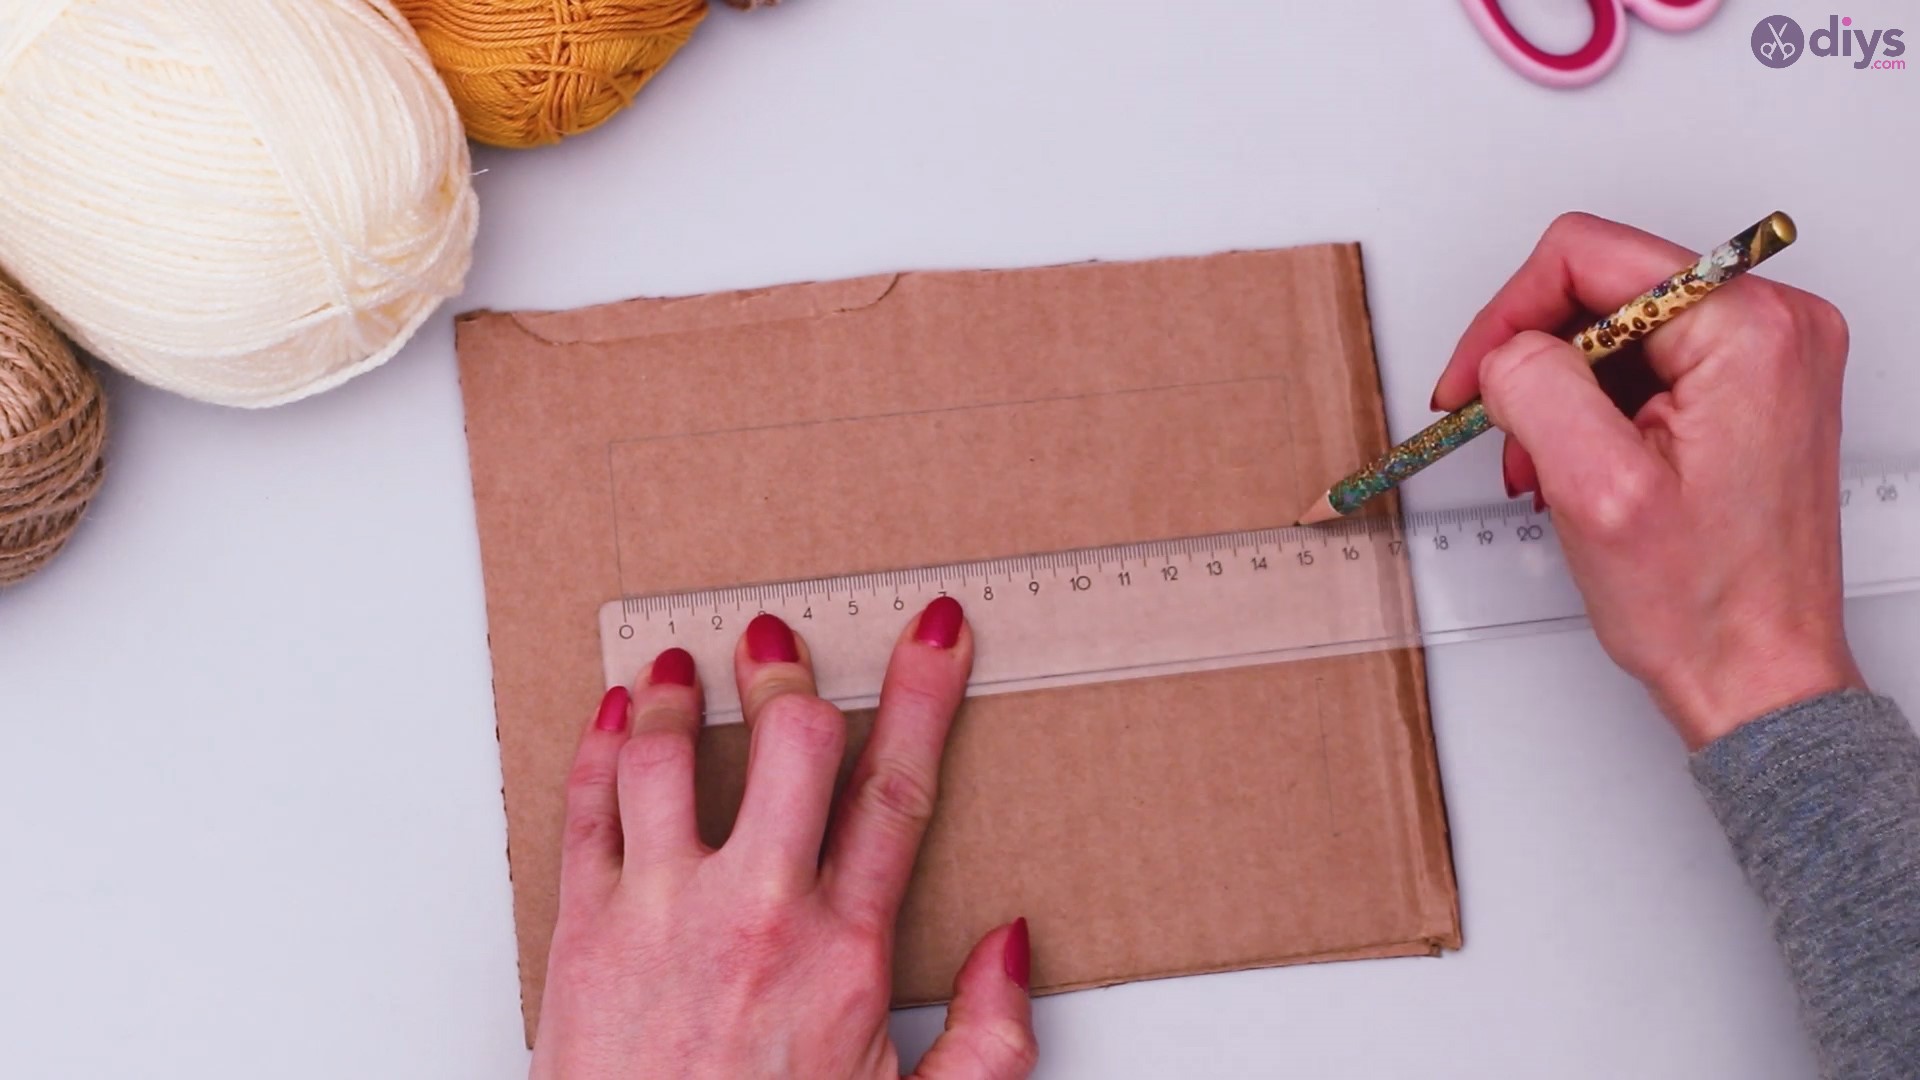
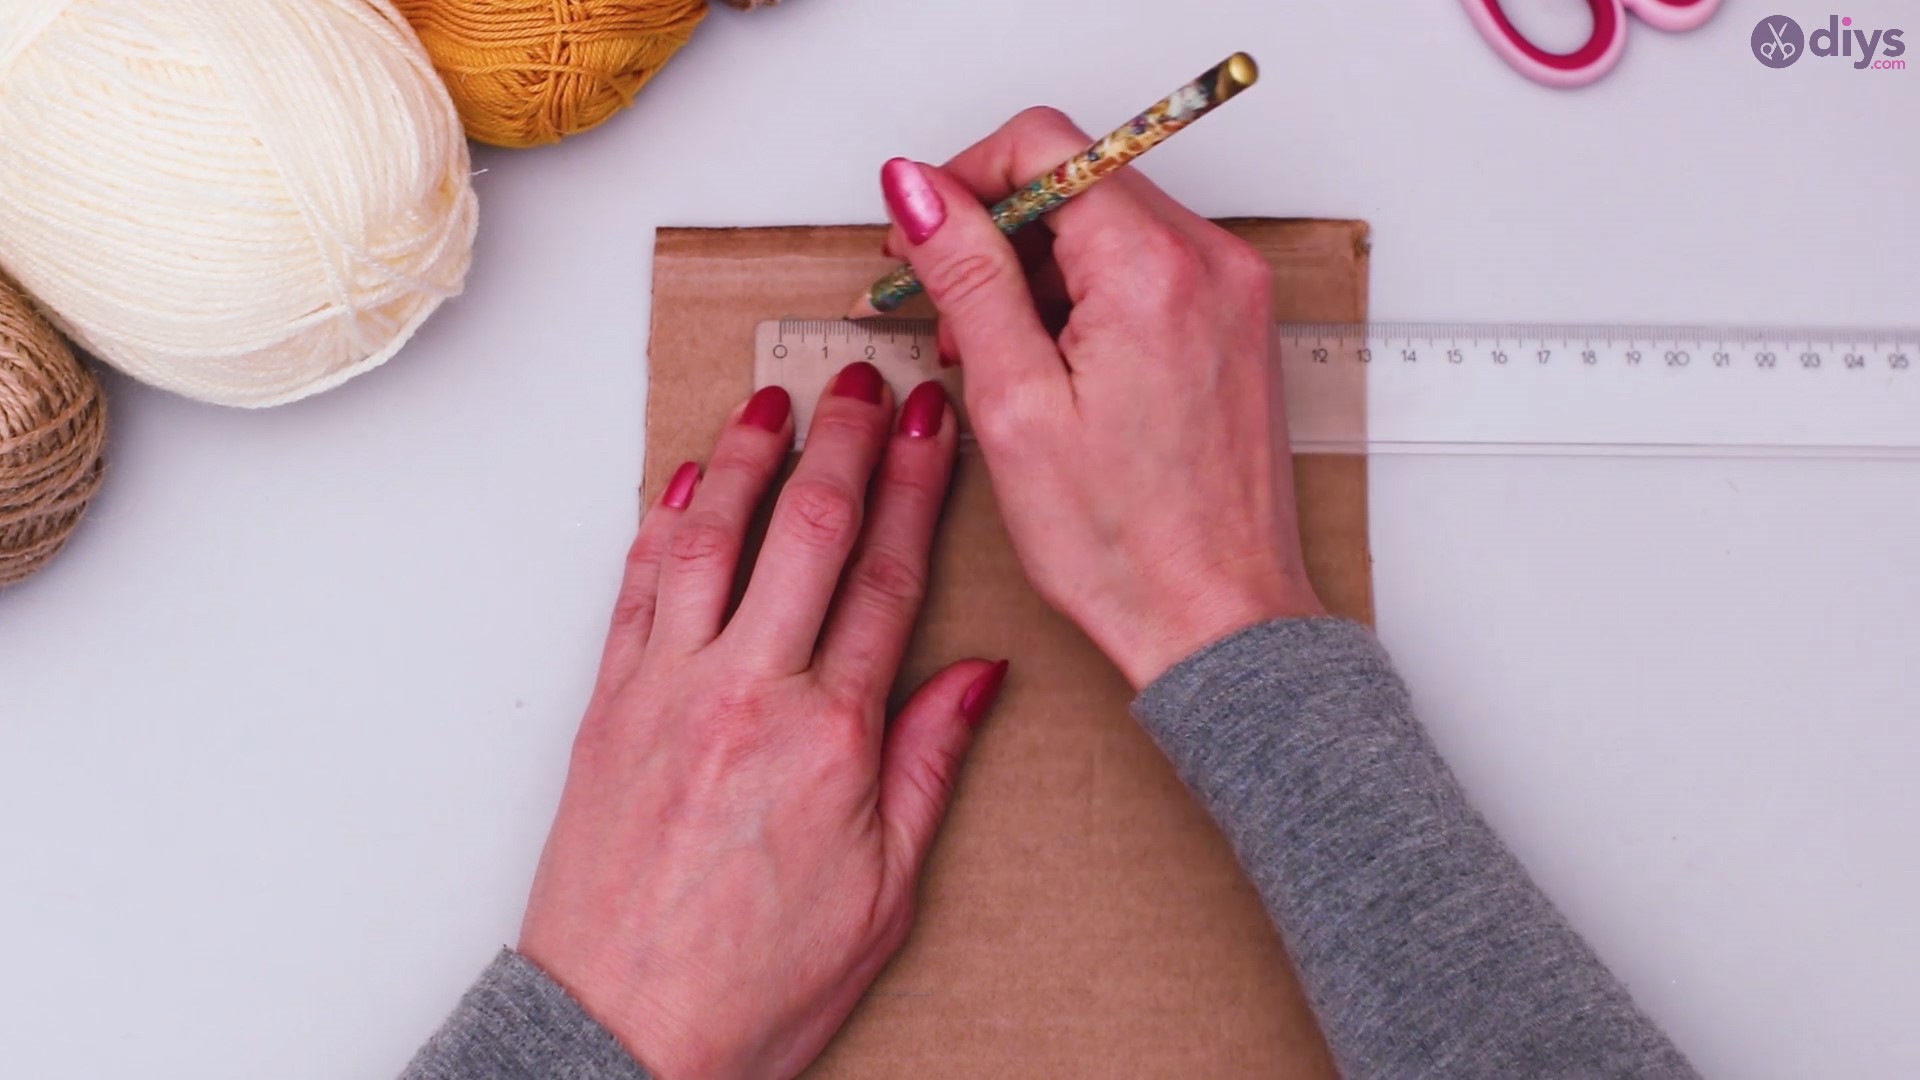
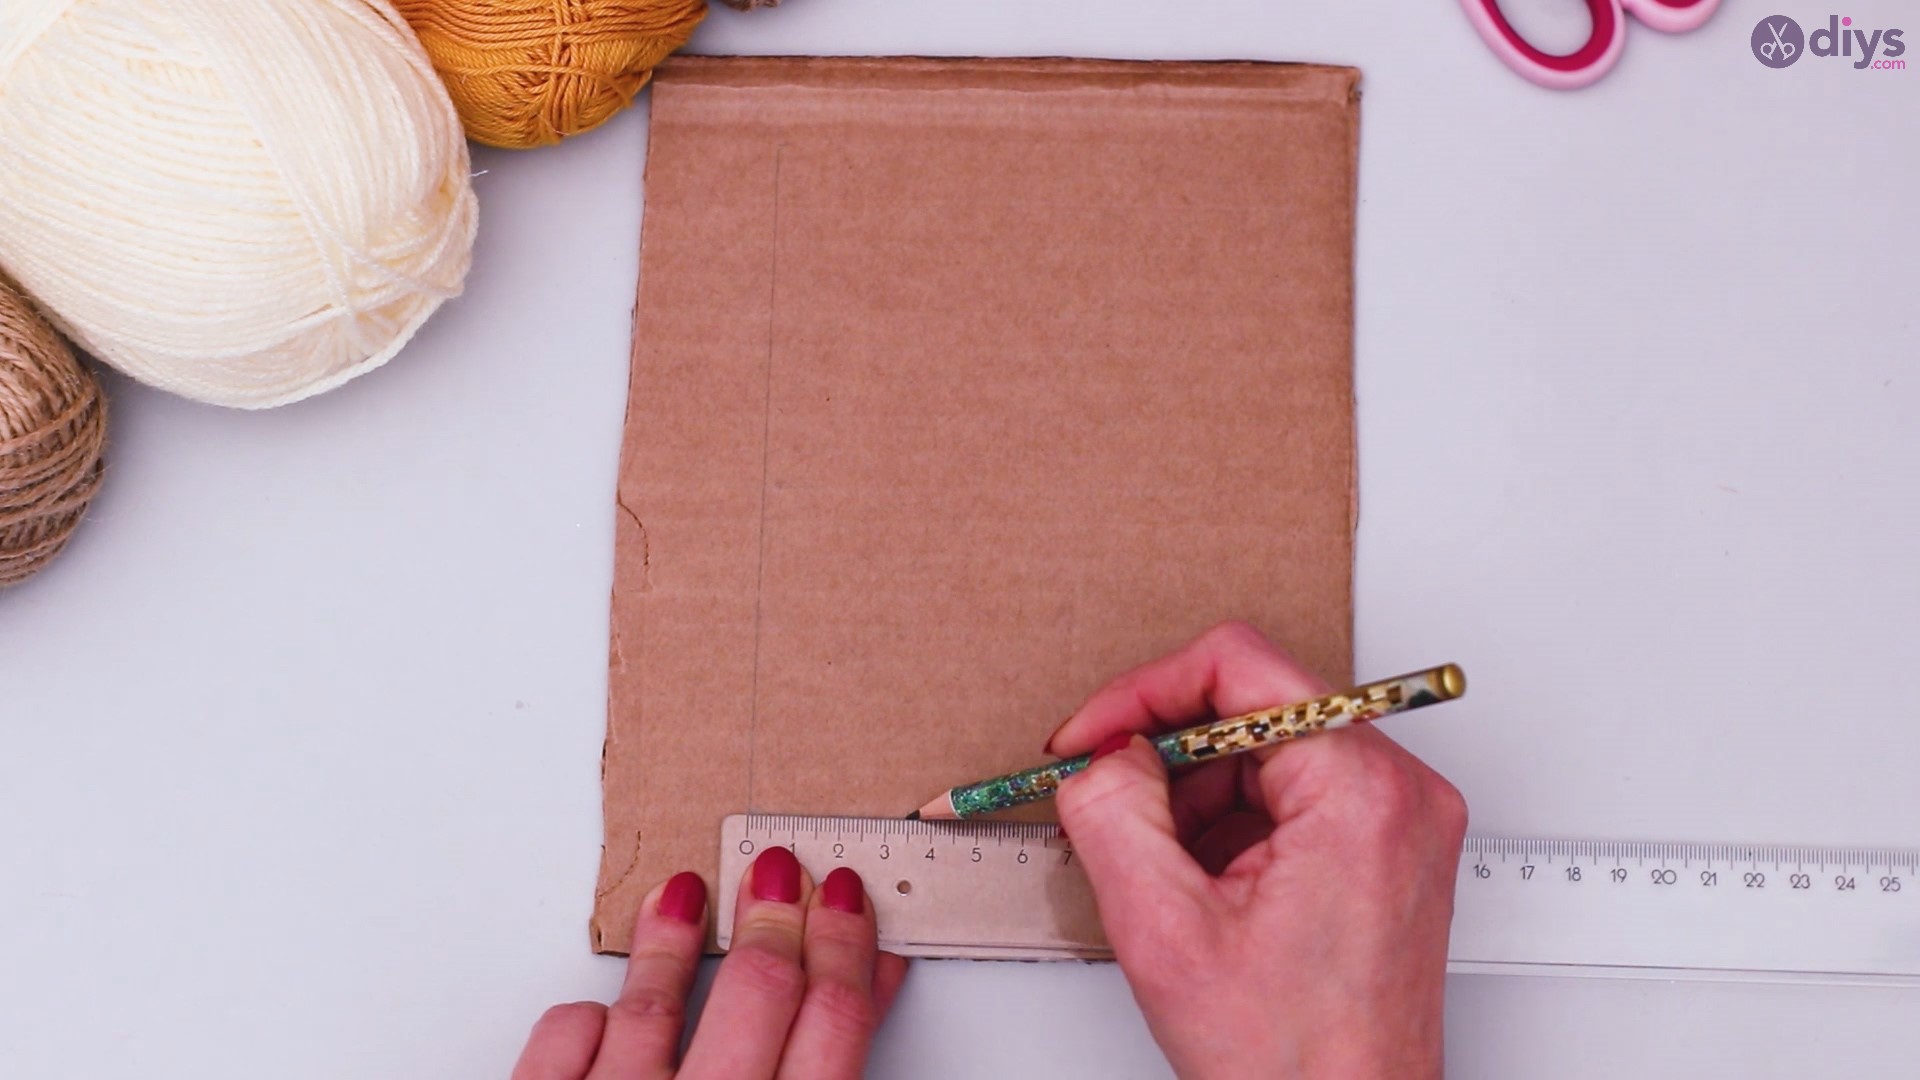
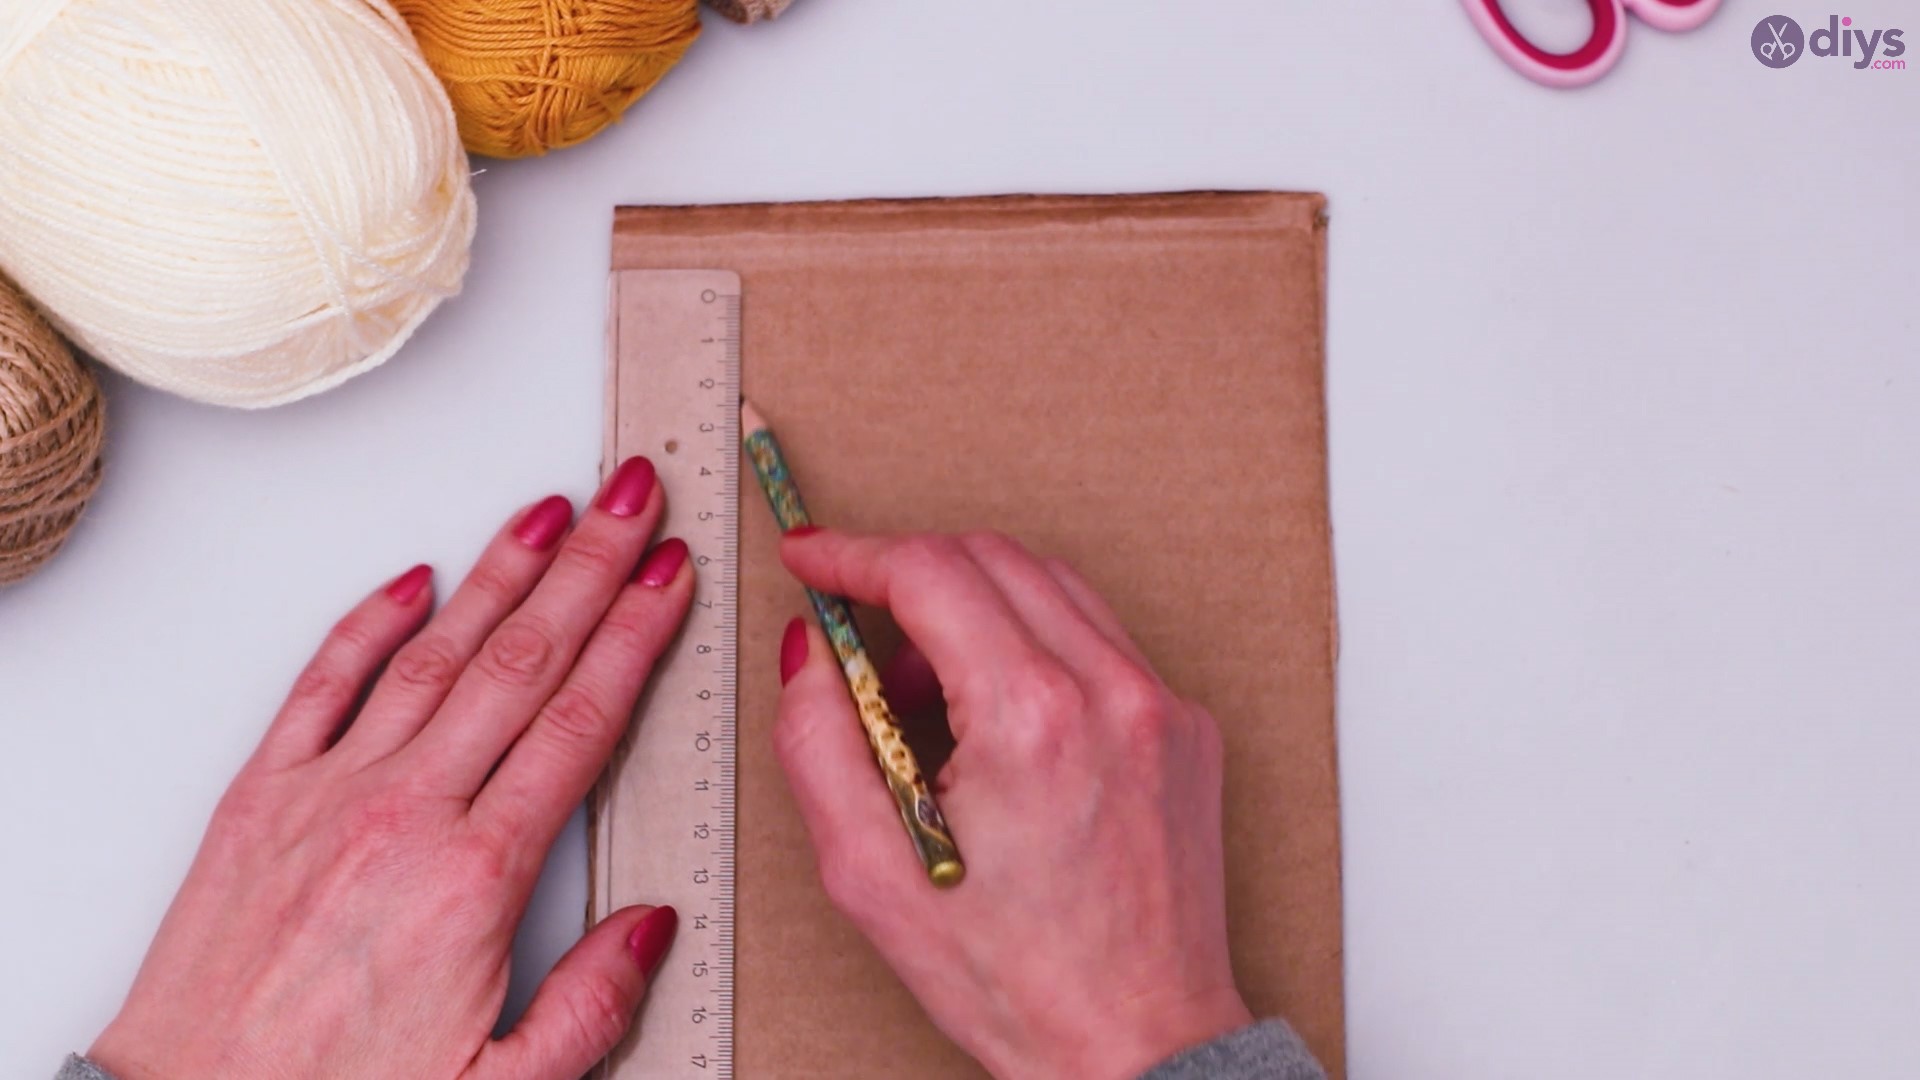
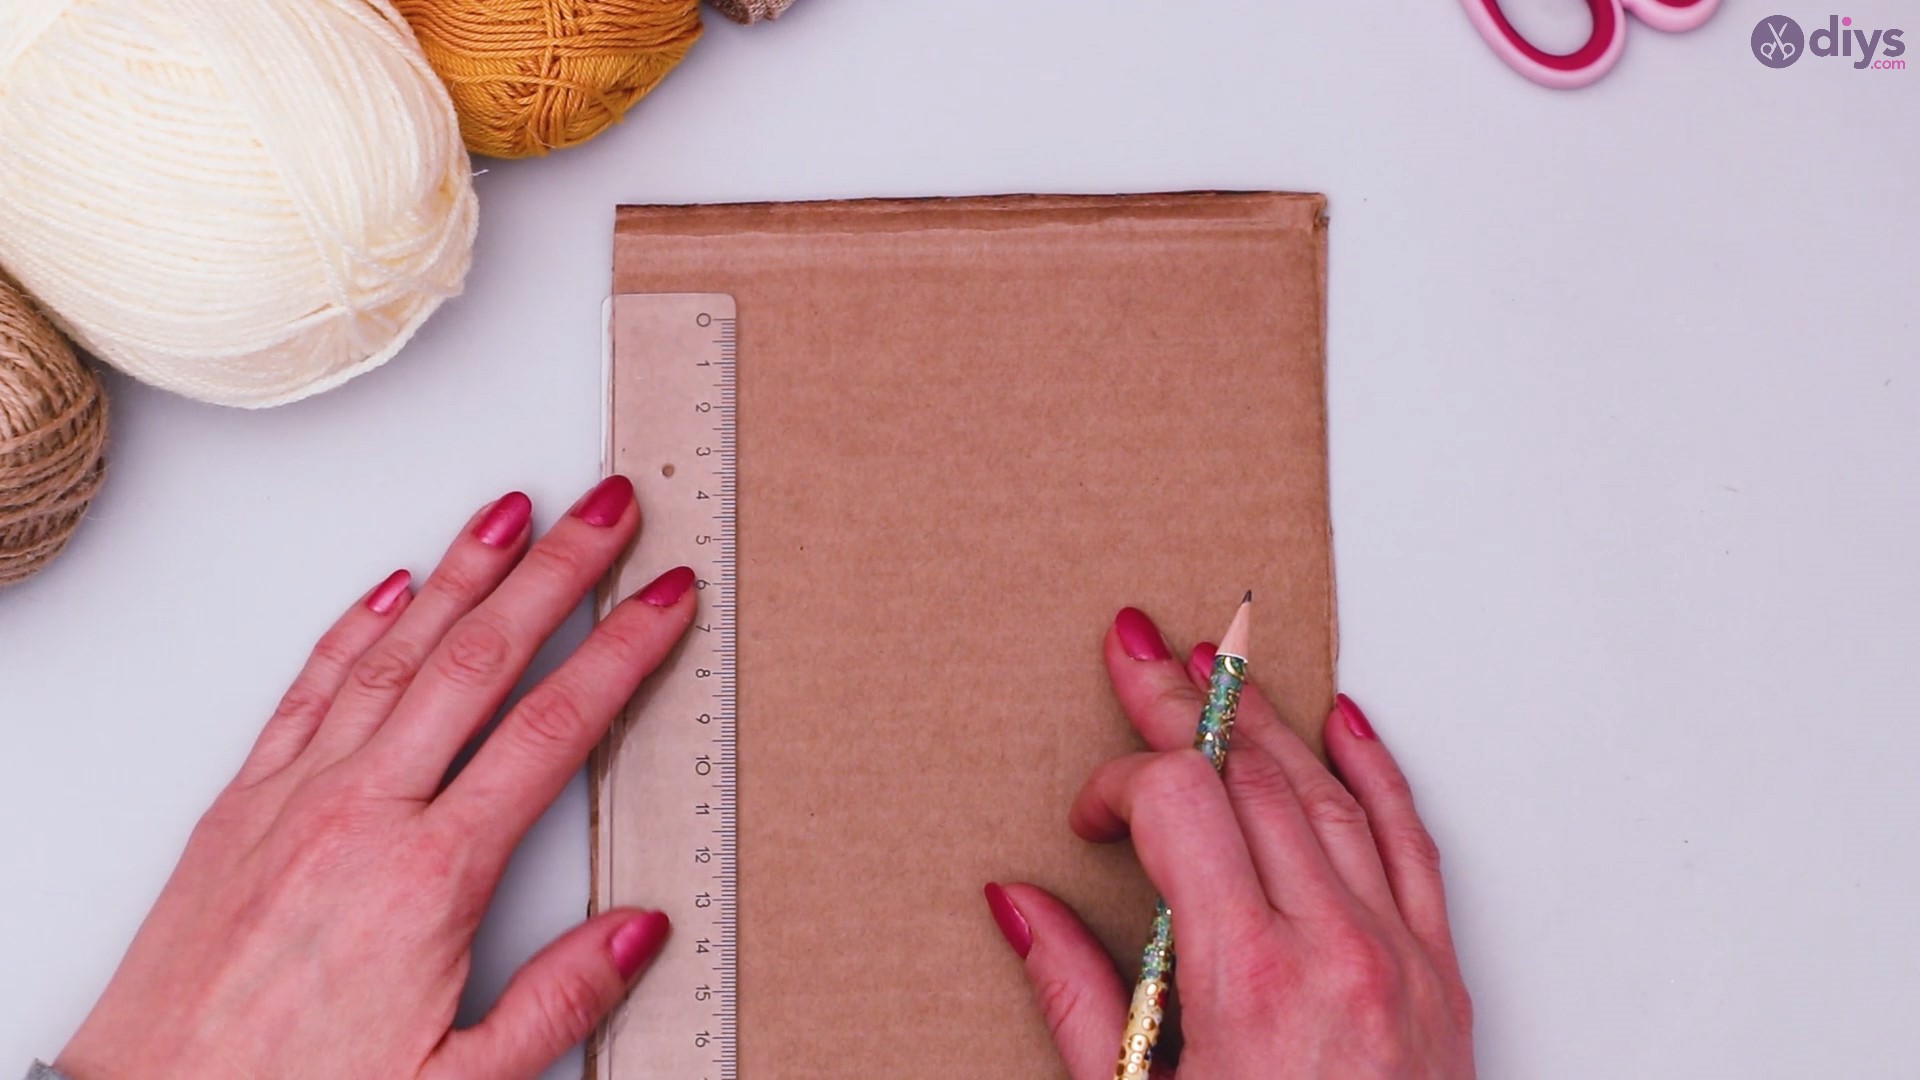
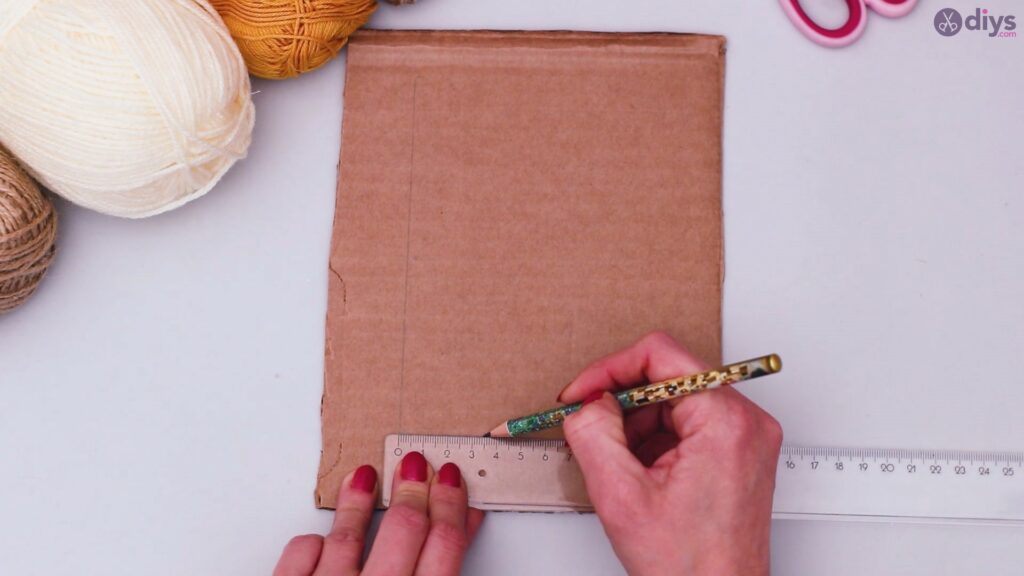
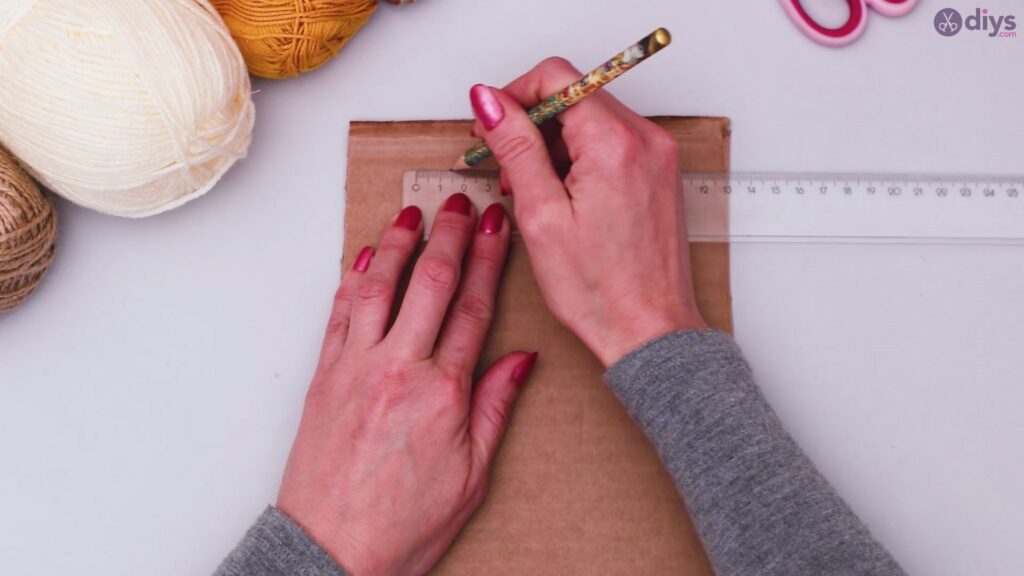
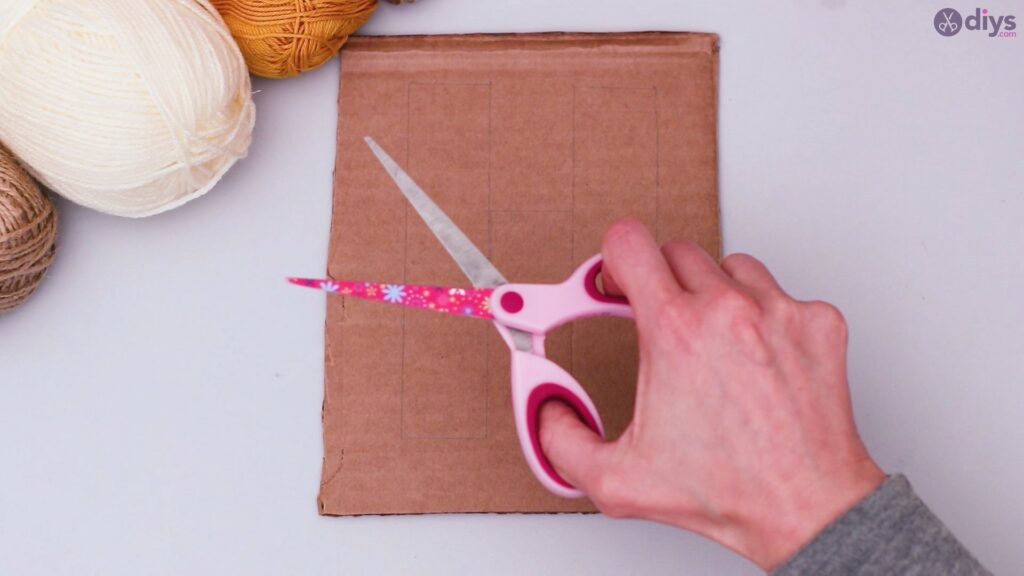
Step 1: Cutting the Base
You’re going to need a piece of cardboard, a ruler, and a pencil, to make sure that your letter is perfectly symmetrical. If you choose to make round letters, you can use some objects of proper shape that you have lying around the house to draw the outline on your piece of cardboard. First step is to use your ruler to make the outline of your H.


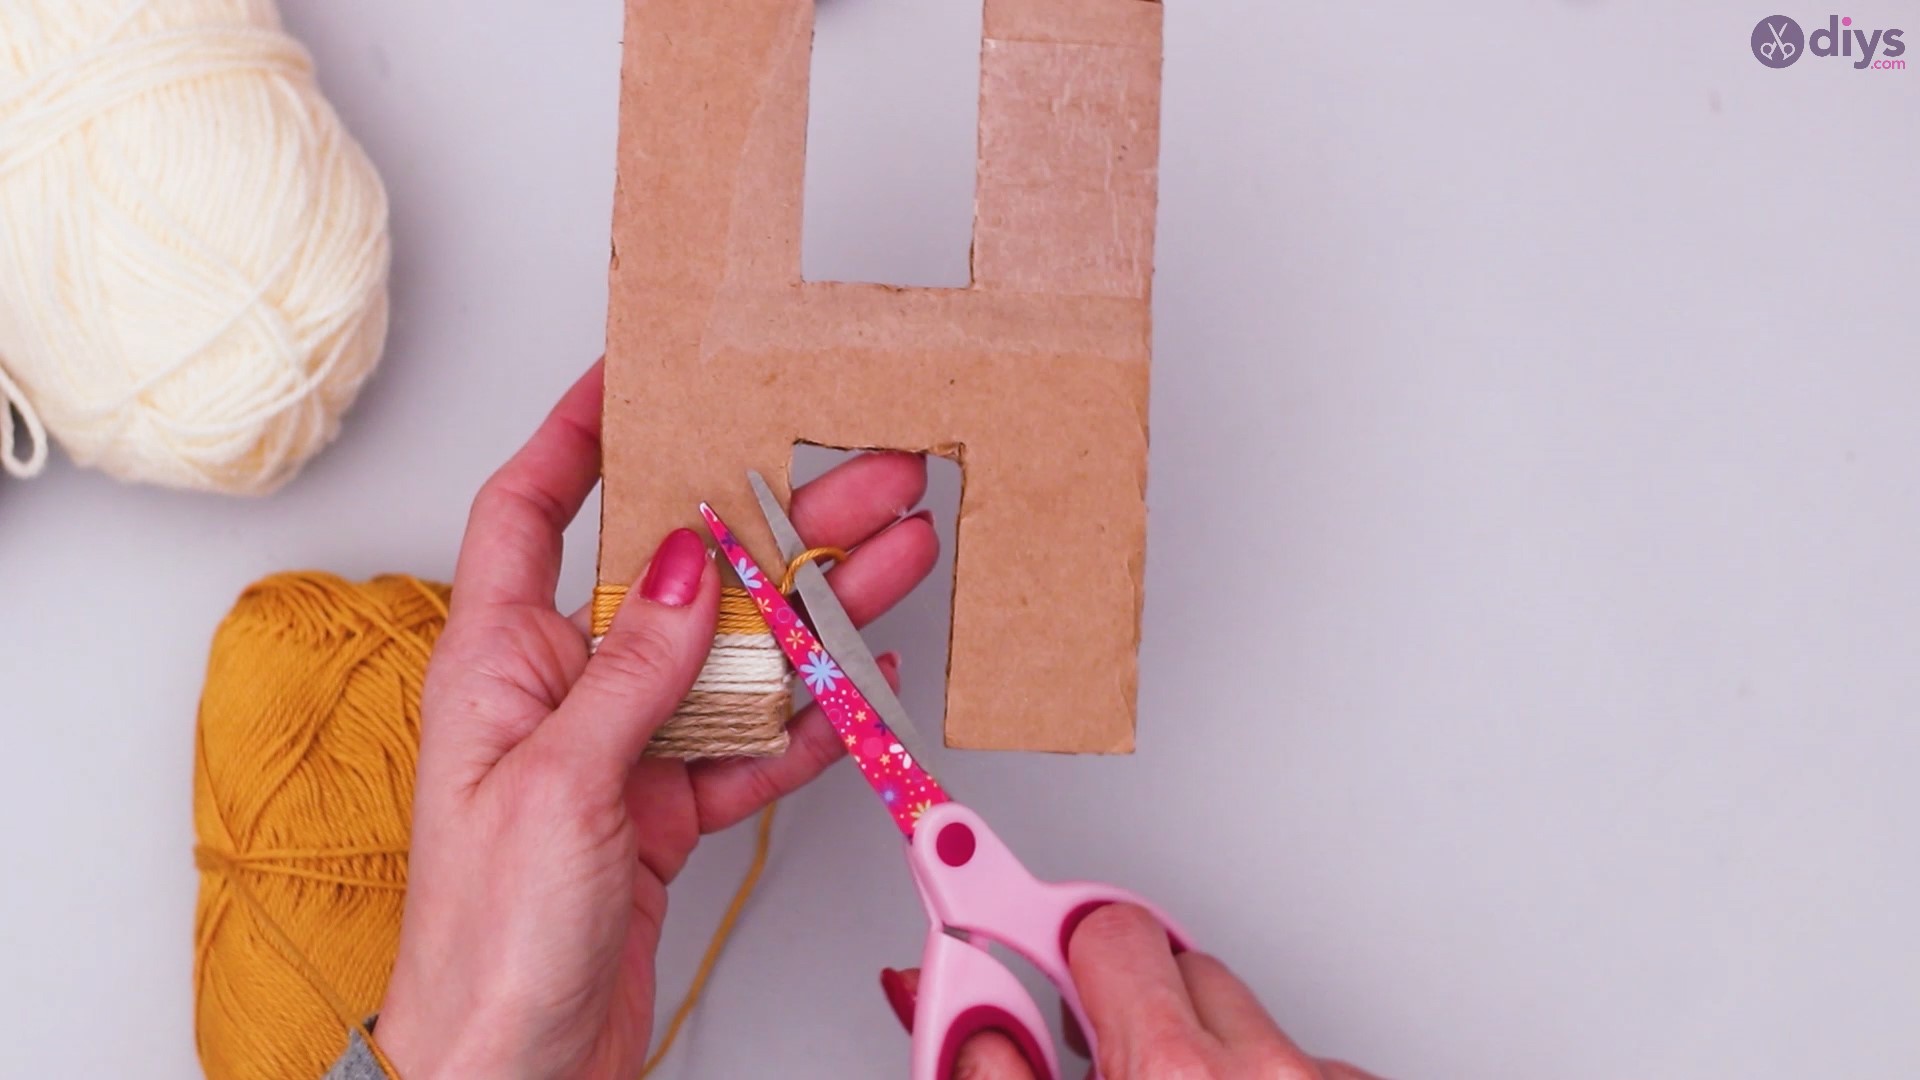
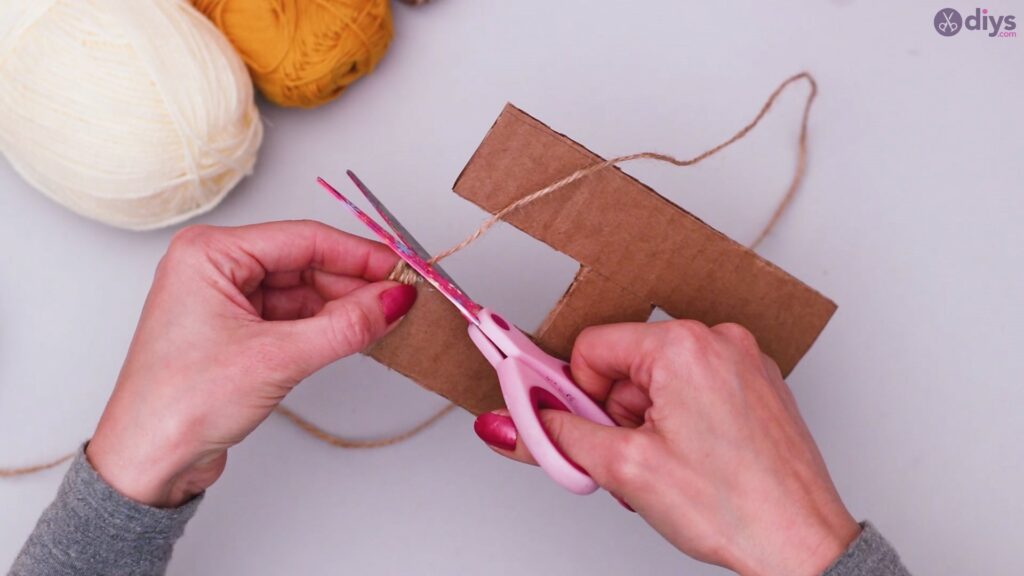
Next, grab your scissors and use them to cut along the pencil outline.
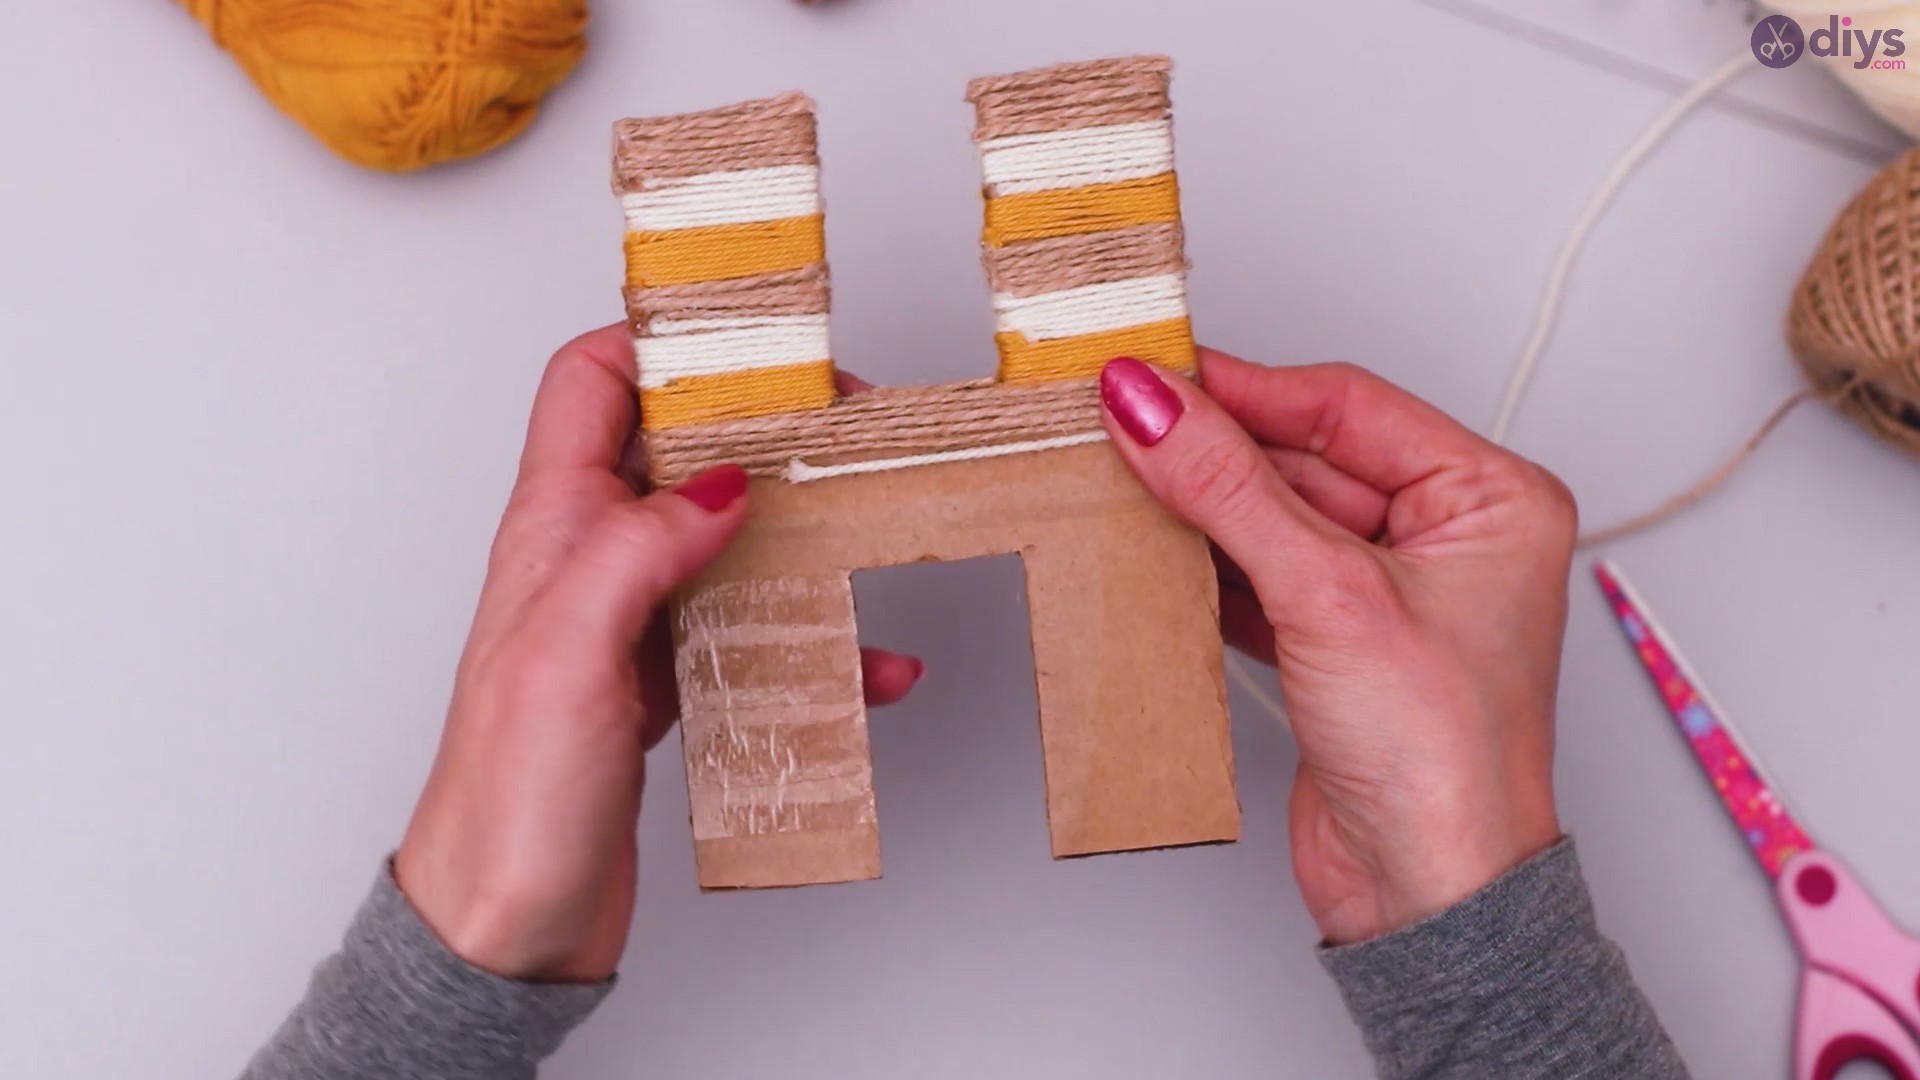
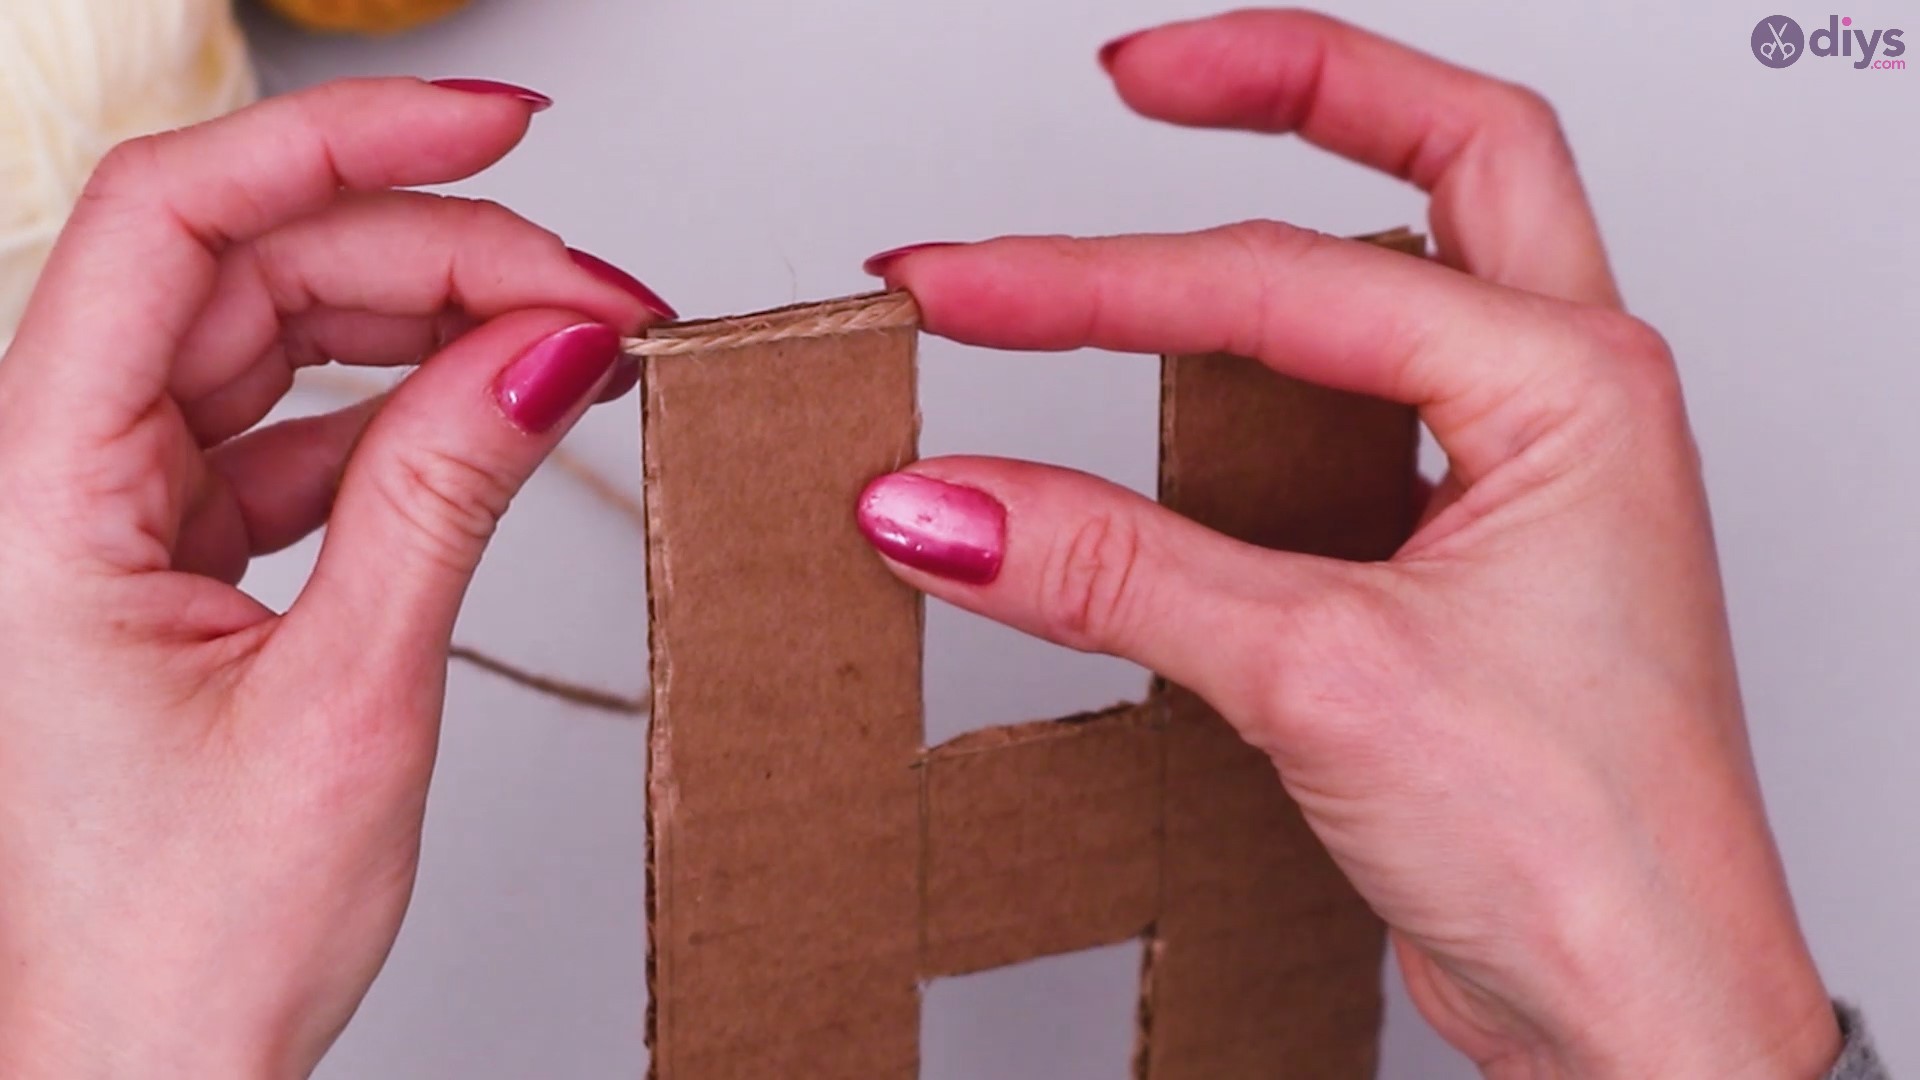
When you’re done, you should be left with a beautiful H-shaped piece of cardboard that looks like this:

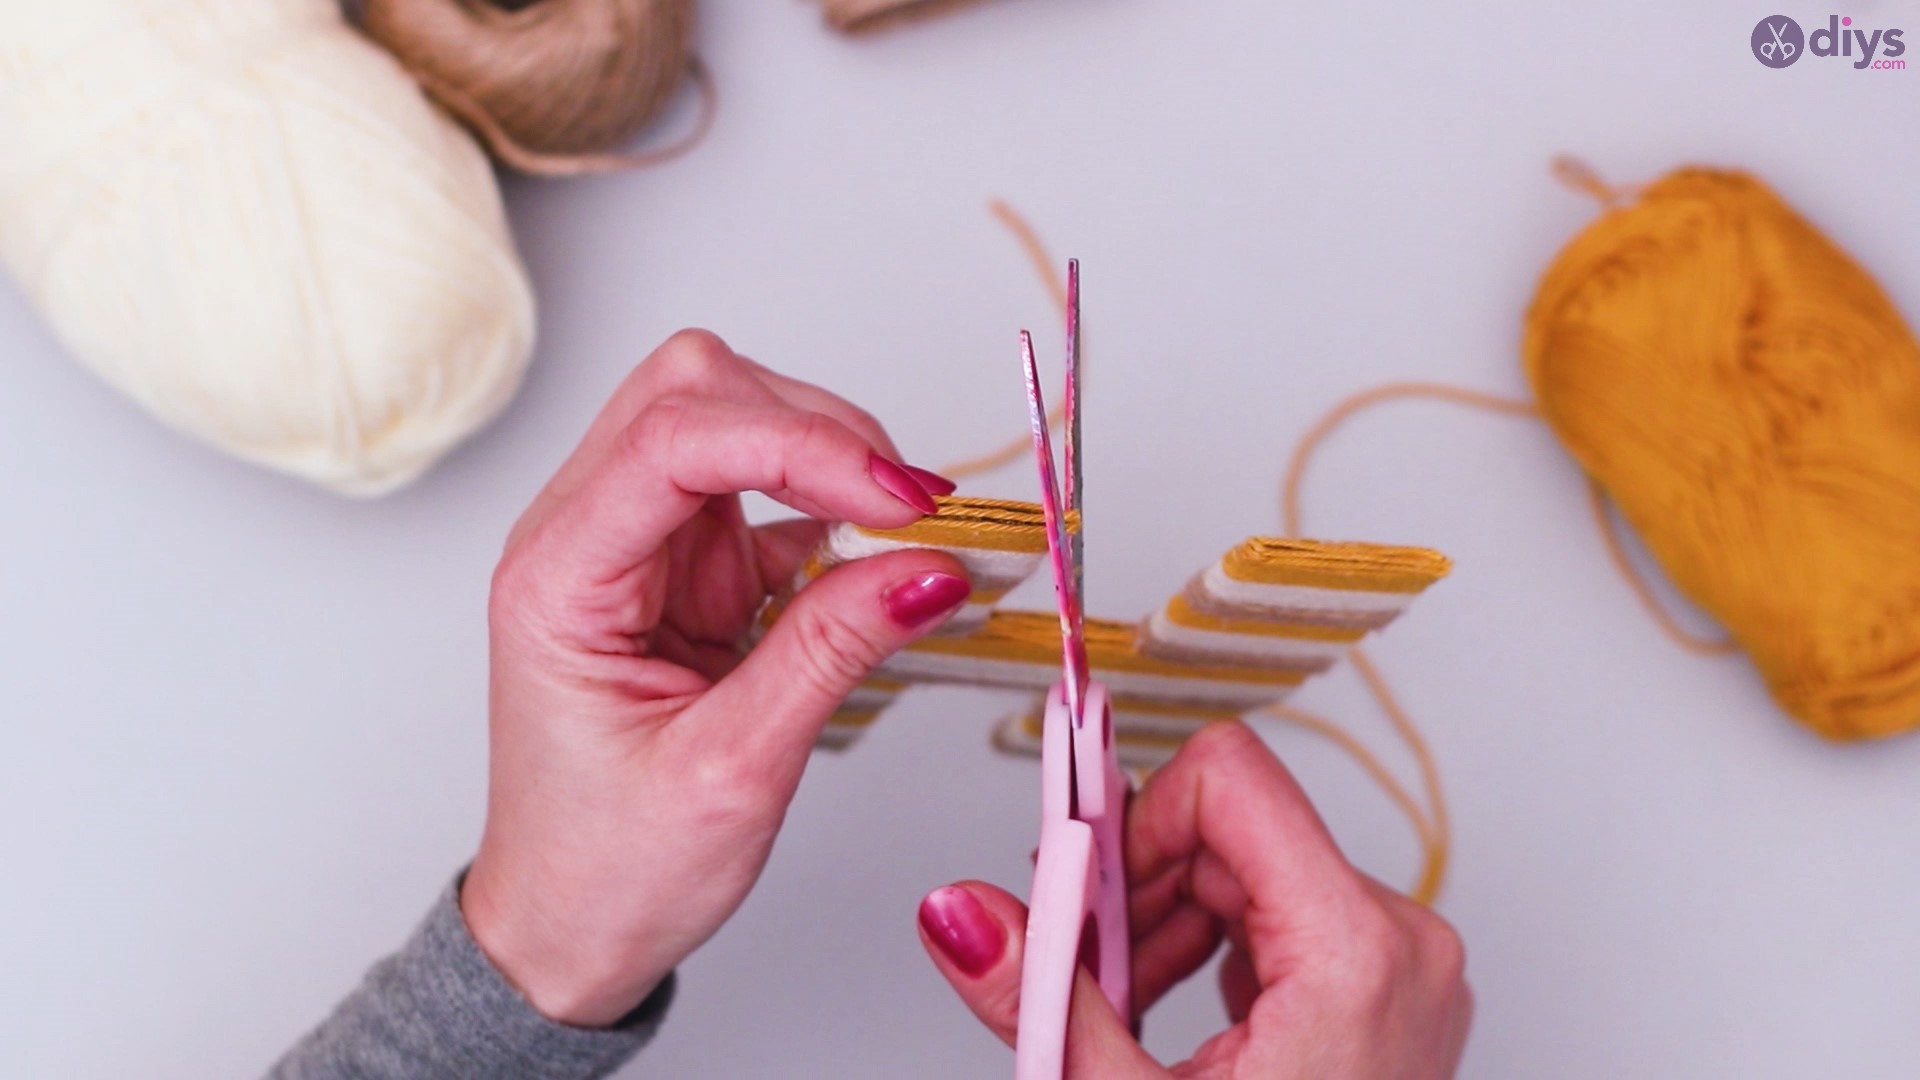
Step 2: Wrapping the Yarn
Next, grab your yarn and start wrapping it around the cardboard cut-out. In this step, you’ll basically be working with three yarn colors: the regular yarn (which we’ll further refer to as color 1) plus the two additional colors we mentioned in the “materials” section (which we’ll call color 2 and color 3).
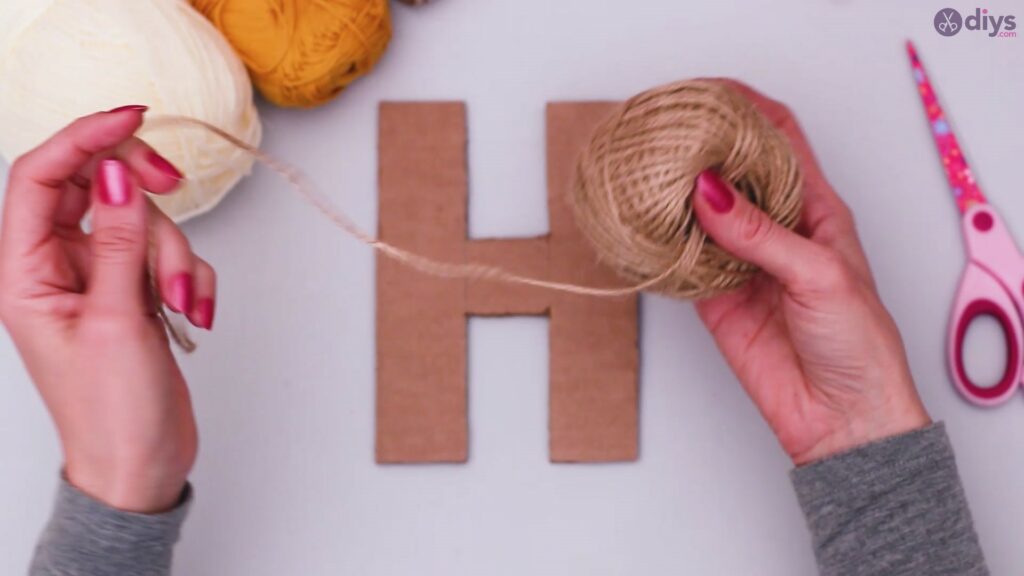
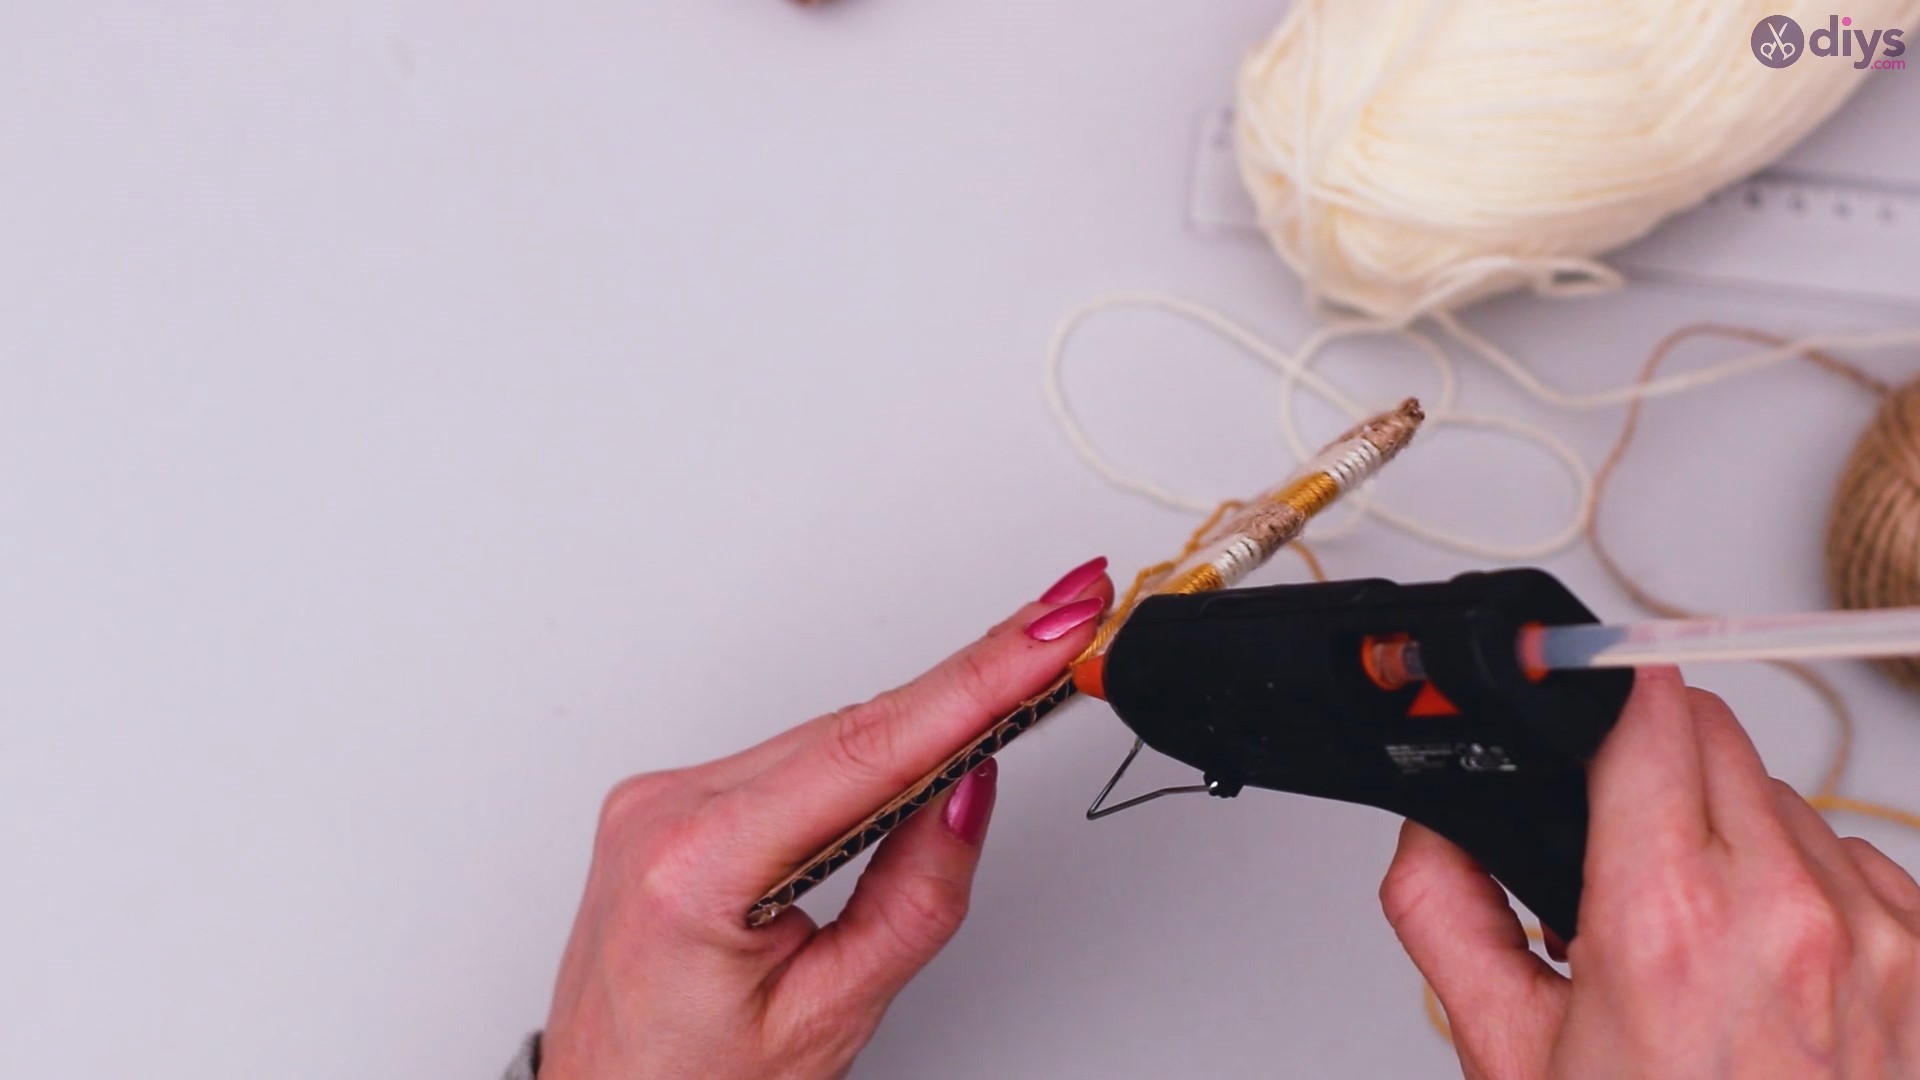
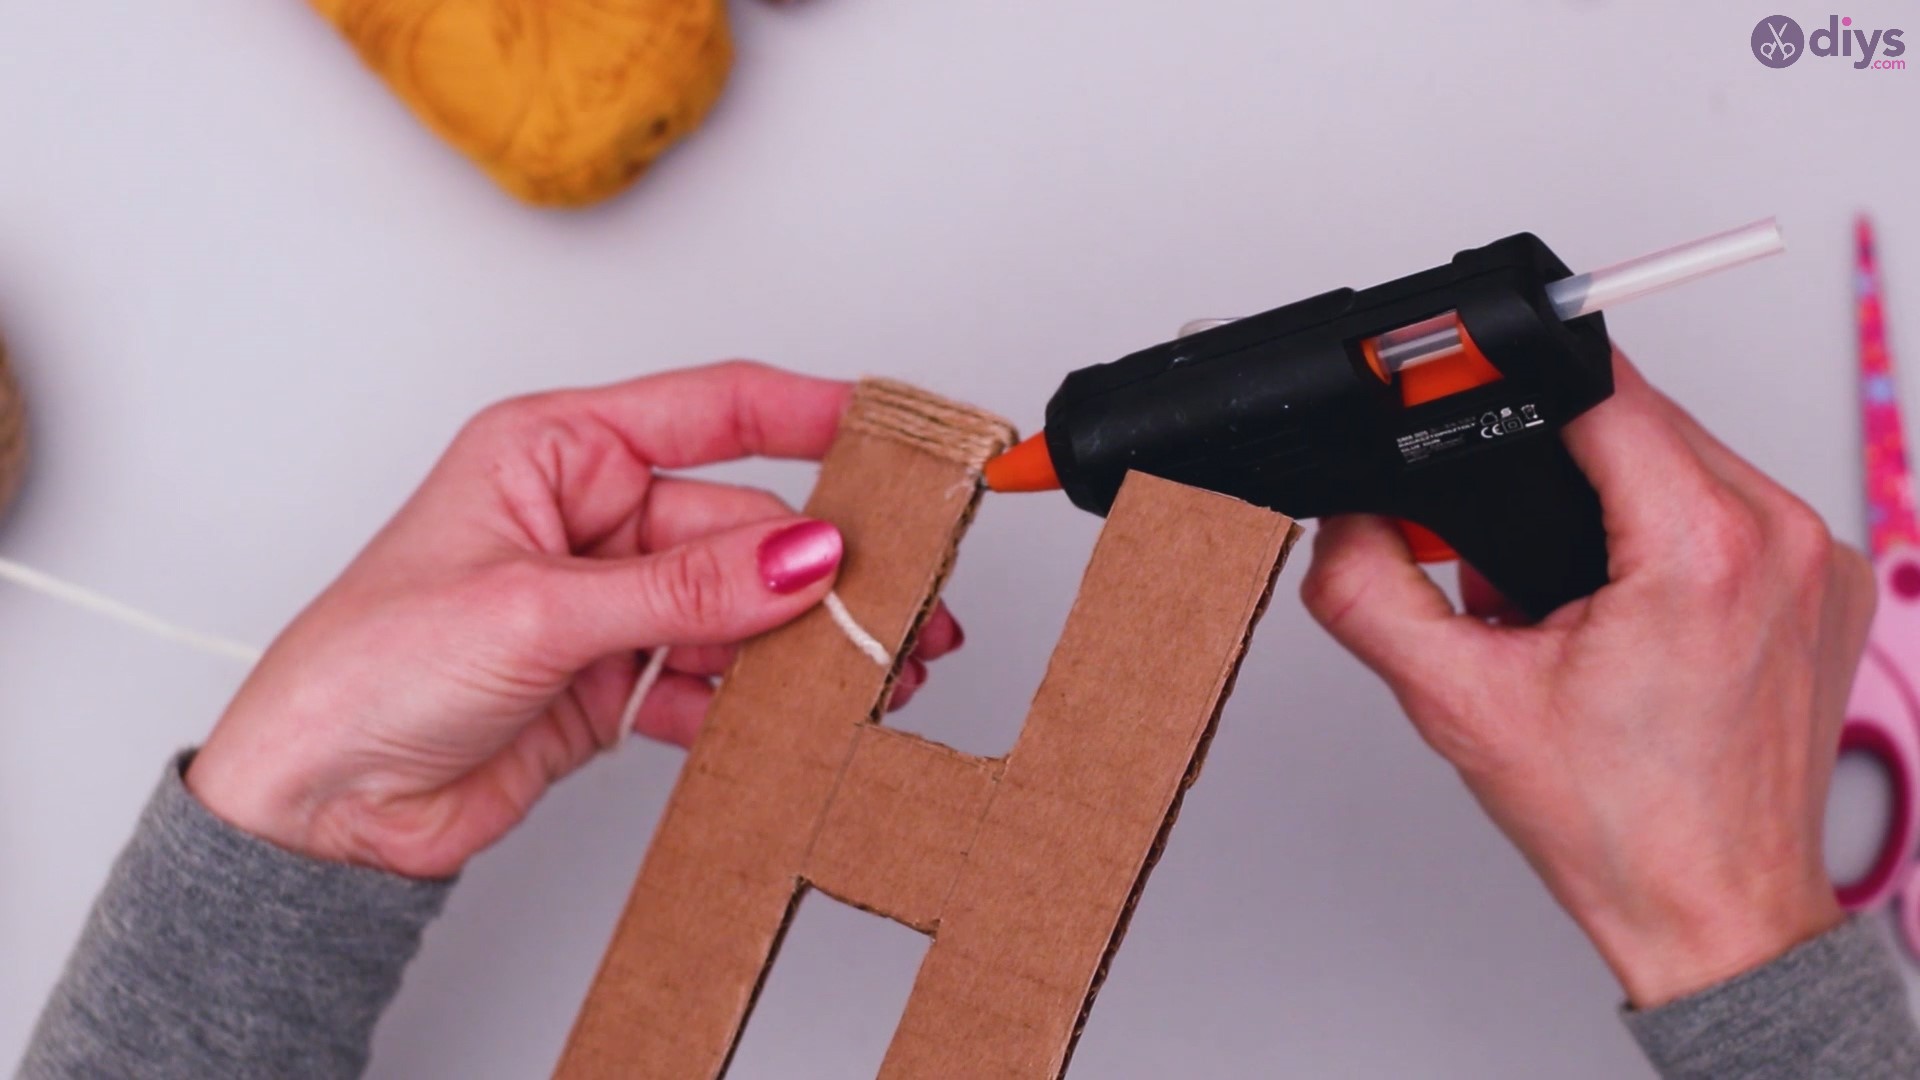
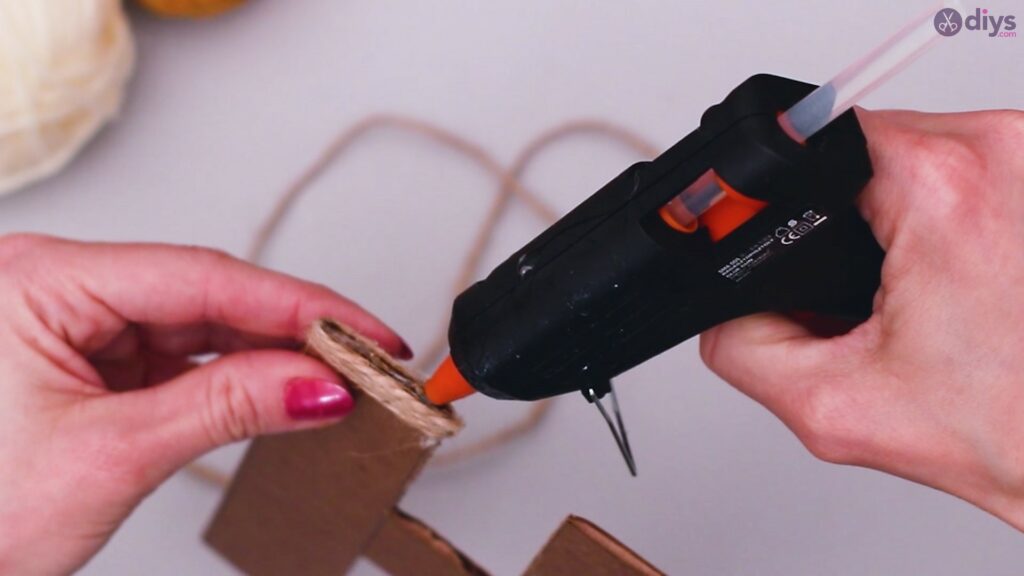
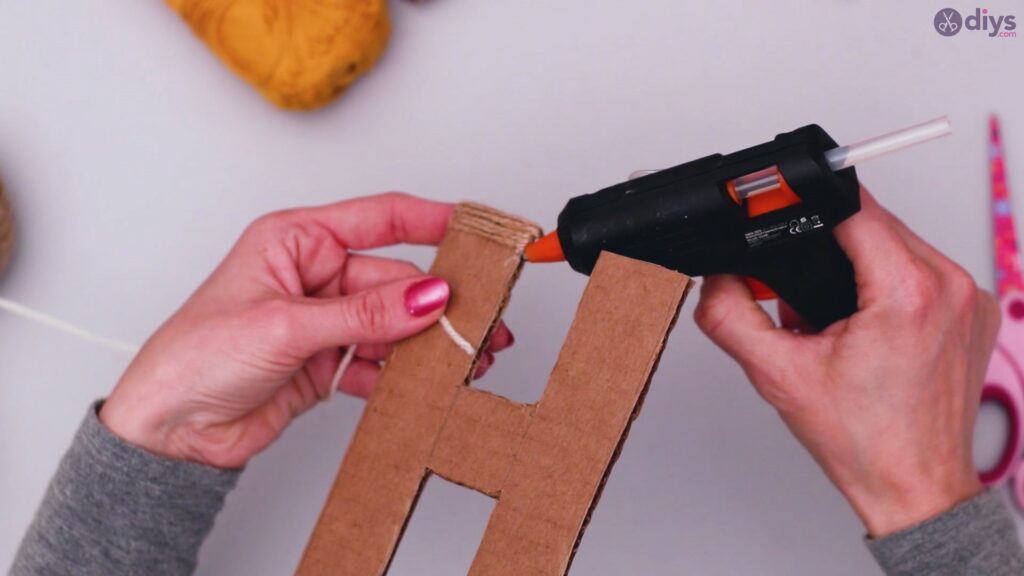
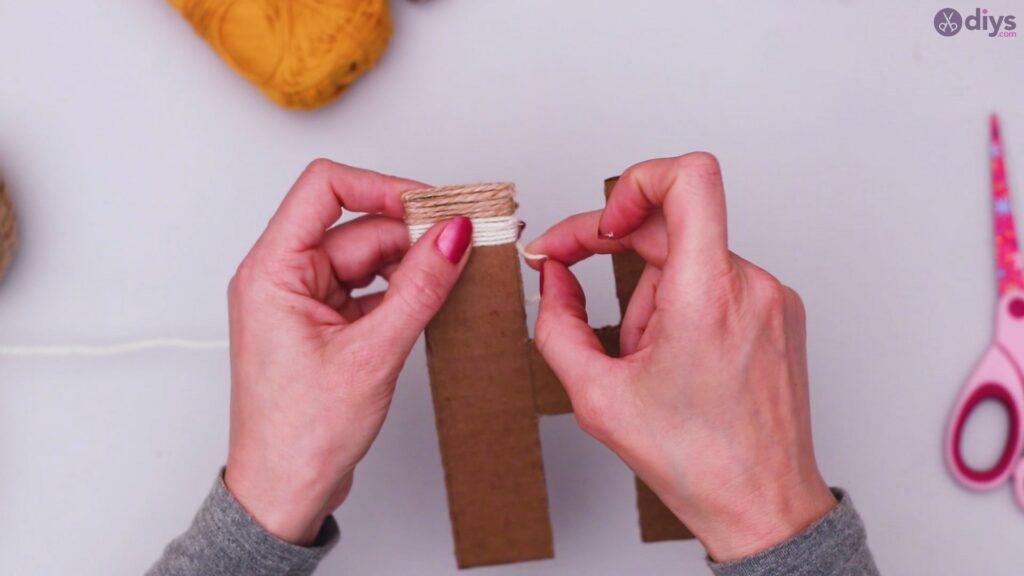
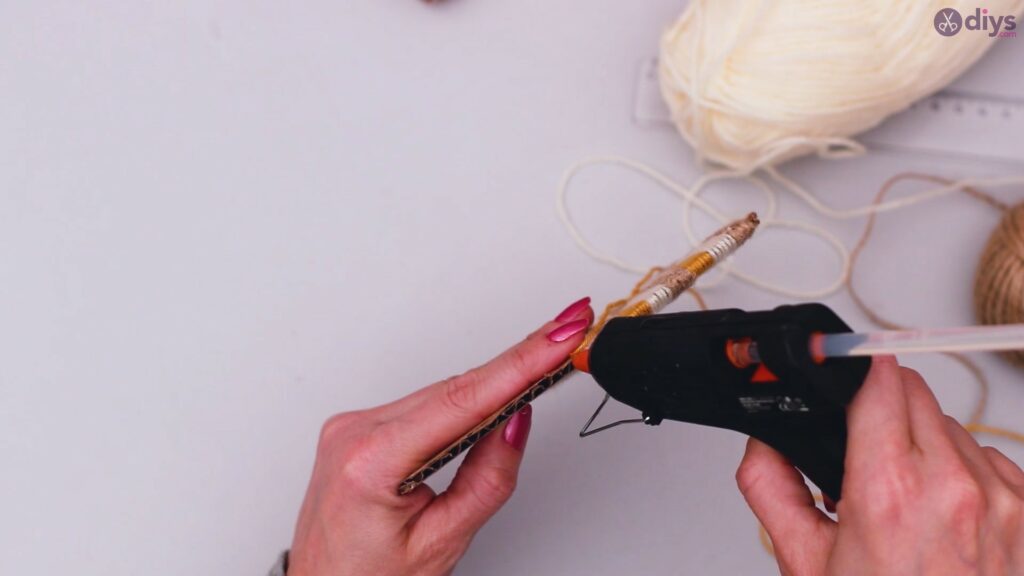
Take one end of the string of yarn and glue it at the top of your letter, so you can start unwinding the string without the end coming undone.
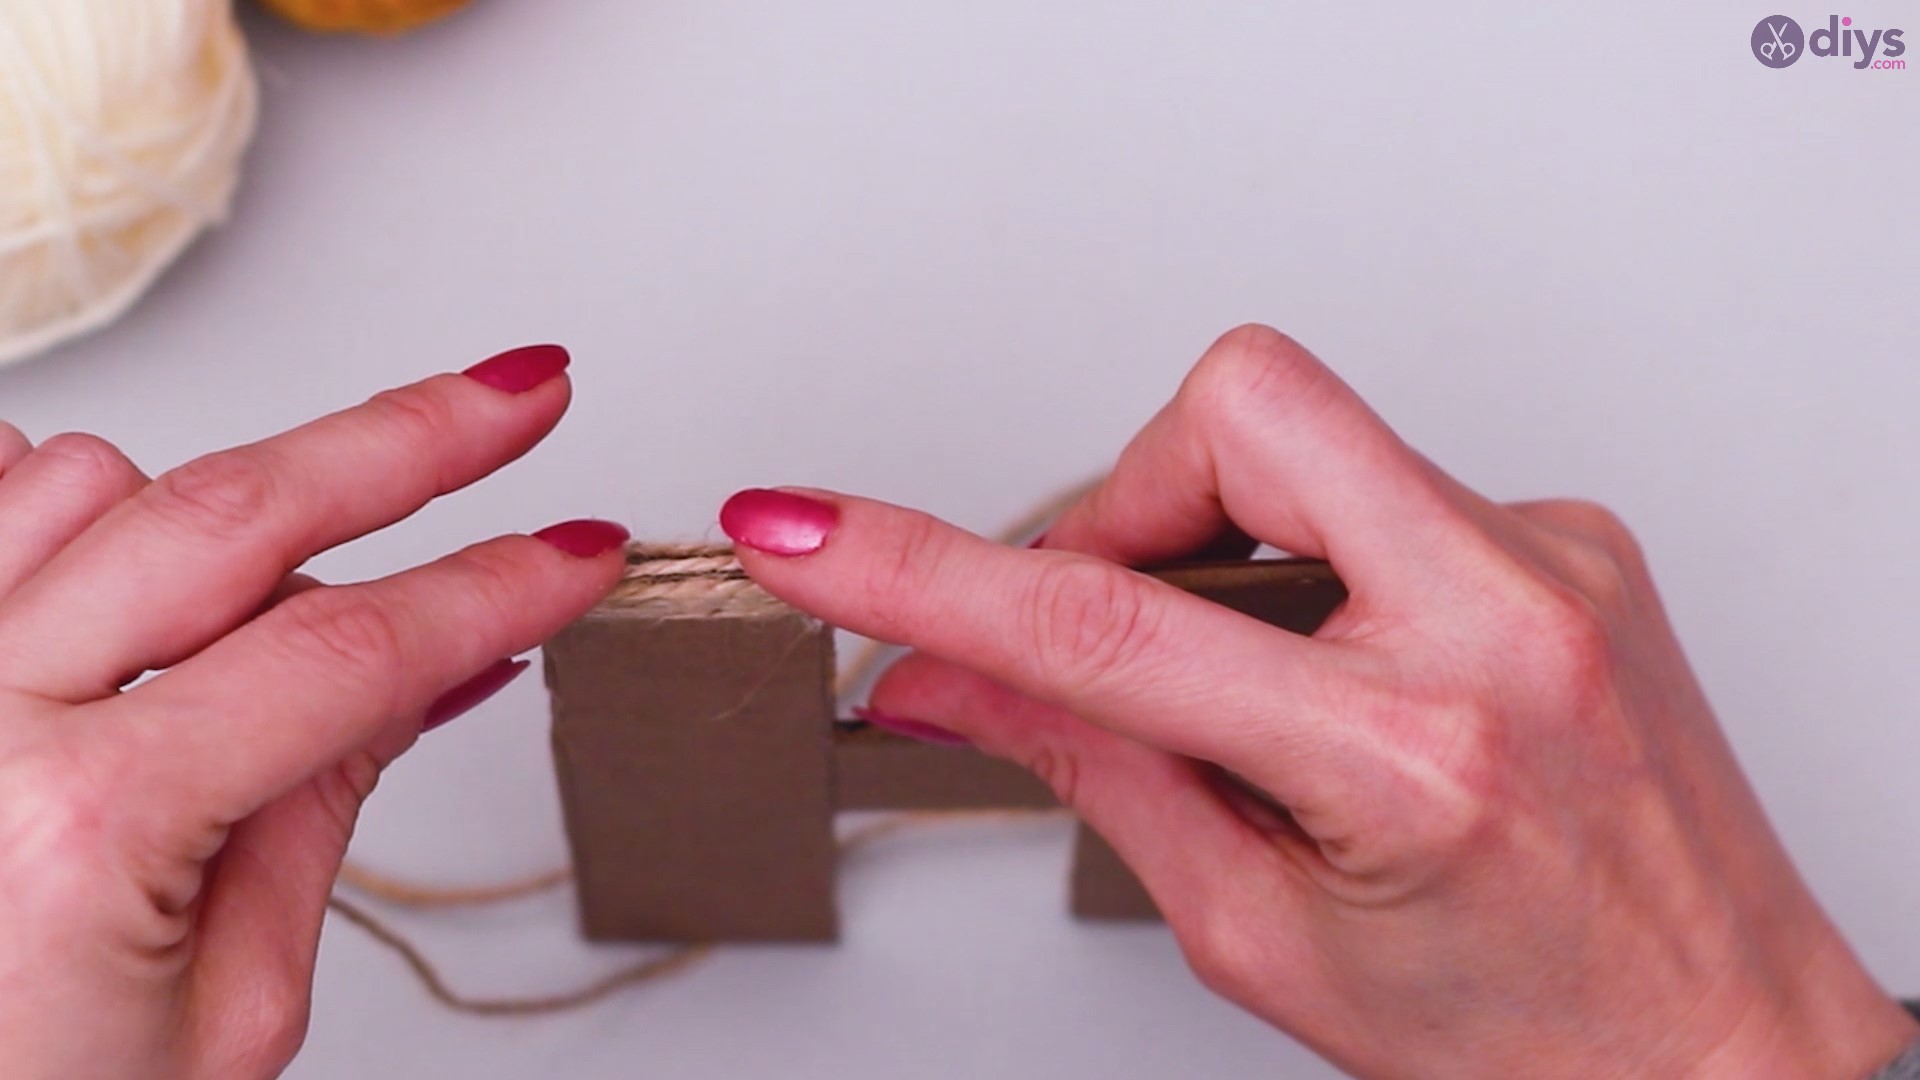
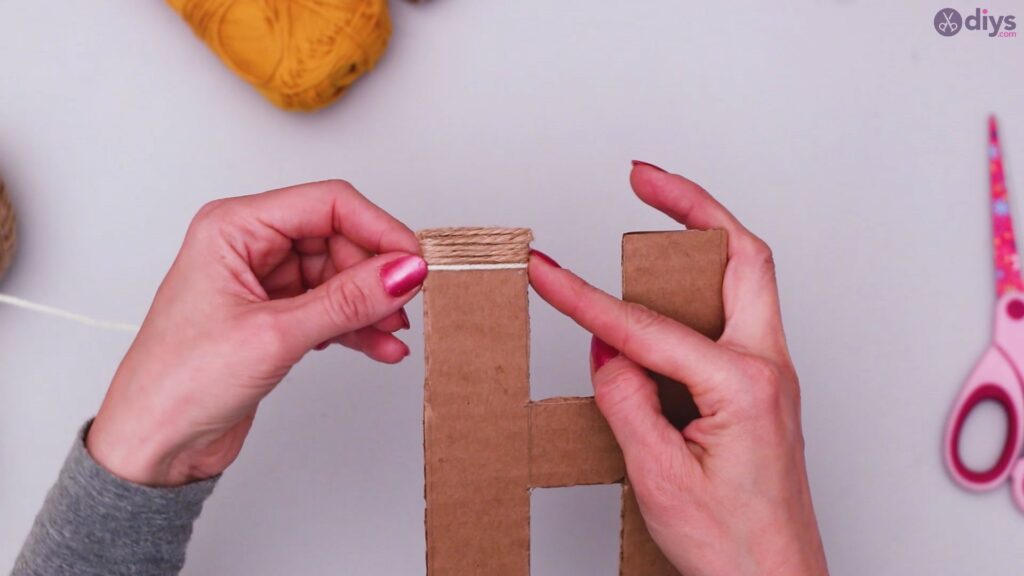
Make sure that the string is wrapped tightly around the letter cut out.


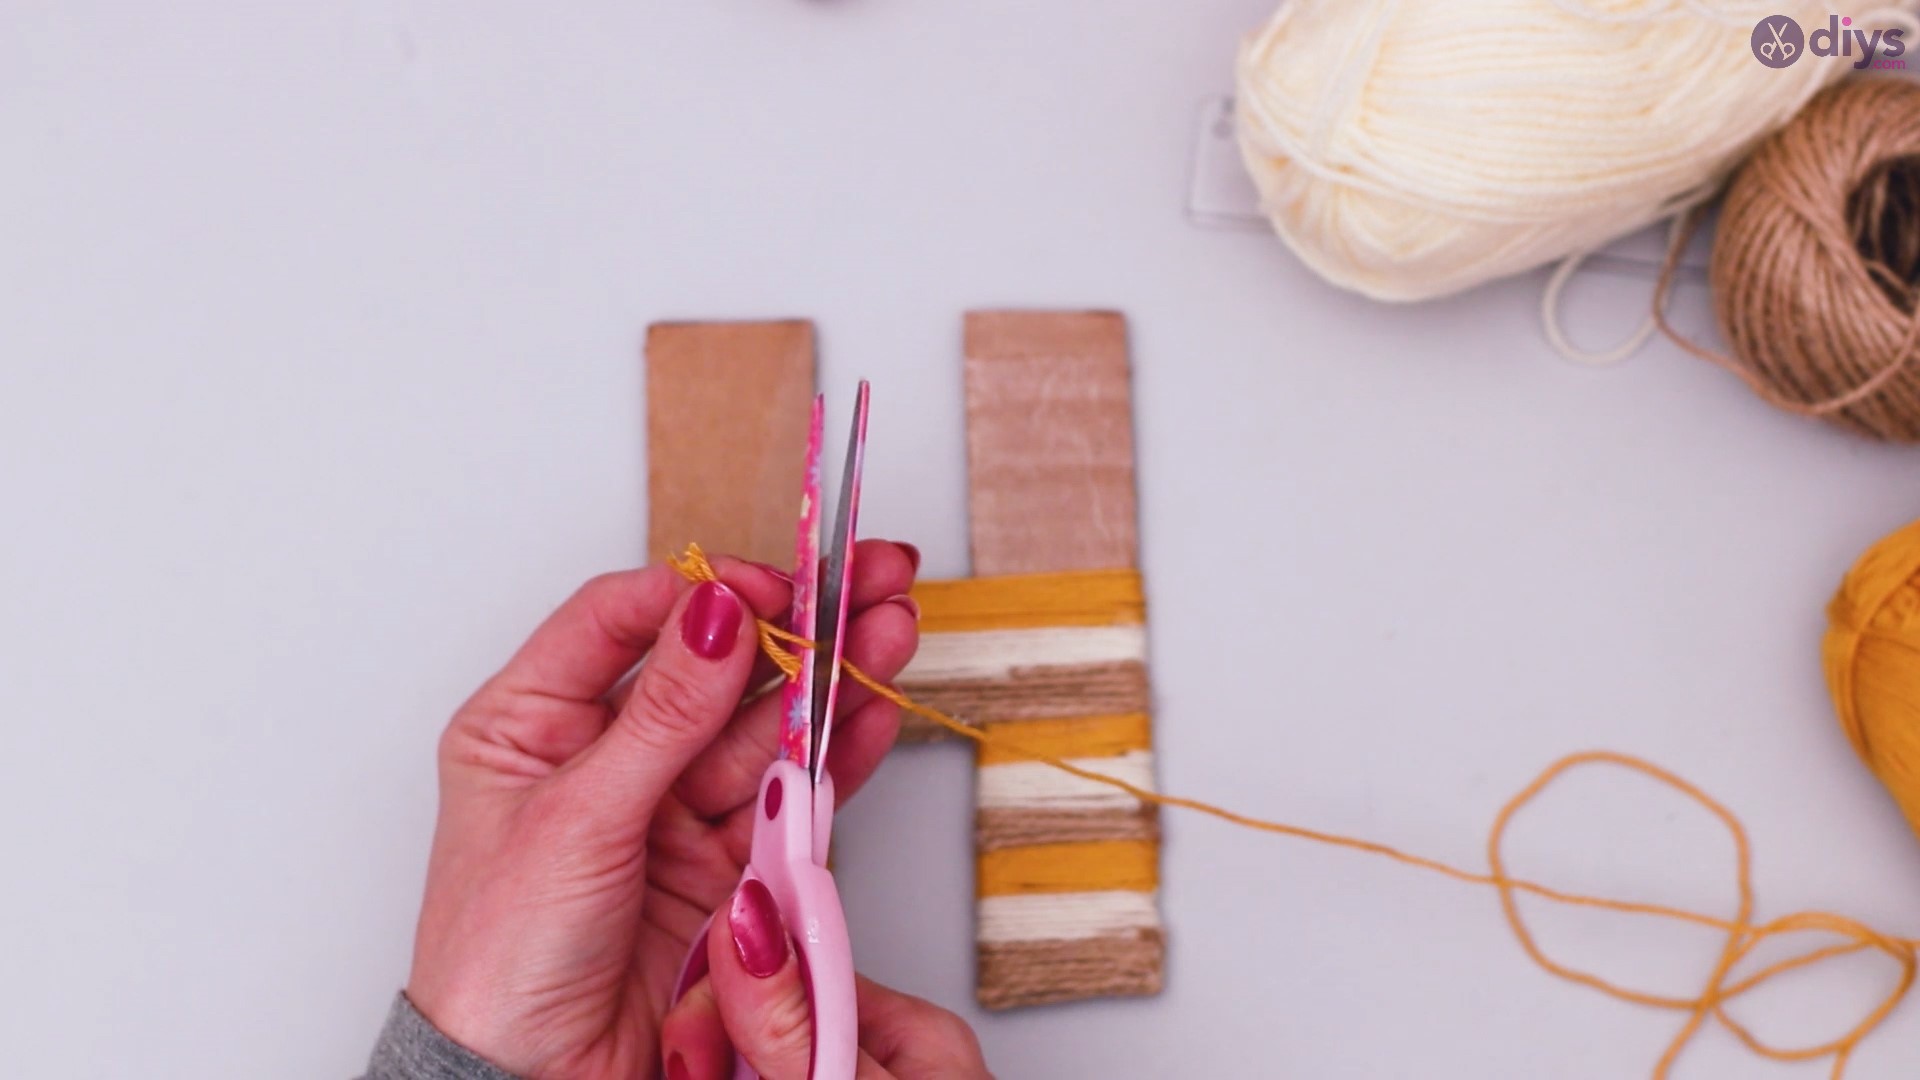
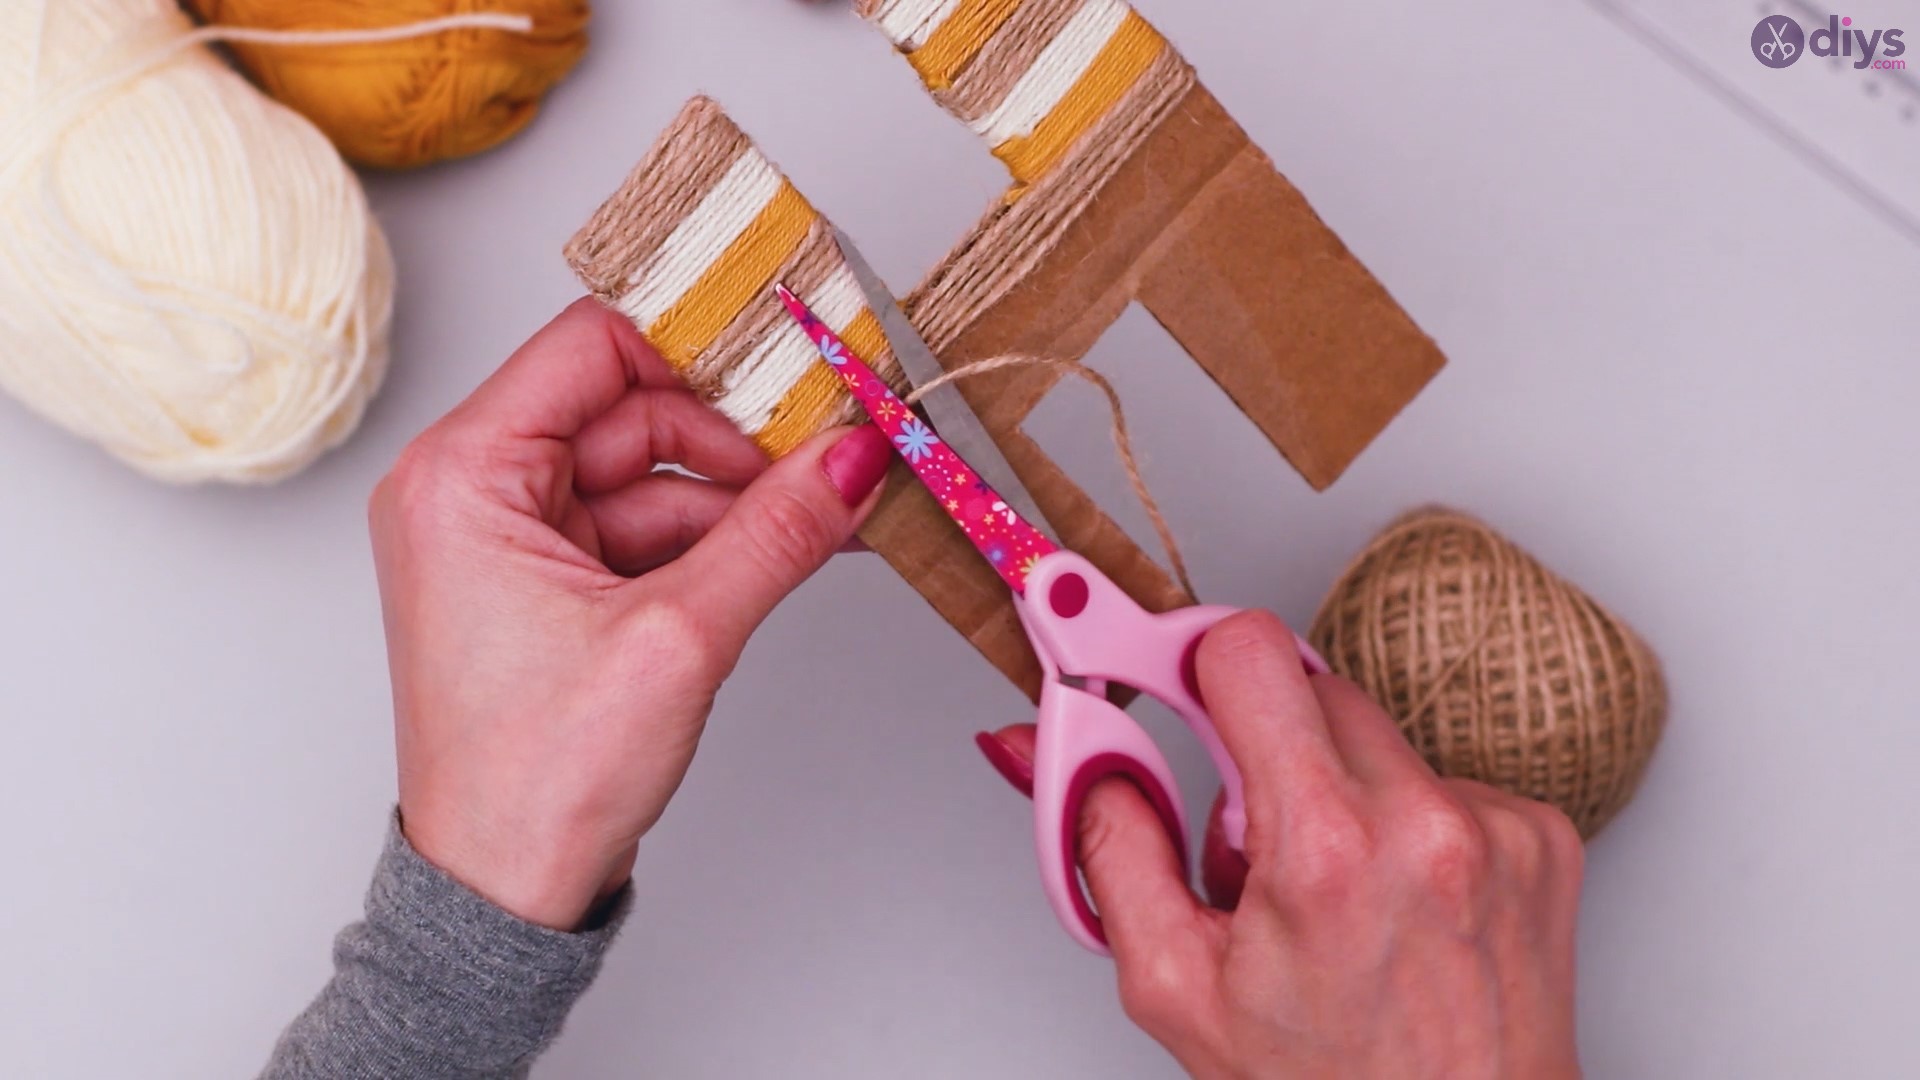
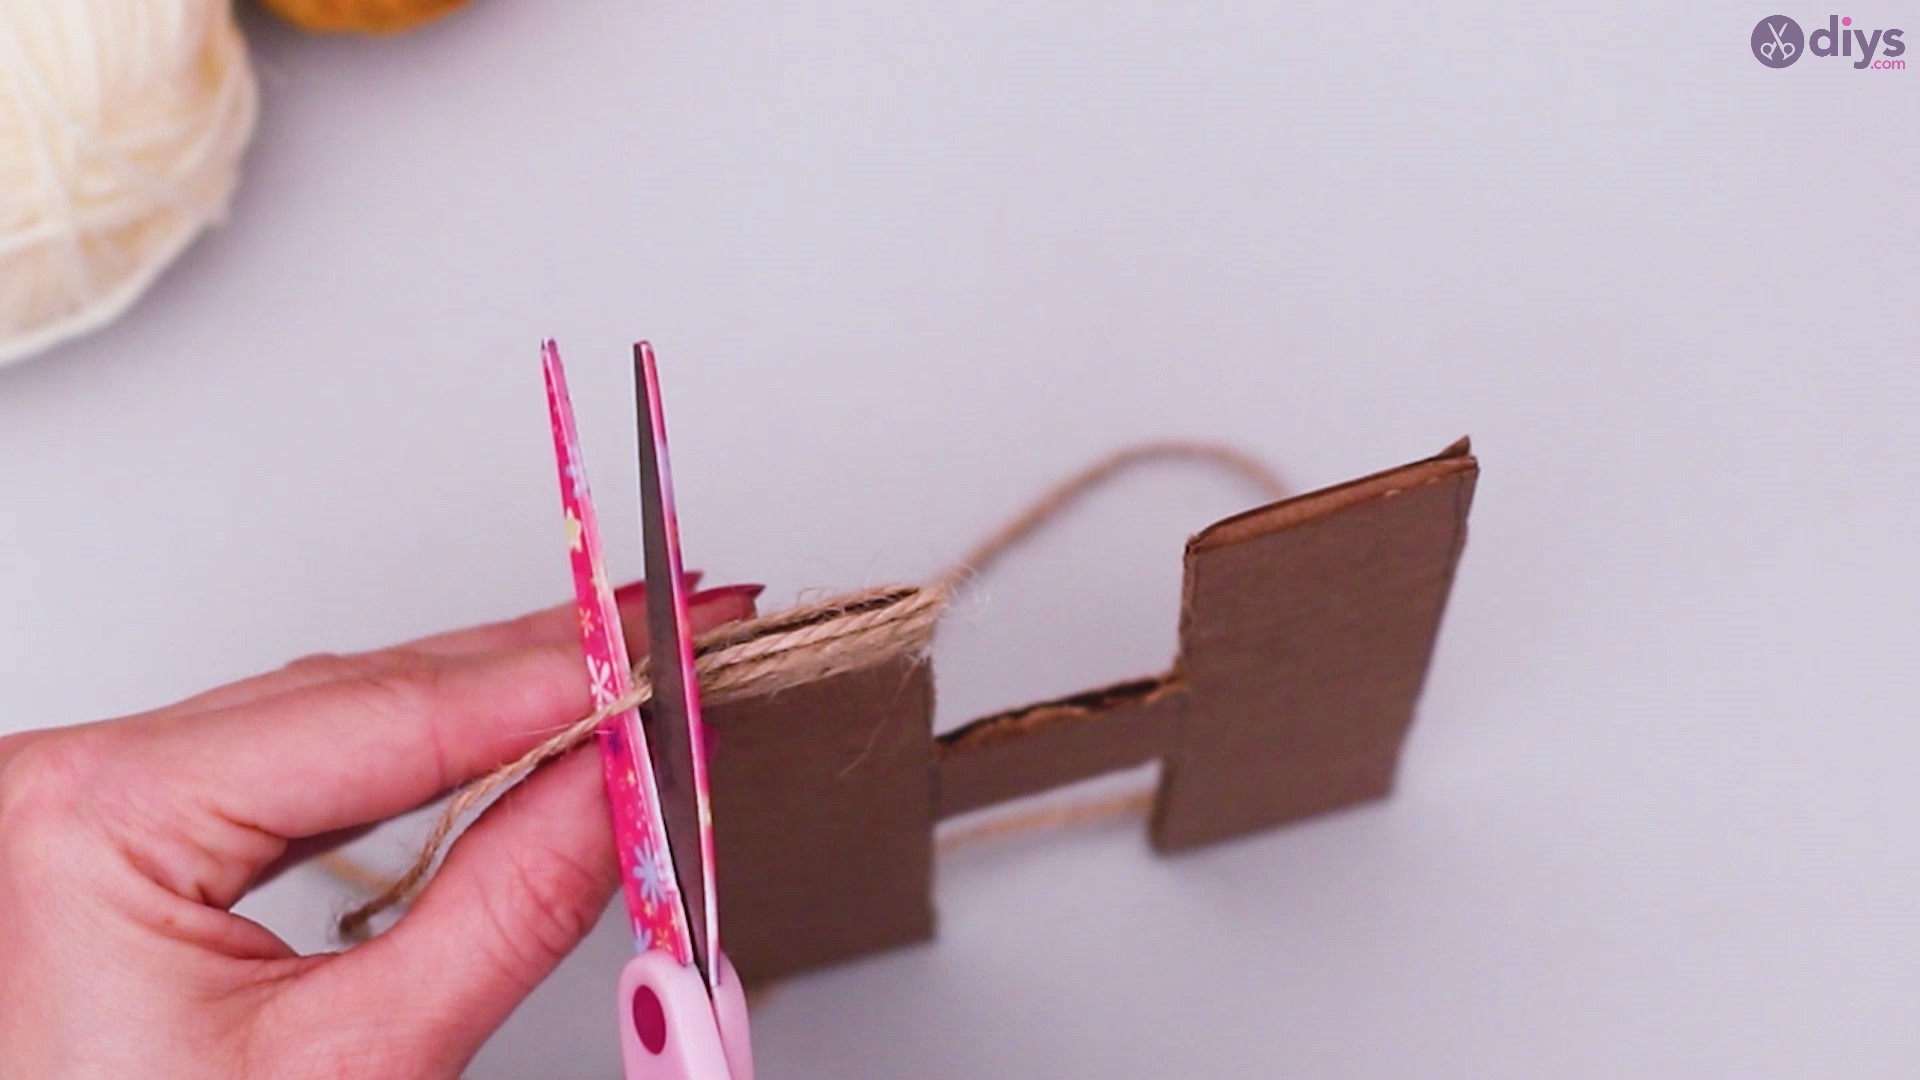
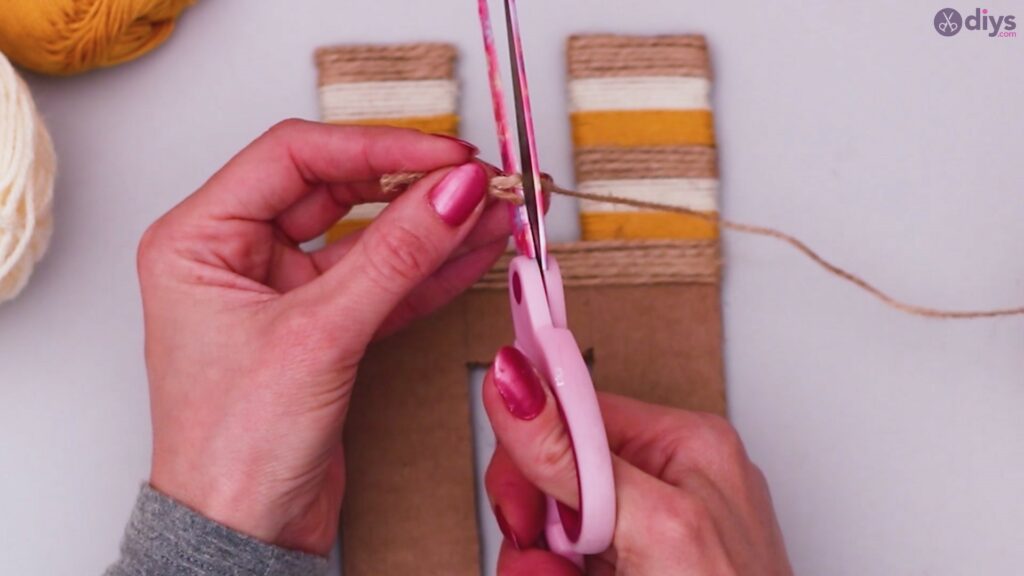
Since you will be using yarn of two different colors, wrap the first color around the letter about four times and then cut the string so that you may proceed with putting on the next color.

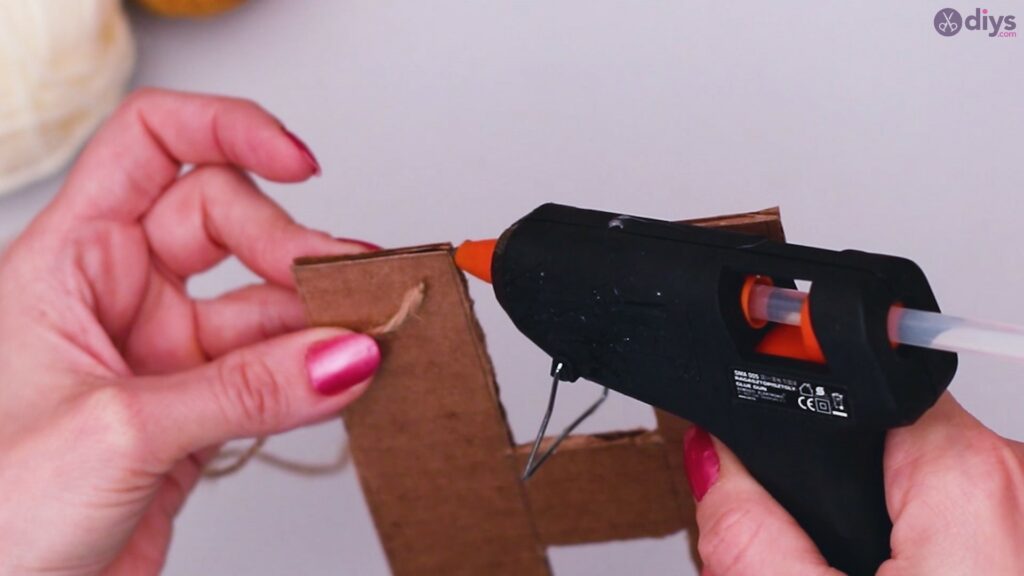
Add glue at the end of the color 1 string to make sure it’s secured in place and grab the color 2 yarn.
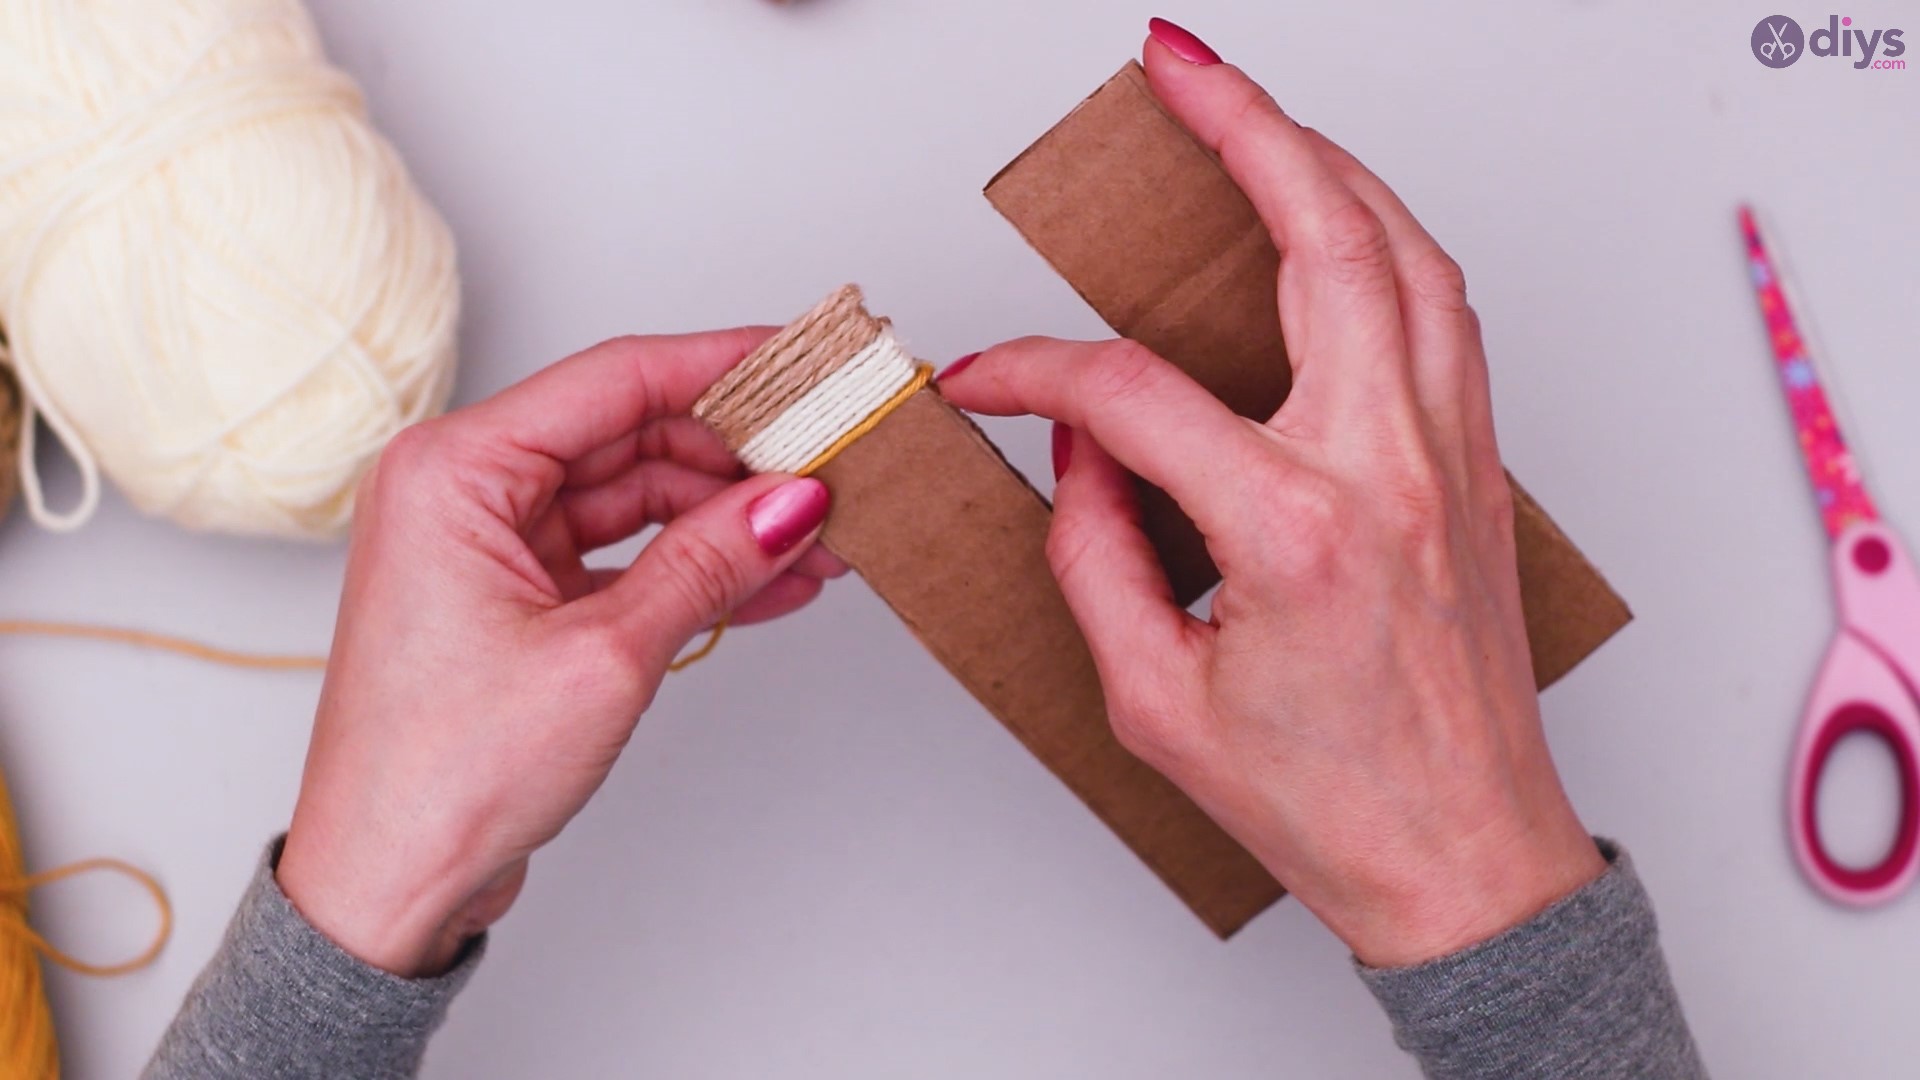
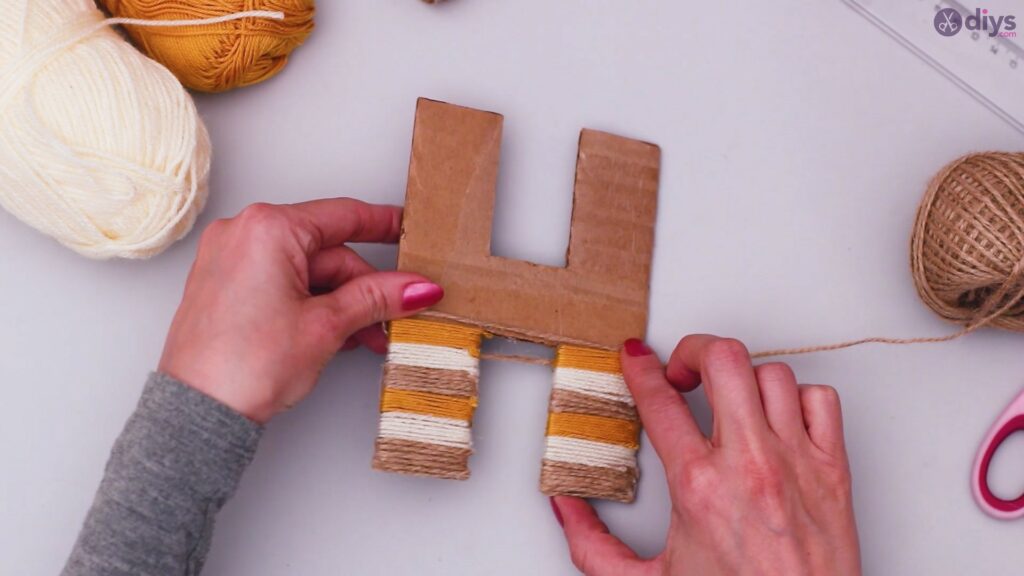
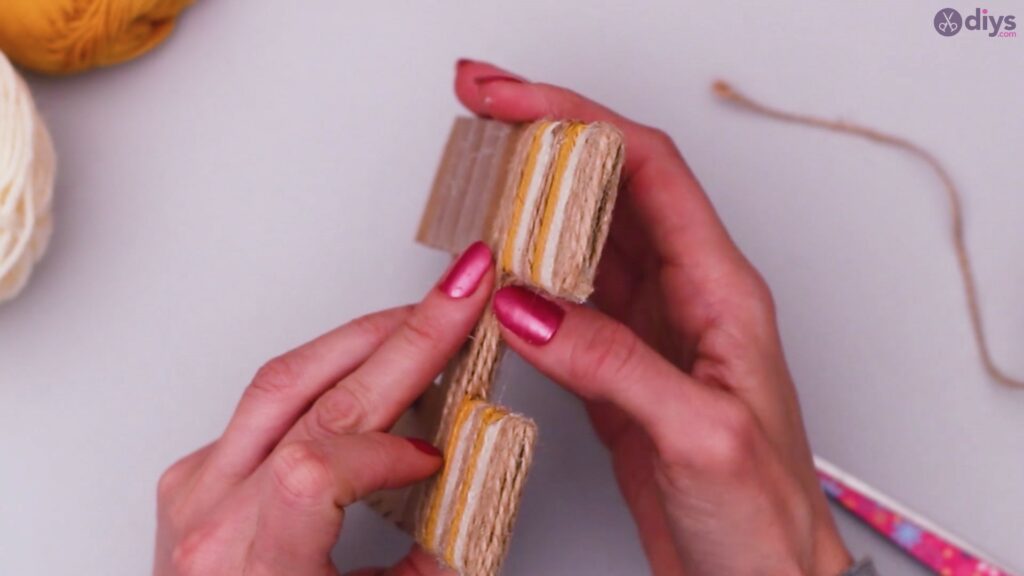
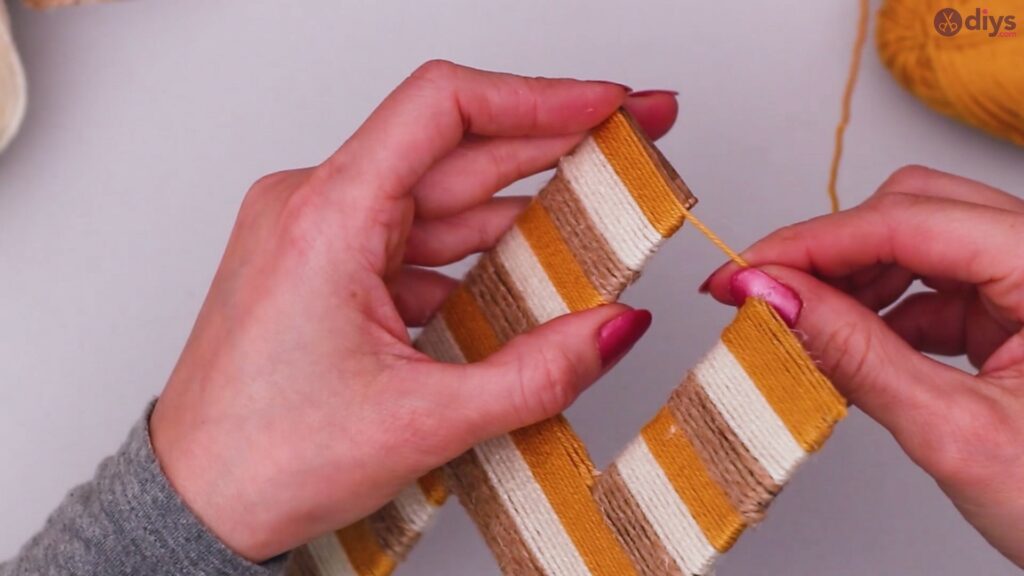
Wrap the second yarn color around the cut out the same amount of times that you did with the first color. This will help create even batches of yarn for a perfectly clean decoration.

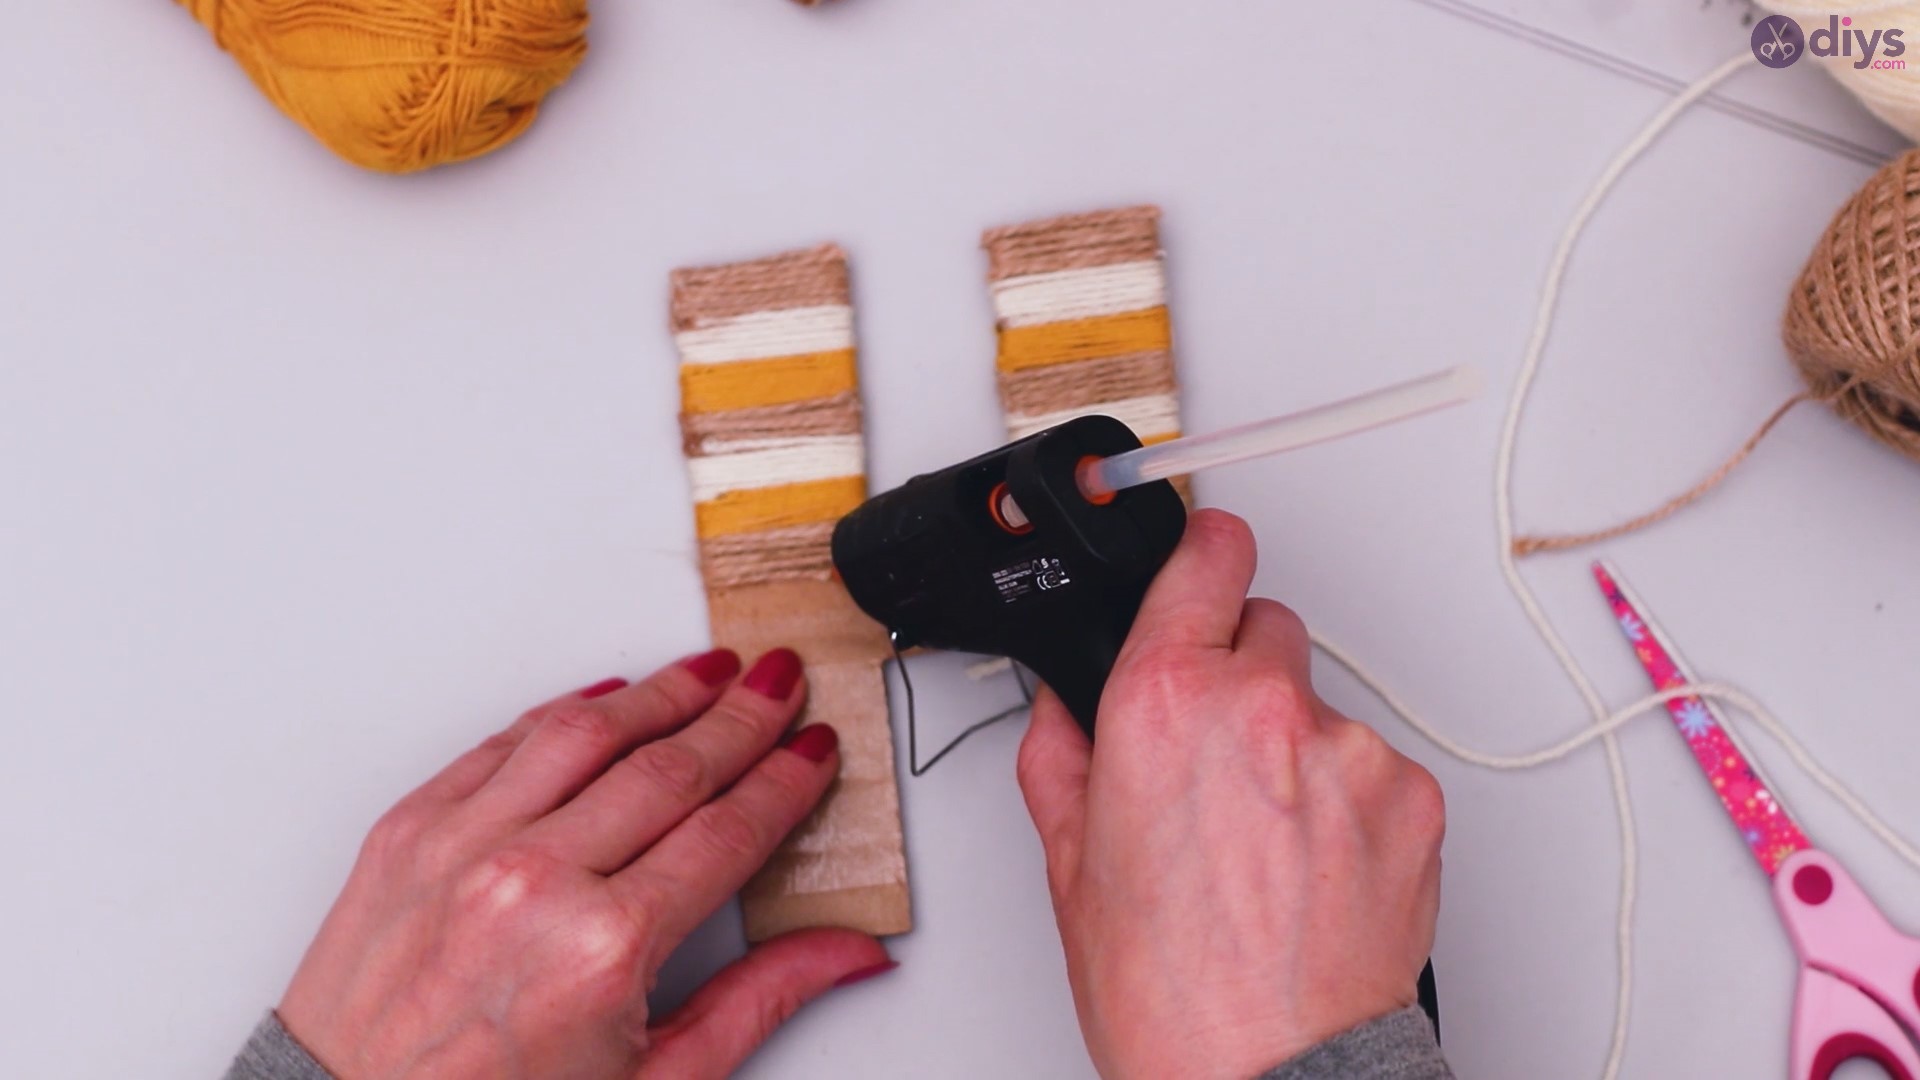
Make sure that you add one drop of glue every time you start with a new string of yarn and then add some more glue at the end of each color, to secure the strings in place and avoid them coming undone.
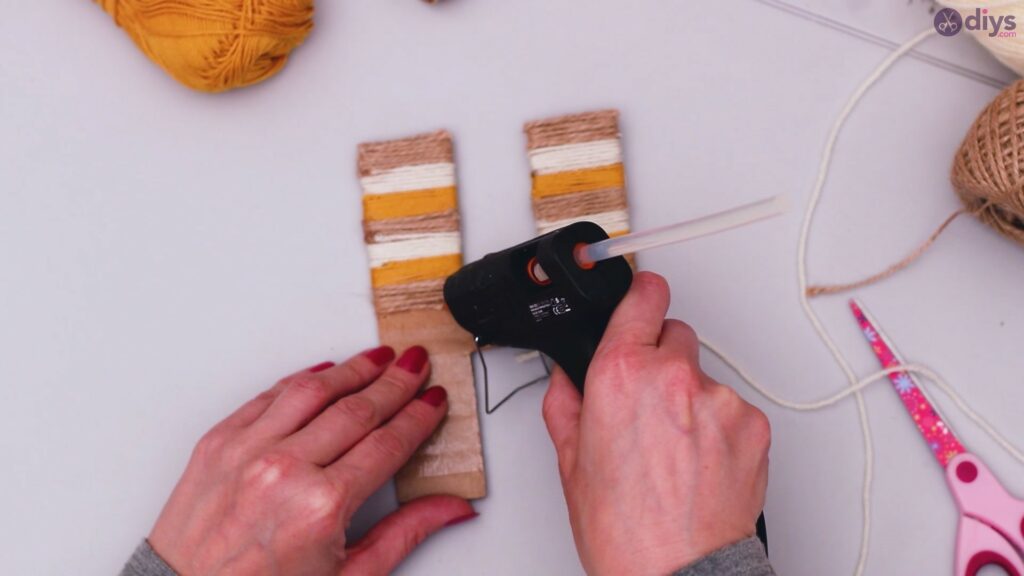
Grab the third color and add glue to start wrapping it around your H.

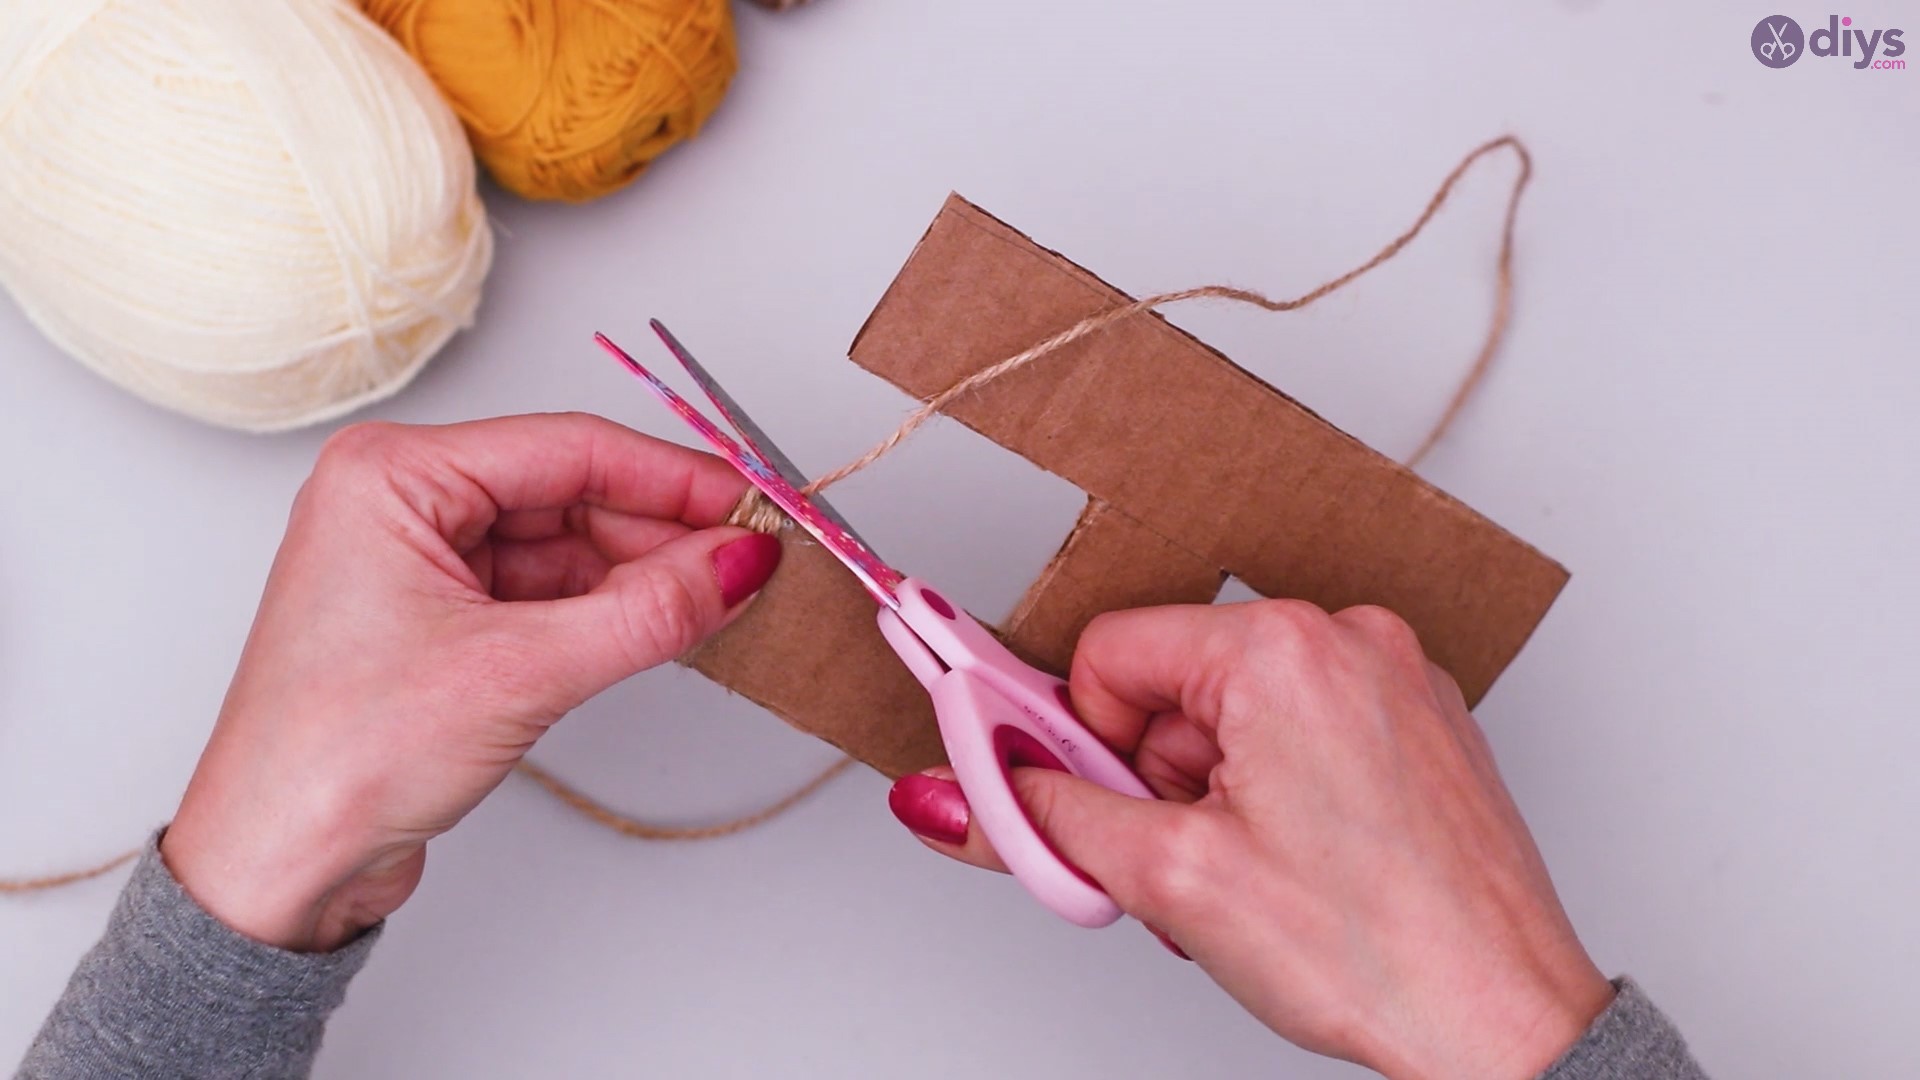
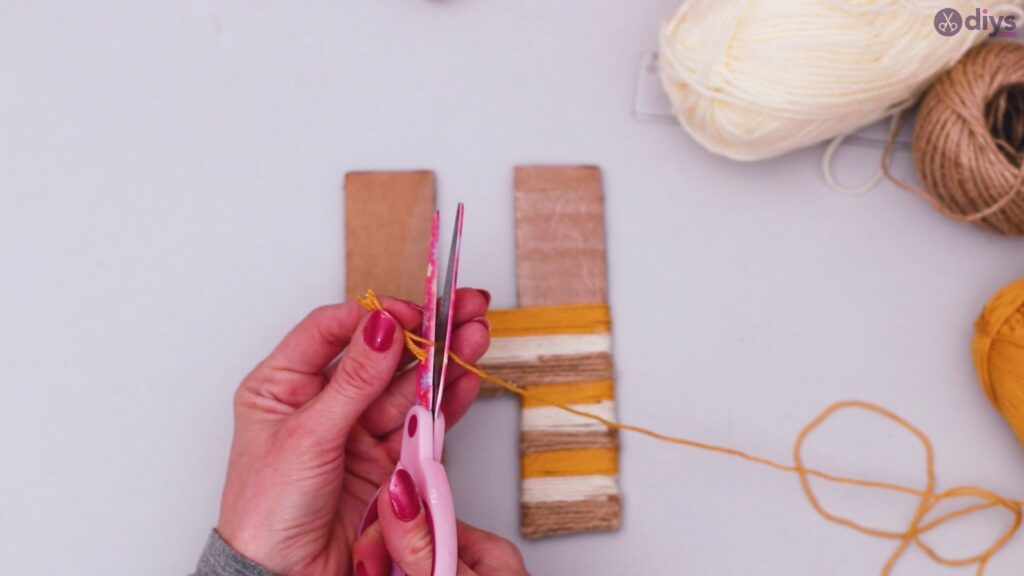
When you’re done with wrapping around the 3rd color, cut the string, glue it, and grab yarn of color 1 again.

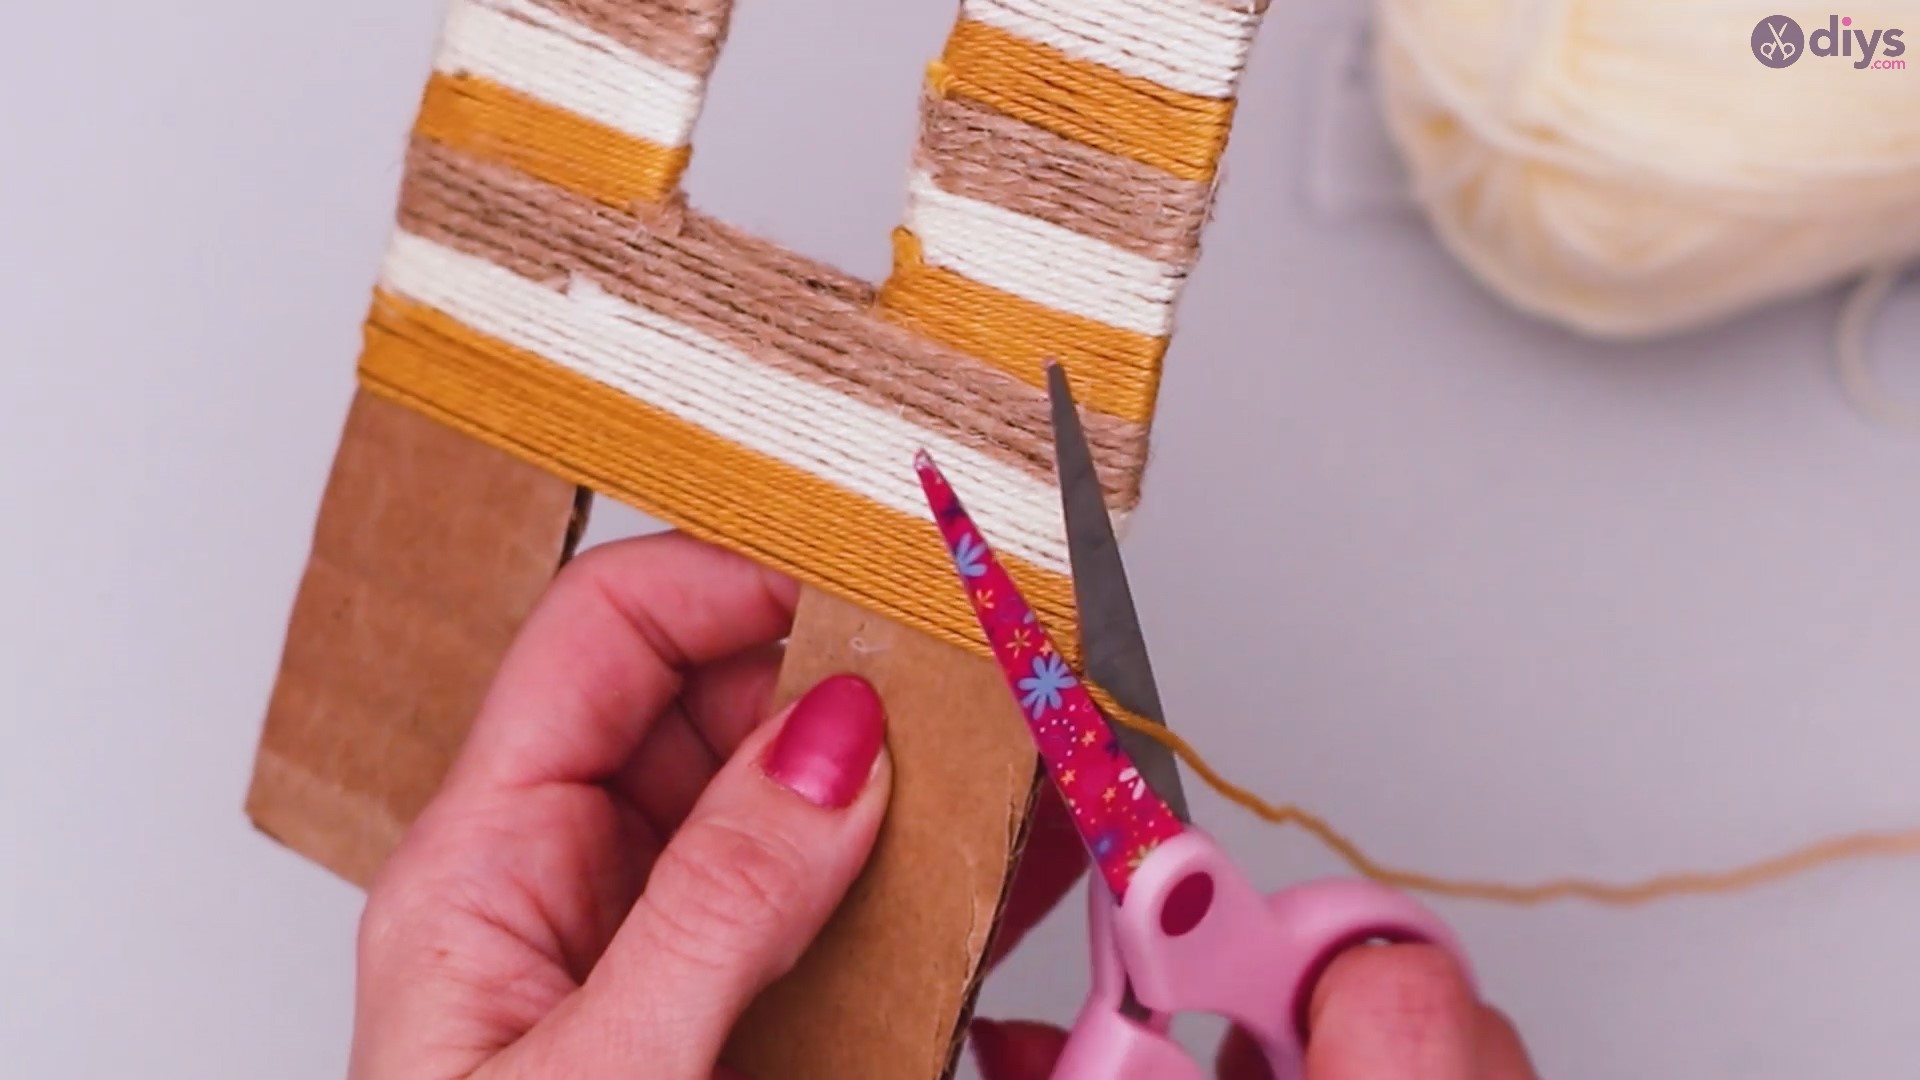
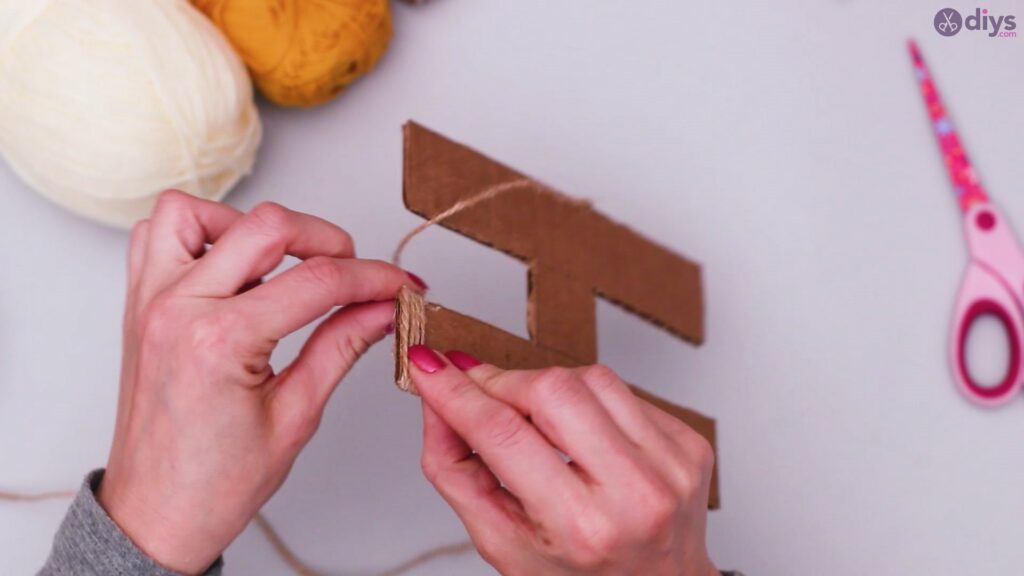
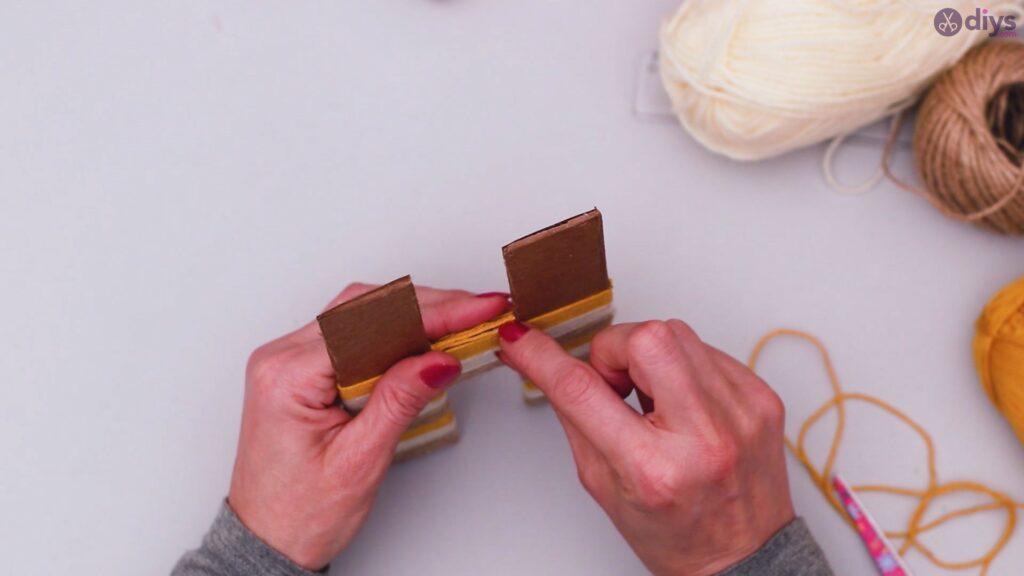
You are going to repeat the process until your entire cardboard cut-out is covered in yarn. Don’t skip any of the steps and secure each new string at both ends in place to avoid the yarn coming undone.
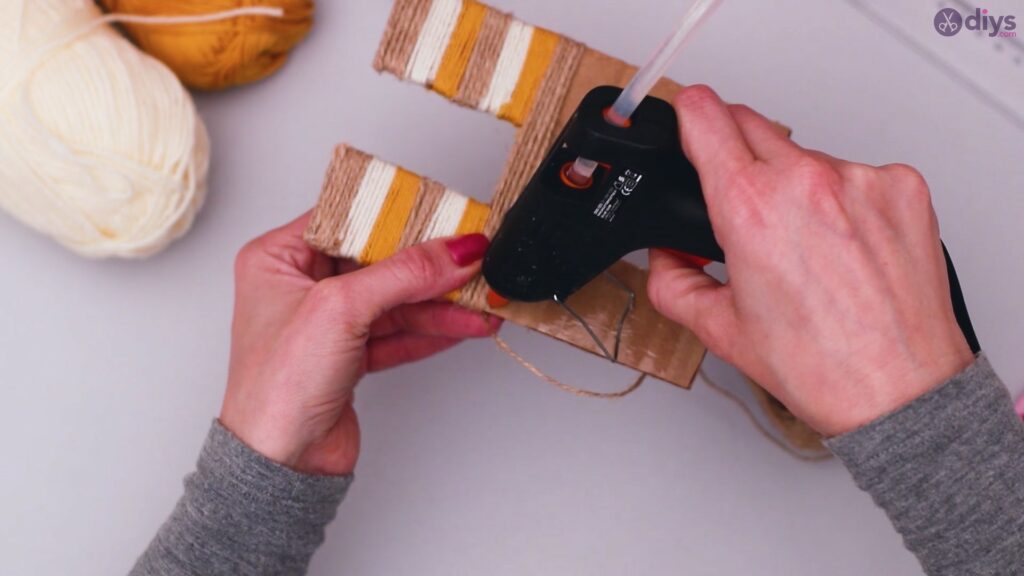


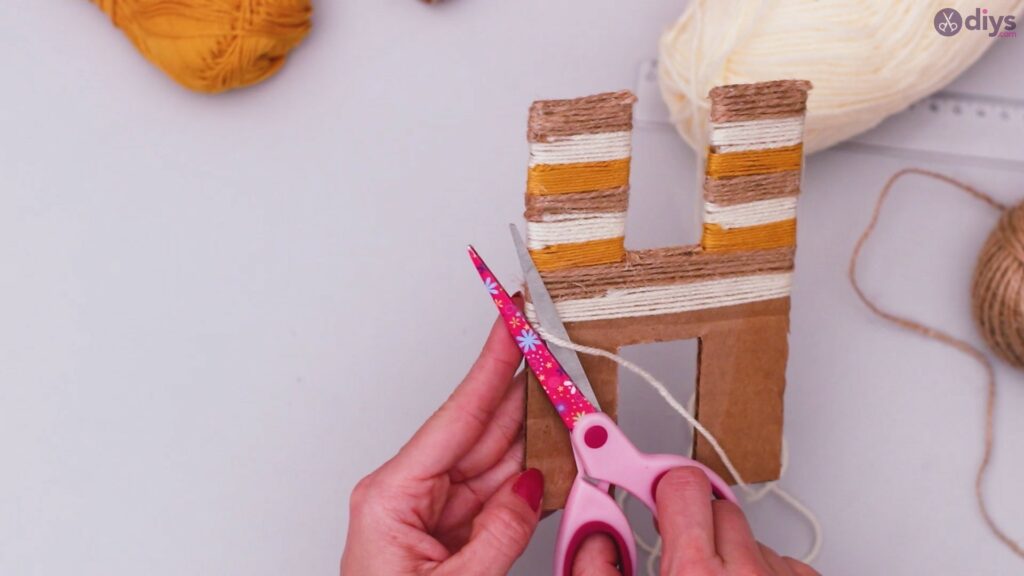

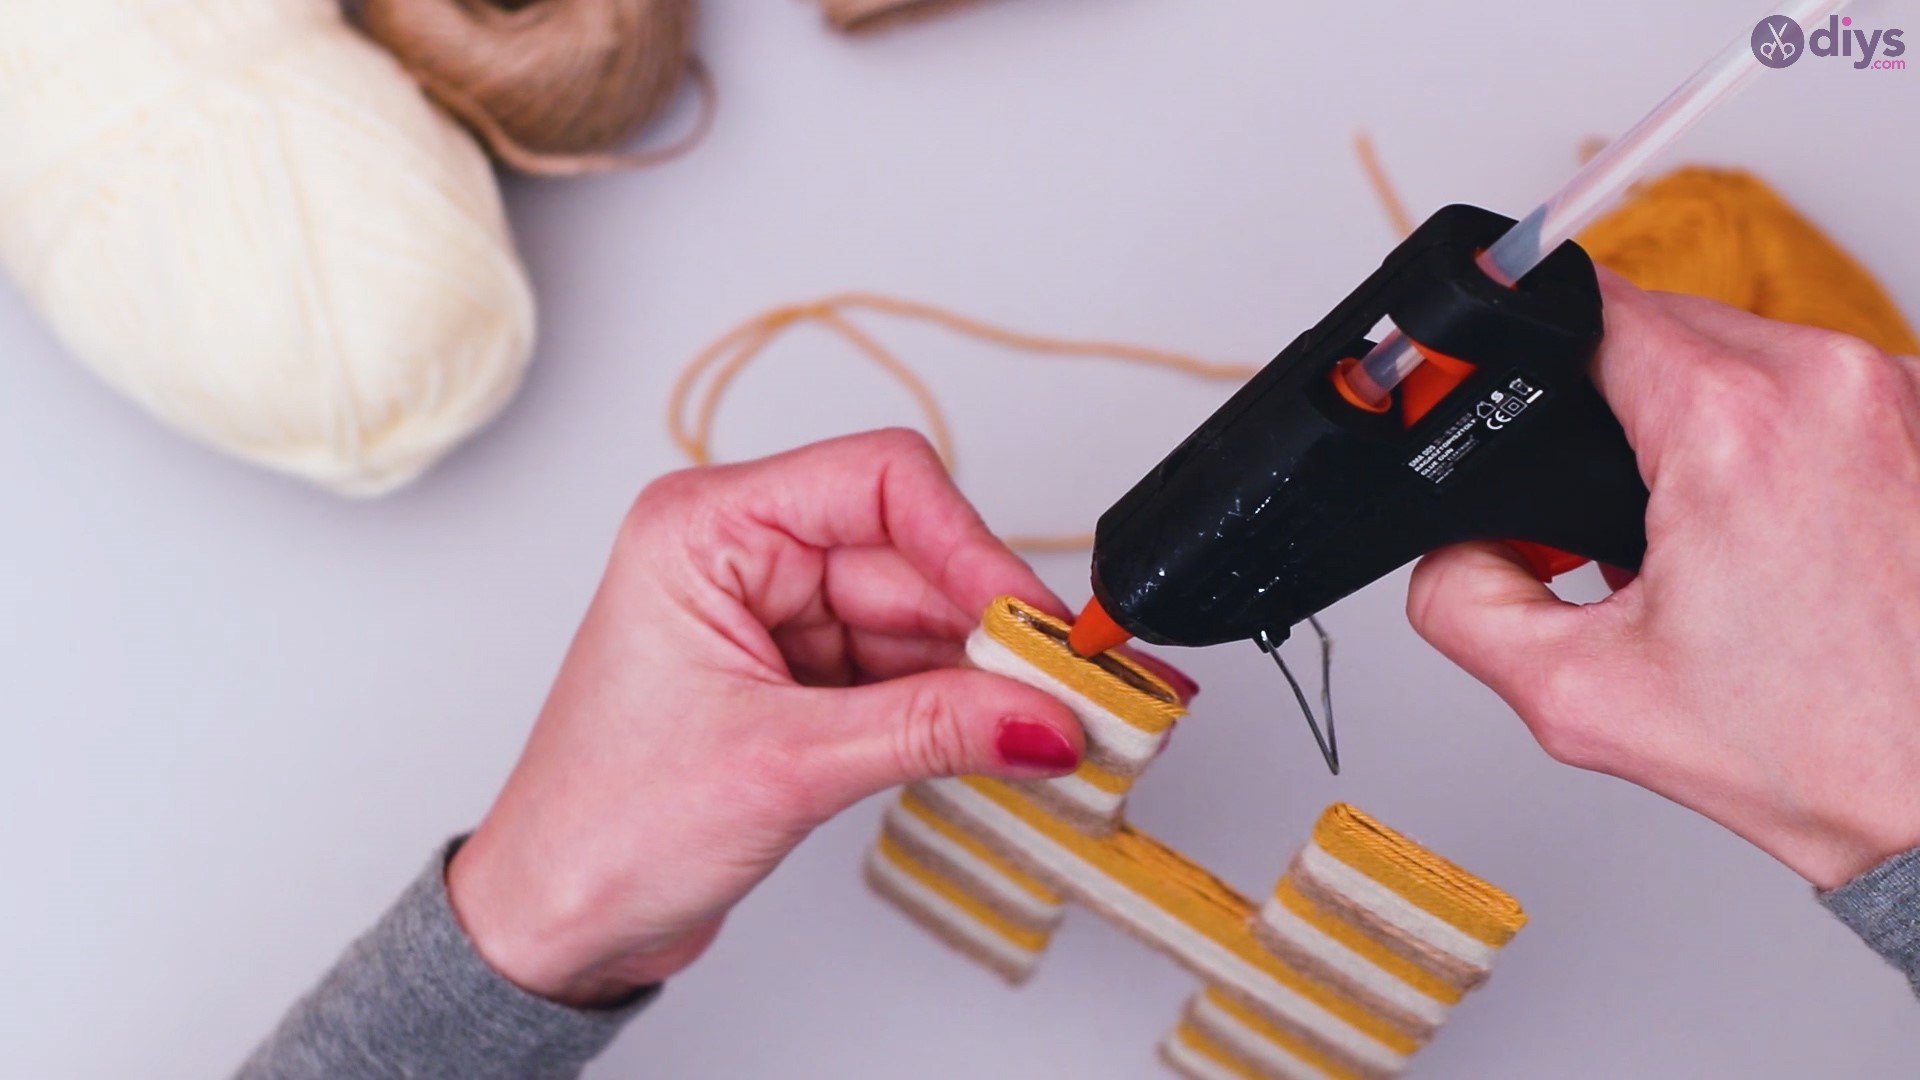
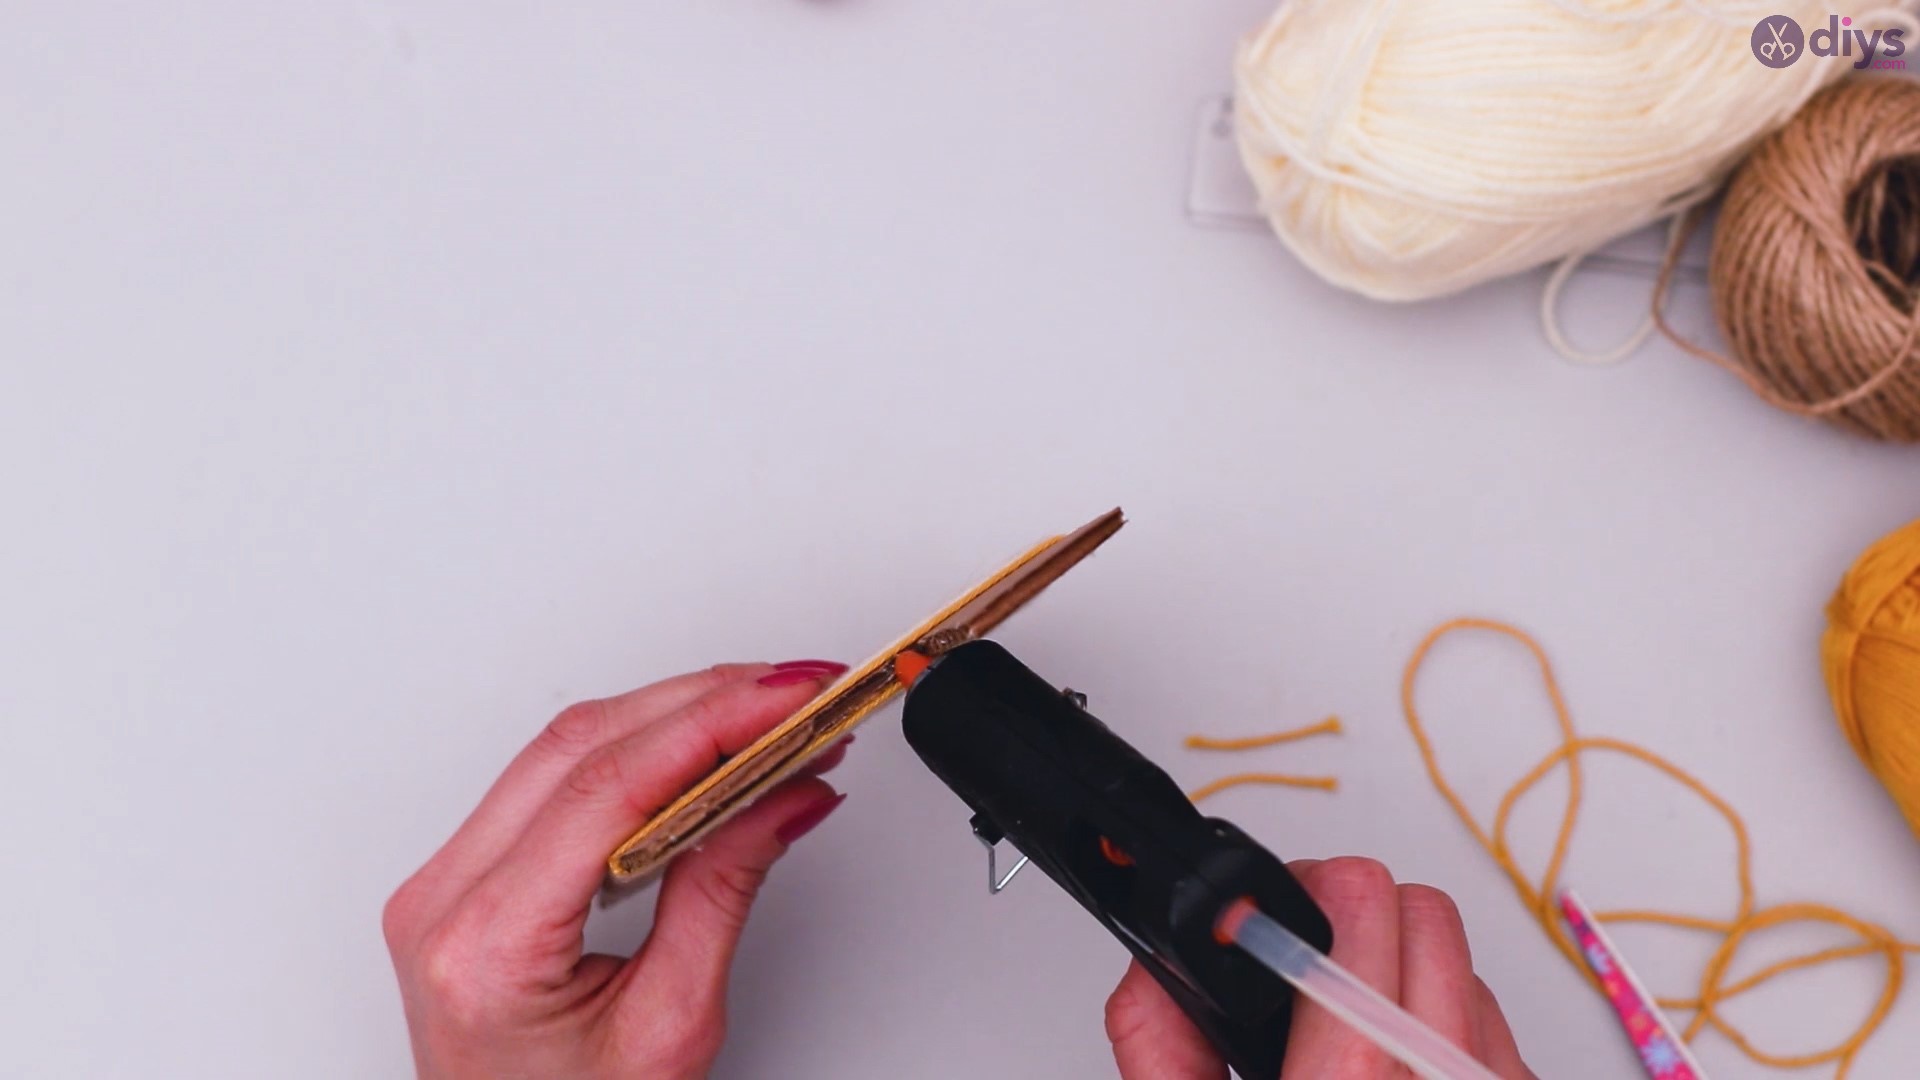
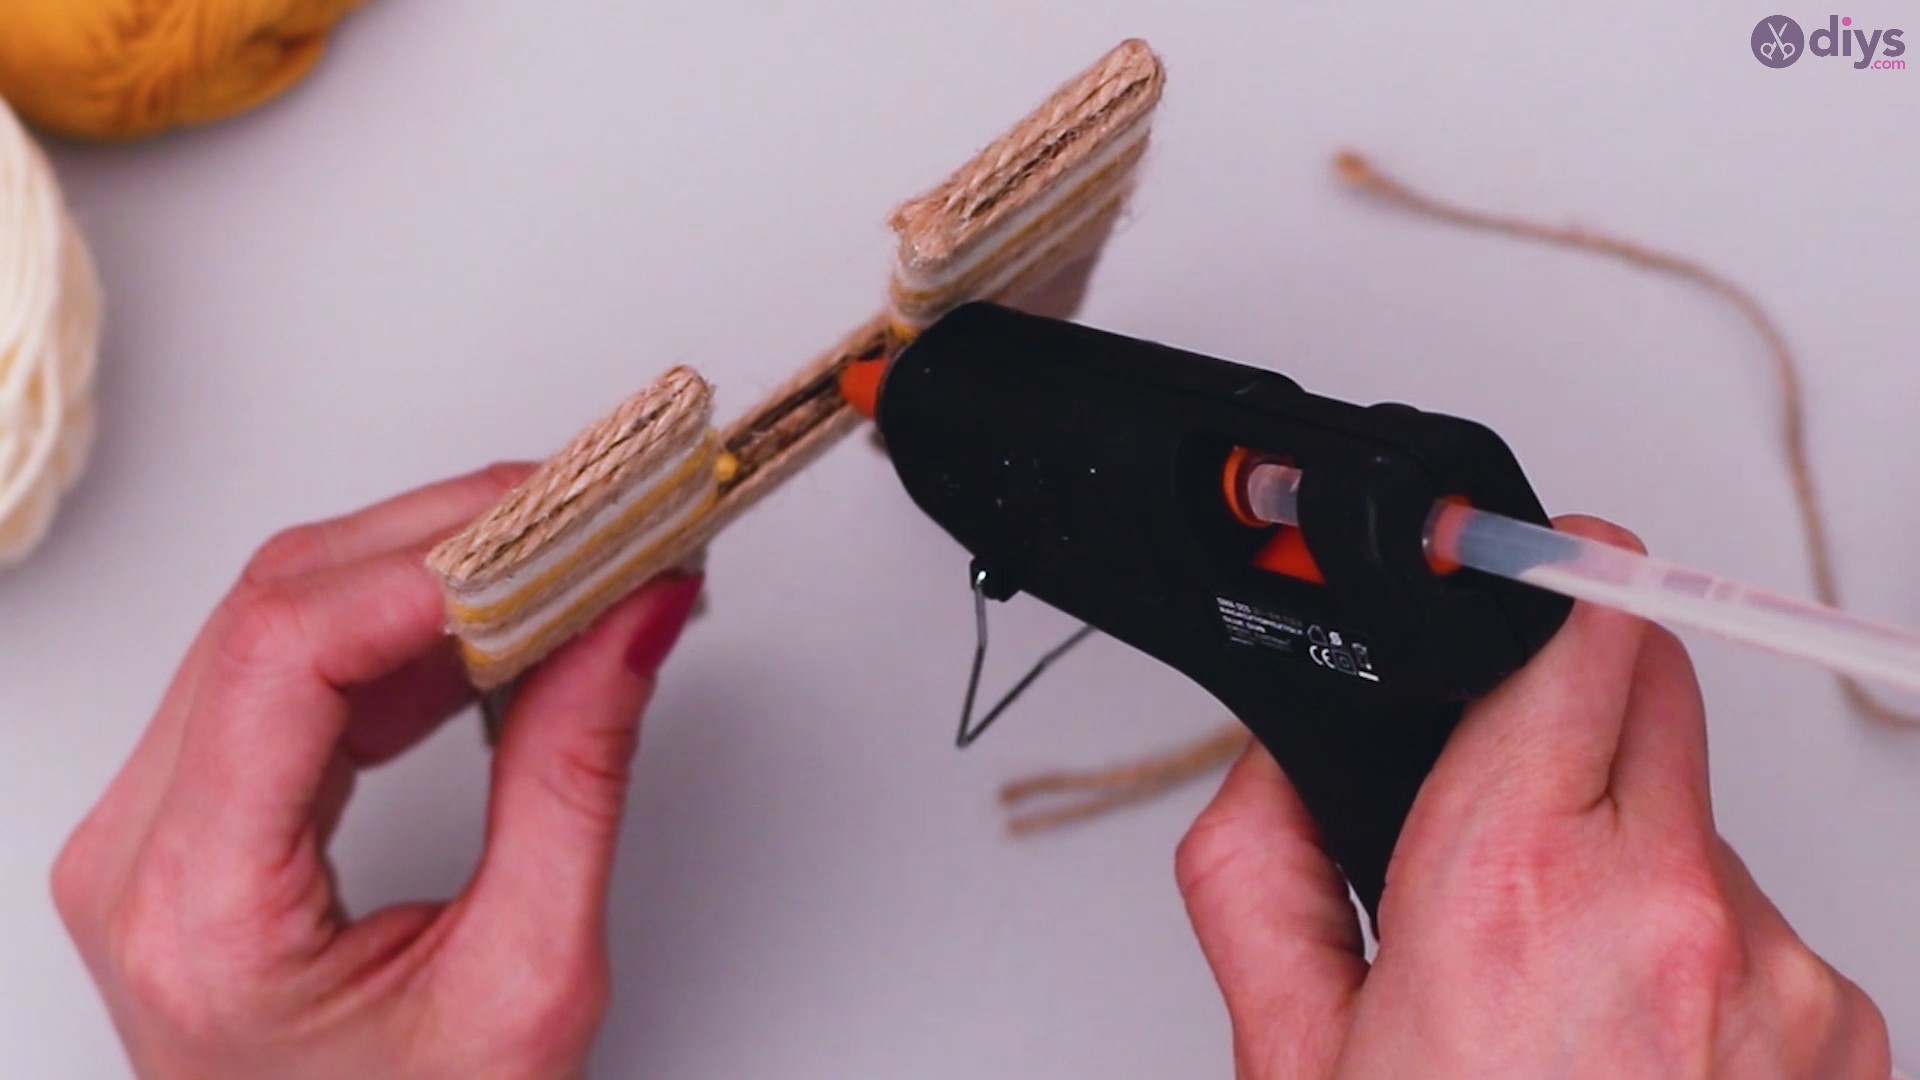
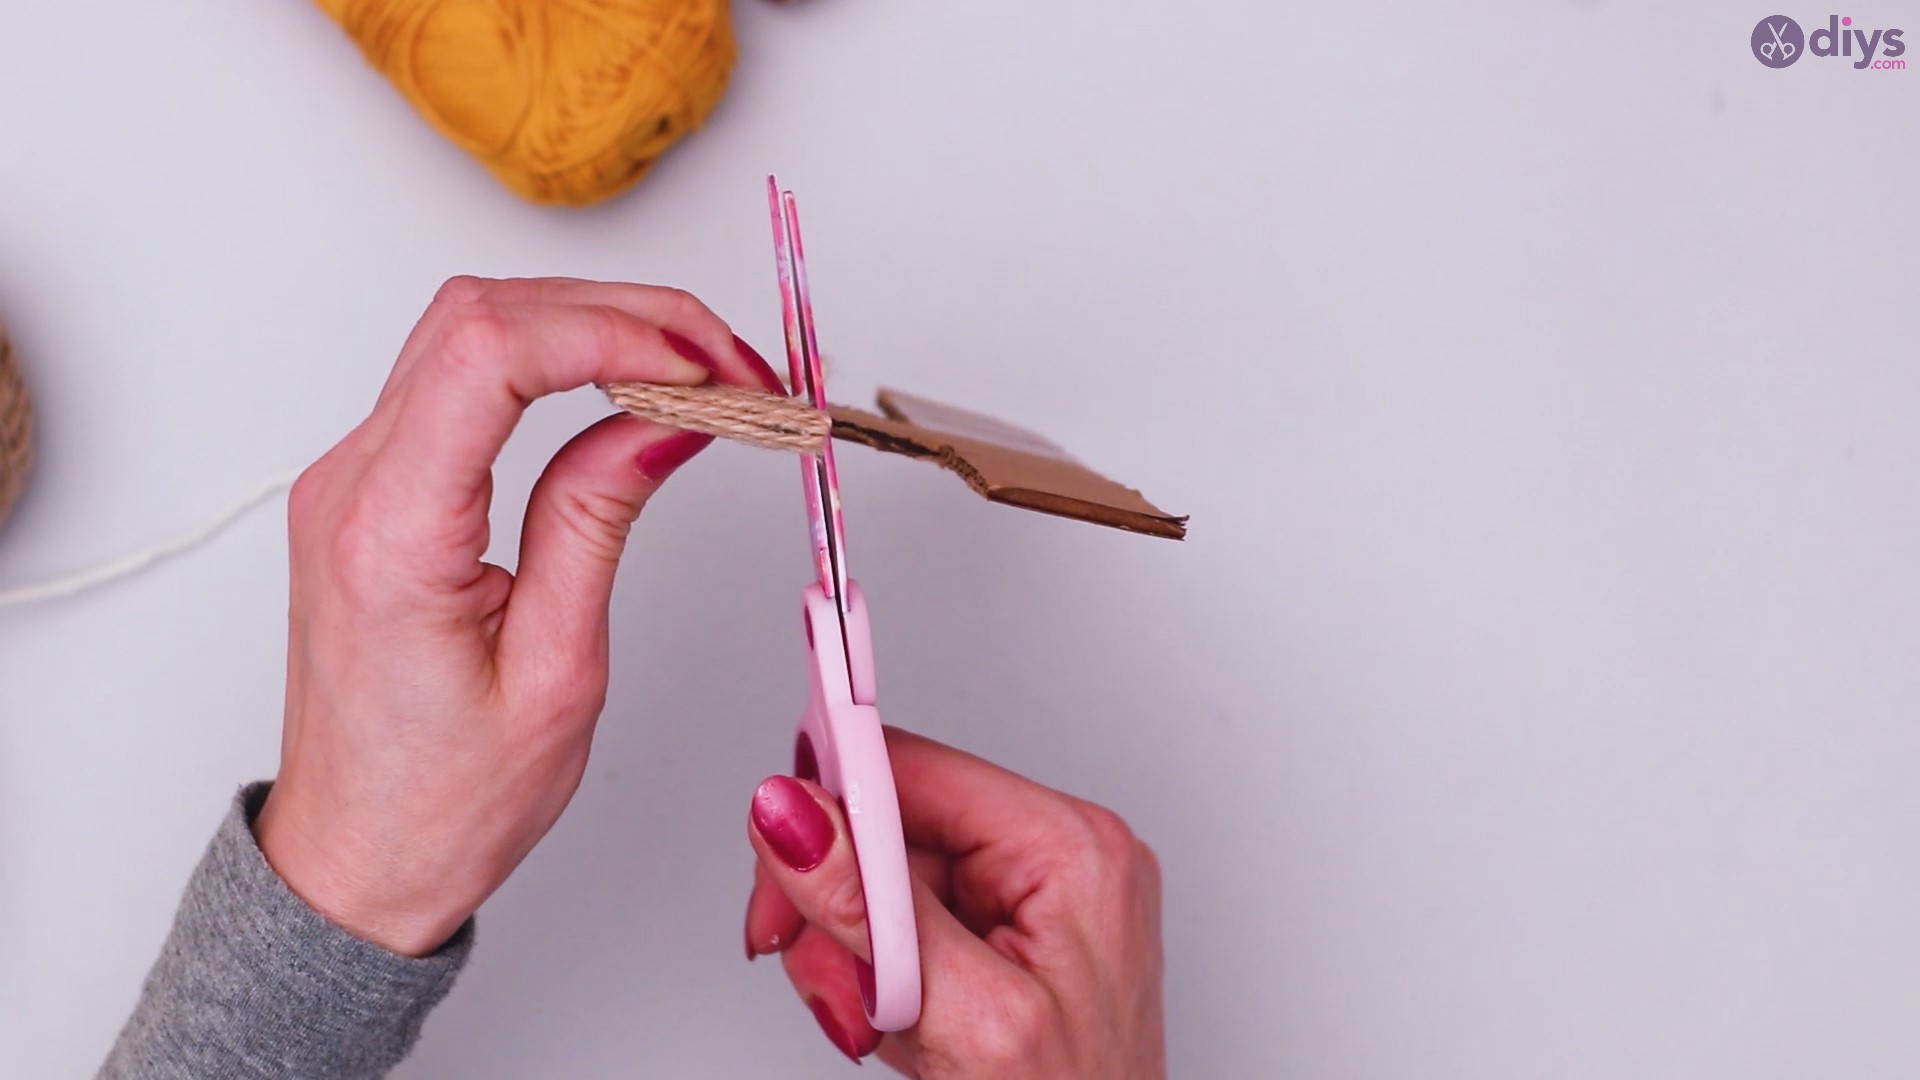
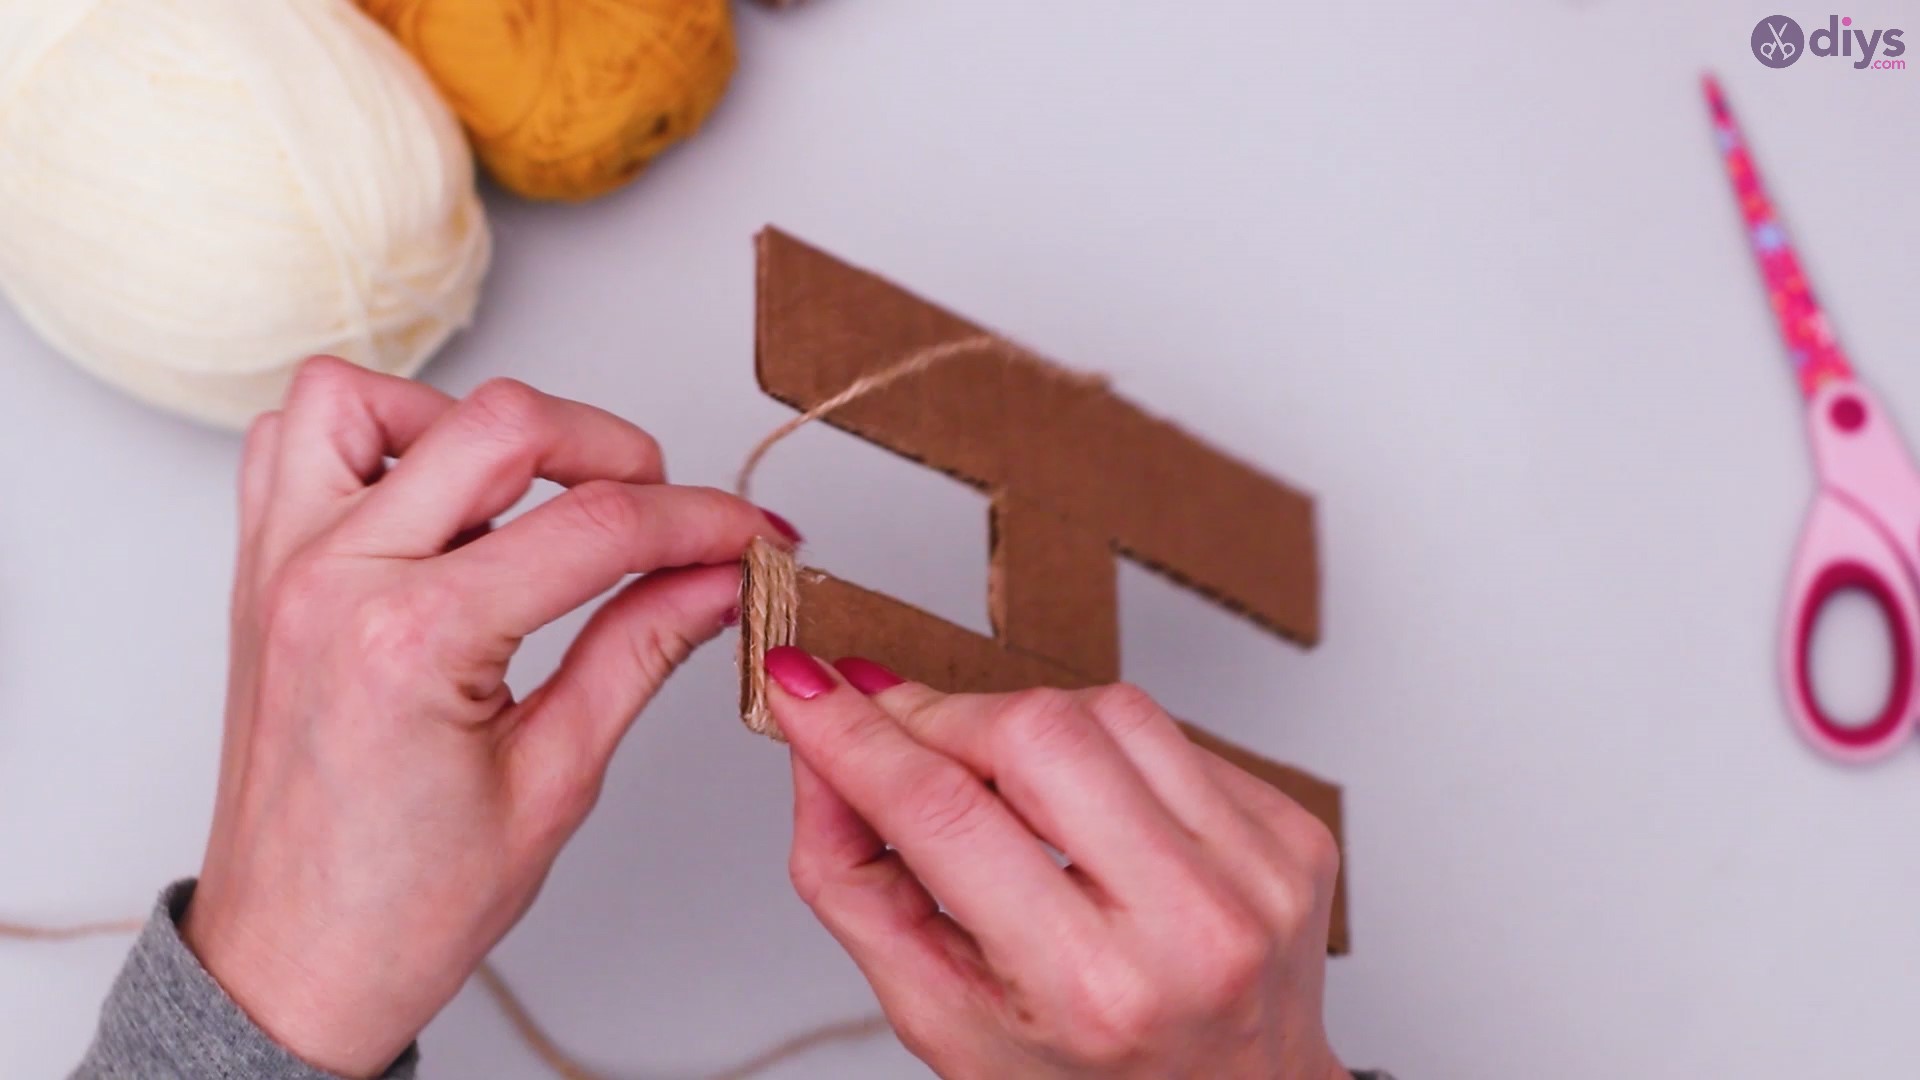
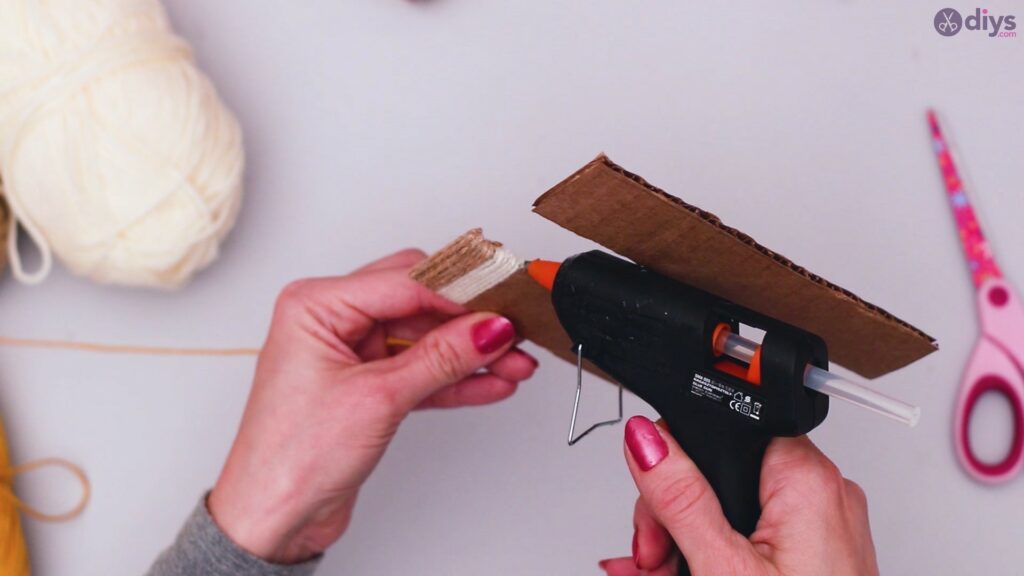
You’re also going to have to cover any exposed edges of the cardboard cut0out with yarn. Grab the correct measurements, cut pieces of string that match the length of the edge, and glue them into to edge as seen in the following pictures.


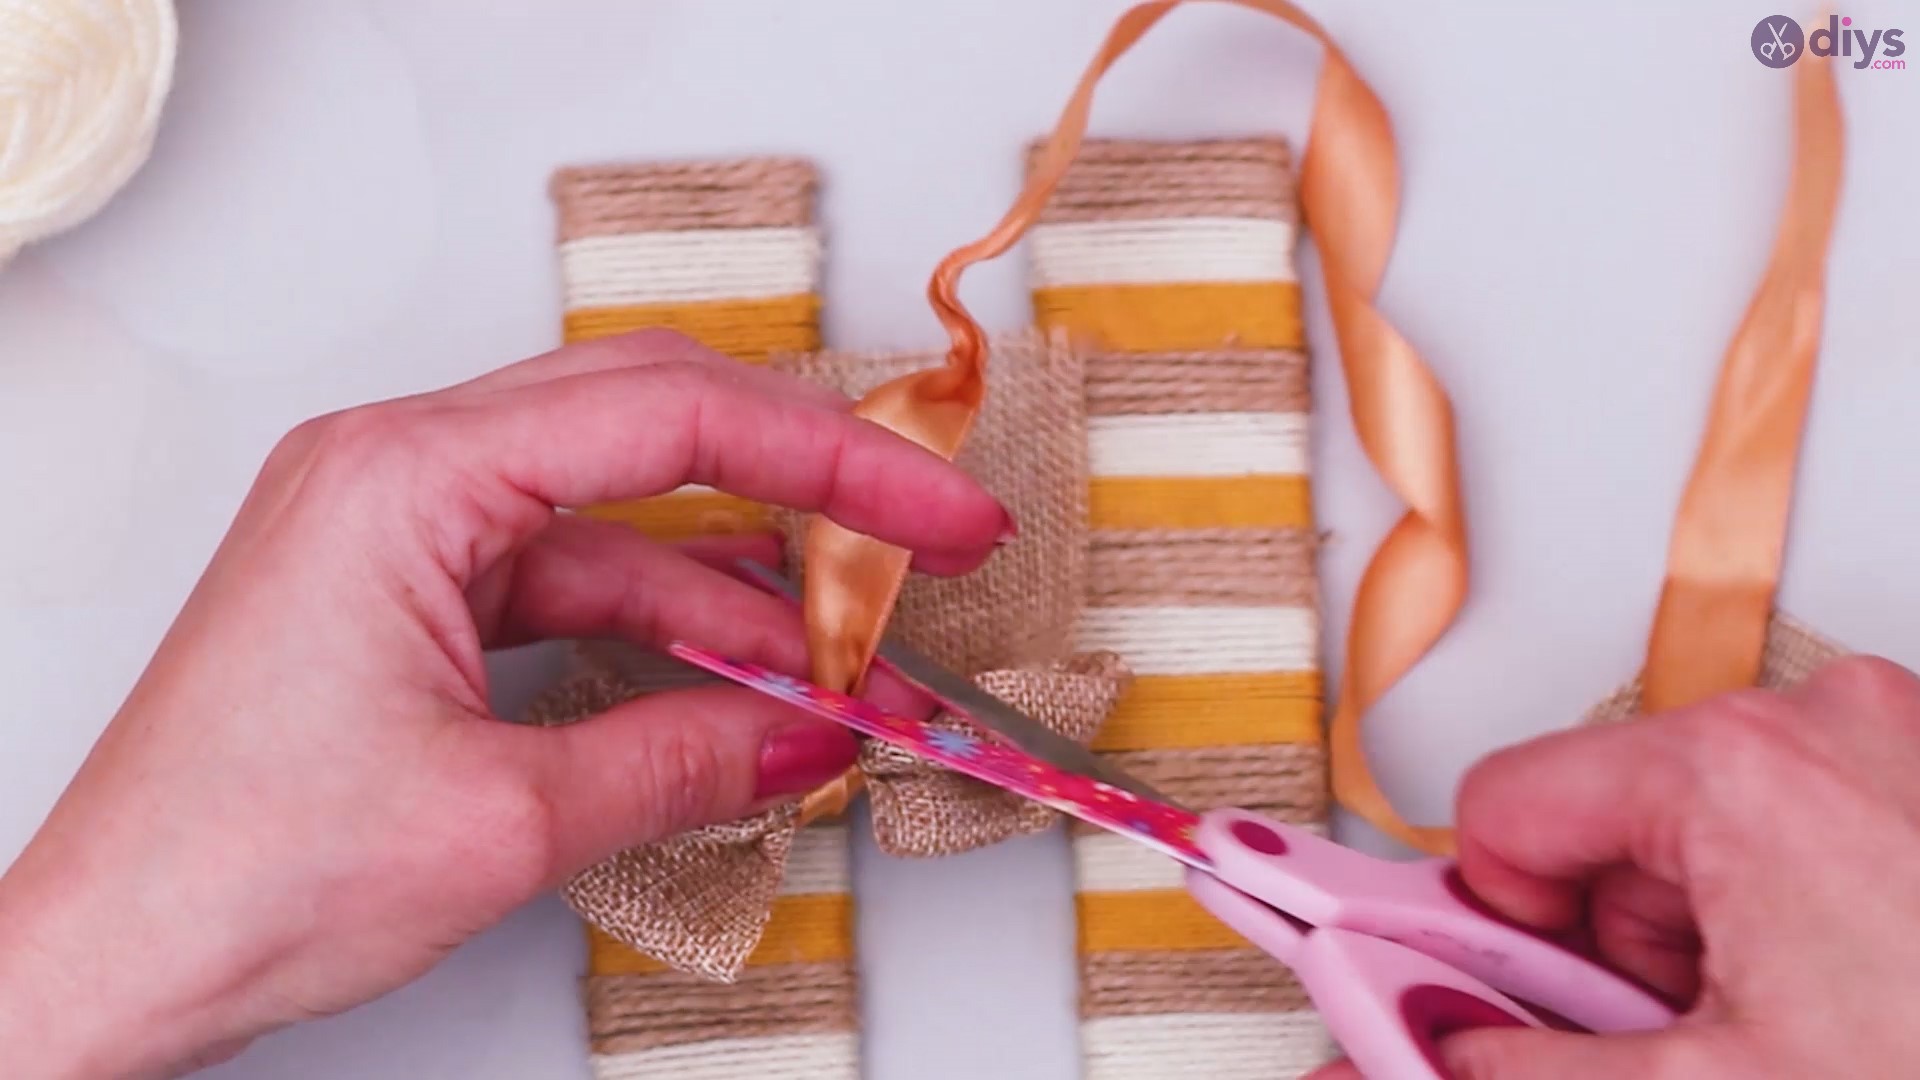
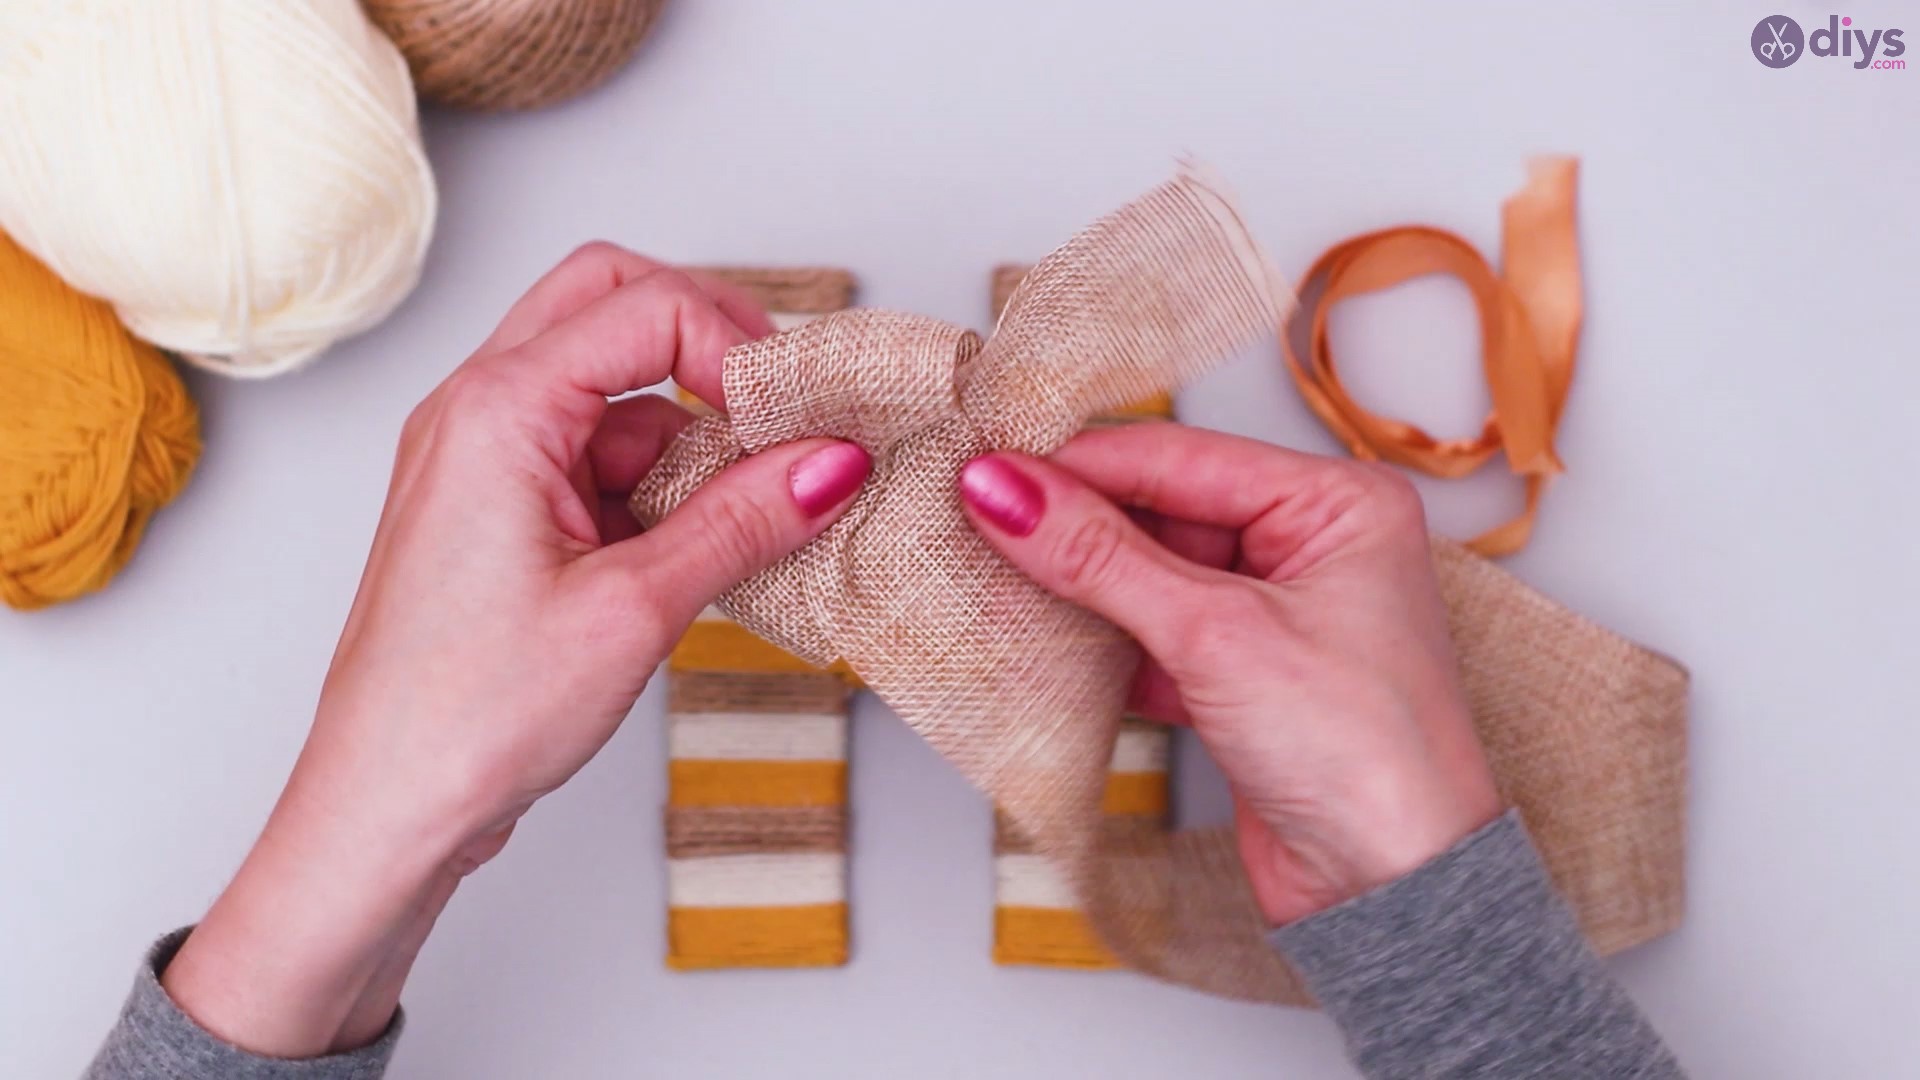
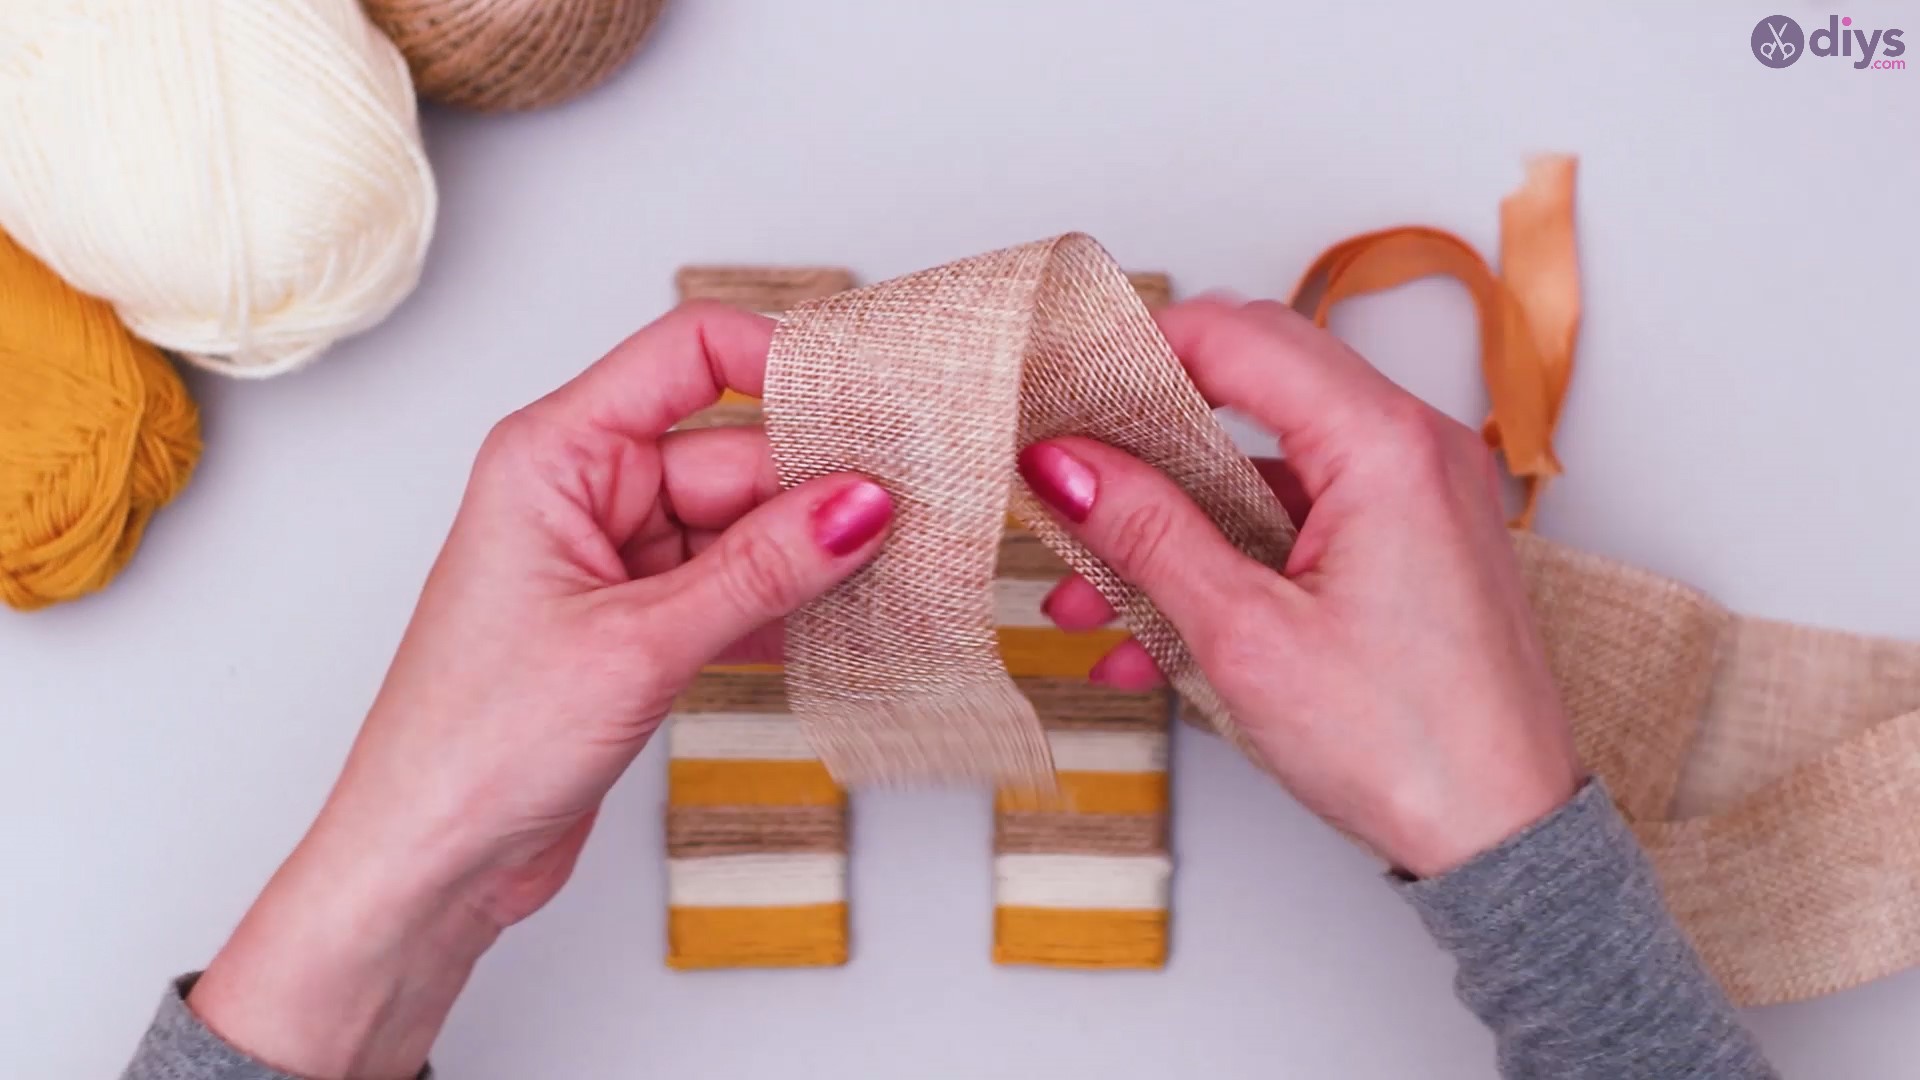
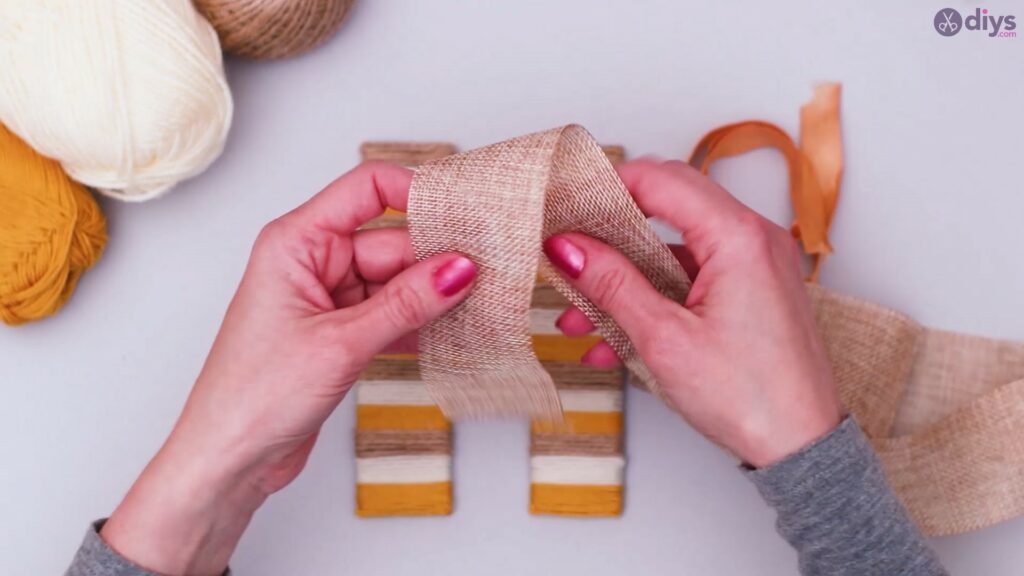
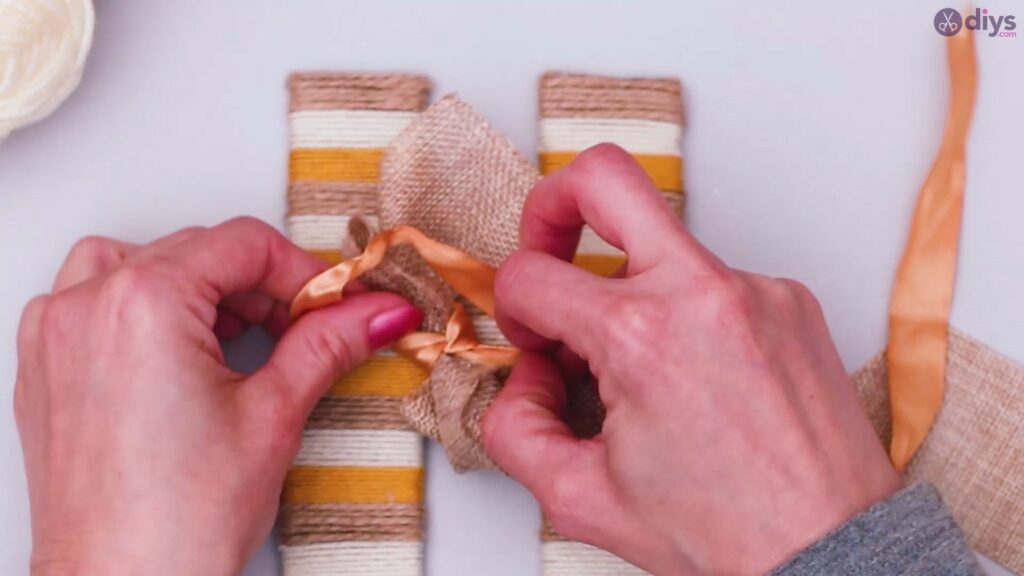
Step 3: Making the Ribbons
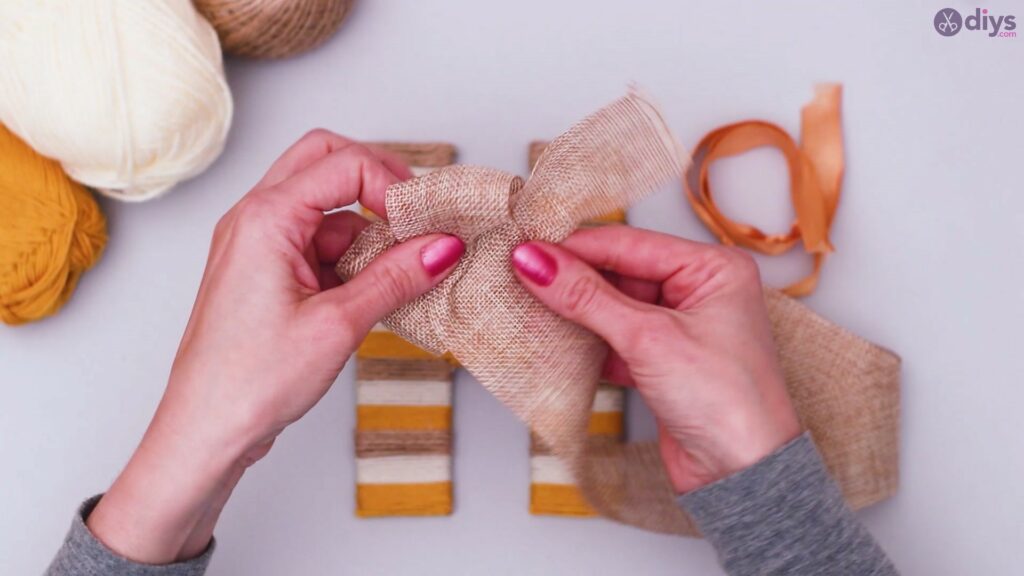
Time to grab the piece of jute ribbon and make a much prettier ribbon out of it. Make the ribbon and then use a piece of the silk ribbon to tie the jute in the middle, as seen in the following images:
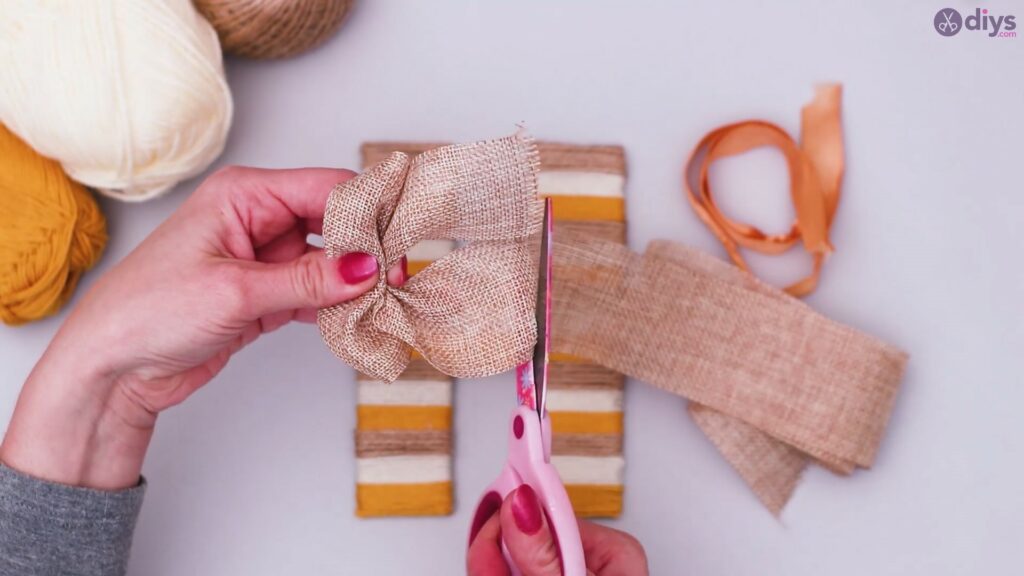

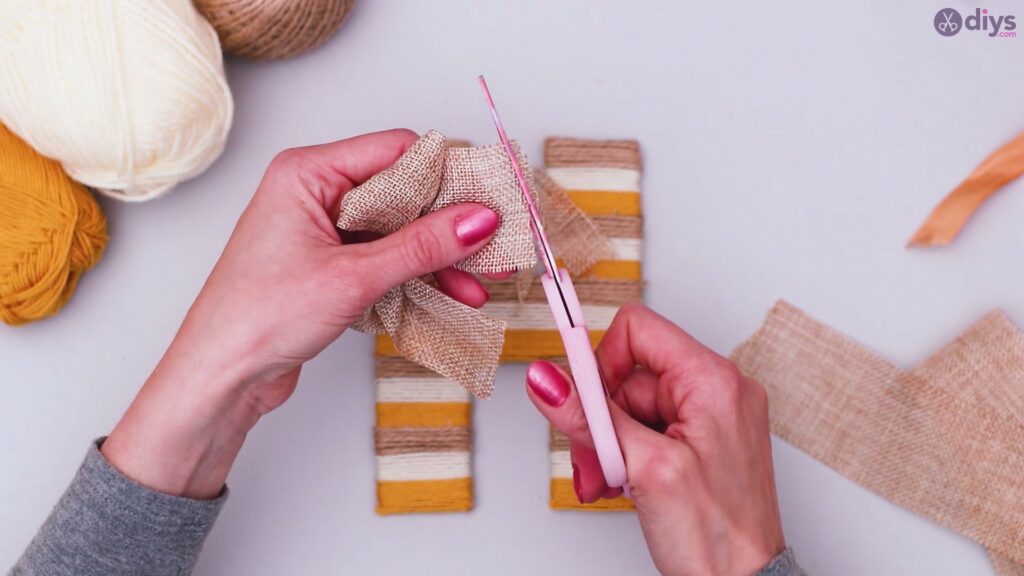
Cut the ends of the jute and silk ribbon so that you’re left with a standalone ribbon that looks like this:
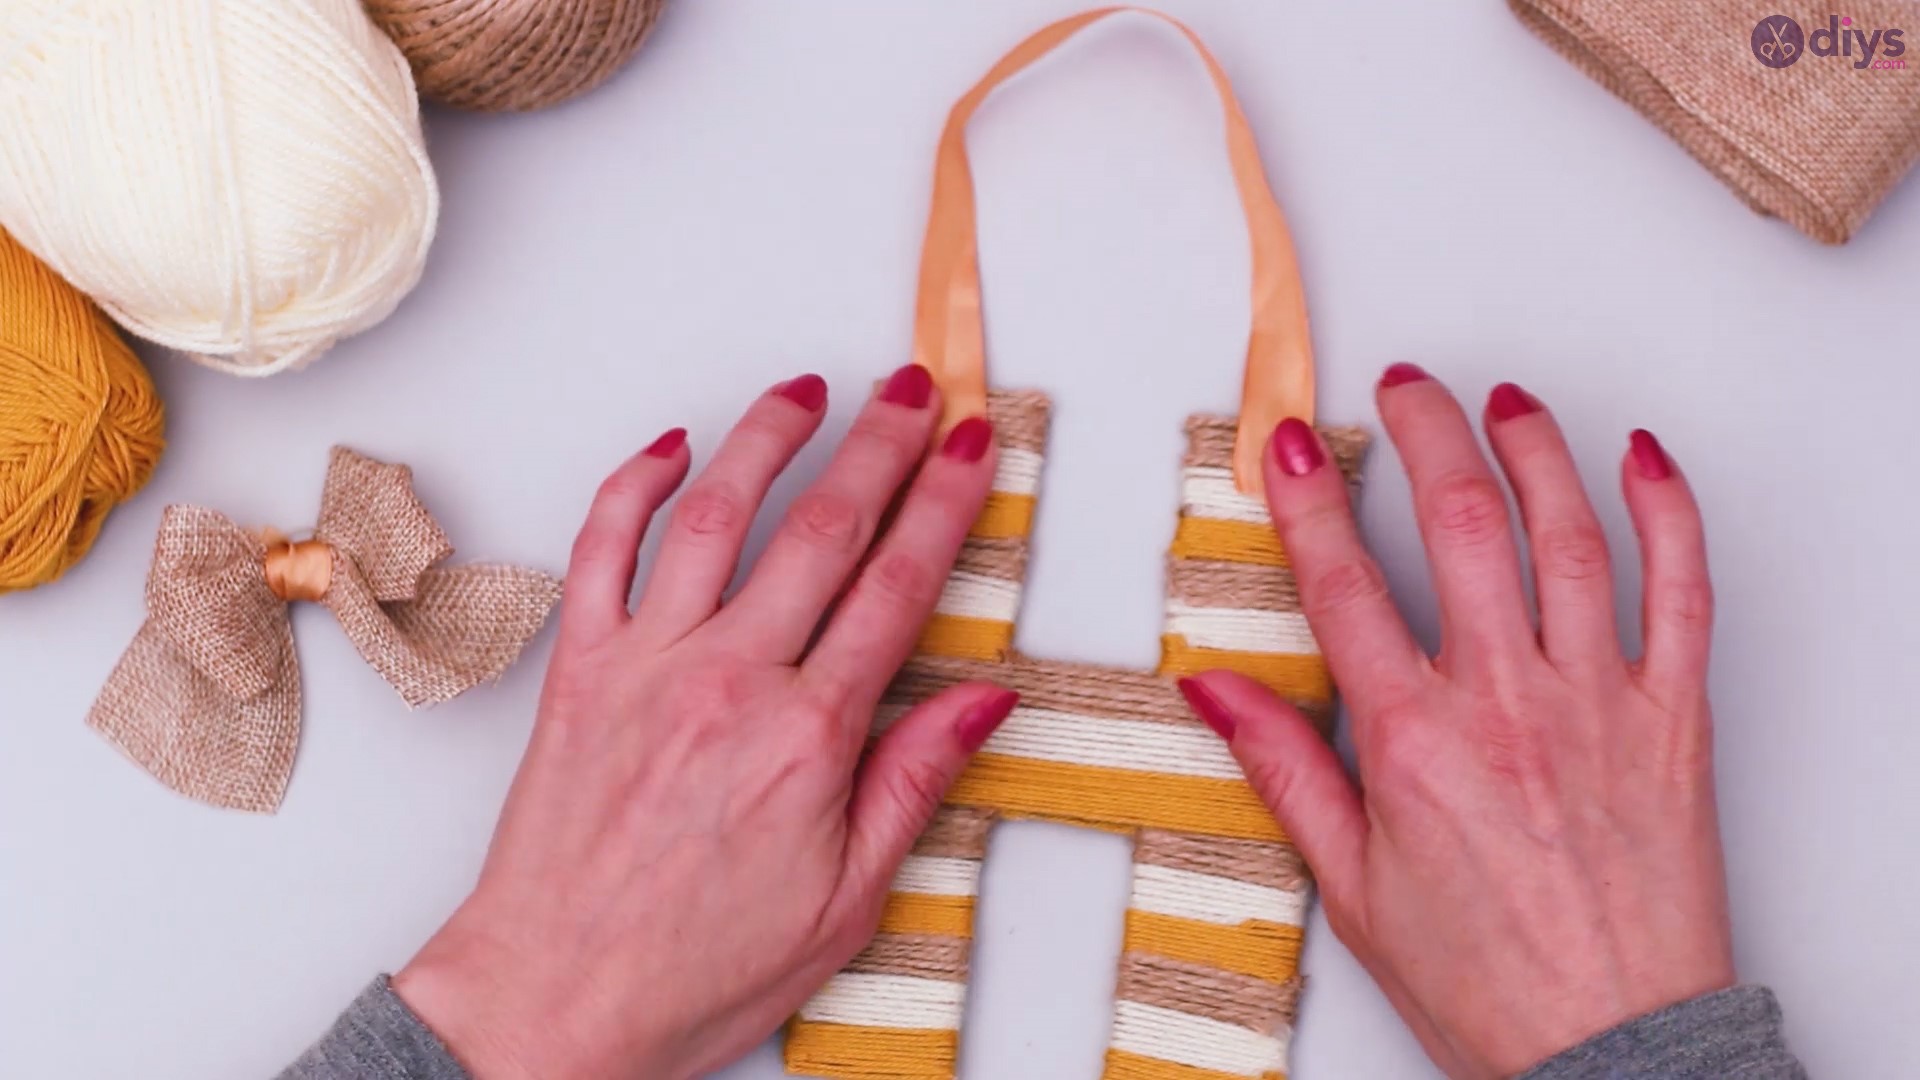
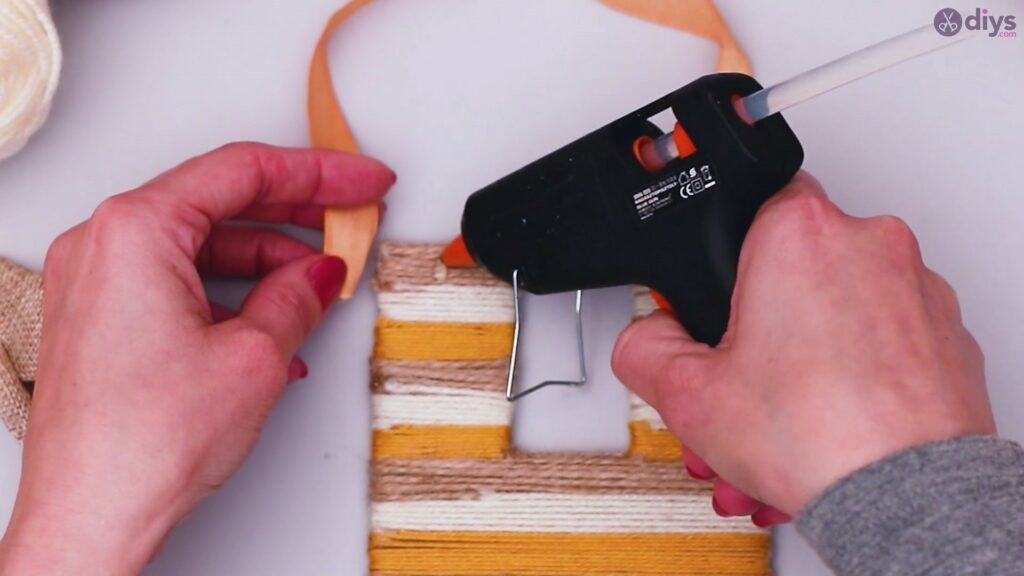
Step 4: Hanging the Letter
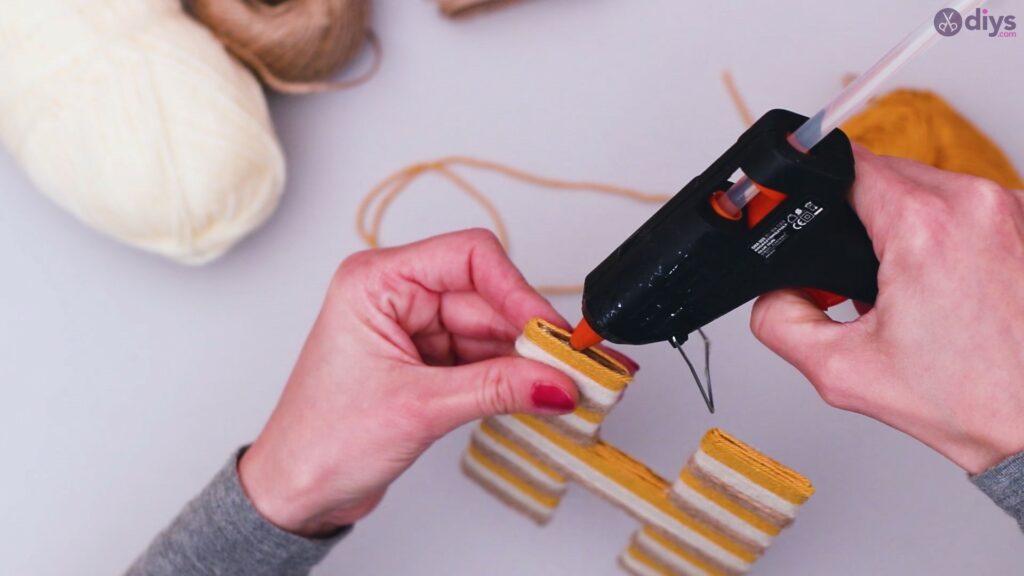
Using a piece of the silk ribbon, you’re going to create the hanging mechanism for your letter. Make sure that you glue both end of the ribbon to the yarn letter in identical spots, so that the letter doesn’t hang crookedly at the end.
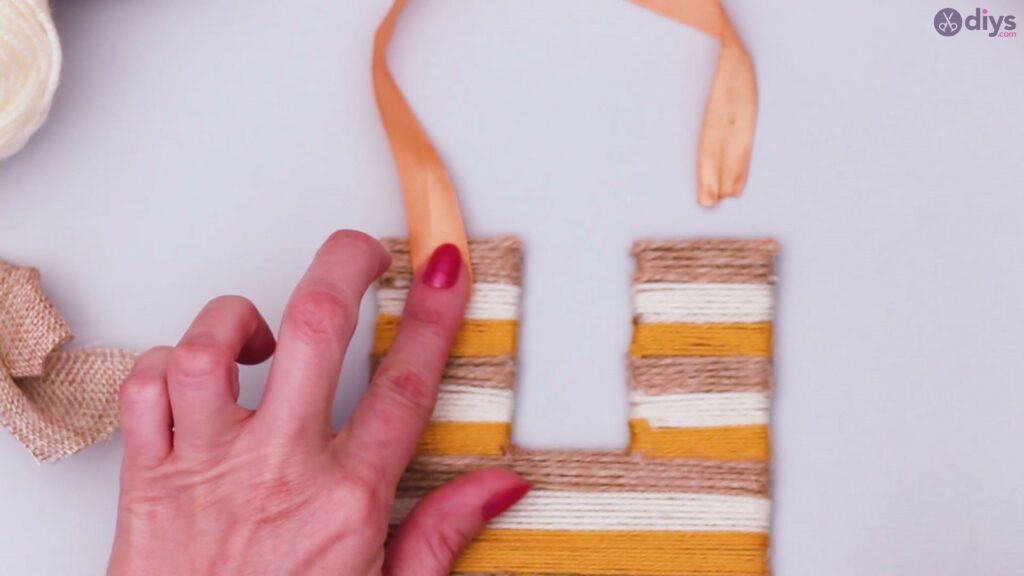
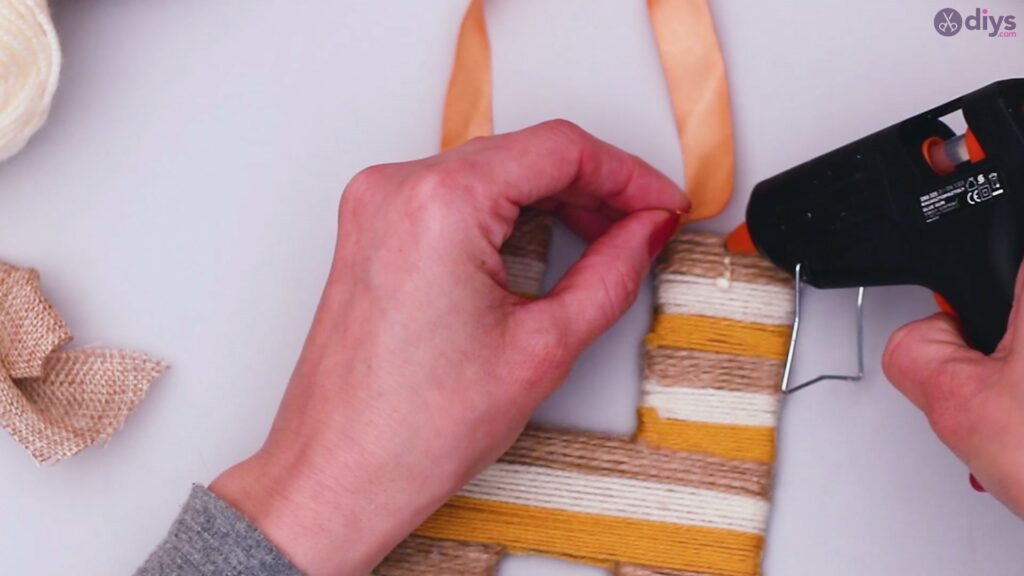

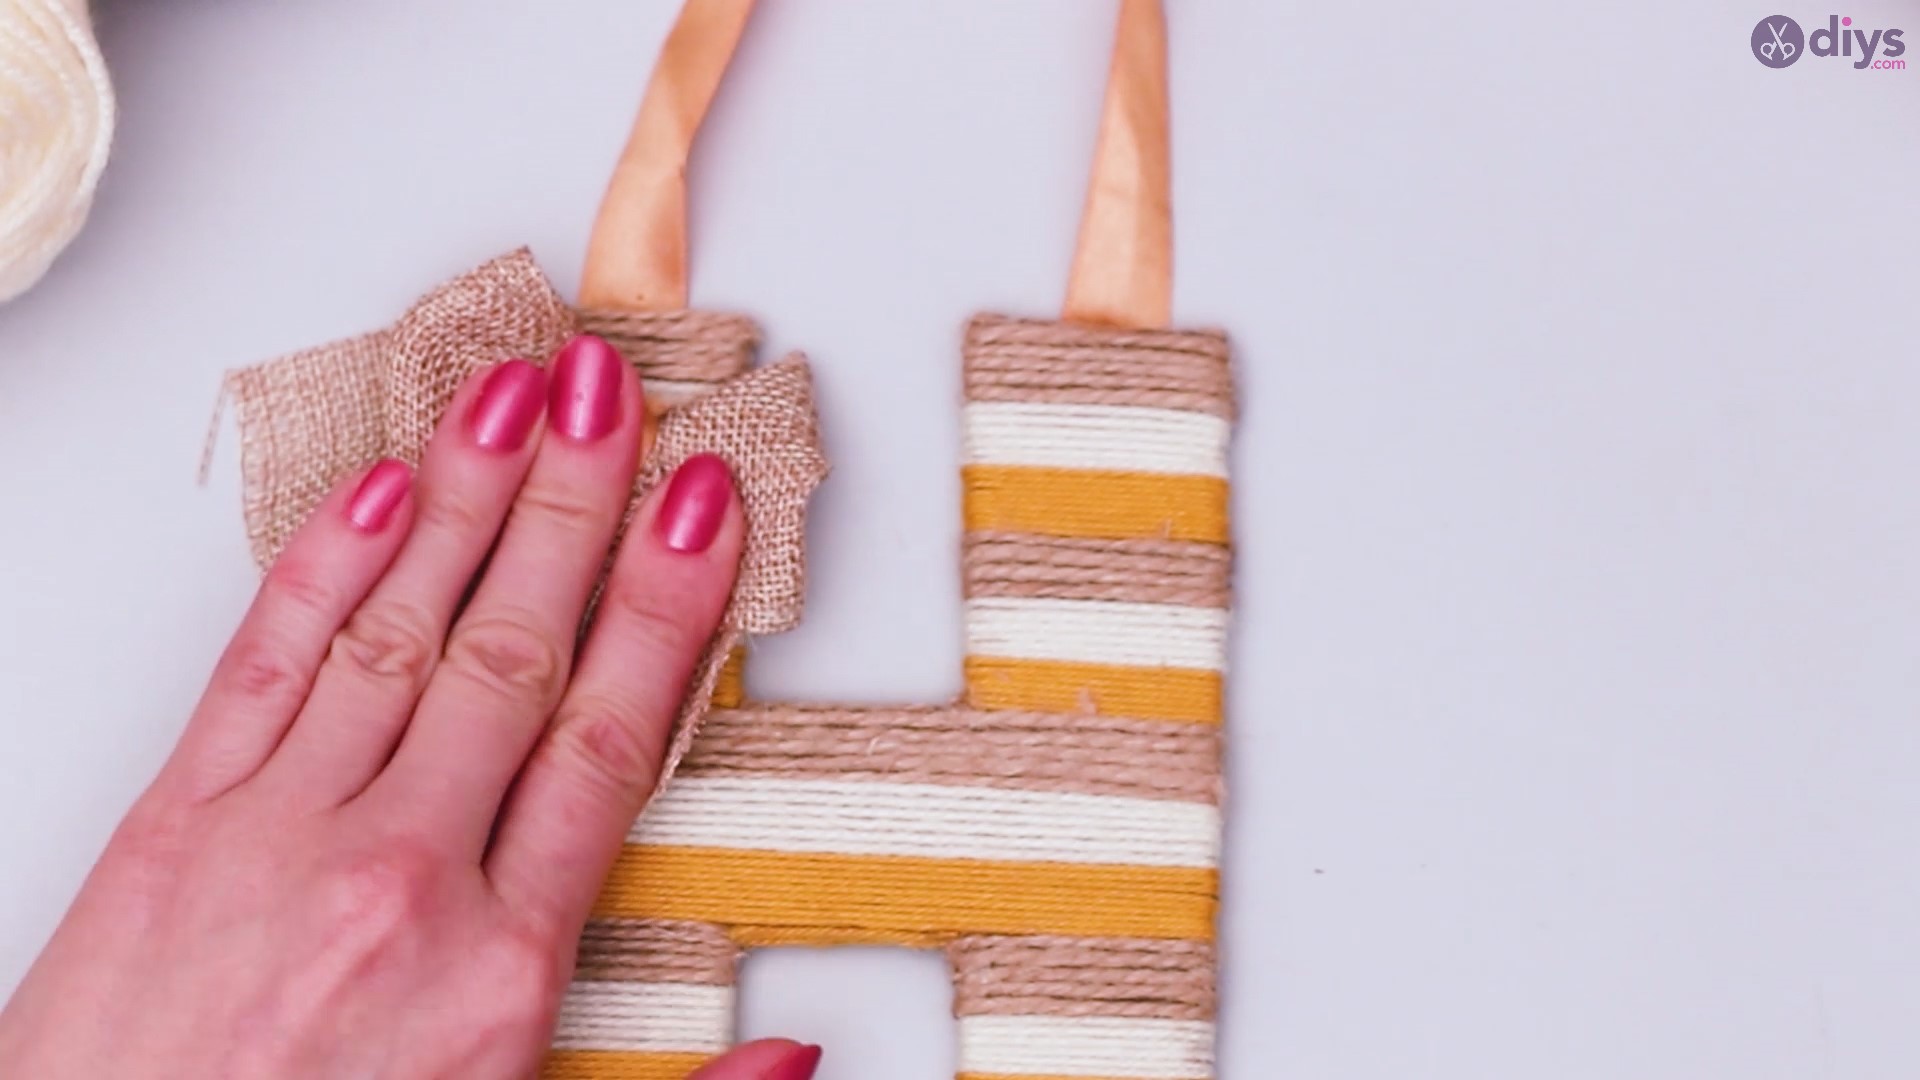
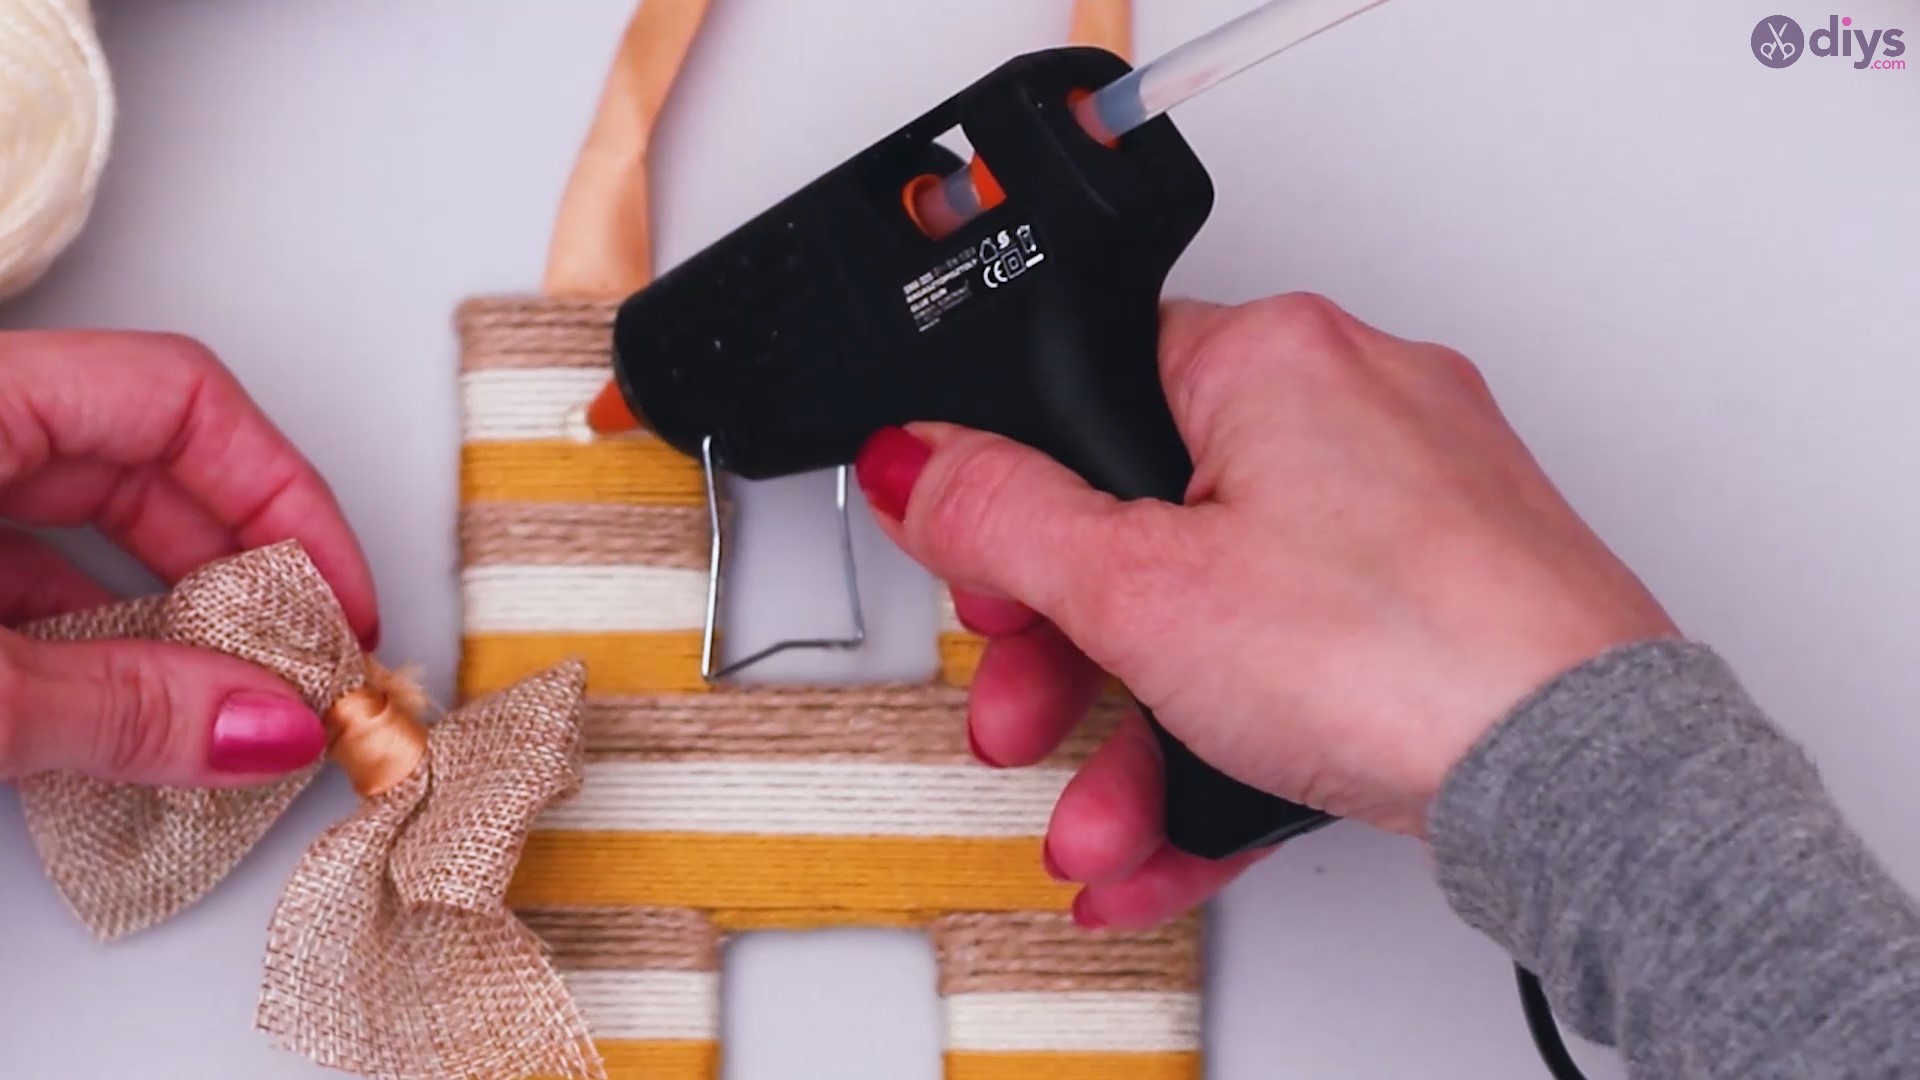
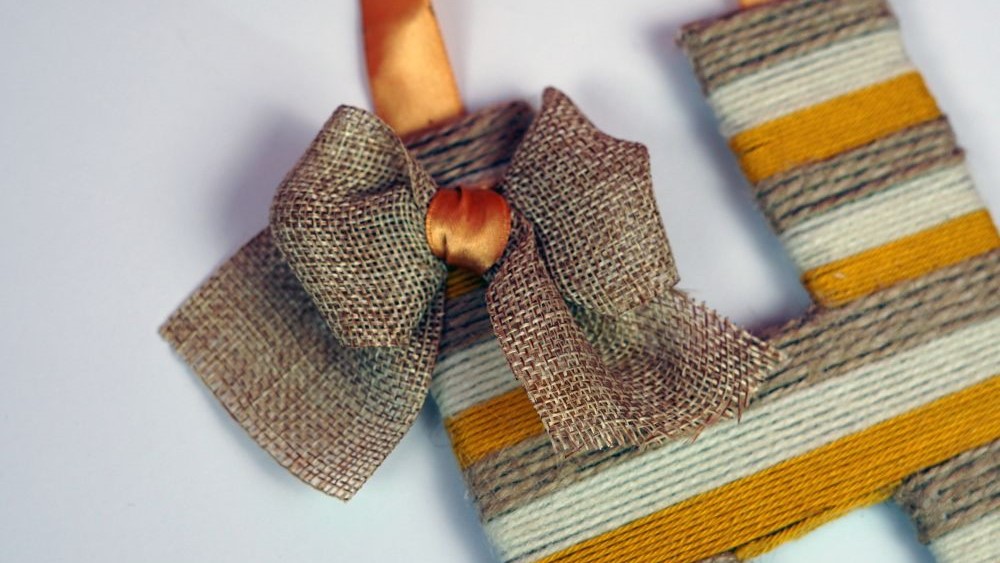
Step 5: Gluing the Jute Ribbon
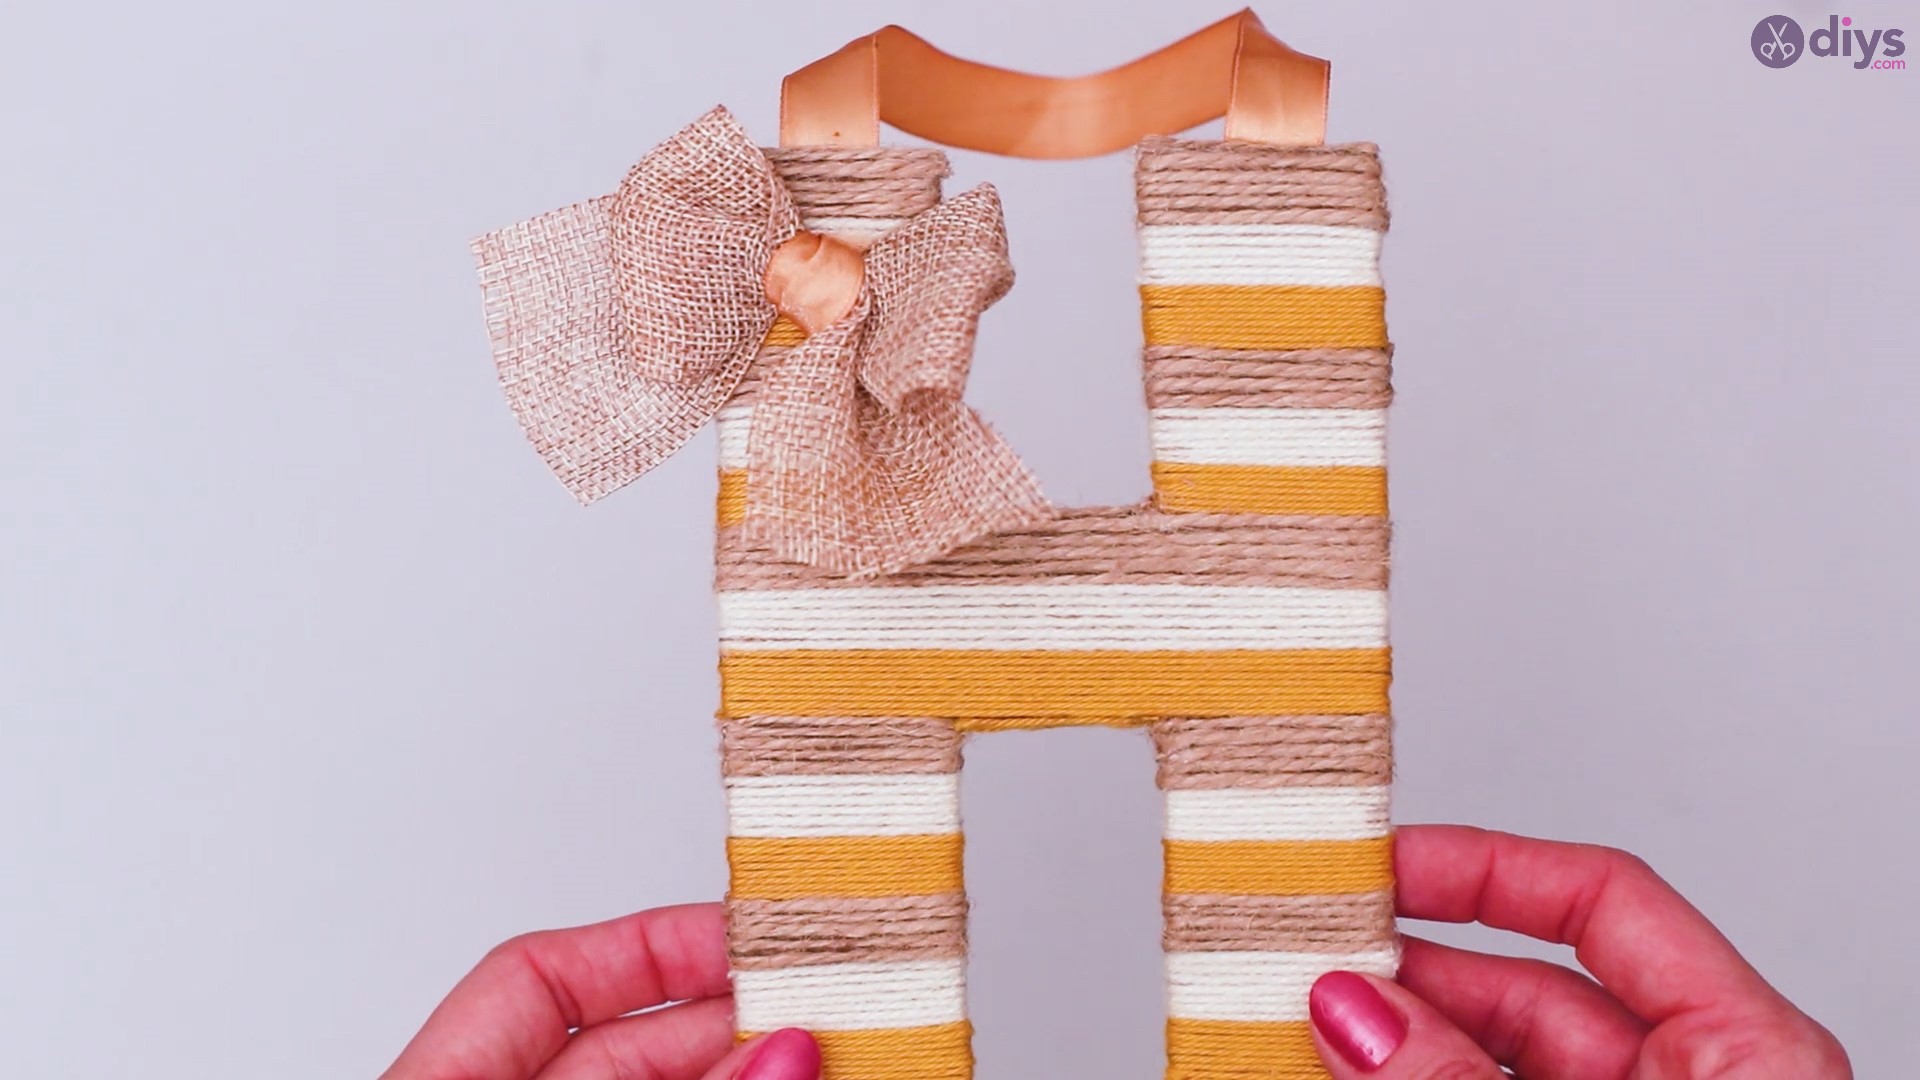
The last step is simple: add a drop of glue to wherever you want to place your jute ribbon and then apply gentle pressure to make sure that the ribbon sticks in place on your yarn letter.


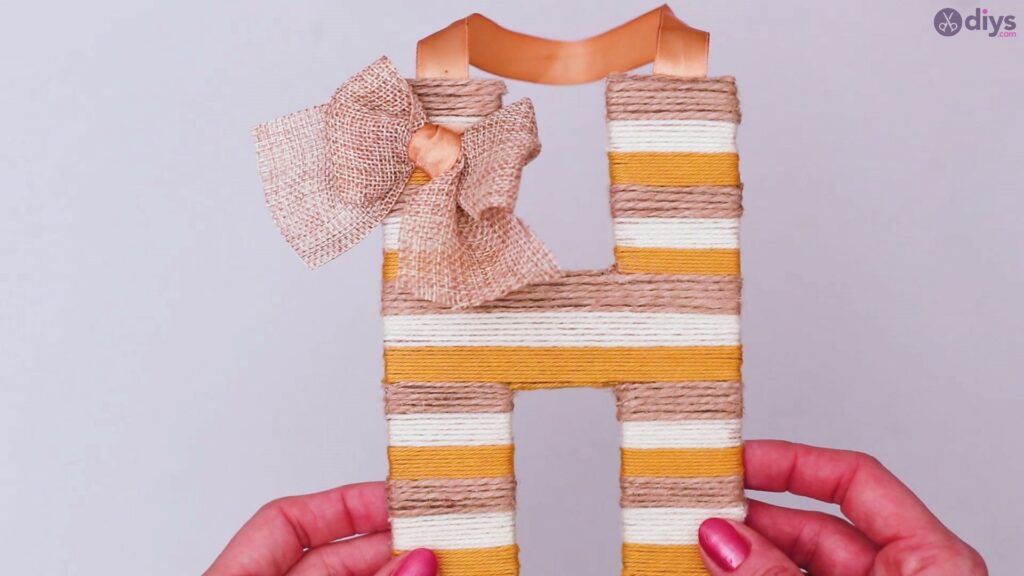
And there you have it! A beautiful yarn hanging decoration that can serve for a multitude of purposes and makes a beautiful gift for a newborn. These letters can be used to spell out entire names and they serve as permanent room decorations and can be used as props for different themed parties, including birthdays.