How to Make a Pinecone Owl
Updated on November 19, 2025


There’s something about the fall season that really just makes me want to show my kids how much fun it is to craft with nature. Of course, the things you can find in your backyard are actually a lot of fun to use all year round, but the fall season has always just been my favourite! That’s why, when I saw my kids collecting pine cones, I decided it was time to get creative with them. We ended up loving these adorable little pinecone owls so much that I decided to make another one and outline the process so other people can learn how they were made too!

Just in case you’re interested in crafting with pinecones, here are some helpful photos and full instructions. If you’re the kind of person who prefers to watch a video tutorial rather than reading through words, keep scrolling to the end of this post to find one.
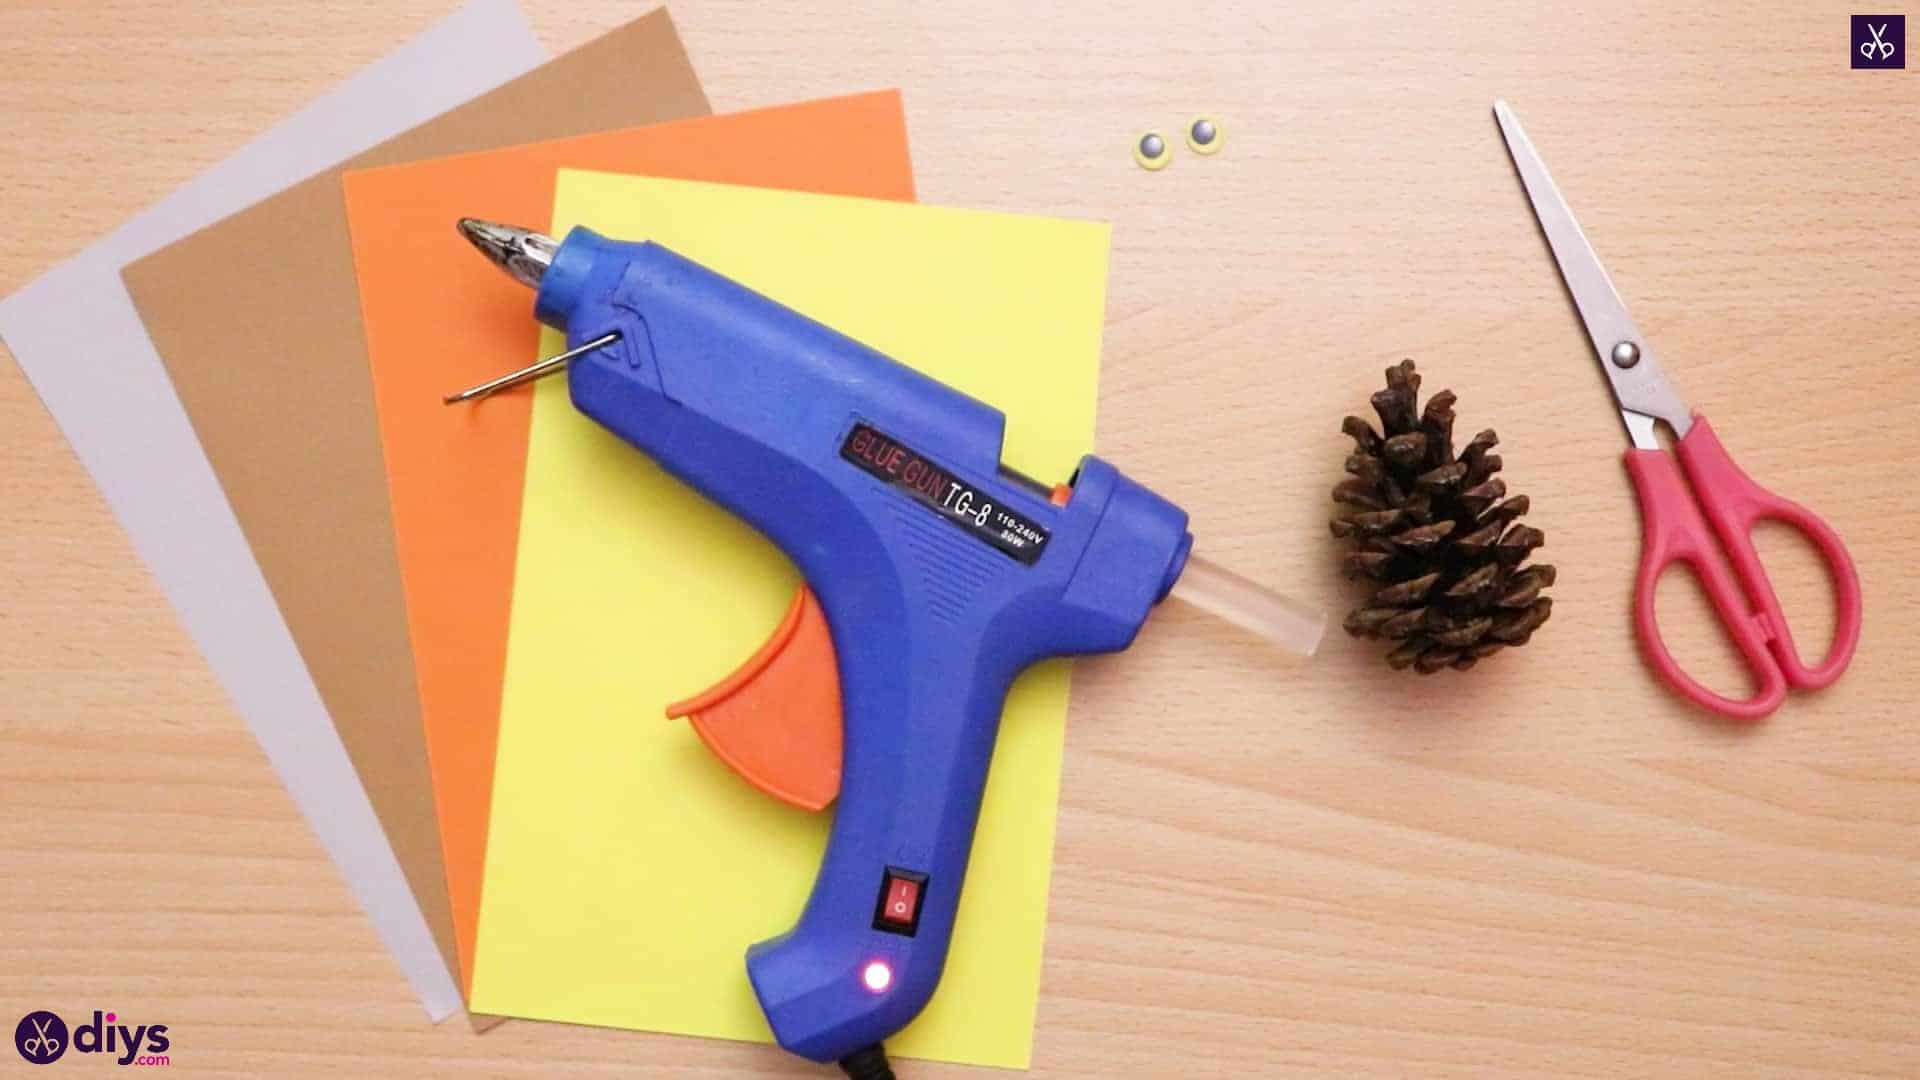
For this project, you’ll need:
- Construction paper (grey, brown, orange, and yellow)
- Two googly eyes
- A glue gun
- Scissors
- A pinecone
Step 1: Gather your materials!
Check your list and make sure you have everything you need.

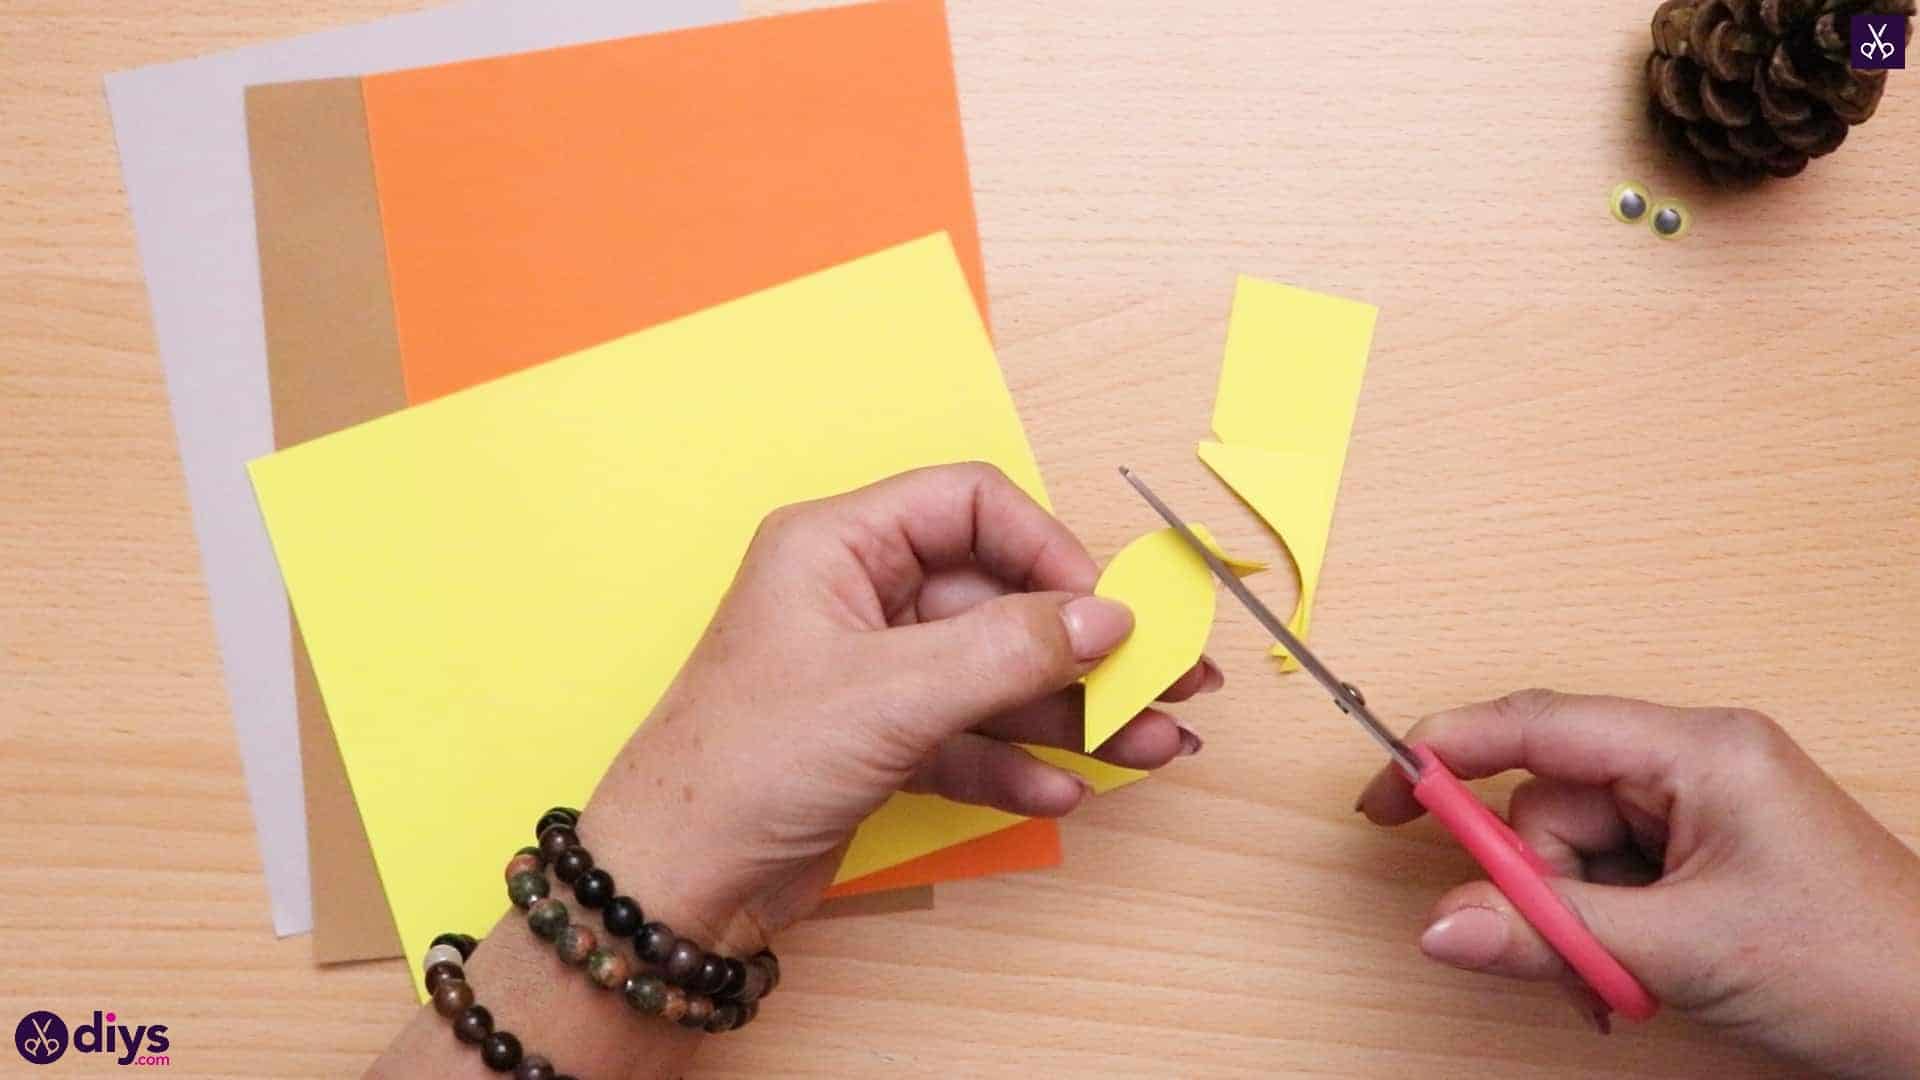
Step 2: cut the yellow paper
Cut an inch wide rectangle from the shorter edge of your yellow paper. Cut that strip into two pieces and layer them on top of each other so you can cut two evenly sized tapered wing shapes in one go.

Step 3: repeat with orange
Repeat the process you just did with your yellow paper, but this time with the orange paper. I made these orange pieces a little bit smaller than the yellow ones.
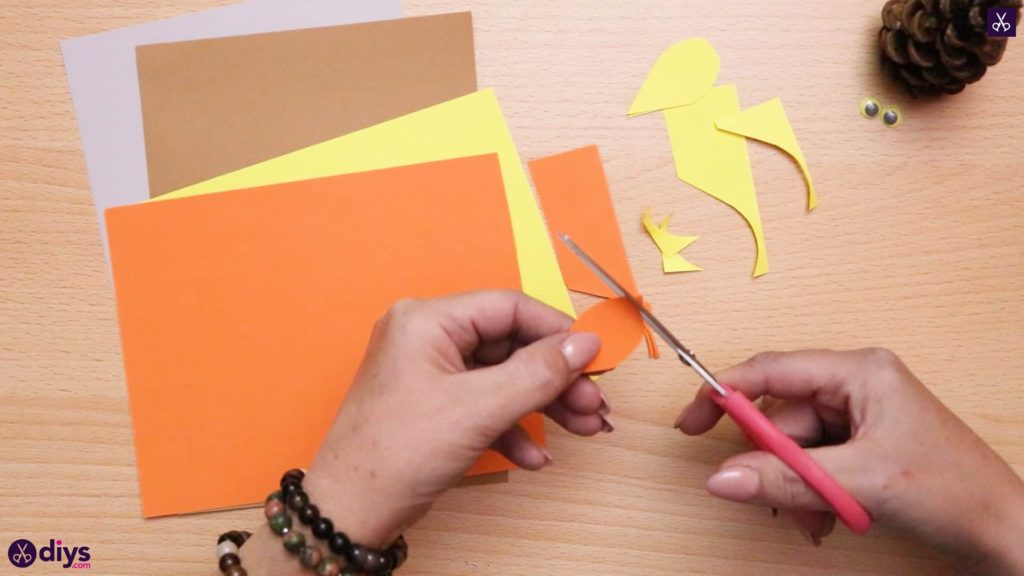
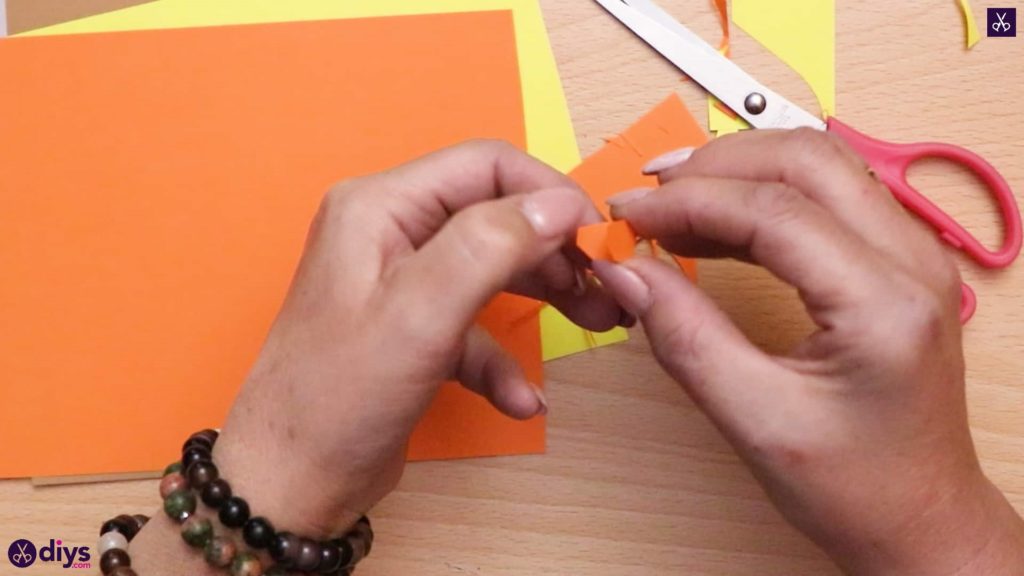
Step 4: create the beak
Cut a much smaller rectangle, just a few centimetres wide, from your orange paper and fold it two as well. Snip the corners off on the un folded end, creating a beak shape that can open at the crease.
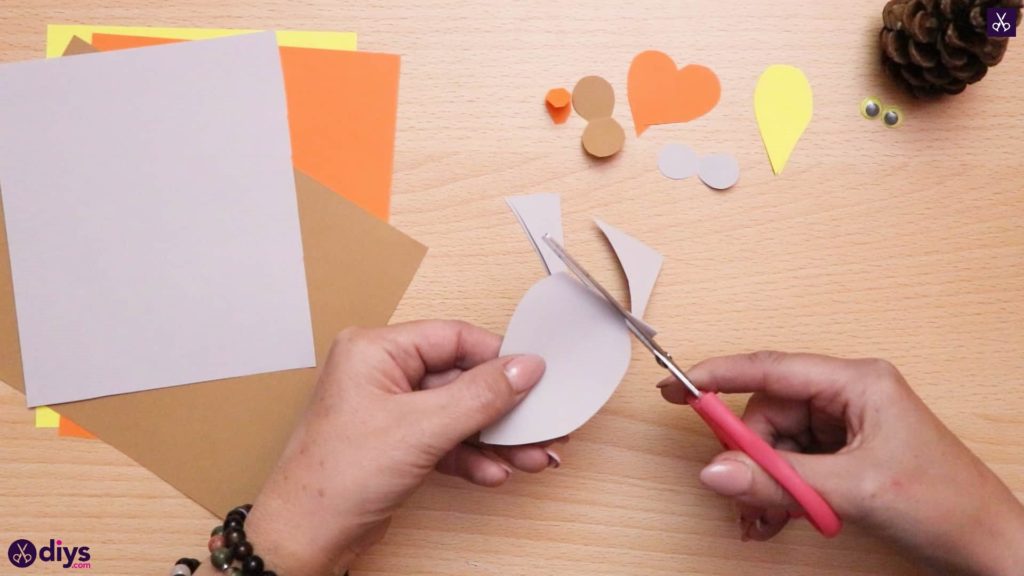
Step 5: feathers around eyes
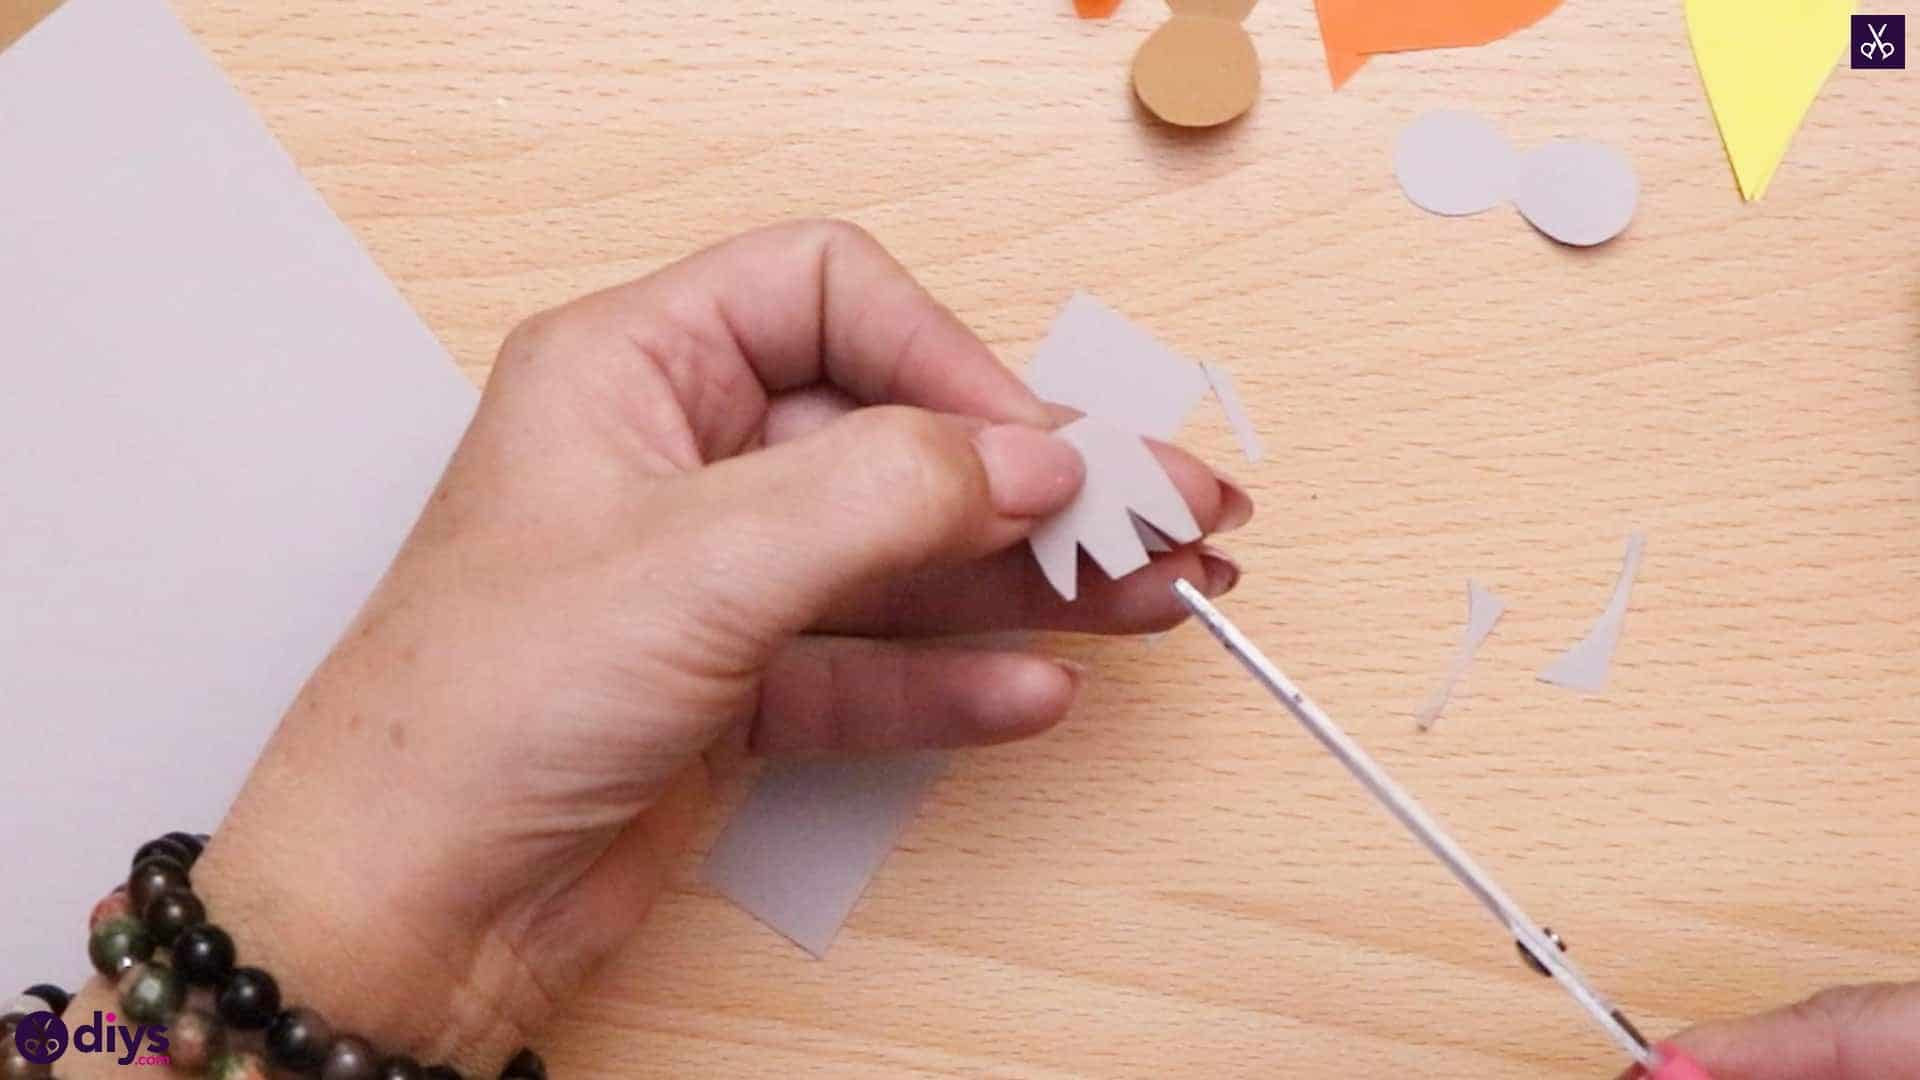
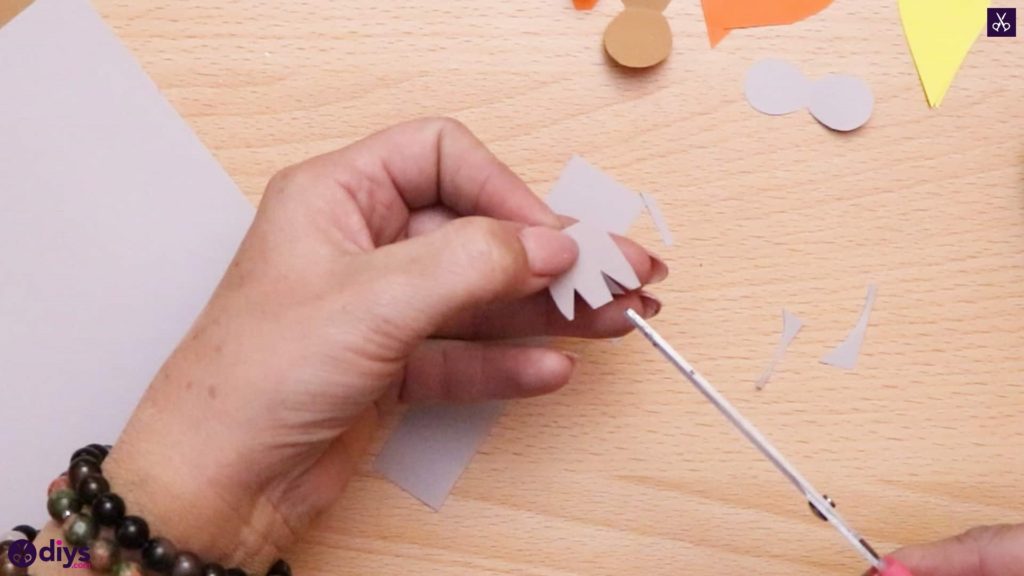
Cut half inch rectangles from the width end of your brown and grey sheets of paper. On each one, fold the end of until you have a doubled square shape and snip it off the rest of the strip. Round the corners and edges of the three loose sides off, leaving the creased side whole. This will be part of the feathers around your owl’s eyes.

Step 6: grey paper
Using your piece of grey paper, repeat the double over process that you used to cut your orange and yellow wing shapes, but this time with a slightly bigger piece than before, making the grey wing shapes the largest pair of the three colours.
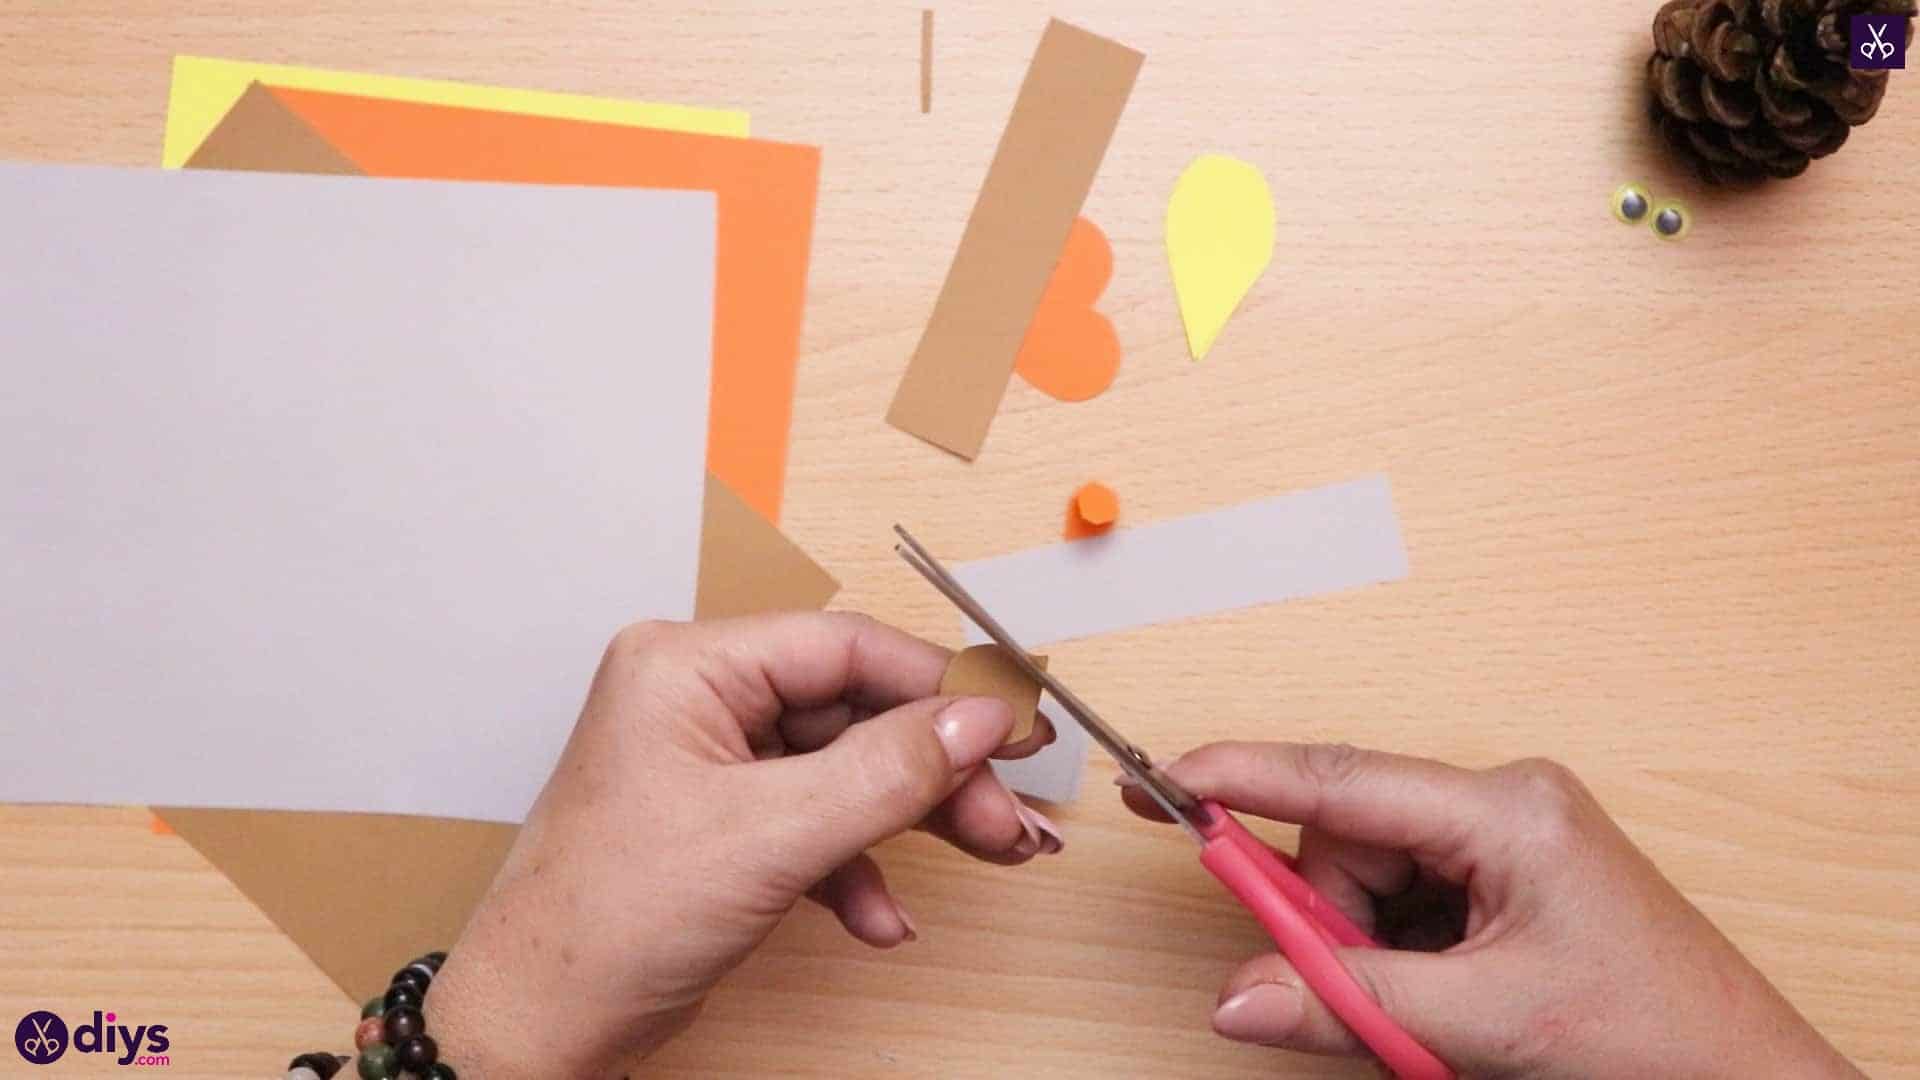
Step 7: make the feet
Cut two half inch wide squares from your grey paper, each the same size. From both, round off two sides across from each other so they taper from a wider straight edge to a smaller one. Next, cut little triangle shapes out of the wider edge of each in order to make little claws because these are your owl’s feet.
Step 8: all the pieces
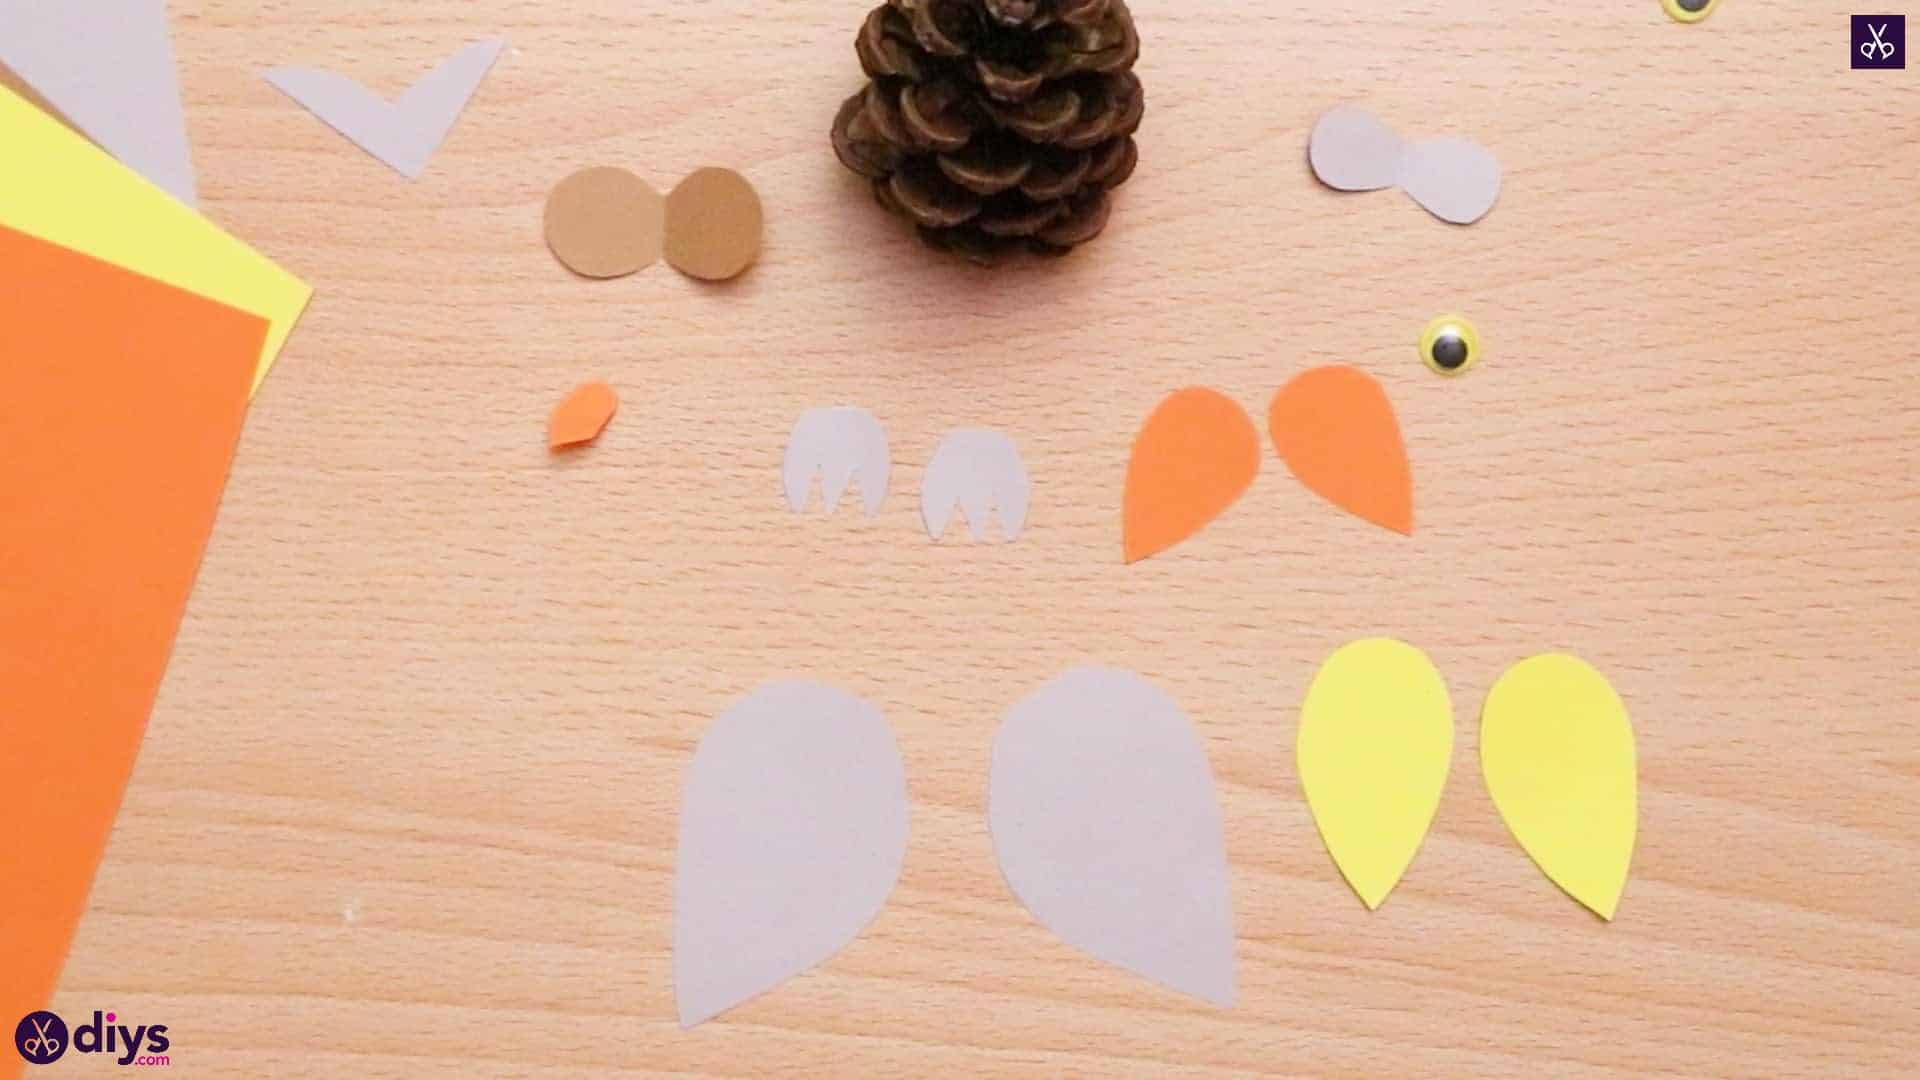
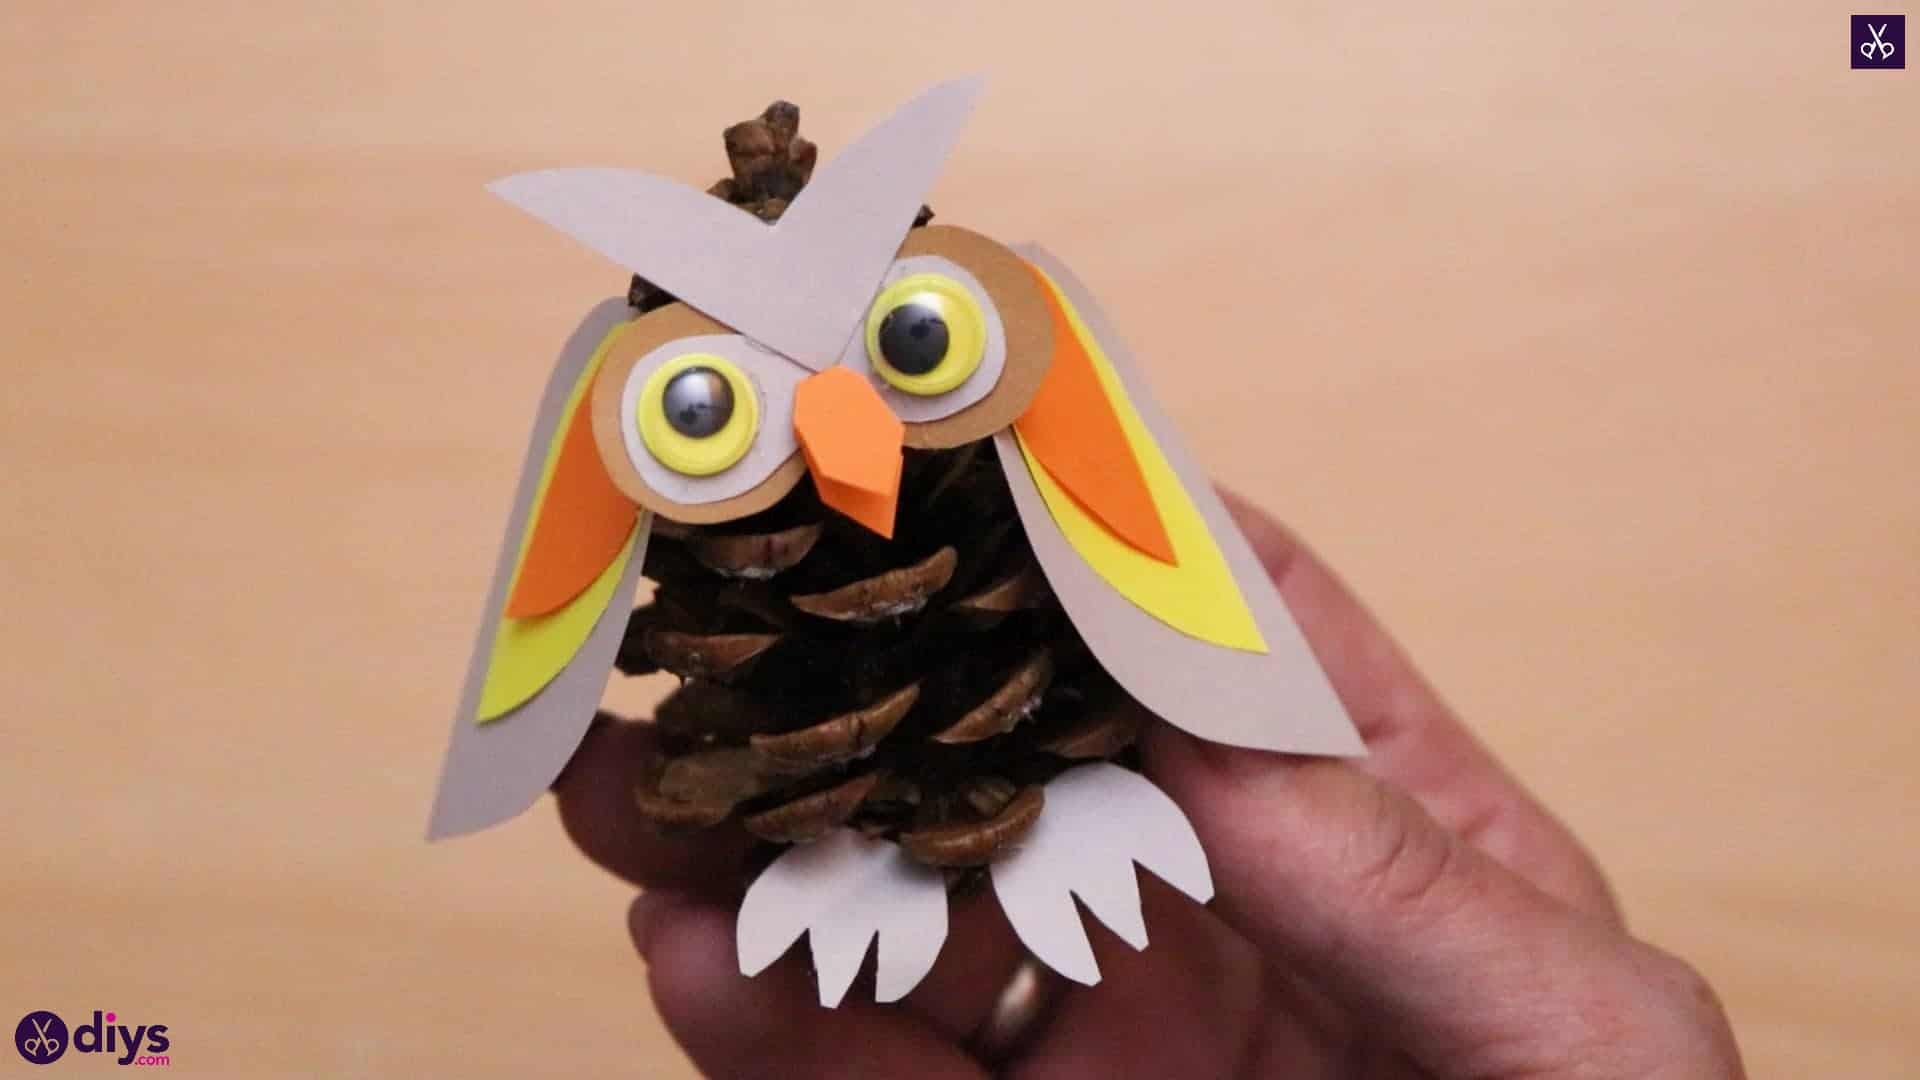
Cut another square from your grey piece of paper, about the same size as you did to make your owl’s feet. Cut this square in half diagonally; you’ll only use one of these halves. On the diagonal edge, cut a smooth, almost rounded dip in the middle to make the brow feathers of your owl. Finally, cut one more rectangle from your grey paper, even smaller than the last two. Fold it in half and cut it to a square, leaving your creased side whole. Round off the three loose corners and sides until you have a circular shape, without cutting that folded crease. This will be another part of the feathers around your owl’s eyes. I made mine a little smaller than the brown shape you cut before, so the colours both show in a layered way. You now have all of your pieces cut out and your owl is ready to assemble!

Step 9: start assembling
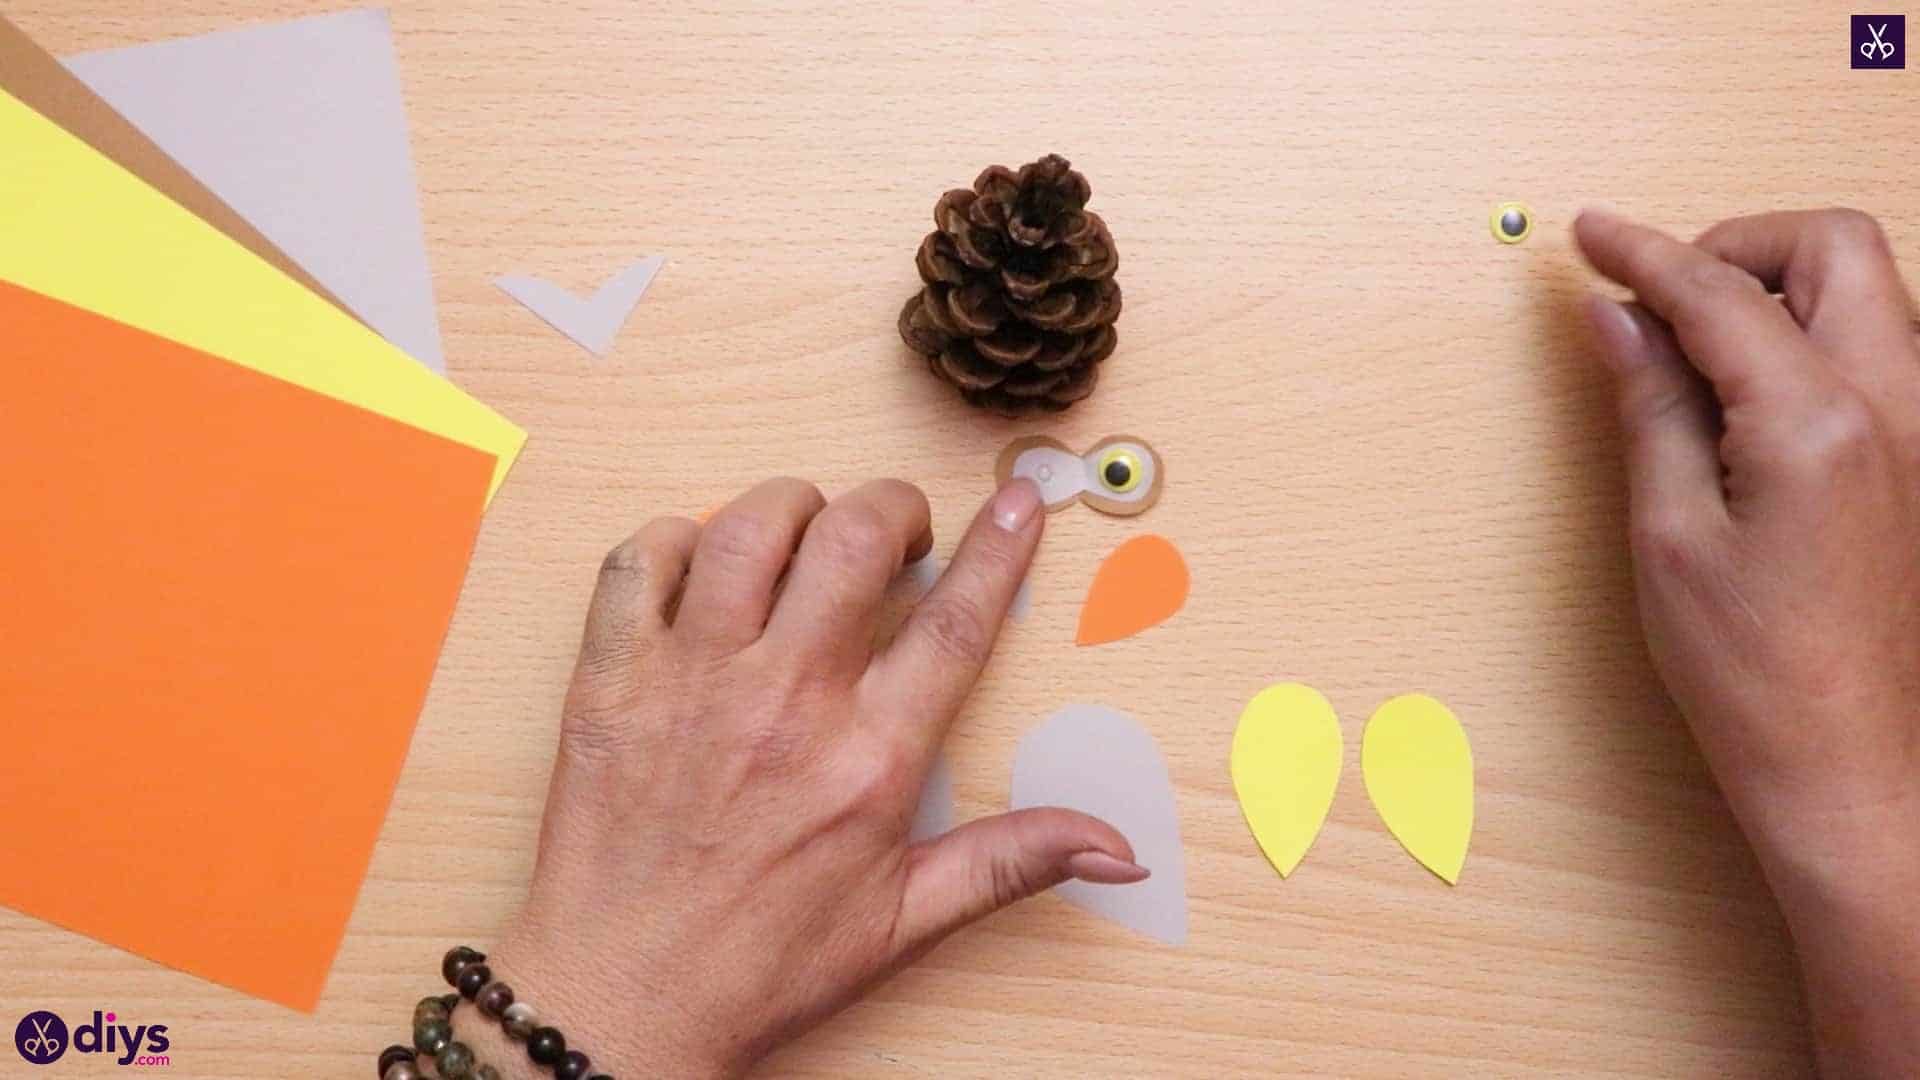
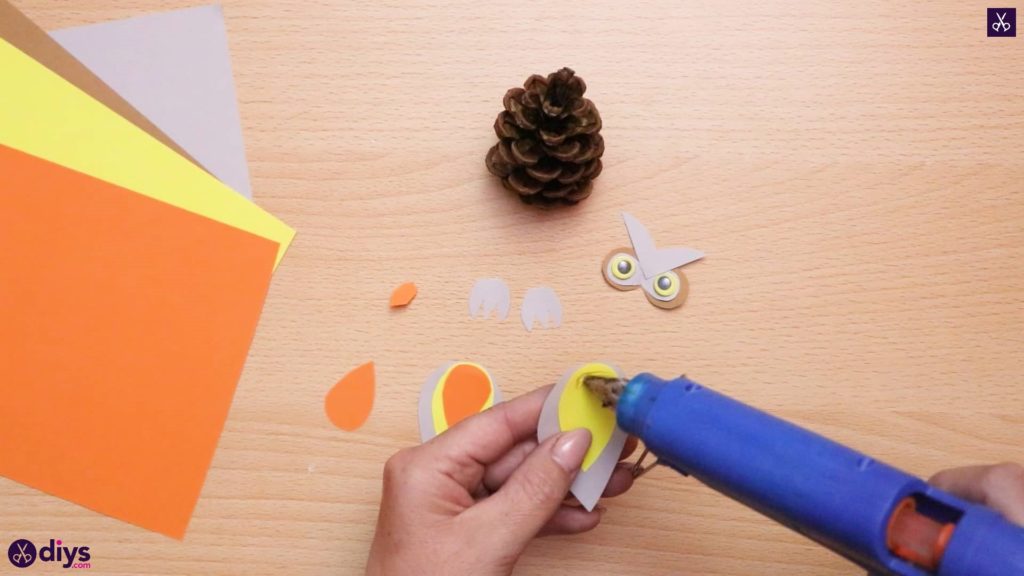
Apply glue to the brown eye piece you cut out earlier and press the matching but slightly smaller grey piece into place so the brown shows around its edges. Then apply glue to the circular sides of the grey eye piece and stick the googly eyes in place. Next, put some glue between the googly eyes on the top and stick the brow feather into place, with the lowest V downward. Then, apply a little glue on the crease of the orange beak and stick it into place on the base eye piece right below the eyes.

Step 10: layer the wings
Layer the different colours of your owl’s wings! Apply glue to your largest grey pieces, pressing the medium sided yellow pieces into the center on each. Then repeat the process to put the smallest yellow piece into place on top.
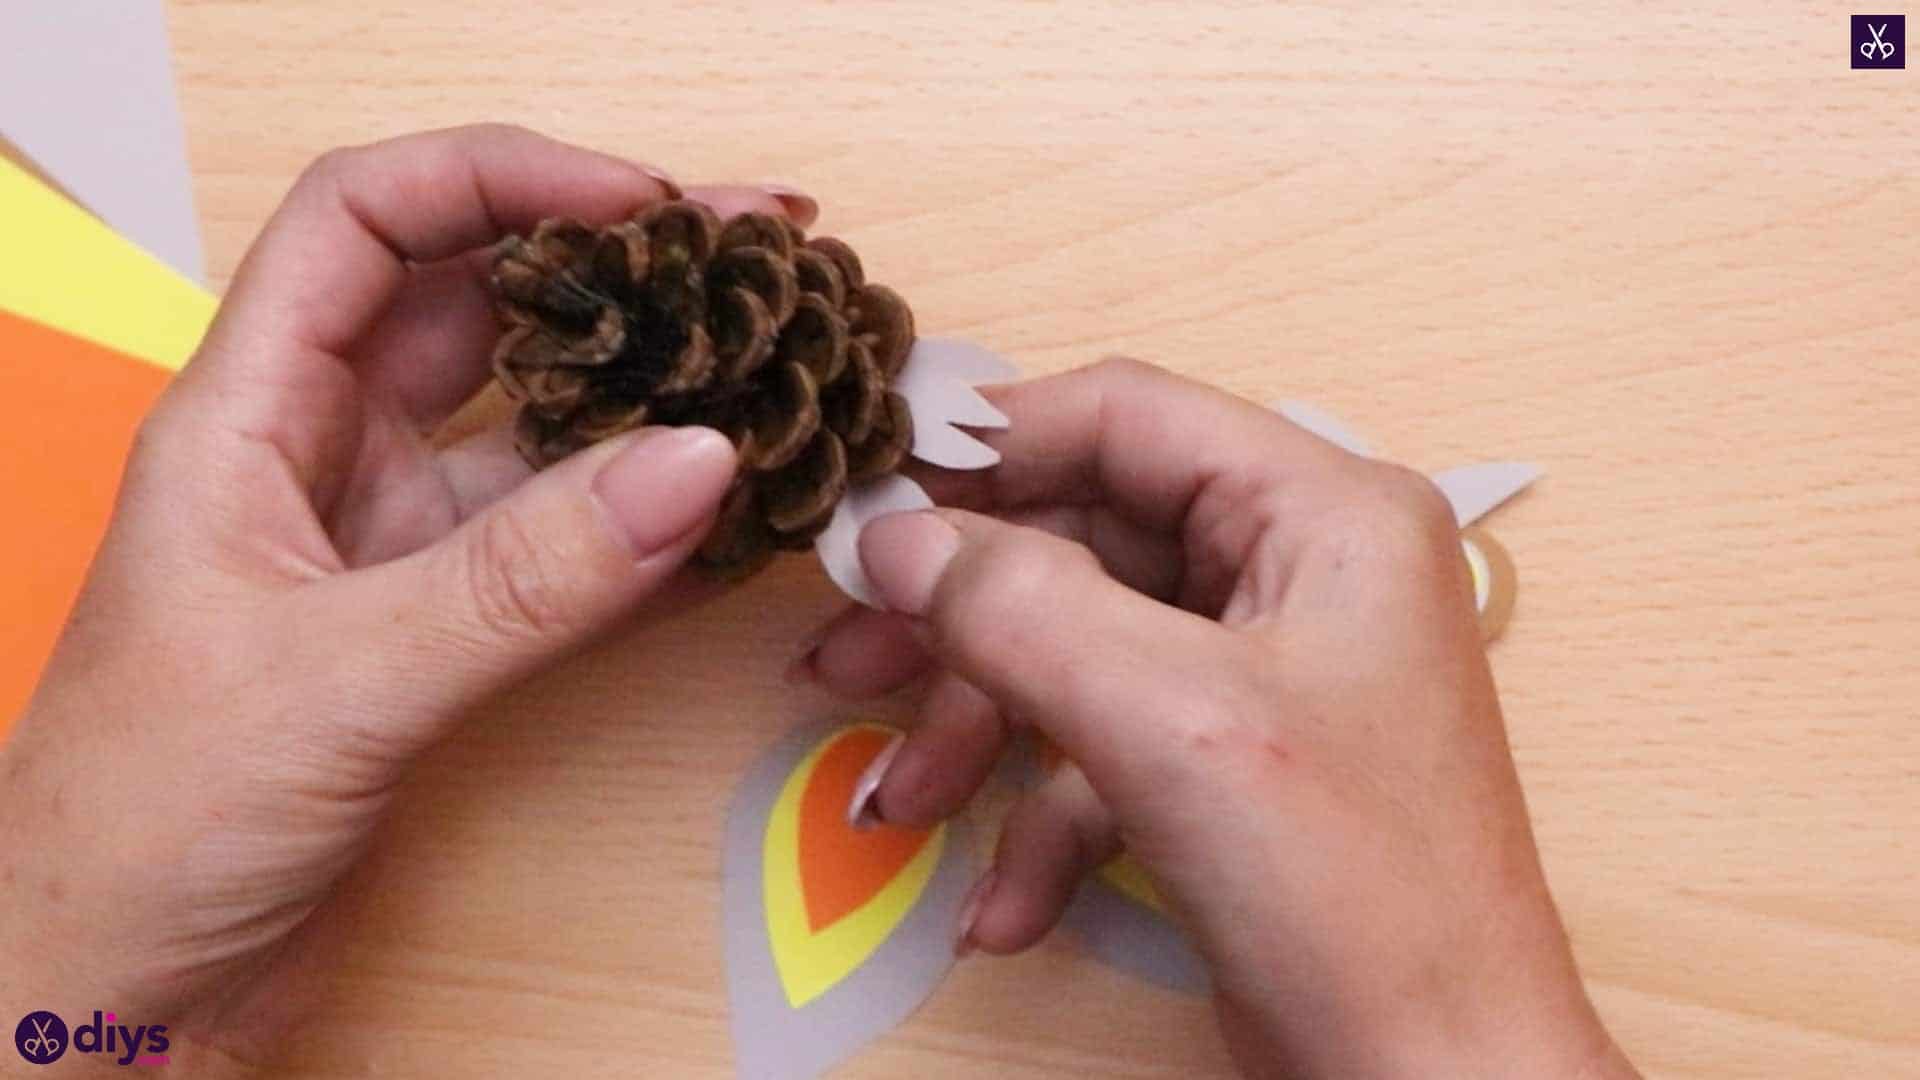
Step 11: glue on feet
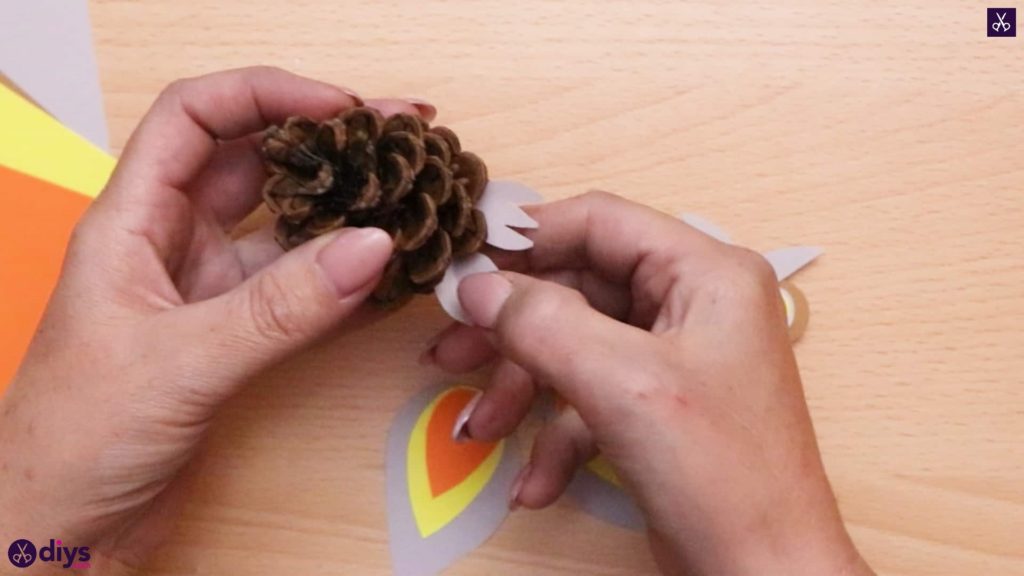
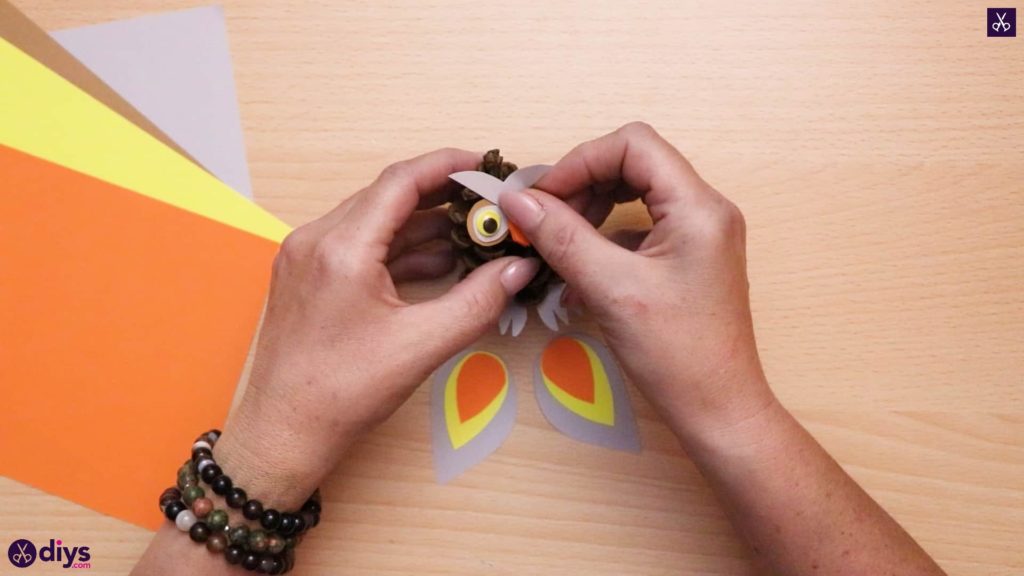
Apply glue to the rounded back edge of the feet and stick them to the bottom of the pinecone so they stick out the front. Next, apply glue to the back of the eye and beak piece and stick it into place near the top of the pinecone. Finally, apply glue to the rounded edge of your layered wings and glue one on either side of the pinecone.
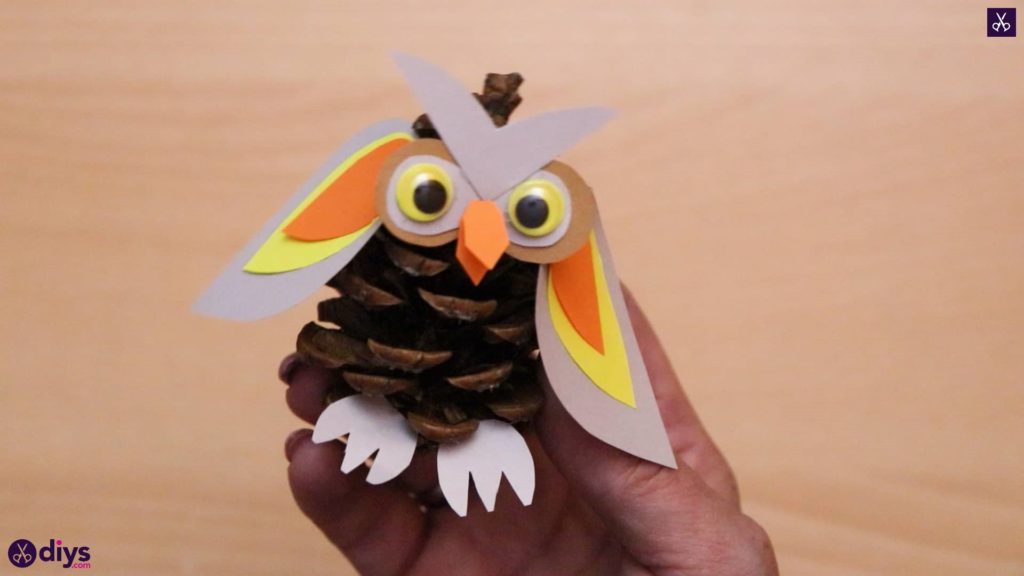
Voila! You now have a finished pinecone owl. Just in case you’d like to try this project out for yourself, here’s a fantastic tutorial video to help you!