DIY Easy Christmas Tree Card
Updated on November 19, 2025


Now, I know that there are plenty of adorable and Christmas and holiday themed greeting cards out there to buy in stores, but there’s just something I find so satisfying about making and sending my own instead. That’s why I’ve made so many different kinds this year! In fact, I’ve had so much fun making my own Christmas cards that I decided to outline how I did one of my very favourite designs for others to see too.
Check out these step by step instructions complete with photos! If you’d rather follow along with a video tutorial instead of written words, scroll to the bottom of this post to find just what you’re looking for.
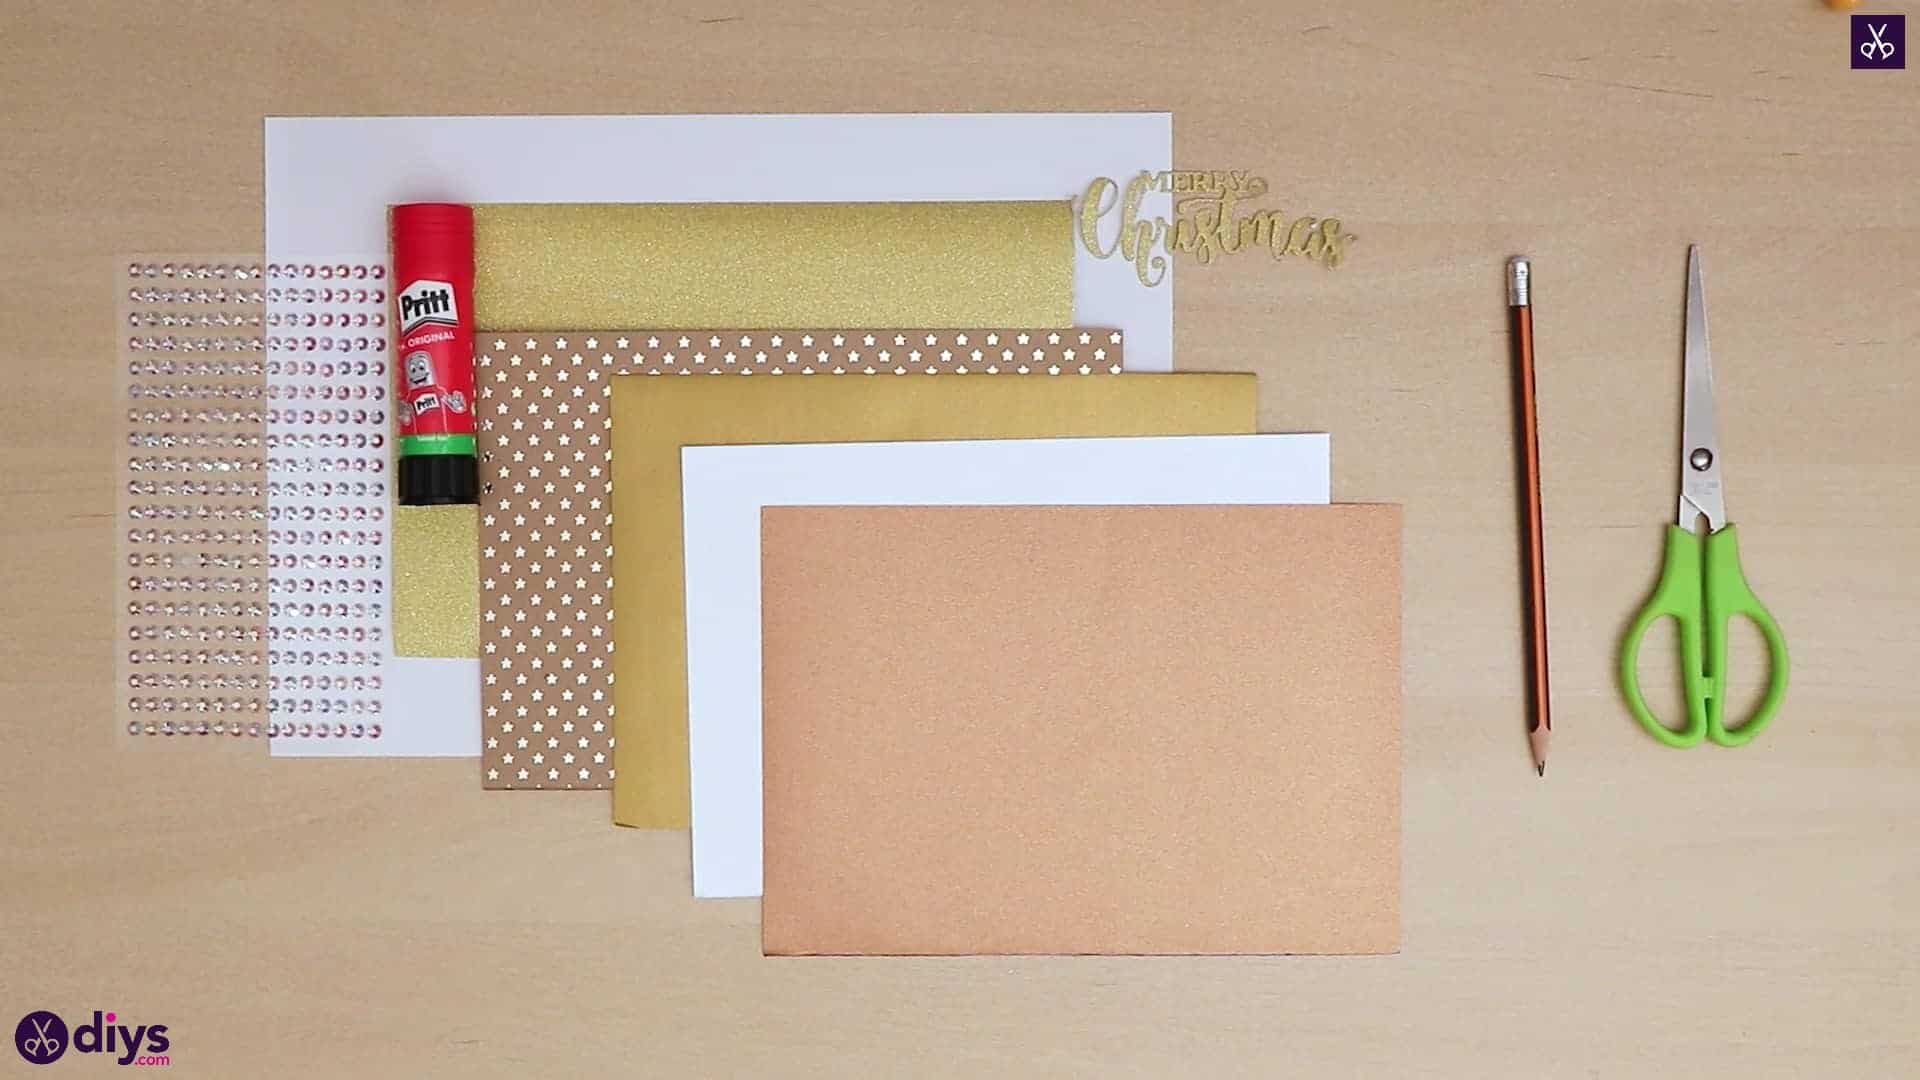
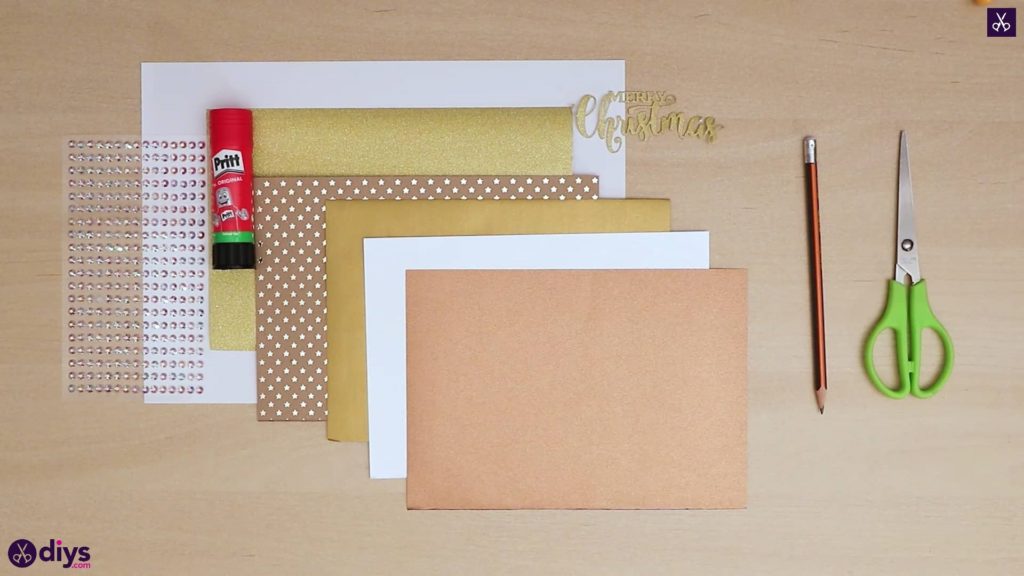
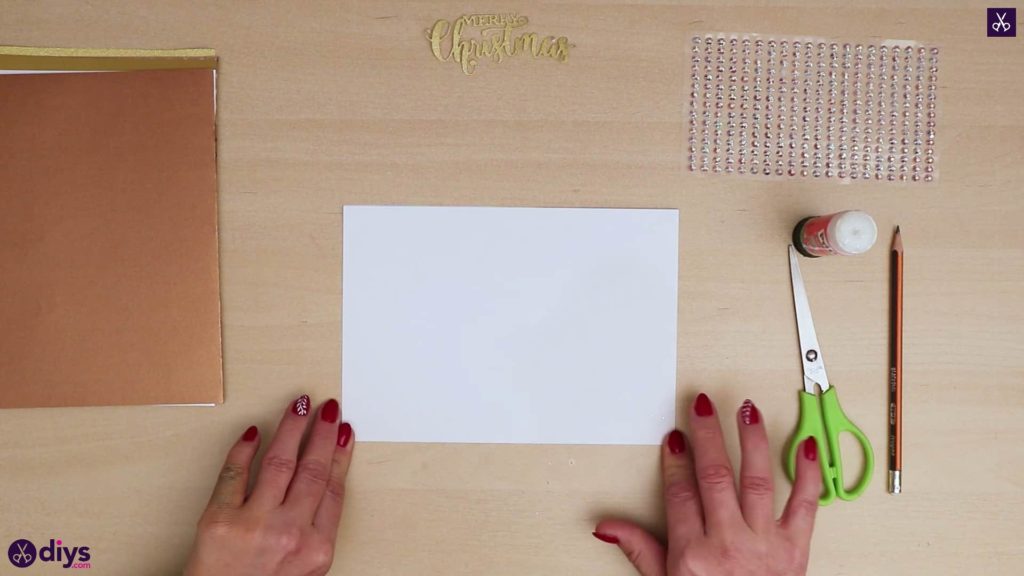
For this project, you’ll need:
- White cardstock
- Three types of decor paper (gold, bronze, and patterned)
- Scissors
- A glue stick
- Christmas stickers
- Rhinestones
Step 1: Gather your materials!
Gather everything from your materials list so you can start.
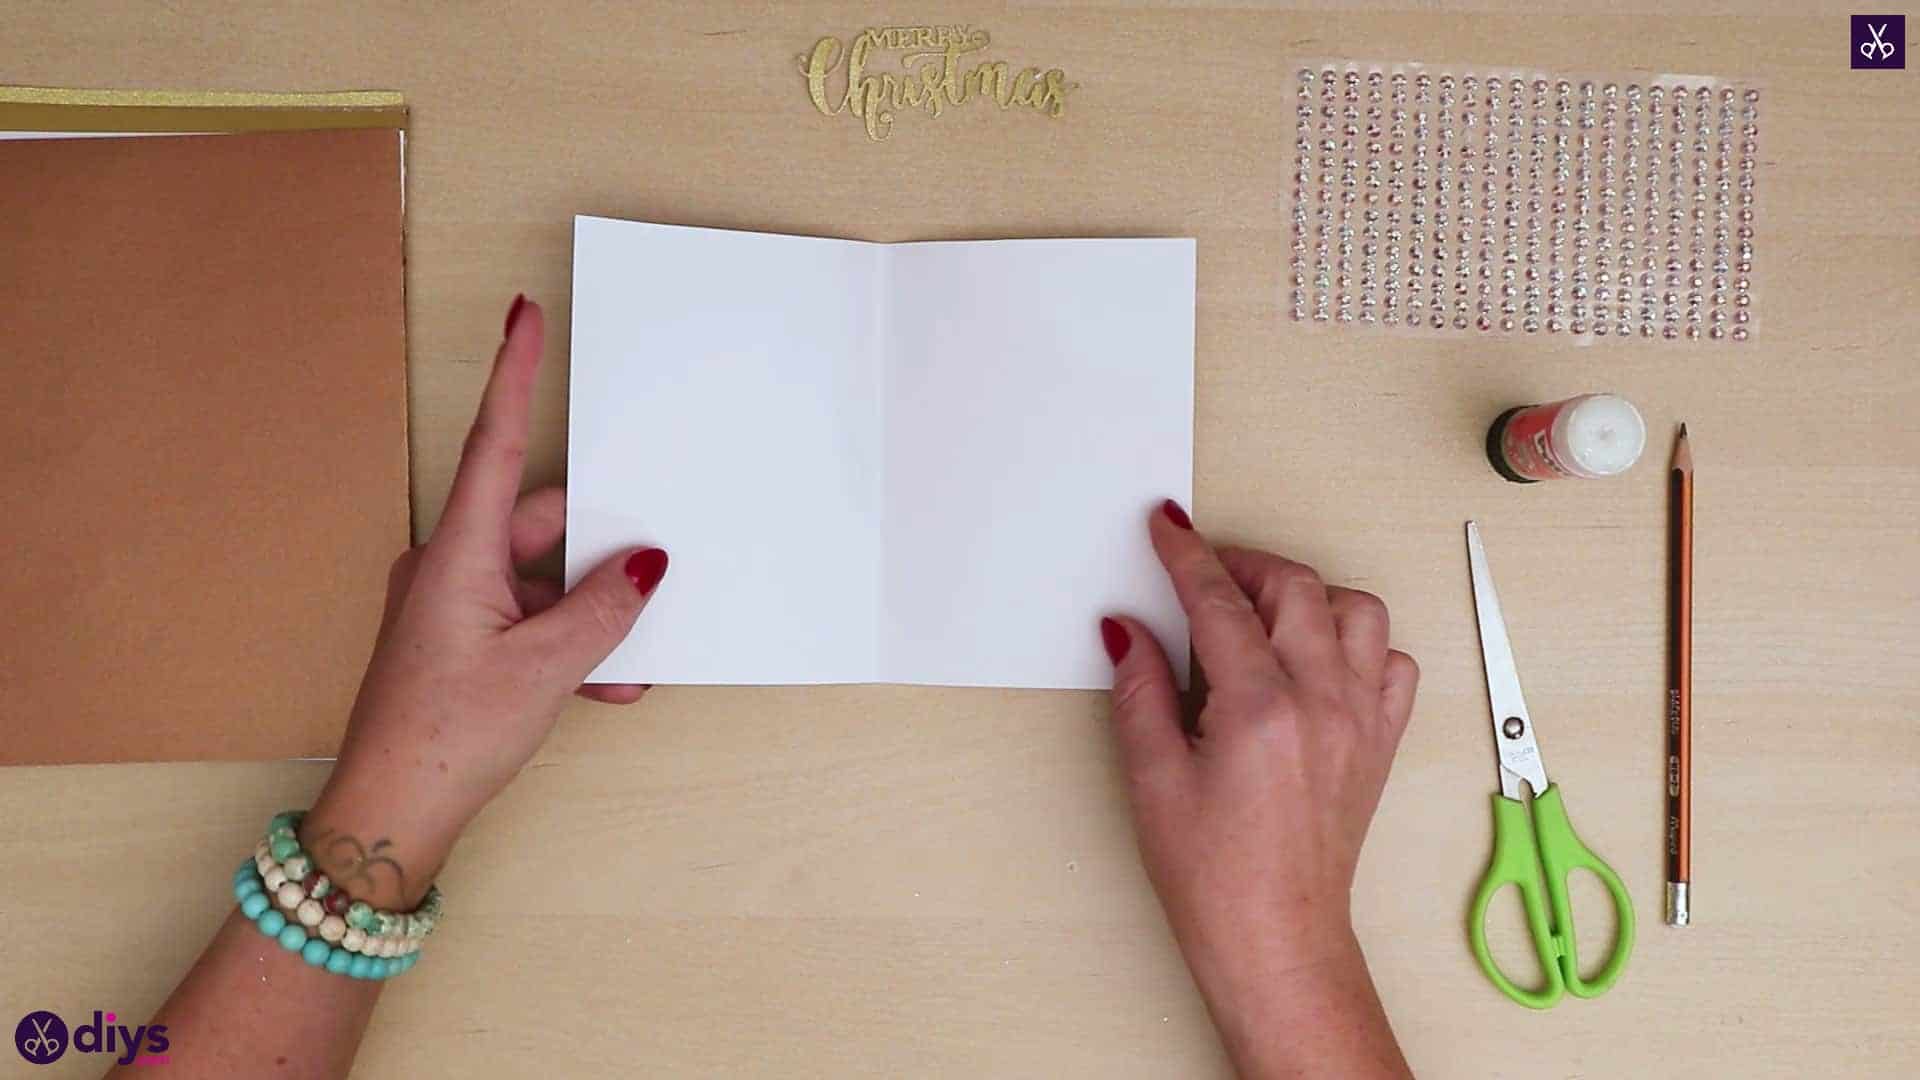
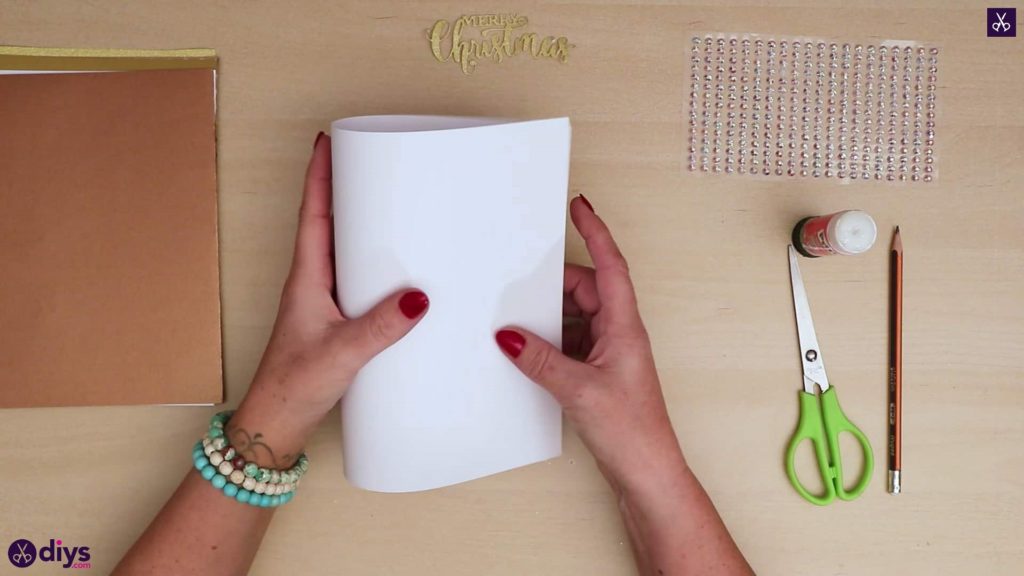
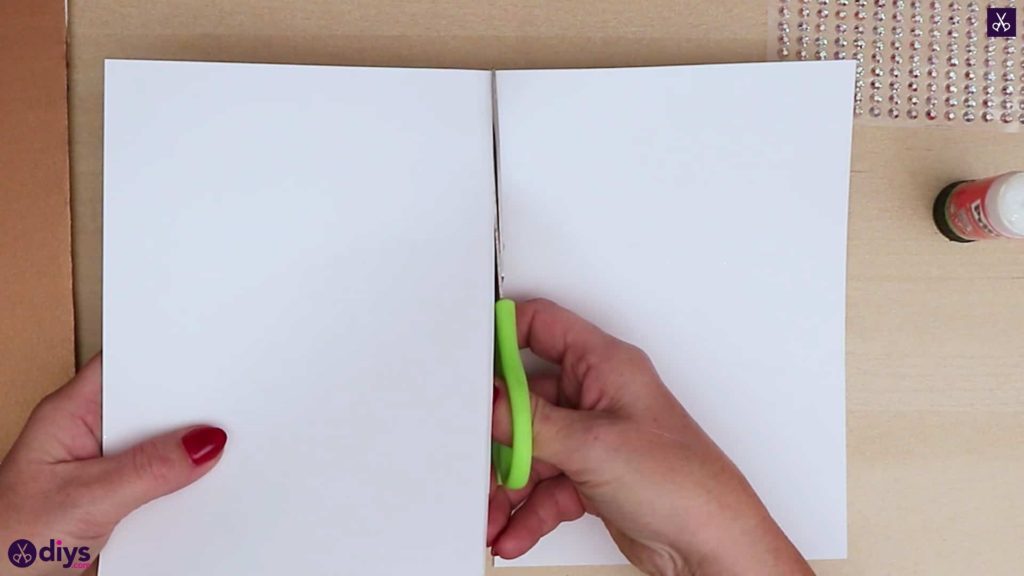
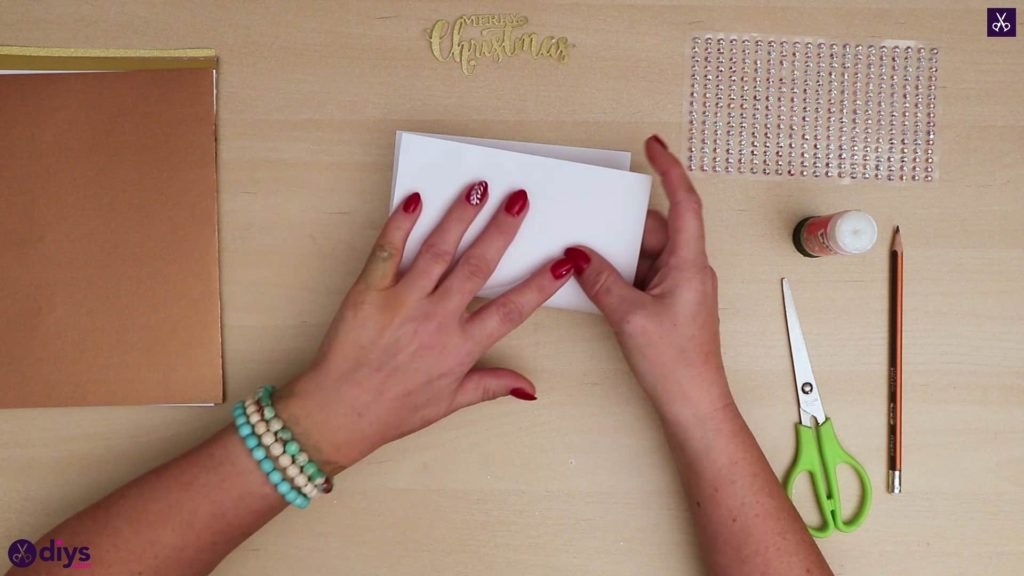
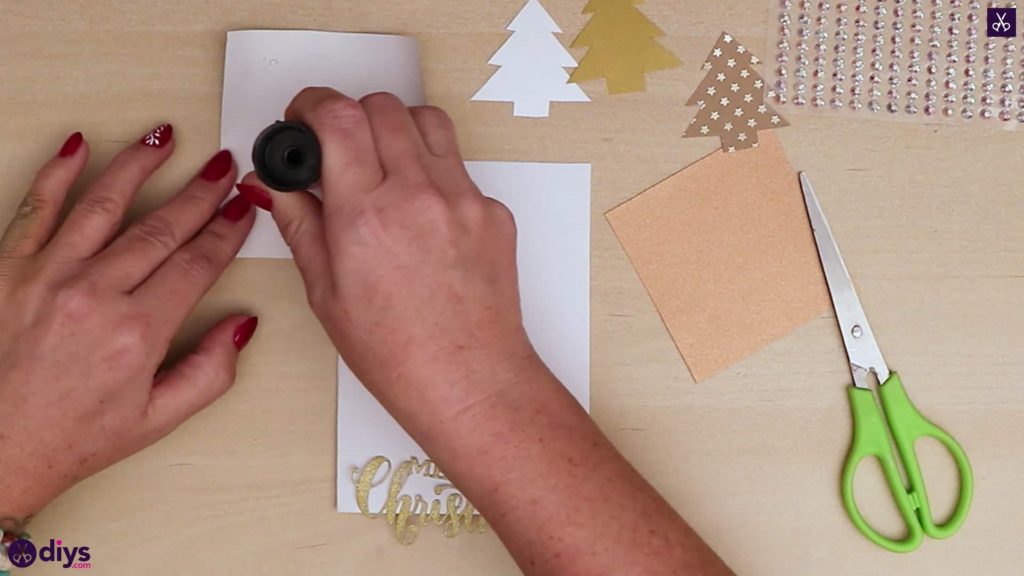
Step 2: fold the card
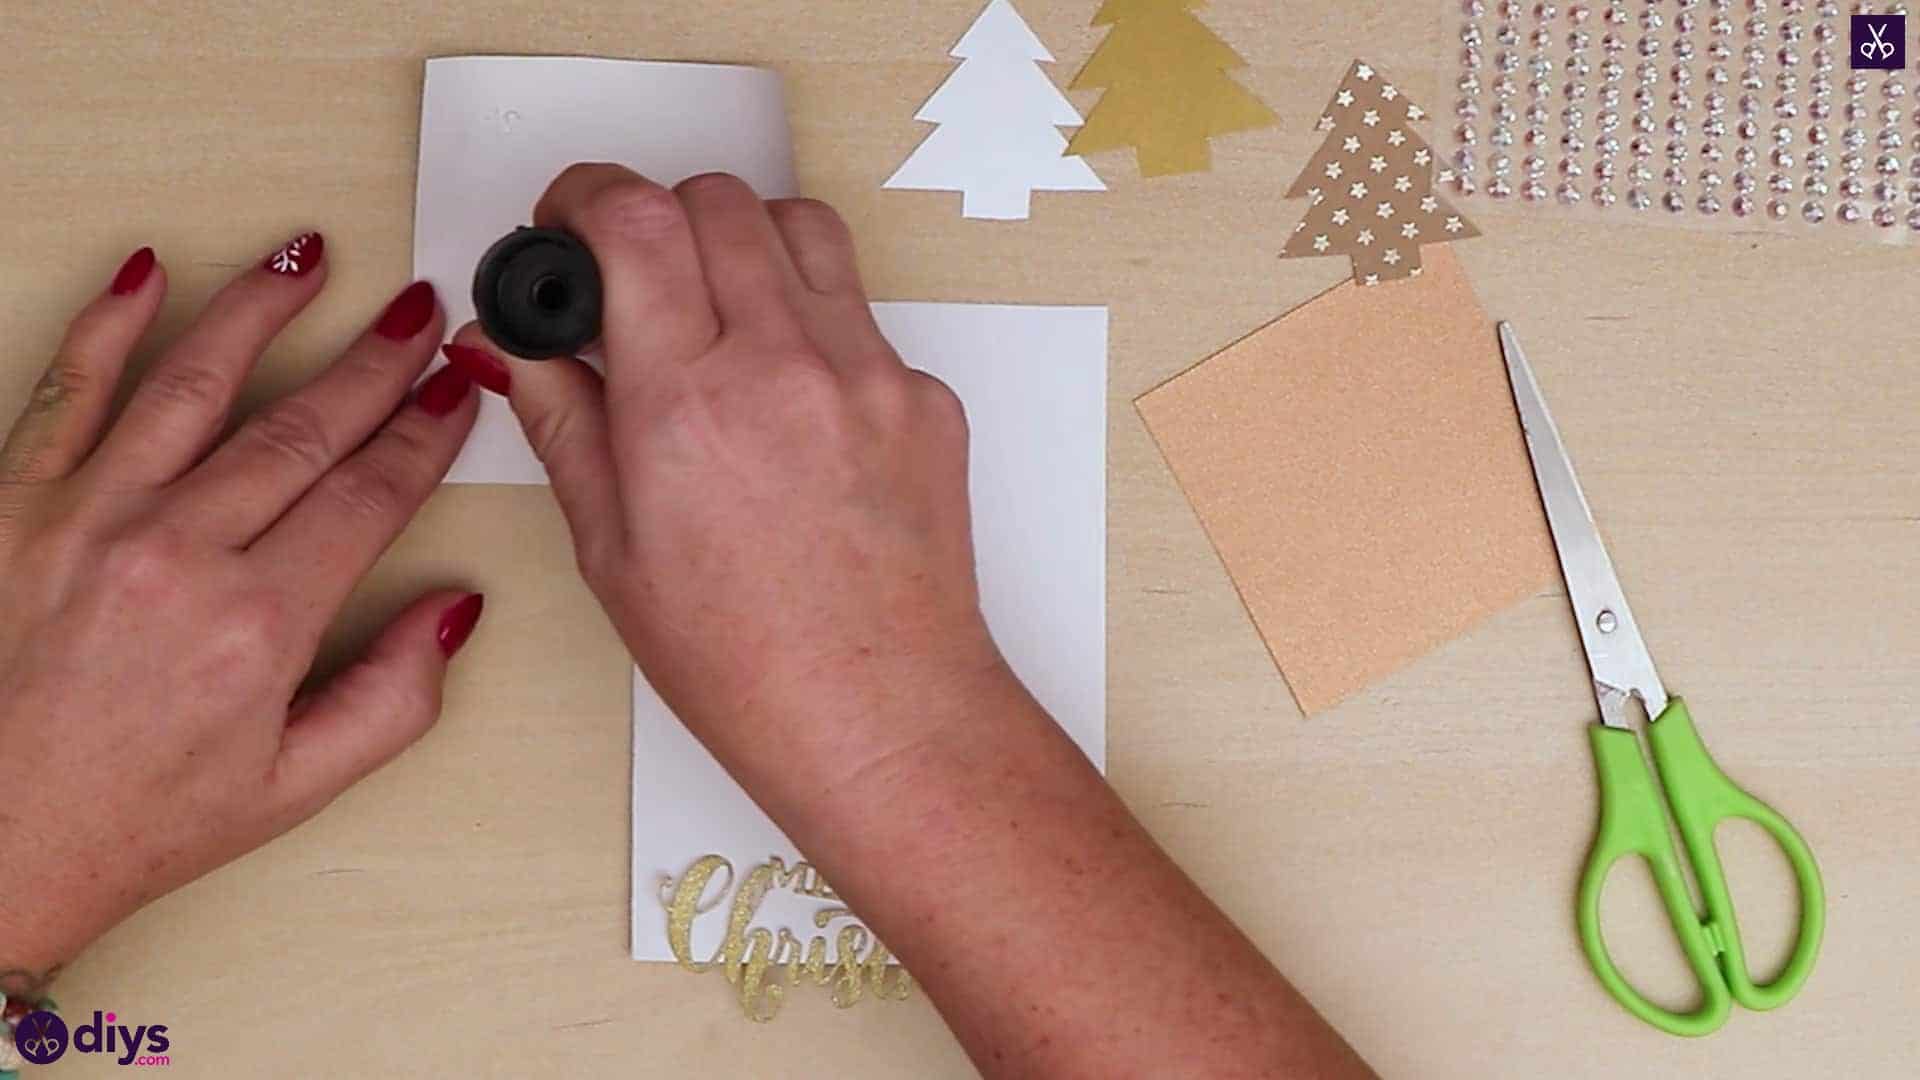
Turn your white cardstock landscape and fold it end to end horizontally so its side edges line up. Crease the folded end and then unfold it and cut straight along the crease to make two even halves. Set one half aside.
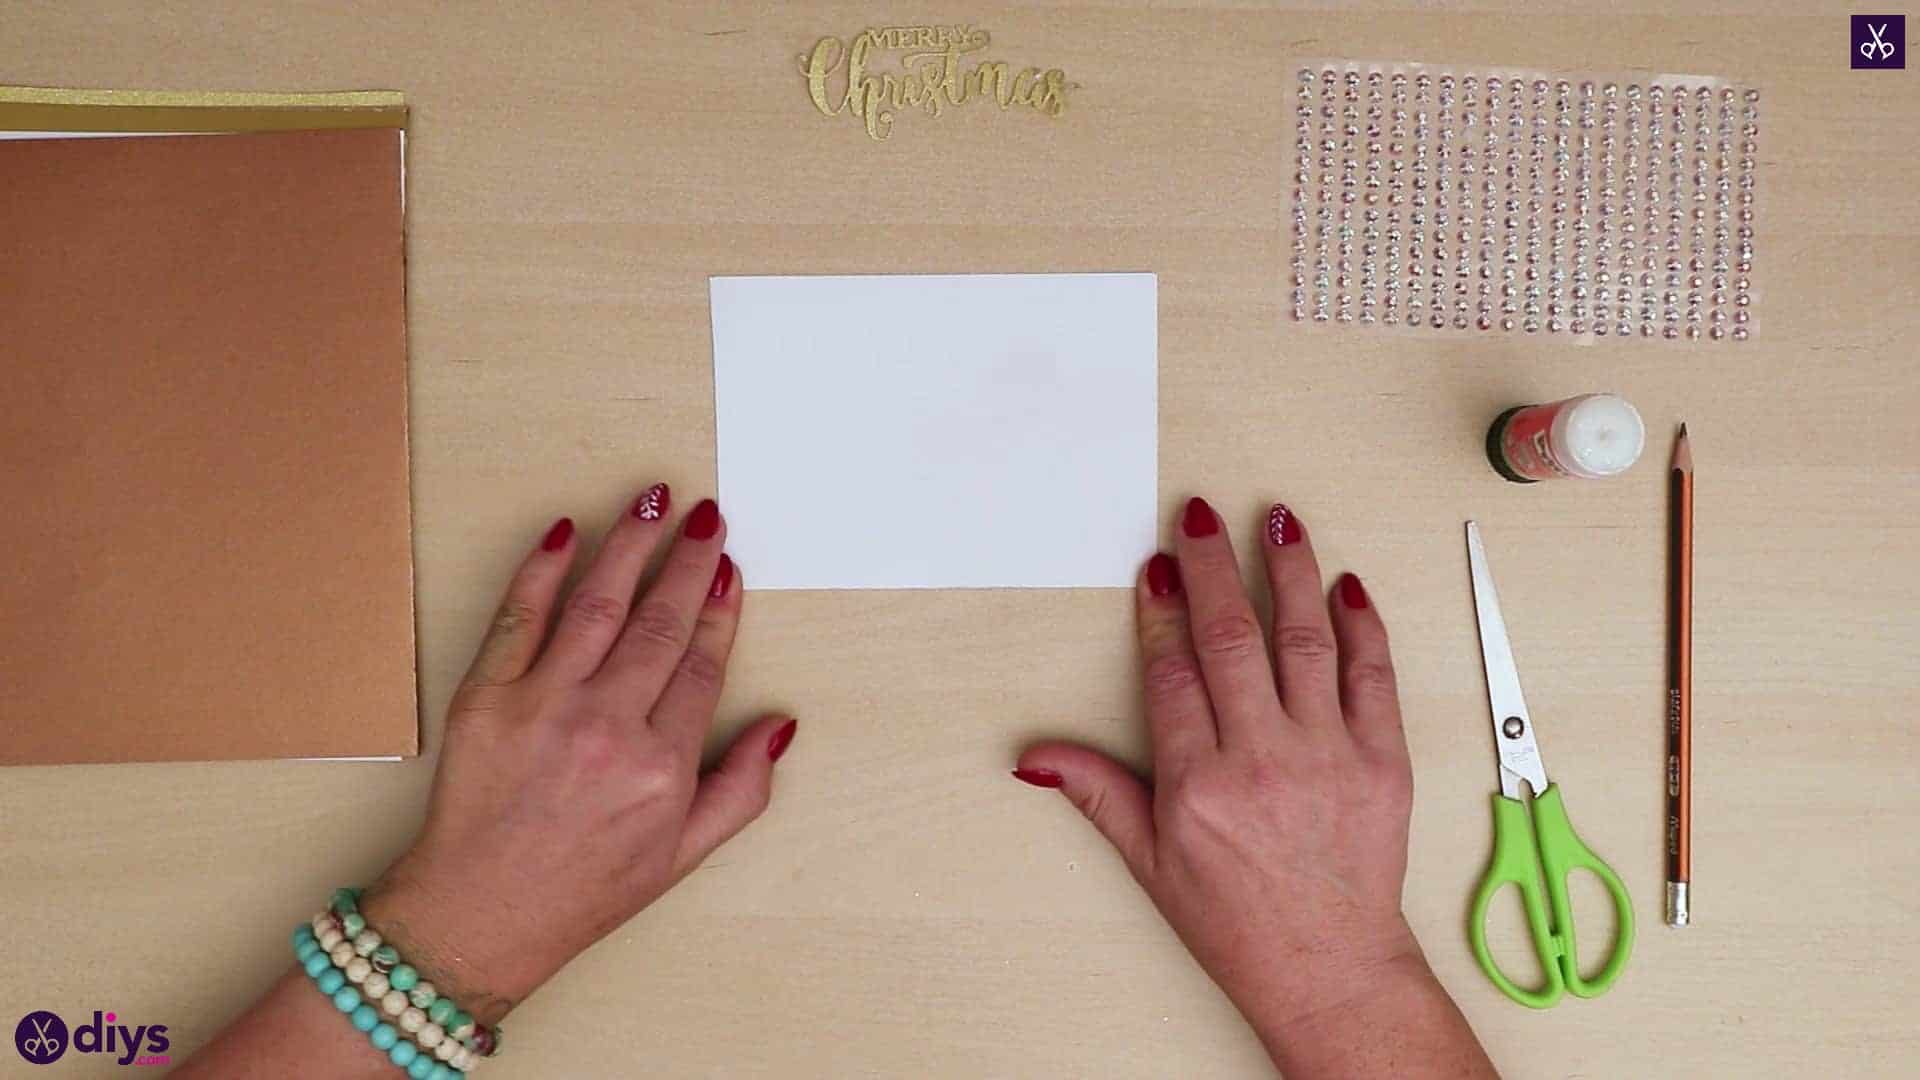
Step 3: make the base
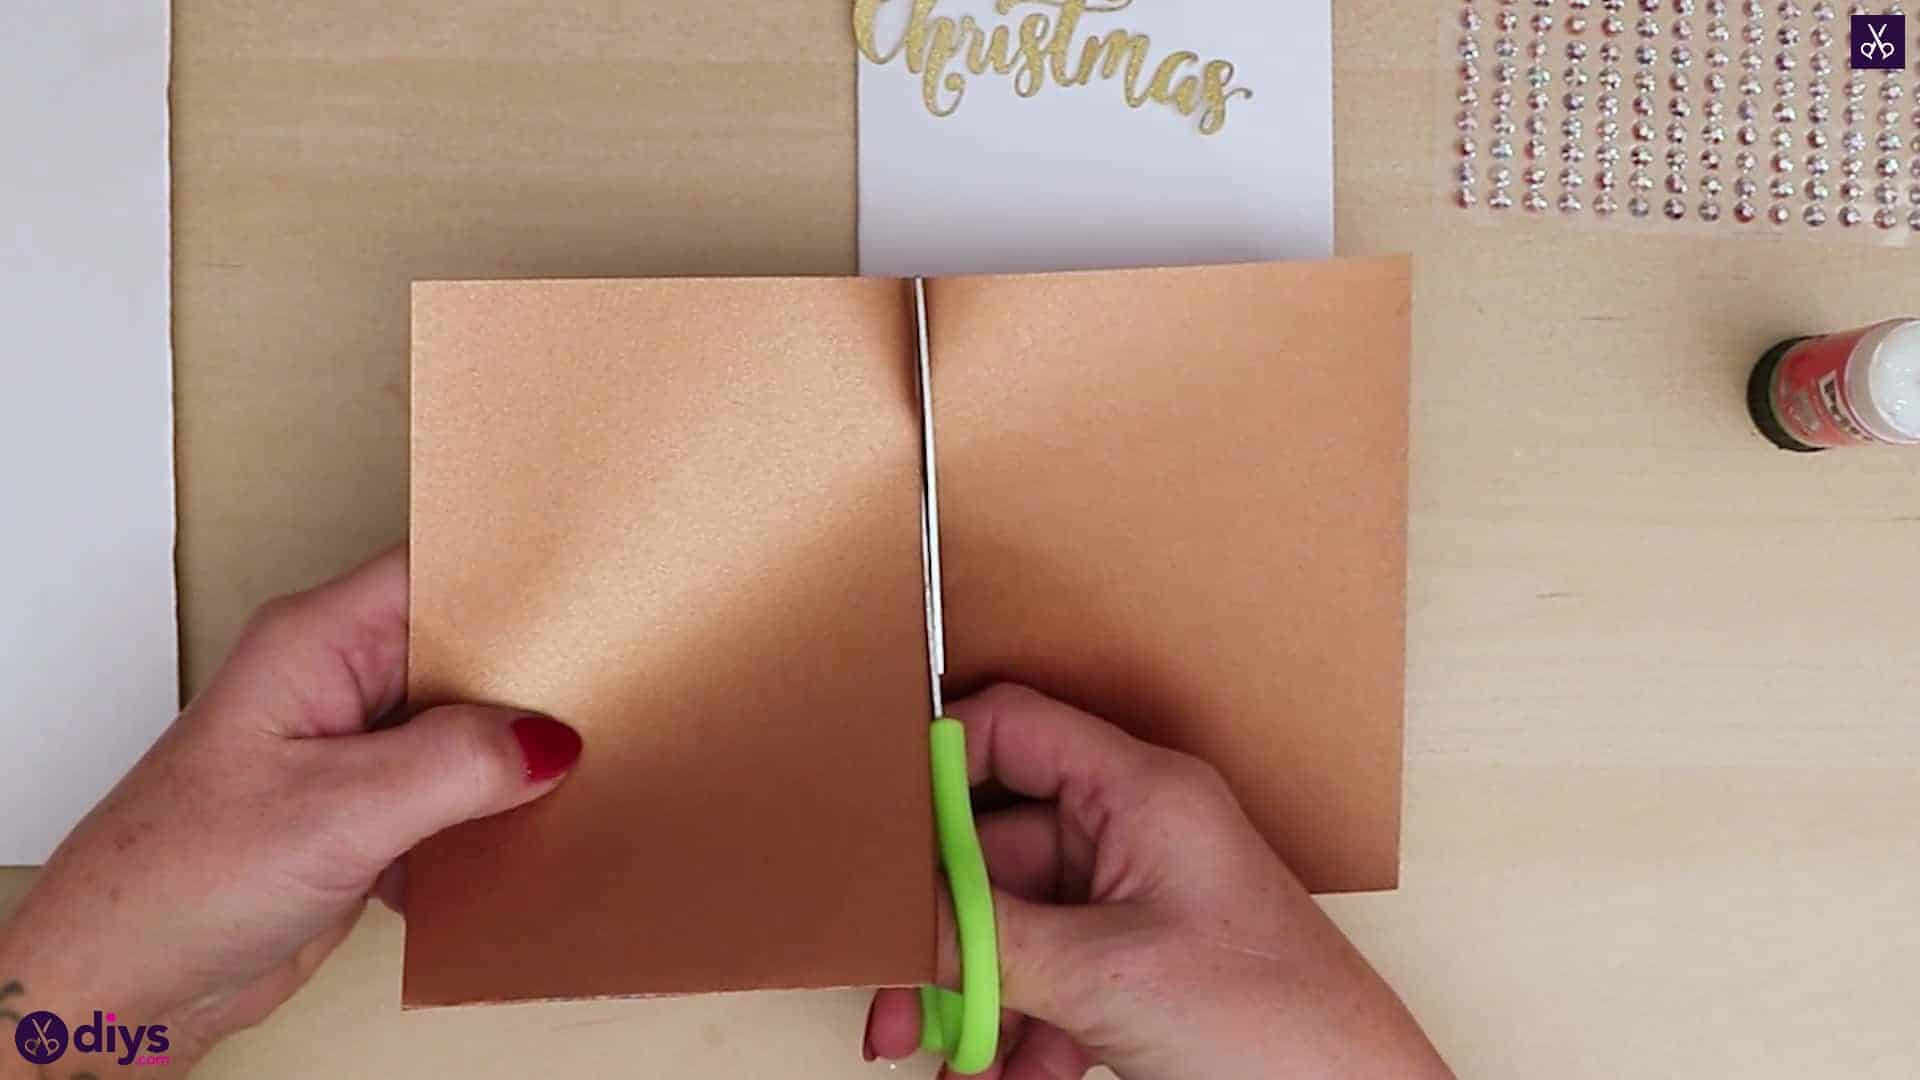
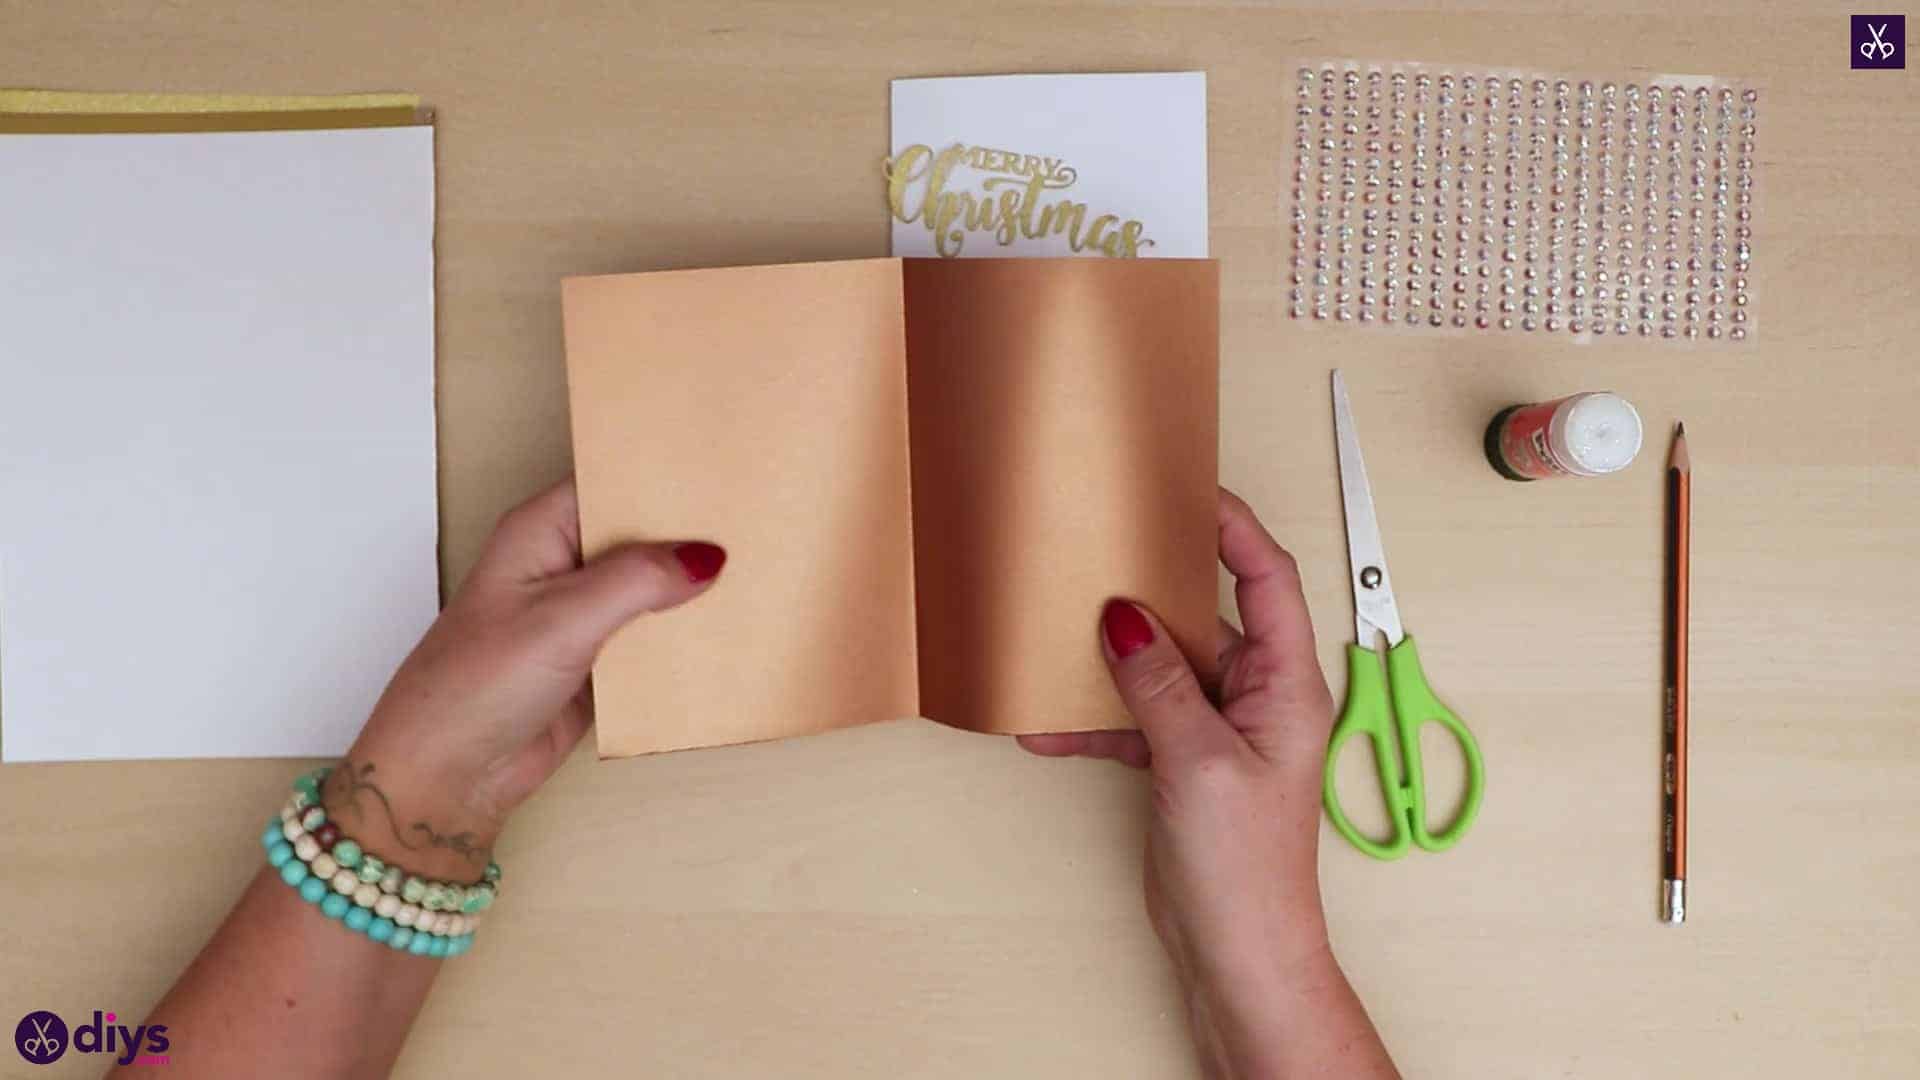
With your other half of white cardstock, make the base of your Christmas card. Orient the piece landscape again and fold it side to side once more, matching its edge evenly and creasing it. This time you willnot cut the card; this is simply where your card will open and close.


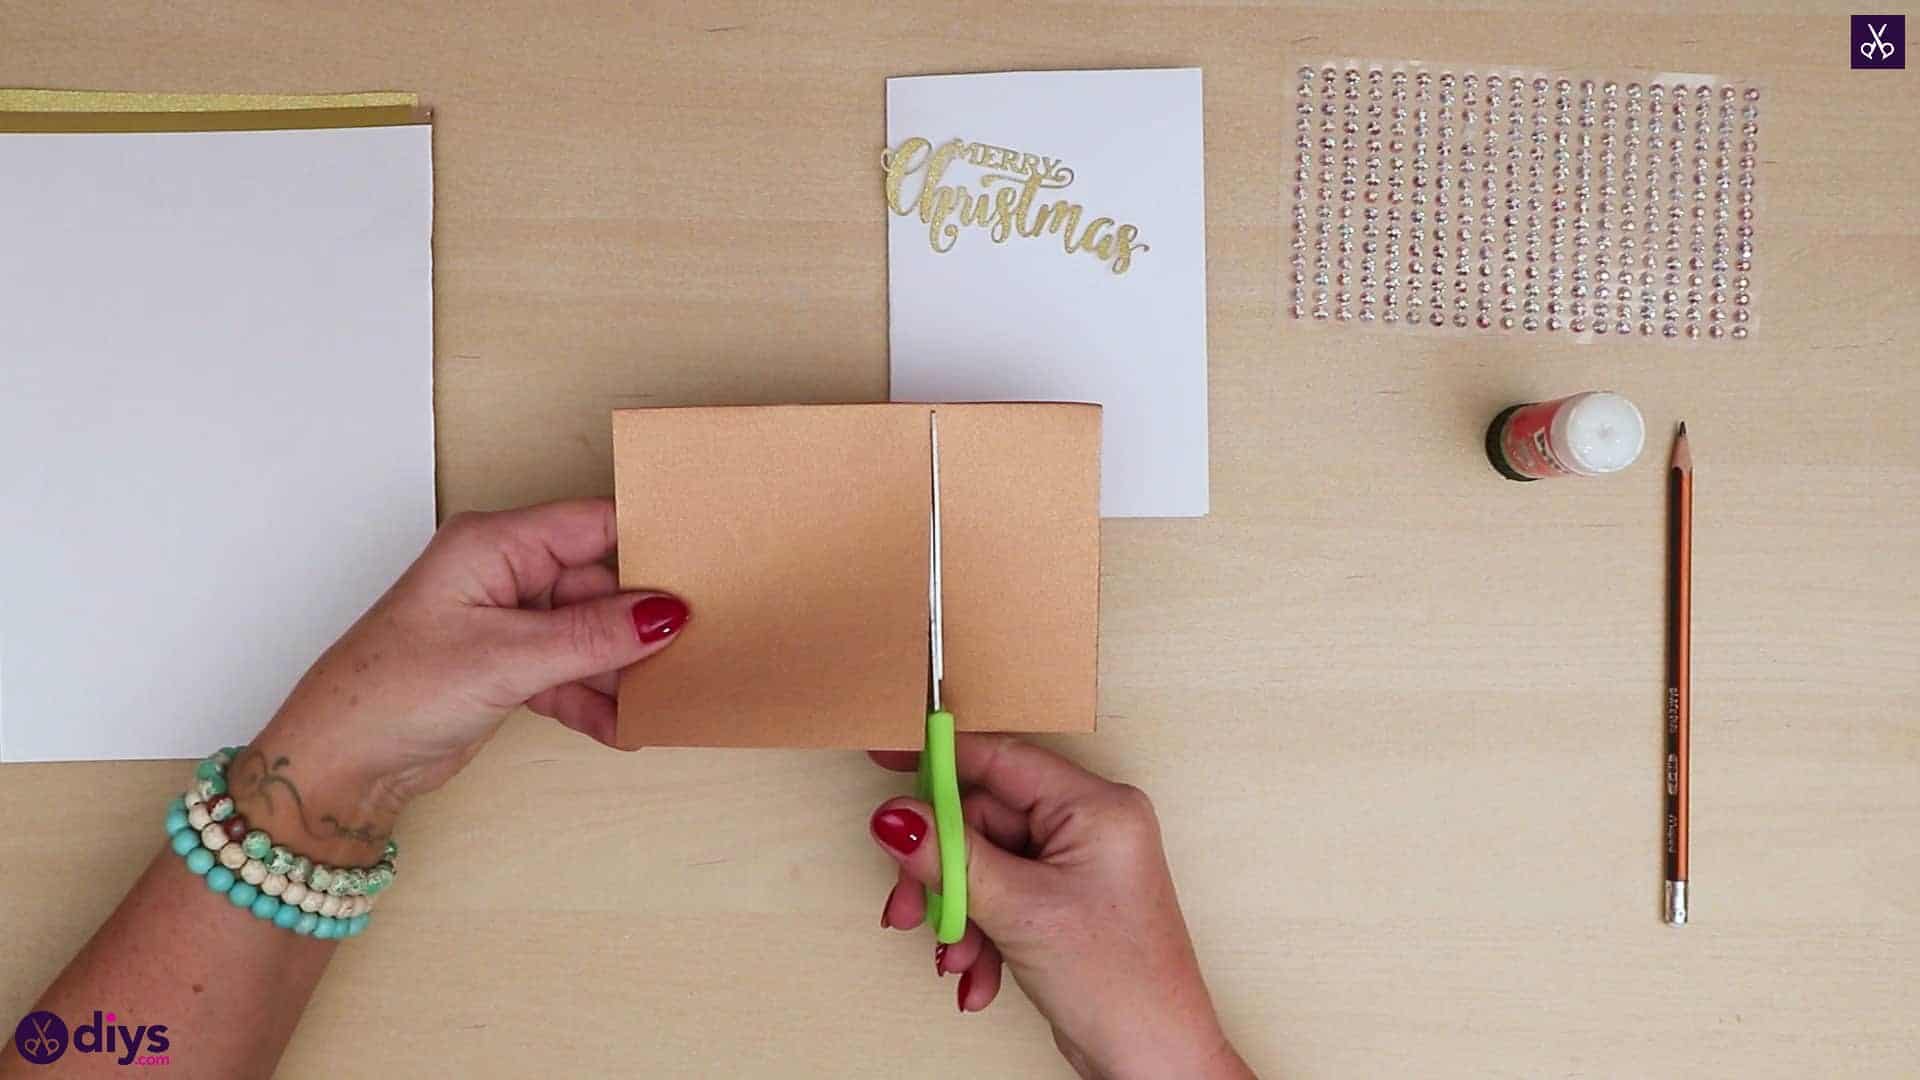
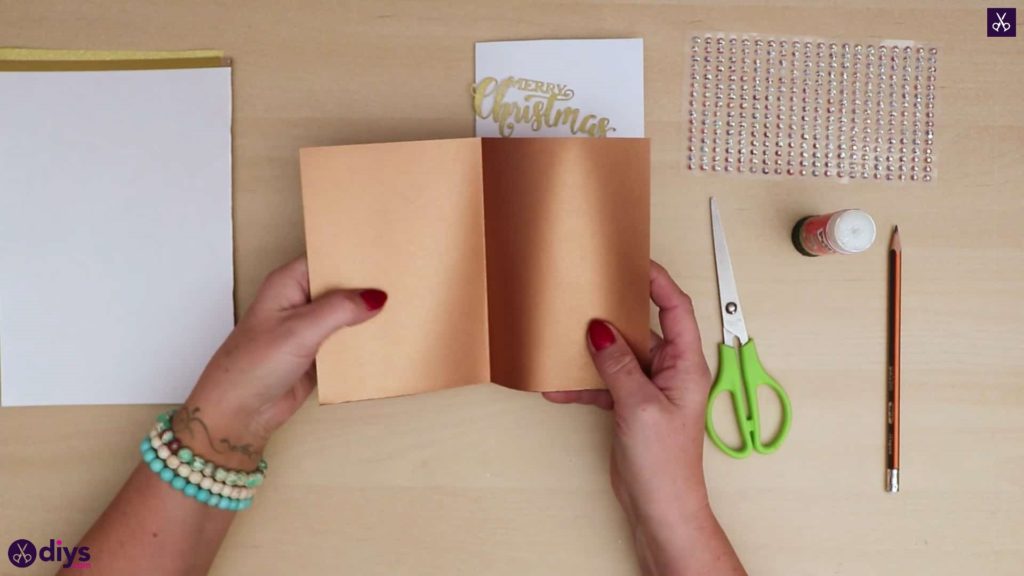
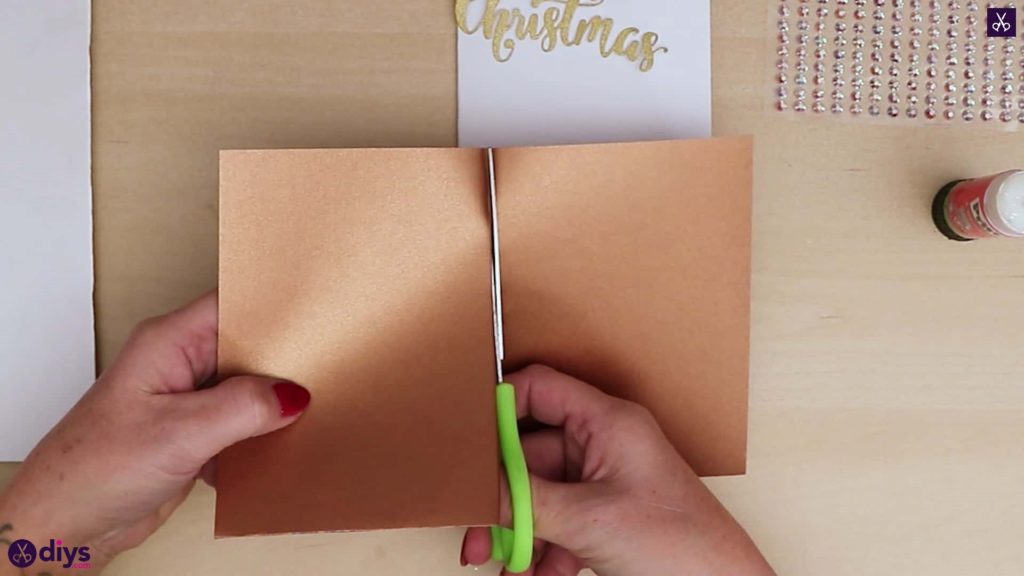
Step 4: add the bronze layer
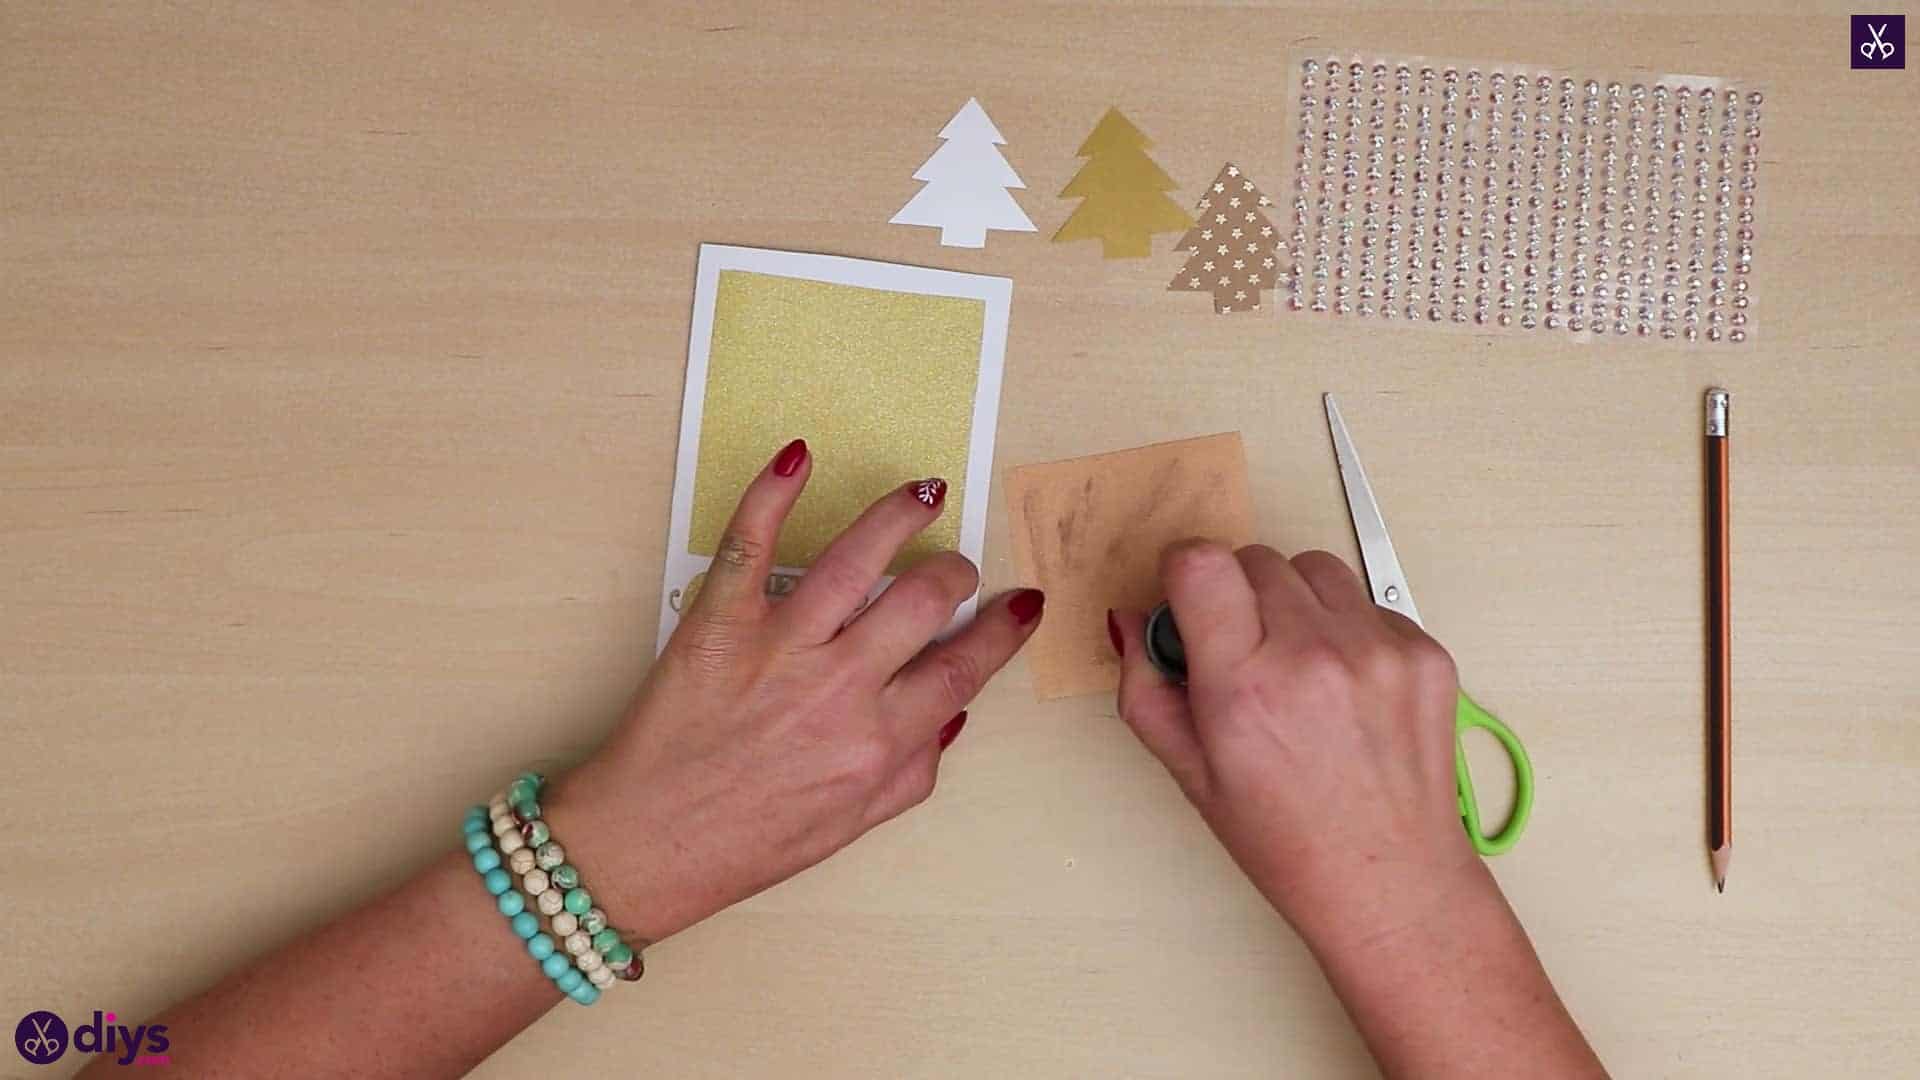
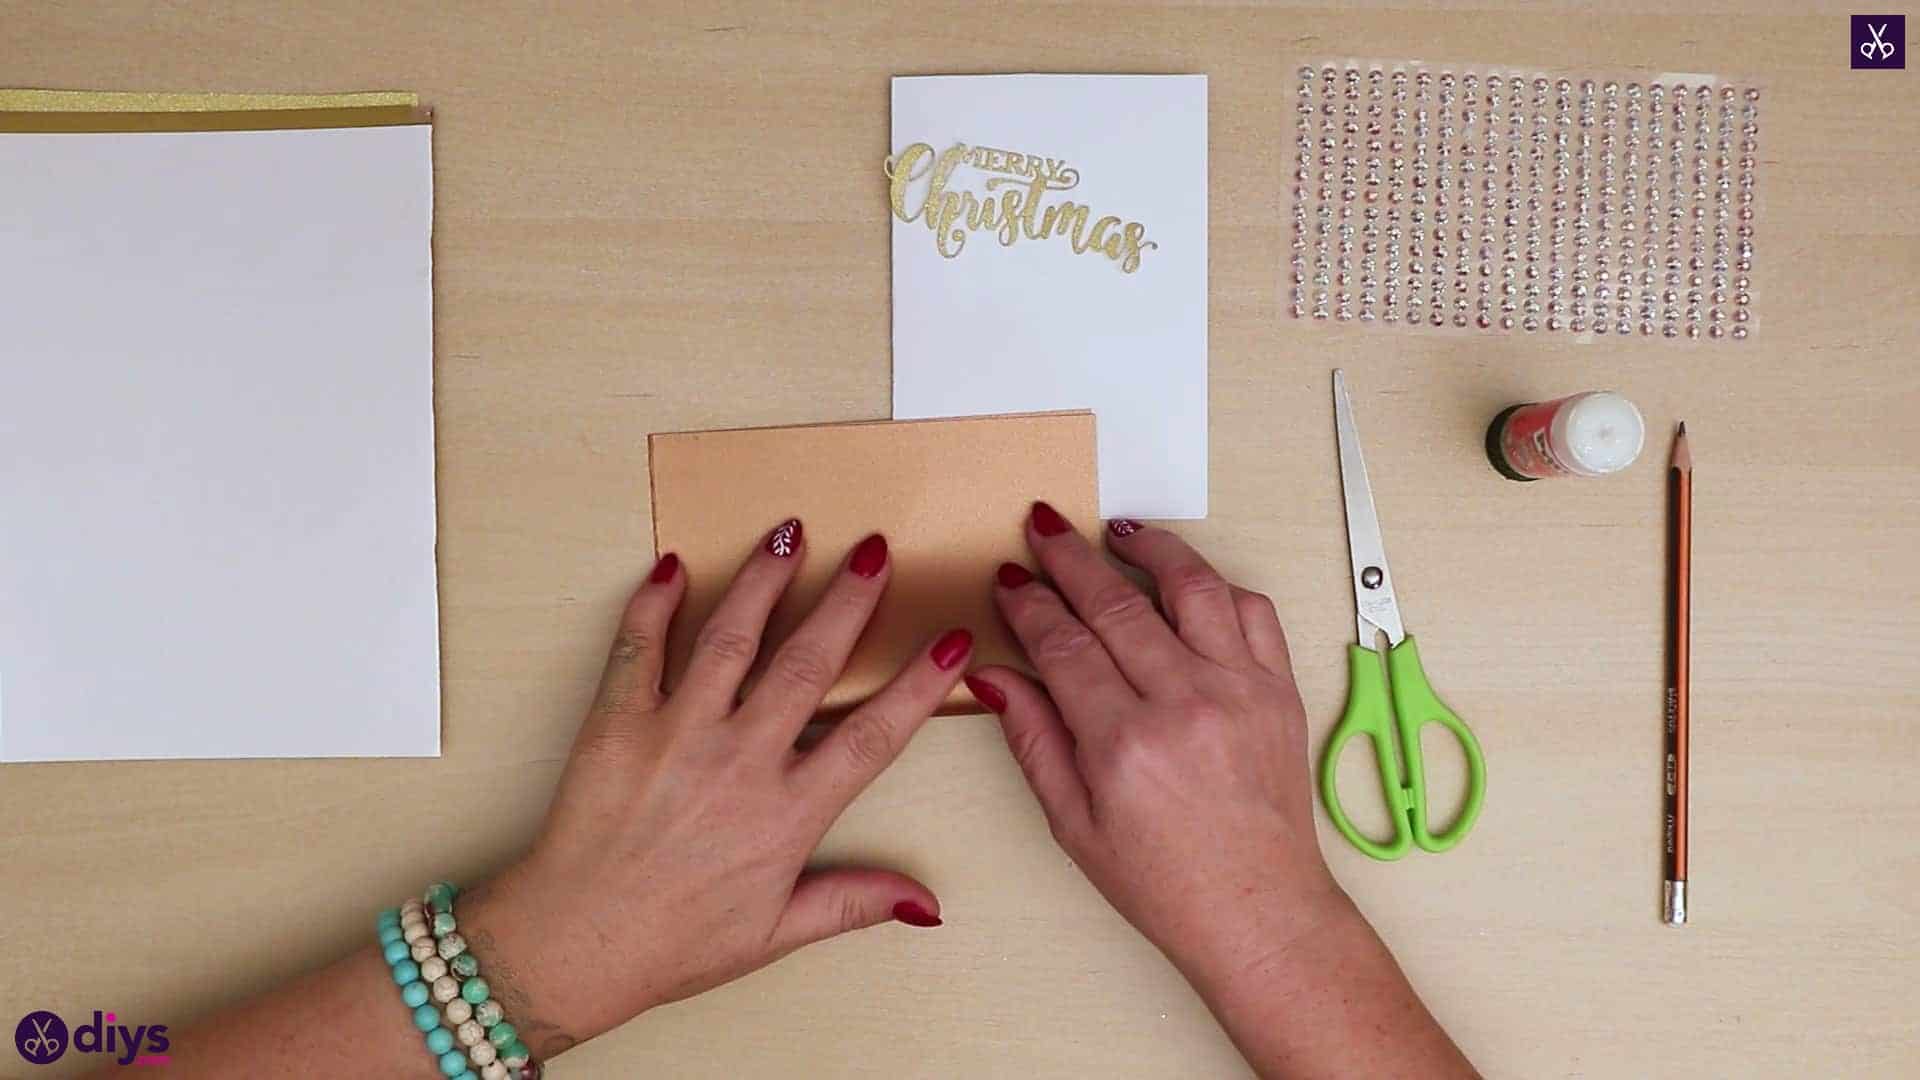
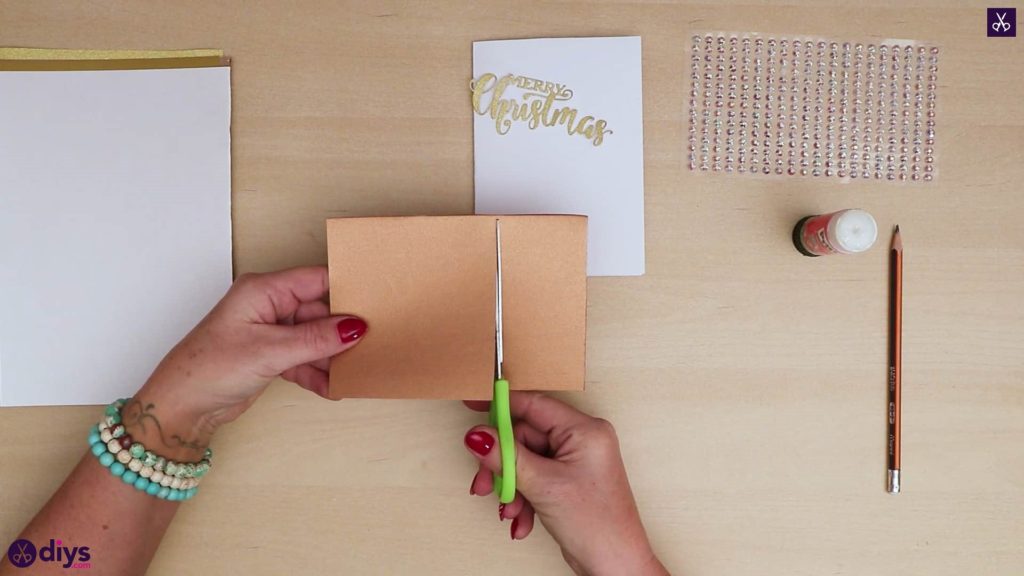
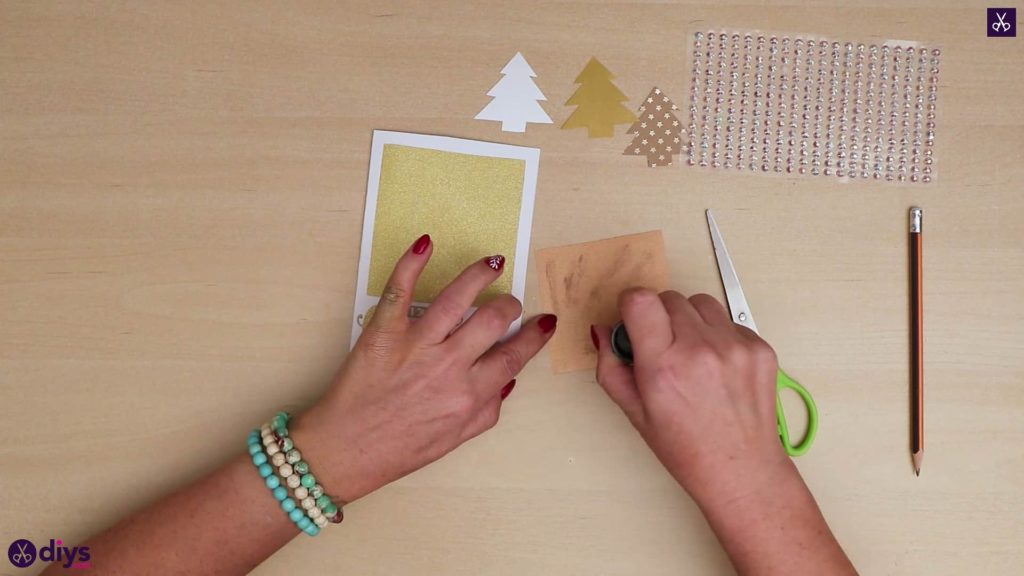
Take your piece of bronze paper and repeat the folding and cutting process to give yourself half the sheet’s size. Then, with the piece laid landscape again, trim about an inch off the end to make the piece slightly smaller stick. Measure this against the front of your white card to see if the size is right or if you need to trim it more. You want a smaller rectangle that will fit comfortably on the front but still leave enough white space at the bottom for a seasons greetings message. Set the bronze piece aside for now.

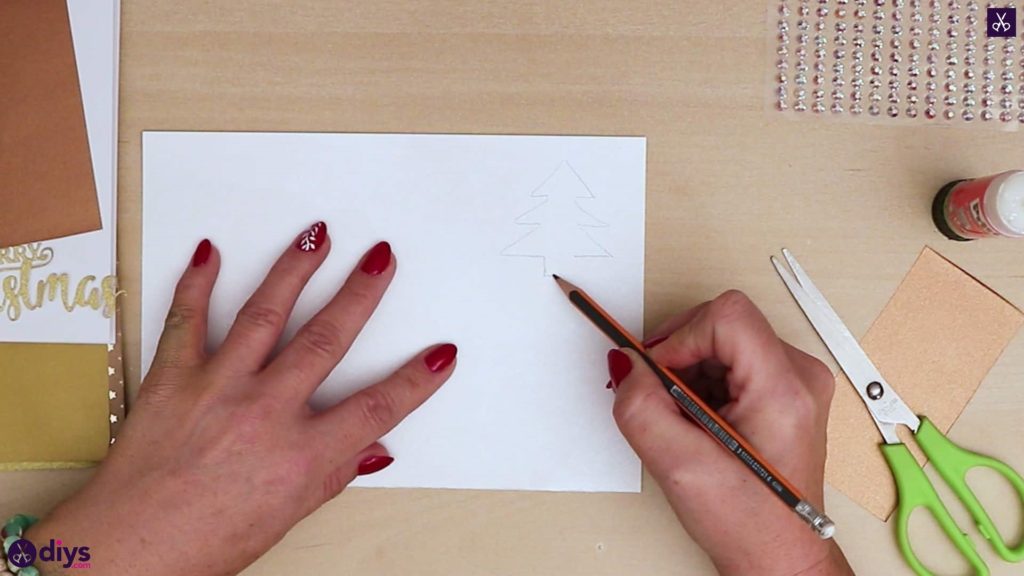
Step 5: draw and cut a tree
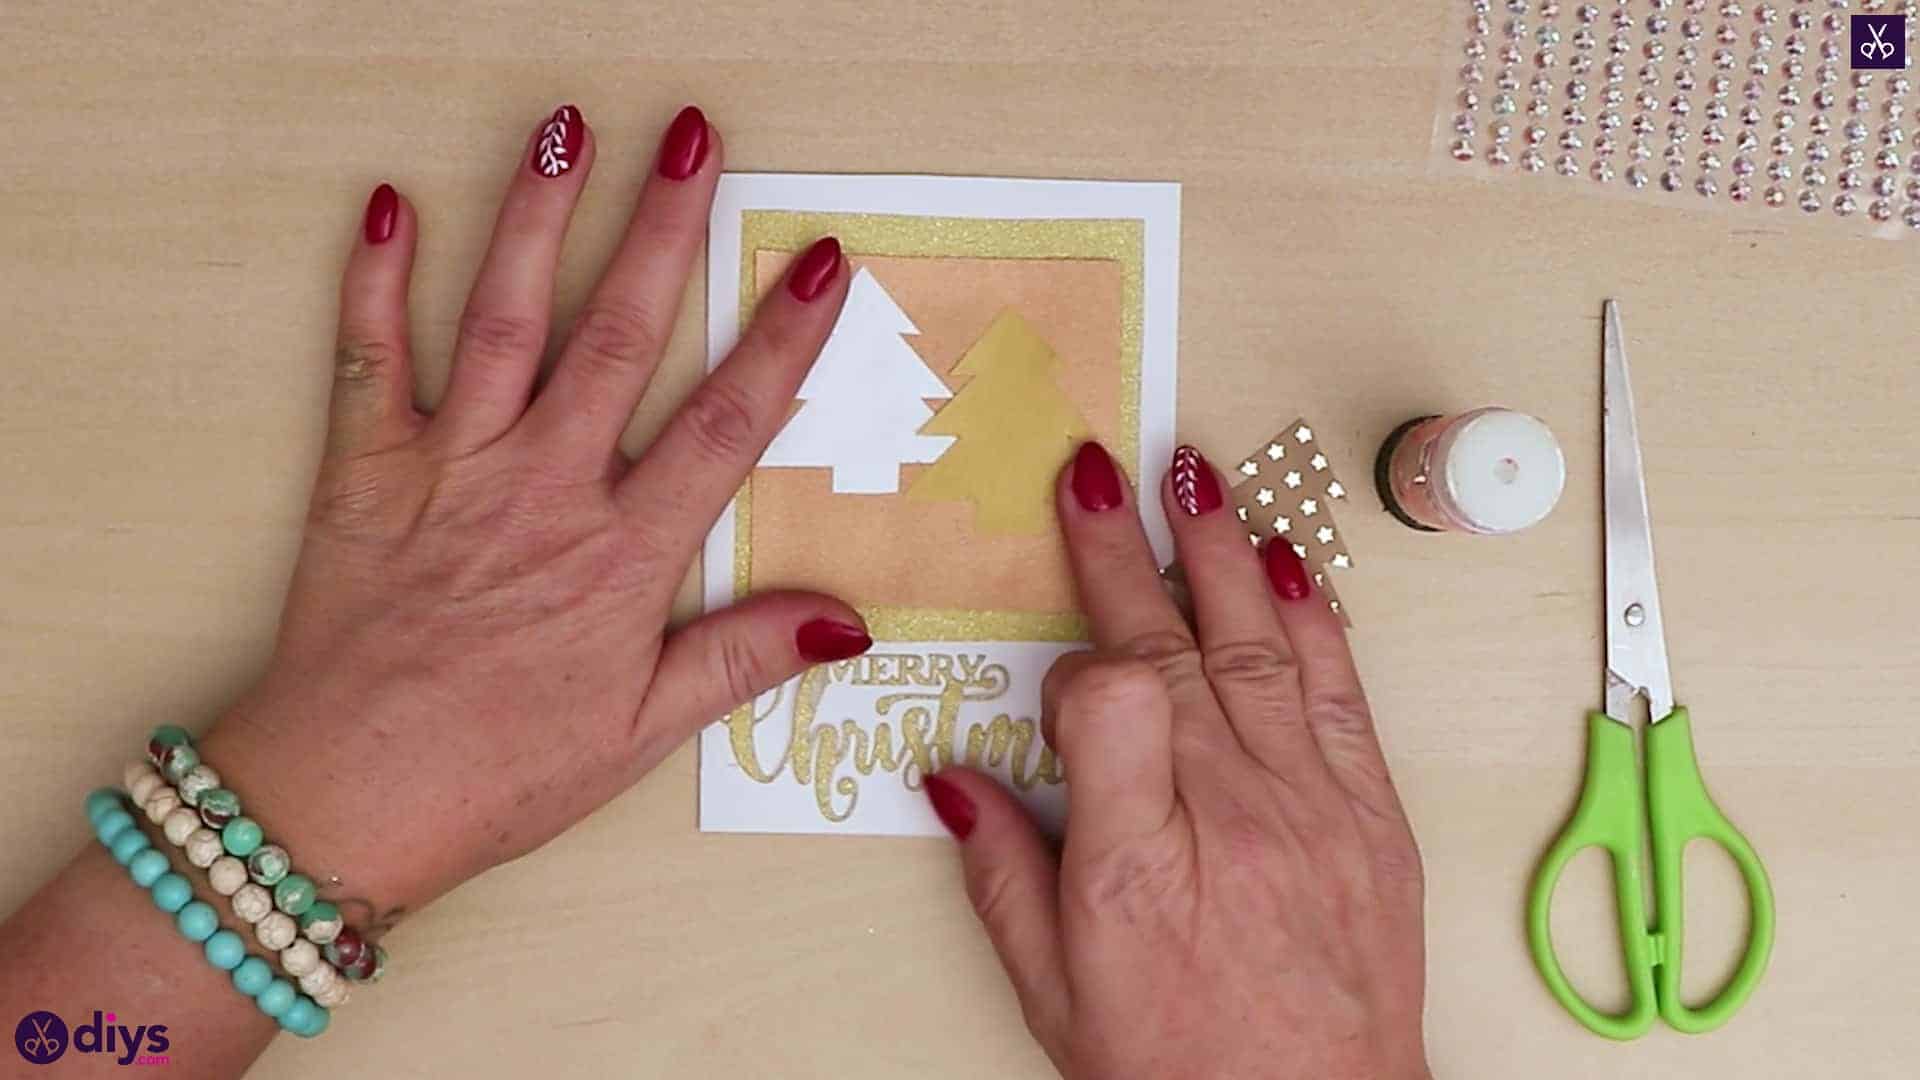
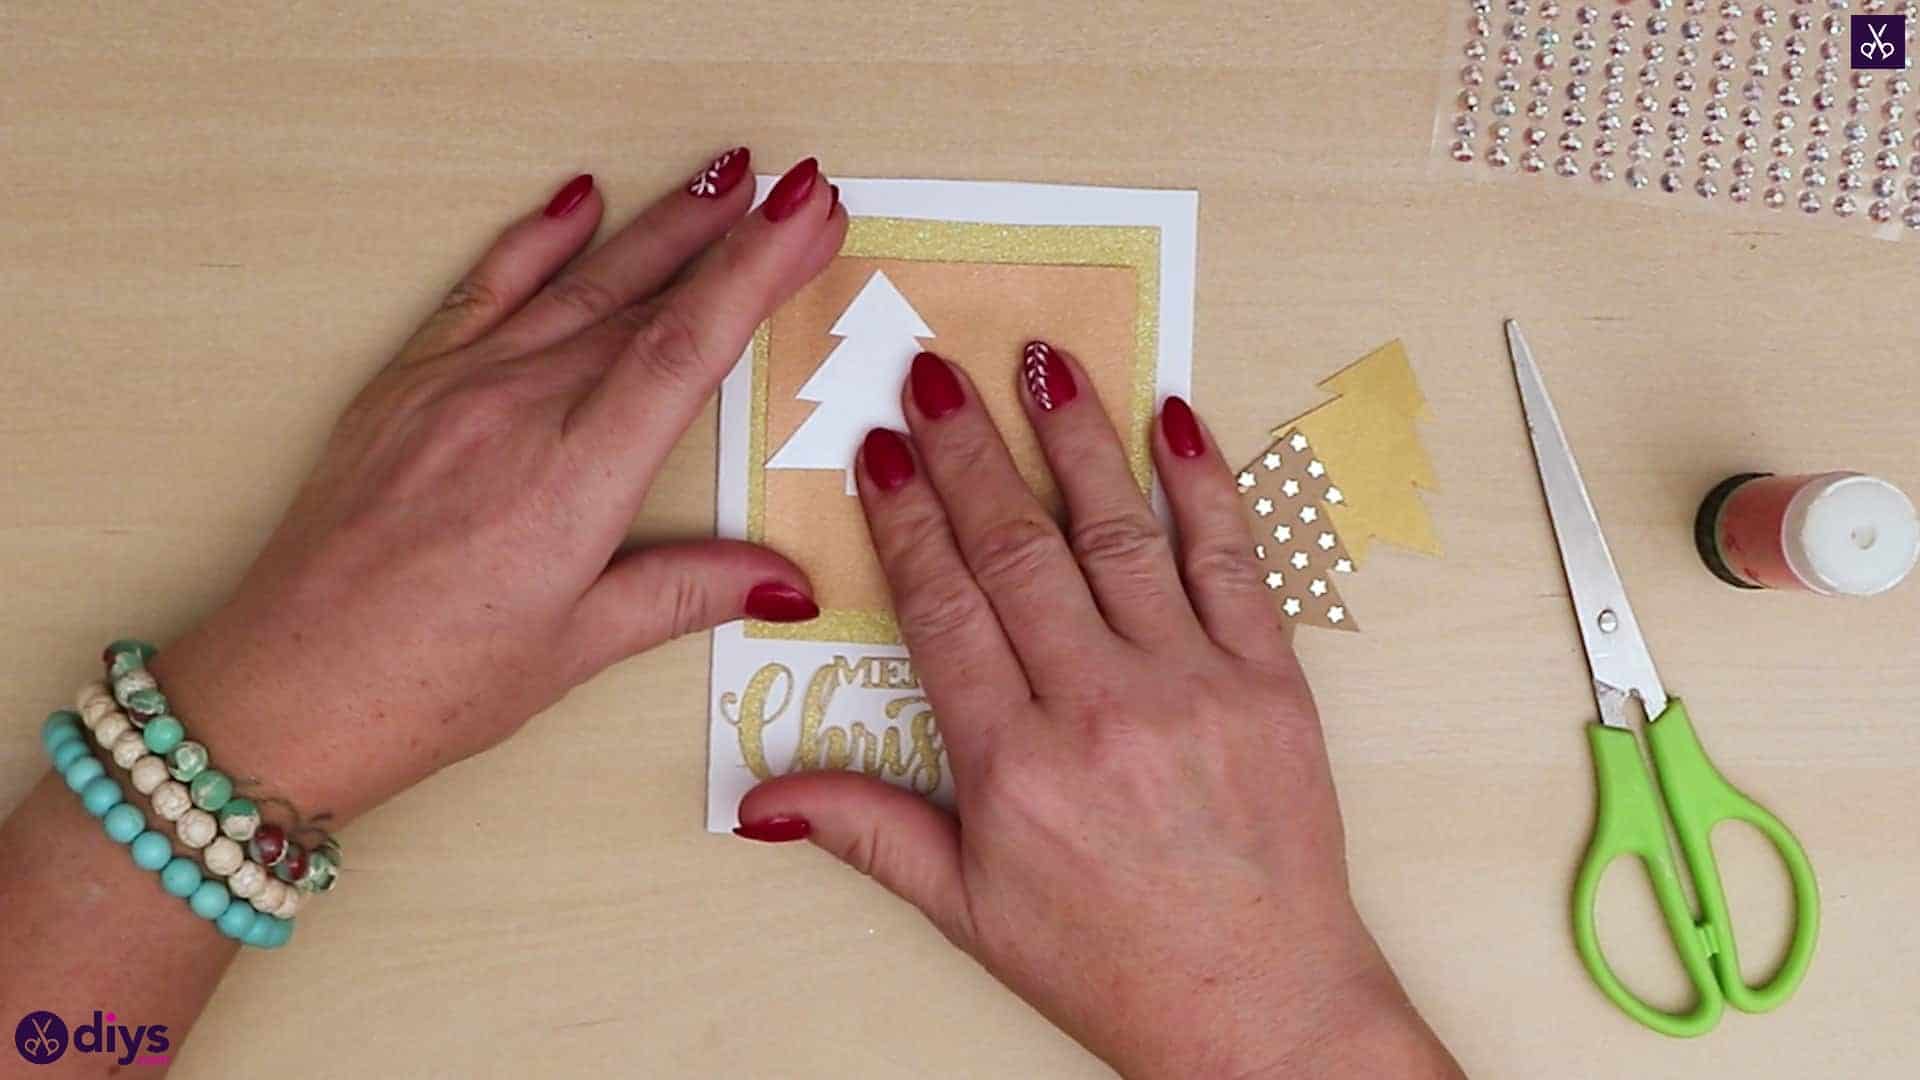
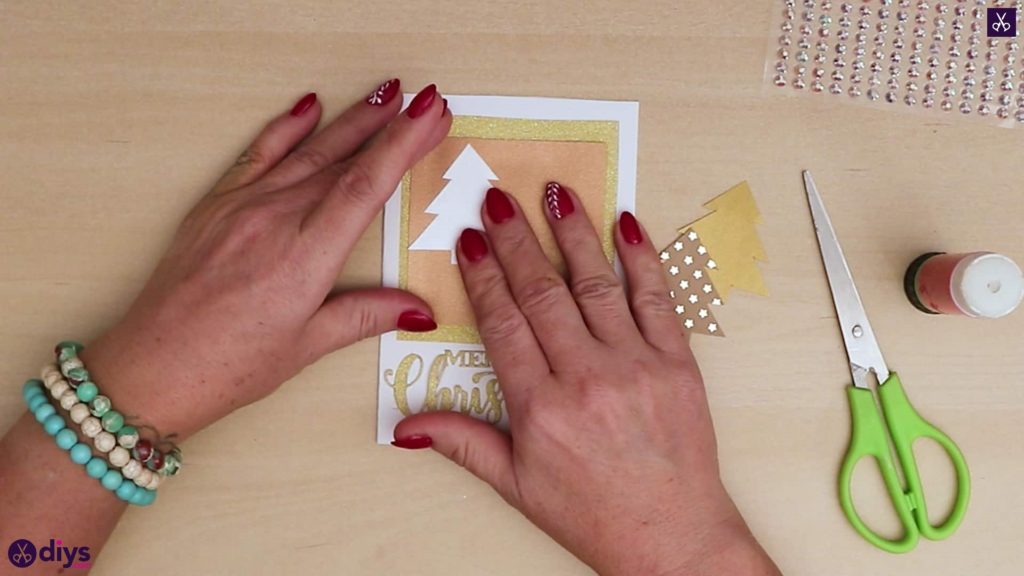
Draw the shape of a small Christmas tree on your white cardstock and cut it out. Use this tree as a template by tracing around it on your gold and patterned papers and cut those trees out too. Set all three trees aside for the moment.
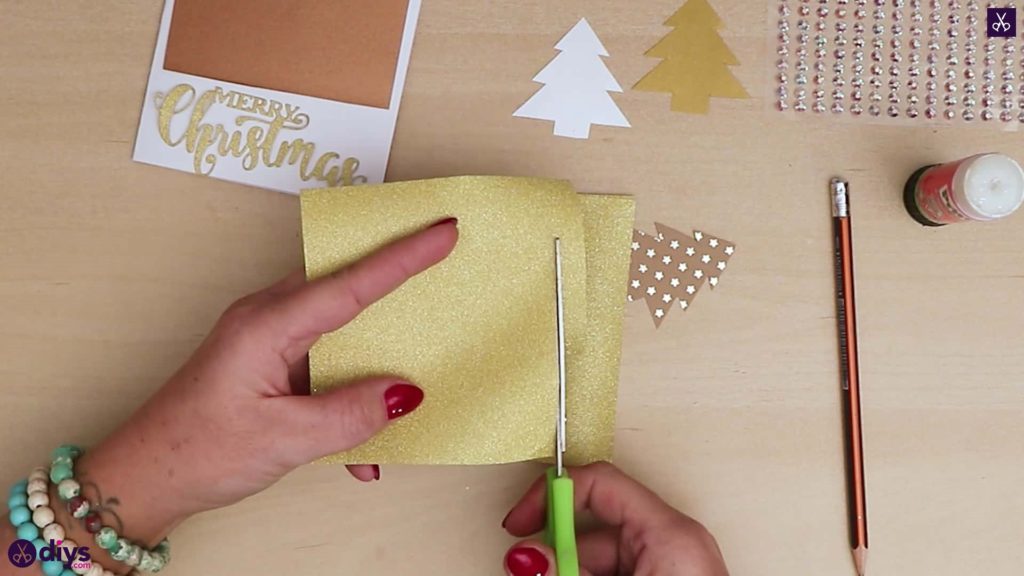
Step 6: repeat
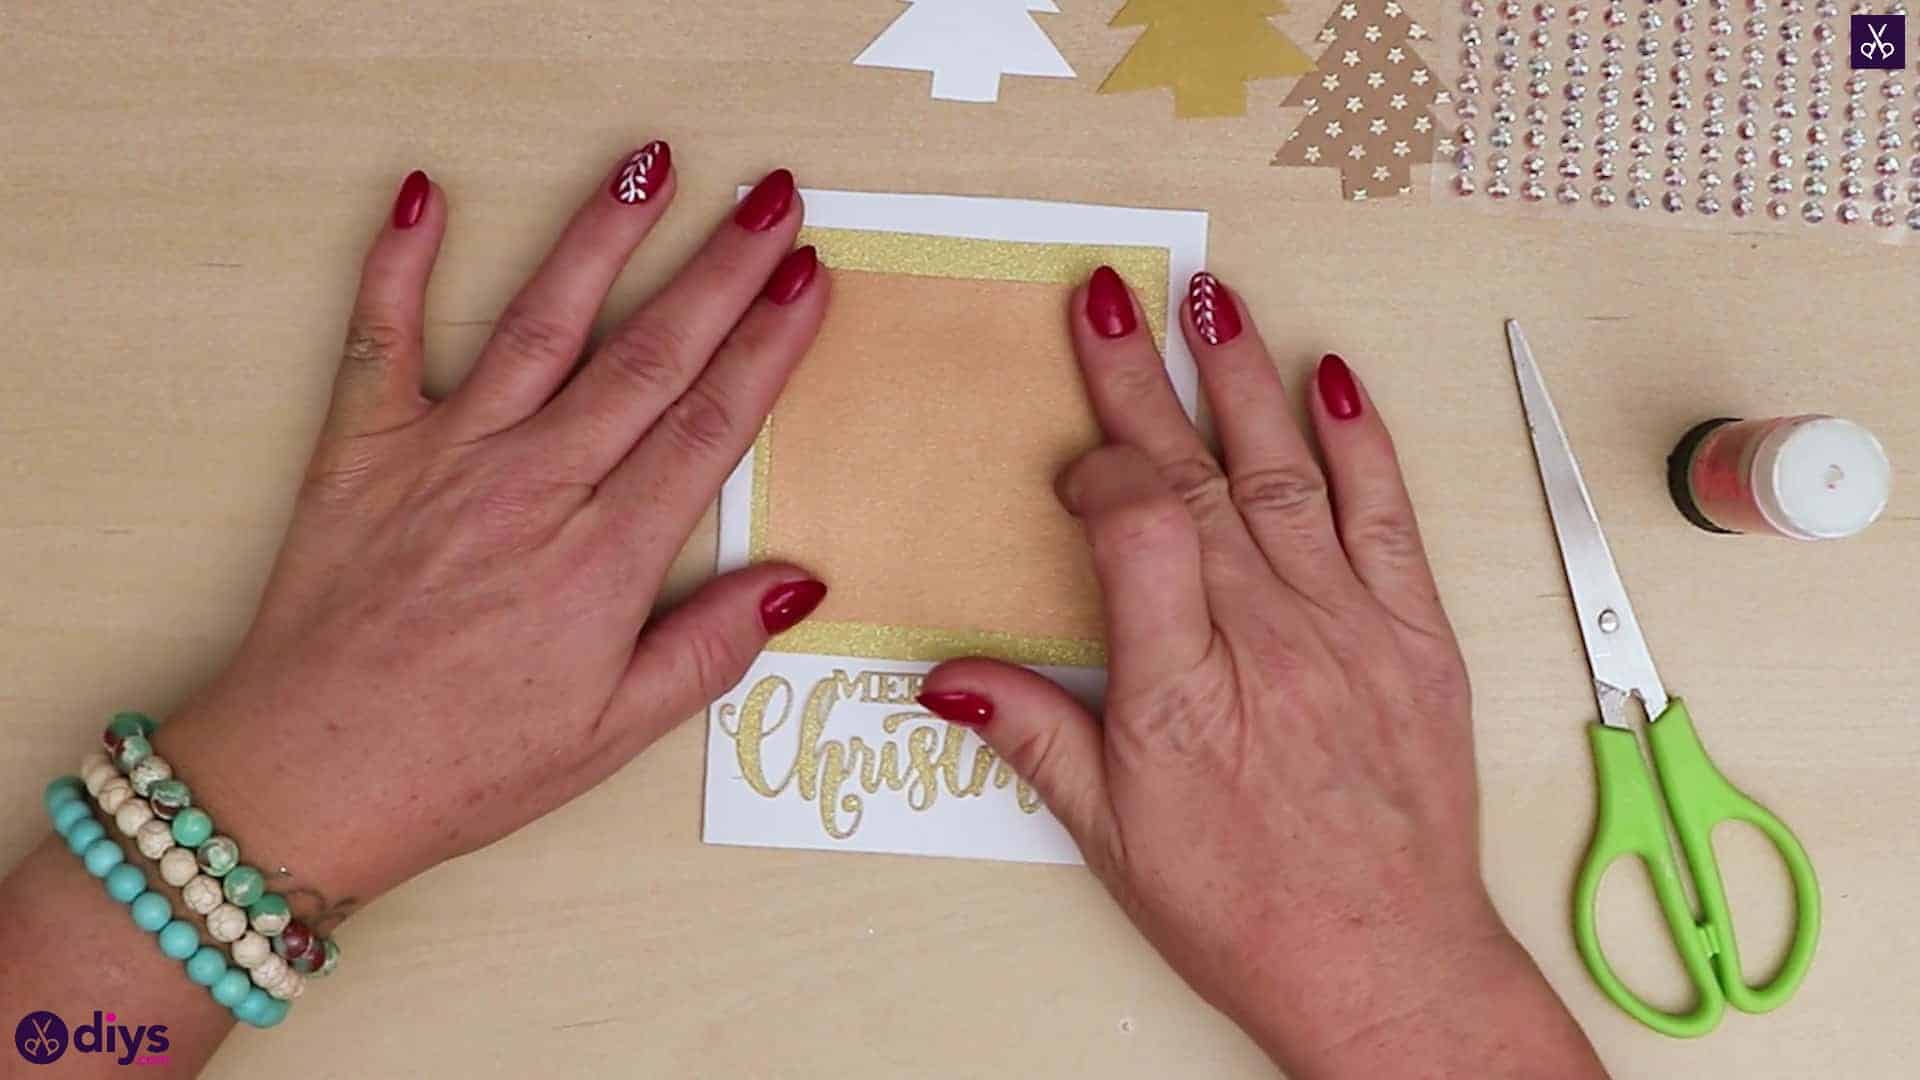
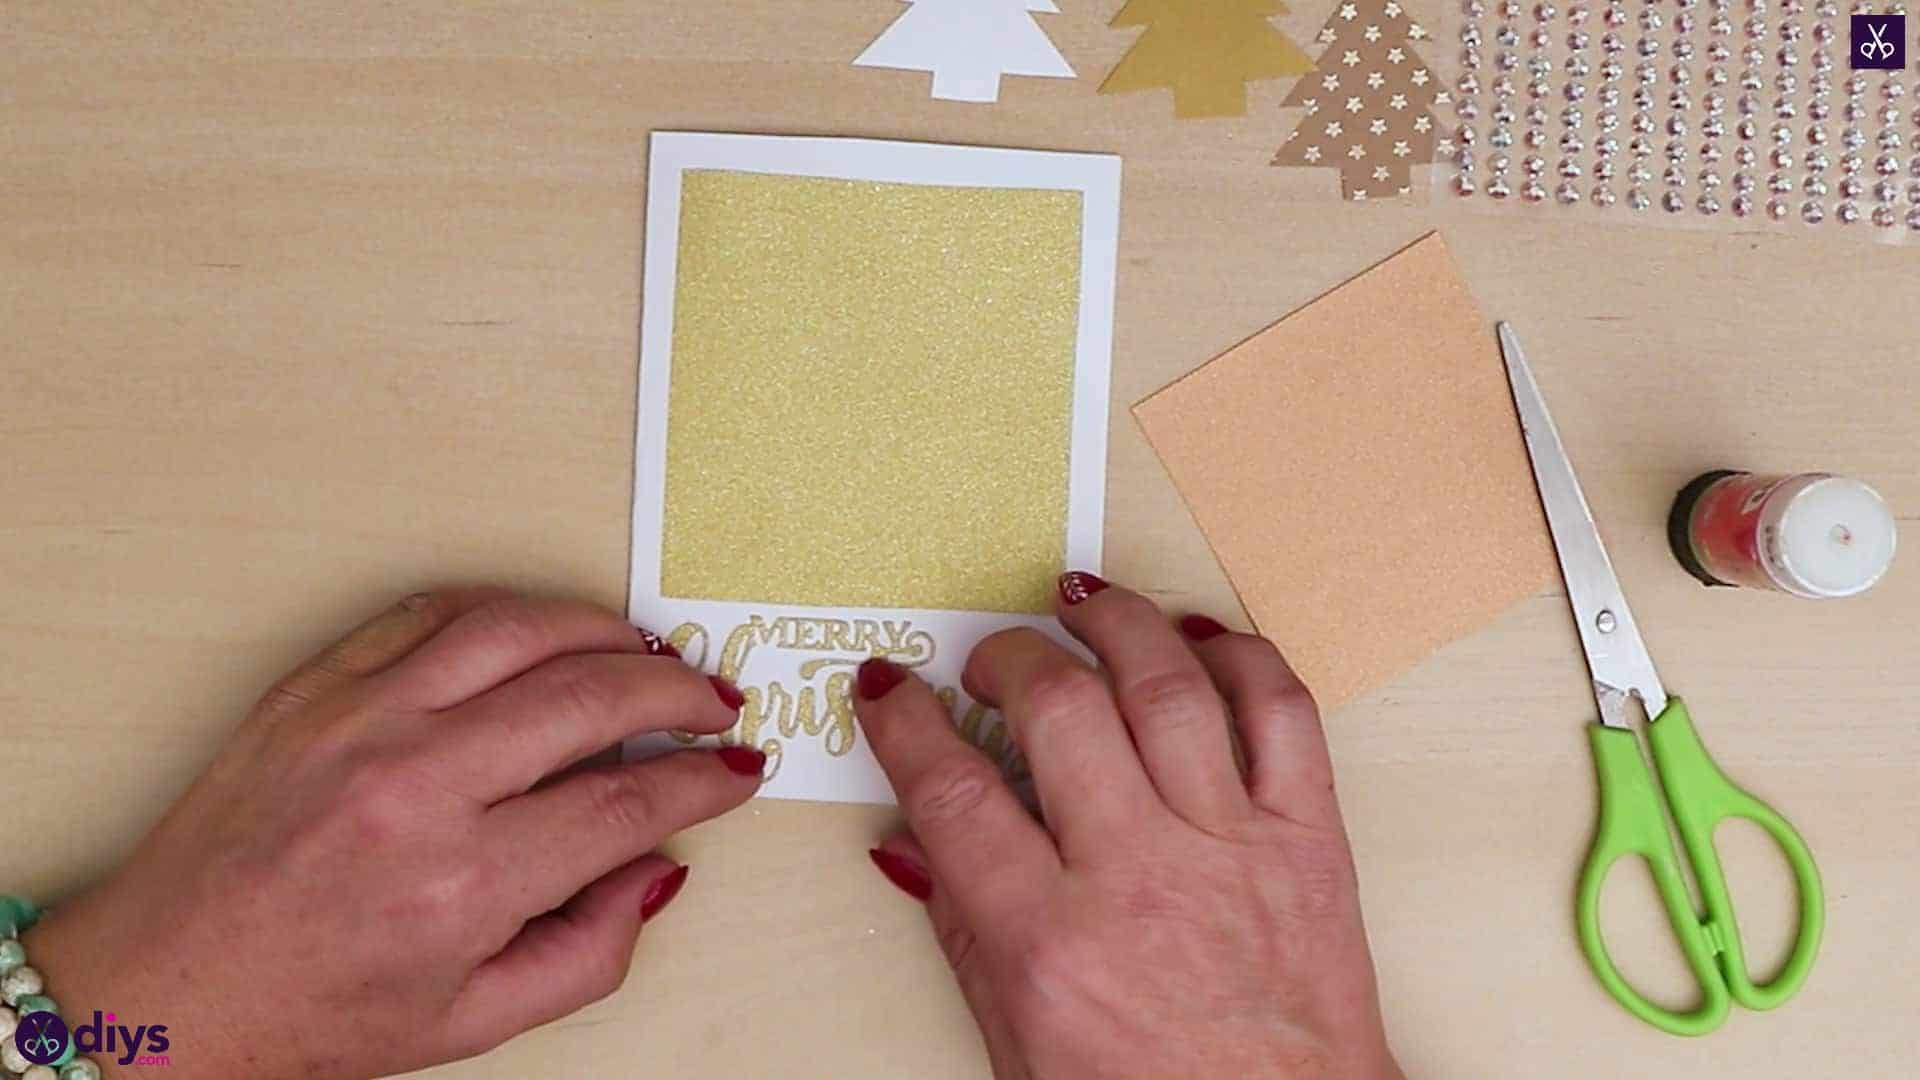
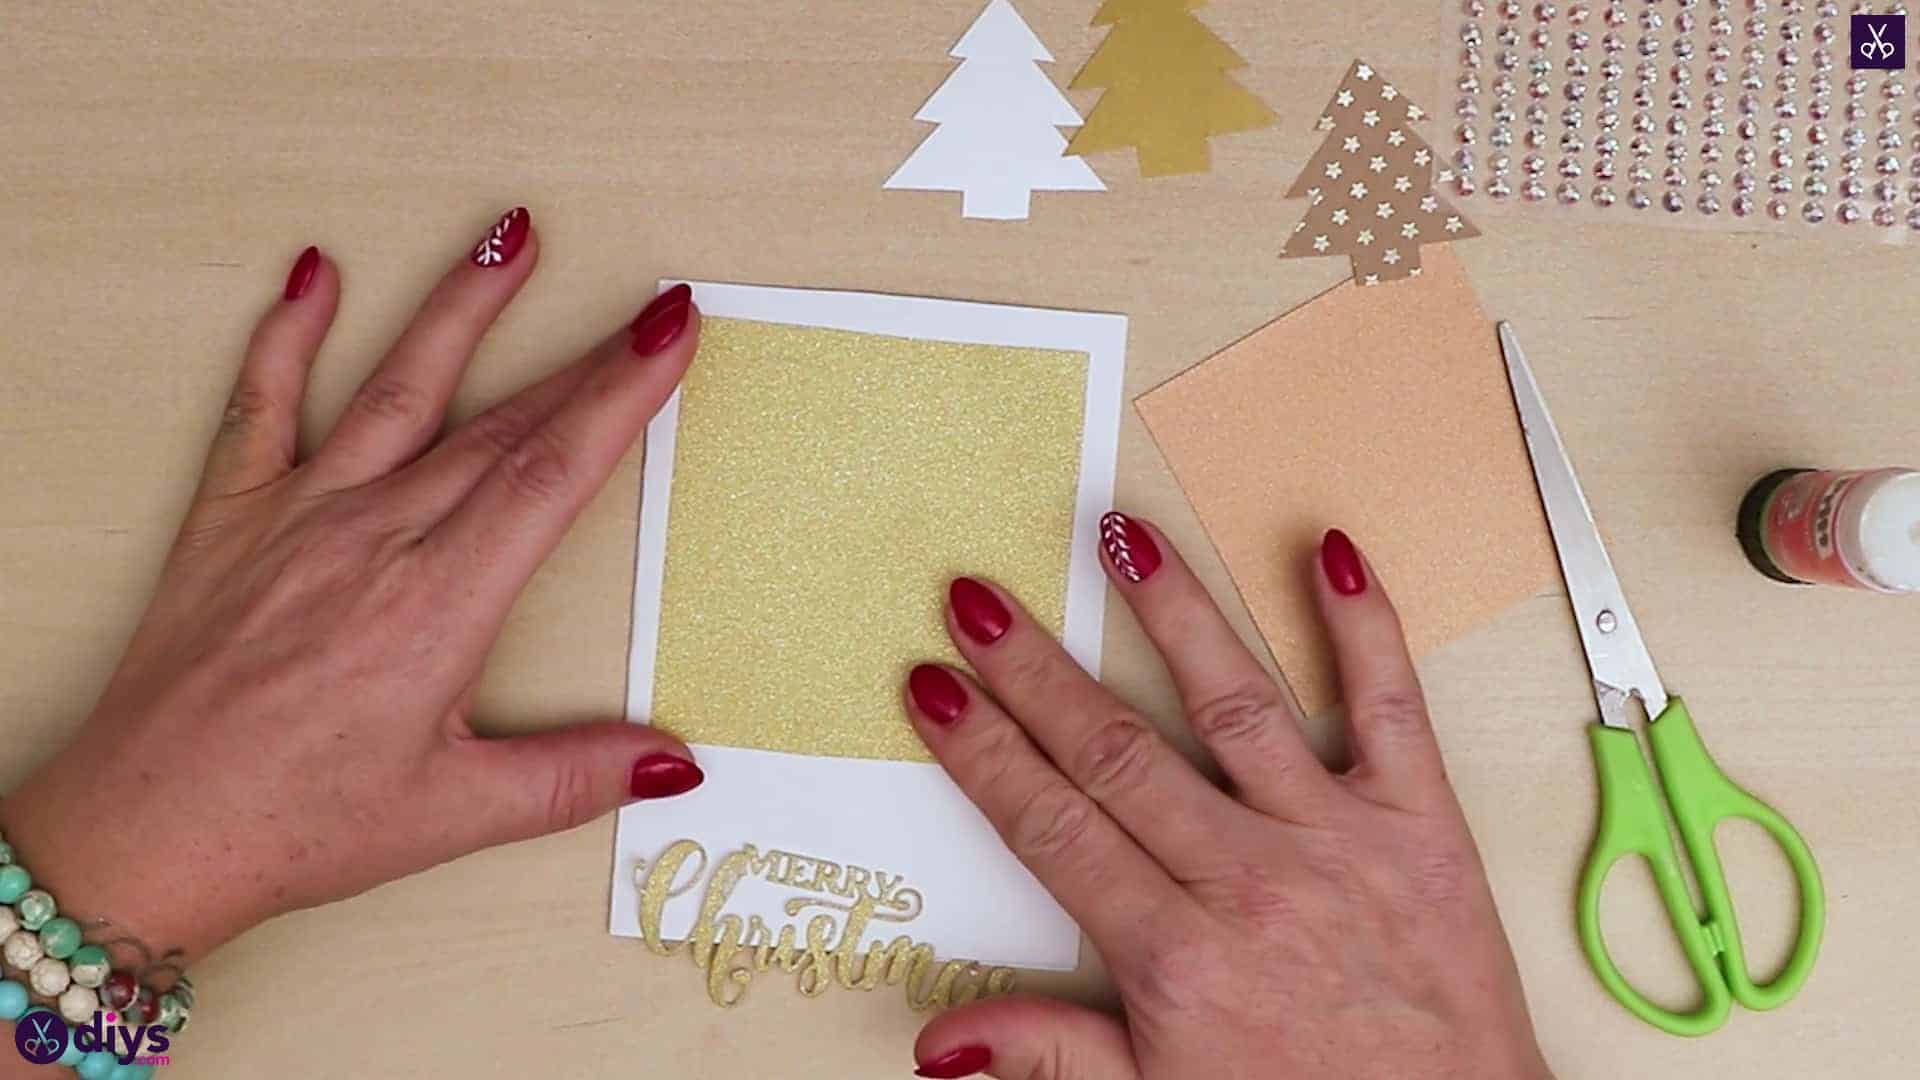
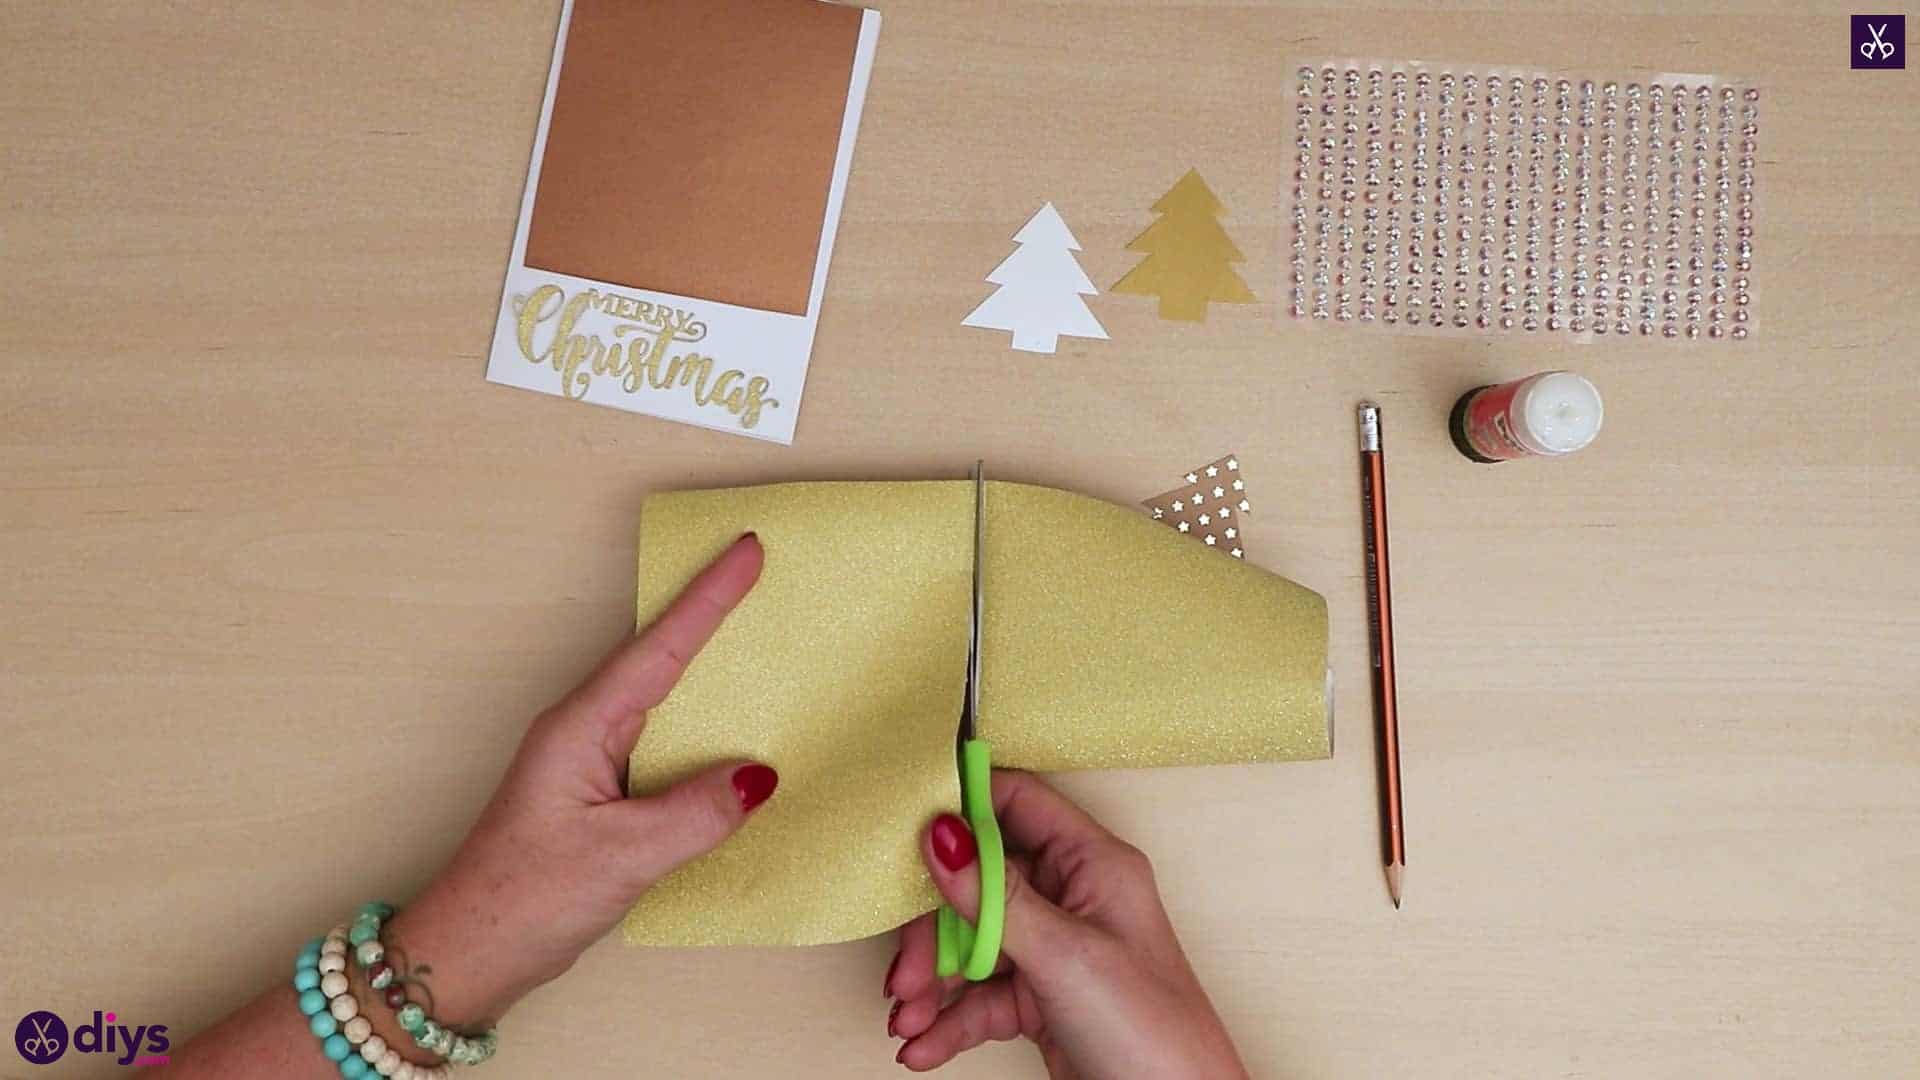
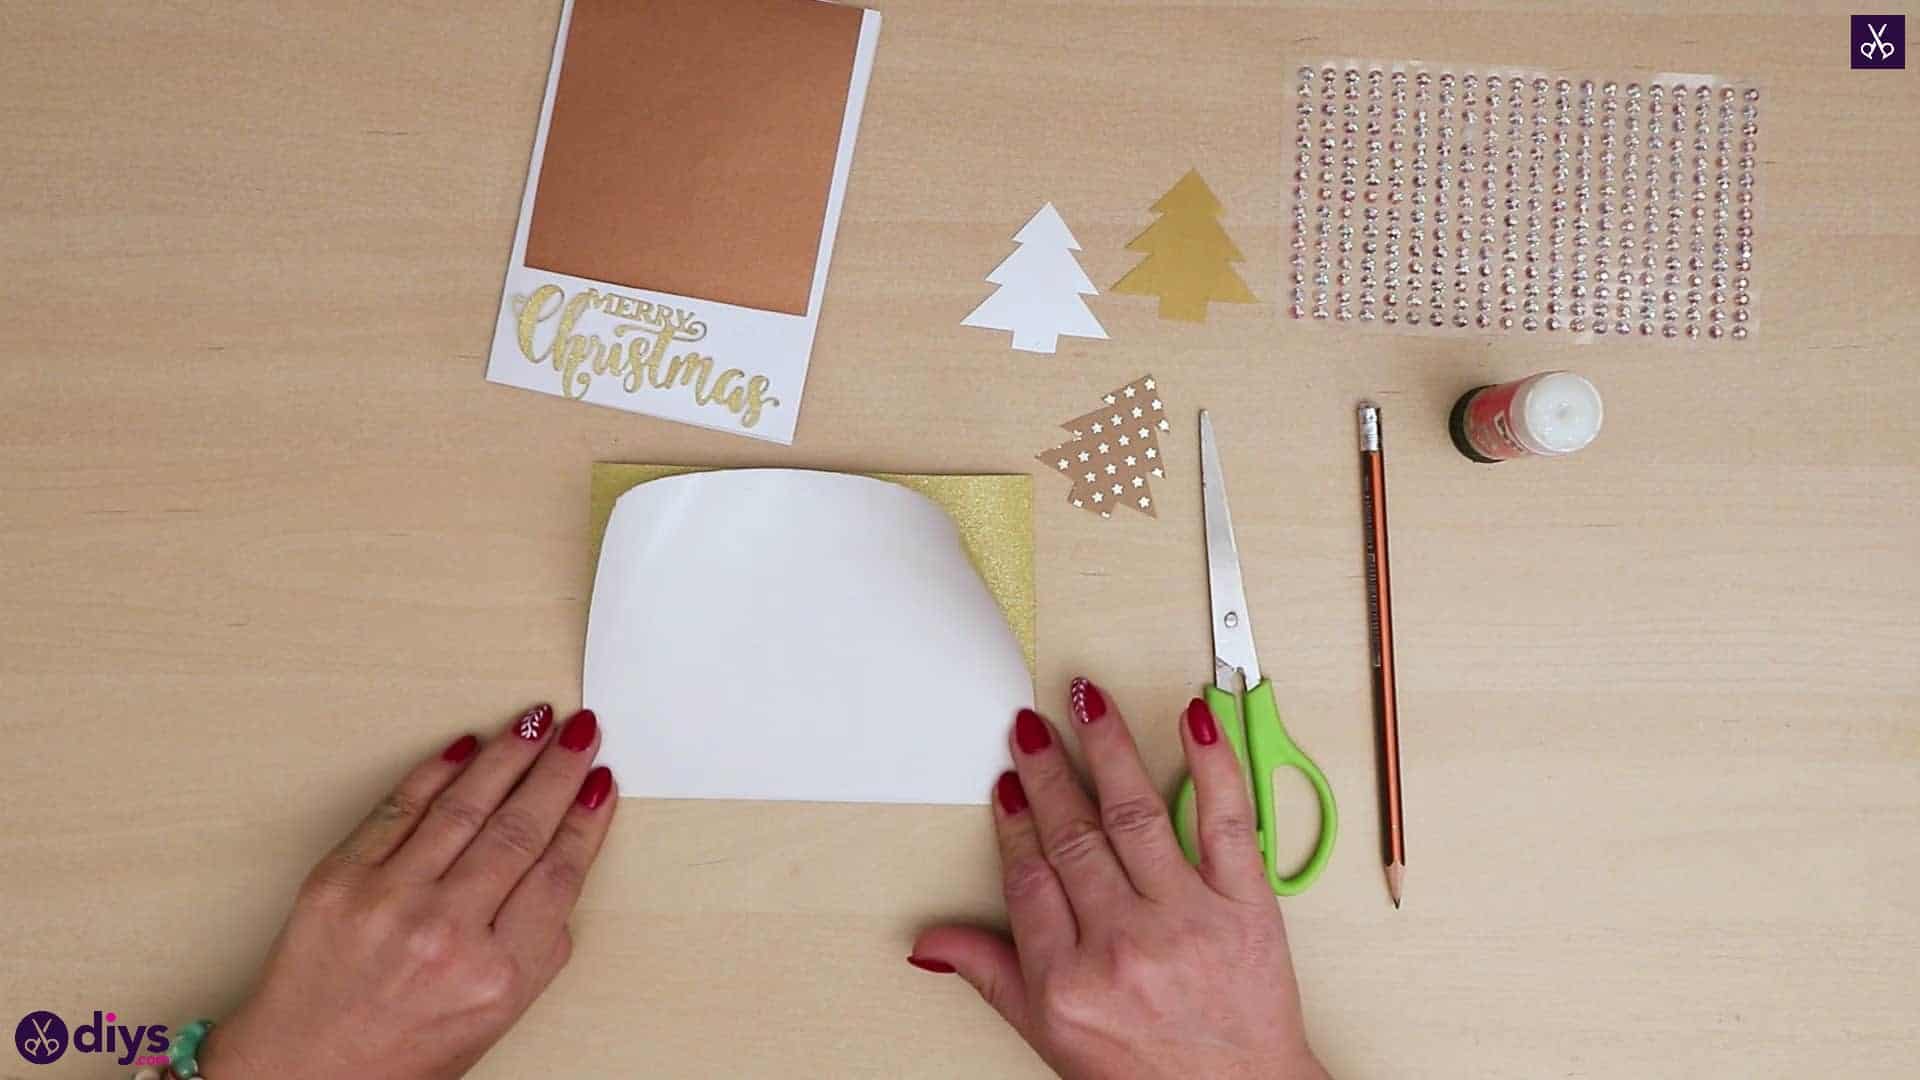
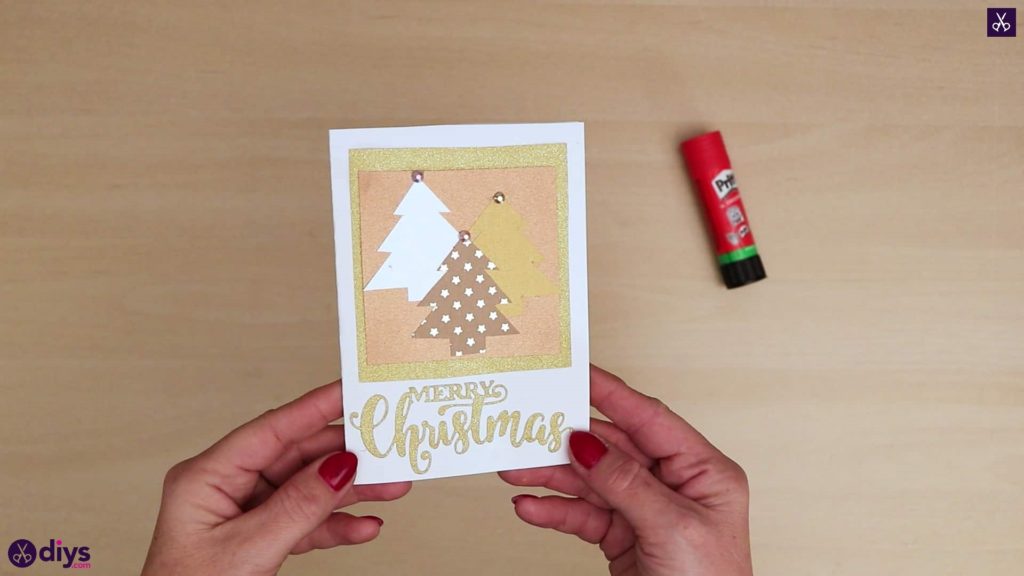
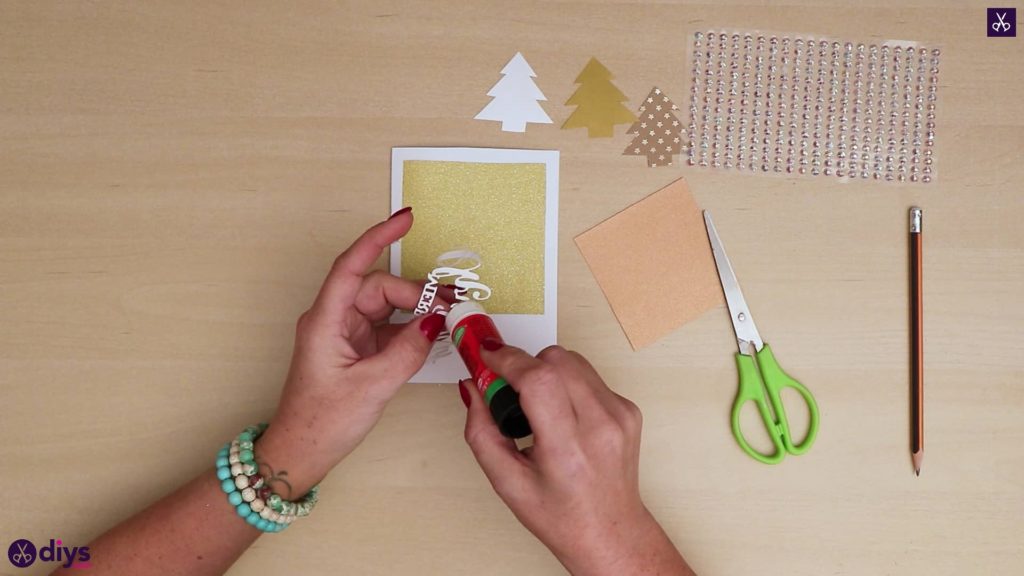
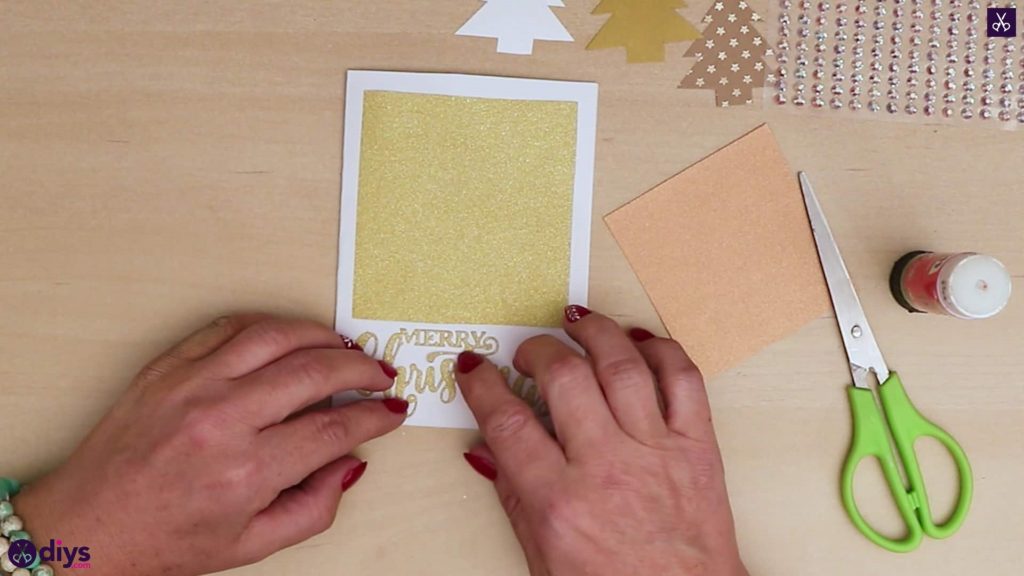
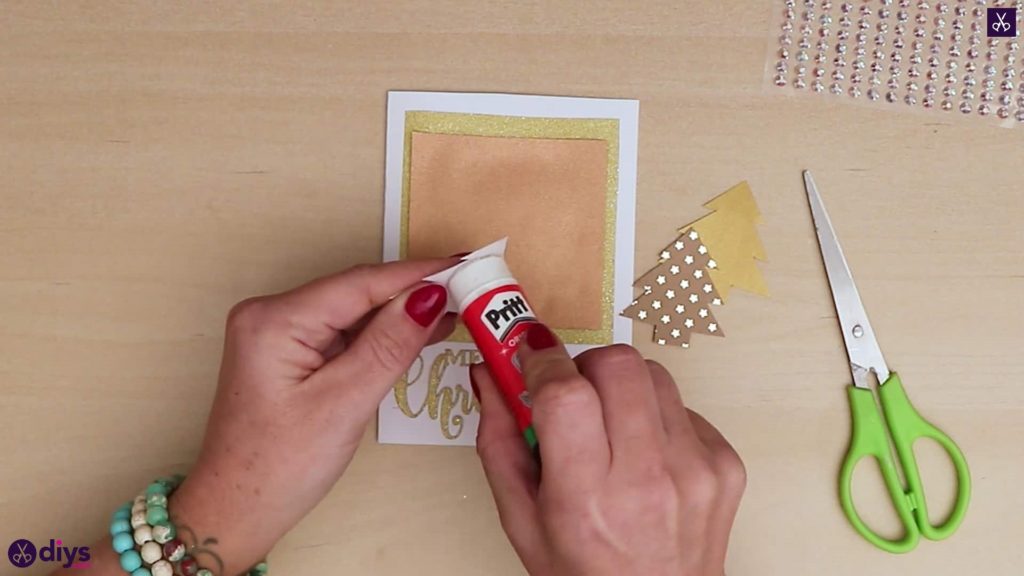
Repeat the turning, folding, and cutting process that you did before with your white and bronze pieces, but this time in gold. Trim the edges of the piece until it fits comfortable in the top three quarters on the front of your white card, like we mentioned before (still leaving room for a message at the bottom). Once you’re happy with the size, apply glue to the back of the gold piece and glue it down.


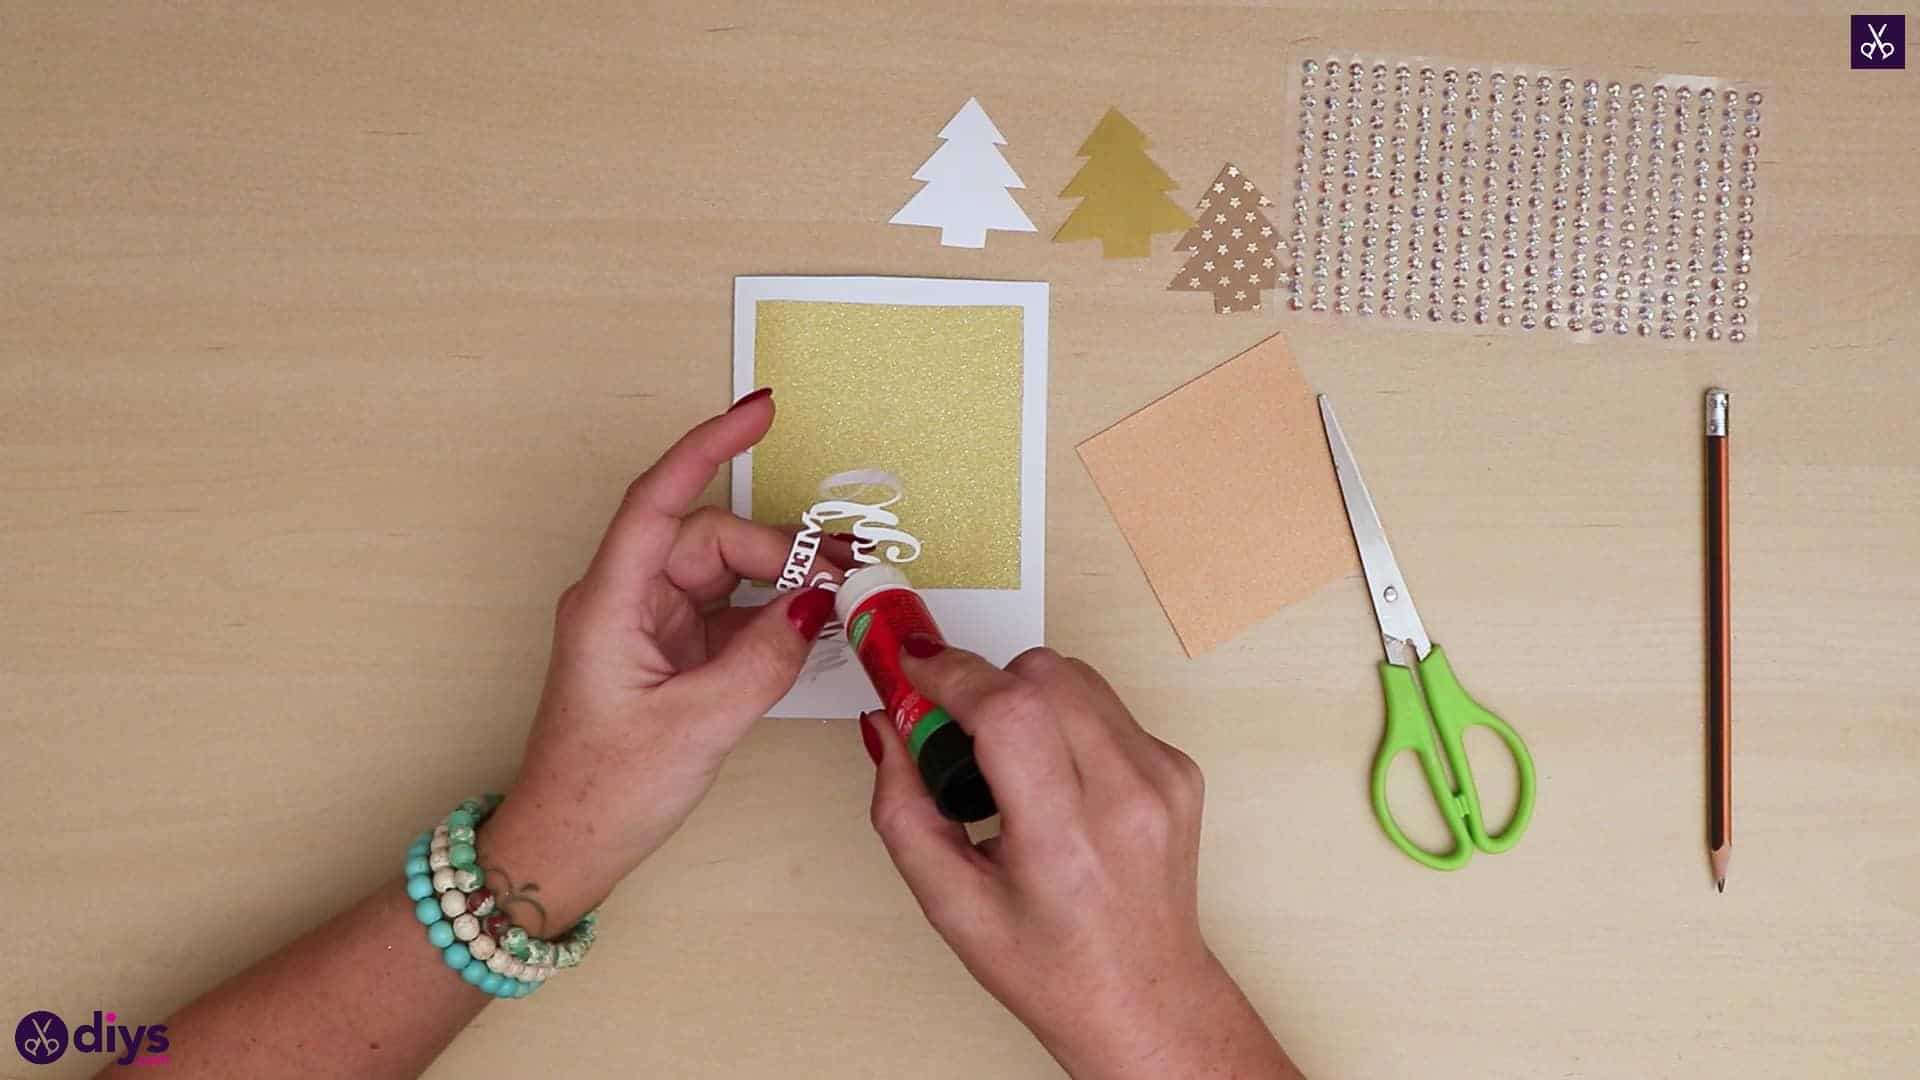
Step 7: add the greeting
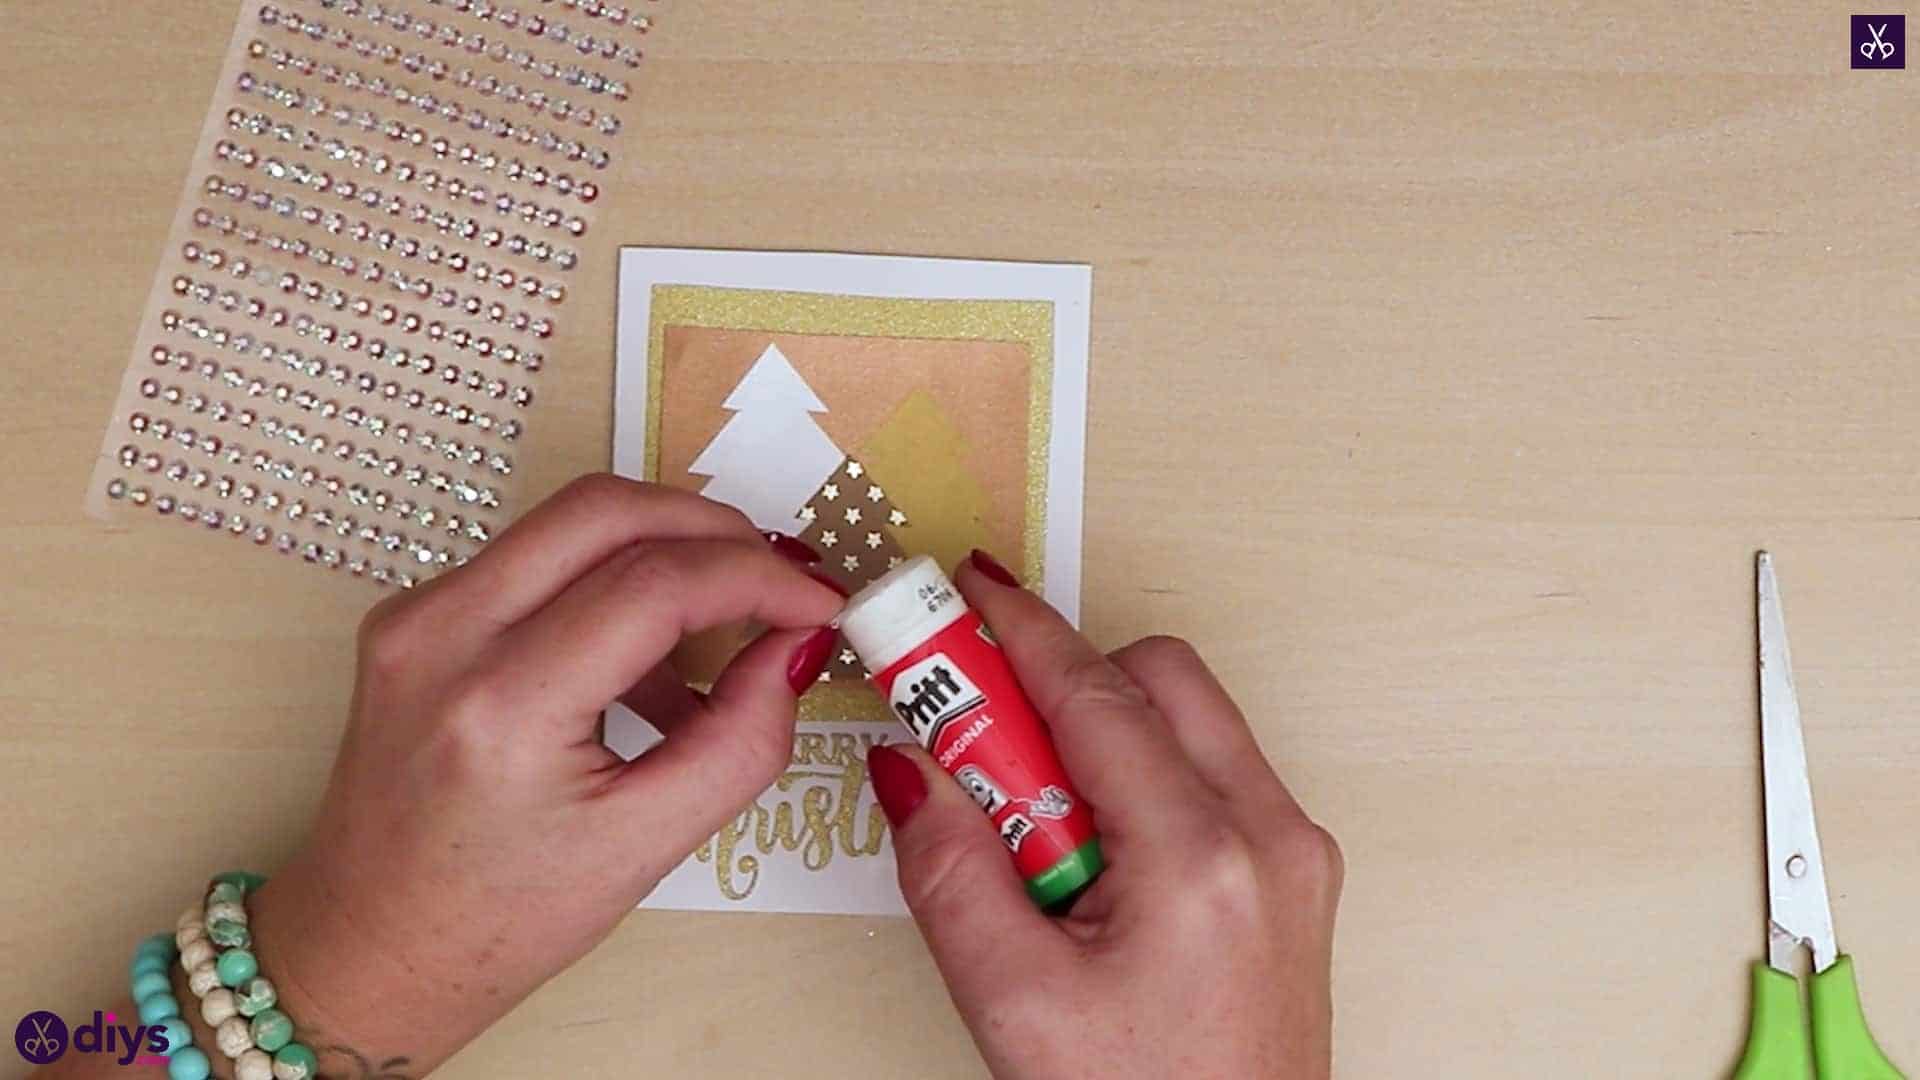
If the back of the Christmas greetings sticker you’re using isn’t already self adhesive, apply glue there and stick the greeting down on your card’s front right below the gold square you just positioned, near the bottom of the card’s cover.
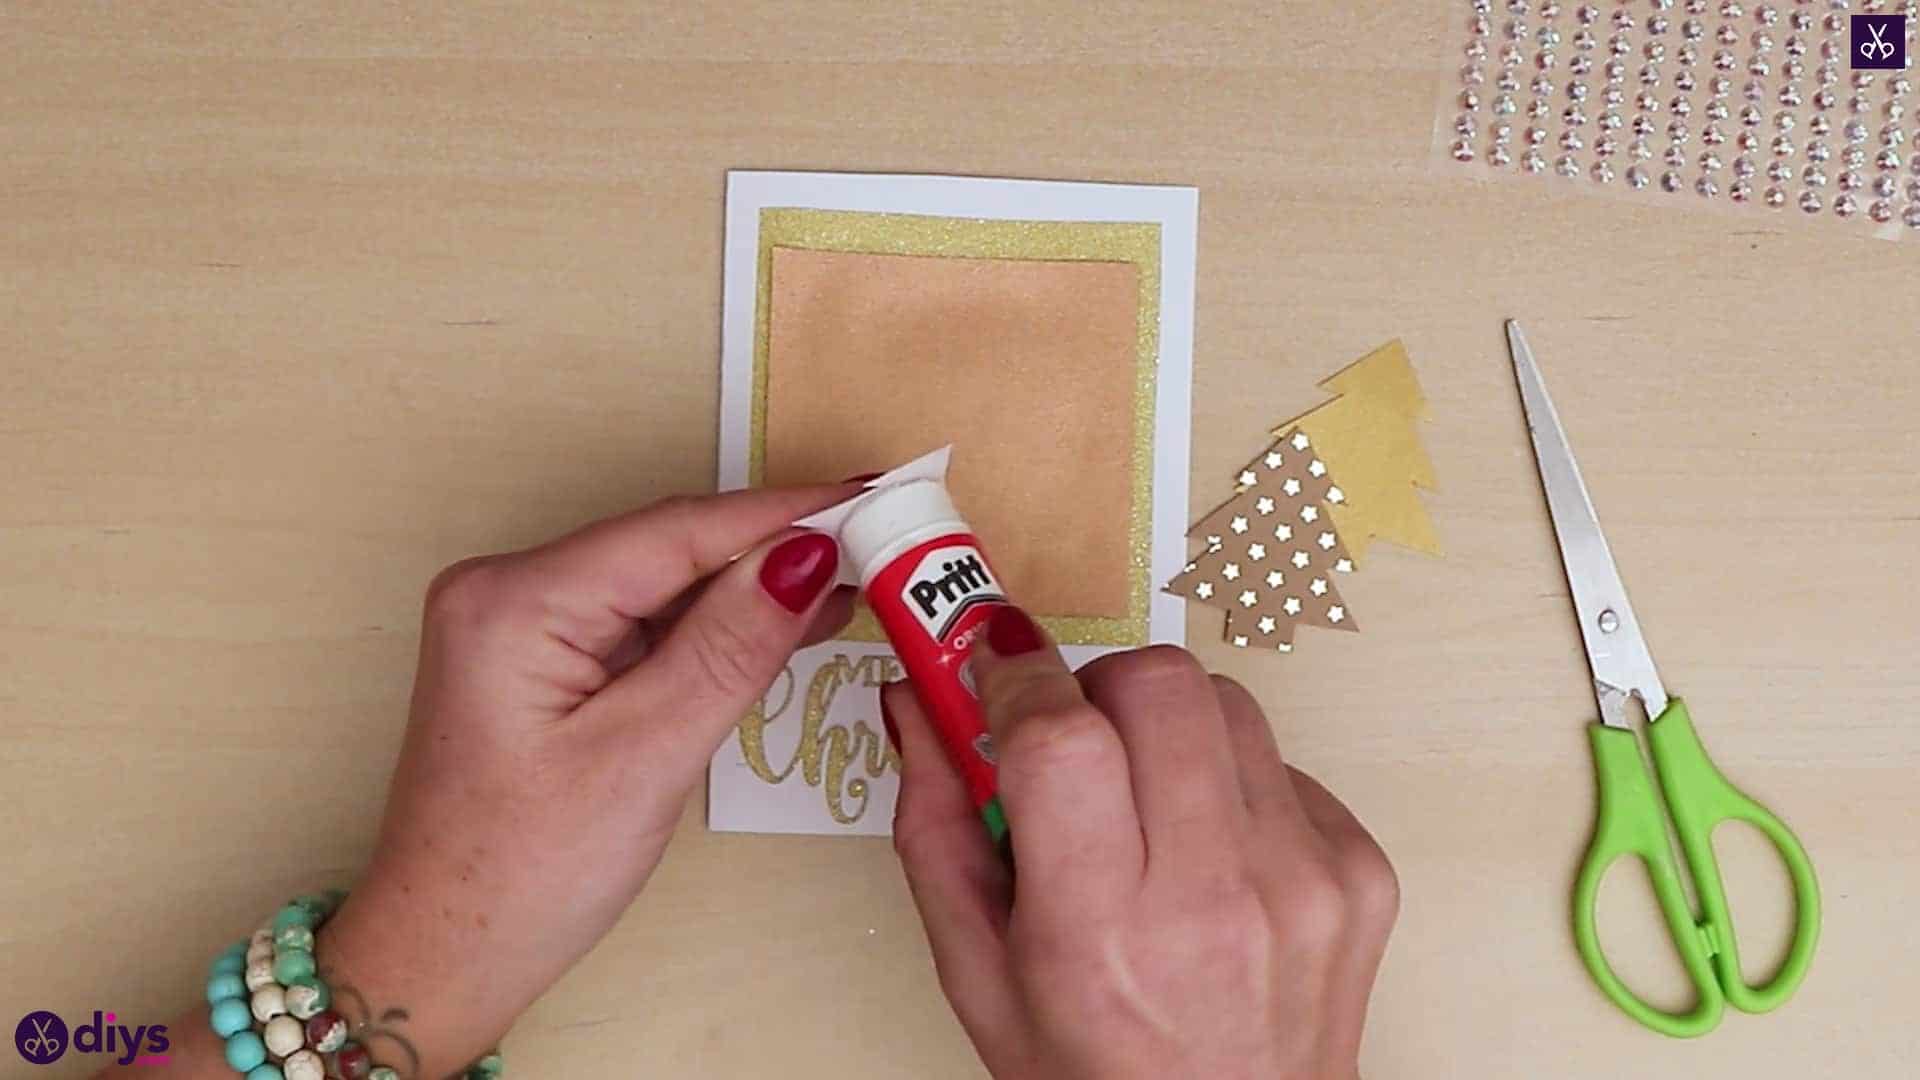
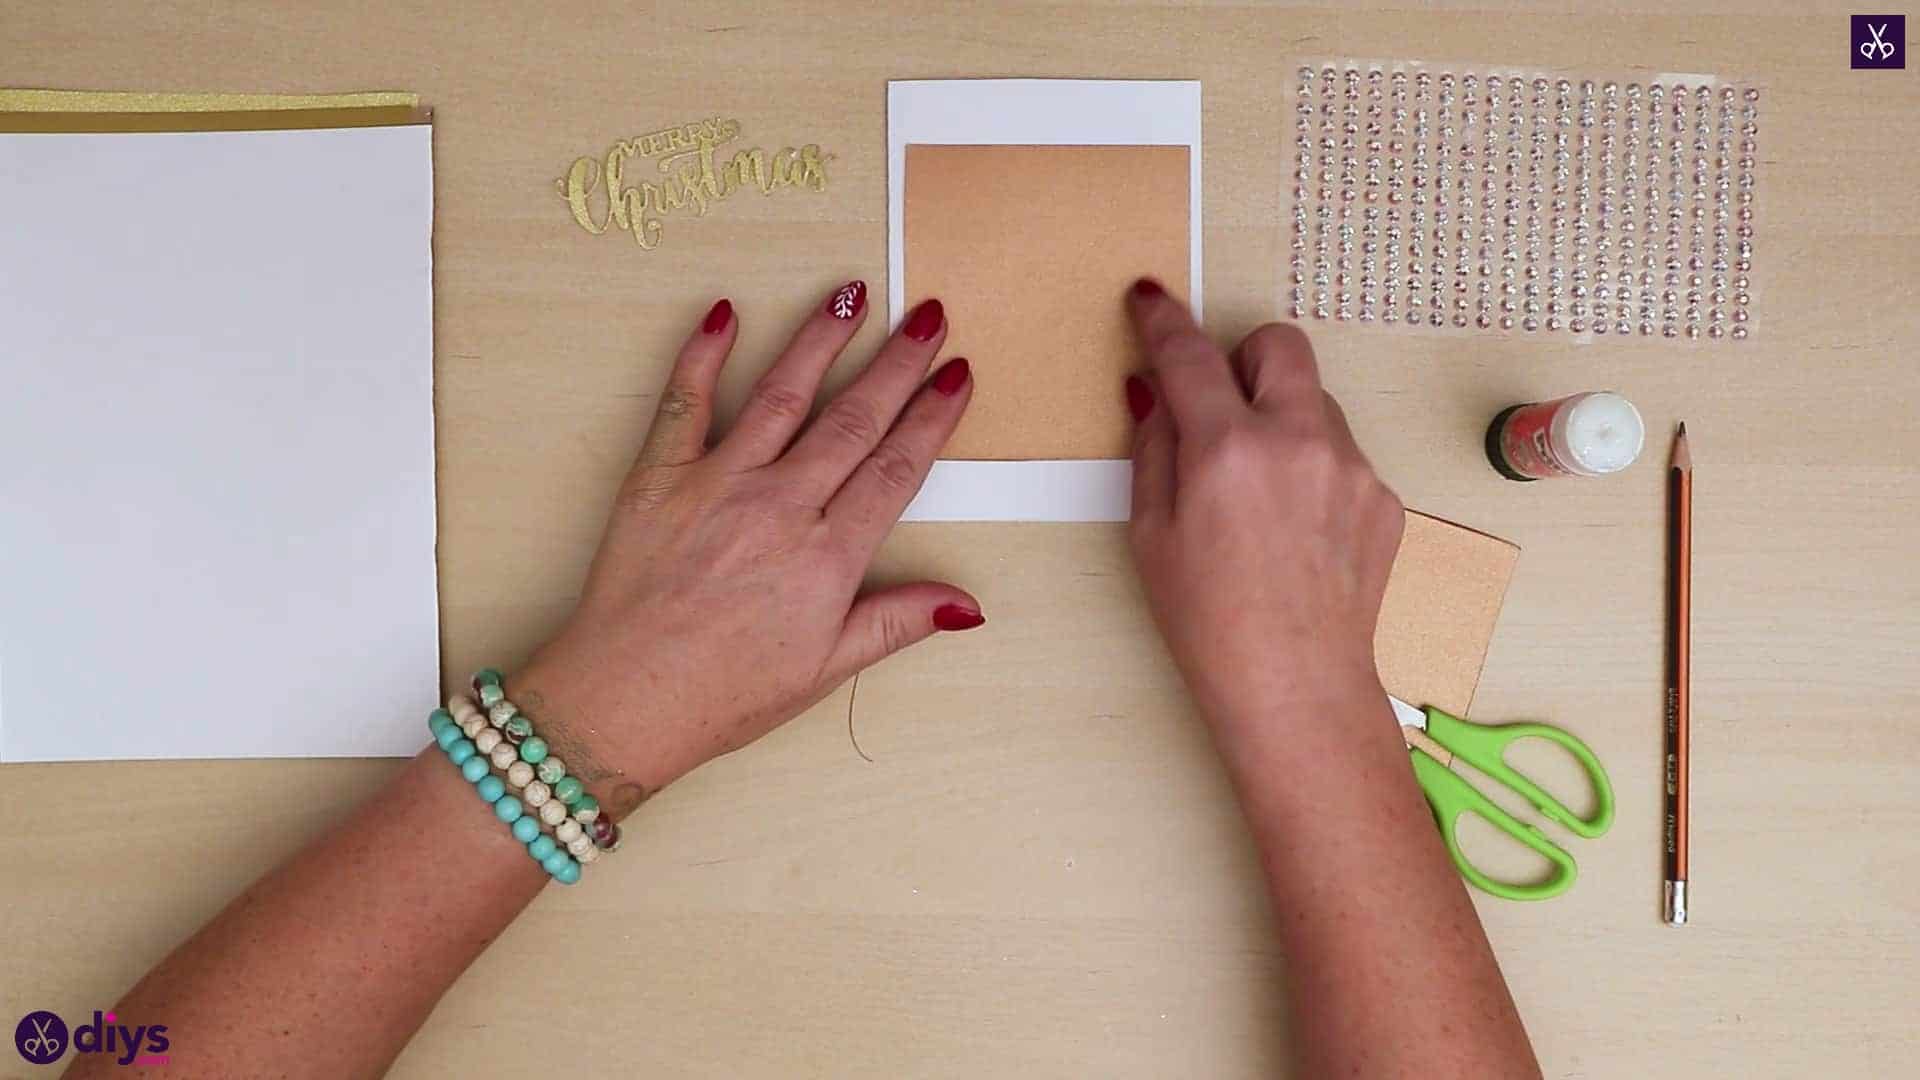
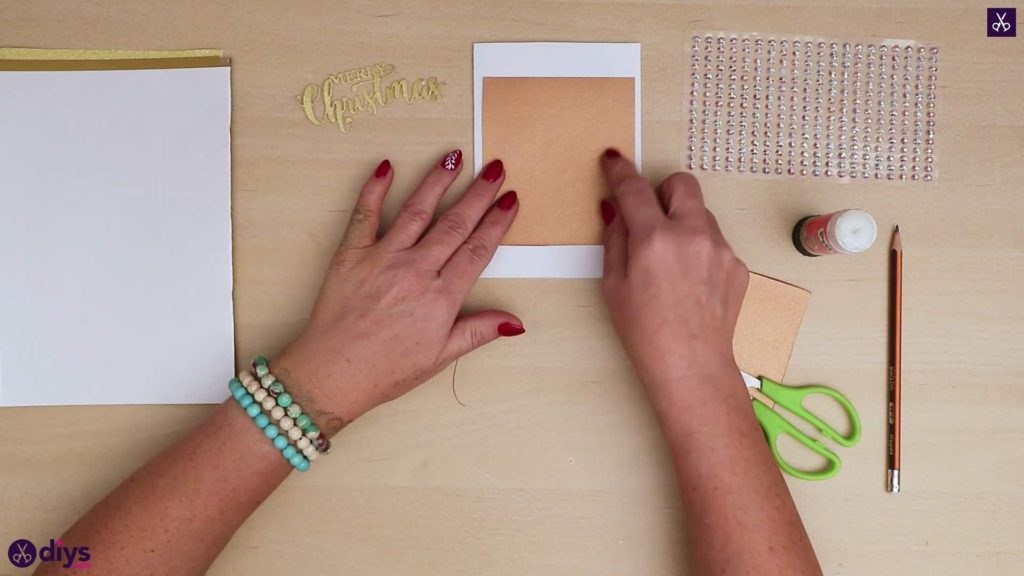
Step 8: glue gold to bronze
Measure your bronze piece on top of your gold one and make sure you’re happy with the size; you want an edge of gold to stick our around the bronze the way the white cover does to the gold. Trim if necessary and when it’s right, apply glue to the back of your bronze piece and stick it in the center of the gold.

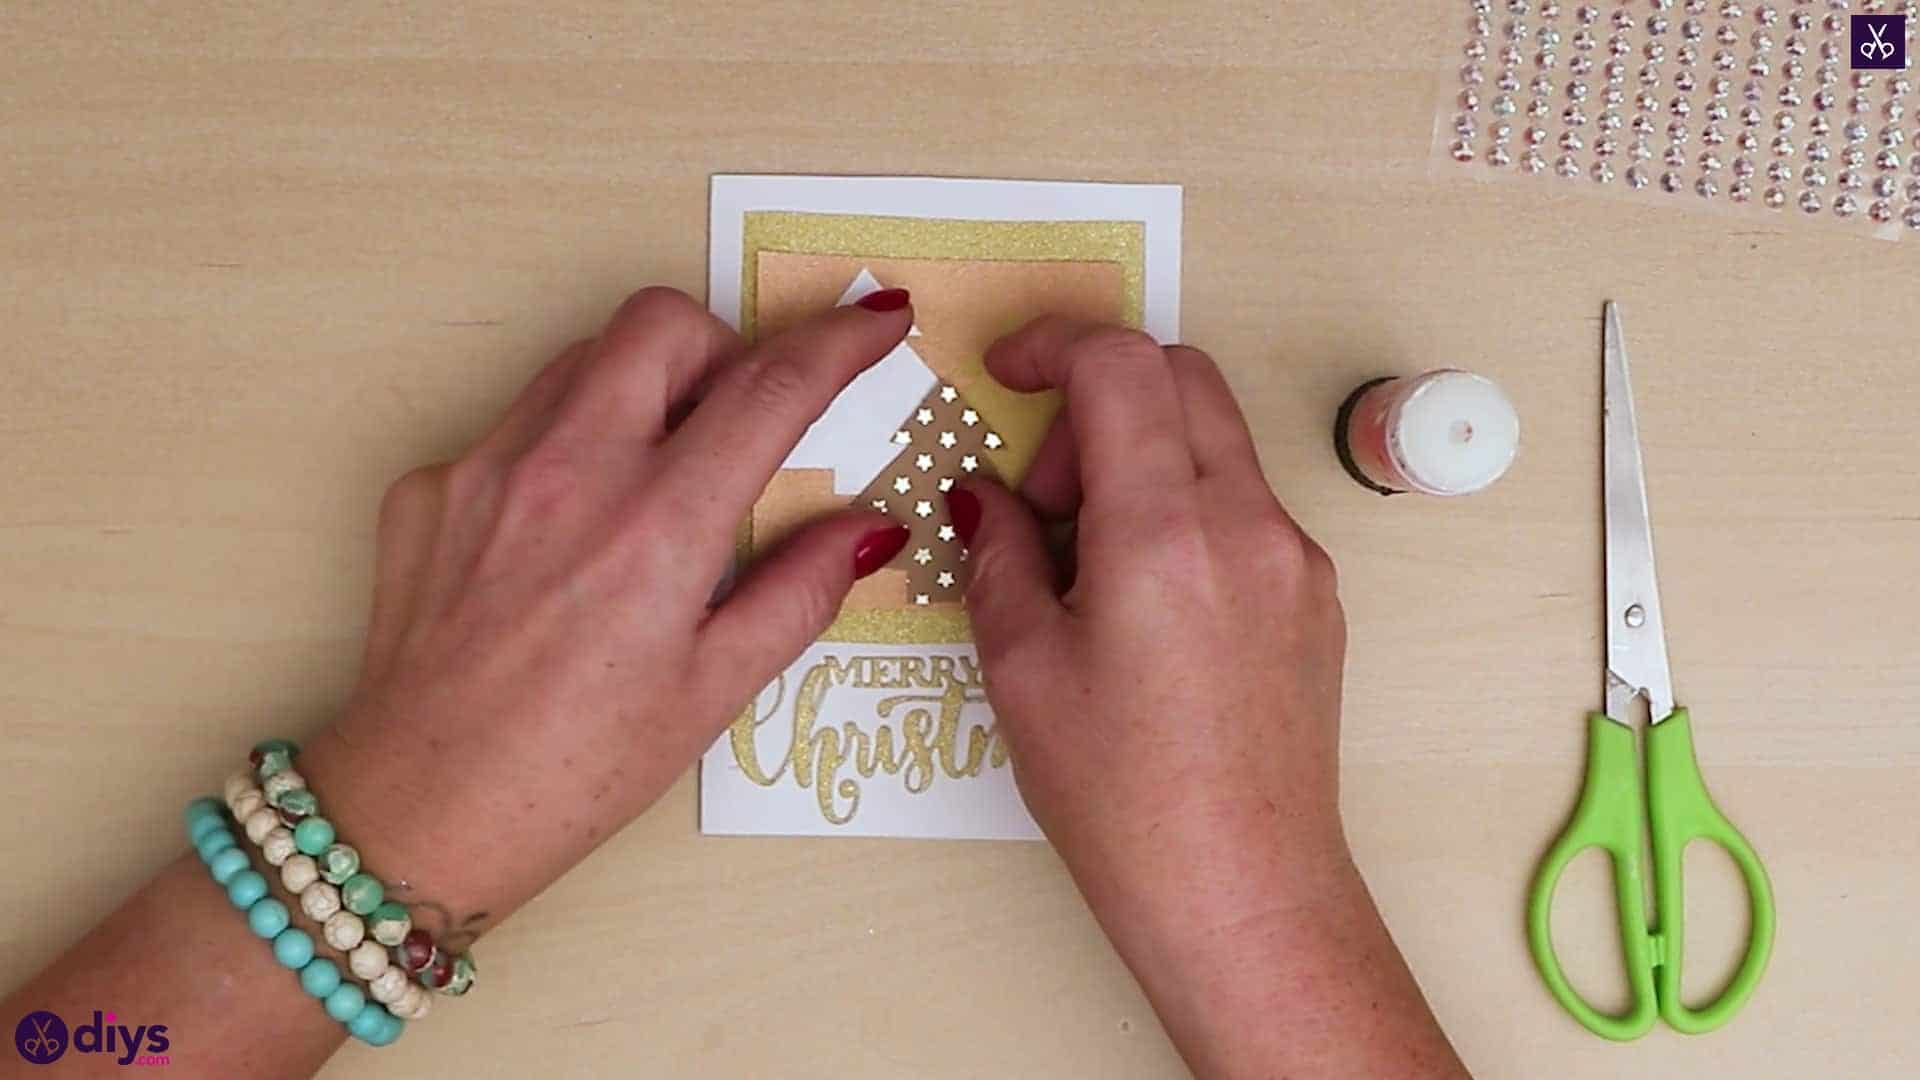
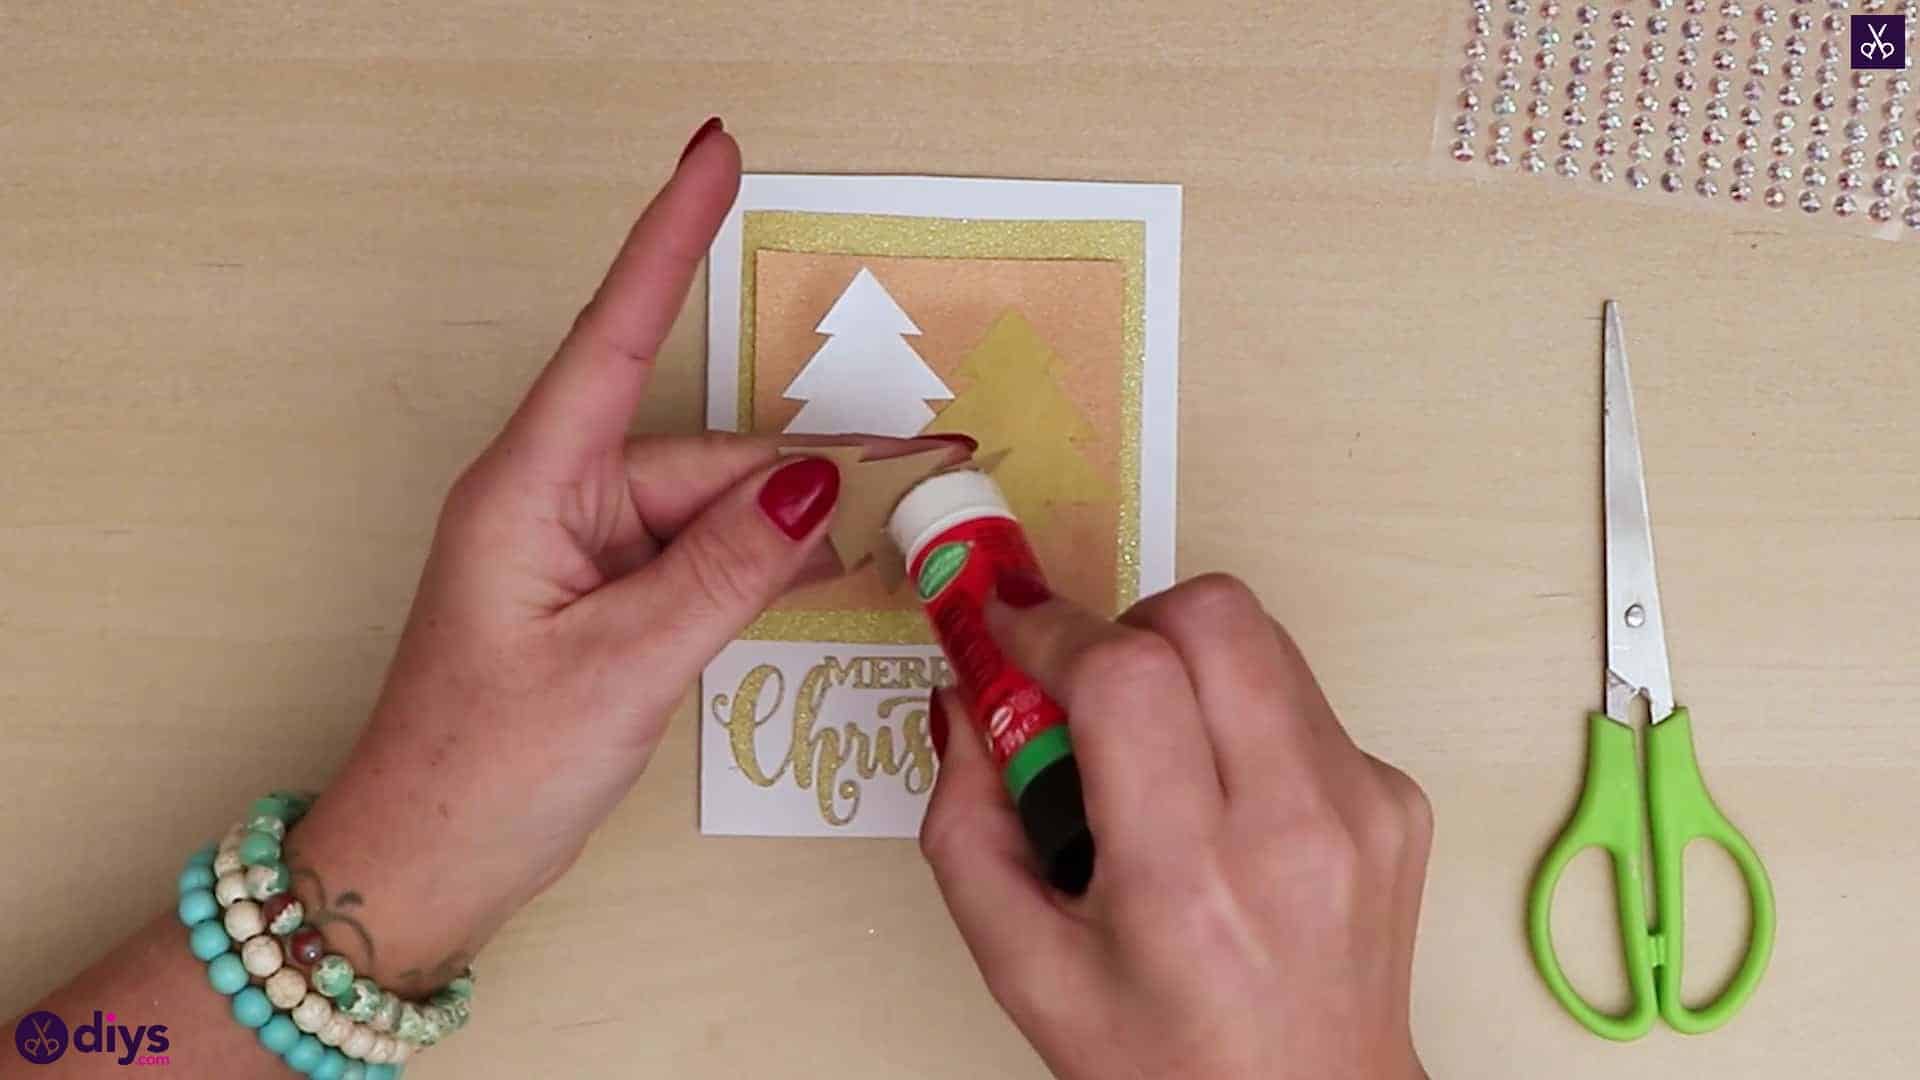
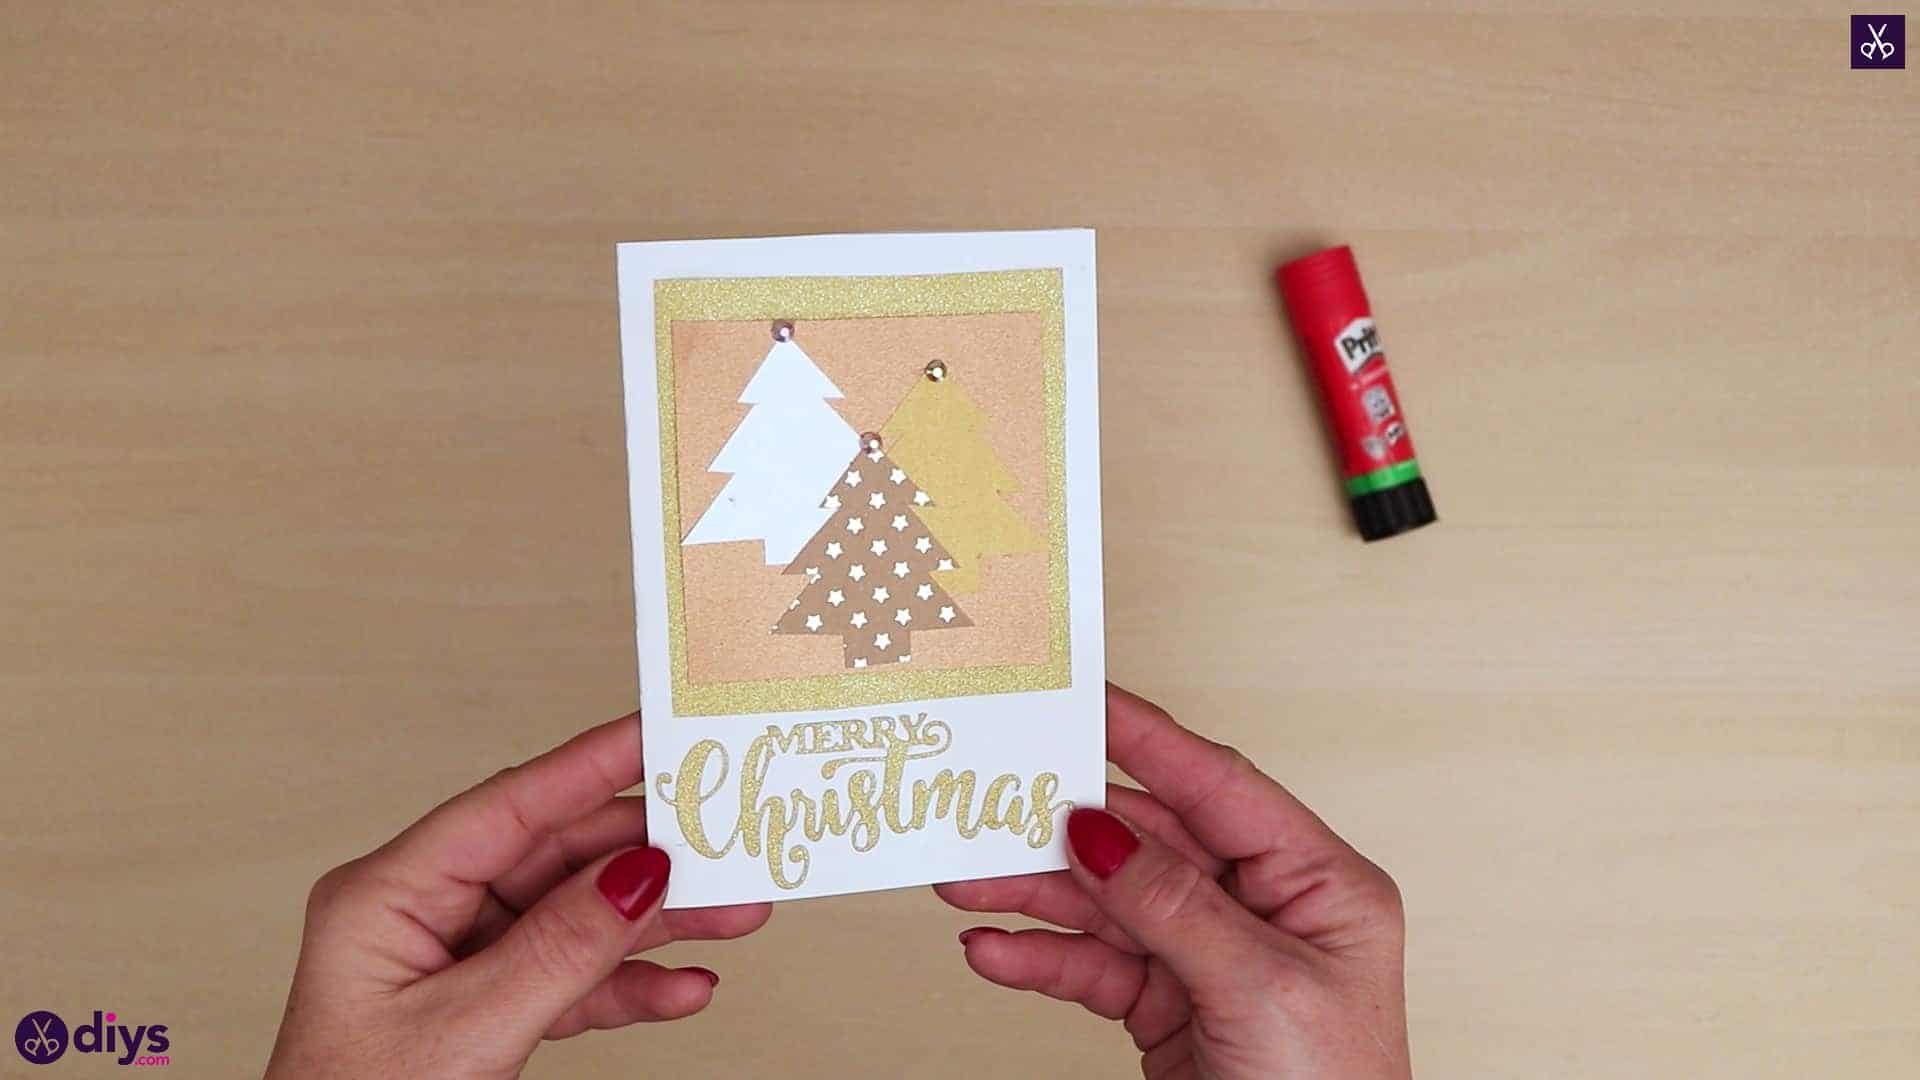
Step 9: add the trees
Apply glue to the backs of your three Christmas trees and arrange them on the bronze sheet however you please! I chose to place two next to each other but slightly staggered and layer my patterned tree in the center on top, like it’s in the foreground of a little wooded cluster.


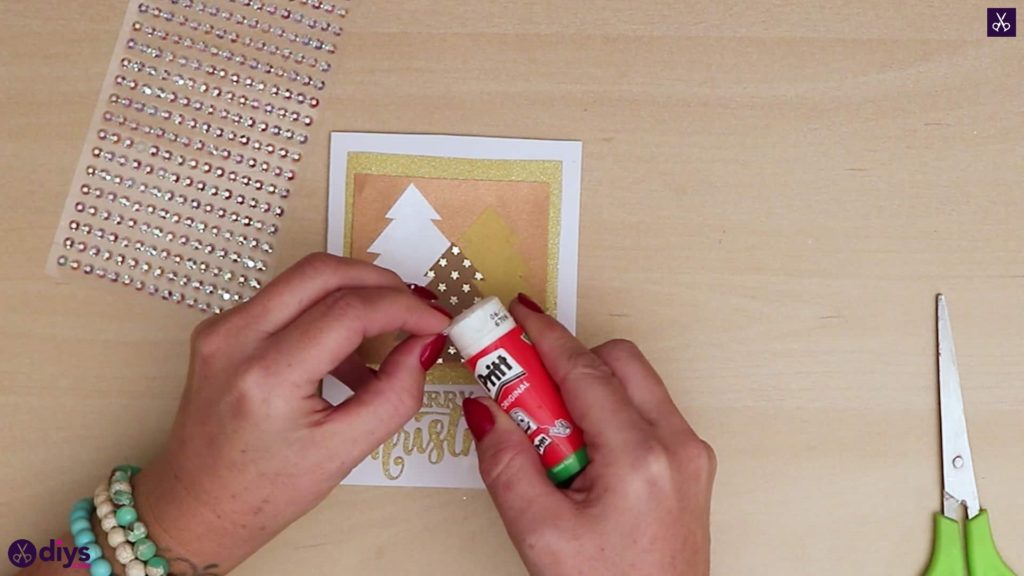
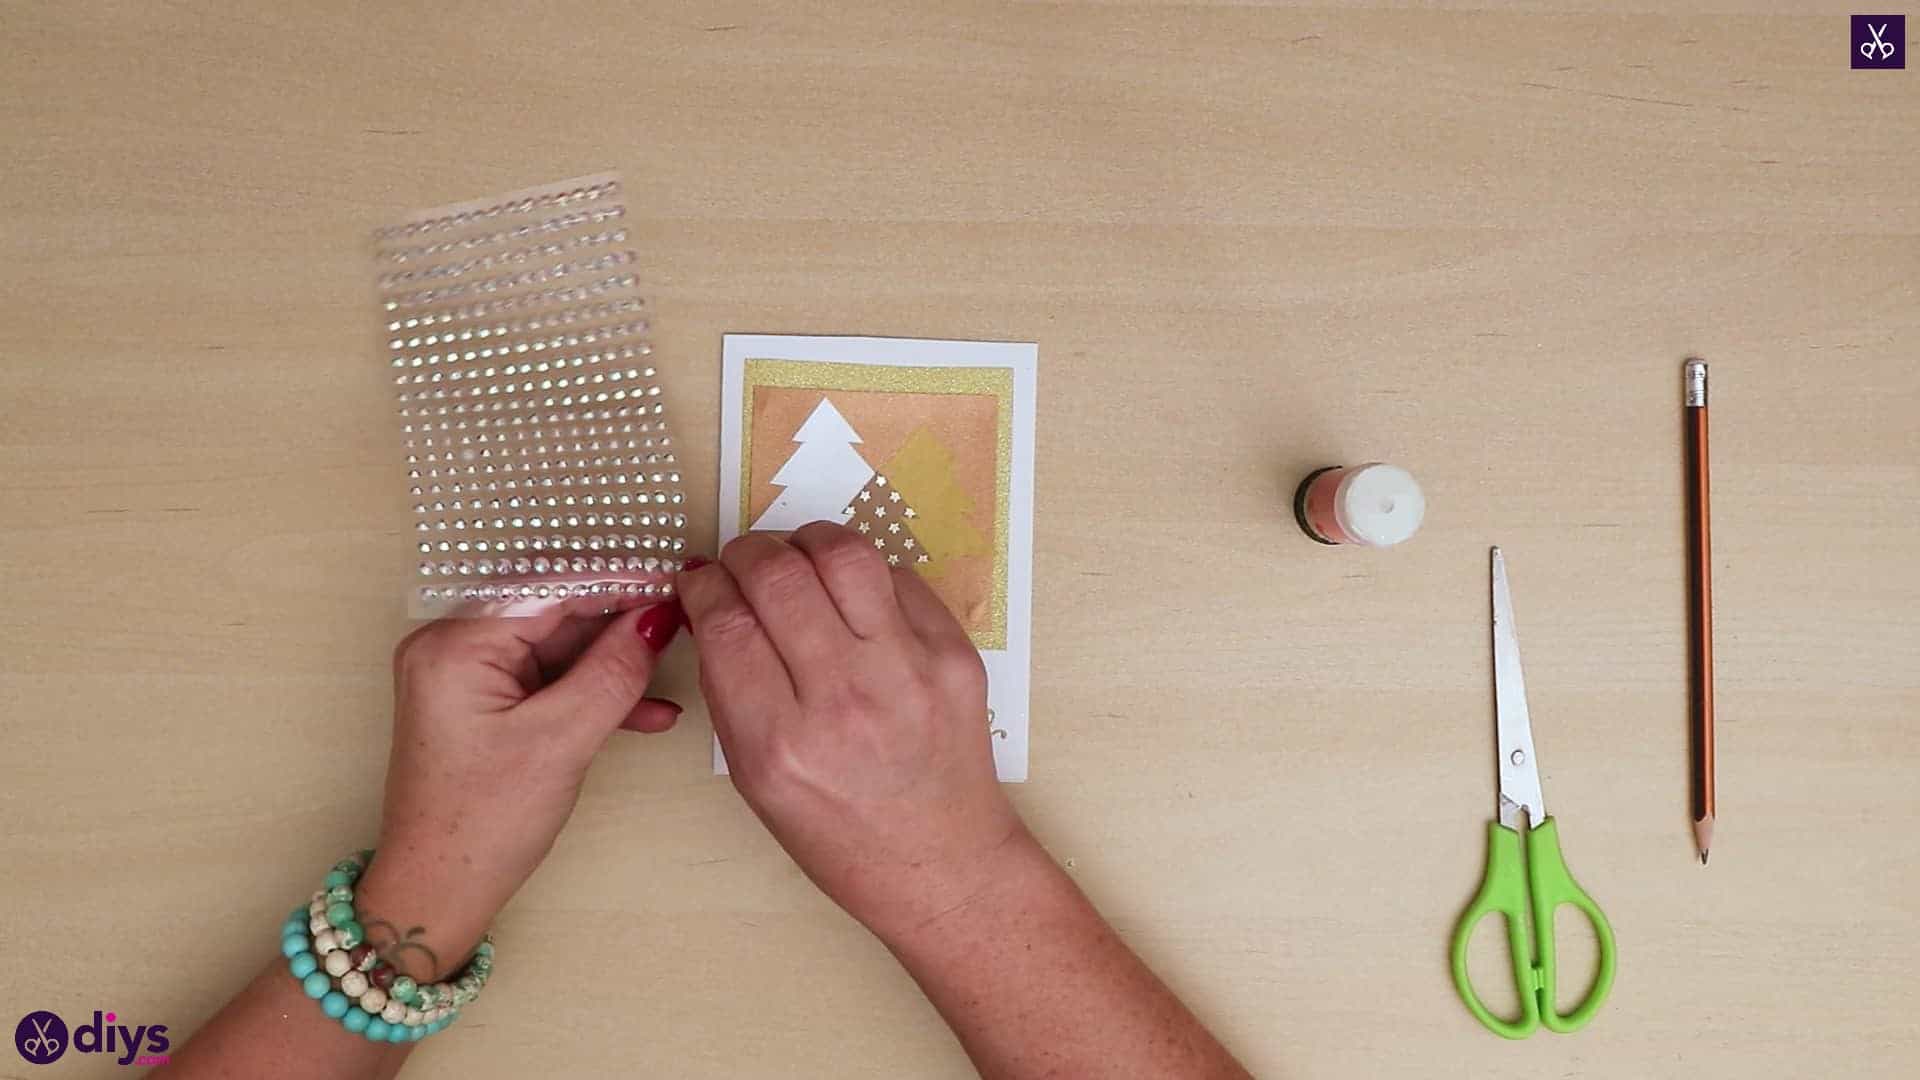
Step 10: details
Add a rhinestone to the tip top of each tree for pretty detail! If your stones are not self adhesive on the back, apply glue. These give the trees a little sparkle where a star or angel might normally be.

Your card is all finished and ready to be signed and sent! Just in case you’d like to try this project out for yourself, here’s a fantastic tutorial video to help you!