DIY Tin Can Santa Claus Candy Holder
Updated on November 19, 2025


In my house, upcycled projects might just be the most common kind of craft we make, and they’re definitely the most loved. There’s just something so satisfying about the process of turning something we’re not using anymore into something awesome rather than just throwing it out! That’s why I find myself hanging onto a lot of tin cans. Recently, I decided to help my kids turn a few of them into Santa themed candy holders and the whole idea was a great success. I even documented the process on one of them so other people can learn how they’re done as well.
Check out these step by step instructions complete with photos! If you’d rather follow along with a video tutorial instead of written words, scroll to the bottom of this post to find just what you’re looking for.
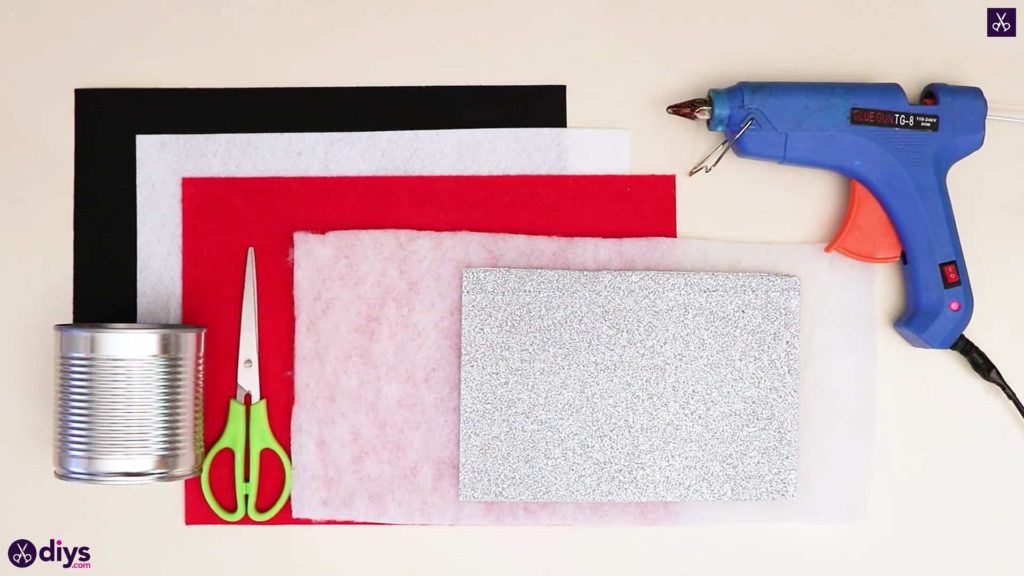
For this project, you’ll need:
- Paper (black and red)
- Two gooly eyes
- A popsicle stick
- A pencil
- Scissors
- A glue stick
- A jar
- A sheet of pulled cotton
- A sheet of silver sparkly foam paper
- A sheet of white felt paper
- A cleaned tin can with no label
Step 1: prep
Gather your materials!
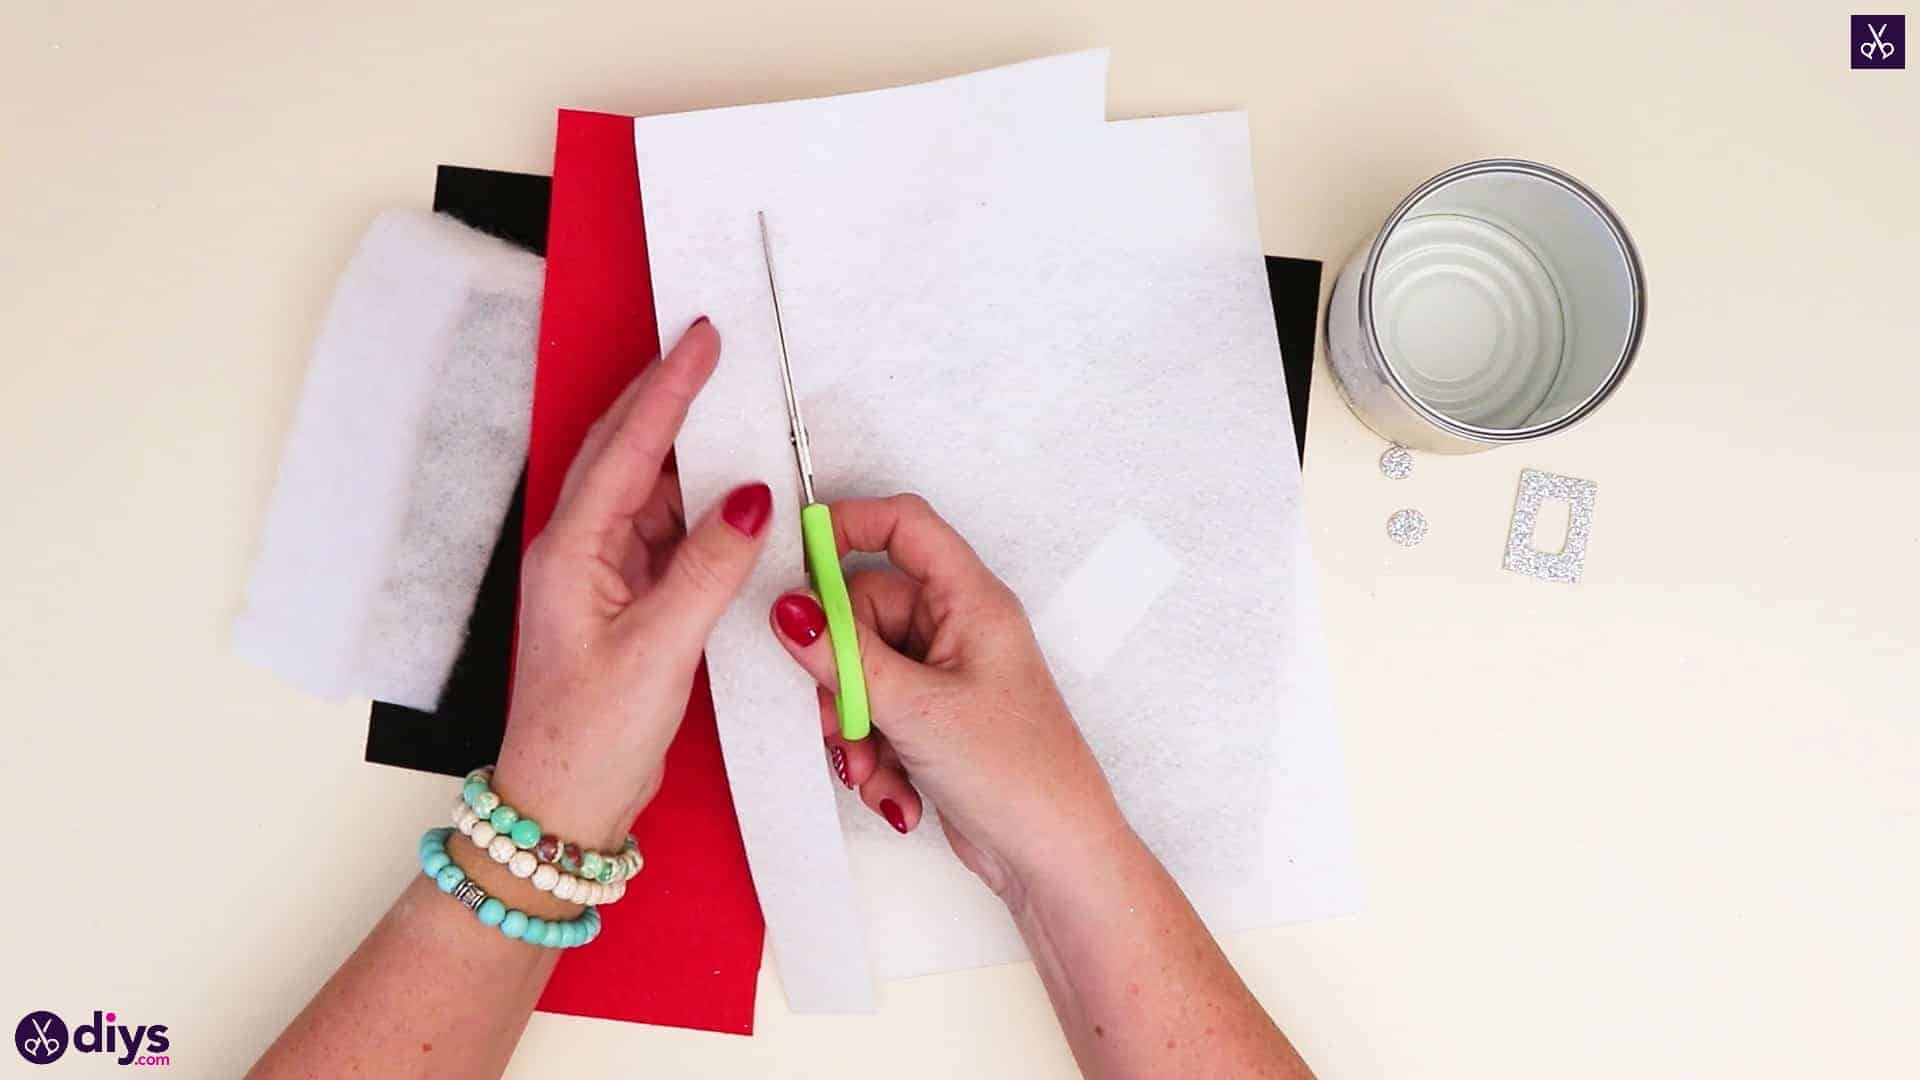
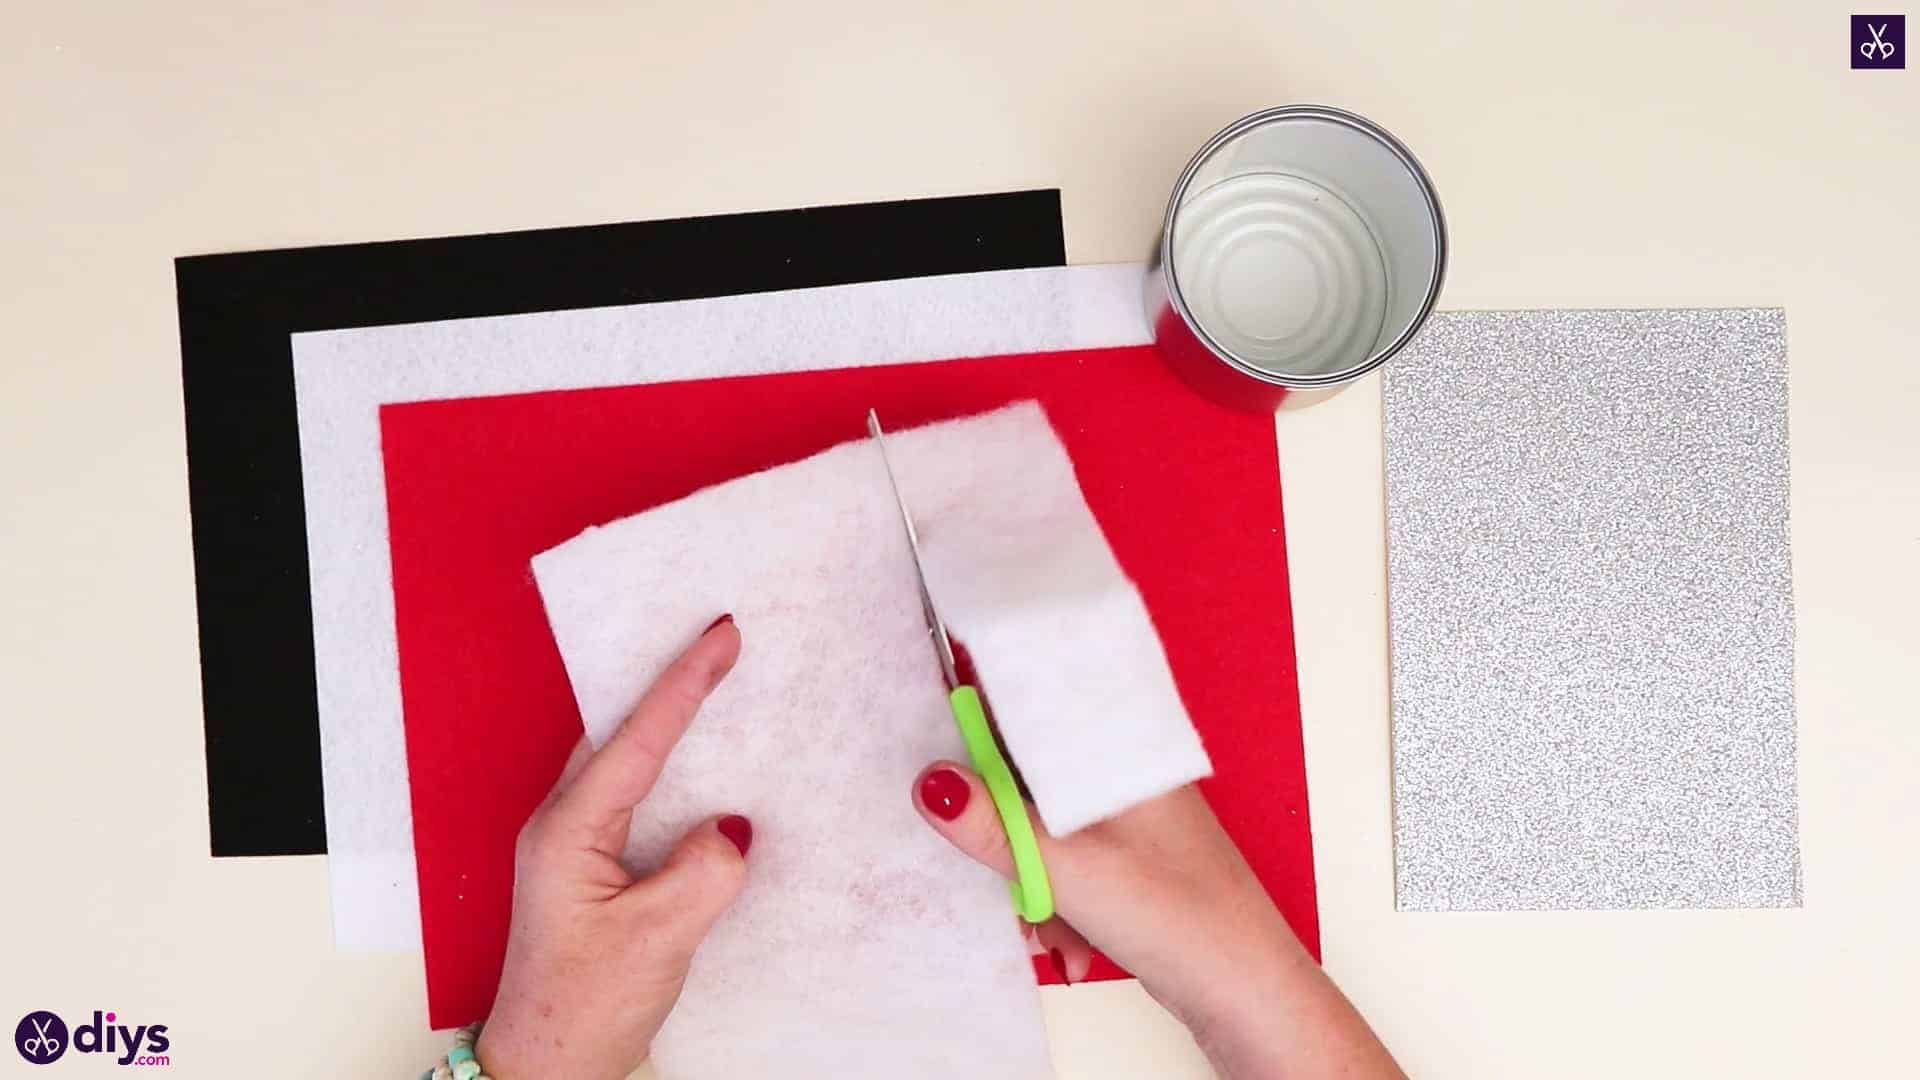
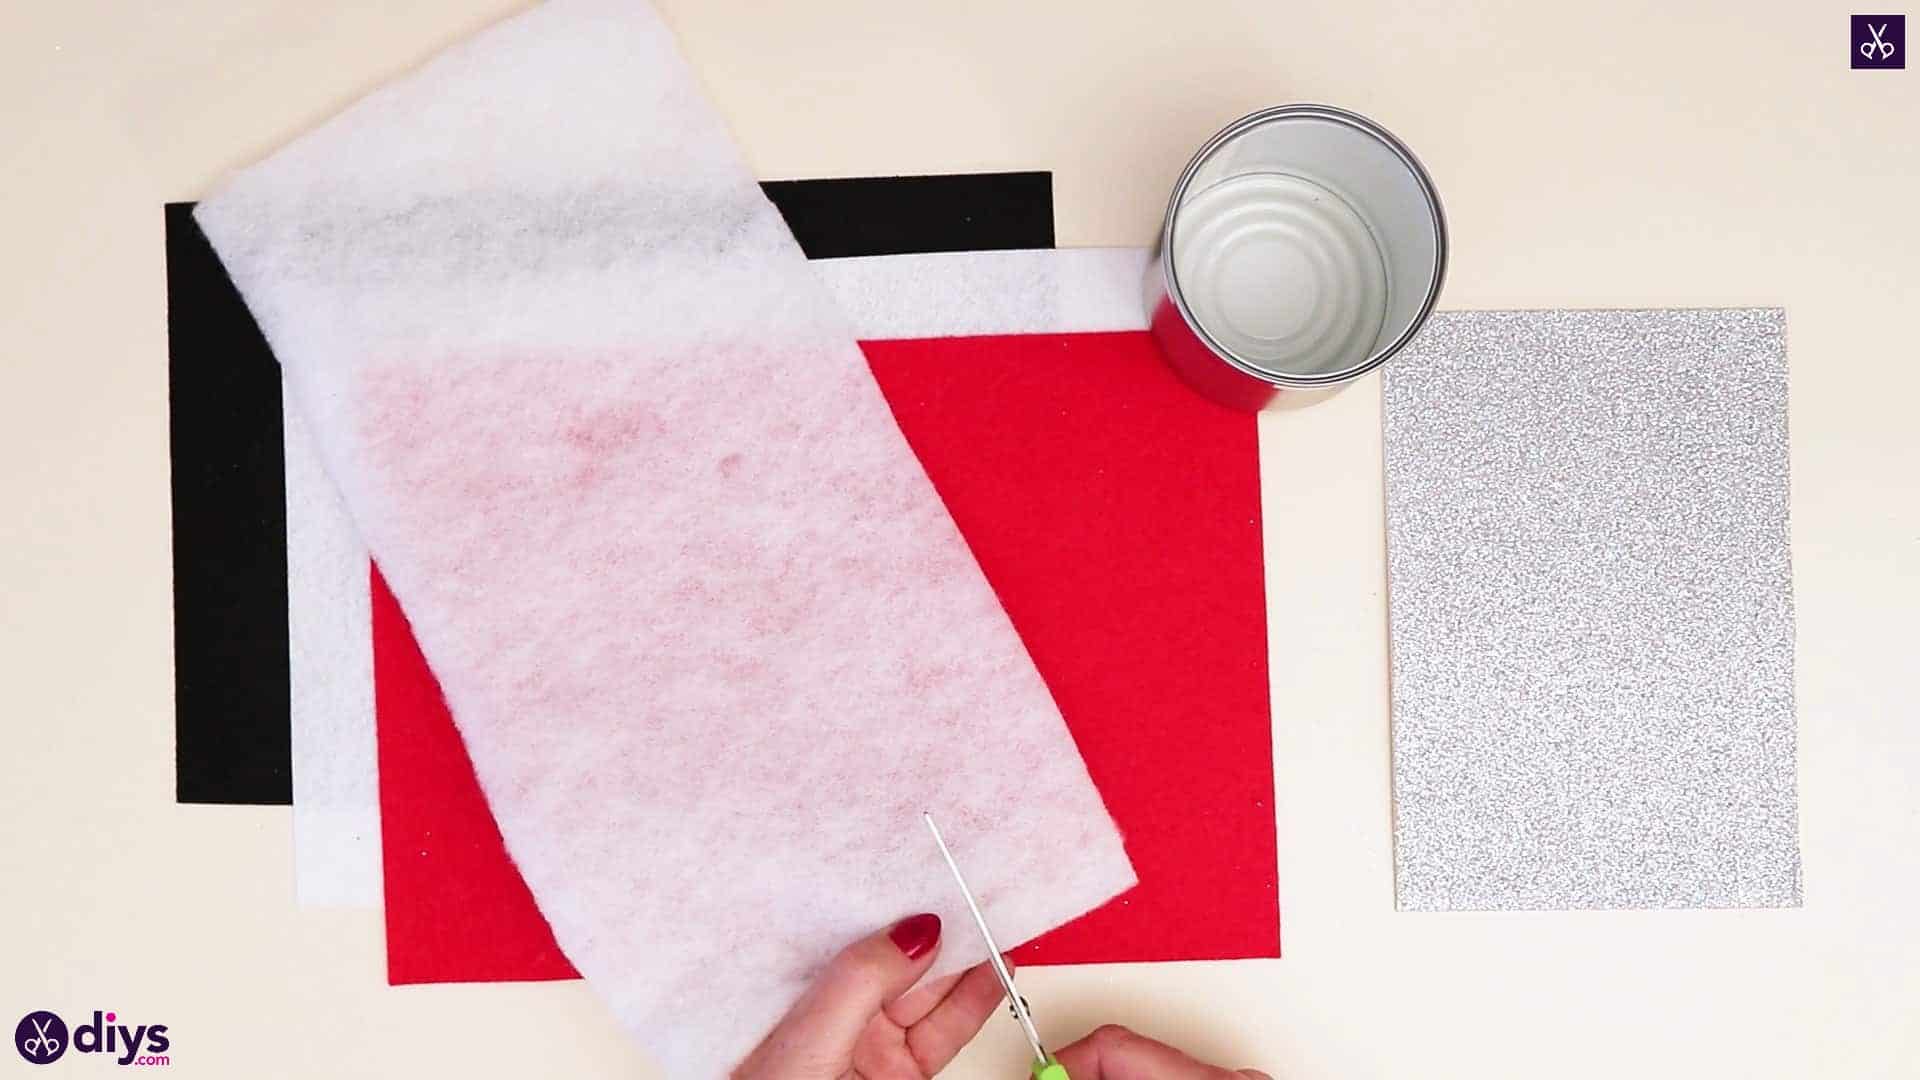
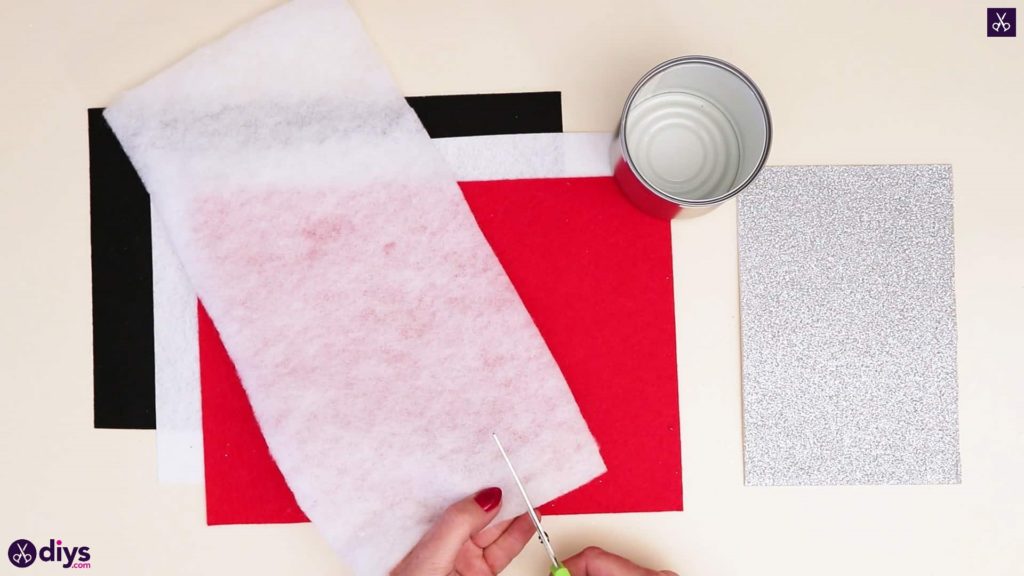
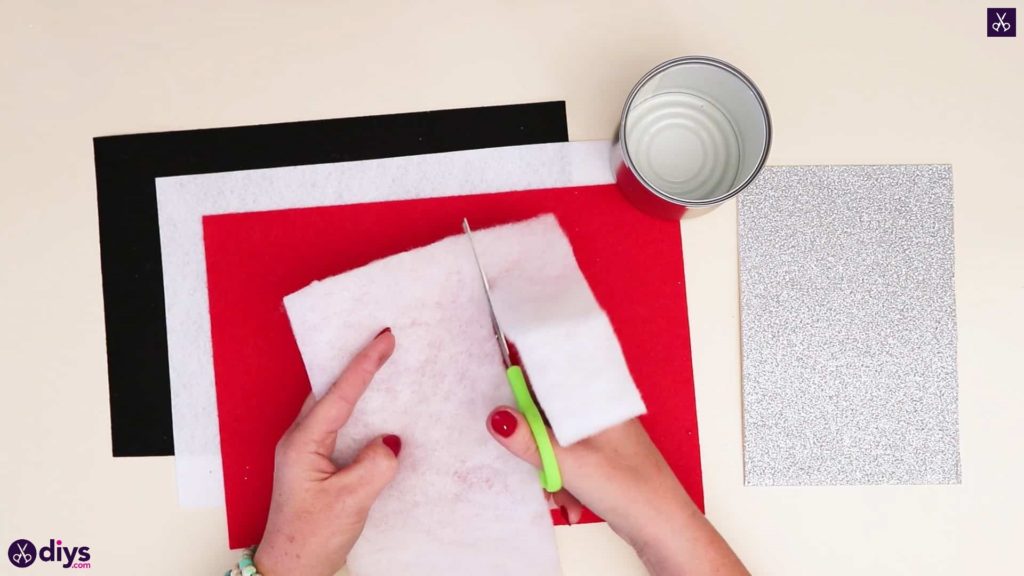
Step 2: cut the cotton into a strip
Cut a strip from your pulled cotton that’s about an inch side and the full length of the piece’s long side. Set it aside for later.
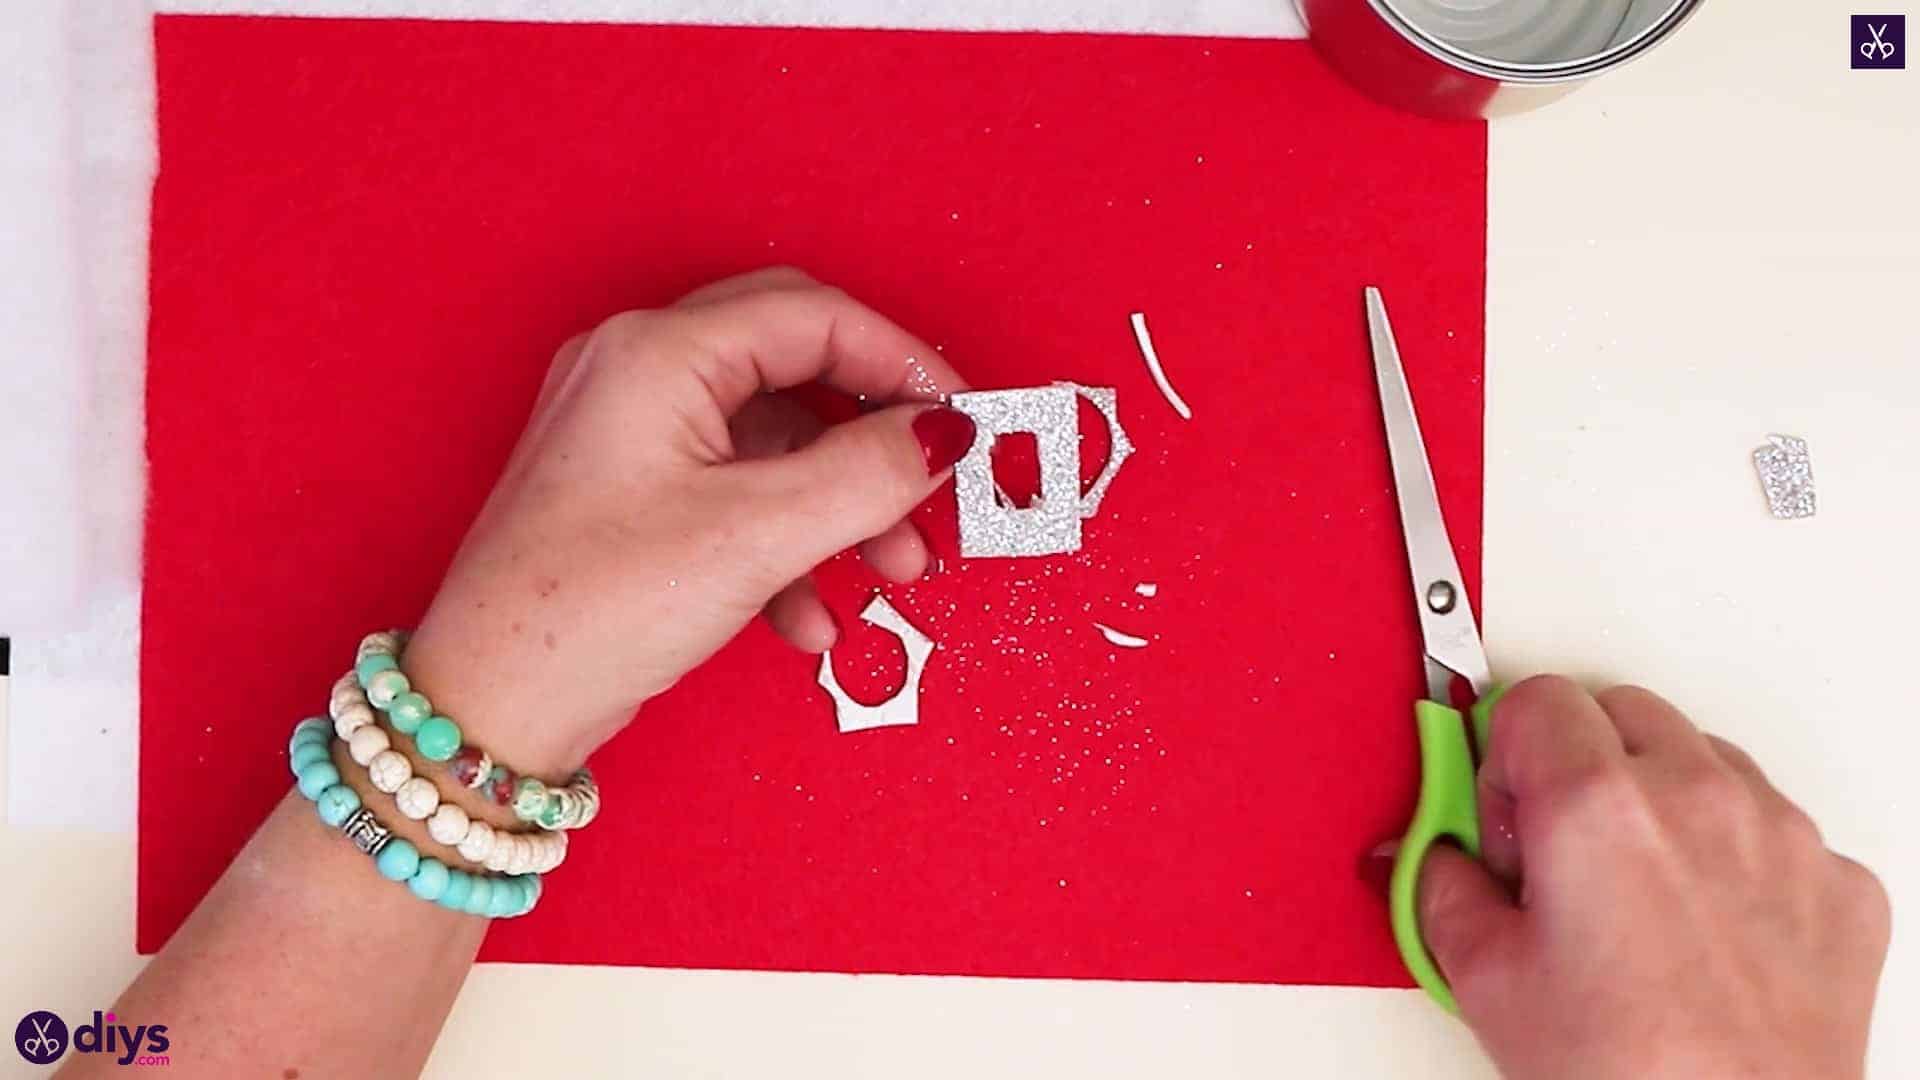
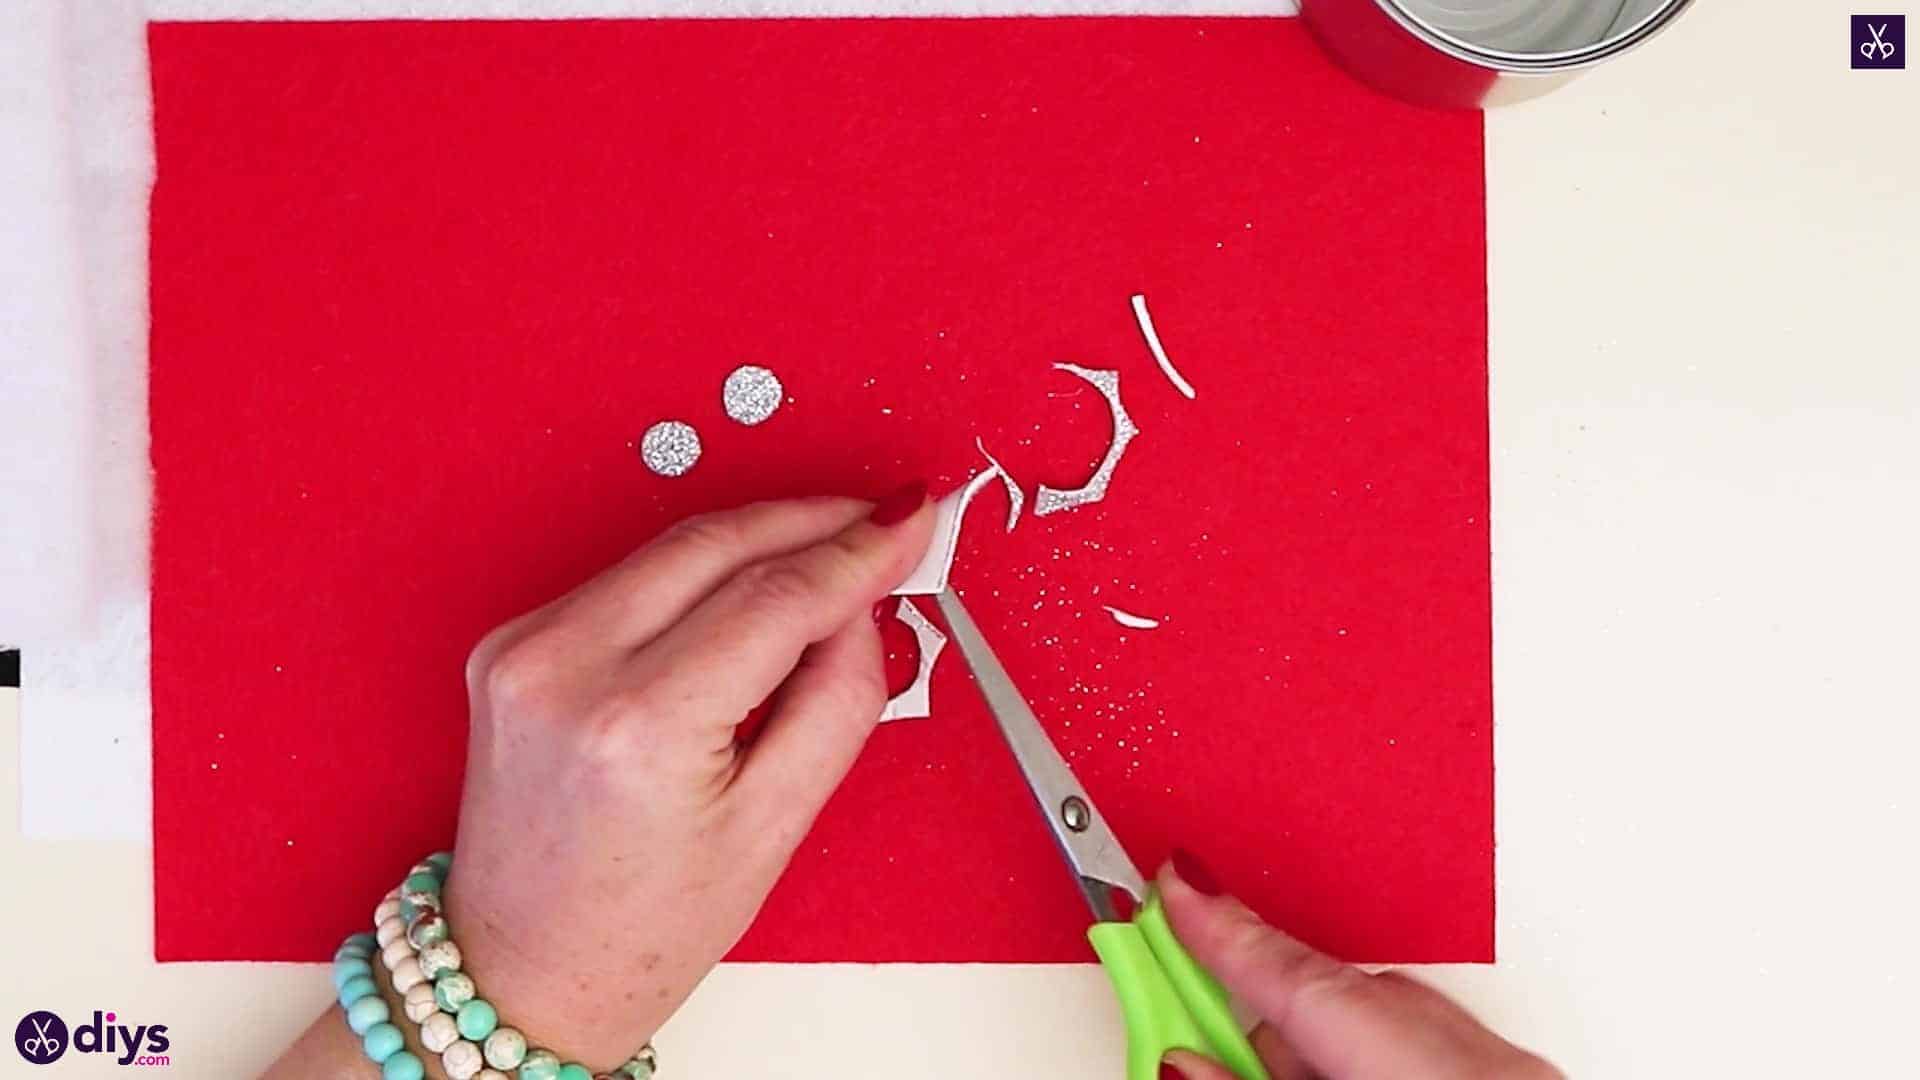
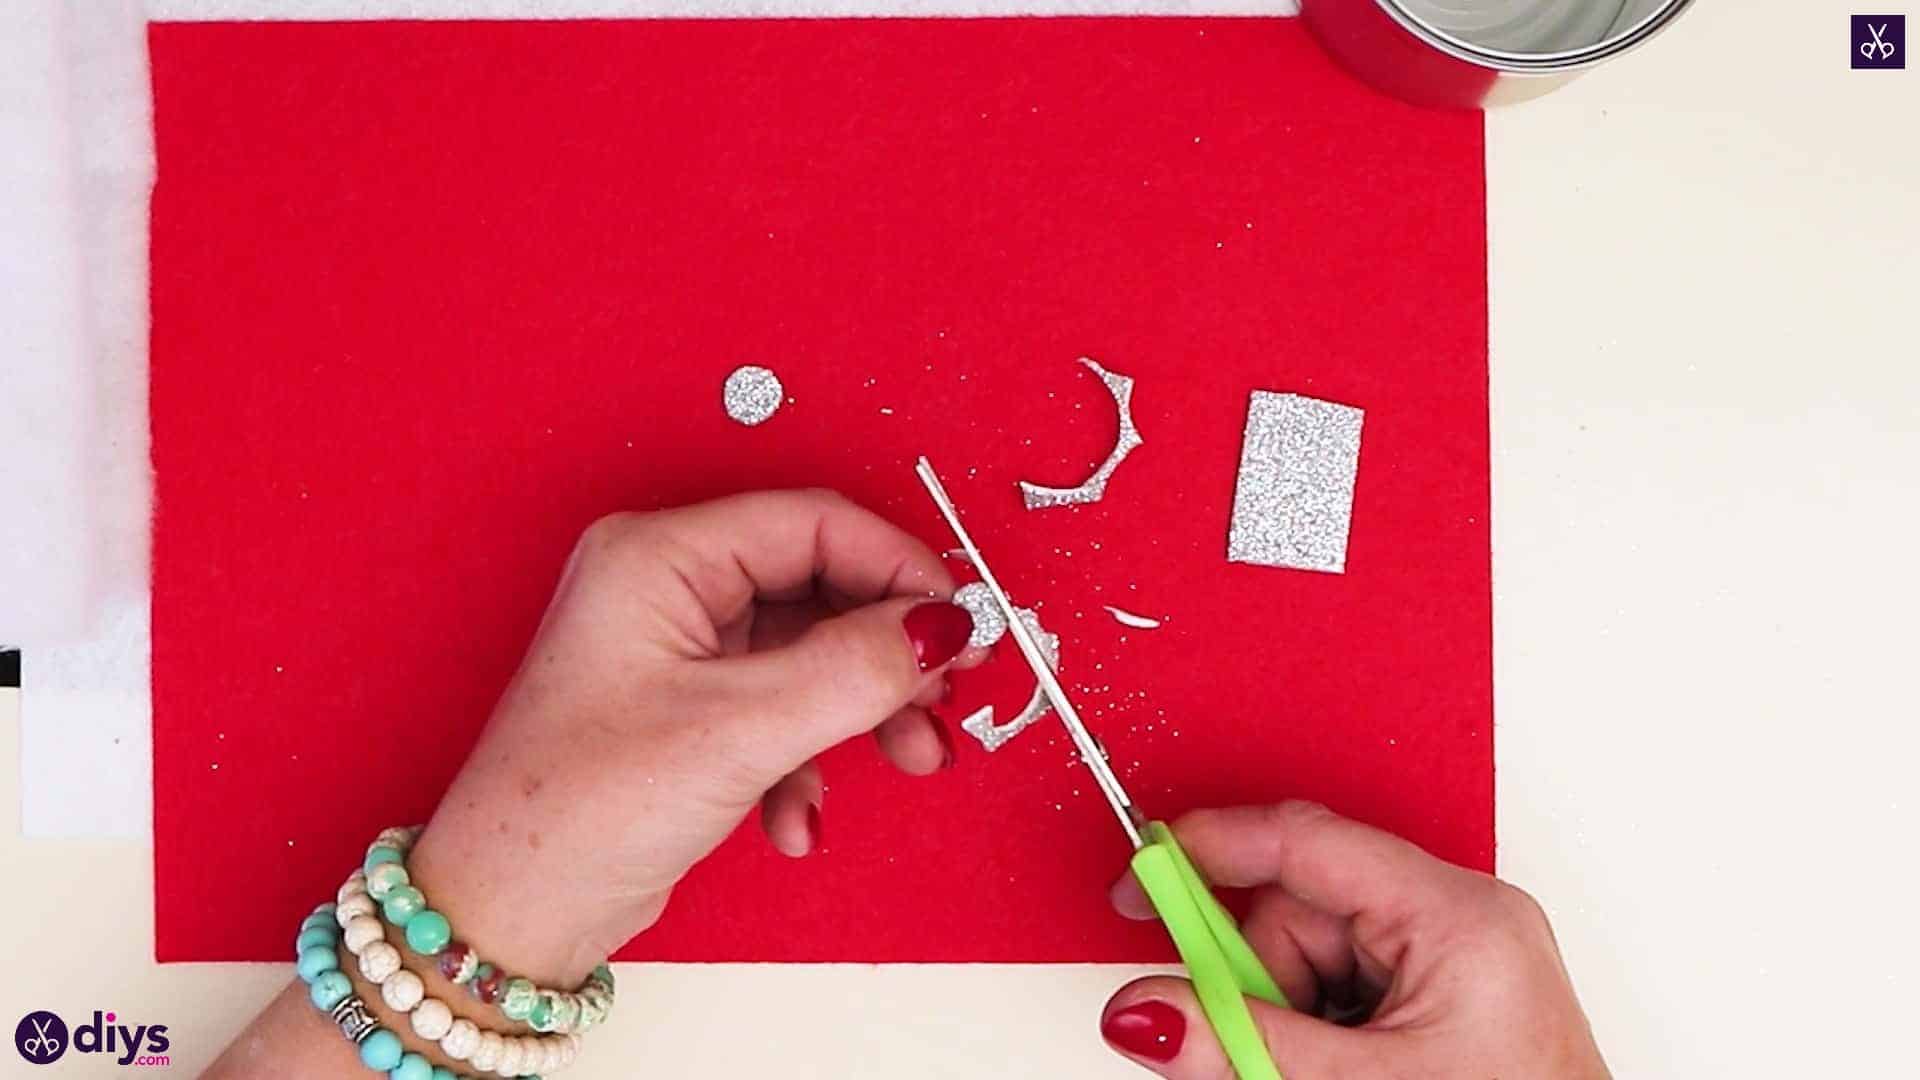
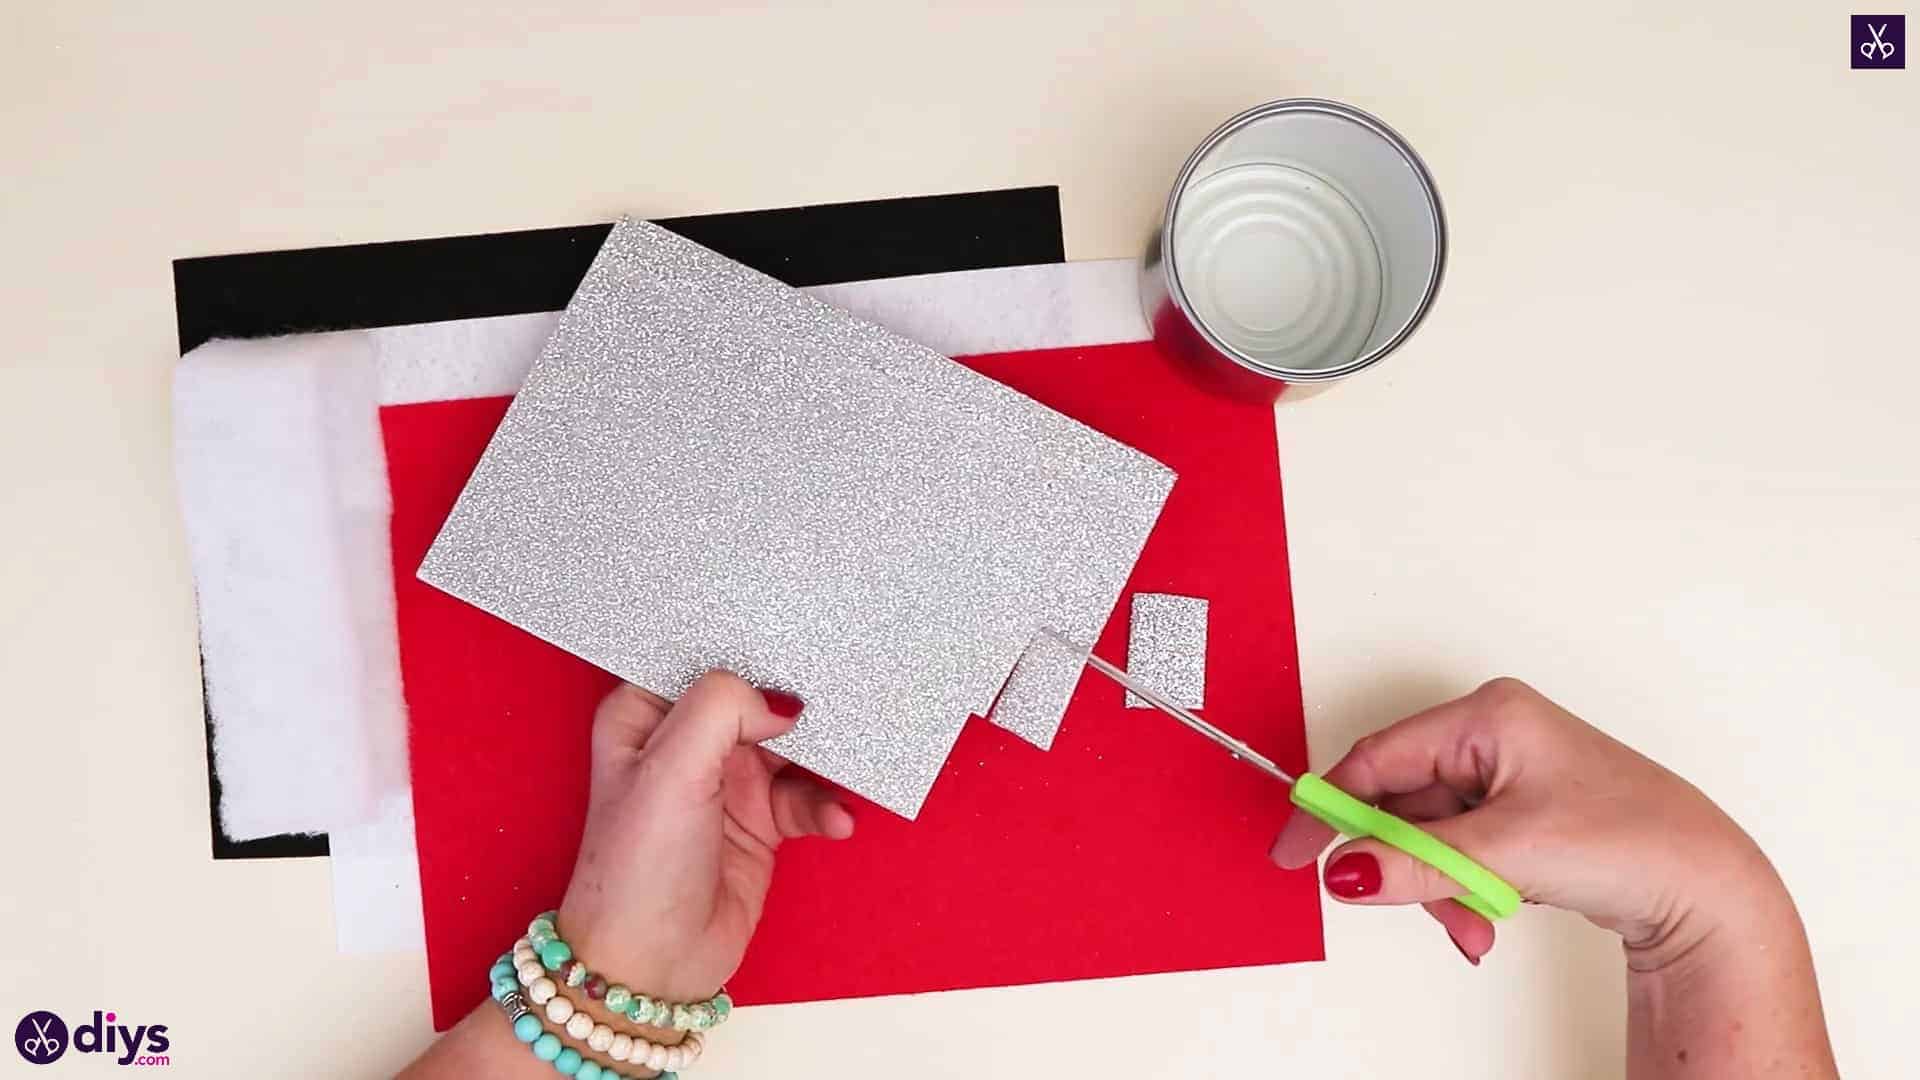
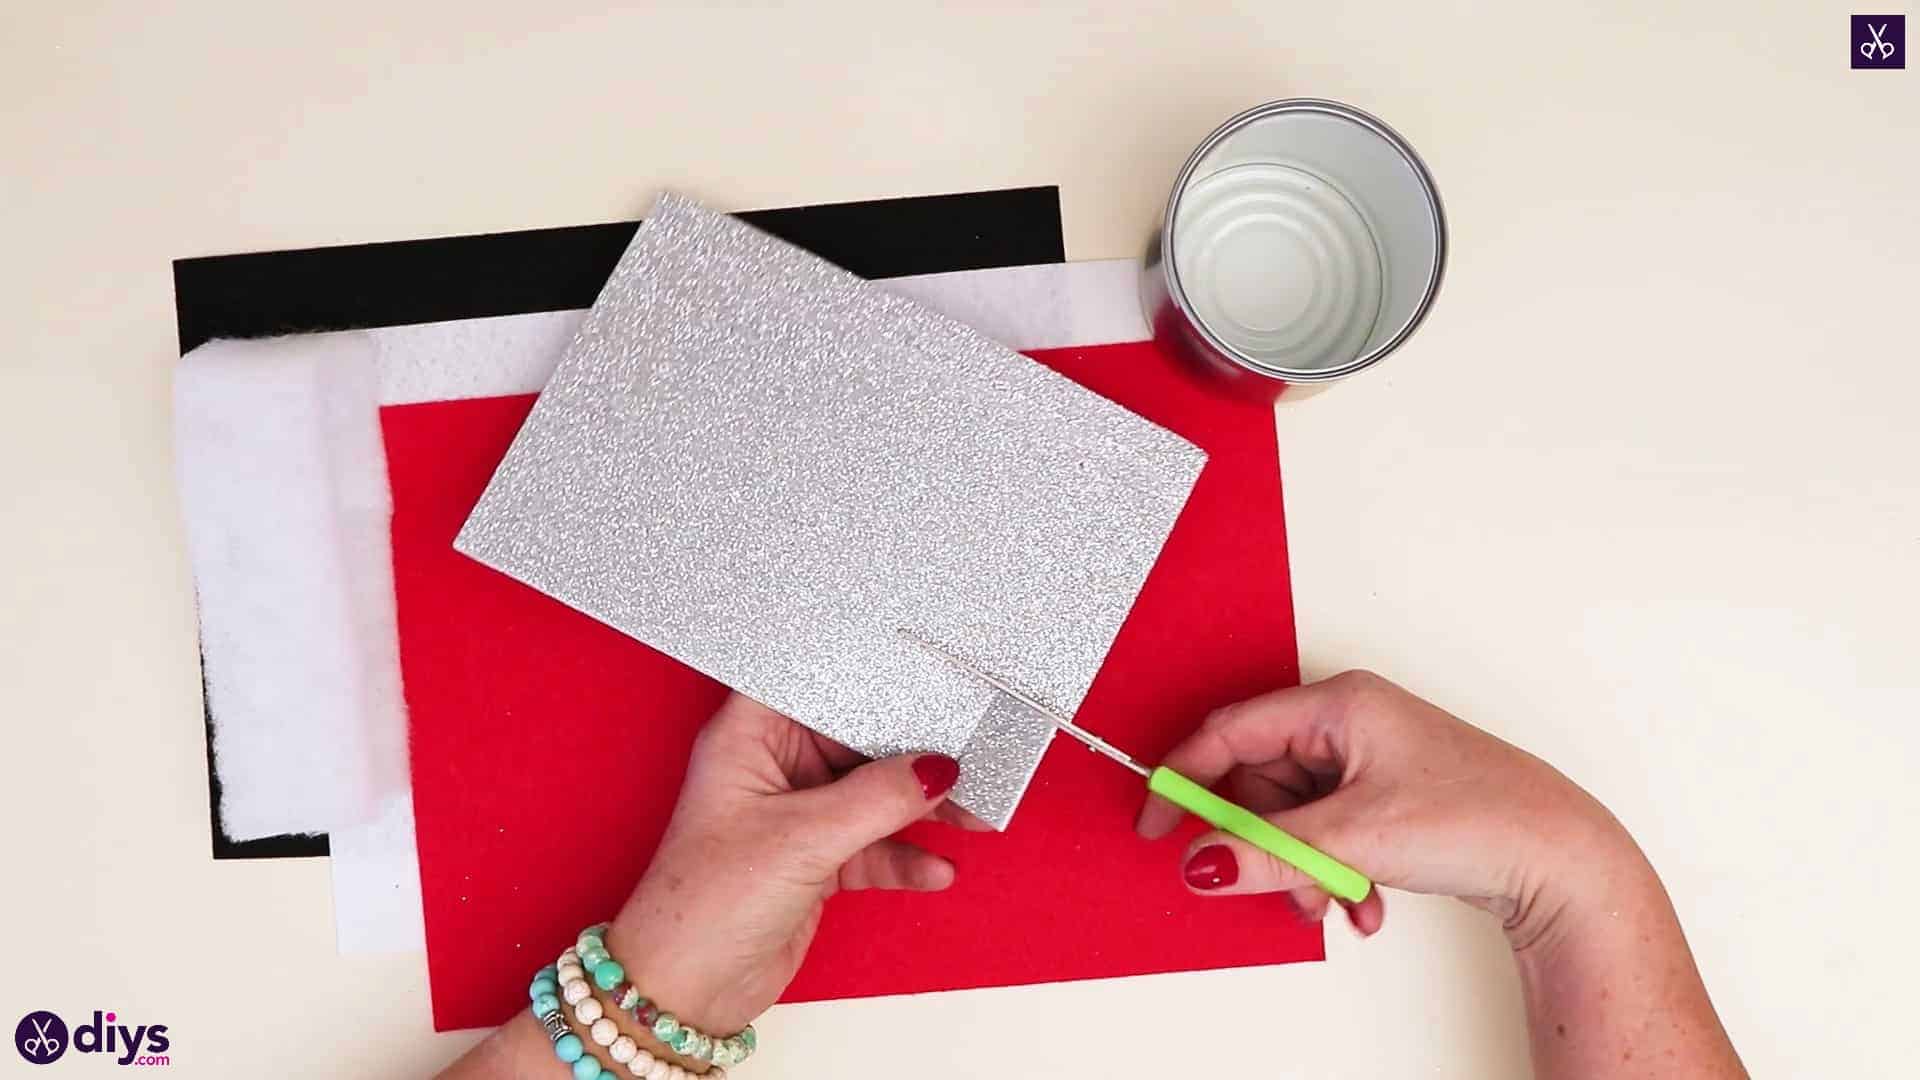
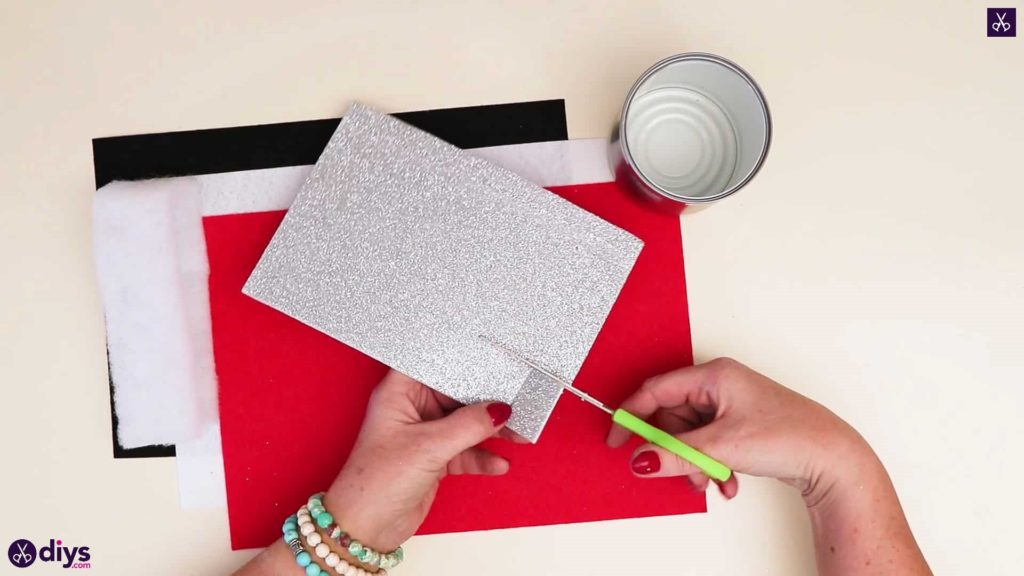
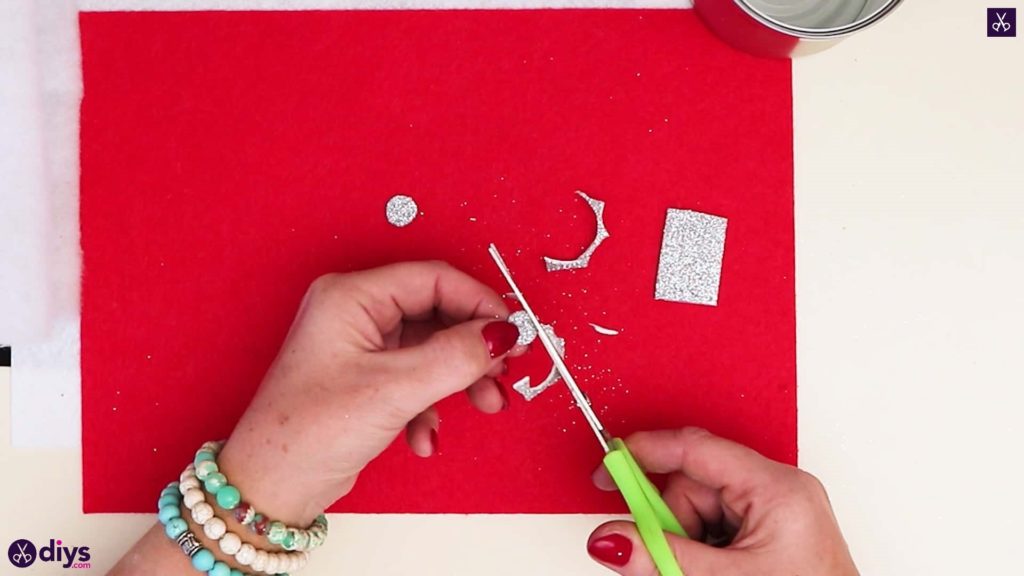
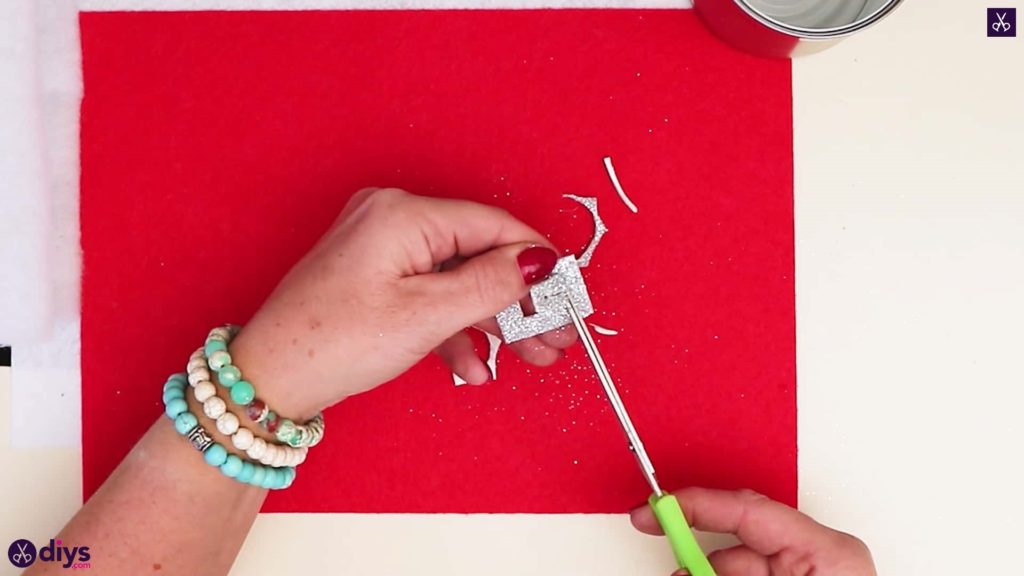
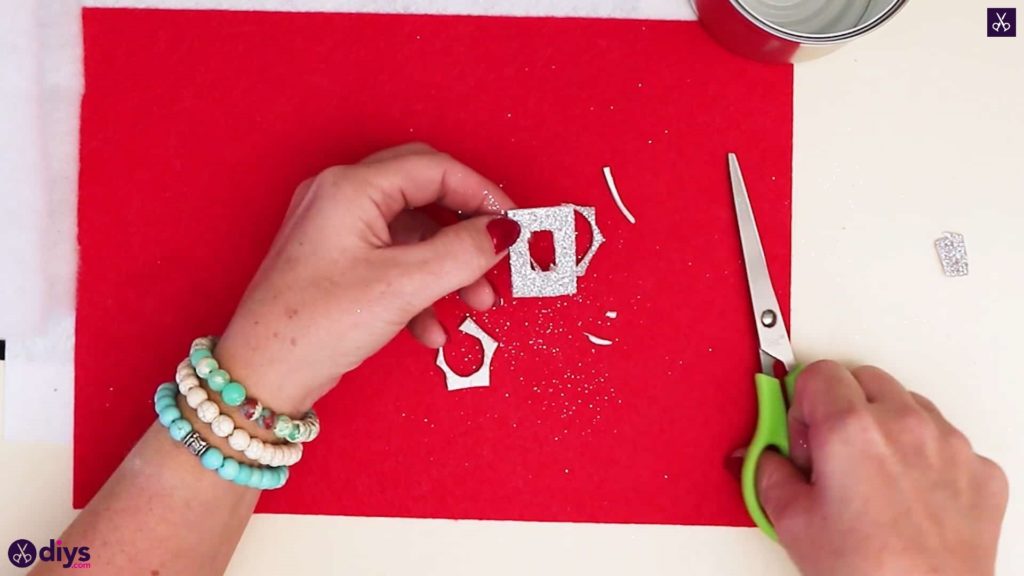
Step 3: cut the sparkle paper
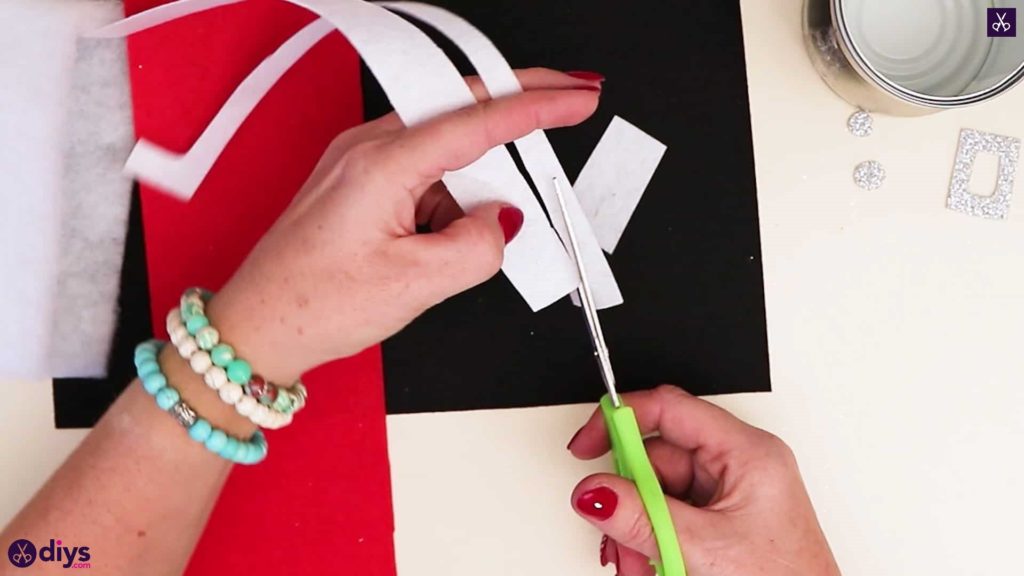
Cut down half-inch long and quarter-inch wide rectangles from one corner of your silver foam paper. Cut one of these in half and trim the corners off both of those halves to make two small sparkly foam circles. In your second little rectangle, cut out a smaller rectangular piece from the center so you’re left with a hollowed shape in the middle.


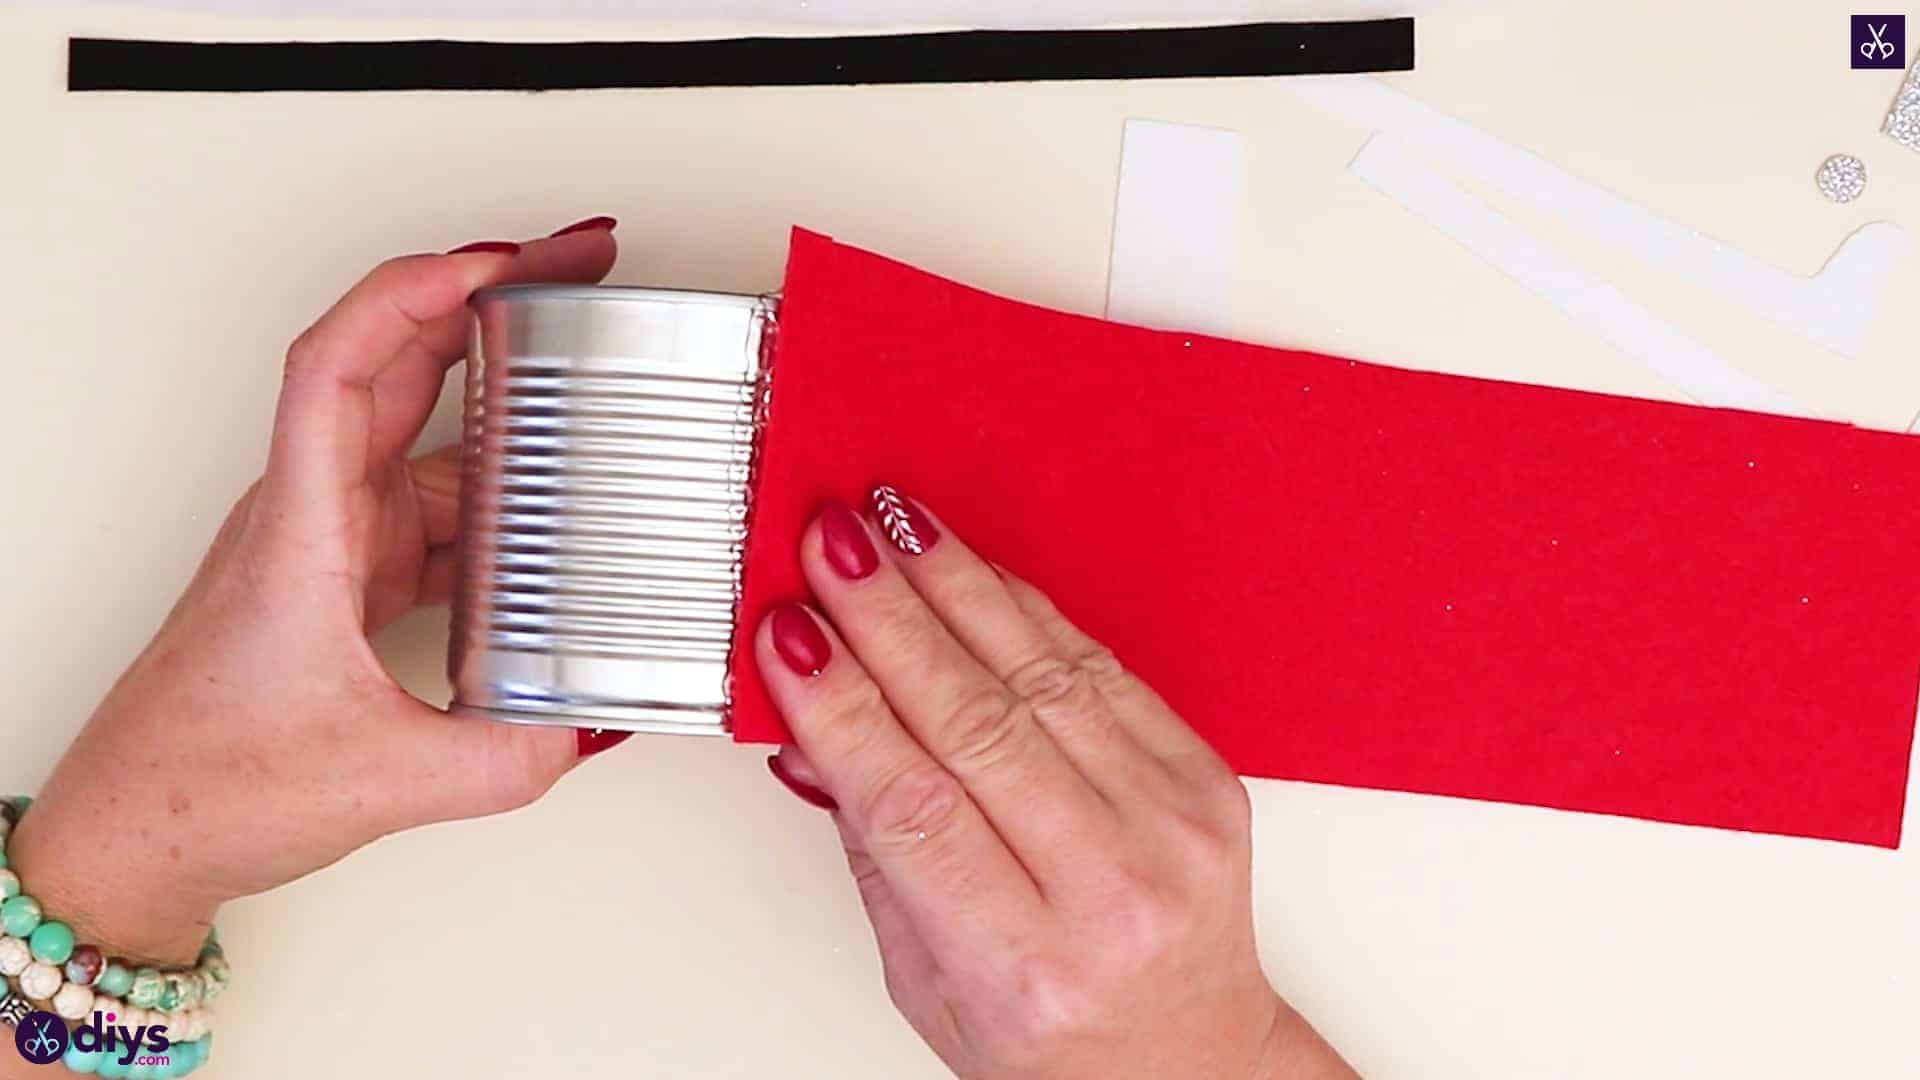
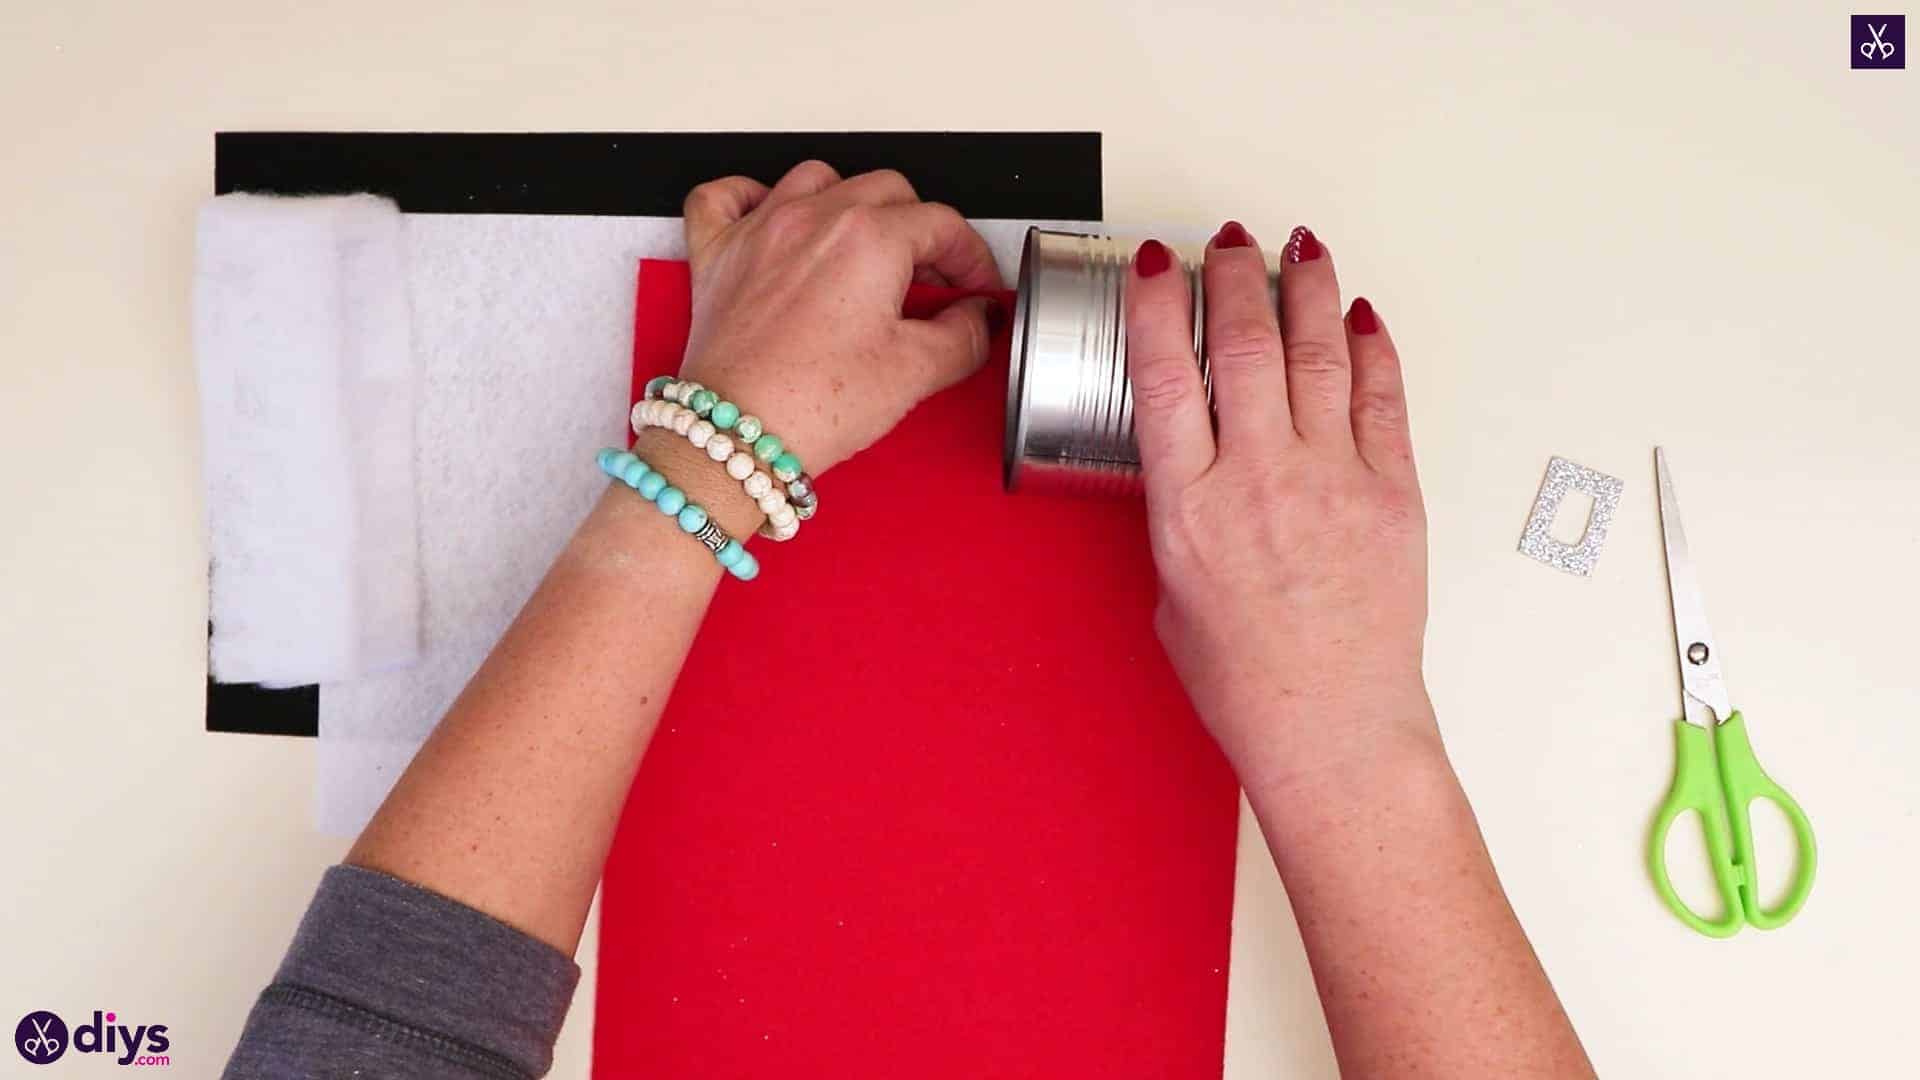
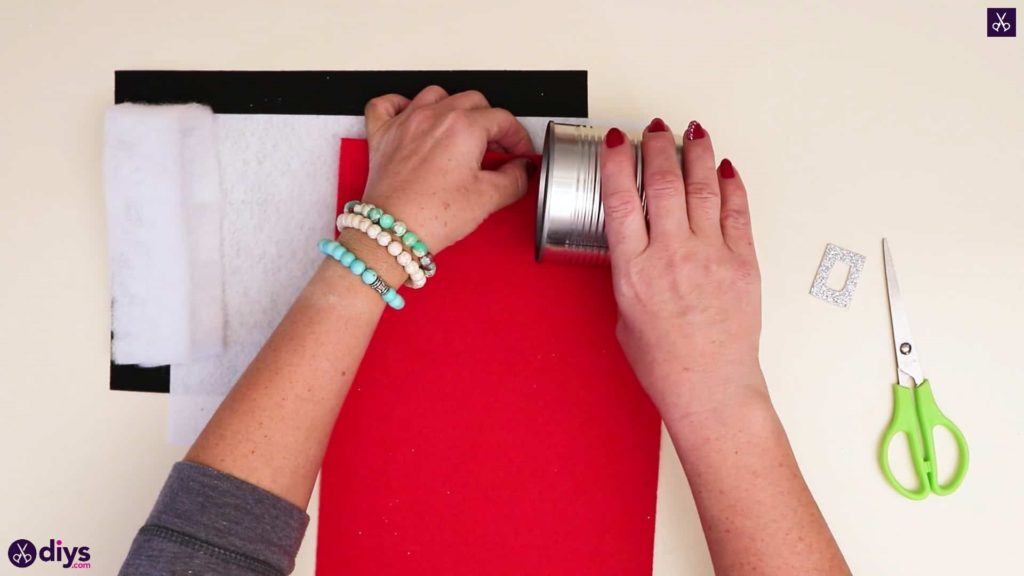
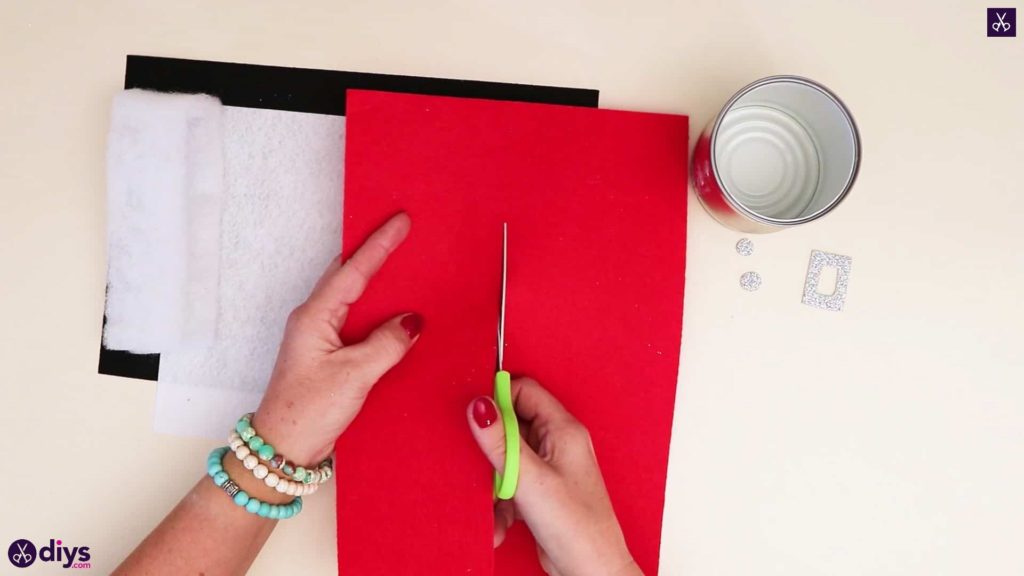
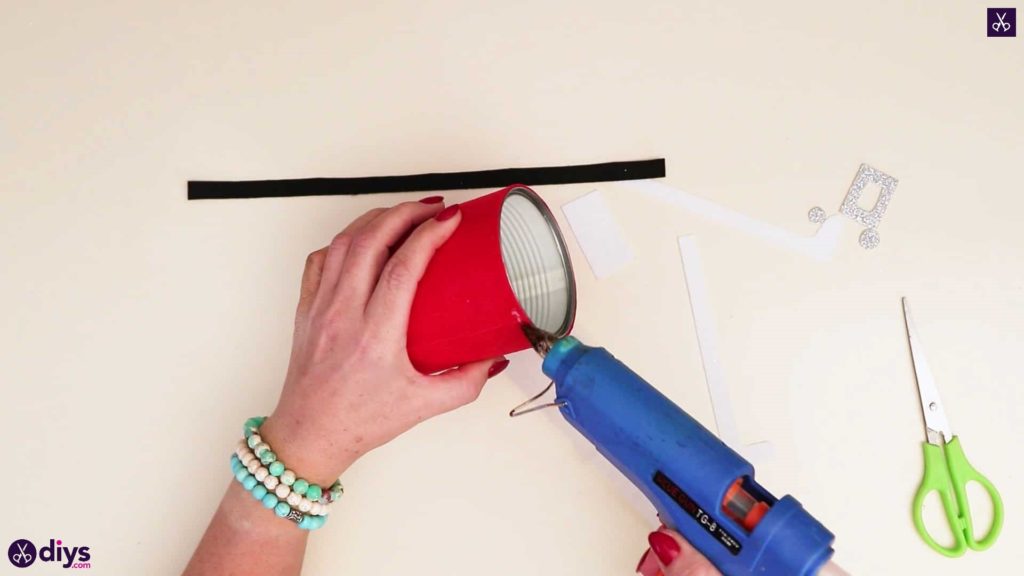
Step 4: wrap the can
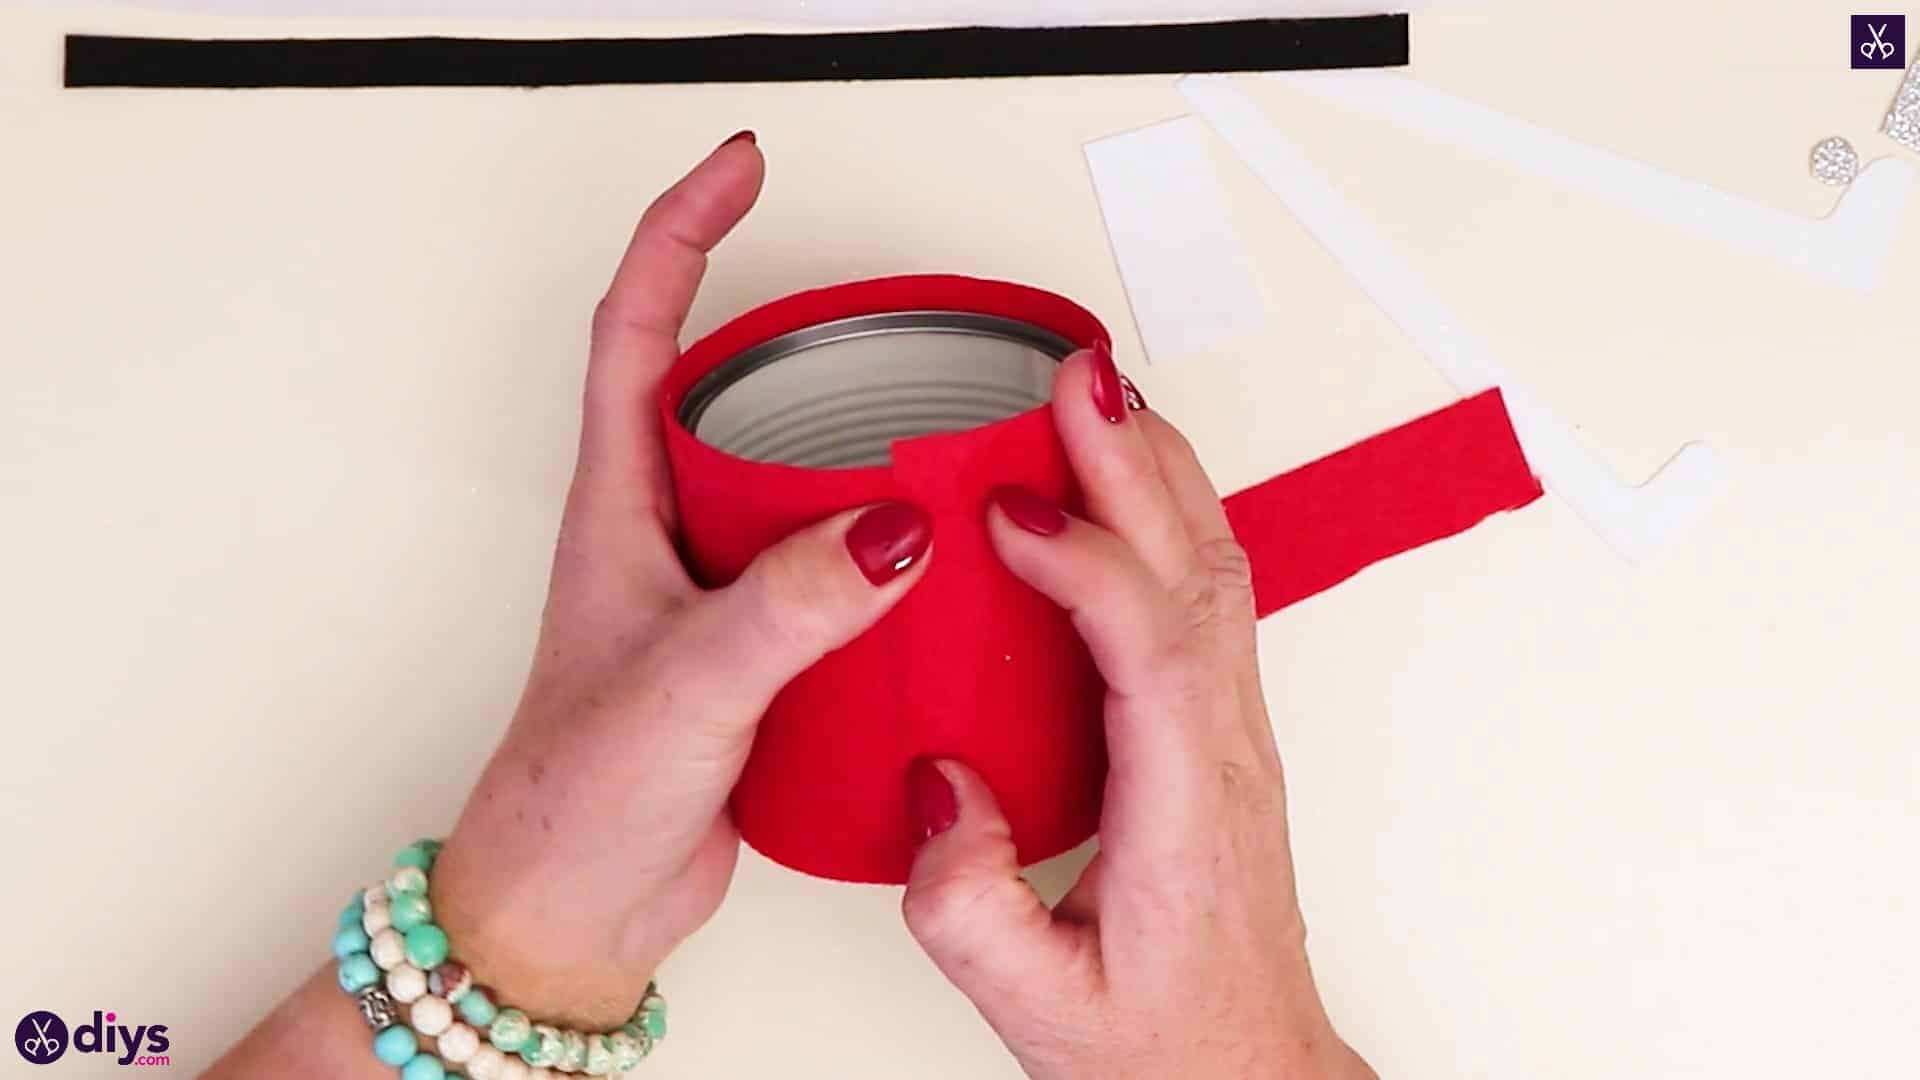
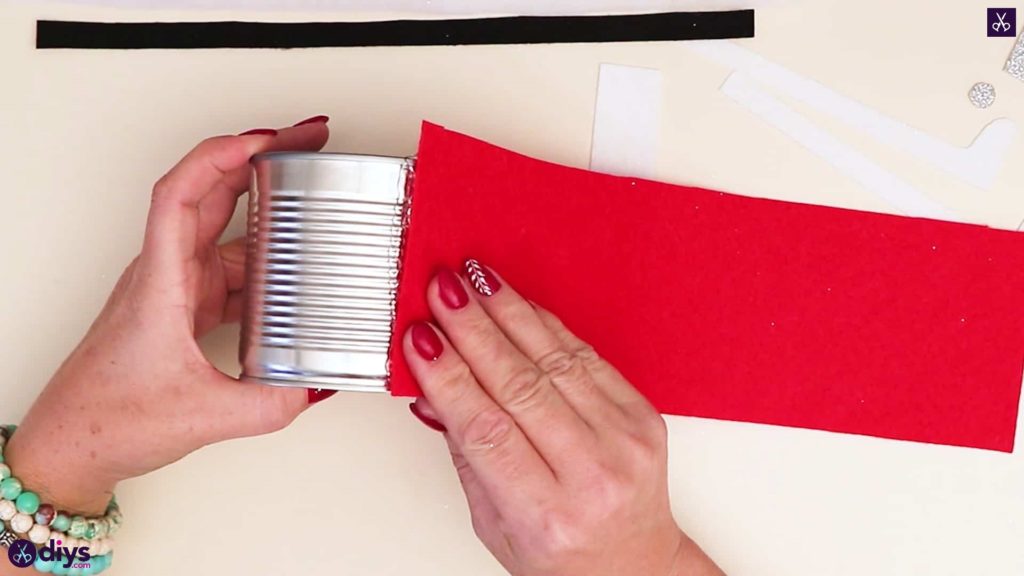
Turn your red paper portrait-wise on your worktop and then turn your tin can sideways. Line its bottom edge up with the far right edge of the paper near the top and make a mark where its top edge hits the paper, effectively marking the height of the can onto the page. Once you’ve marked that spot, move the can and cut a strip from the page that is the same width as the can’s height, all the way down the page, using your previous mark as a guideline. Set this aside for the moment.
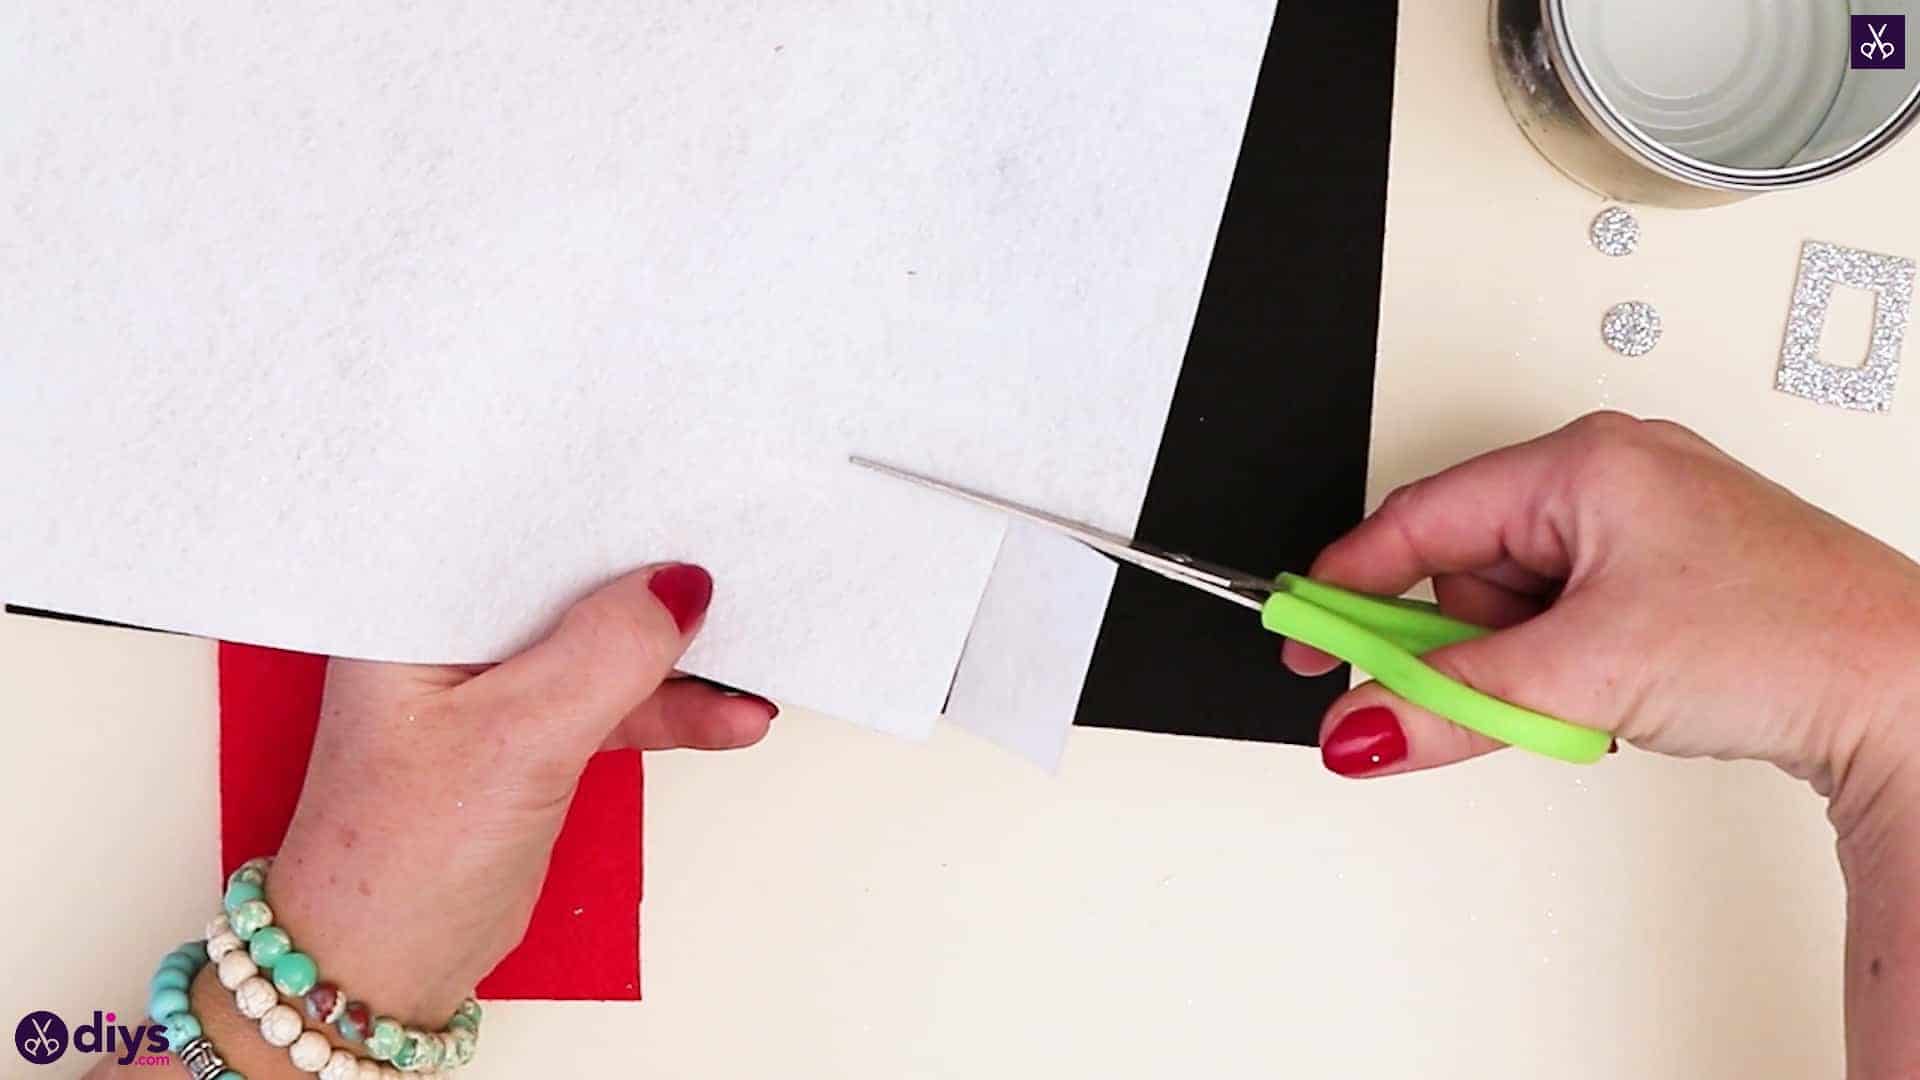
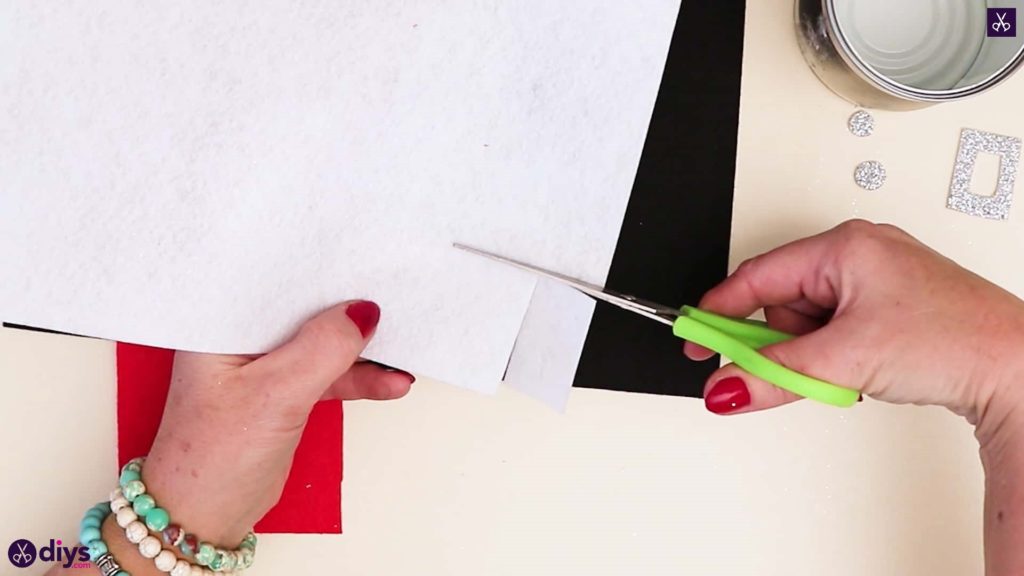
Step 5: cut strips of white
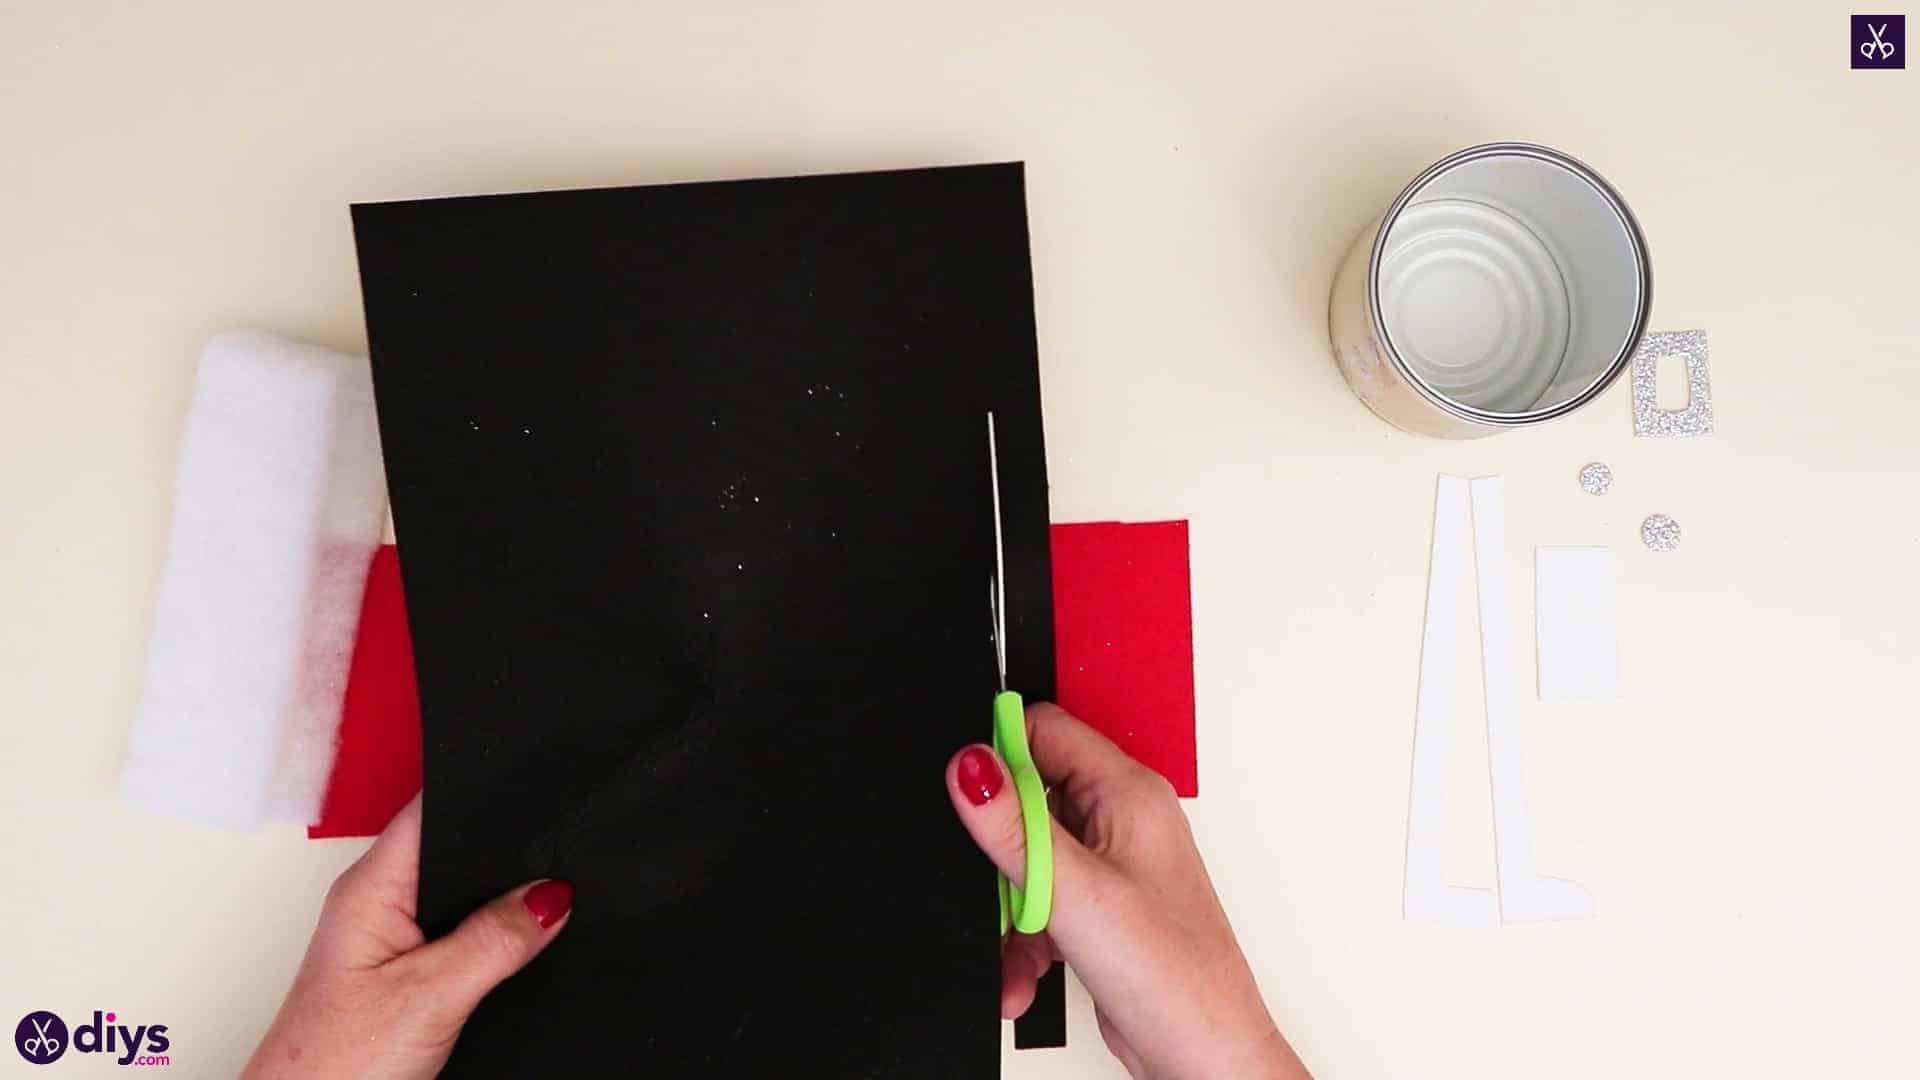
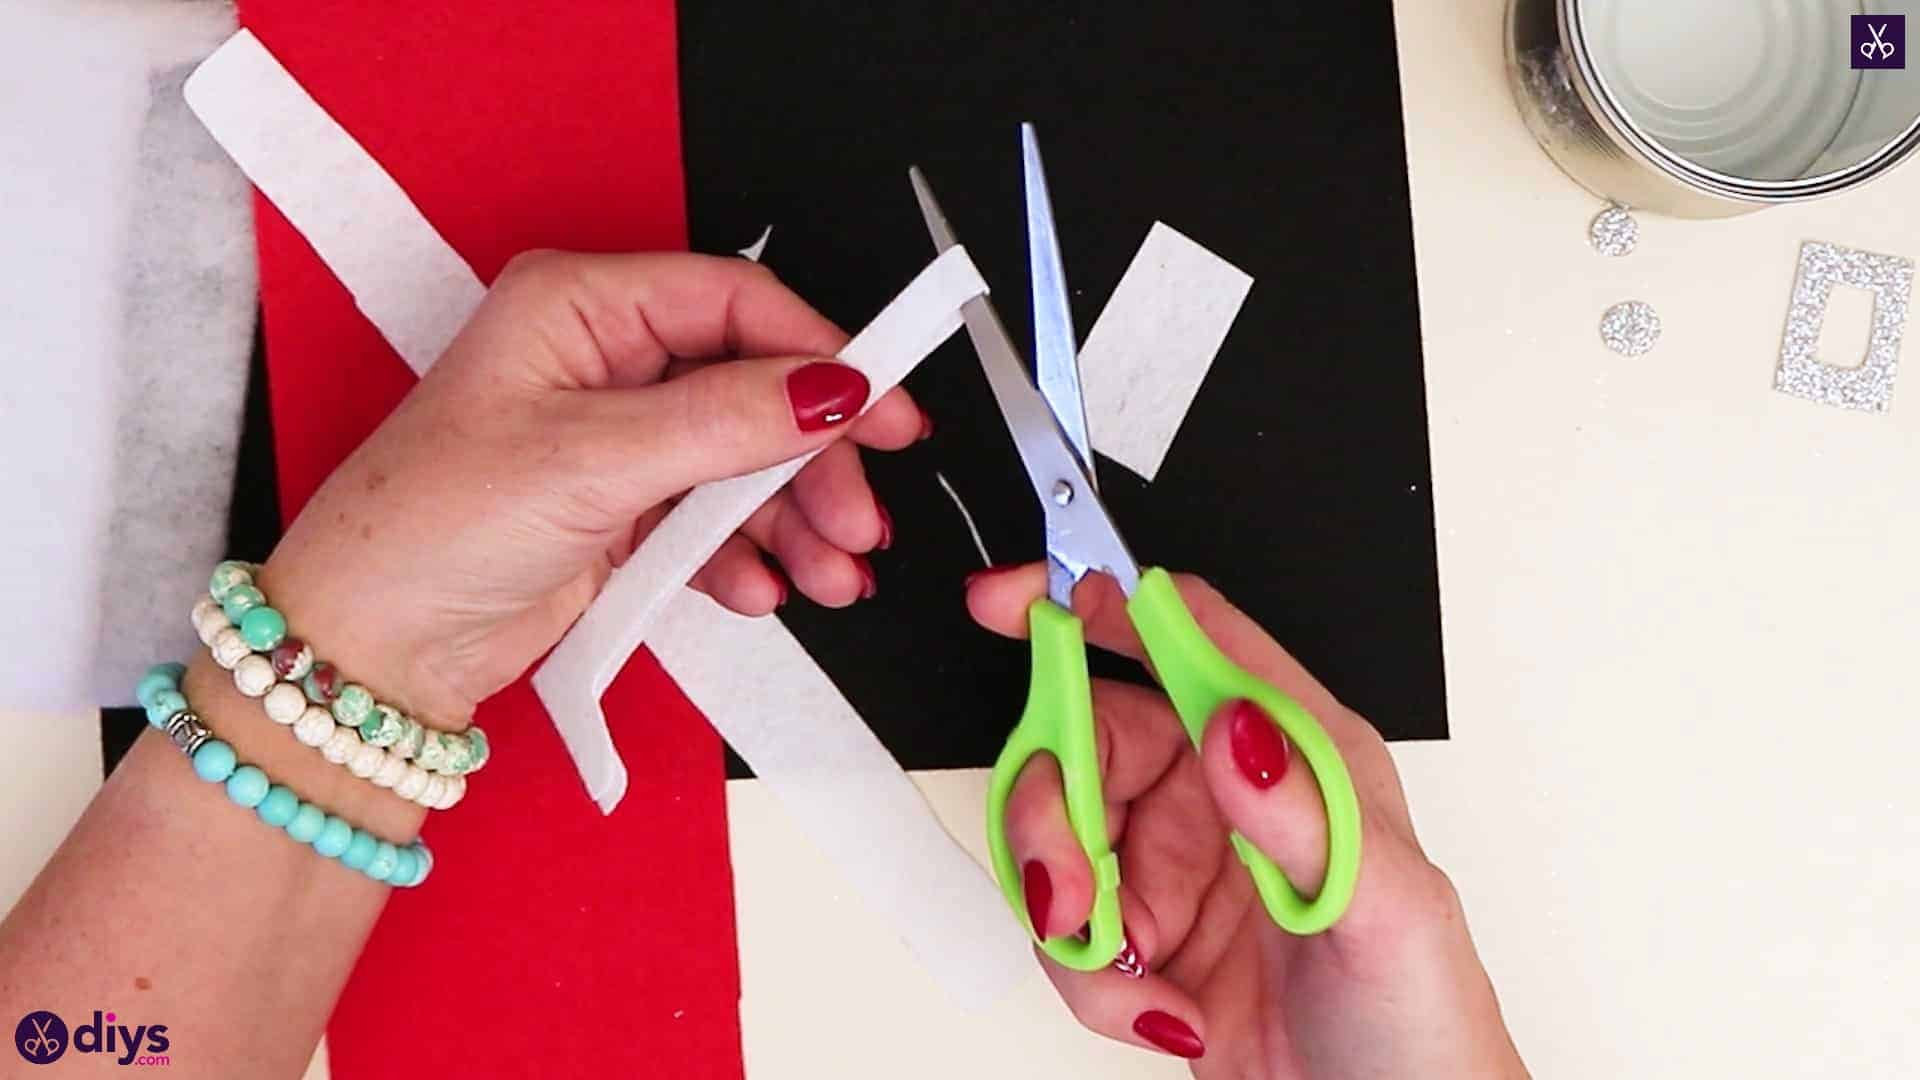
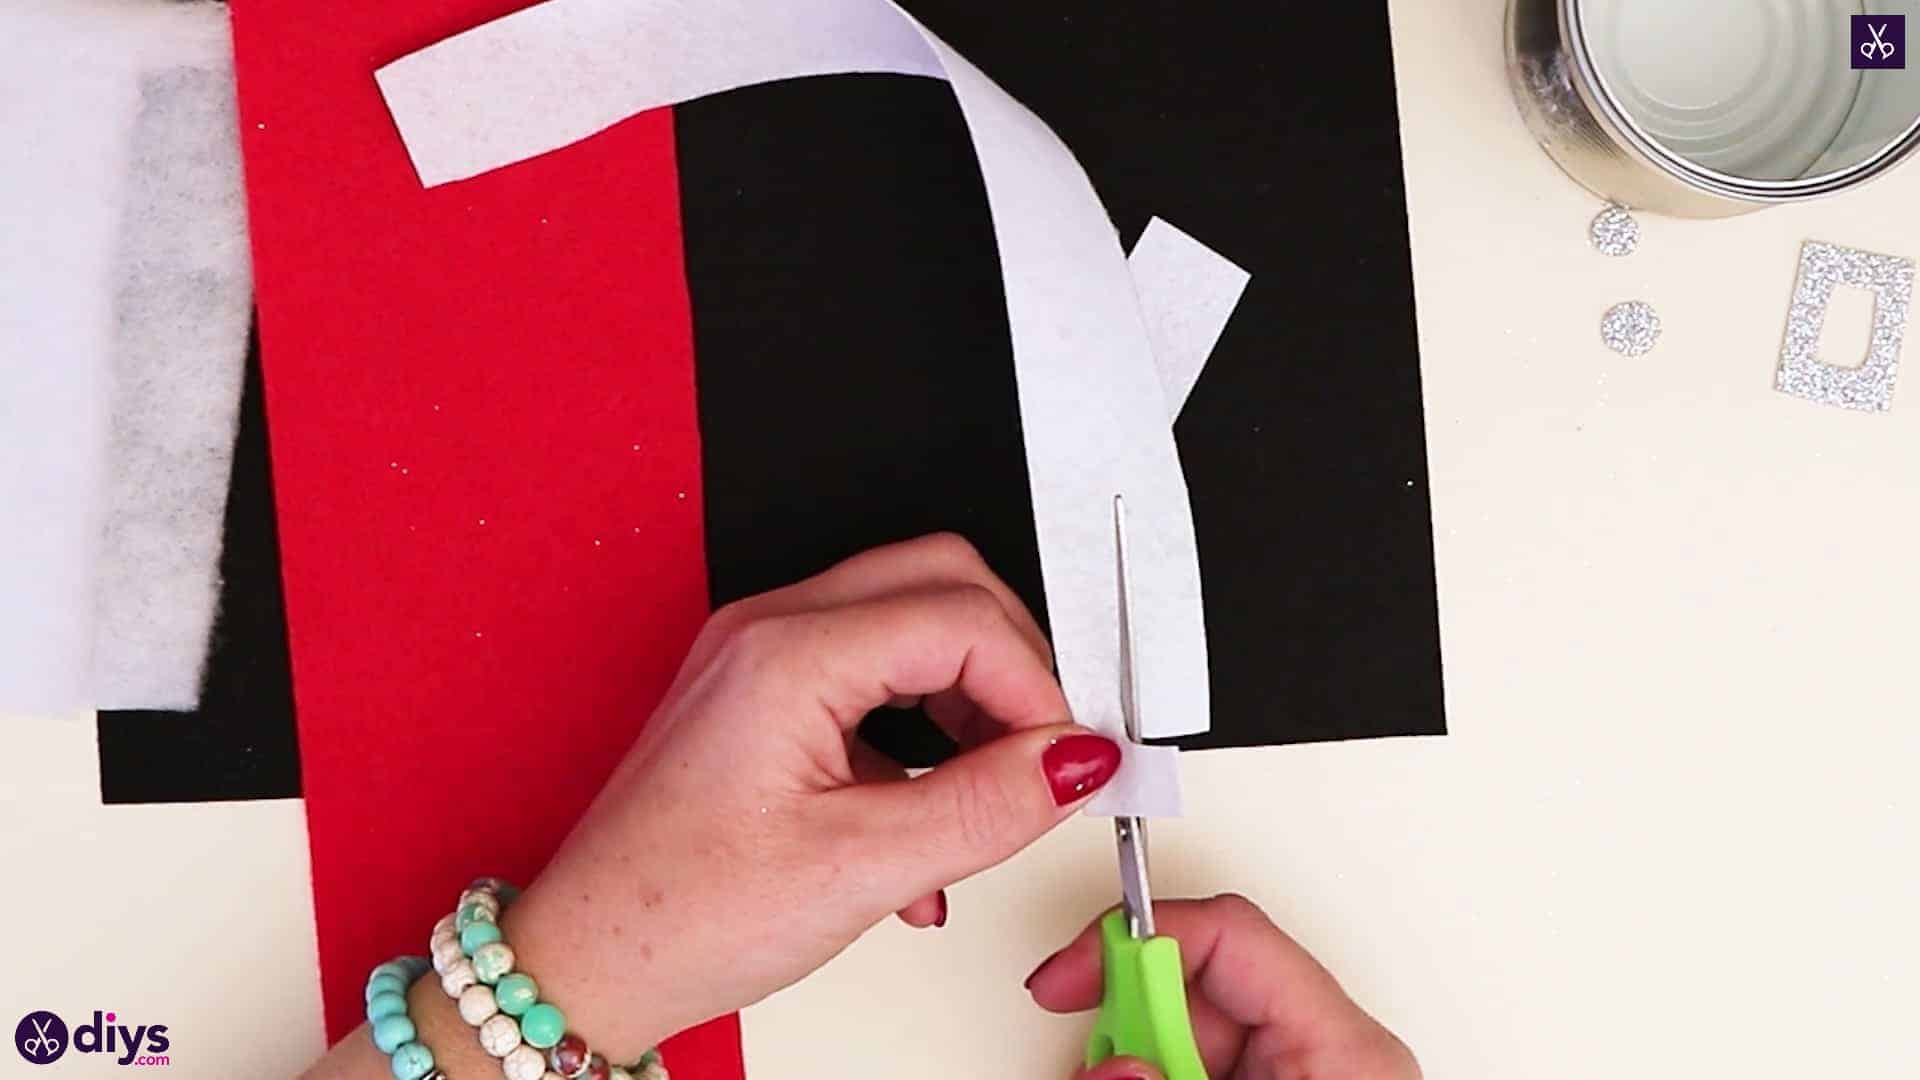
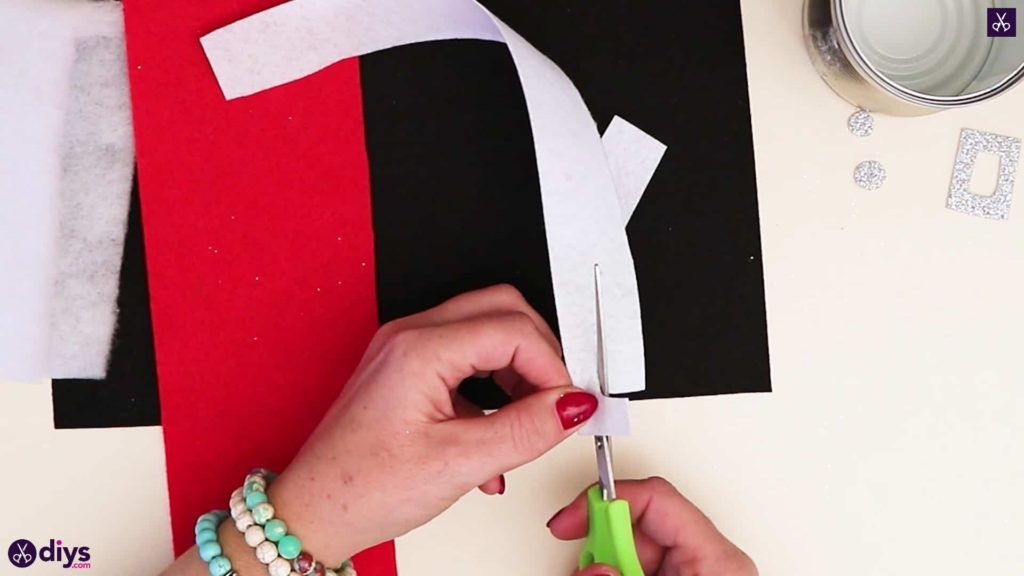
Cut a small rectangle about an inch long and half and inch wide from one corner of your white felt. Turn the felt page to cut a second piece from it, this time a strip about half an inch wide and the entire length of the page’s longest edge. Create a coat trim from this piece by cutting across the strip almost entirely, stopping and turning your scissors about a centimetre away from cutting through the strip’s width, cutting almost all the way down its length, and then turning your scissors again to cut across it back to the same edge you started into. you’ll have a long piece with two extra pieces pointing the same direction no either end. Fold this piece so the extra ends line up with each other and cut the strip in half at its creased center point to give yourself two separate pieces, each with its own little foot.


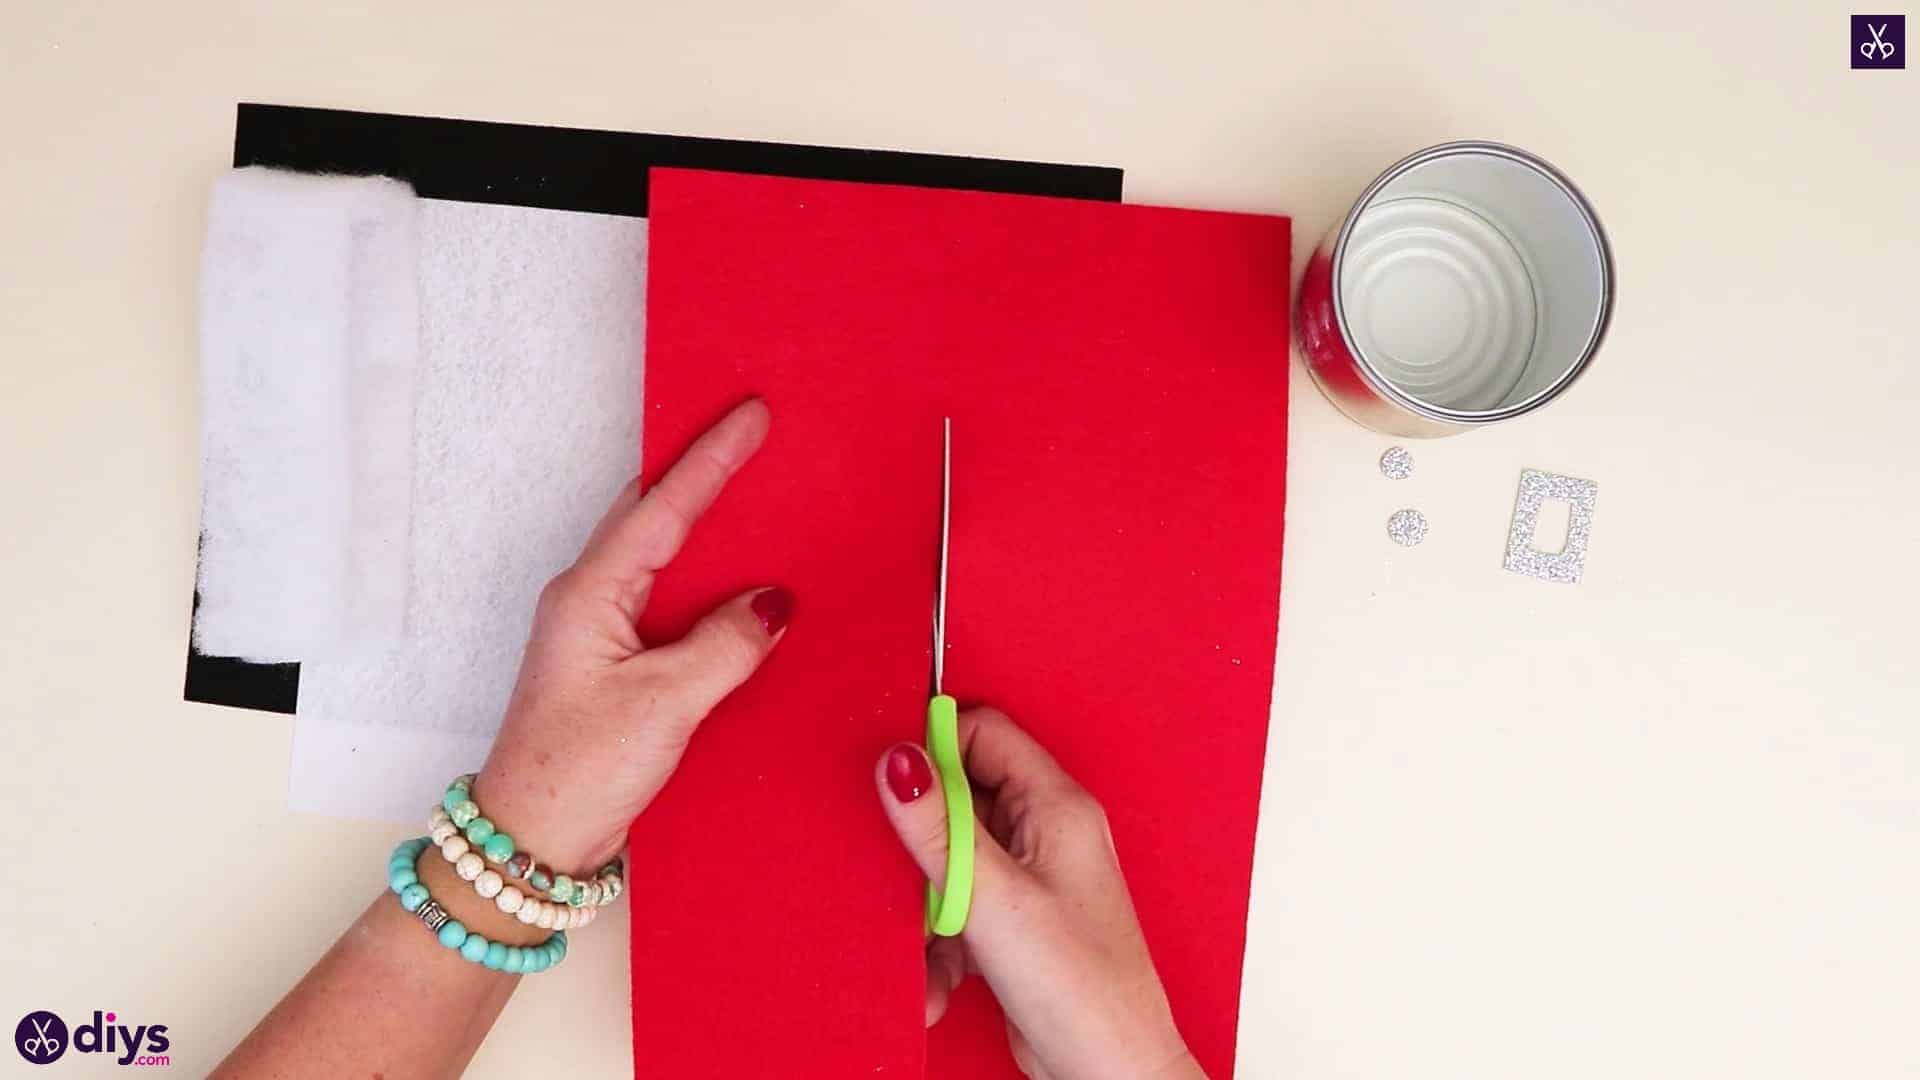
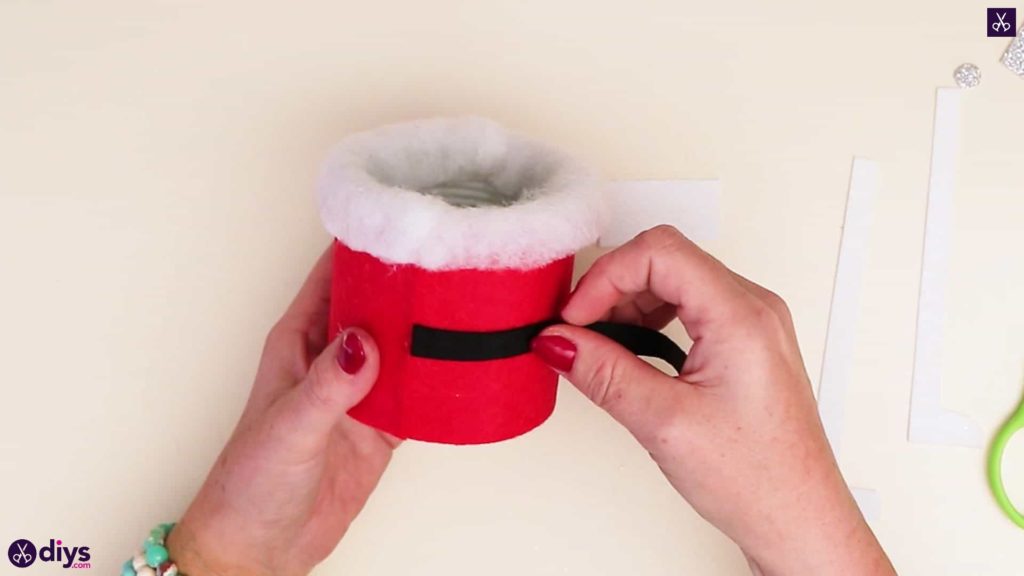
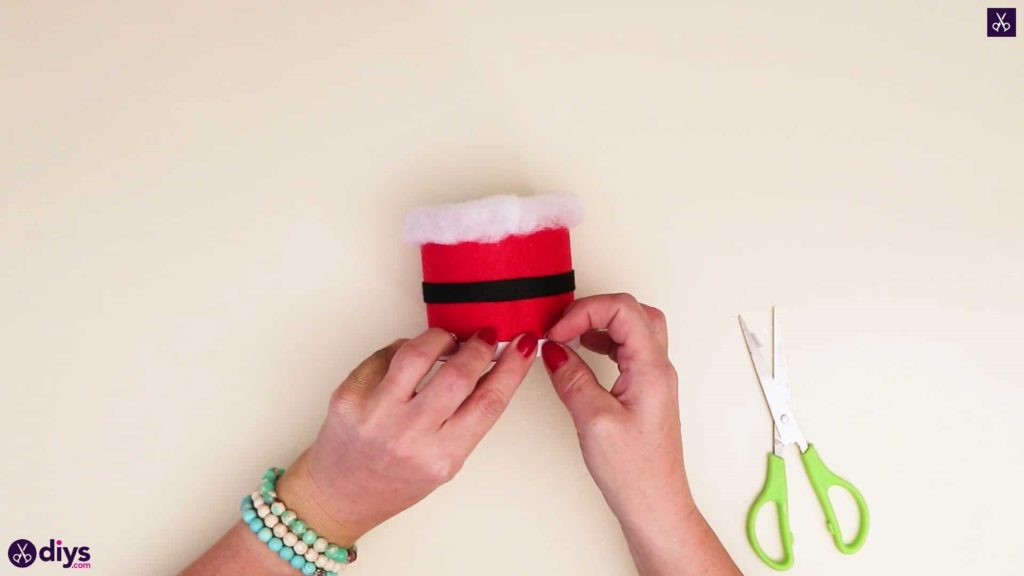
Step 6: make the belt
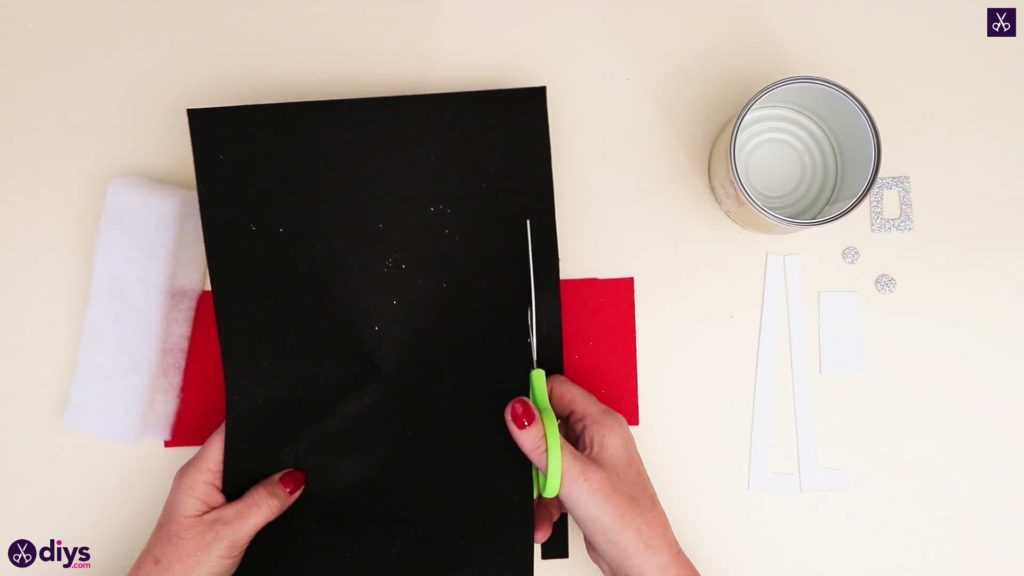
Cut a strip from the full length of your black paper along its longest edge, about a quarter of an inch wide. Set this aside for later as well.
Step 7: start gluing
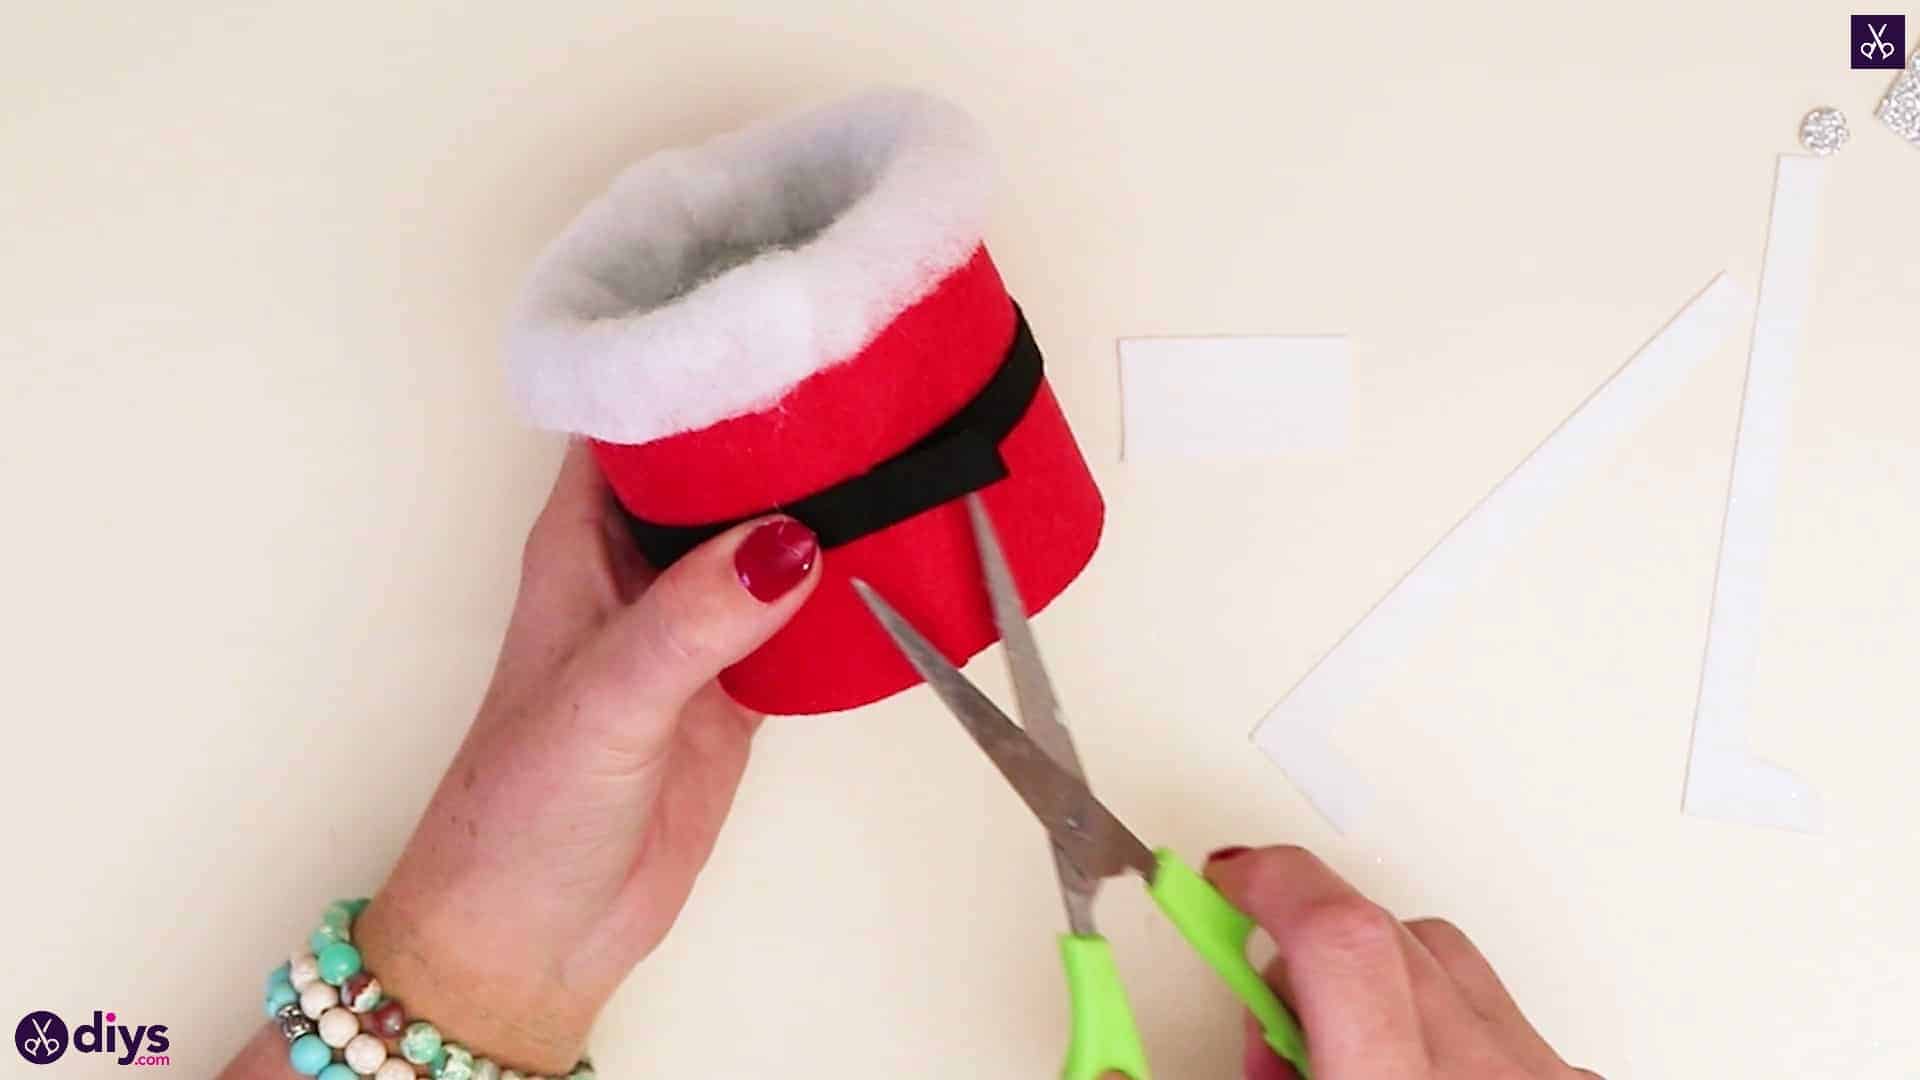
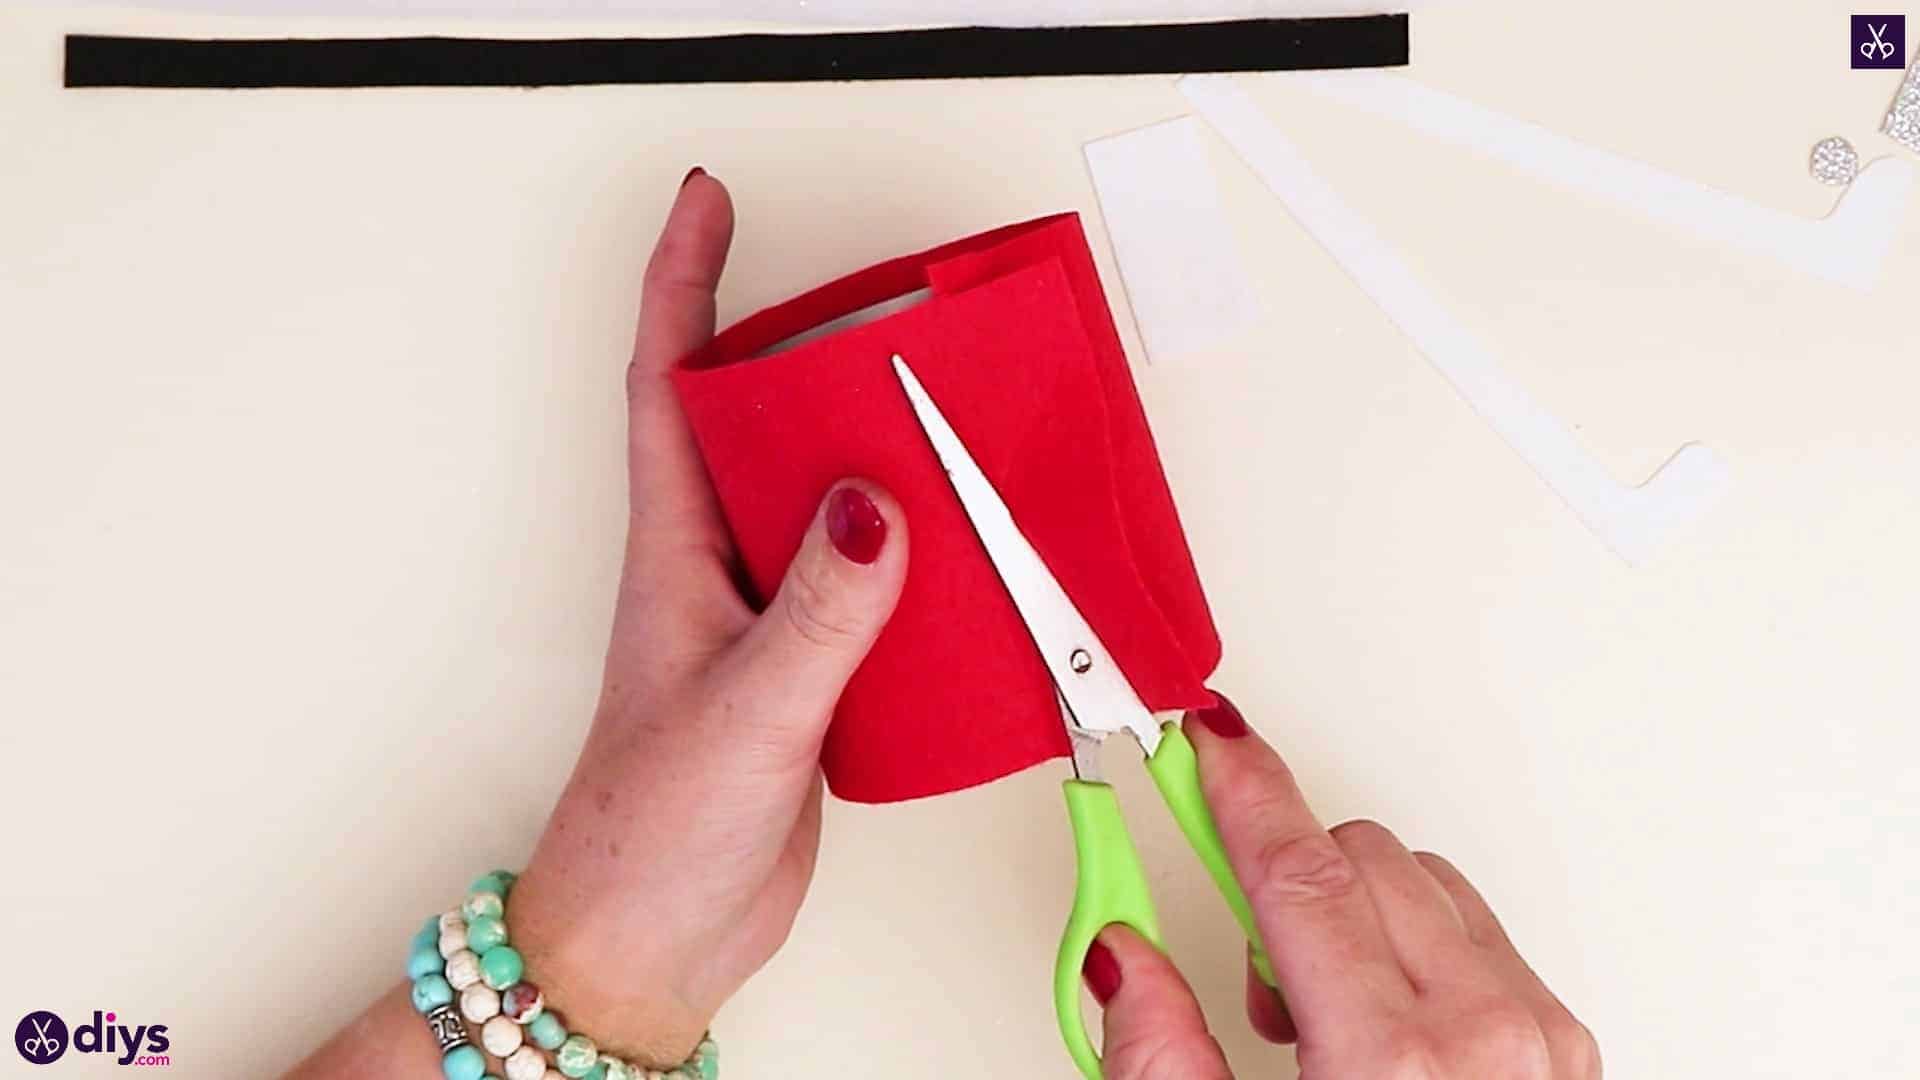
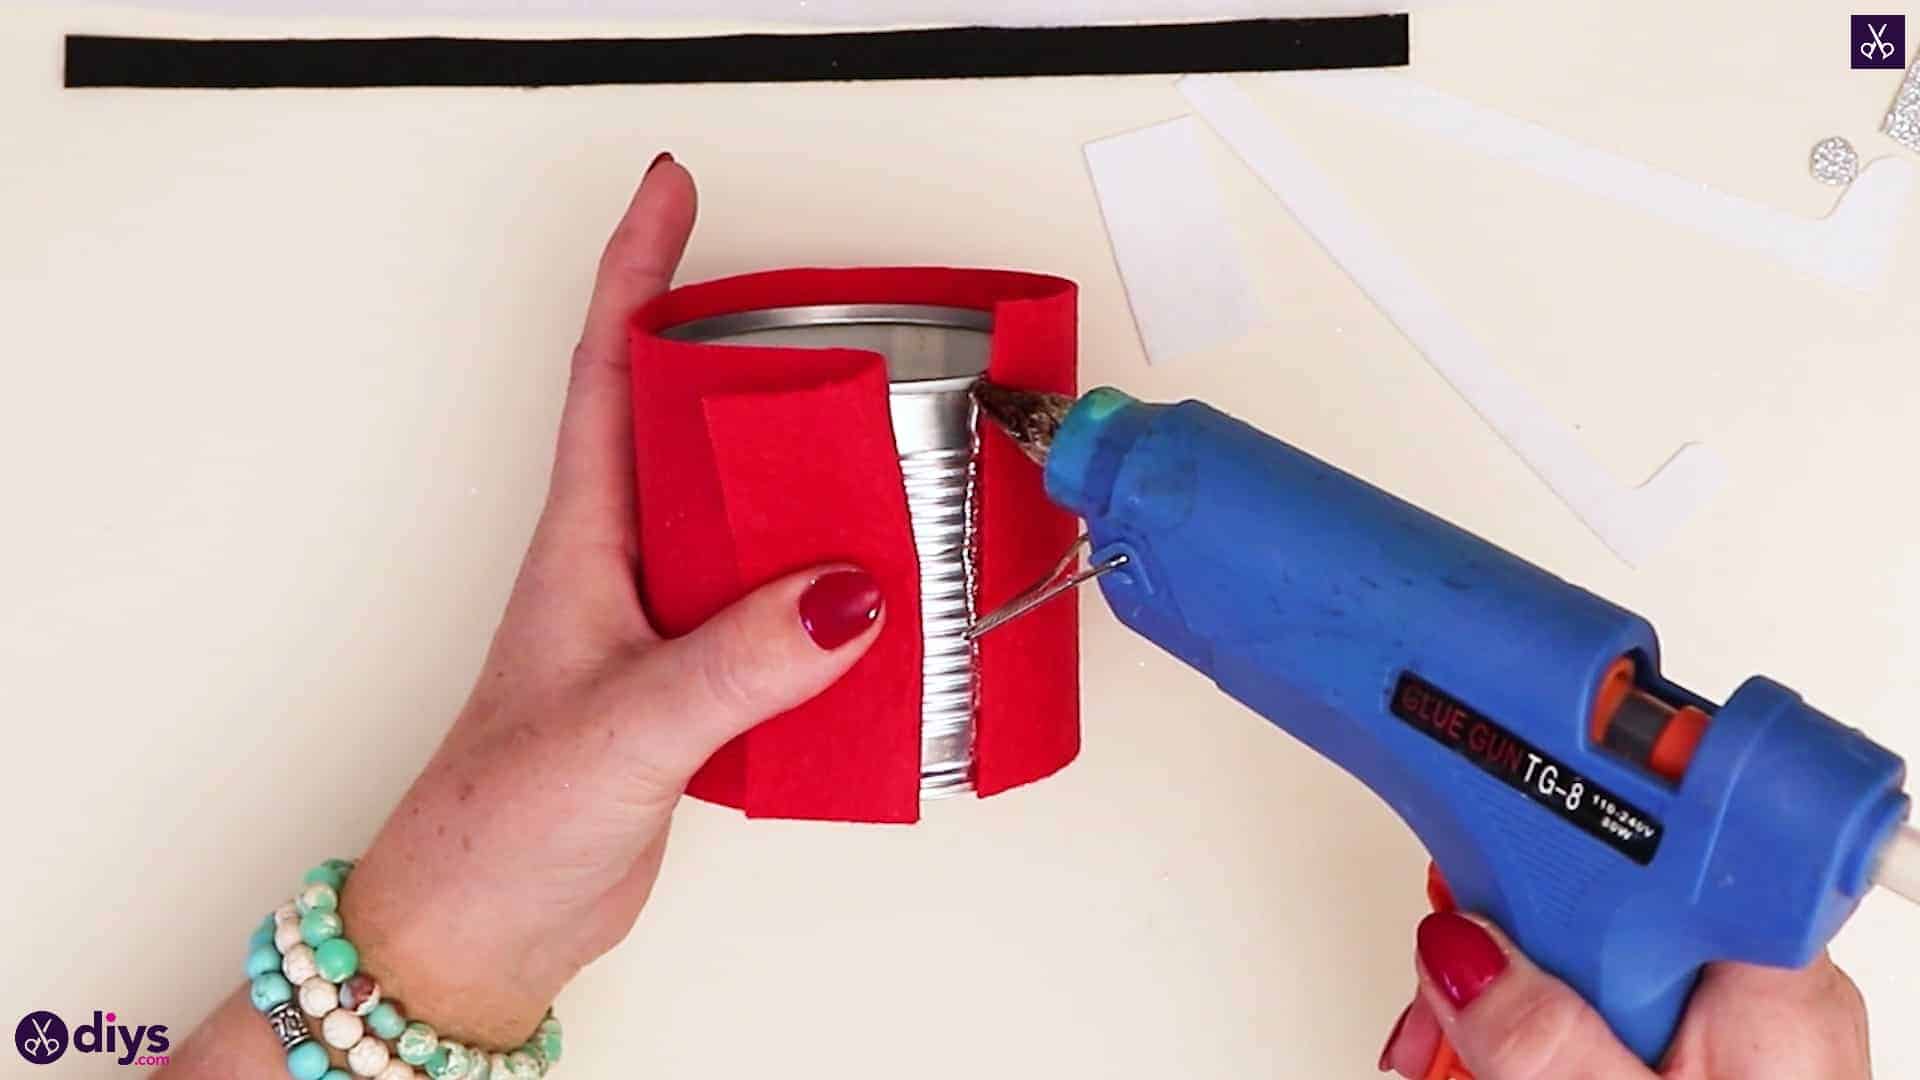
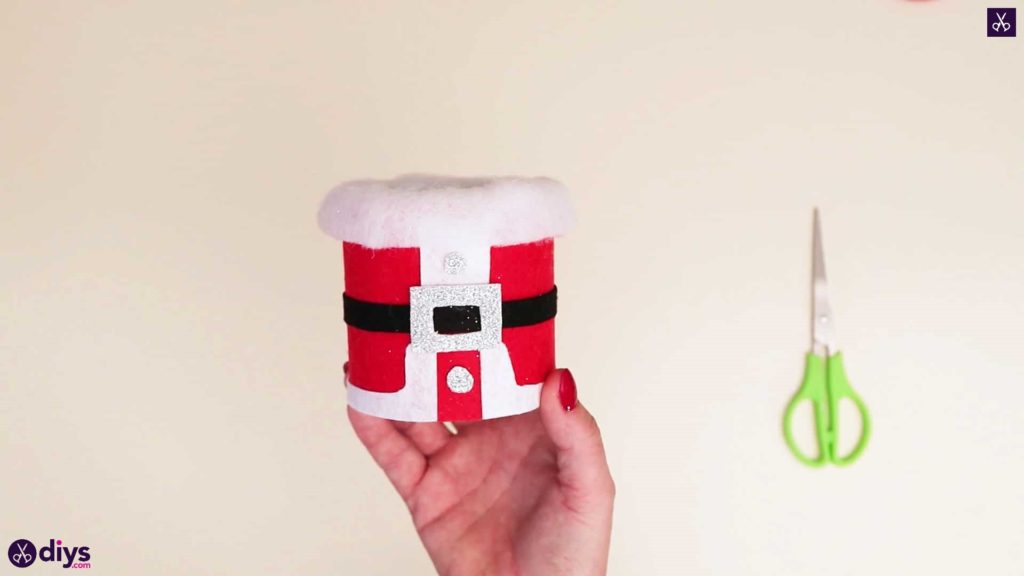
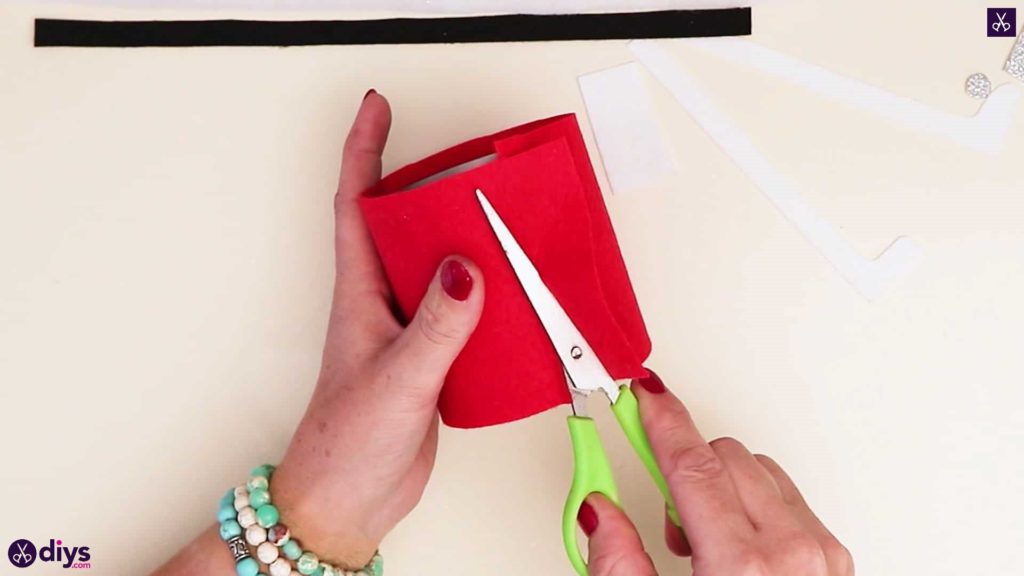
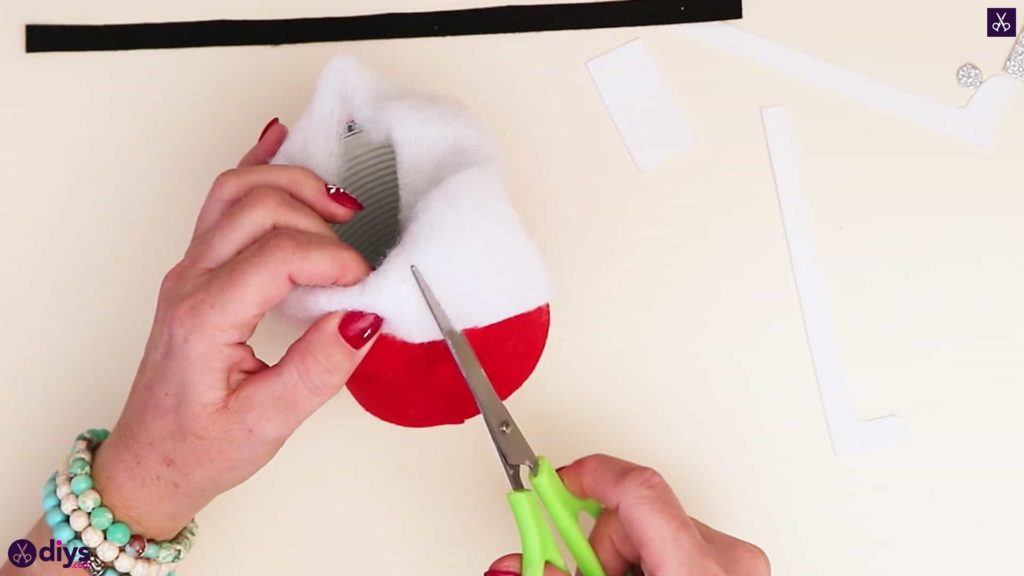
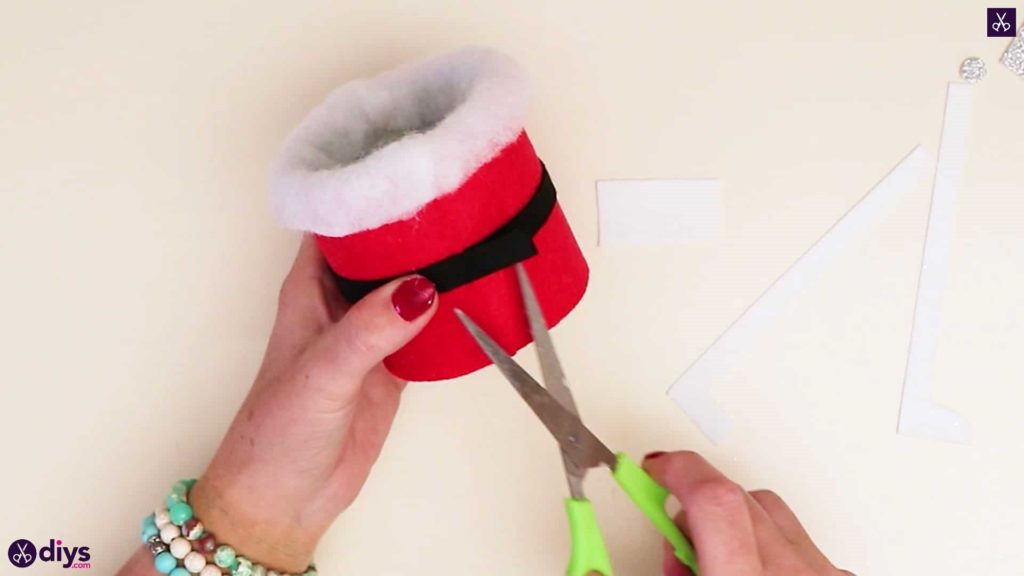
Apply glue down the length of your tin can from the top rim to the bottom edge. Stick one short end of your previously cut red strip down, so it reaches from top to bottom like you measured earlier. Wrap the strip around the outside of the can, bringing it all the way around until it meets back up with the first edge you just glued down. Cut off the excess of your free end to make a new end that meets evenly with the first and glue it in place as well. If the felt is a little longer than the top edge of your can, trim the excess off there all the way around as well.


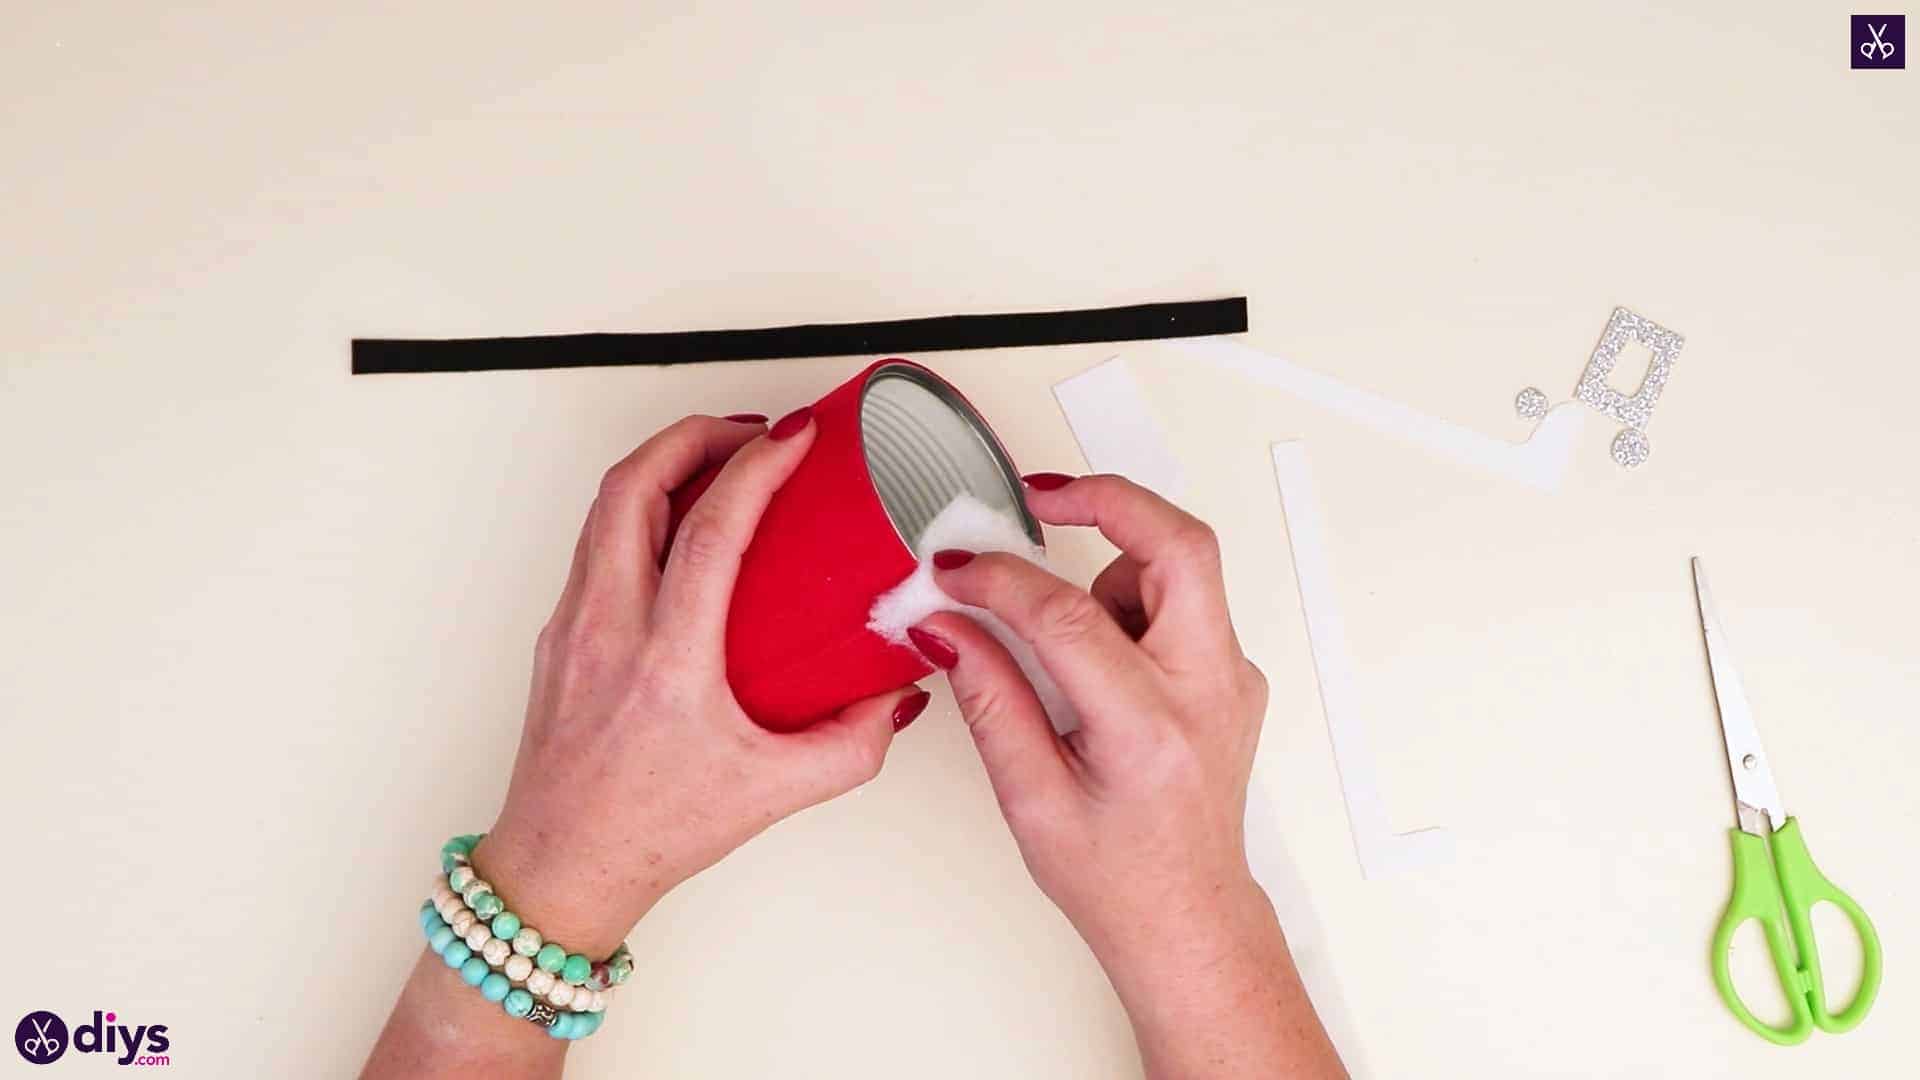
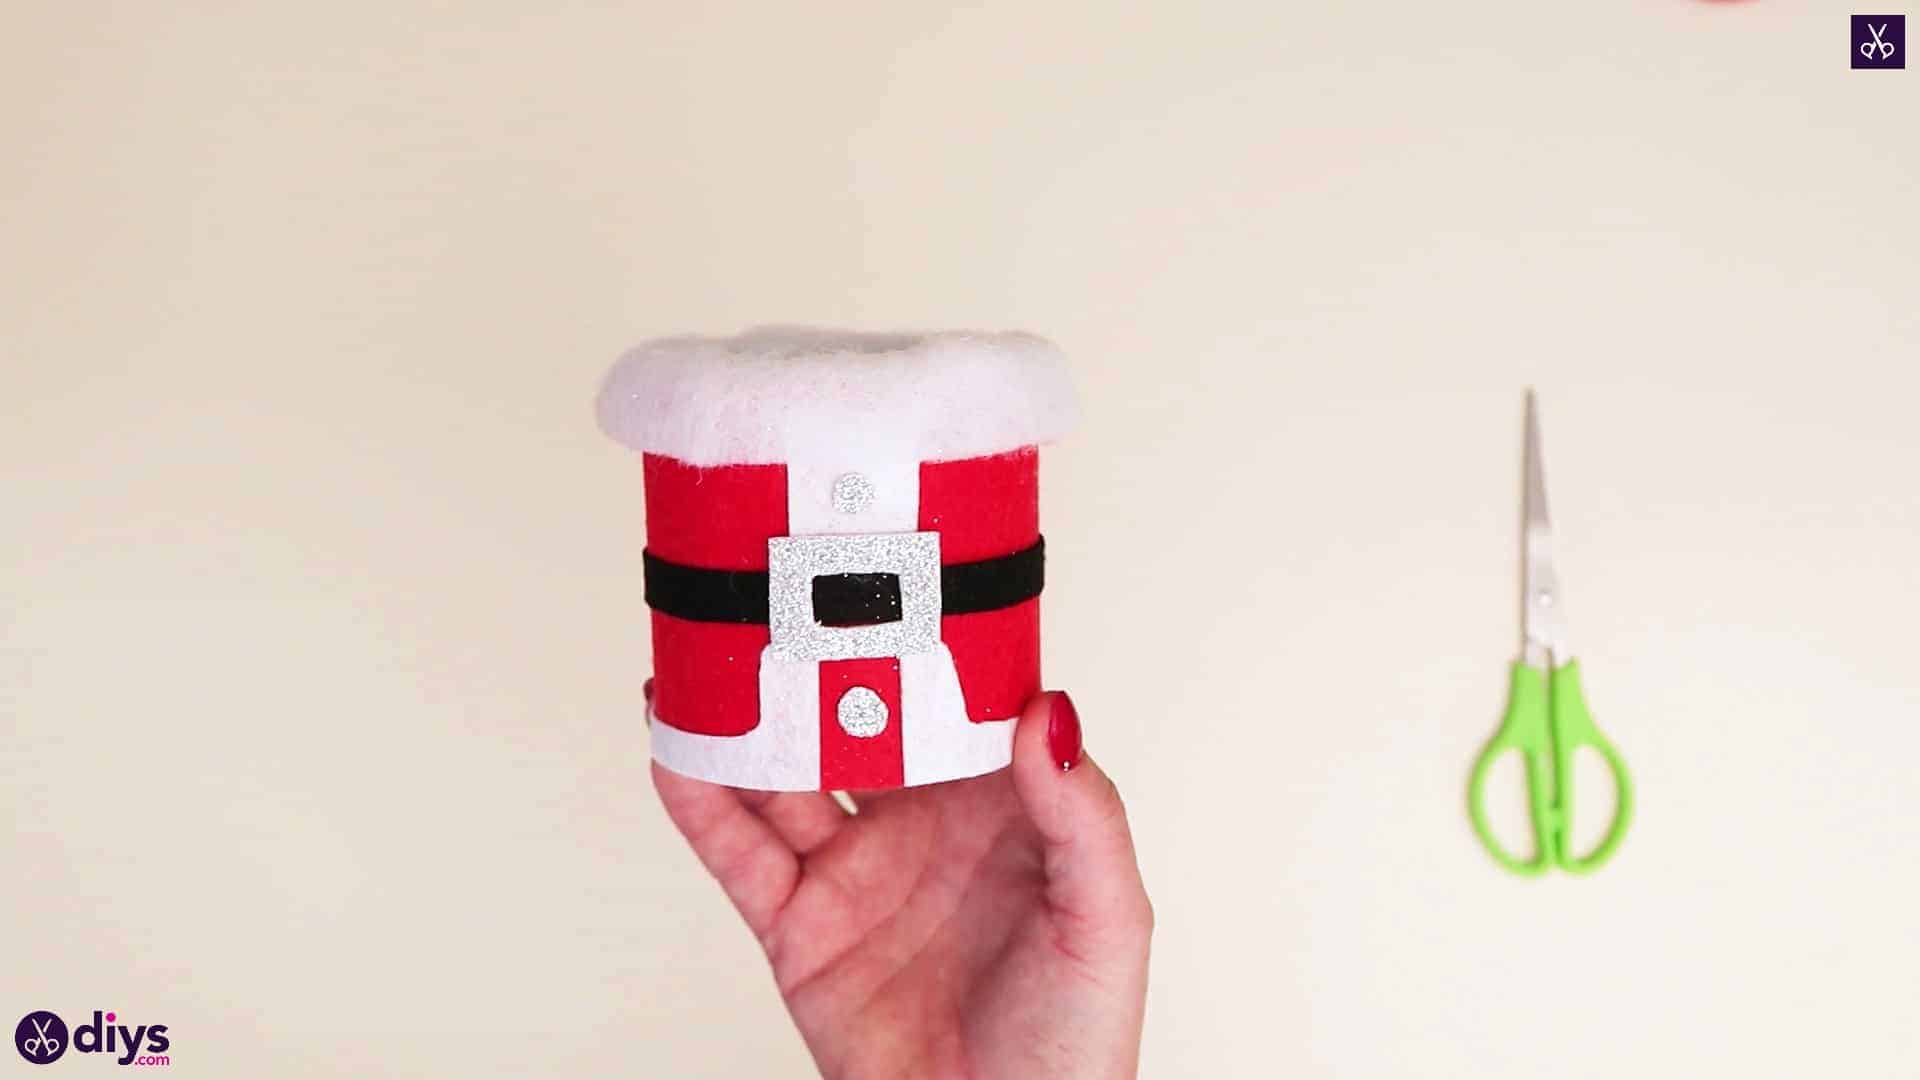
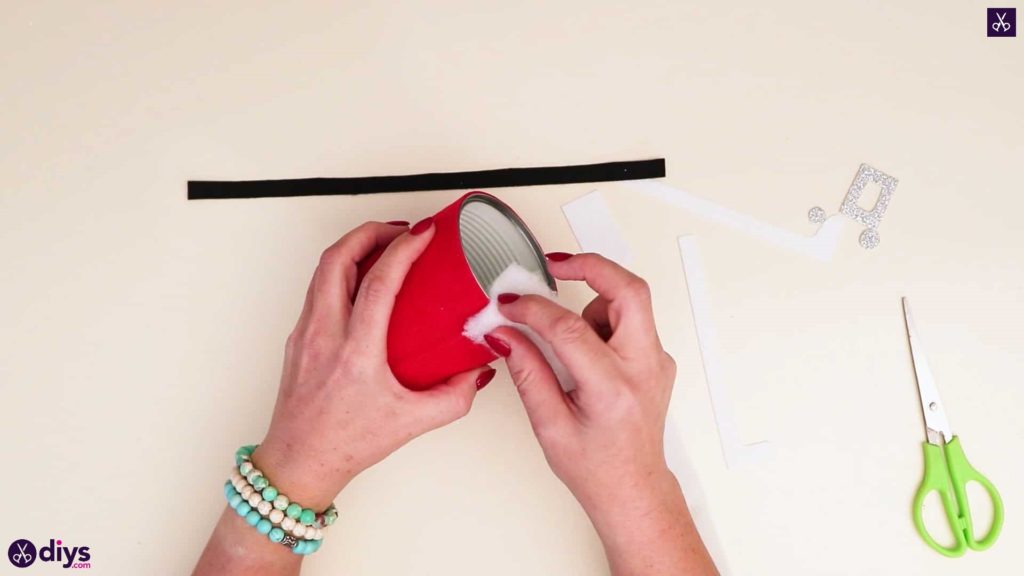
Step 8: add cotton
Apply glue around the outside of the can’s opening, as well as along the inside of the rim. Anchor one end of your pulled cotton strip down in the glue on the outside and wrap it all the way around the opening, anchoring it in the glue until it meets back up with its first end. Trim the excess off. Then, fold the strip in half over the lip of the can and stick that half down in the glue all the way around the inside. Your can is now lined with fur like Santa’s coat!
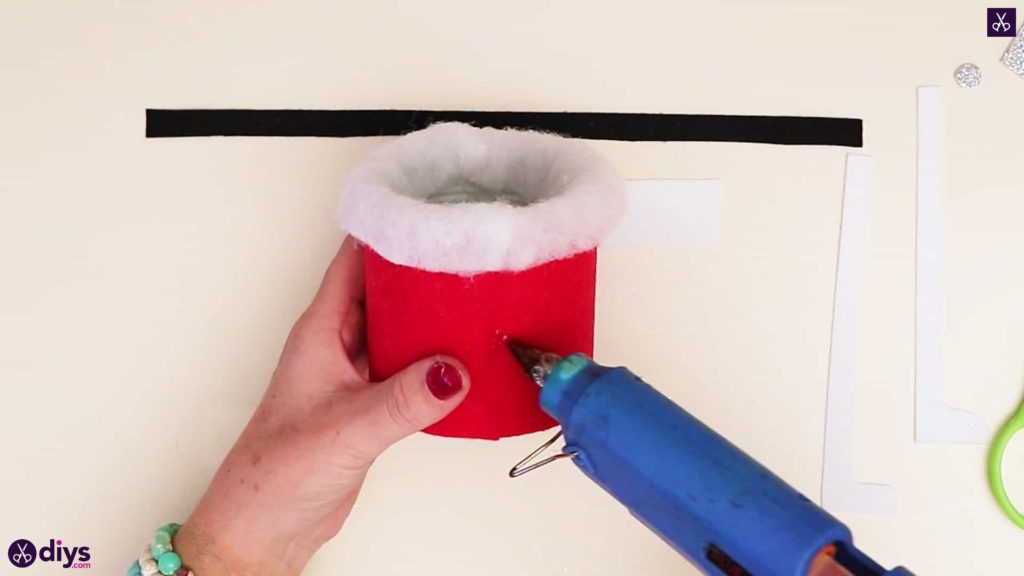
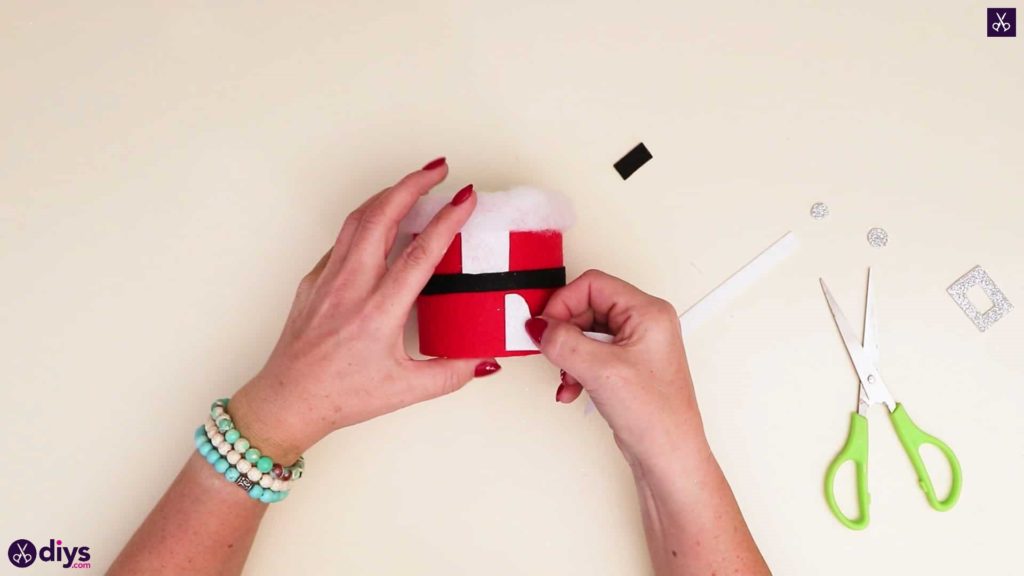
Step 9: add belt
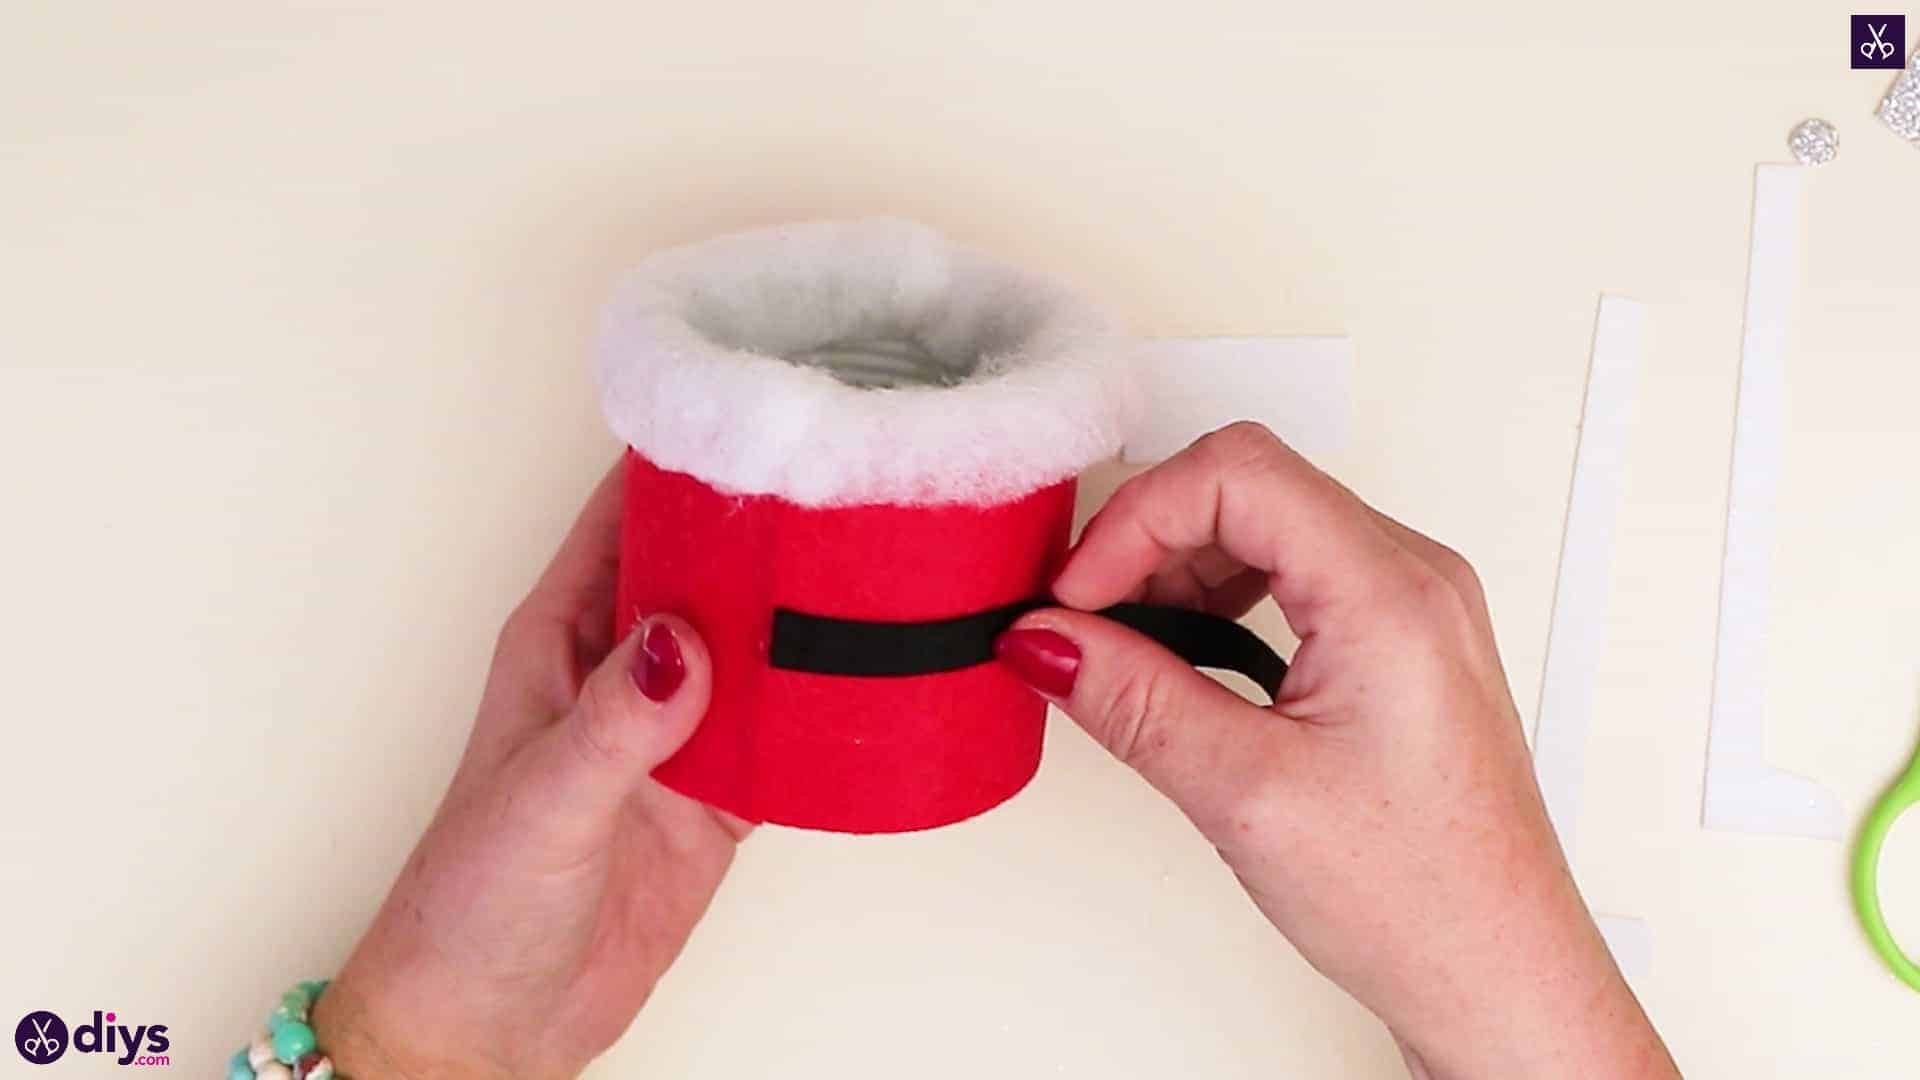
Halfway down the length of the can along the seam in your red paper at the back, where your two ends meet, apply a dot of glue and stick one end of your black strip down there. Wrap the strip all the way around the can until it meets back up with its first end. Trim the excess off and stick this new end down as well. Your Santa’s coat now has a belt!
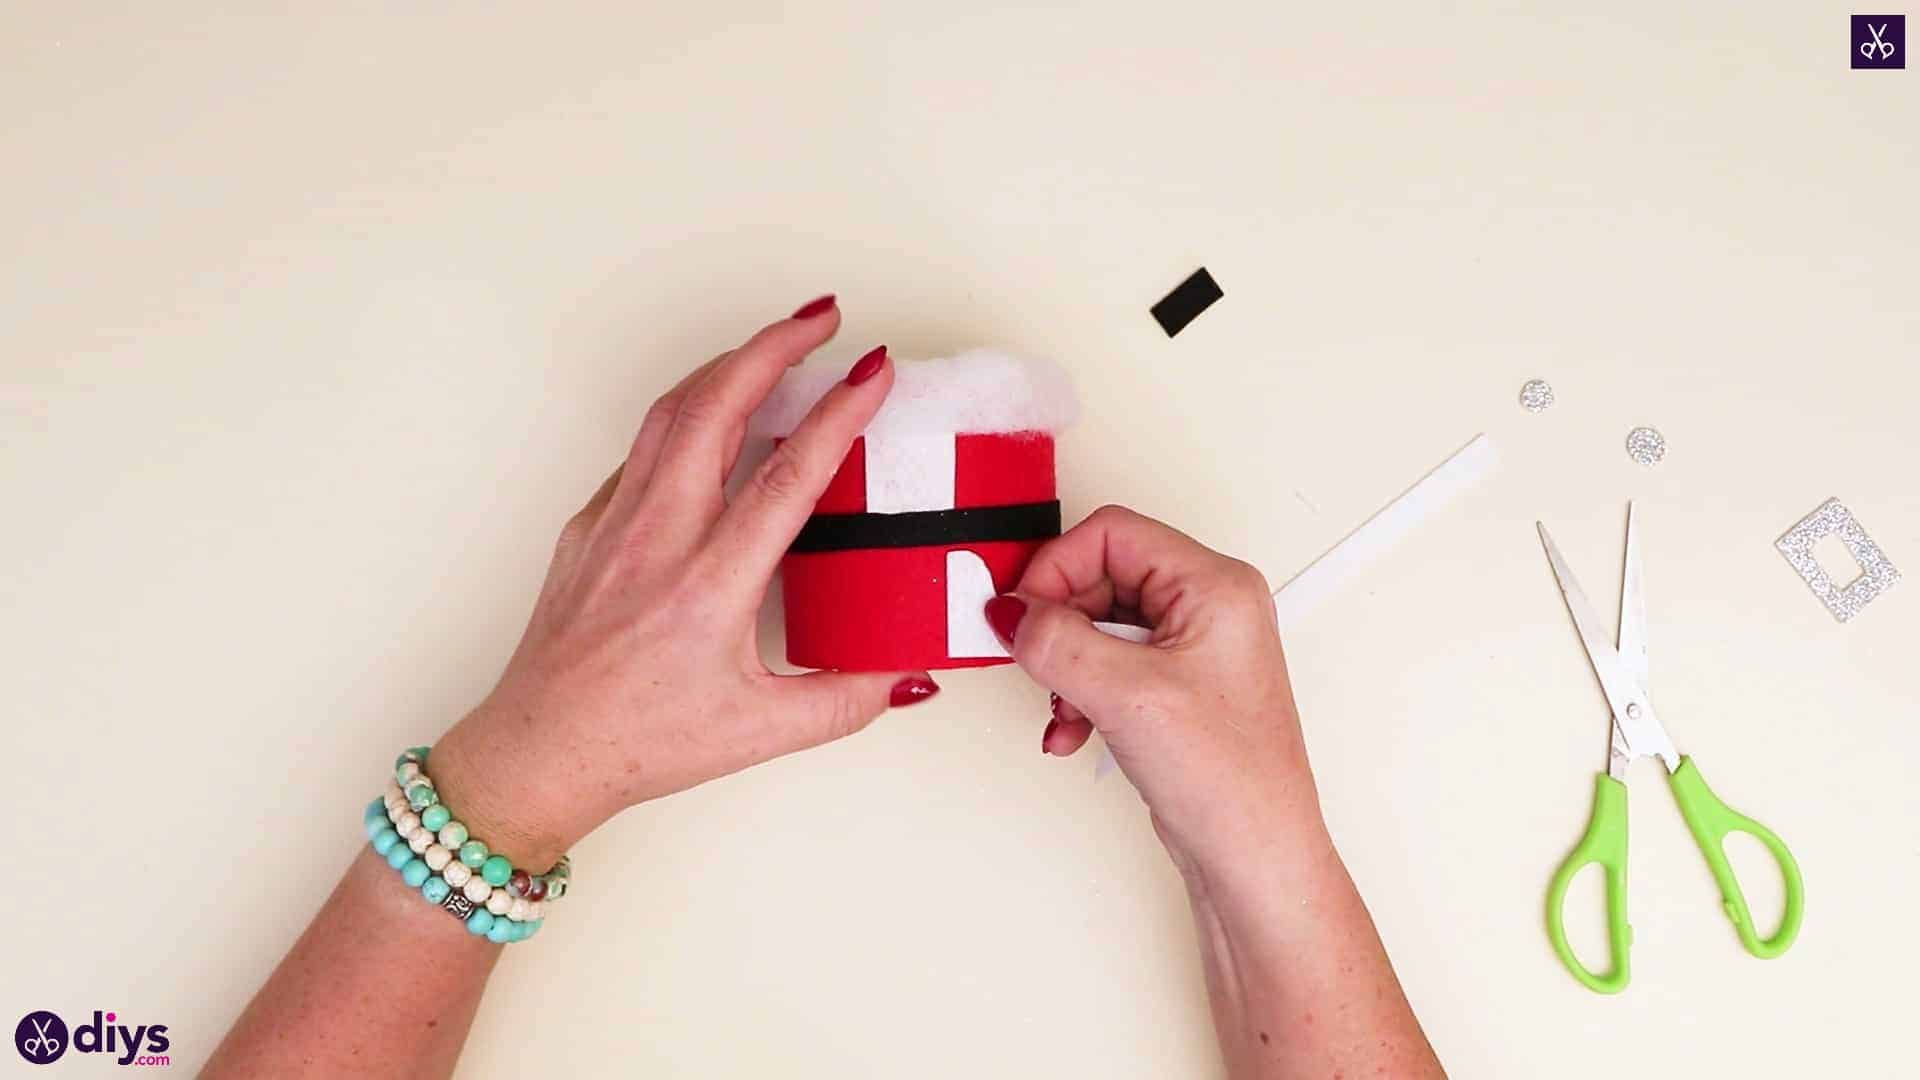
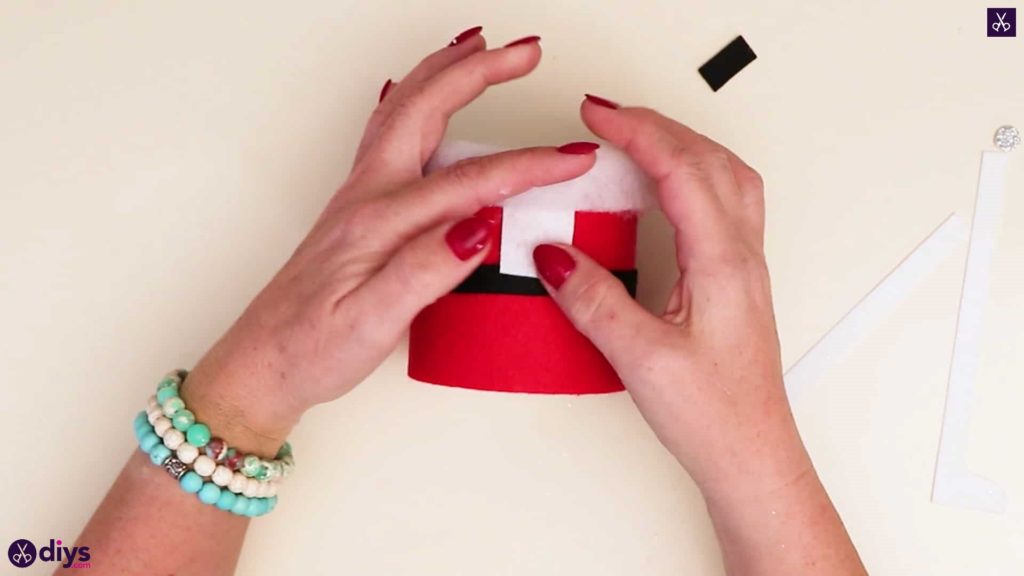
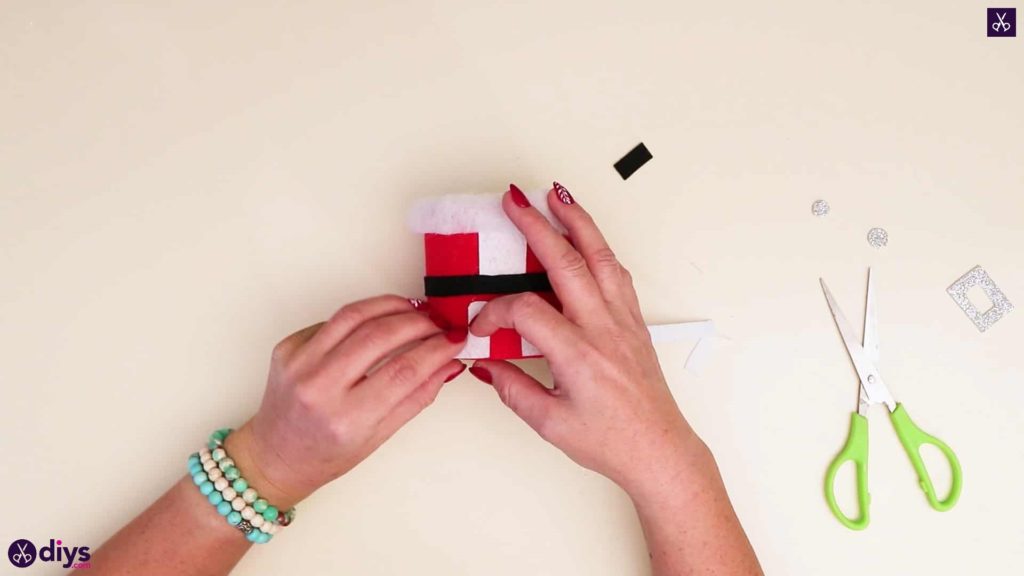
Step 10: detail the coat
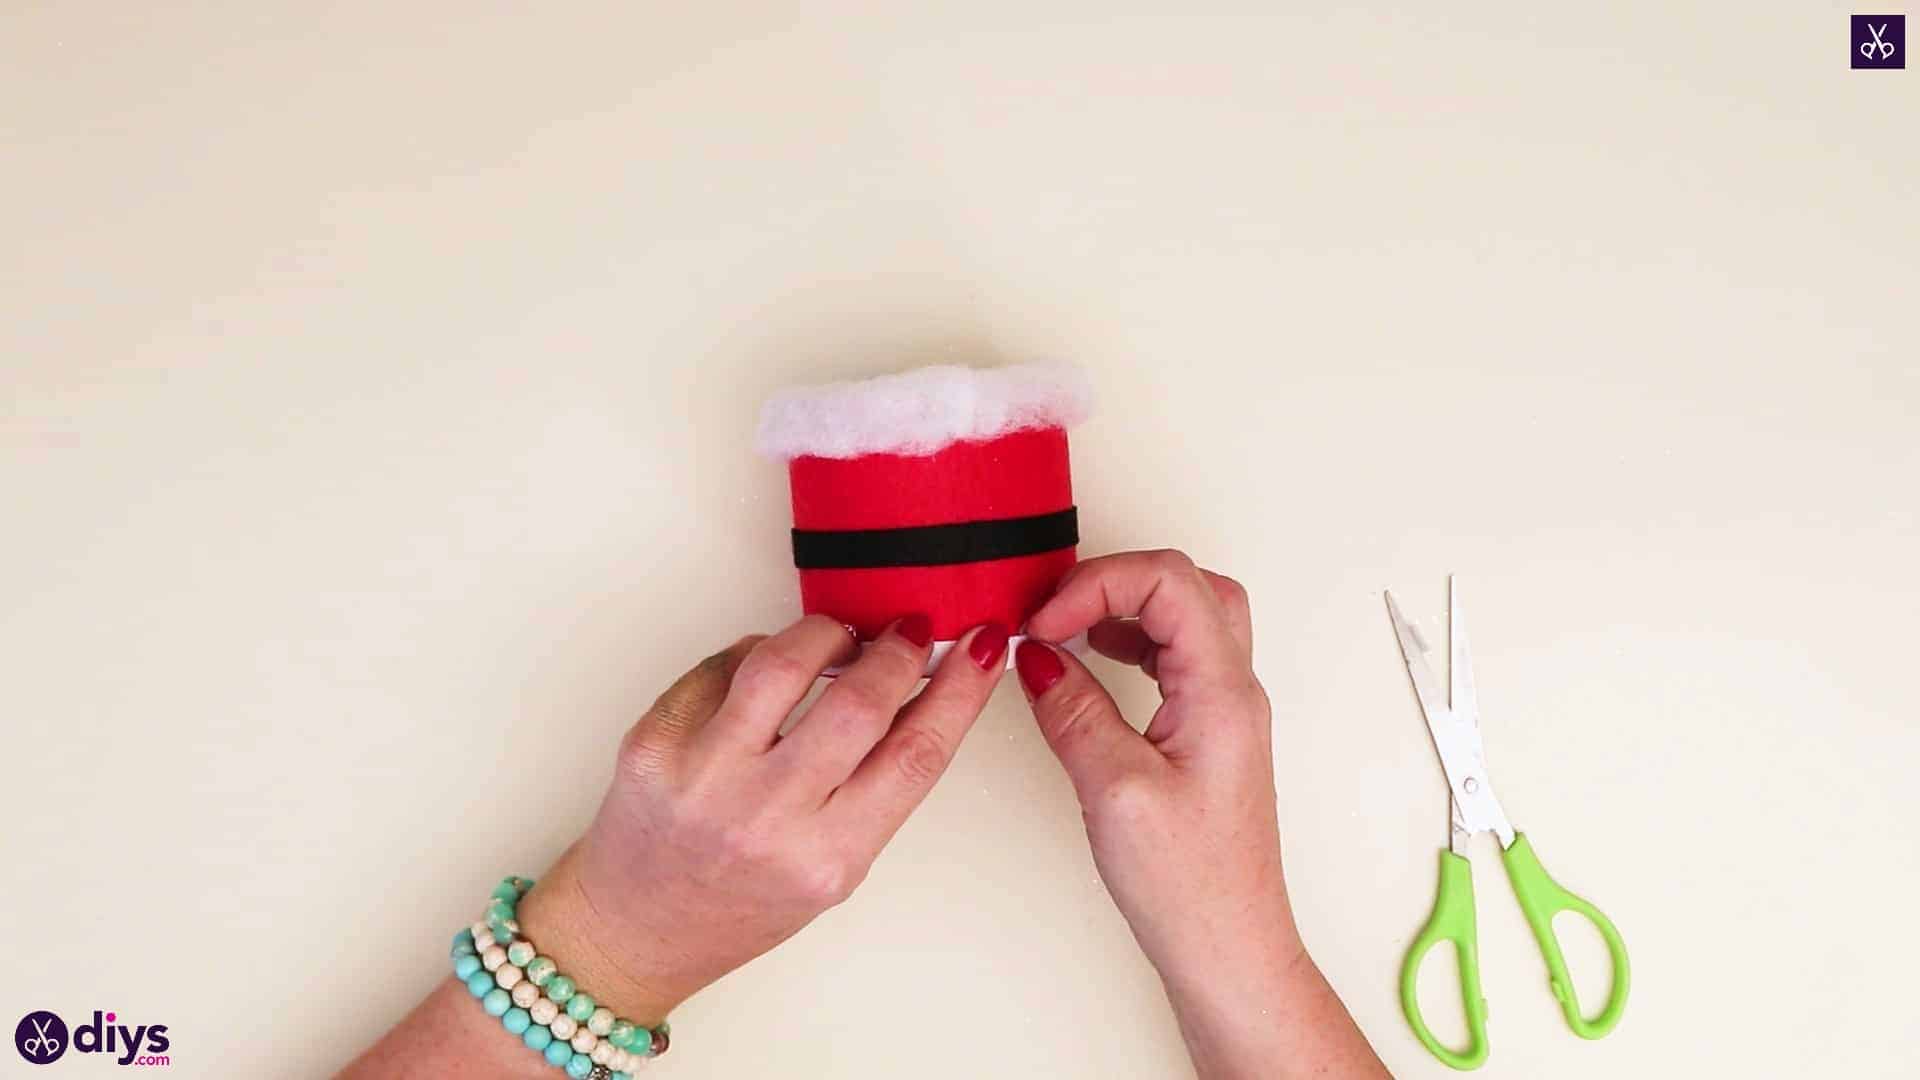
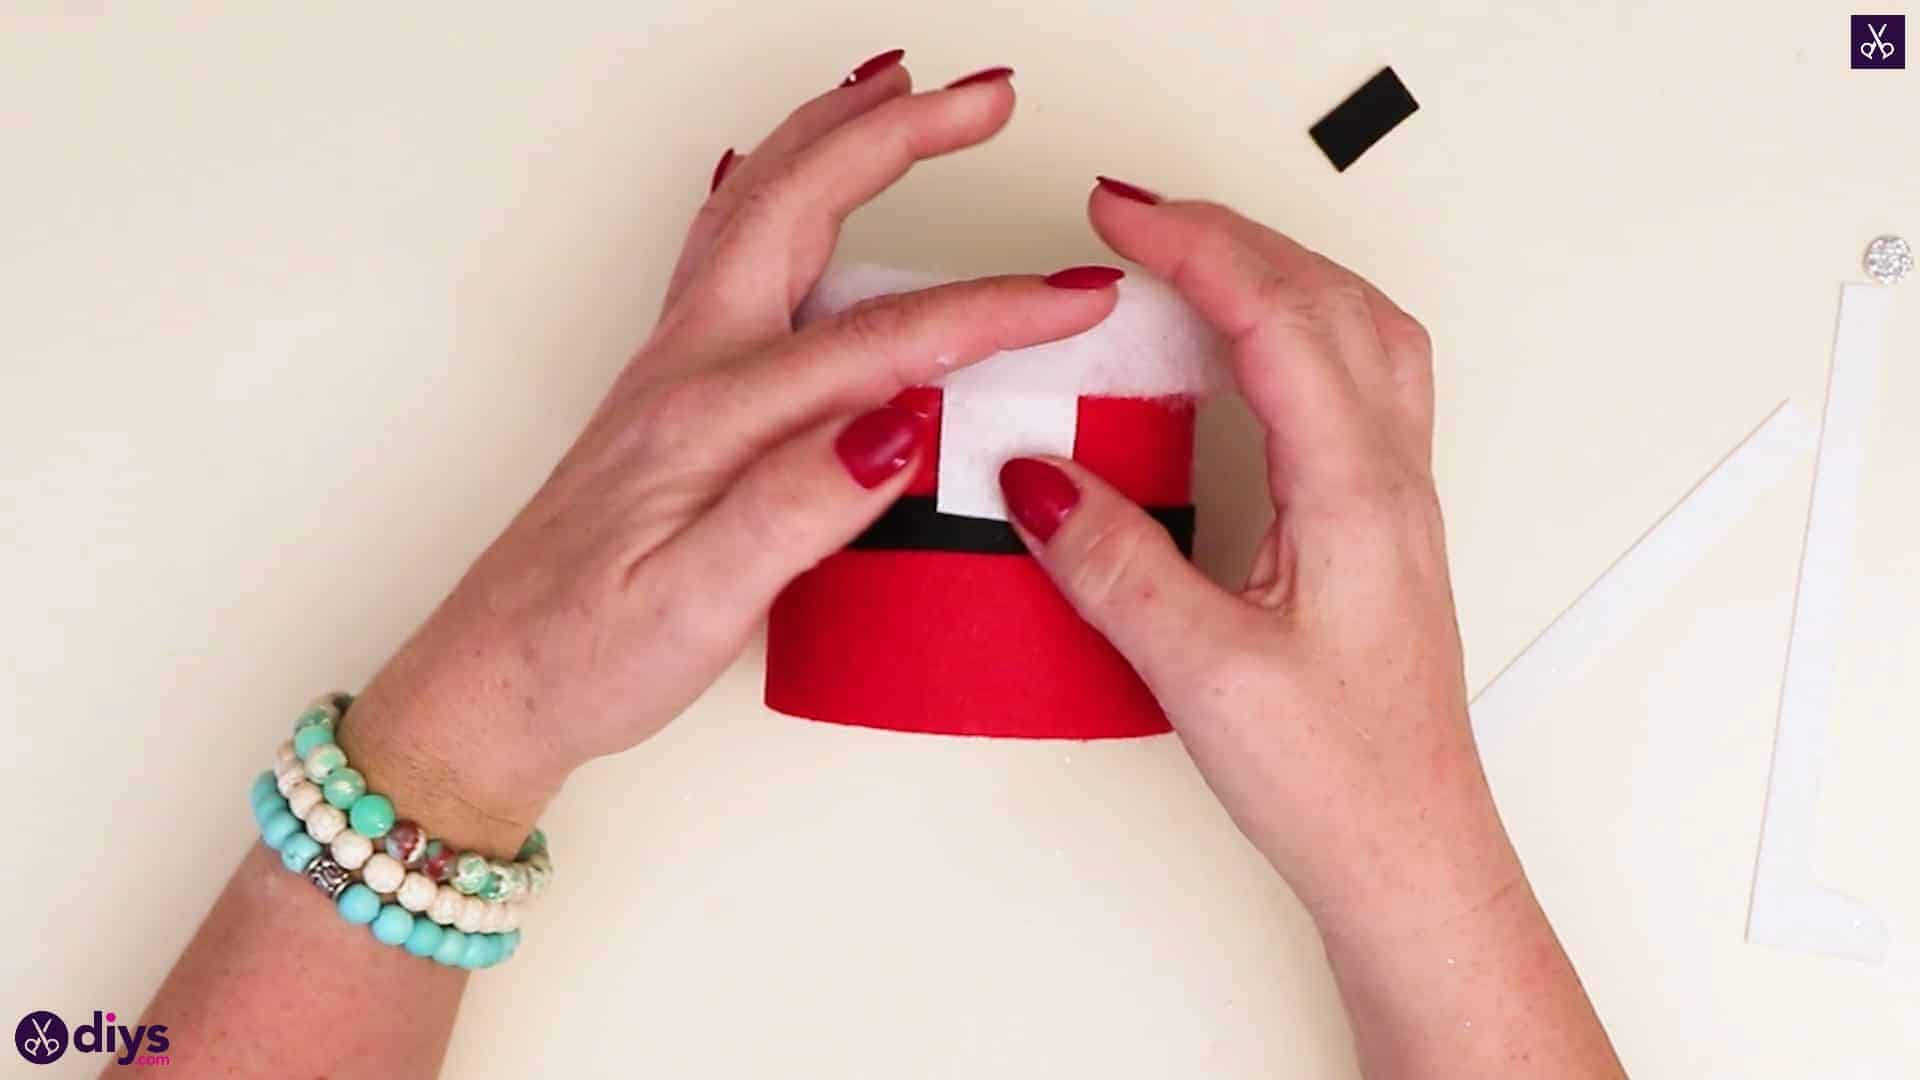
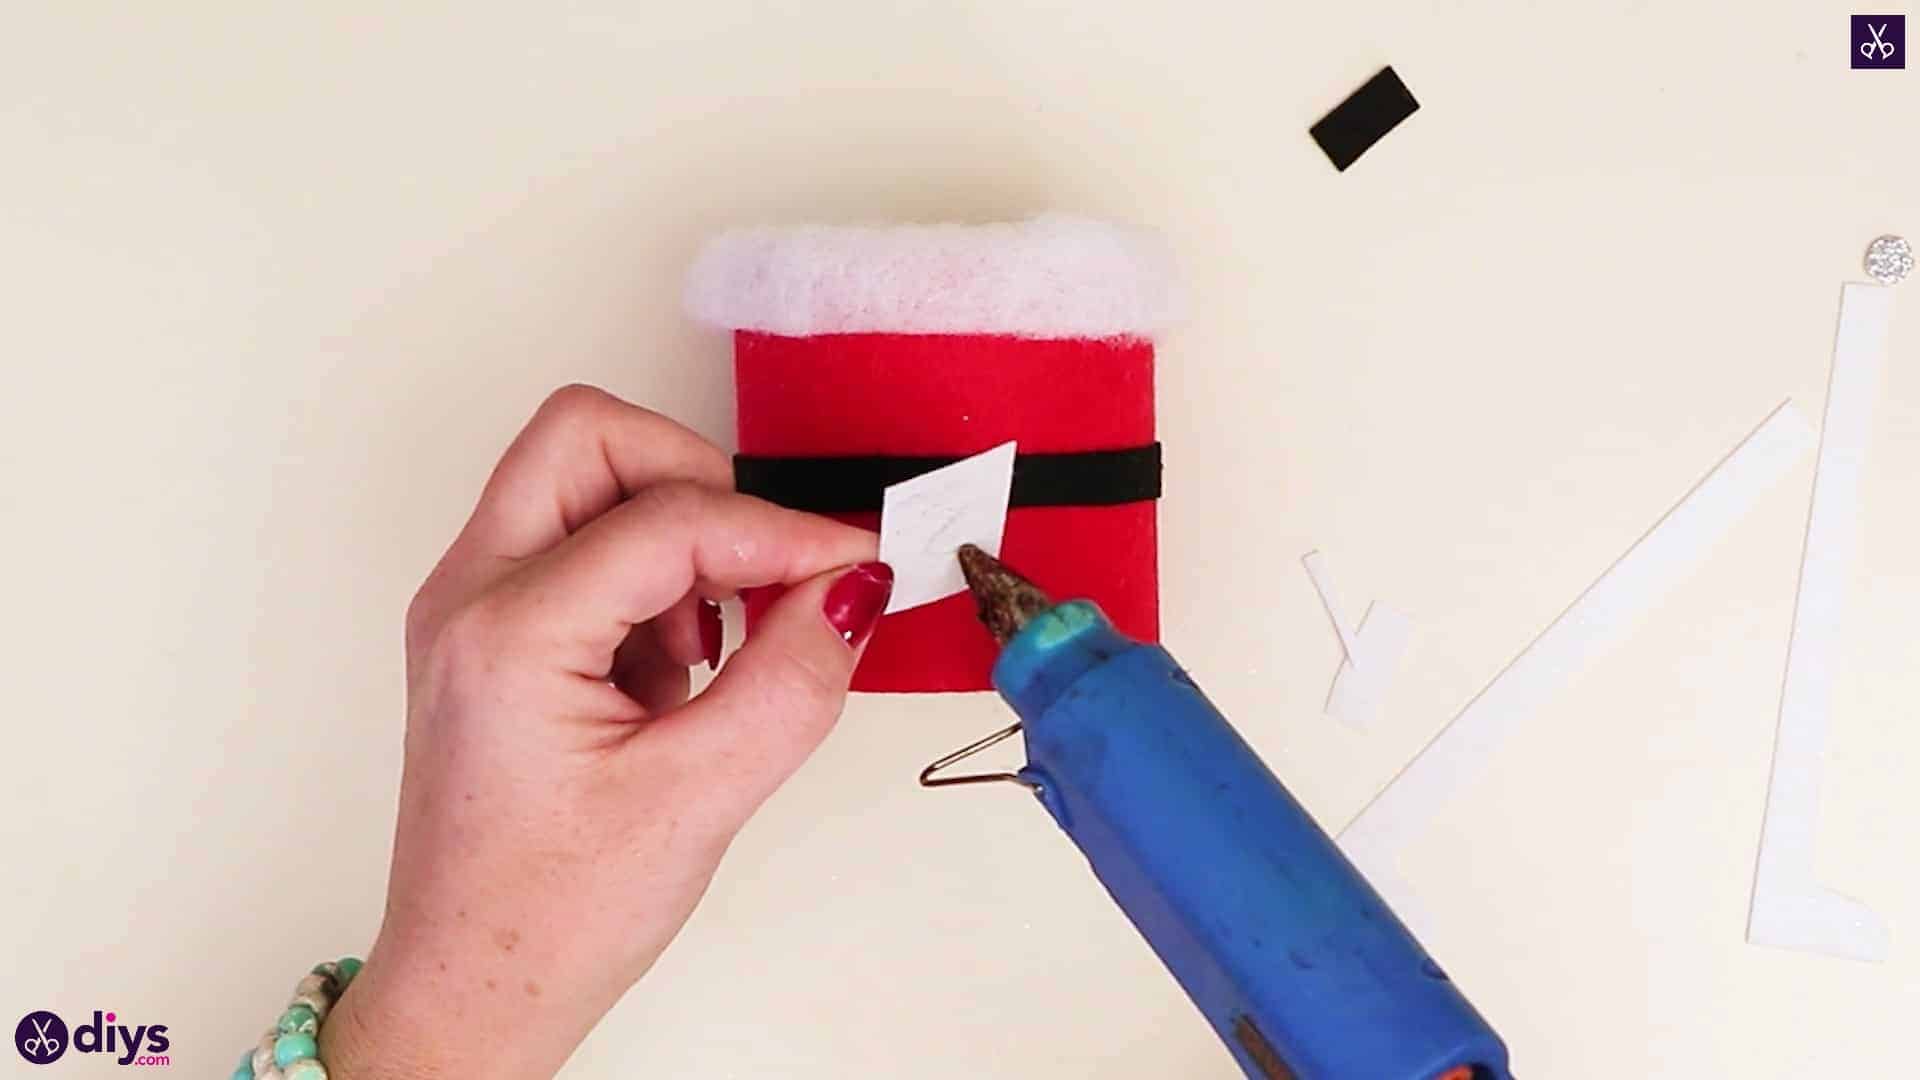
Apply glue to the back of your white paper rectangle and tuck it up under the fur lining you just gave the top of your can, in the center of the front opposite your red and black papers’ seams. Stick it down until it meets the black belt and then trim off the excess if there is any. This will be the lapel of your Santa’s jacket.

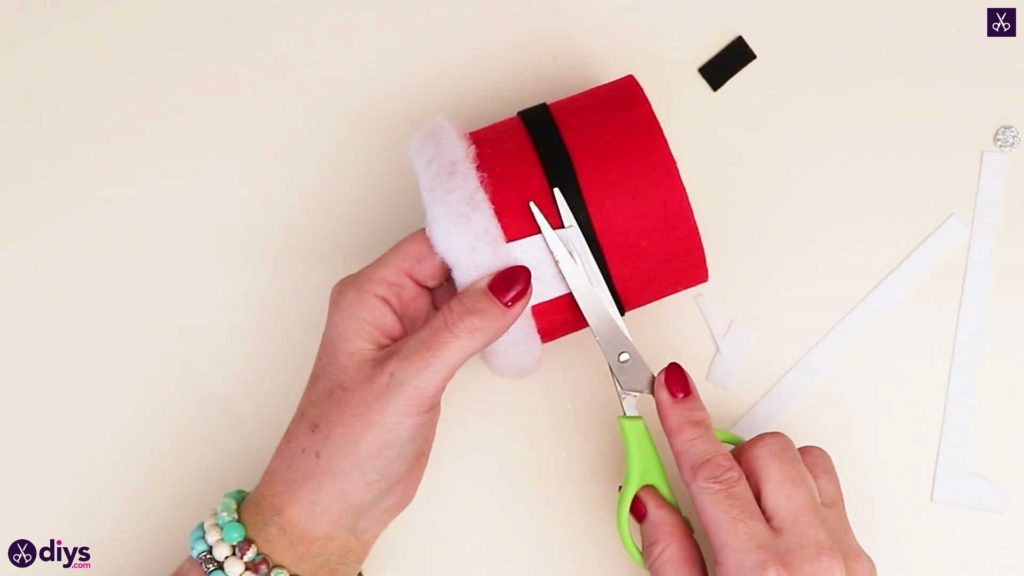
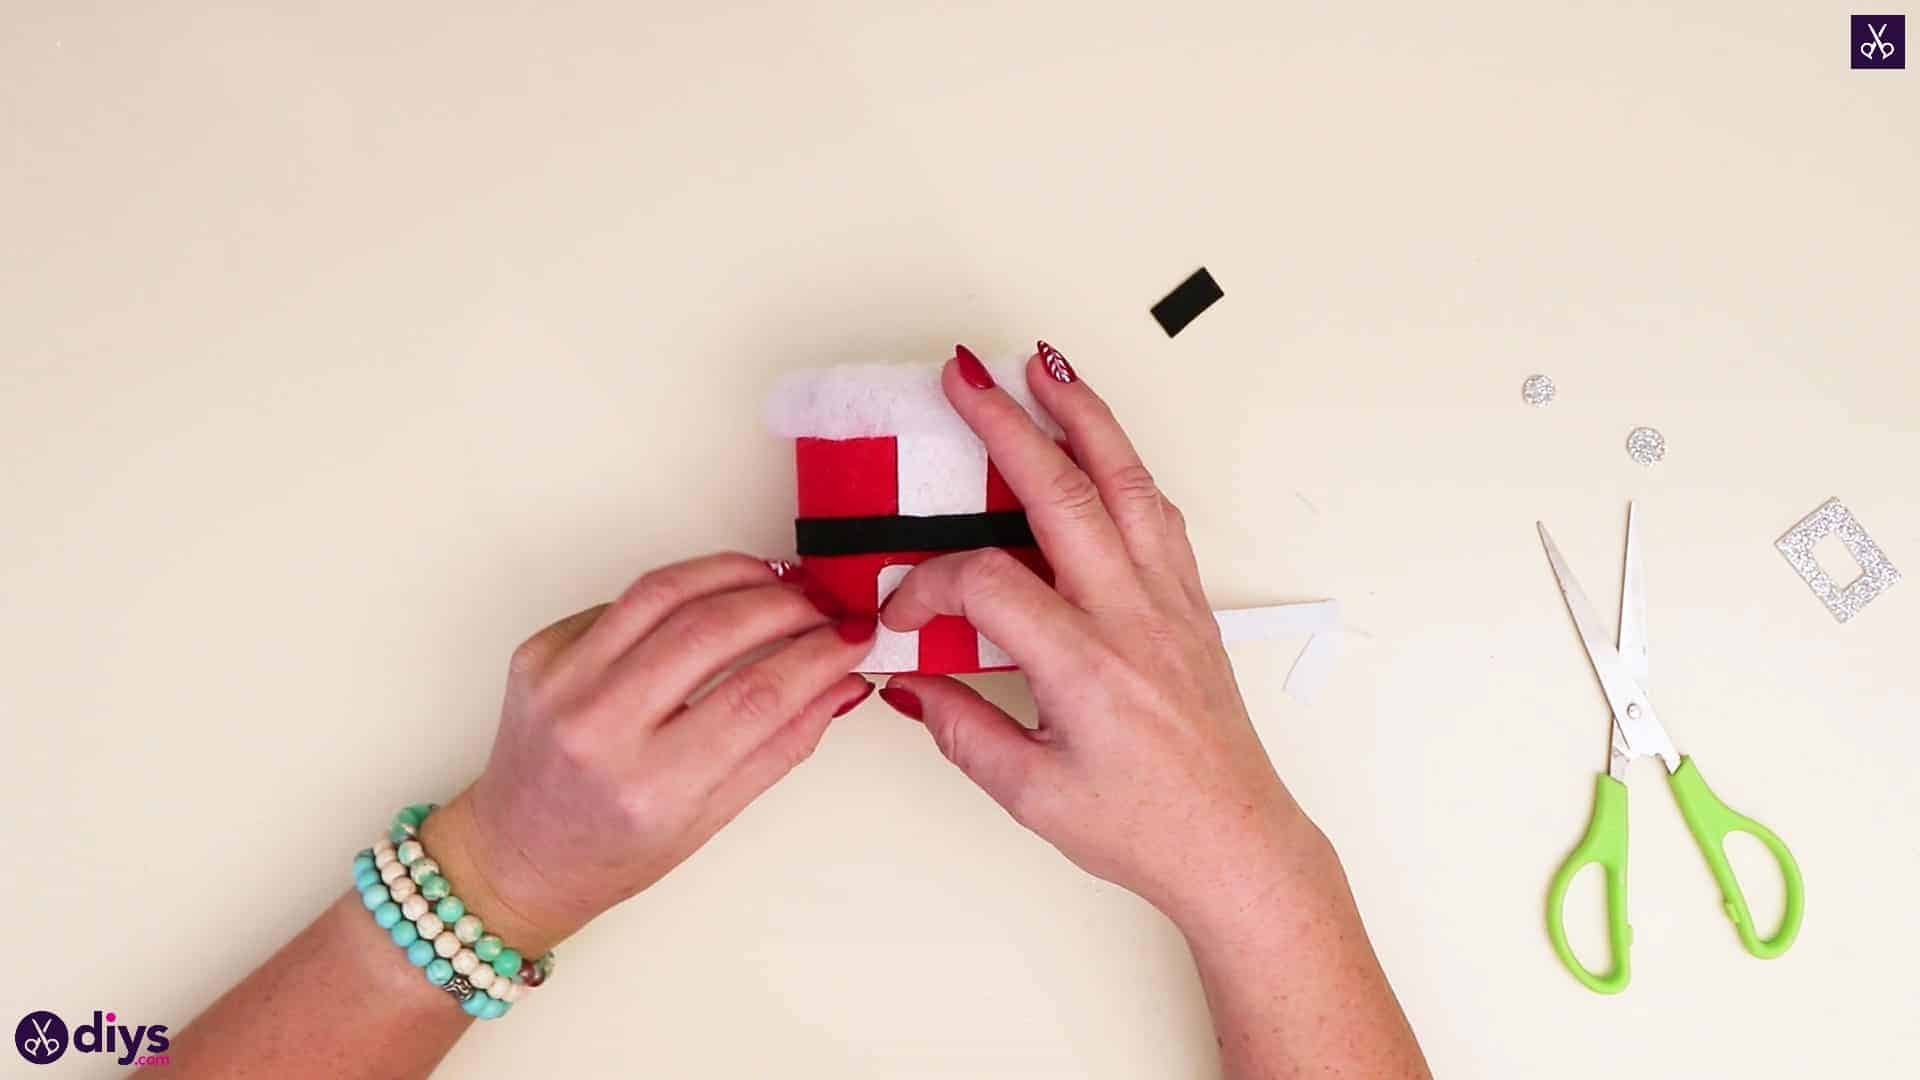
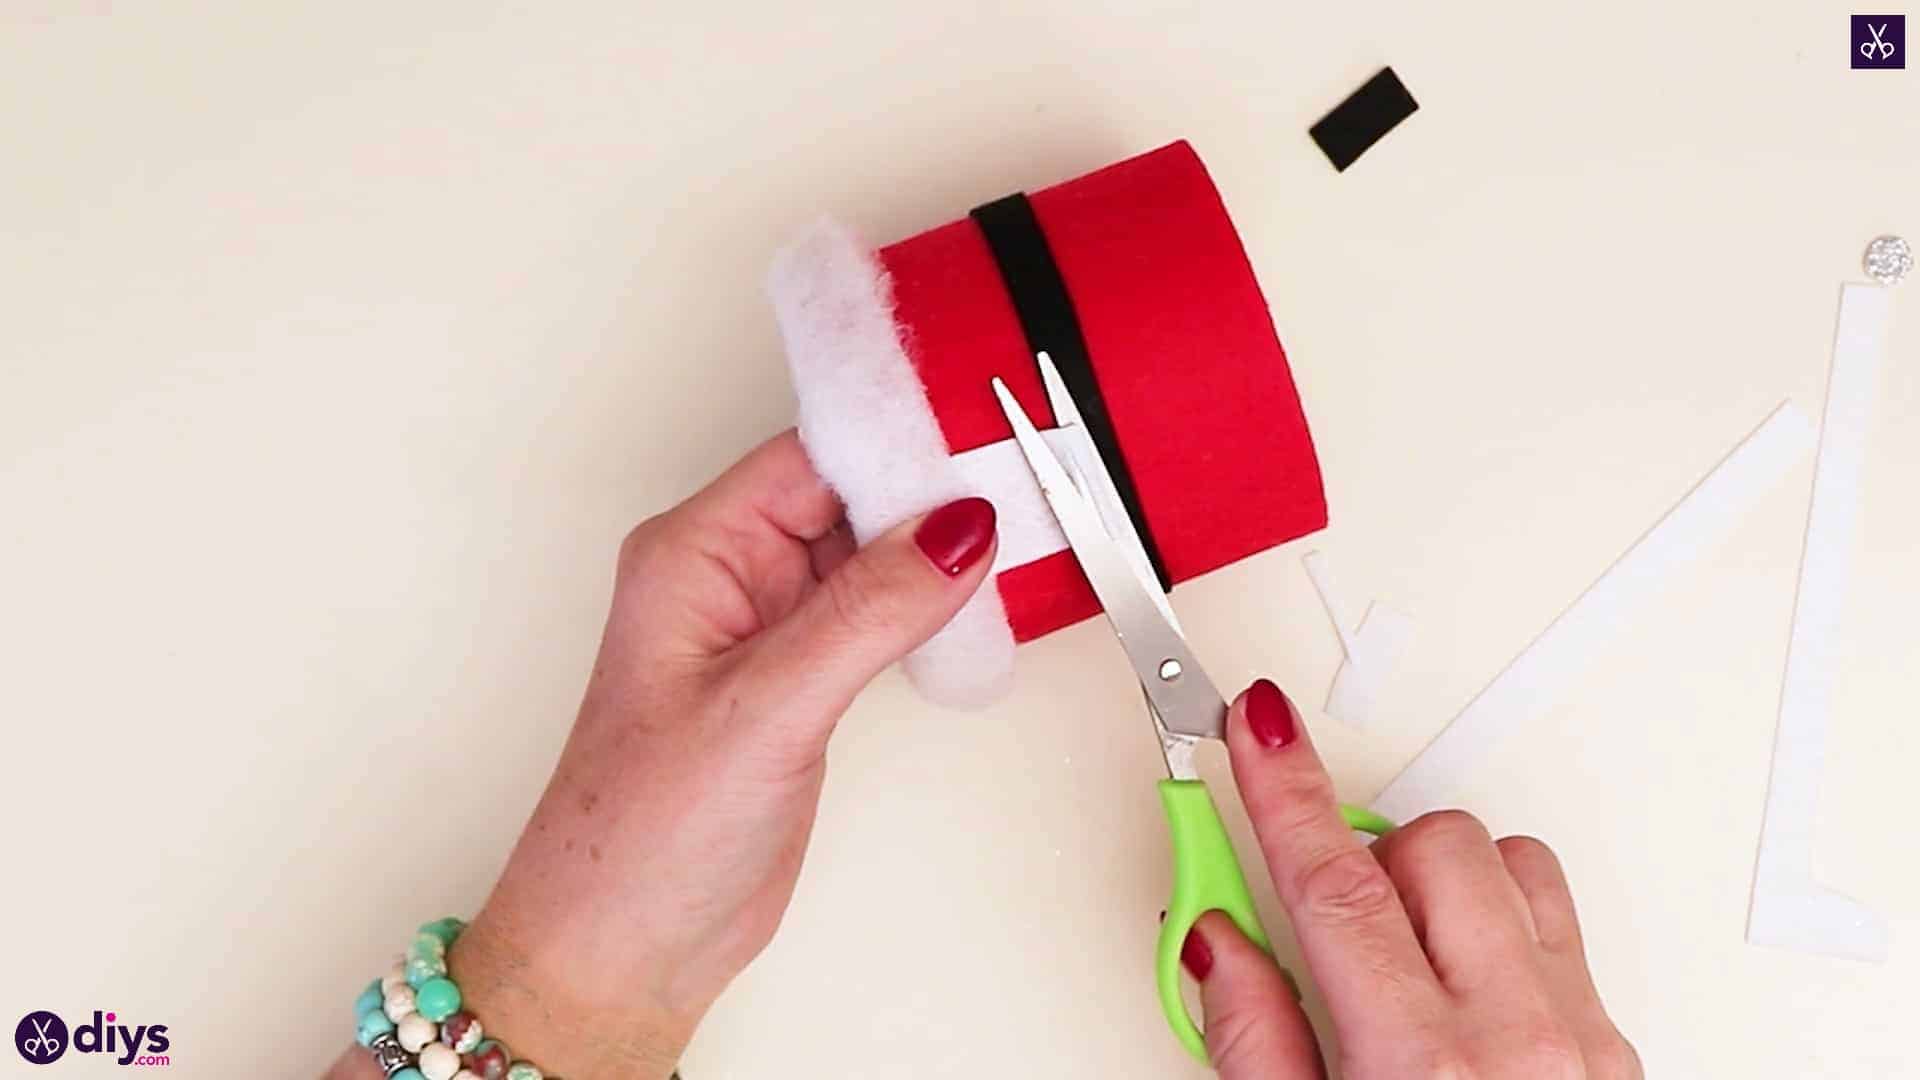
Step 11: trim
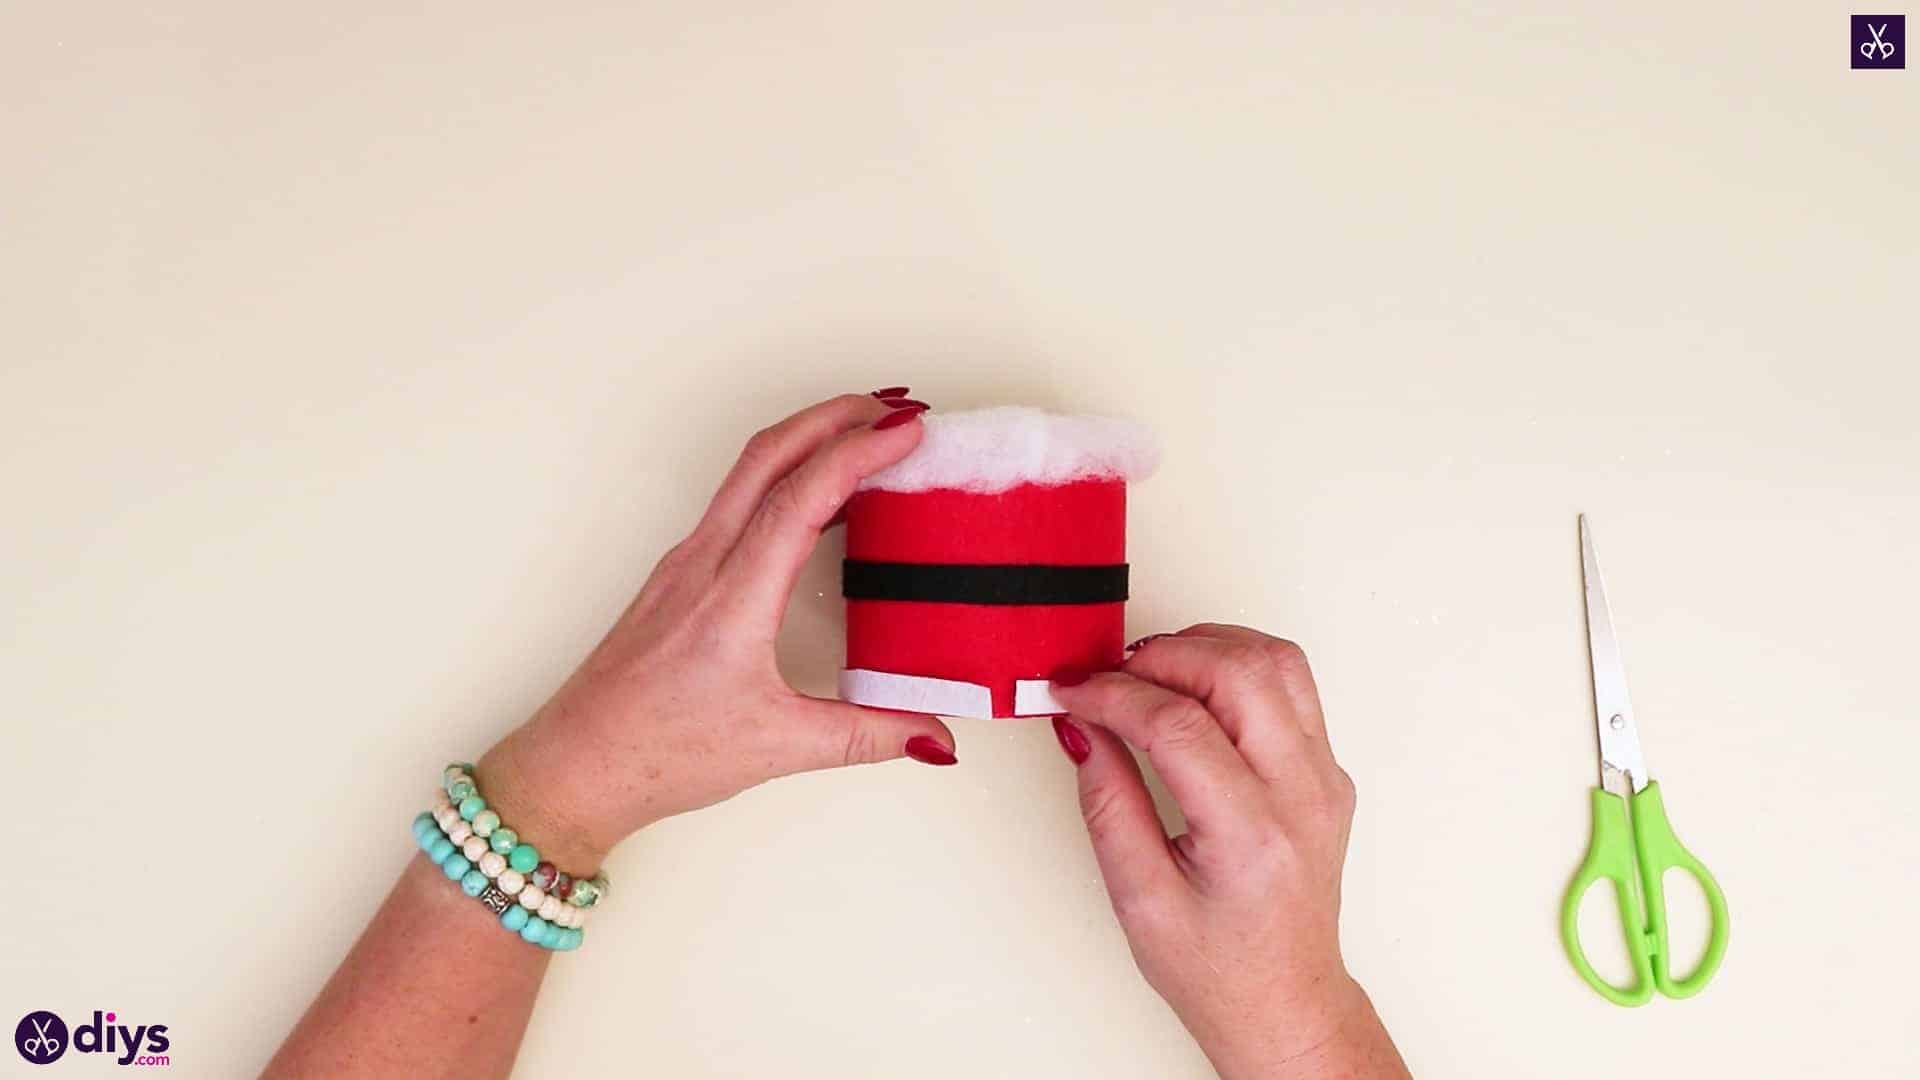
Glue down the bottom trim of your Santa’s jacket starting at the front, with the two felt strips you cut earlier. Apply glue to the back of the first strip’s point and place it so its straight edge lines up with one outside edge of the white lapel you just added, only below the belt. Flip the second strip to face the opposite direction and glue it in place the same way. You’ll glue the rest of the strips down in a moment.
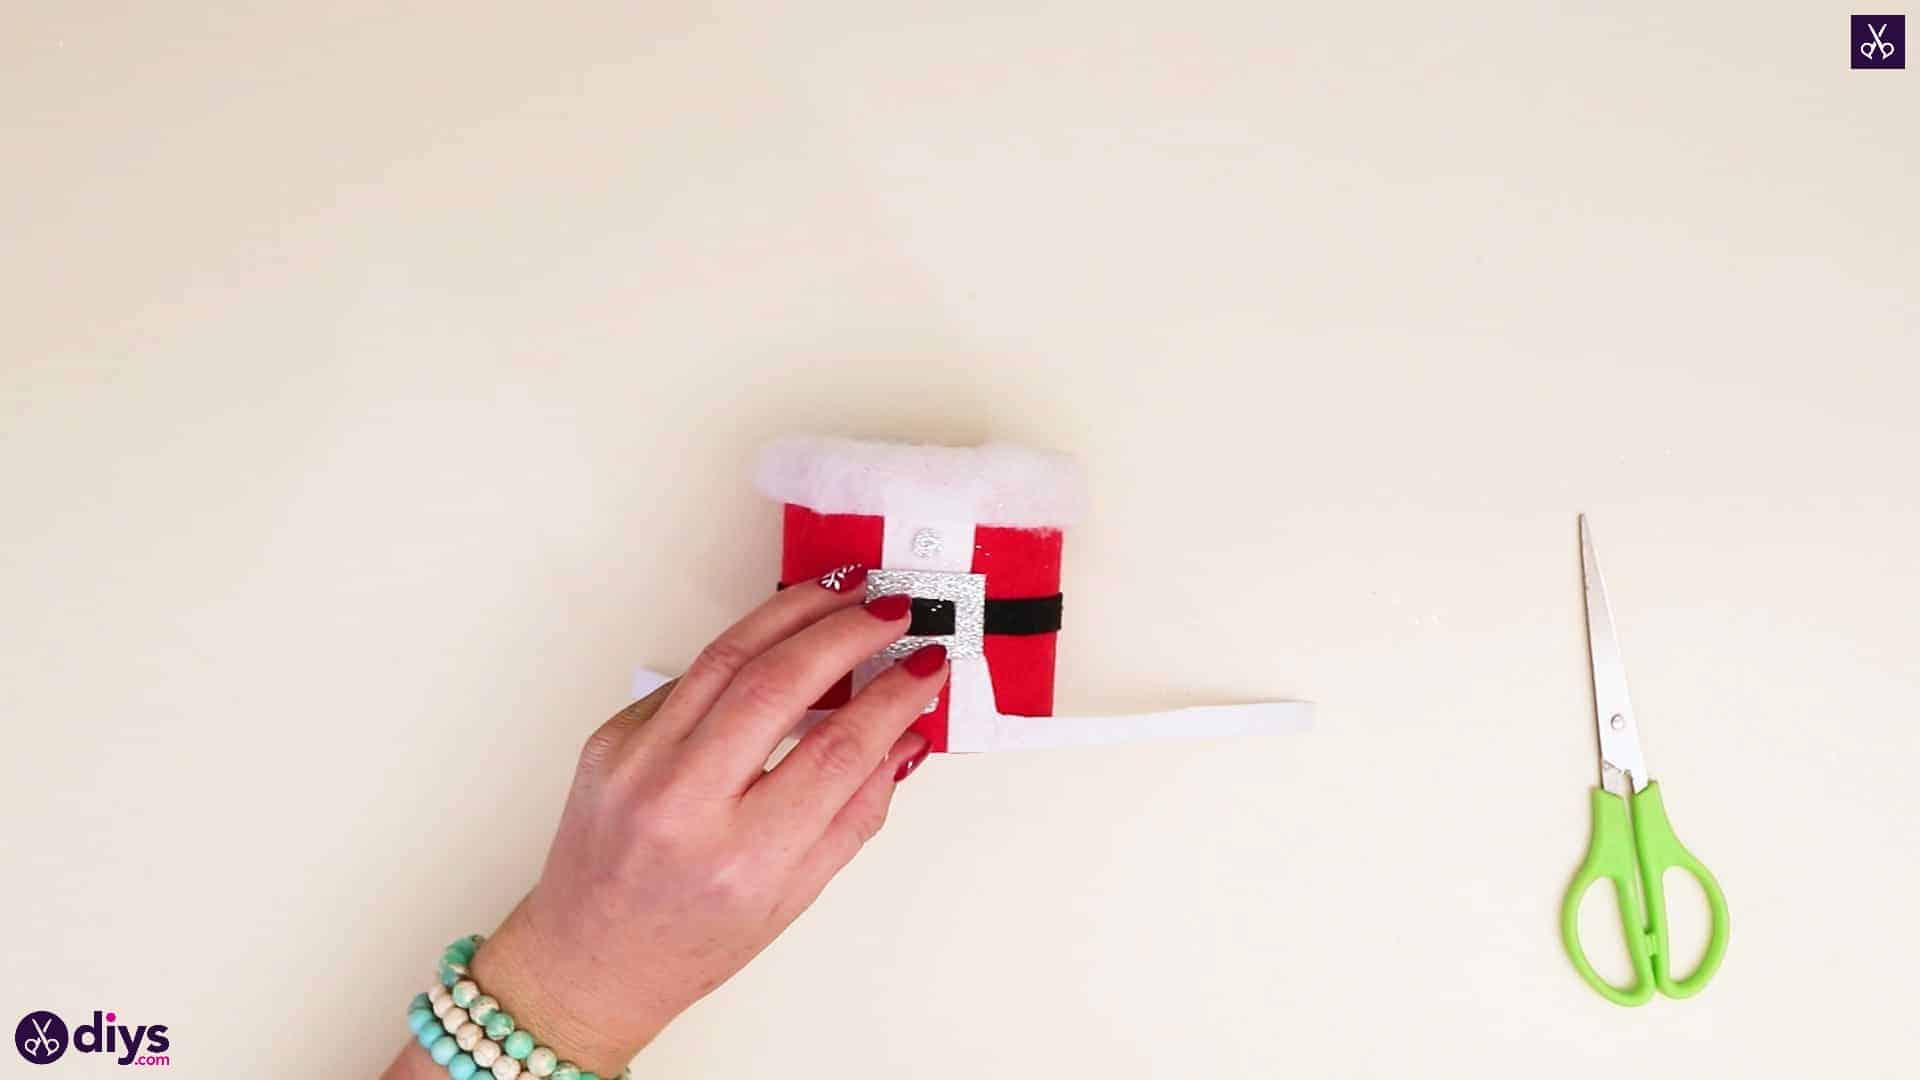
Step 12: buckle
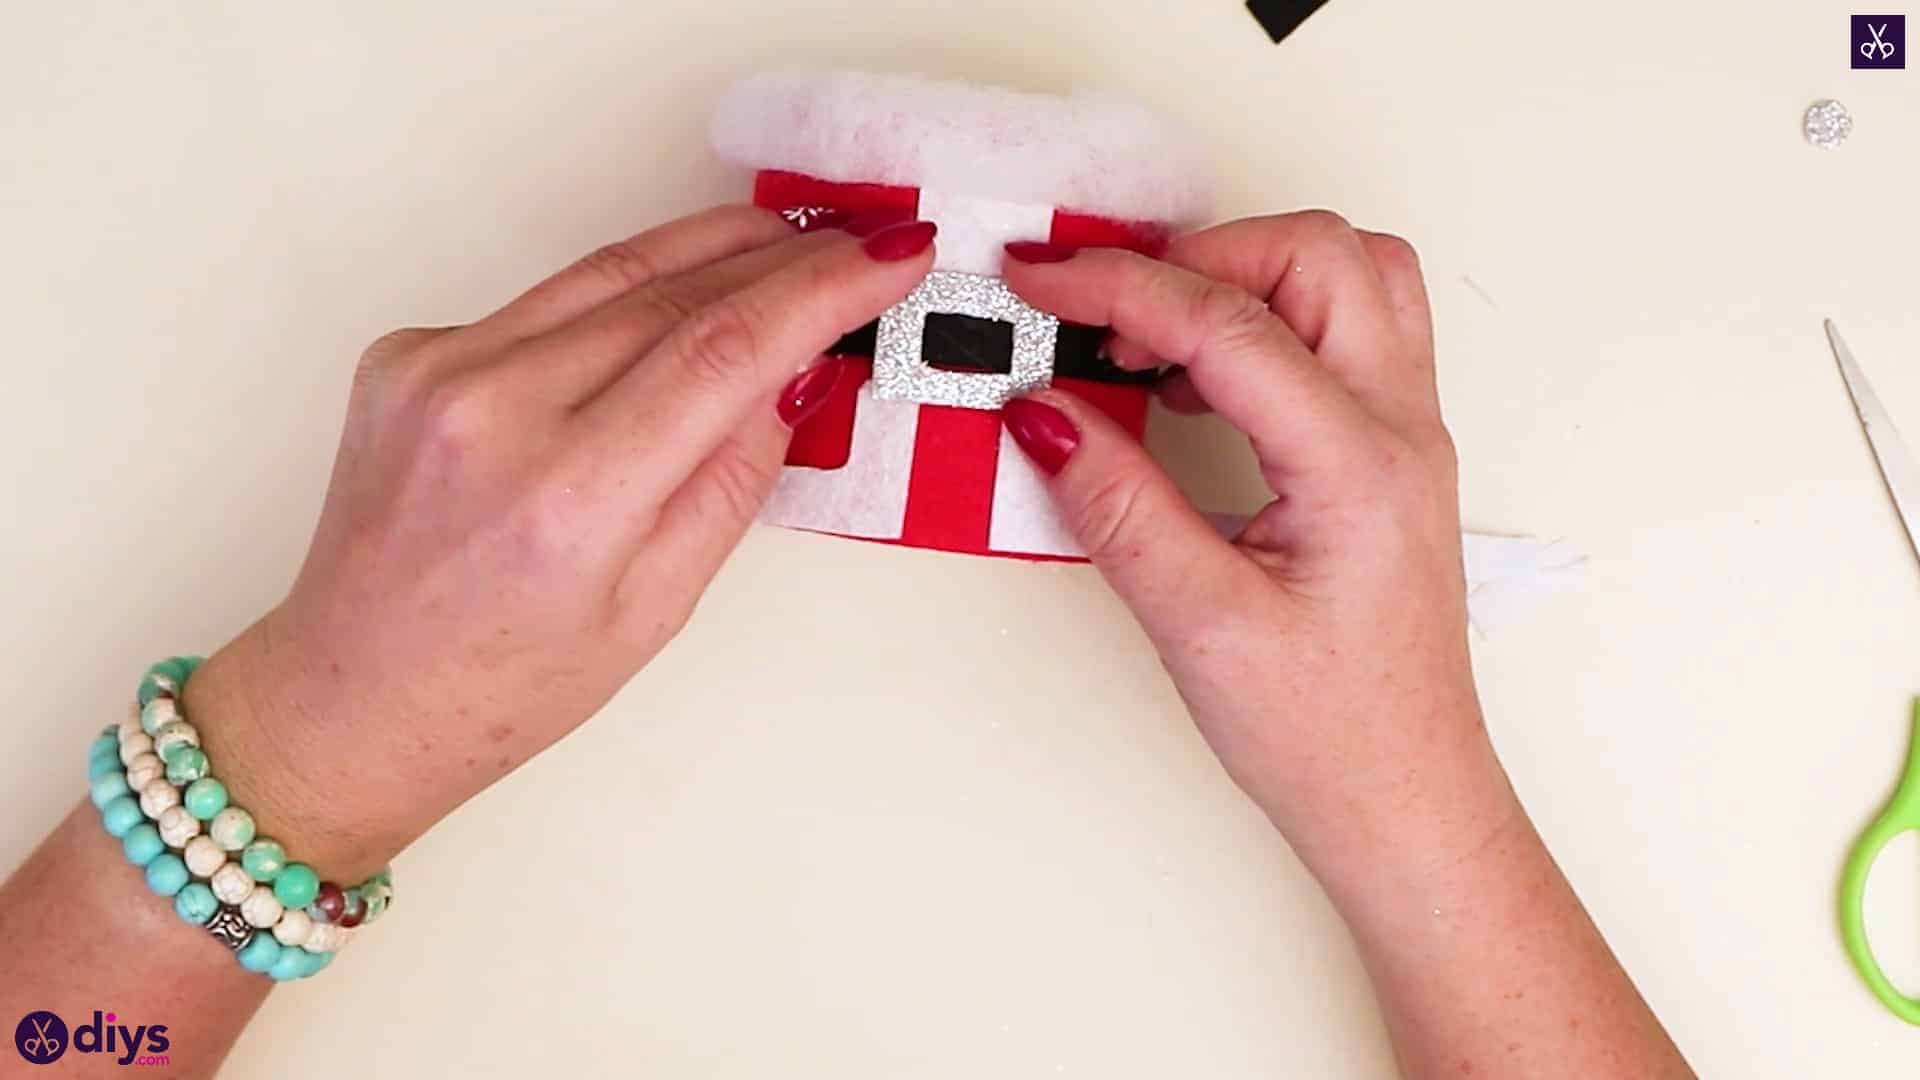
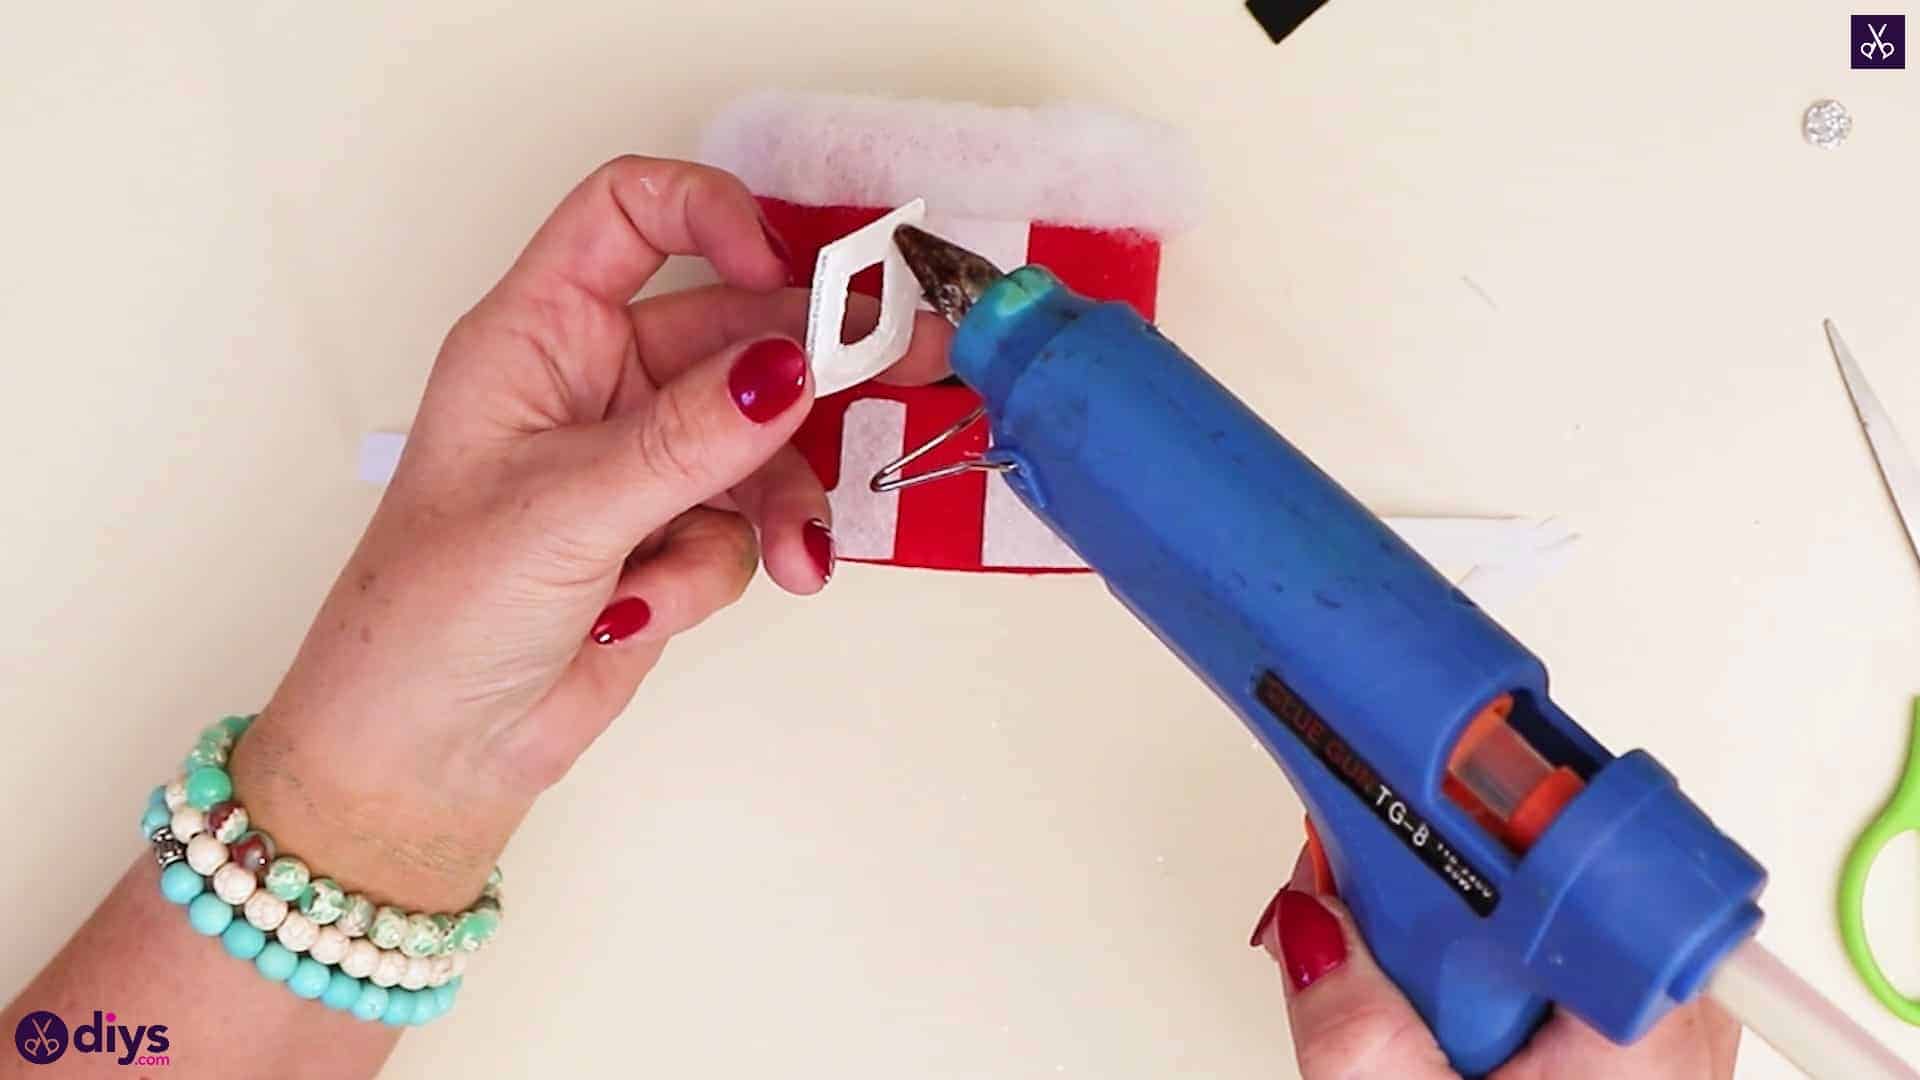
Apply glue to the white backside of your silver sparkly foam buckle and stick it into place over the belt so the black strip shows through the buckle’s empty center. This silver piece should overlap with the tops of the pointed pieces on the white felt strips you just glue down so it looks like the edging of the jacket sticking out from underneath the belt.

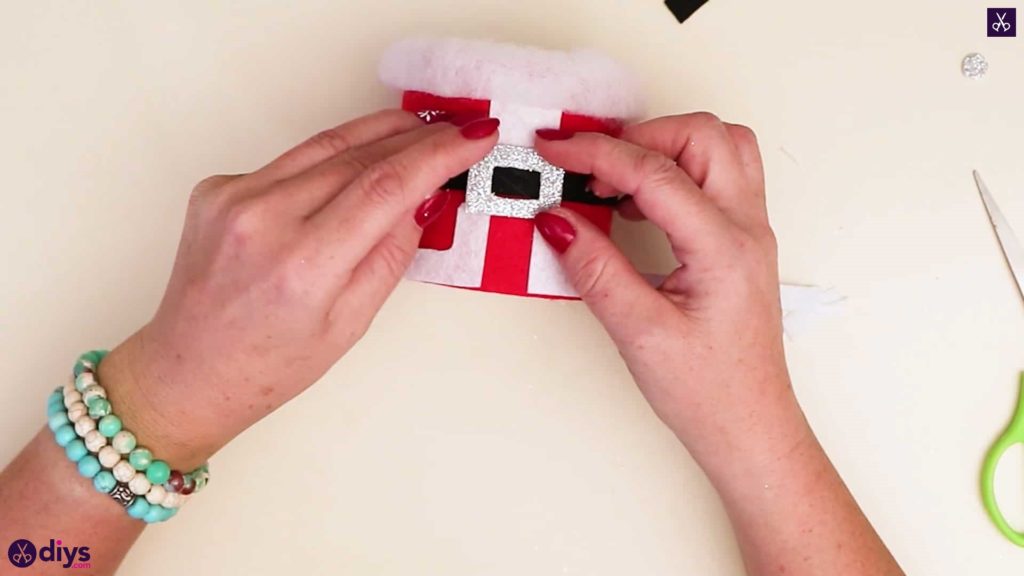
Step 13: buttons
Stick the little silver foam circles you cut out earlier down like buttons! Glue one to the center of the white lapel above the belt and the other down in the center of the red space right below the belt but in between the two pointed felt pieces on the trim strips.
Step 14: finishing touches
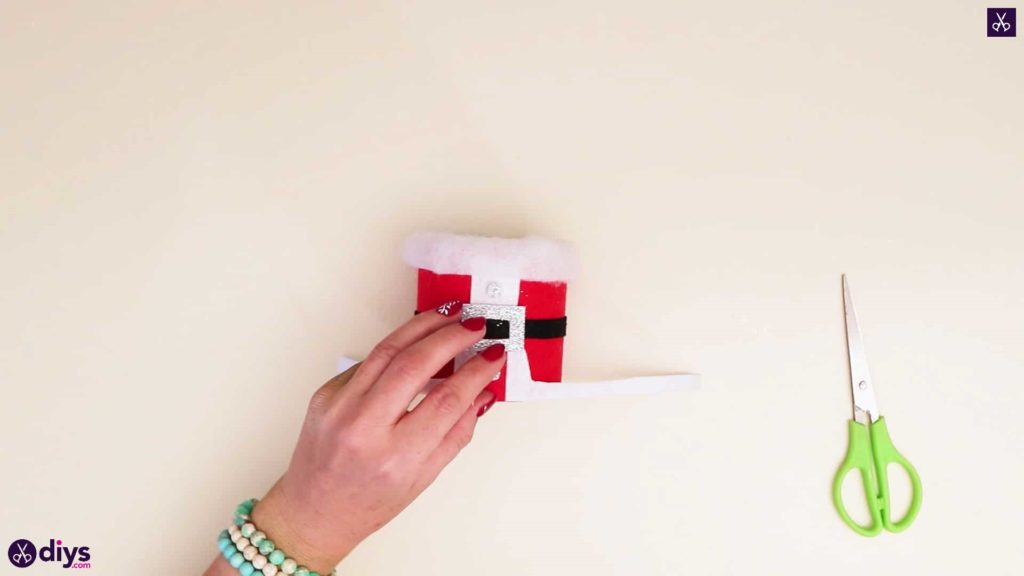
Glue the rest of your white felt strips down to look like jacket trim! Apply hot glue along the bottom edge of the can and press the felt into it all the way along each side until the strips meet in the back. Cut the excess off of each and glue the ends in place.

Your Santa themed candy holder is officially all finished! Just in case you’d like to try this project out for yourself, here’s a fantastic tutorial video to help you!