Easy DIY Spun Cotton Ball Squirrel
Updated on November 19, 2025


n trying to introduce my kids to my latest favourite tool, I decided to show them how to turn the balls into all kinds of little critters because they’re such animal lovers. The latest animal we made together was a squirrel and I made sure to document all the steps of mine so I can show other parents how easily the project was done because our kids loved it so much.

Check out these step by step instructions complete with photos! If you’d rather follow along with a video tutorial instead of written words, scroll to the bottom of this post to find just what you’re looking for.
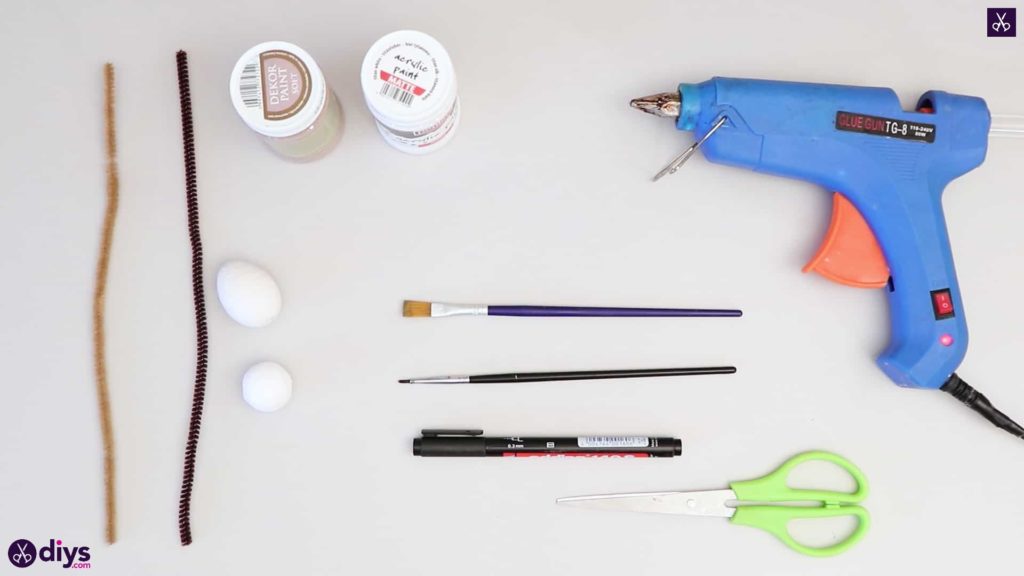
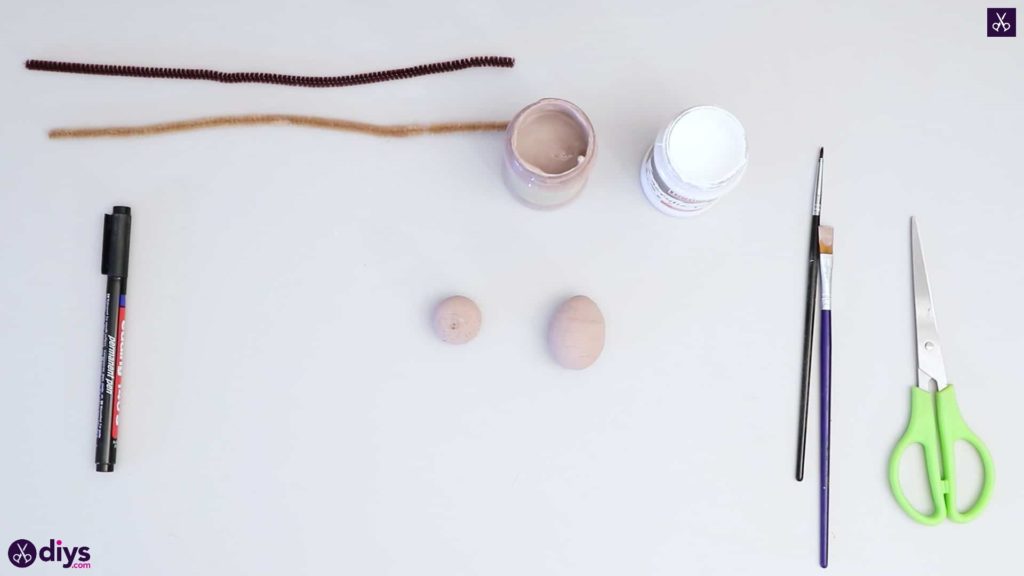
For this project, you’ll need:
- A spun cotton ball (one small sphere, one oval shaped)
- Pipe cleaner (light and dark brown)
- Paint (brown and white)
- Paintbrushes (one small and one medium)
- A black marker
- Hot glue
- Scissors
Step 1: Gather your materials!
Prepare all the items from your list.
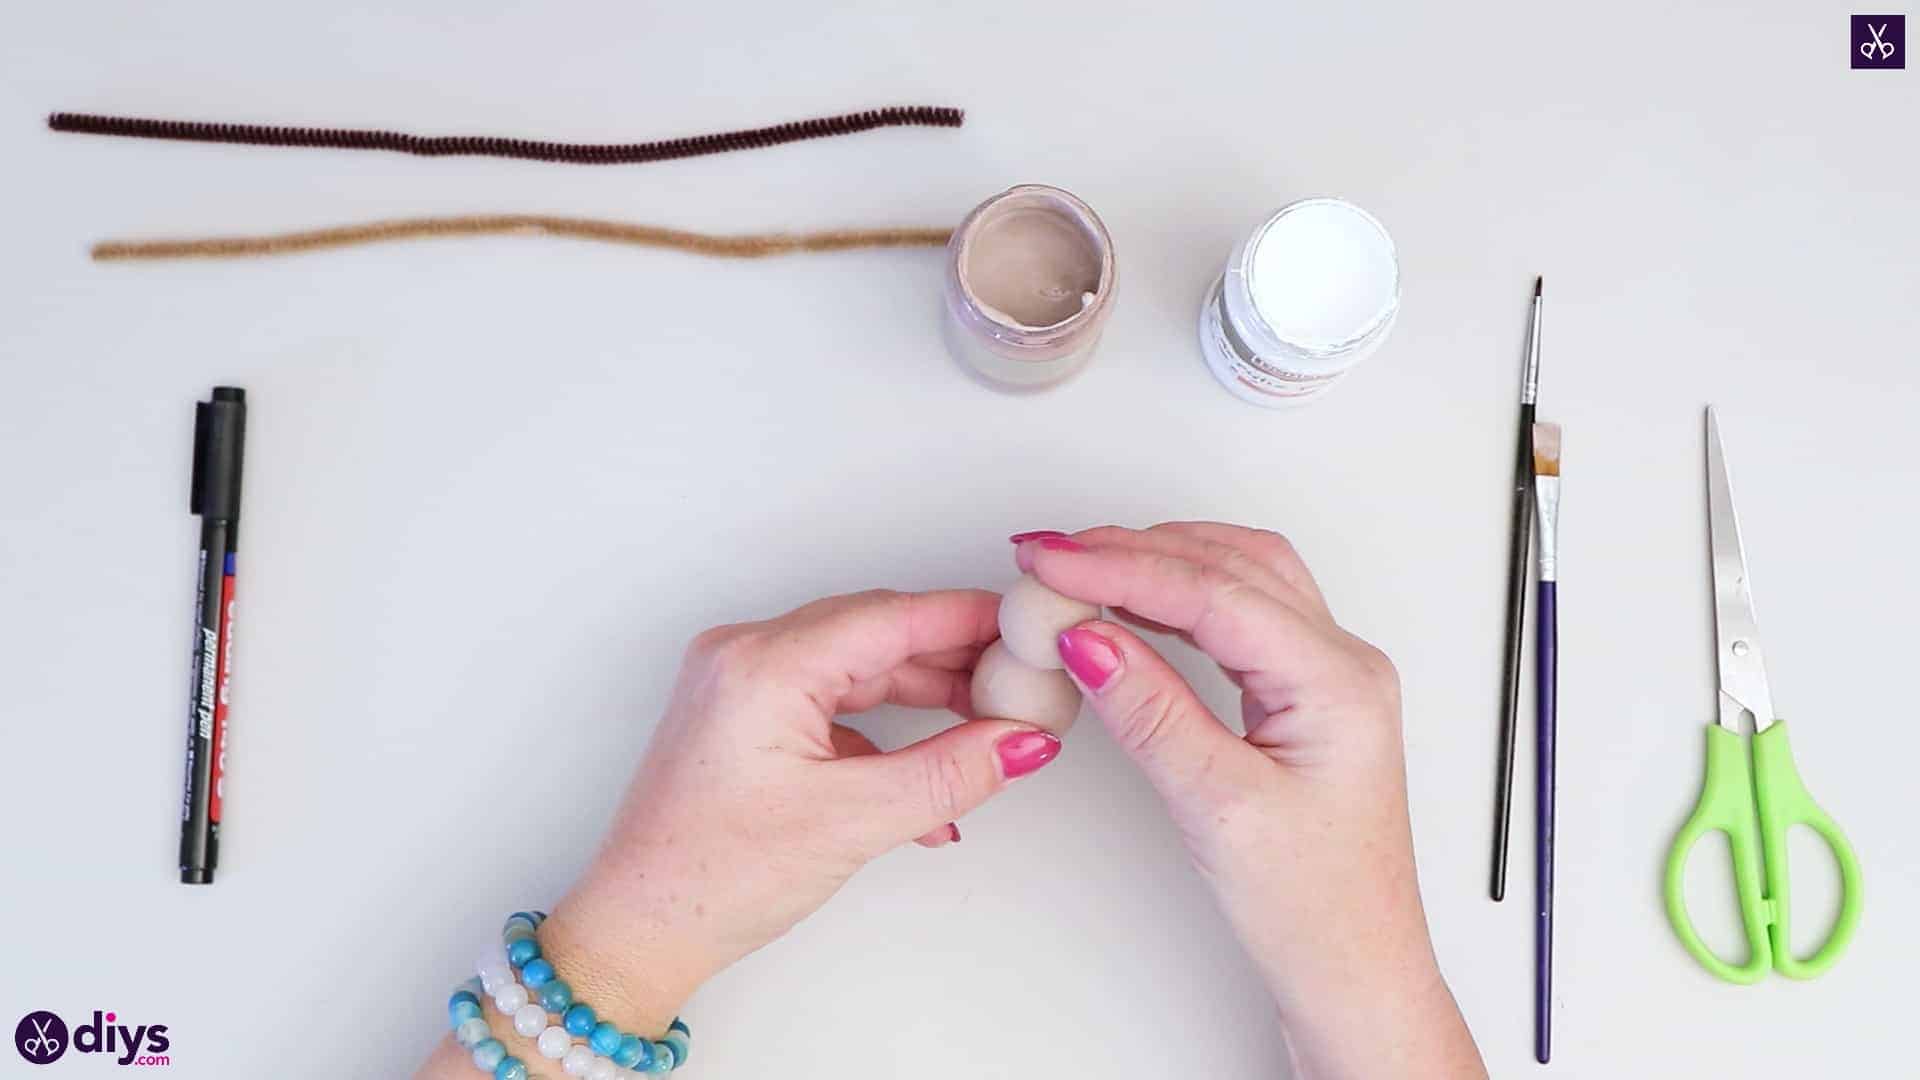
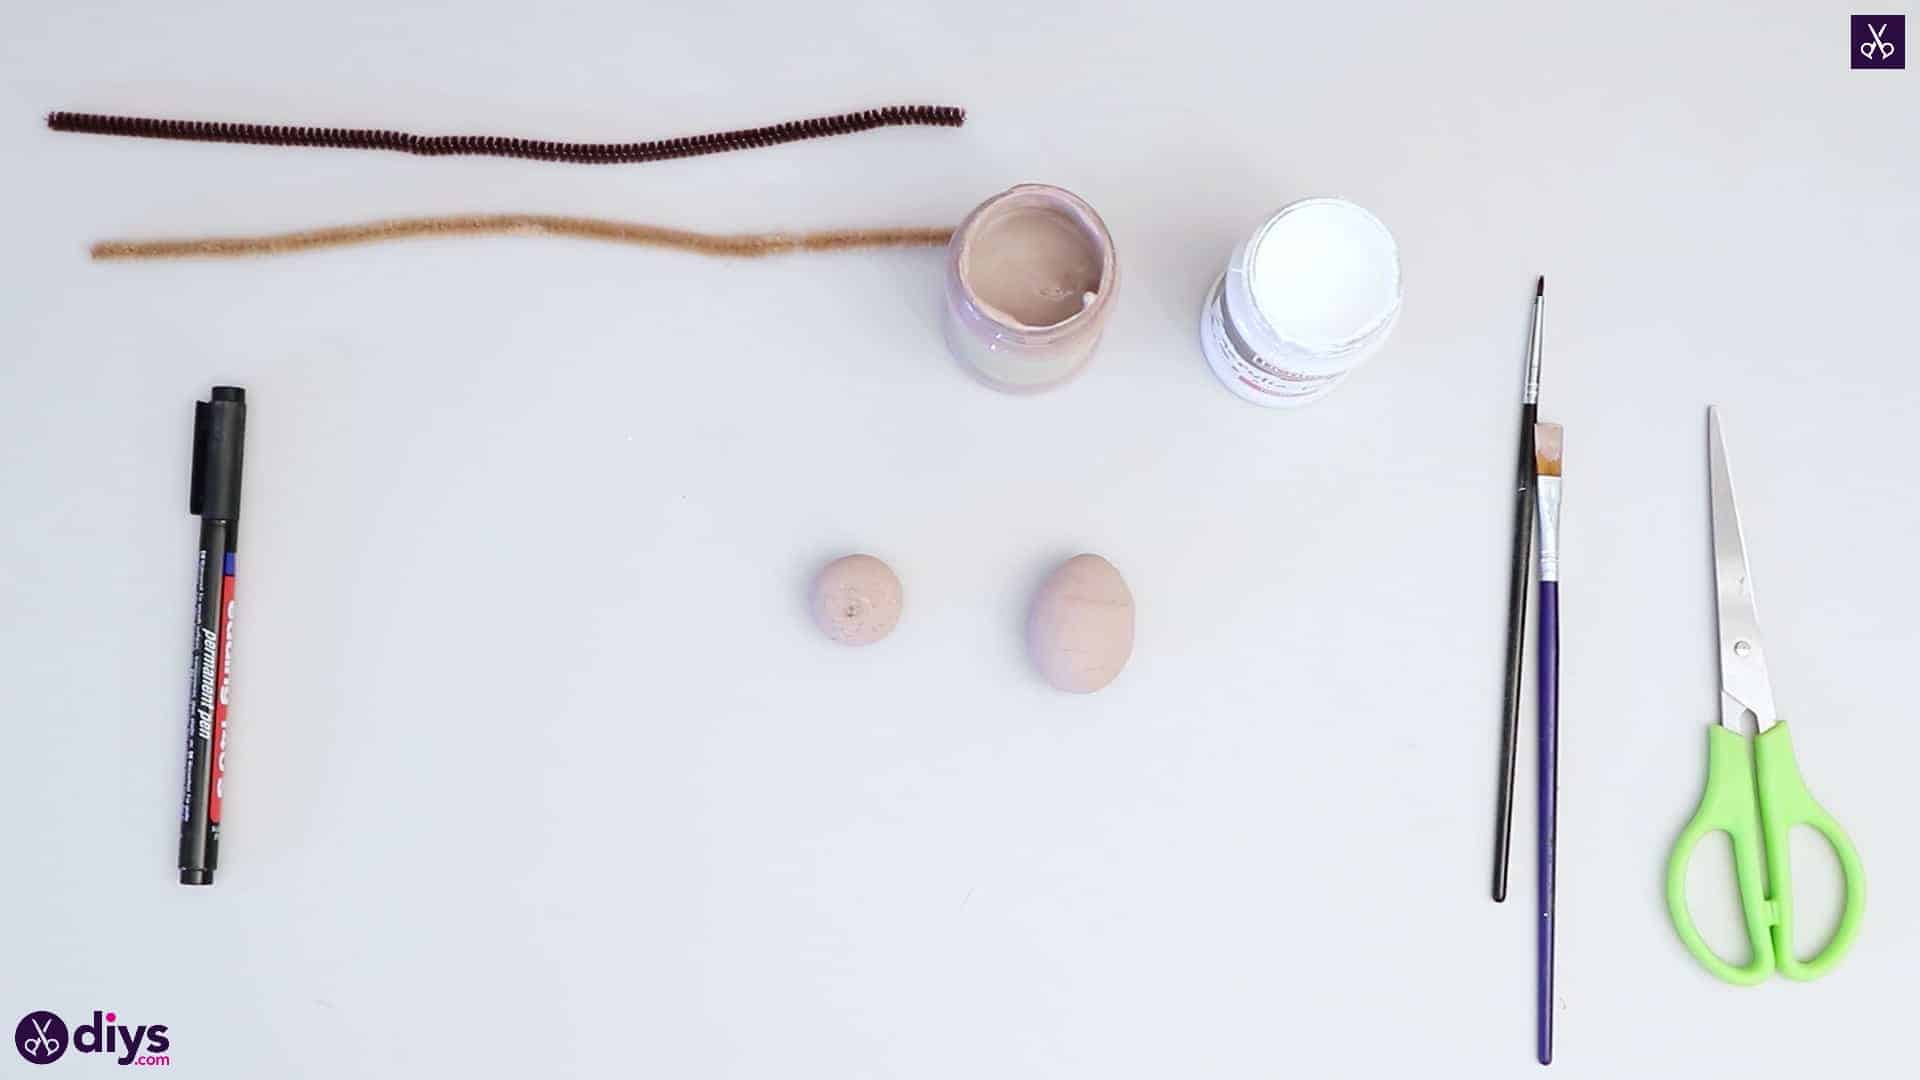
Step 2: paint the balls
Use your larger paintbrush to paint the whole surface of your two spun cotton balls light brown. Set them aside to dry.
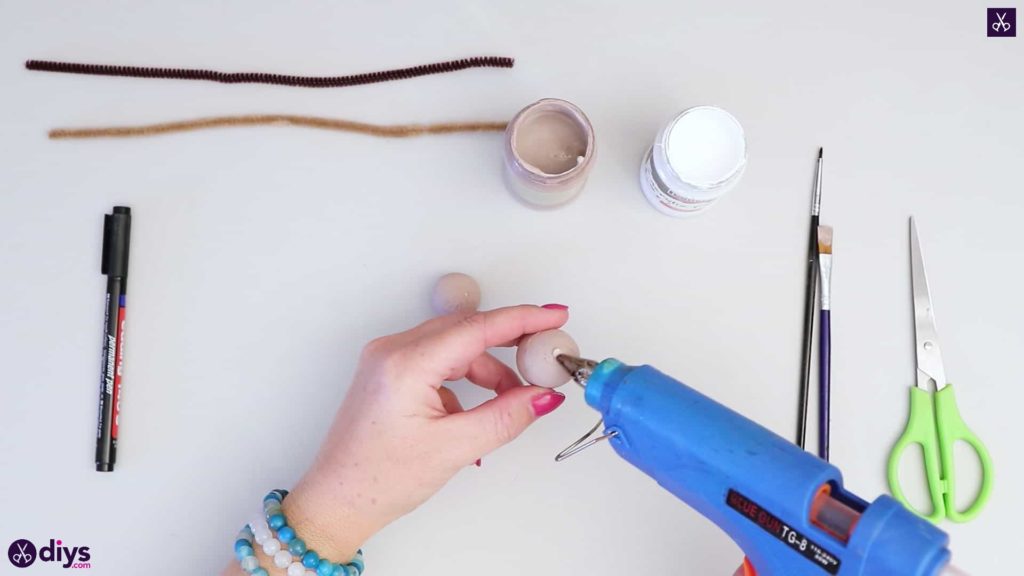
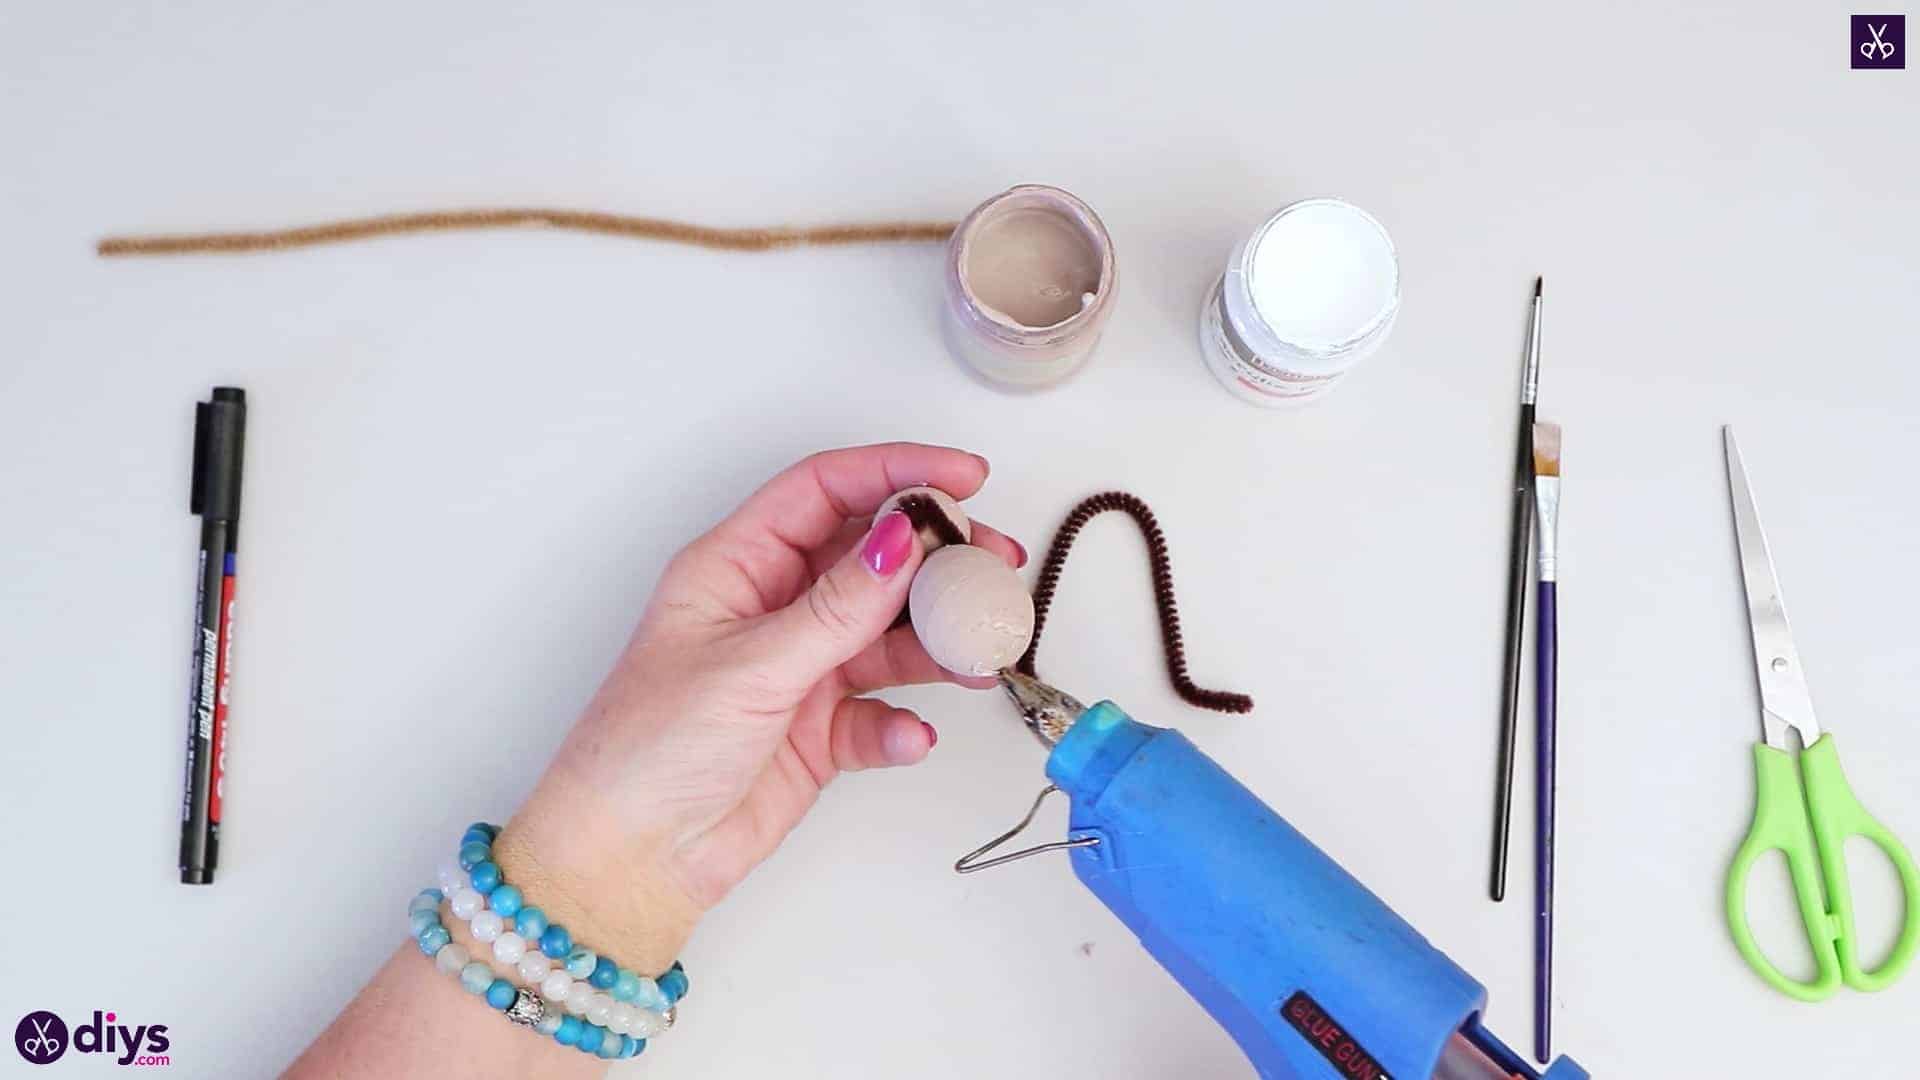
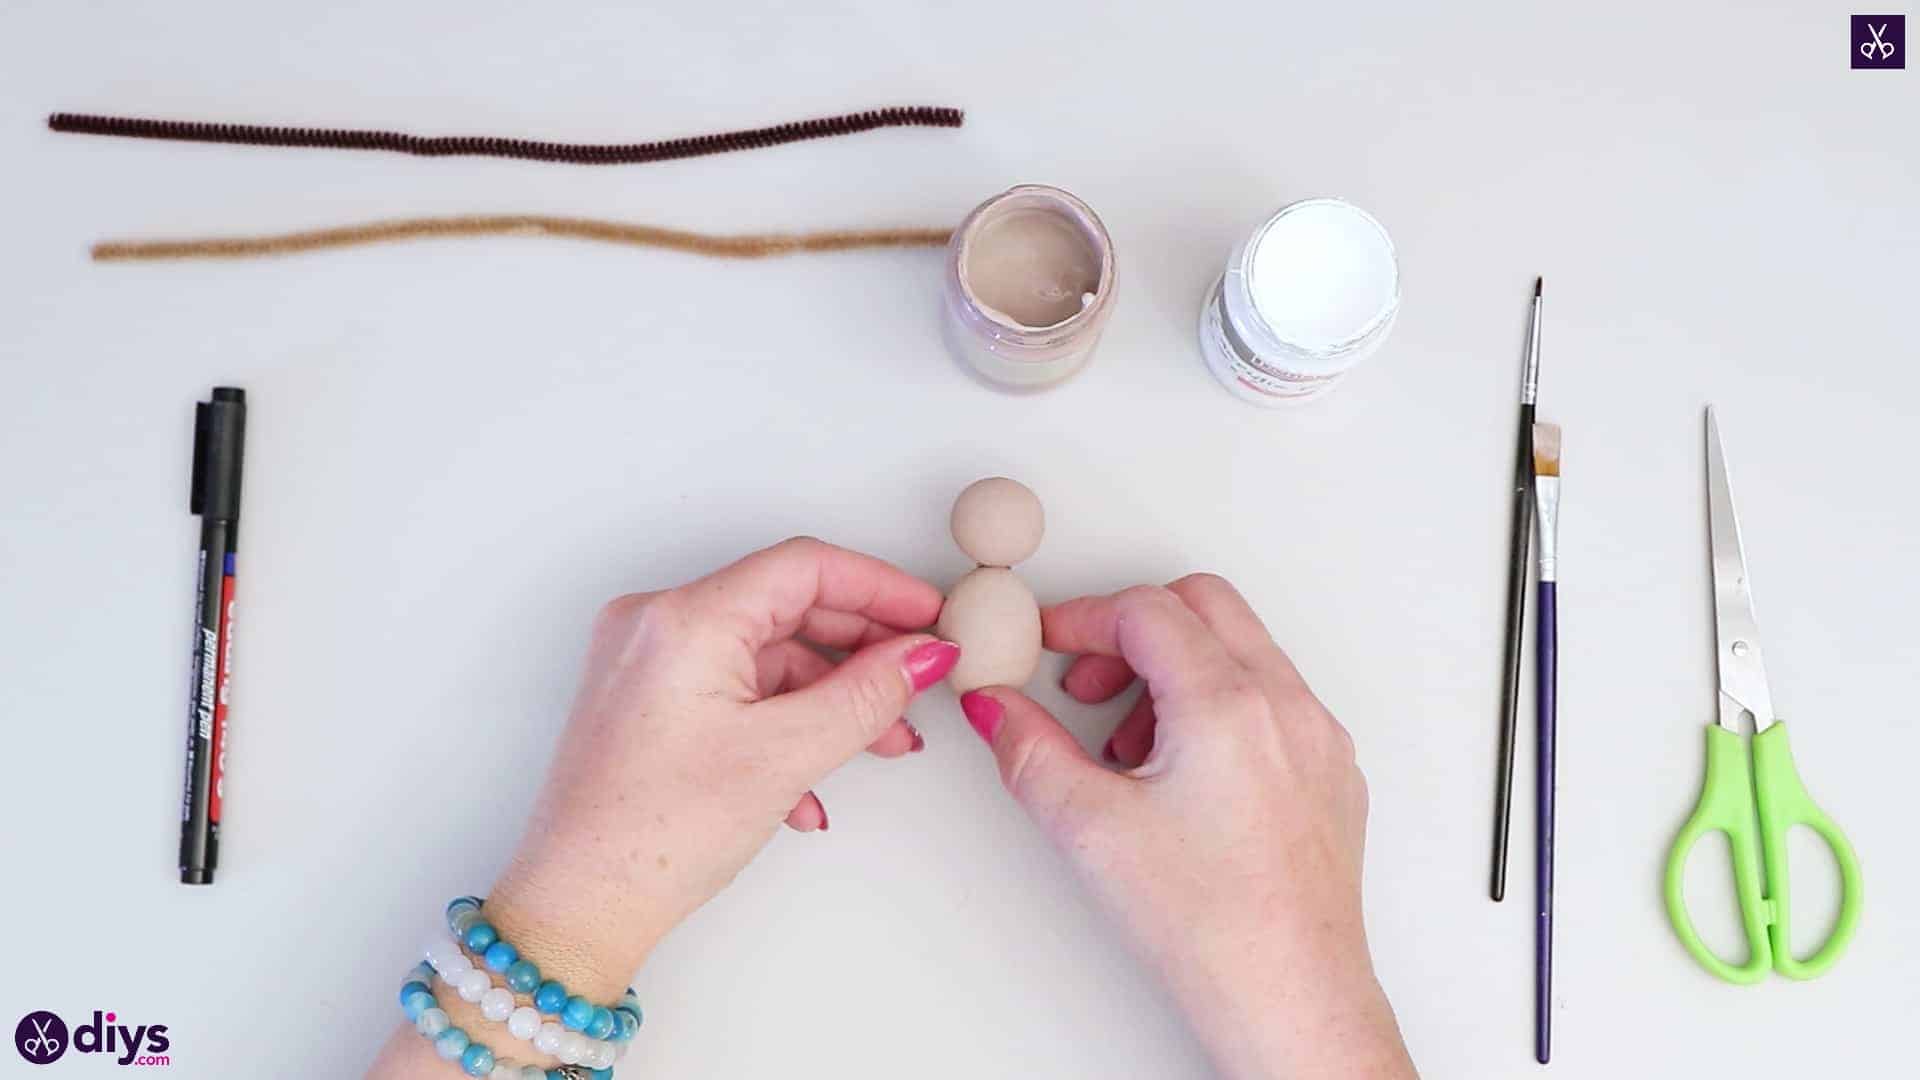
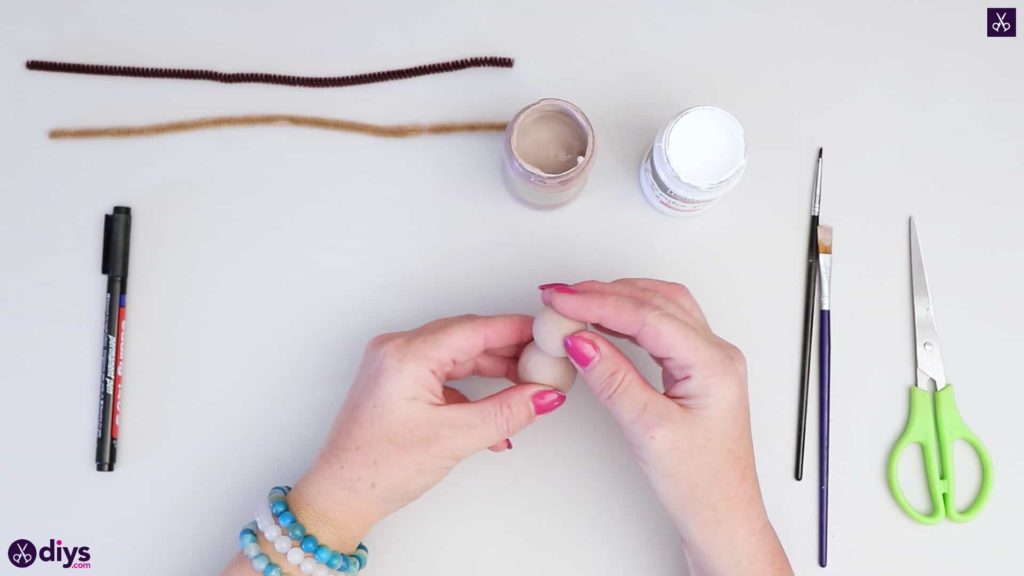
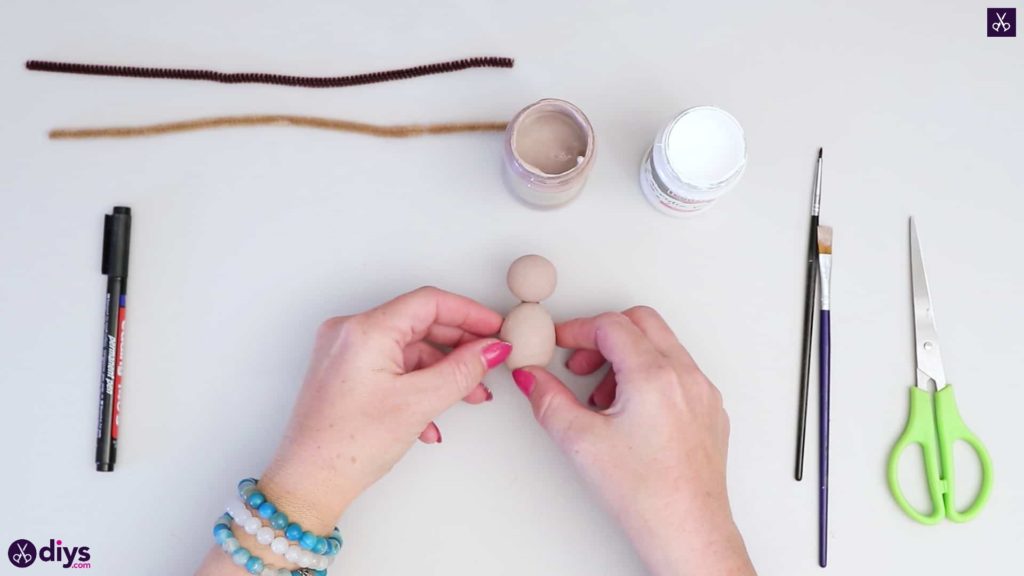
Step 3: glue together
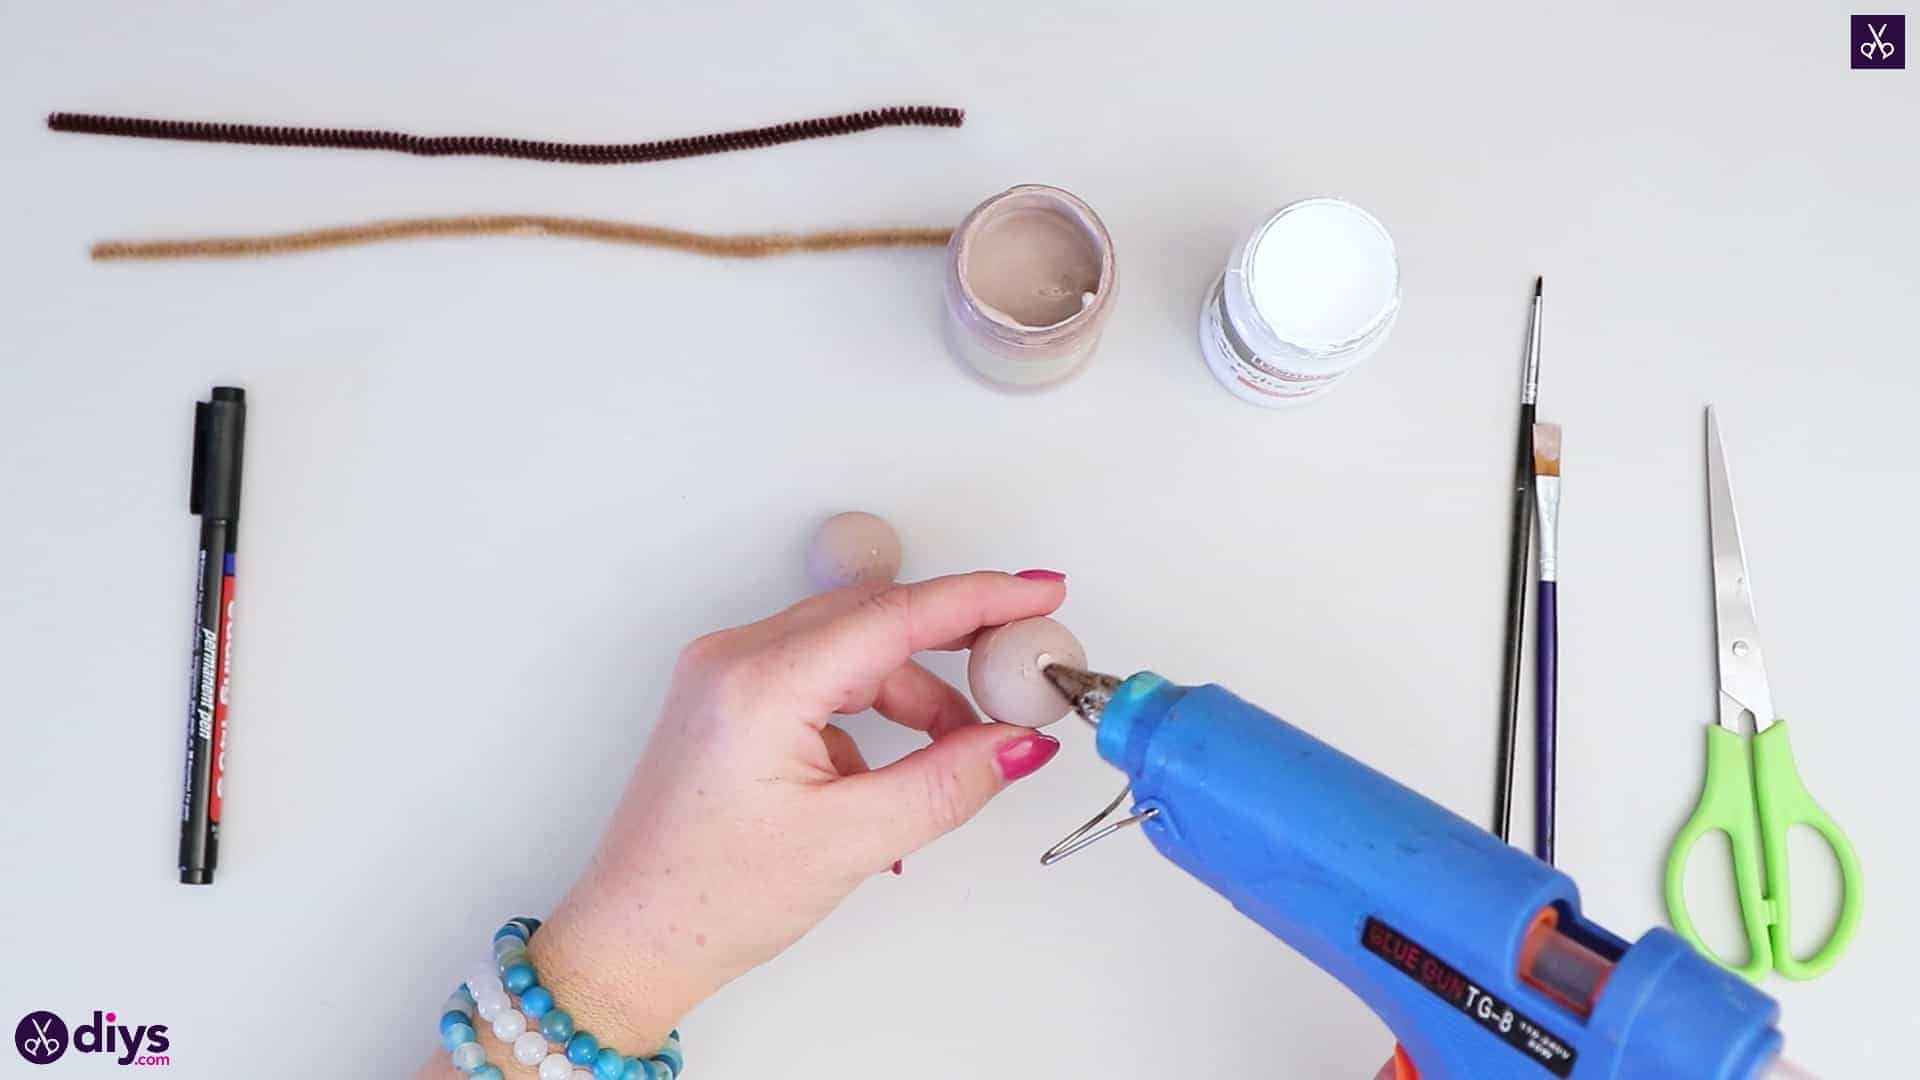
Once your paint is dried completely, apply hot glue to the top of your oval shaped spun cotton ball at its smaller, more tapered end and stick your smaller sphere down there. The small ball will be your squirrel’s head while the oval is the squirrel’s body.
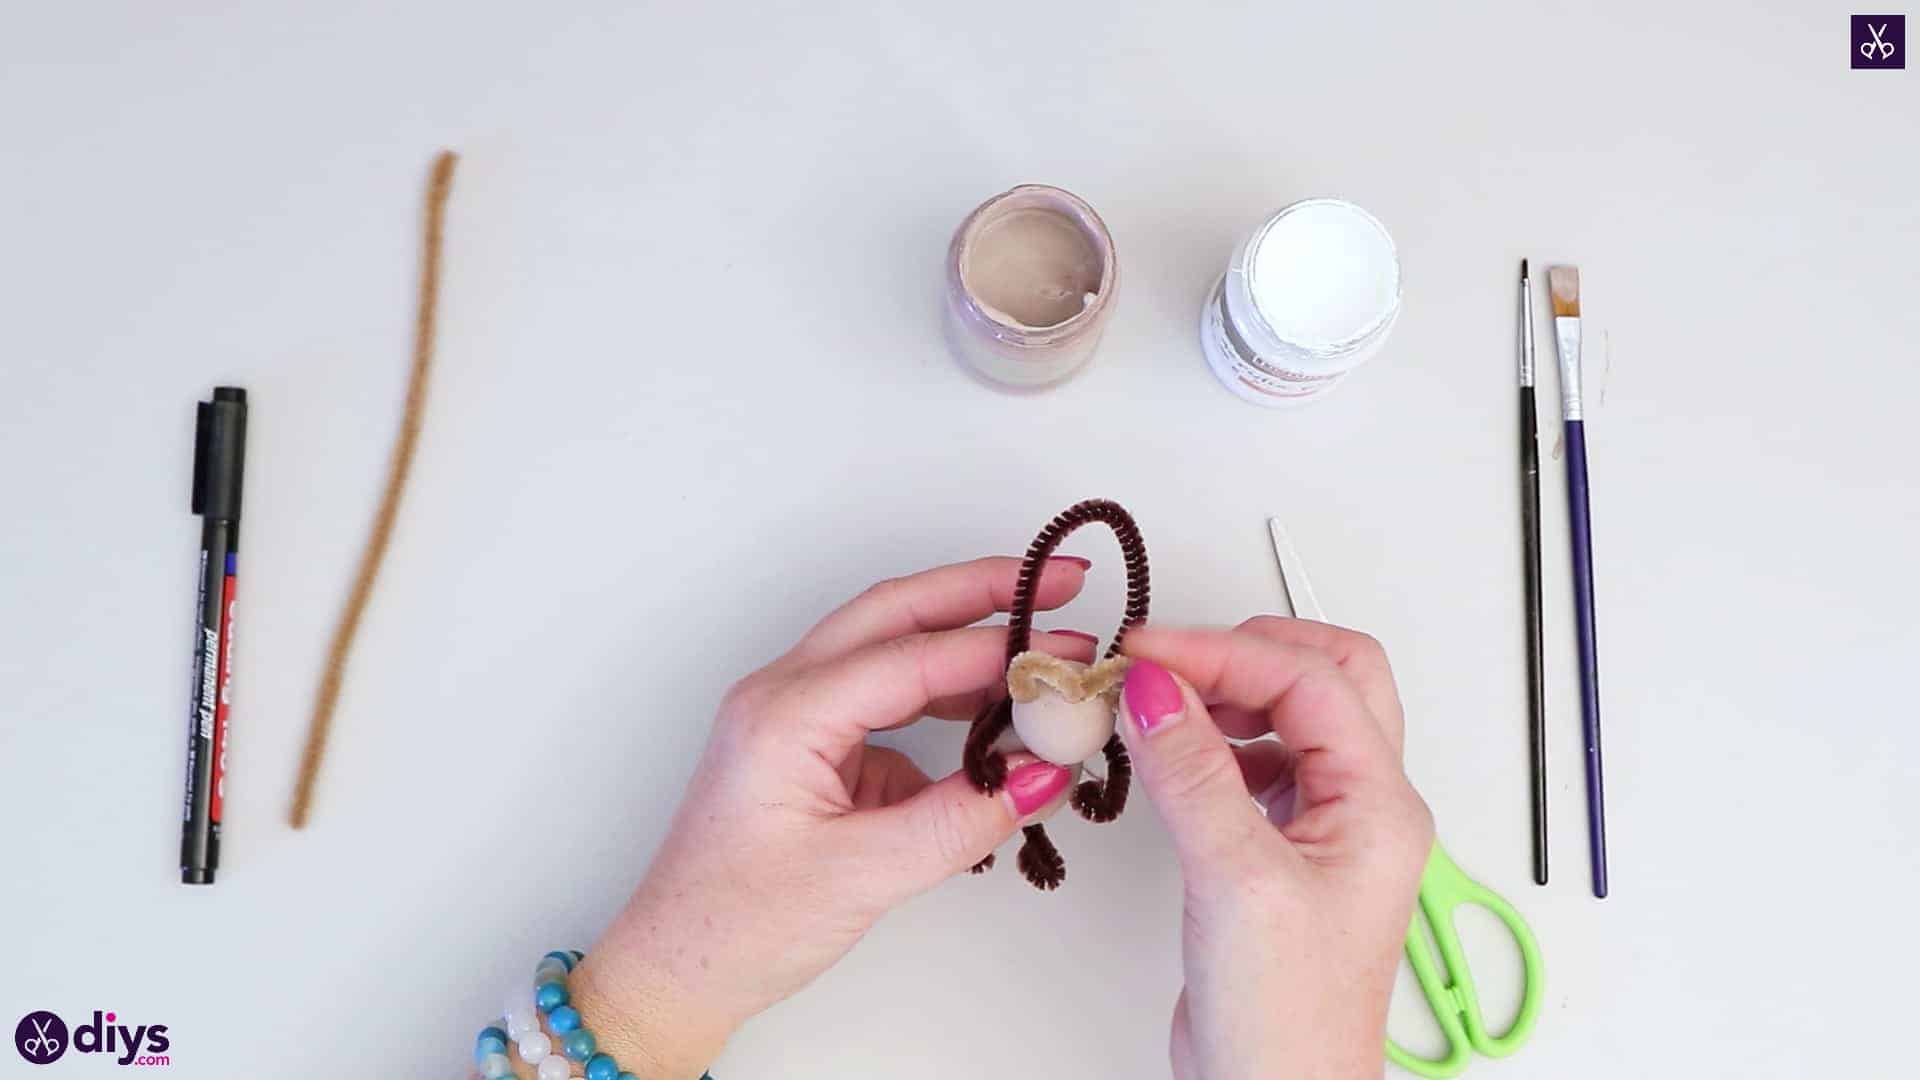
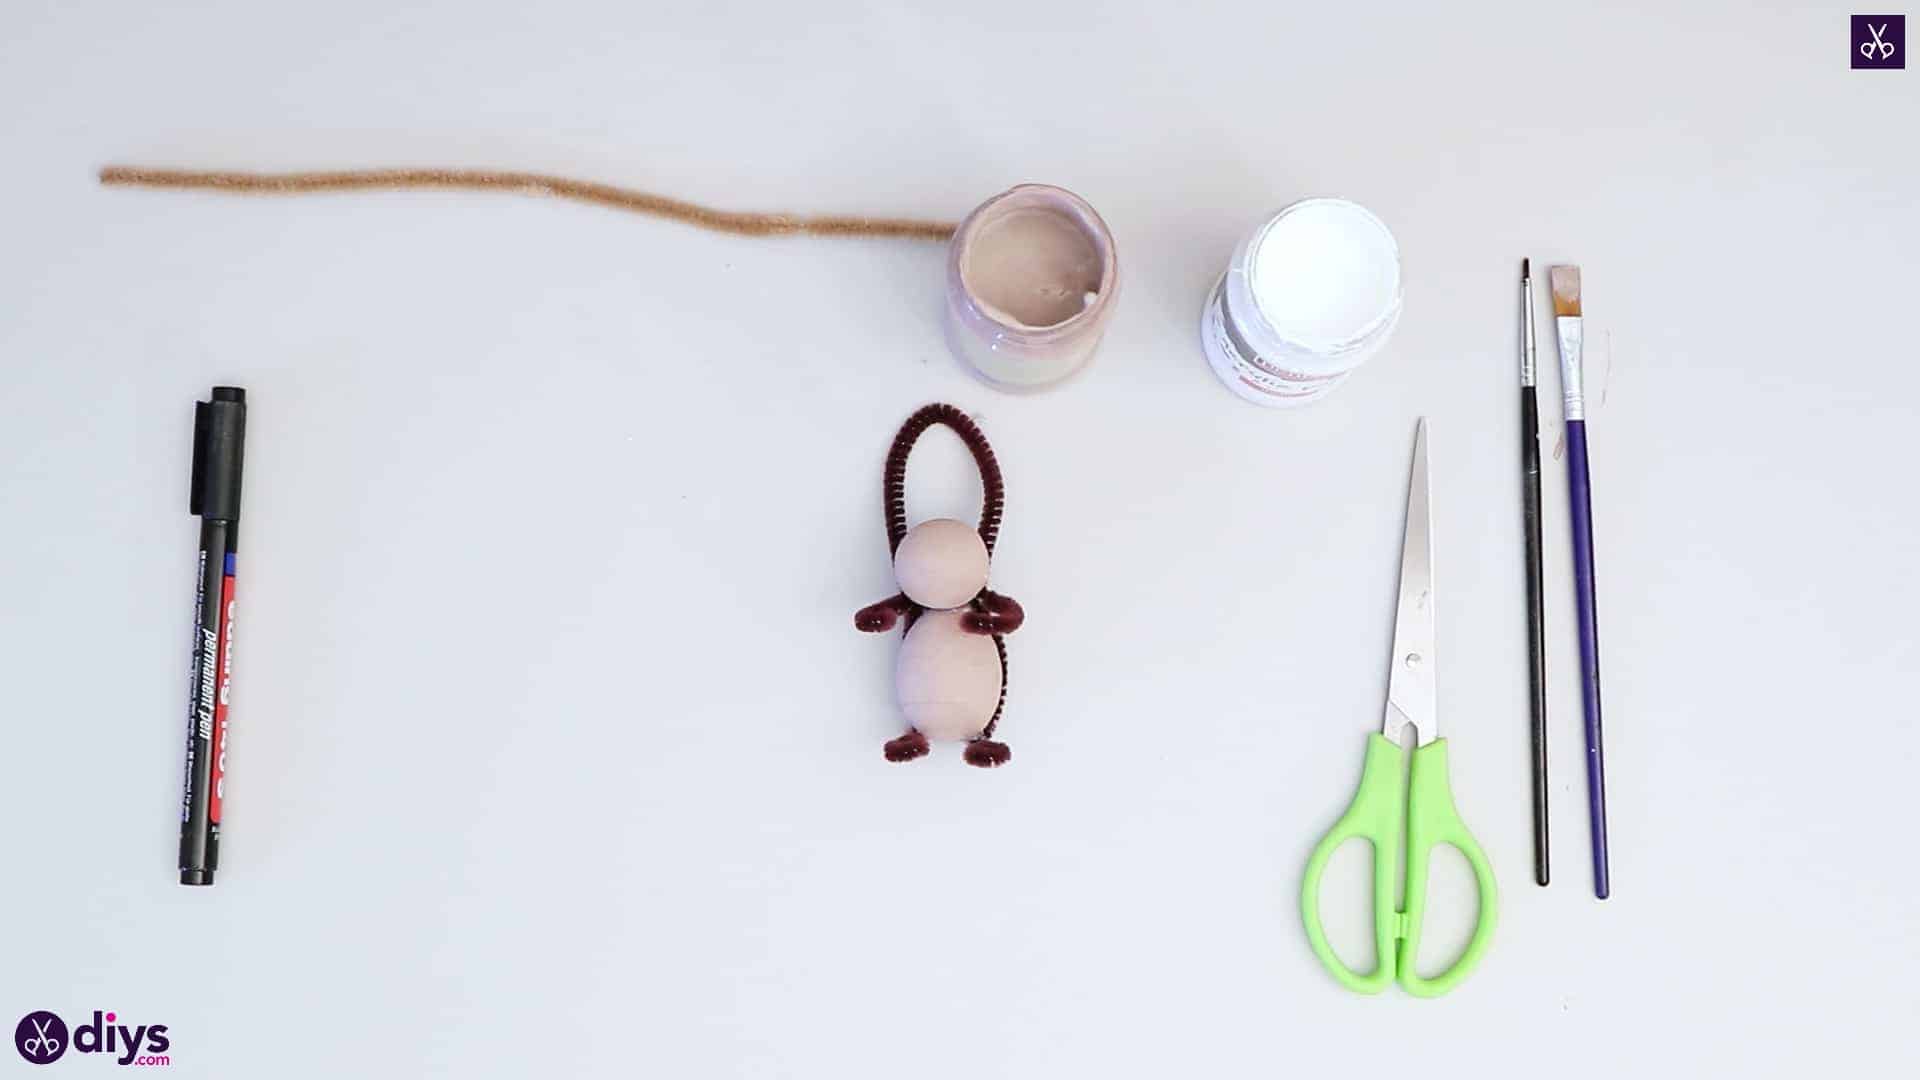
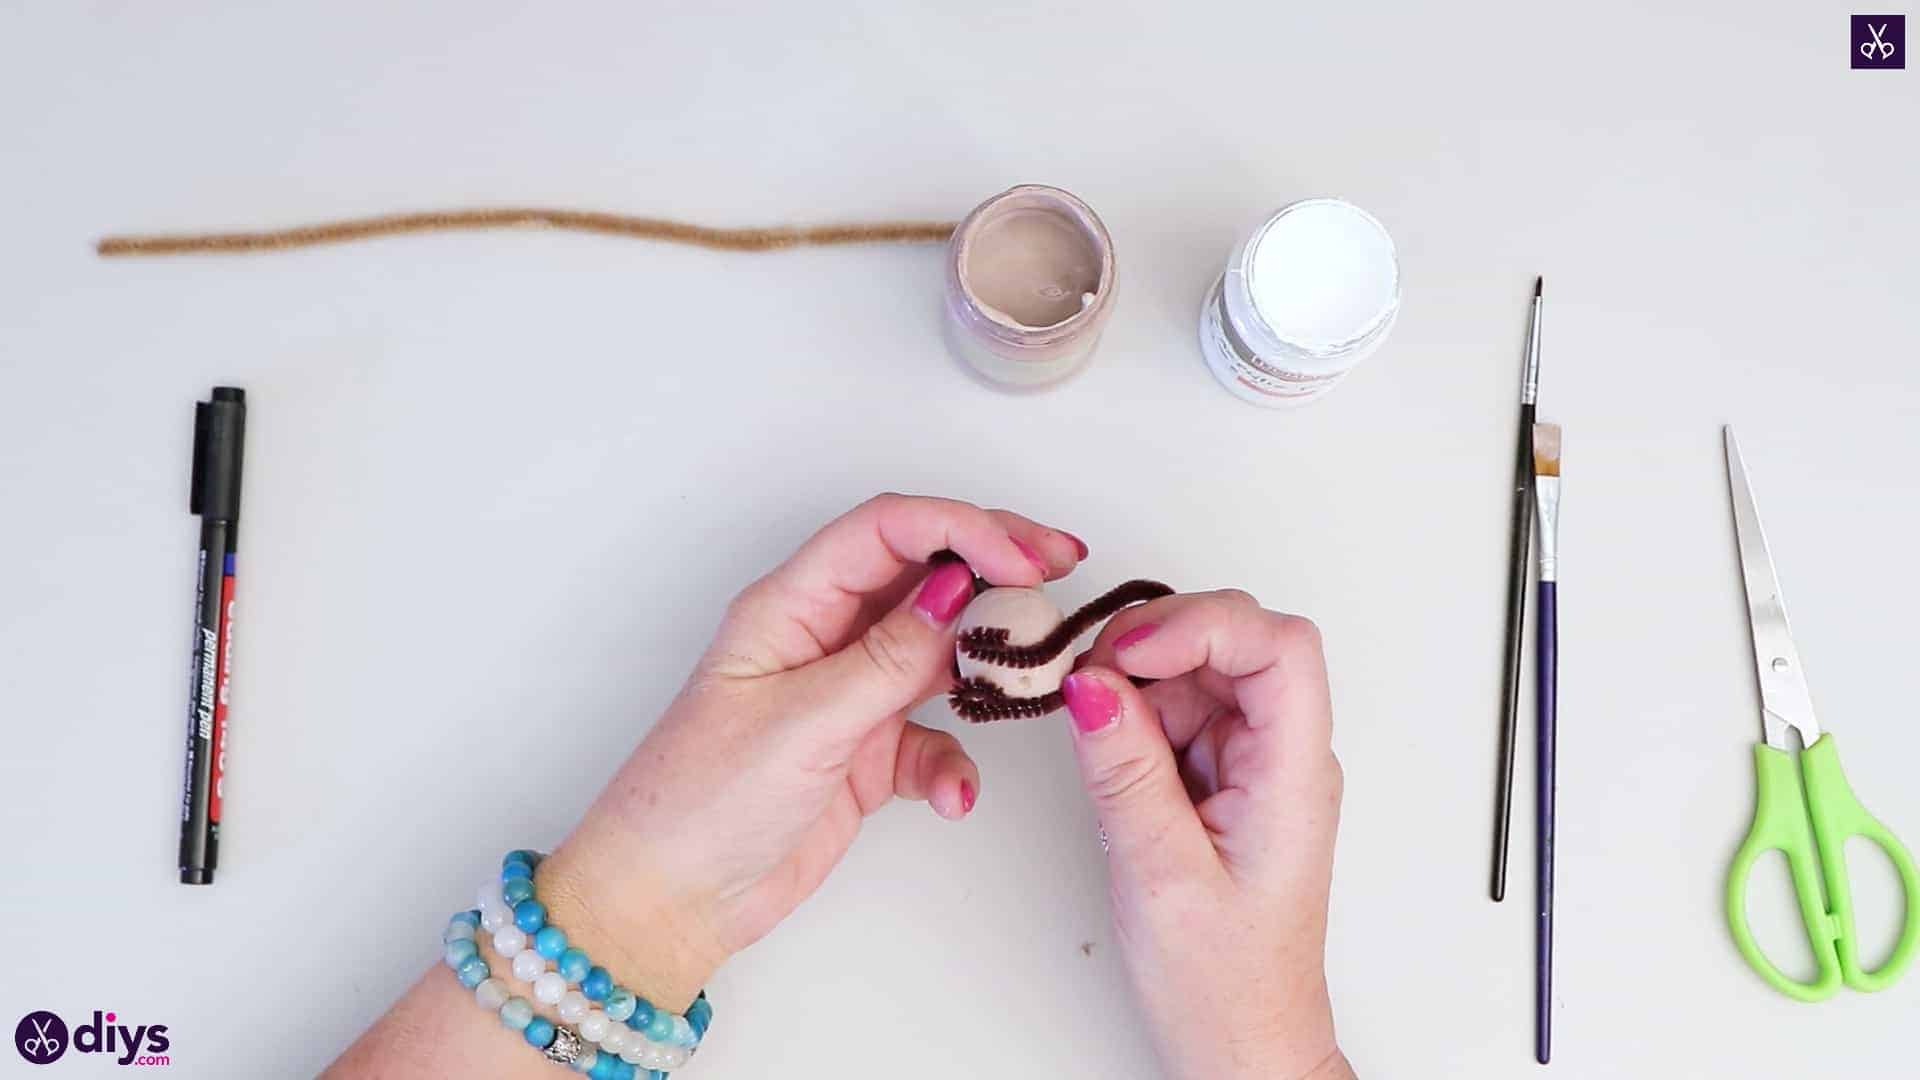
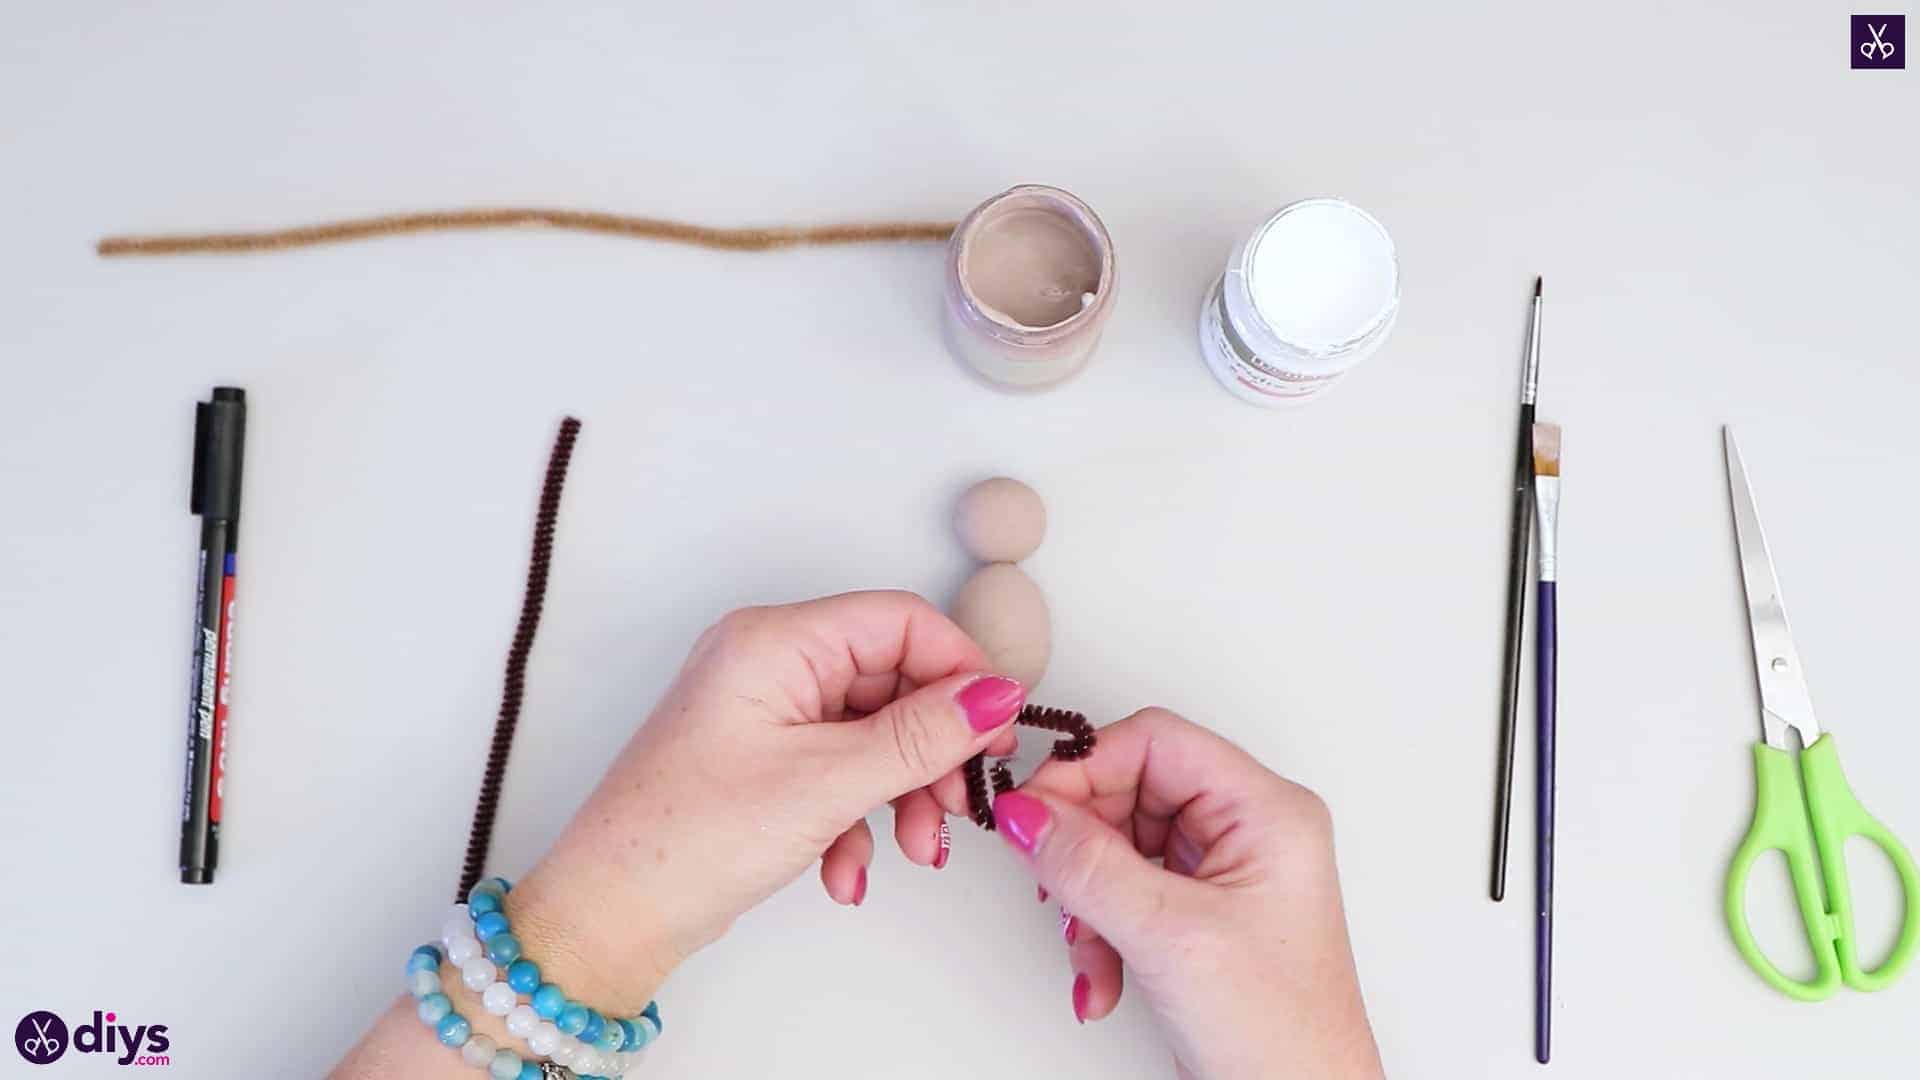
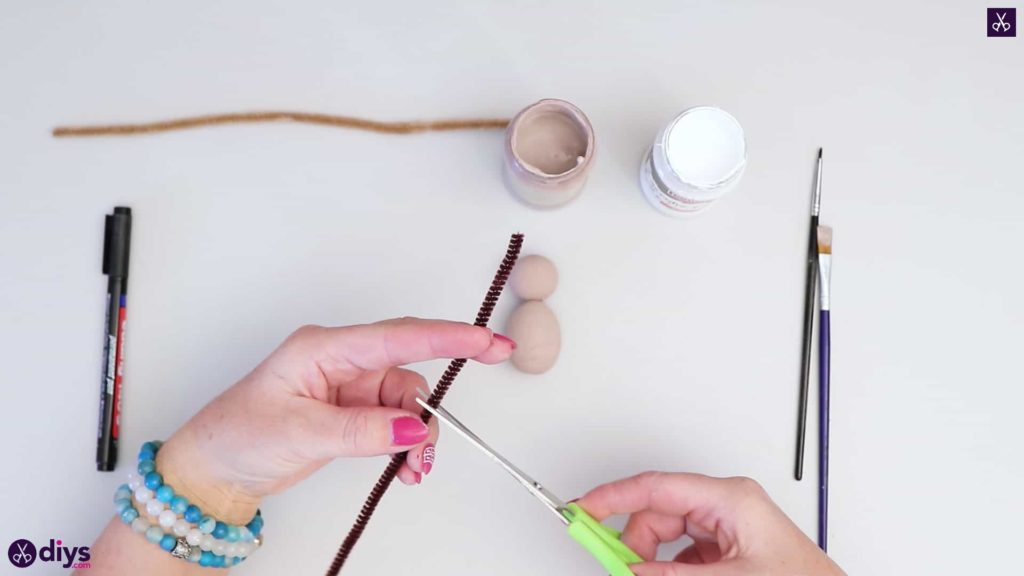
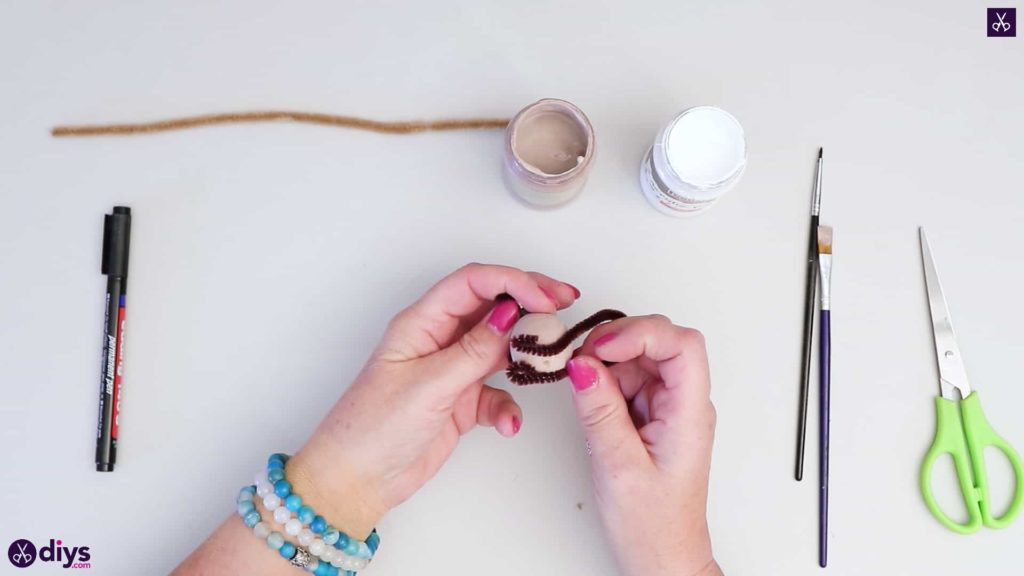
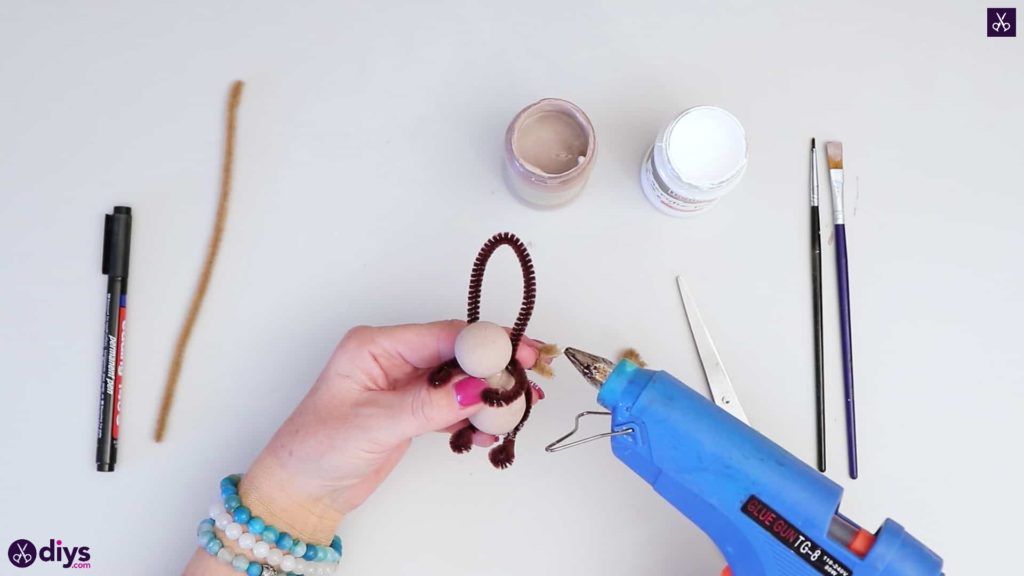
Step 4: make the arms
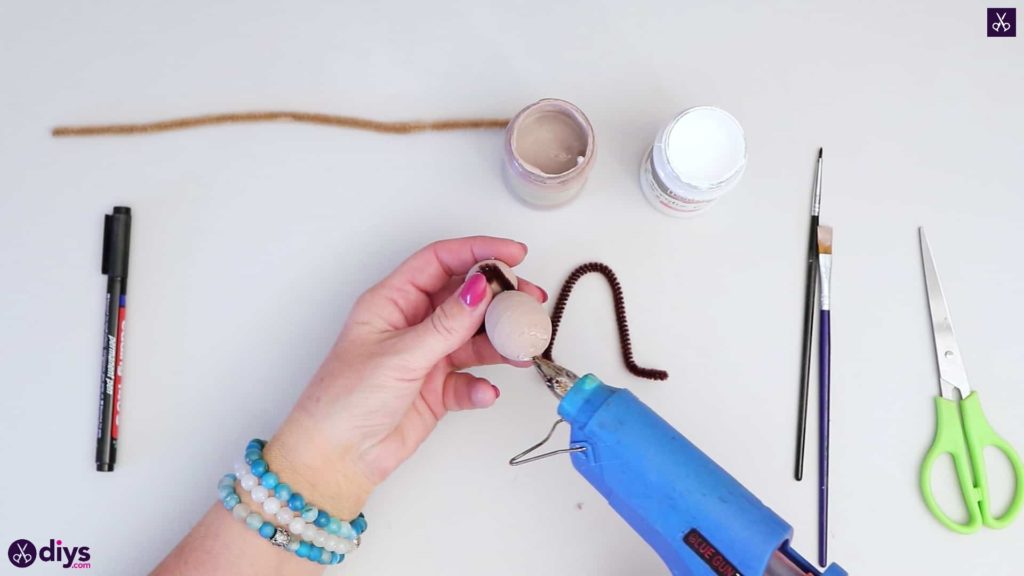
Cut a two inch piece from your dark brown pipe cleaner. Bend it in the middle so it looks like a V and then curl the ends inward a little at their tip to make two loops. This piece will be your squirrel’s arms and hands. Apply a dot of hot glue in the bend of your V shape and stick it in the groove between the squirrel’s head and body, at the “neck”, so the bend in the pipe cleaner sits at the back behind the head and the arms and head stick out towards the front.
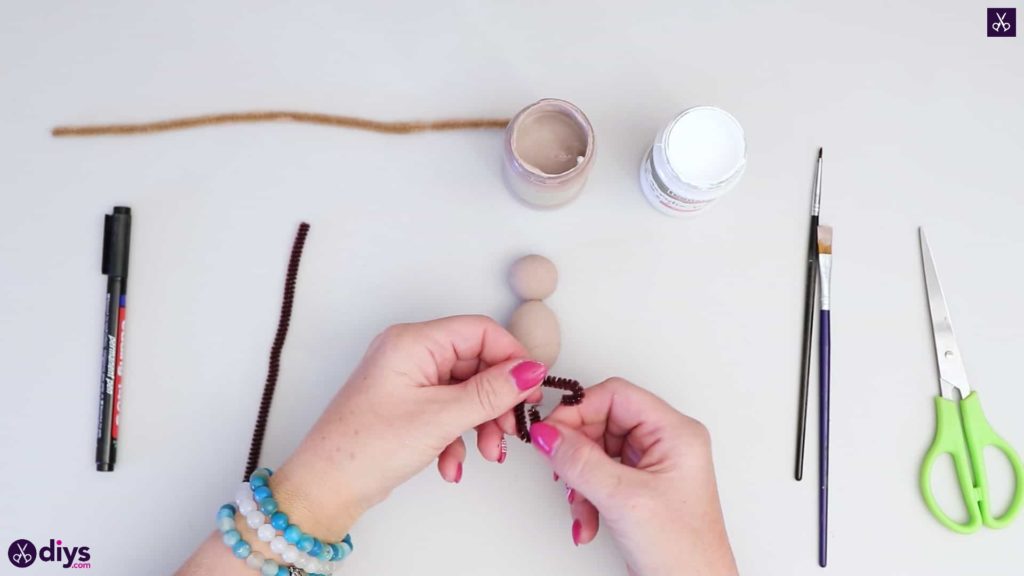


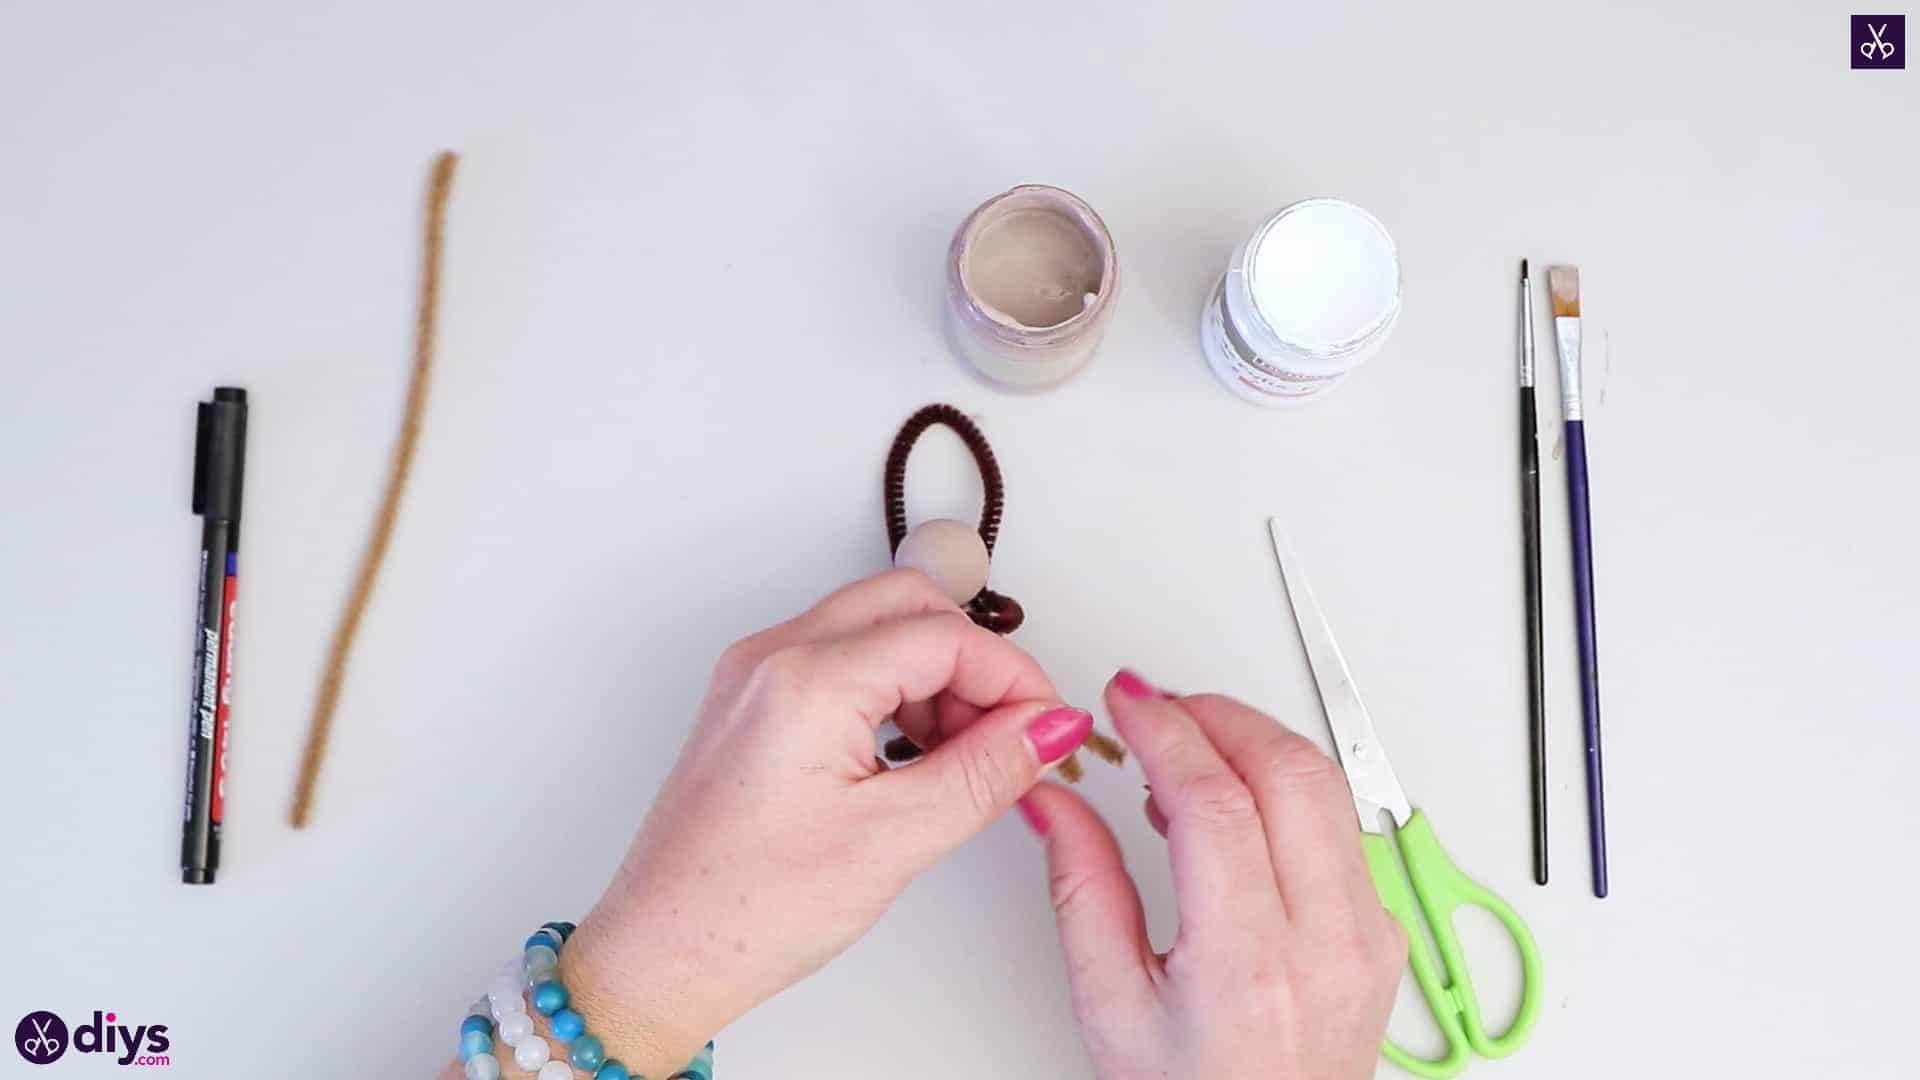
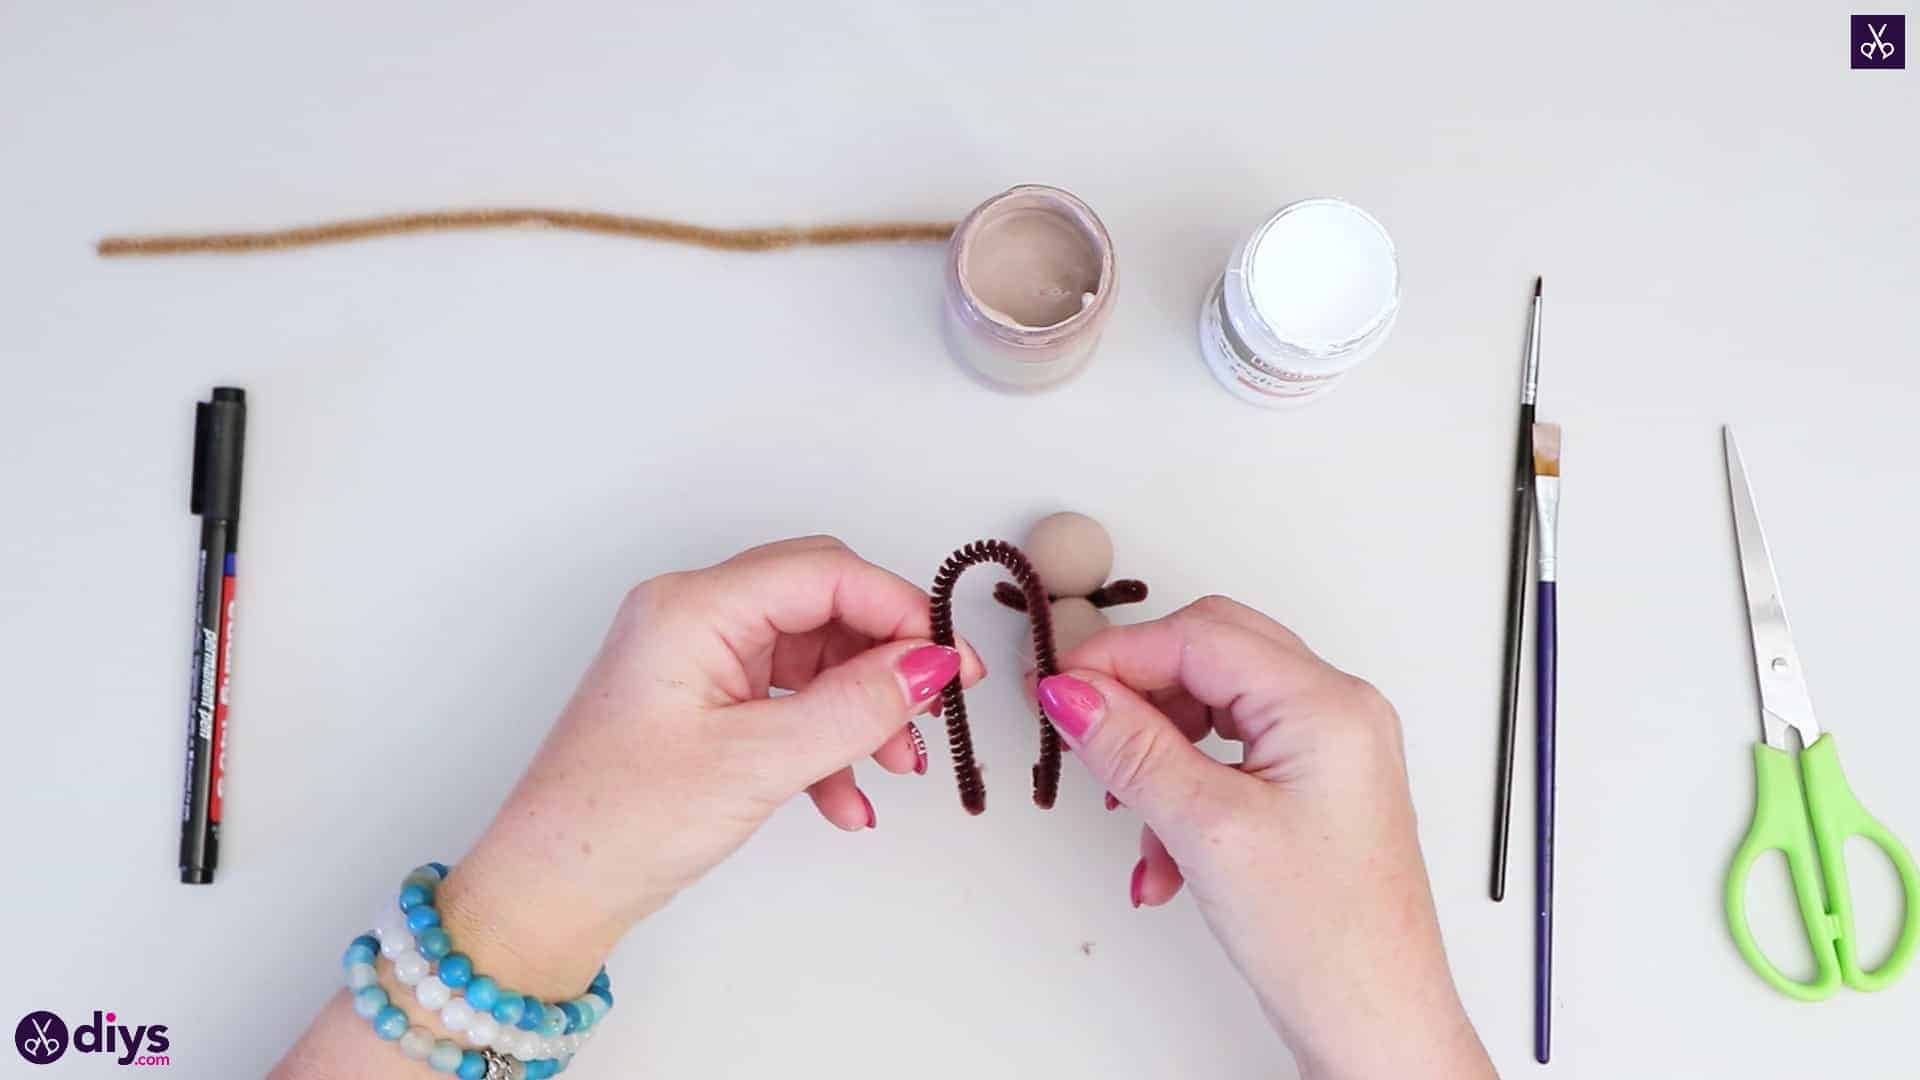
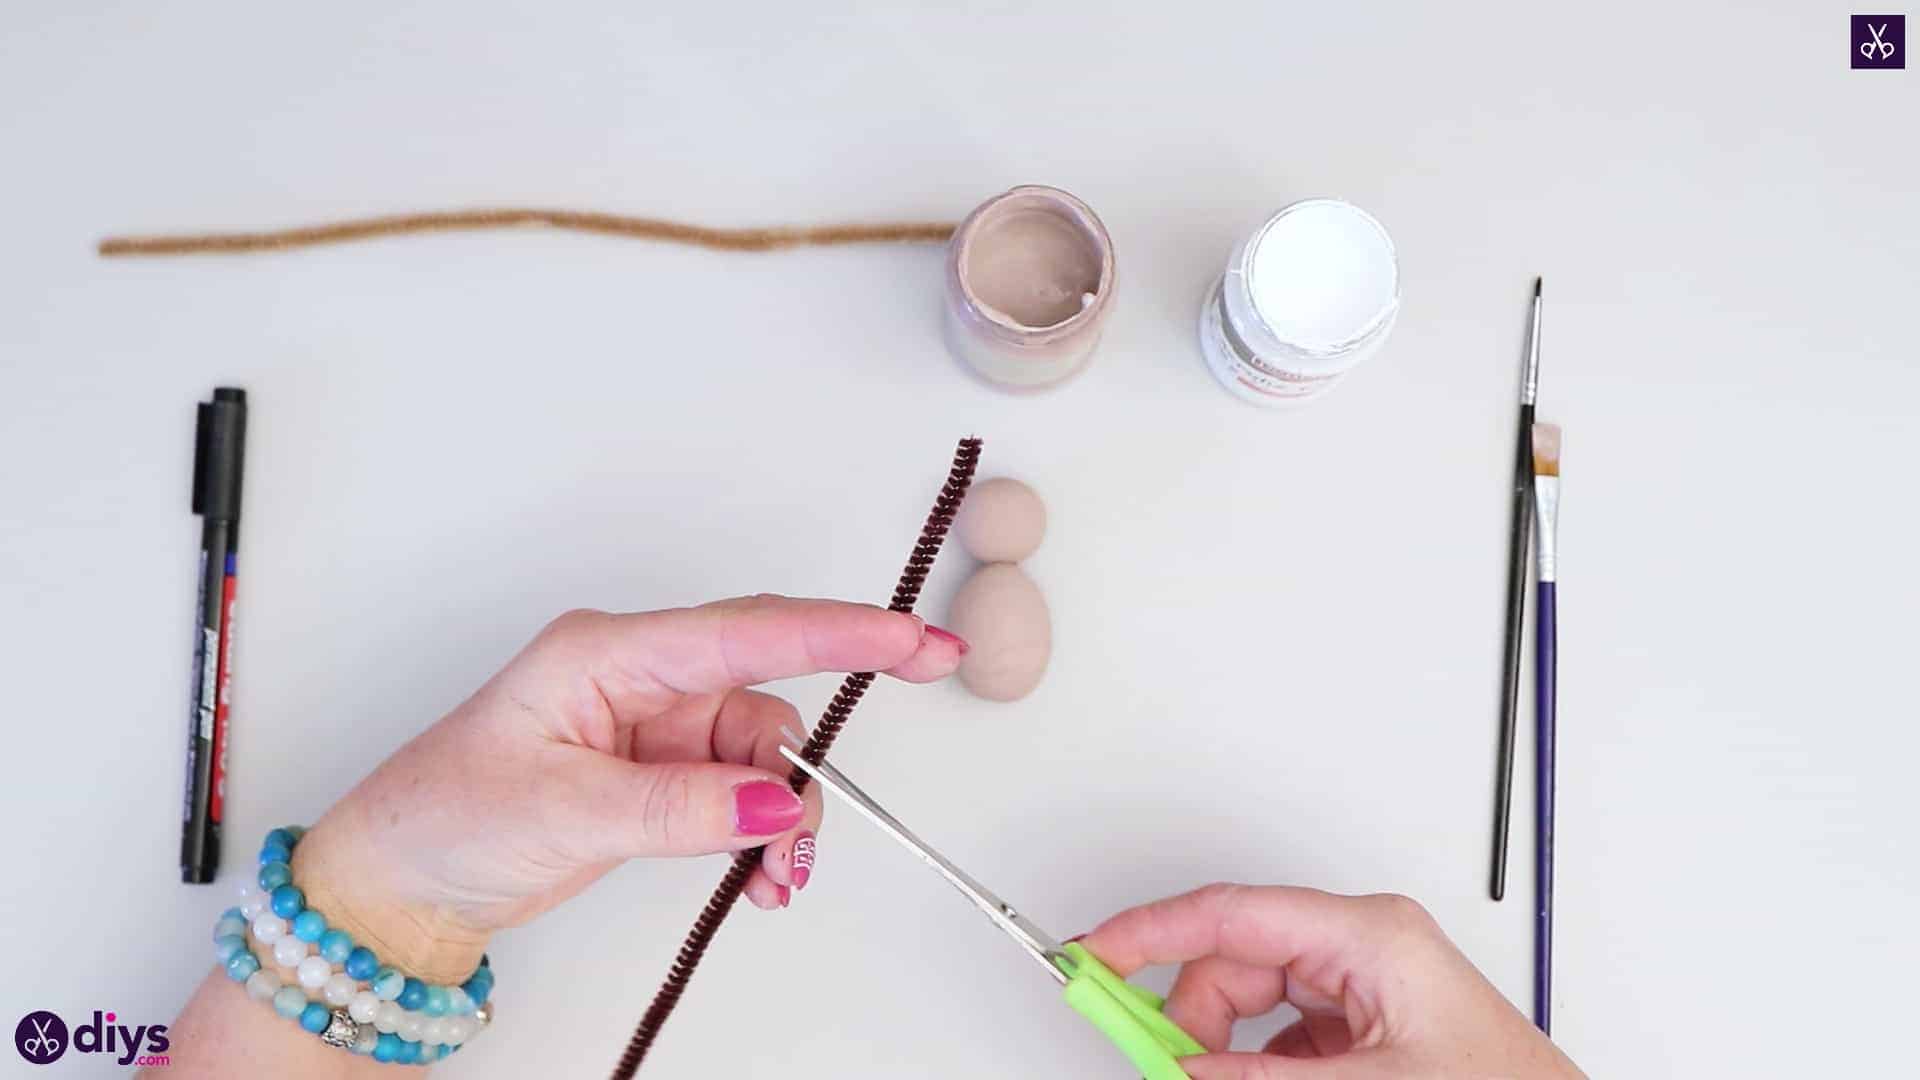
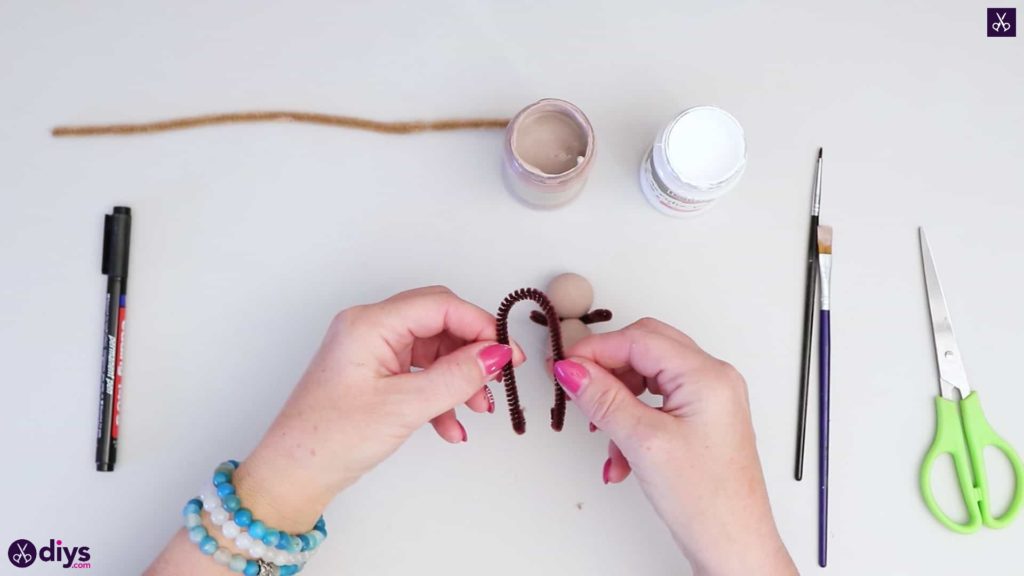
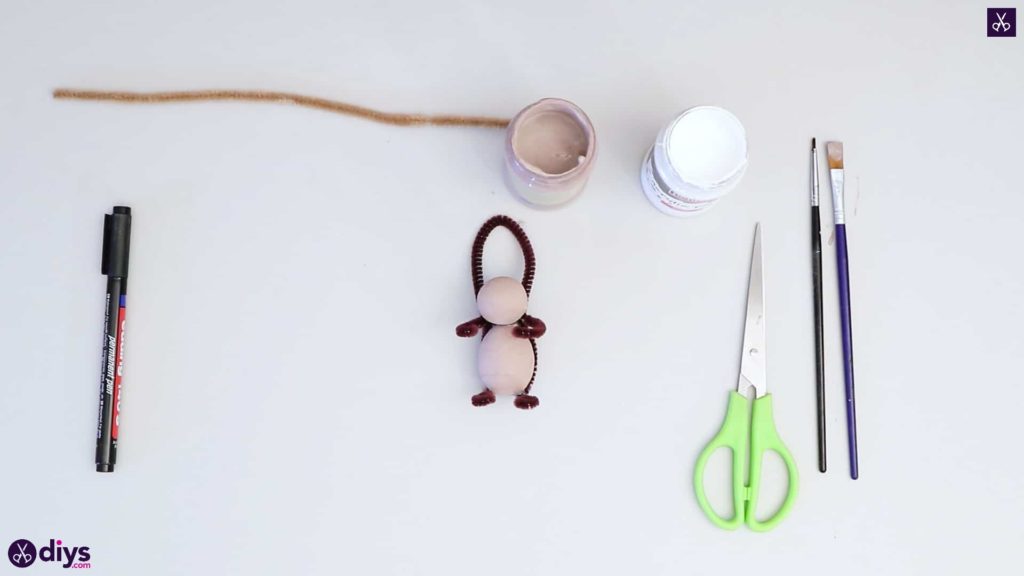
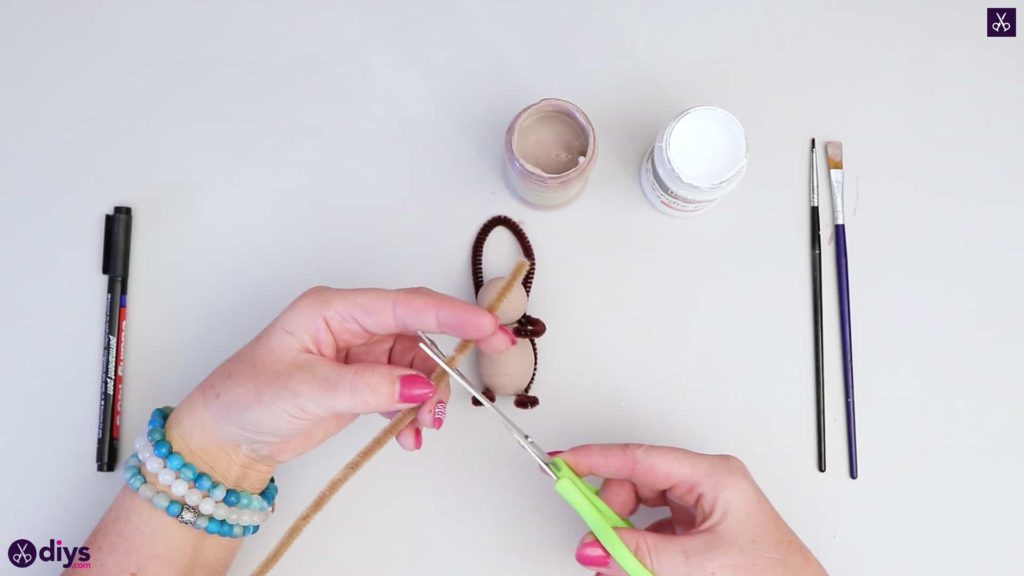
Step 5: make the tail
Bend the other longer piece of your dark brown pipe cleaner into a U shape, with more of a curve than your first piece. Then, bend the tips at each end over and curl the tips in little loops like you did with the hands, this time to look like little feet. Apply two dots of hot glue to the bottom of your squirrel’s body near the back, on two sides, and stick the spot where your feet bend into the glue. The bend in pipe cleaner opposite the feet will stick upwards behind the squirrel’s and round over to make the tail.
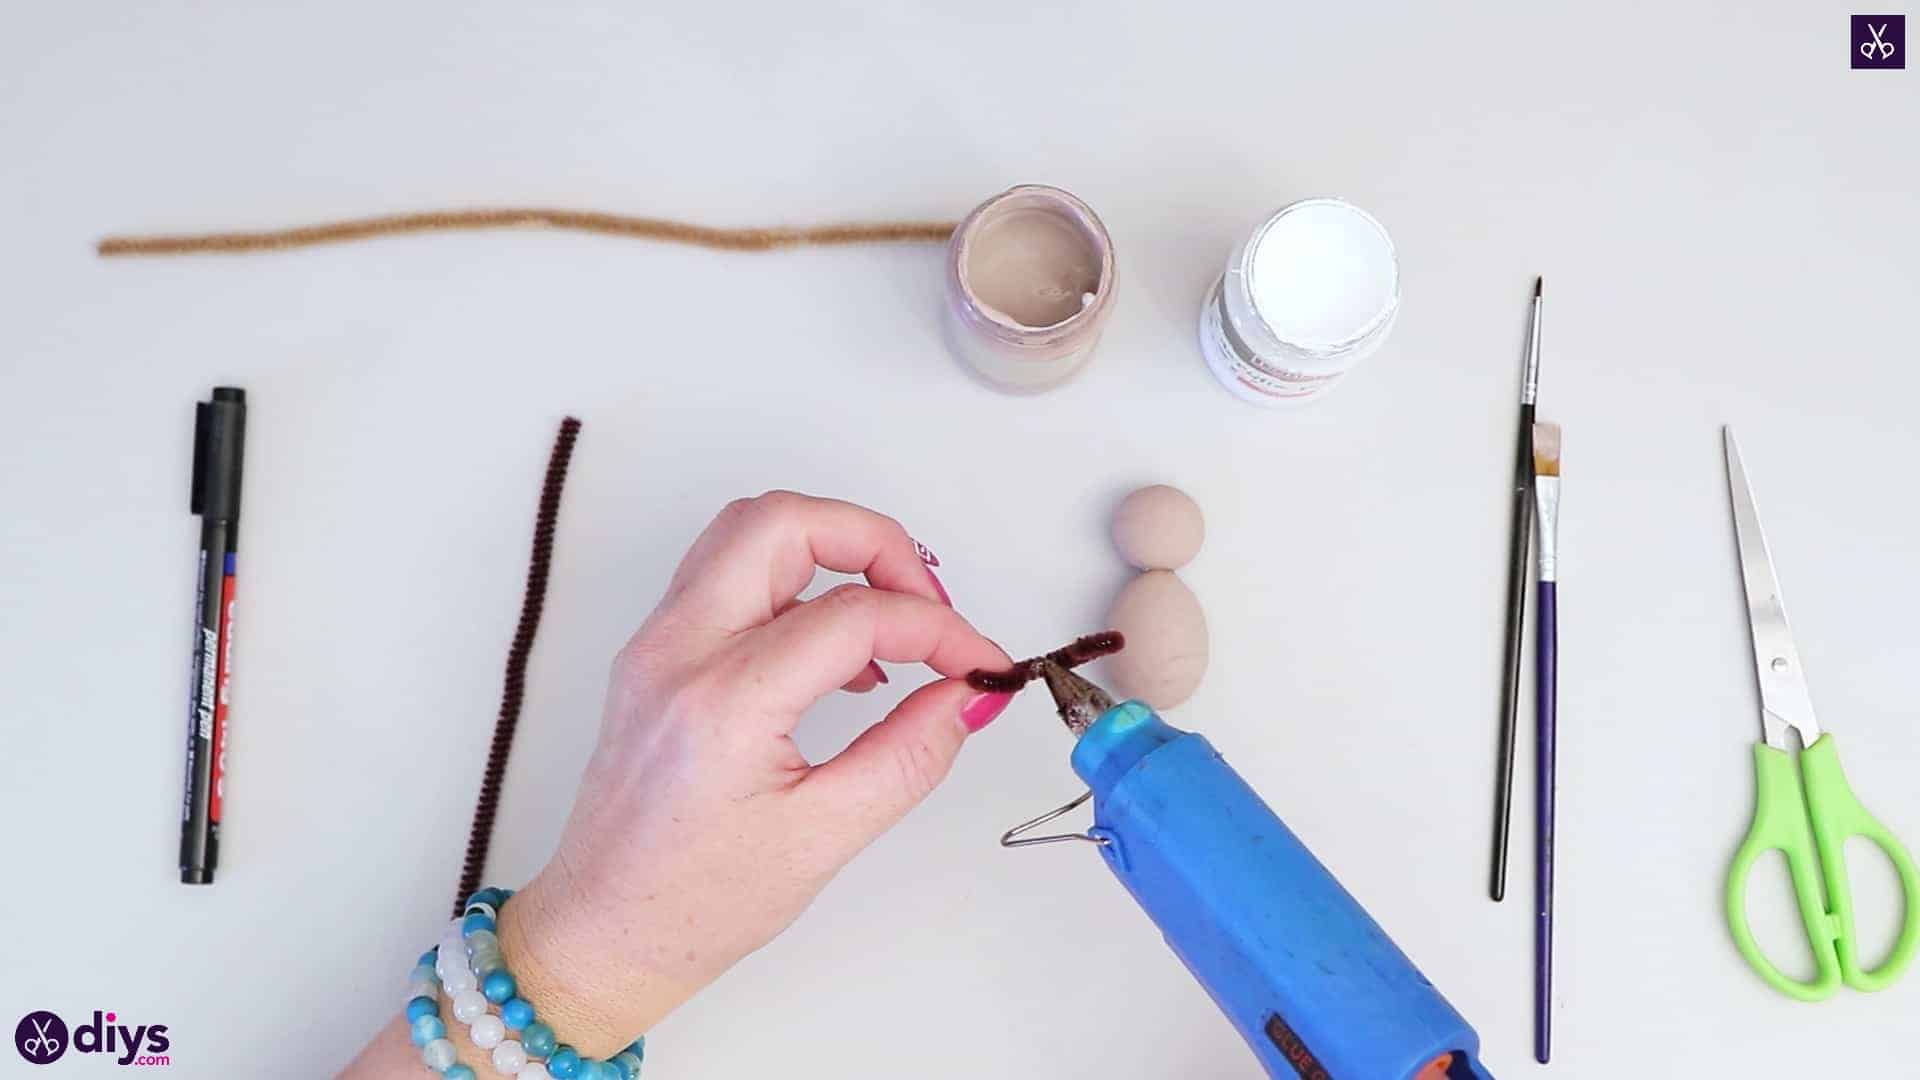
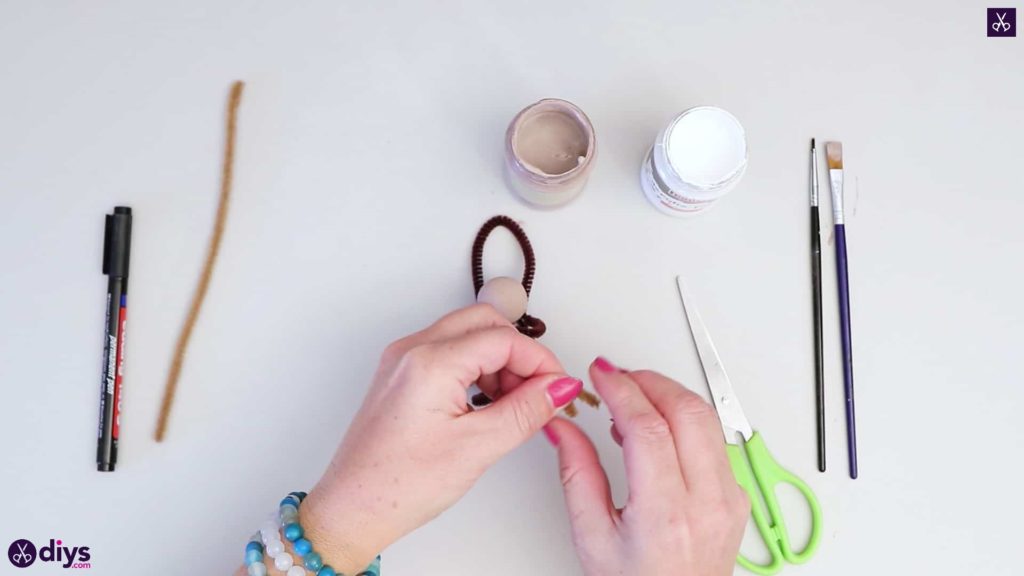
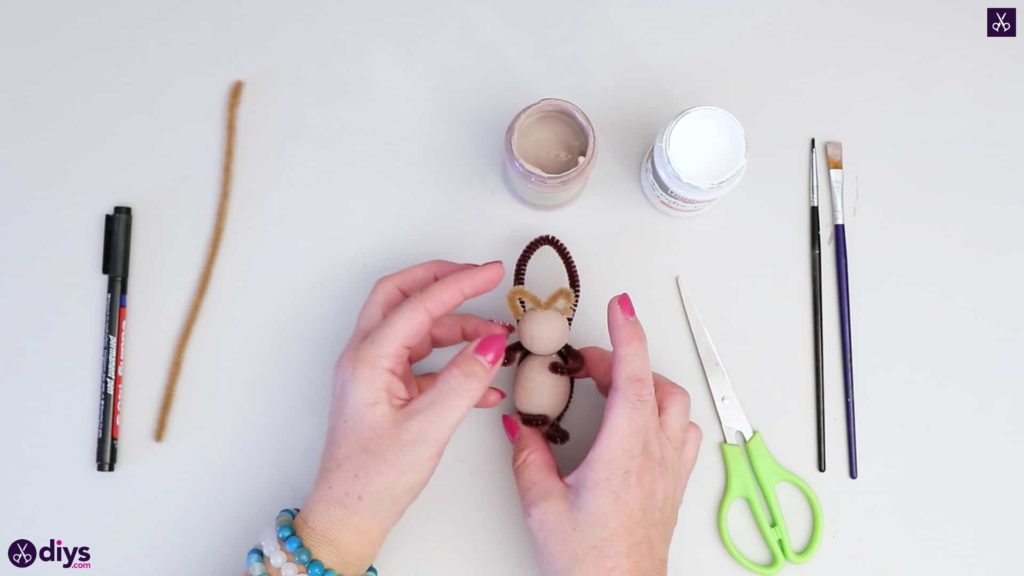
Step 6: make the ears
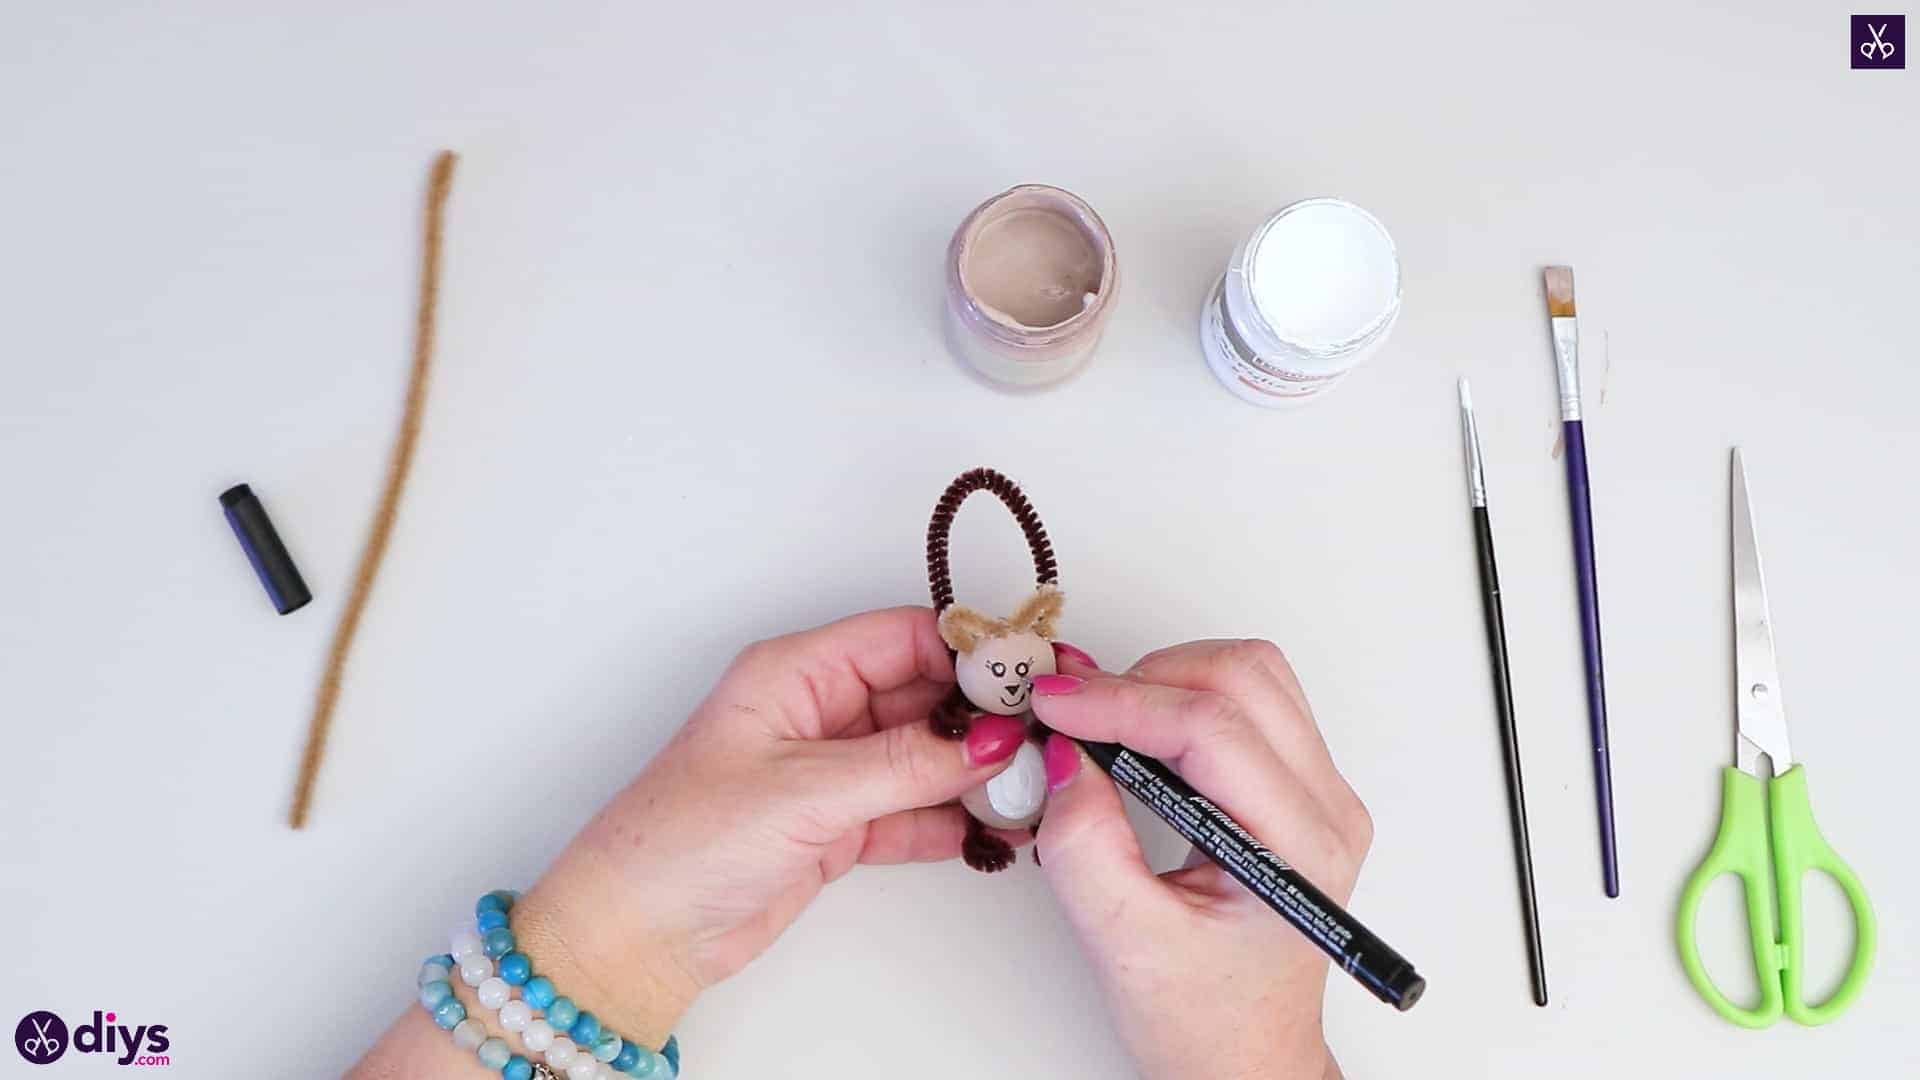
Cut an inch long piece from the end of your light brown pipe cleaner, then cut that piece in half. Bend each of those new smaller pieces in half in a V shape like before, but littler. These will be your squirrel’s ears. Apply a bit of hot glue to the two ends of each ear shape and stick them in place on either side of the squirrel’s head at the top.

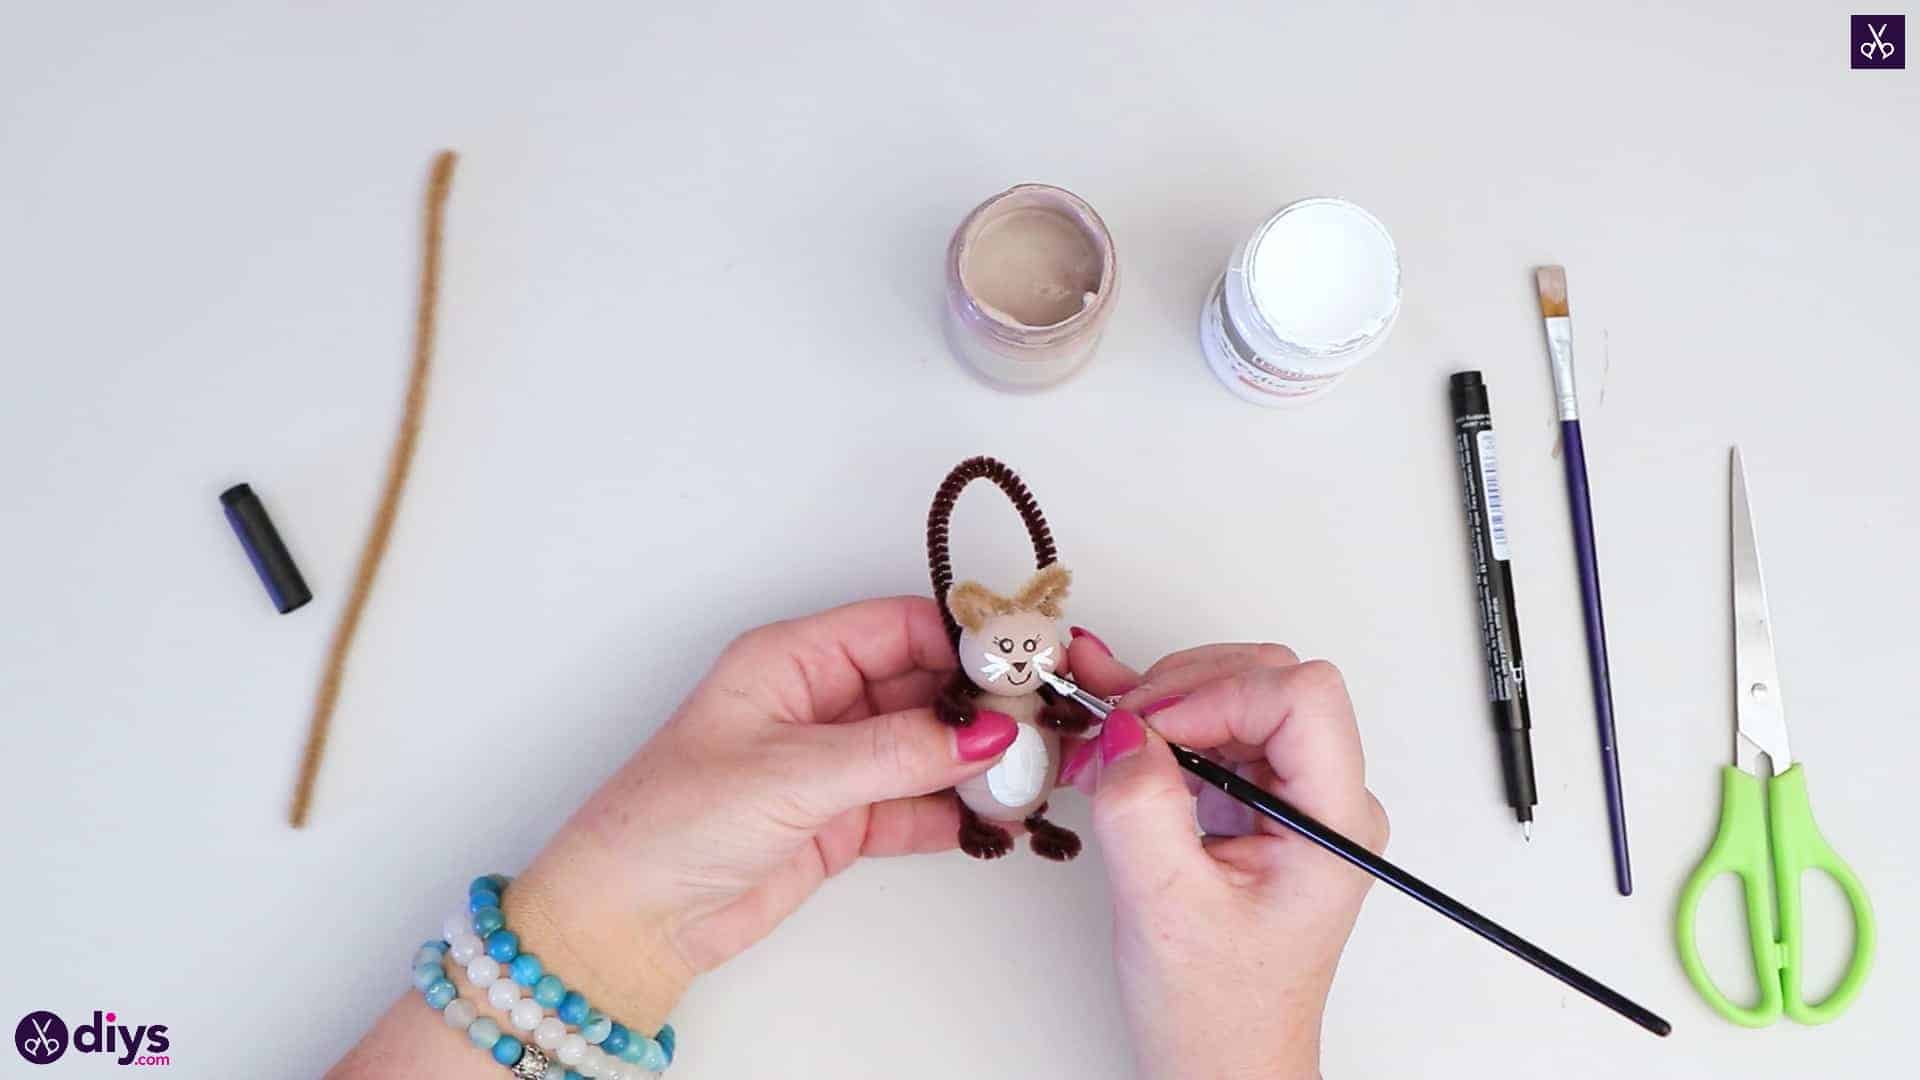
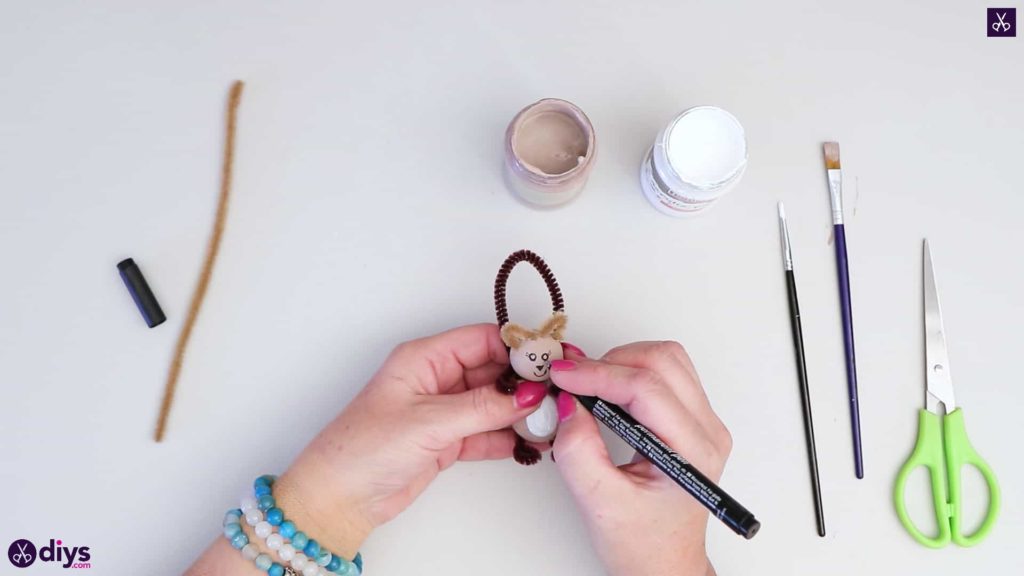
Step 7: paint the face
Use your smaller paintbrush to paint a white oval like a patch of white fur on the squirrel’s tummy. Then use your black marker to draw your squirrel’s face. Finally, use your small paintbrush one more time to paint three little whiskers on each side of your squirrel’s nose!
Your little spun cotton ball squirrel is officially finished. Just in case you’d like to try this project out for yourself, here’s a fantastic tutorial video to help you!