DIY Lipstick Gift Card – Easy Video Tutorial
Updated on November 19, 2025


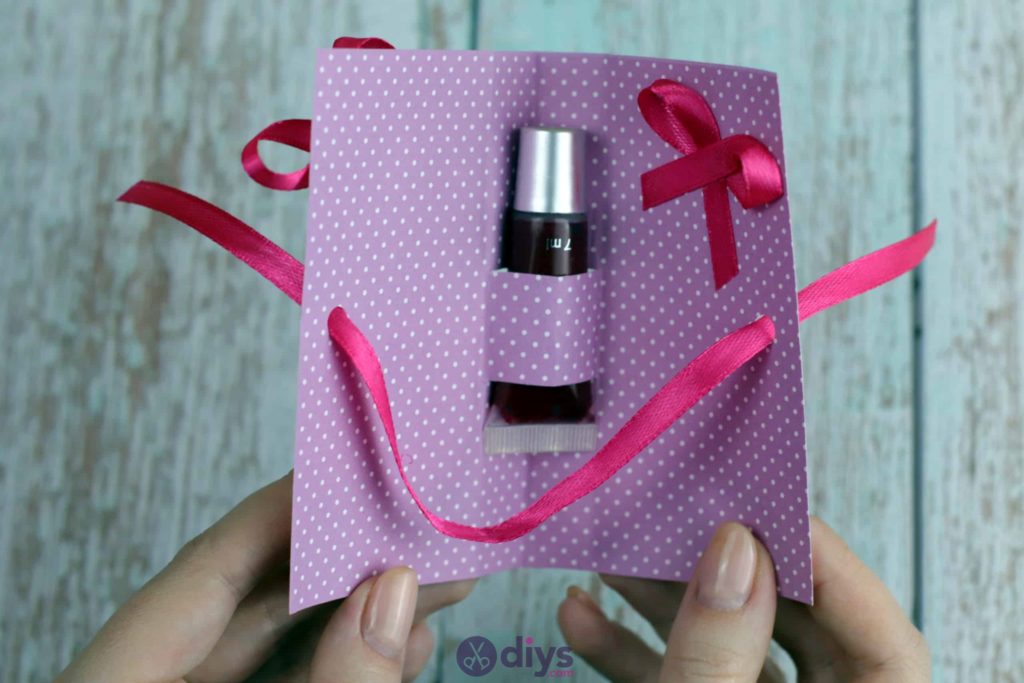
My favourite thing to do is make creative packaging for cosmetics because essentially all of my friends love makeup just as much as I do! That’s how I found myself making this super cute lipstick gift card for a friend last week! Scroll down to see just how I did it!

Since I’ve always been such a tutorial lover who follows other people’s steps when I like their latest project, I figured it might be nice to return the favour, which is why I decided to document how easy my lipstick gift card was to make. Check out these step by step instructions complete with photos! If you’d rather follow along with a video tutorial instead of written words, scroll to the bottom of this post to find just what you’re looking for.
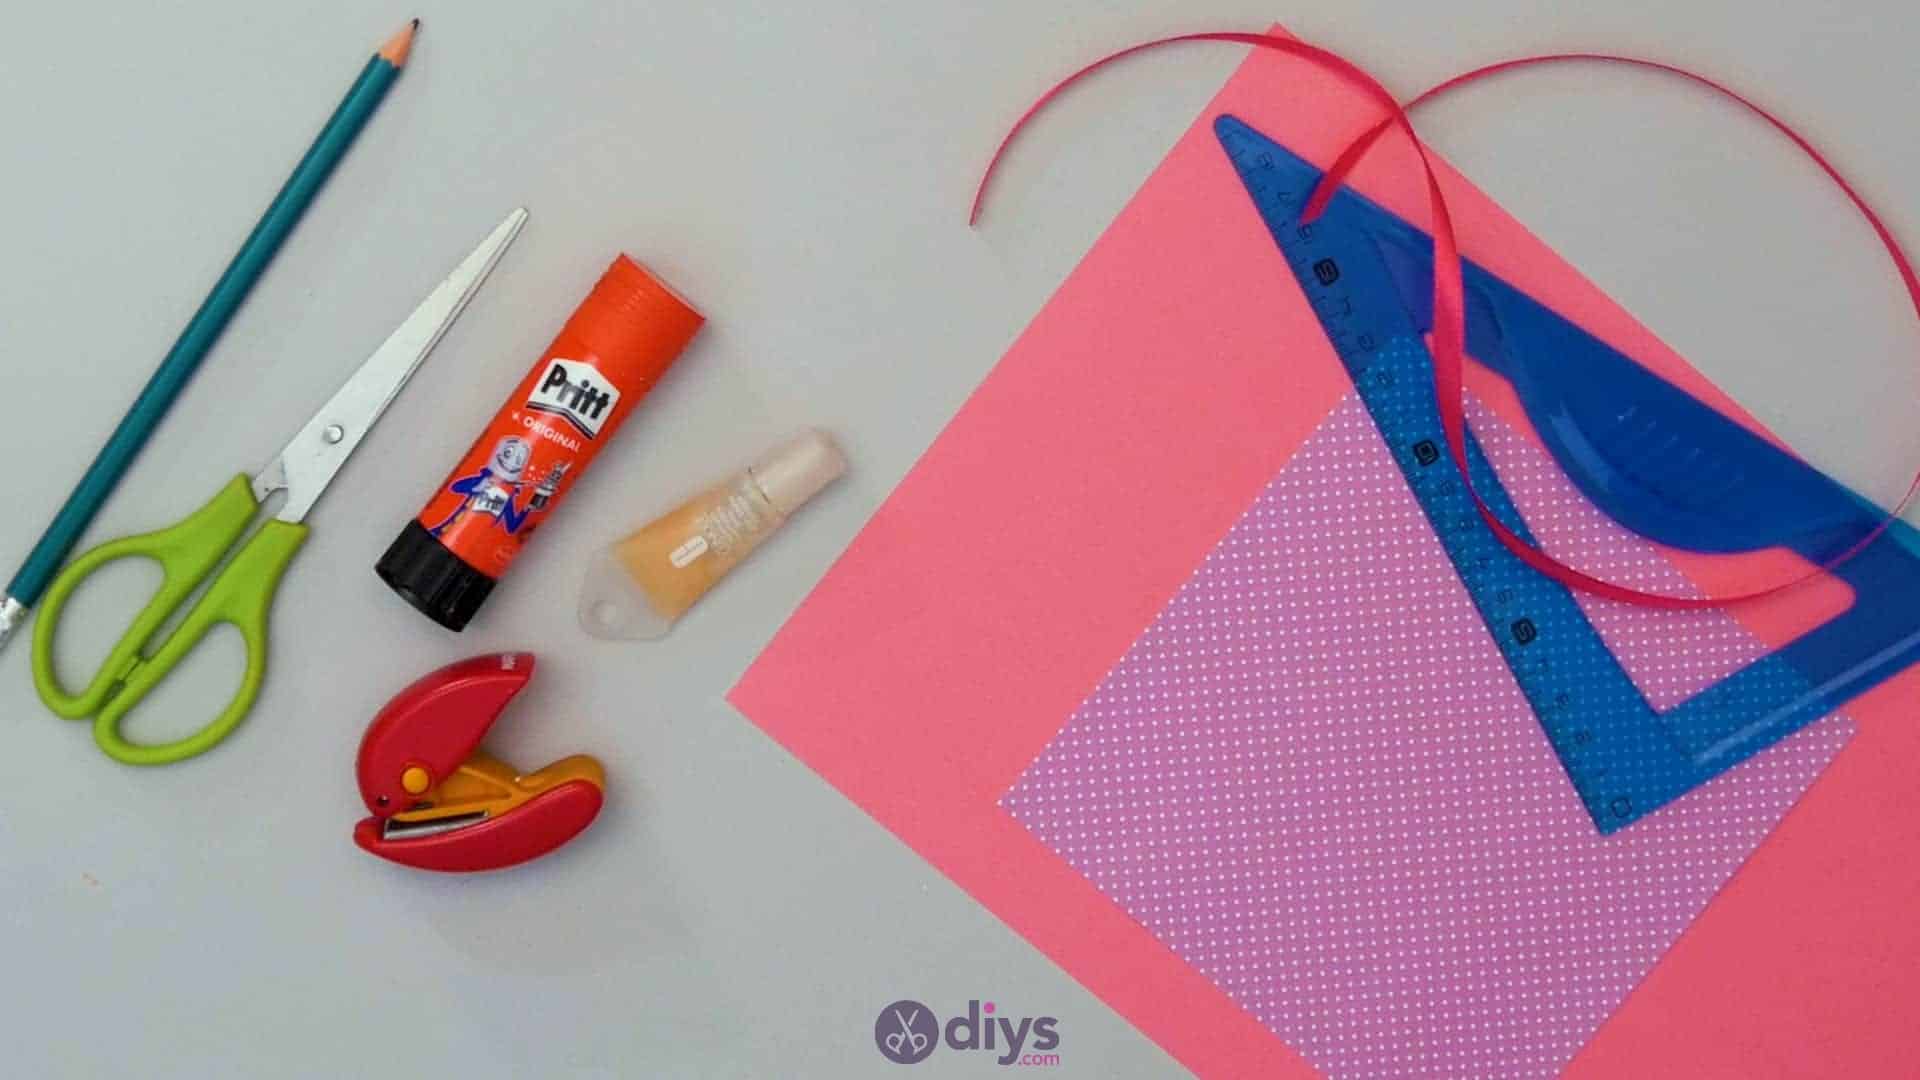
For this project, you’ll need:
- Cardboard (pink and polka dot)
- Pink ribbon
- Scissors
- A glue stick
- A pencil
- A ruler
- A tube of lipstick or lip gloss
- A hole punch

Step 1: Gather your materials!
Having everything in arm’s reach before you begin will make the project easier.

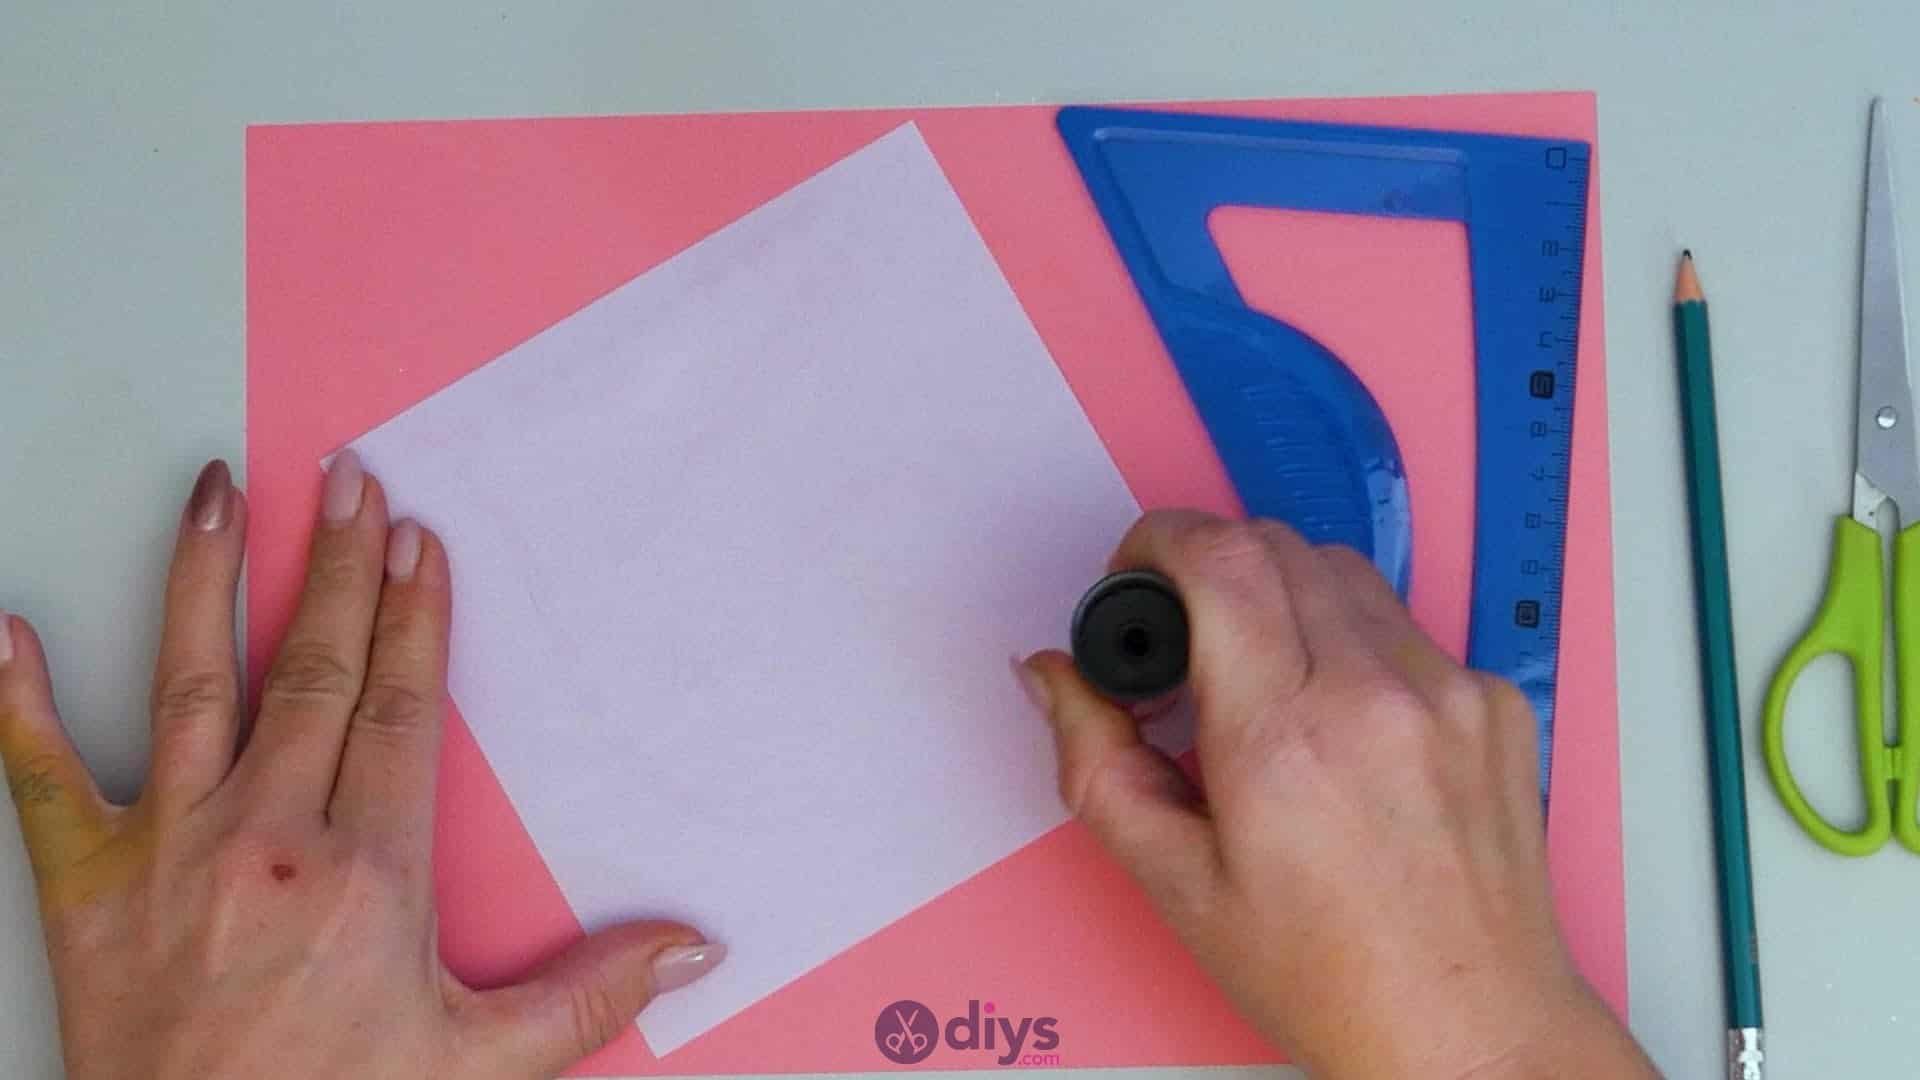
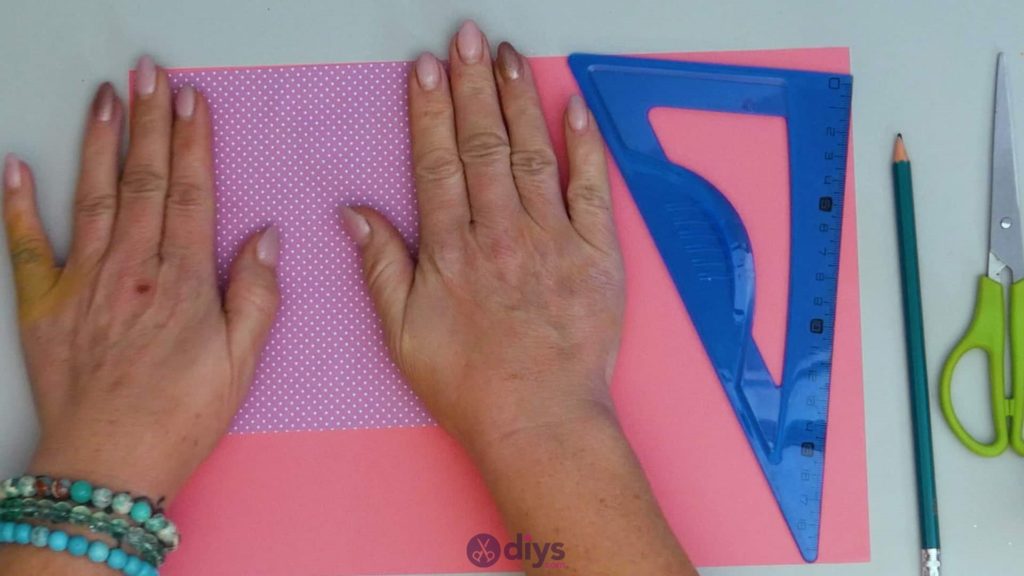
Step 2: glue your paper
Apply glue to the back side of your patterned or polka dotted piece of paper and line it up with the corner and edges of your pink paper, sticking it so that the edges or the two are even and the colours look like different sides of the same piece.

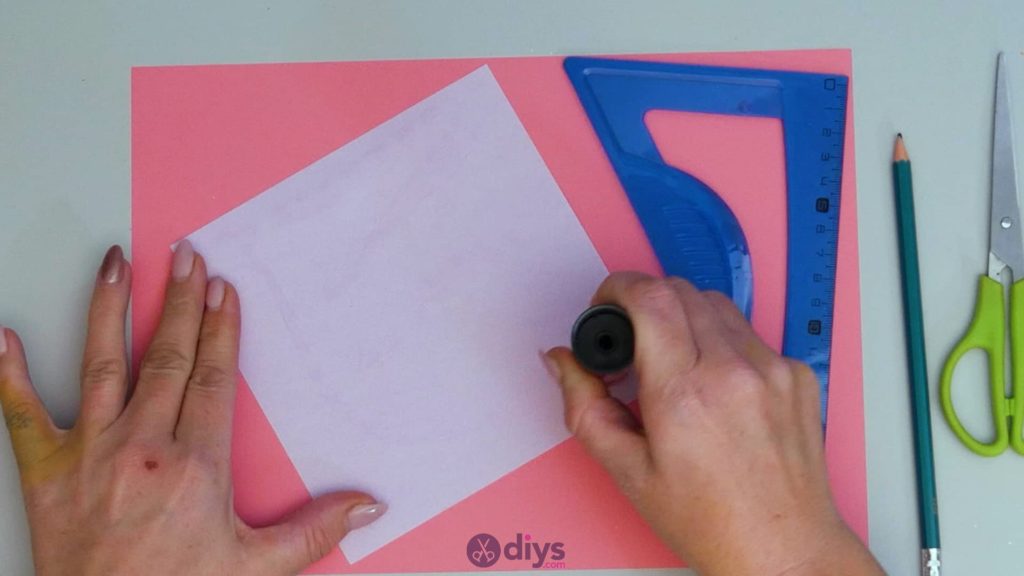
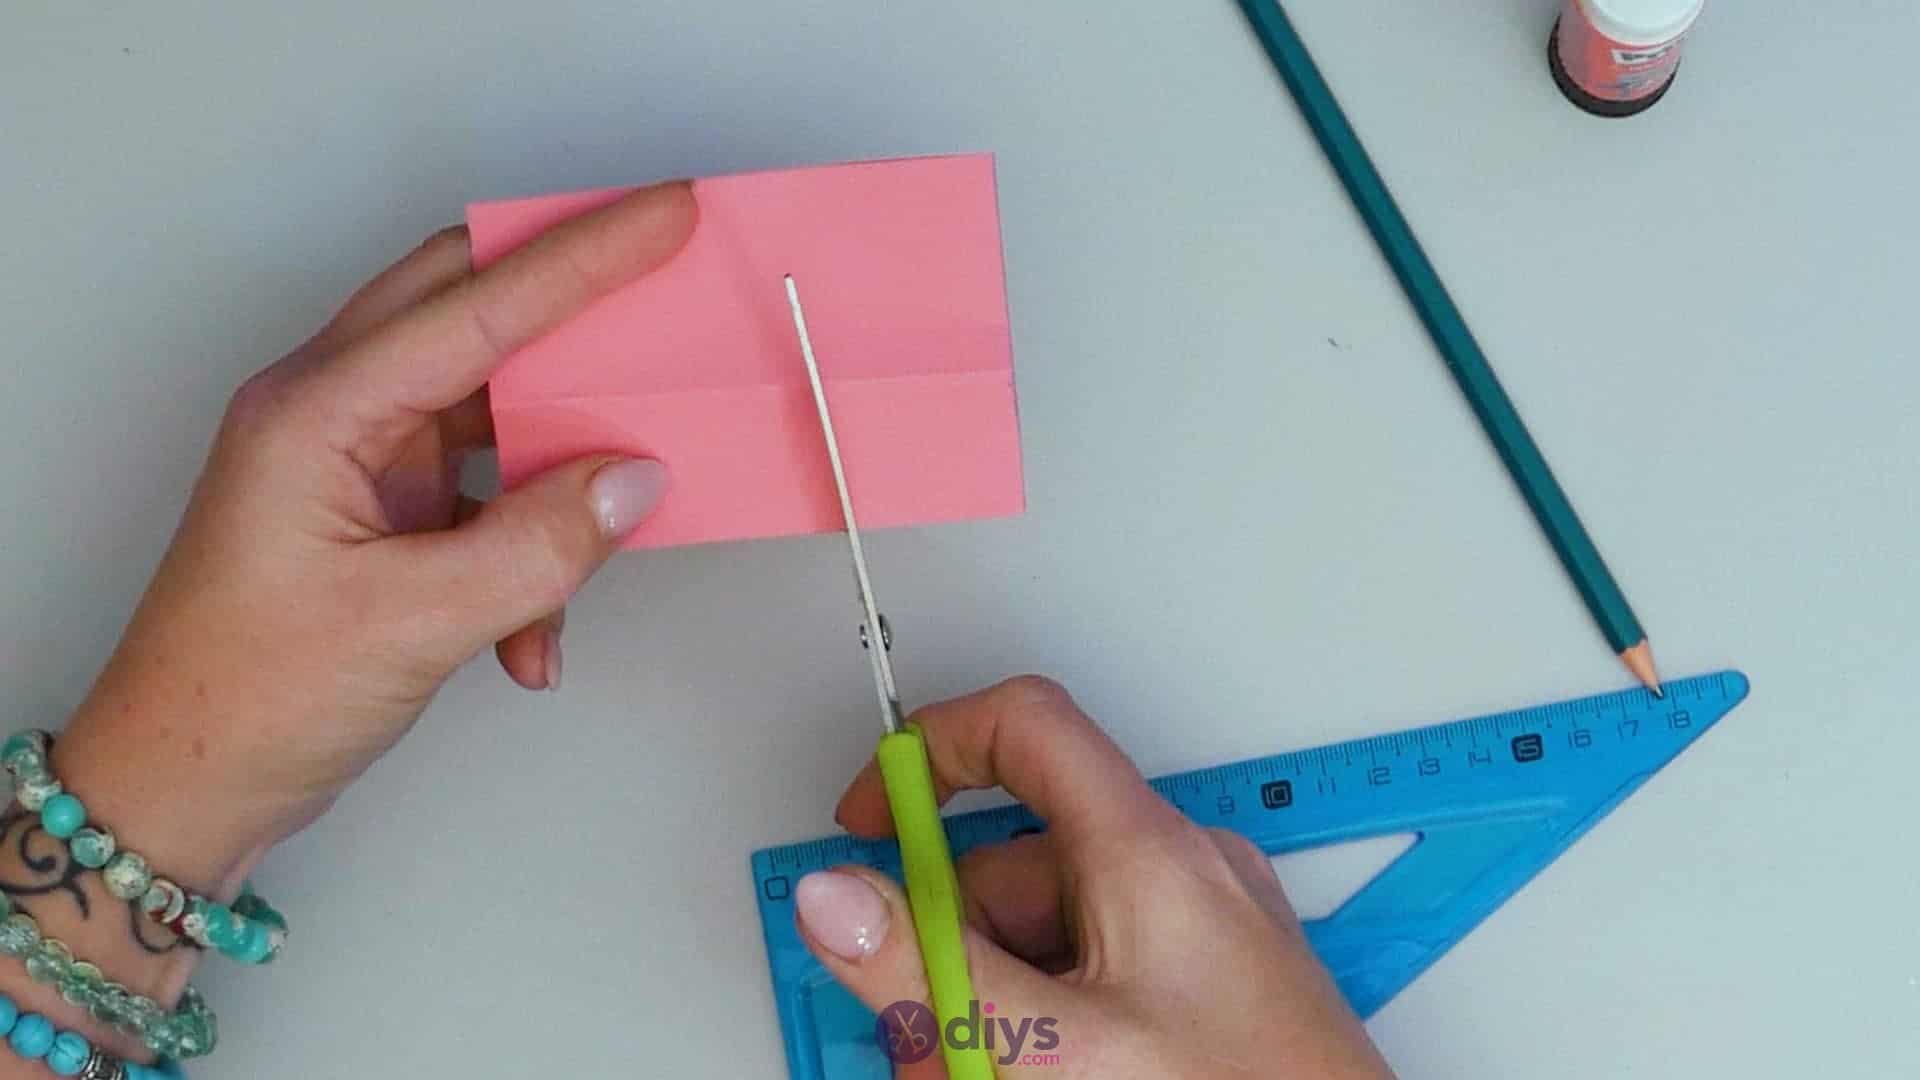
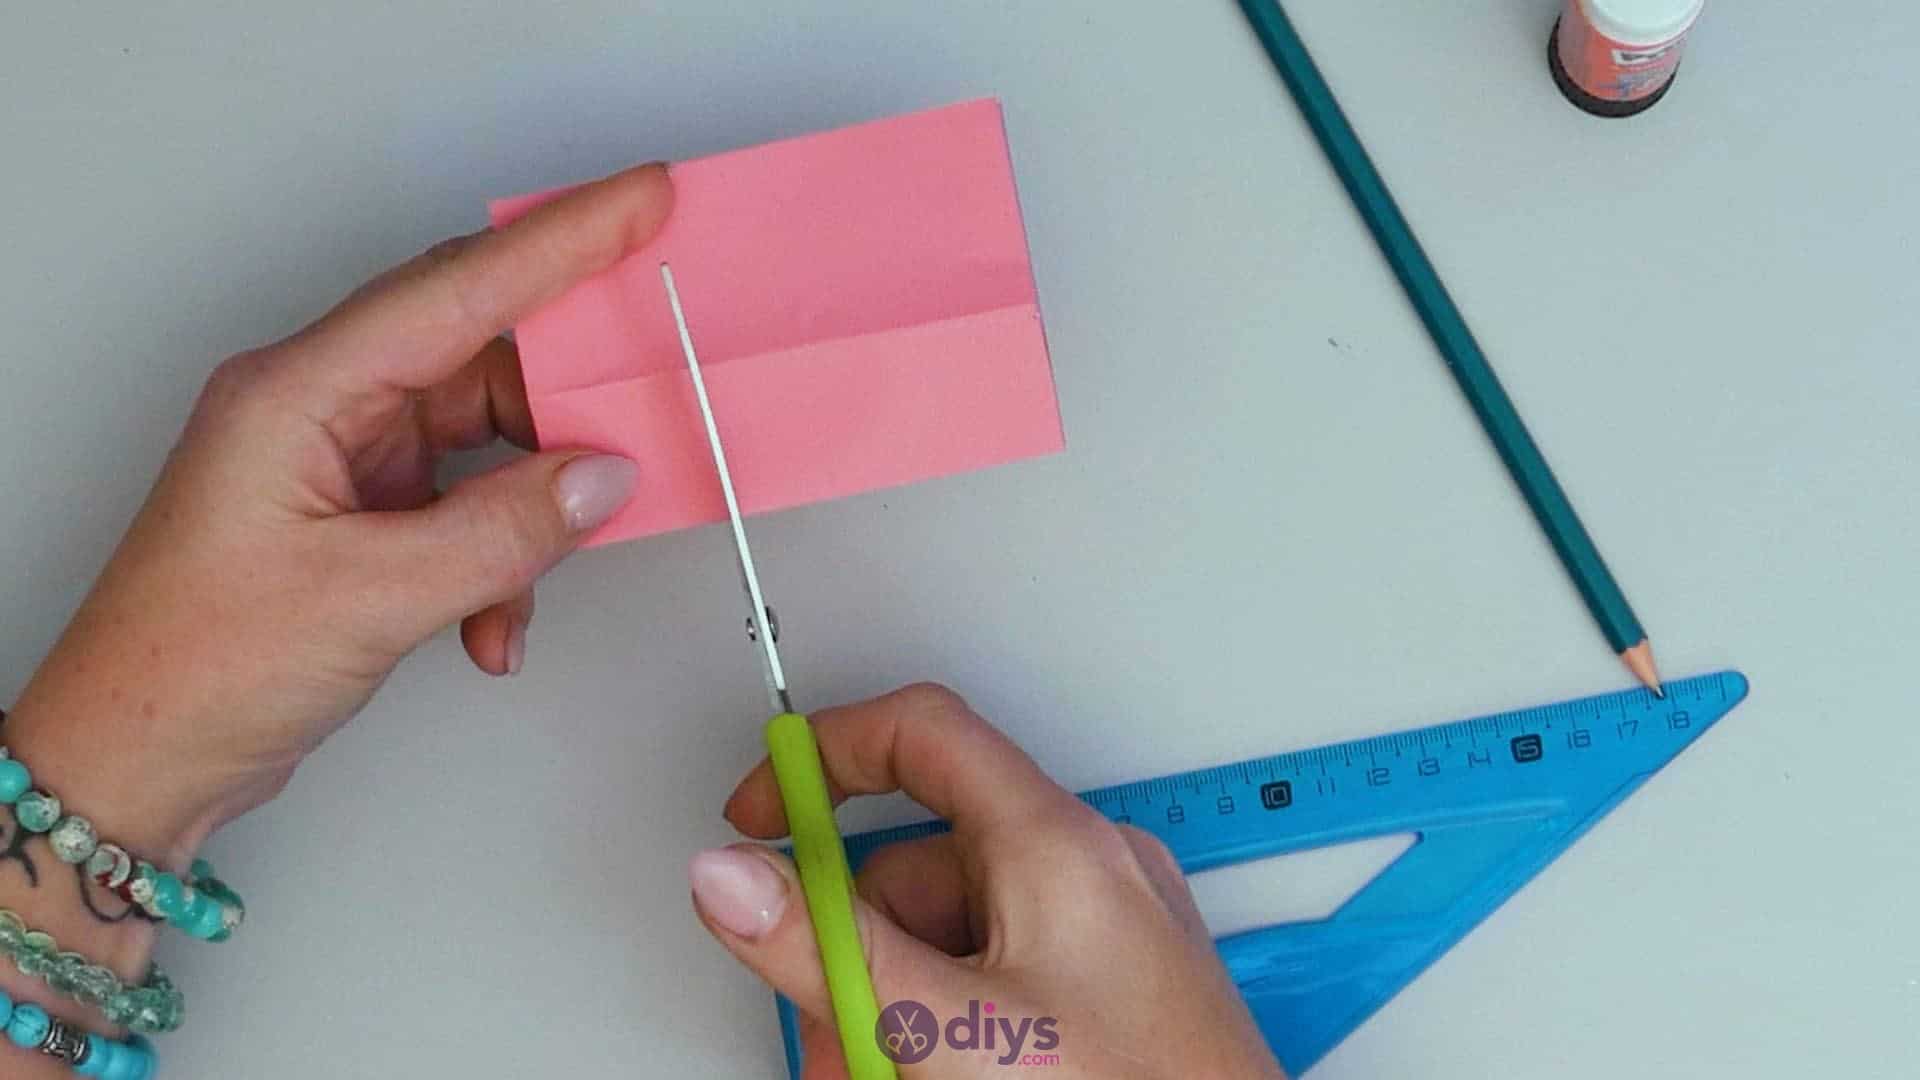
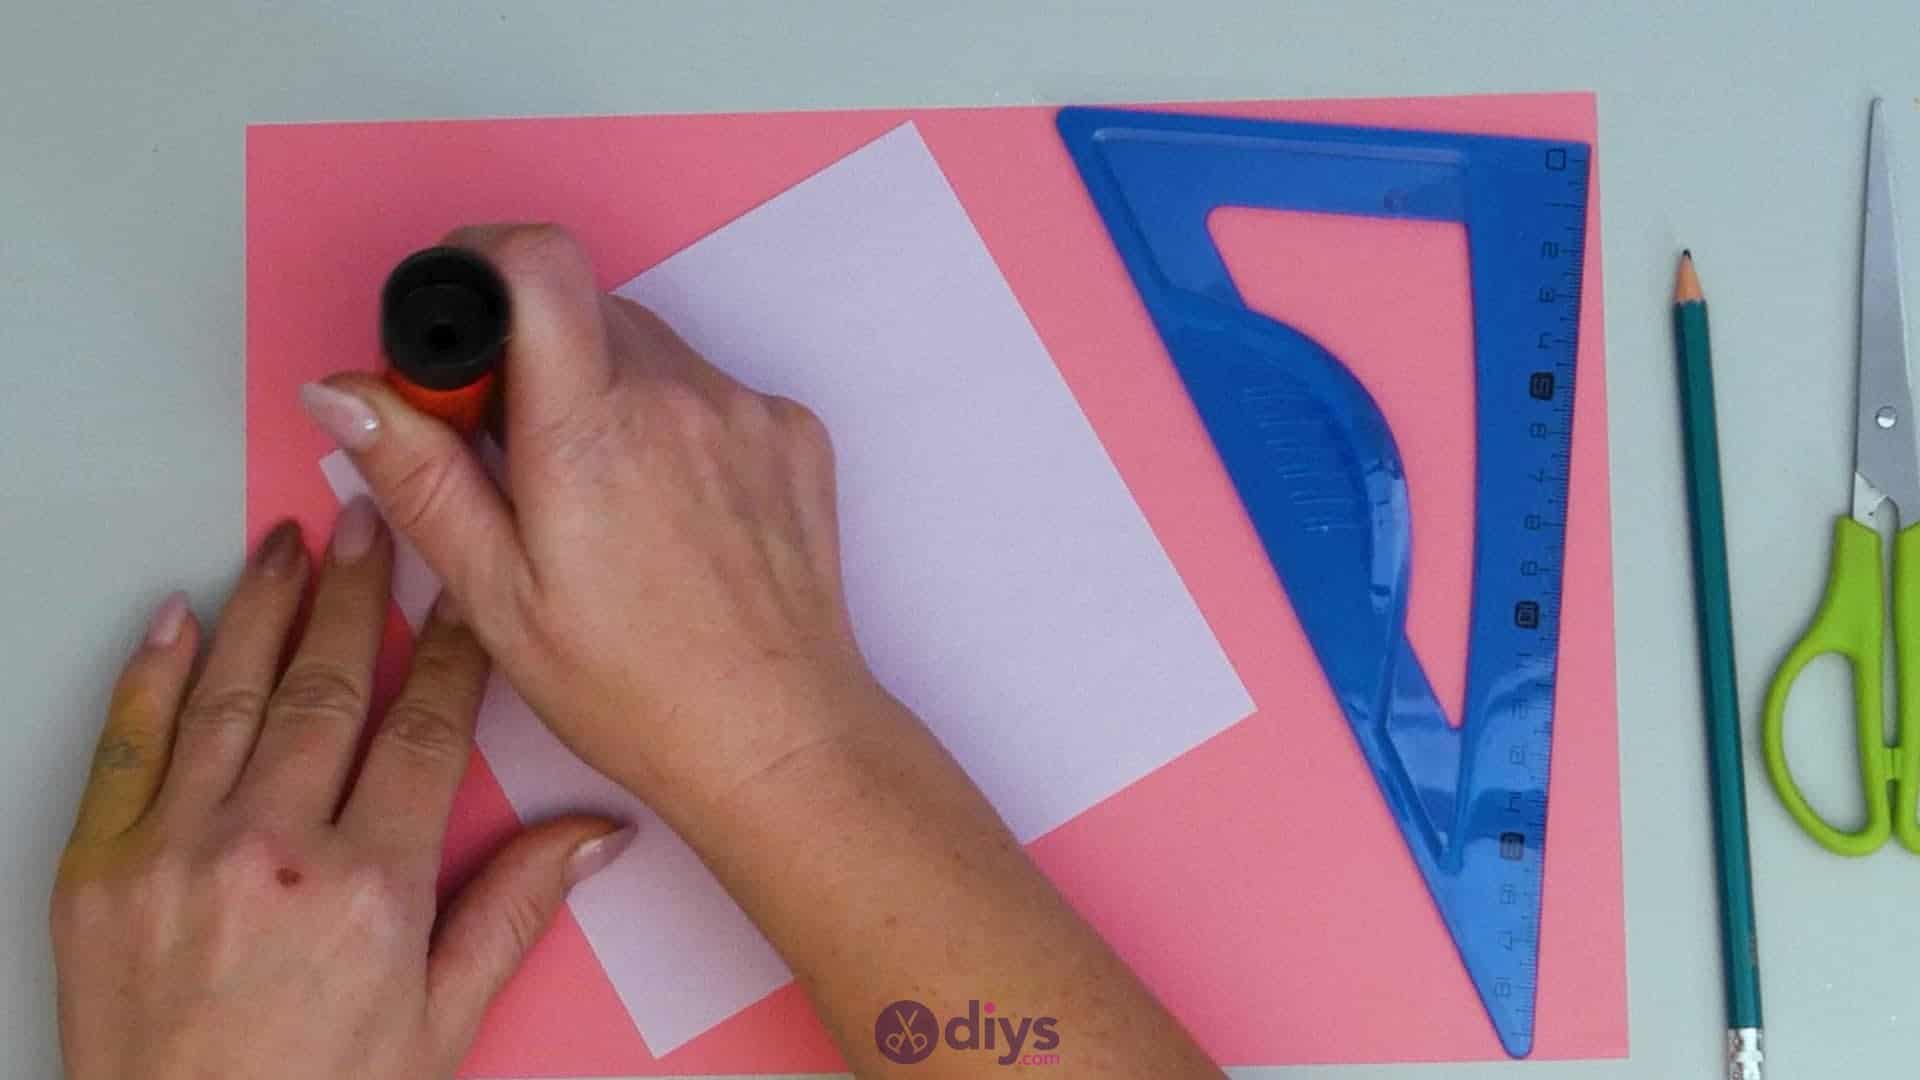
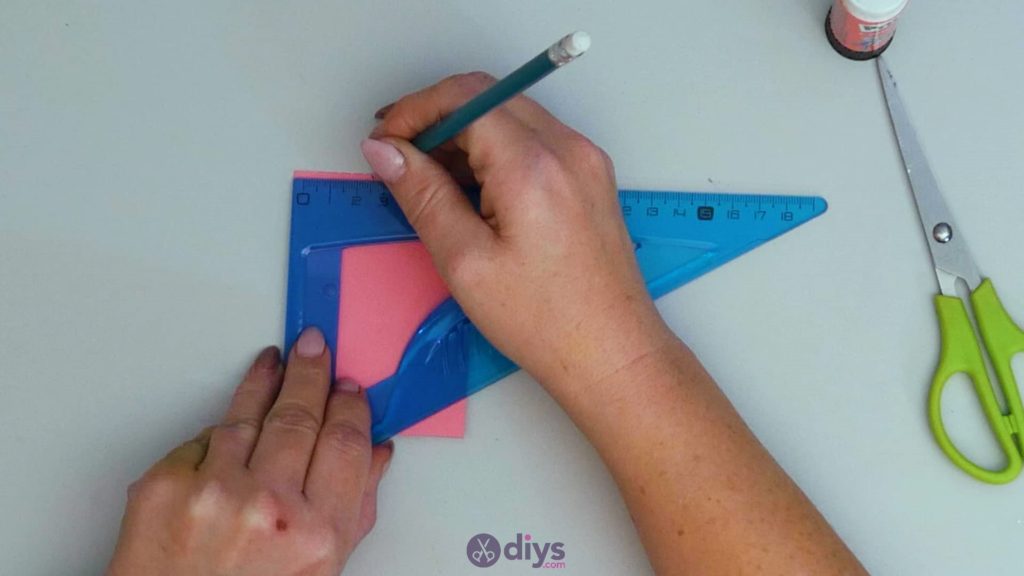
Step 3: cut
Cut the two glued pieces as one to make a rectangular shape that’s tall enough to cover the lipstick you’re using with a bit of excess on either end of the tube, and long enough to close around it. The size might vary for you than it did for me depending on the kind of cosmetic you’re gifting; simply pace your lipstick or lip gloss down on the page to get an idea of the size you’ll need. The patterned side will be the inside of your card and the pink will be the outside of your card. You can also trim around the edges to get rid of any spots where the edges of the two colours don’t line up and one shows past the other.

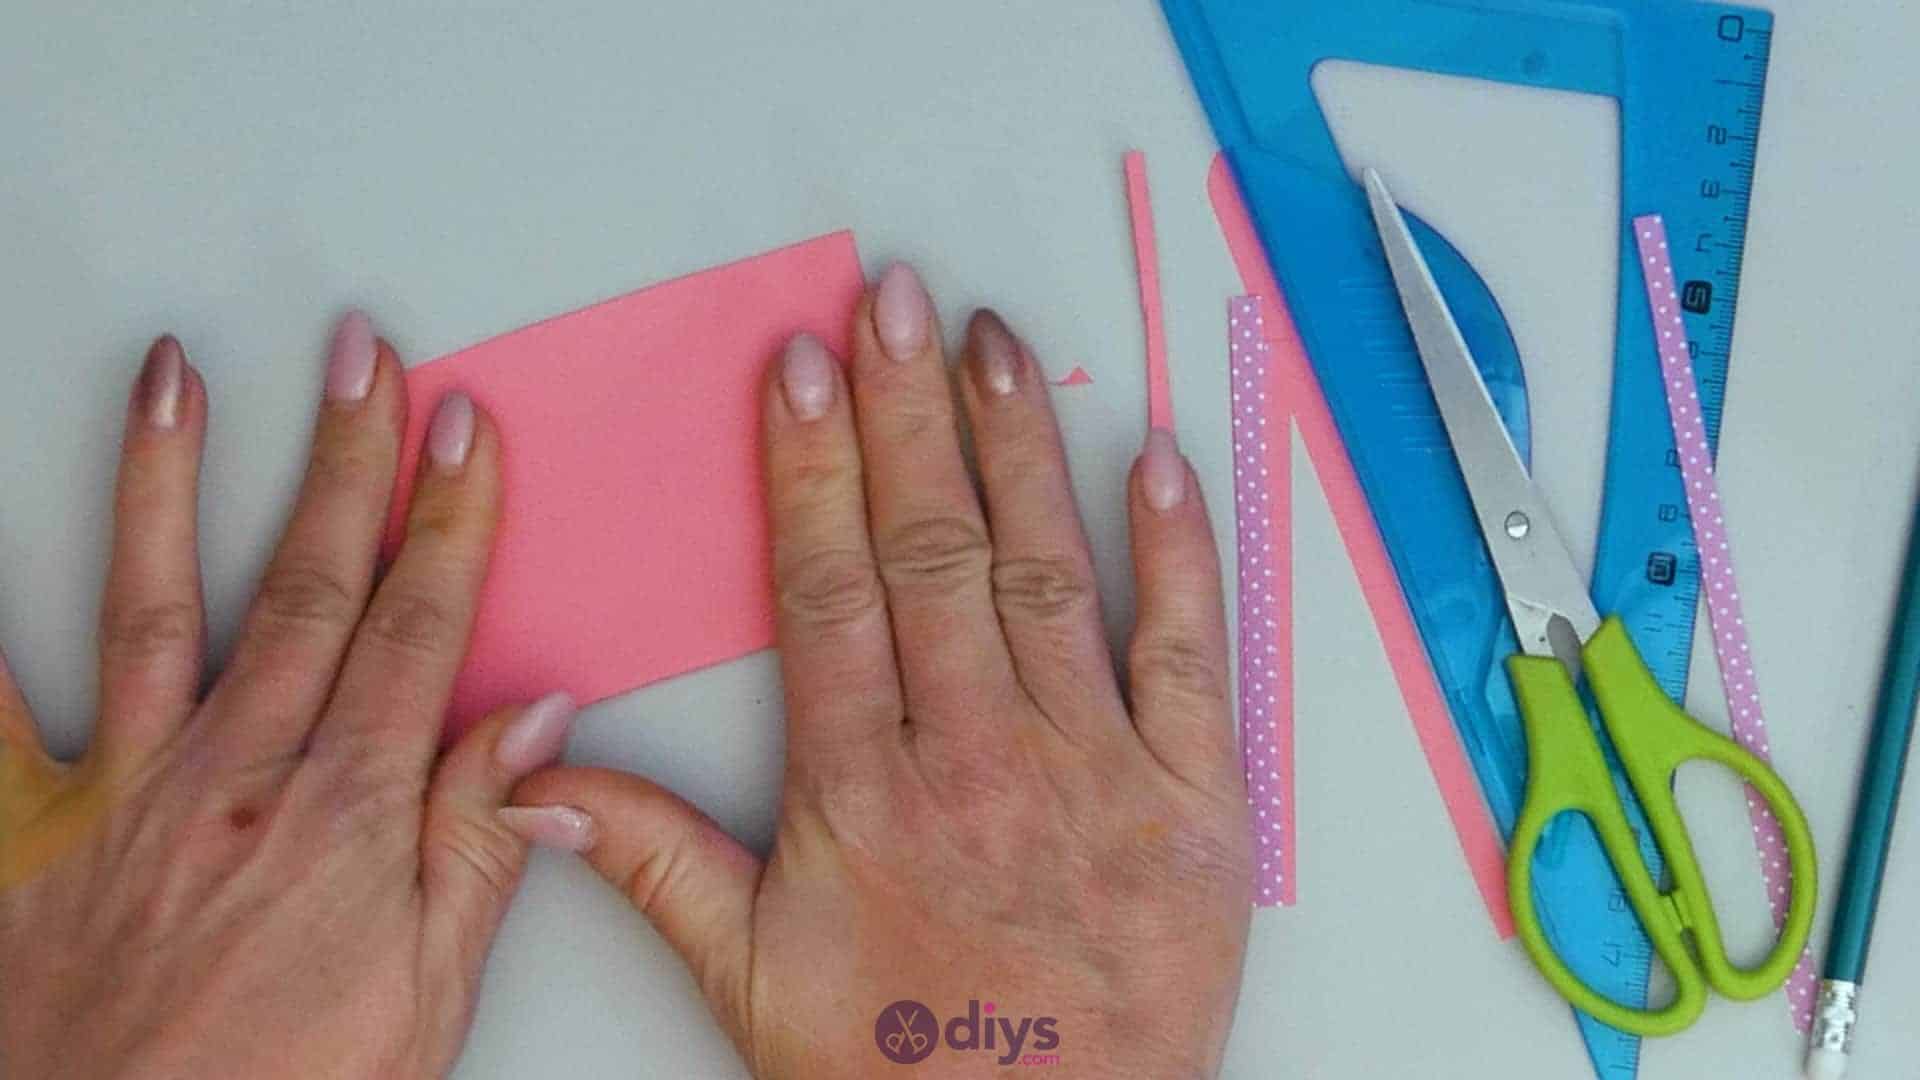
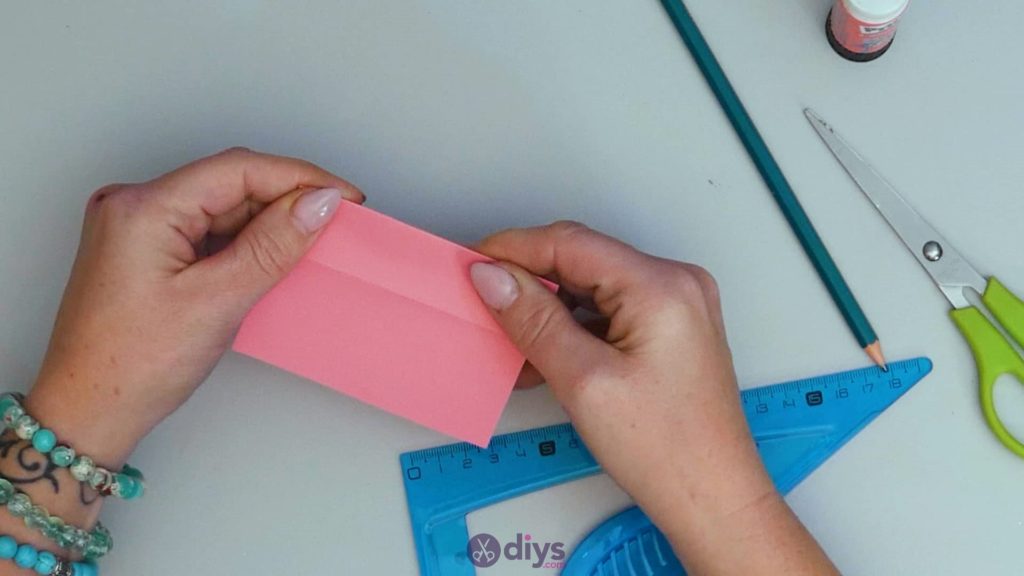
Step 4: fold
Fold your paper rectangle in half along its long sides so that its short ends meet, lining all edges and corners up and creasing the piece where it bends at its halfway point. Now turn the piece so its longer edge become its sides and it’s situated so that it opens the same direction as a book or a card would be read.

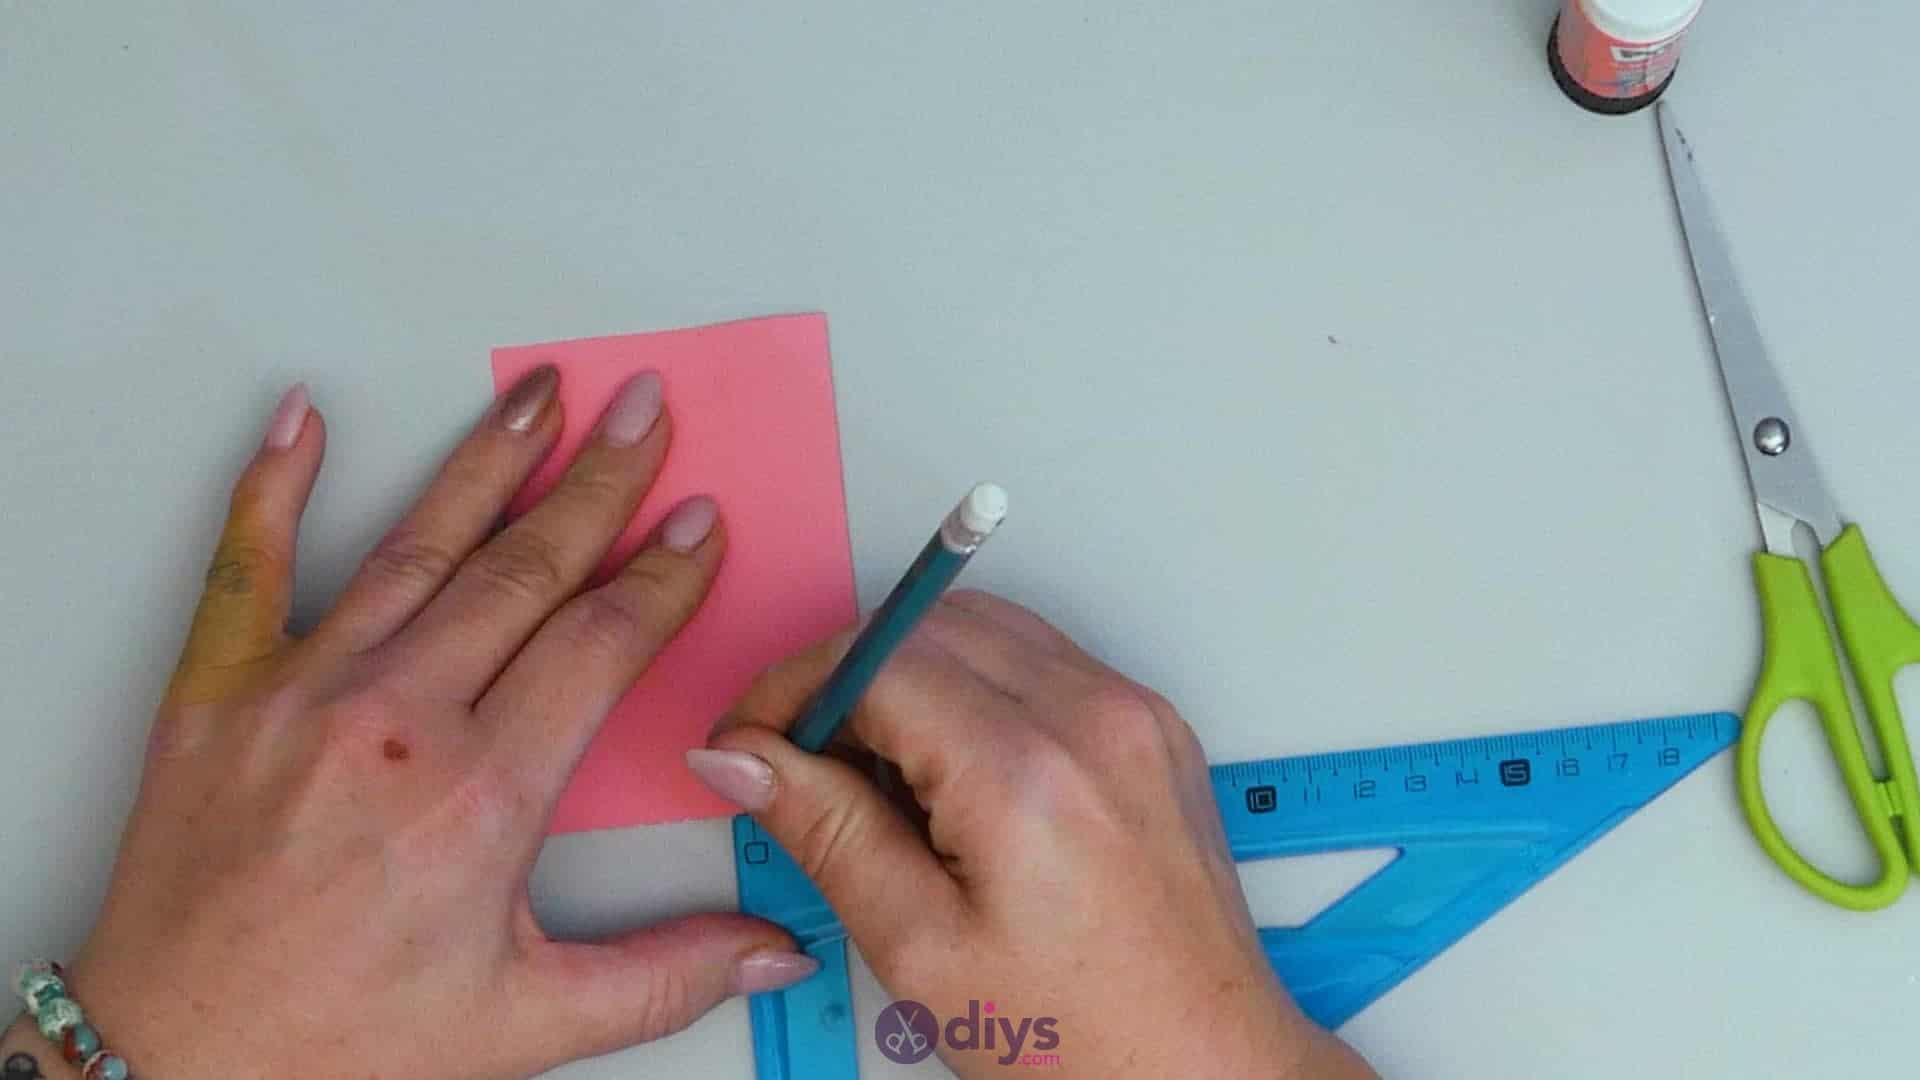
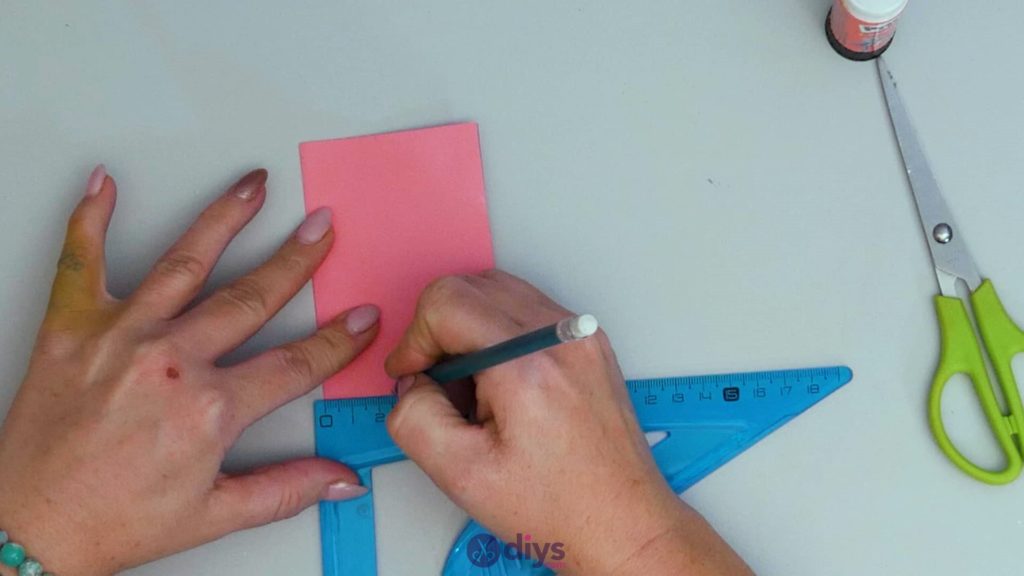
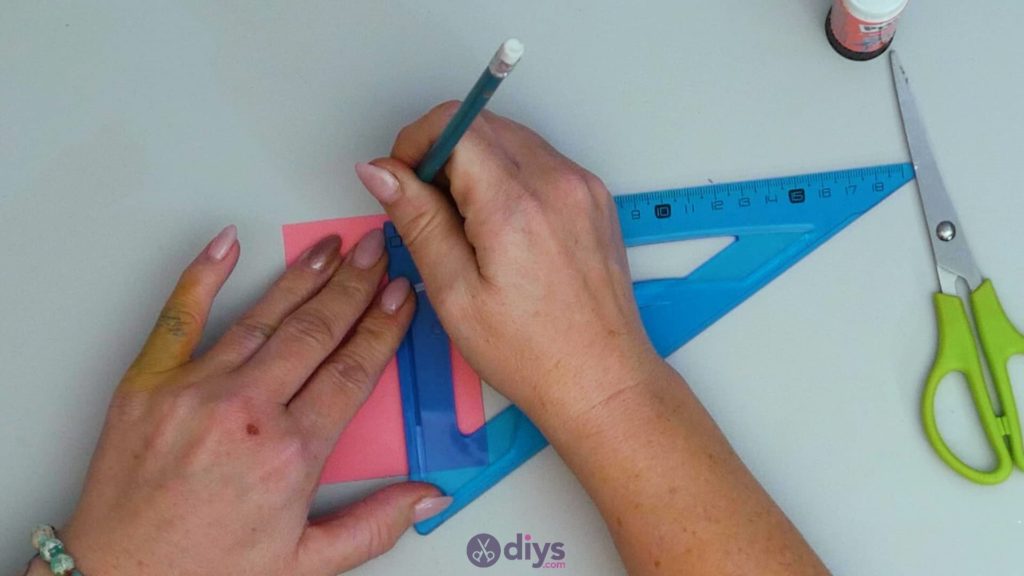
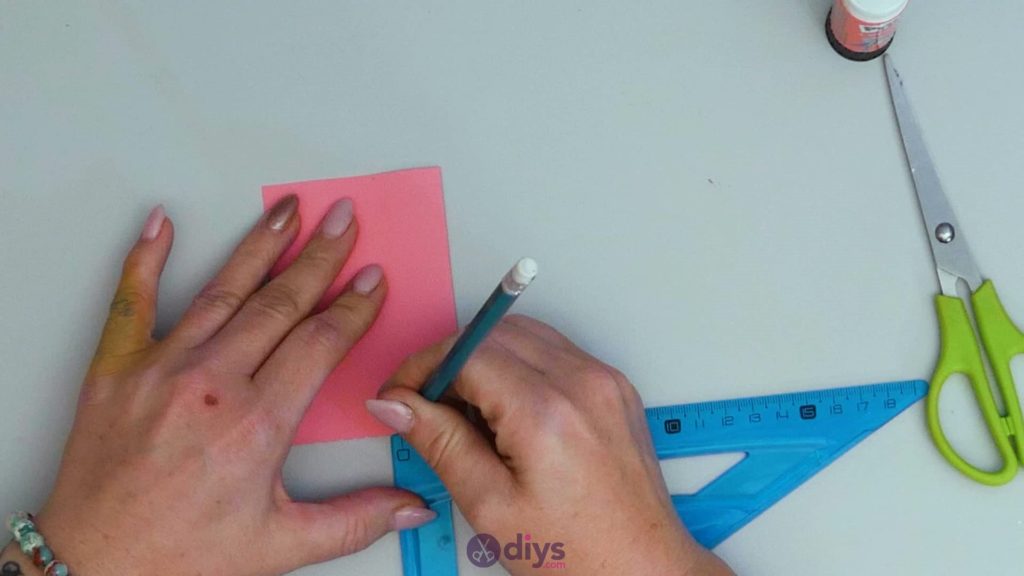
Step 5: measure and mark
From the creased edge of your card on the left hand side, use your pencil and ruler to measure and mark one inch in from the corner along the top edge. Do the same from the bottom lefthand corner along the bottom edge. Then flip your card over so the opening side is on the left and the creased side is on the right. Measure and mark one inch in from the top righthand corner along the top edge and again along the bottom edge along the same side.
Step 6: creasing
Open your card and, on each side, make a fold in the cardstock that runs along side the crease you already have that makes up the card’s spine joining your top and bottom one-inch markings on either side; one crease running parallel to your card’s spine on the right side and one piece running parallel to your card’s spine on the left side. While you’re folding, try to keep your bottom and top edges always in line with each other so that the creases you make really run in a straight line and the card closes properly and evenly, like a book or a store bought card.
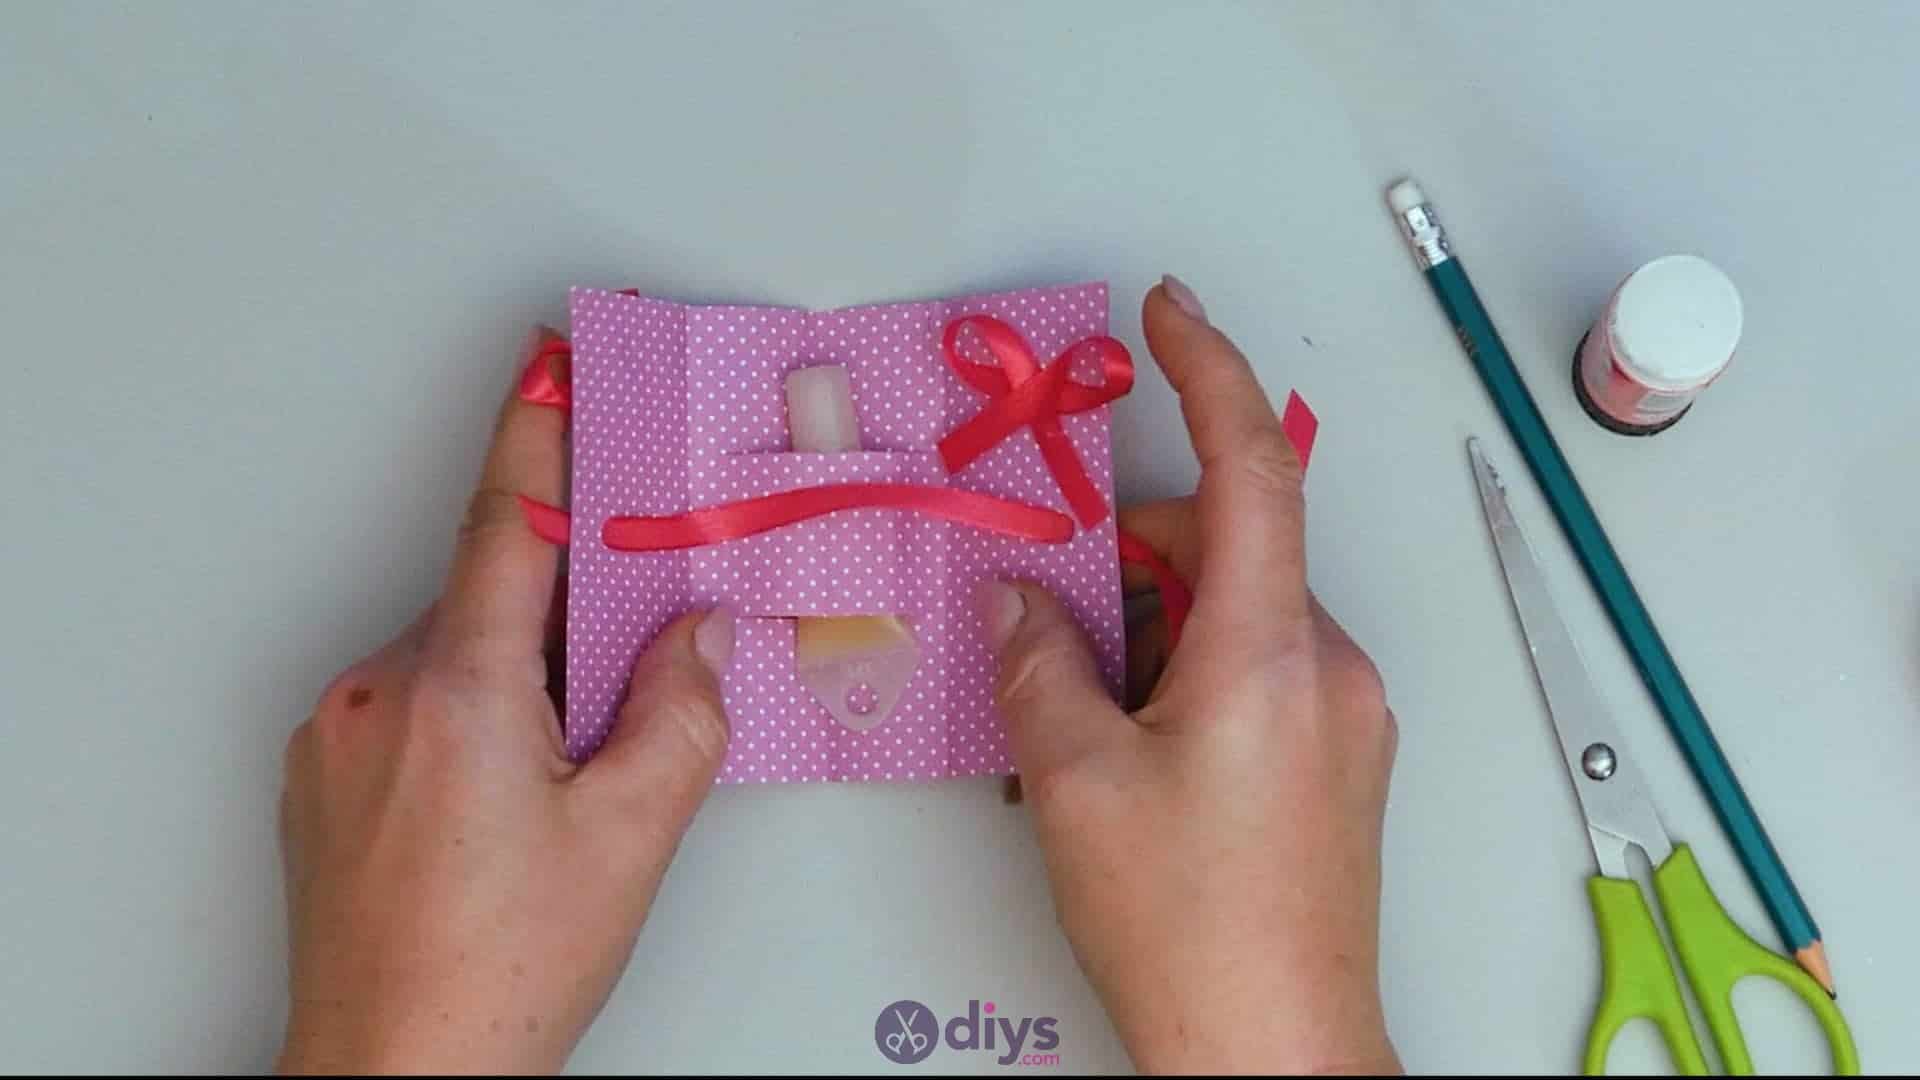
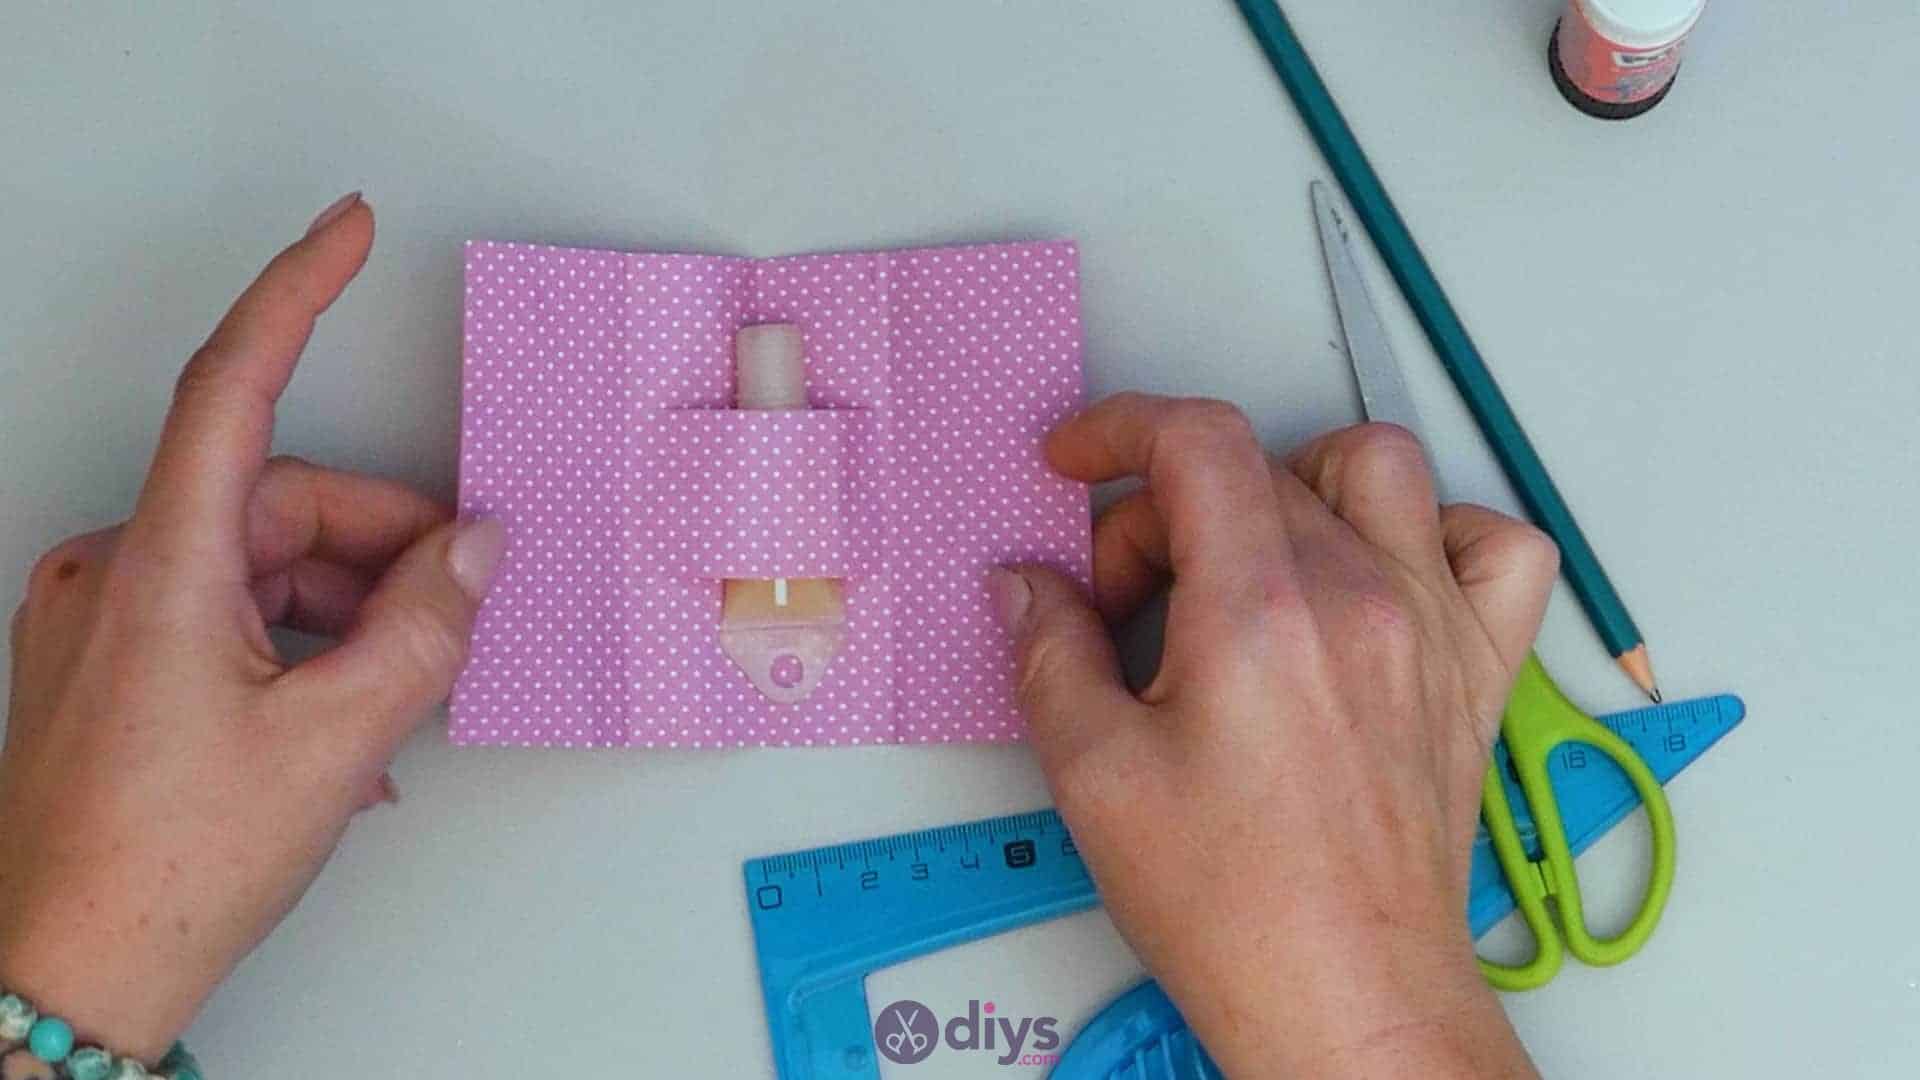
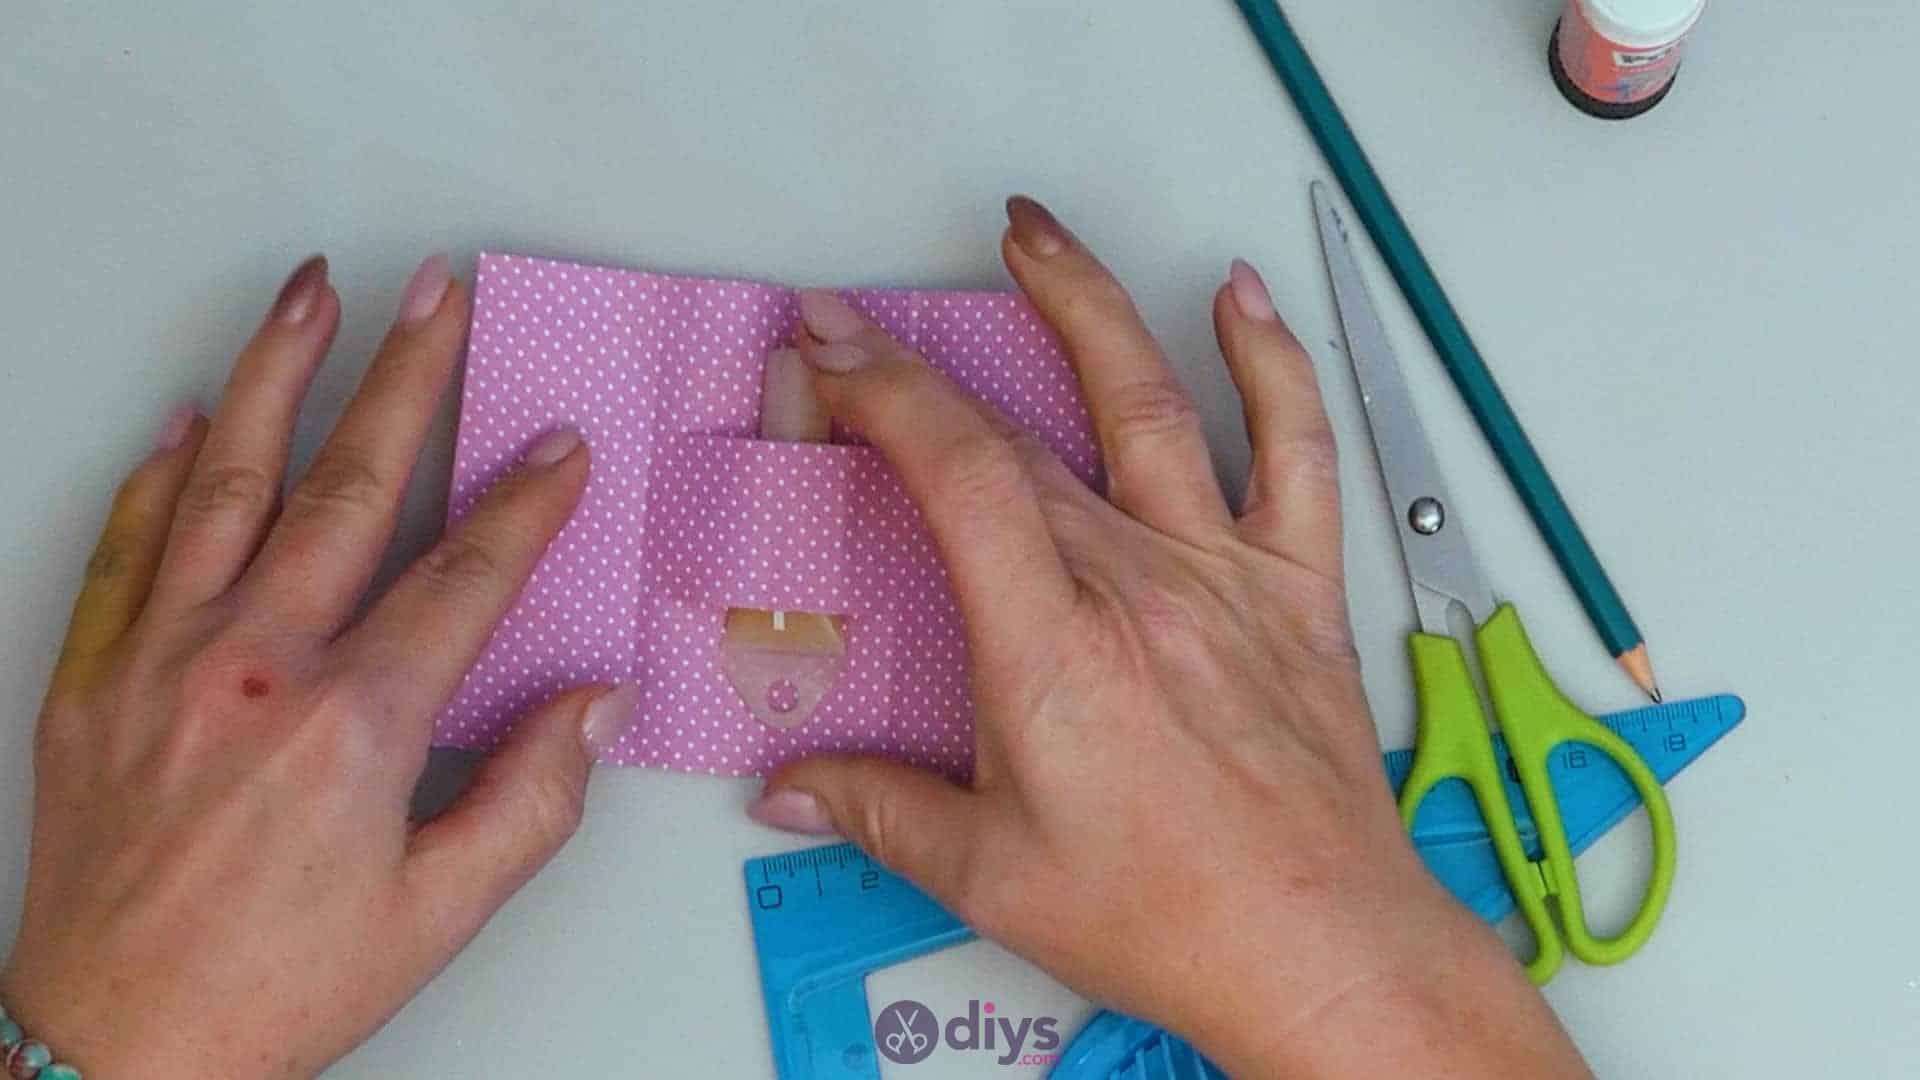
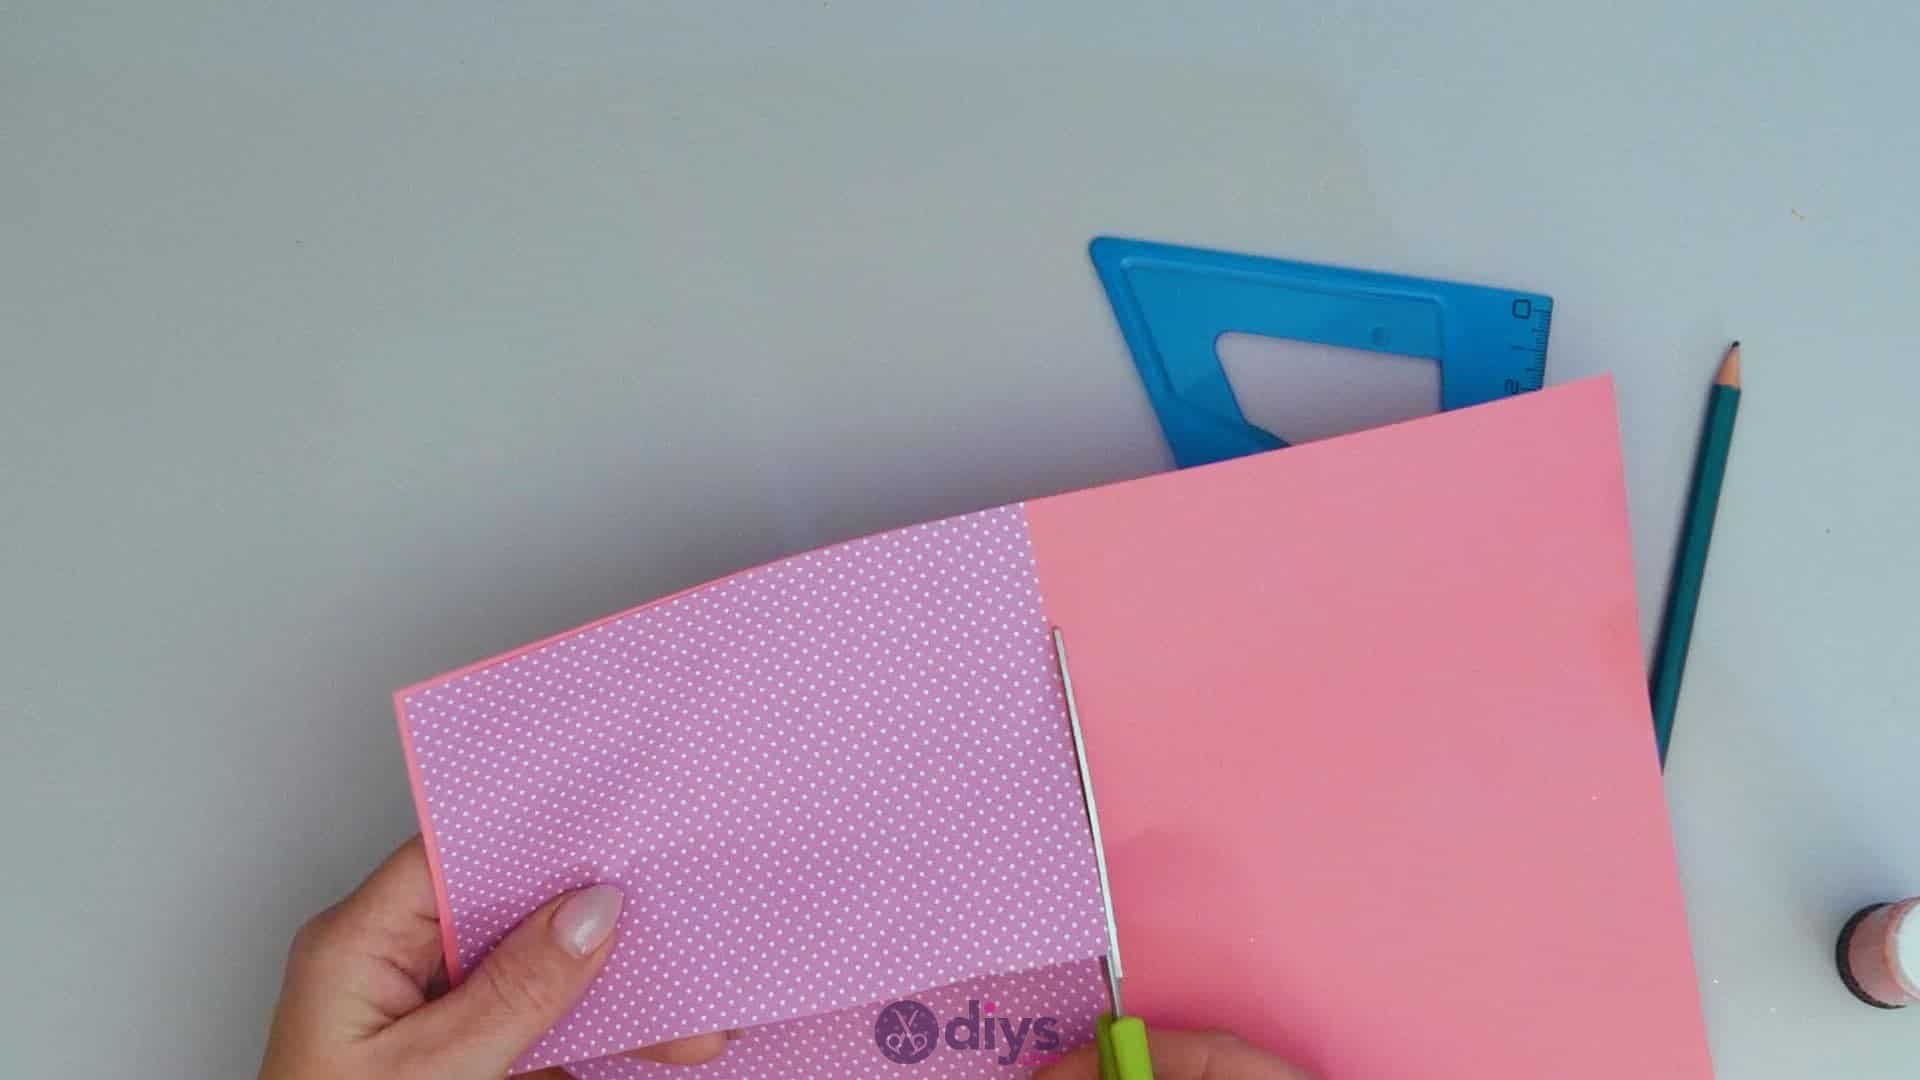
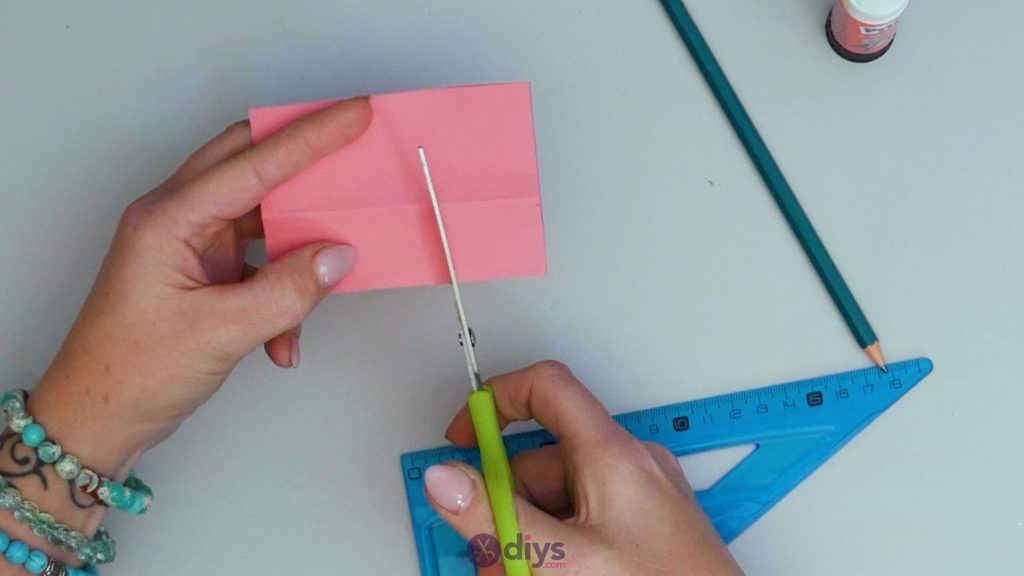
Step 7: cut slots
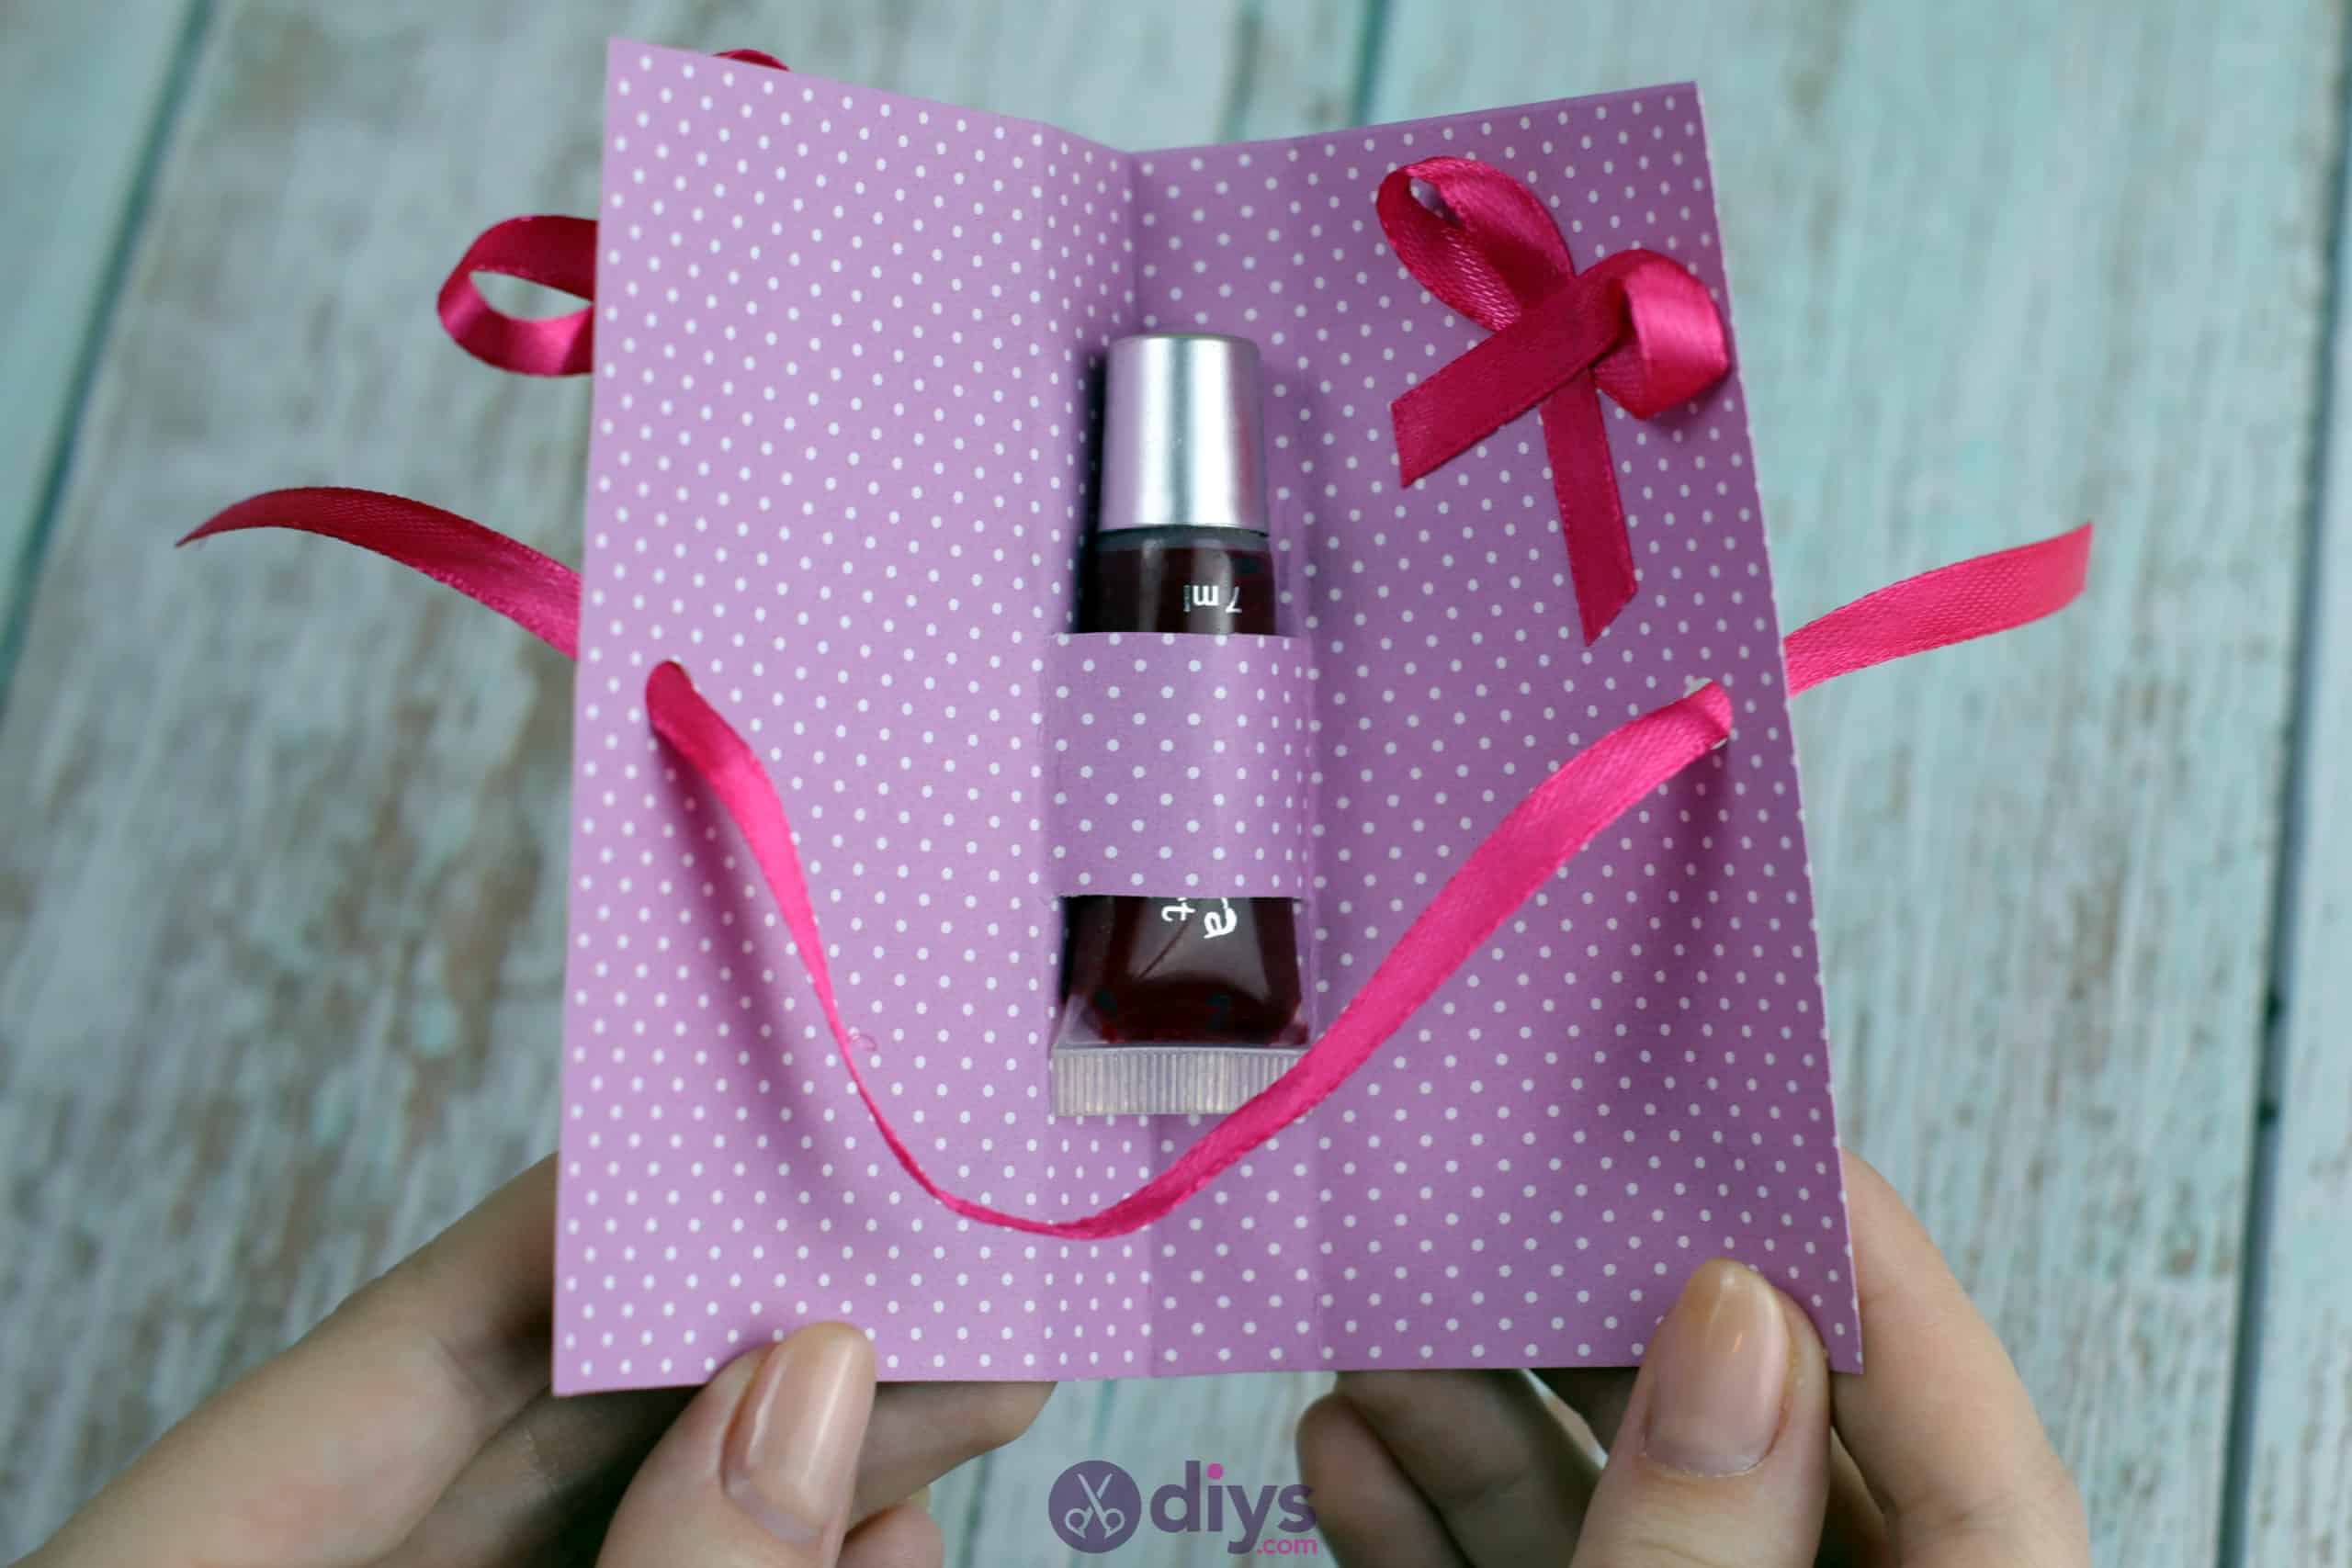
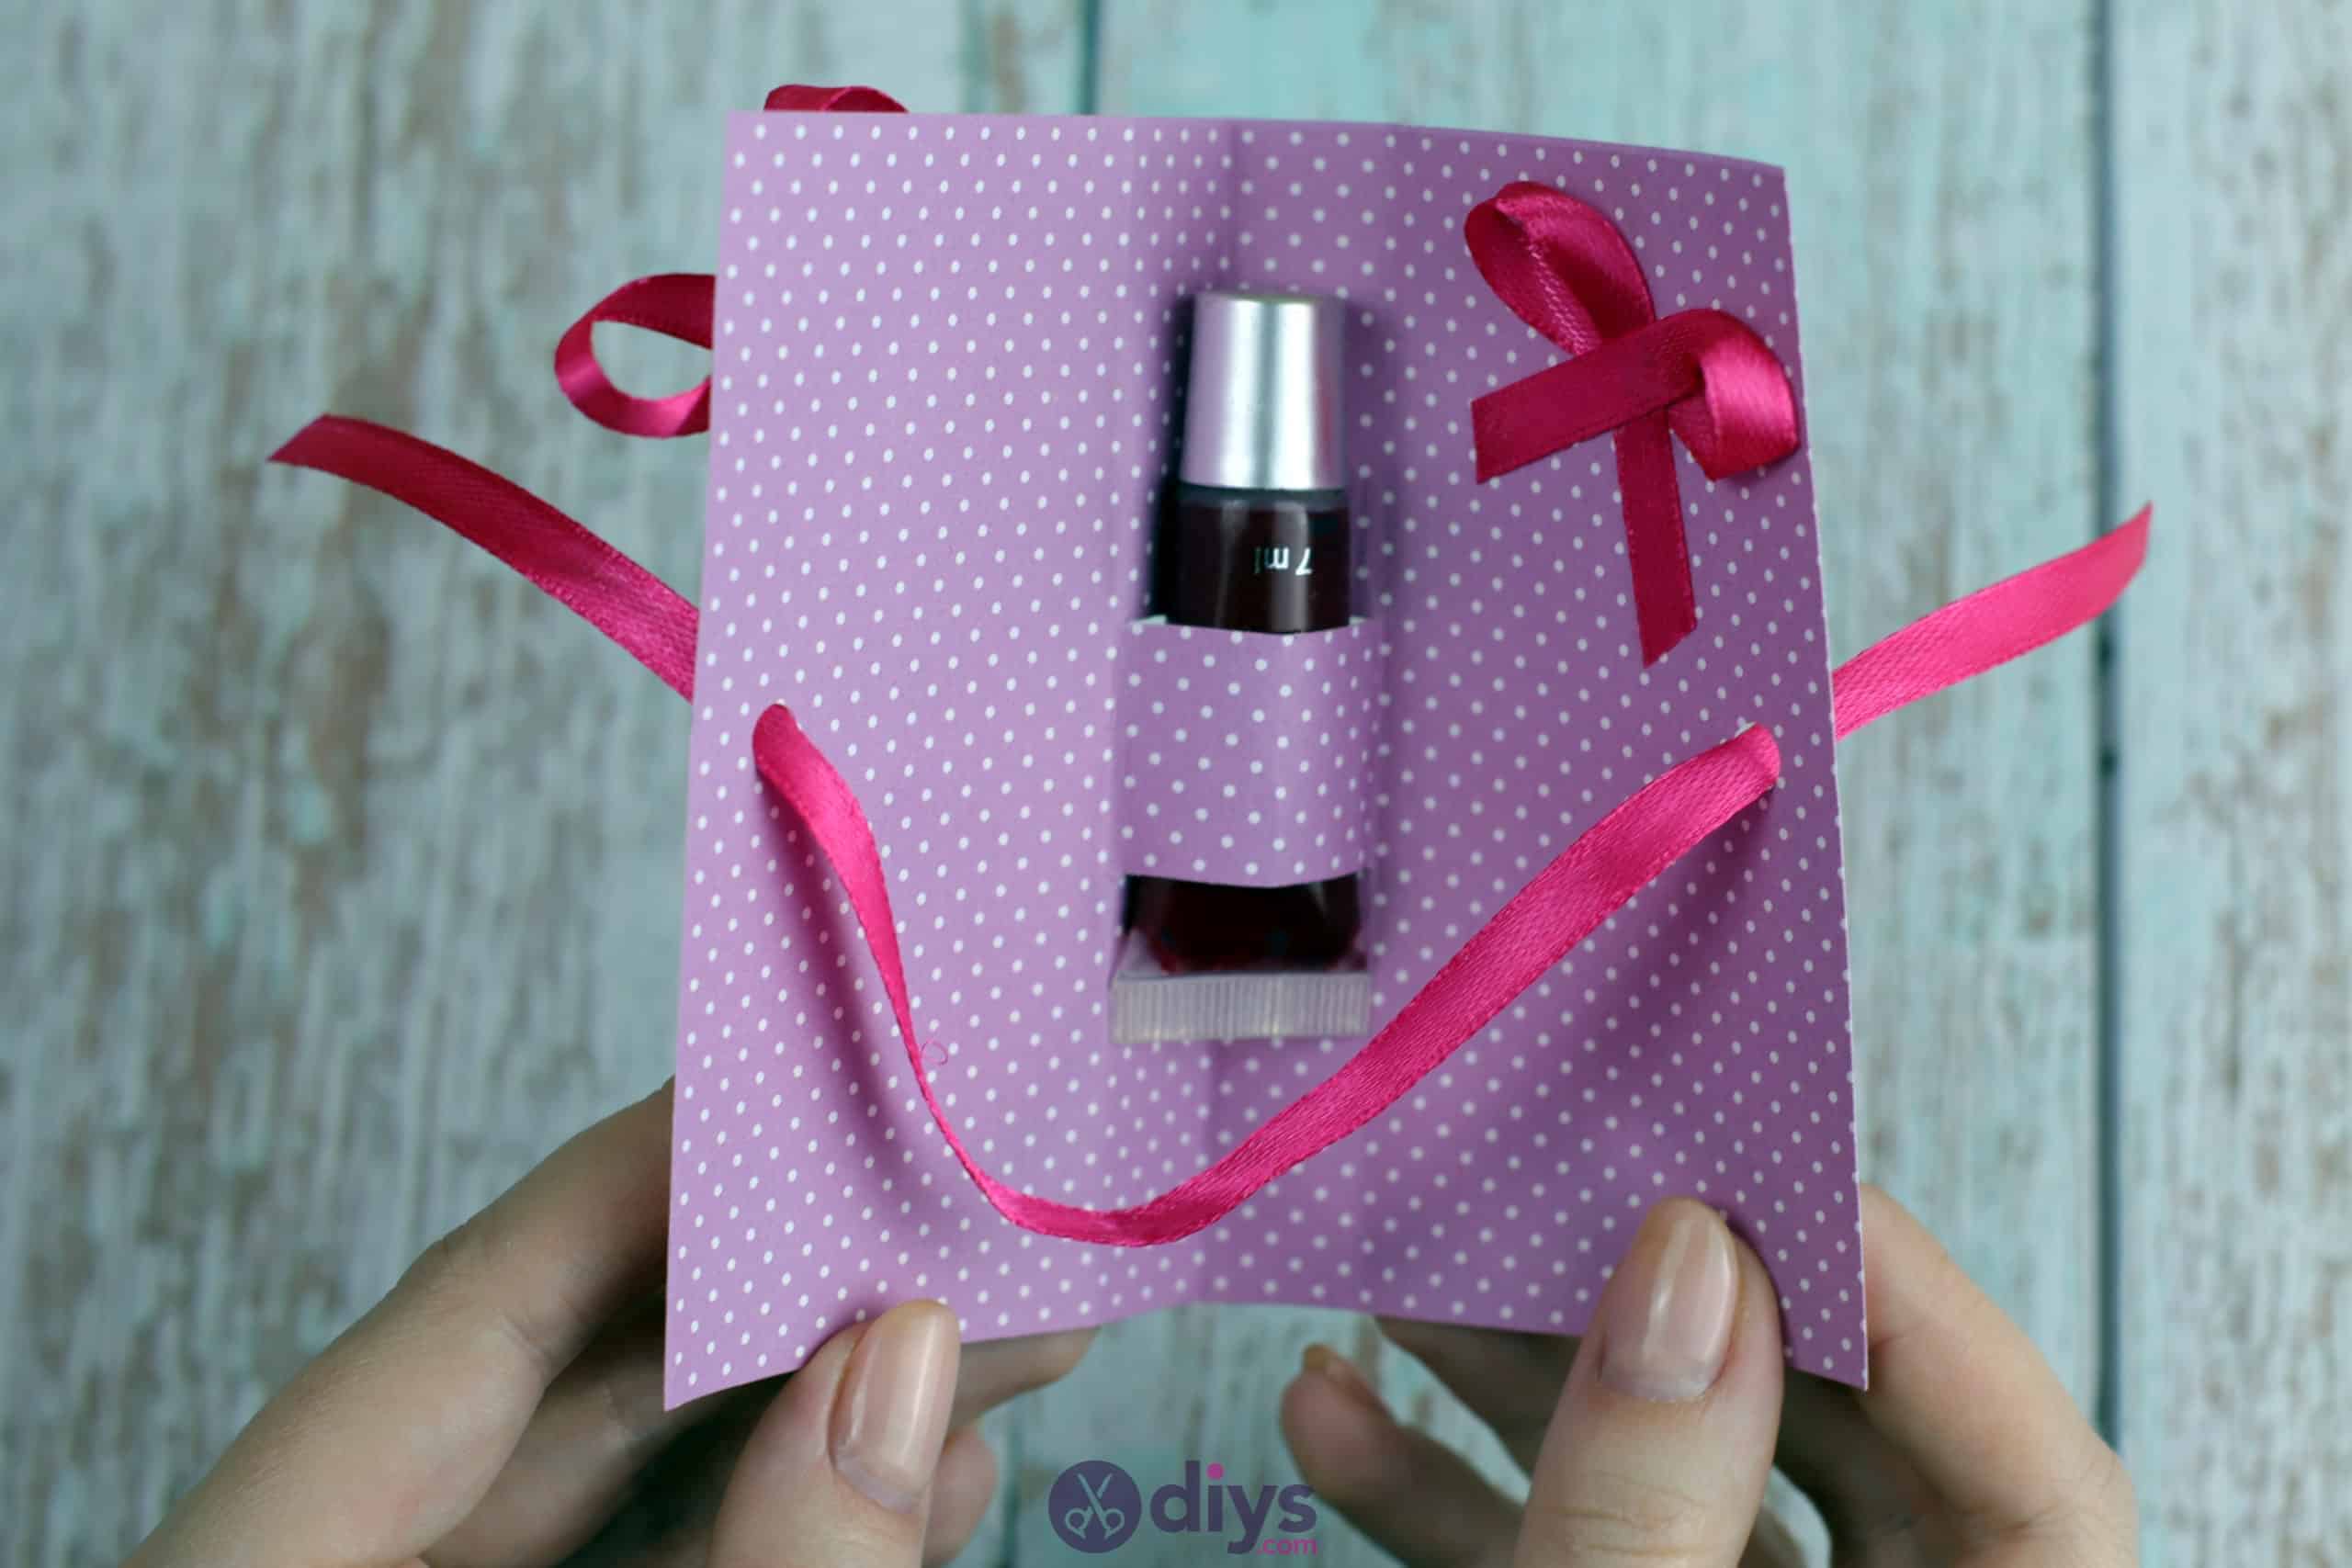
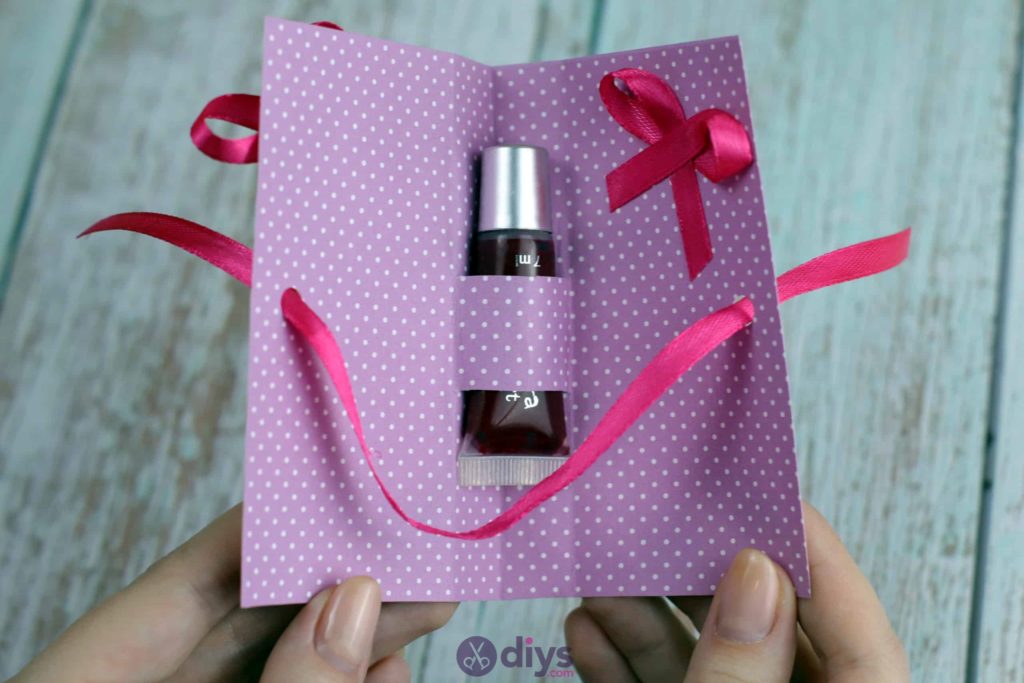
Flatten your card back out gain and find the point on each end about half an inch from the bottom corner and half an inch from the top. Make horizontal cuts at these points, perpendicularly to the original spine crease, creating slits that stretch inward from the spine to meet the other two vertical creases you just made on your card’s two covers. Now press the spine crease in the middle section, between the cuts you just made, inwards so the back of the card folds into the inside. You’ve just created the “strap” that will hold your lipstick in place! I’d suggest slotting the lipstick in at this point so you know whether it fits or whether you need to make adjustments.


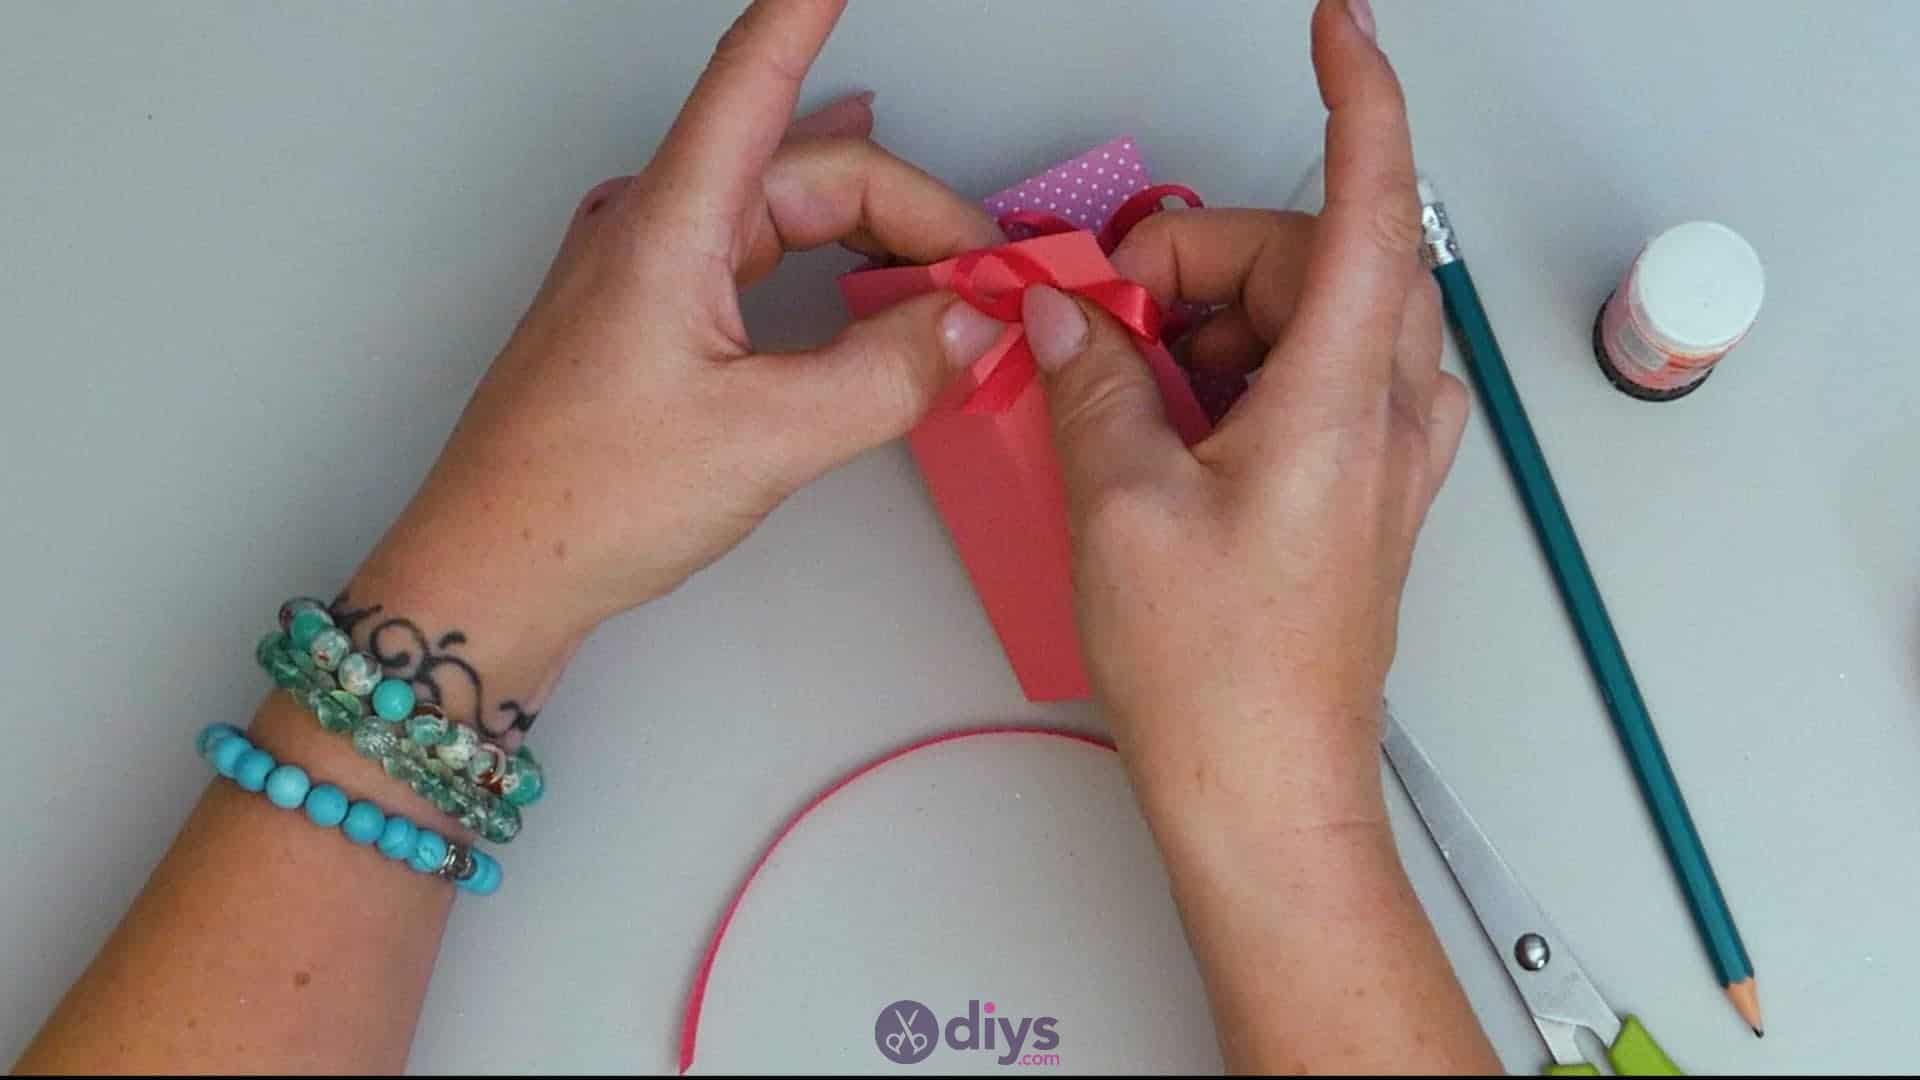
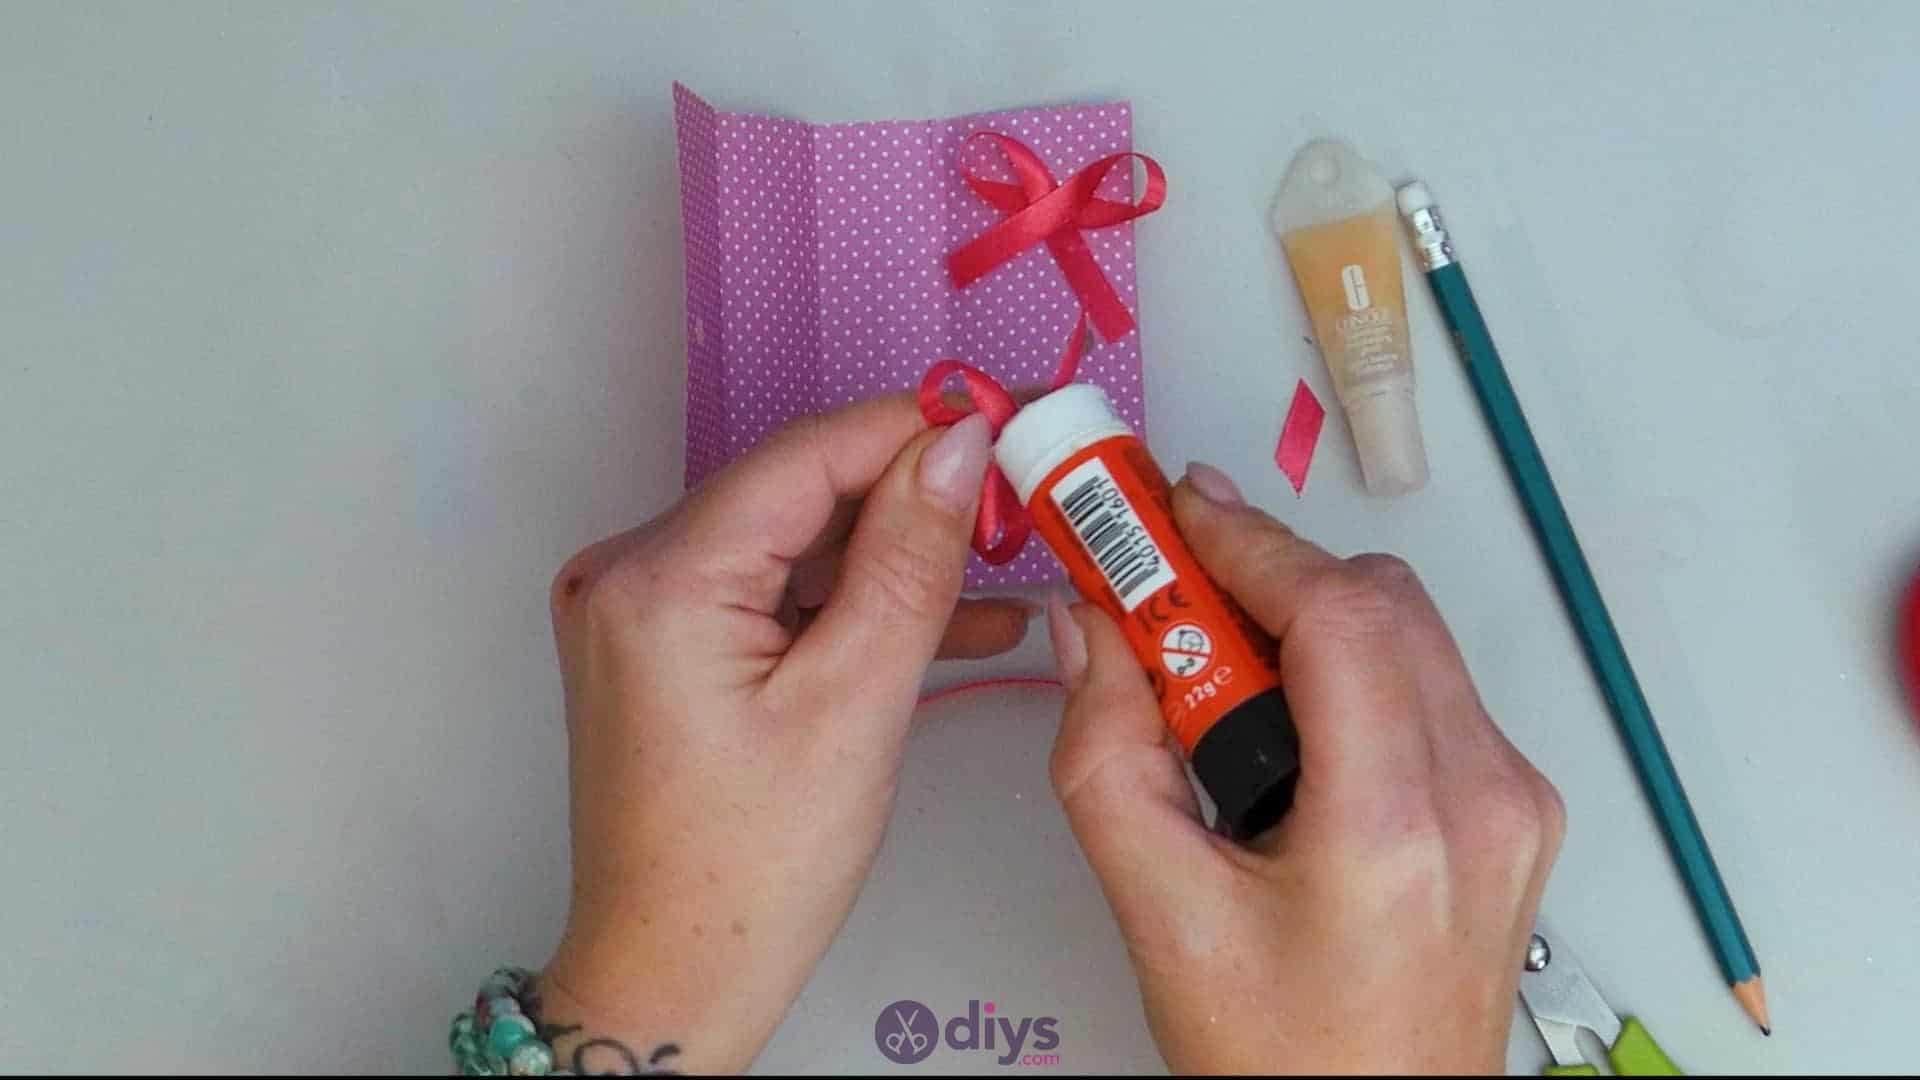
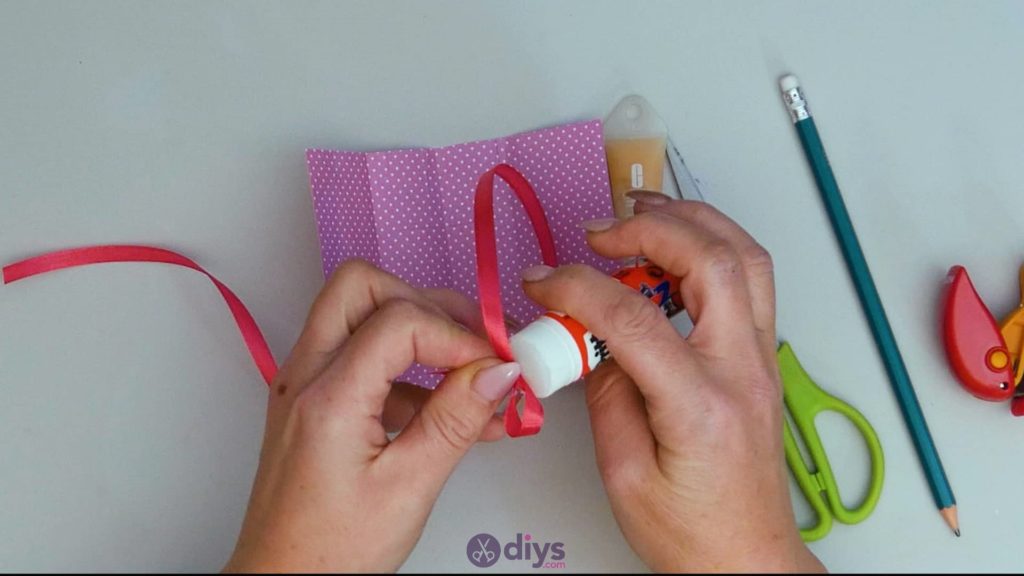
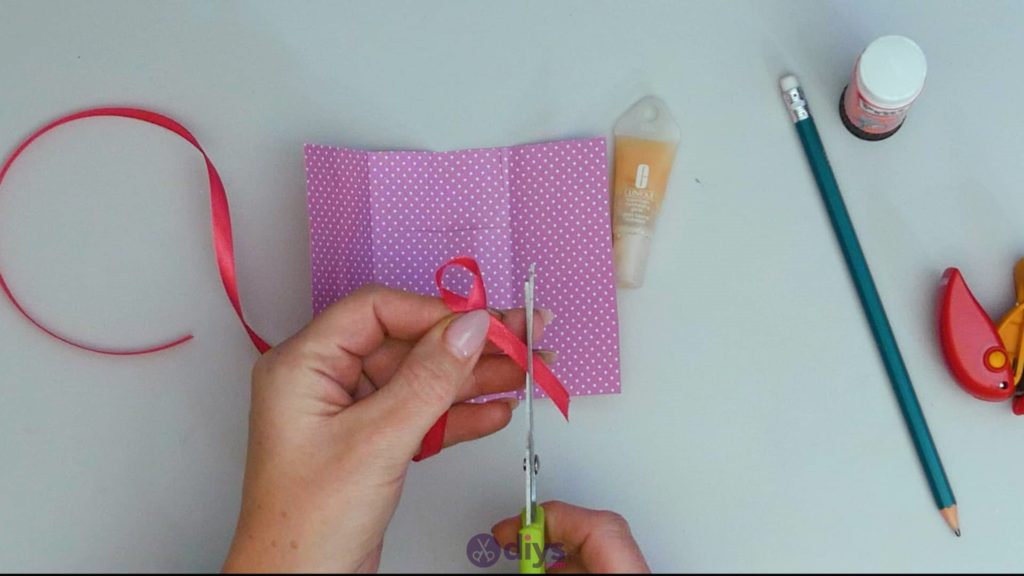
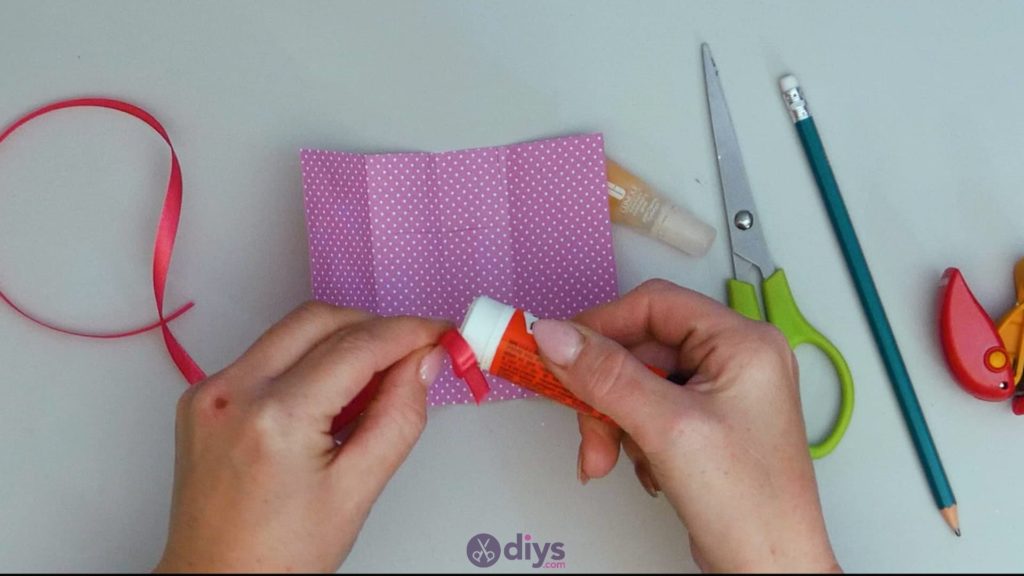
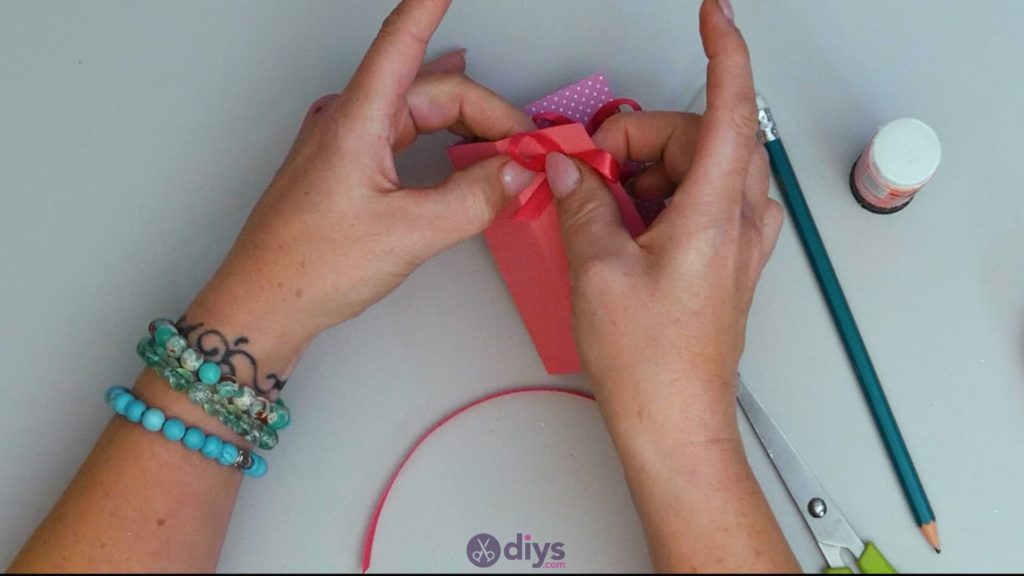
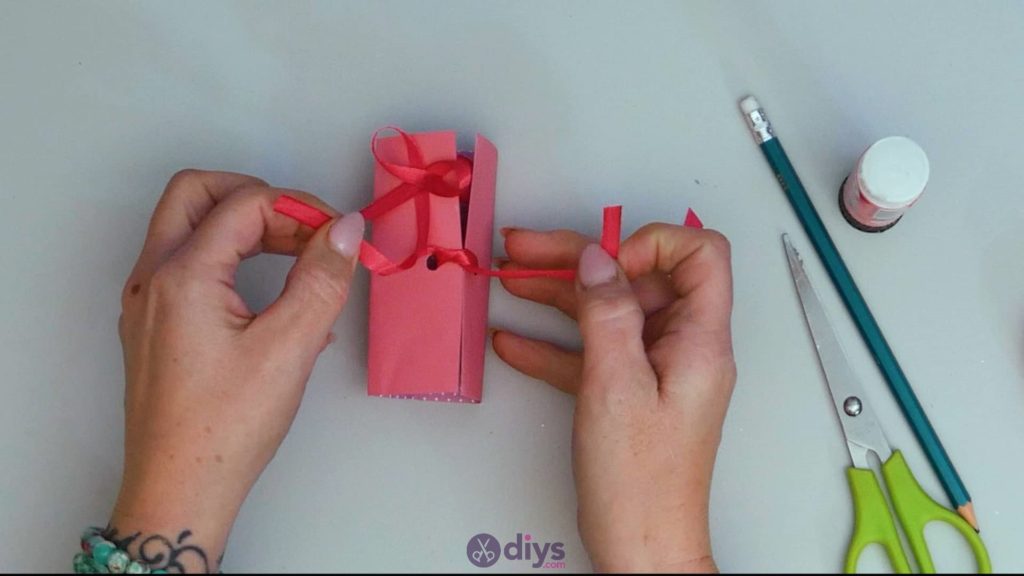
Step 8: ribbin time
Make a little bow from your red ribbon! Do this by curling one end inward to make a loop, crossing the tip over where the ribbon meets itself again and leaving some excess. Apply some glue at the crossing point and stick the ribbon in place to anchor the loop. Repeat the looping process on the other side, leaving excess again at the end of the loop so it crosses over the first end and gluing it into place there. Use your scissors to trim the ends until they are even; I’d suggest cutting them on a slight angle to stop the ribbon from fraying. Once you’ve finished your bow, apply glue to the back and stick it to the top right corner on theinside of your card for a little bit of cute detail and personality.
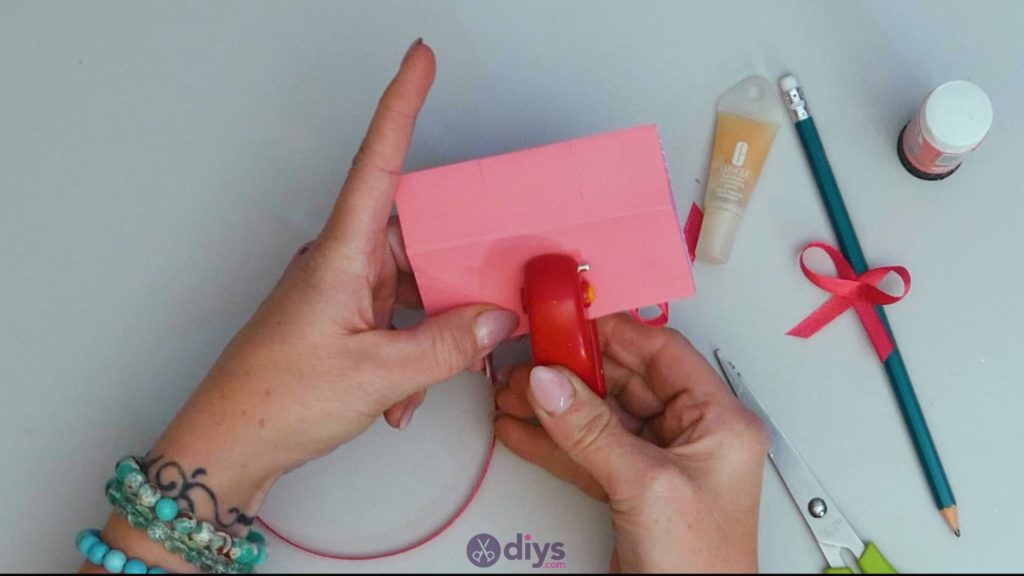
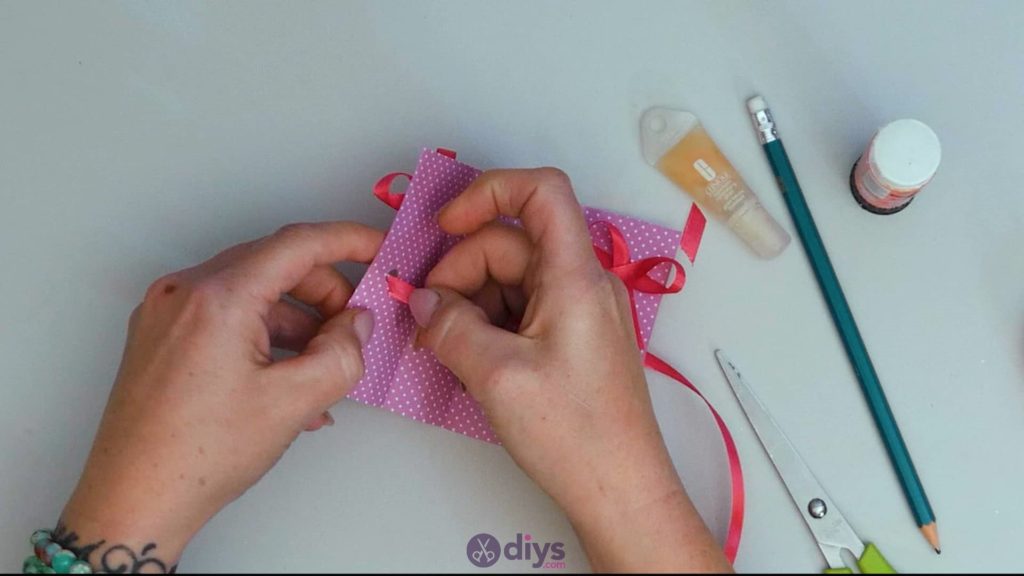
Step 9: hole punch
Close your card so the two covers come together and hold it so the long edges meet evenly. Use your hole punch to make a hole halfway down the edges’ length and a few centimetres inward, so nothing tears. Make sure you’re punching through both the frontand the back covers at the same time. You’ll string a ribbon through here in a moment to tie the card closed later.
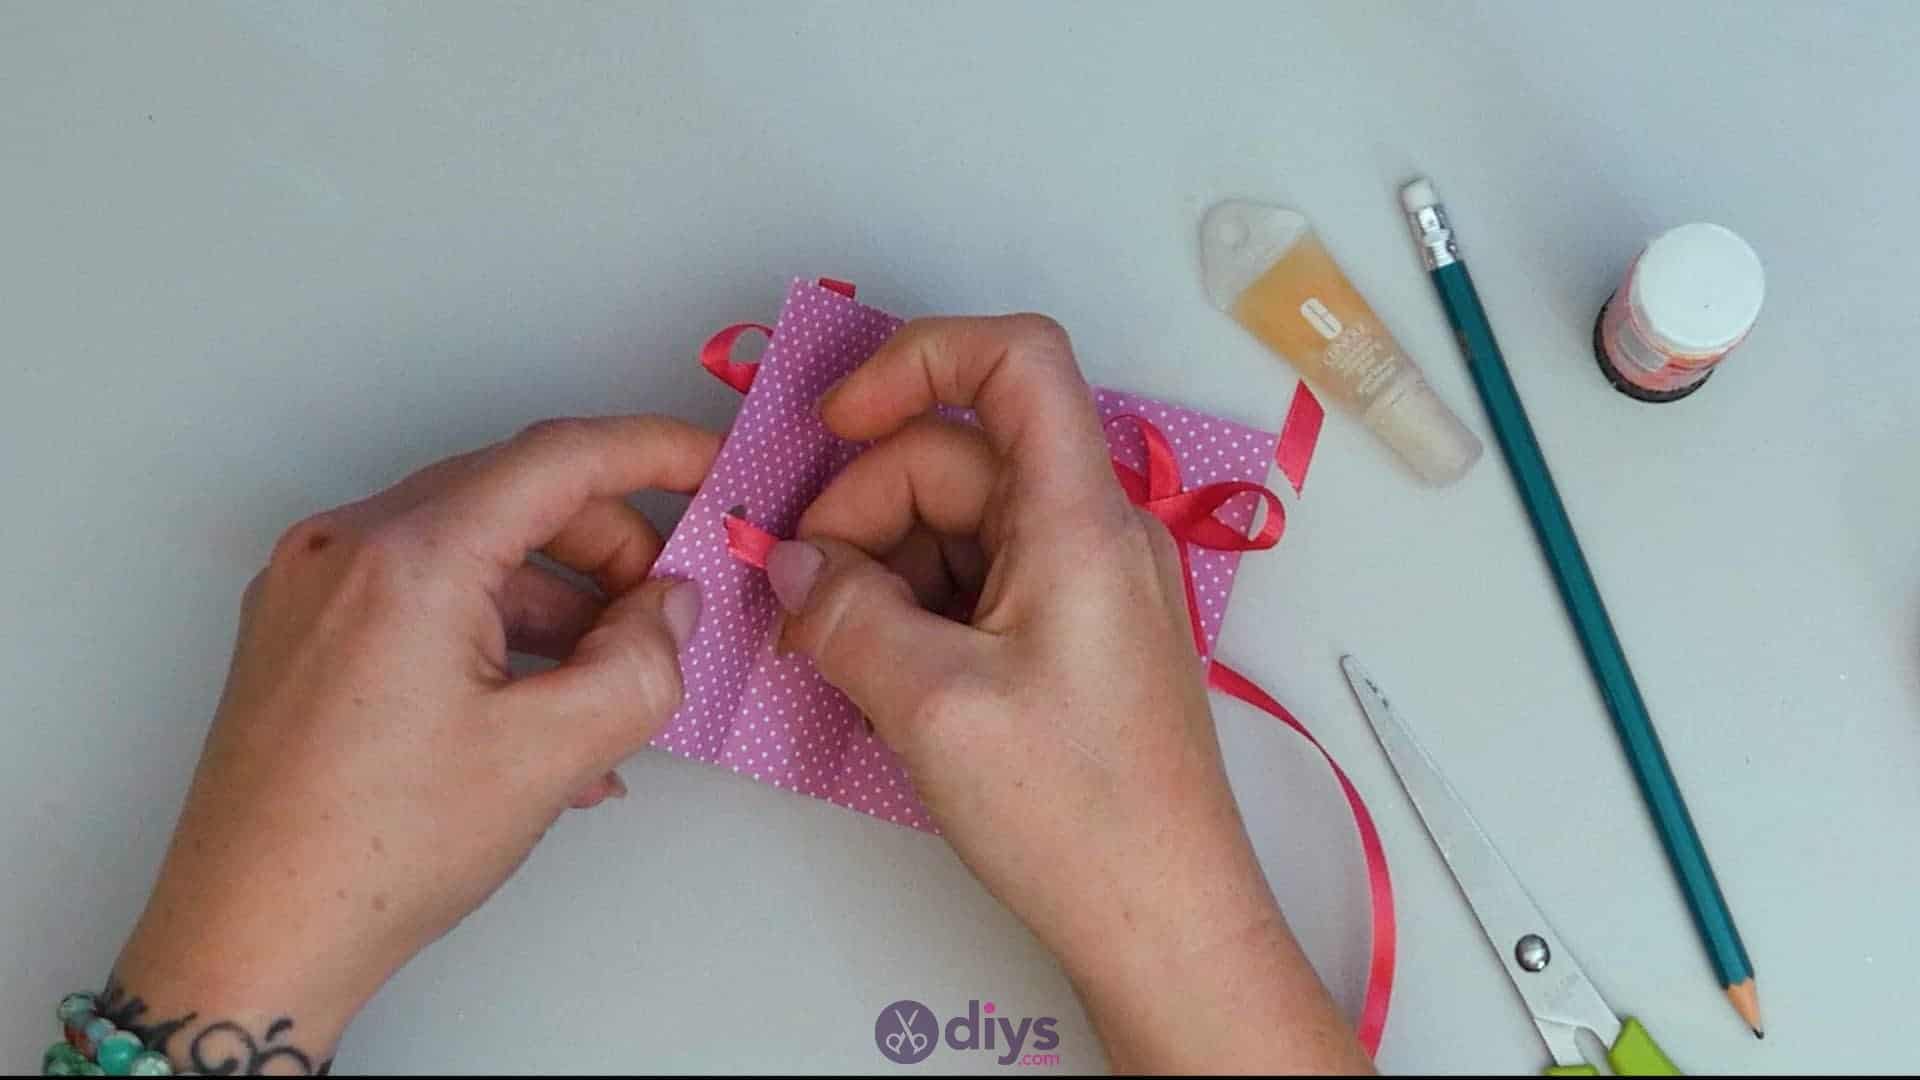
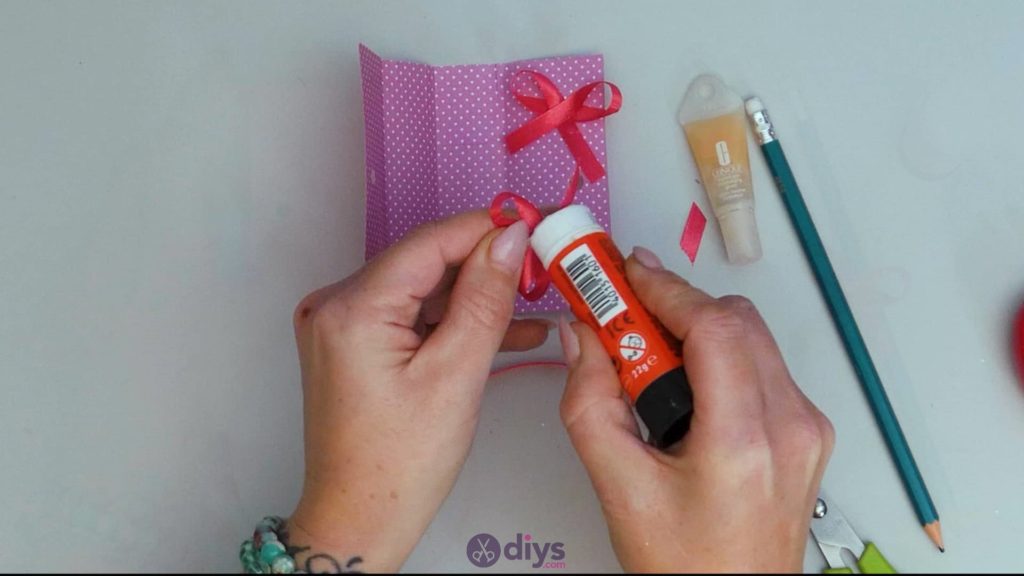
Step 10: add bows
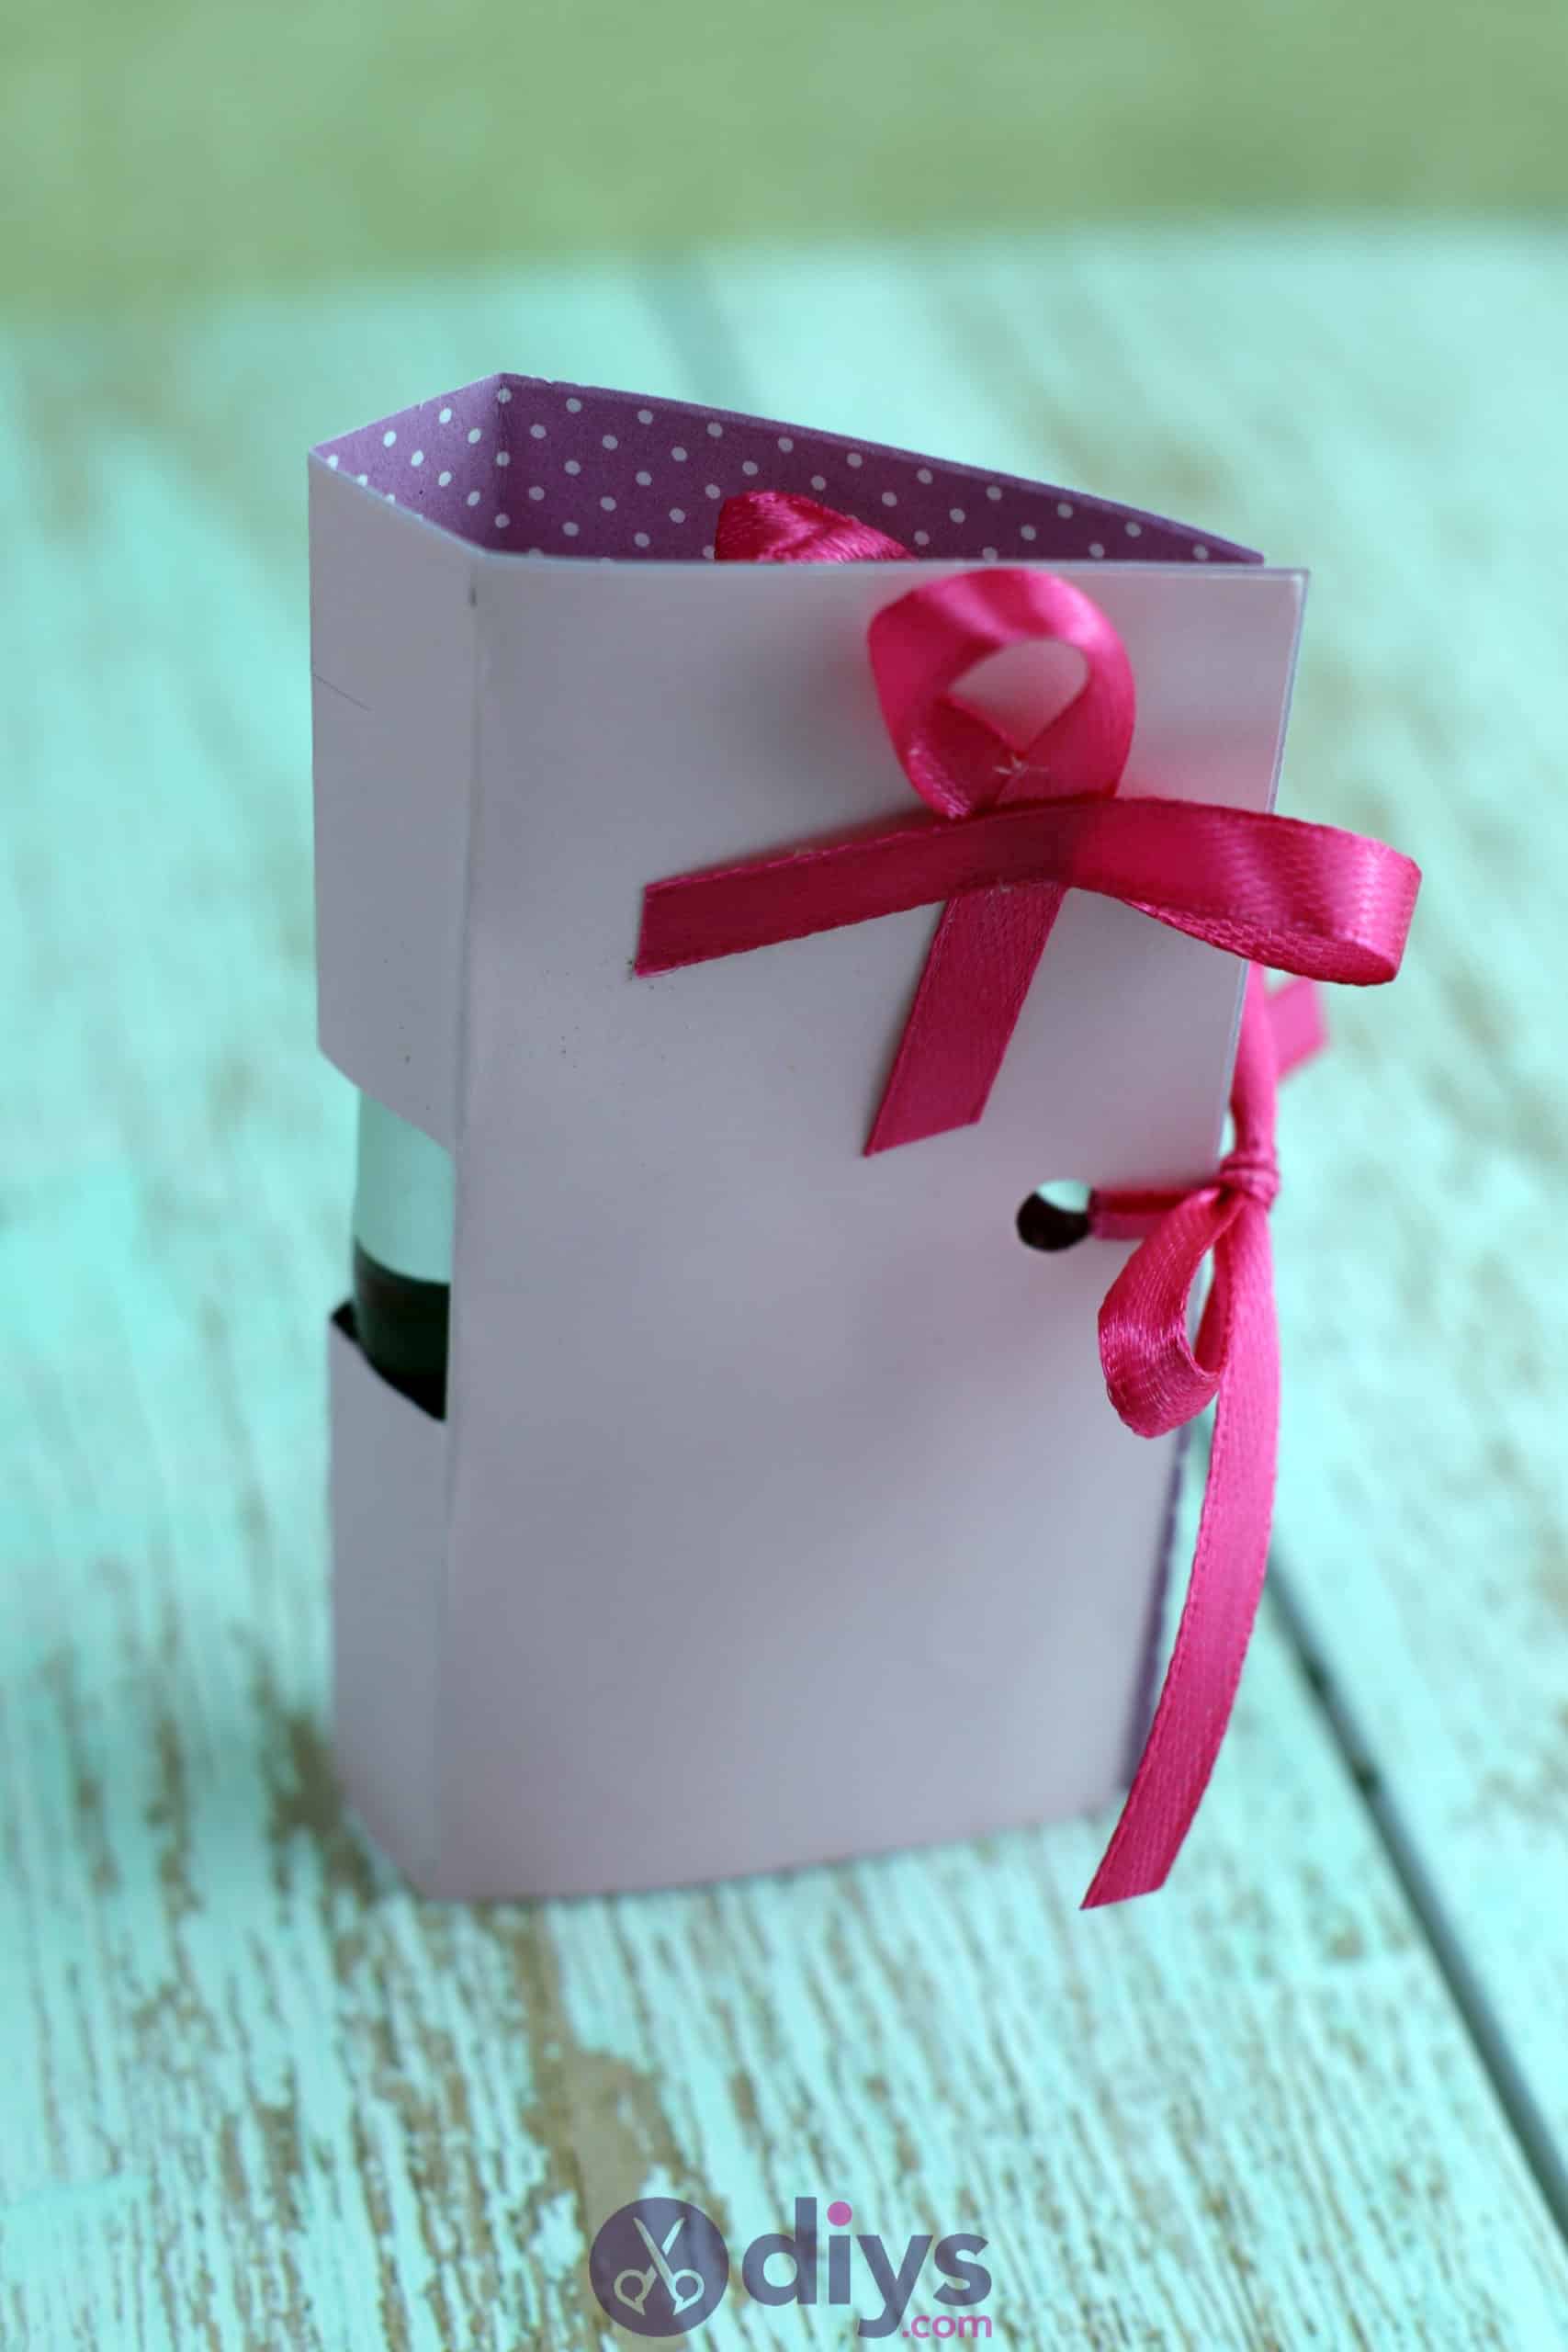
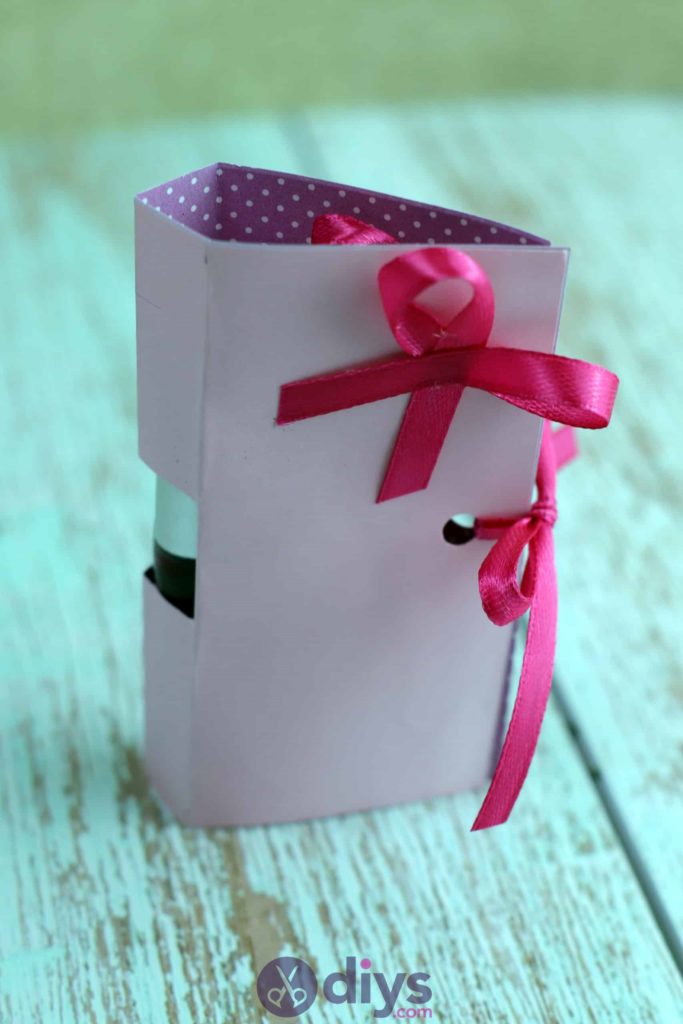
Repeat the same bow making process as you did before with your red ribbon. This time, close the card and stick the new bow to the top right corner on theoutside for a little bit of cute detail there too.
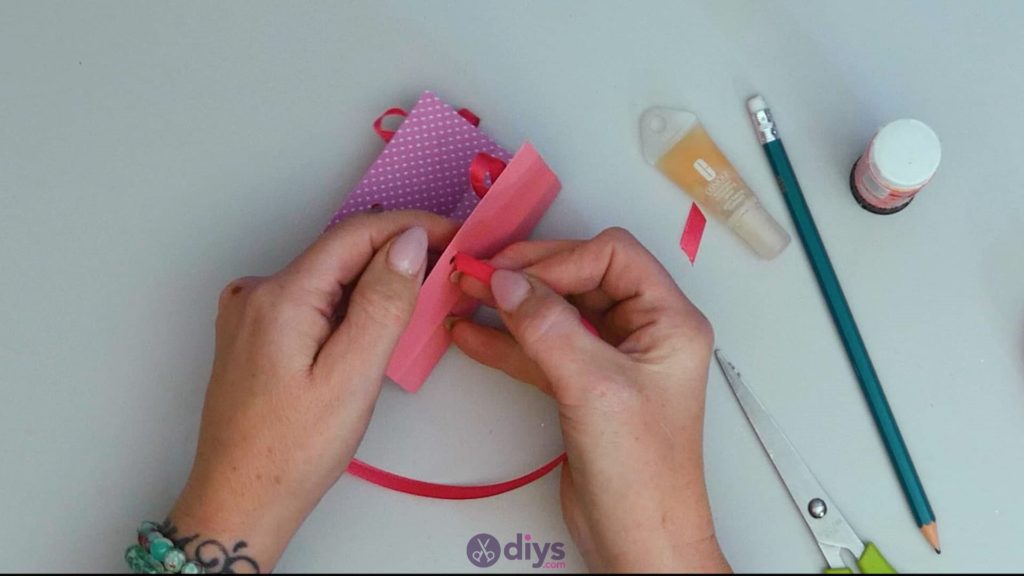
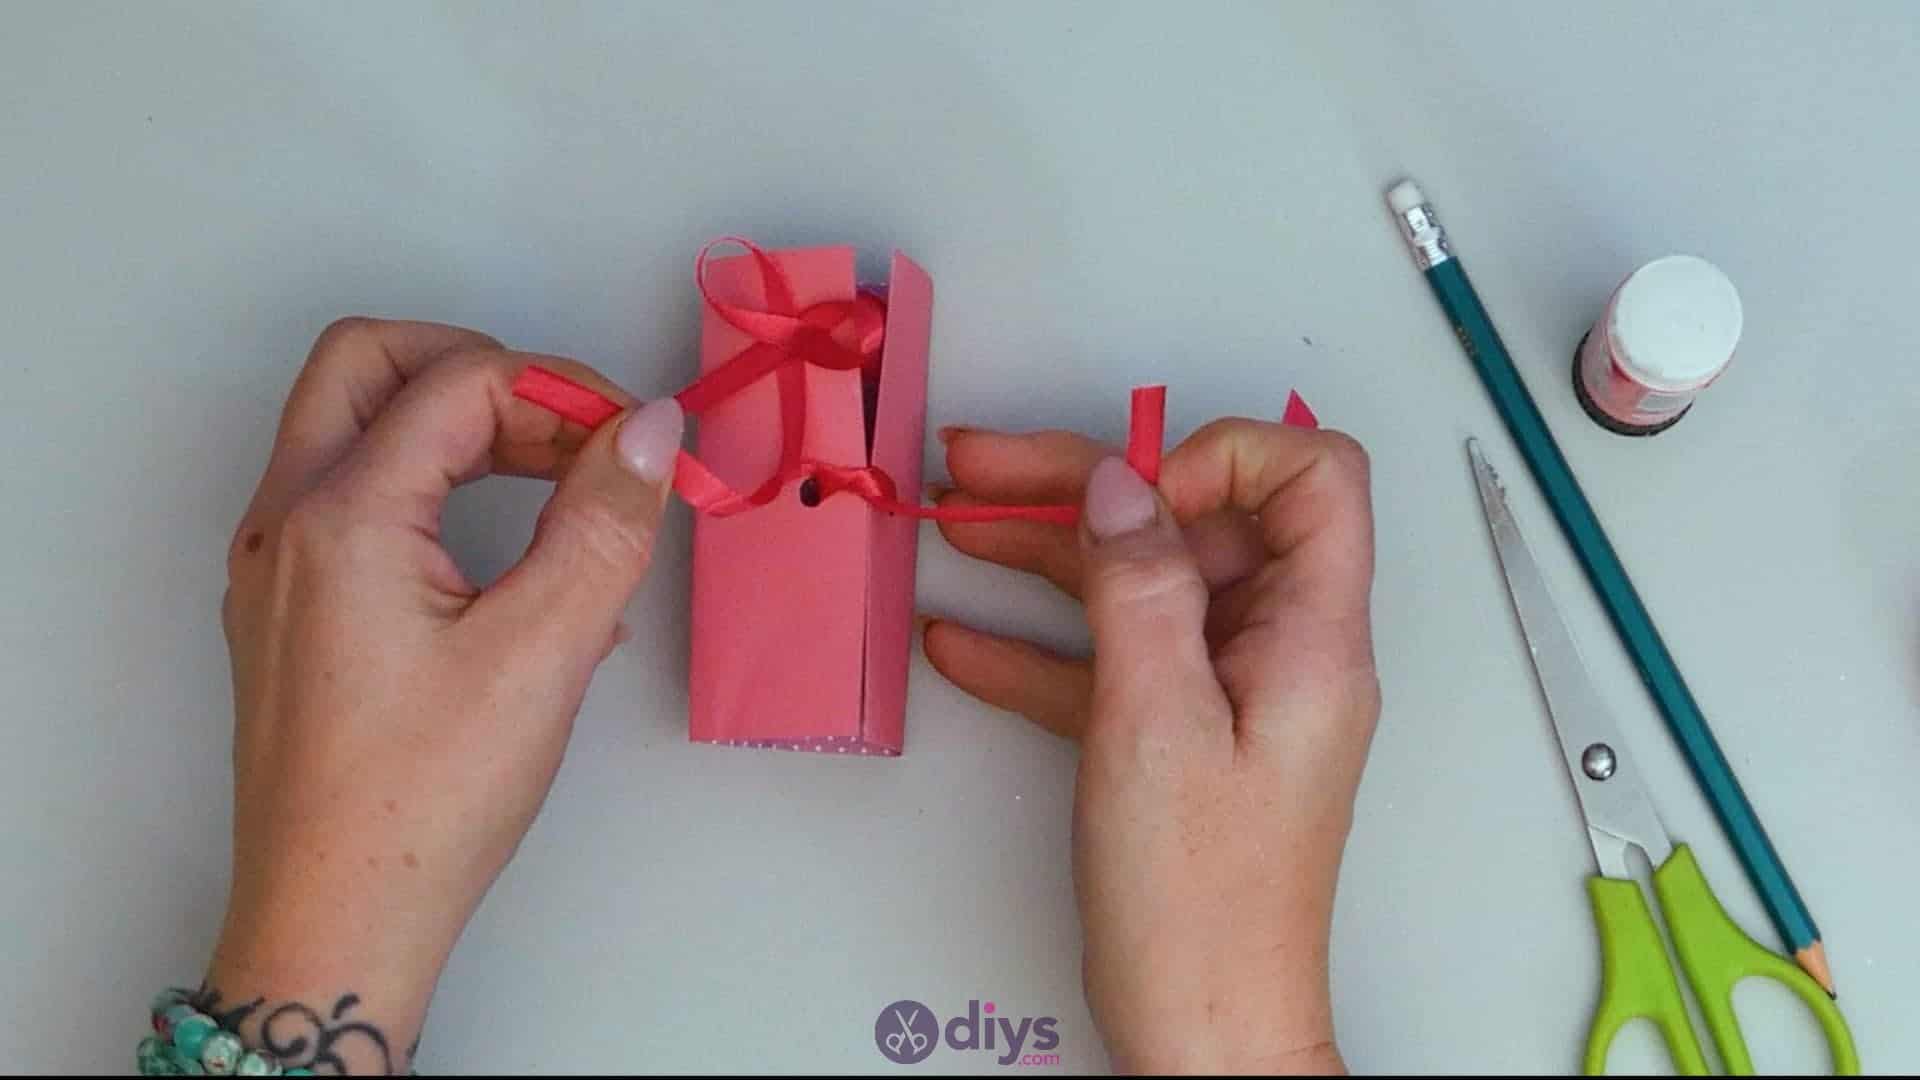
Step 11: finishing with ribbon
Cut a piece of red ribbon that’s about four inches long; this will be the tie that lets you close the card, keeping the two covers together. Start by threading the first end through the back cover’s hole from the outside to the inside. Then pull the ribbon through and thread that same end through the second hold on the from cover, from the inside to the outside. Pull the ribbon through more until the two ends are even on either side.
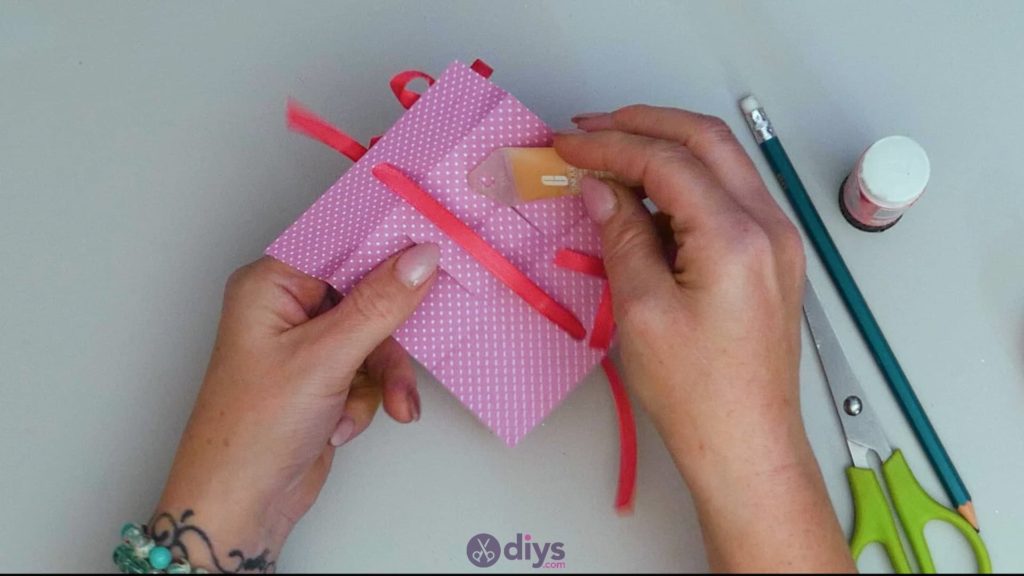

Step 12: finishing touches
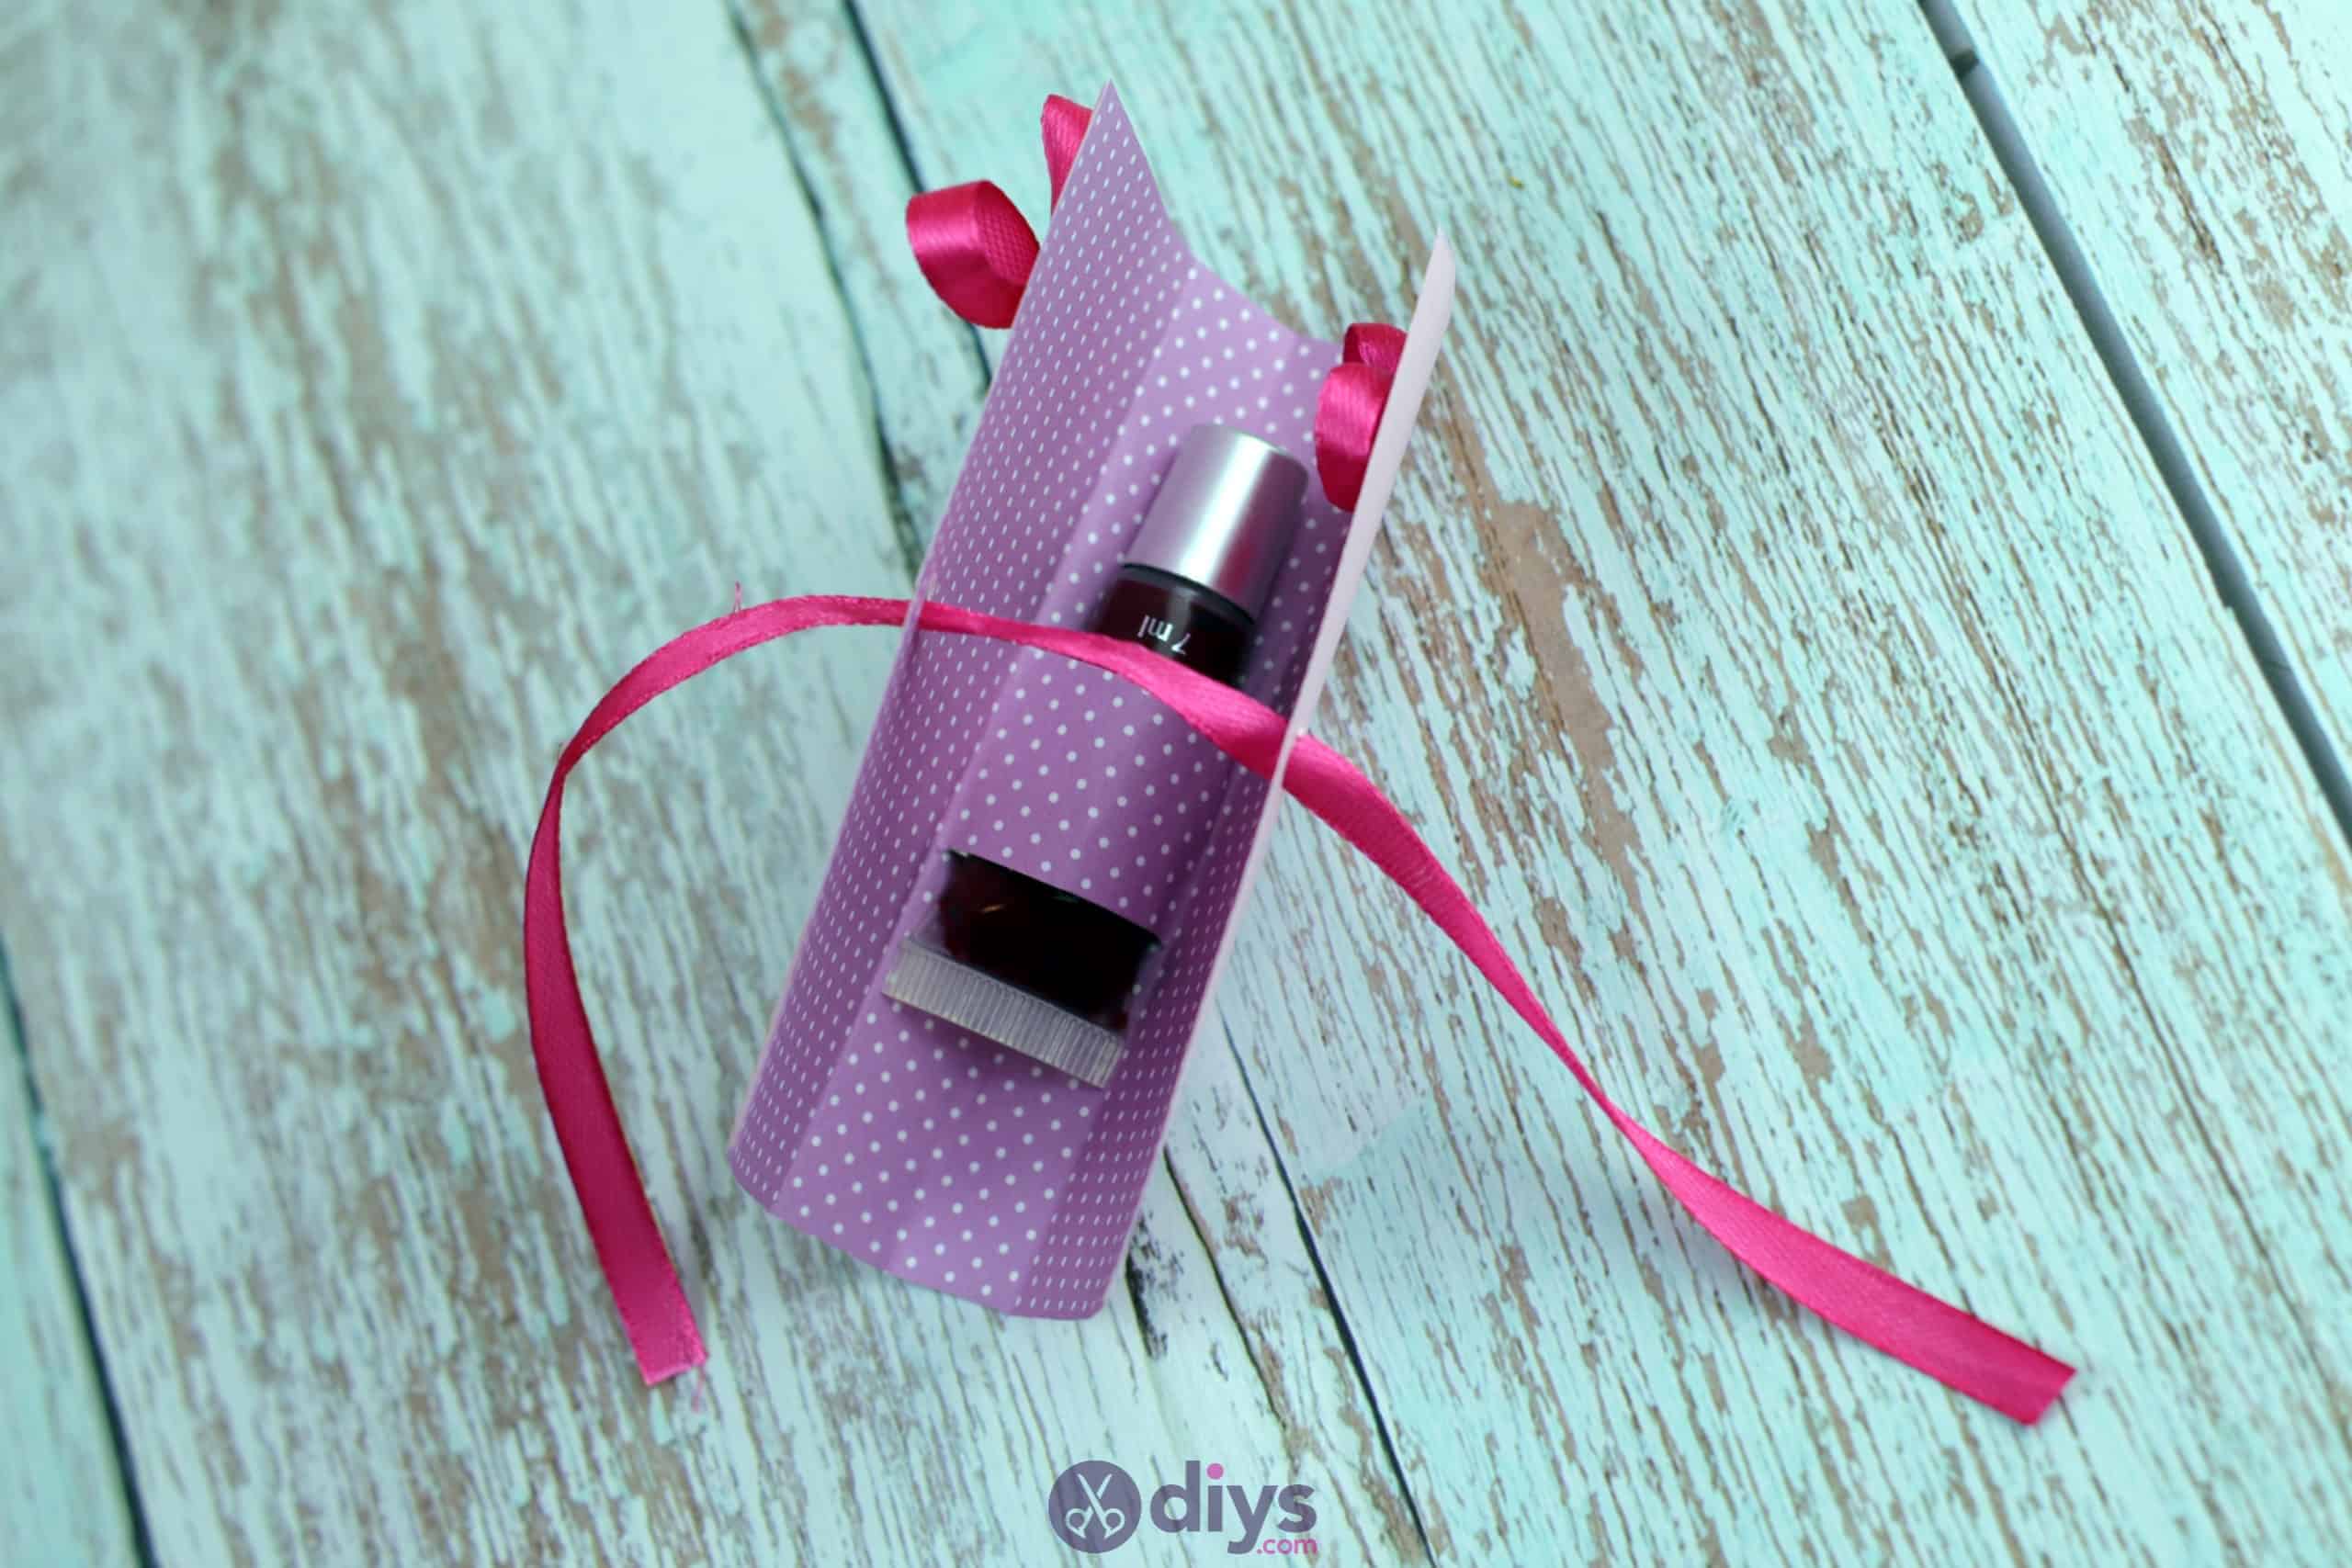
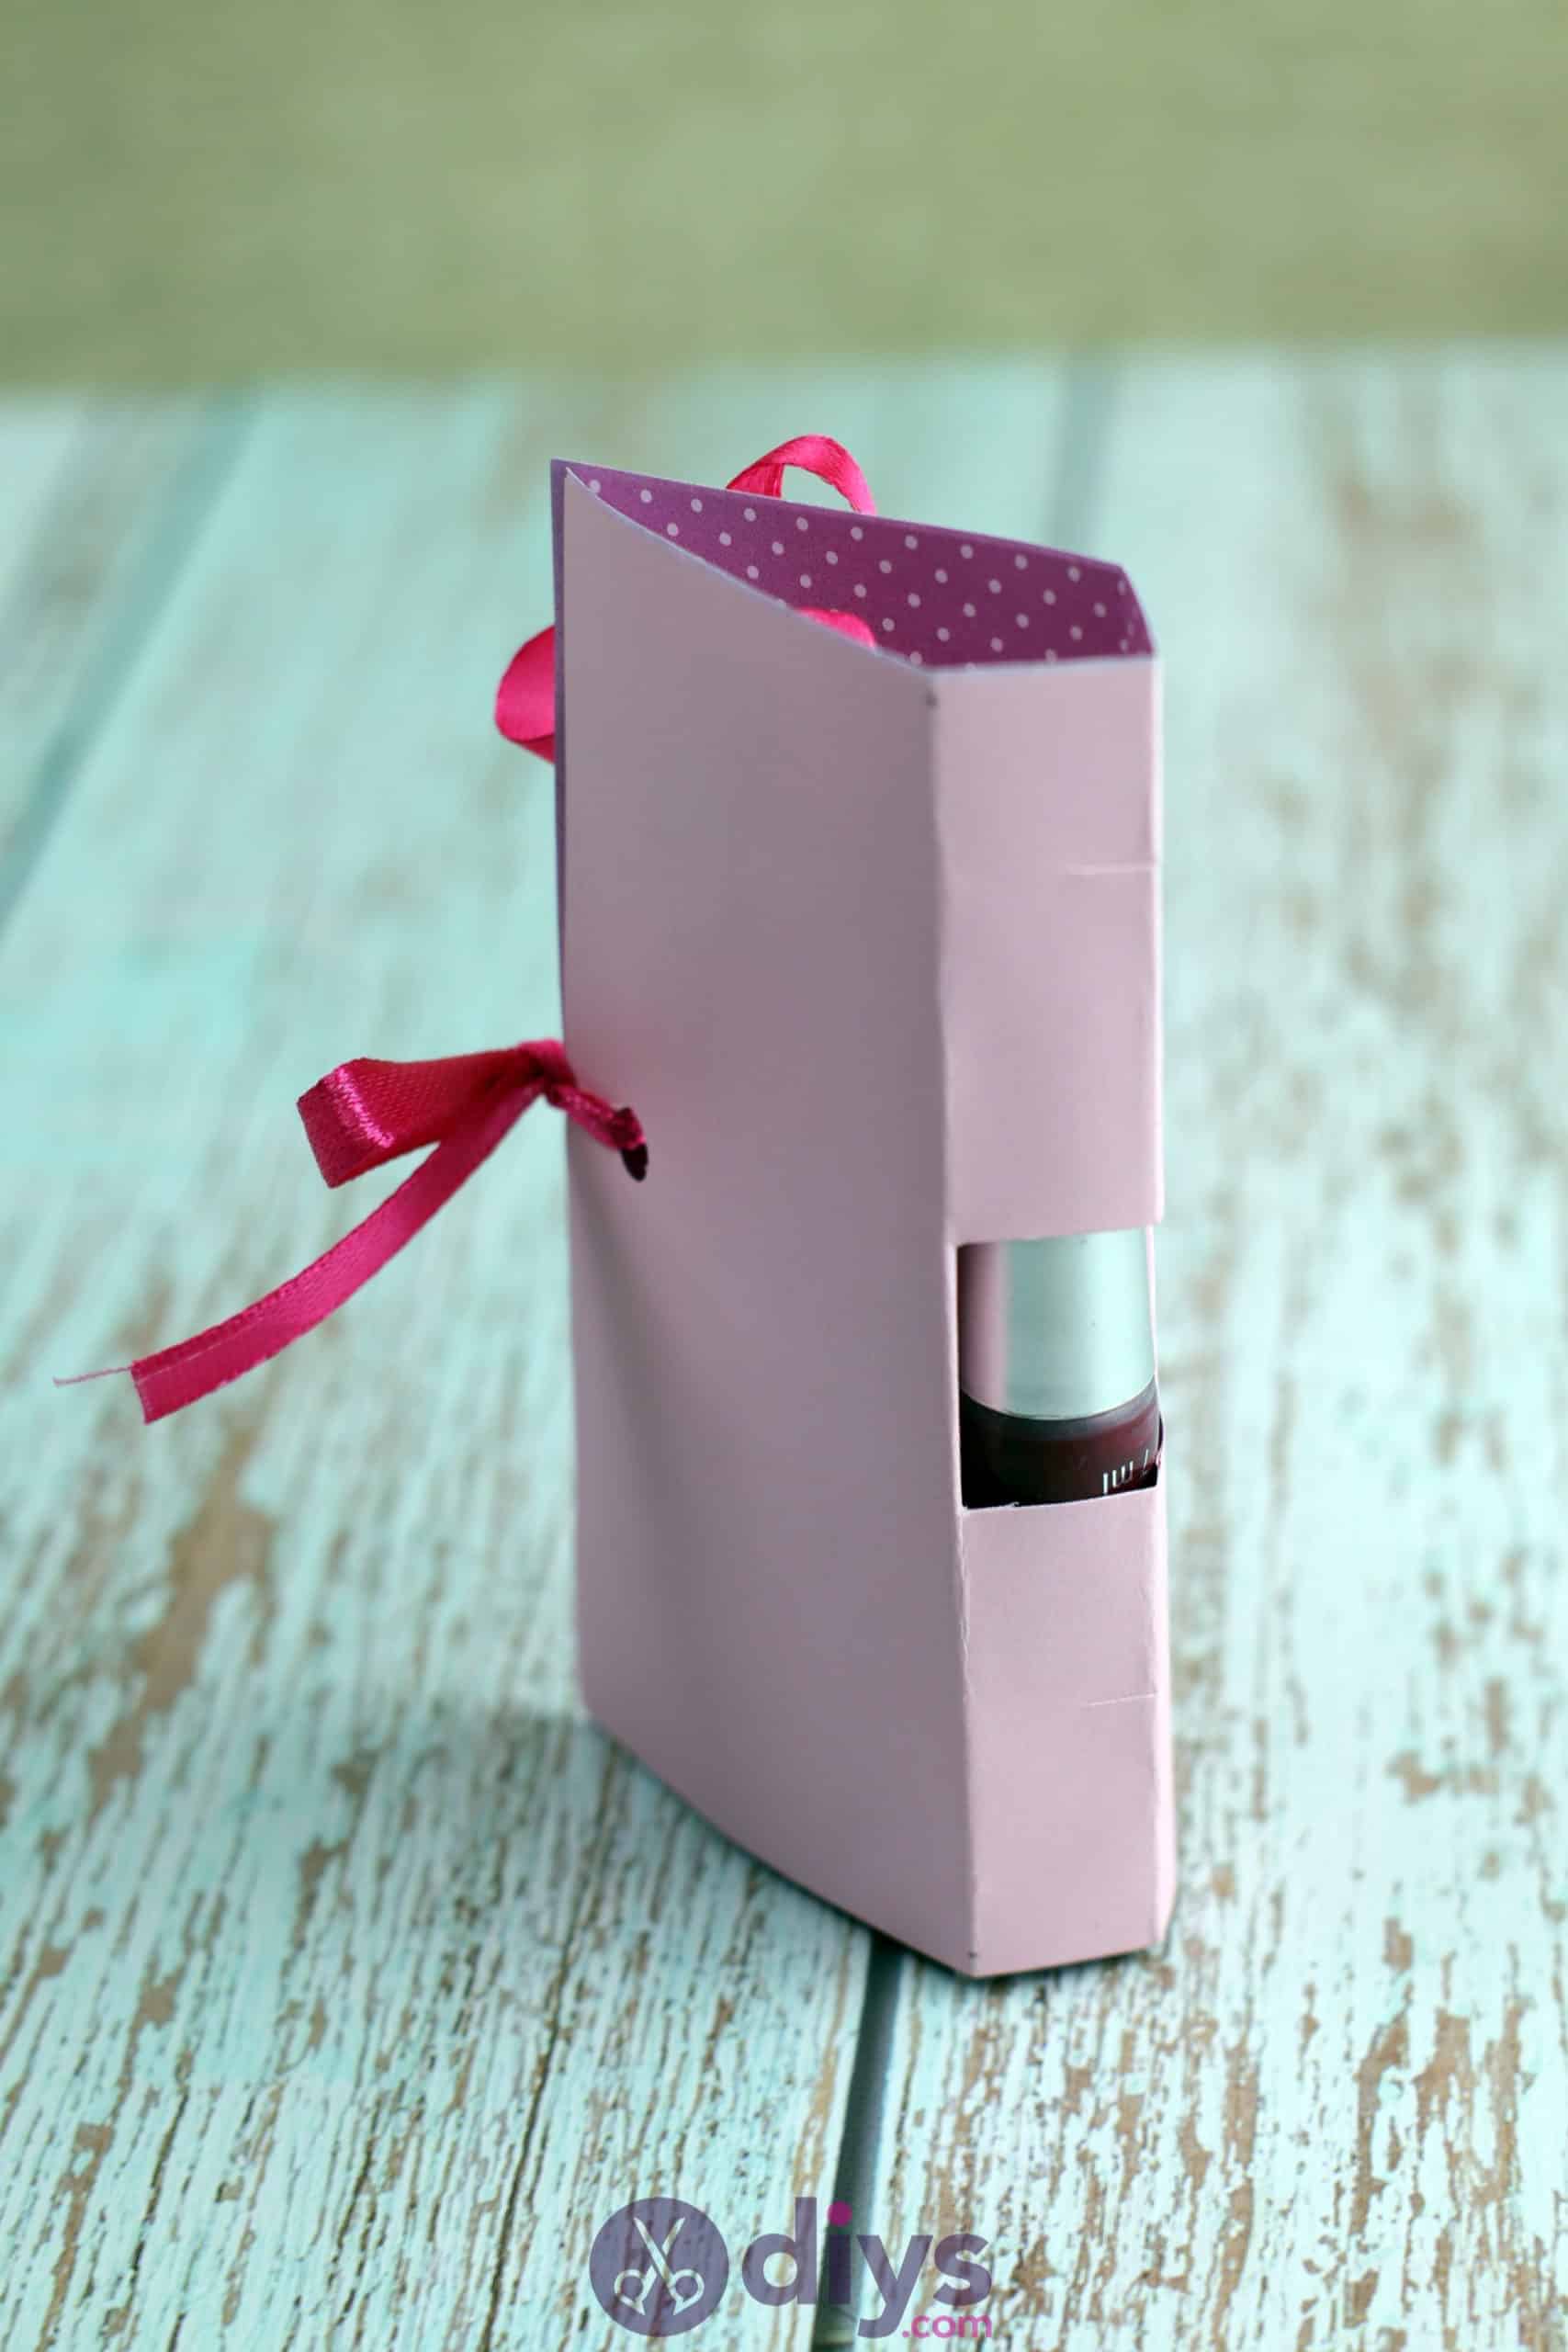
Slide your lipstick back into the slot on the inside of the card, close the card, and tie it shut with the ribbon ends. Voila!
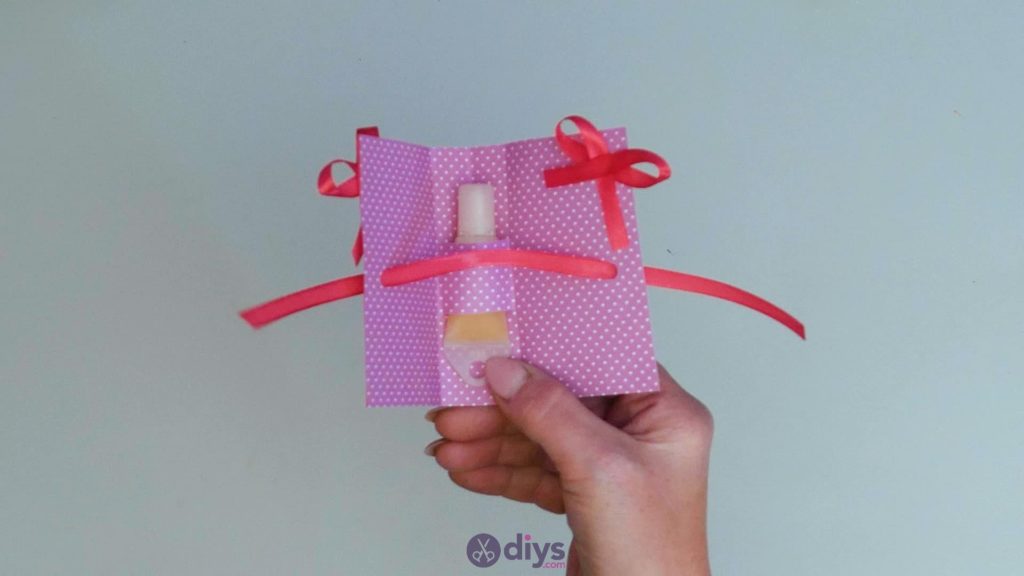
Your card is officially ready to be gifted! Feel free to write a message on the front or on the inside, or to get a little more creative and eclectic with the cover’s embellishments if your taste isn’t quite as simple as mine. Just in case you’d like to try this project out for yourself, here’s a fantastic tutorial video to help you!