DIY Concrete Pillow Candle Holder
Updated on November 19, 2025


This DIY concrete pillow candle holder is the perfect addition to any home decor, even outside in your garden! With just some concrete, paint, and patience, you can make this in no time. Read on to see how we did it.

Isn’t it adorable? And it actually looks like a pillow. Check out my step by step process below! You’ll also find a full video tutorial at the very bottom of this post, in case you’re more of a visual learner.
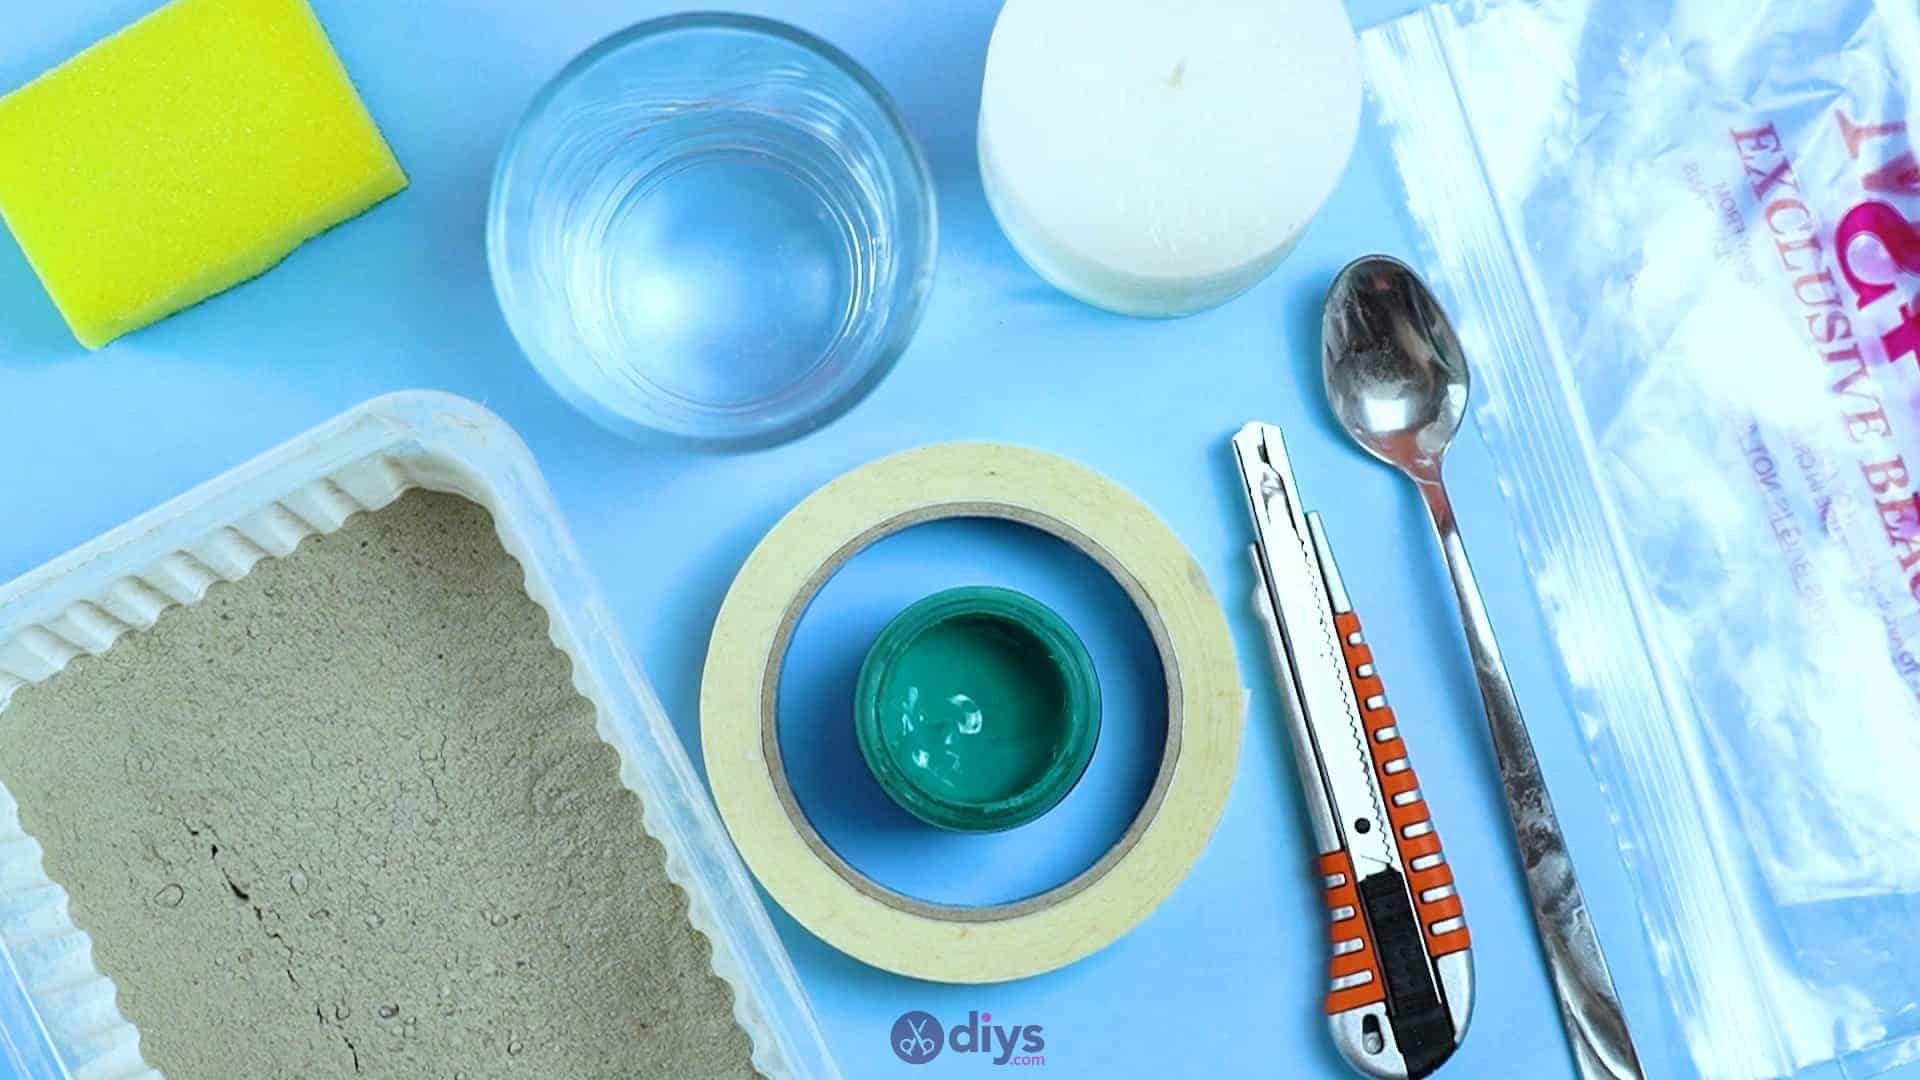
For this project, you’ll need:
- Fine particle cement
- Water
- Plate
- Spoon
- Abrasive or sandpaper
- Tape
- Oil
- Sponge
- Yellow acrylic paint
- Folding utility knife
- Candle
- Plastic bag
Step 1: Gather your materials!
Just like an successful DIY project, you should get all your items together before you begin.

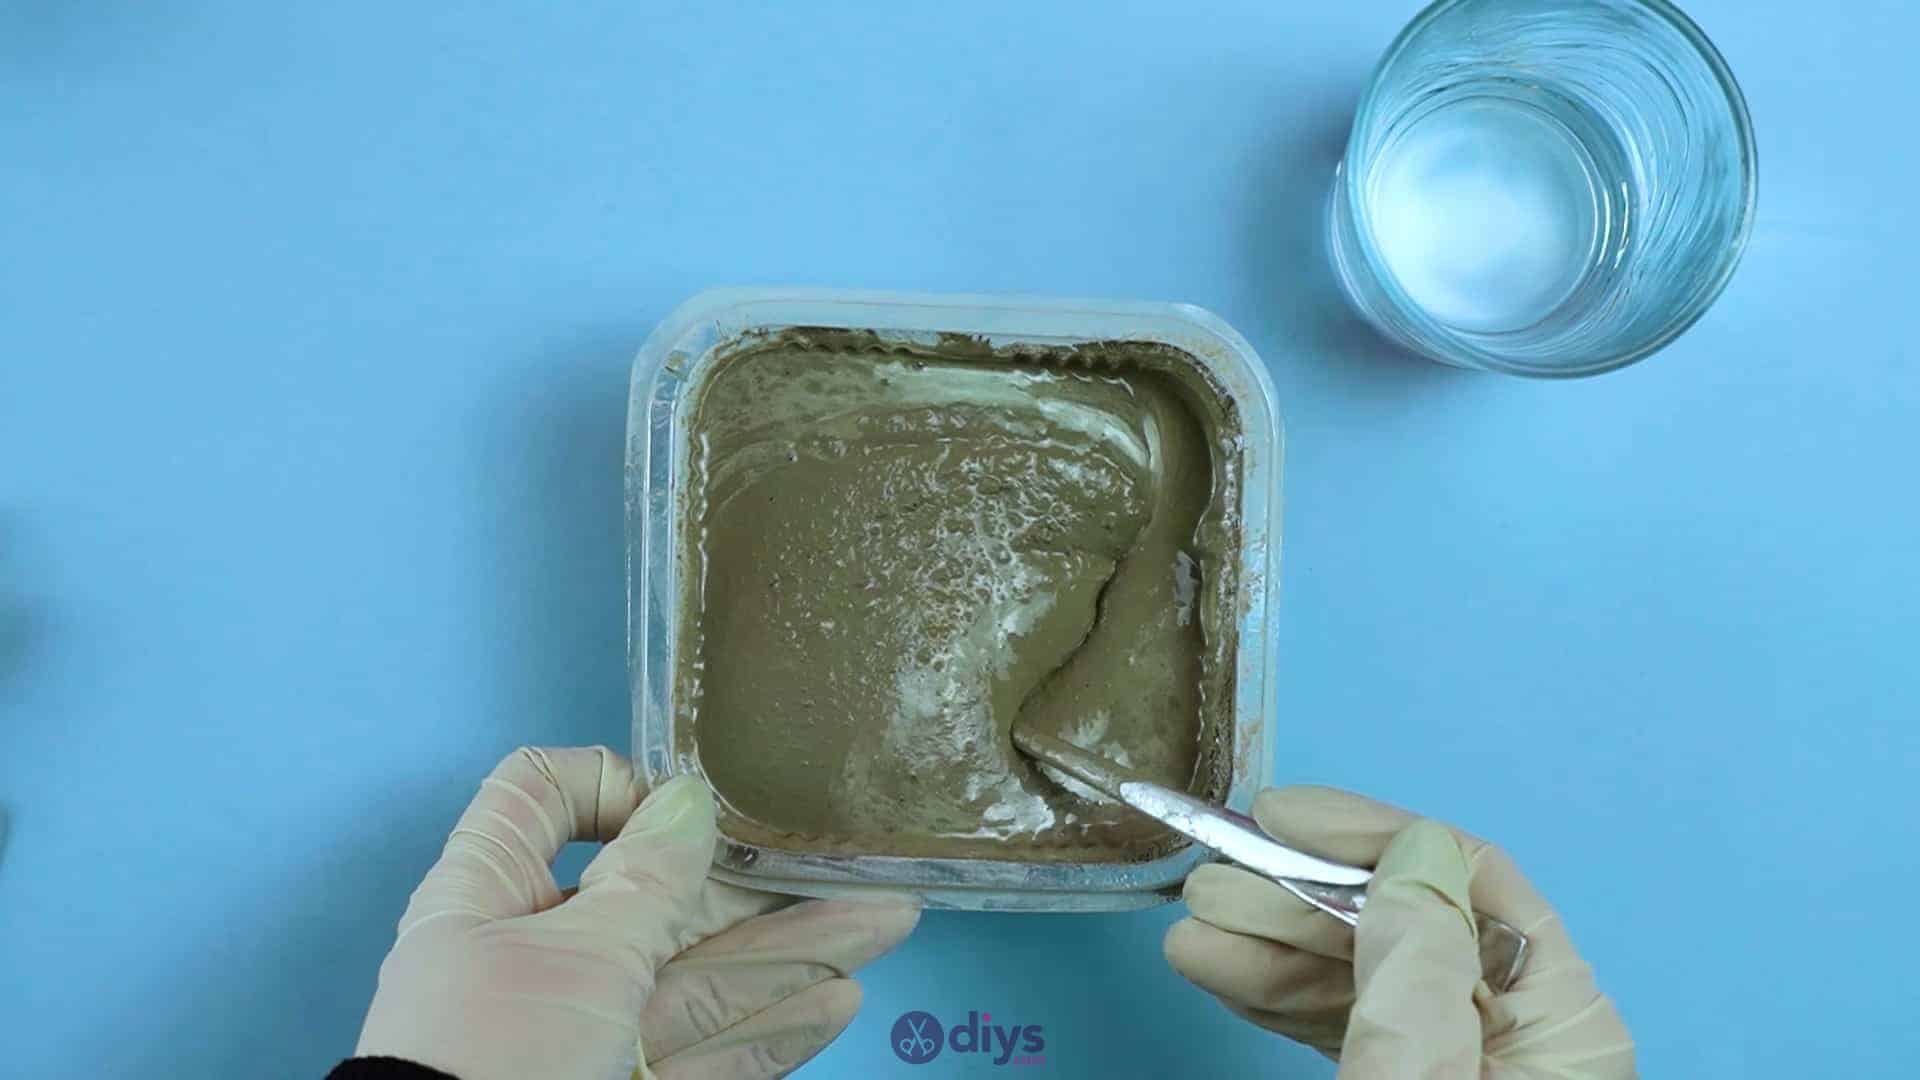
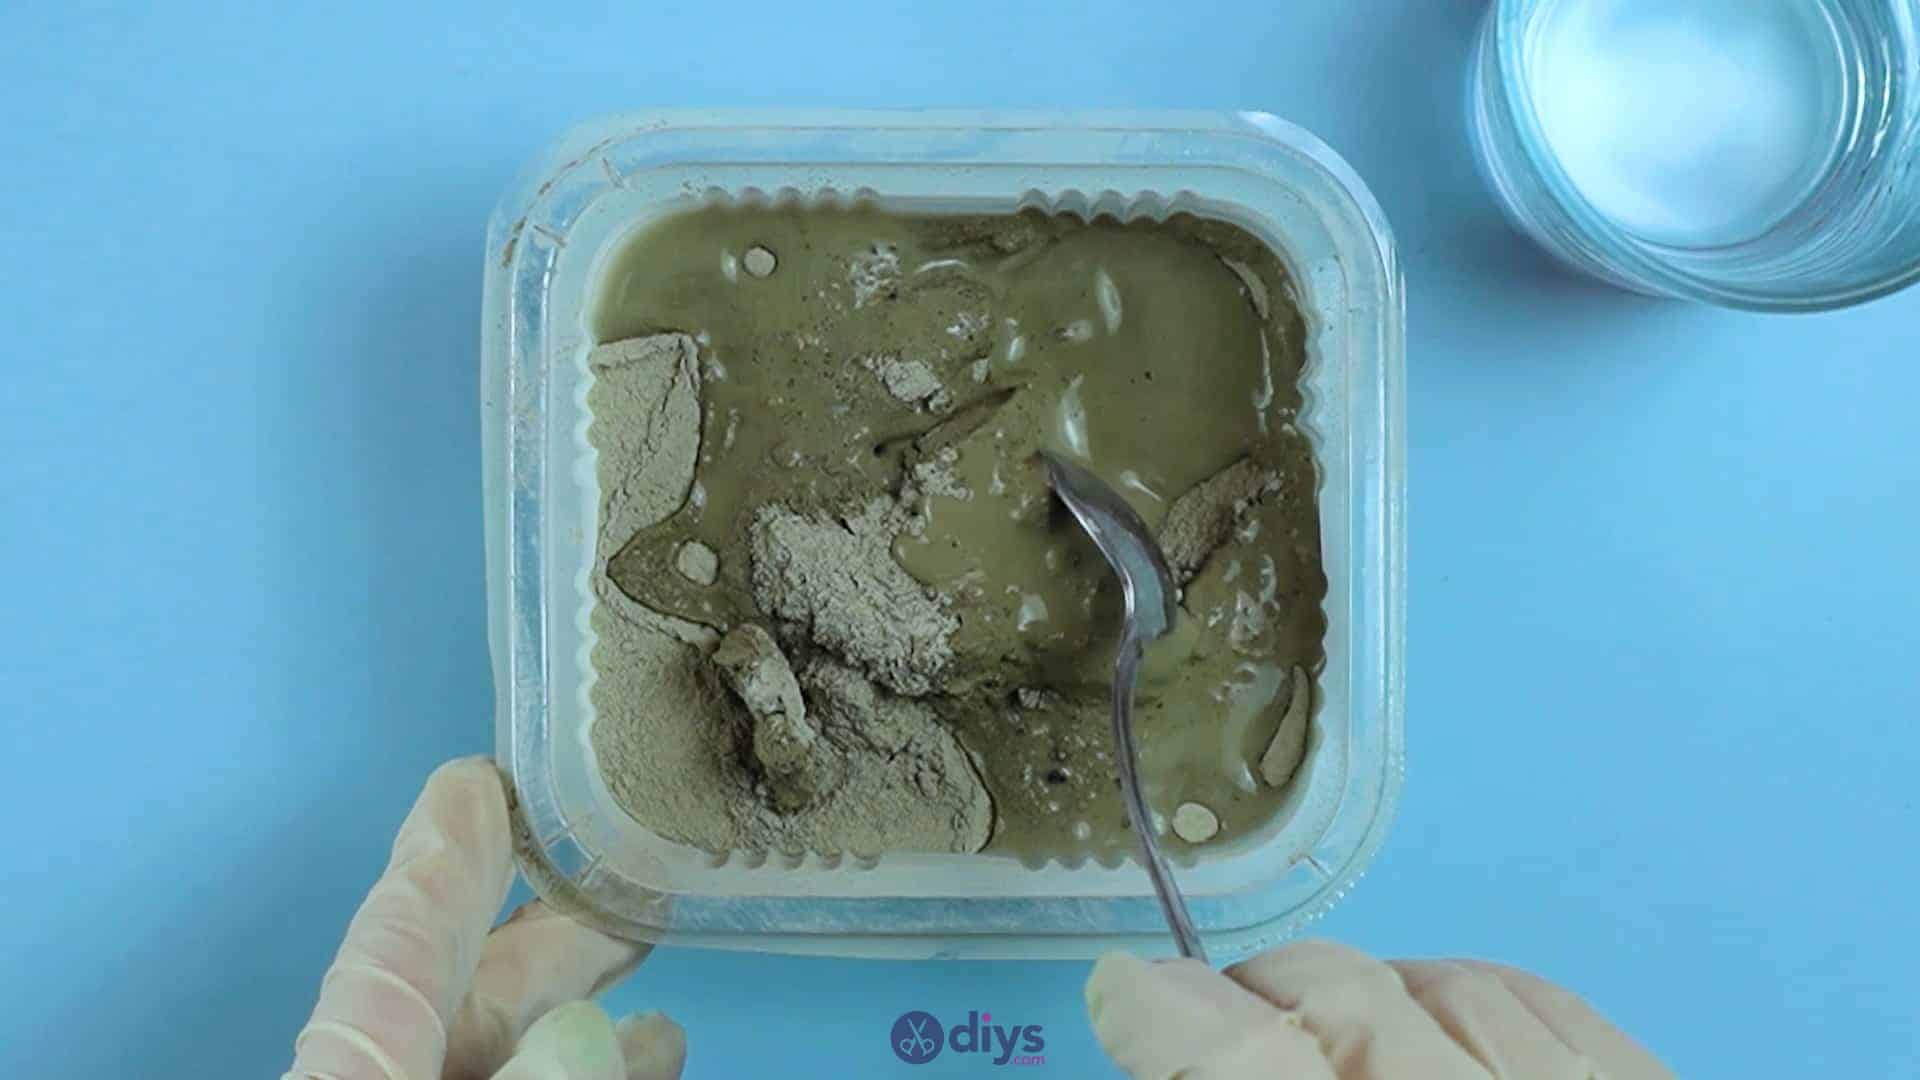
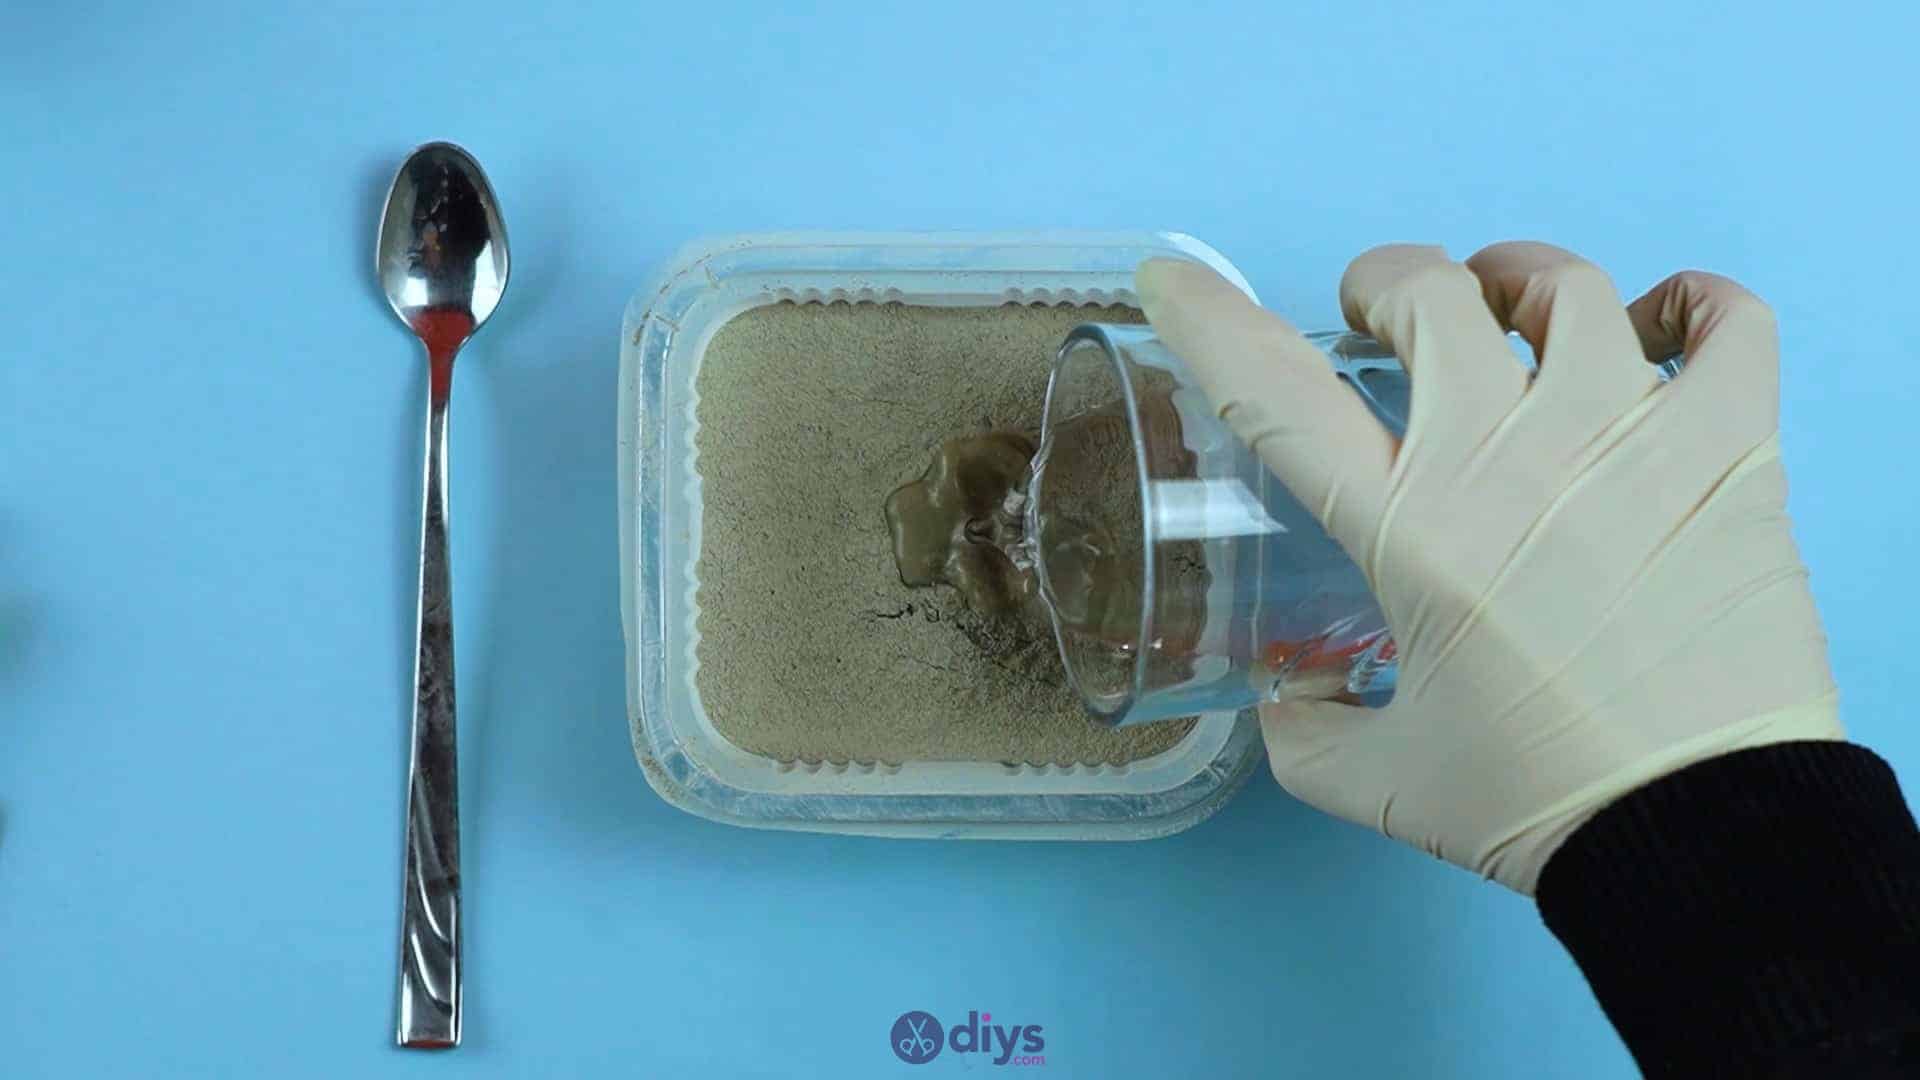
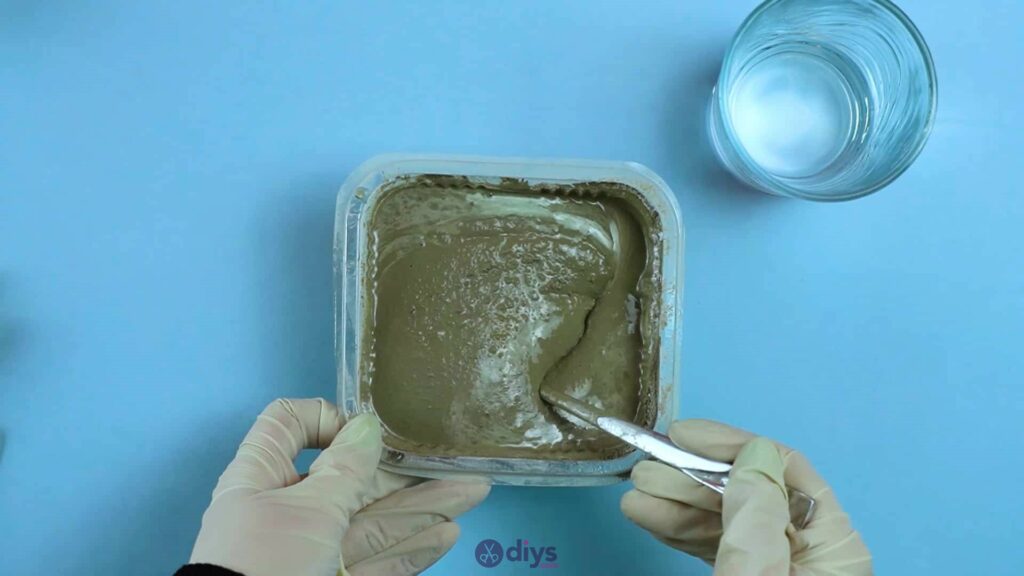
Step 2: mix the concrete
Pour your water into your fine particle DIY cement and use your spoon to mix it until it’s the right consistency, free of clumps. I mixed mine in a disposable plastic container that I saved from my recycling bin. Make sure to read the instructions on your packaging to get the right ratio of water to mix for the particular kind you’re using; it can very from brand to brand. You’ll notice that I wore gloves to work with the cement mix. While most crafting concretes aren’t particularly harmful to your skin per se, theycan be a little harsh and dry it out, so I wore gloves just in case because I have very sensitive skin.


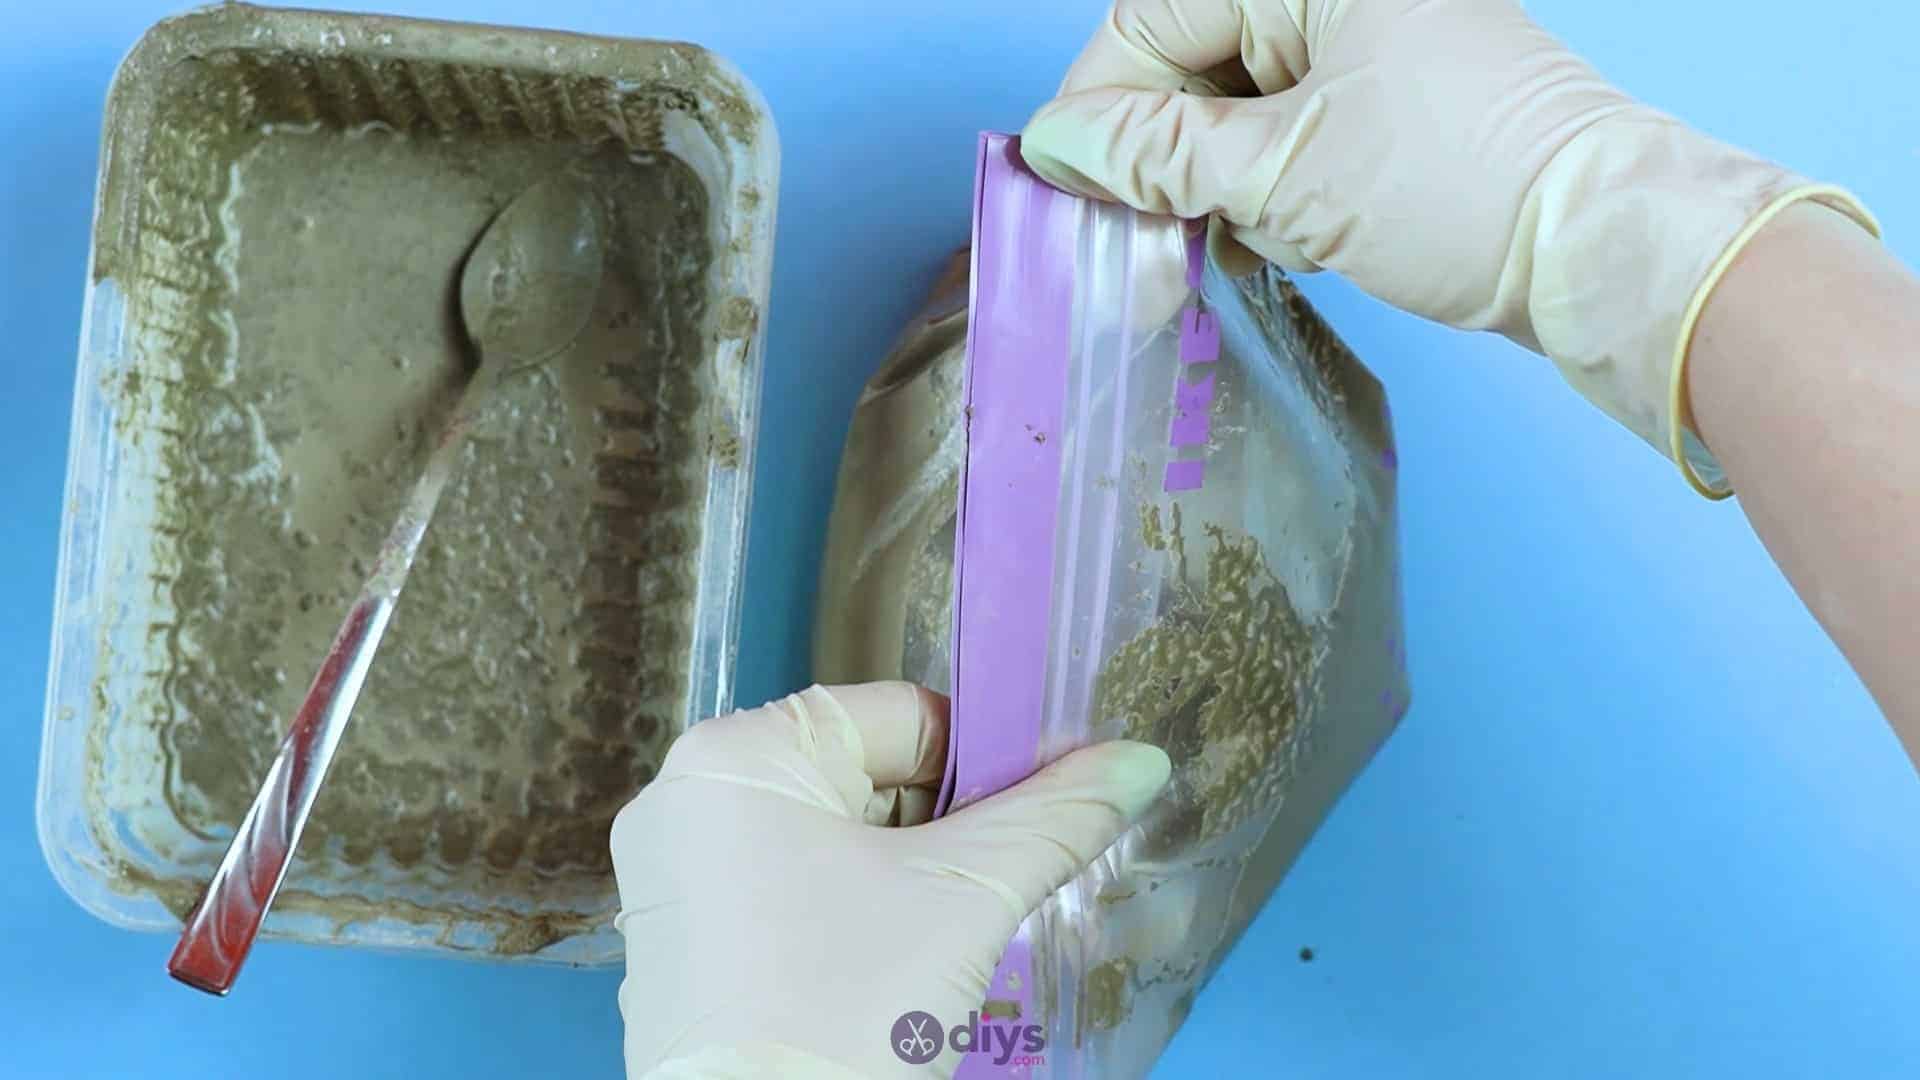
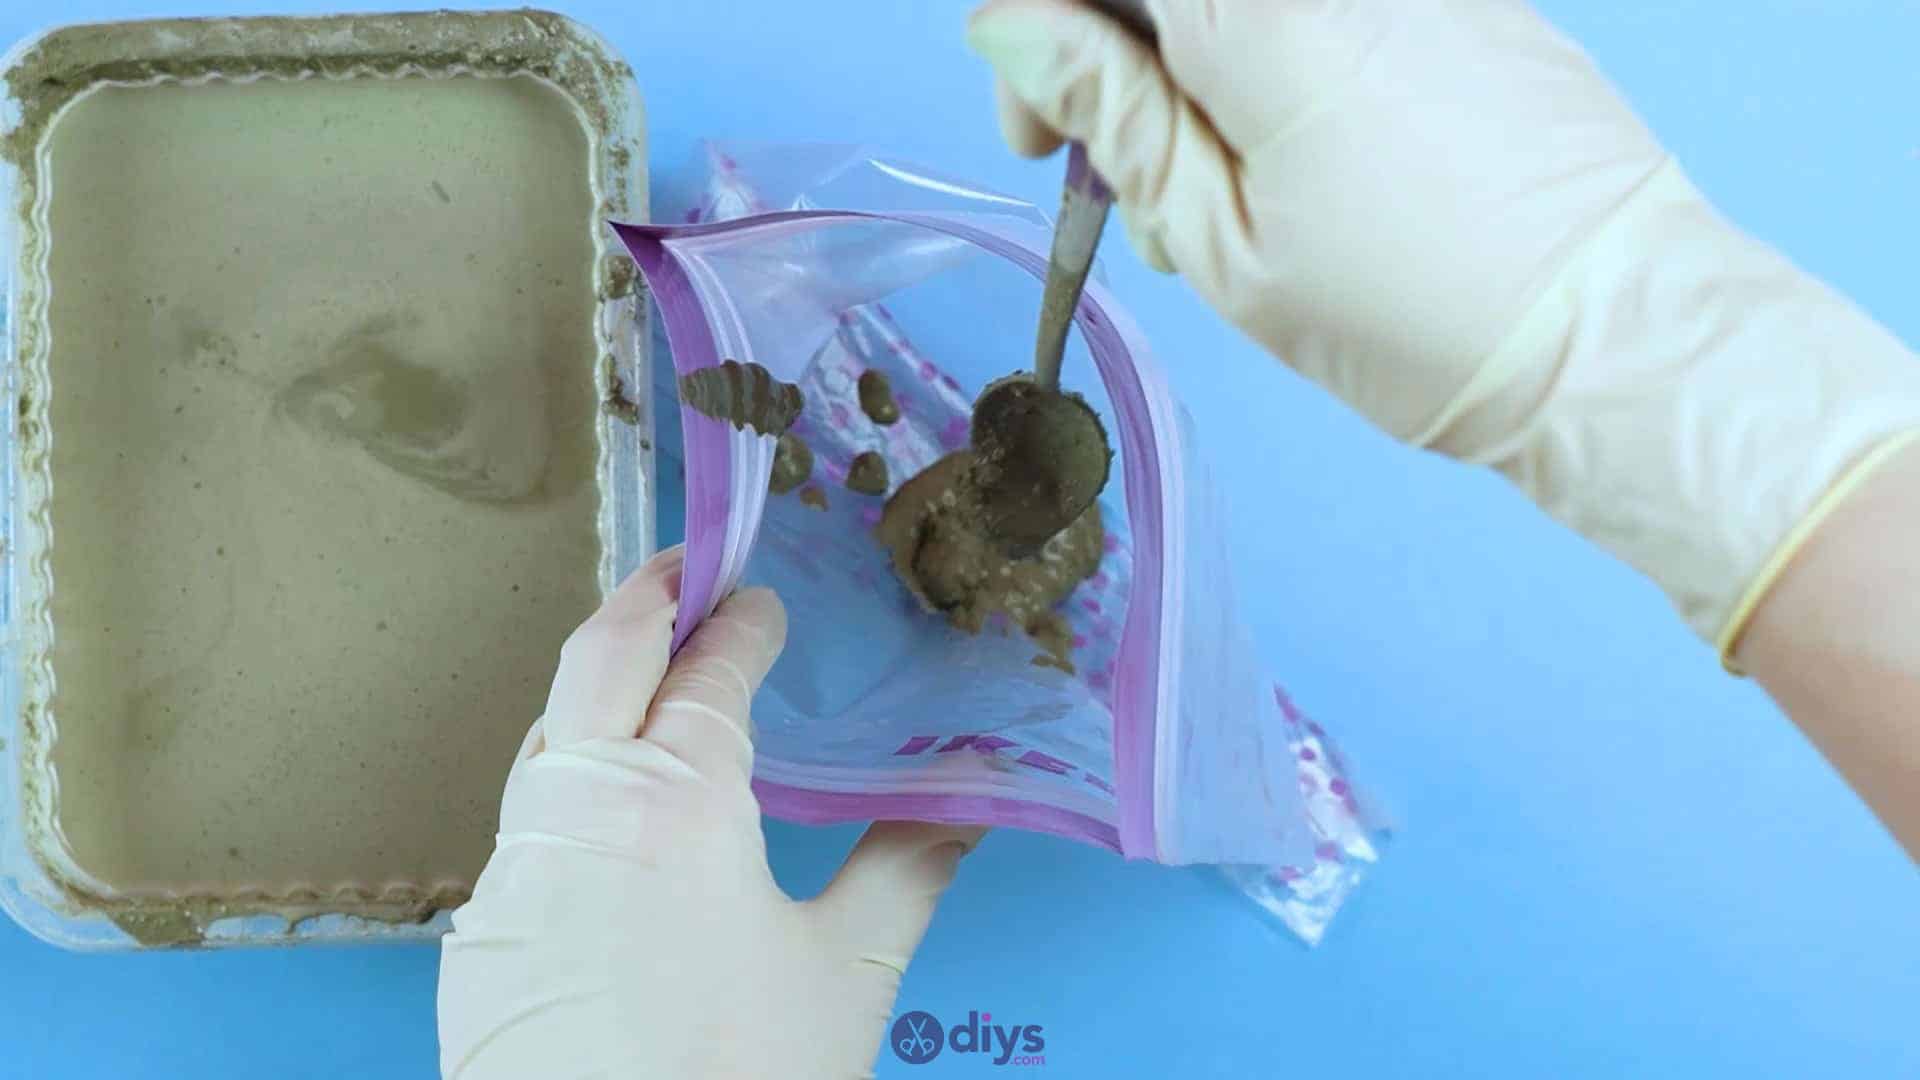
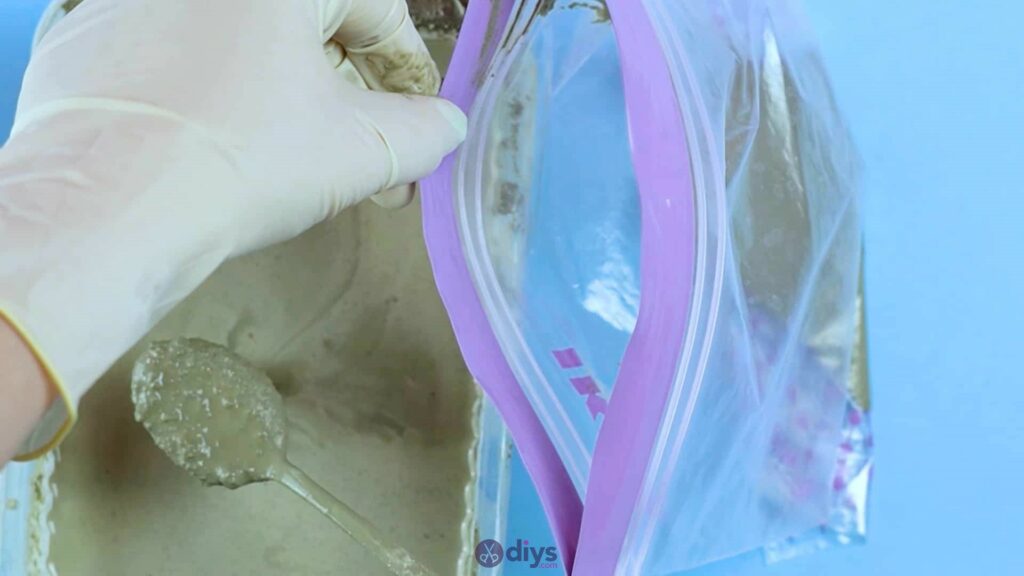
Step 3: fill the bag
Once your wet cement is properly mixed, it’s time to fill your bag plastic zipping bag. I used my spoon to fill my bag because I found it gave me more control; youcould pour yours instead, but you’ll have to be wary careful so that you don’t spill or overfill the bag. Once you’ve got the bag filled within about a half an inch from the top, seal it. You don’t need to squeeze the air outjust yet.


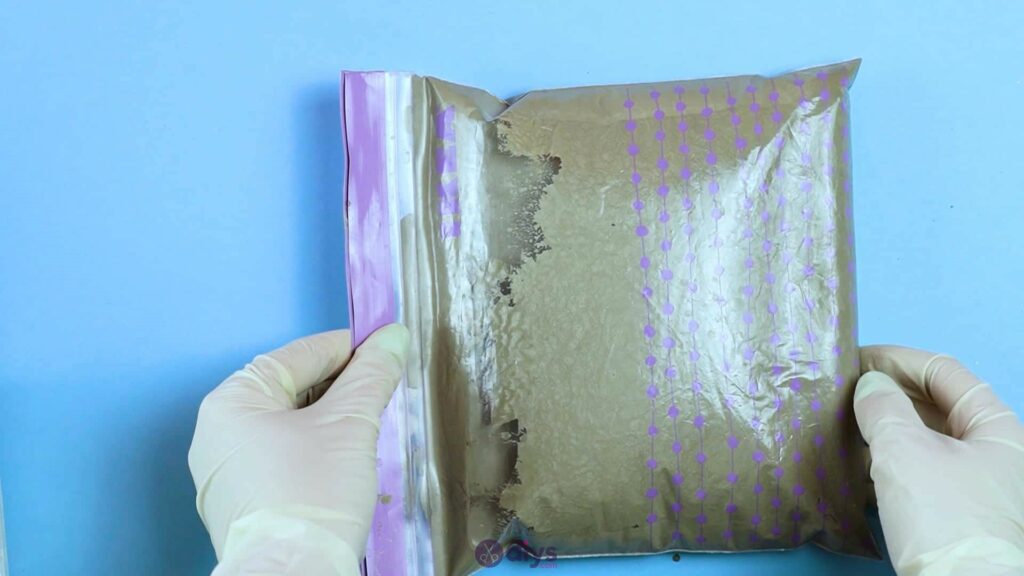
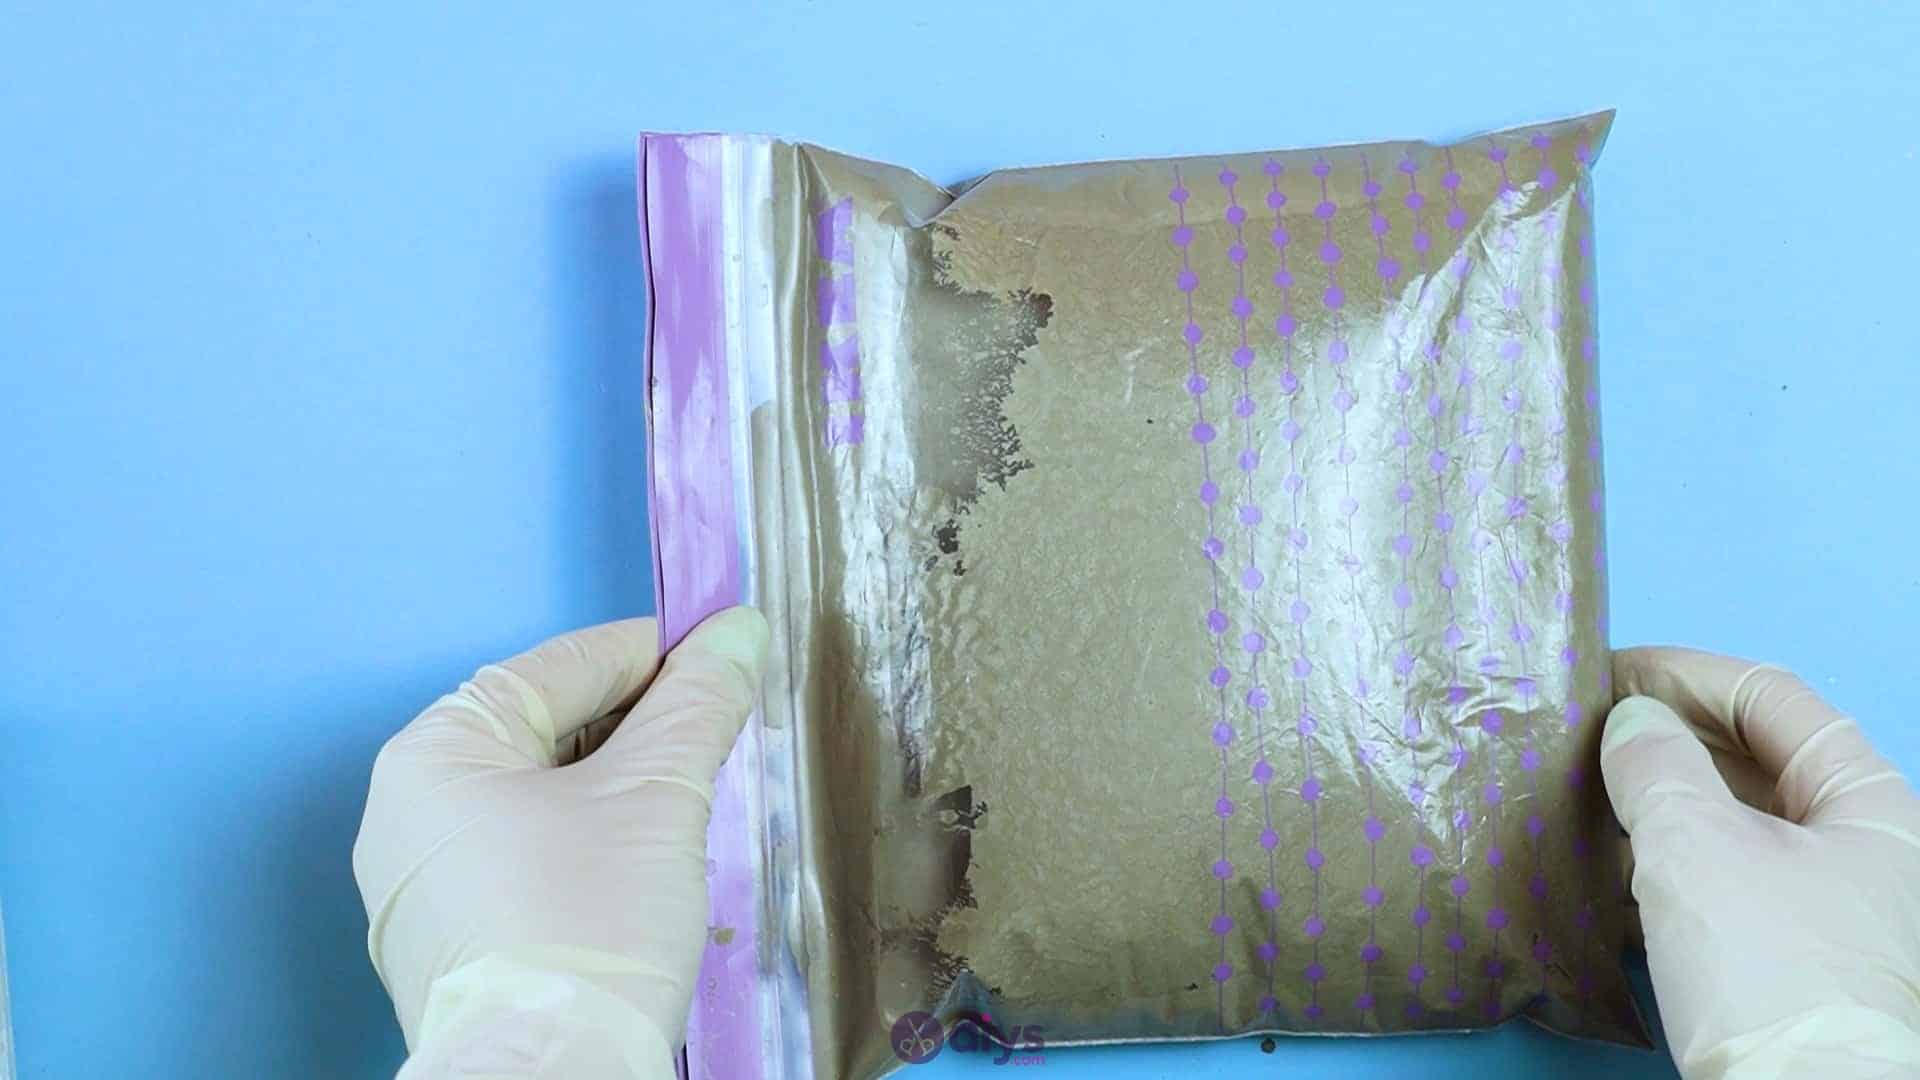
Step 4: forming the pillow
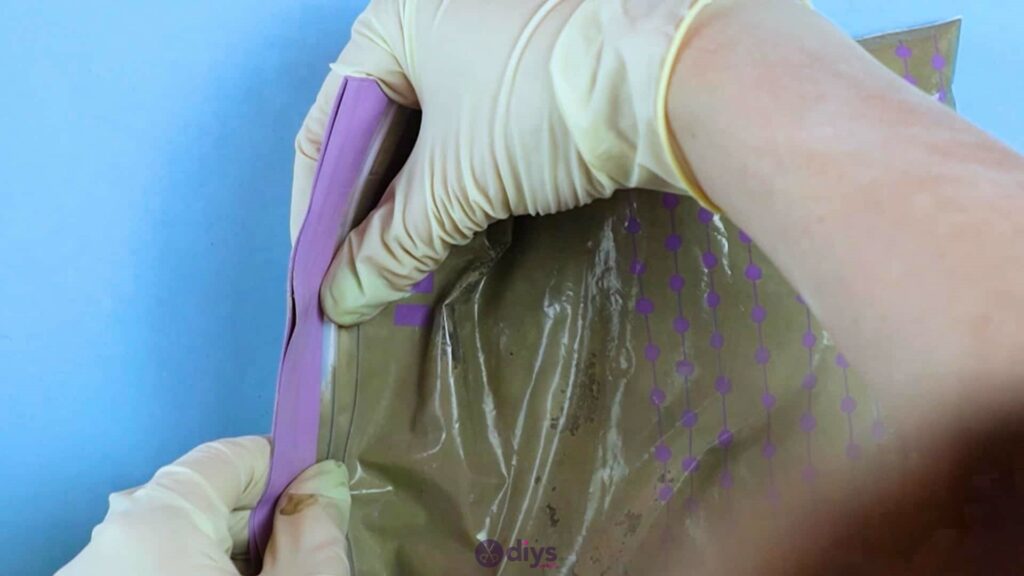
Making sure that your bag is very well sealed, turn your bag to lay it on its side. Feel free to help the concrete mix inside maneuver a little bit so that the whole width and length of the bag fills entirely. You’ll see that it’s already taking on the shape of a squared cushion. Now, very carefully tip up the zipped side and open it slightly,just enough to let the air out by pushing on the top of the bag gently with your other hand.
Try not to push so hard that you actually press into the concrete or change the shape; your goal is just to get excess air out of the bag so its actually filled with the concrete mix itself and not just settling mix on the bottom with a bunch of extra air on top. Close the bag again tightly. I placed a paintbrush under the top edge to keep it tilted upwards rather than drooping down, which would influence my square shape.
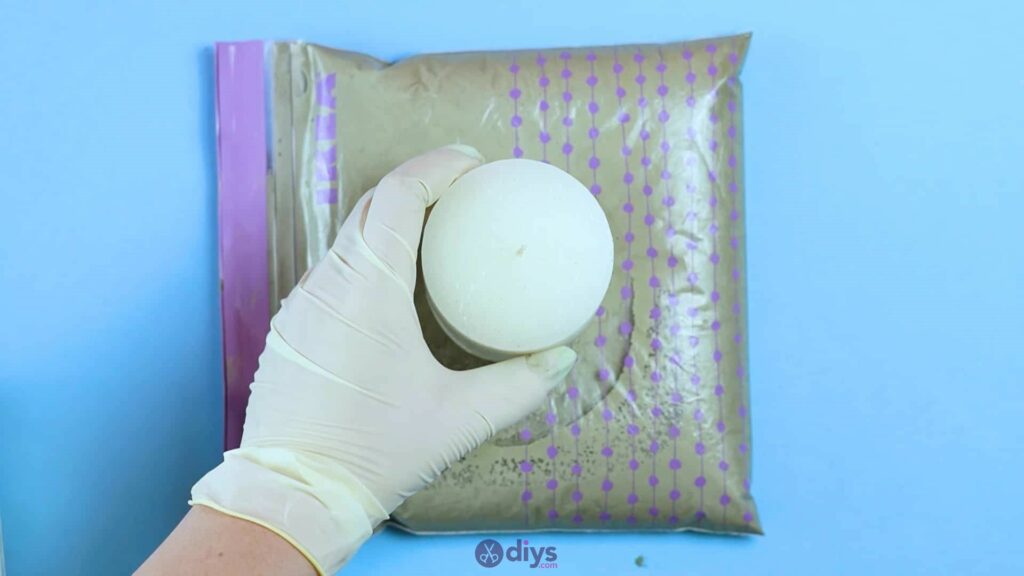
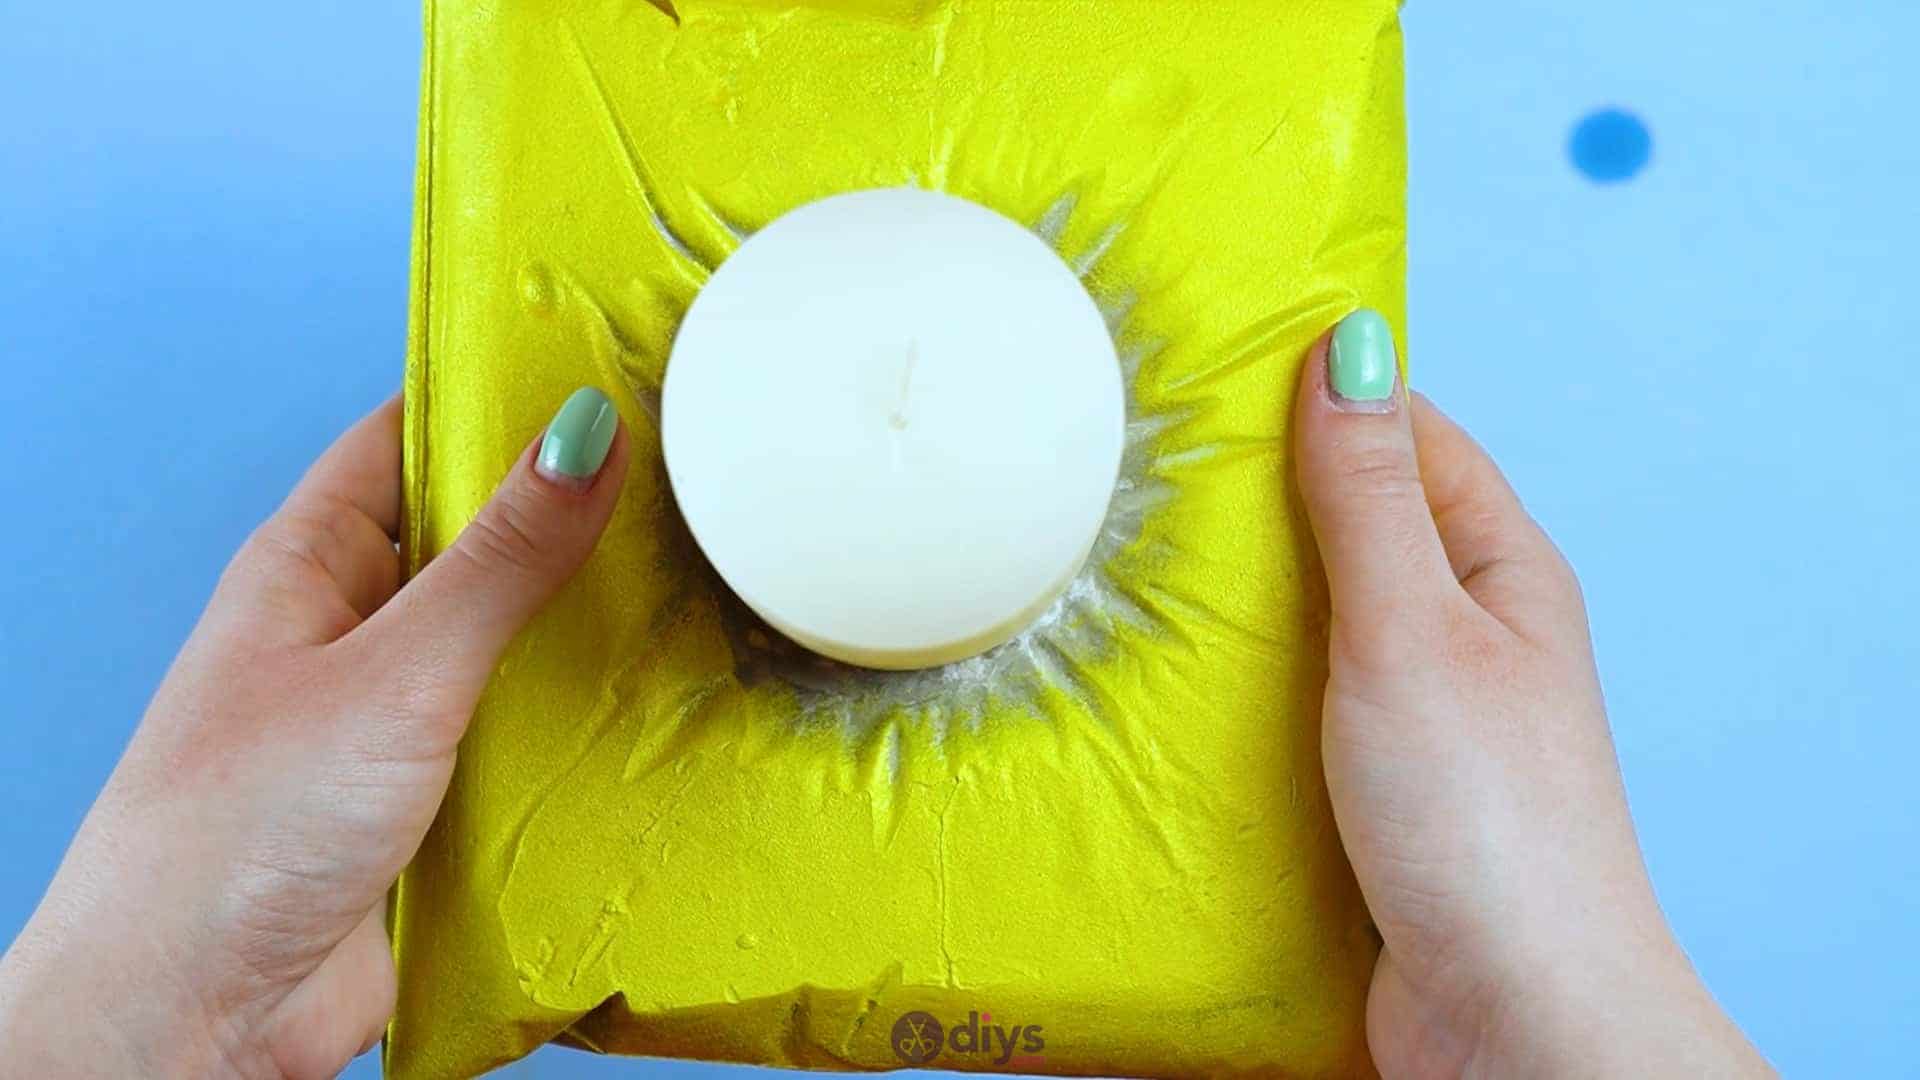
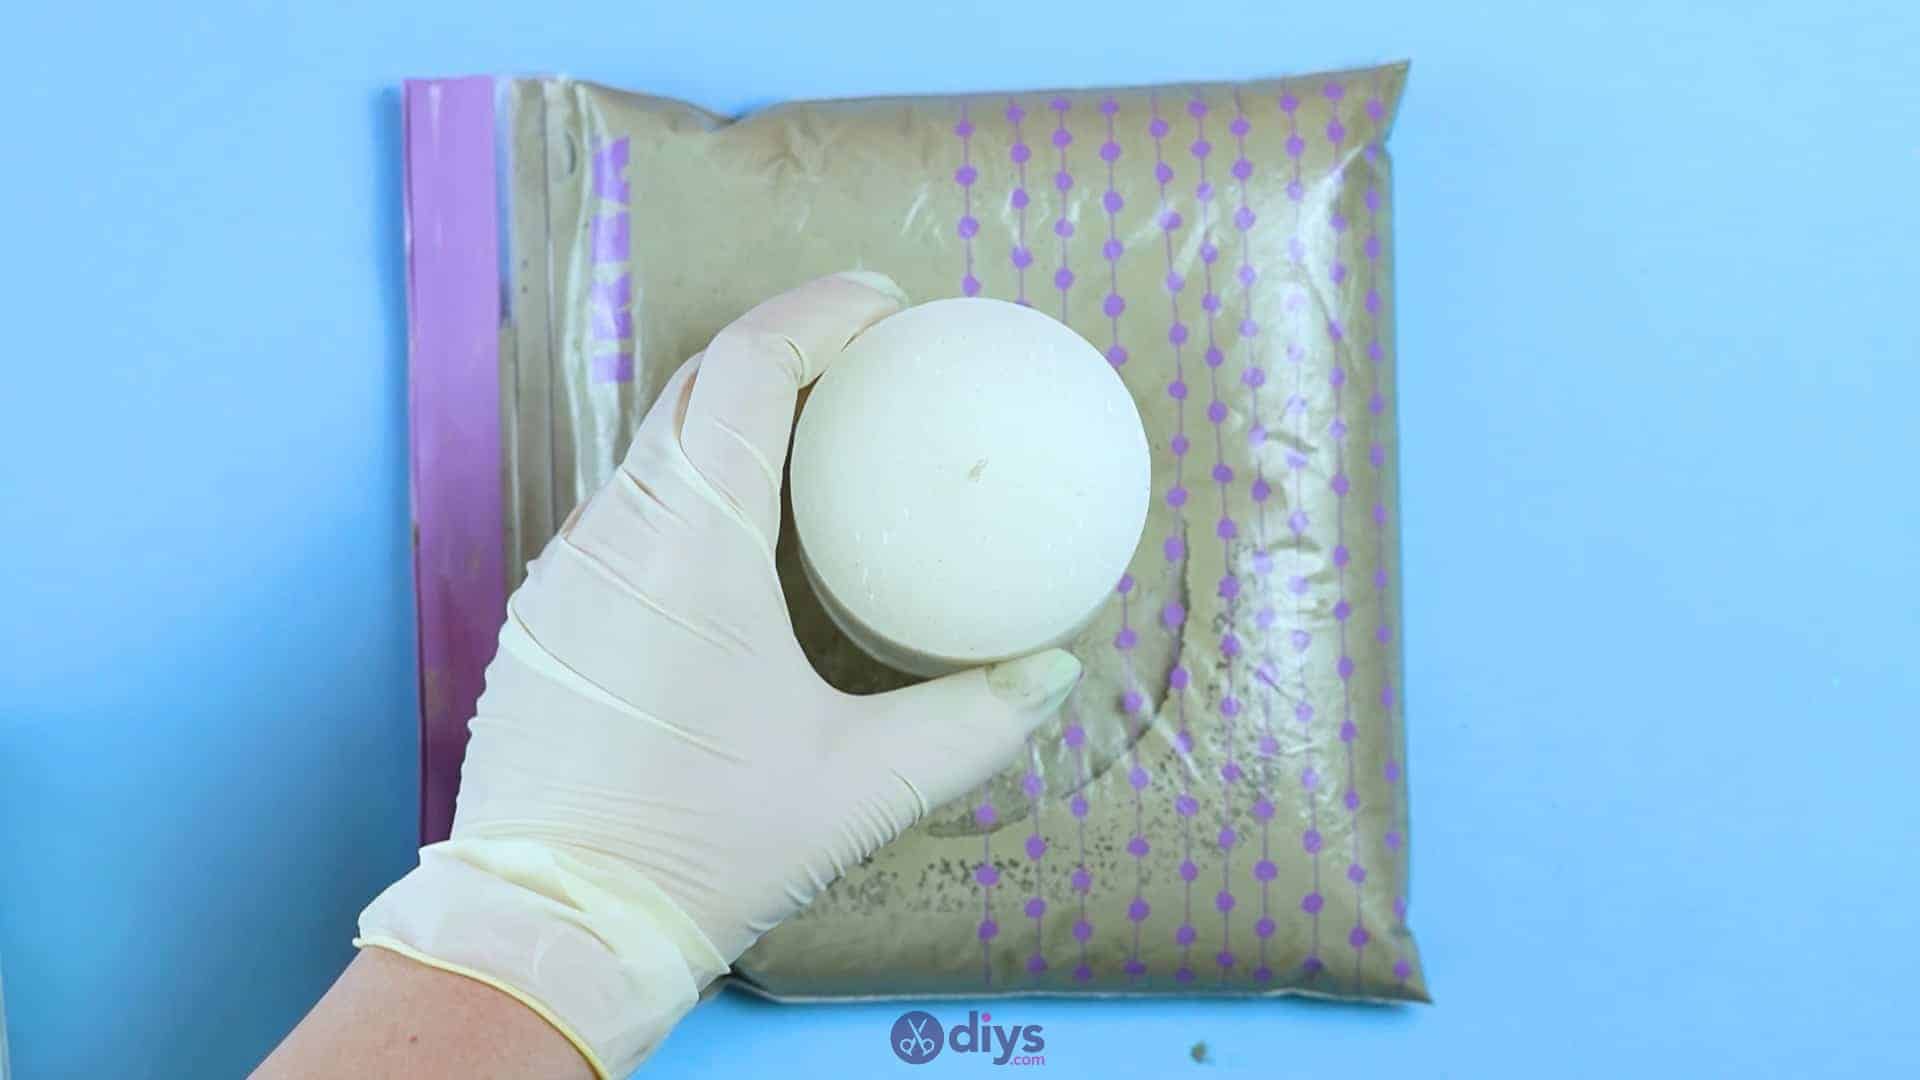
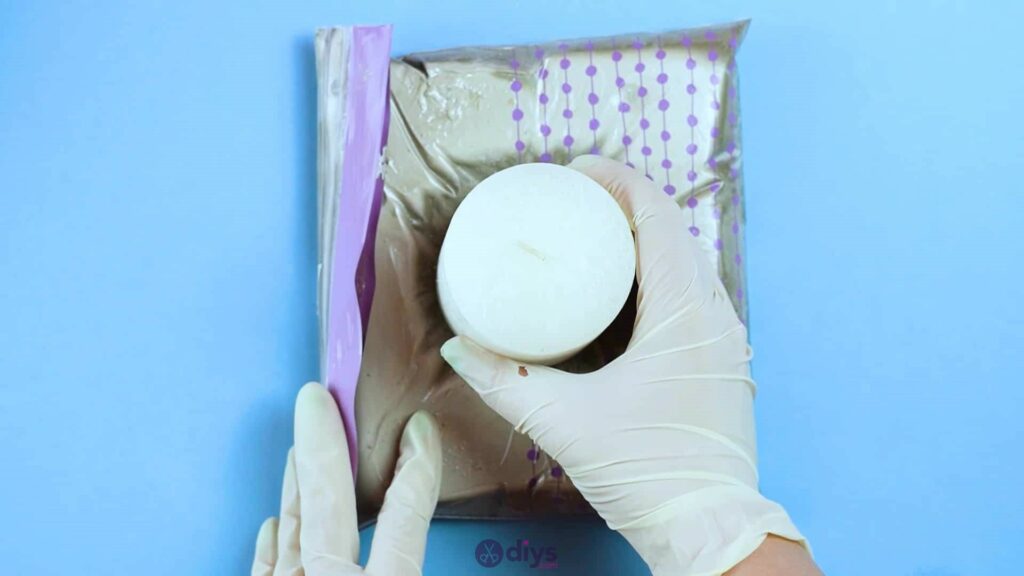
Step 5: placing the candle
Take the actual candle you plan to use in the piece and set it on the top flat size of the bag, right in the centre. This time, youcan let a bit of its weight press down into the concrete; just make sure that you’re gentle so that air pressure doesn’t burst the top of the bag open and cause your mix to spill out. This step creates a depression in the centre of the finished piece that’s the perfect size for your candle to sit solidly and flat in when you light it later.
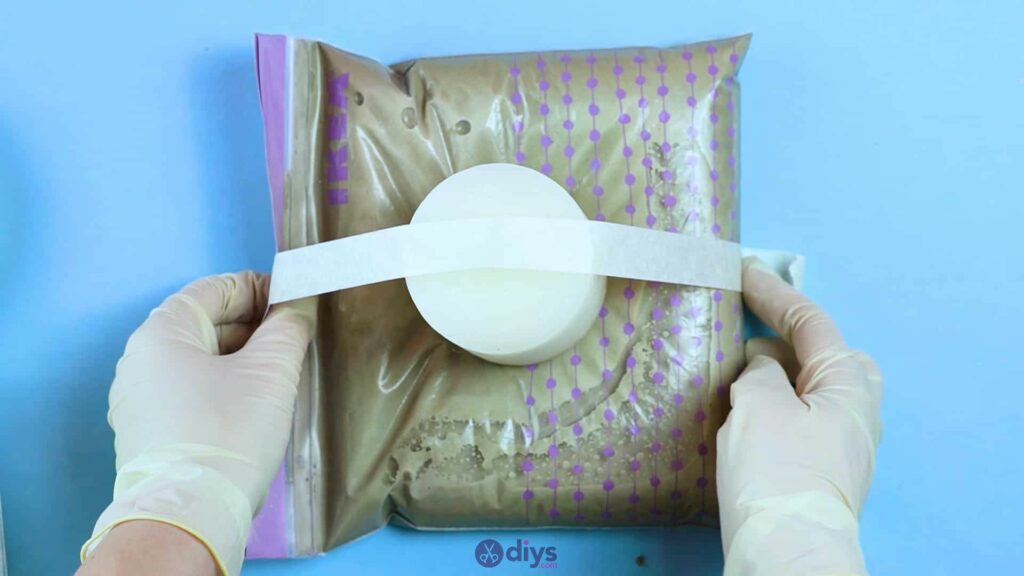
Measure out a piece of tape that’s long enough to stick one end under the right edge of your beg, stretch up and across the top of the candle, and stick the second end down under the left edge. This will keep your candle upright and in place, stabilizing it to make the right shape until the mix has solidified. Now leave the whole thing to dry all the way through.
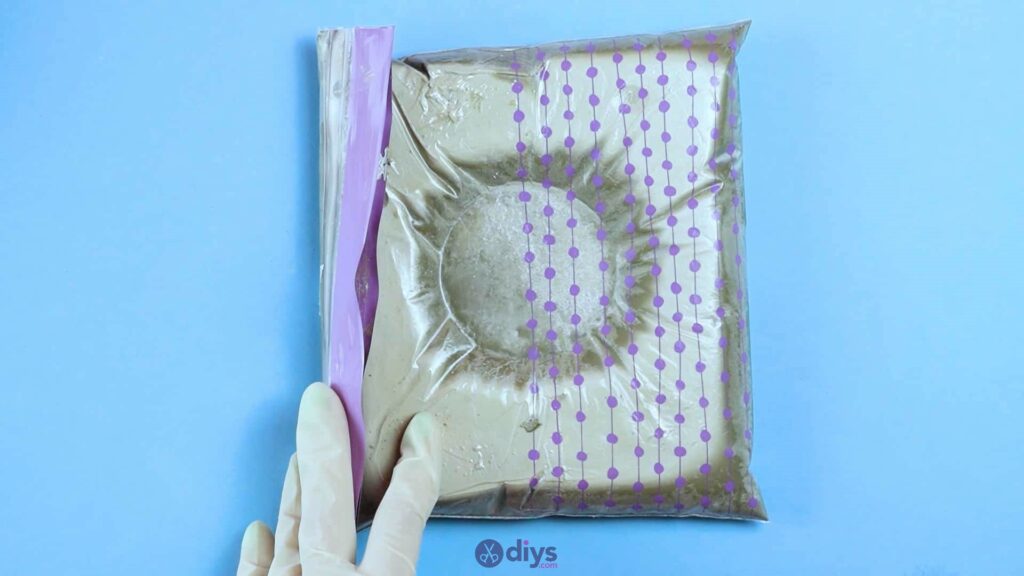


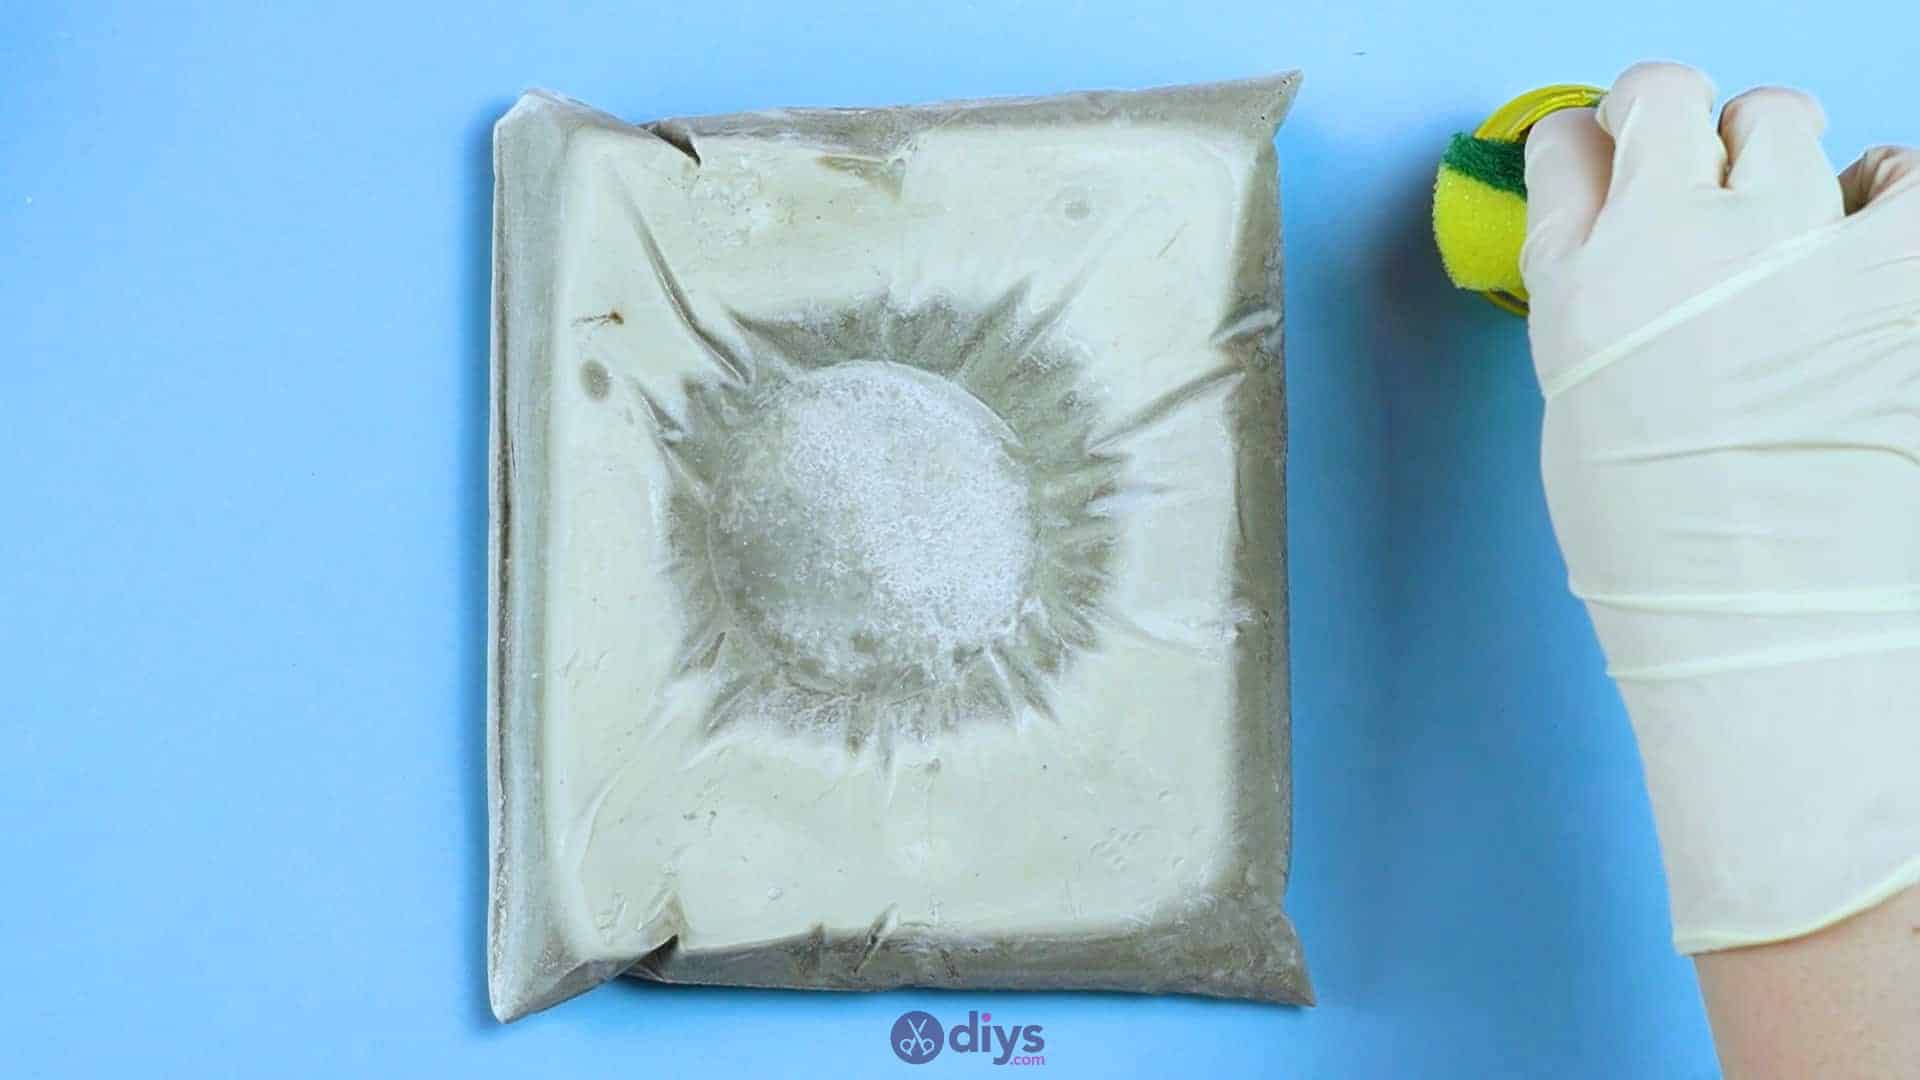
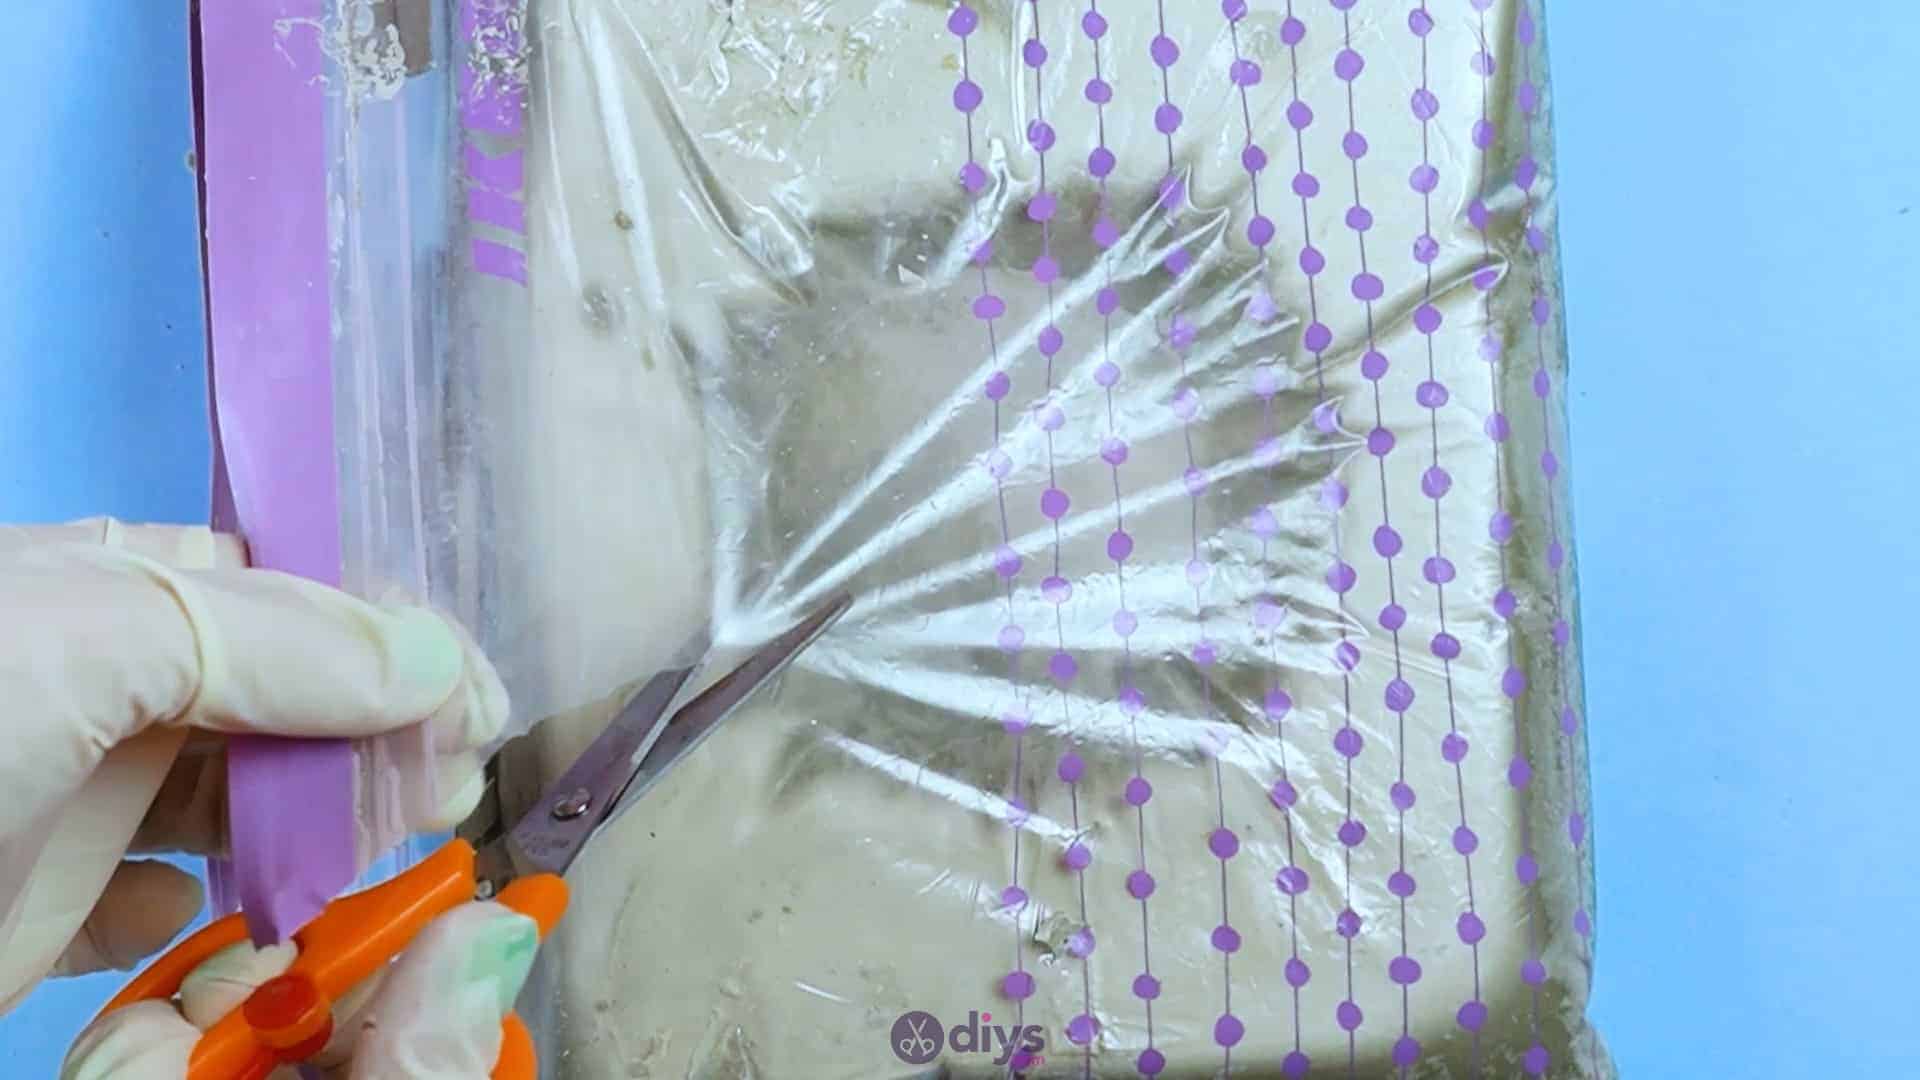
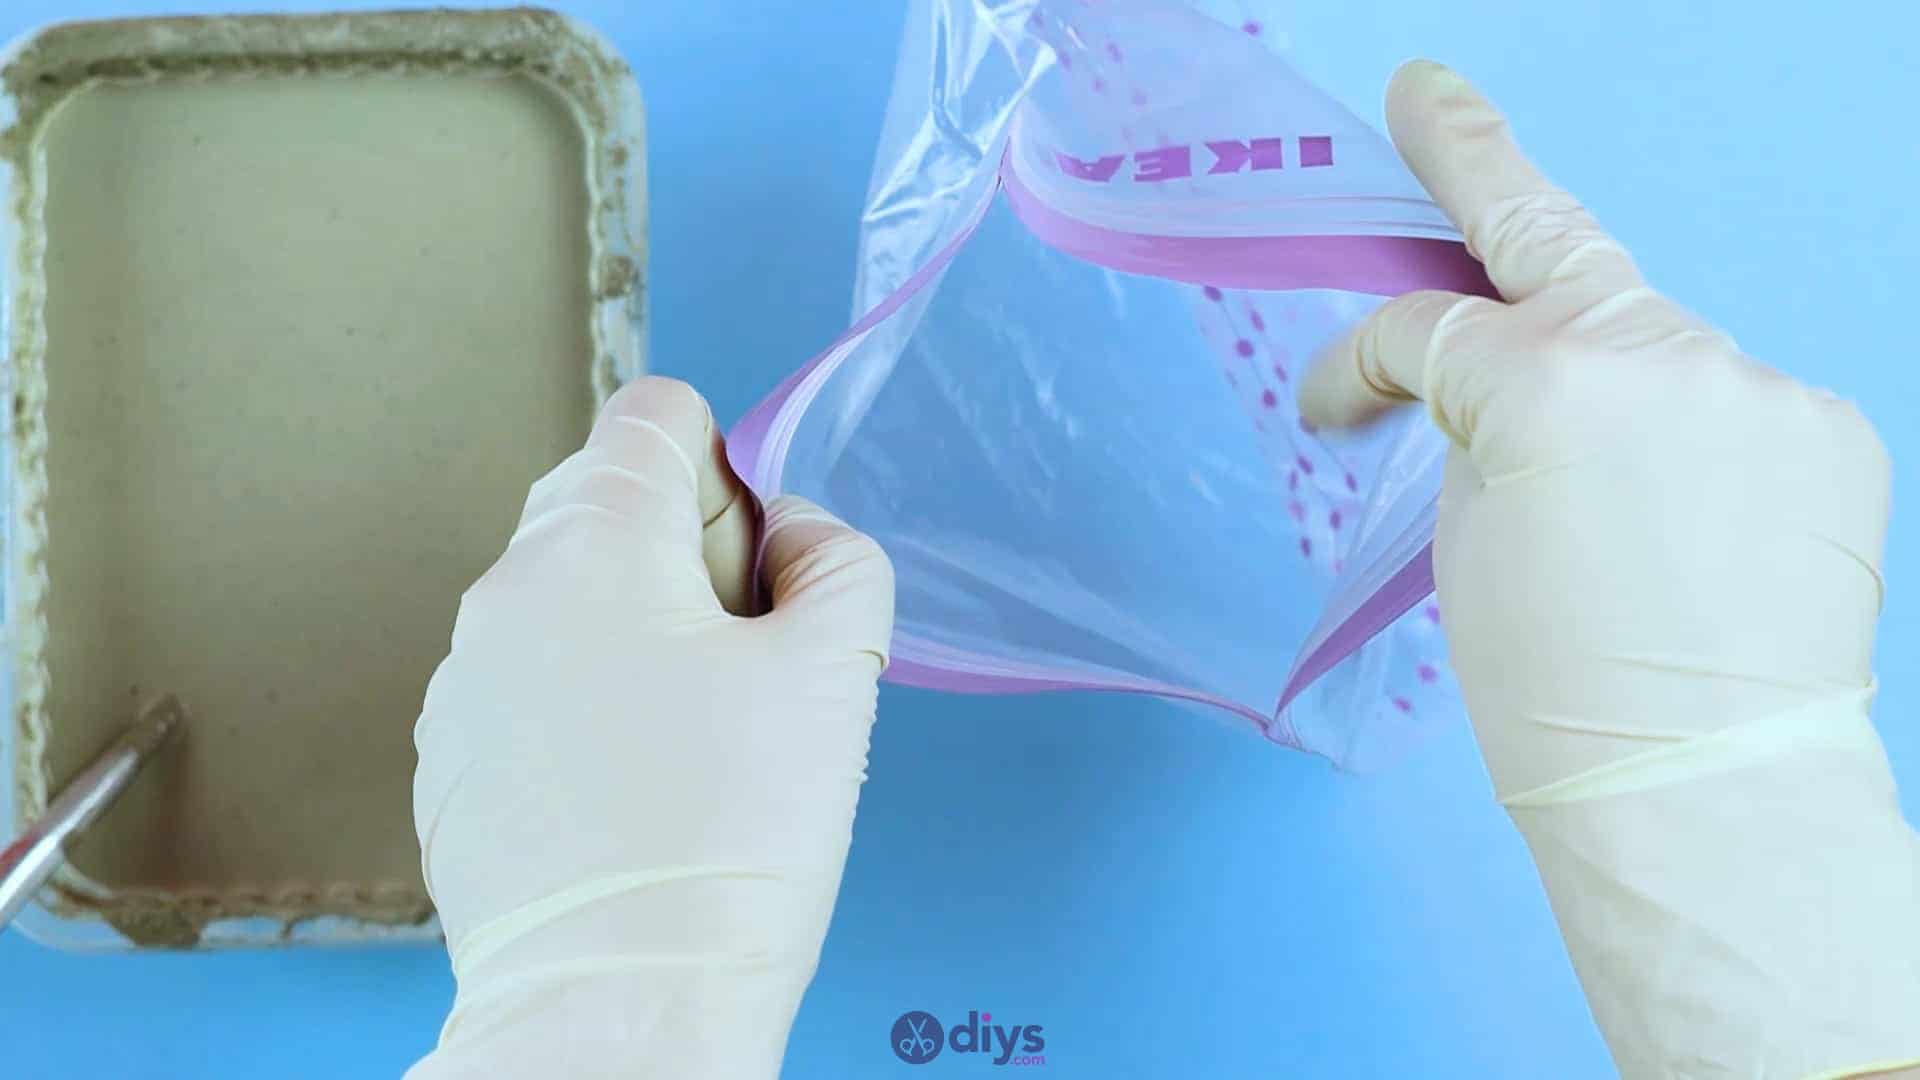
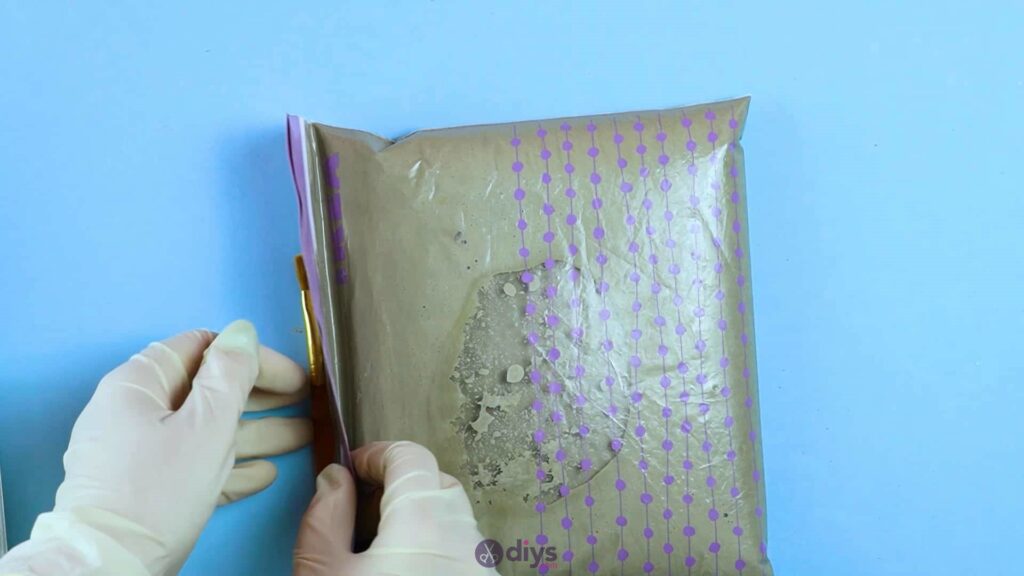
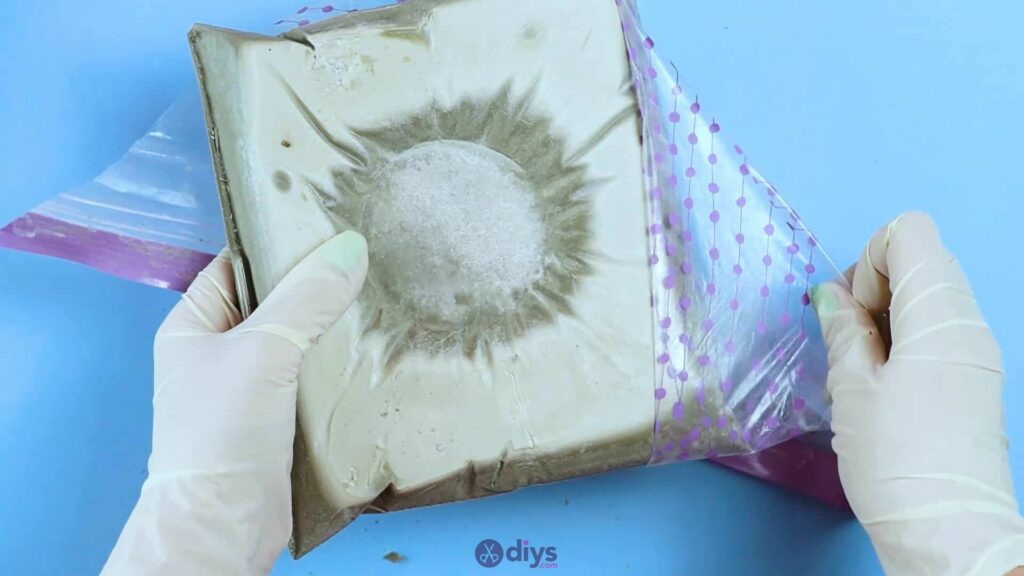
Step 6: remove the bag
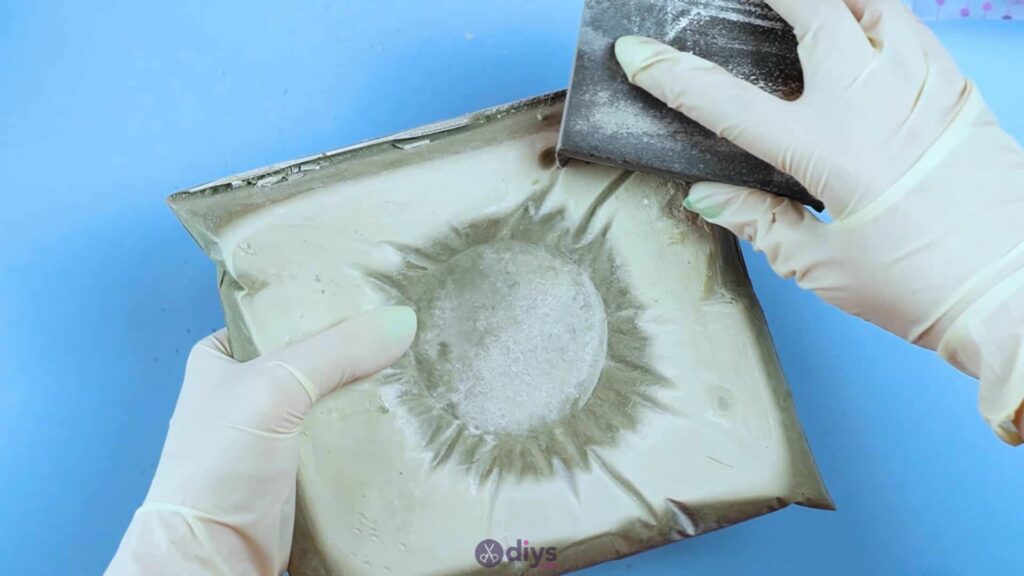
When the concrete has dried thoroughly, remove the tape, lift your candle off the top, and set it aside for the moment. Now you can open the bag (cut it if necessary) and peel the plastic away from the surface of your new concrete piece. Use sandpaper or an abrasive block to smooth the surface of the new concrete pillow.
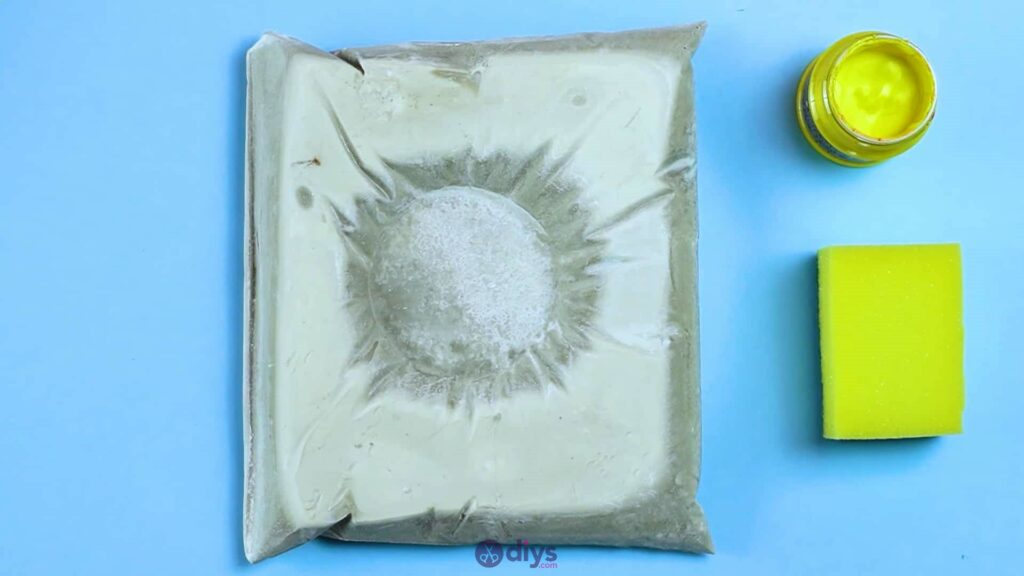

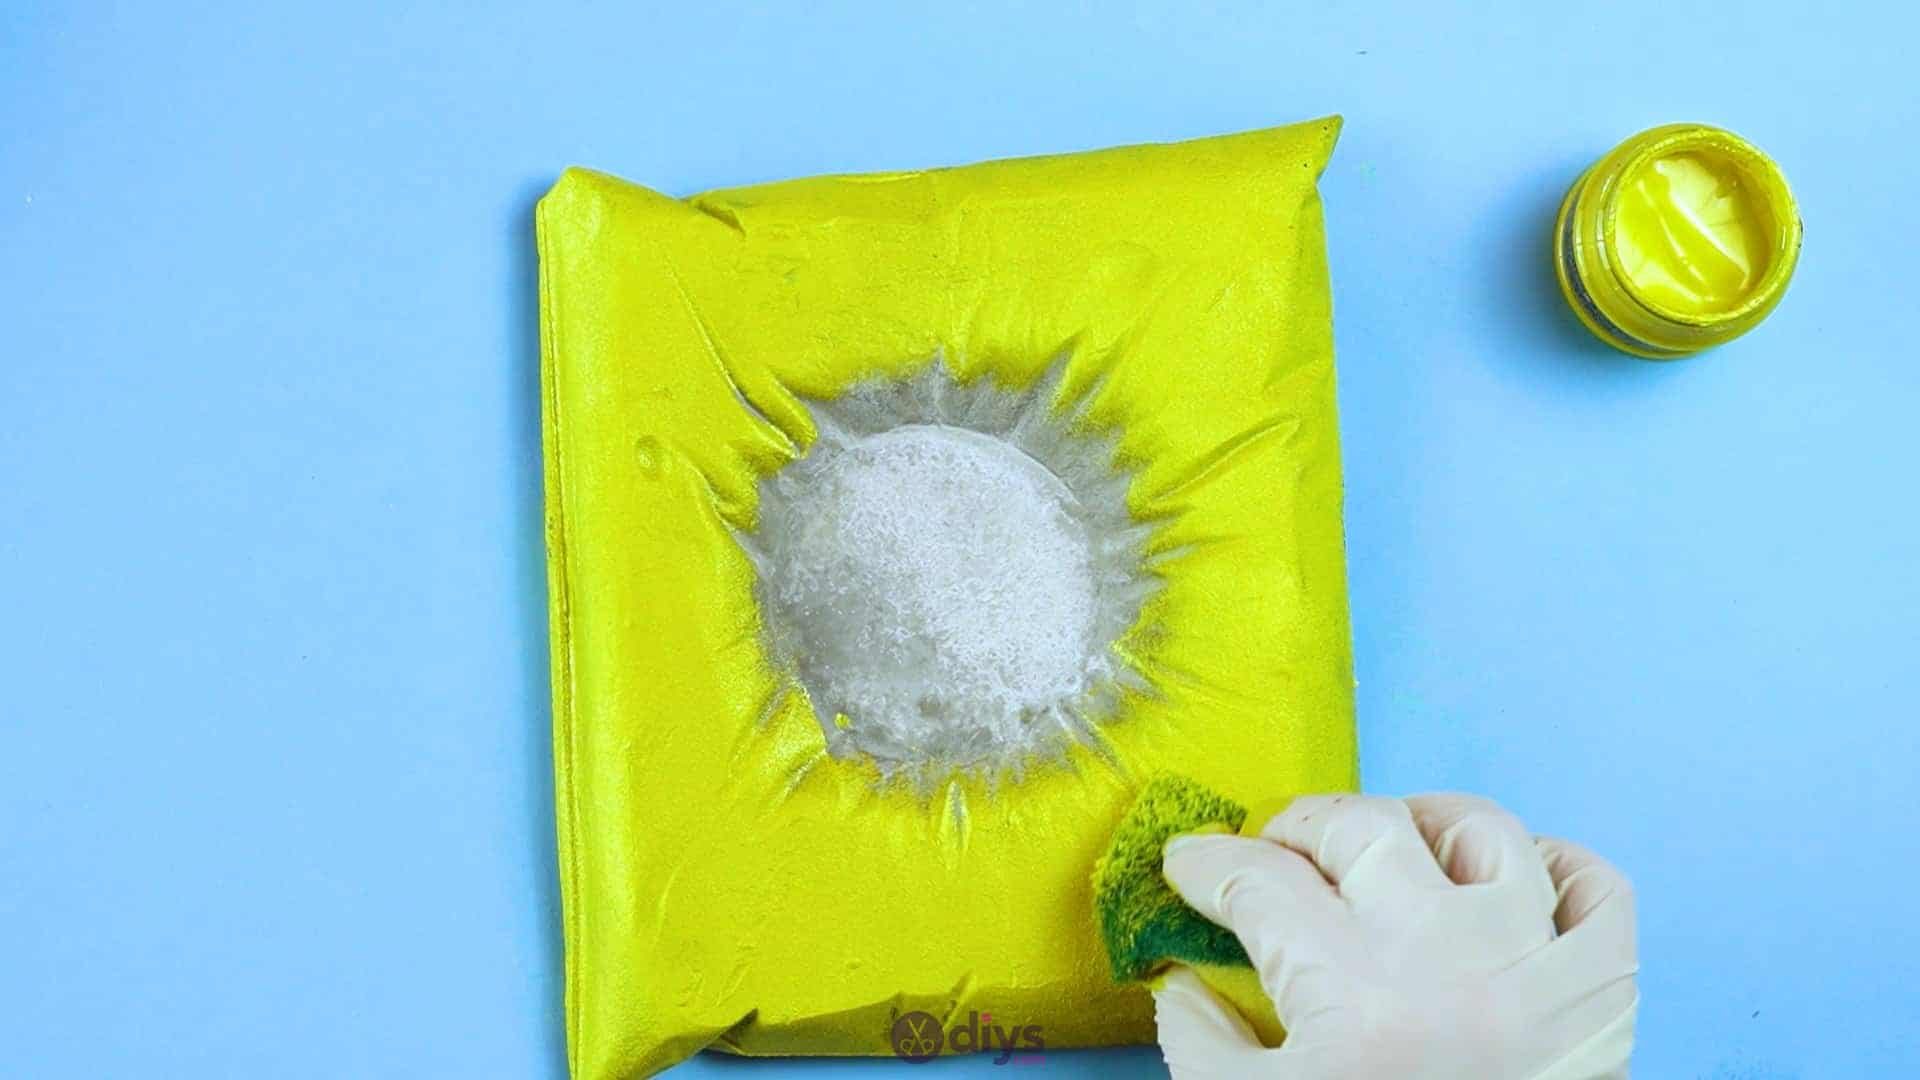
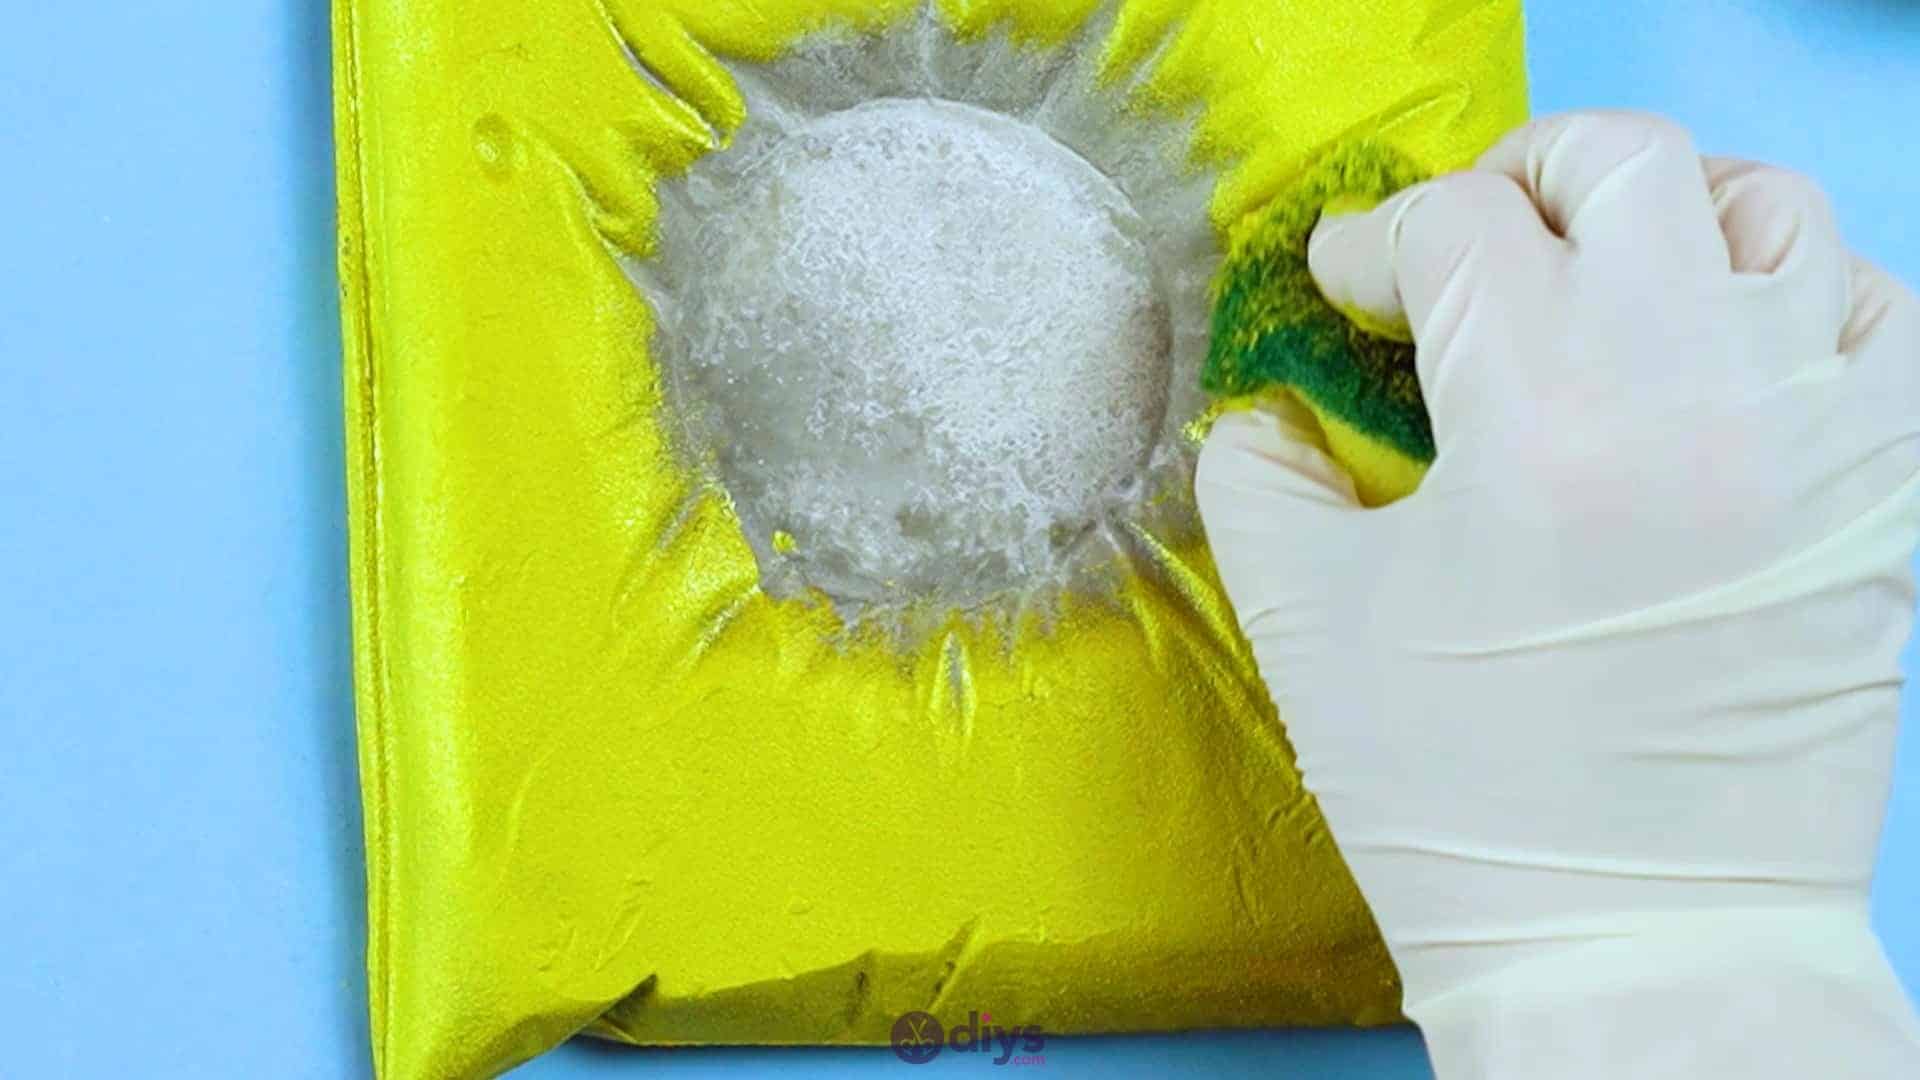
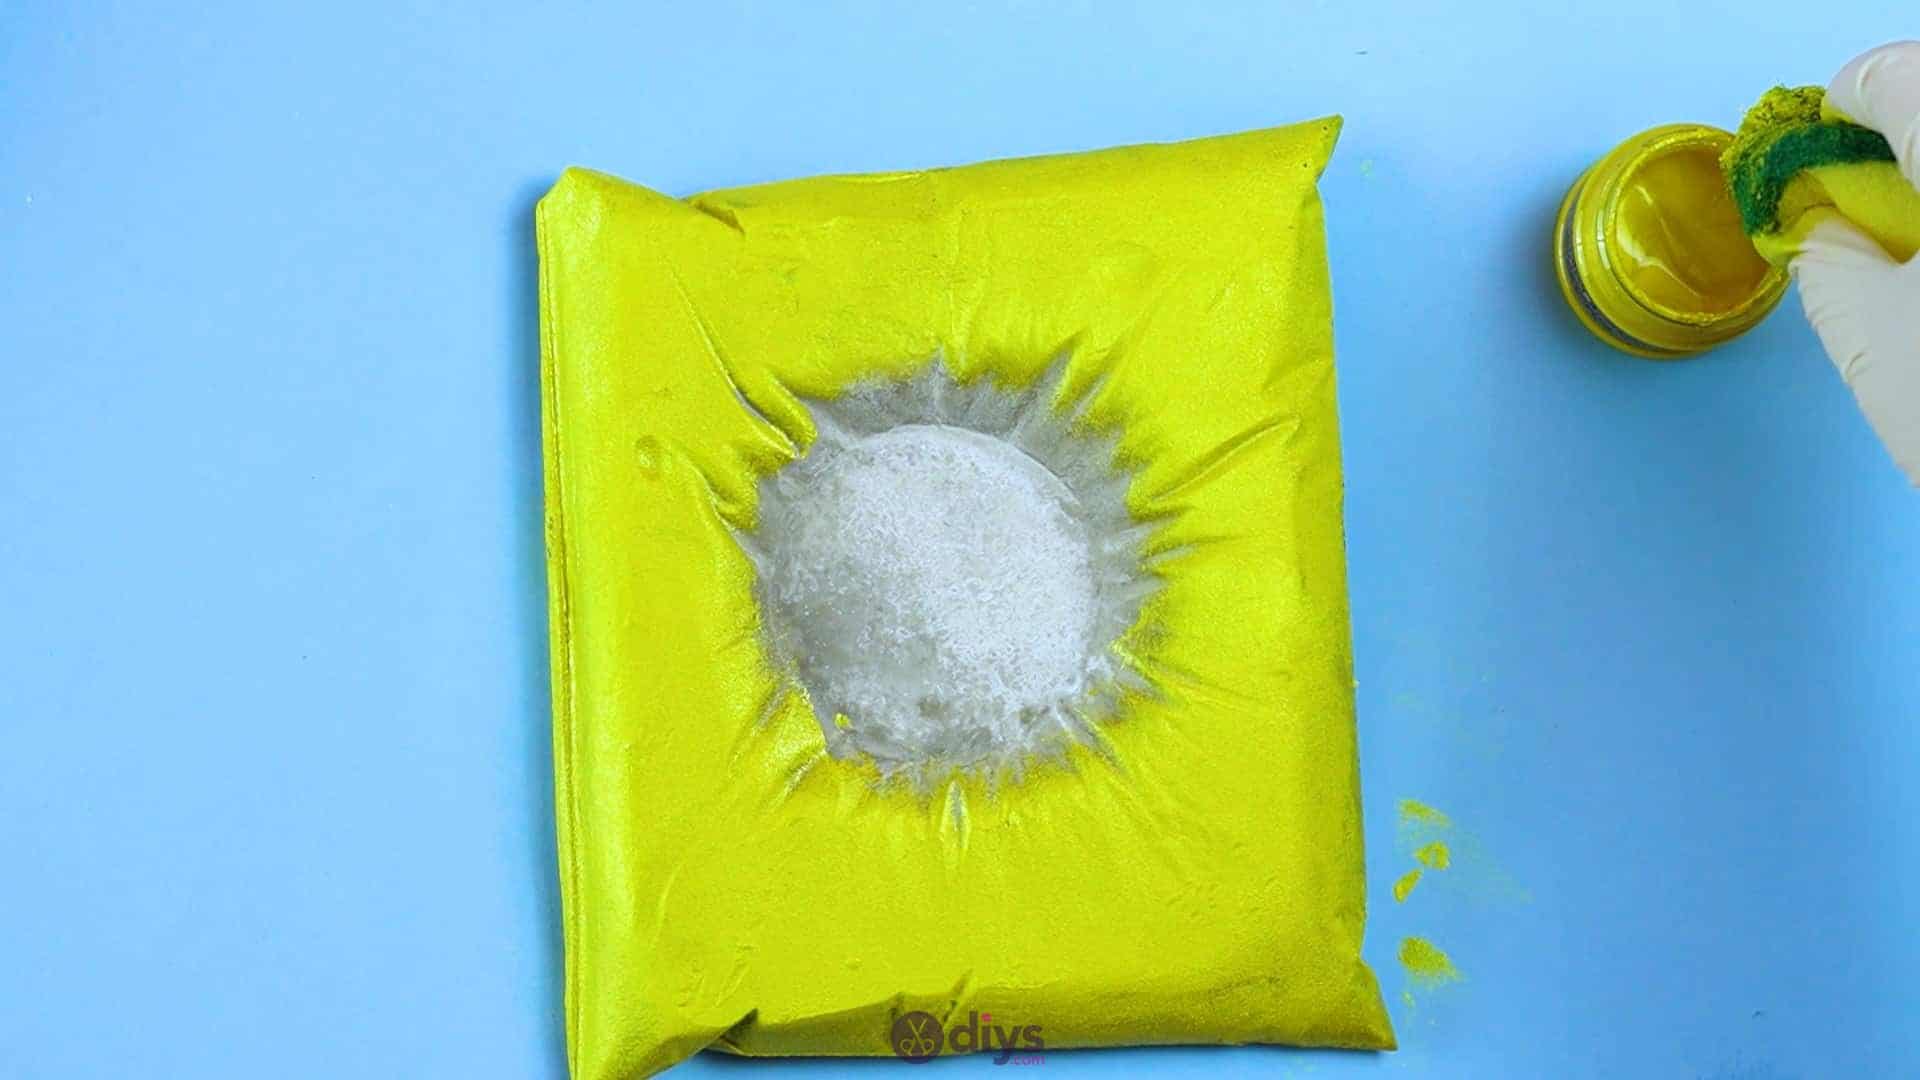
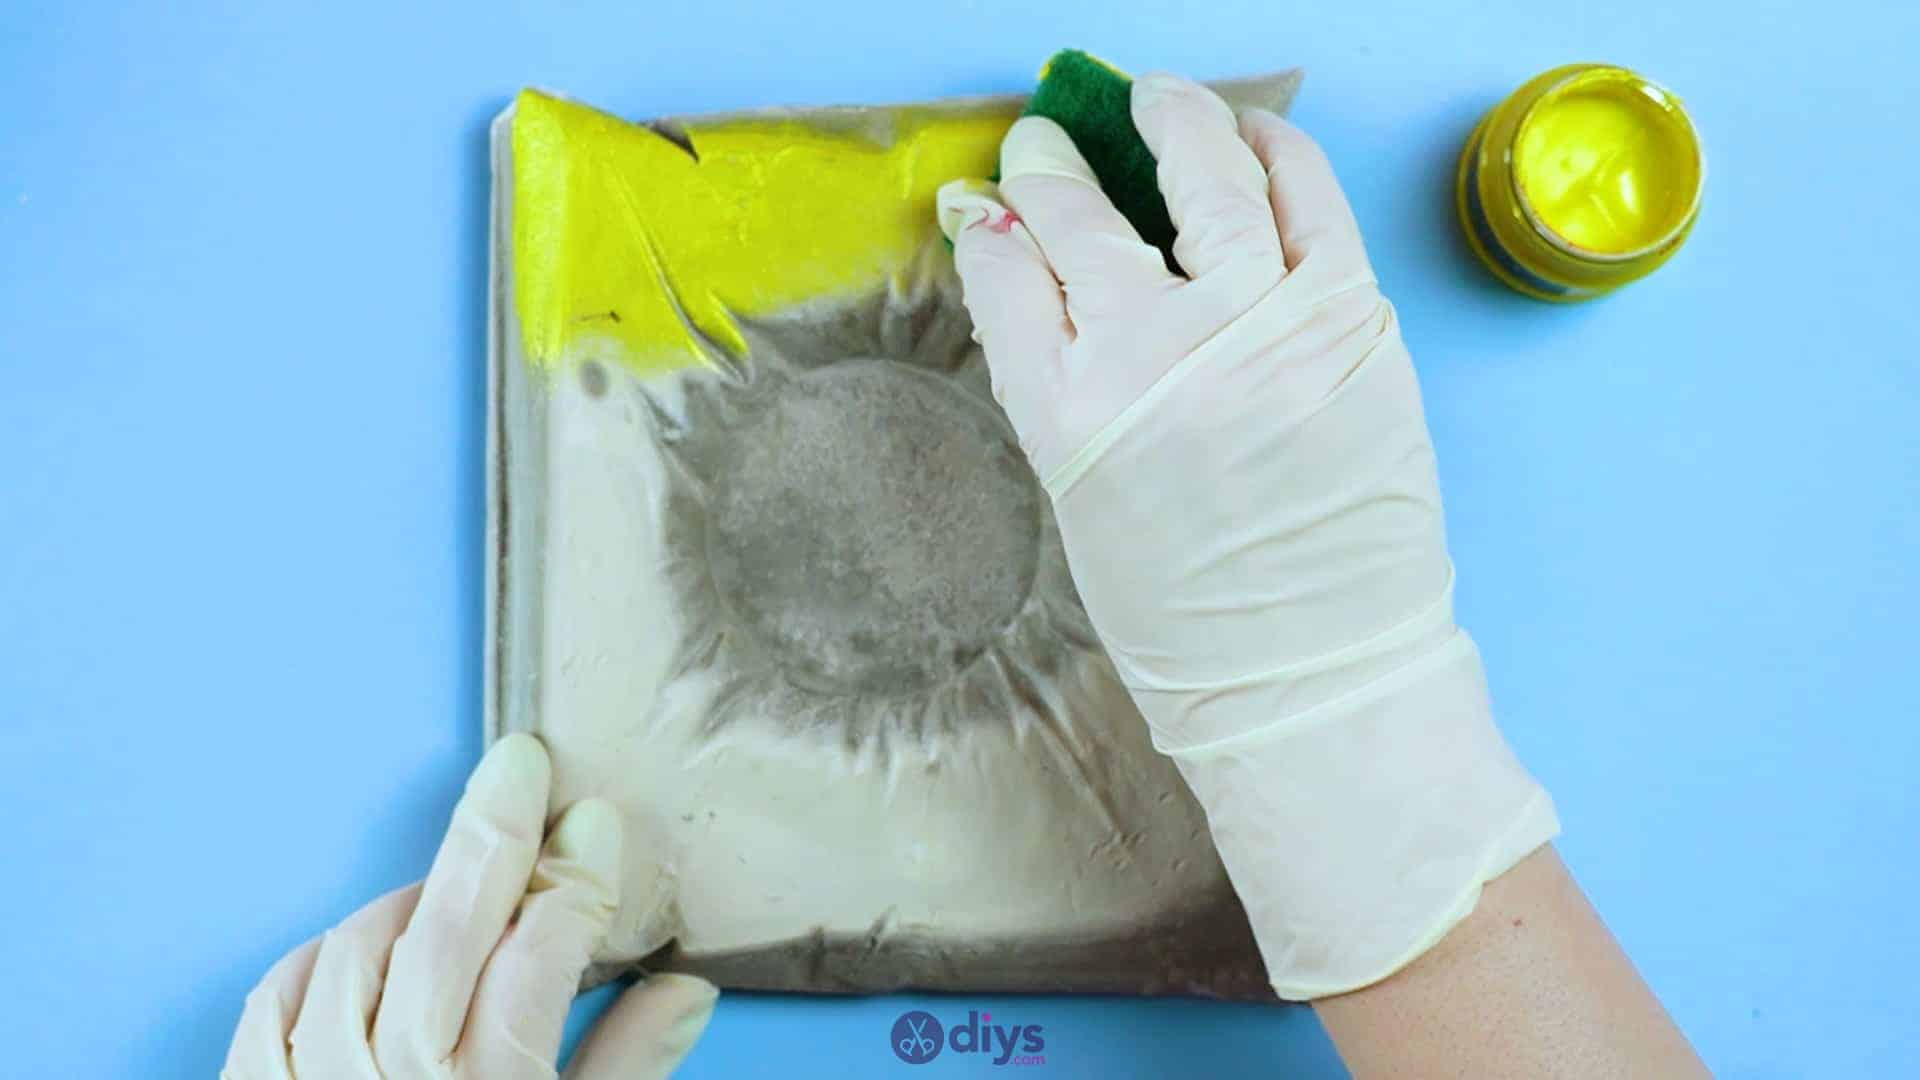
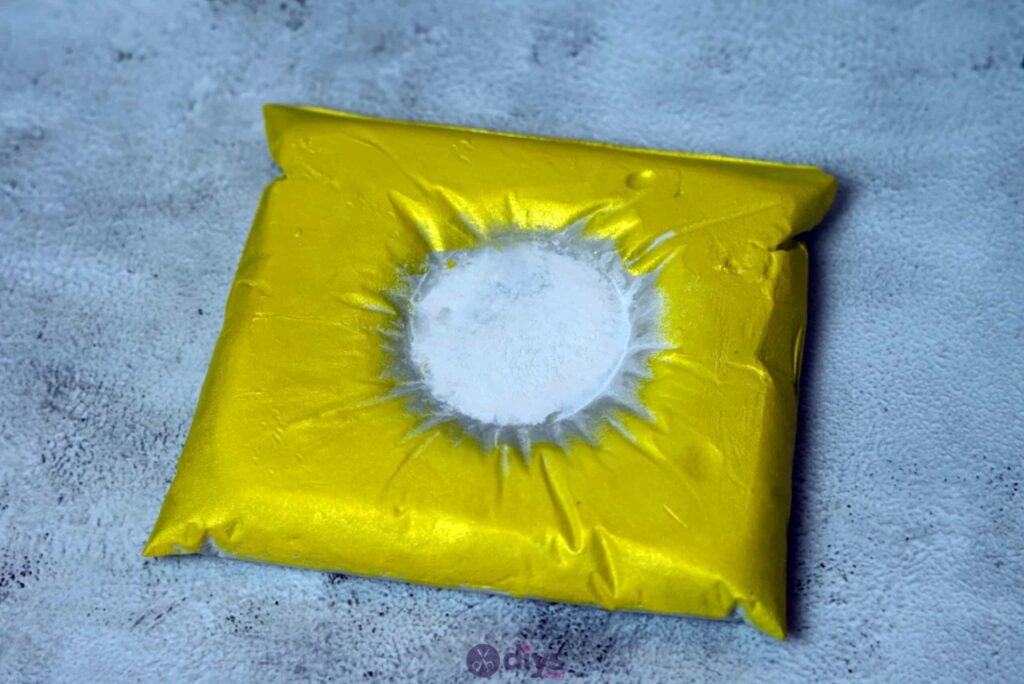
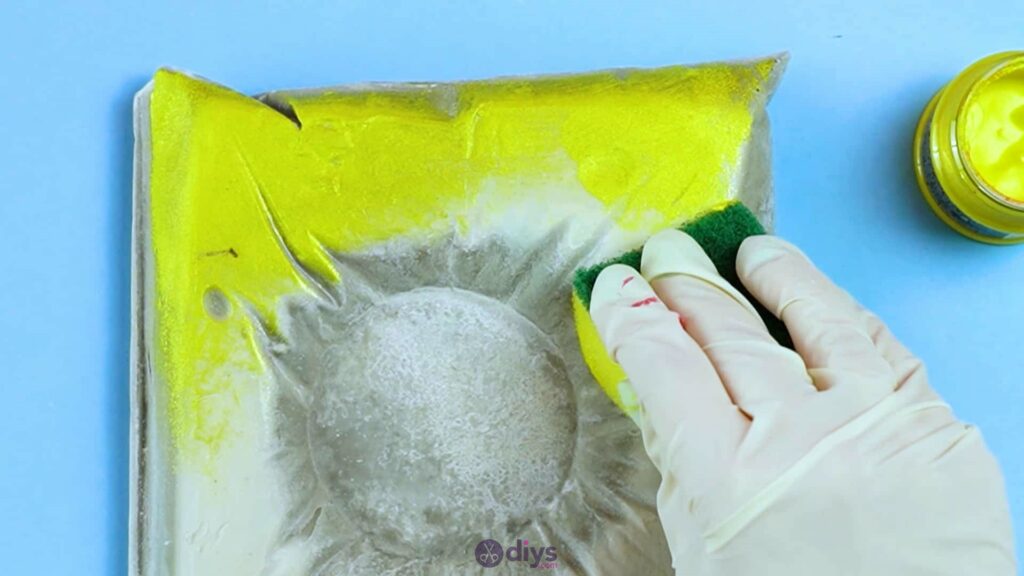
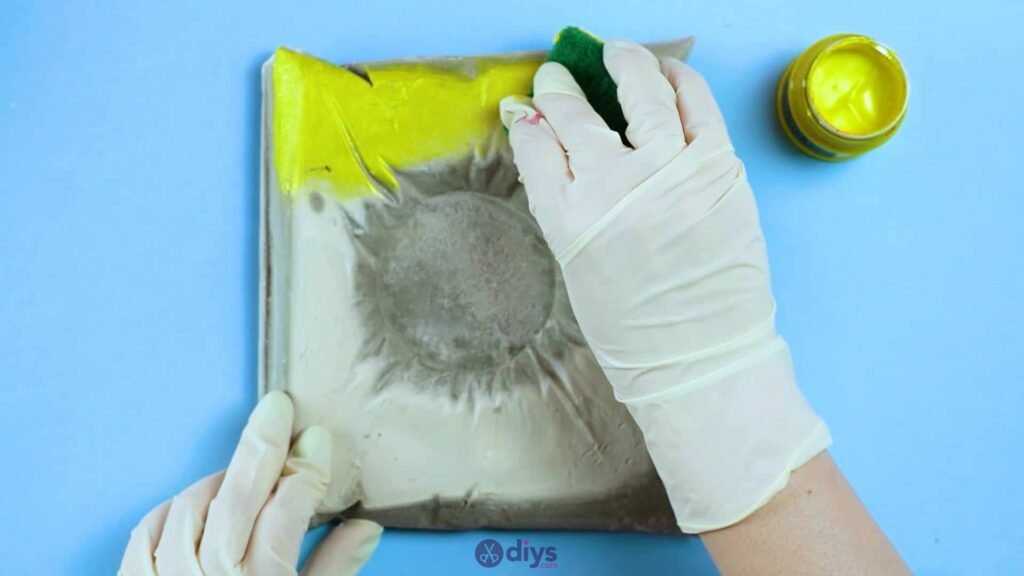
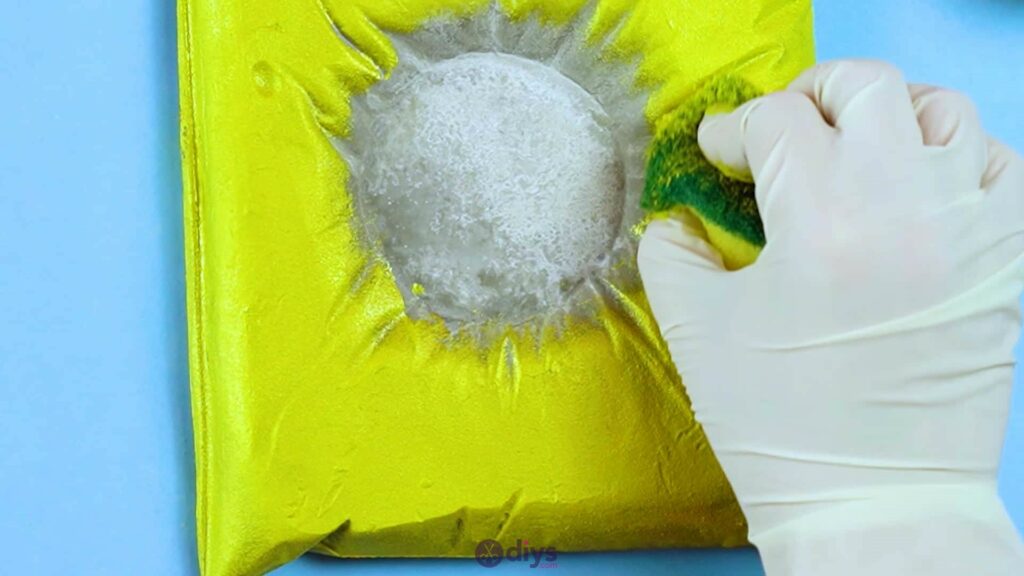
Step 7: decorate!
Once you’re happy with the surface of your concrete pillow, it’s time to paint it. I chose a nice bright yellow and I used an all-surface acrylic paint. Use your sponge to evenly cover the surface. I used a sponge because I liked the finish it gave the paint once it dried. You can also choose to limit the paint just to the top of the pillow part, leaving the bottom and centre unpainted since they’ll be covered by the candle and whatever surface you place the piece on. I liked the way that this approach to painting added a sort of industrial chic aesthetic to the details, since my goal was to mimic a specific kind of contemporary art. Set the pillow aside until the paint has dried.


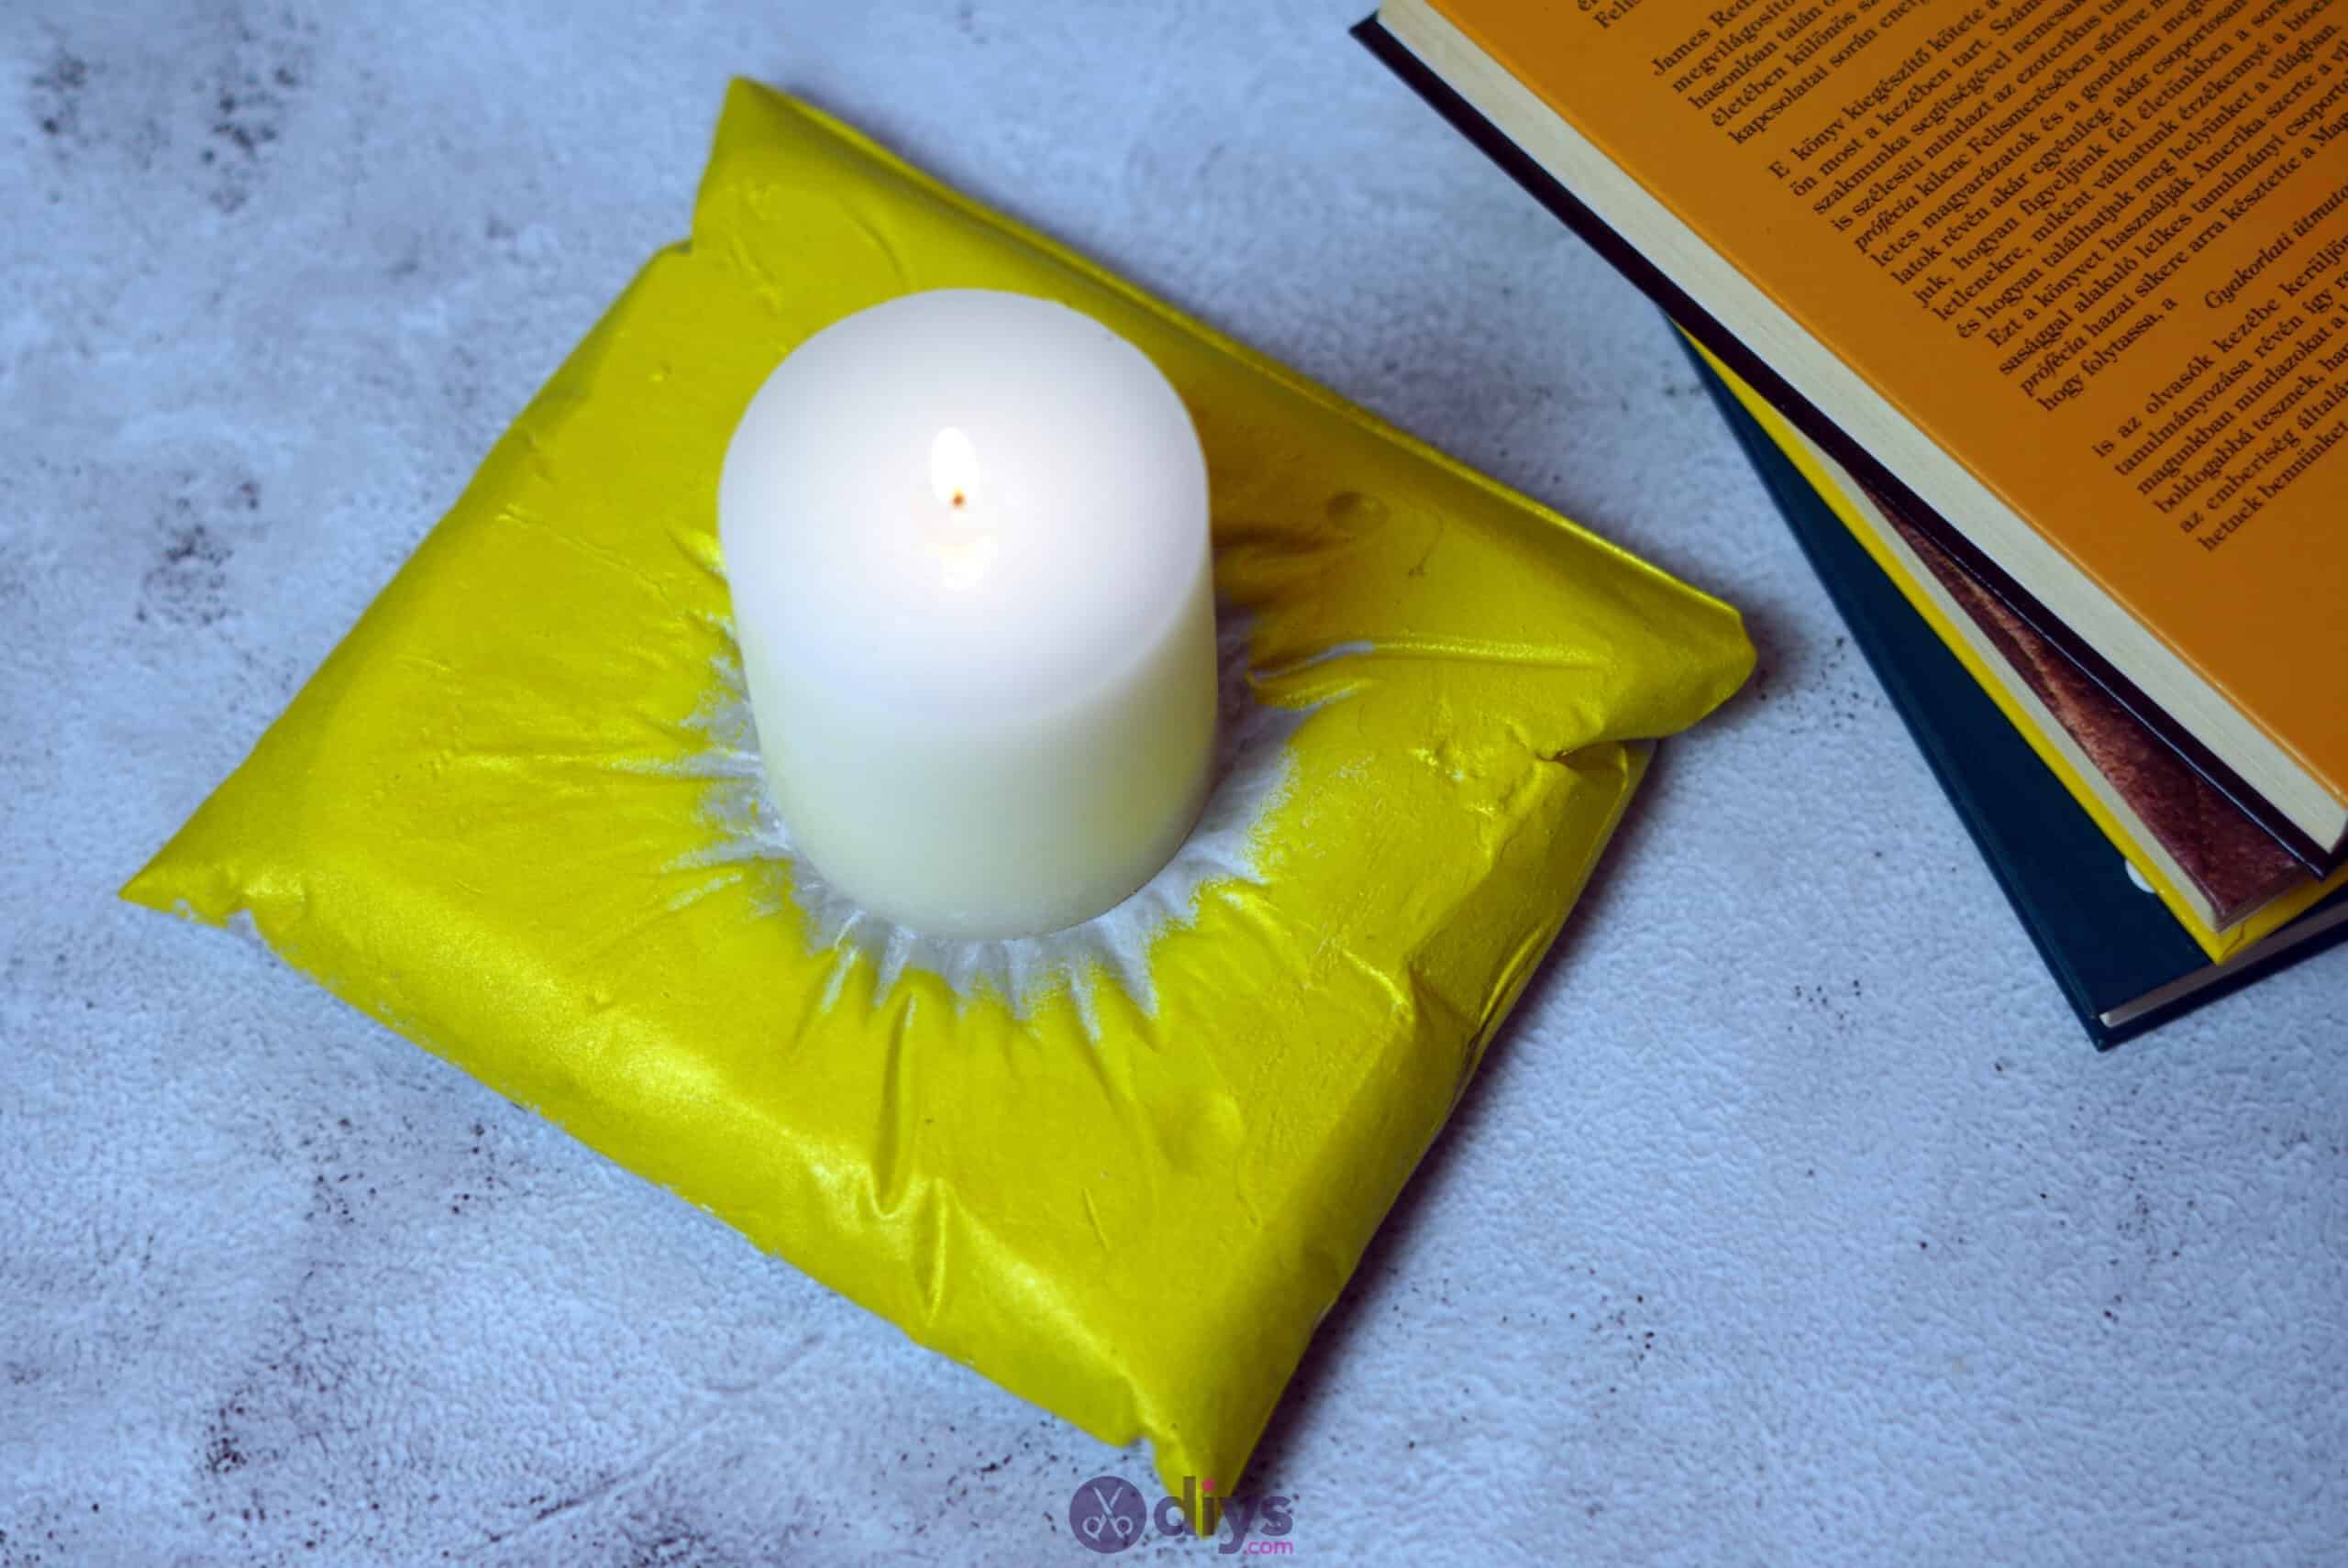
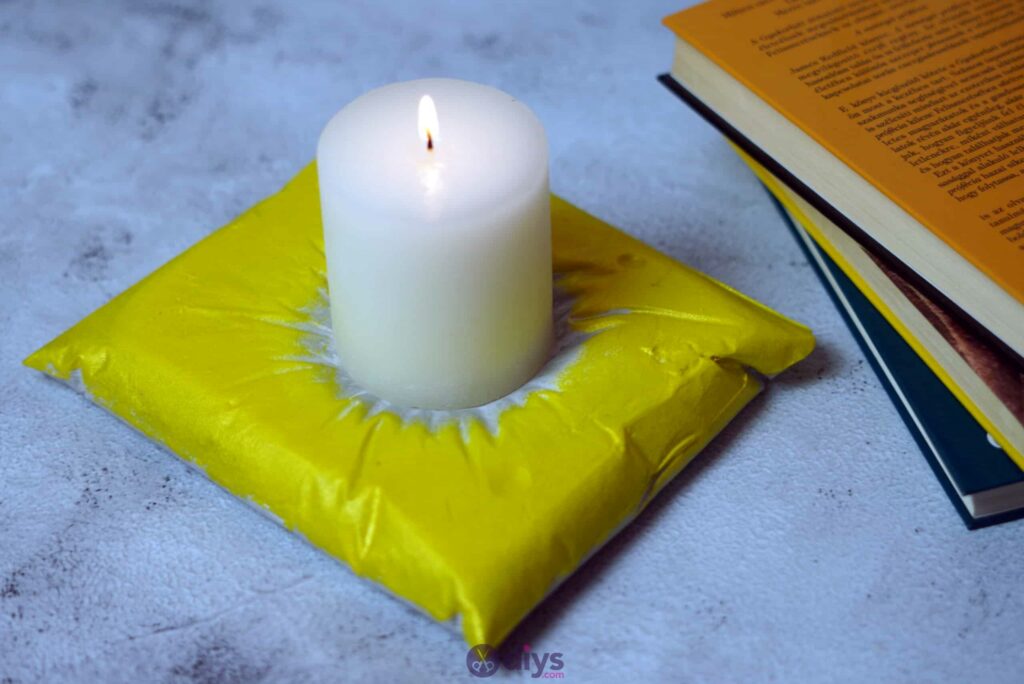
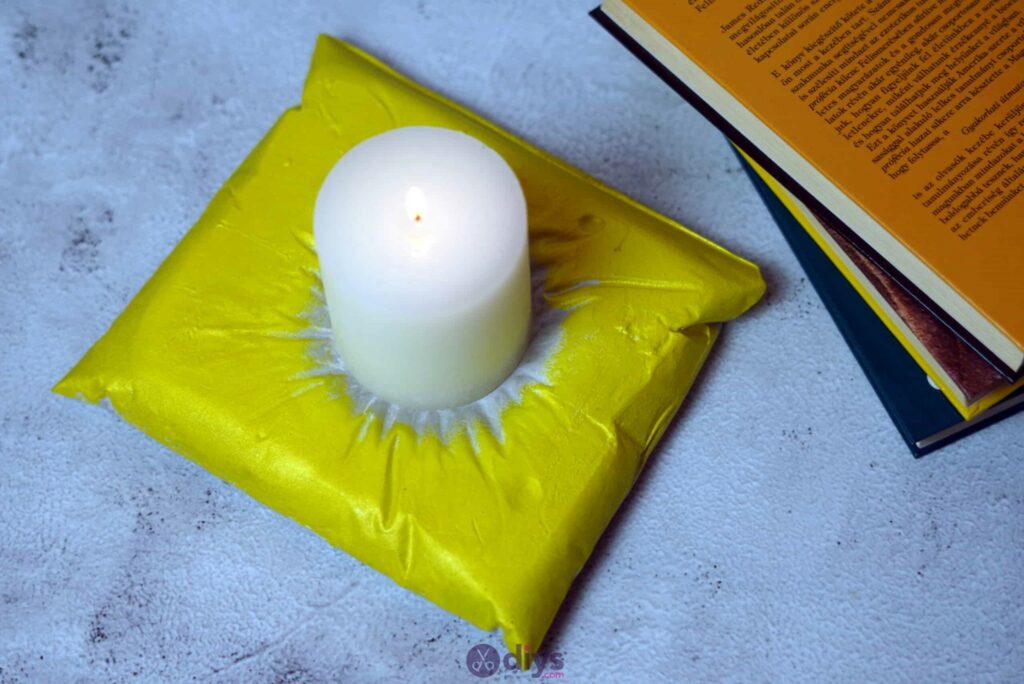
Step 8: voila!
Once your paint has dried, set the candle you used earlier into the centre. You’re all finished!
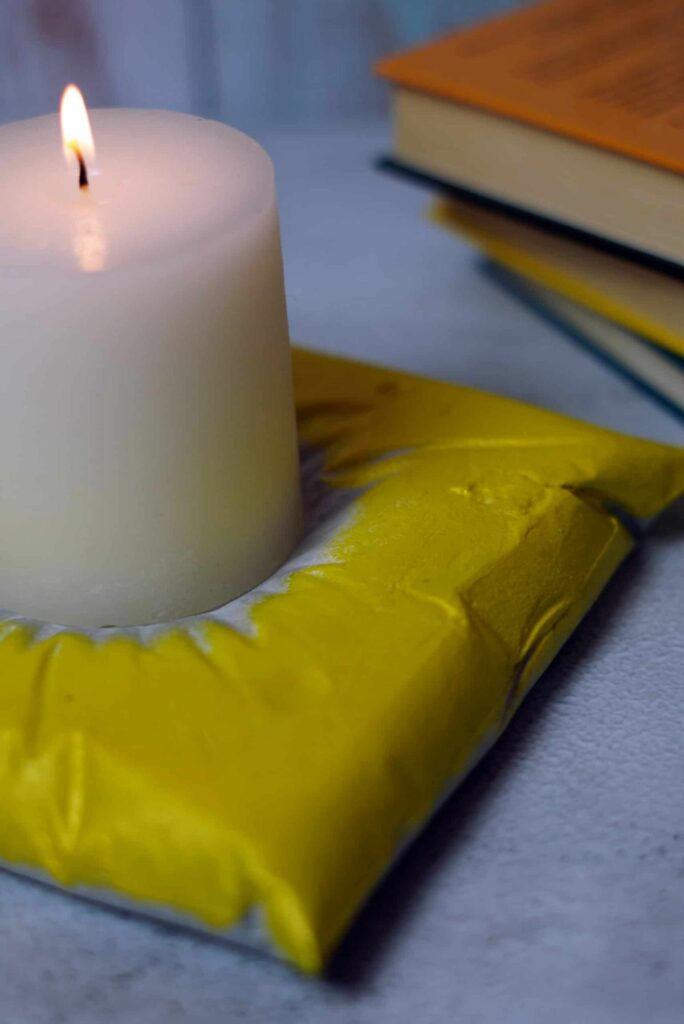
Of course, you can get as creative as you please with your paint job when it comes to your pillow. You could change up the colour, use a paint that has a metallic finish, or dust the painted pillow with glitter as it dries. Regardless of how you choose to finish up your fine details, here’s a great video tutorial to help you out with the basic techniques.