DIY Burlap Rose Wall Hanging Art
Updated on November 19, 2025


If you are the least bit passionate about sewing, then you probably have loads of piece of left-over materials that you’ve used for past projects. While it might be tempting to throw these pieces away, what if we showed you how to use them to make amazingly simple wall art? With a few strips of left-over fabric or with materials from clothing items that would have ended up being rags anyway, you too can make your own rose wall hanging art, and we’re going to show you how.
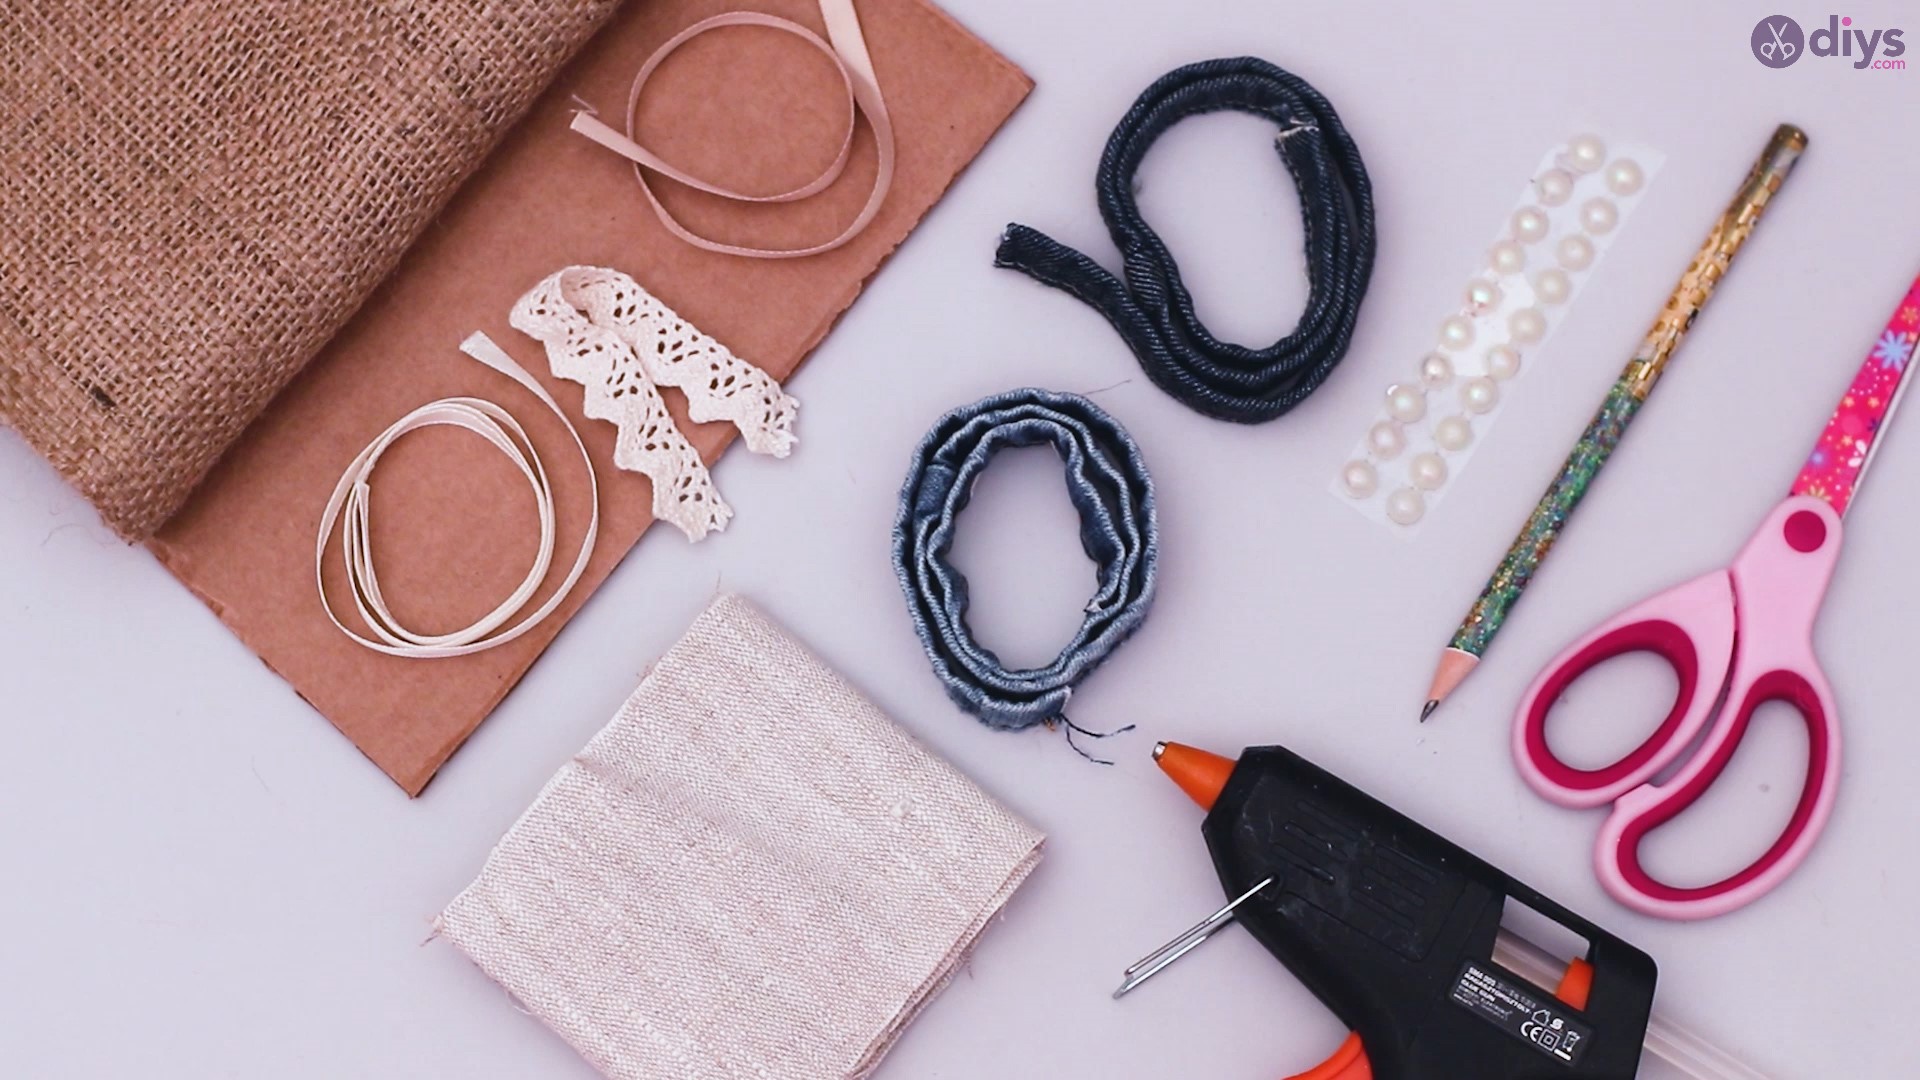
Materials you’ll need for Burlap Rose Wall Hanging Art:
- Cardboard
- Pencil
- Scissors
- Burlap
- Denim/textile/lace ribbon residual materials
- Silk ribbon
- Decorative beads
- Glue gun
How to craft the Burlap Rose Wall Hanging Art:

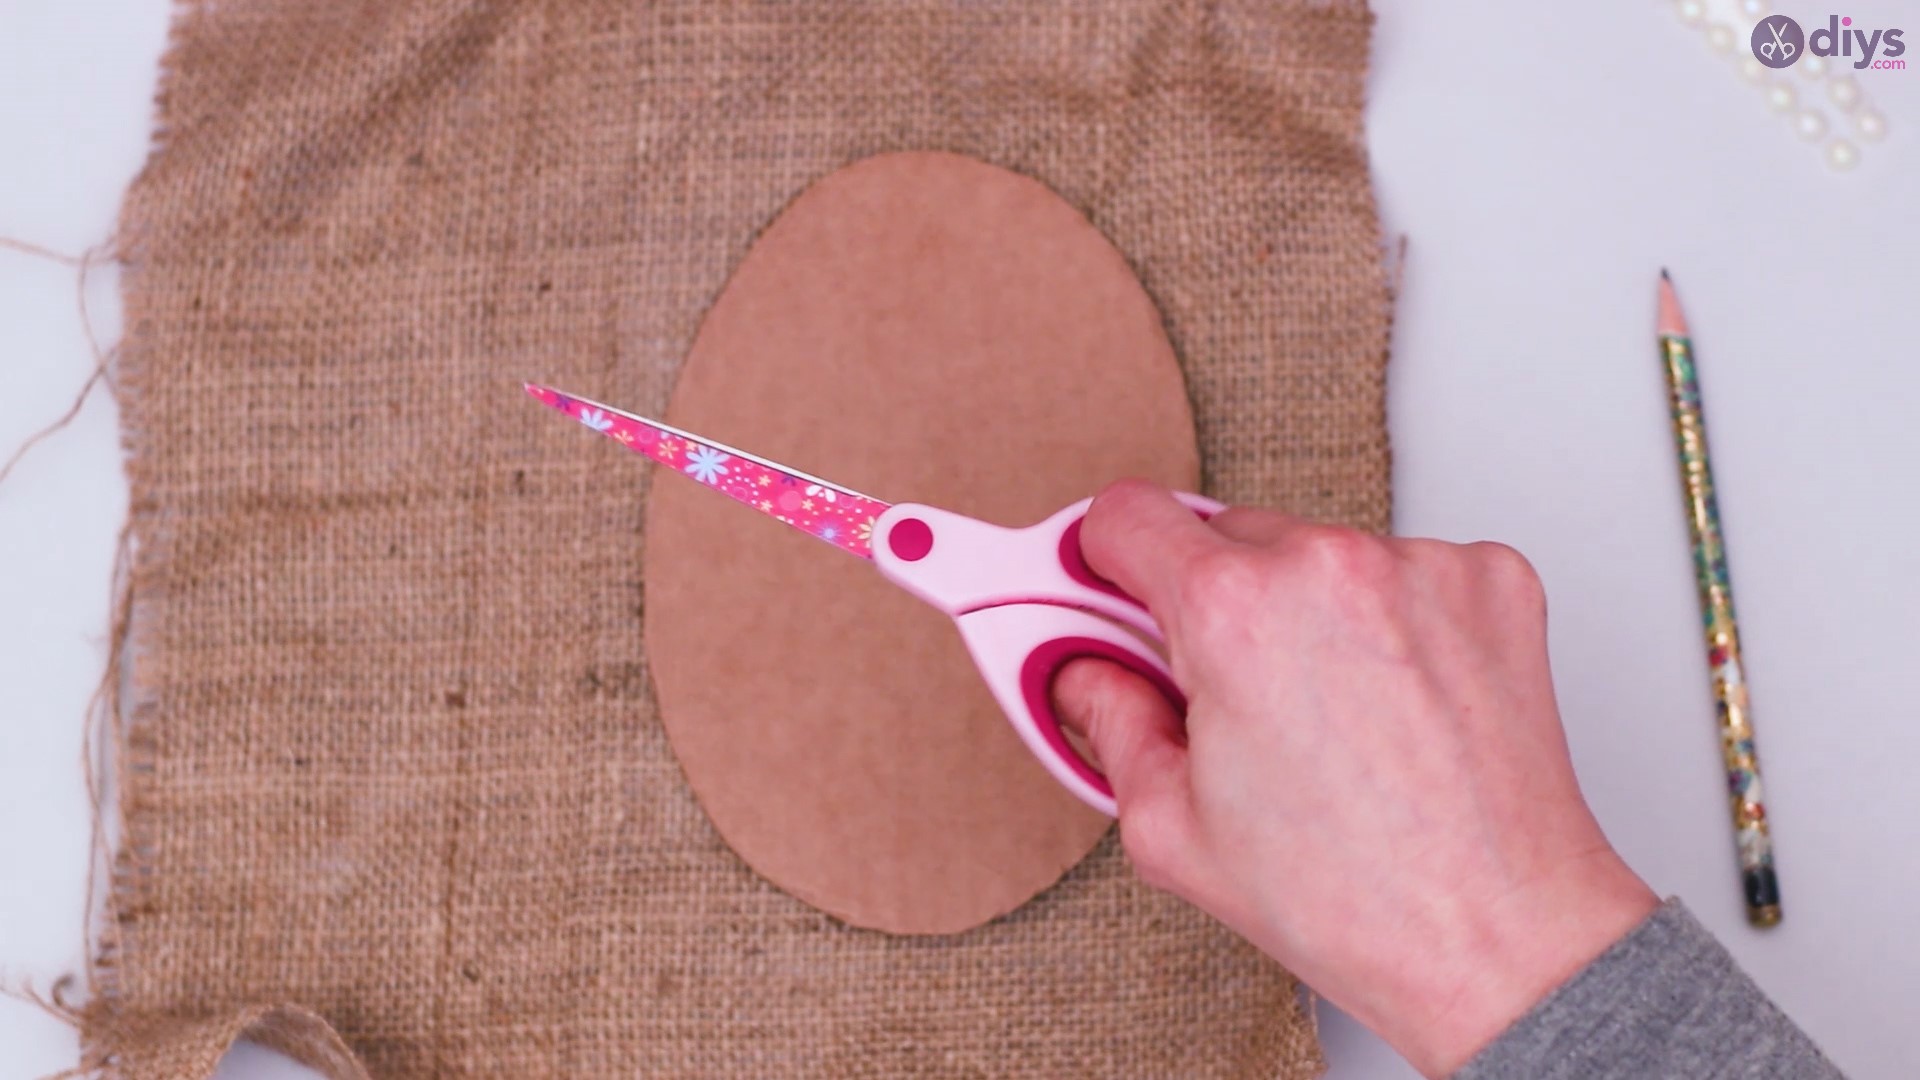
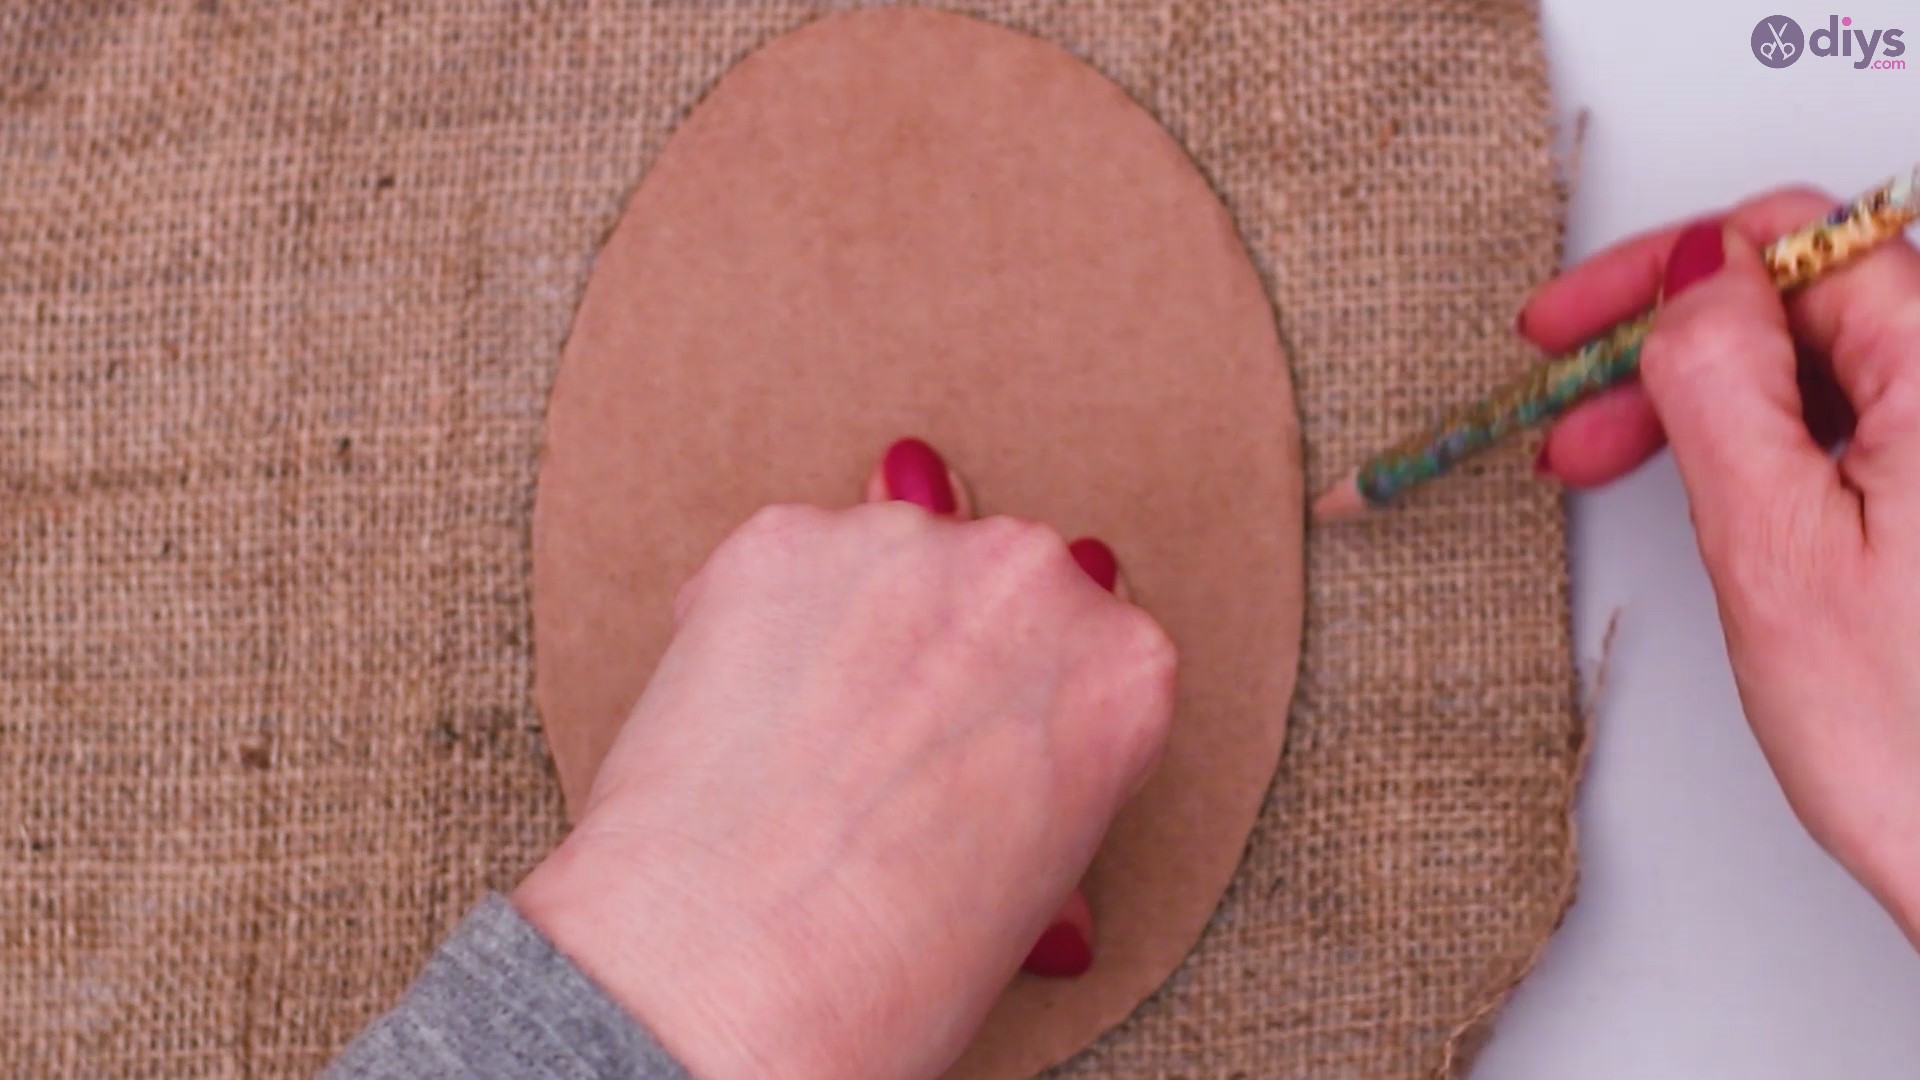
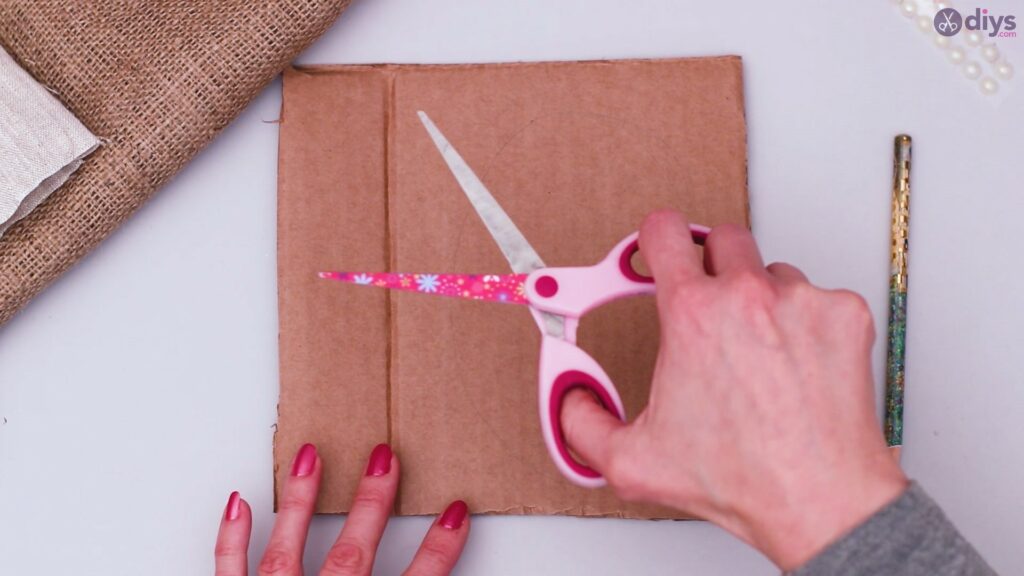
Step 1: Create your base
Grab a piece of cardboard that will allow you to make a cut-out in an oval shape. Using your pencil, trace the shape of the oval by either using something with an oval shape you have around the house or using just your hand.

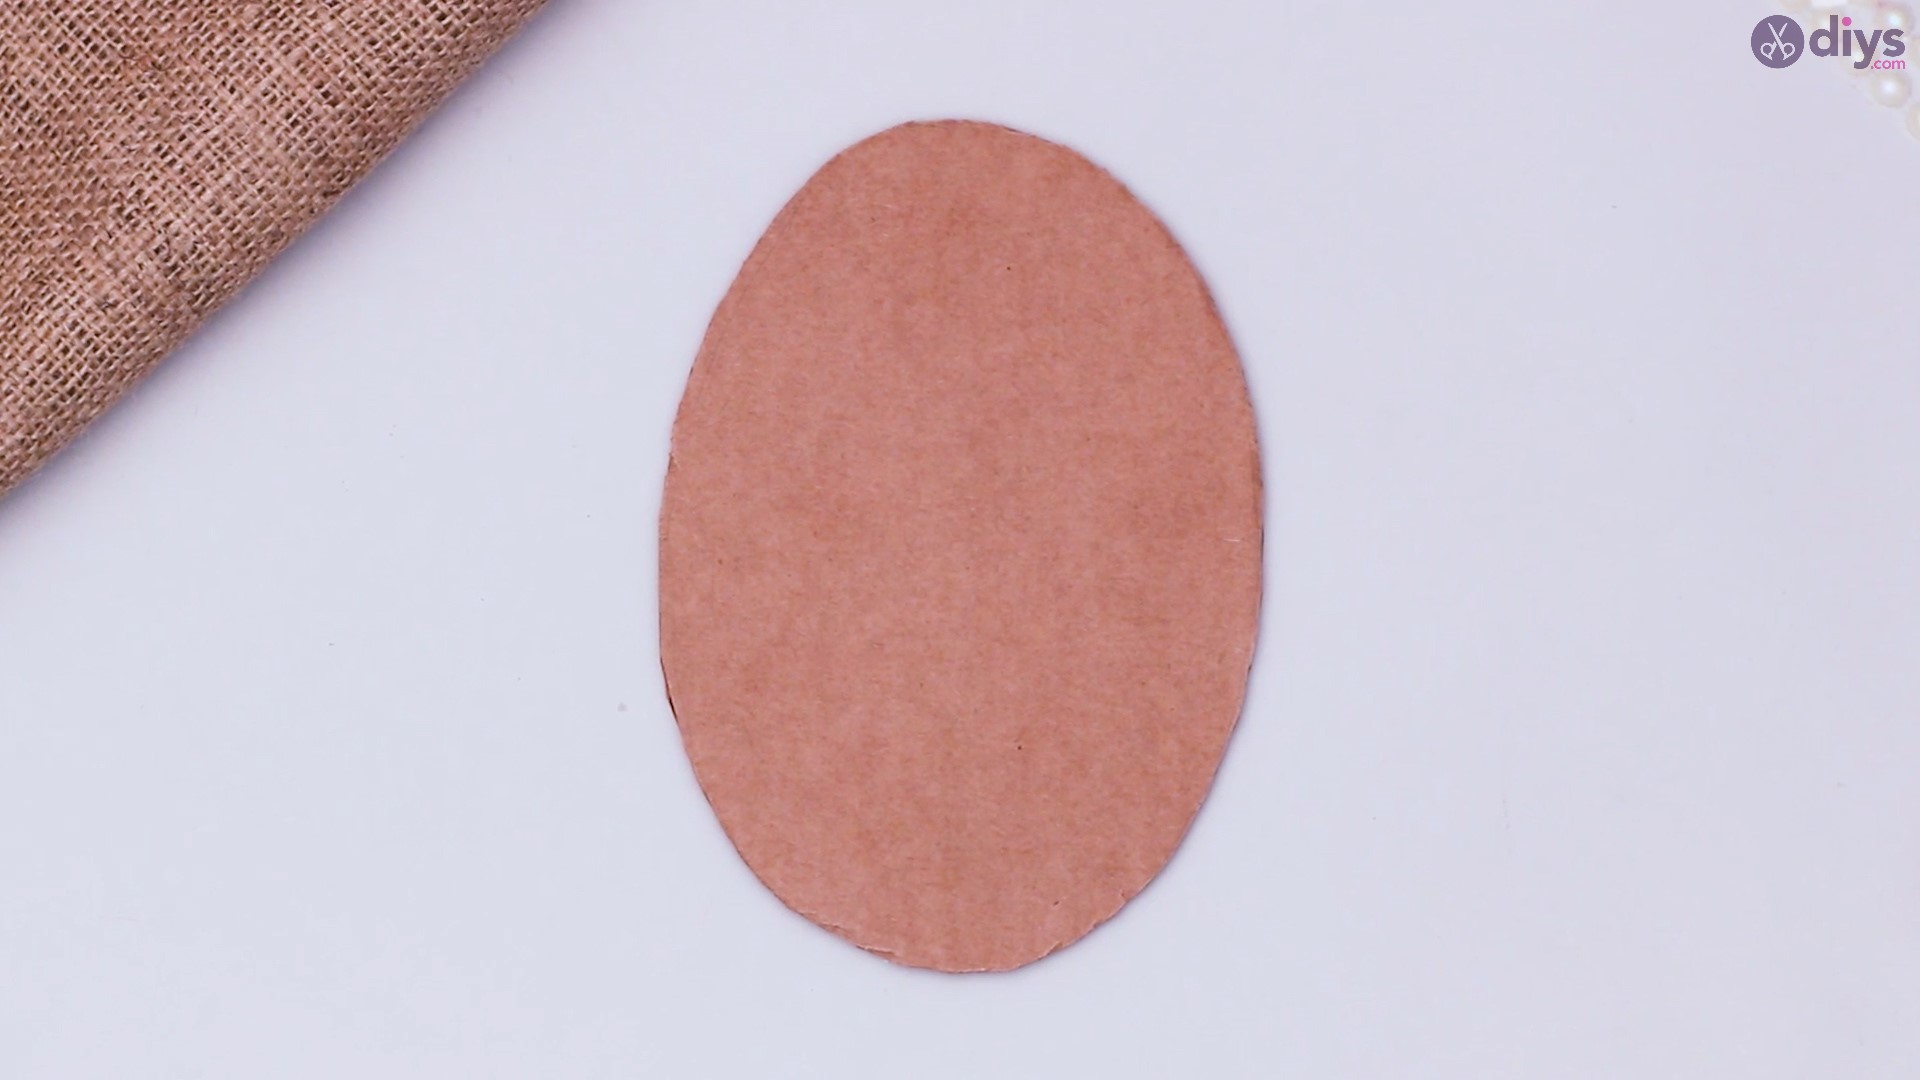
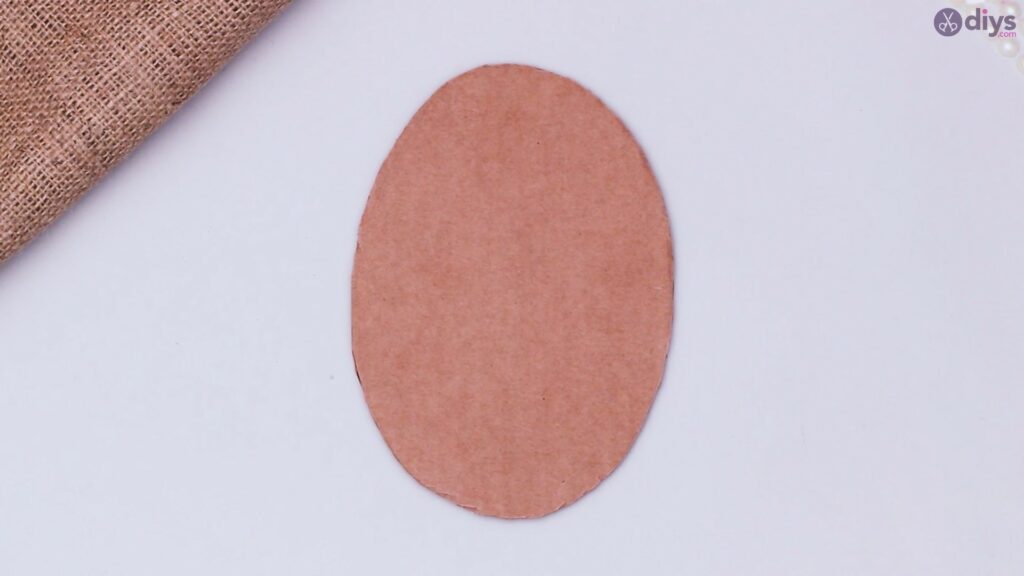
Grab your scissors and cut the oval shape.
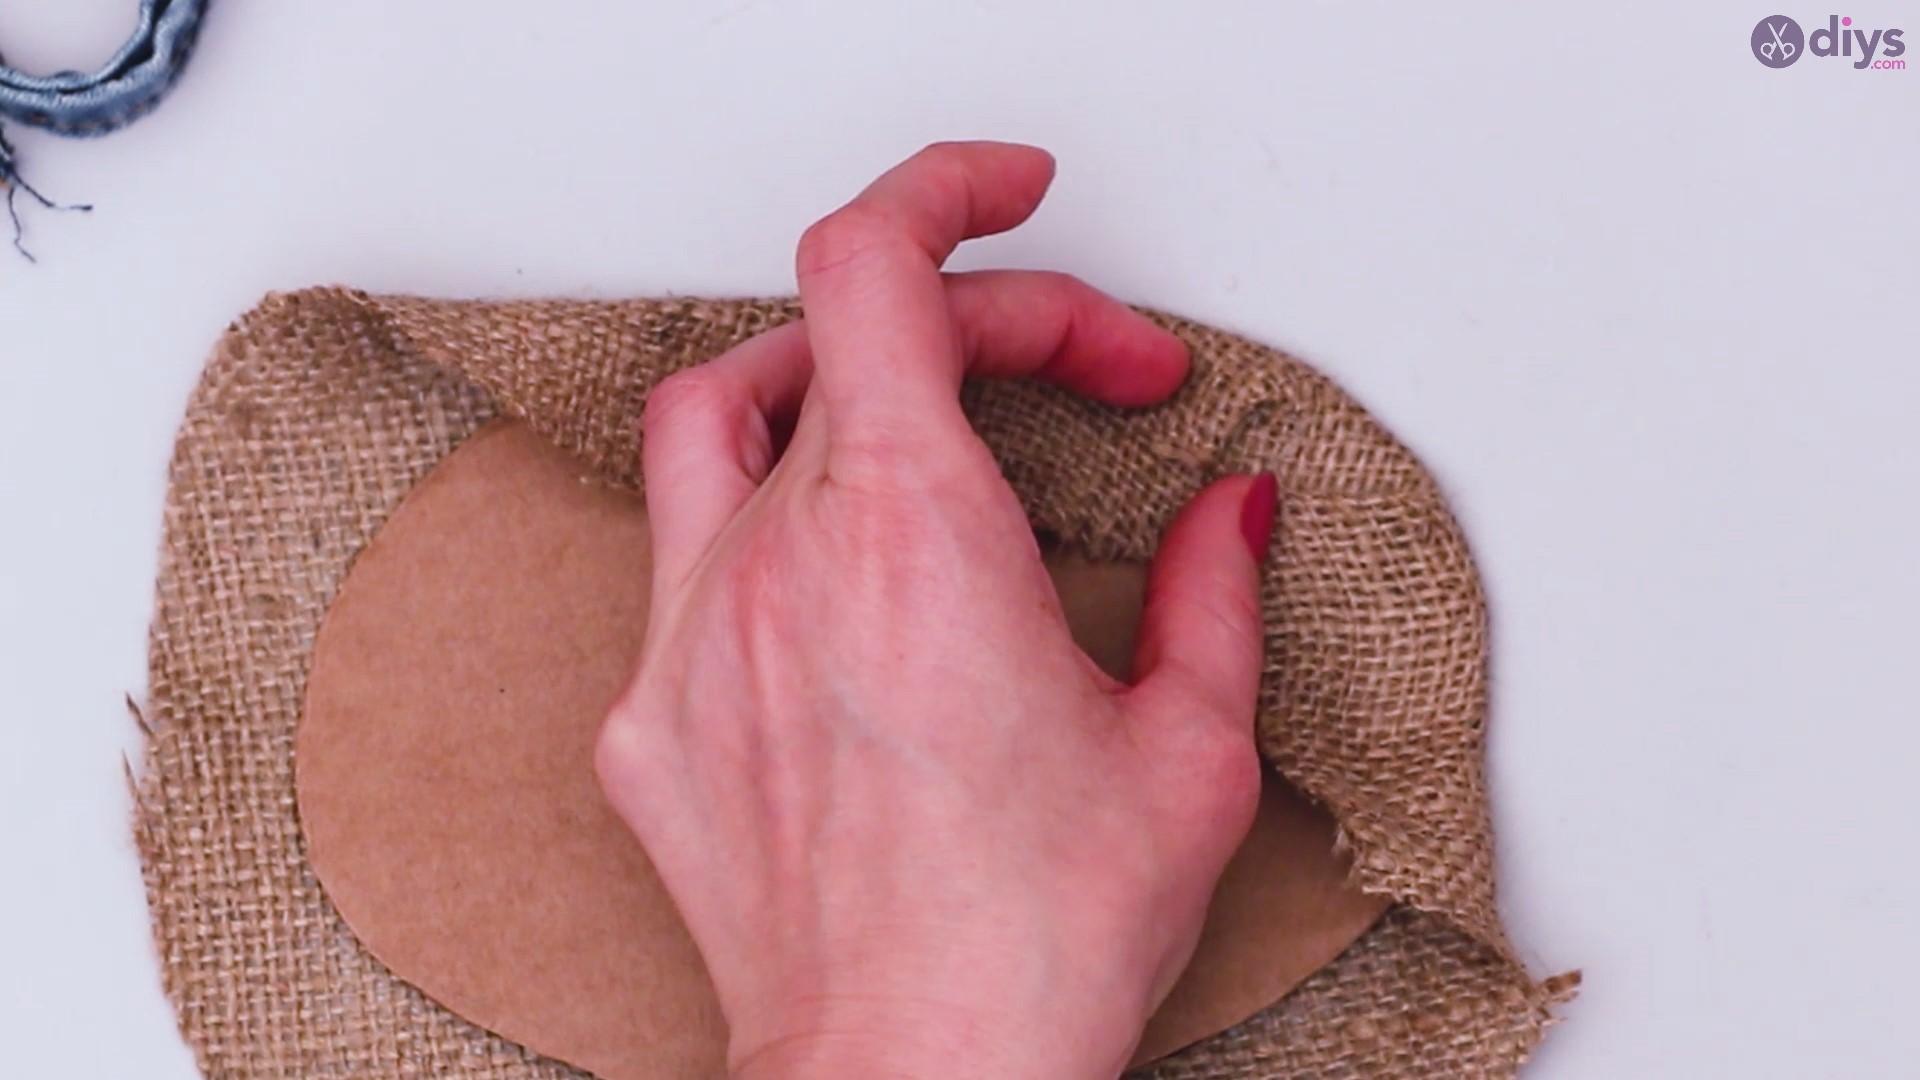
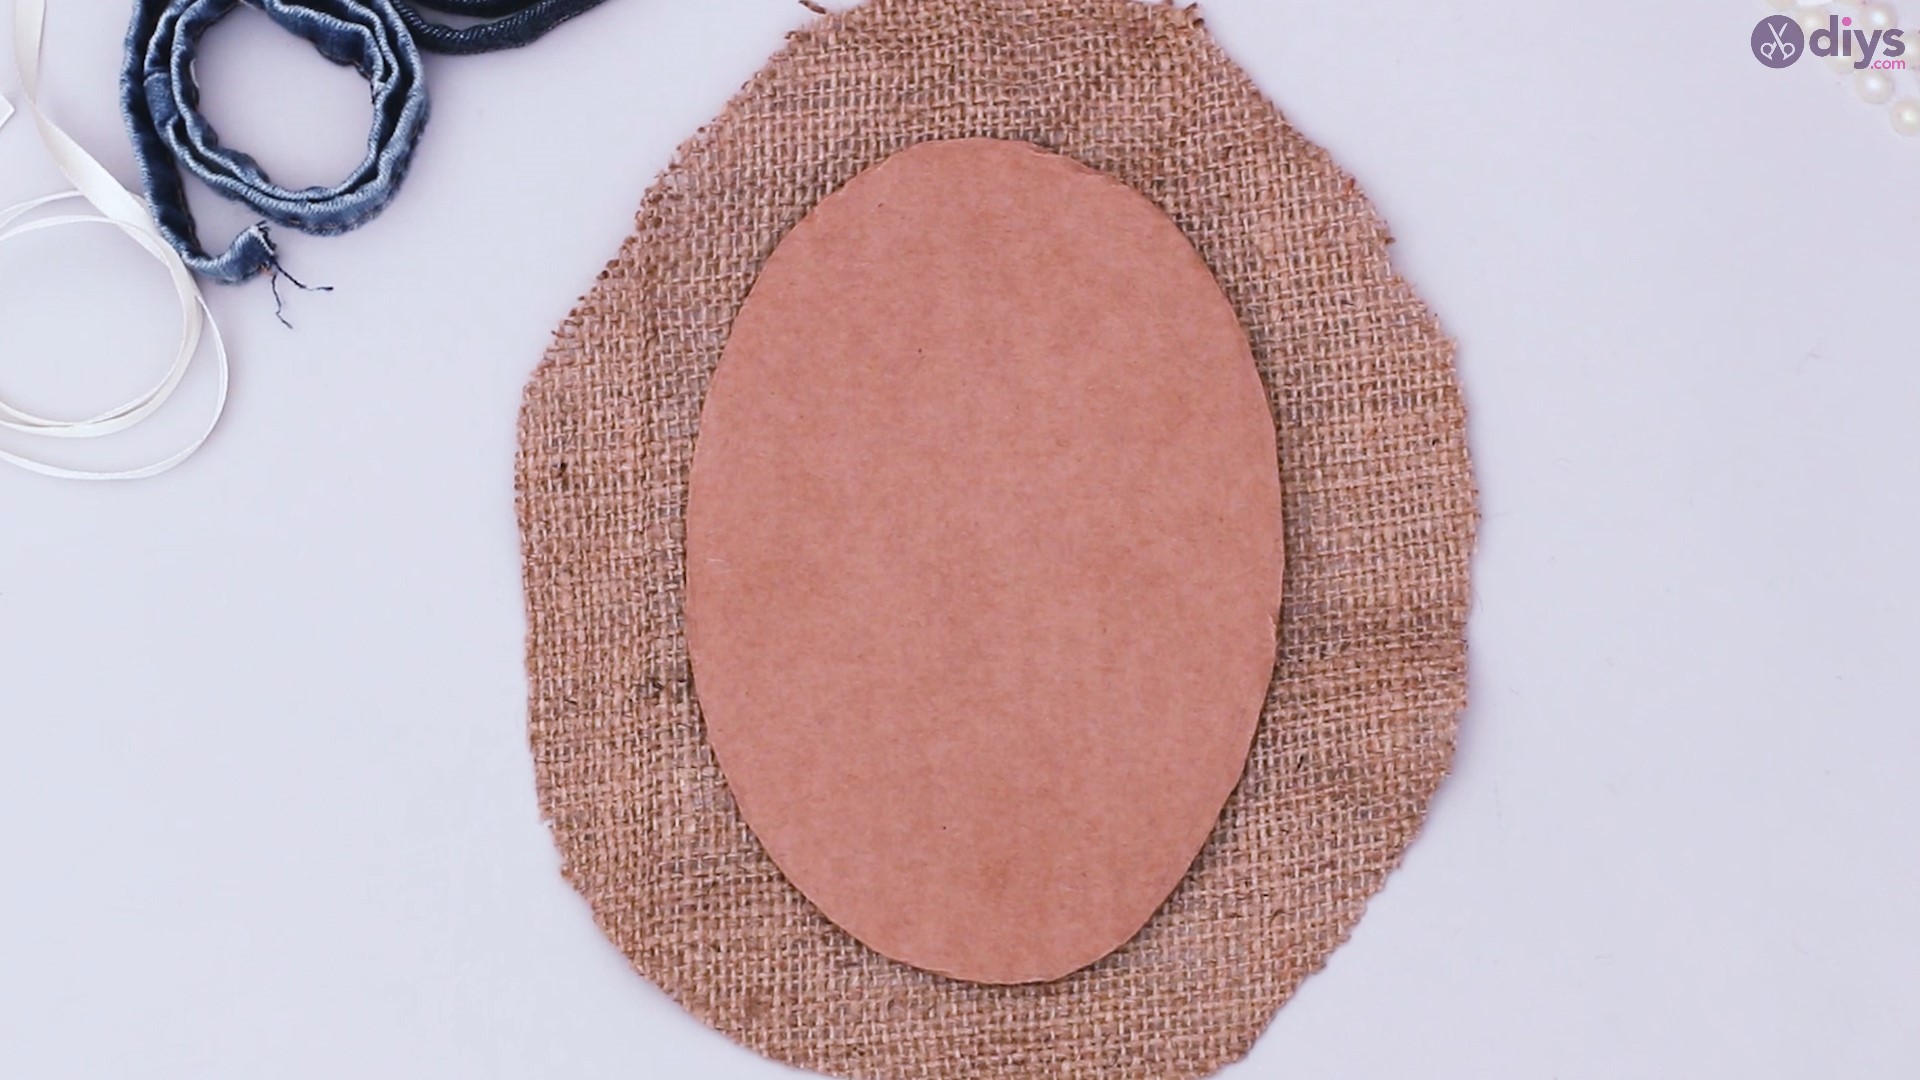
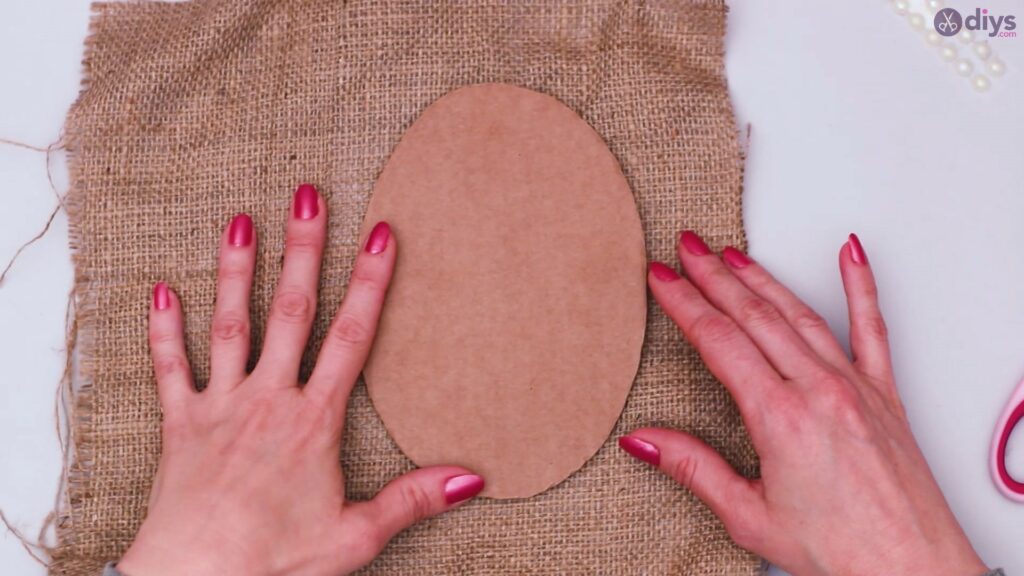
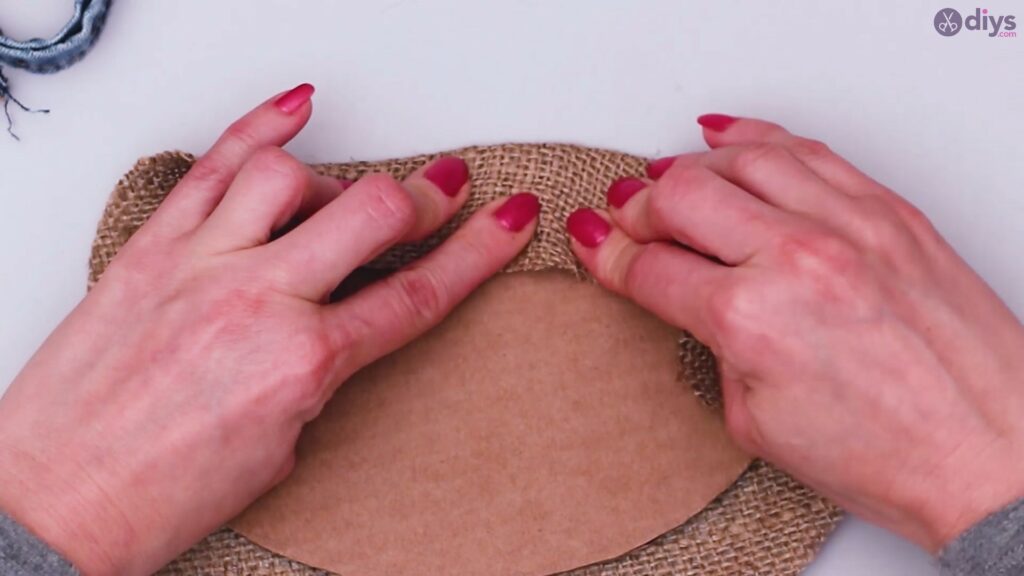
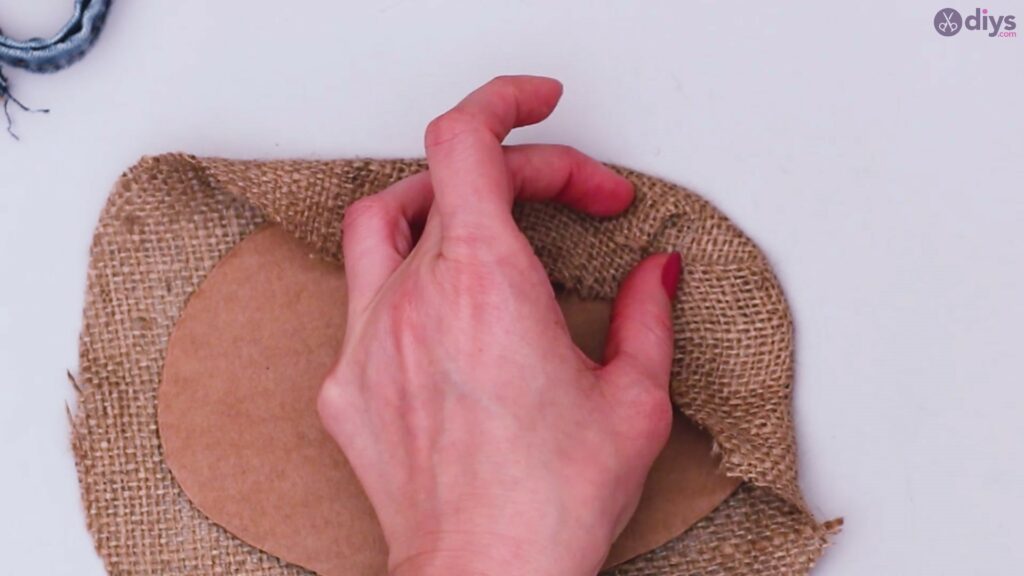
Step 2: Wrap your base
Grab your burlap piece and place the recently-cut cardboard oval on top of it. Trace another oval shape on your fabric by following the edges of the cut-out with a pencil.

Cut out the oval shape, making sure you add about 1.5 inches extra in all directions, because you will need this additional material to secure it around the base.

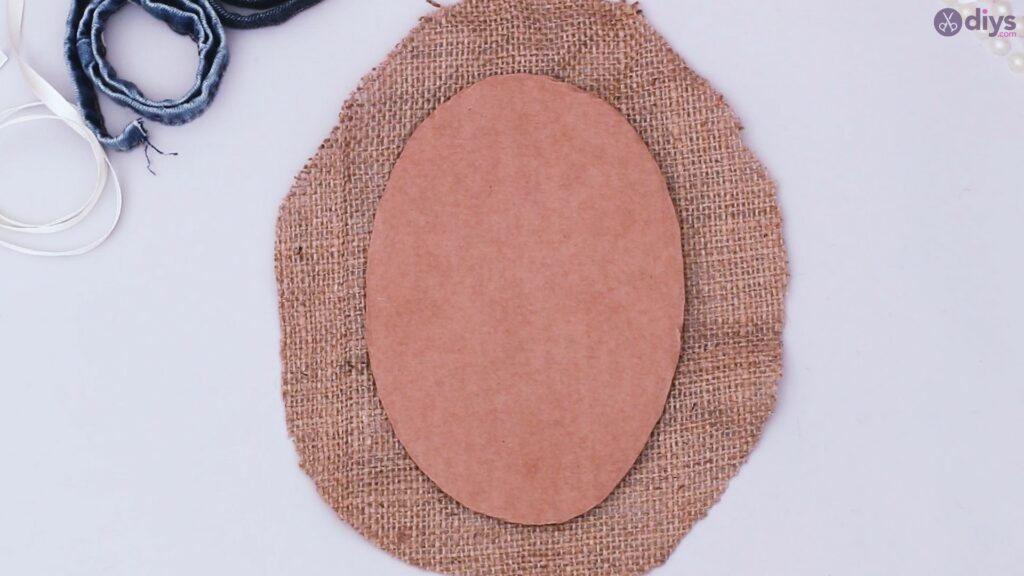
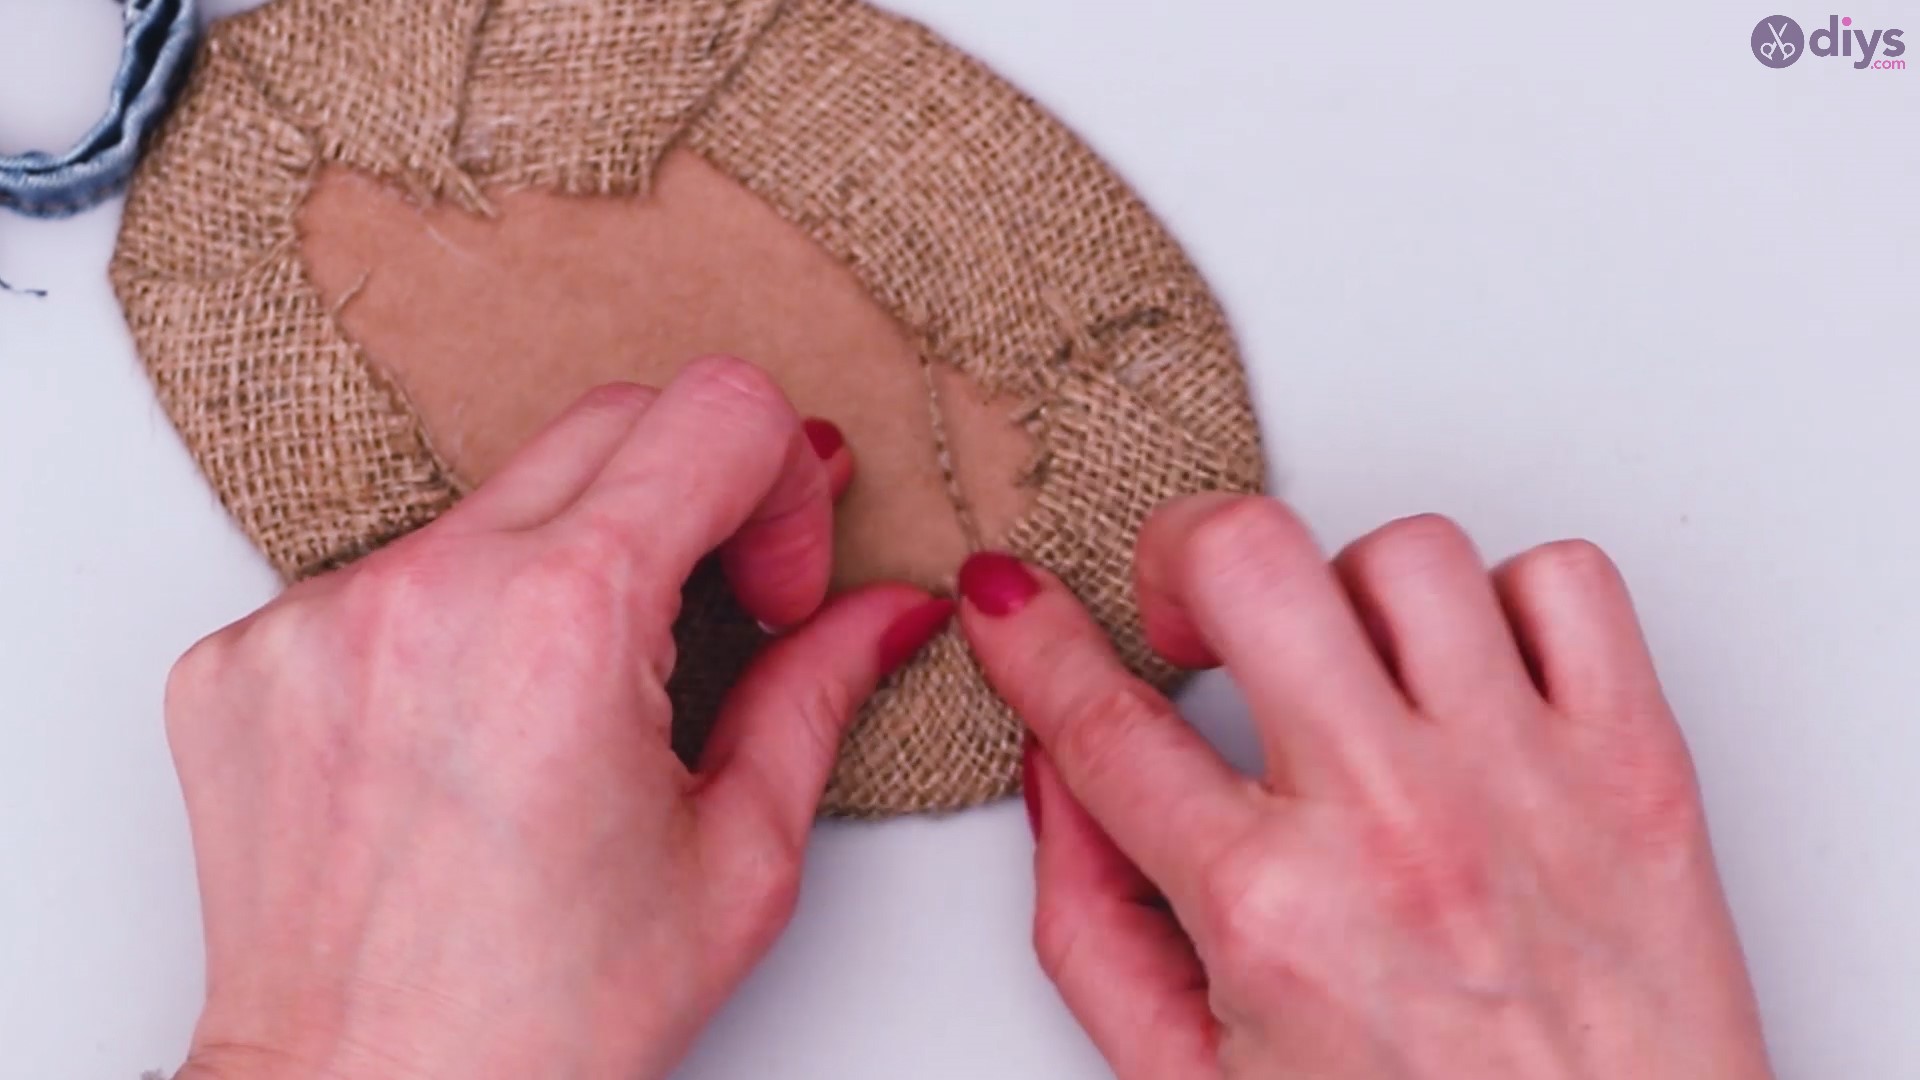
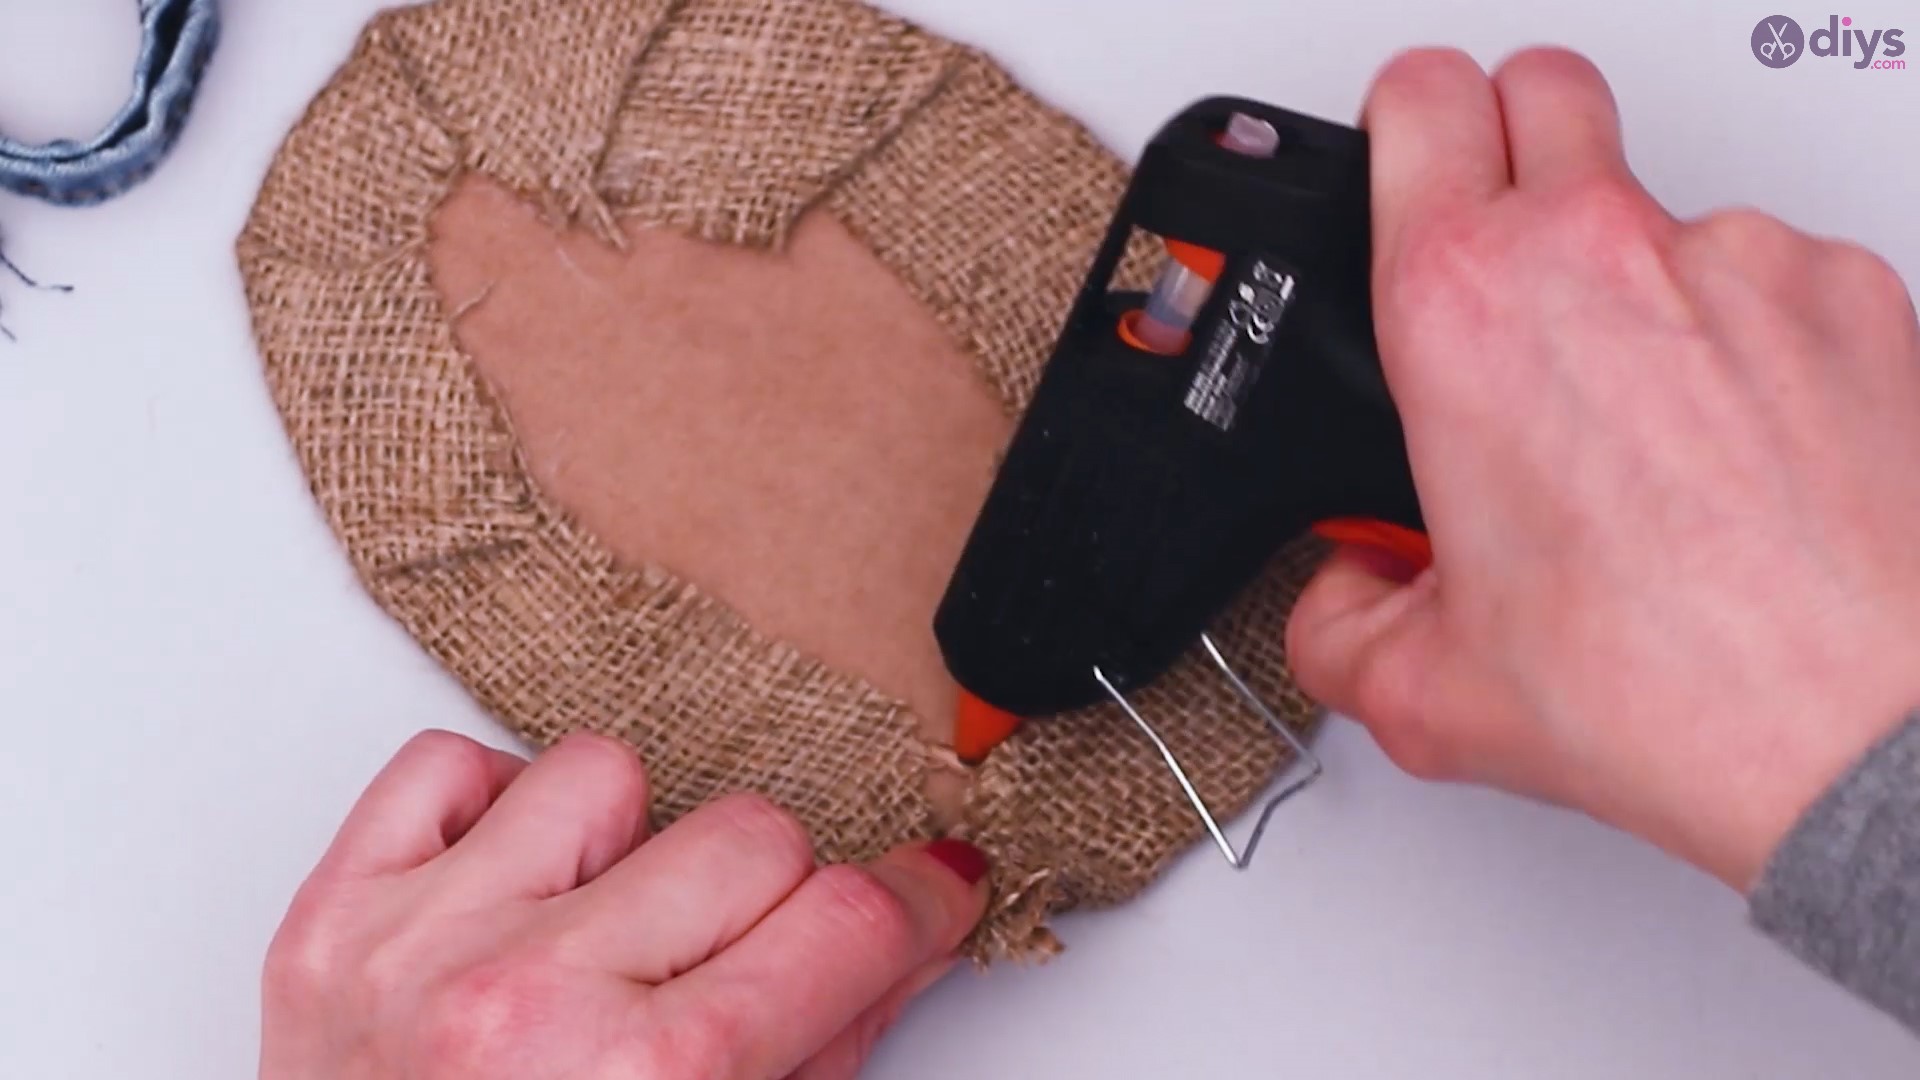
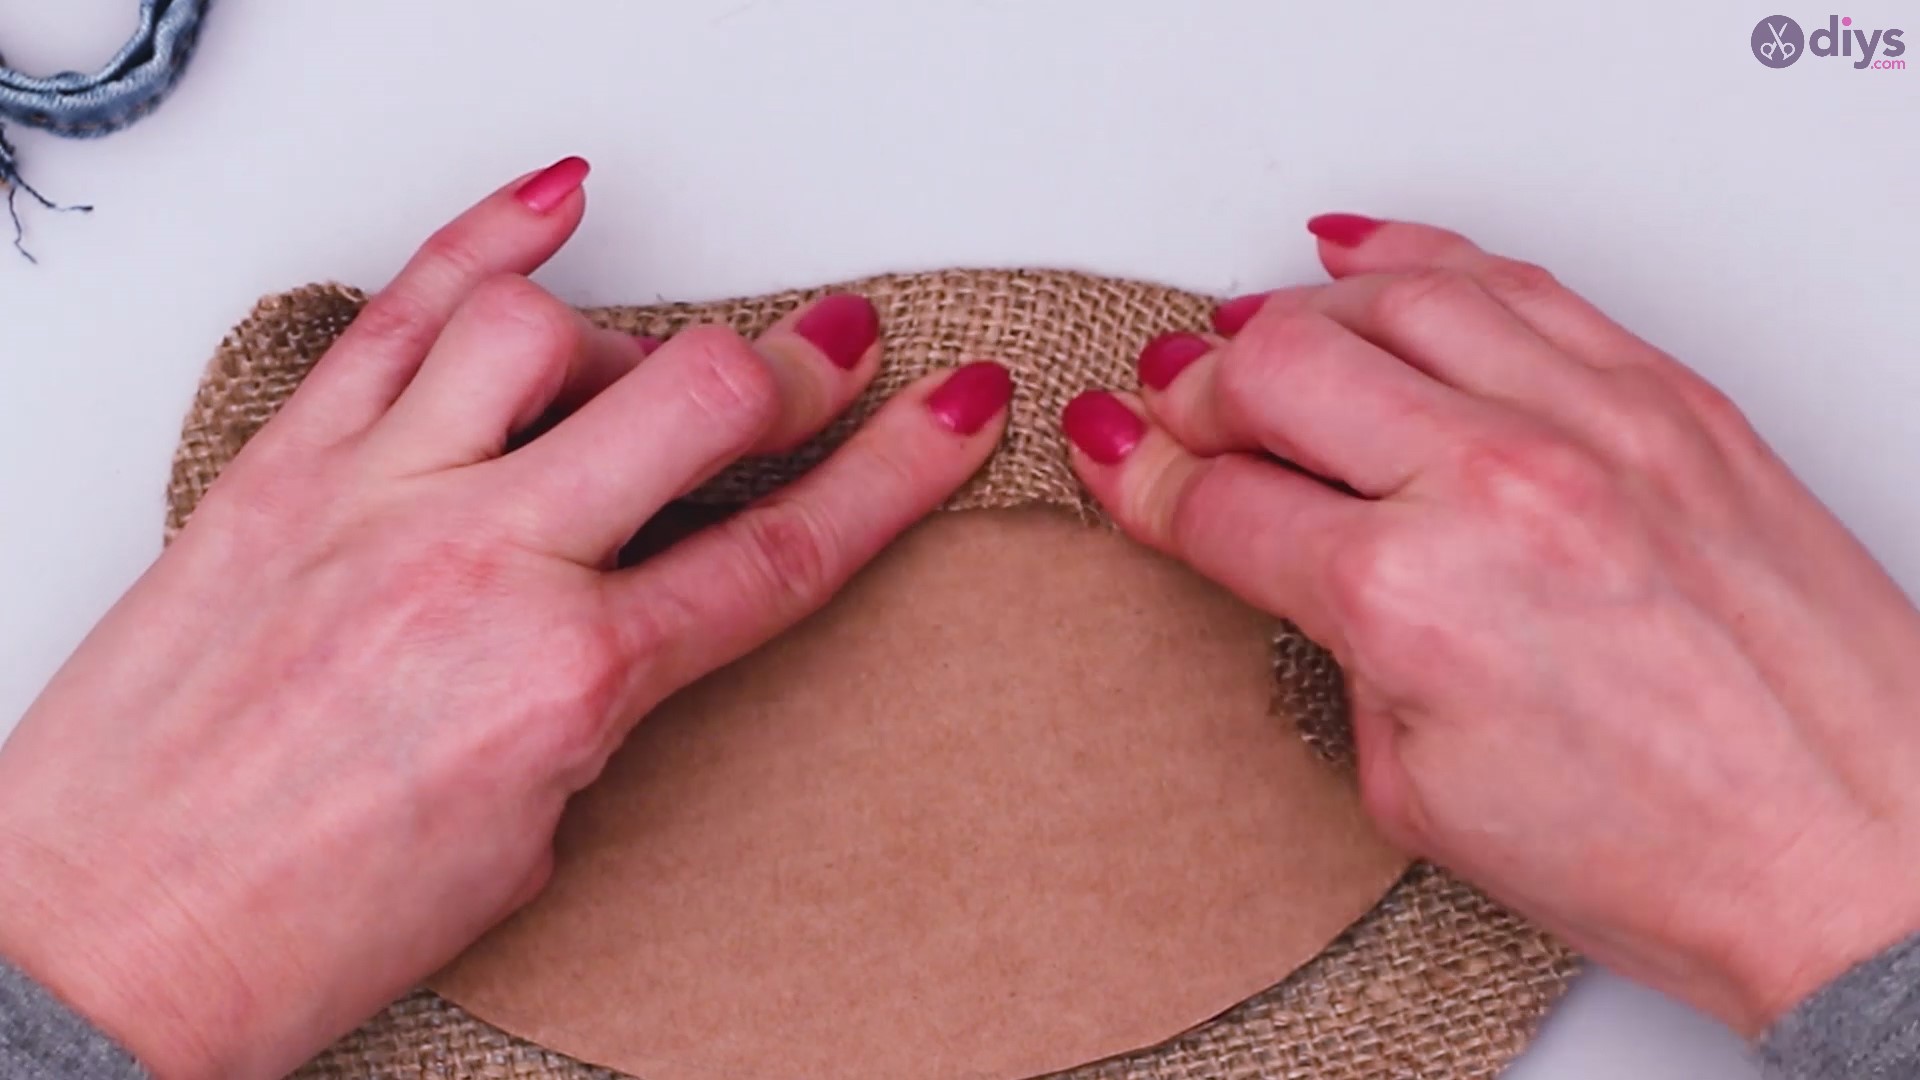
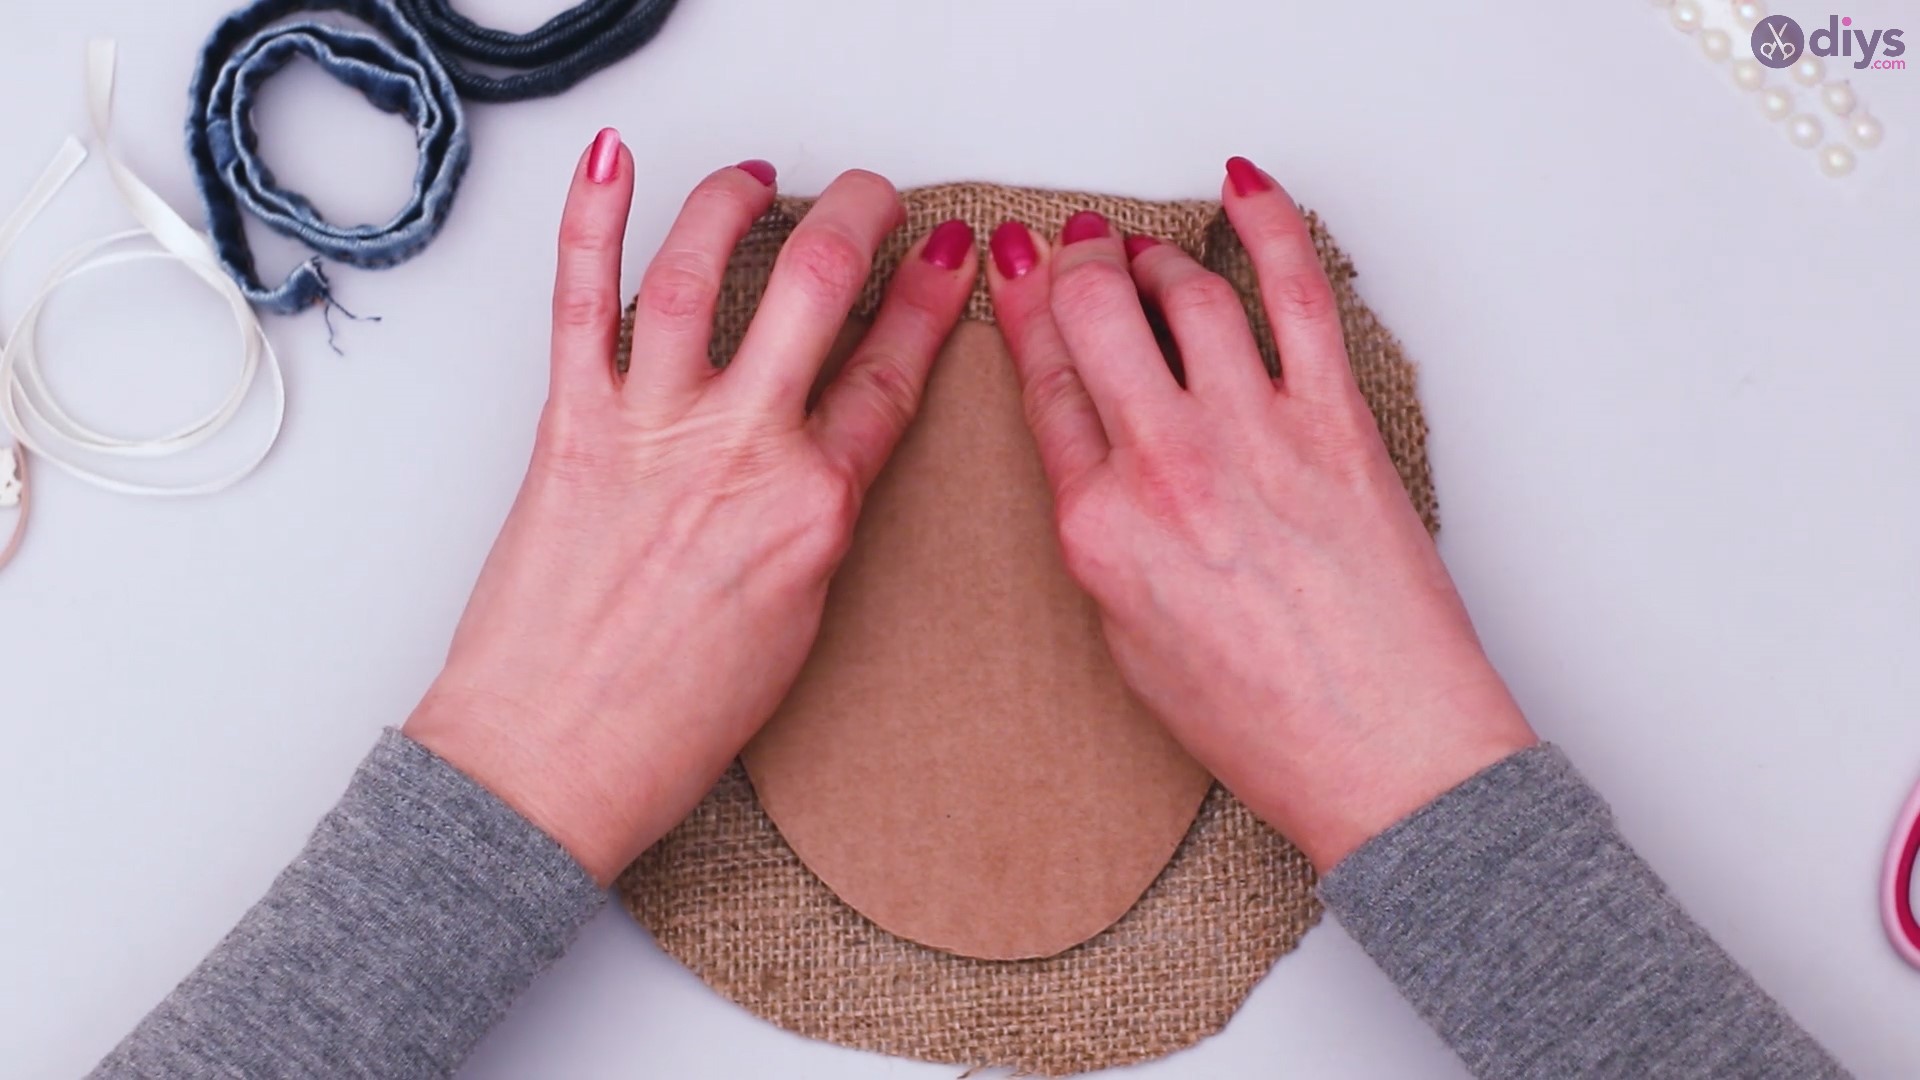
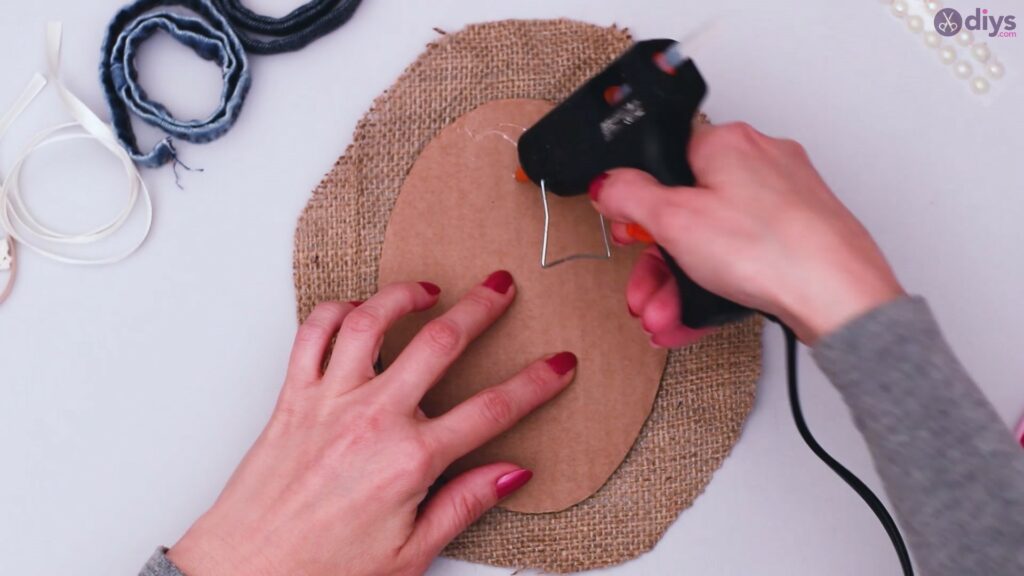
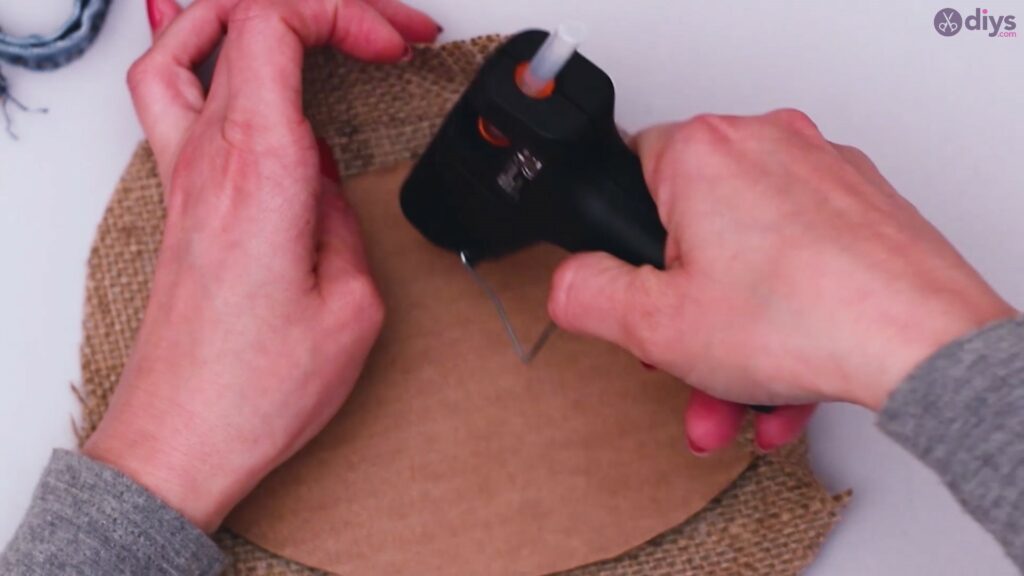
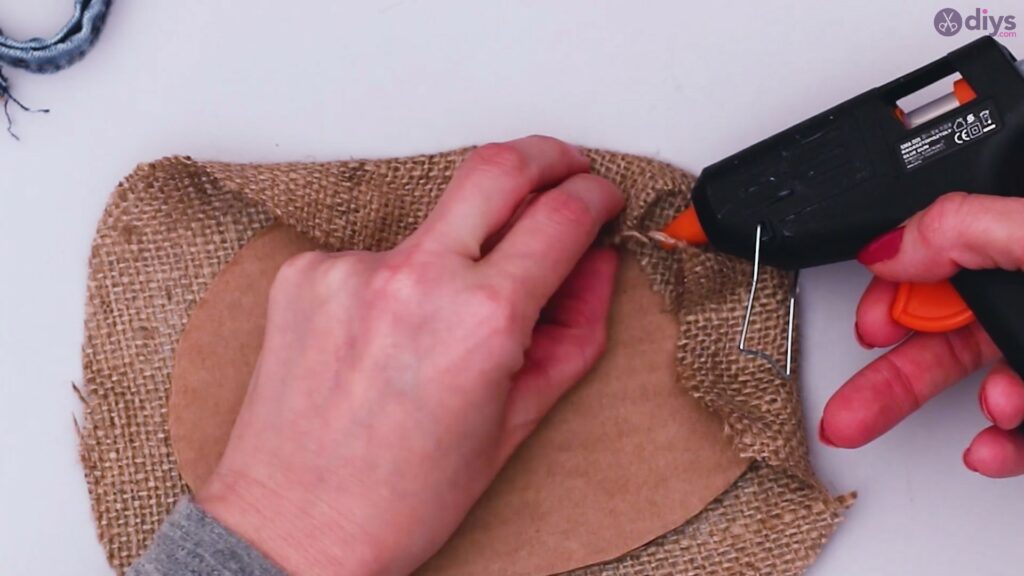
Grab your glue gun and spread glue close to the edges of your cardboard oval.
Start folding the longer edges of the fabric on the cut-out, making sure that you press it onto the glue.

Continue adding glue on the edges of the cut-out and pressing the fabric on the freshly-applied glue until the entire piece of burlap is wrapped around the cardboard base.


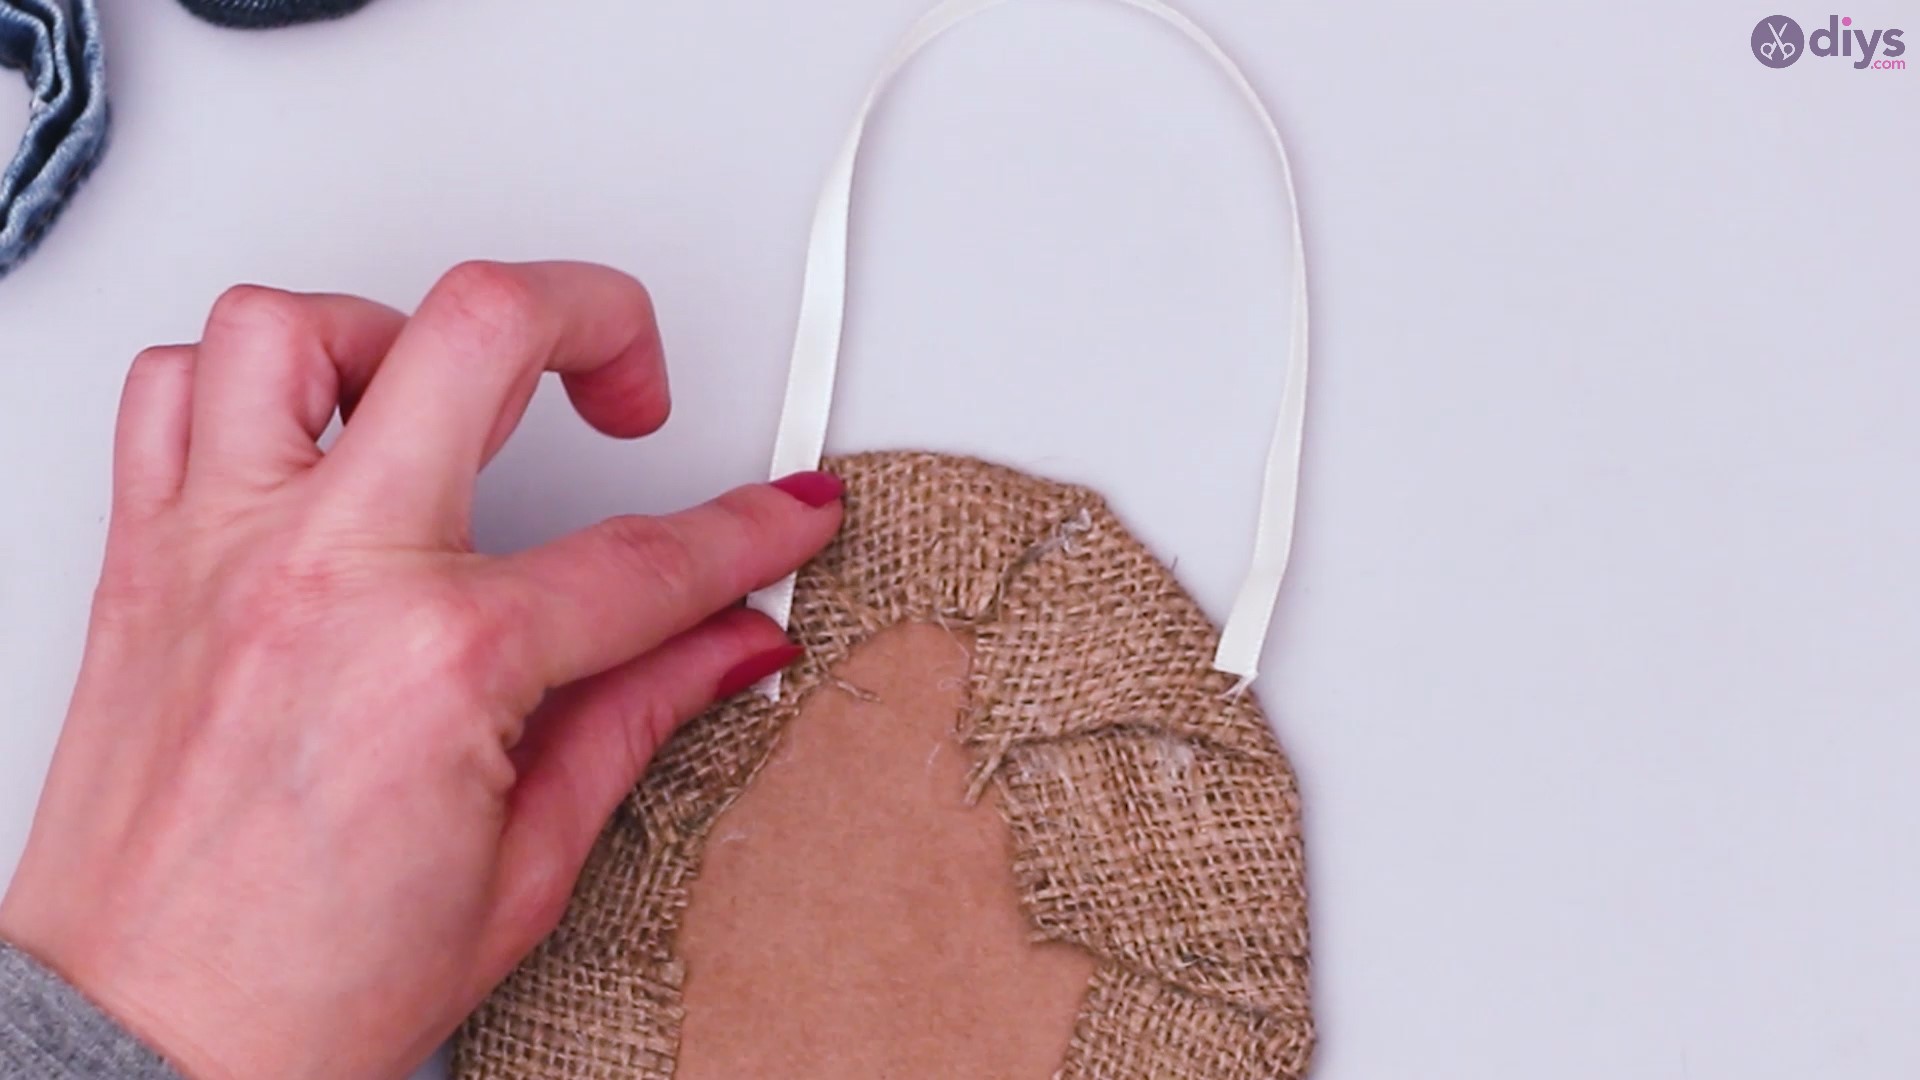
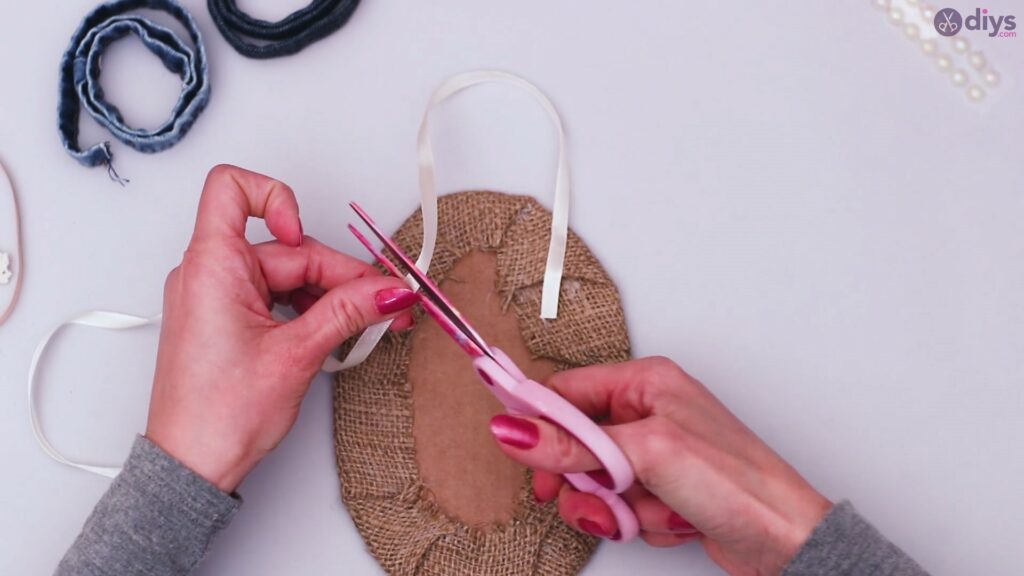
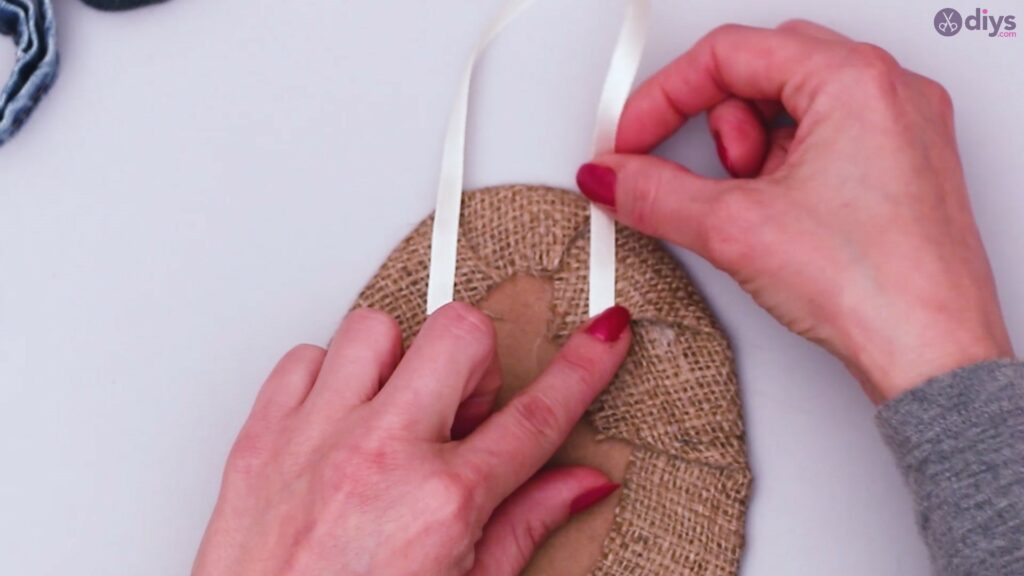
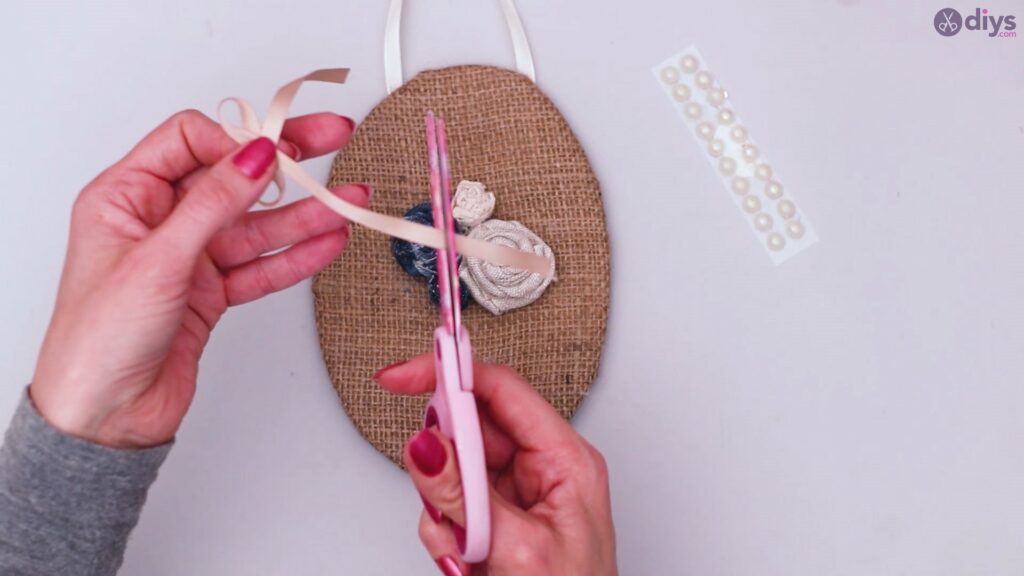
Step 3: Make the hanger
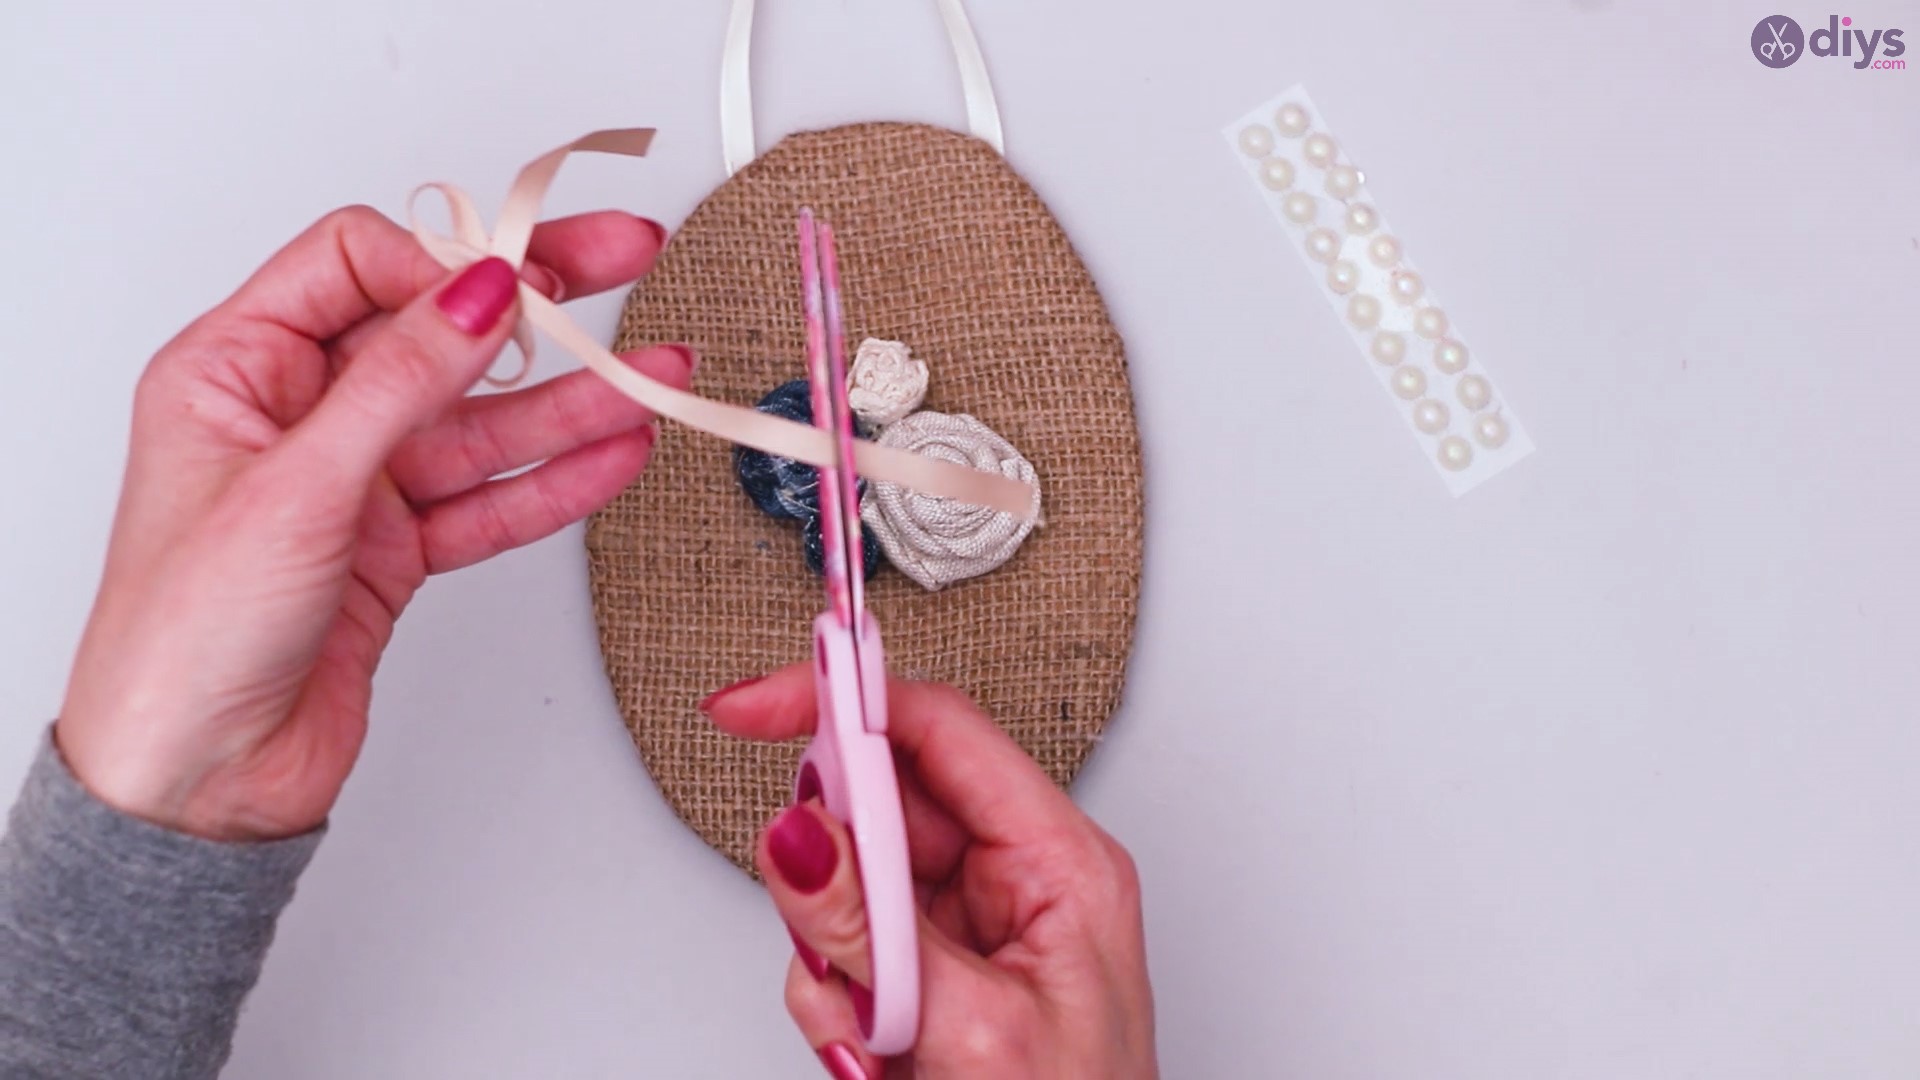
Grab a piece of ribbon that you want to use in order to hand your new wall decoration once the project is complete. Place it on the upper side of the base so that you can measure a length that you’re comfortable with. When that is done, grab your scissors and cut the ribbon to the desired length.
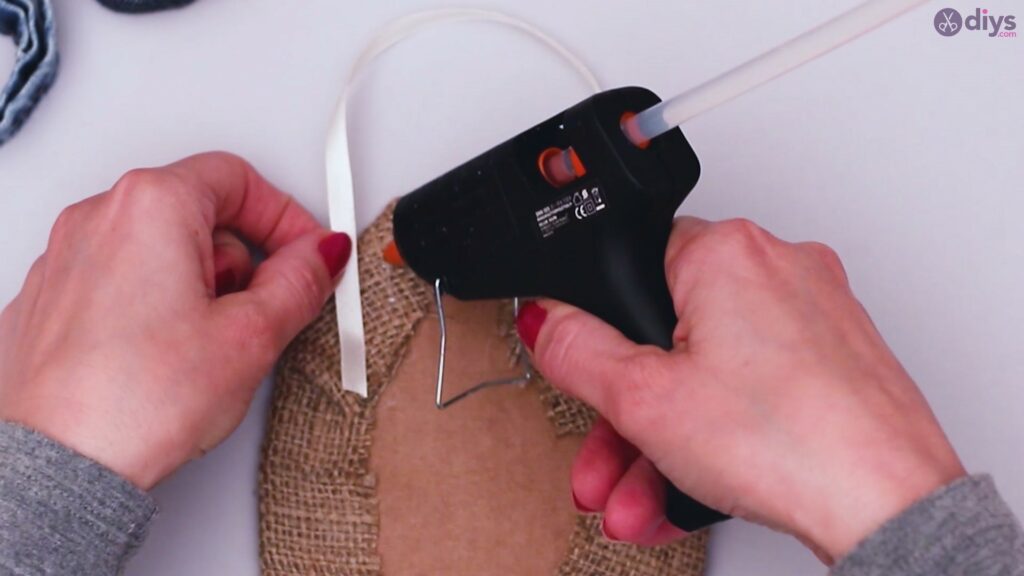
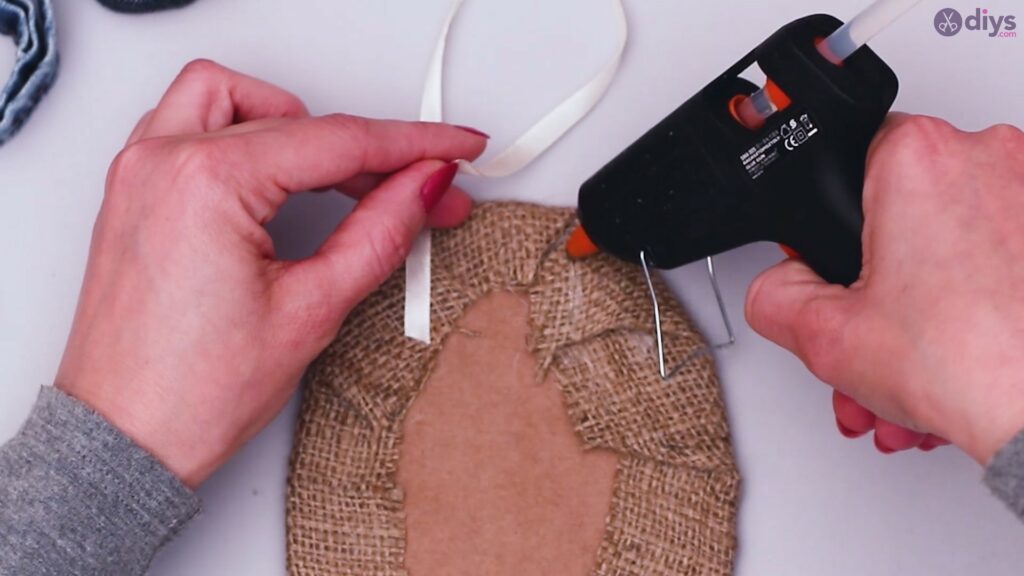
Grab your glue gun and secure the two end of the ribbon to the back of your new canvas, making sure you create a symmetrical loop.

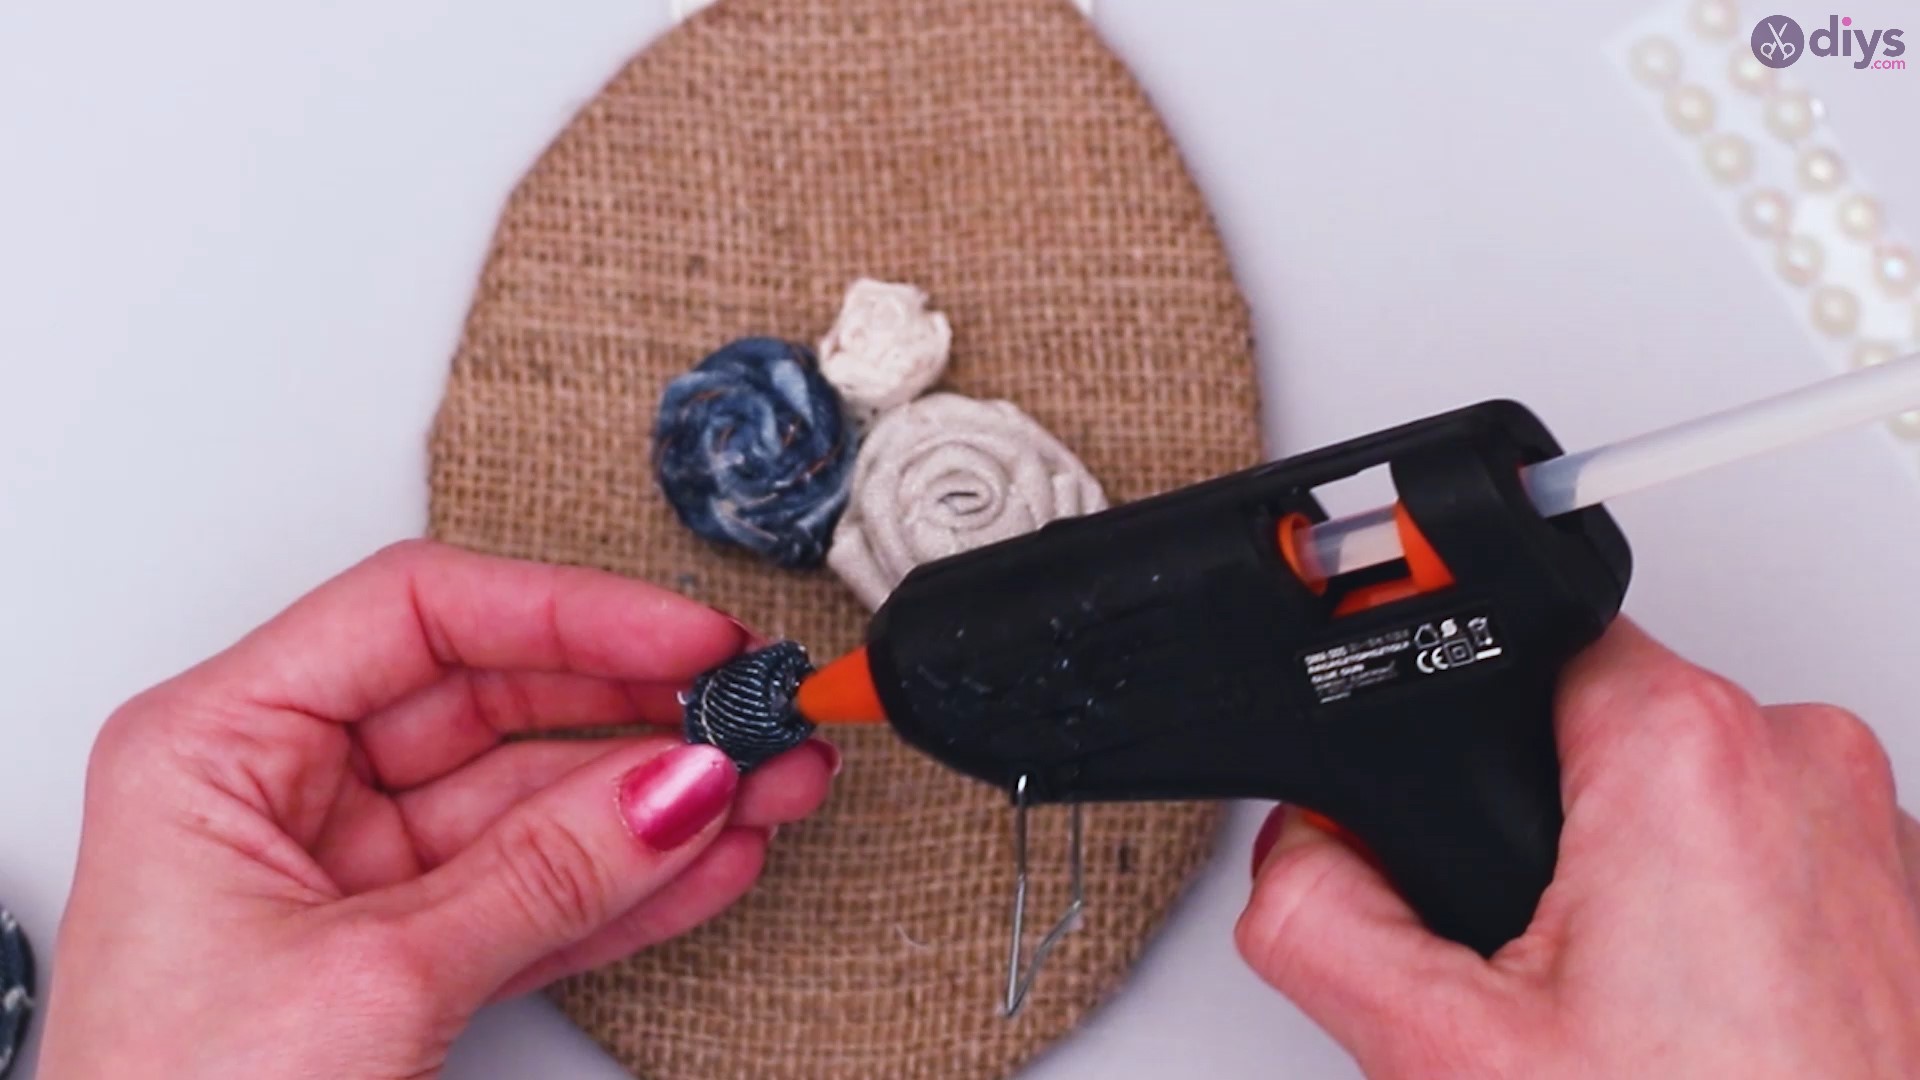
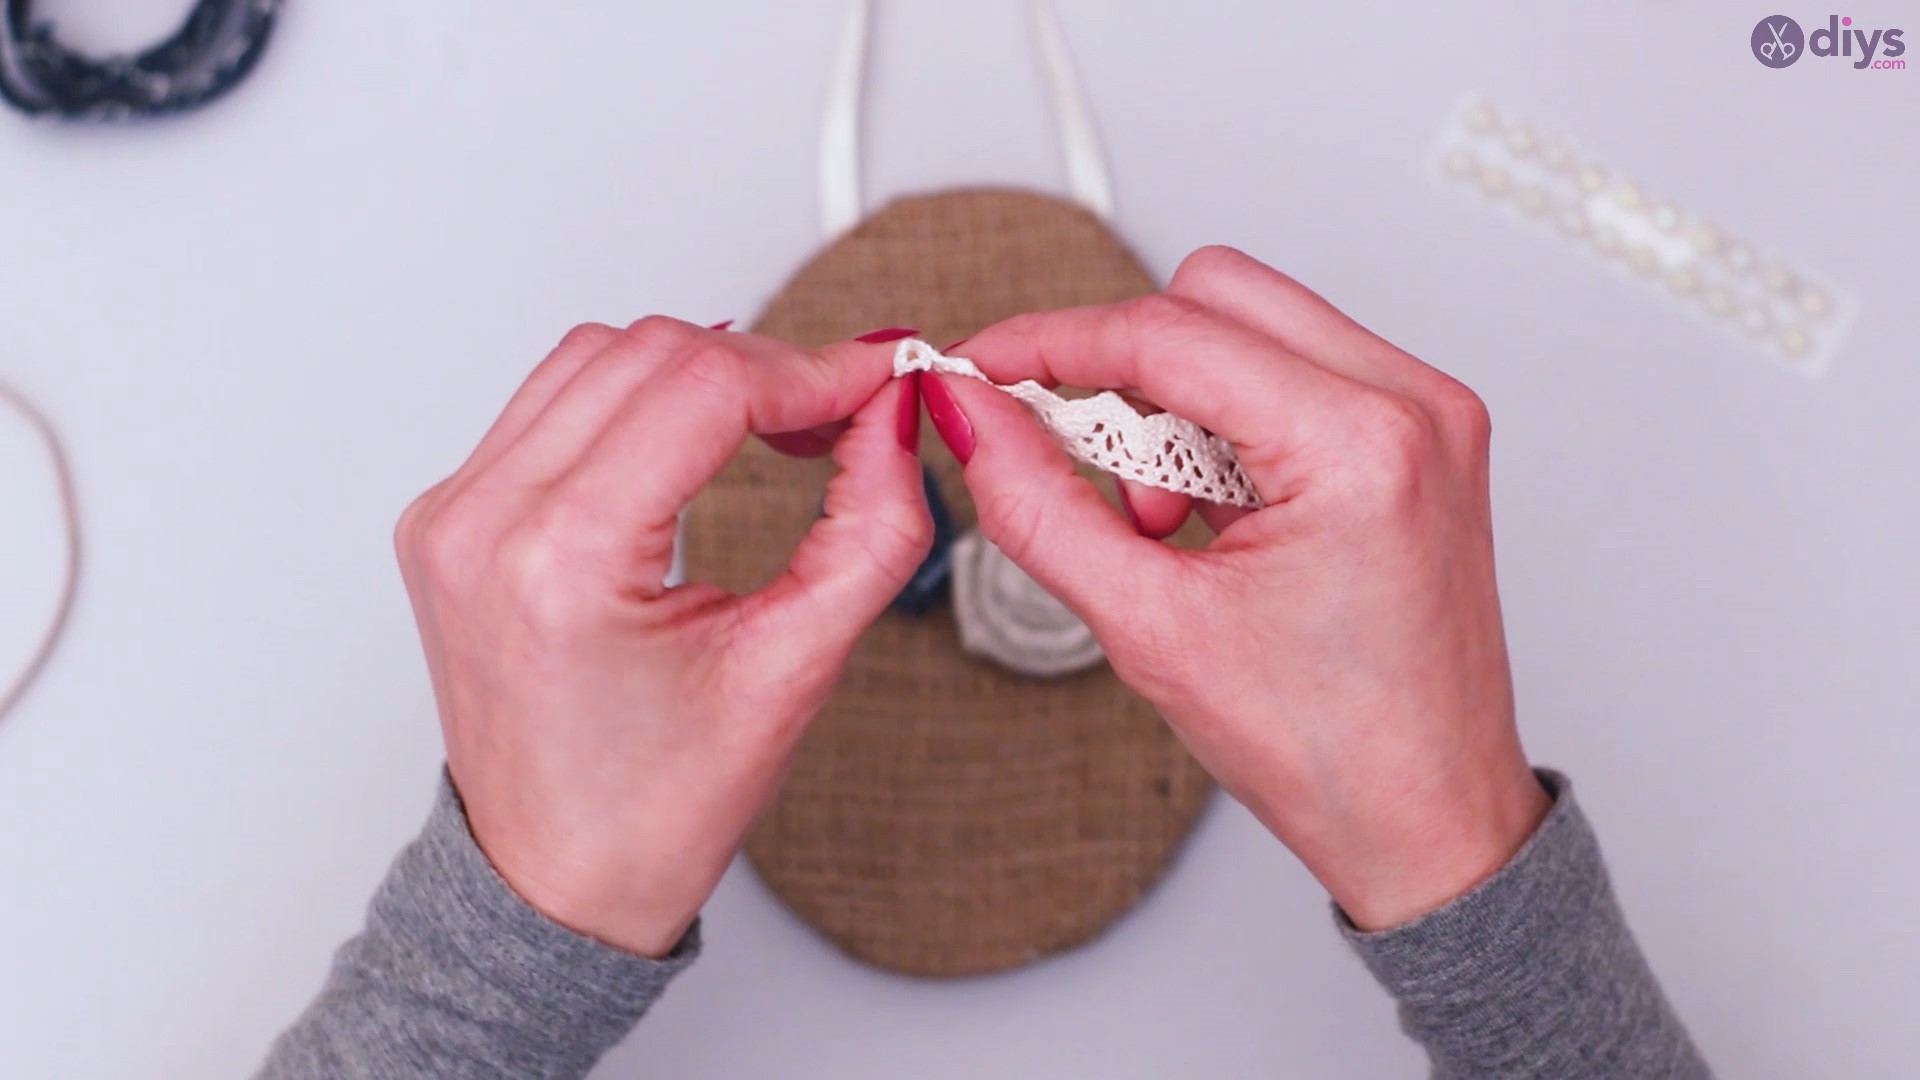
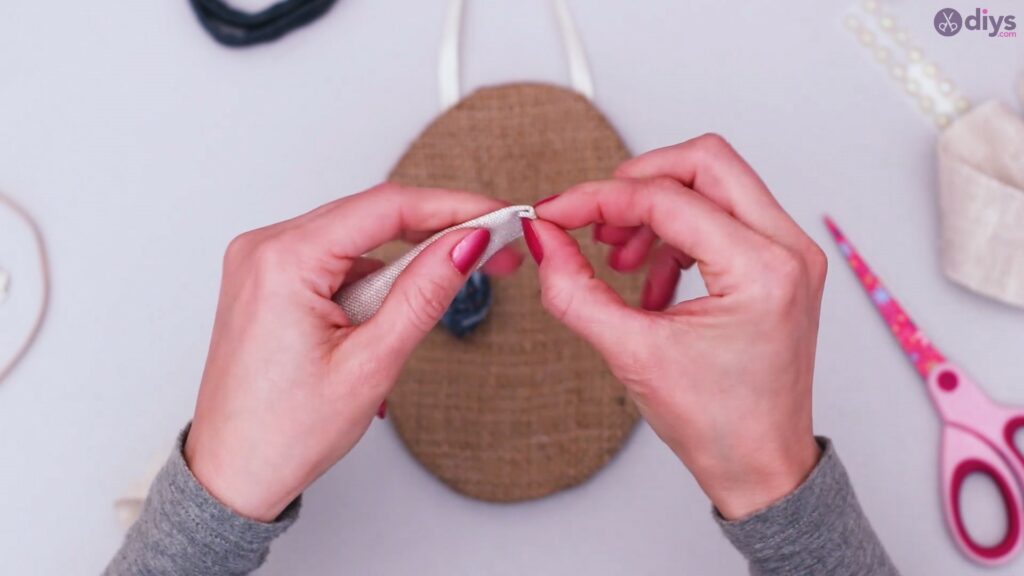
Step 4: Making the Roses
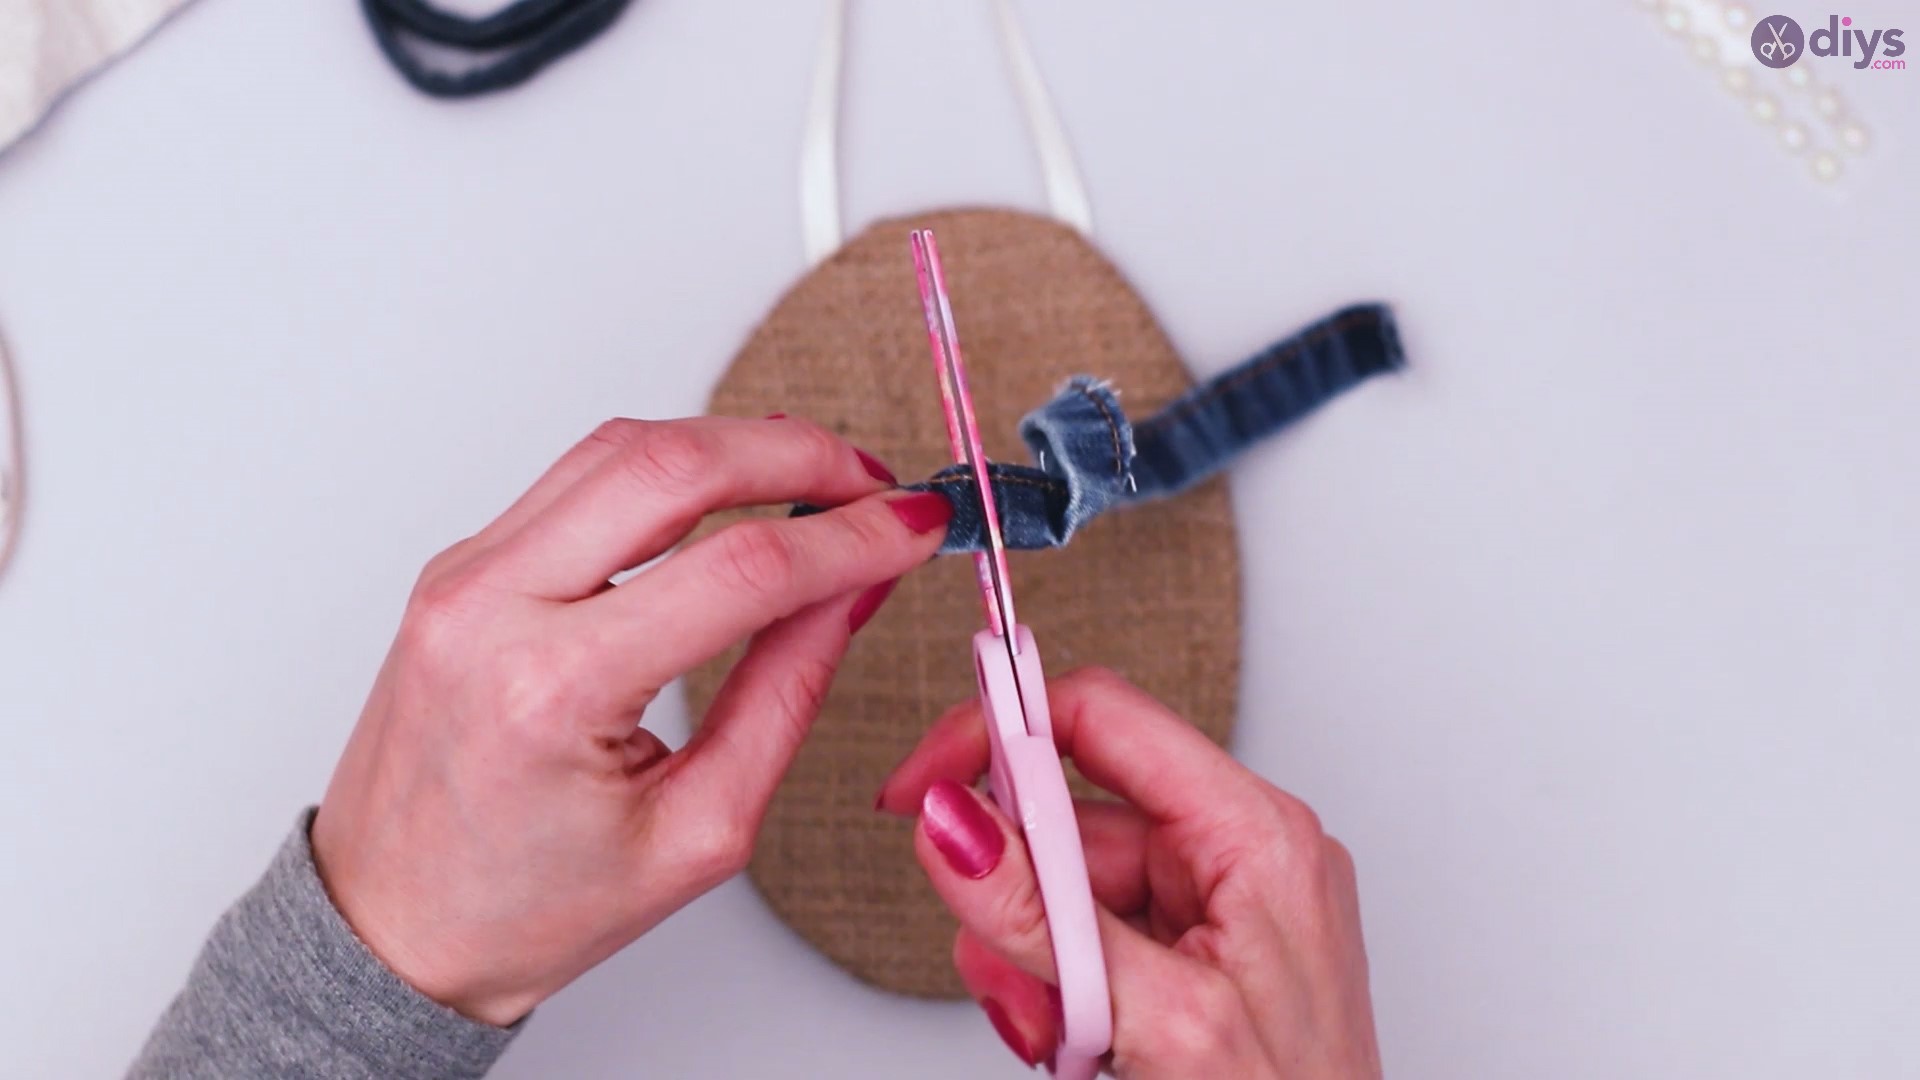
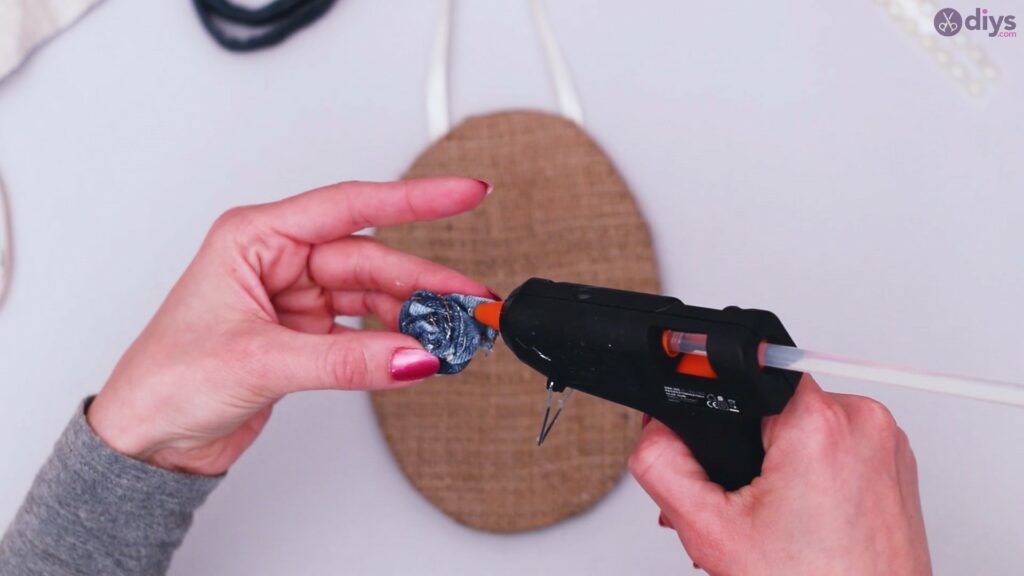
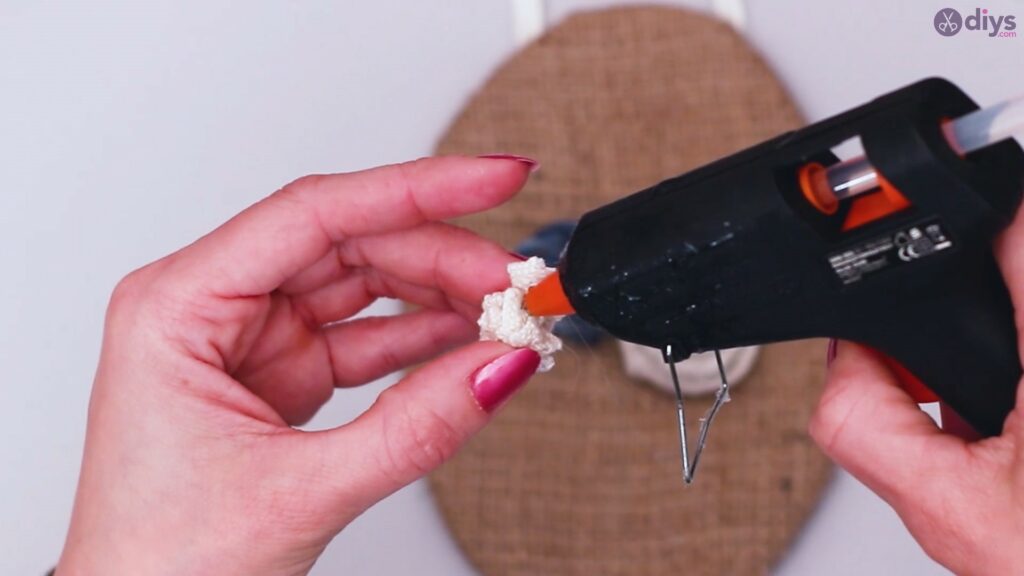
Now it’s time to start working on the front decorations of your hanging art. Start off with a strip of denim, grab one corner and start wrapping the material tightly around that end.
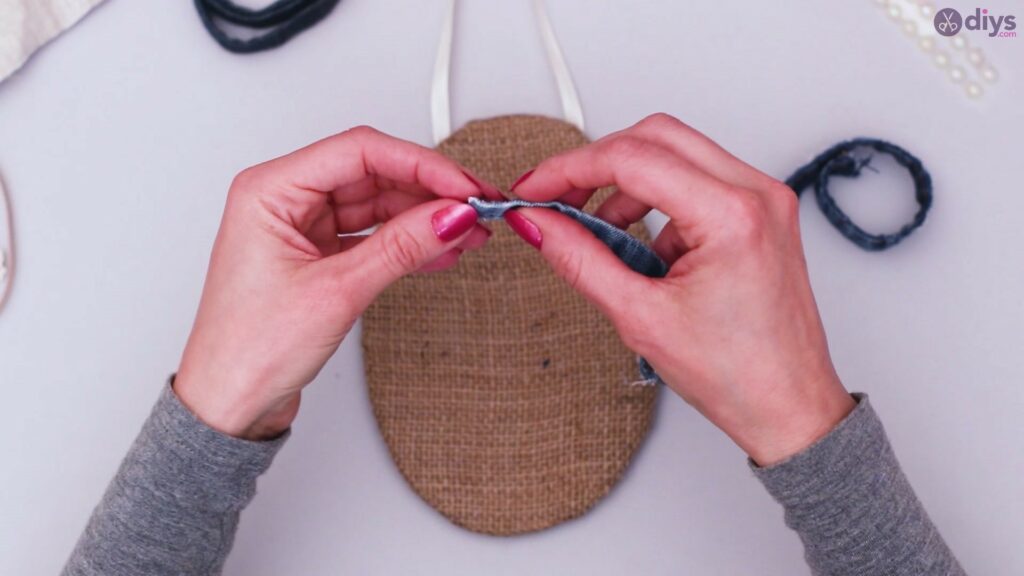
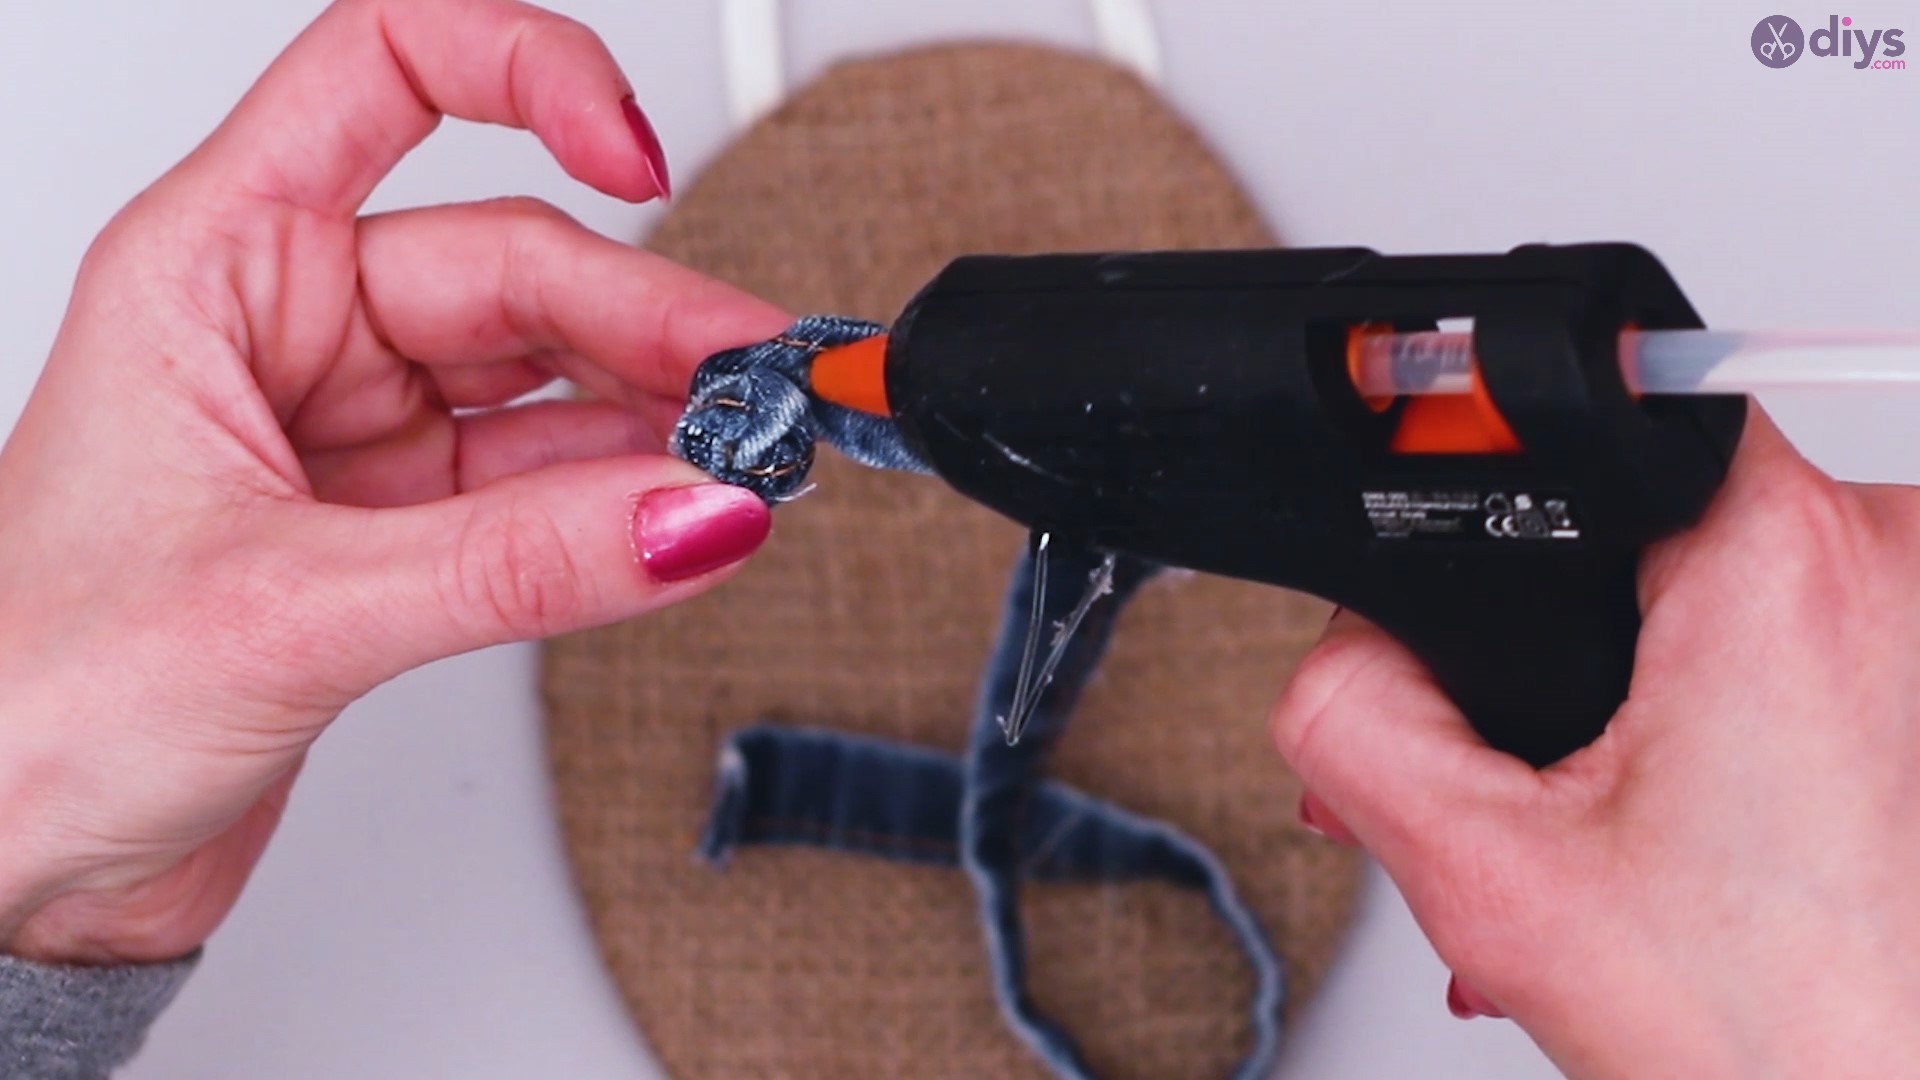
Add glue as you keep wrapping the piece of denim around, kind of like rolling a snowball through more snow to make it larger.

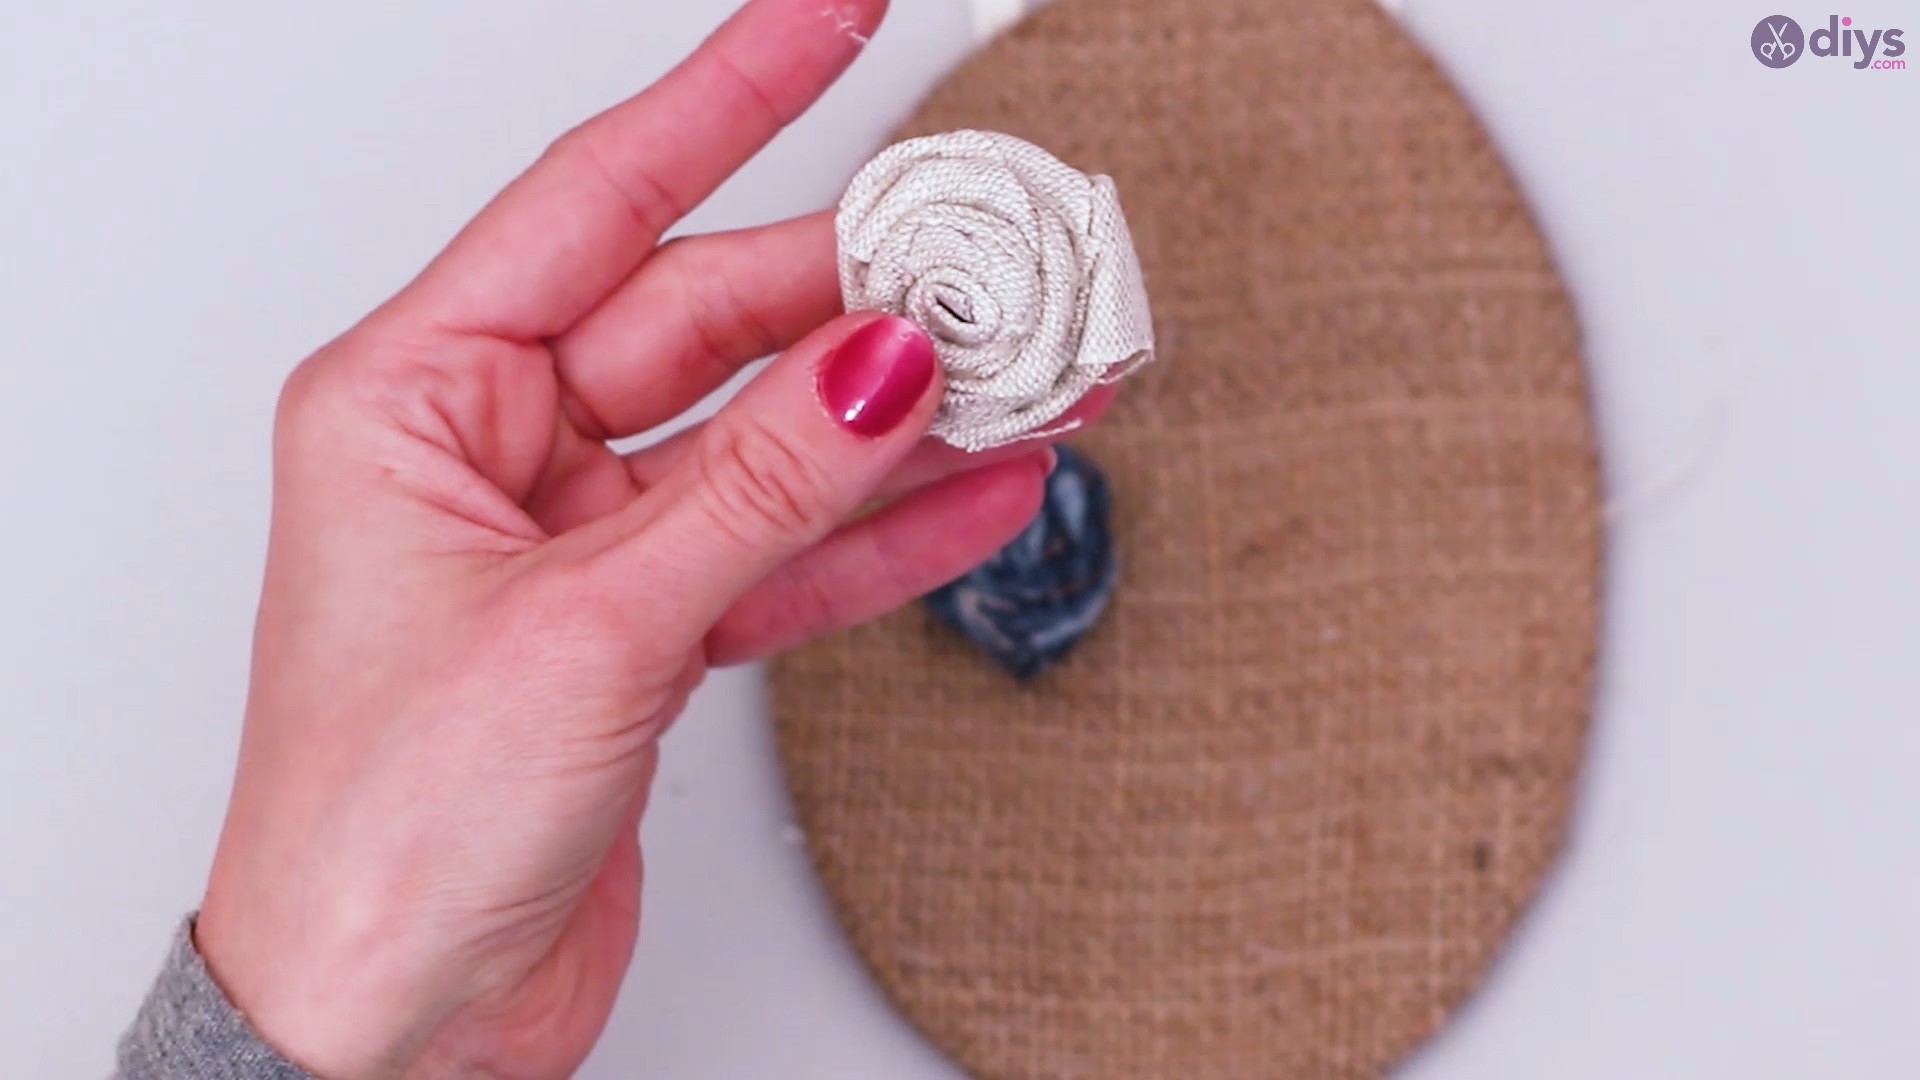
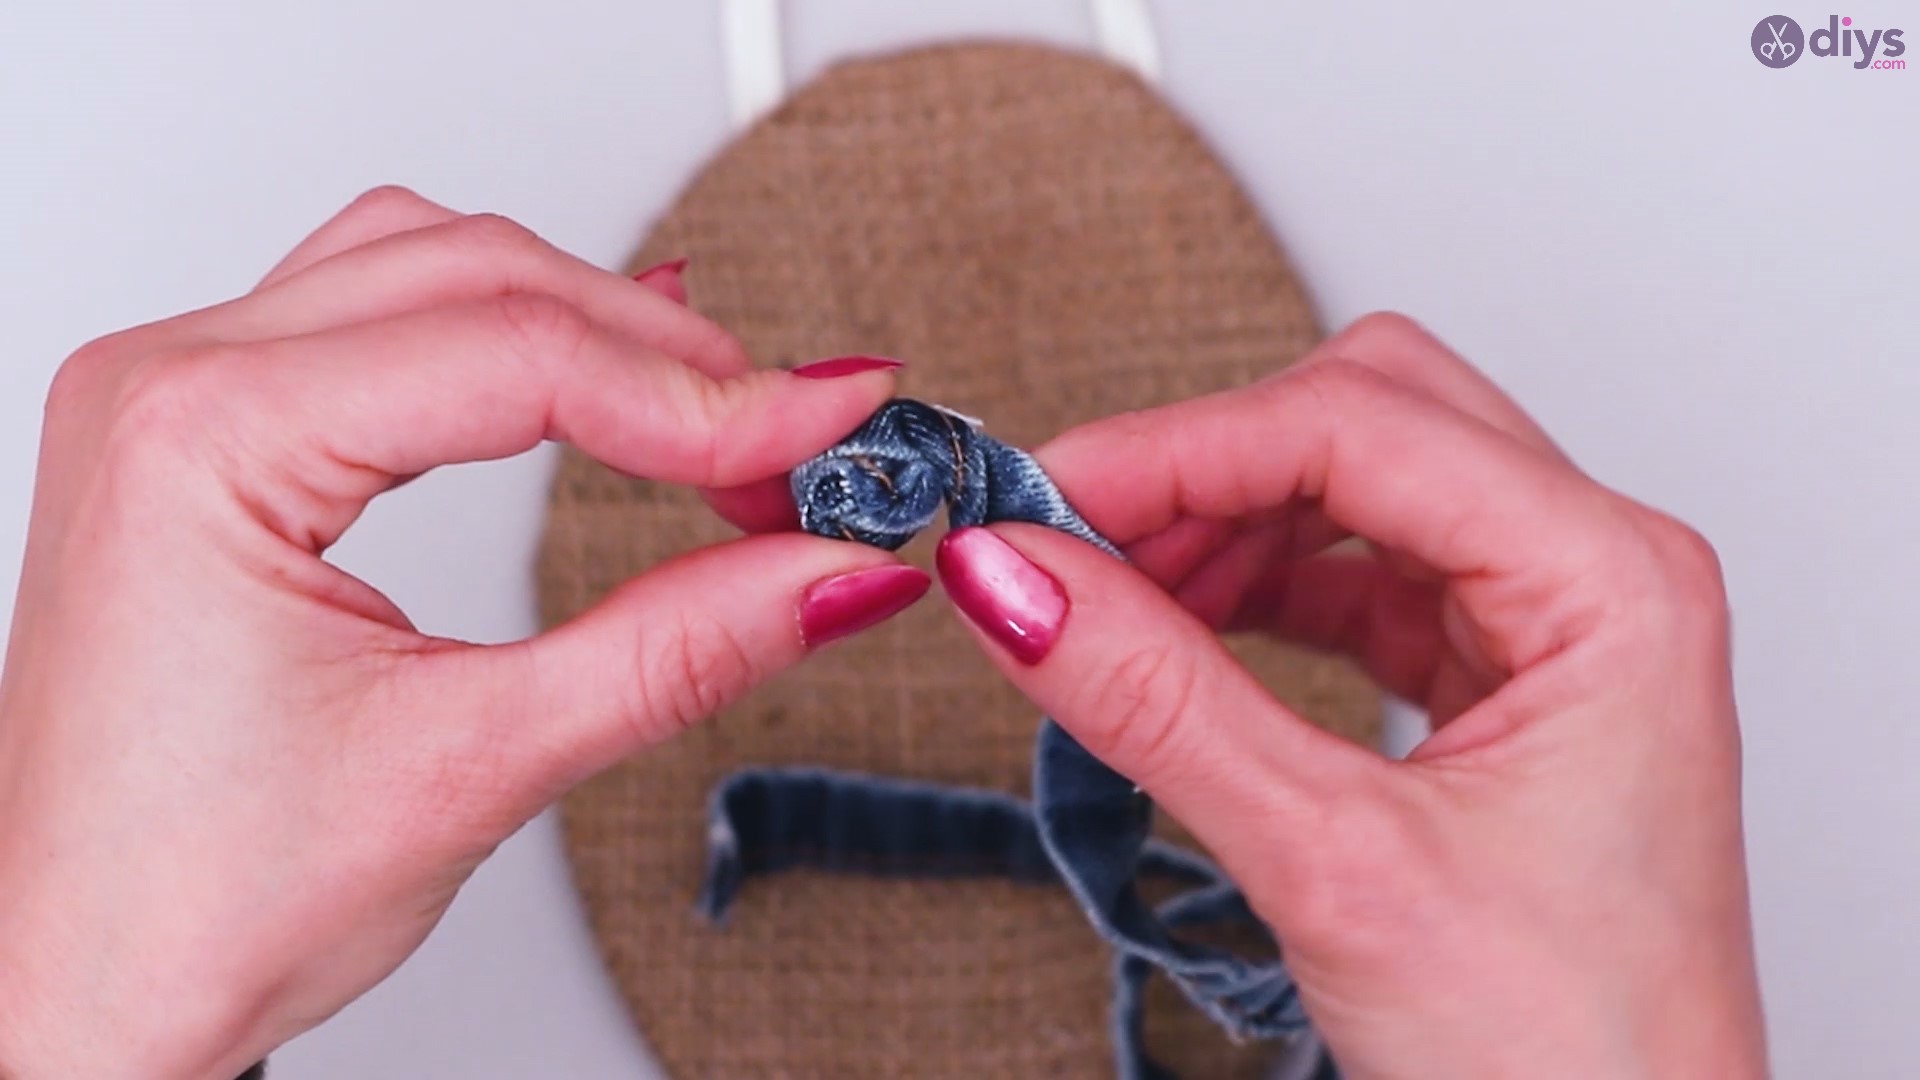
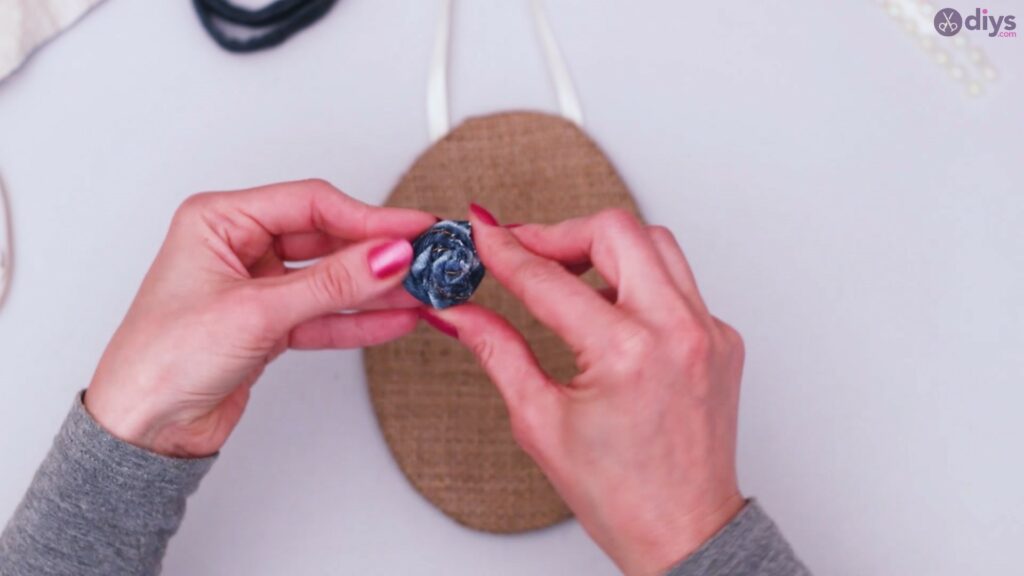
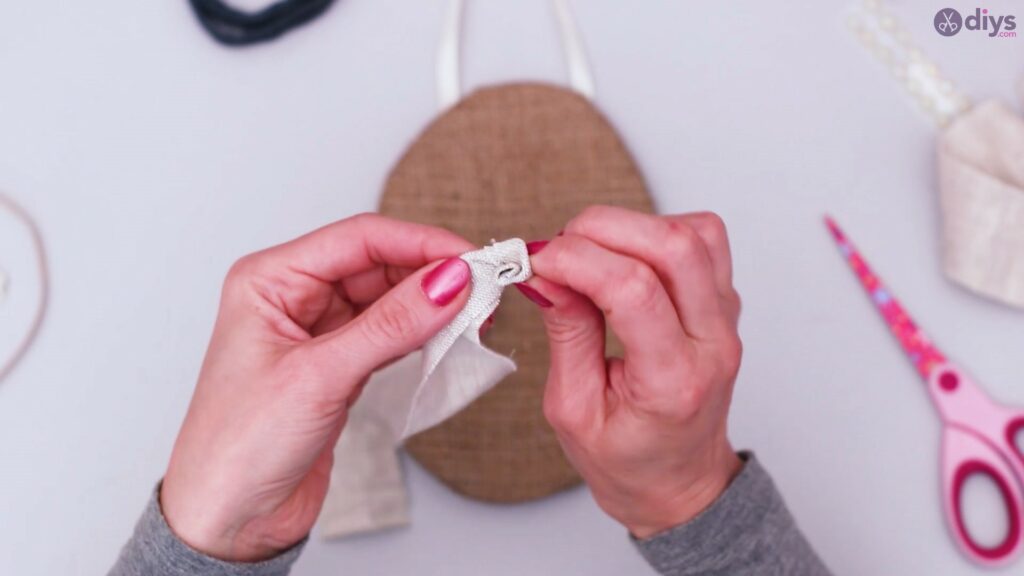
As you add glue, keep pressing the remainder of the strip on your rose bulb to make it as large as you want.
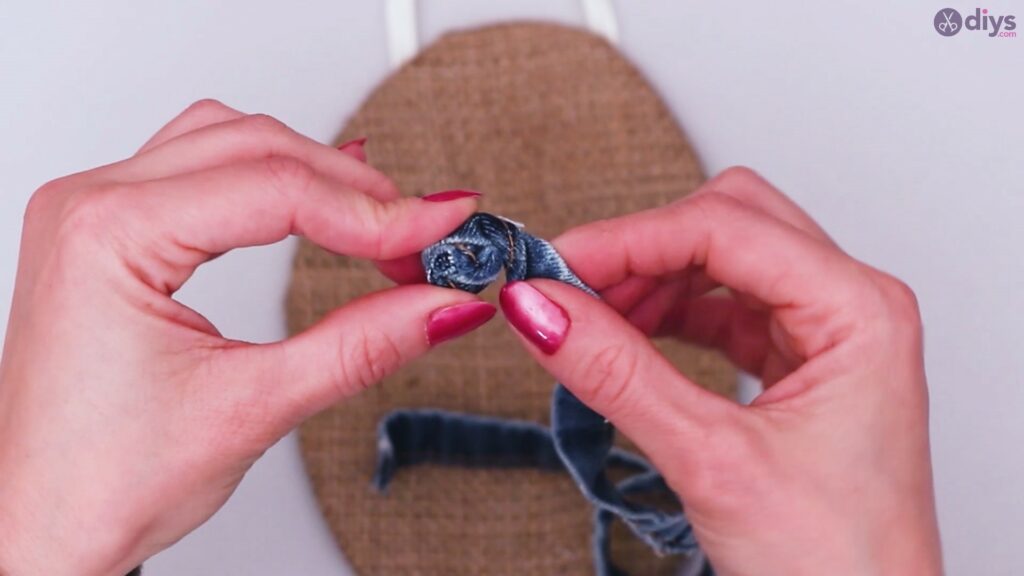
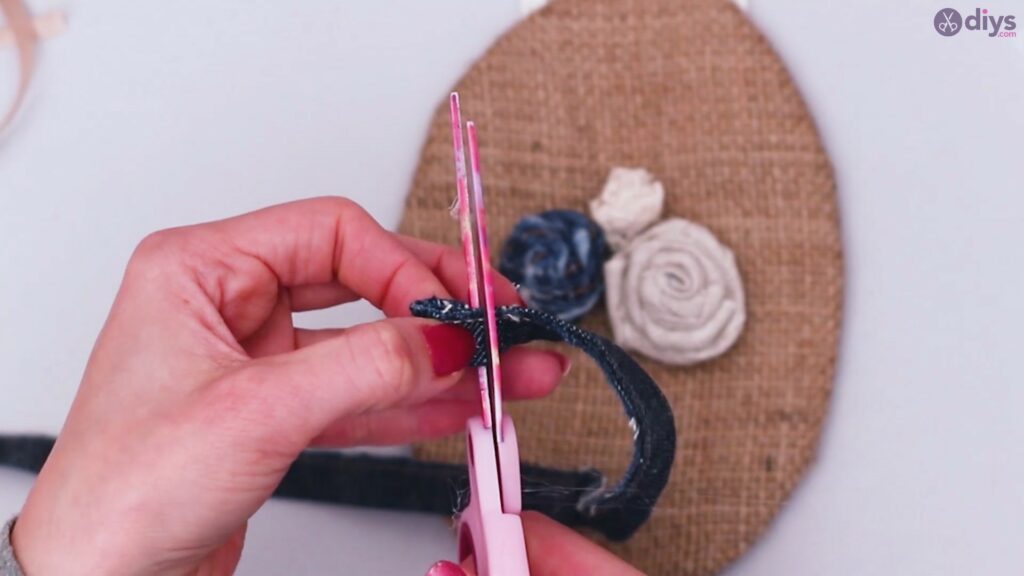
When your rose is of optimal size, use your scissors to cut any residue material.

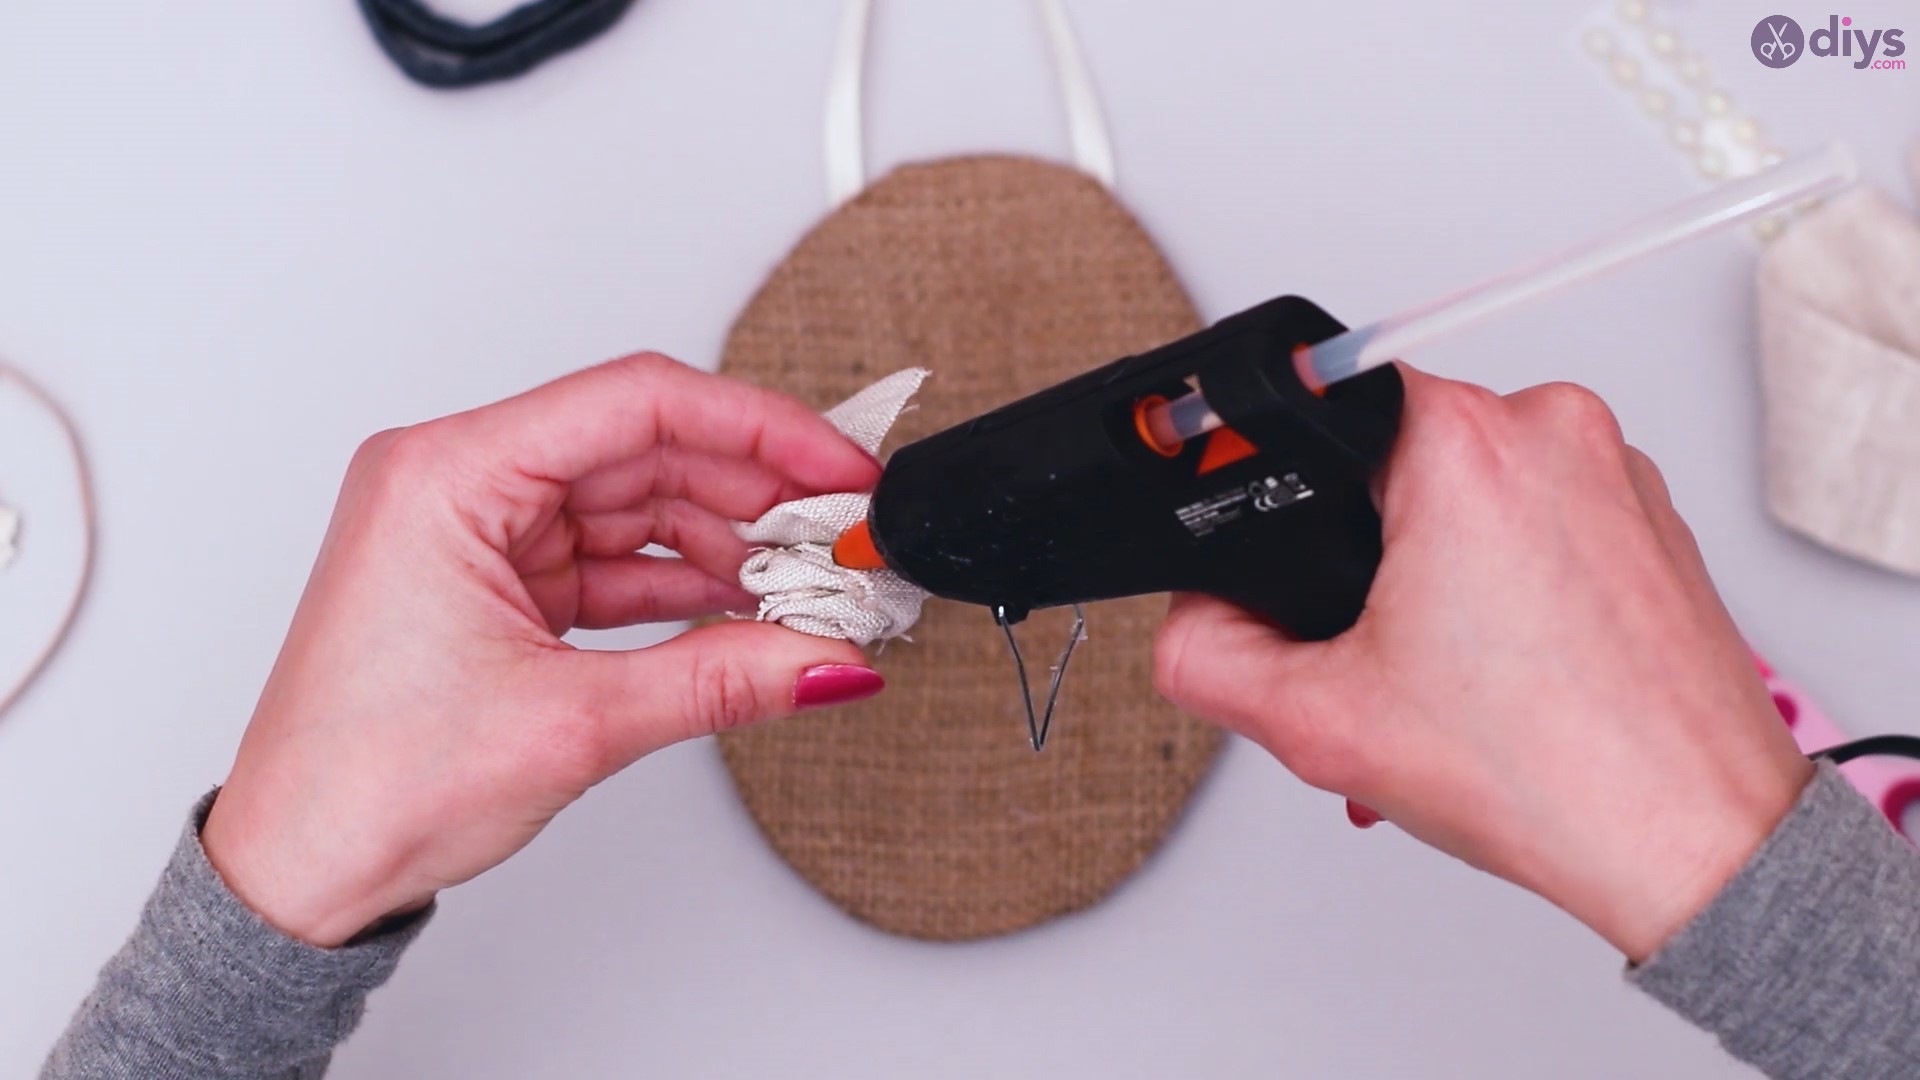
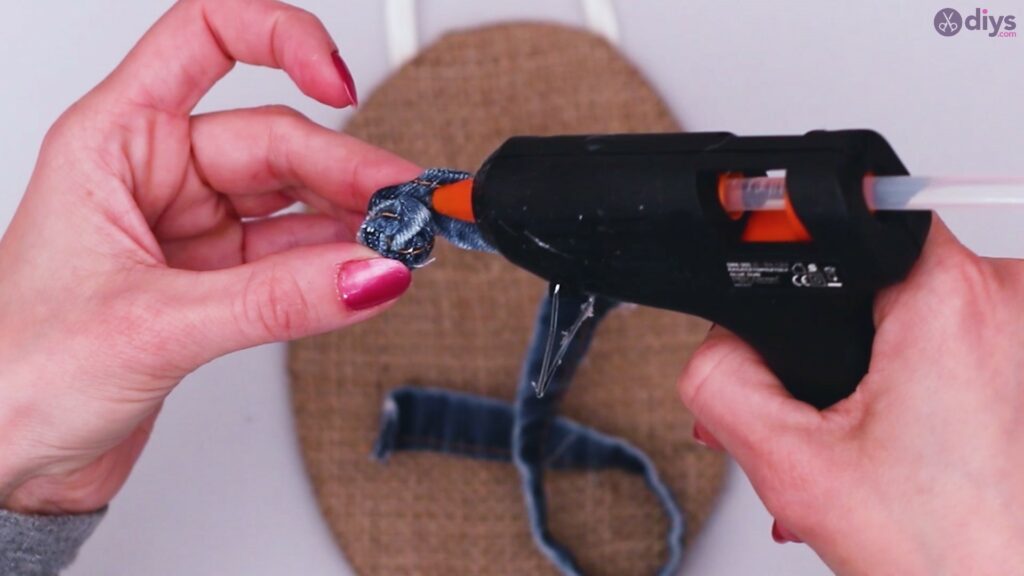
Make sure to add glue at the other end of the denim strip and stick it to the rest of the rose so that it doesn’t come undone.
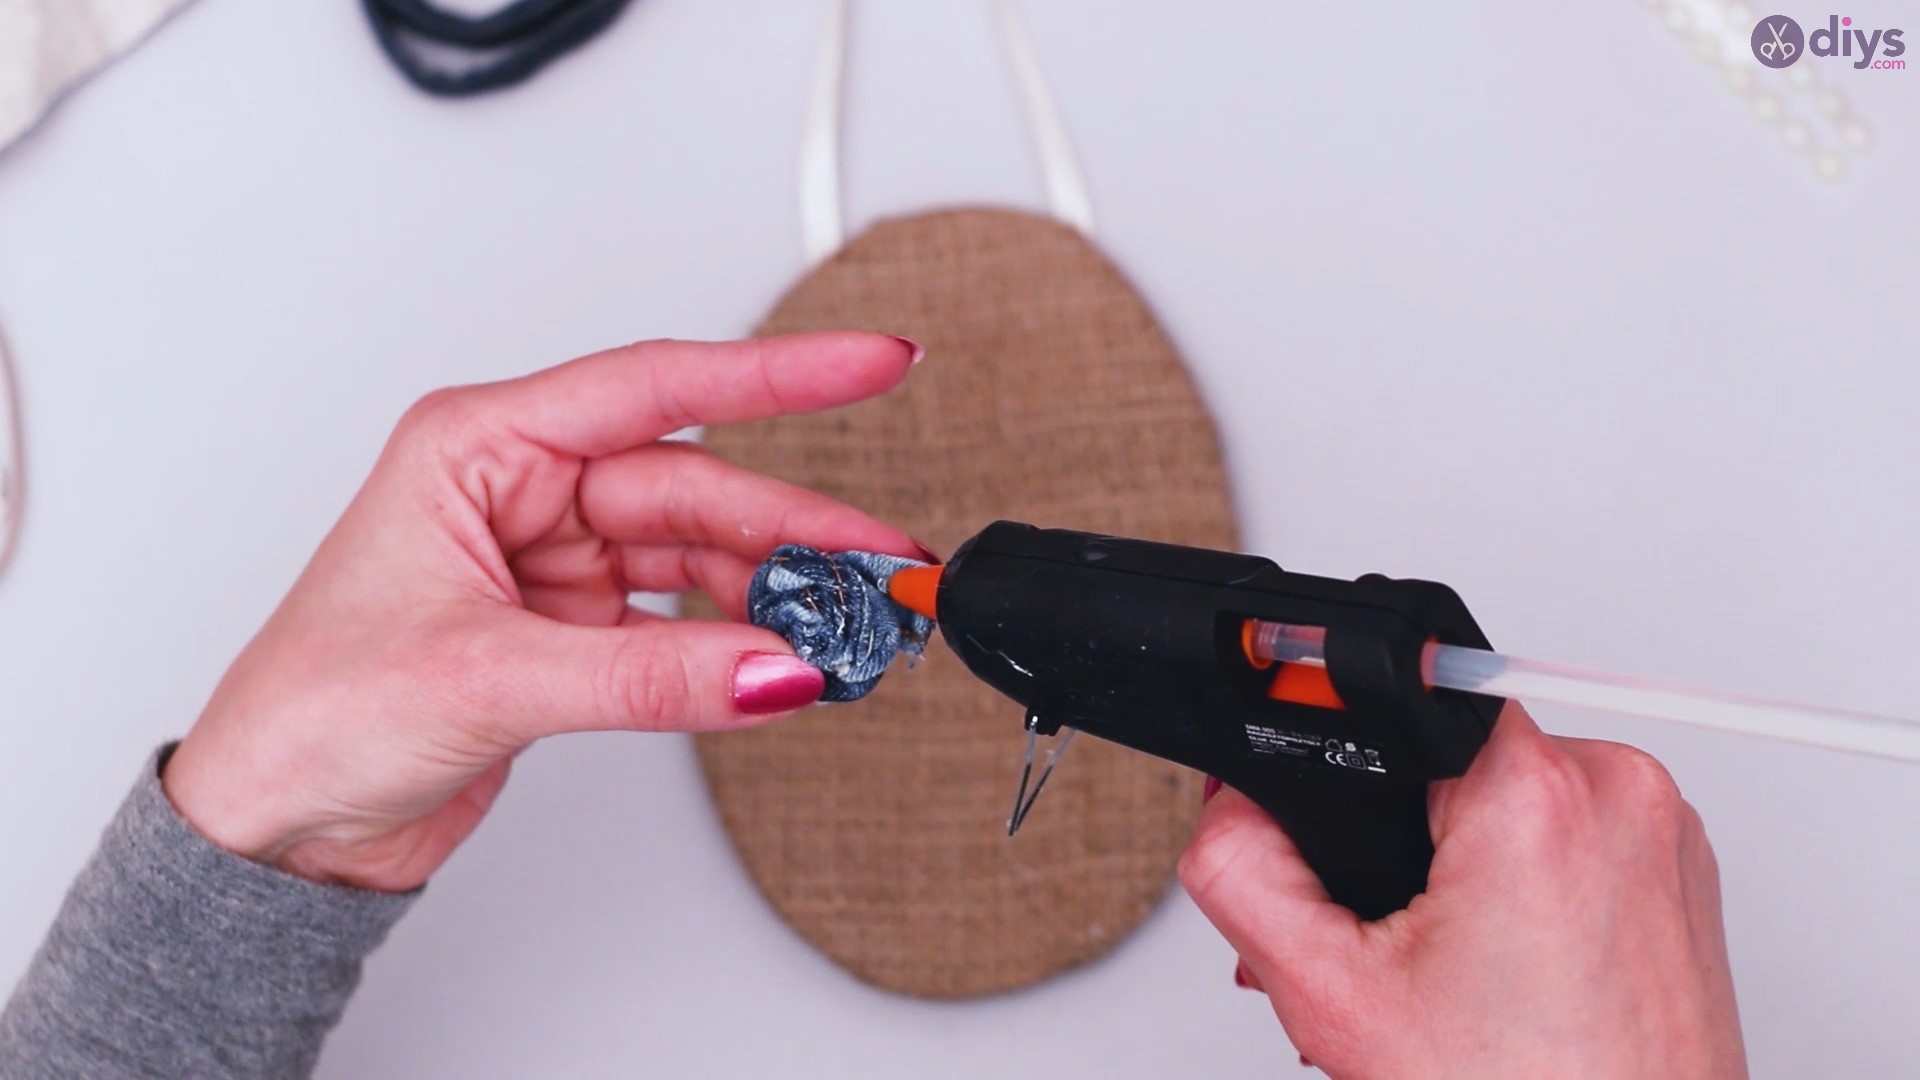
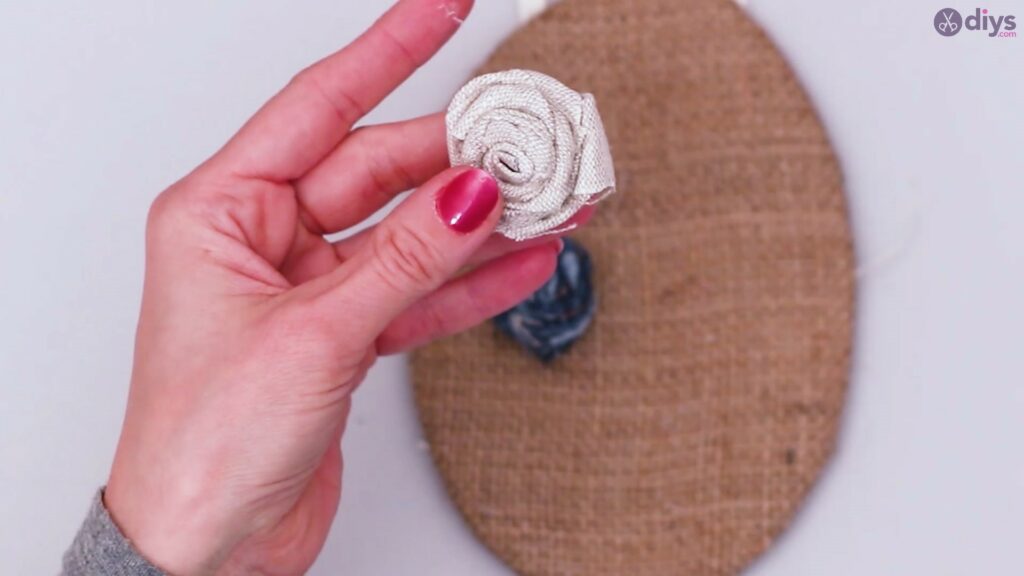
When you’re done, place the rose aside and proceed to cutting a strip out of the next piece of fabric that you want to use to make roses. Repeat the same steps as you did for the rose, wrapping the material around one edge and adding glue with your glue gun as you go along.
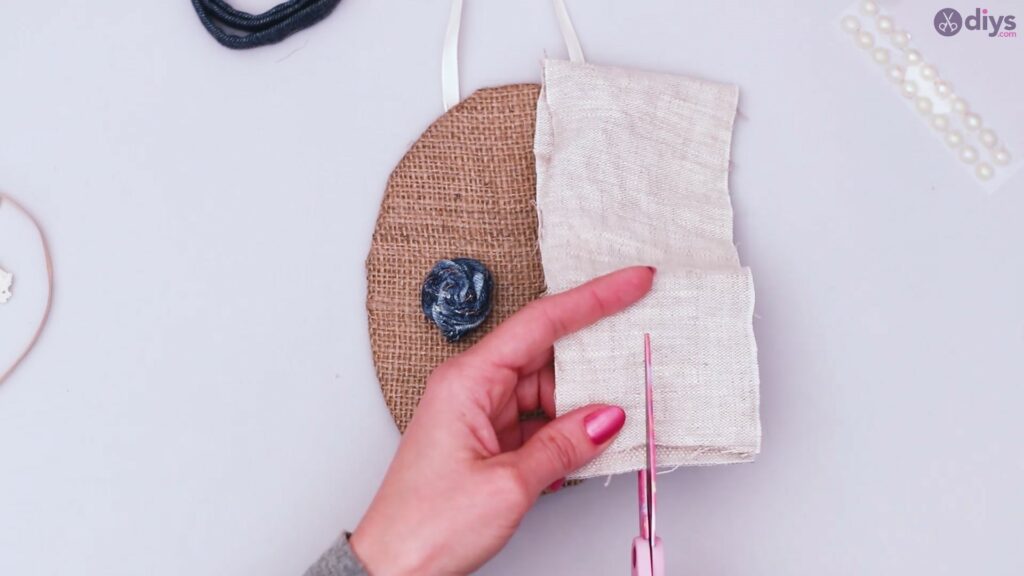
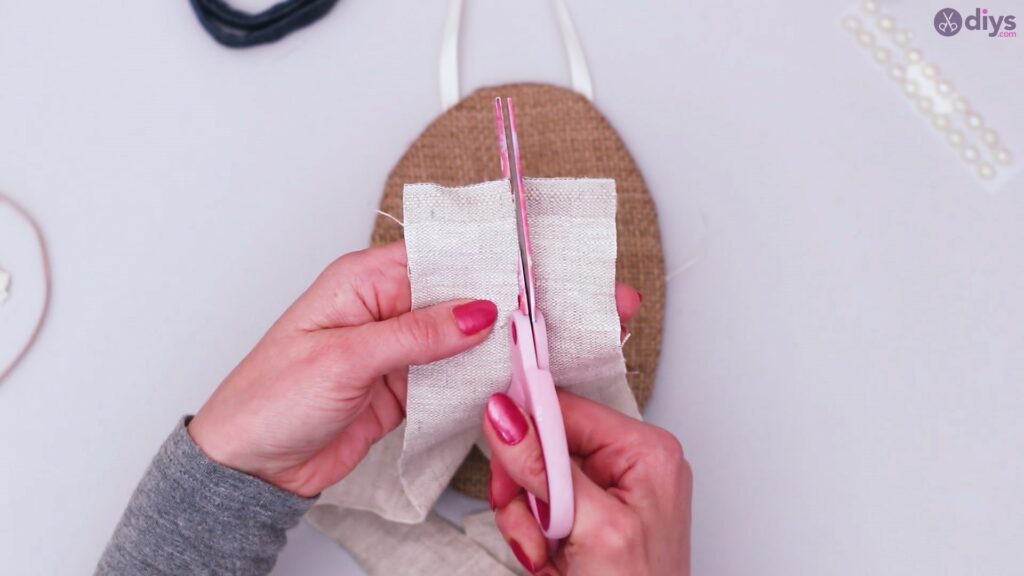

Create as many different-sized roses as you want (we made four in our project) from as many material strips as you feel are suitable for your own burlap wall hanging art.


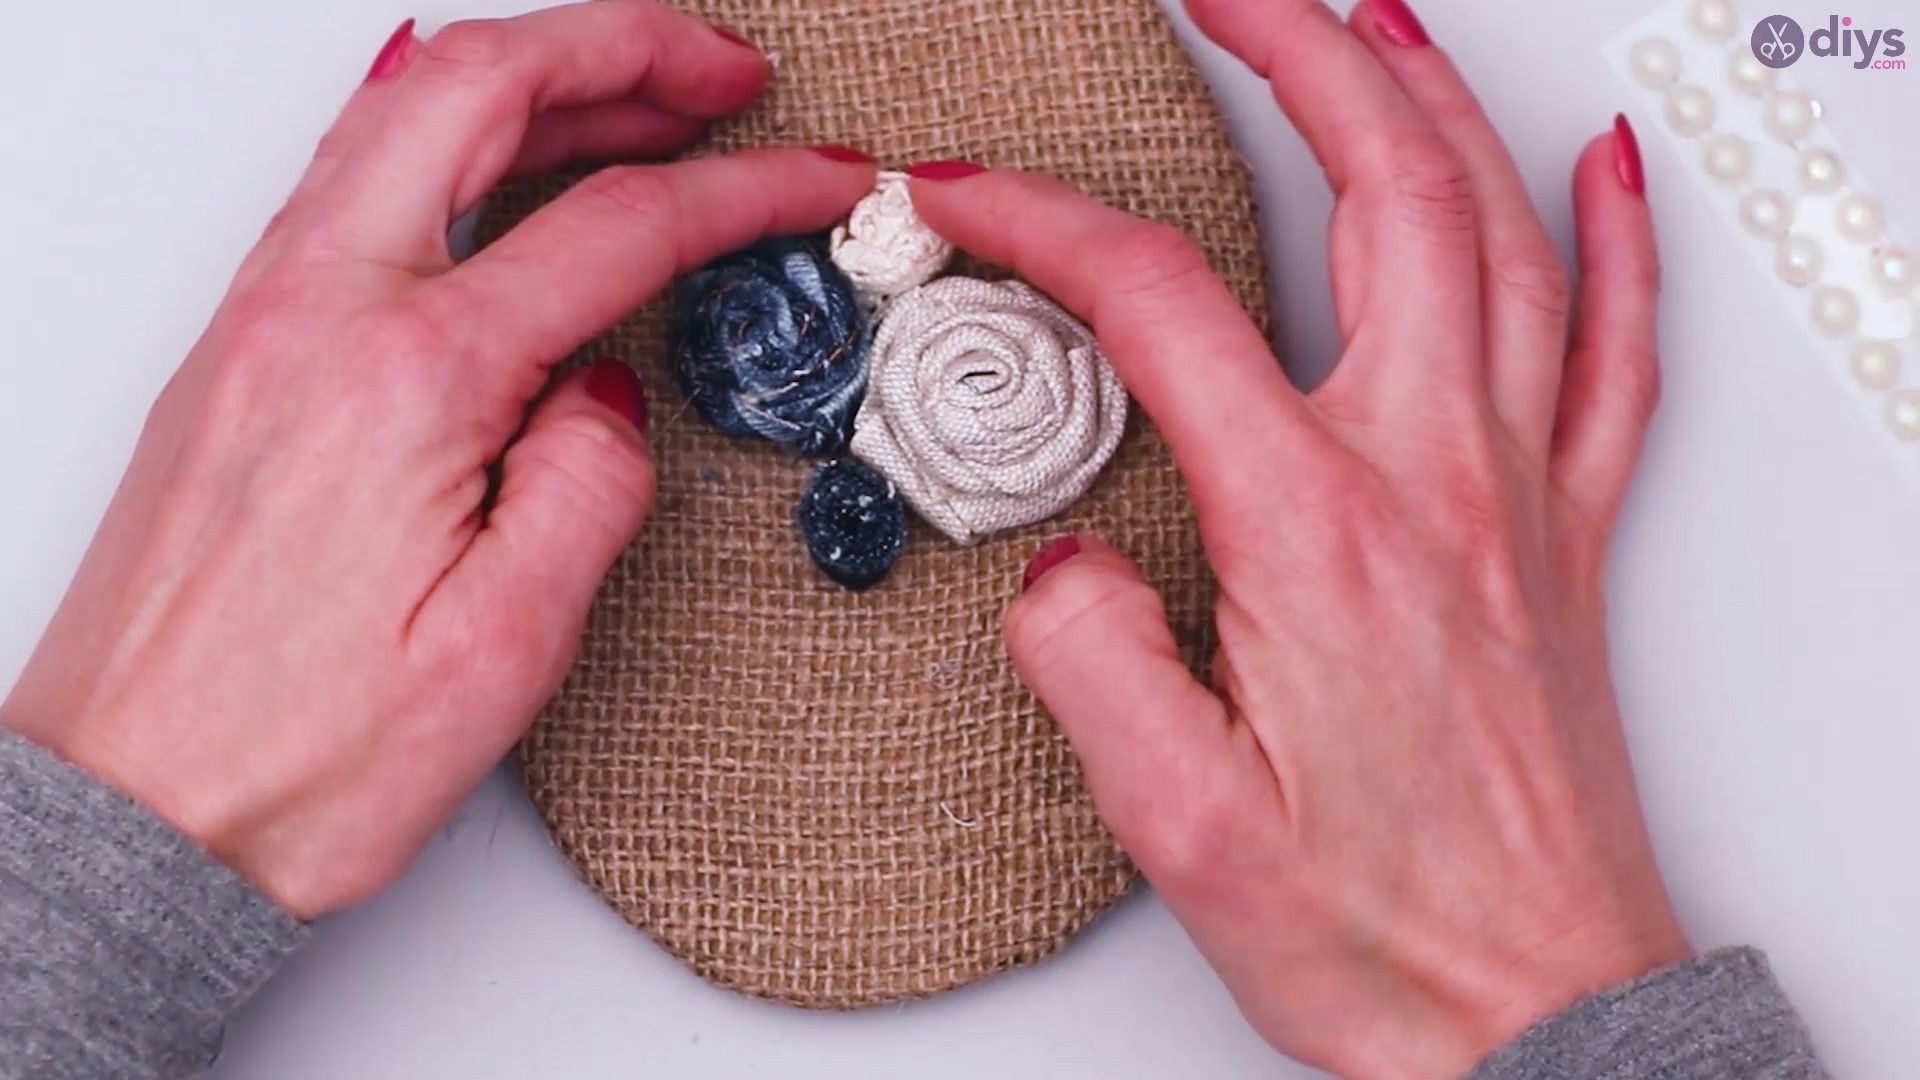
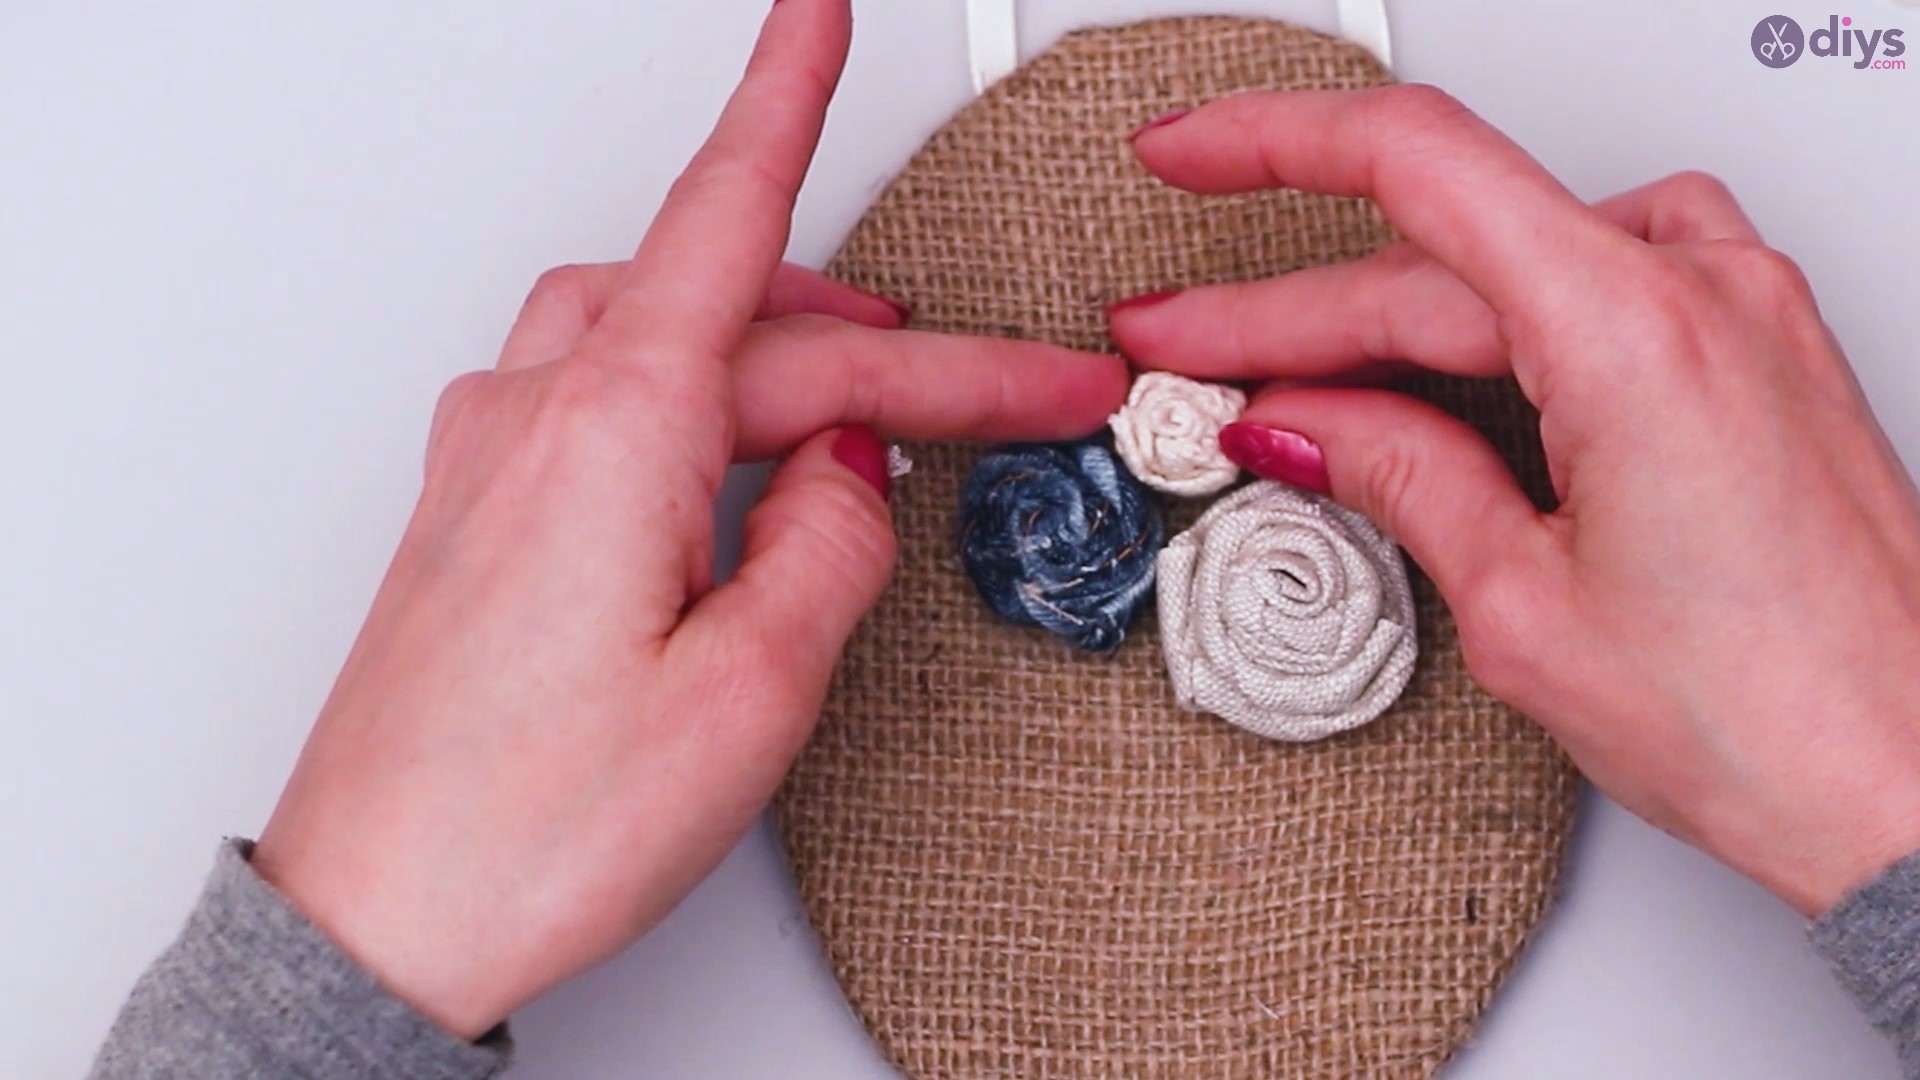
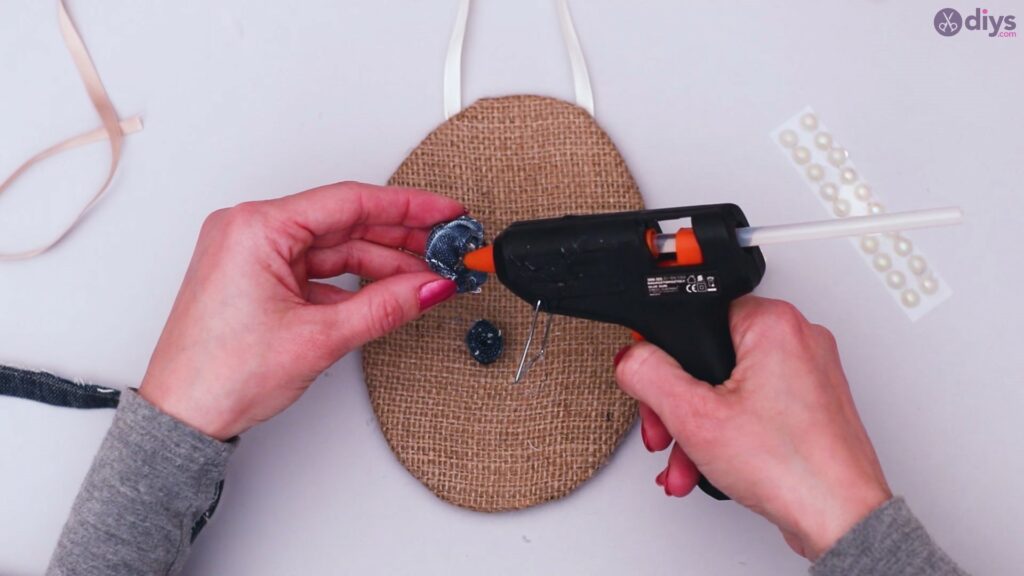
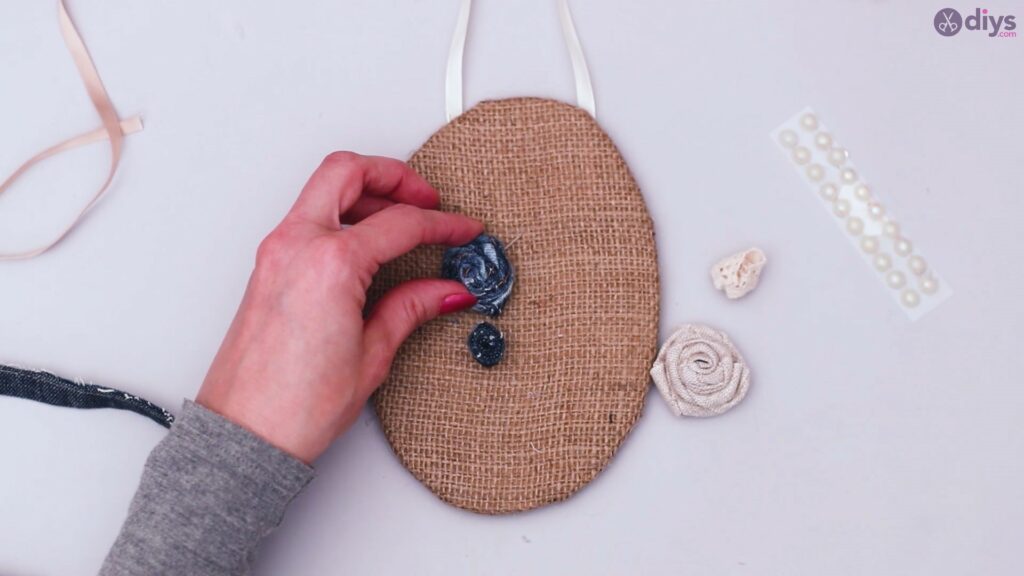
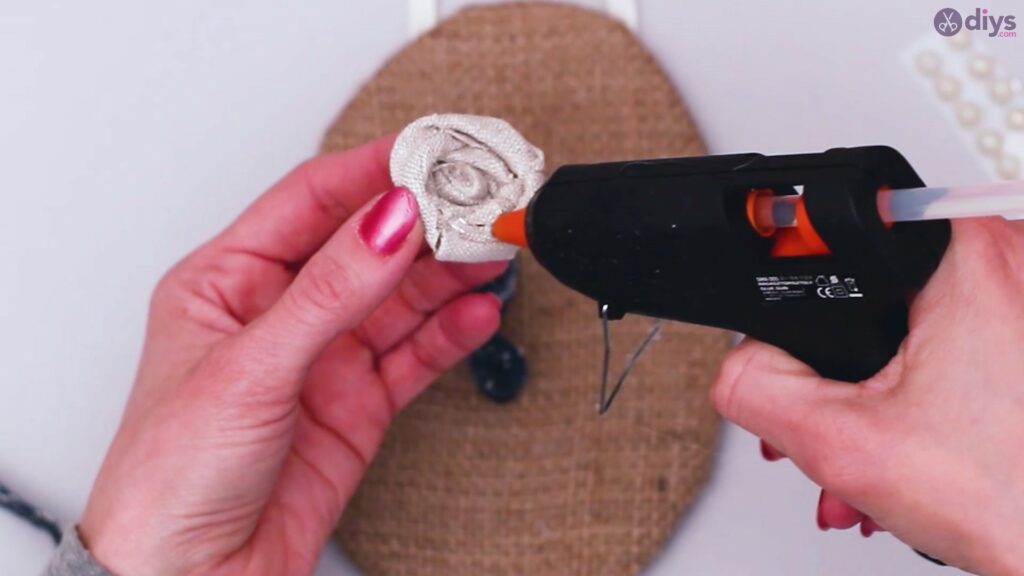
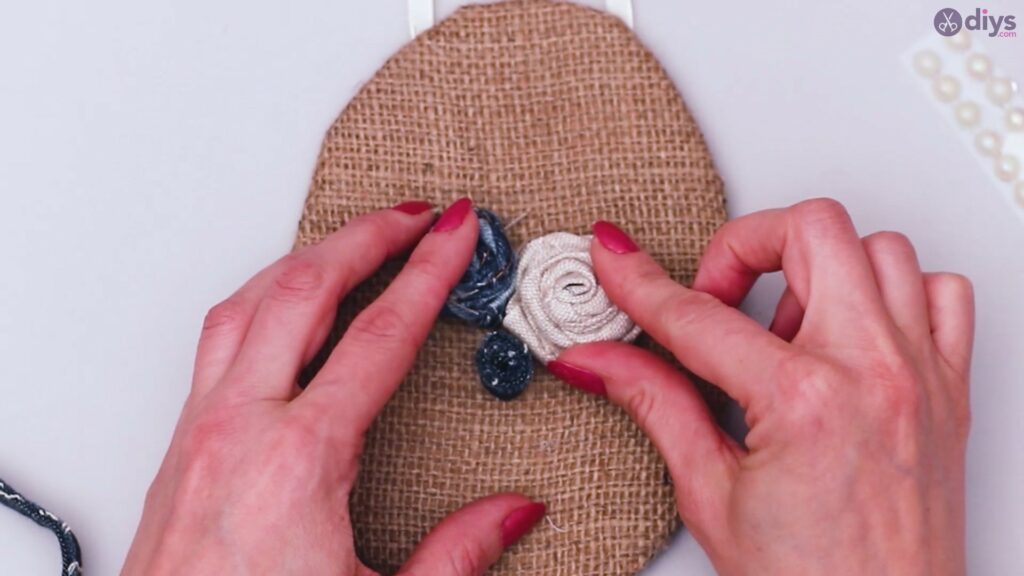
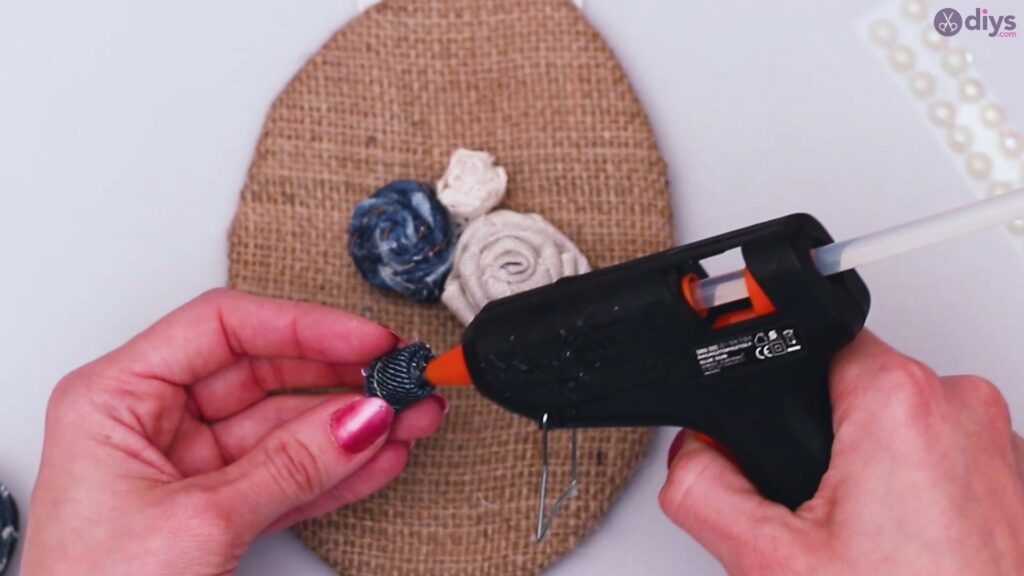
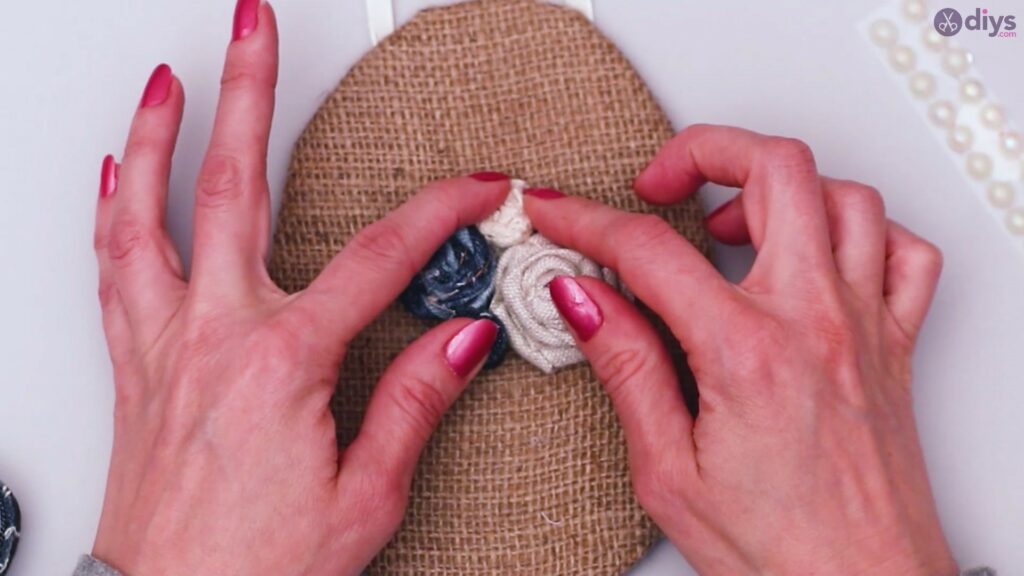
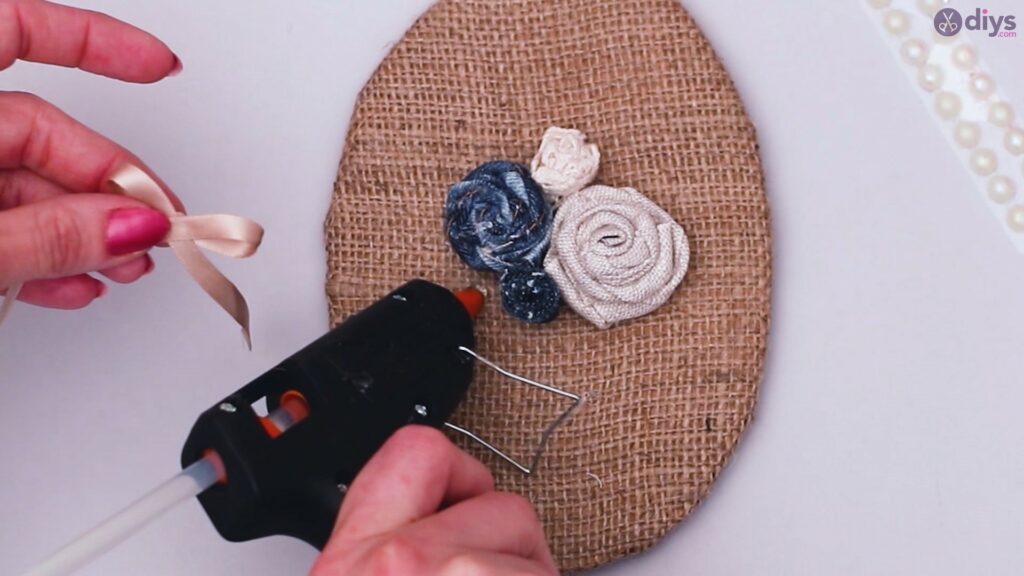
Step 5: Gluing the Roses
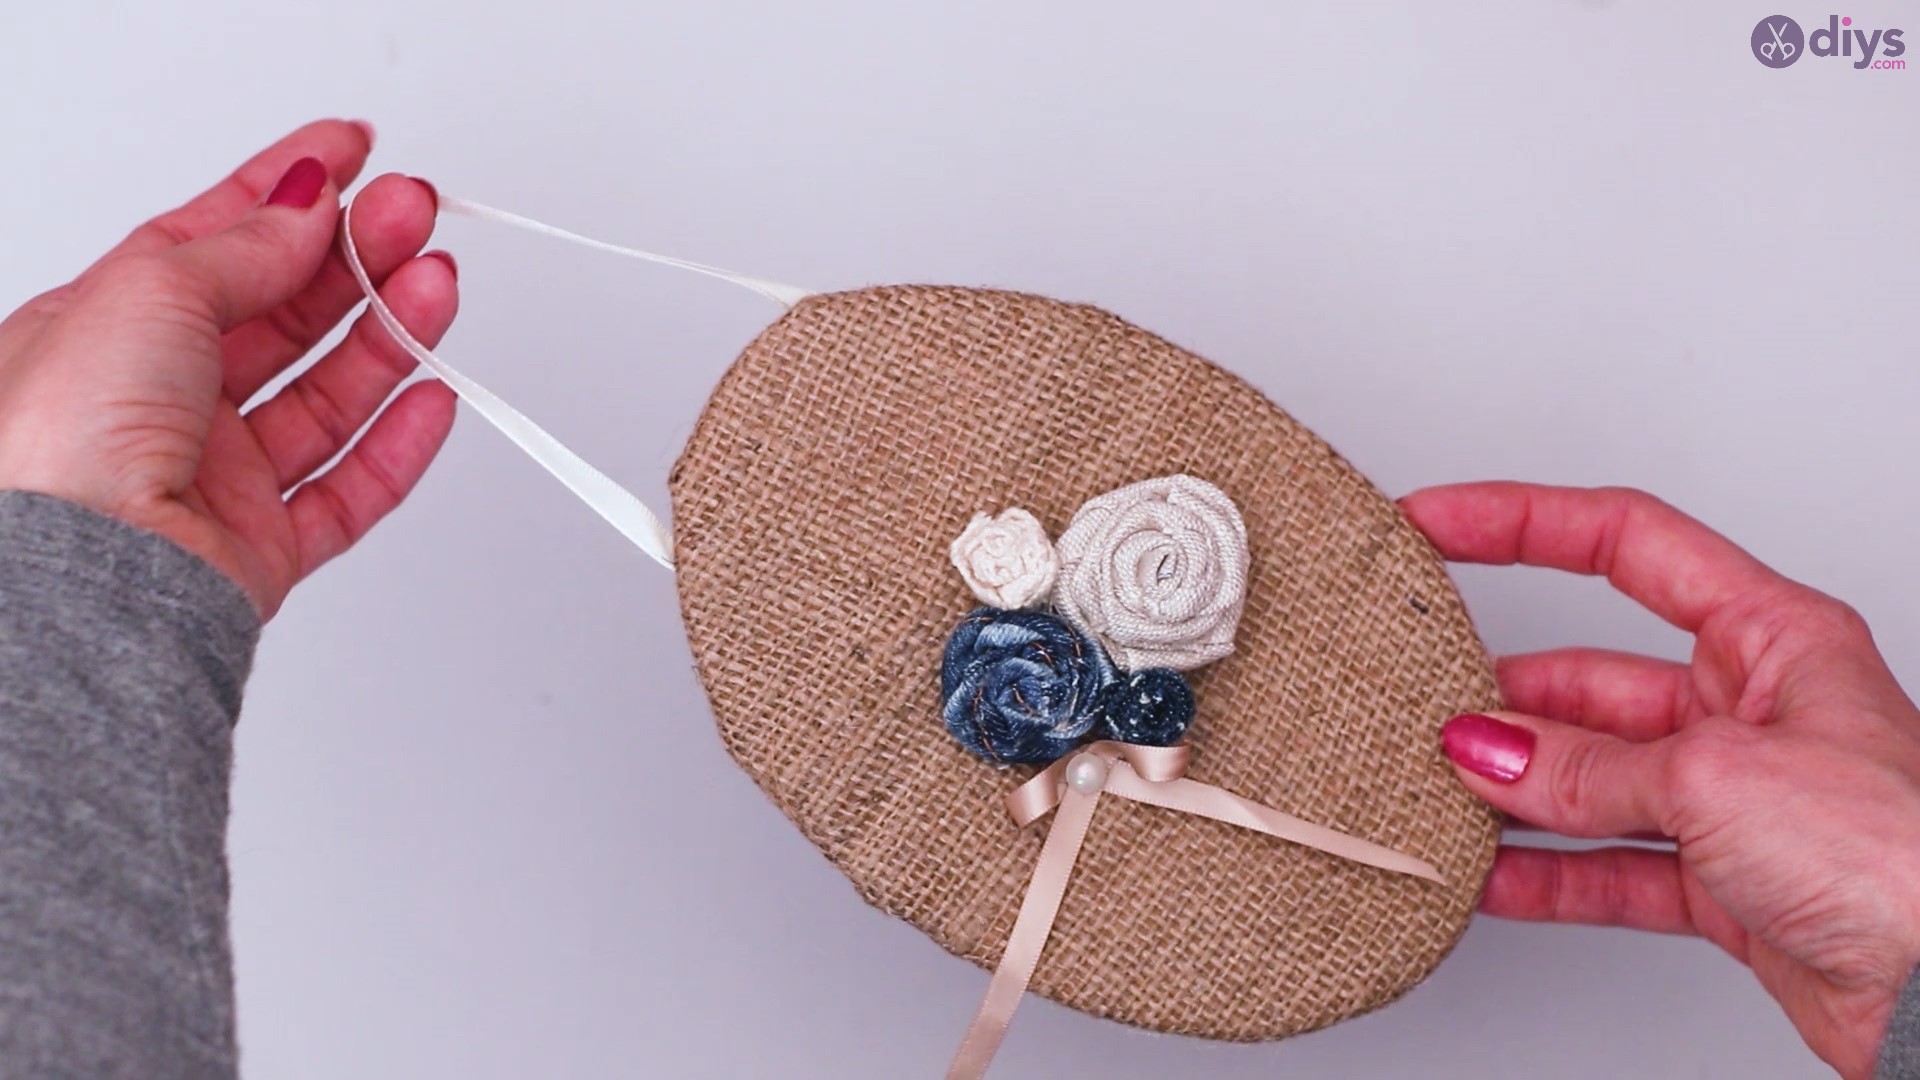
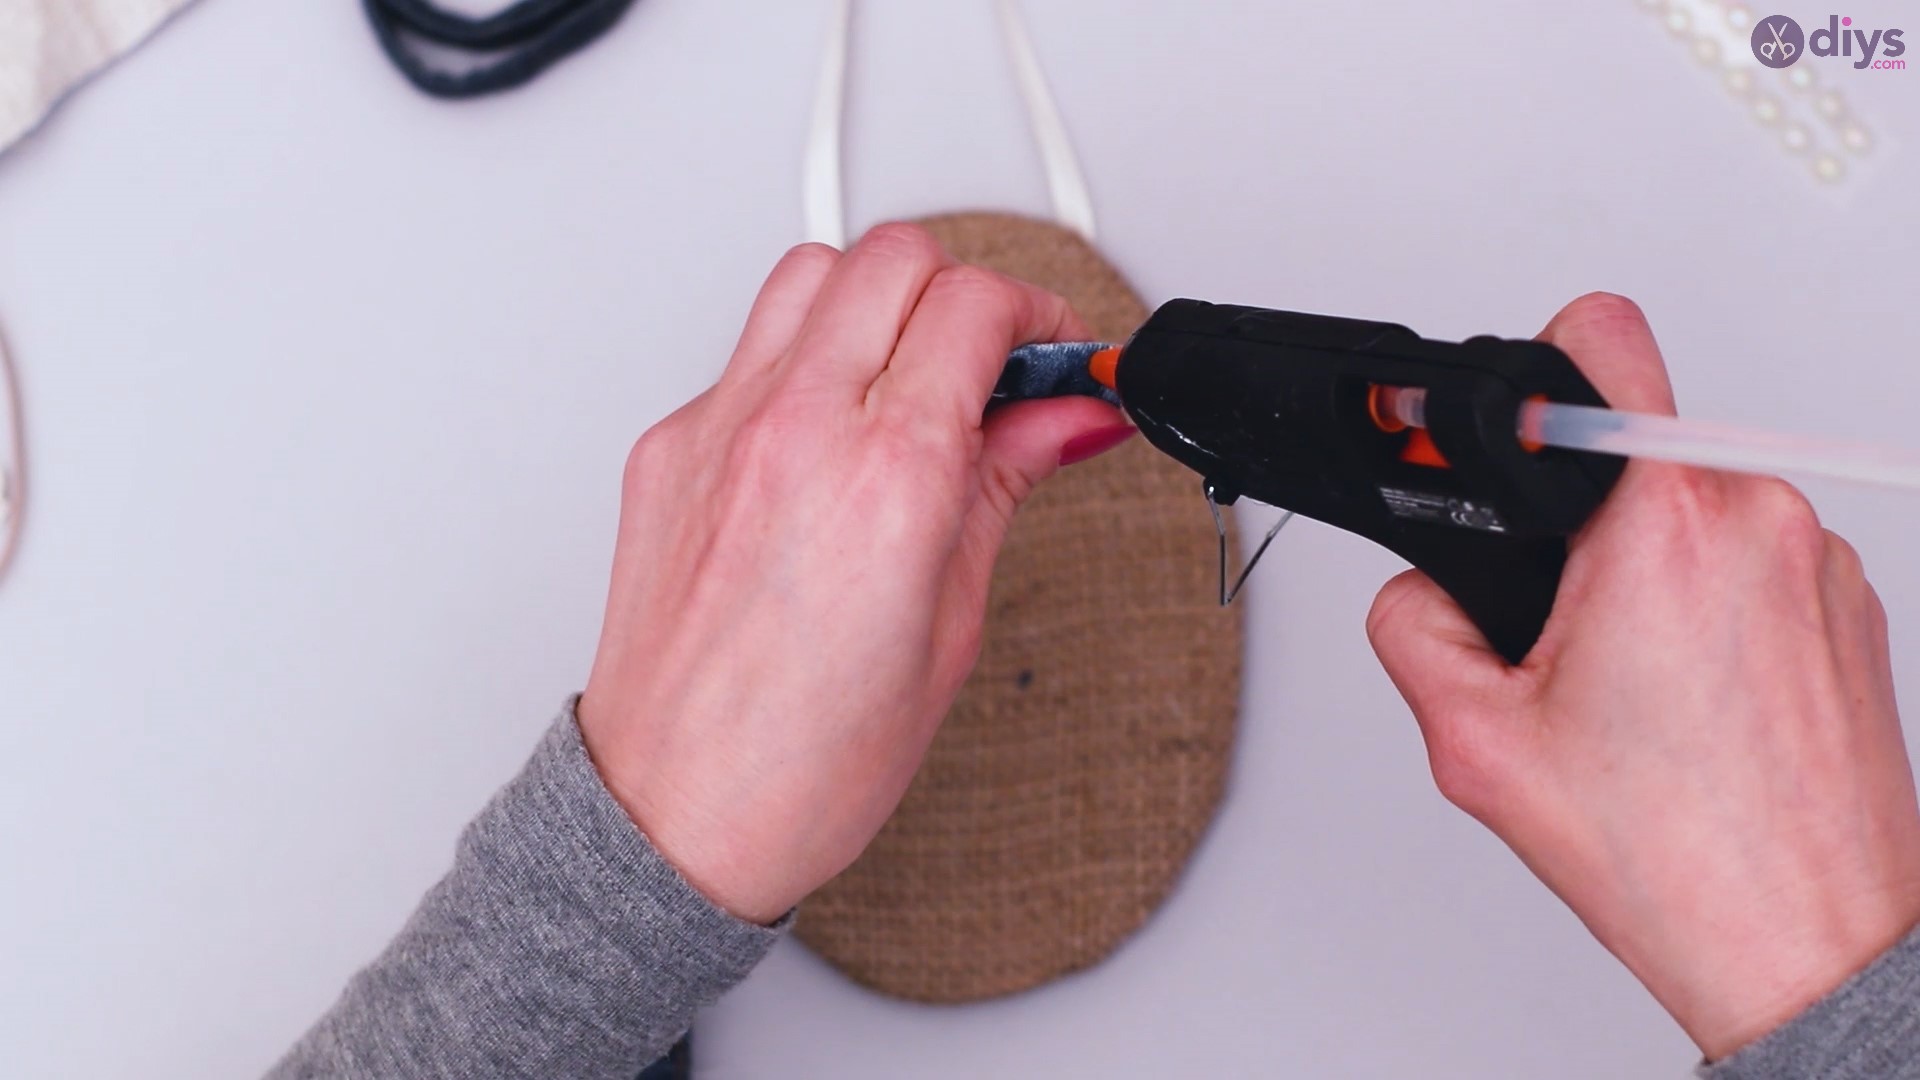
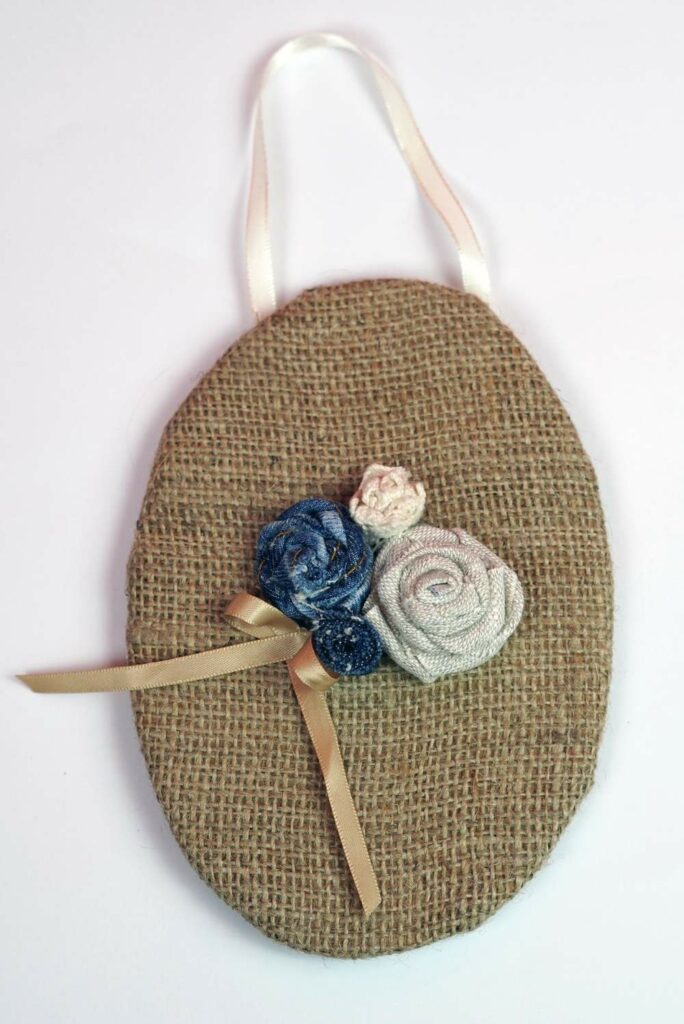
When you’ve finish making all the fabric roses for your project, start by adding glue on the bottom side of each one and gluing them on top of the burlap canvas. Place them as you feel is appropriate. In our project, we’ve grouped them close to one another to create the illusion of a small bouquet.

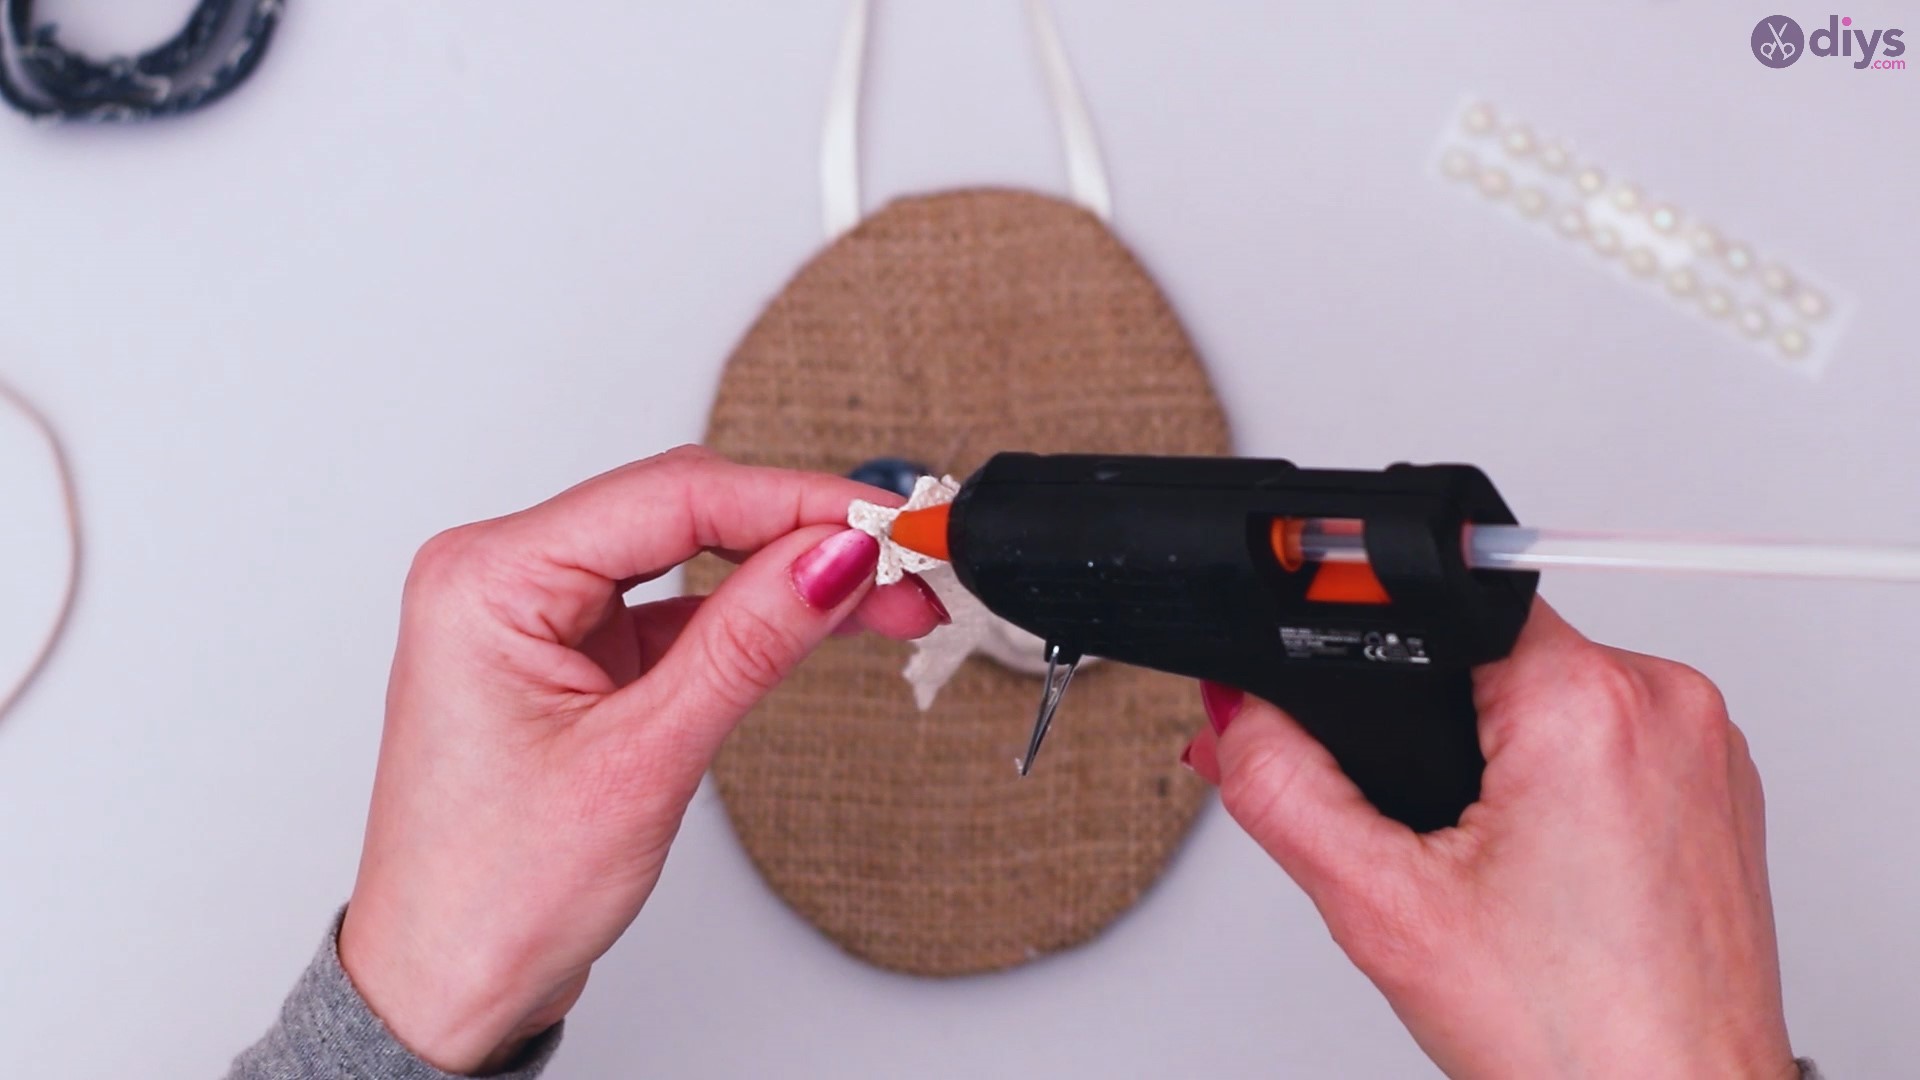
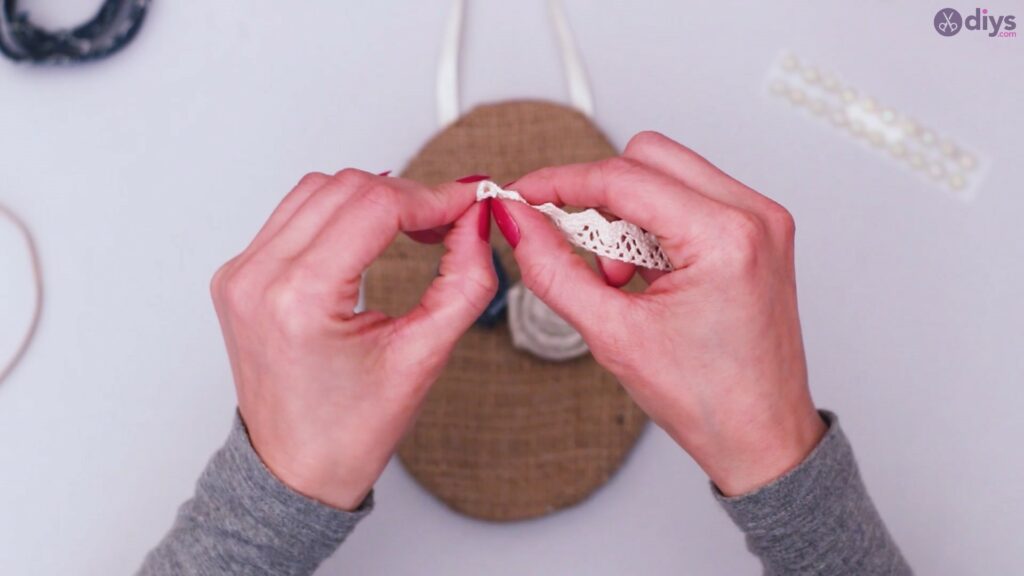
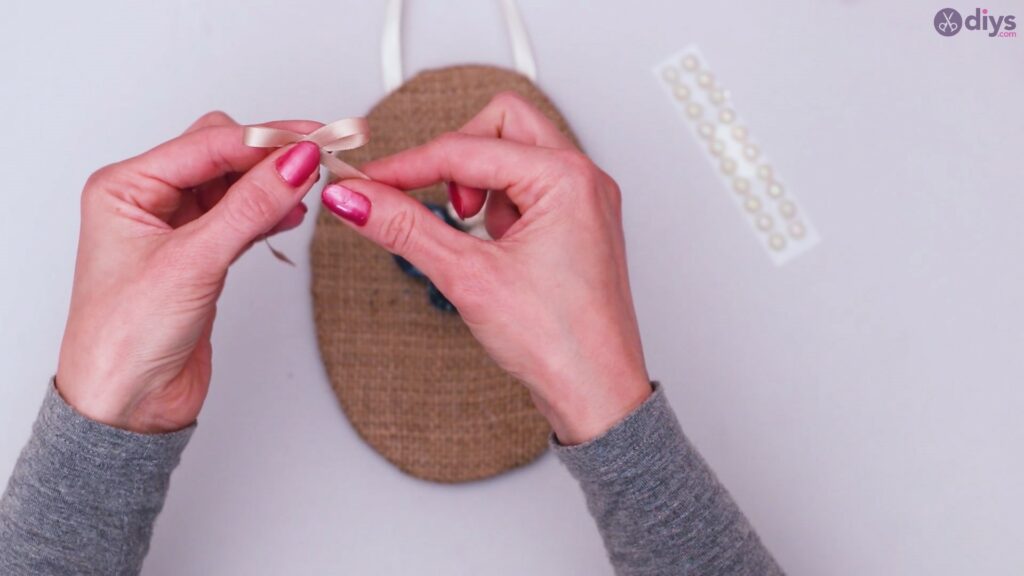
Step 6: Finishing the Wall Art
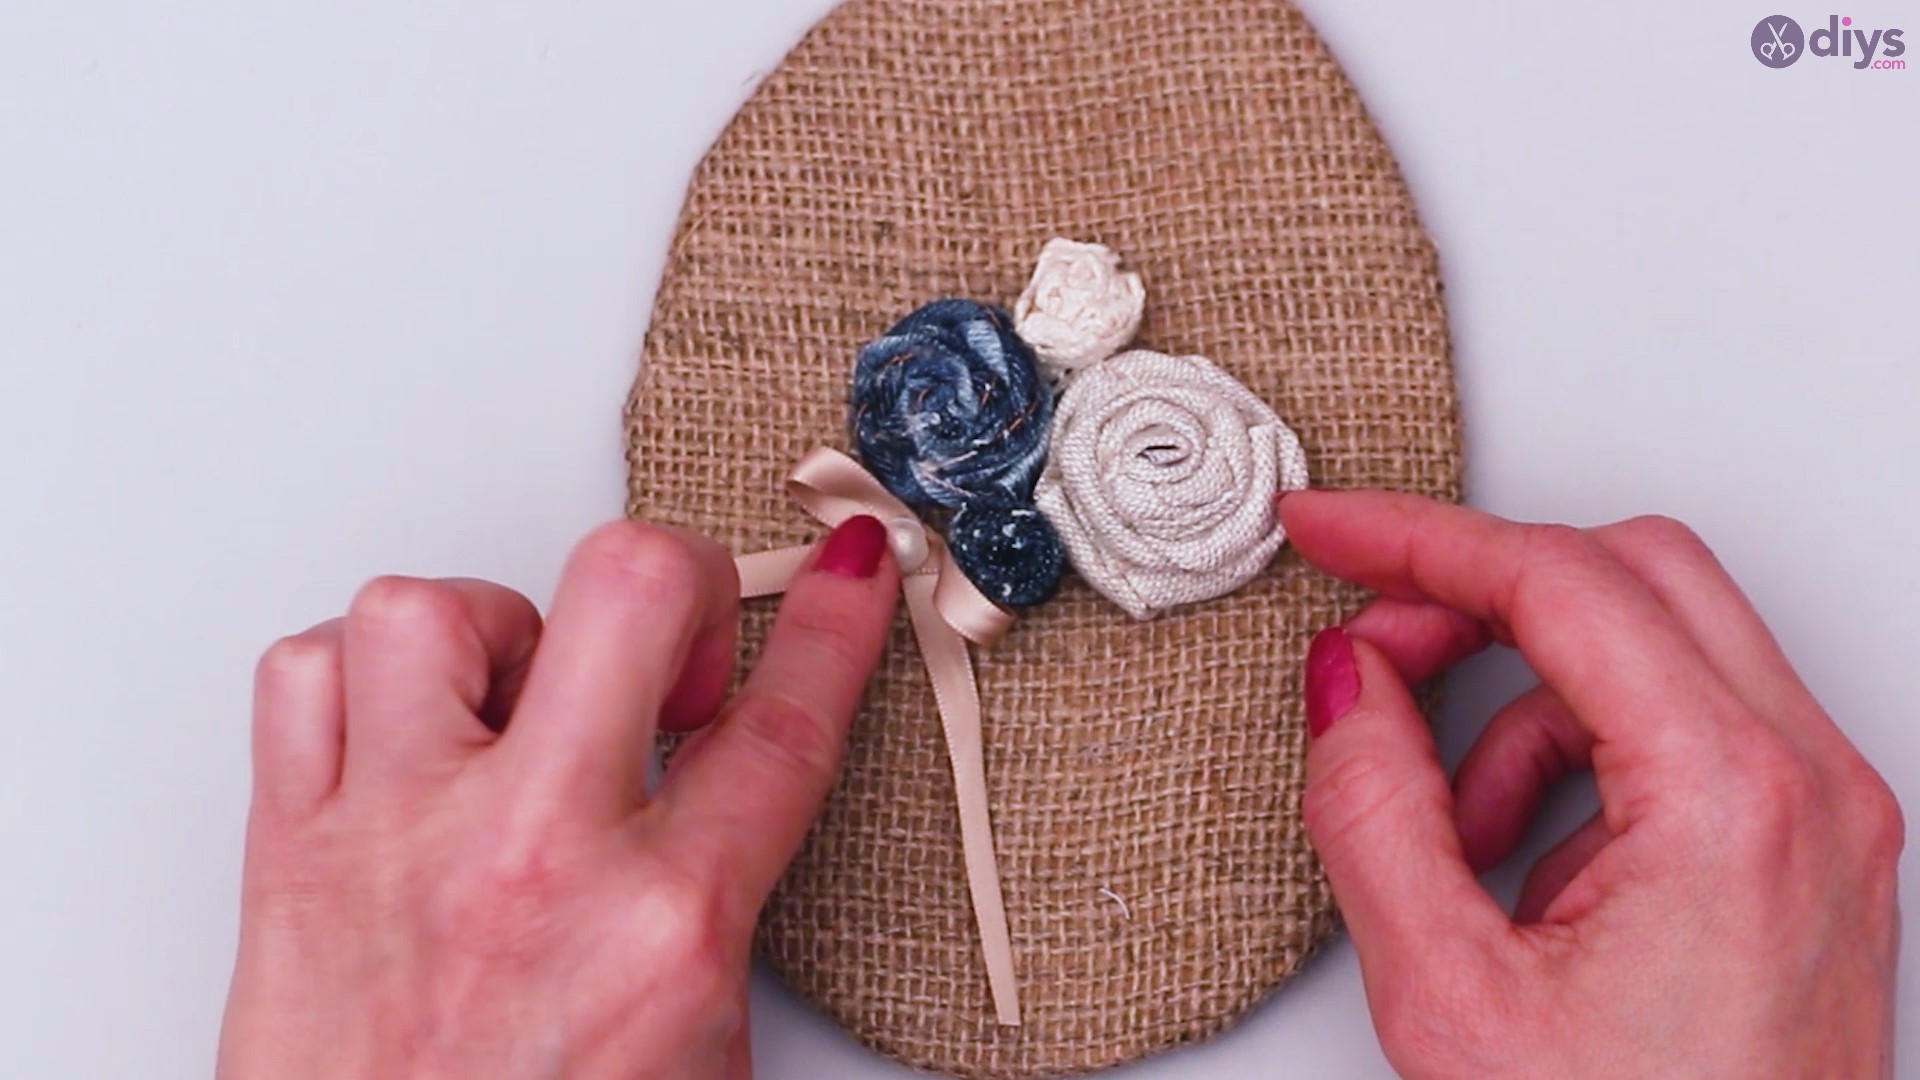
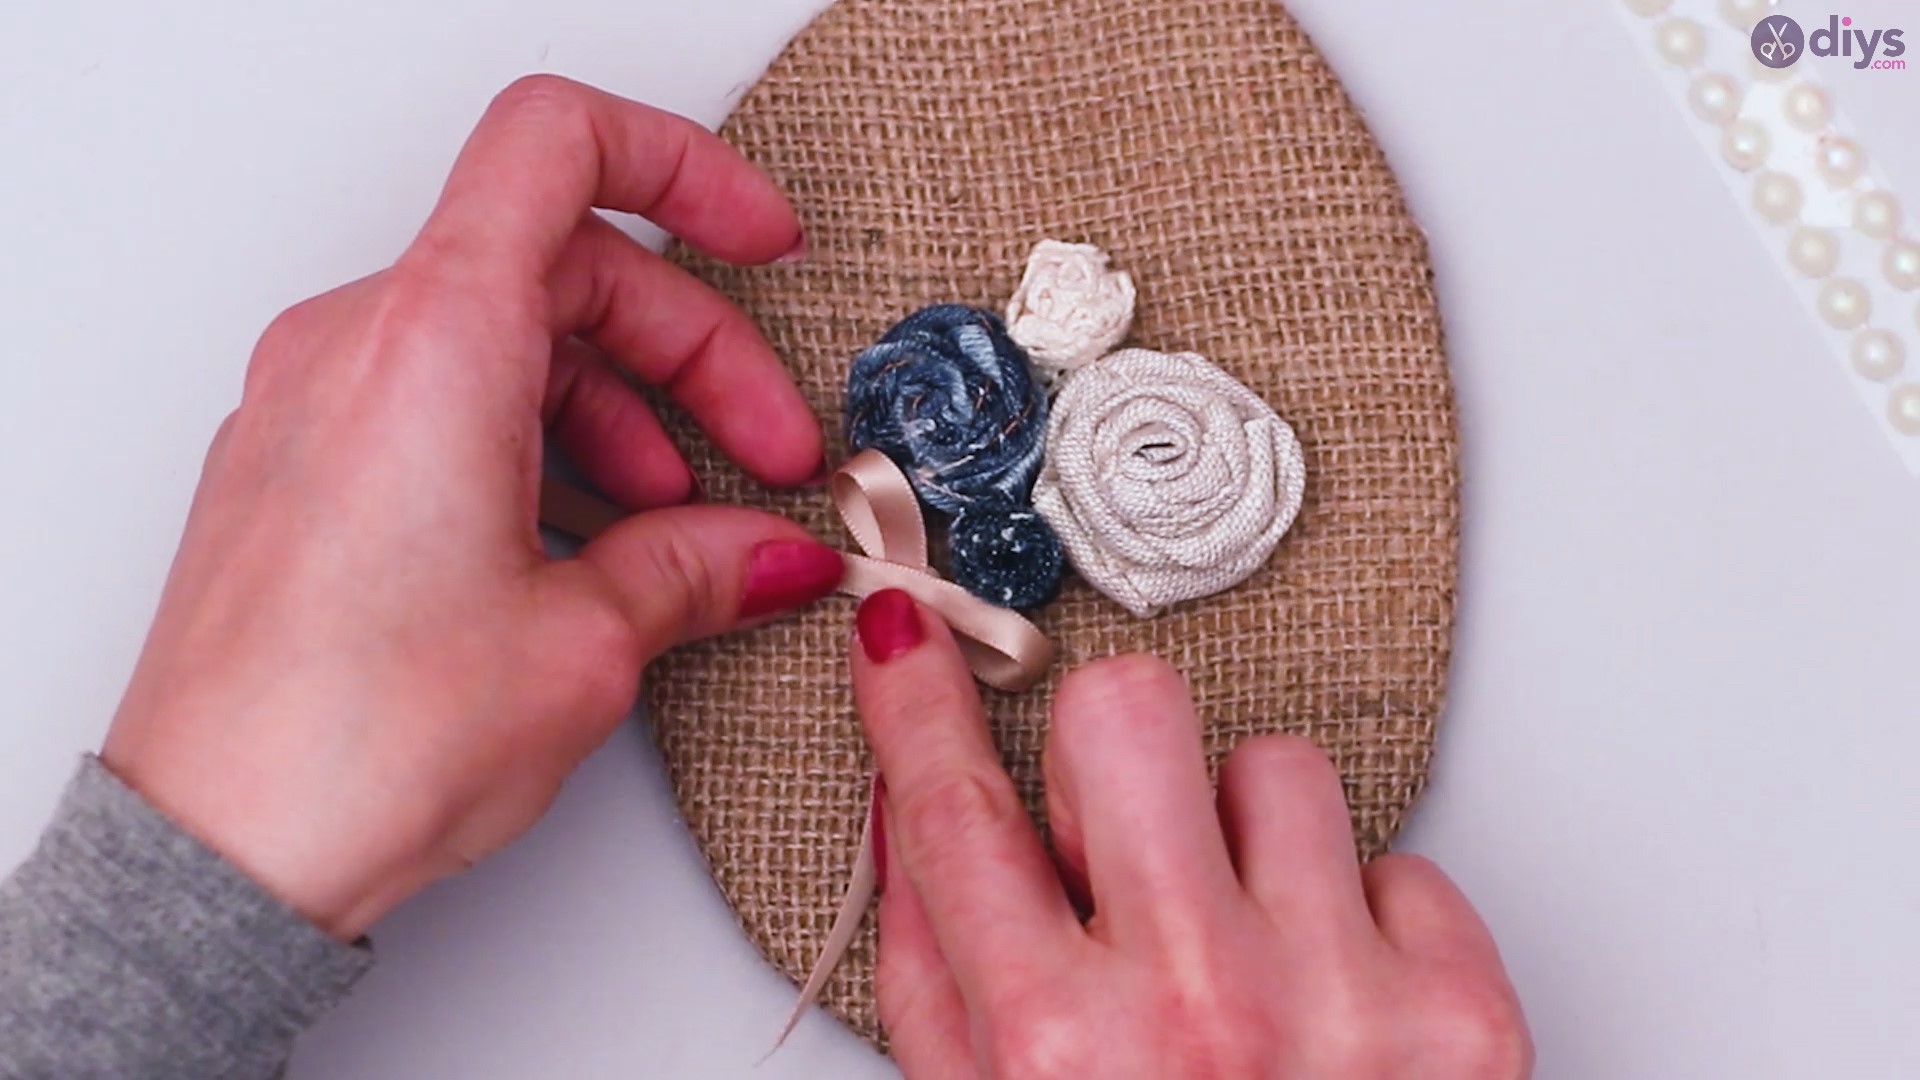
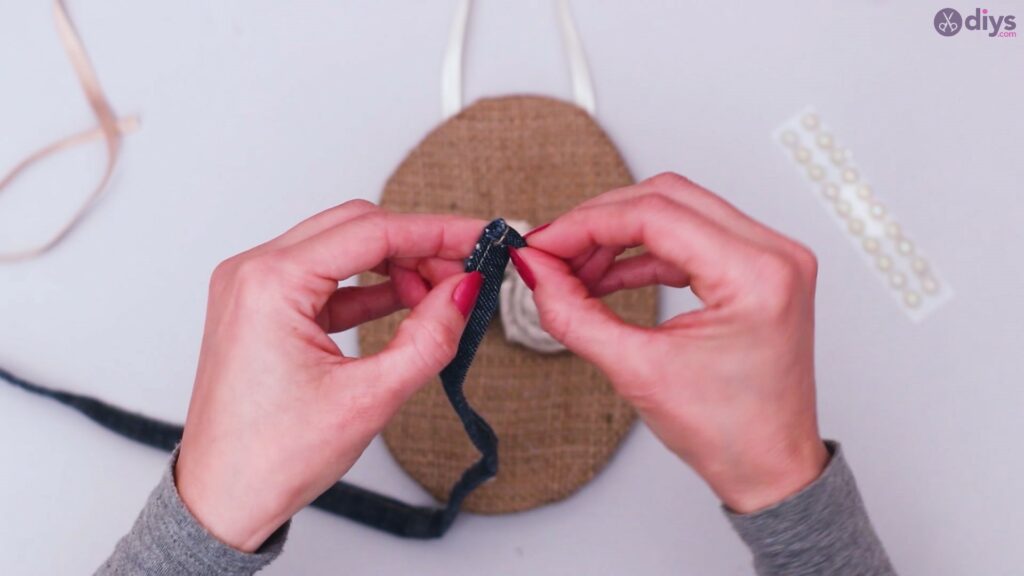
When you’ve glued all the roses to the burlap canvas, make a small bow out of whatever piece of ribbon you have left.
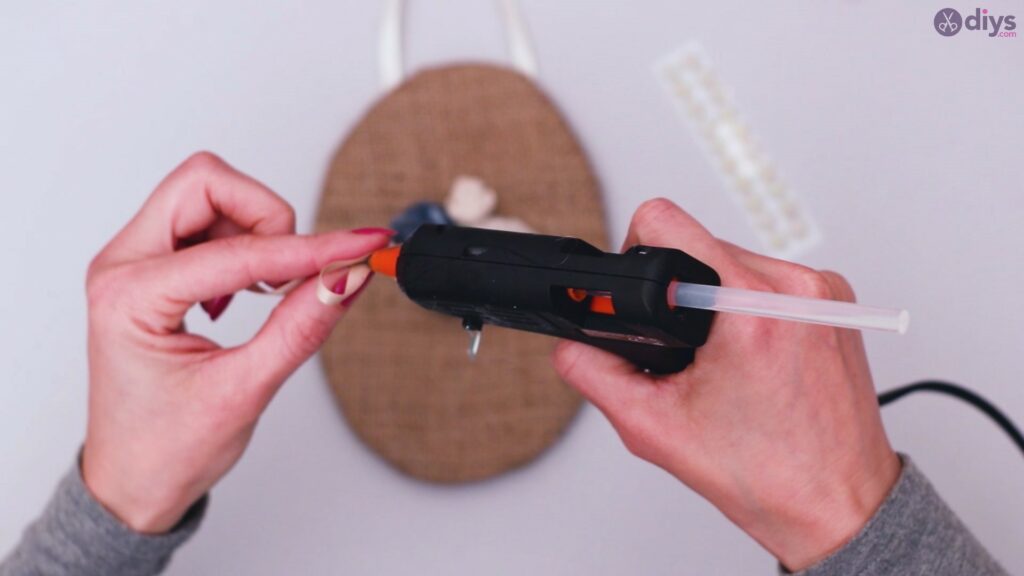
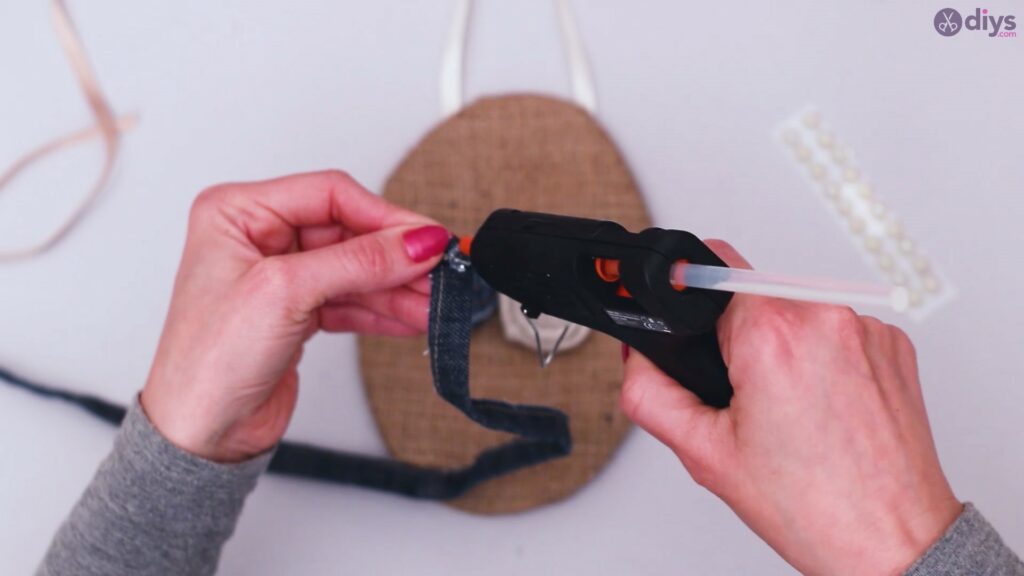
After finishing the ribbon, place a dot of glue on the burlap piece where you want to stick the ribbon. Place it somewhere close to the denim roses, for a more beautiful contrast.

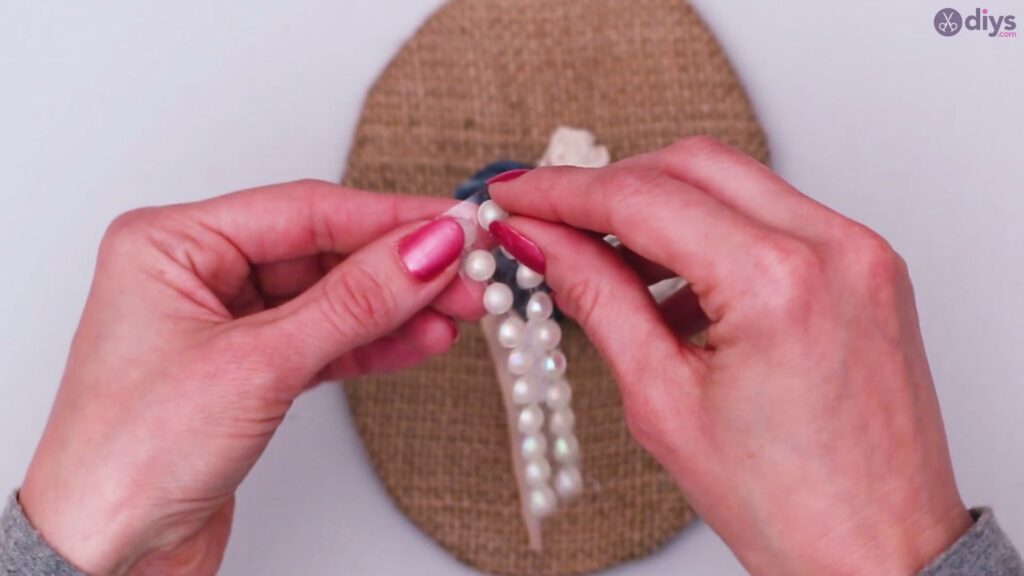
Grab a decorative bead to attach it to the middle of the bow you’ve just glued. Grab your glue gun and glue the bead on the bow where the sides overlap and press gently to stick it in place.


When you’re sure that all the glue you’ve used has hardened, you can pick up your new burlap rose wall hanging art and place it wherever you see fit. The combination of fabrics used for this project makes is suitable in a vintage-style décor, making you feel like you’ve put to good use materials that would have otherwise ended up in the trash can. Amazing job!