DIY Chevron Candles Fall Home Decor
Patterns are definitely one of the most popular things used to spruce up some static decor, either by adding textiles or decor elements that contain certain patterns. One of our fave and most used home decor pattern is chevron and, well, I think I could probably chevron my boyfriend if I could. If you’re home decor lovers and never heard of it, go ahead and Pinterest search it, an awesome world awaits you! We picked up this trend and decided to apply it candles, a decor element that surely isn’t missing in any home and that is 100% easy to customize.
In this tutorial we’ll be learning how to add a subtle geometric pattern to our candles and to ombre paint them to match our refreshed home style. In case you where searching for a more bold incisive pattern, we have a little trick for you at the bottom. Follow on ;-)
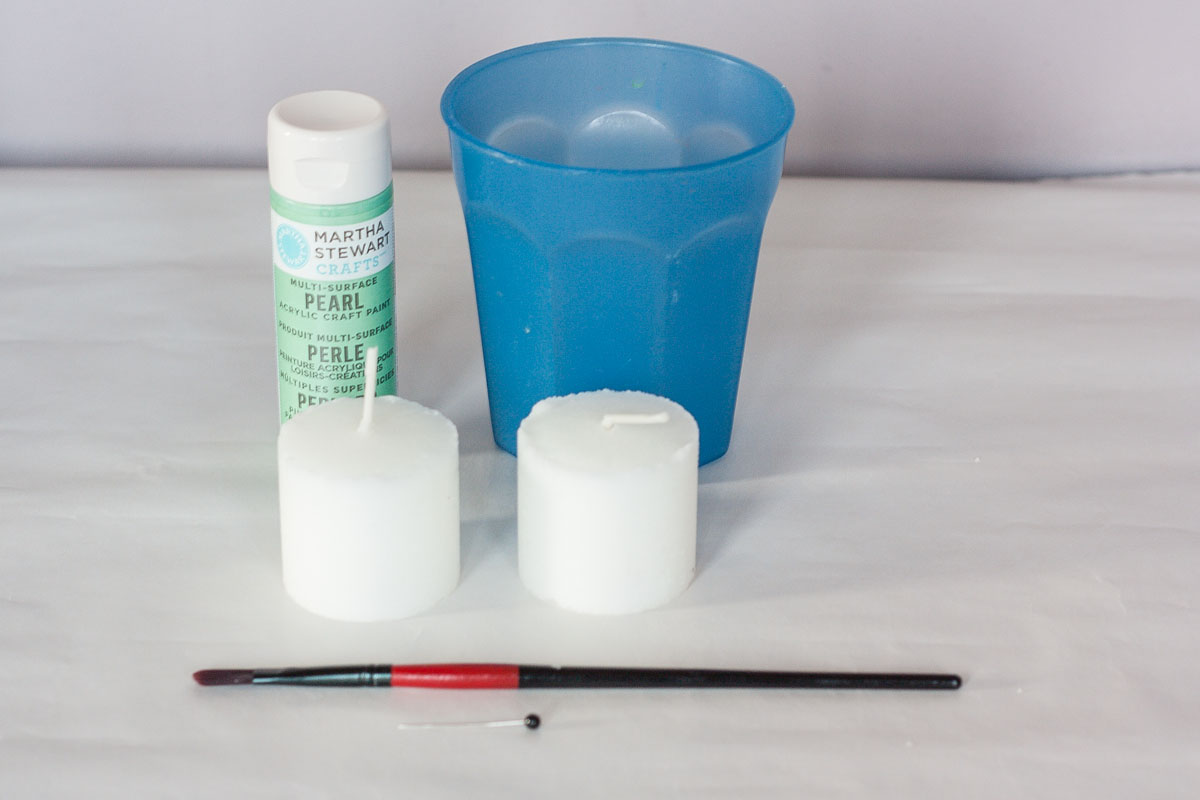
You’ll need for this chevron candles:
- candles
- pin
- fave acrylic pain
- brush
Step by step instruction for the project:
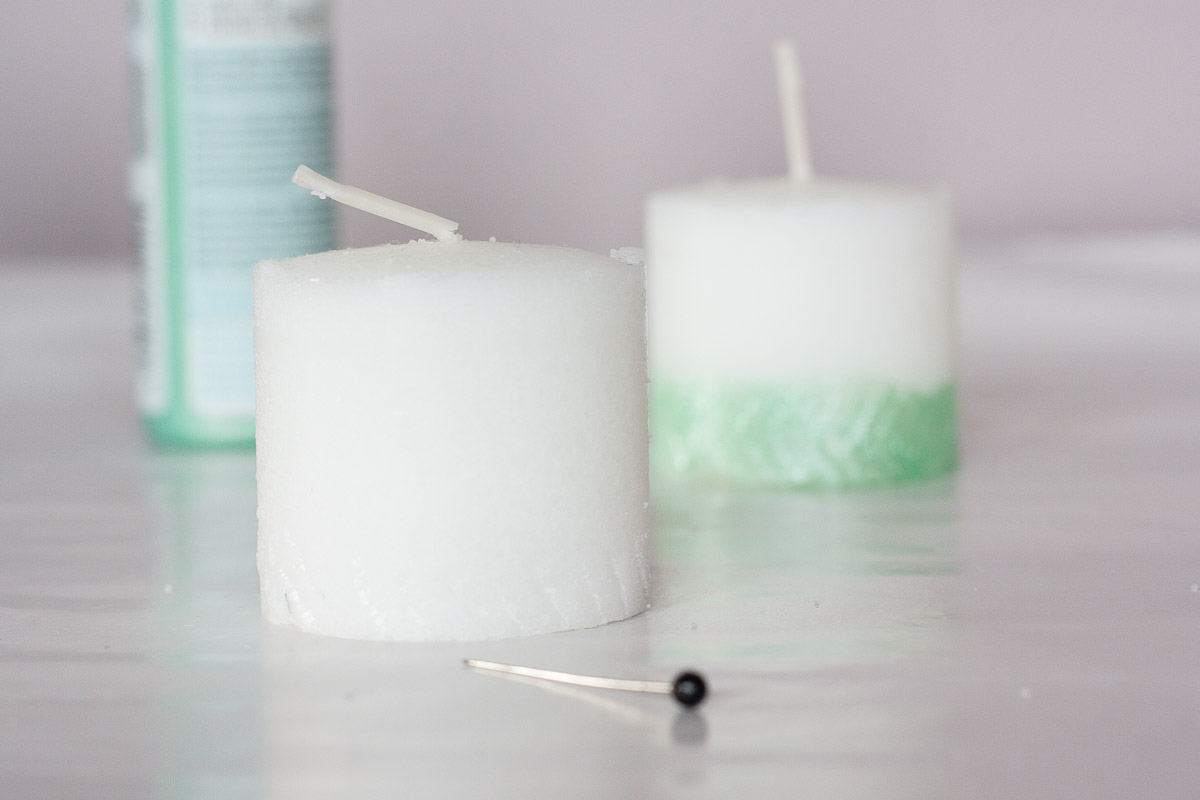
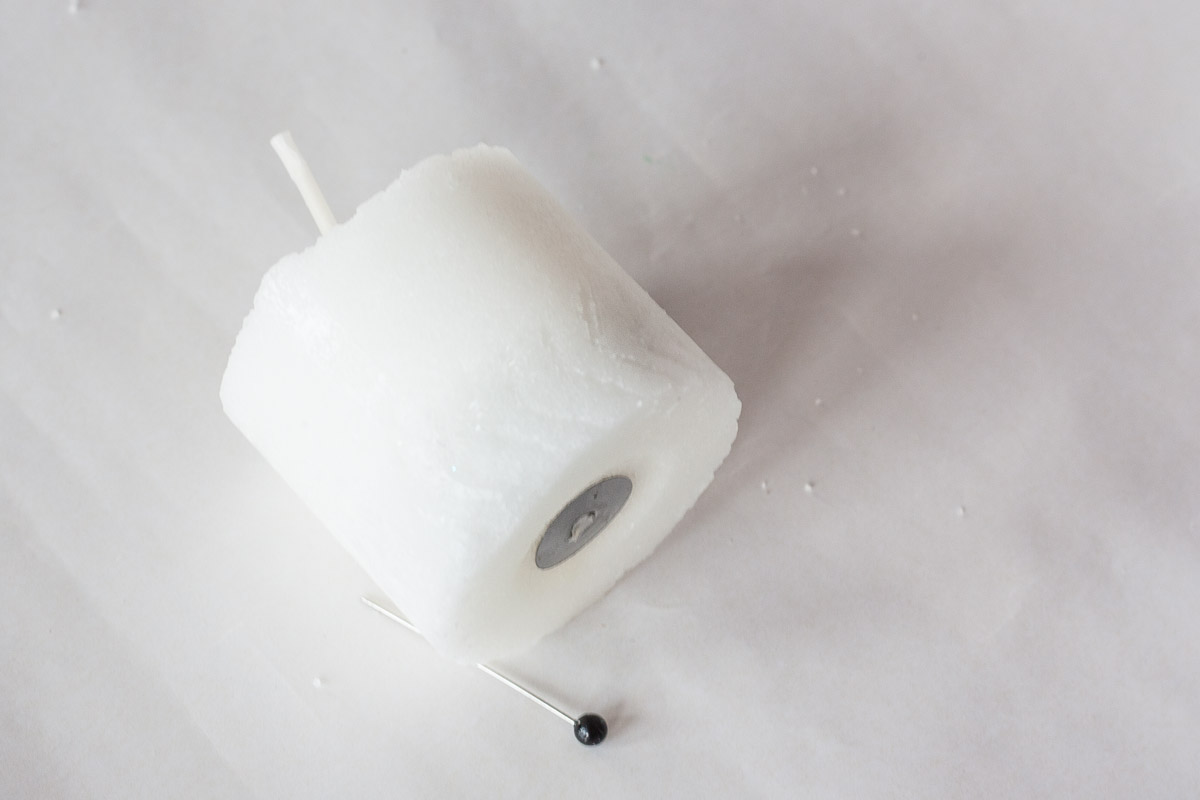
Step 1: Create the pattern
Start by scraping the pattern on the surface of the candle. I noticed that if you keep your pin slightly bent and pulling towards you it makes a better rut. To make the chevron pattern you have to make a first layer of lines inclined to the left, going all the way round the candle. Then make a second layer of lines inclined opposite but with the ends touching each other. They should look like lots of arrows like these >>>> .
Step 2: Create deep ruts
Dust of with you hands or a small brush the exceeding wax coming out and make sure ruts are quite deep. Keep going until you reach half of the candle’s height with your pattern.
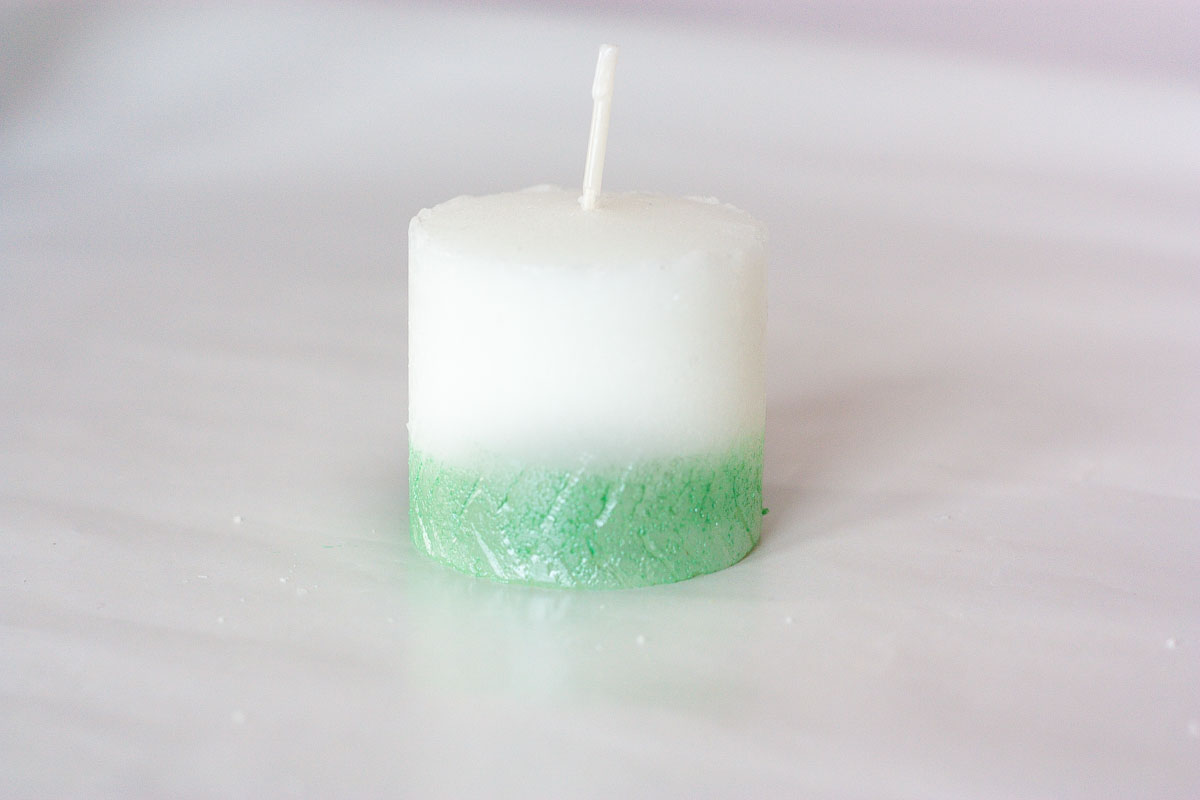
Step 3: start add color
Now start painting a layer of colour, stopping at 1/3 of the candle’s height (from the bottom). Give a second layer of paint to the part we colored in the previous step, to give it more color intensity, and with your brush dirty but getting dry stroke upwards, to make the ombre effect. If it gets too dry, dip it in the color, rub it on a piece of paper and then go ahead and paint on the candle again.
Step 4: make the candle stand out
With a black thin marker, color the lines of the pattern to make it stand out.
Conclusion
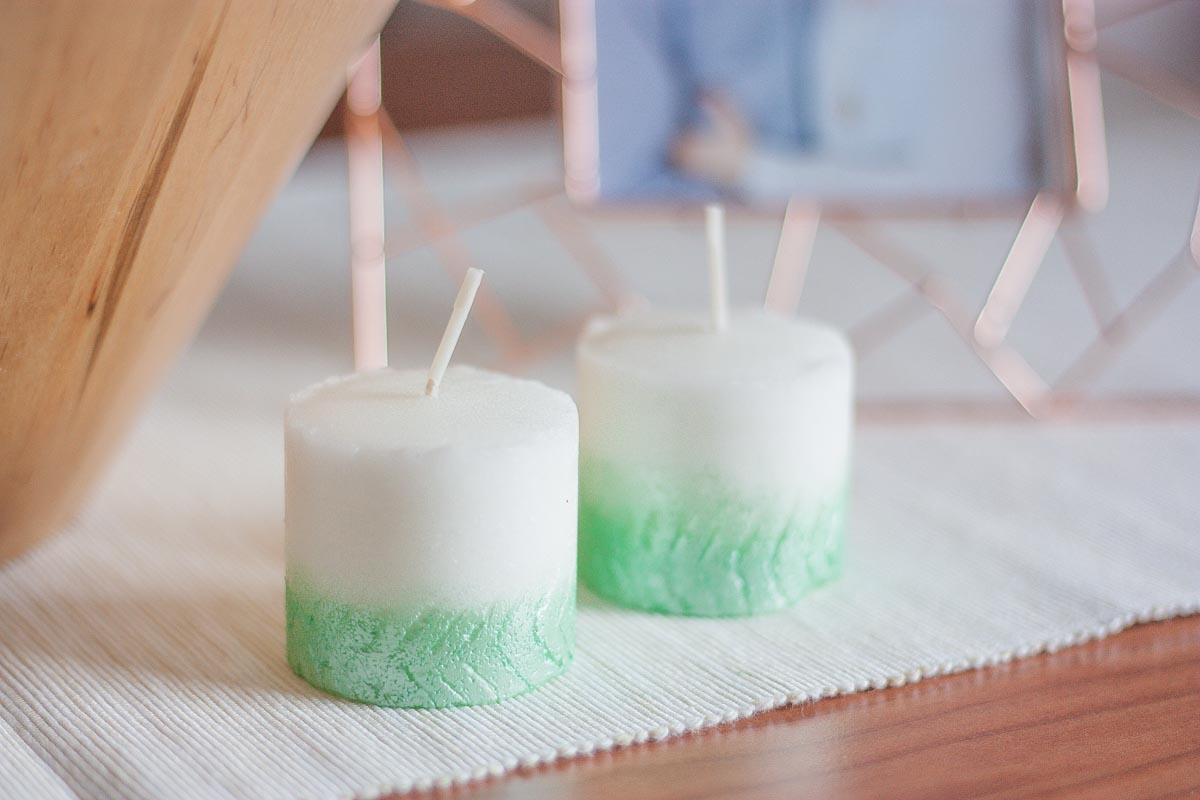
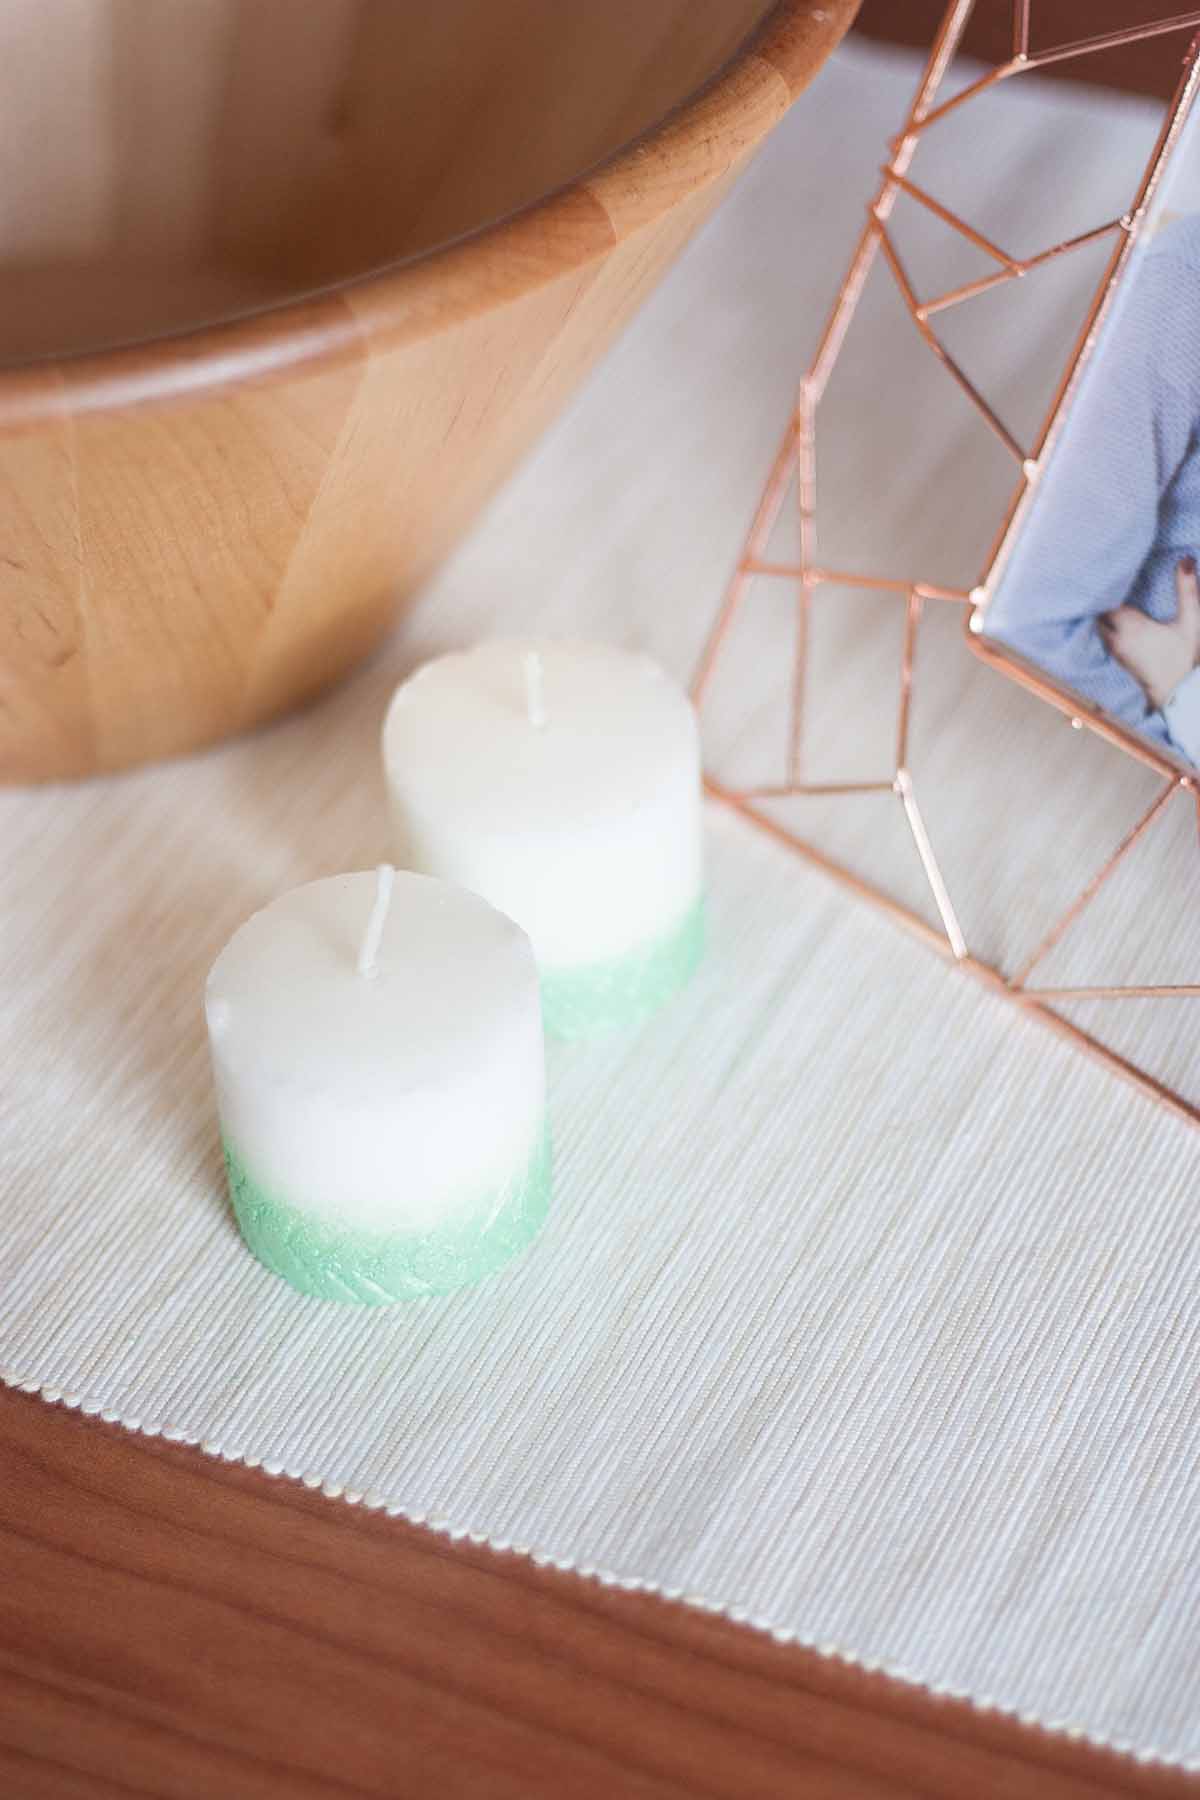
Great, we’ve finished! All you need to do now is find a nice saucer or small plate to place your candles and you’re ready to rock your new pattern around home! Do you have a preferred pattern? Let me know in the comments below, I’d love to chat home decor.