How To Recycle Mason Jars at Your Wedding
Updated on January 14, 2021


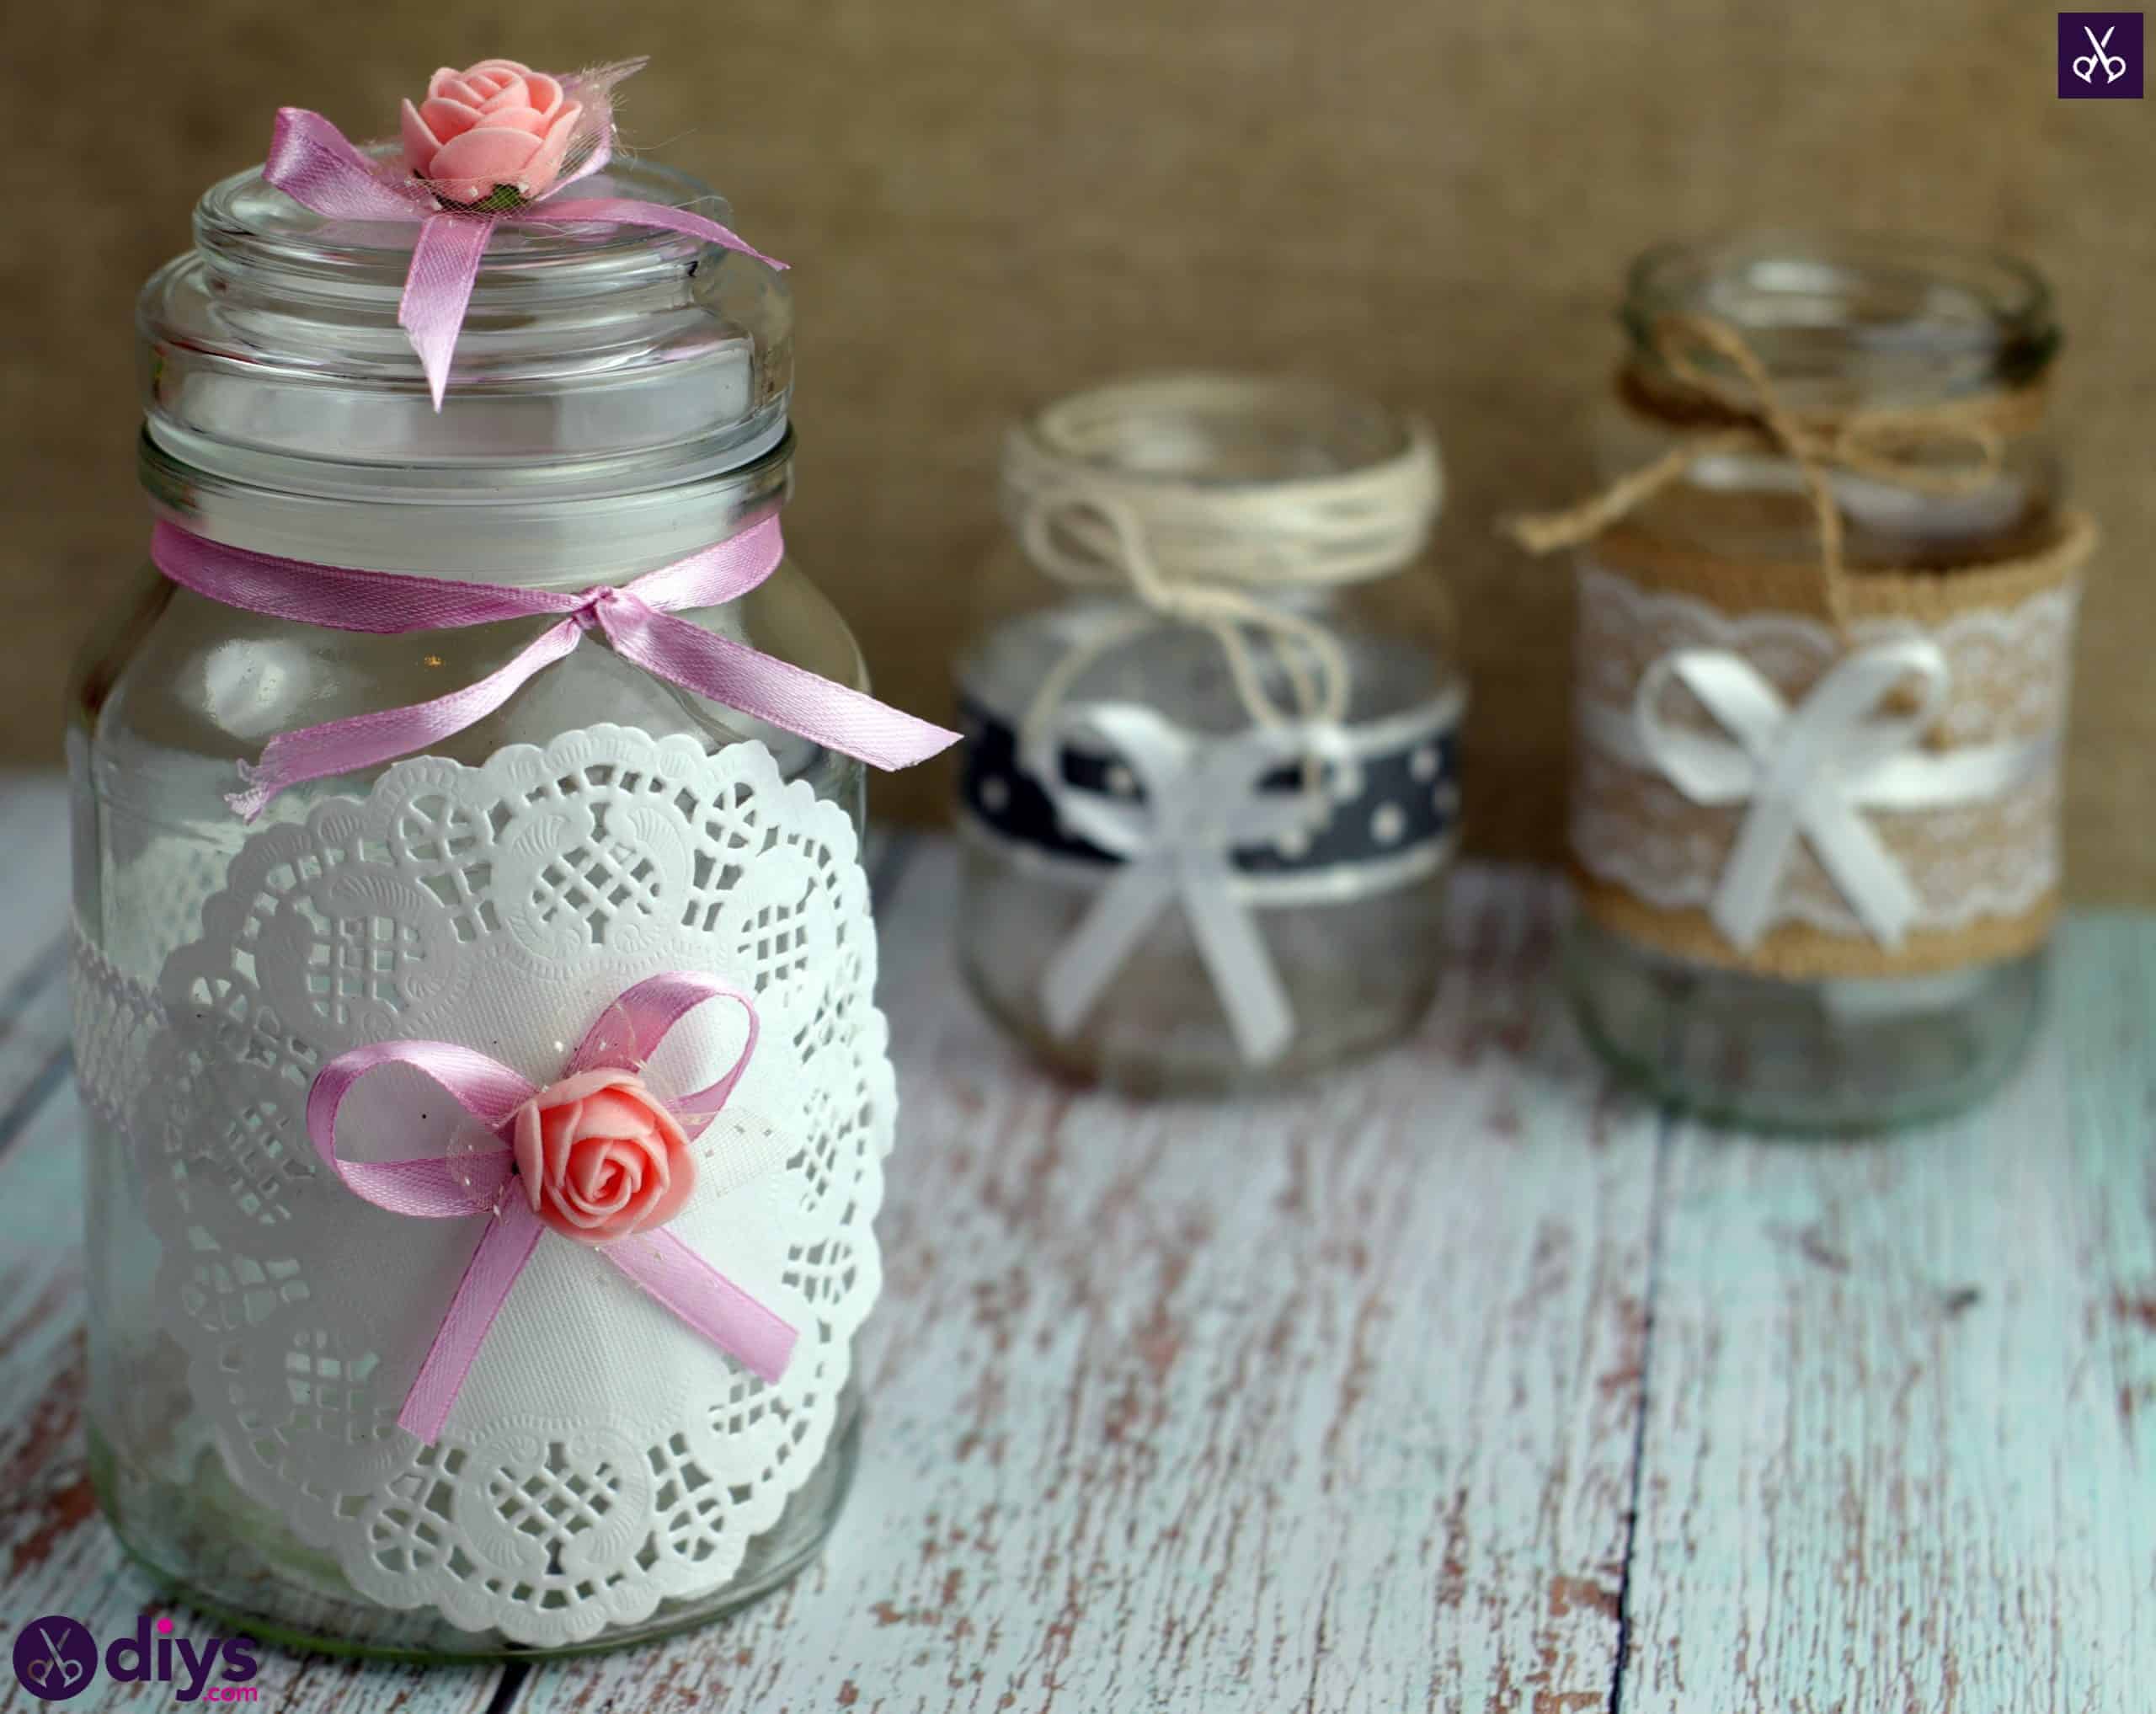

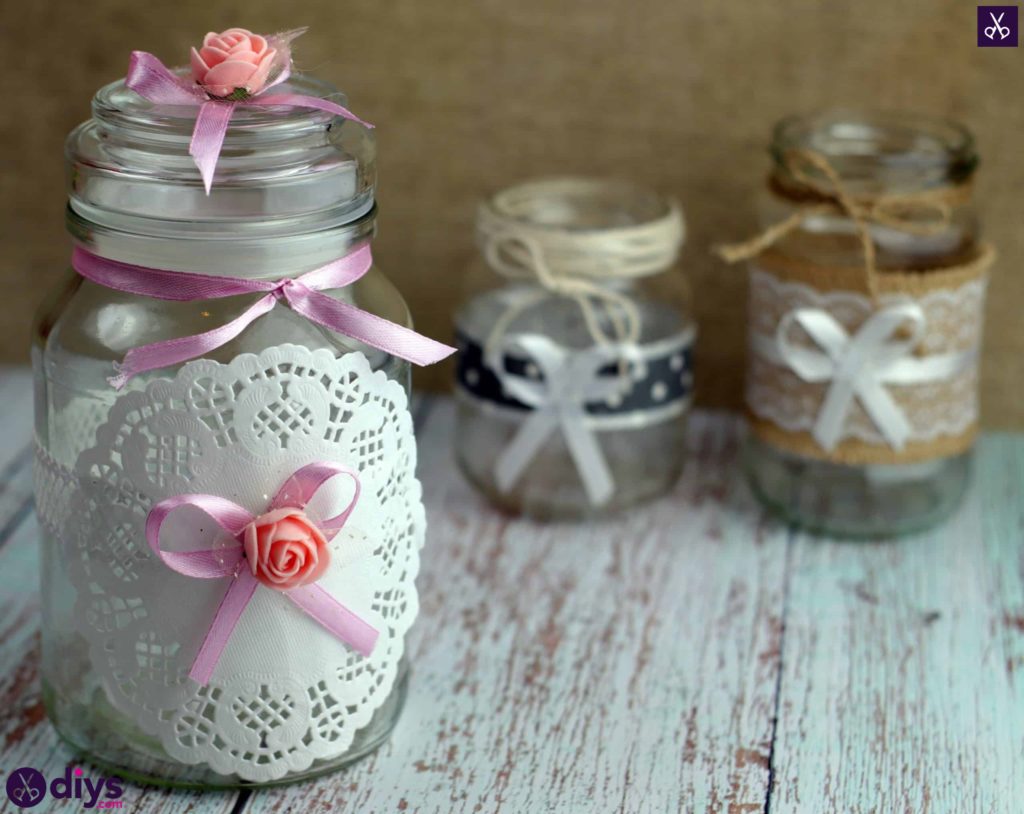
I’ve done so much wedding crafting for friends and family. Most recently, I found myself making adorable little rustic chic style mason jar centerpieces for a friend’s vintage farmhouse wedding and all parties involved were pretty thrilled with the results, even though the idea was wonderfully simple and pretty quick to do.

Check out these step by step instructions complete with photos! If you’d rather follow along with a video tutorial instead of written words, scroll to the bottom of this post to find just what you’re looking for.
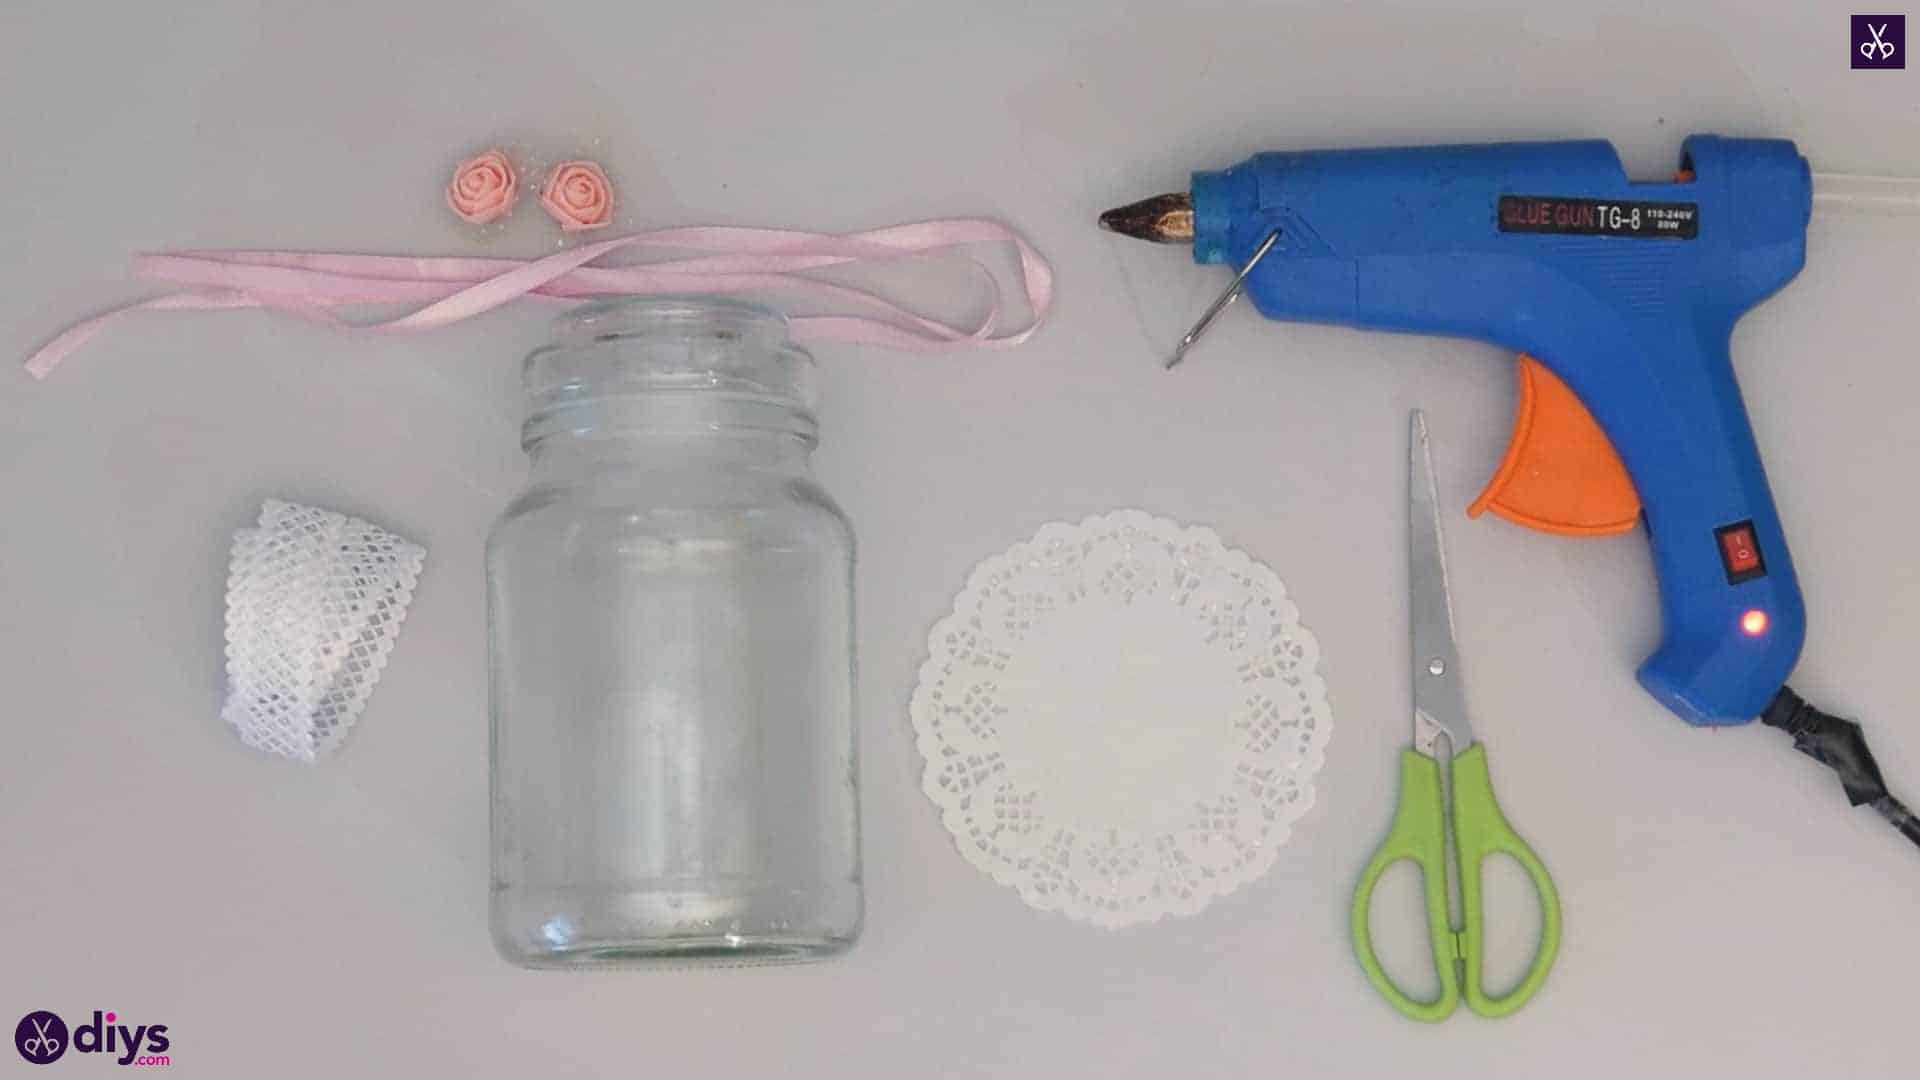
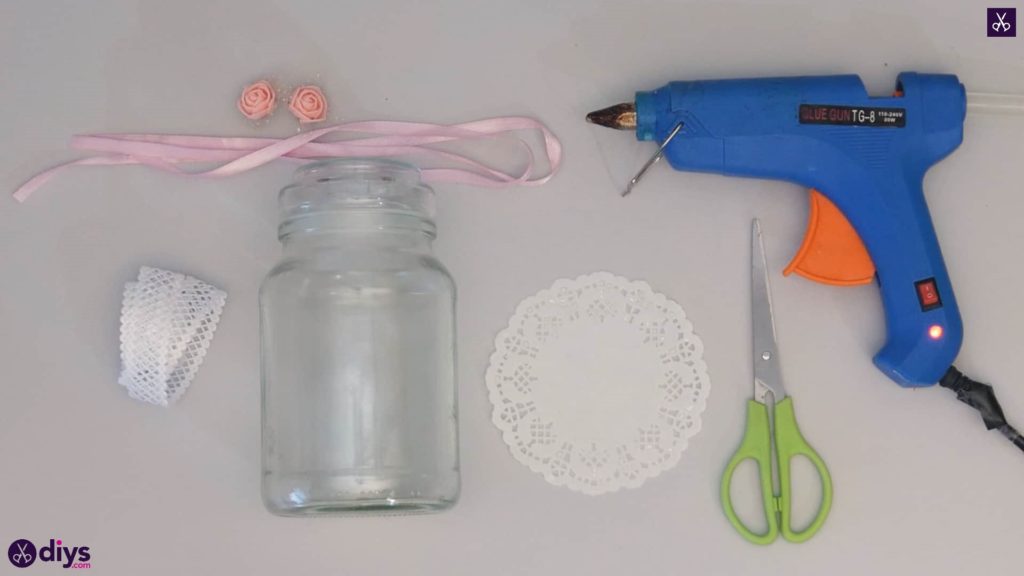
For this project, you’ll need:
- An empty glass mason jar
- Ribbon (pink and white lace)
- Paper lace doily
- Hot glue
- Scissors
- Flower embellishments
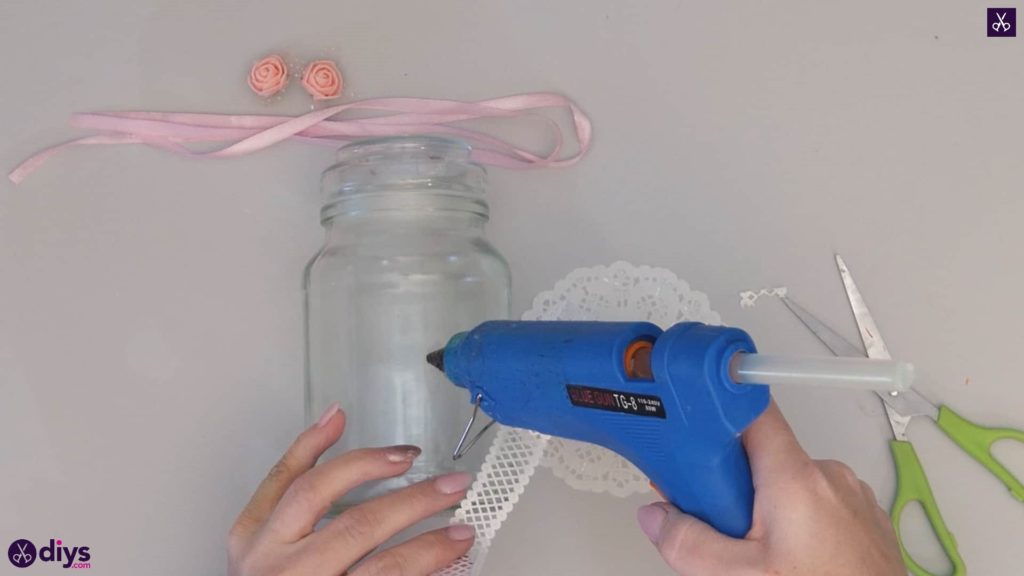
Step 1: Get your materials!
Gather all of your materials in one place.
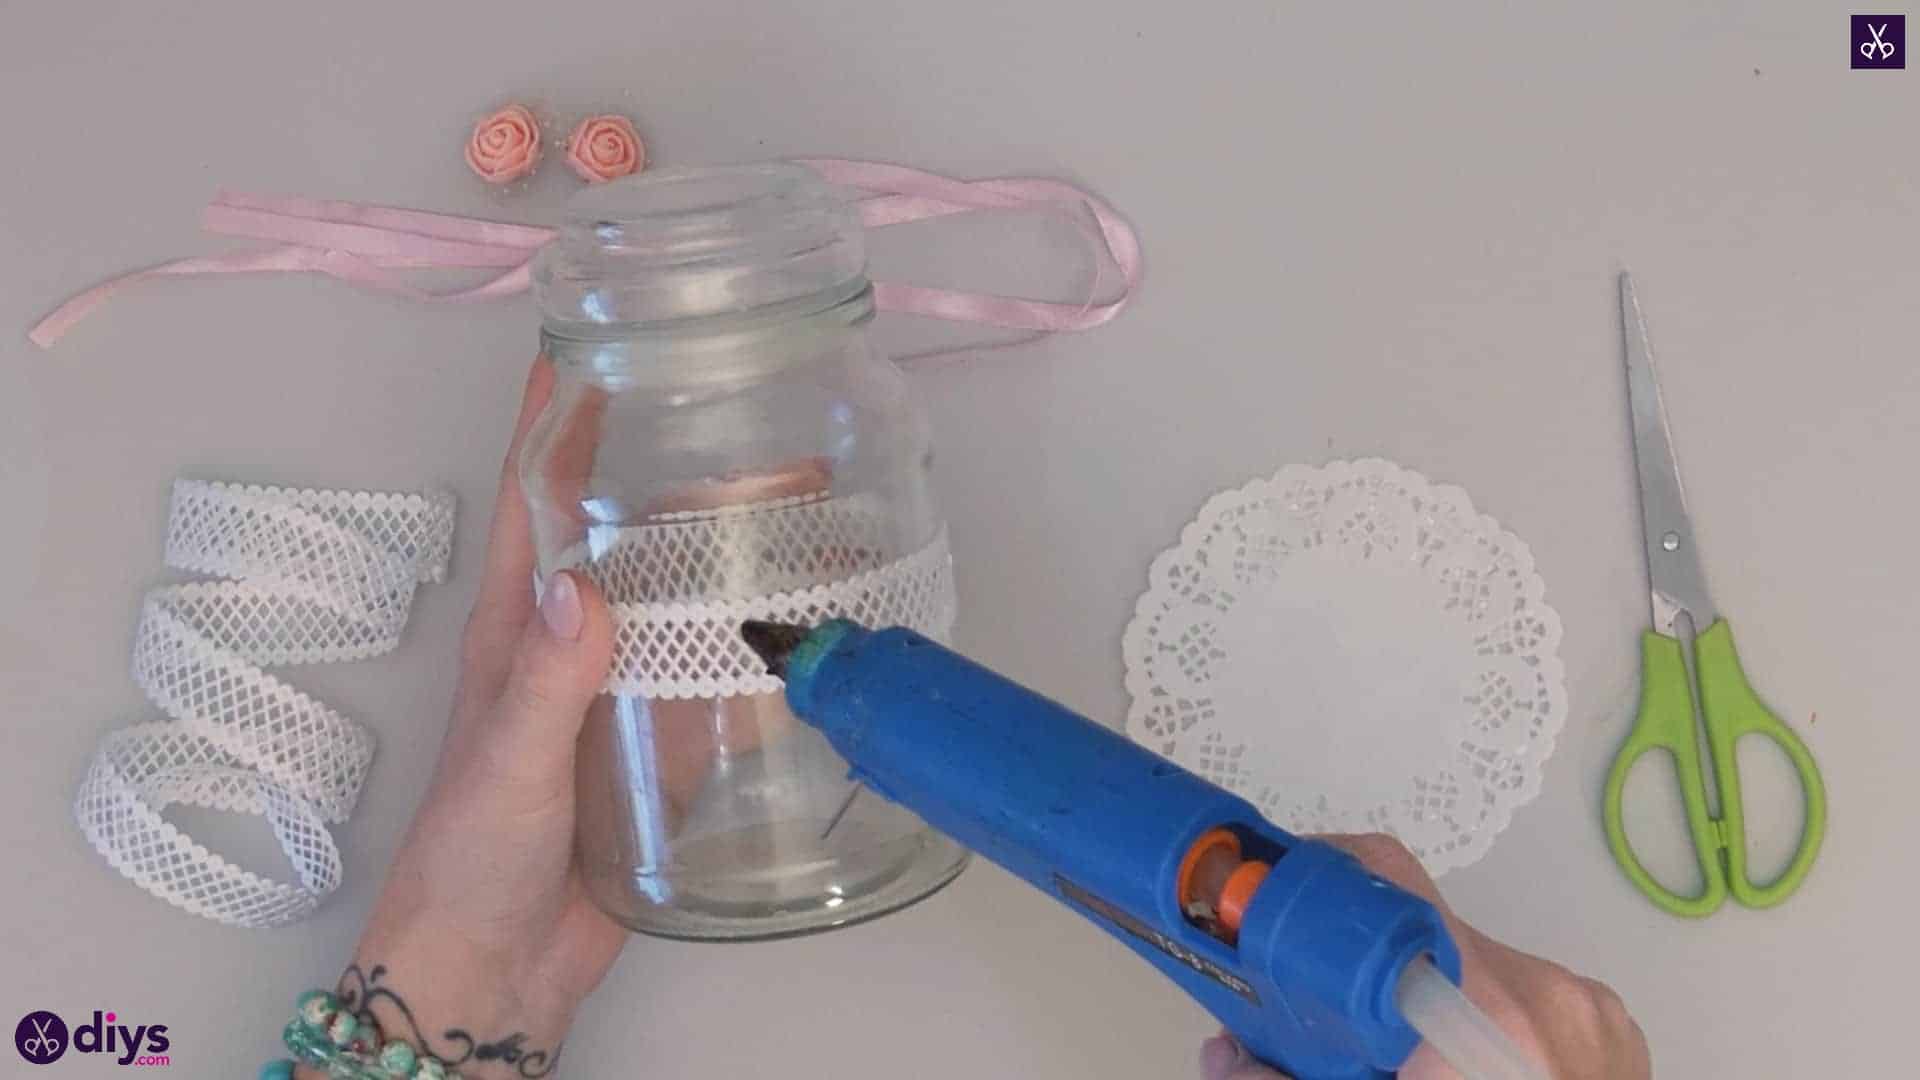
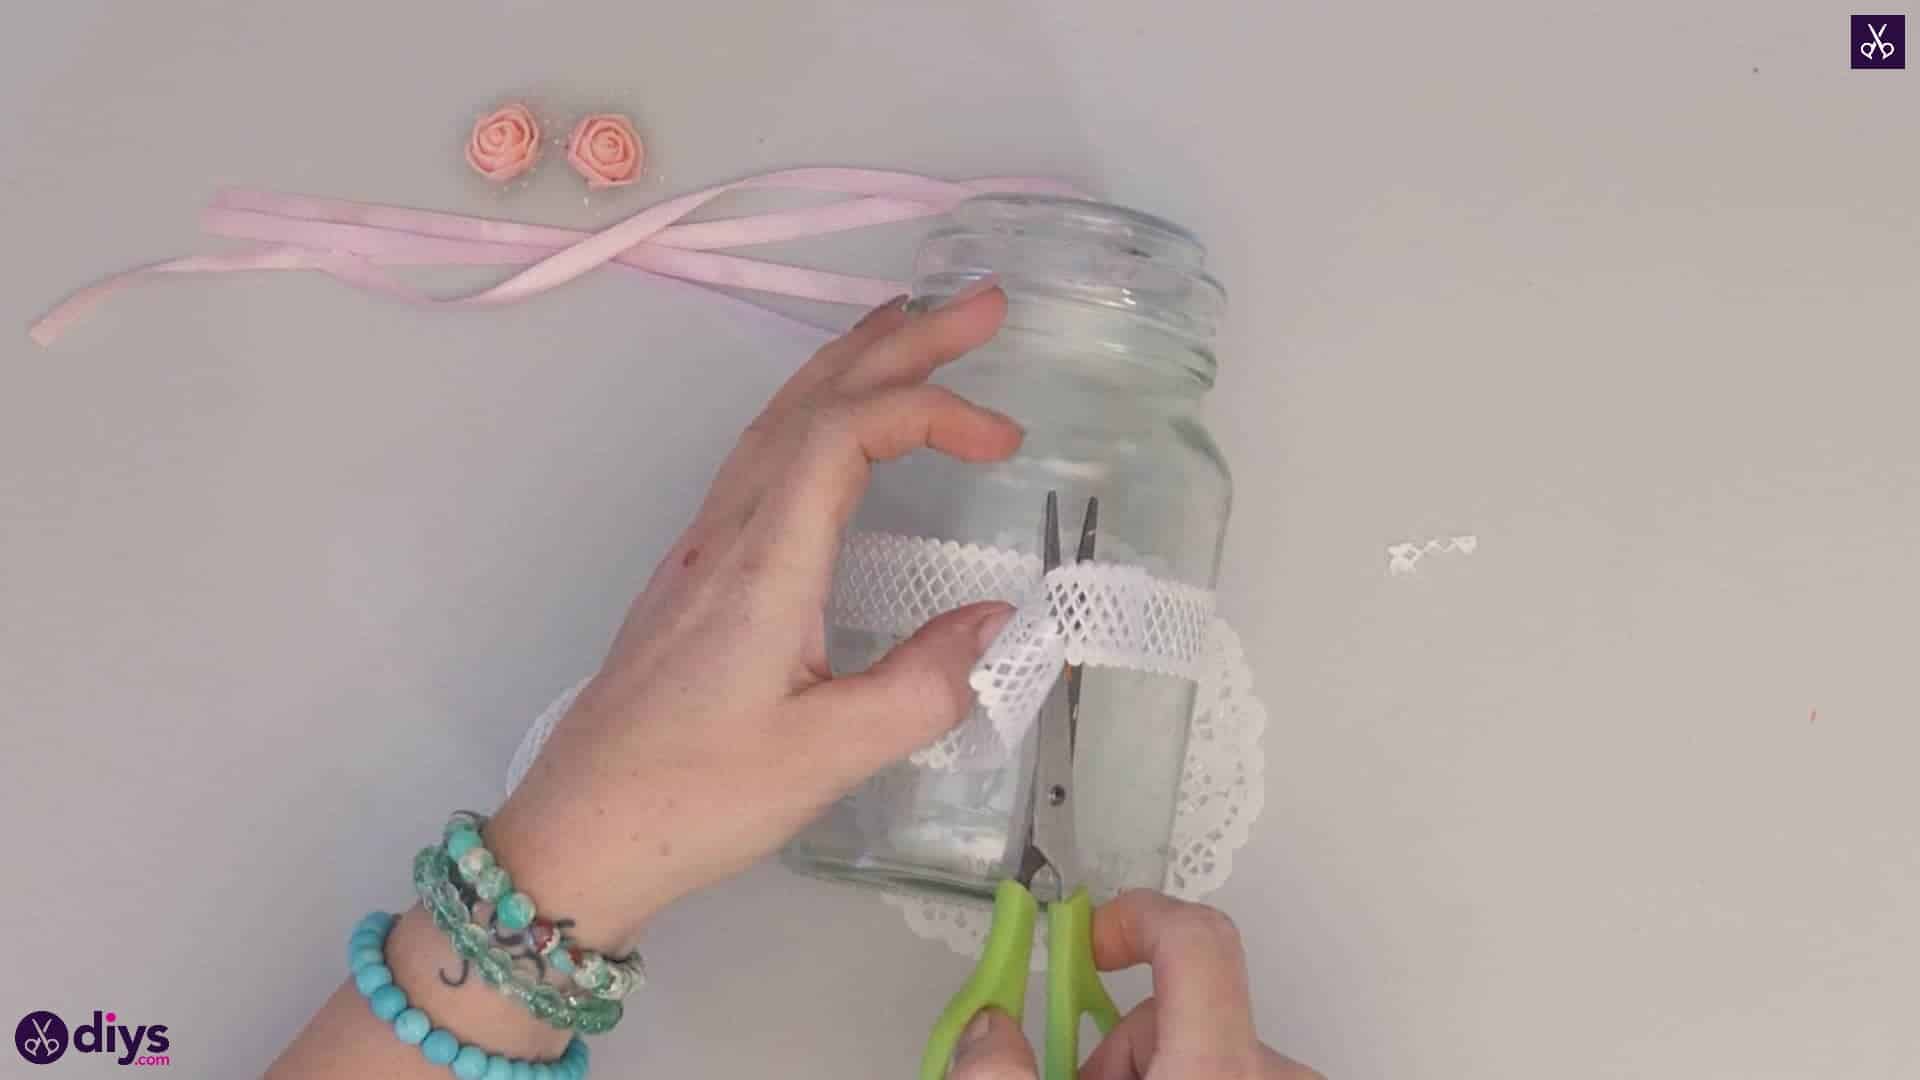
Step 2: choose your front
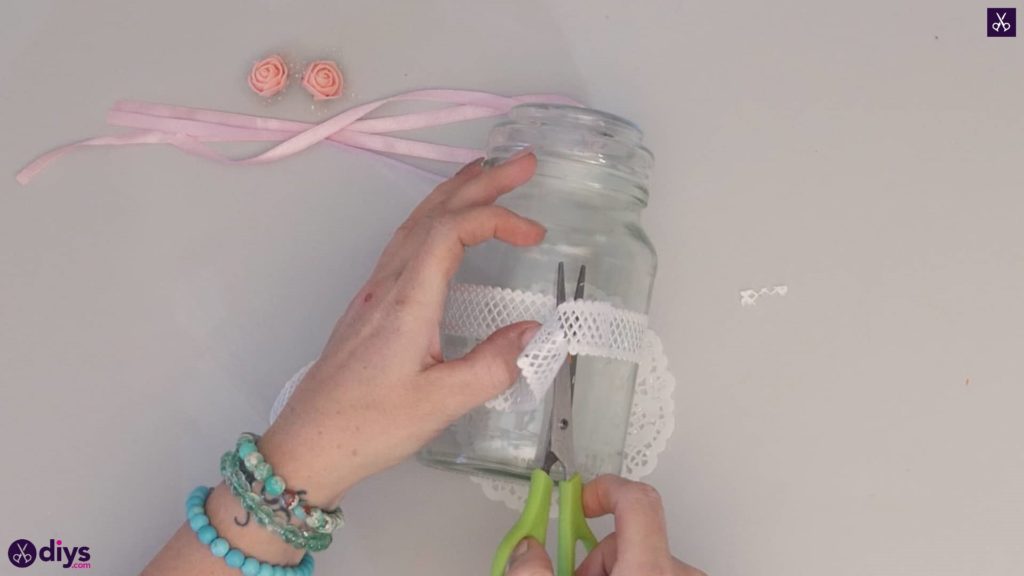
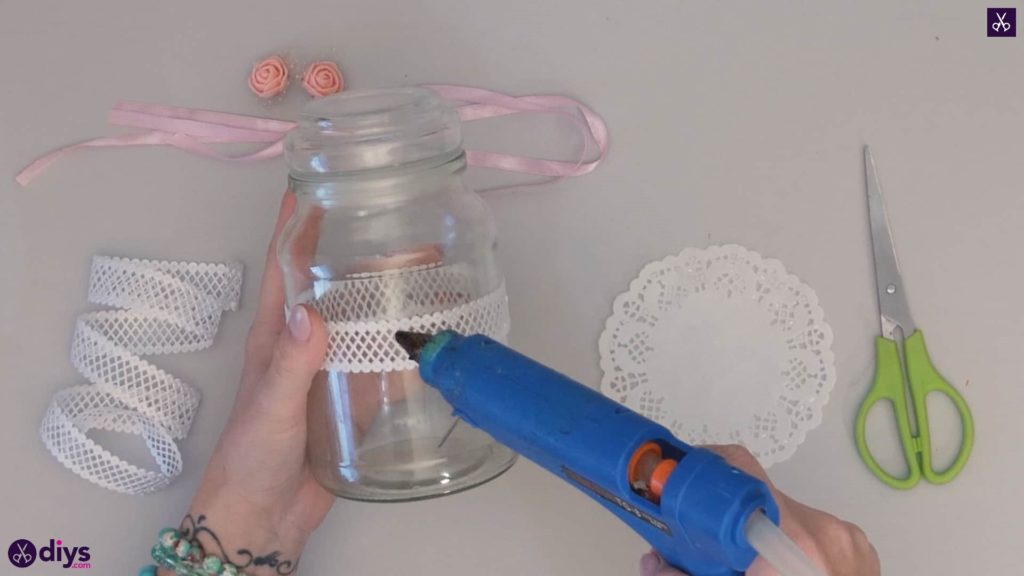
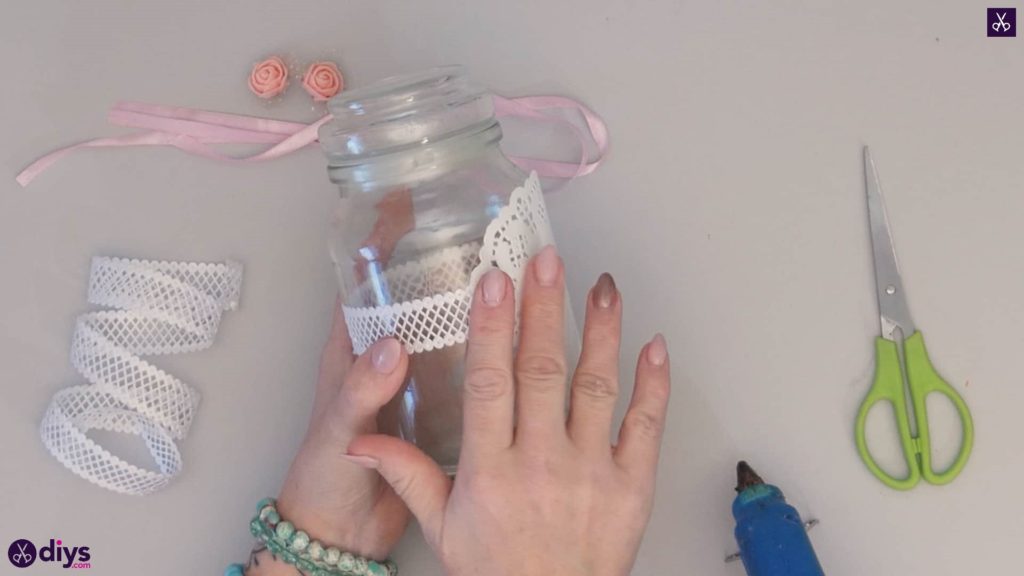
Choose which side of your glass mason jar you’d like to make the front of your centrepiece. On that side, right in the middle and halfway up the jar’s height, apply a dot of hot glue and anchor one short end of your lace ribbon down there so you can wrap the rest horizontally around the middle of your jar like a band. When you get back to where you started, trim the excess off, leaving a little bit of an overlap, and then apply hot glue where the two layer on each other and stick the new end down over the first one.
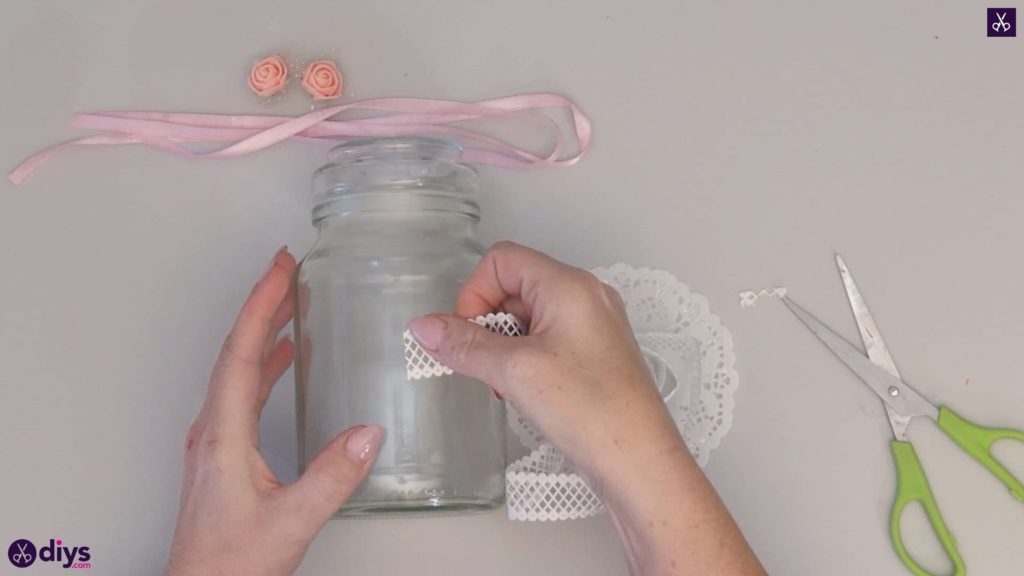
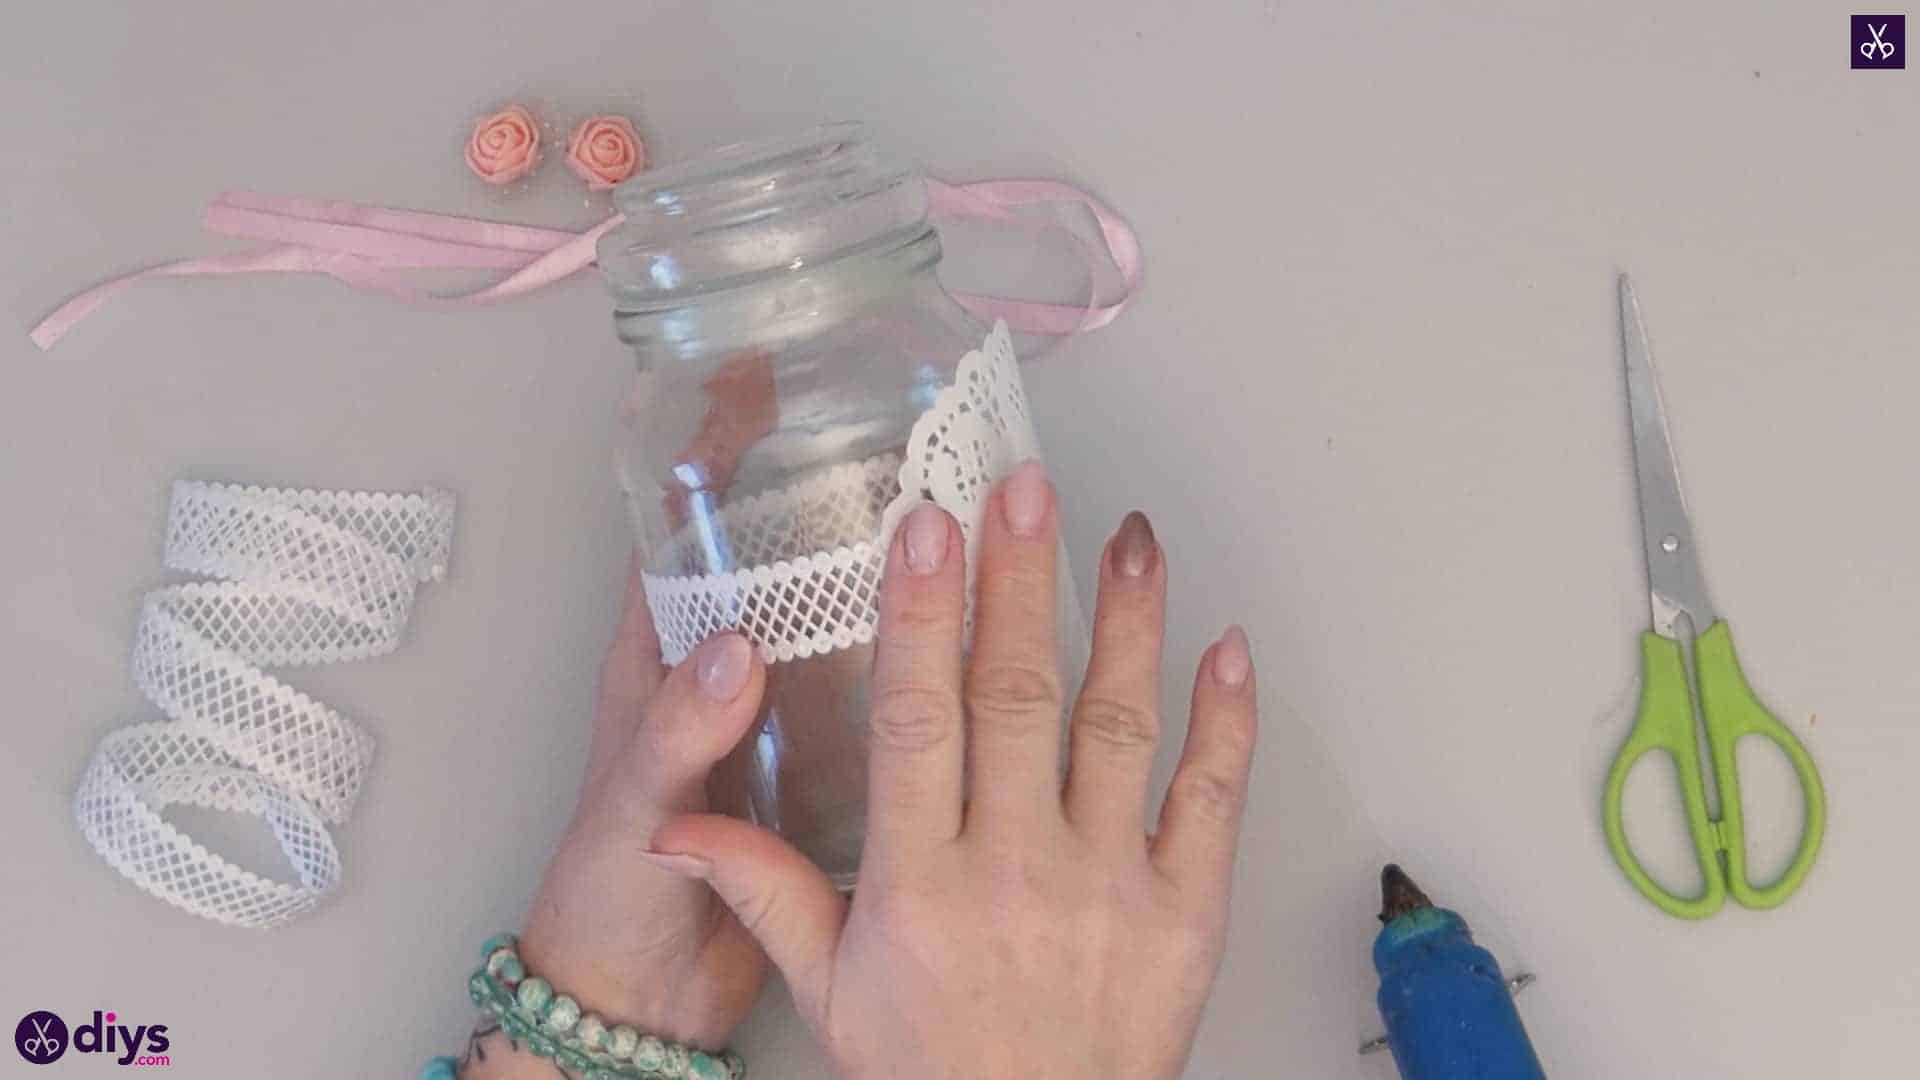
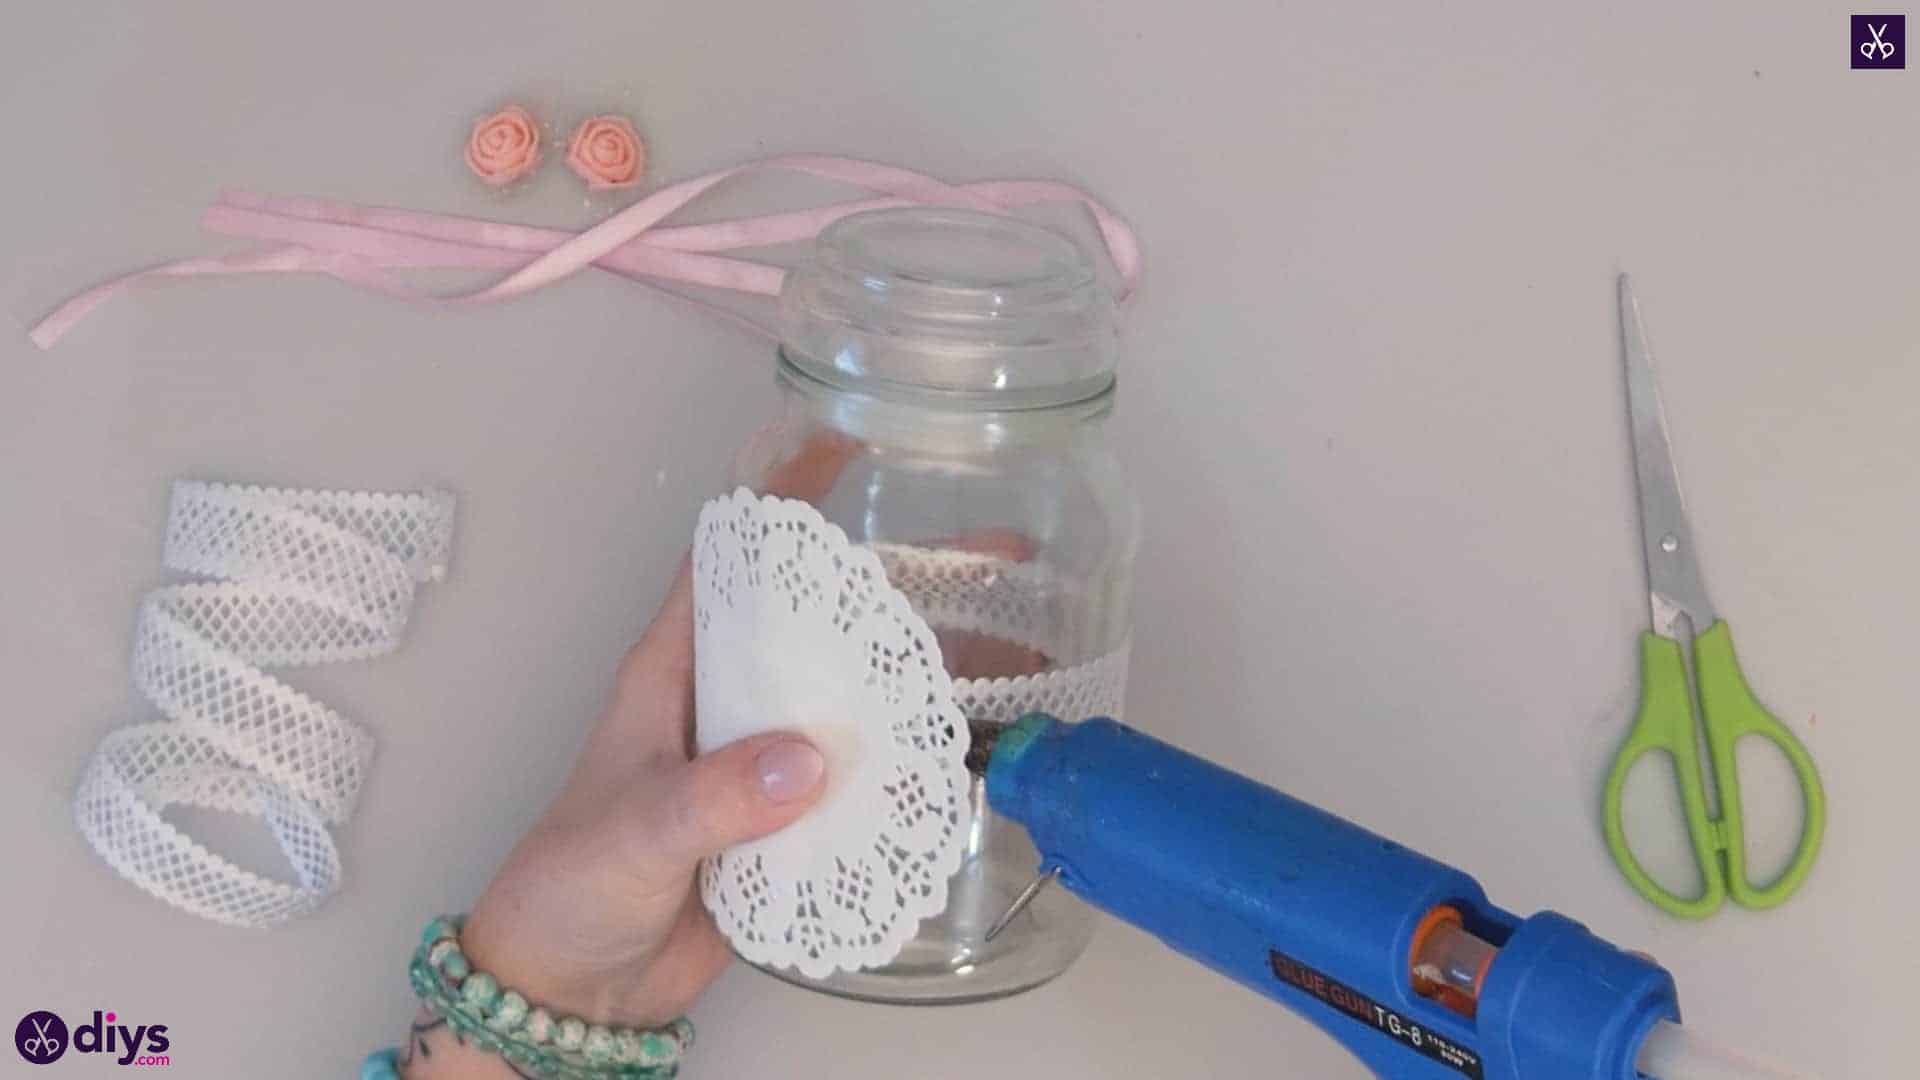
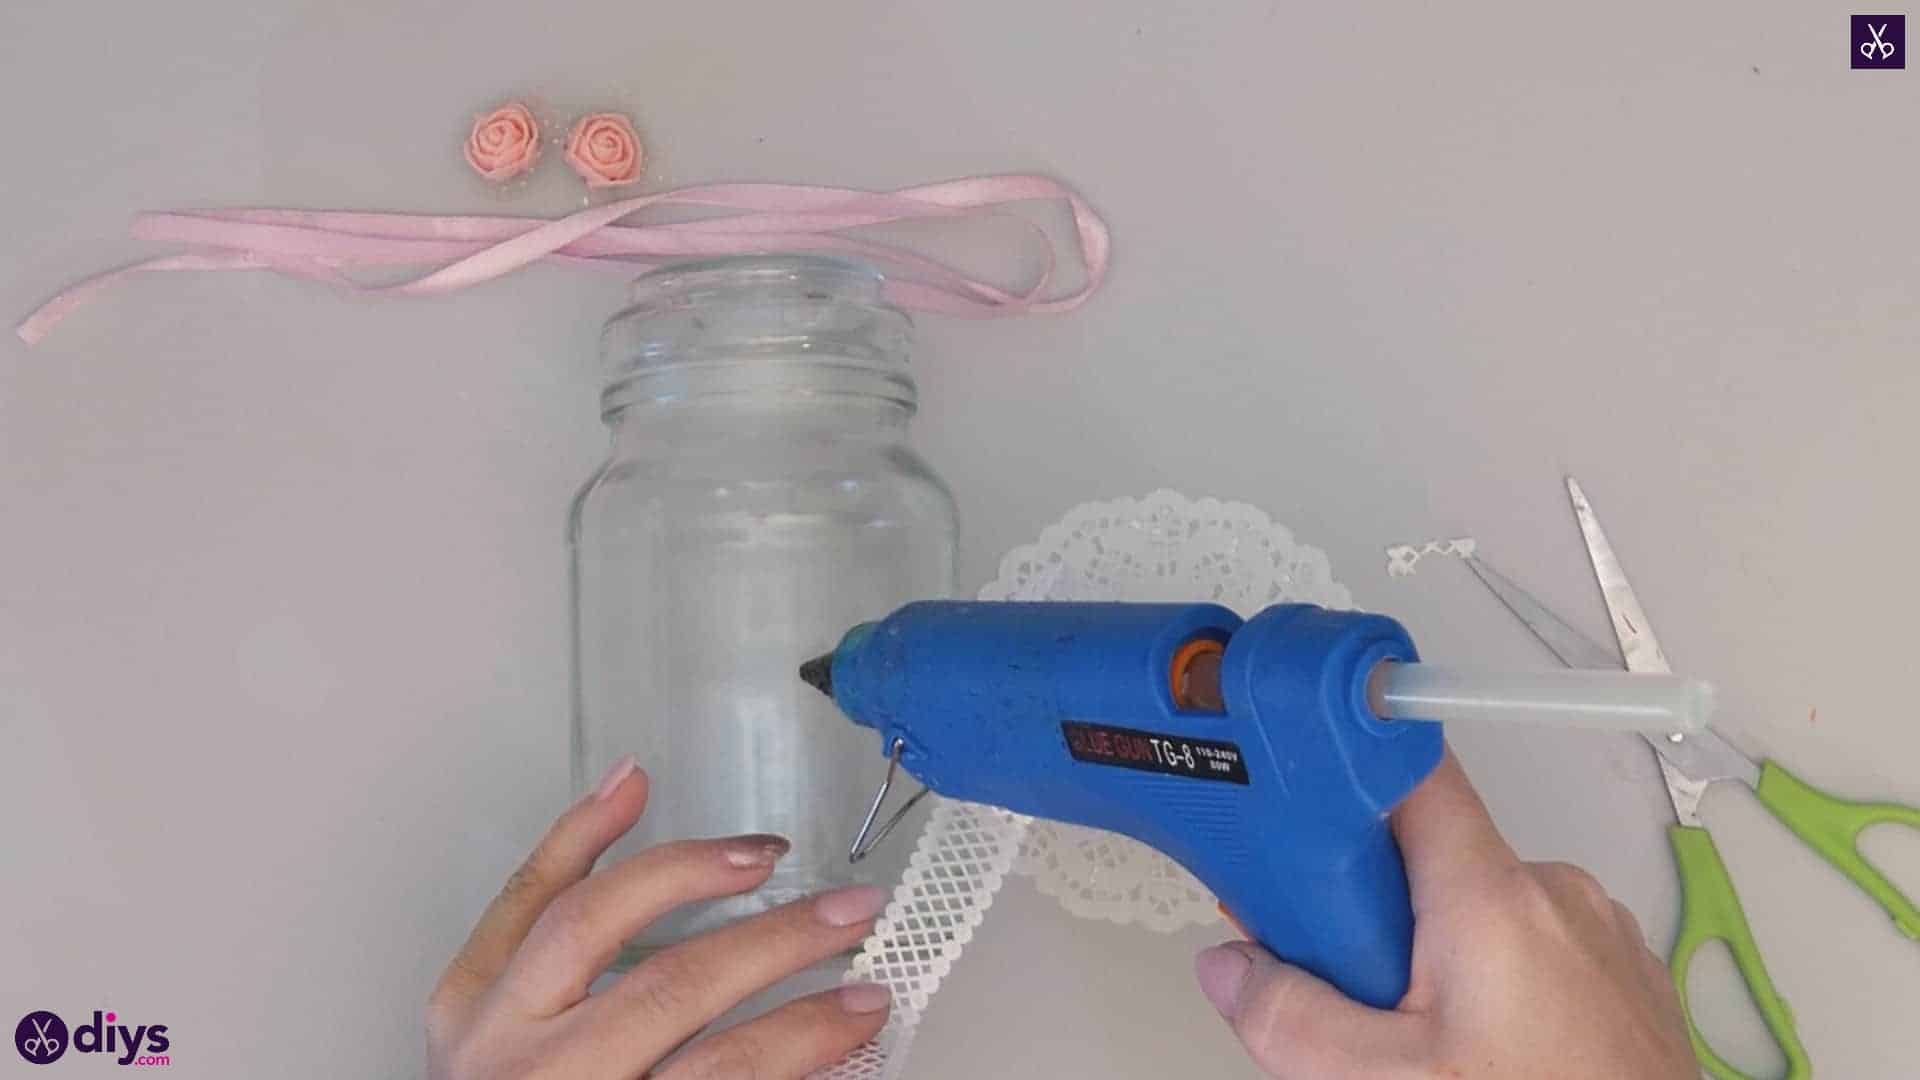
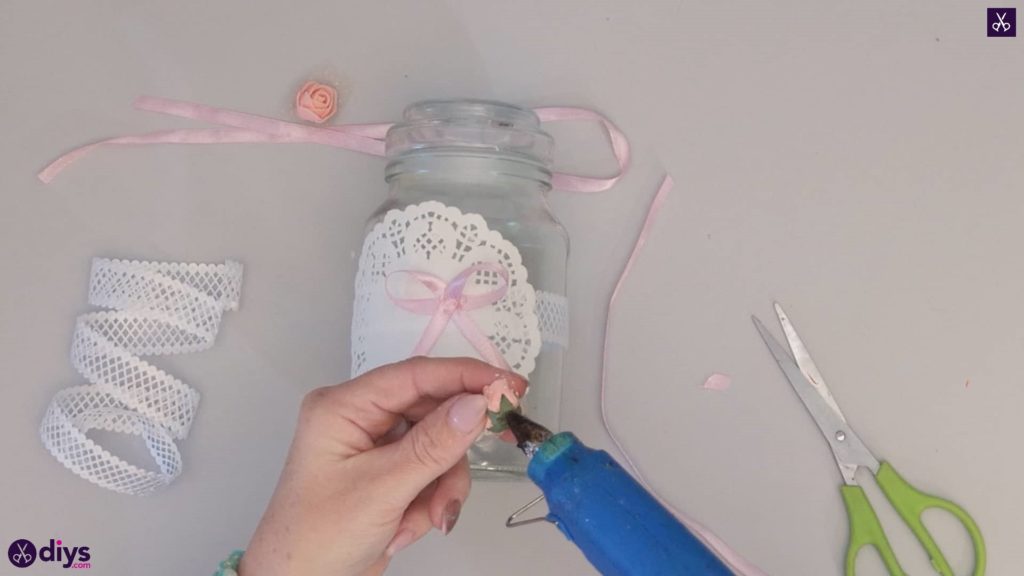
Step 3: add lace
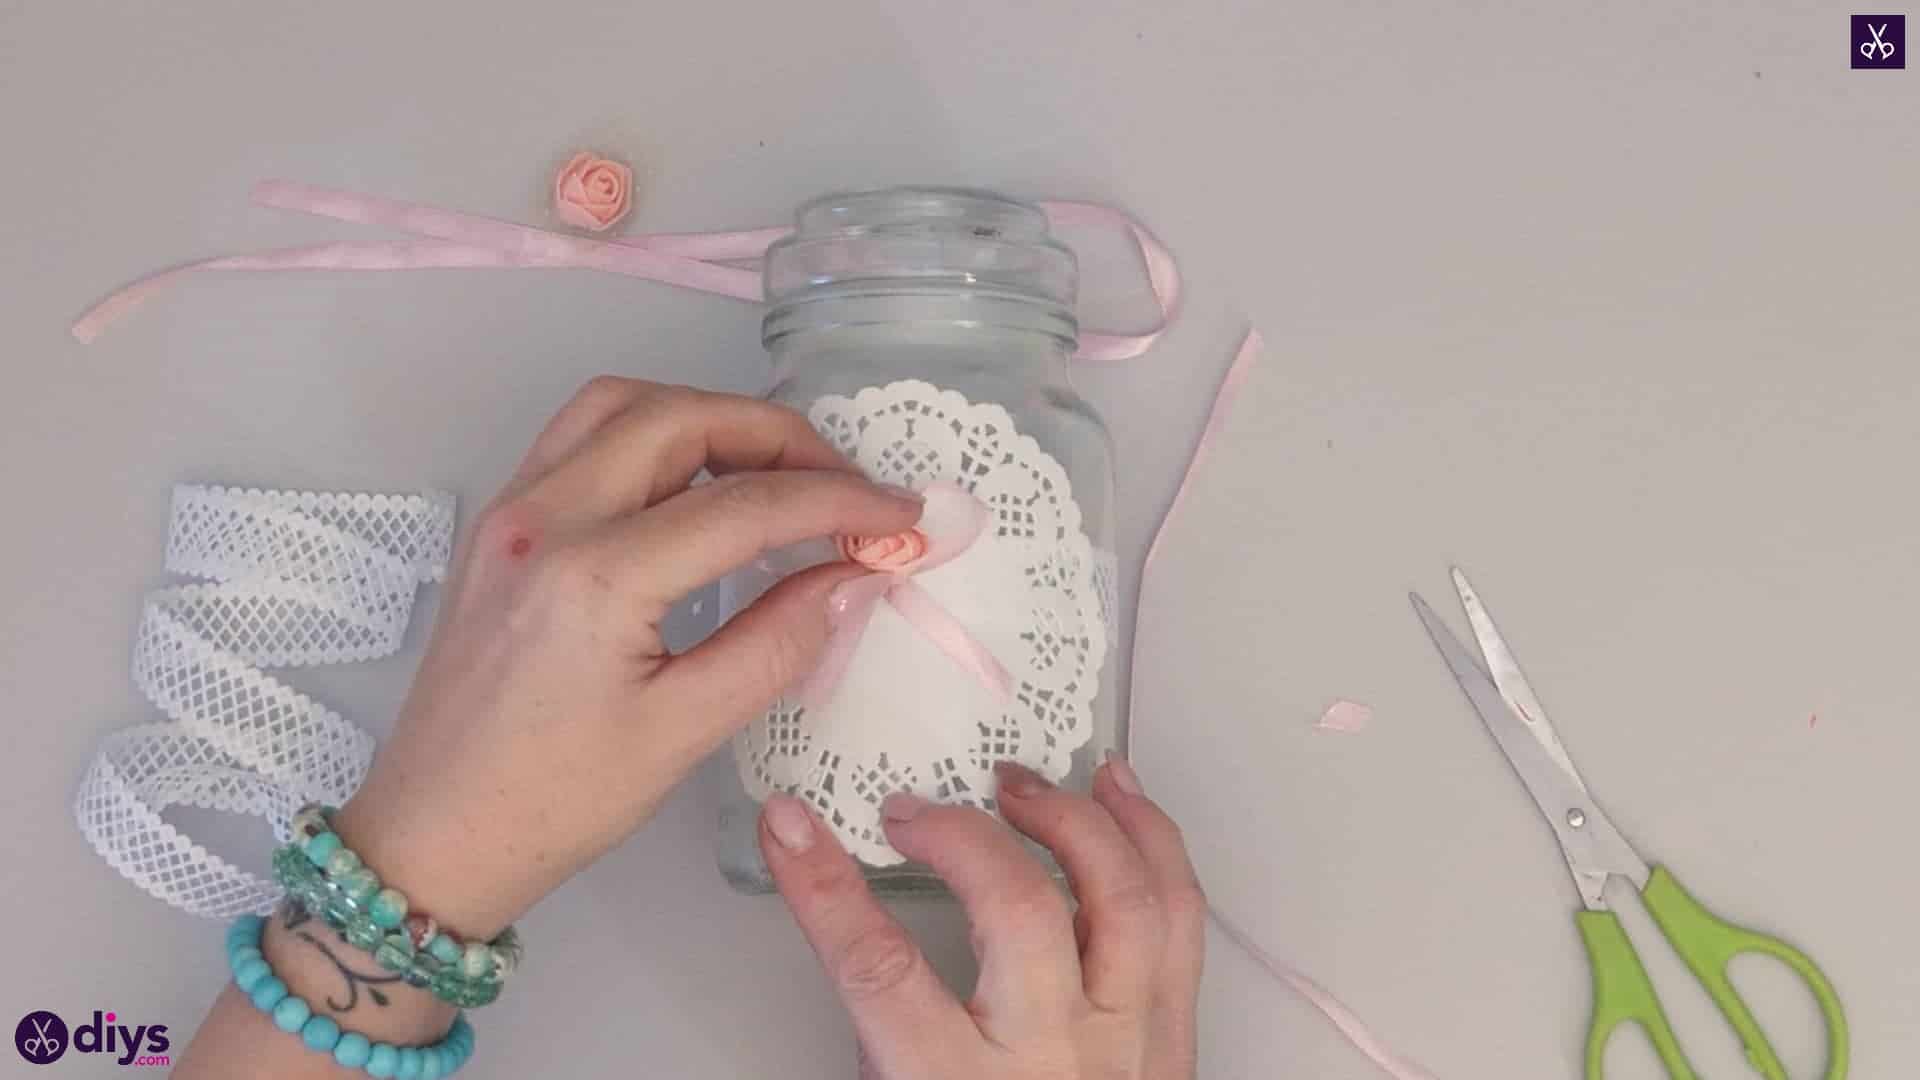
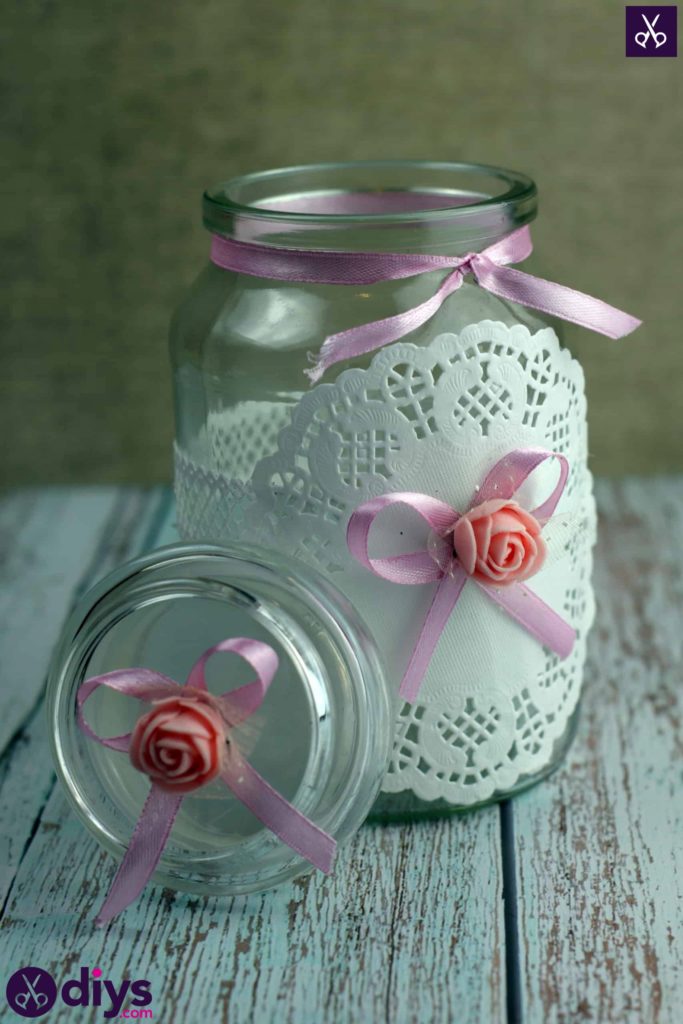
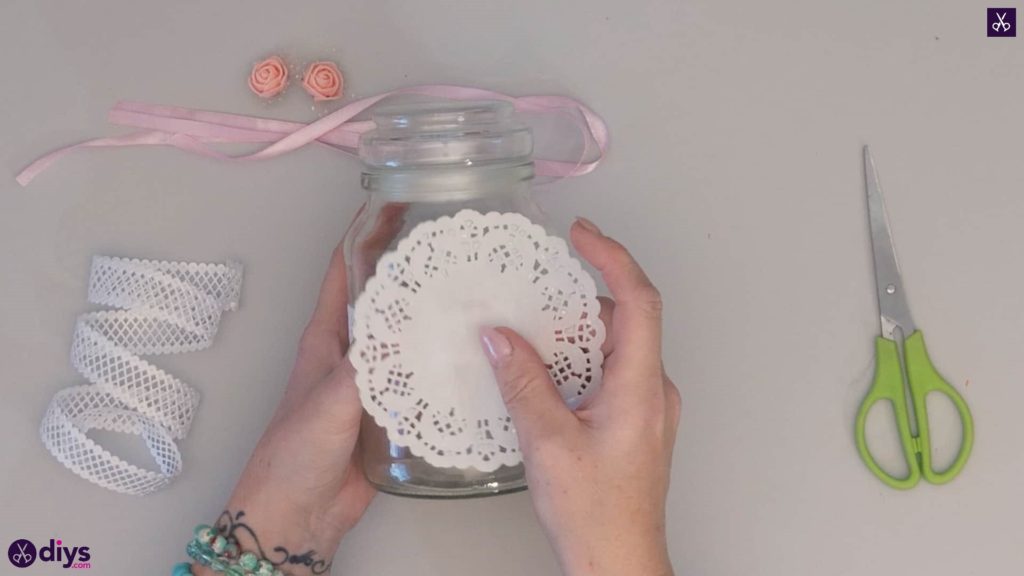
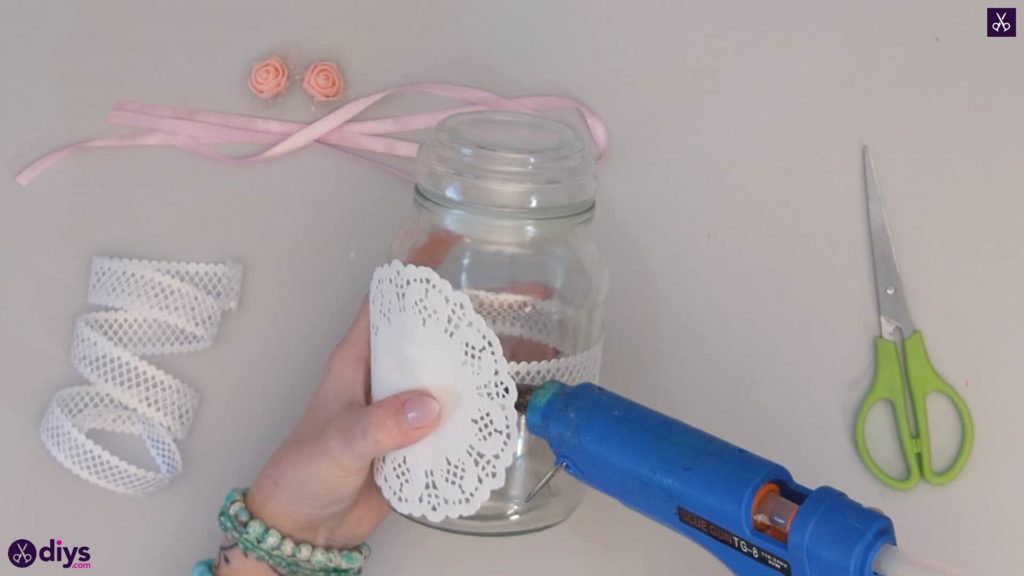
Over the place where your two lace ribbon ends meet, apply another dot of hot glue. Stick the middle of your paper lace doily down here, using that point as an anchor and lining the top, bottom, and side edges of your doily up on the jar where you actually want them to sit. Once you’re satisfied with the positioning, slide the top of your glue gun under the sides at those four edge points and apply a small dot of glue there, pressing down to stick them better.
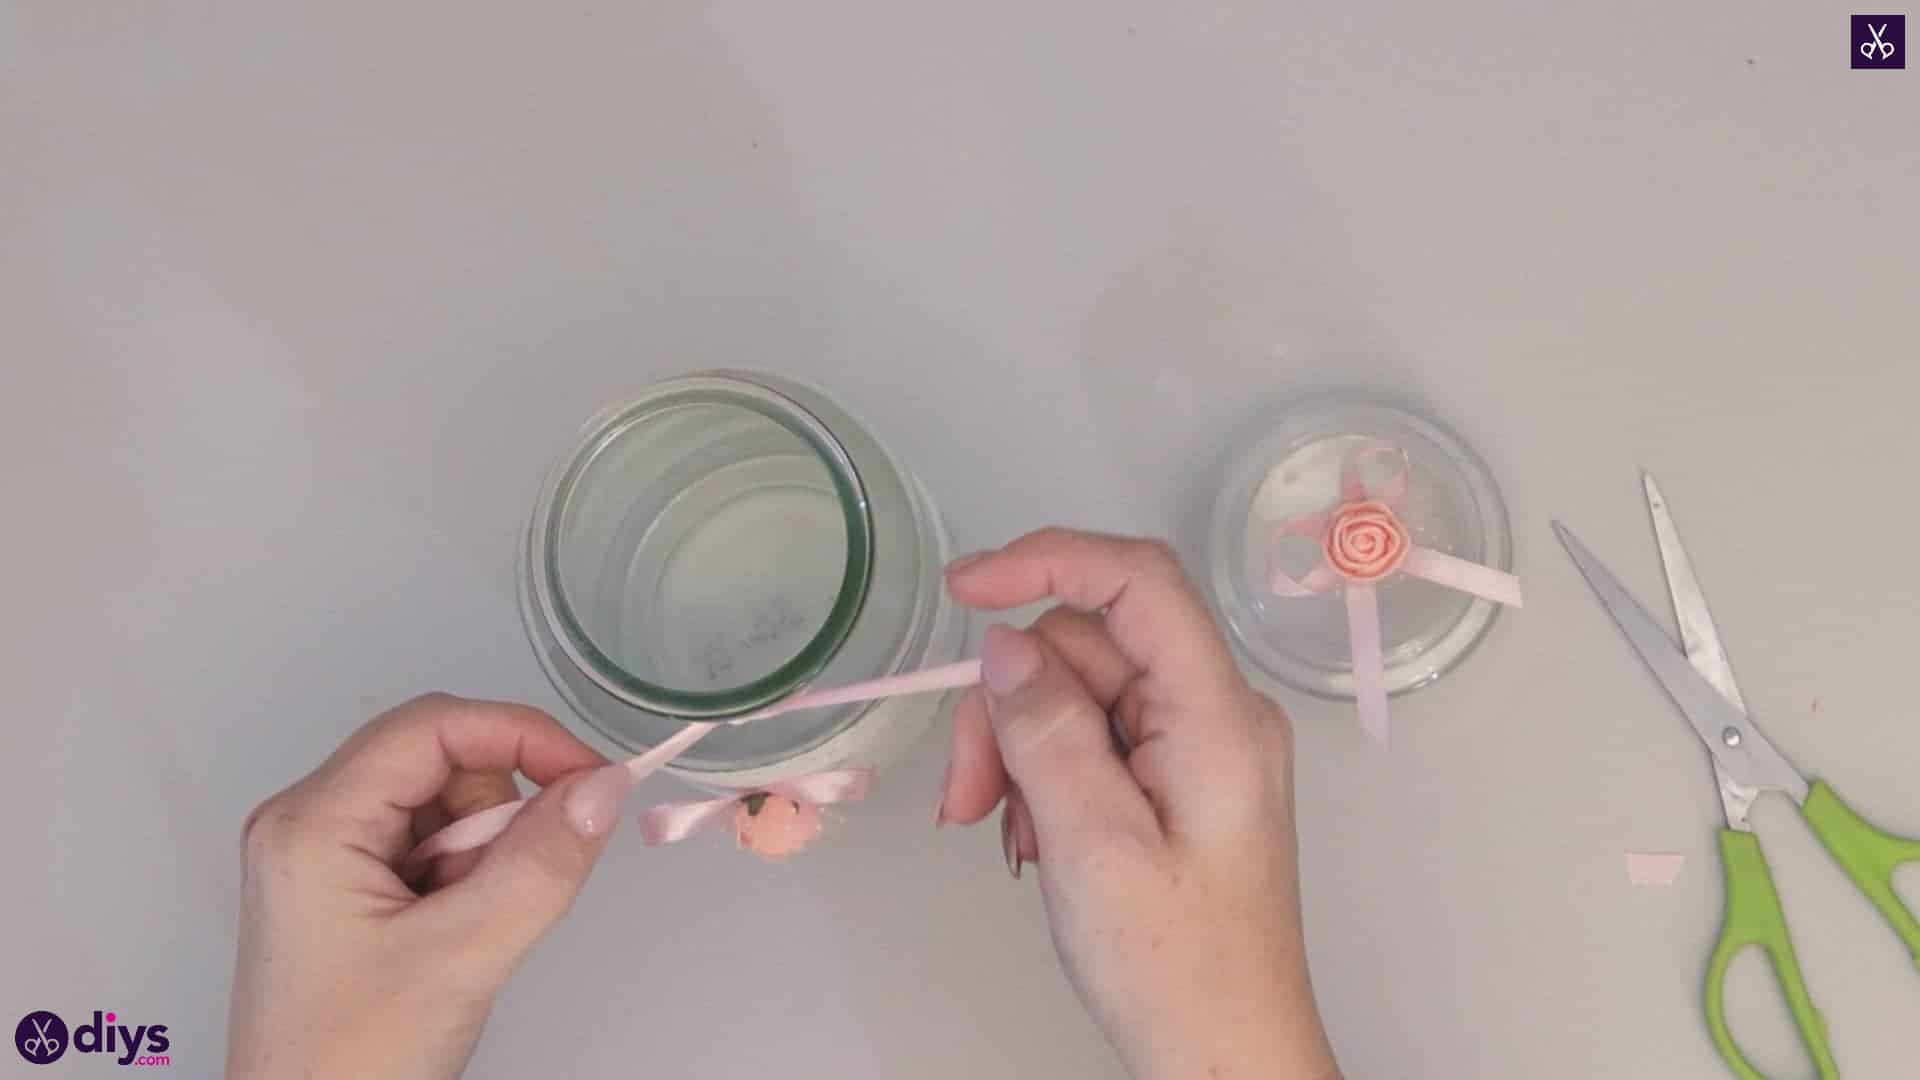
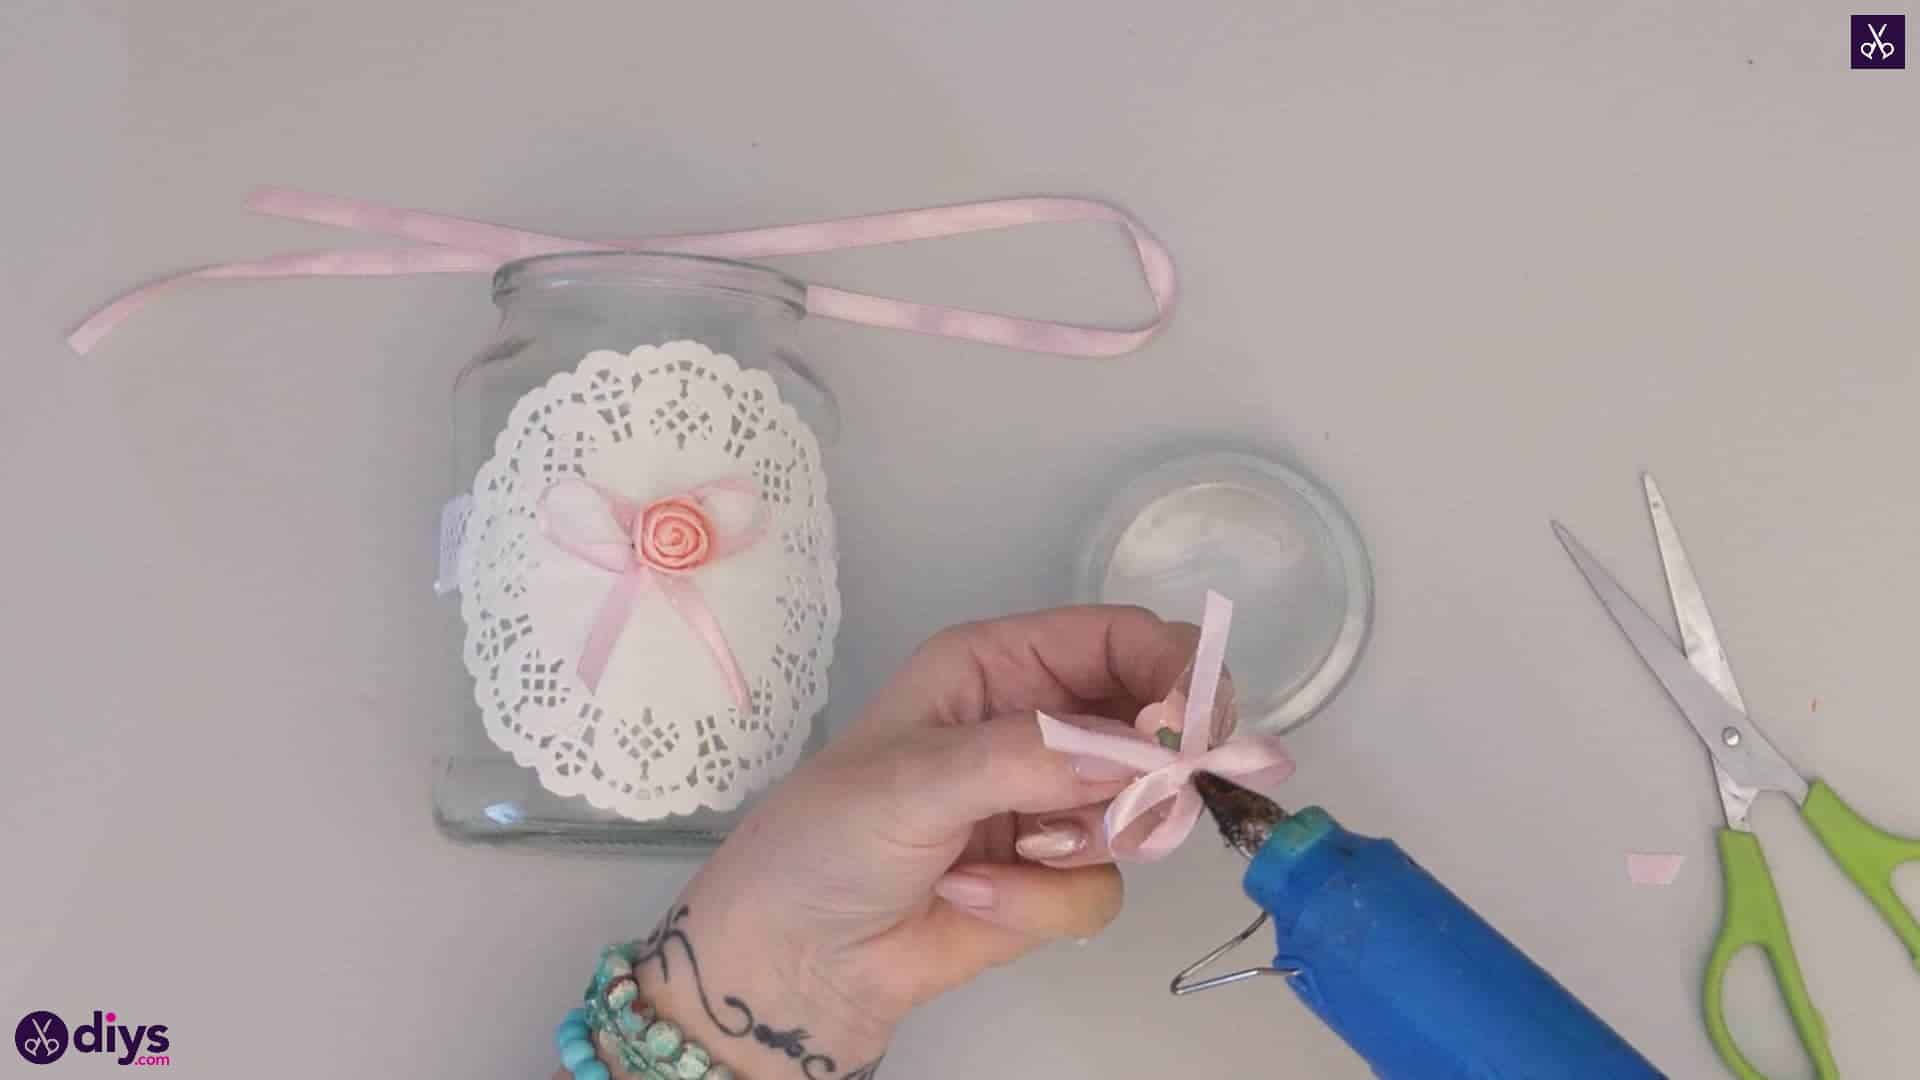
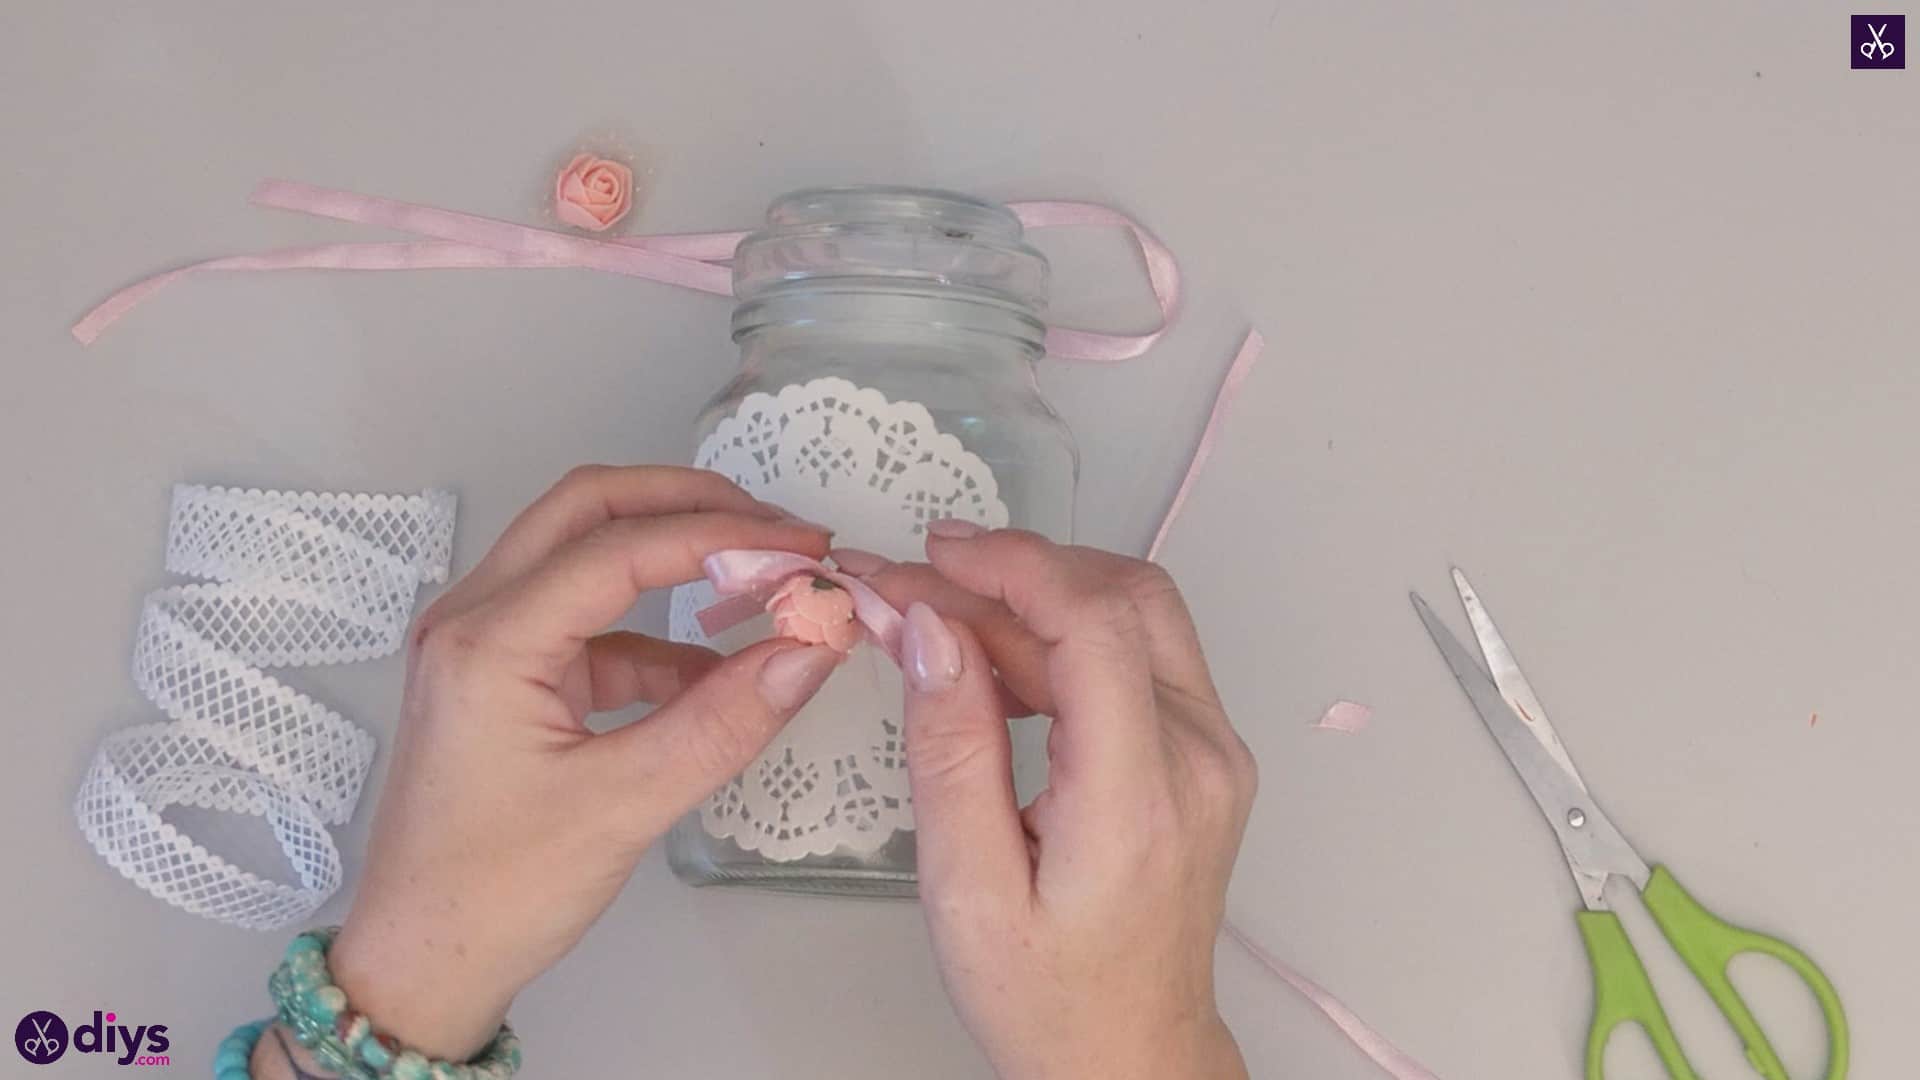
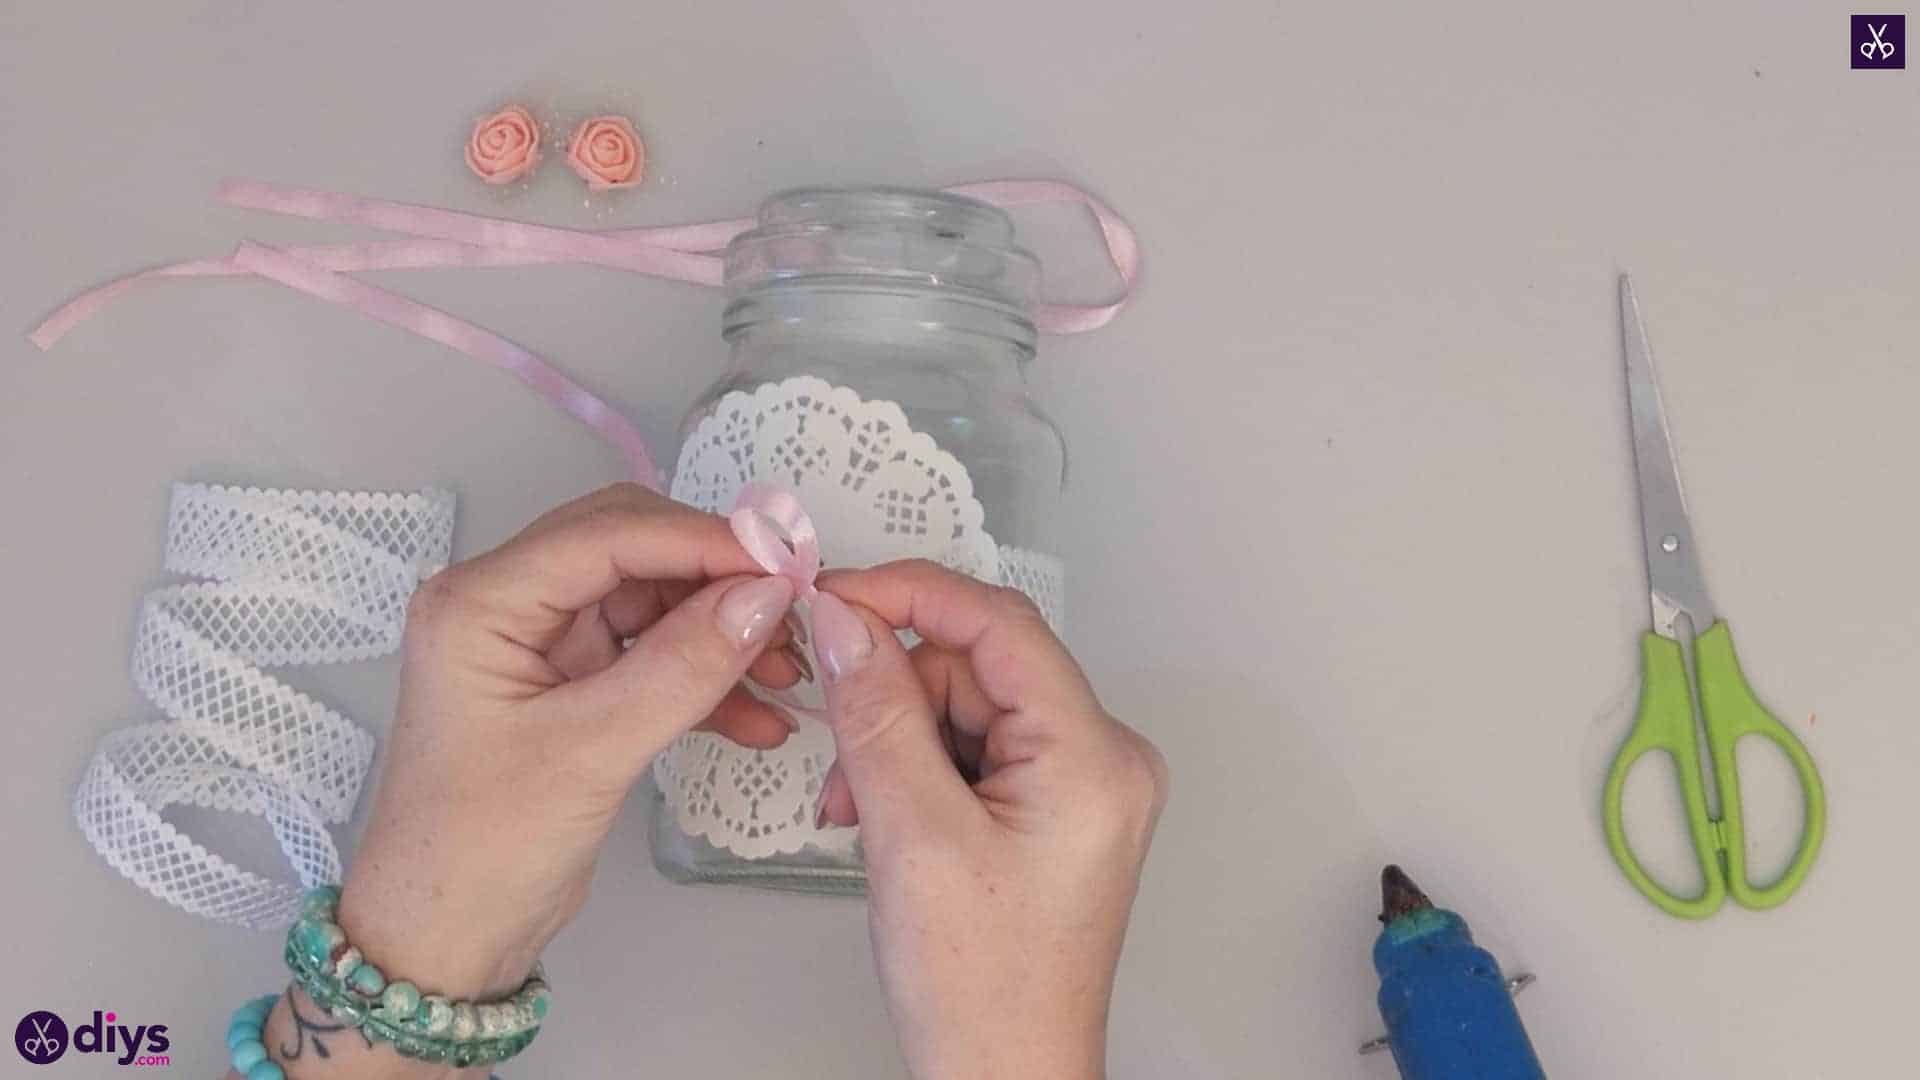
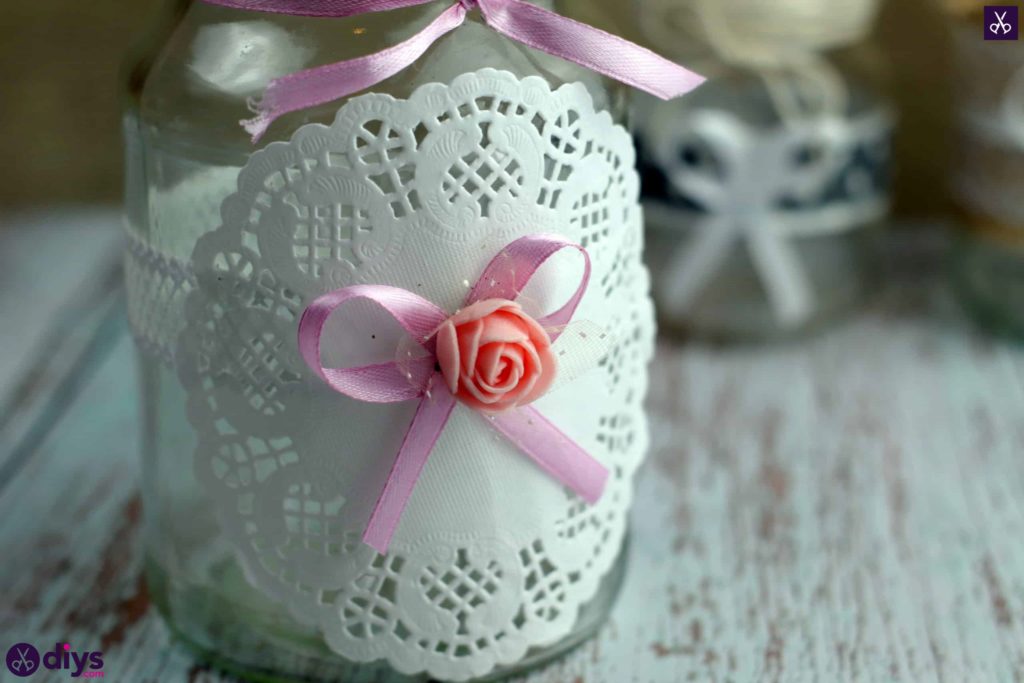
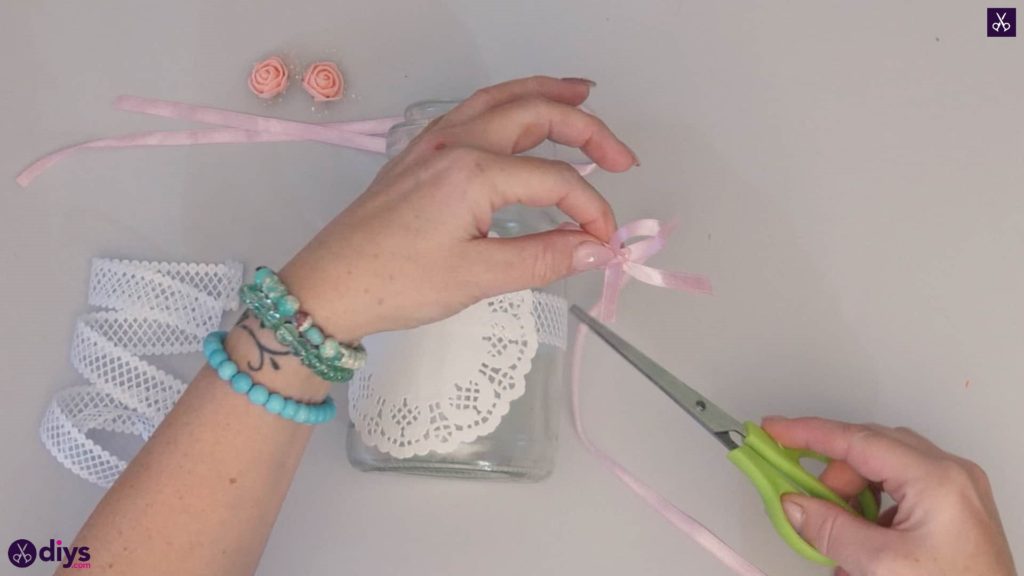
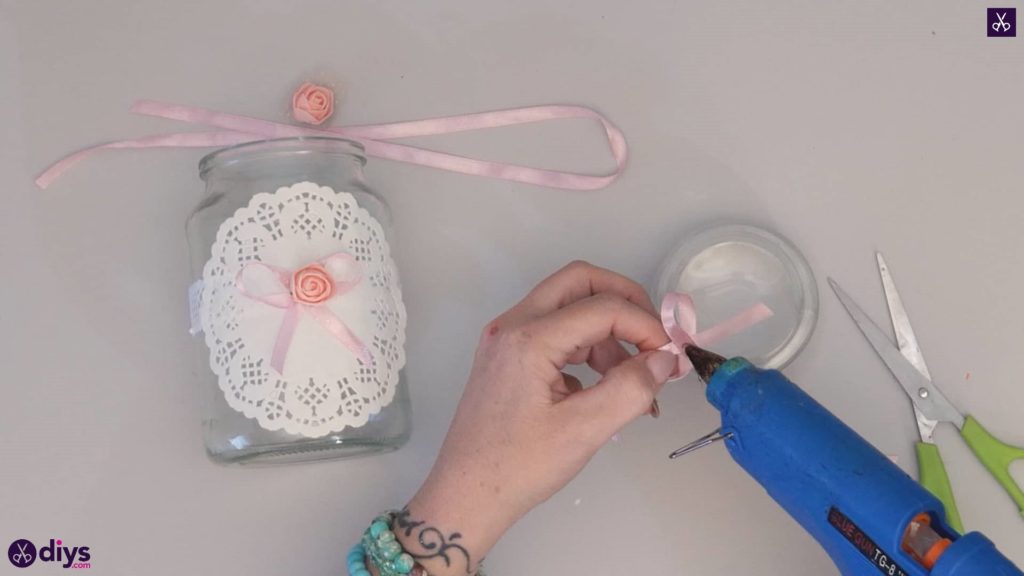
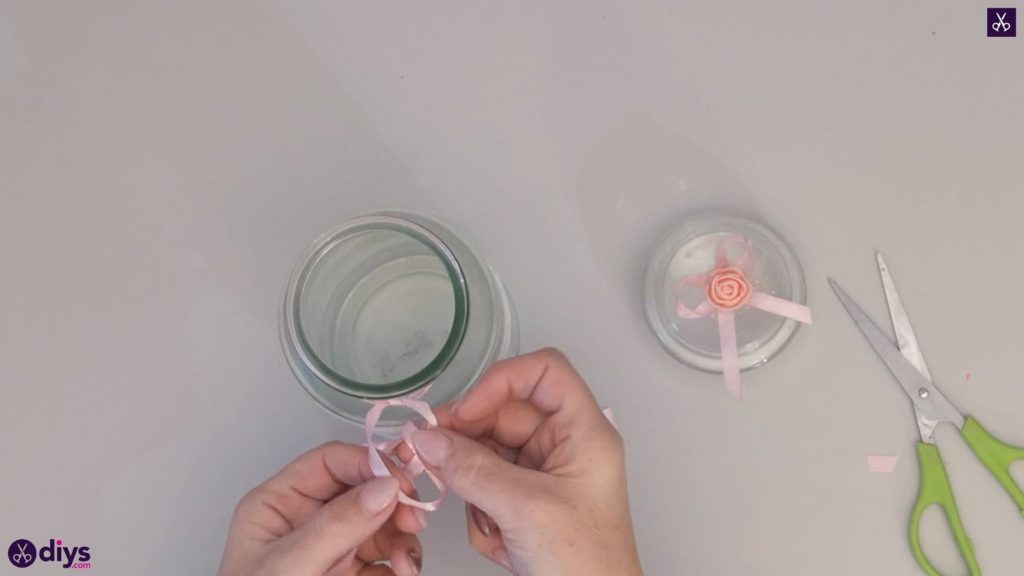
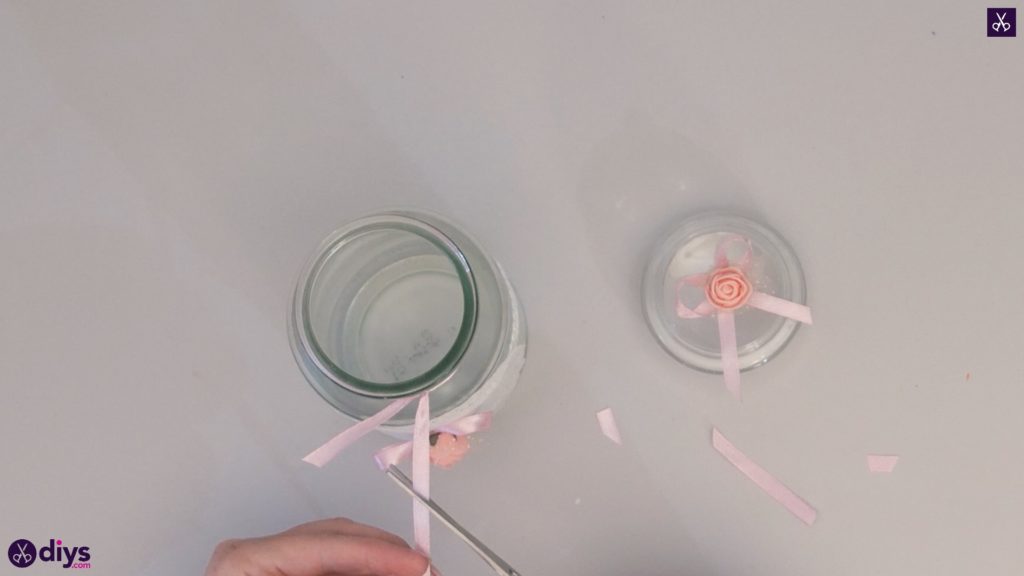
Step 4: add bow
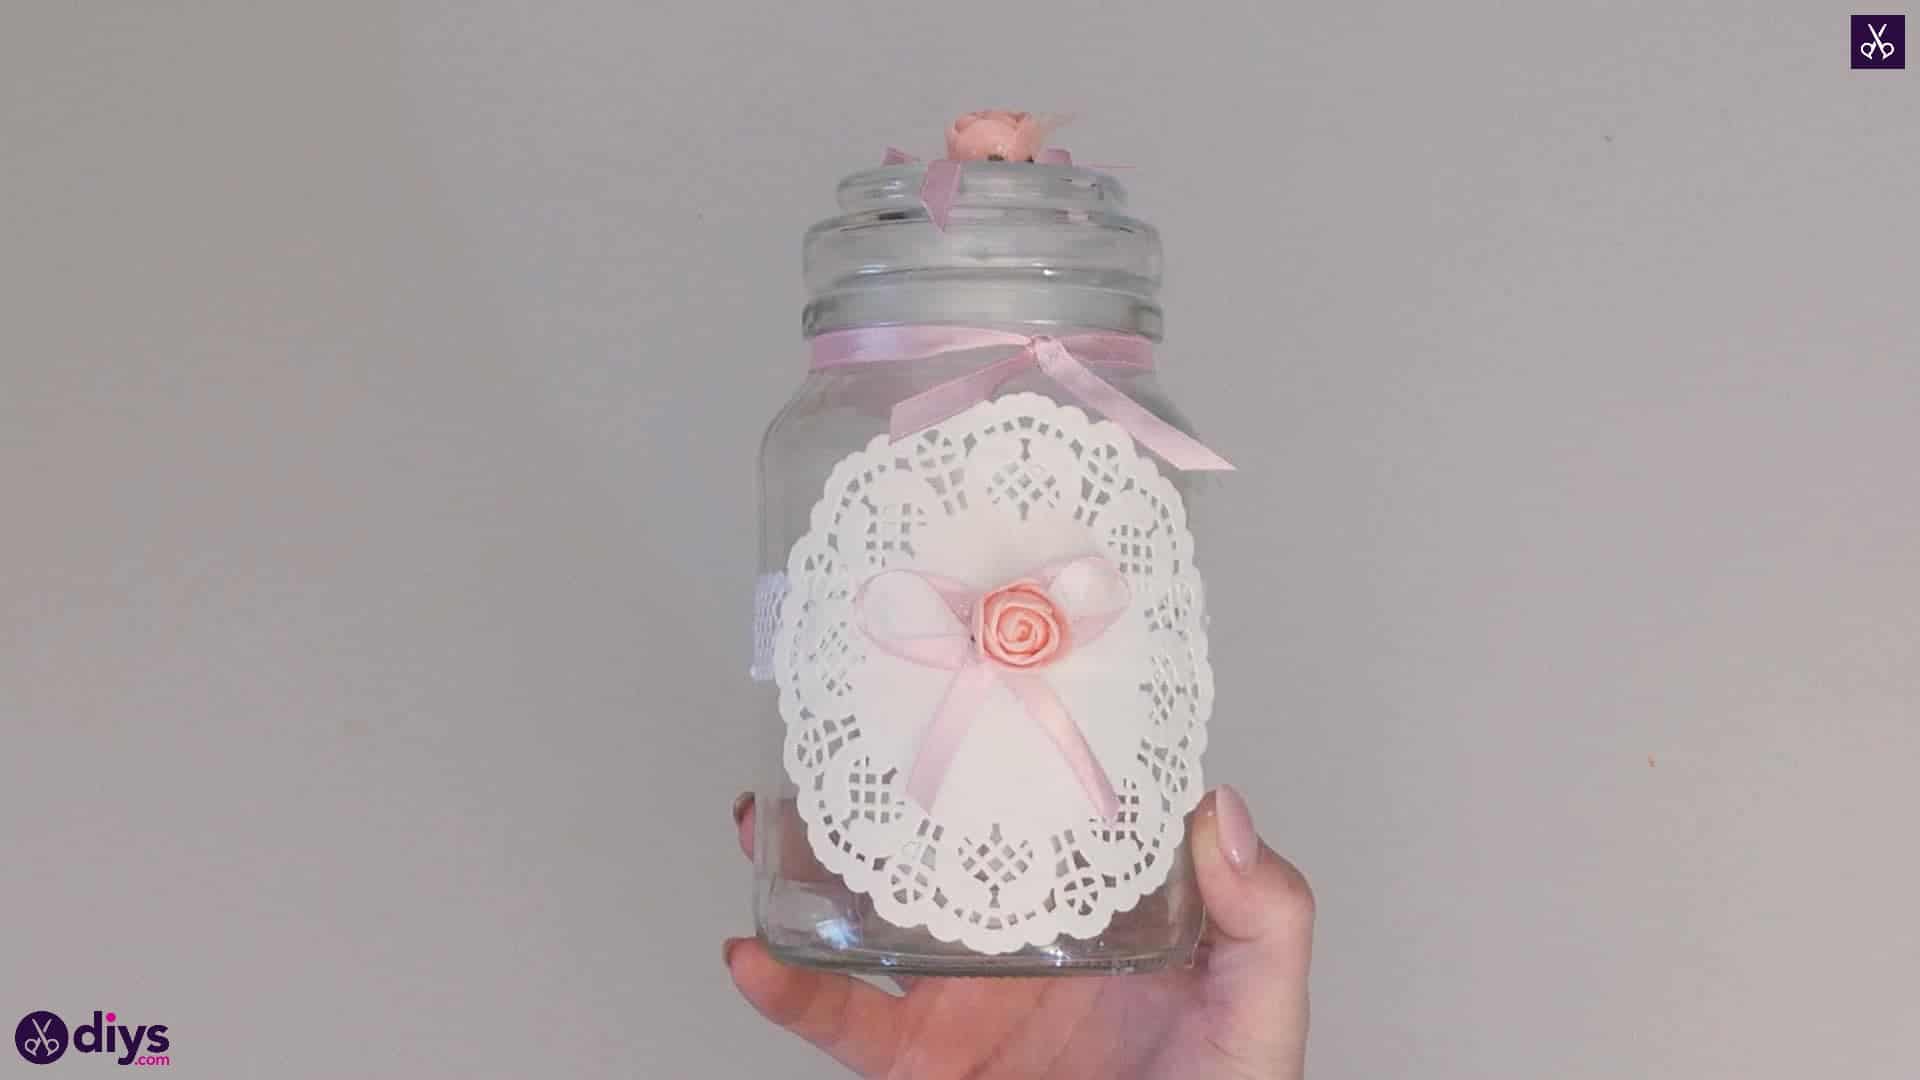
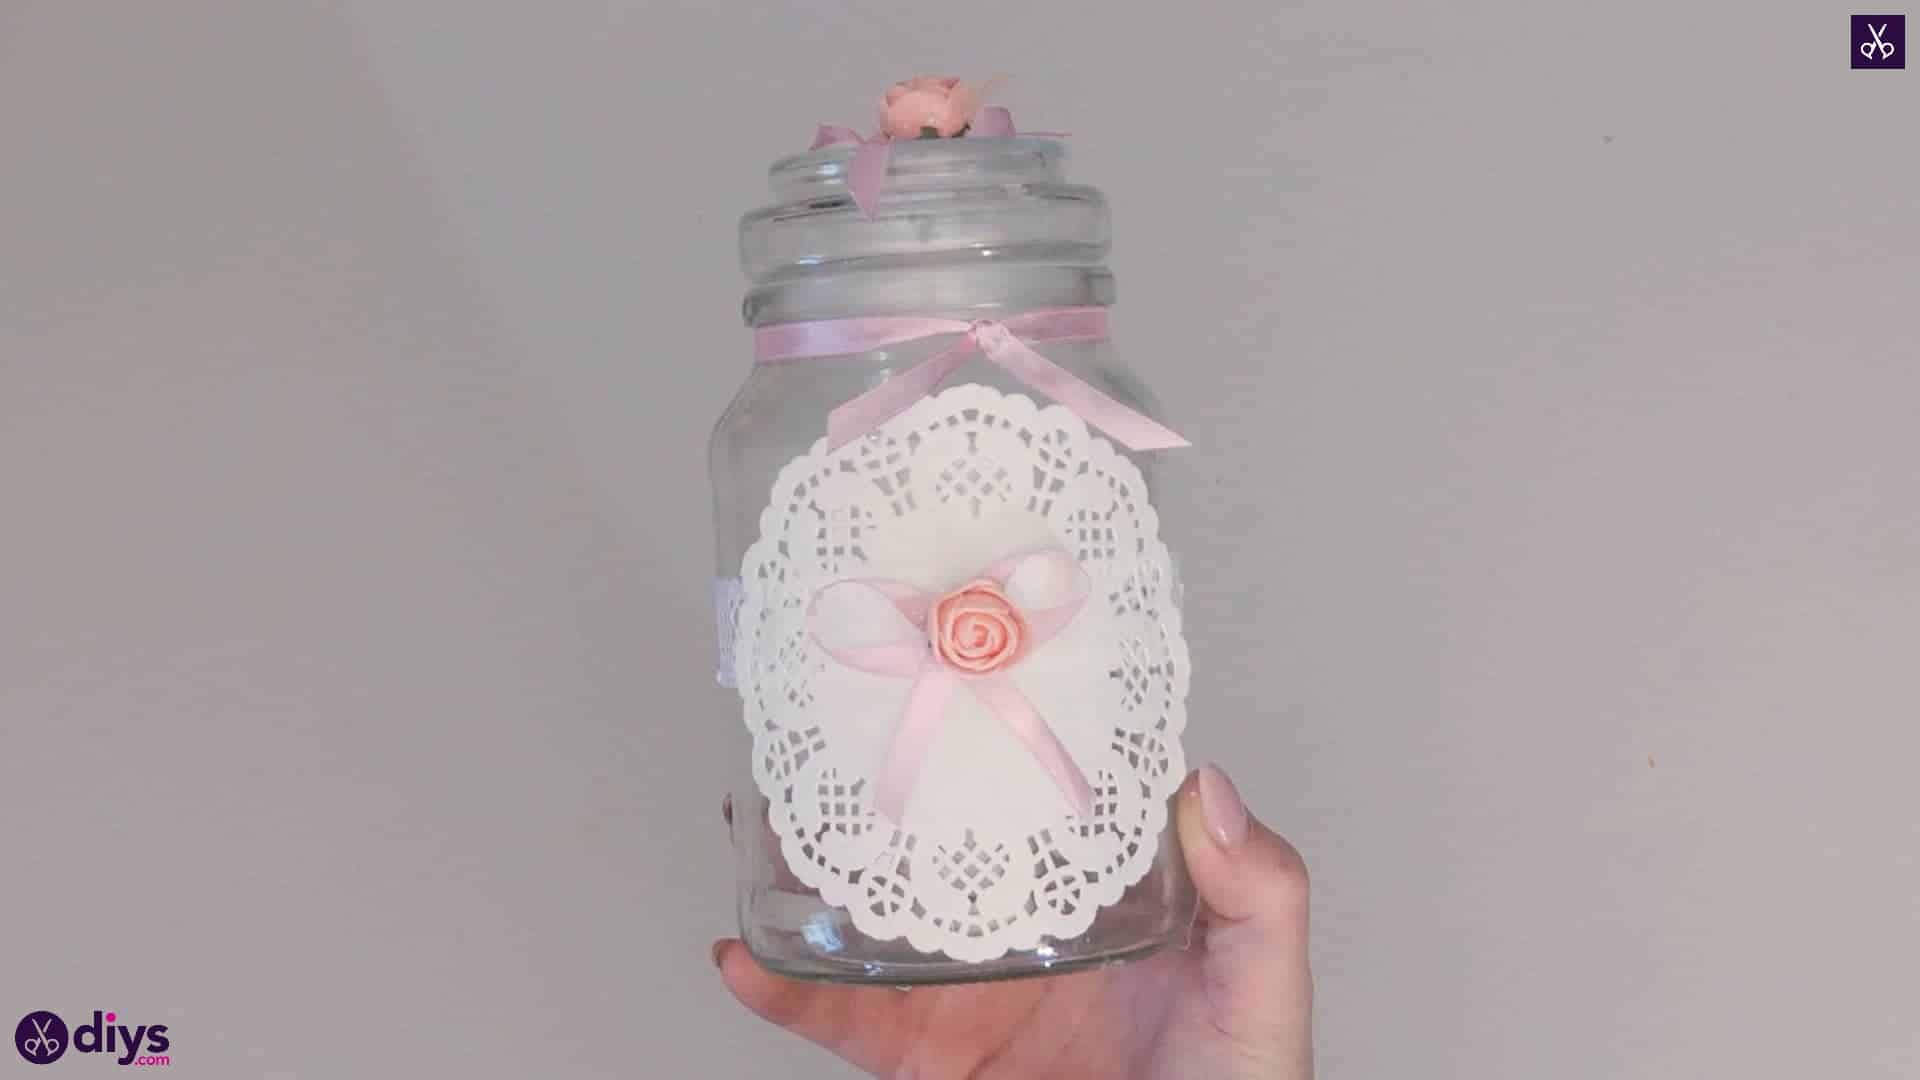
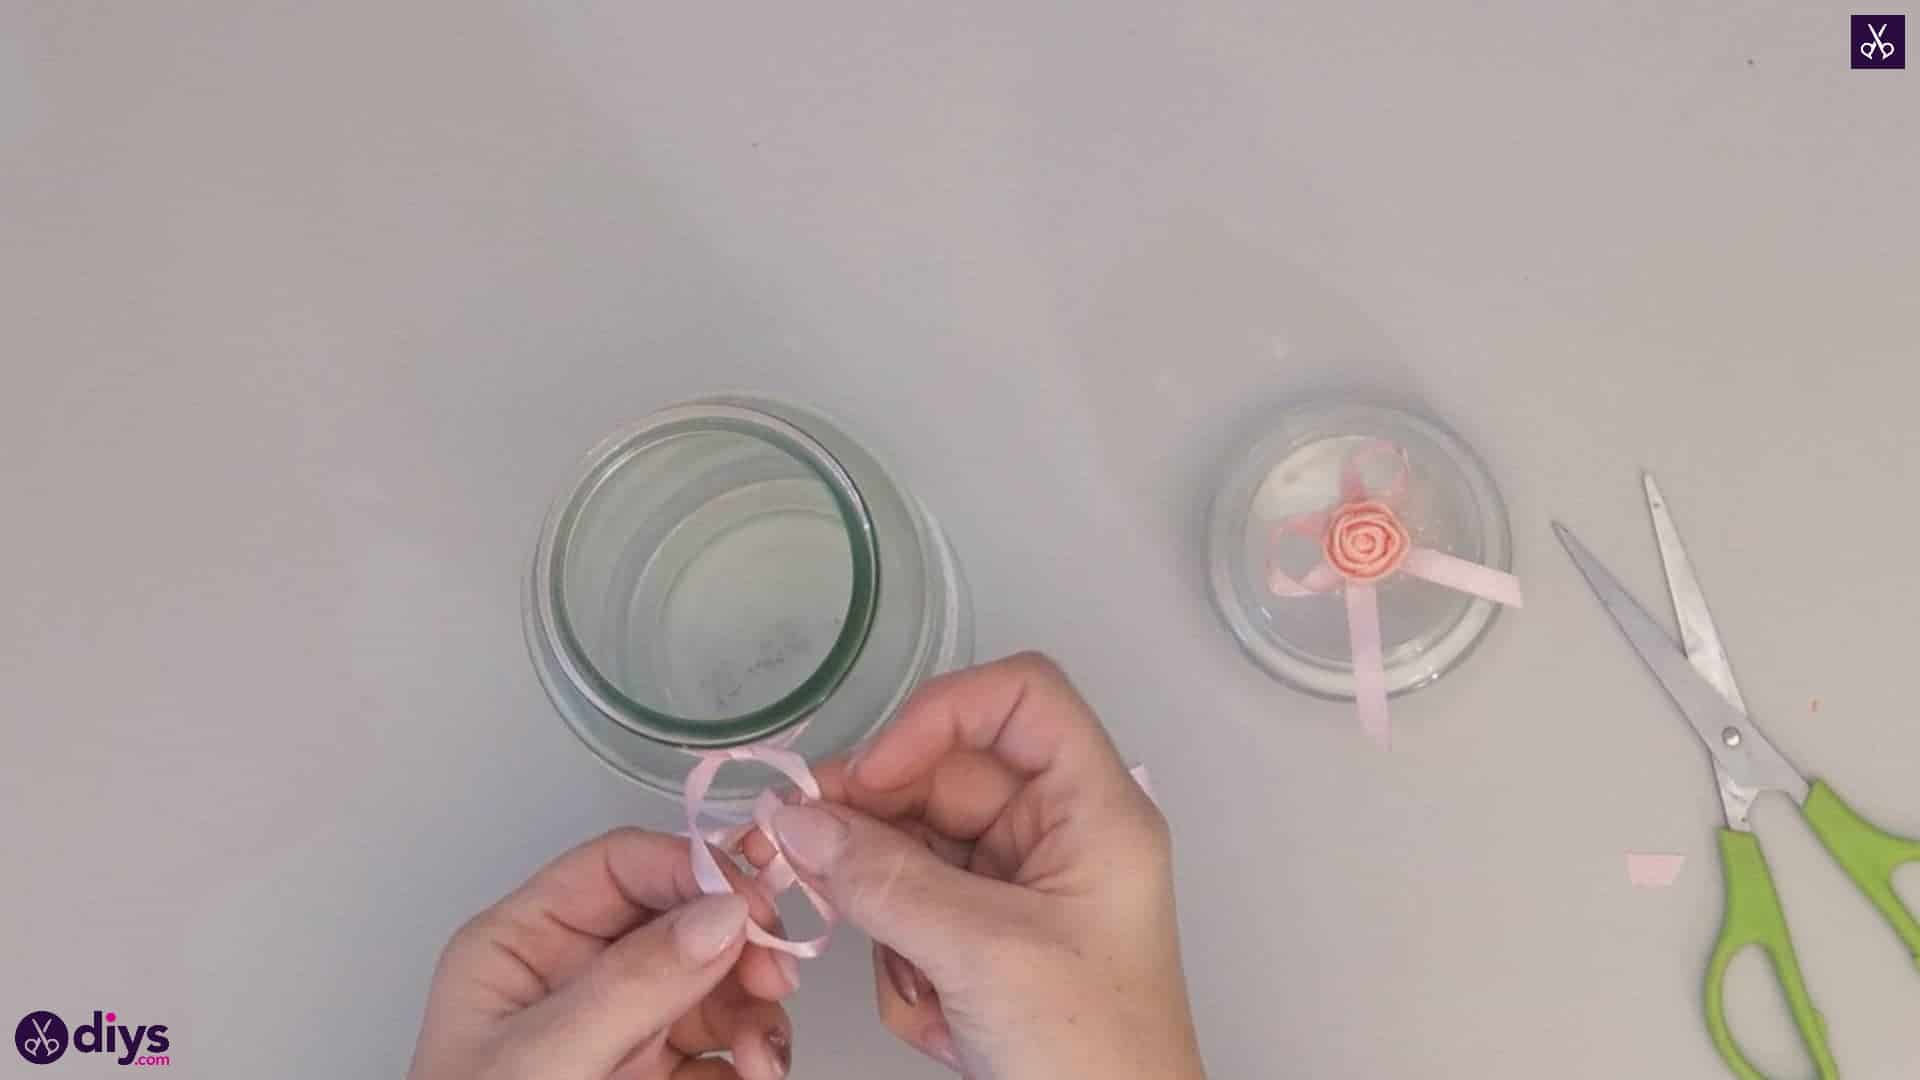
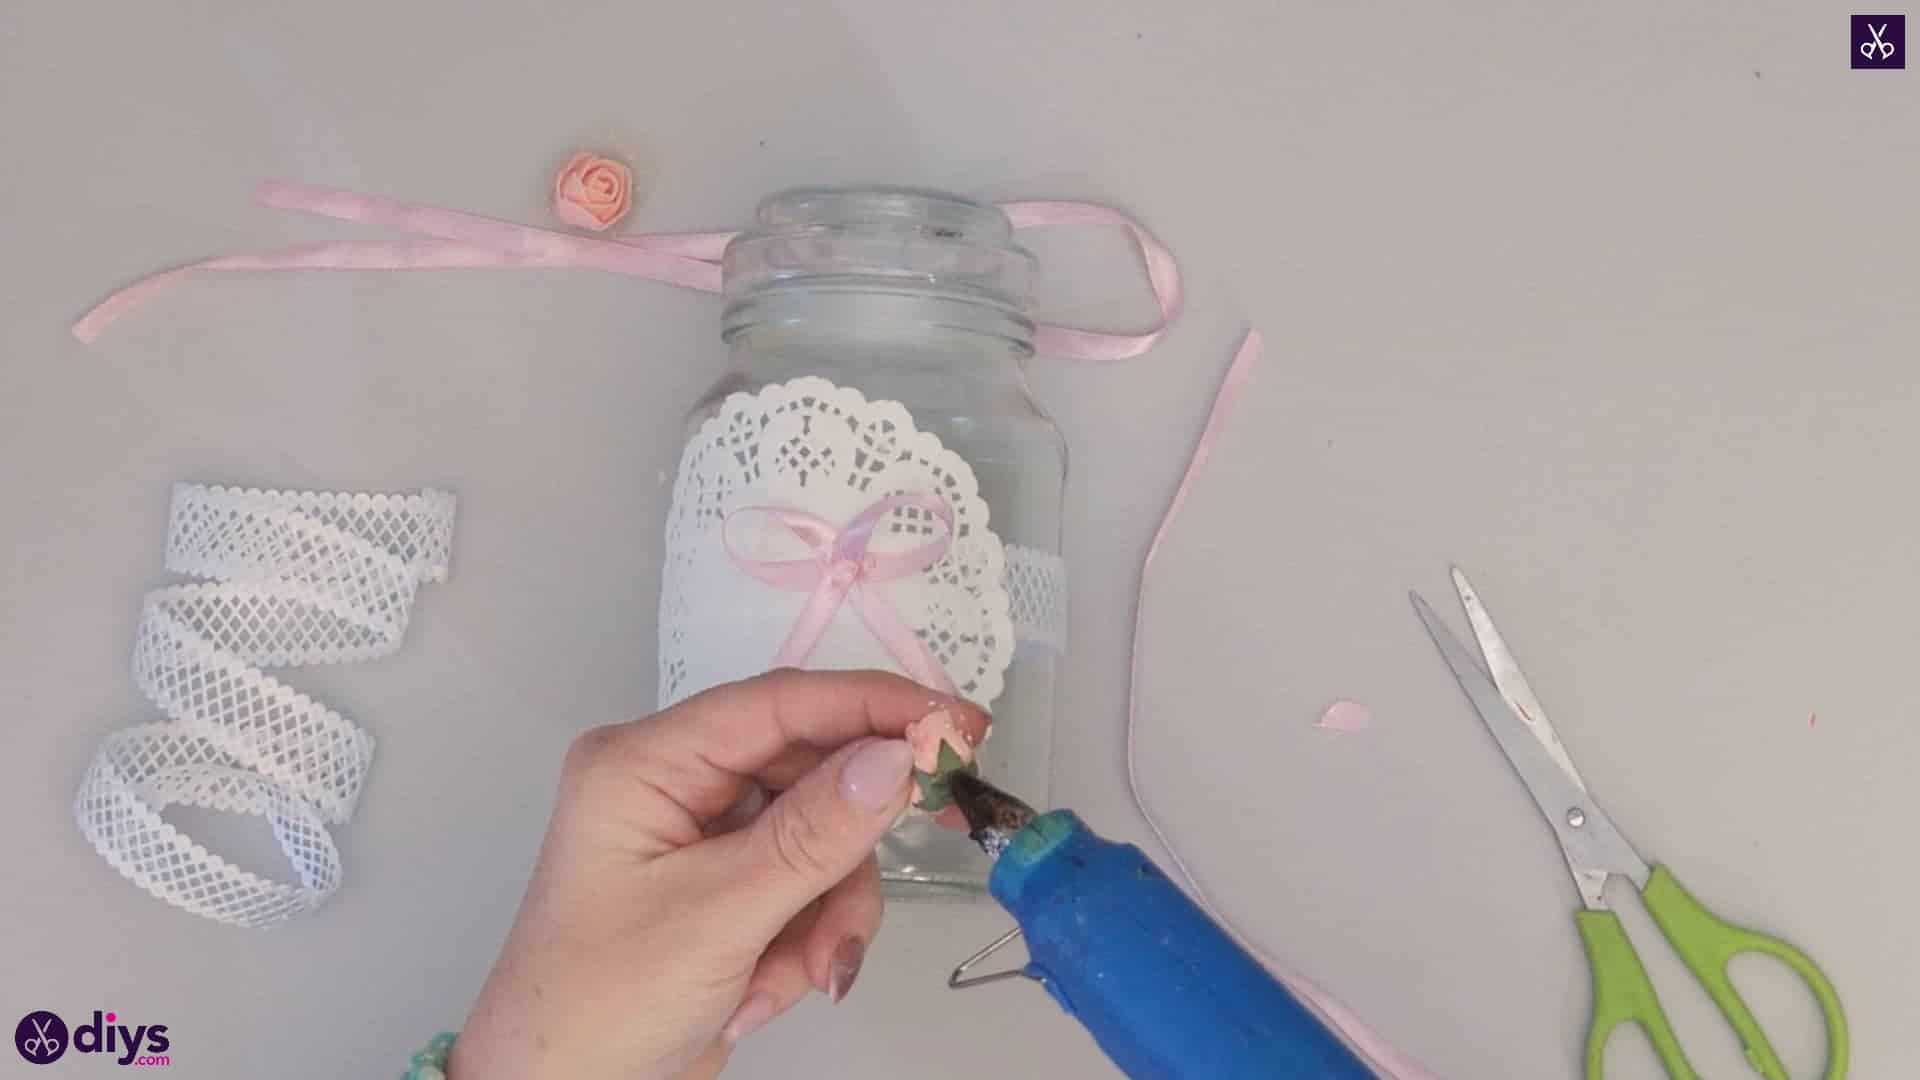
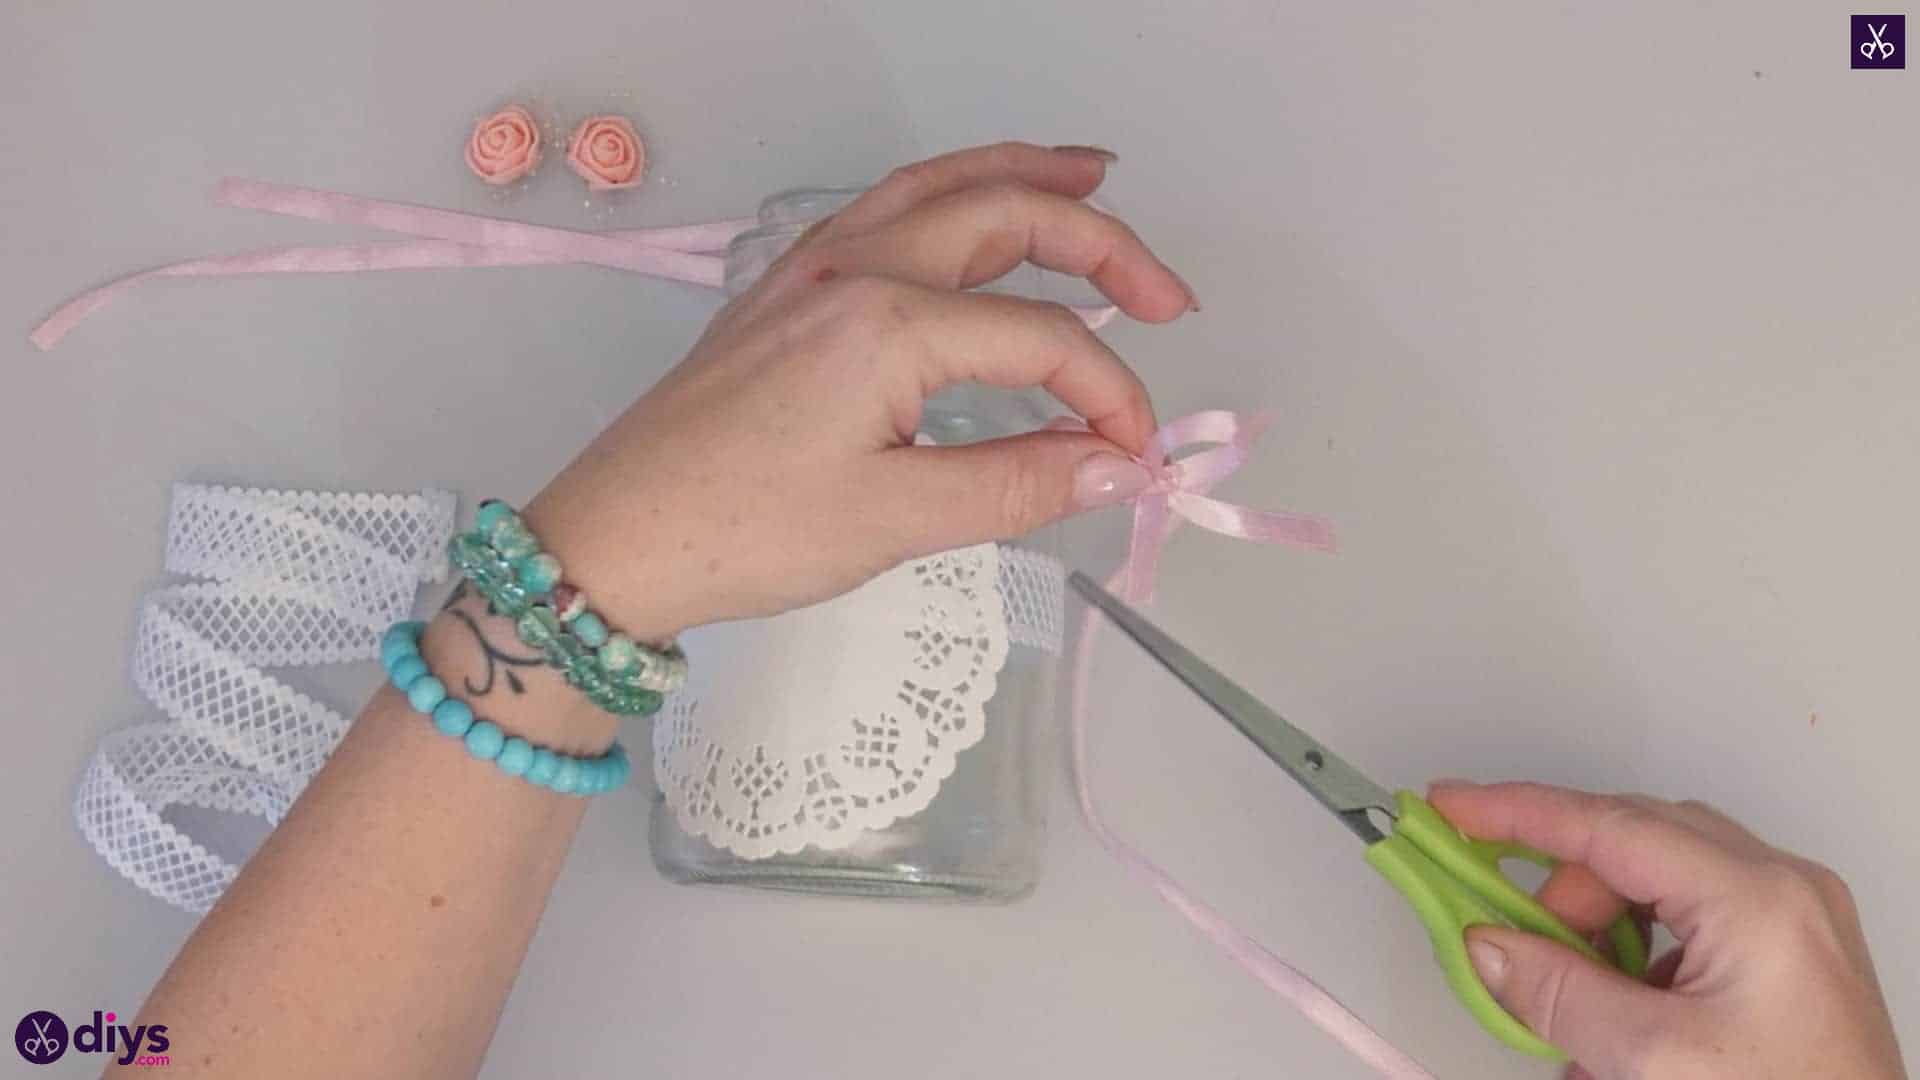
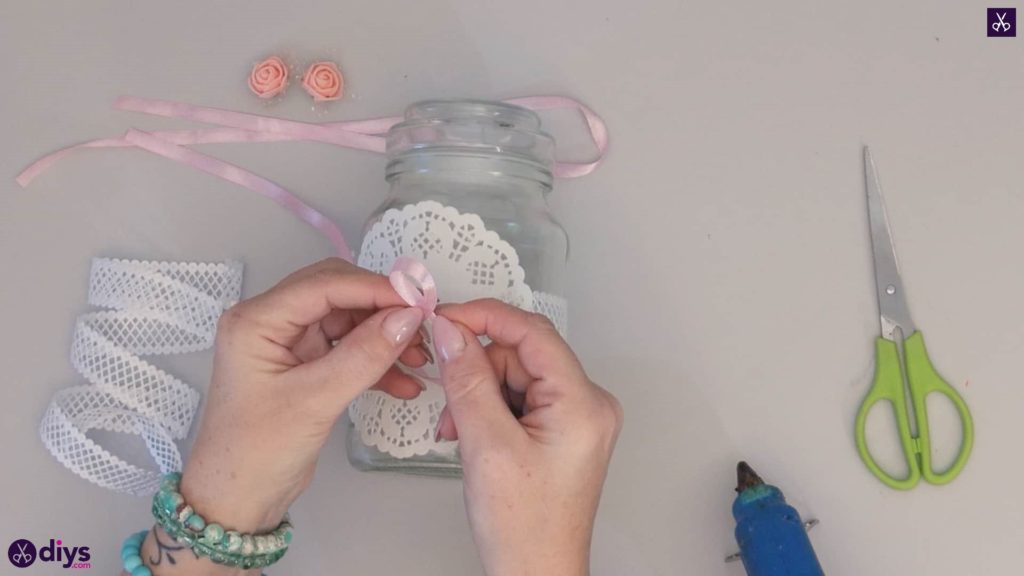
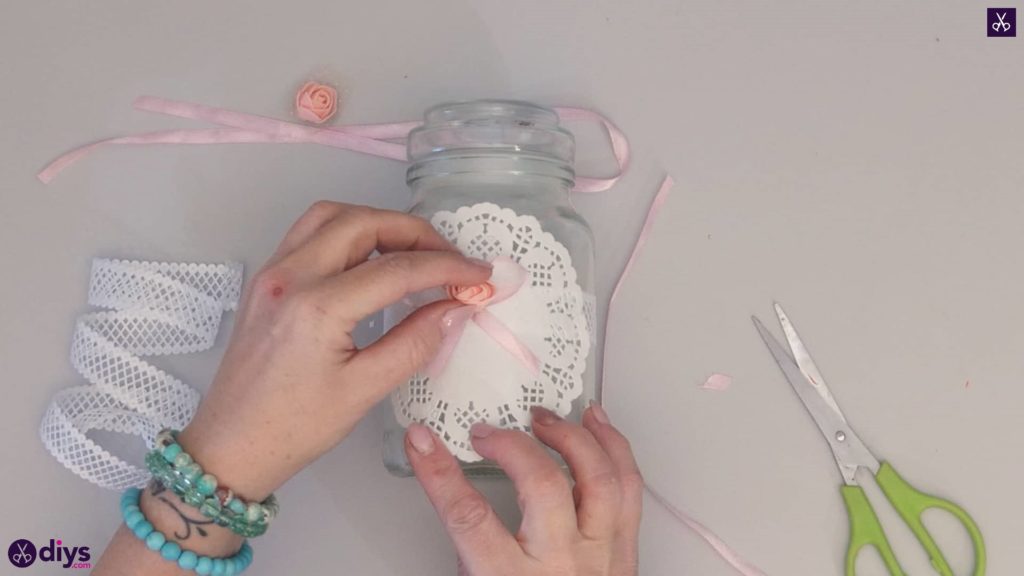
Use the end of your pink ribbon to make a little pink bow. Curl one end in on itself to make a loop and glue it down at the spot where it passes it over itself diagonally to close the loop. Then bring the other side inwards in the same way to make a second loop, gluing the ribbon down again in the same spot where it crosses over the first end in the centre. Trim the ends to be even, leaving about half an inch excess on each end so it really looks like a bow. I cut my ribbon ends on an angle to stop them from fraying. Once your bow is complete, apply glue to the bottom or back of your flower embellishment and stick it down in the very centre of the bow where you crossed the ends over, between the loops. Turn the whole bow around and apply glue on the back centre, then stick the bow and its flower down in the middle of the paper lace doily on your jar.


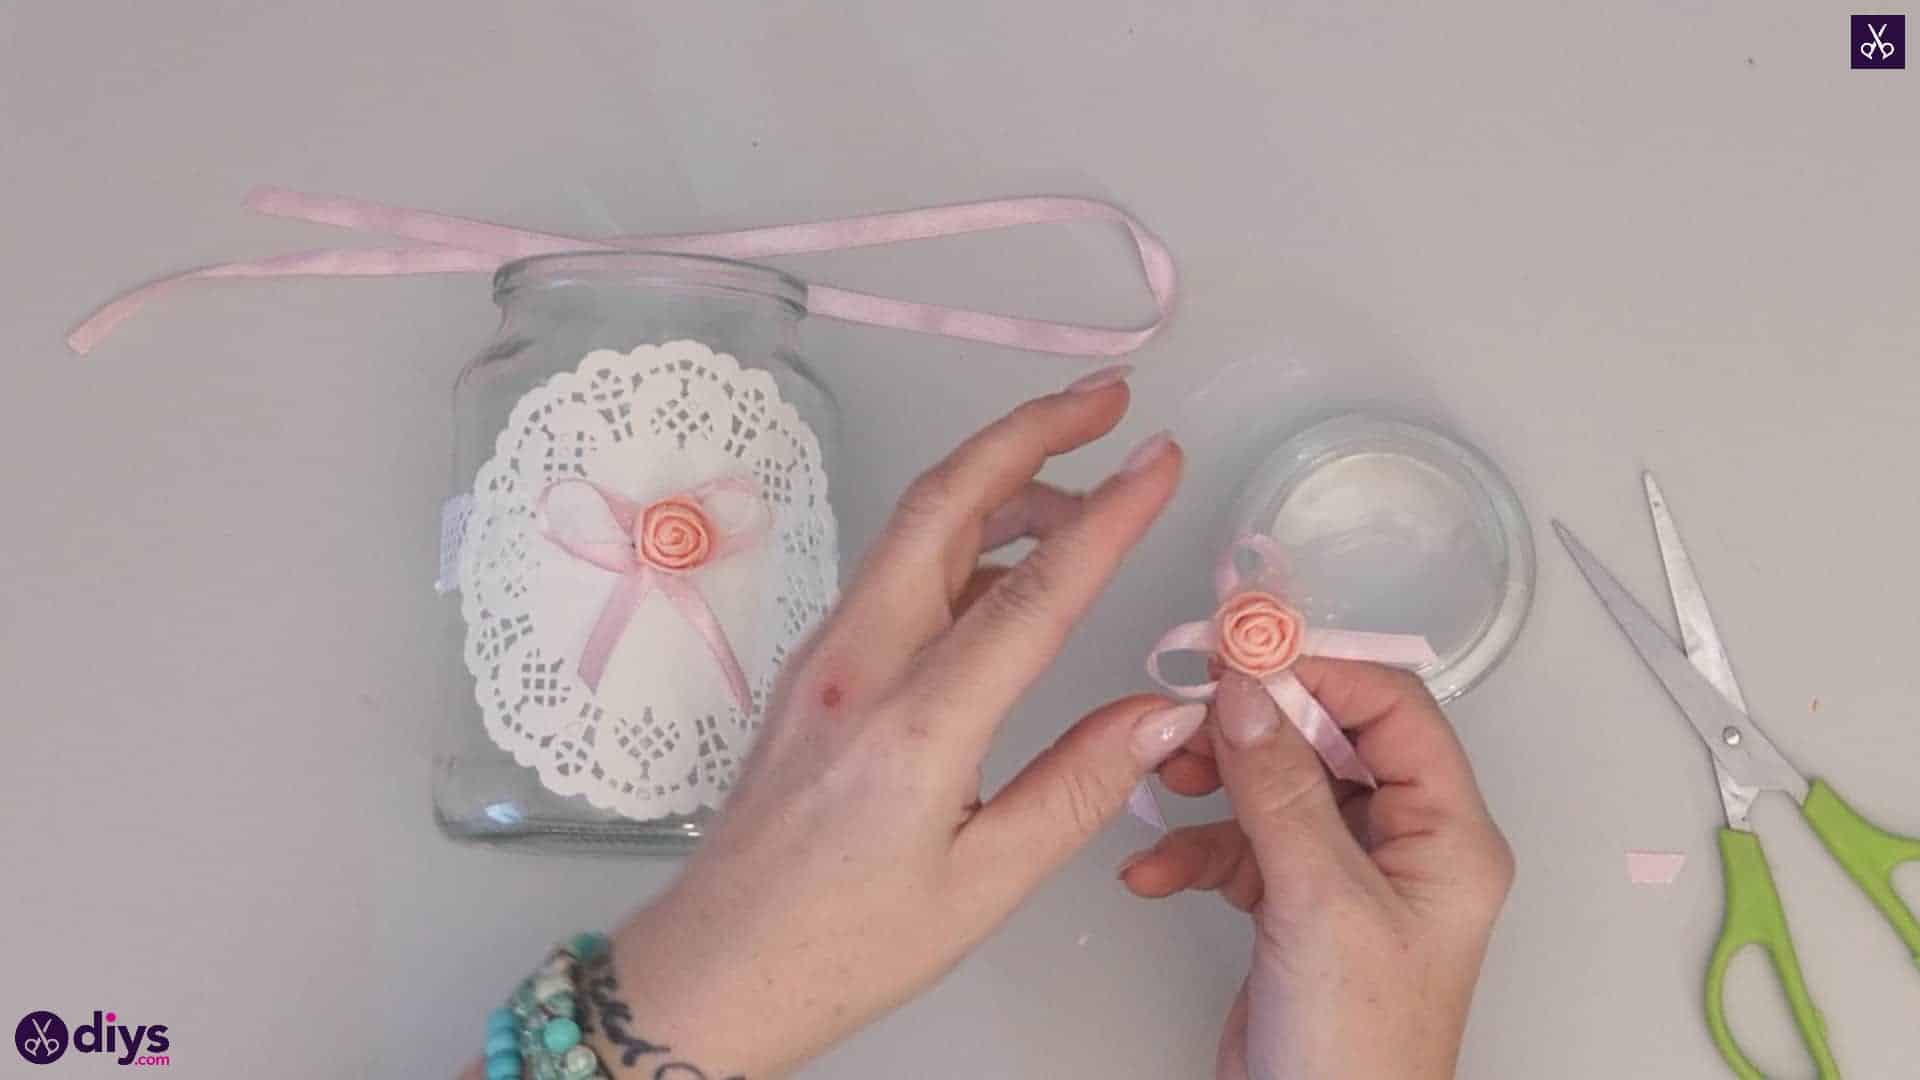
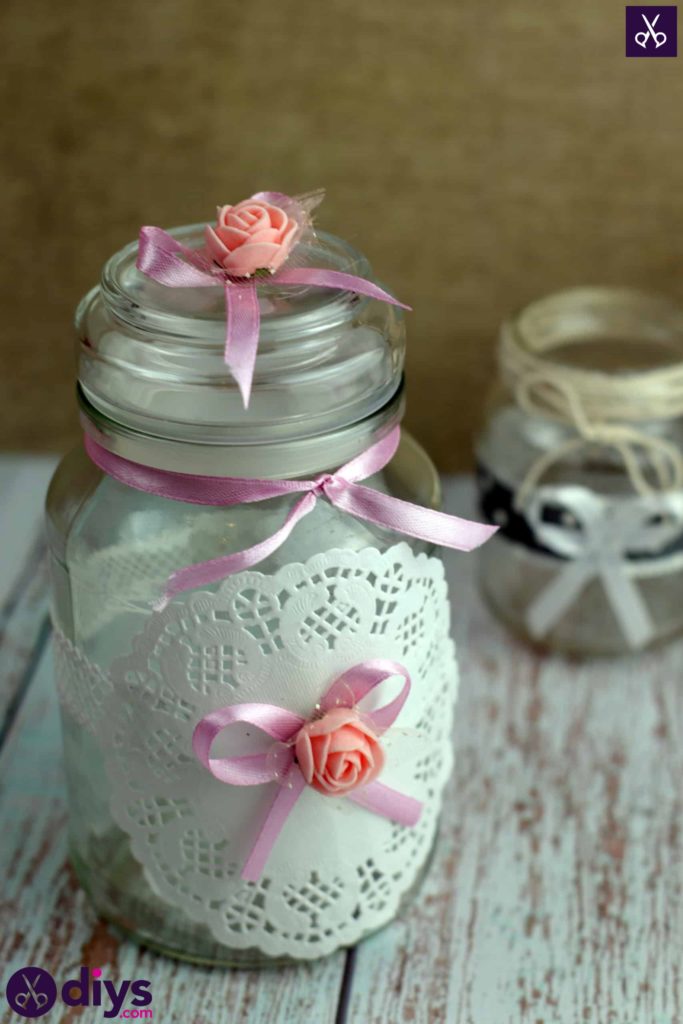
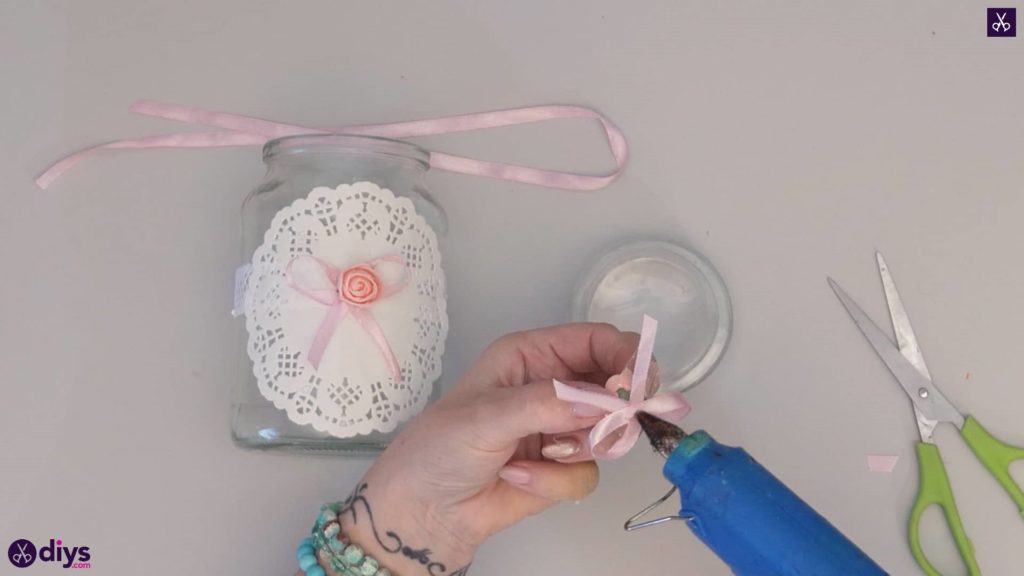
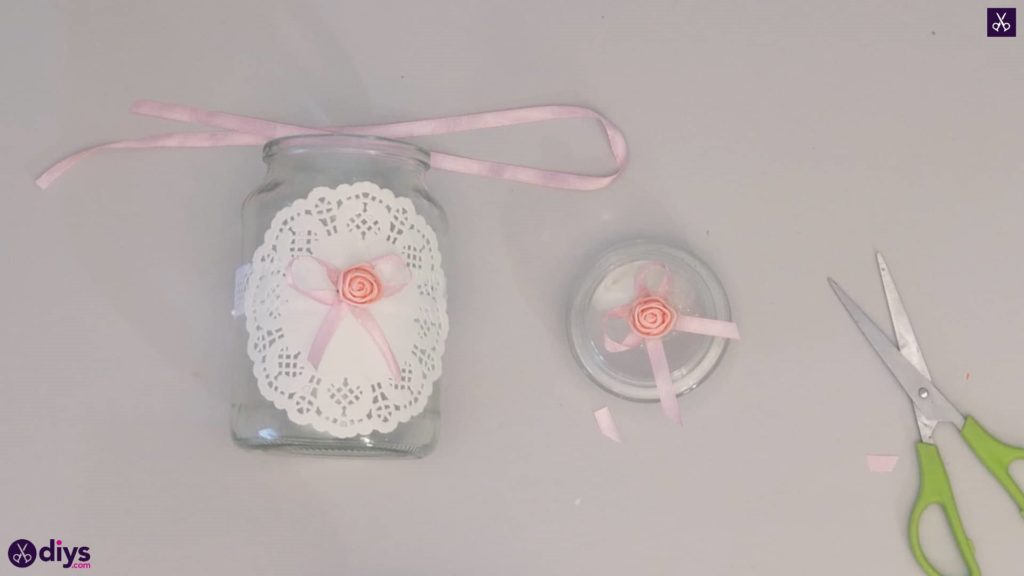
Step 5: add flowers
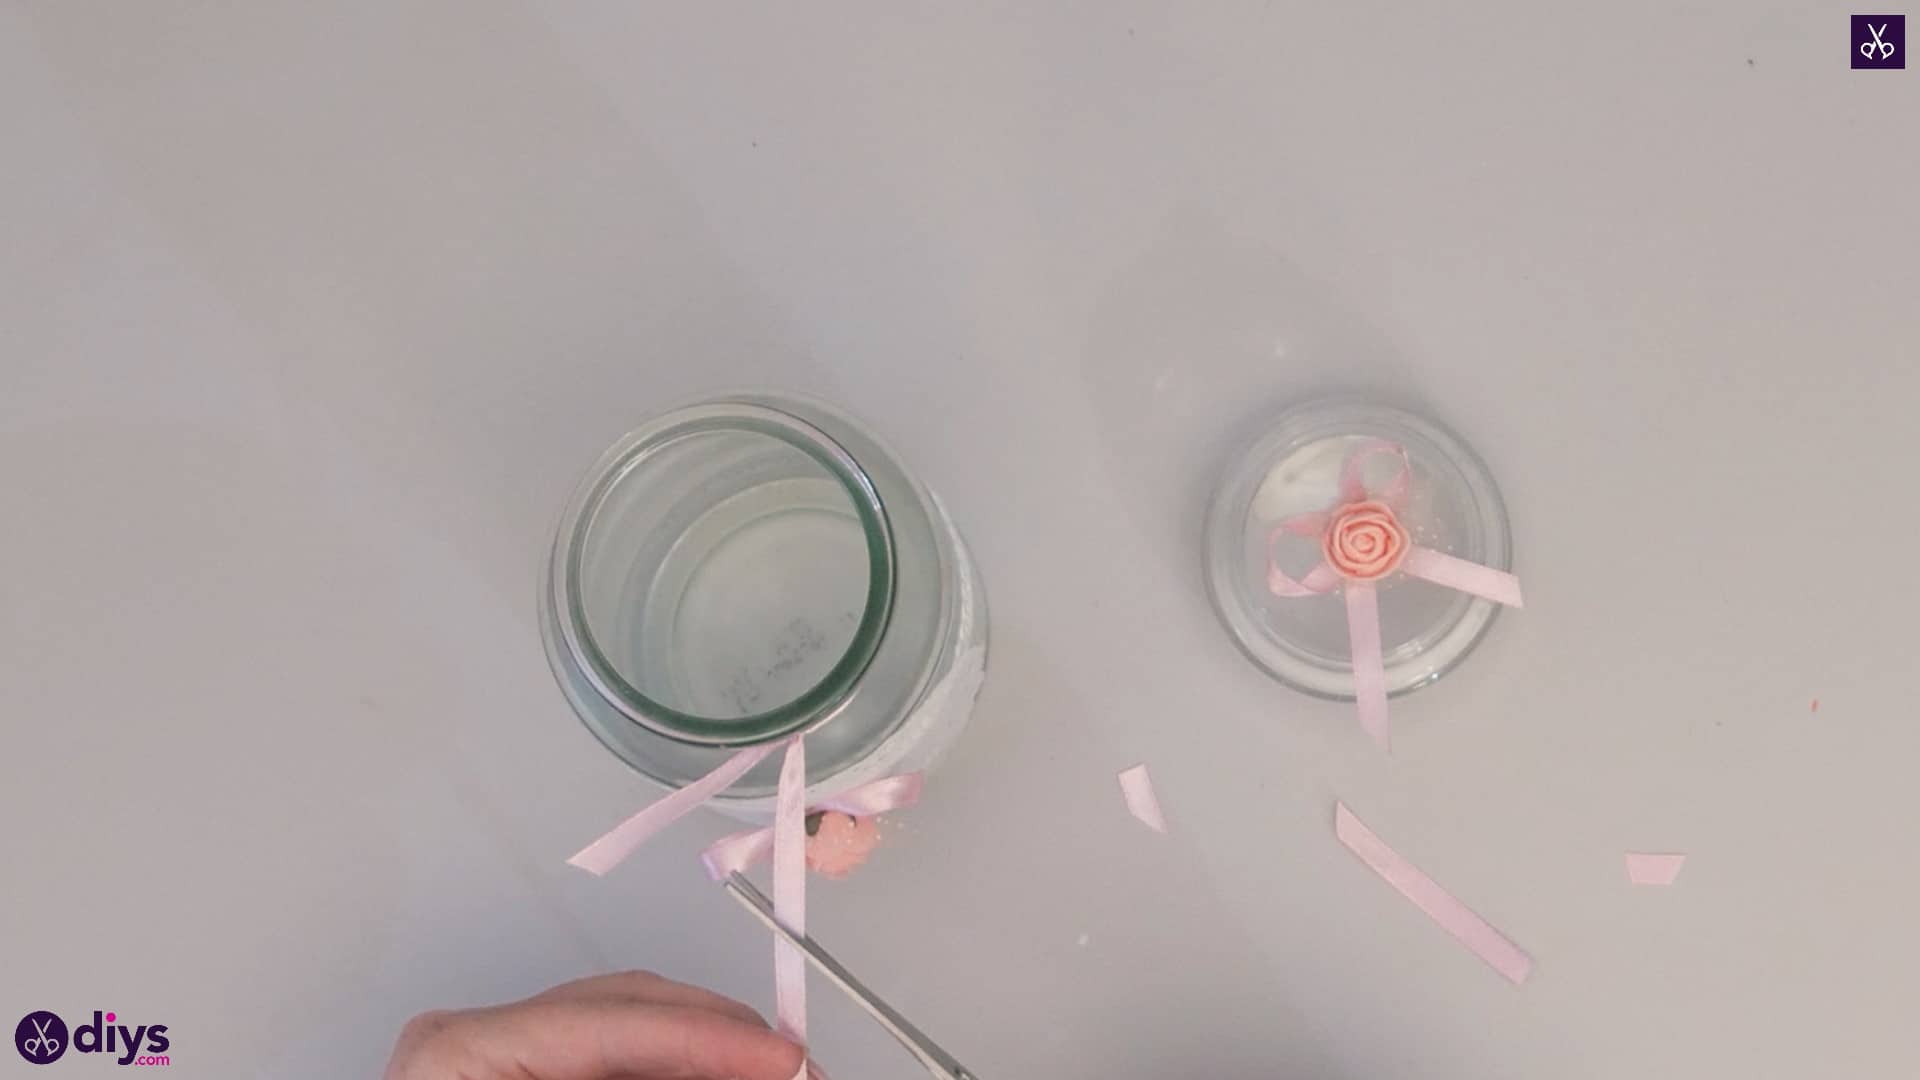
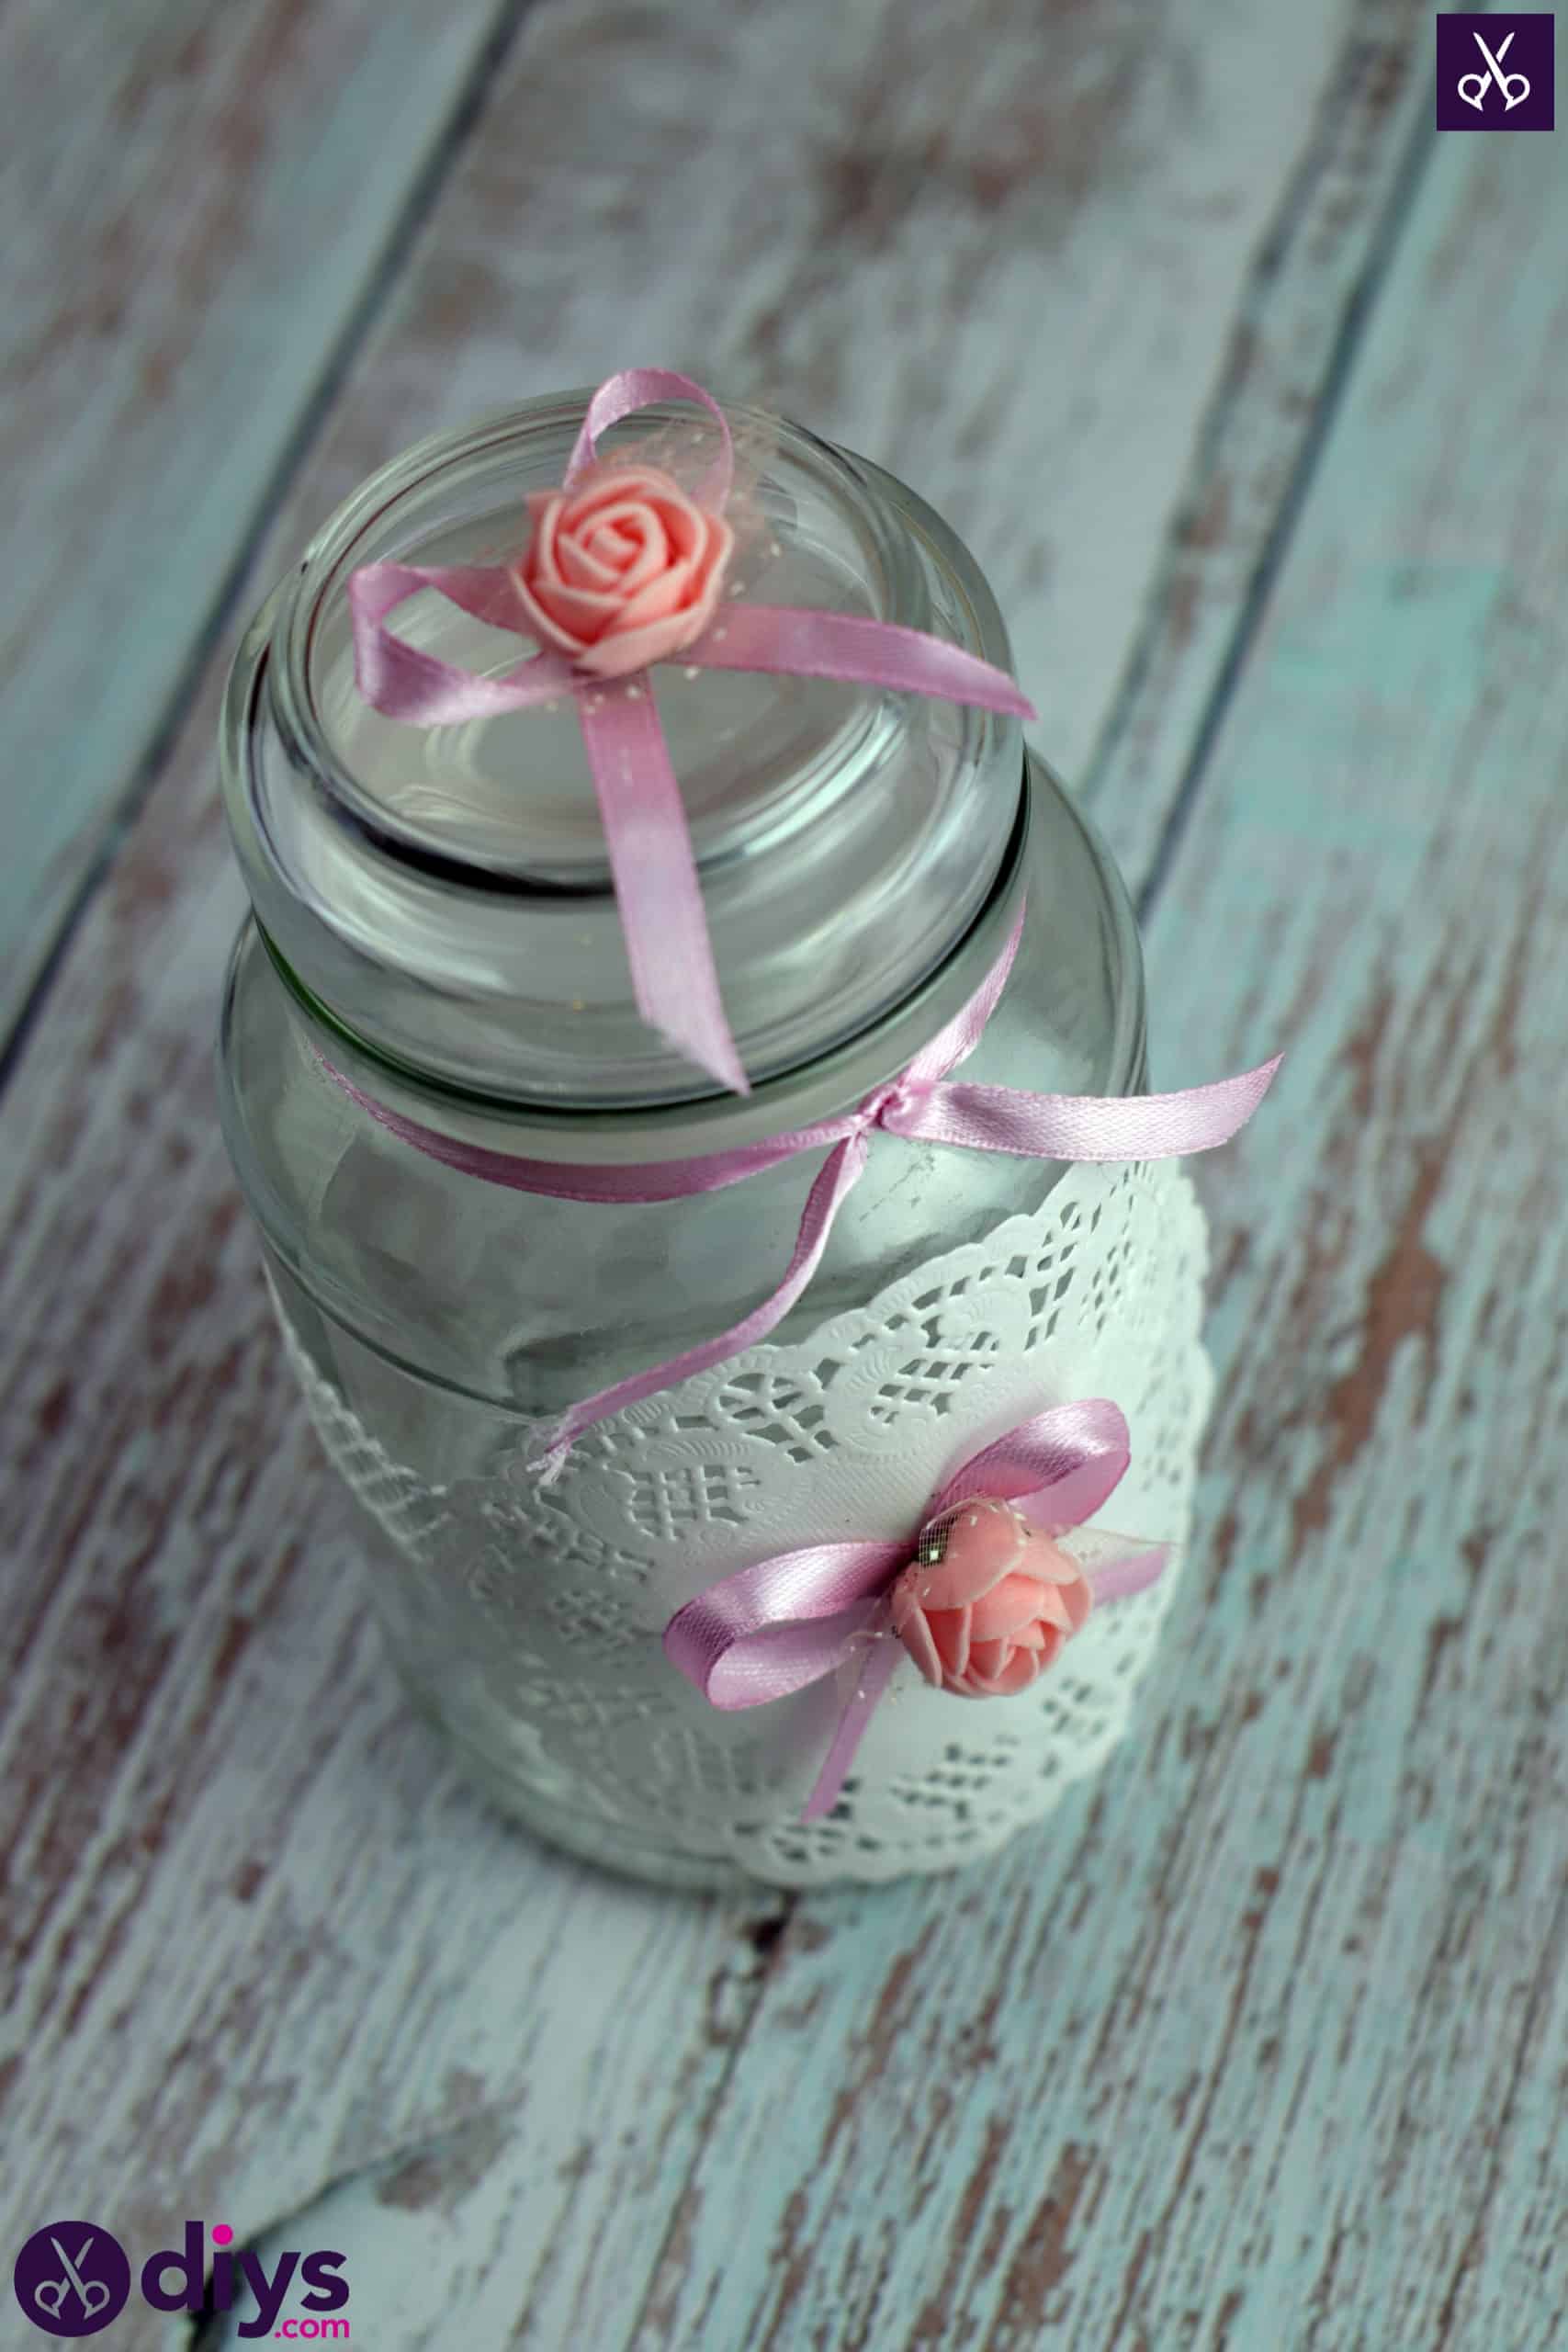
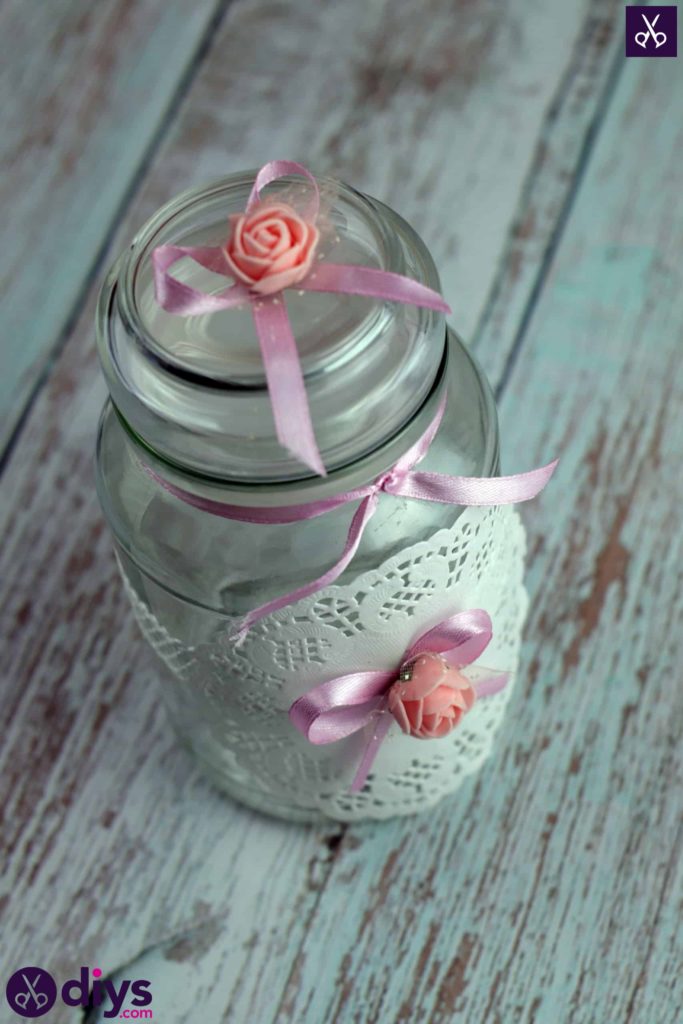
Now you’ll add some character to the lid! Make a second bow from your pink ribbon in the same way as before, and about the same size as your first one. Glue a second flower embellishment down in the new bow’s centre in the say way, then turn the whole bow over and apply glue on the back centre. Stick the bow down in the centre of the lid’s top.
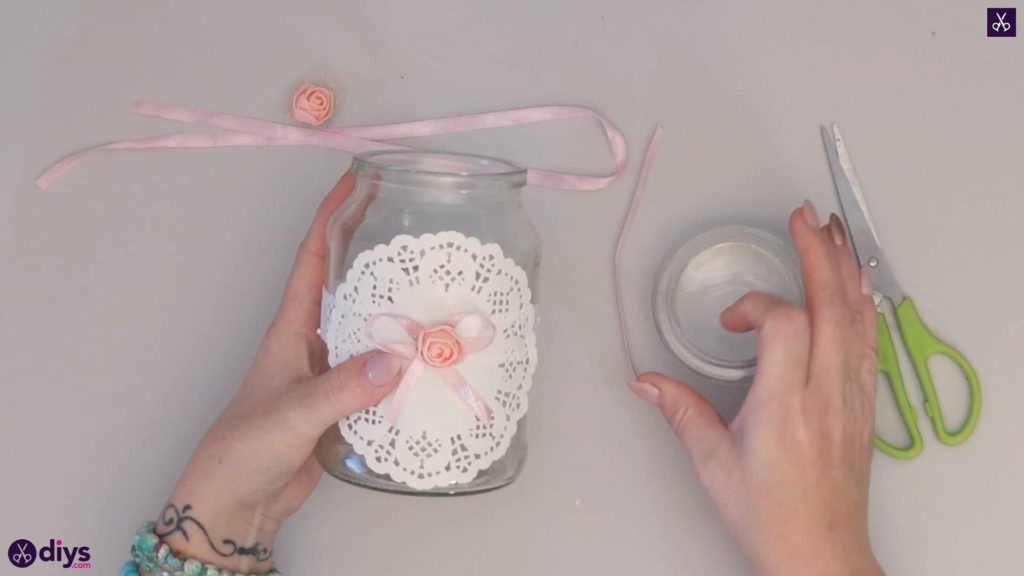


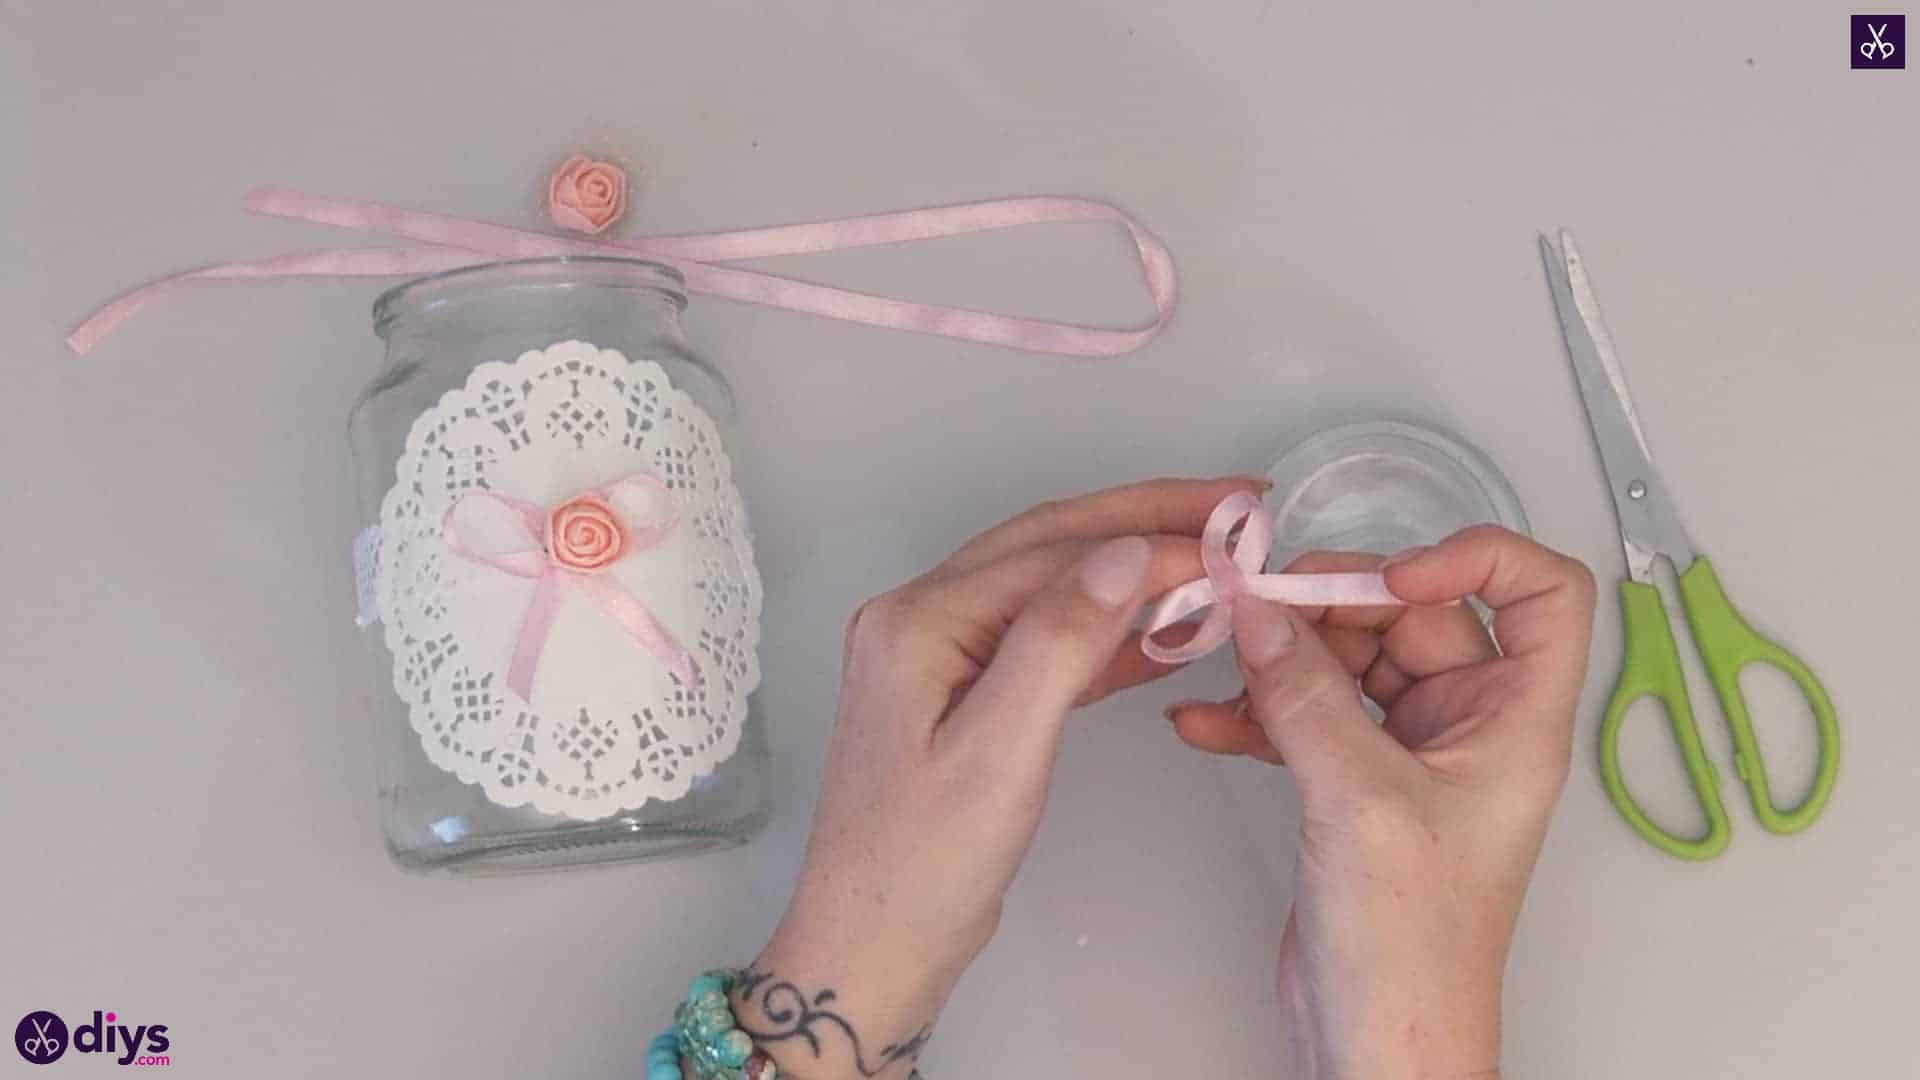
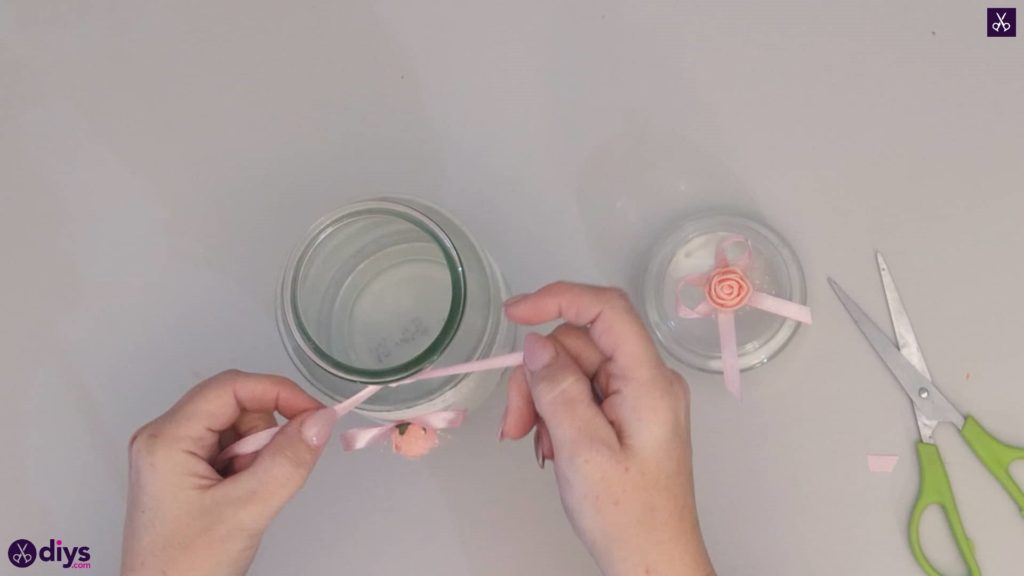
Step 6: trim with ribbon
Tie a long strip of the same pink ribbon around the top of your jar, just under the lip or edge where your lid will sit when you close the jar. The it in a double knot (or a bow, if you prefer; I felt I had enough bows already) to keep it in place and then trim your ends. I angled mine again and left about a half inch of excess for cute detail.
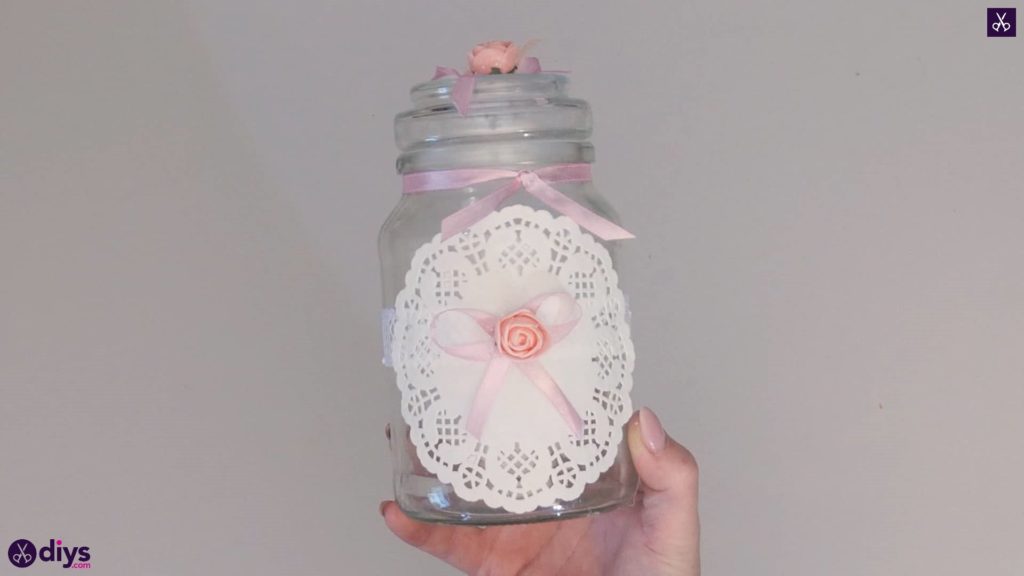
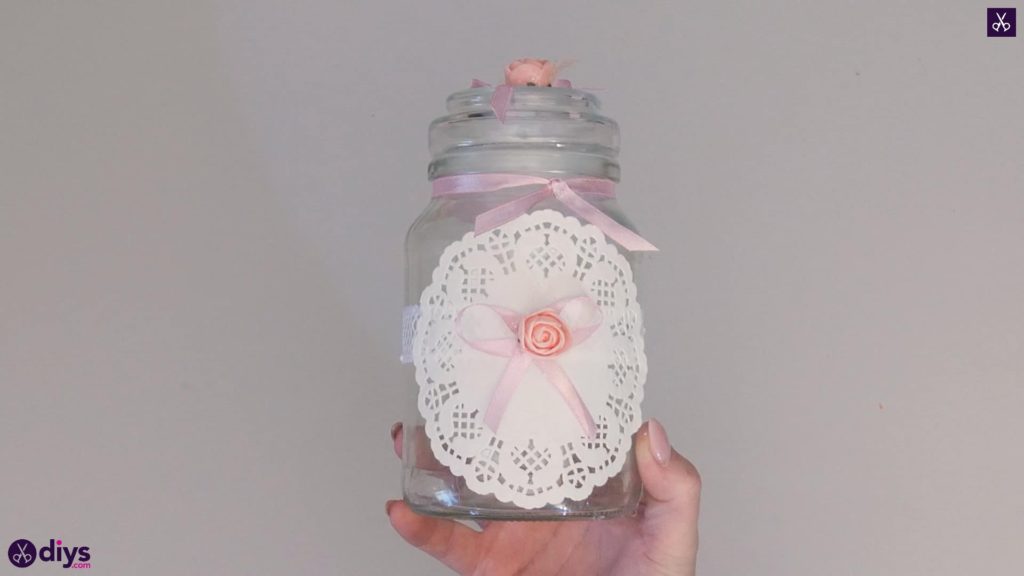

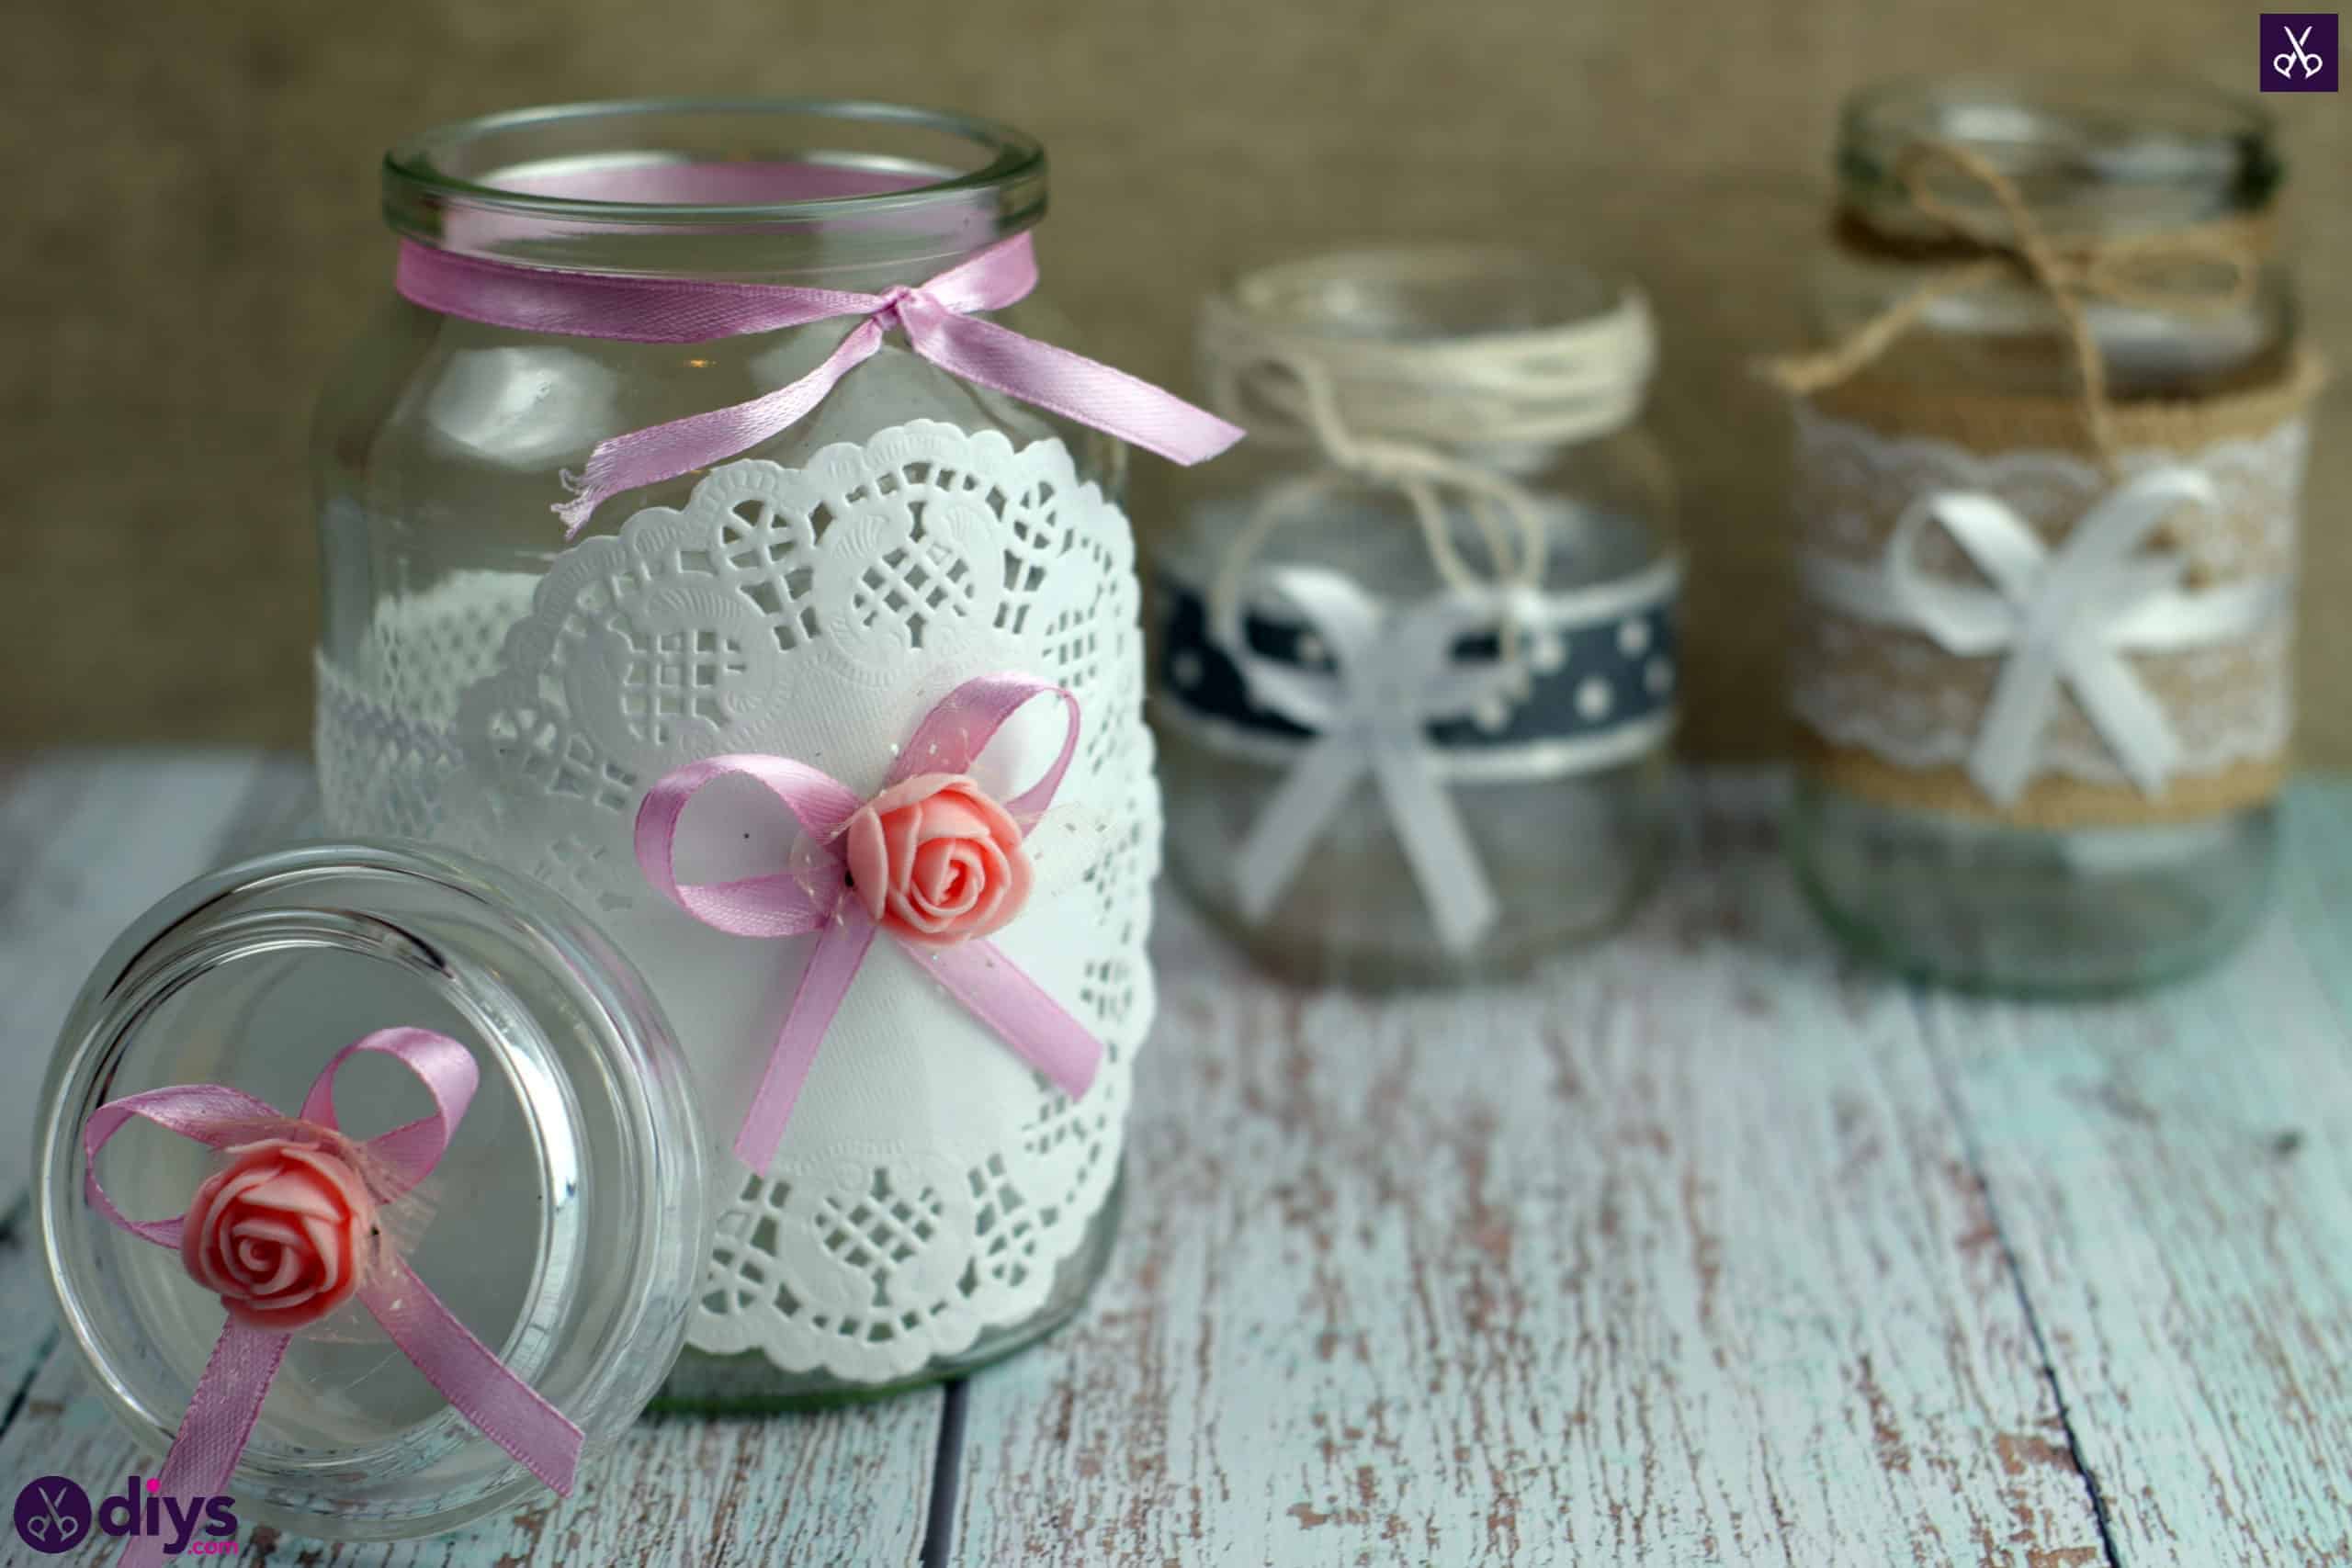
You’re all finished! Of course, you can change the colour of your ribbon of flowers, or even replace the flowers with another kind of embellishment, to better suit whatever the colour or decor scheme of the wedding you’re crafting for is. Just in case you’d like to try this project out for yourself, here’s a fantastic tutorial video to help you!