5 Tips for Creating Linear Art with Washi Tape
Updated on June 25, 2021
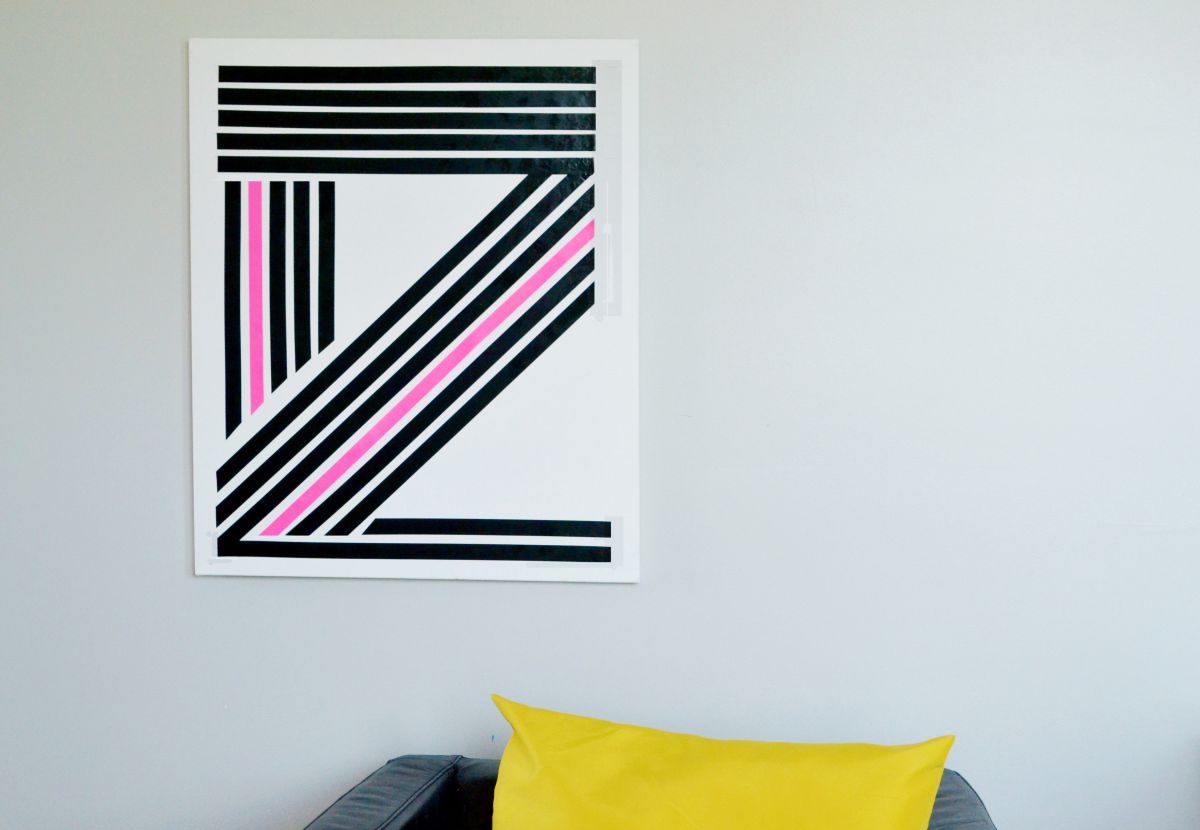
It’s one of the biggest trends on Pinterest I’d say, for at least the last year or two. The washi tape trend is surging through the DIY world. It’s cute, compact, and easy to use. Though it can be a bit pricey for tape, there are so many fun ways to create with it. From scrapbooking to card-making, to spicing up items in your home, it’s perfect for applying to small items for added flair. Every time I’m in the craft store I’m stumped on which ones to buy because they come in such a extensive array of colors and patterns. One way to use washi tape as a decorative element in your home is to artistically apply it to a basic, white canvas. Here are some simple tips to making a linear pattern for your apartment, dorm or new house. You will need an artist canvas, washi tape, a pencil and ruler.
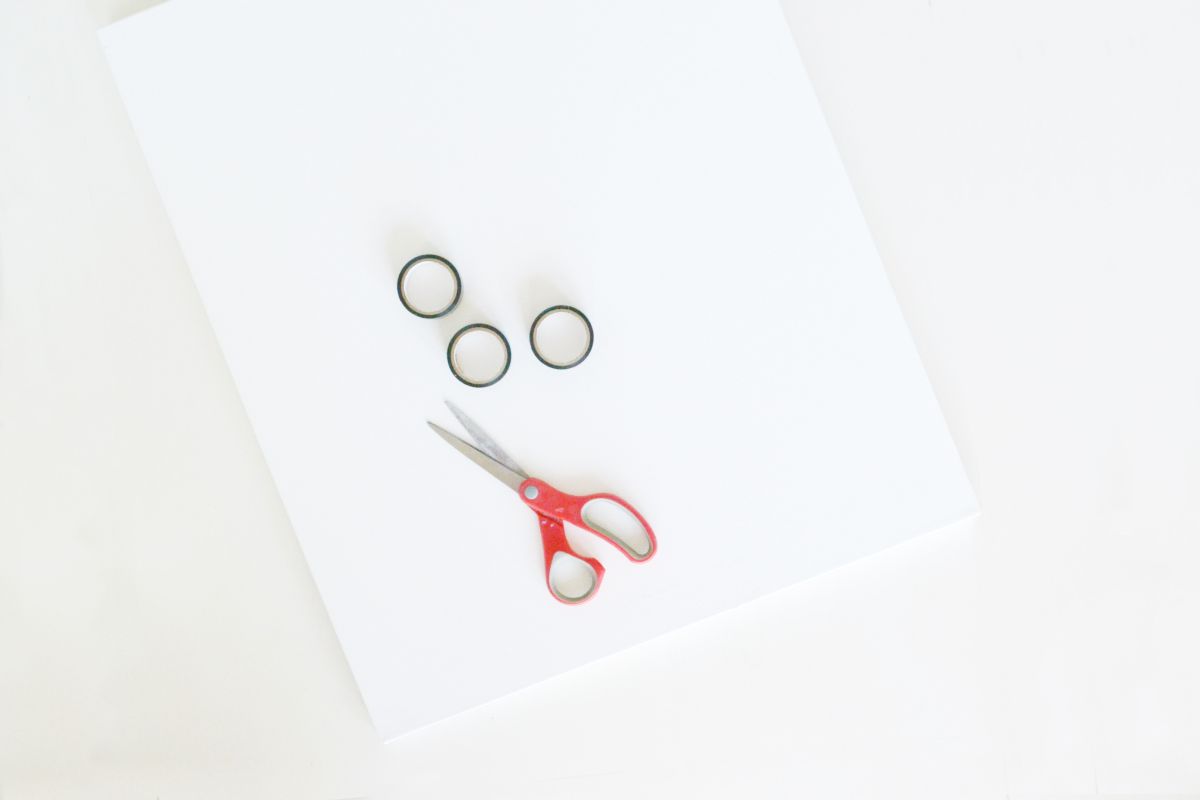
Tip #1: Choose a good quality tape.
You may be tempted to choose the cheaper tape in the clearance section, but skip that and go for the higher quality tape. Scotch is a great brand, as it adheres to the canvas well and its edges don’t peel up in the end.
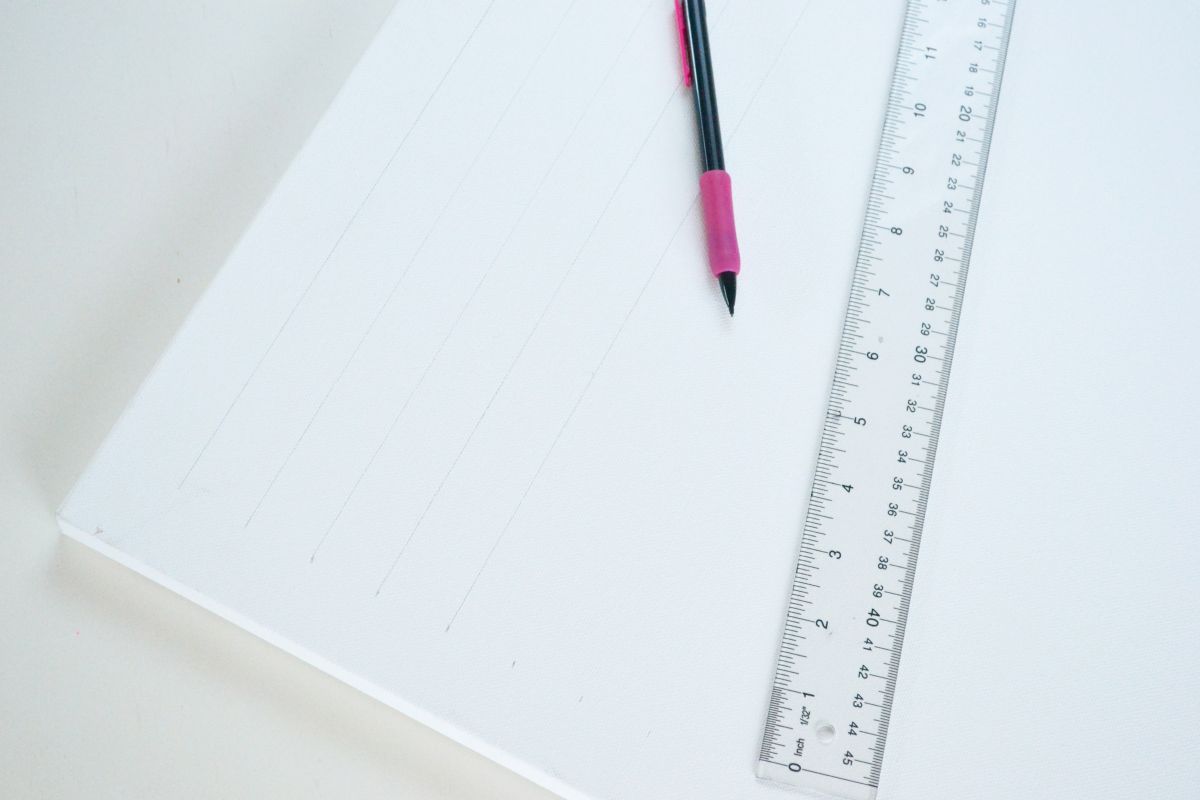
Tip #2: Draw your design on the canvas before applying the tape.
To ensure straight lines, even spaces, and clean ends, draw your design on the canvas first with a pencil. Linear and geometric patterns are the simplest. While you can still create curves and other rounded edges in your design, note that it will probably take longer and require a bit more skill.

Tip #3: Use a ruler to keep your lines straight.
As I was creating this piece, I must admit that it took a bit of patience. I was tempted to “eye-ball” my lines to make sure they were straight, but I found that upon holding it up and stepping back, they were crooked. For clean, crisp lines, use a long ruler to help not only with straight lines, but to ensure that your have equal margins (if you want them) on each side of your design.
Tip #4: Buy enough washi tape.
I quickly found out how little tape comes on those rolls! Remember if it’s a large canvas, you’ll most likely be tearing away large sections of tape. Completely taping this entire 16×20 canvas would probably have required 3-4 rolls of tape. So be sure that you have enough when you start.

Tip #5: Seal with a clear adhesive to keep the tape from curling up at the ends.
When you have finished your design, depending on the tape purchased you may find that the ends are starting to curl up. This tape did pretty well, but if you find that happening, one trick can be to spray that area or the entire canvas with a clear adhesive spray. I would not suggest a varnish, as it may make the canvas too wet causing the tape to peel even more. A very light coating of photo adhesive spray should do the trick.
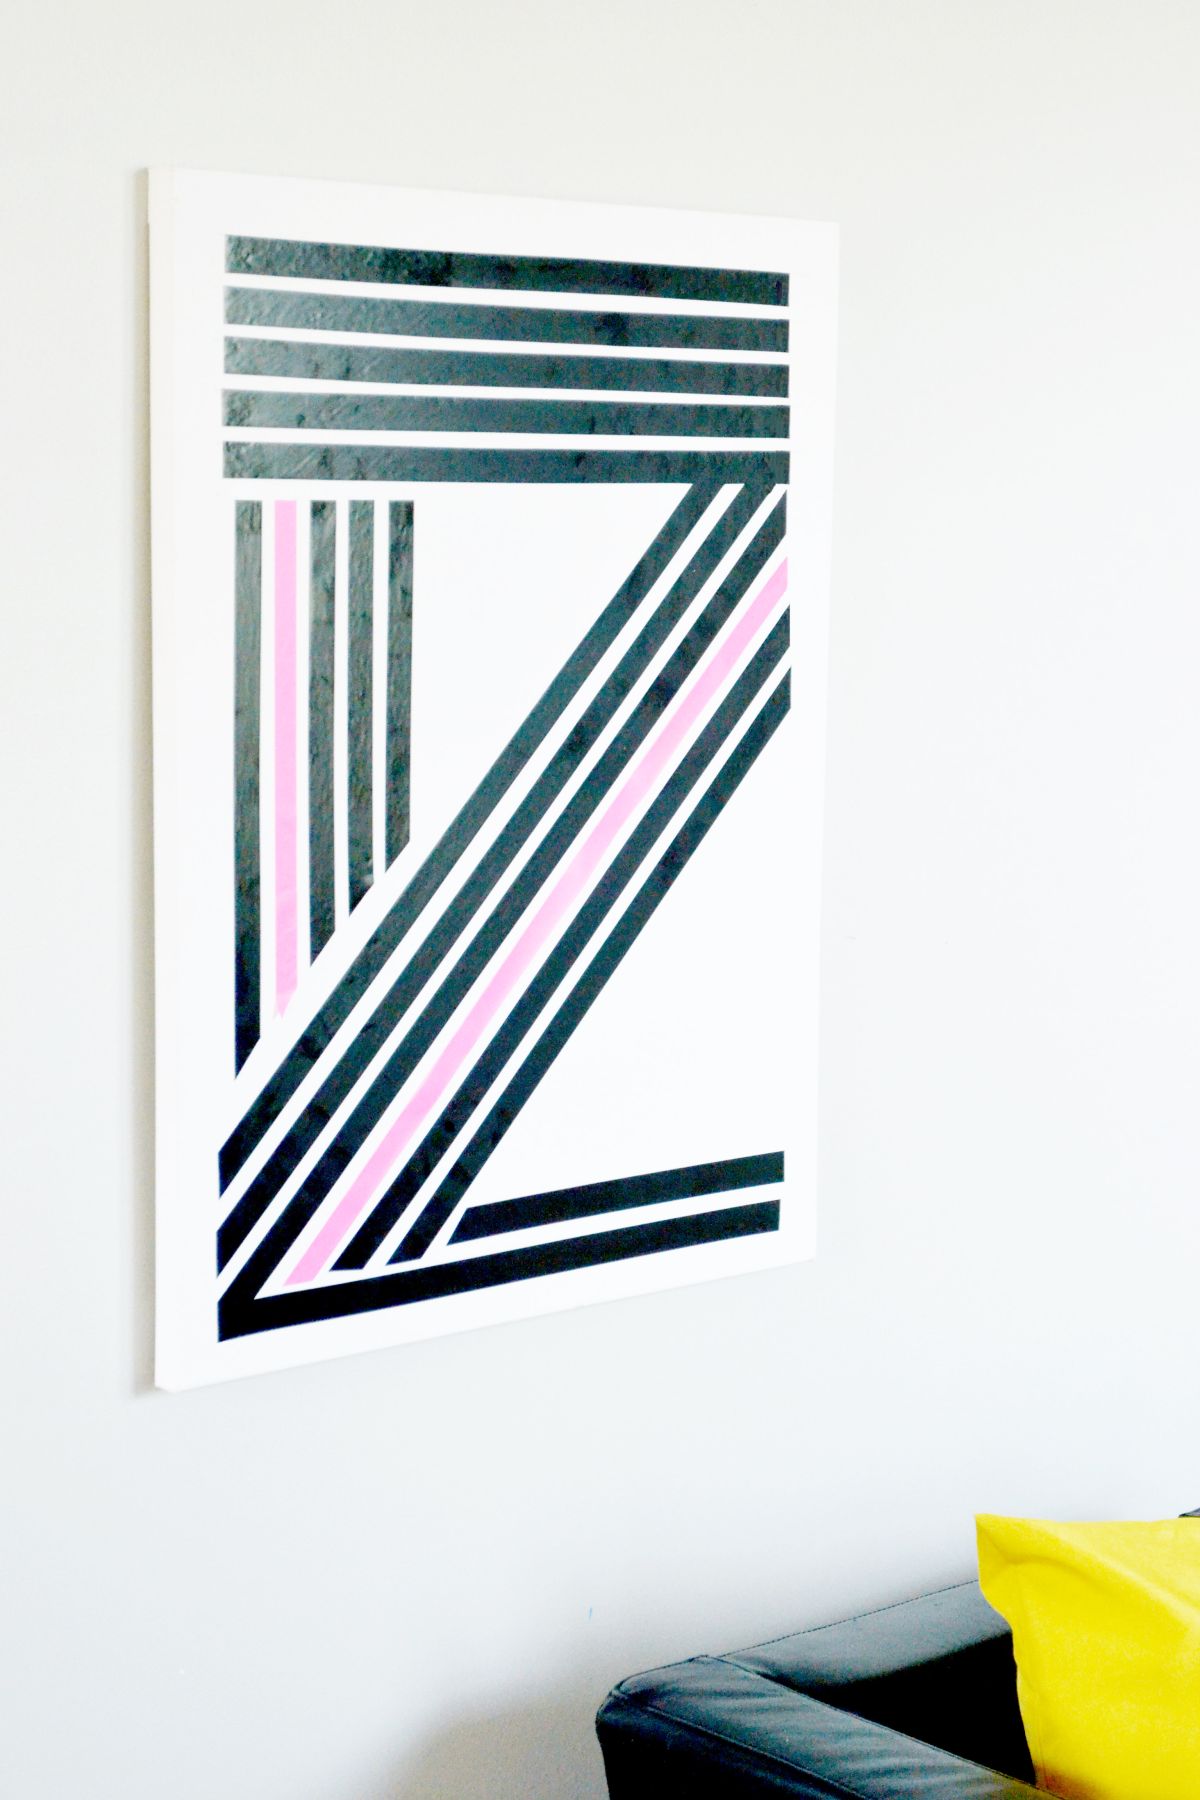
This simple artwork can be just the right touch for a dorm room or apartment. Hang a few of these above a sofa or bed to give your place a easy, quick makeover. The linear pattern can give your space a trendy, modern feel and this DIY project is great for creating basic artwork when you first move in your home.