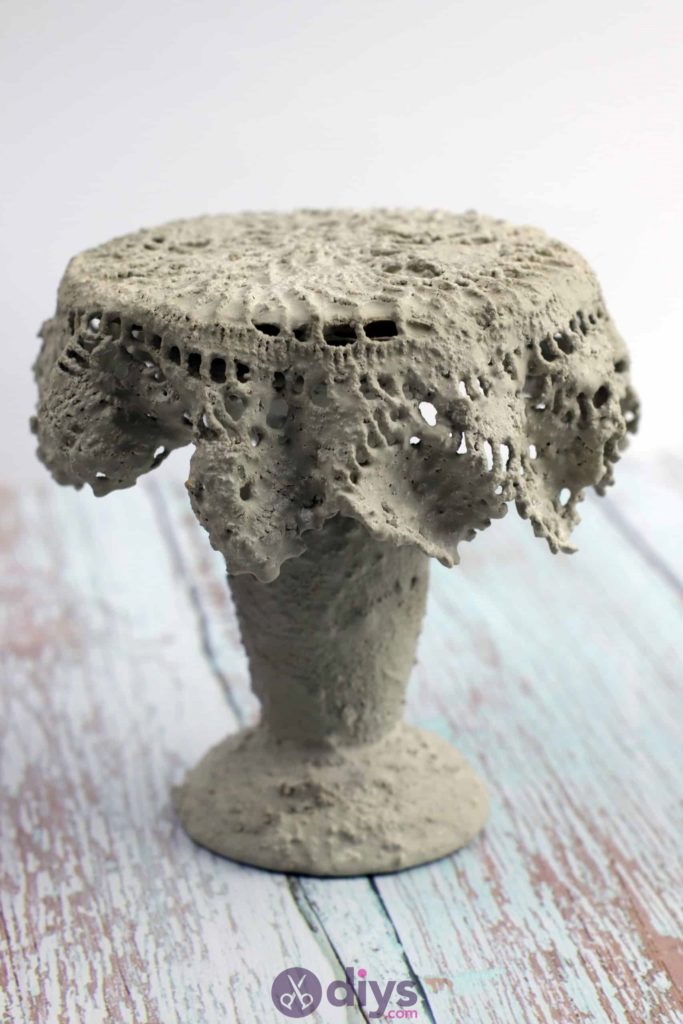
DIY Concrete Doily Stand
Updated on June 23, 2021


Looking for a unique craft project to try? Then check out how we made this DIY concrete doily stand! Perfect for home decor!
I always get a kick out of documenting my crafting process for other DIY enthusiasts to learn from if they like my idea enough and want to try their own hand at it, and this stand was no exception. Check out these step by step instructions complete with photos! If you’d rather follow along with a video tutorial instead of written words, scroll to the bottom of this post to find just what you’re looking for.

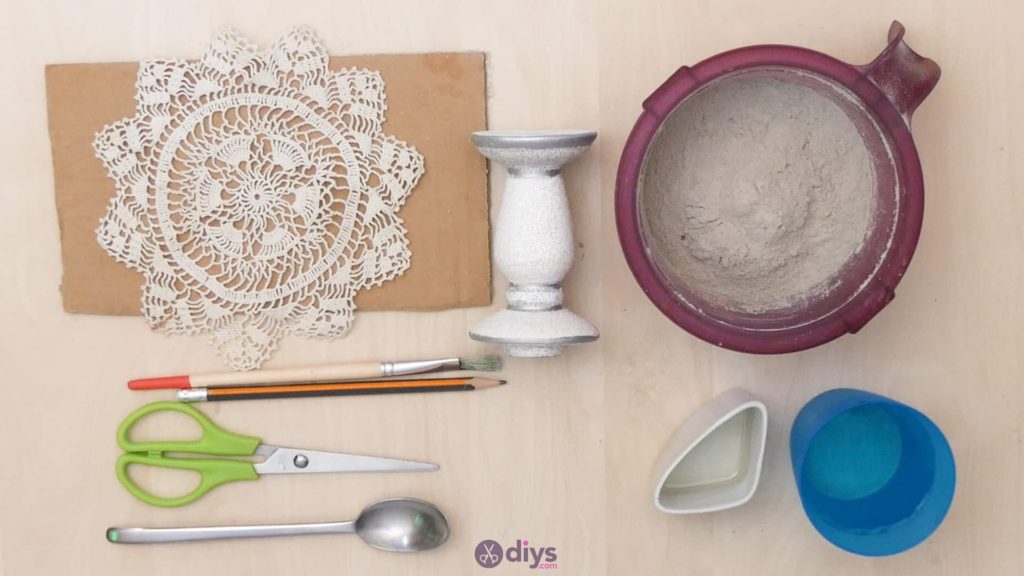
For this project, you’ll need:
- DIY fne particle cement
- Water
- A mixing bowl
- A spoon
- Scissors
- Oil
- A paintbrush
- A pencil
- Cardboard
- Lace
- A candlestick

Step 1: Gather your materials!
Go over your list and make sure you have everything.
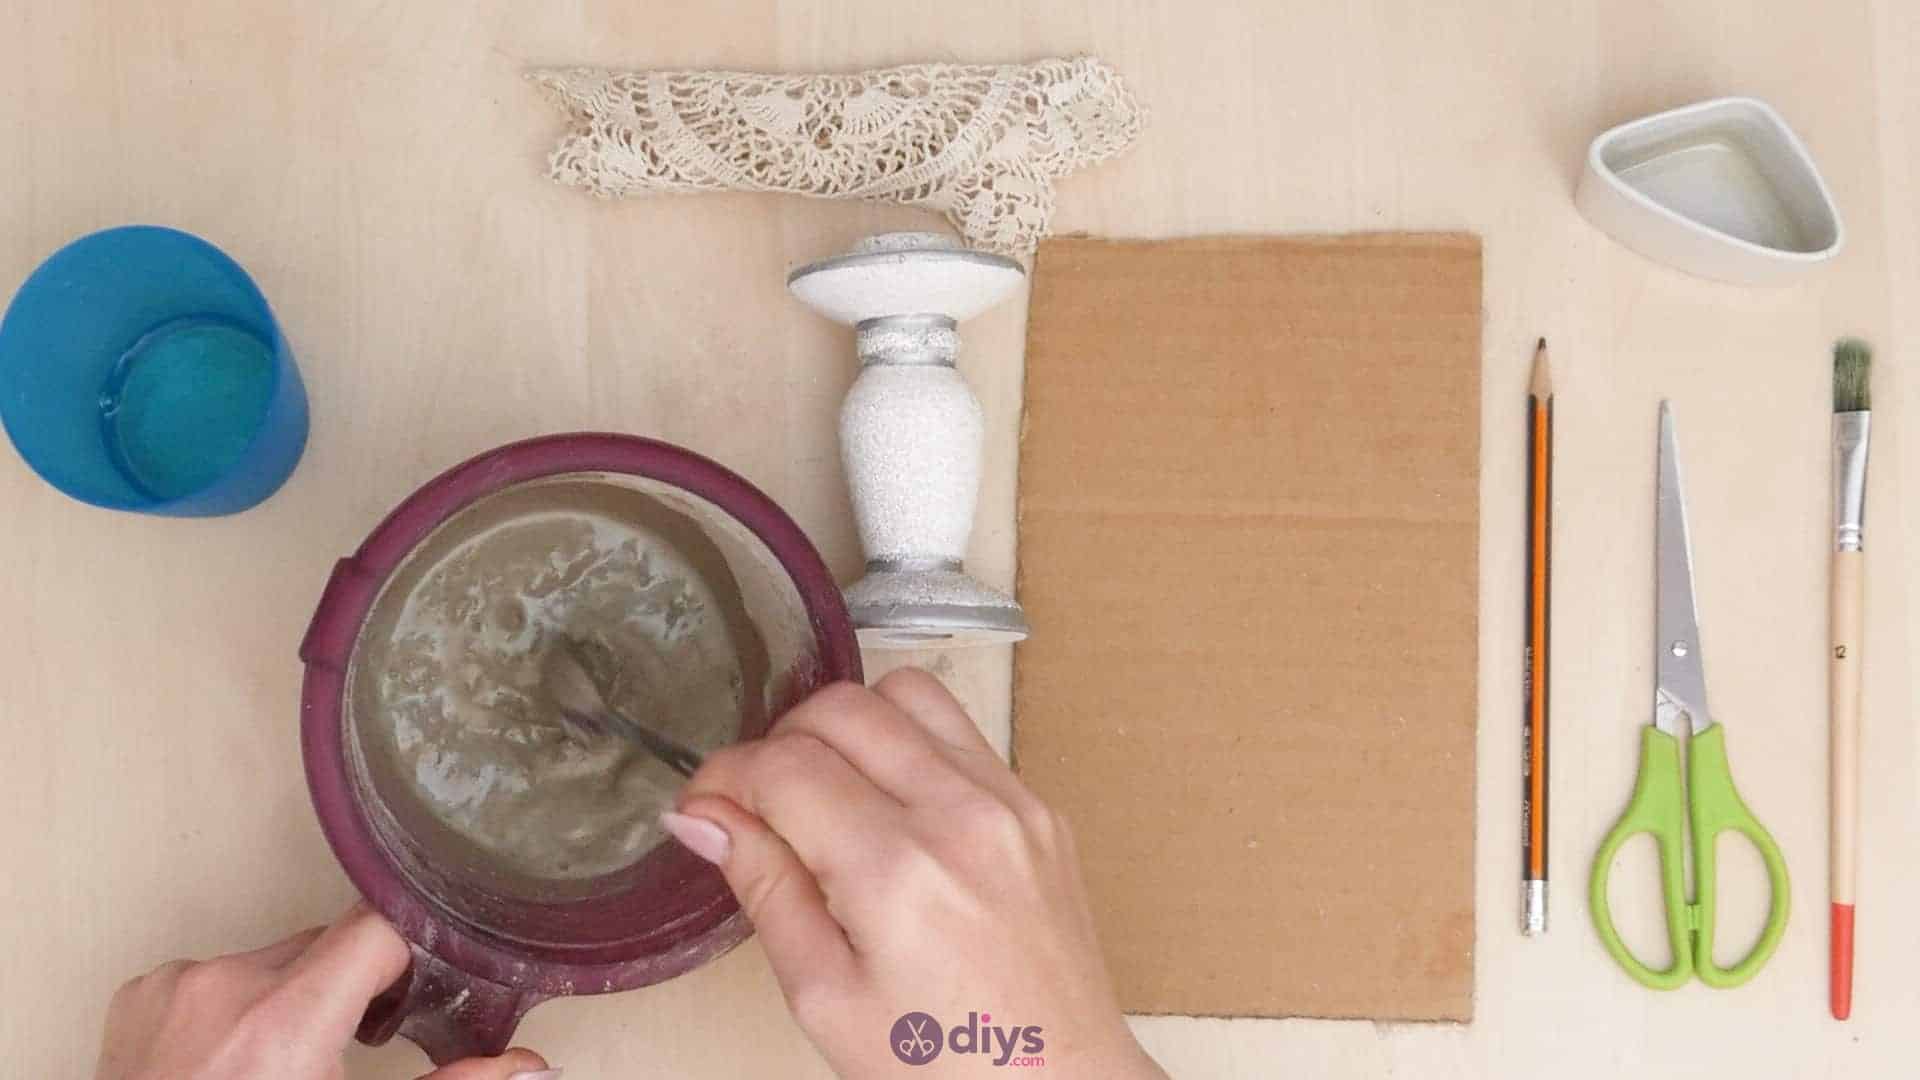
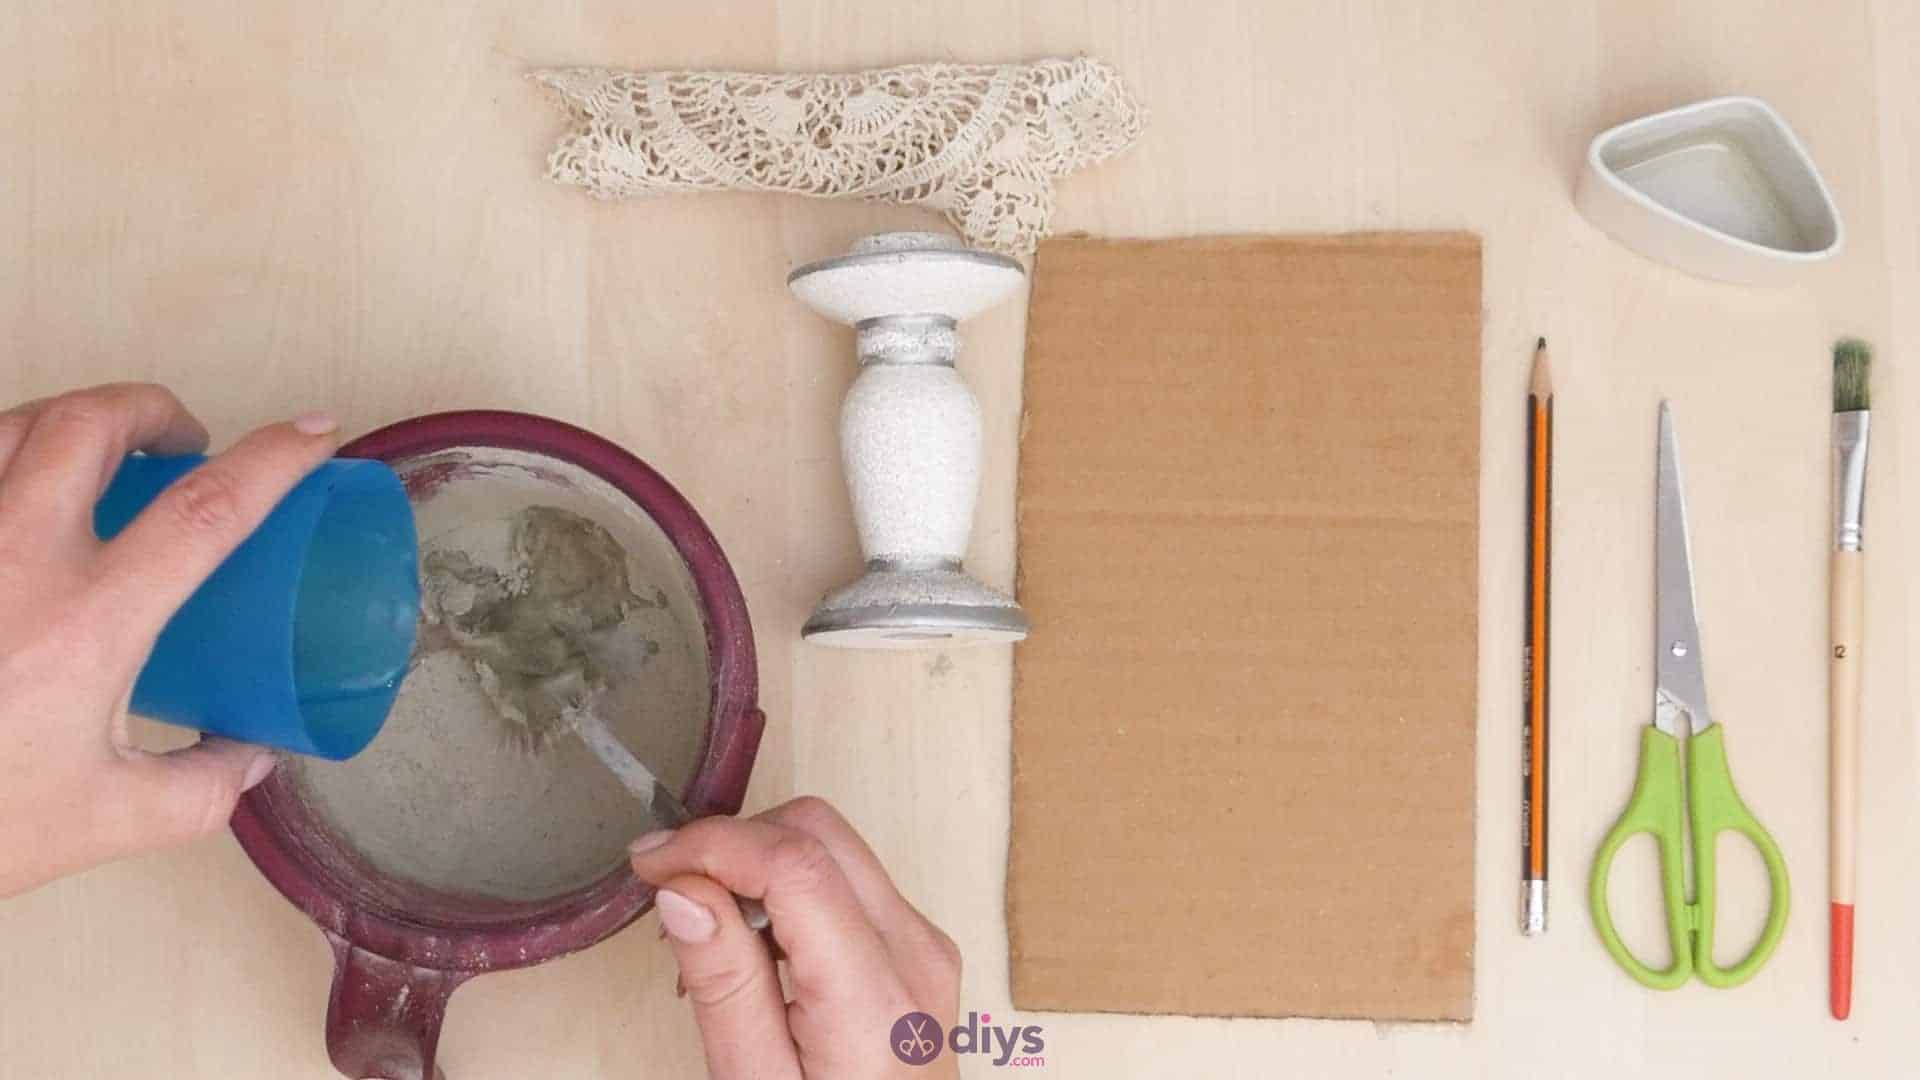
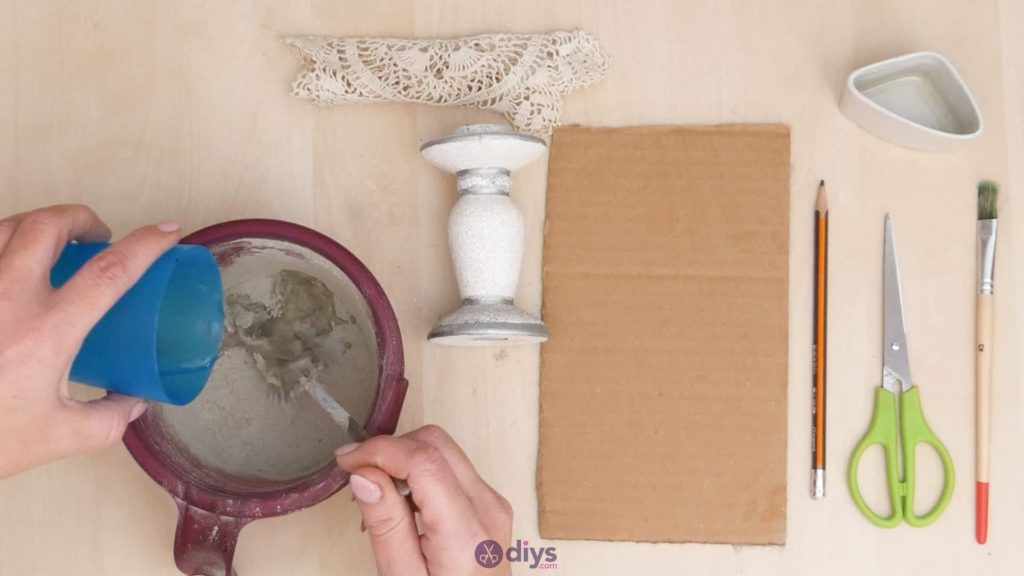
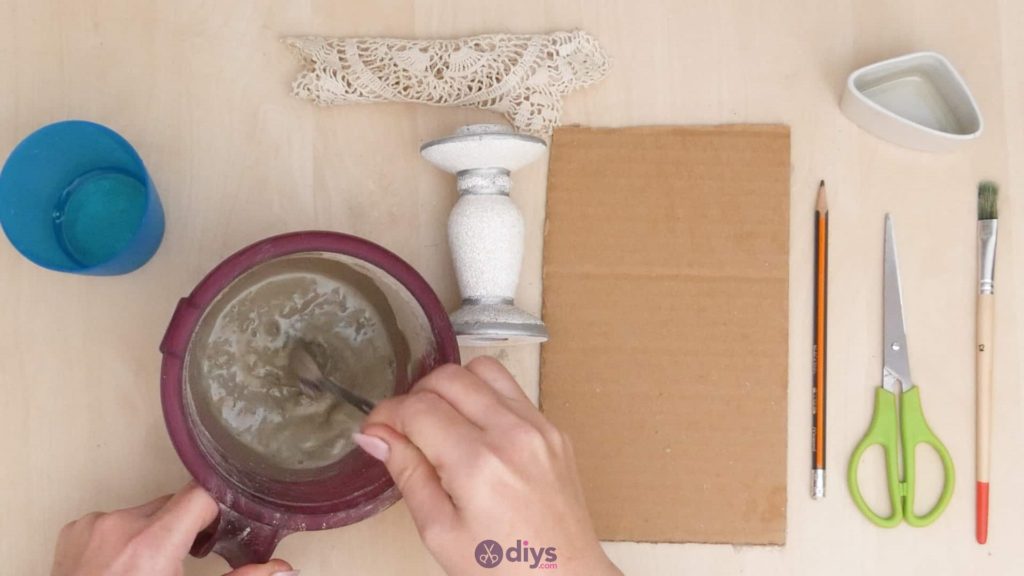
Step 2: mix concrete
Pour water into your DIY fine particle cement mix and stir it with your spoon until it’s free of clumps and you have the right consistency! Make sure you follow the instructions on the back of the package to get the ratio of water to mix that’s right for the specific kind of cement mix you’re using, since it can vary from brand to brand. Set it aside for a moment; you don’t have to worry about the cement mix hardening while you complete a few other steps for this project because it takes a very long time to dry.
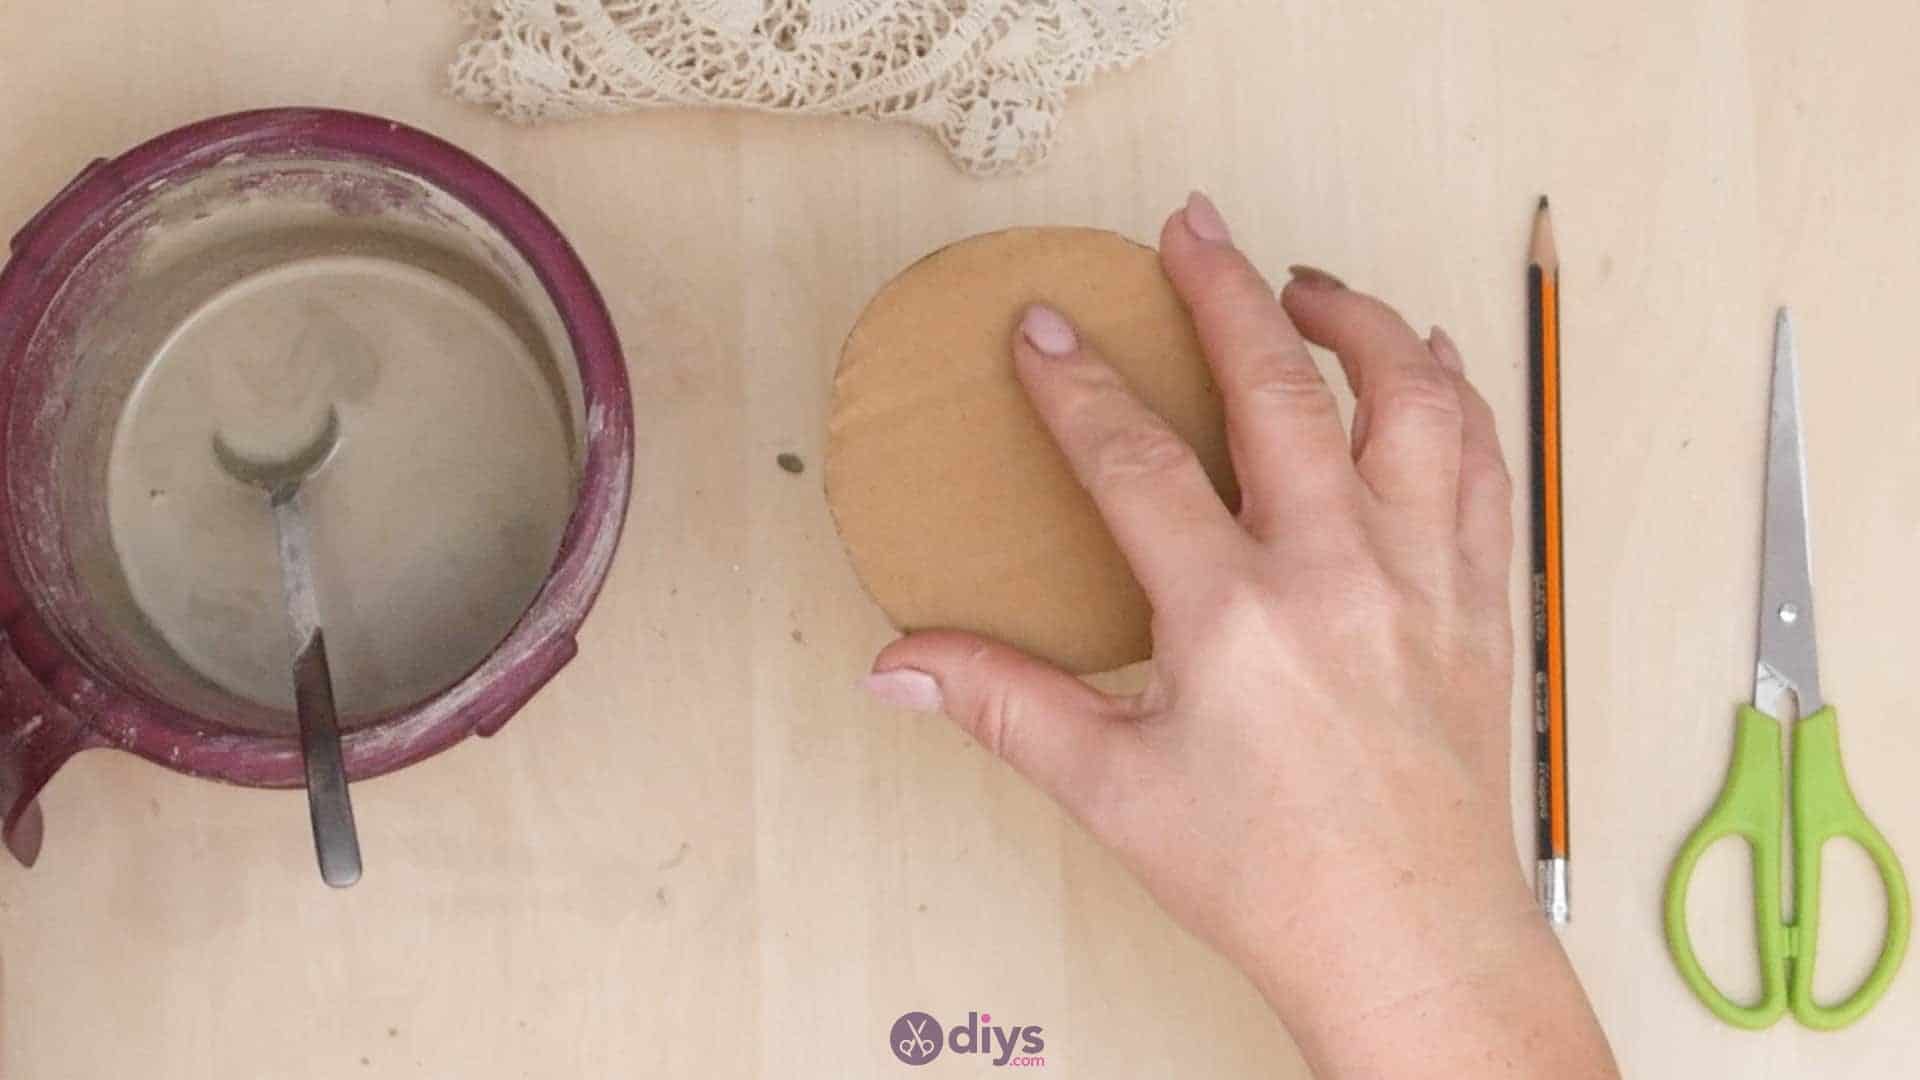
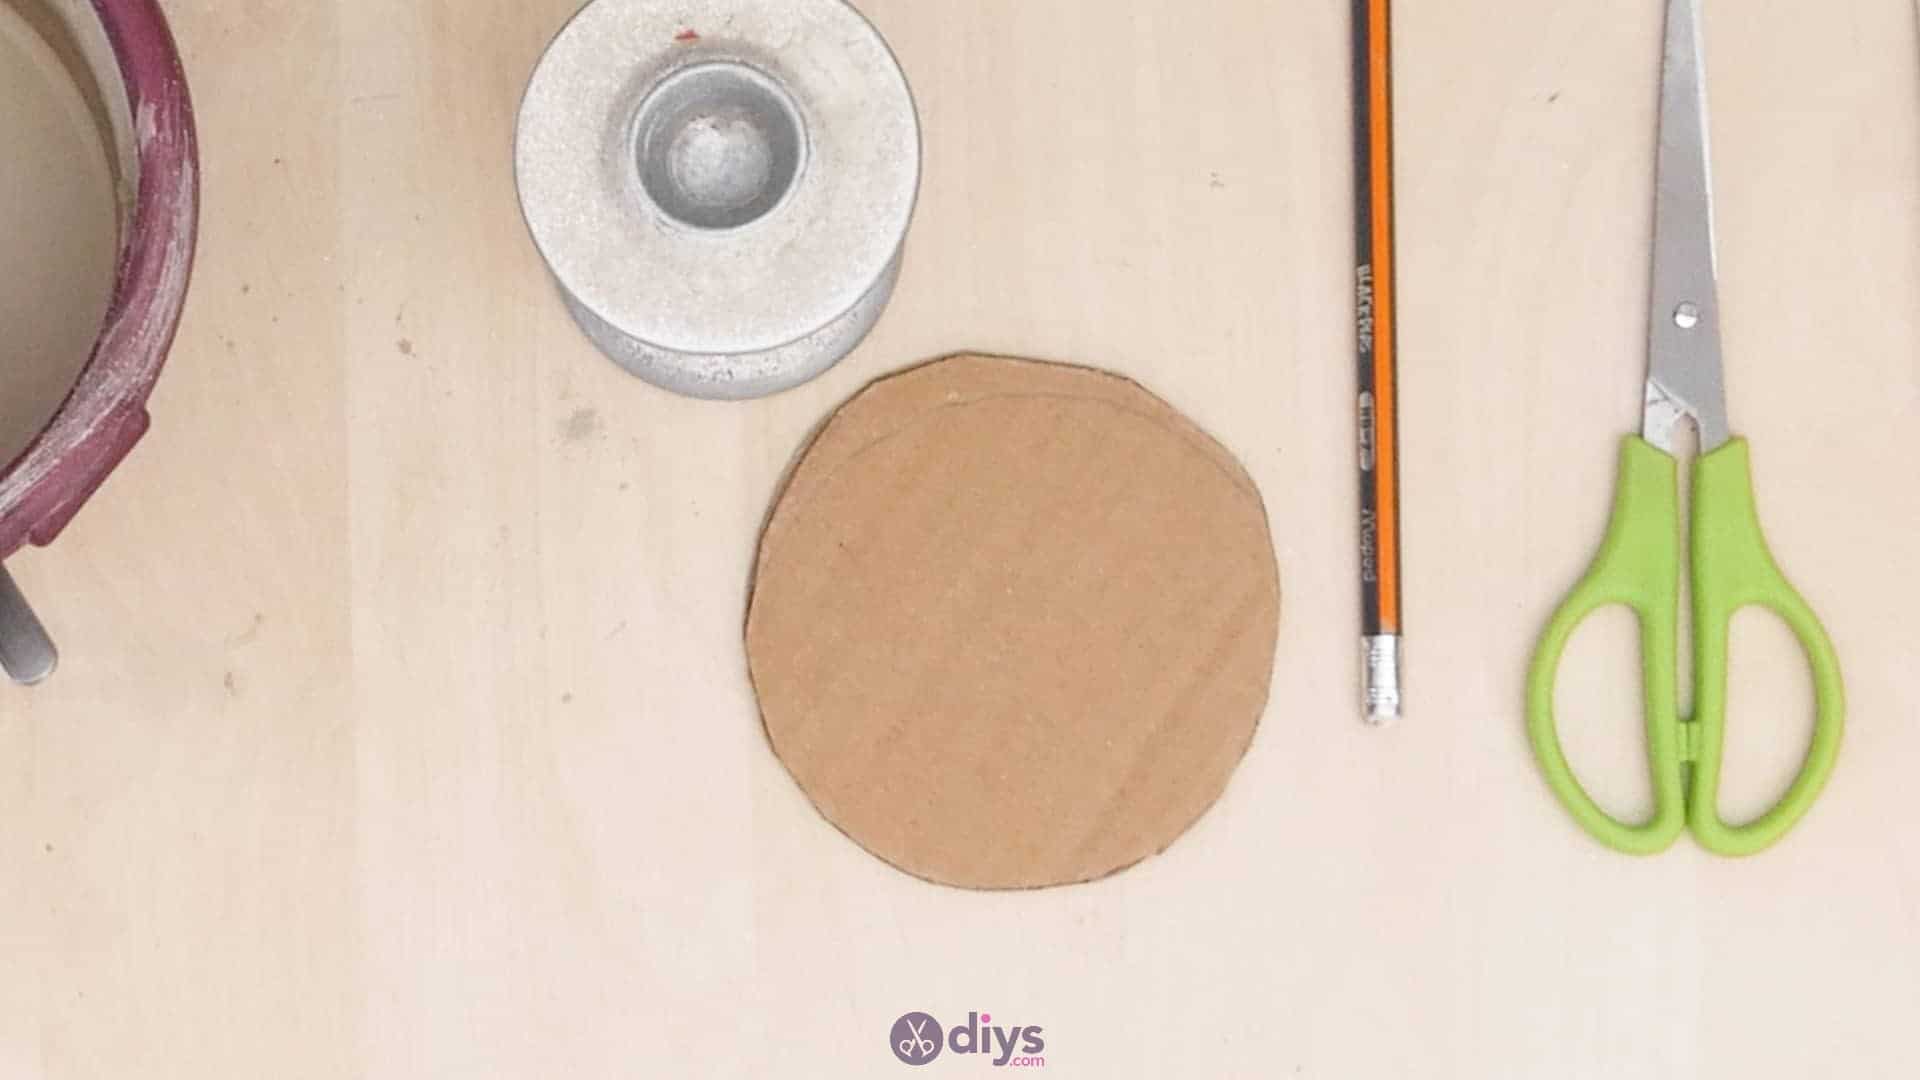
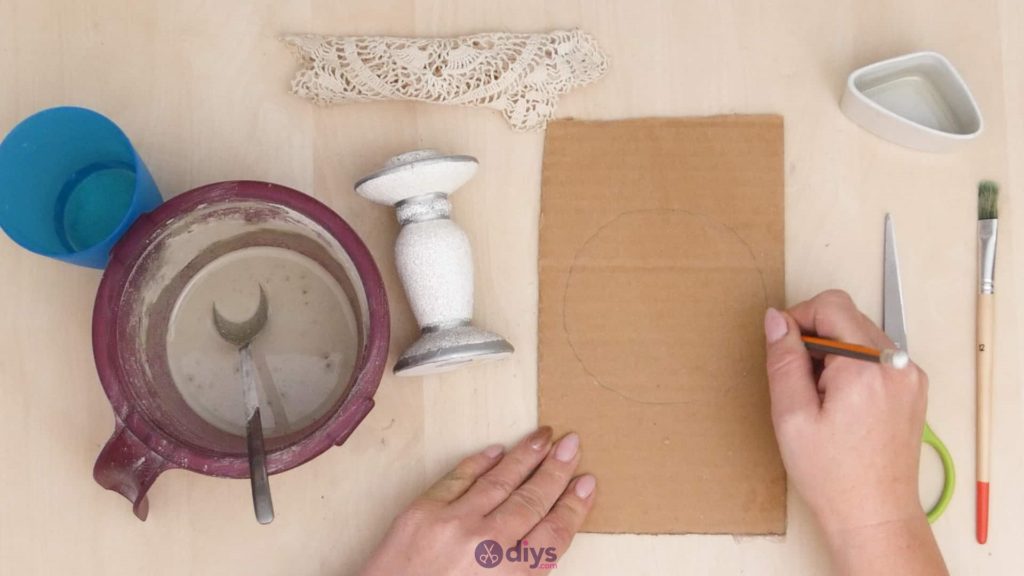
Step 3: cut circle
Use your pencil to draw a circle on your cardboard that is a little wider in circumference and diameter than the circular top of your candlestick! This piece will make the top part of your stand and will support your concrete coated lace doily layer on. Cut the cardboard circle out.

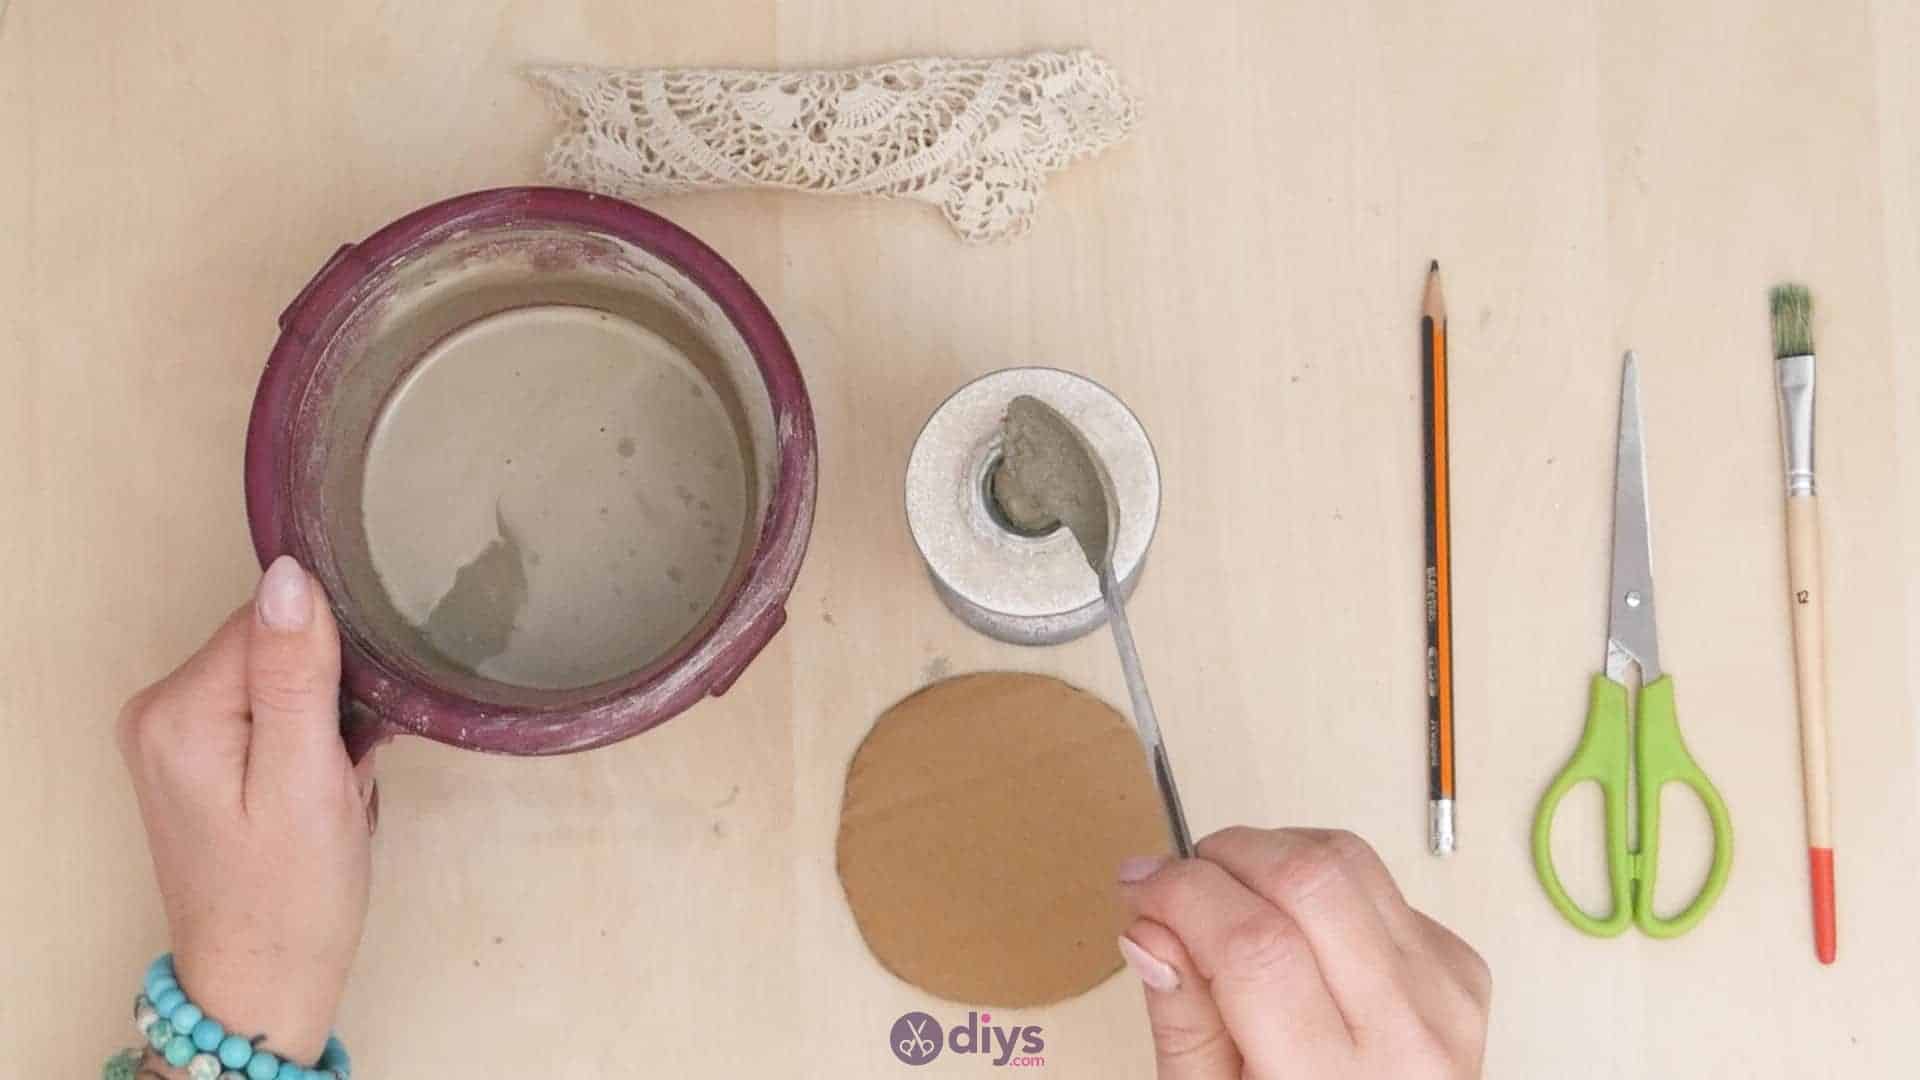
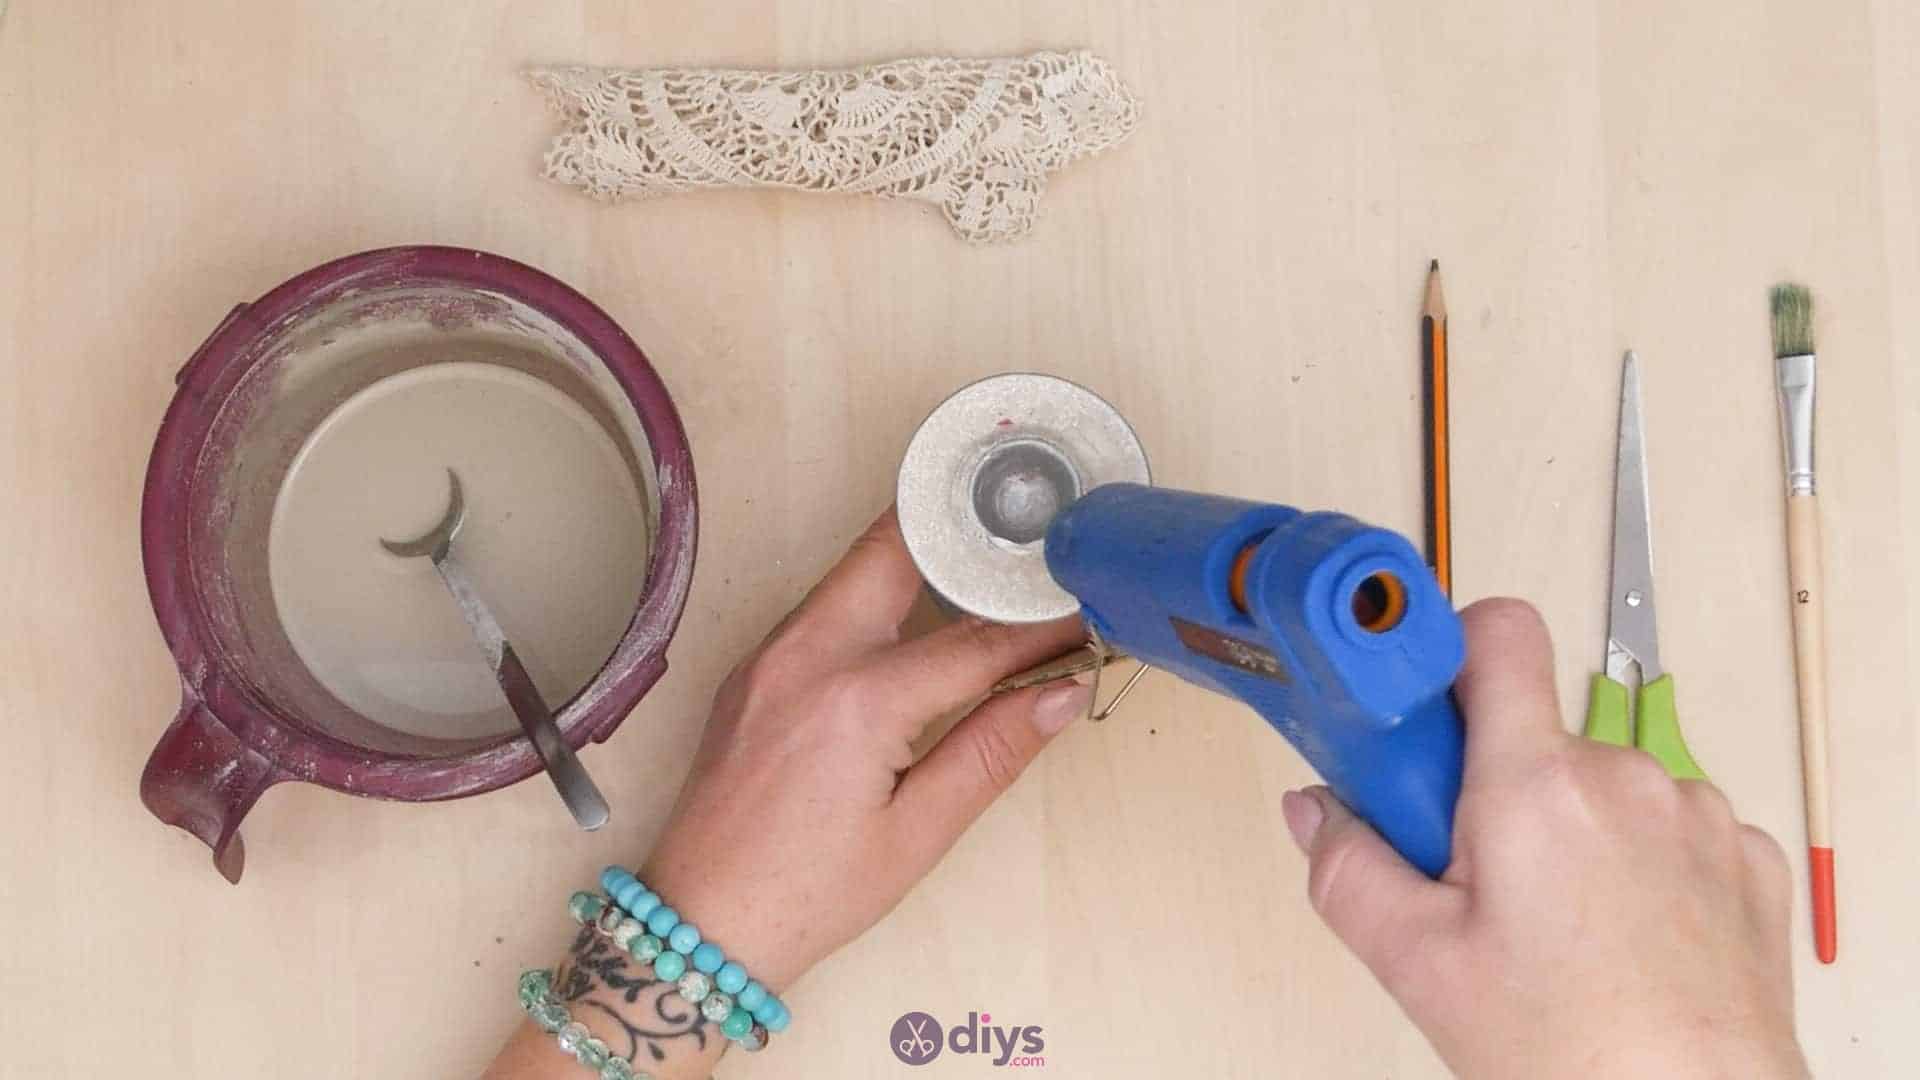
Step 4: glue and fill
Apply hot glue on the flat top of the candlestick, all over its surface but especially around the opening in the middle where a candle would normally sit. Right before you cover the top, use your spoon to fill the candle hole with a bit of cement mix to stop the middle of the cardboard circle you’re about to stick there from having a weak spot in the centre that might cause it to be uneven when you set things on the finished product. Press the cardboard circle into the hot glue, with the candlestick right in the centre of the circle’s underside.


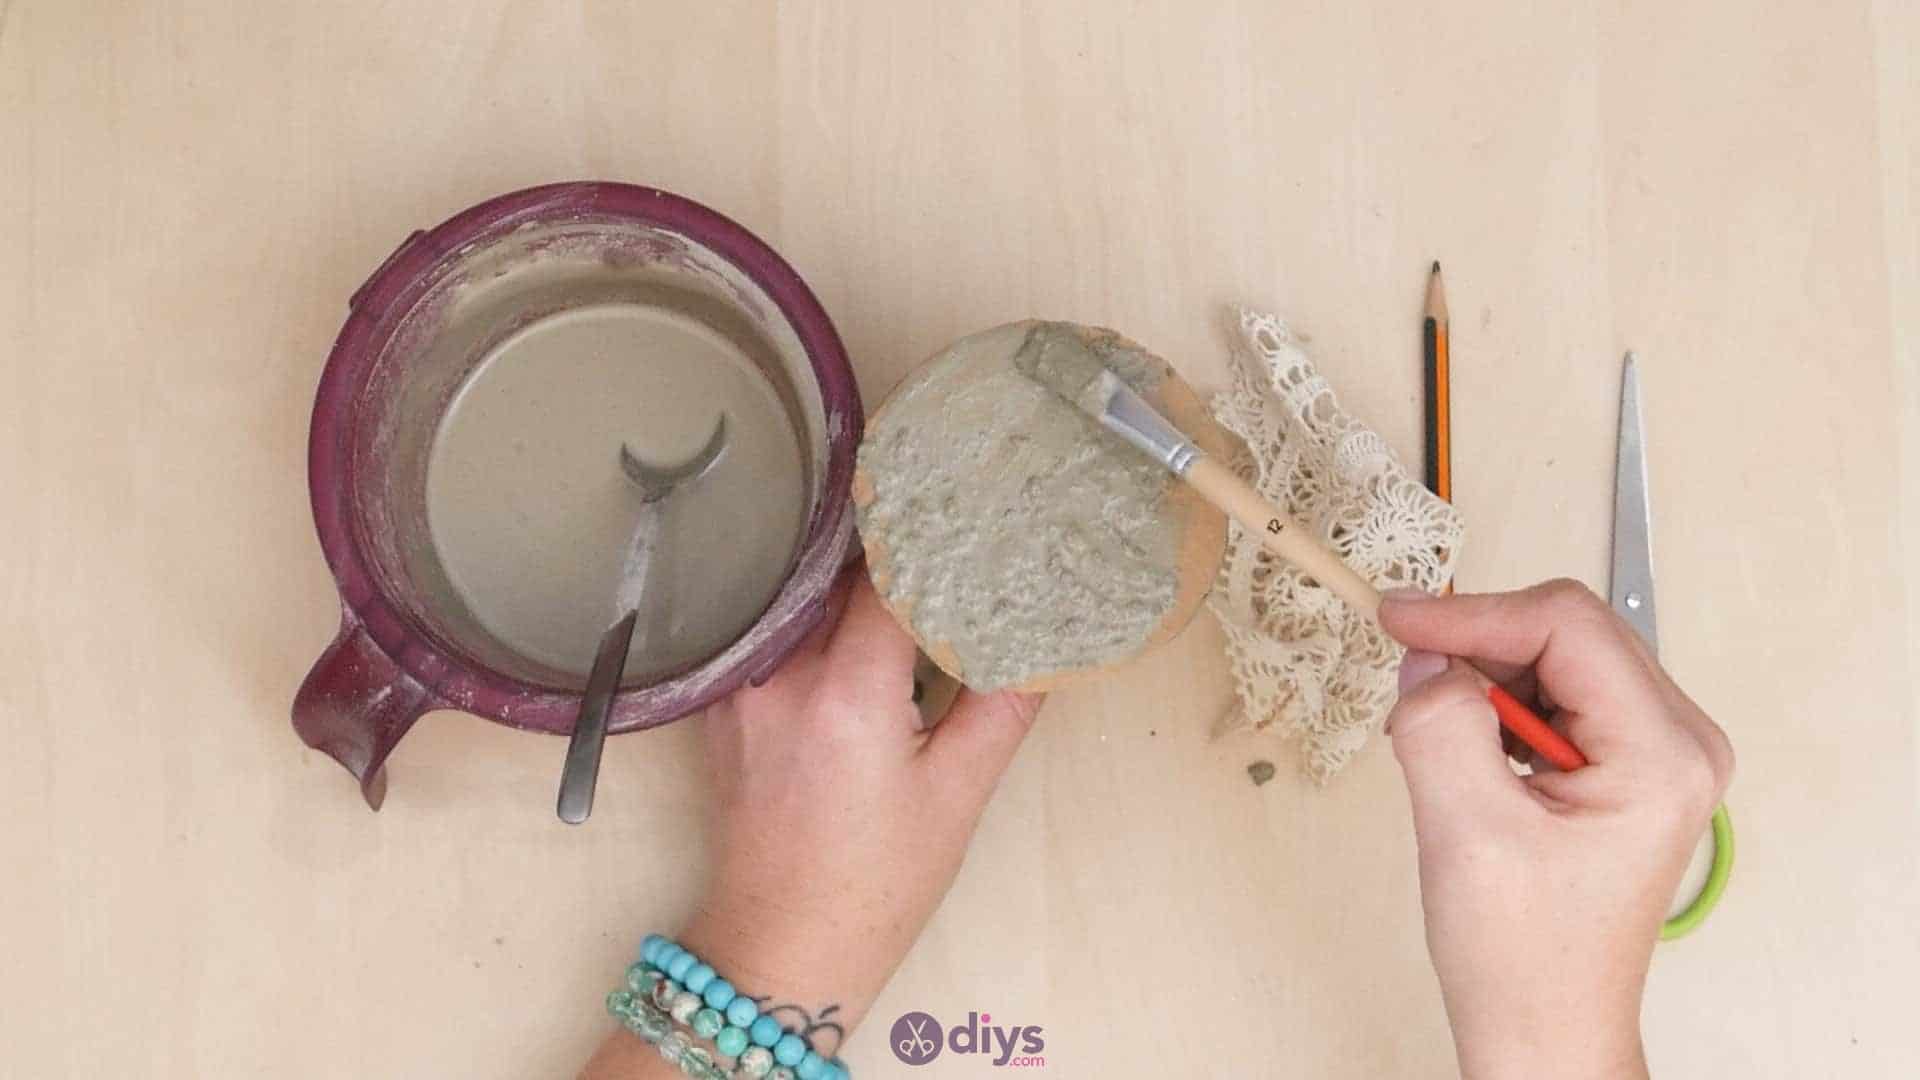
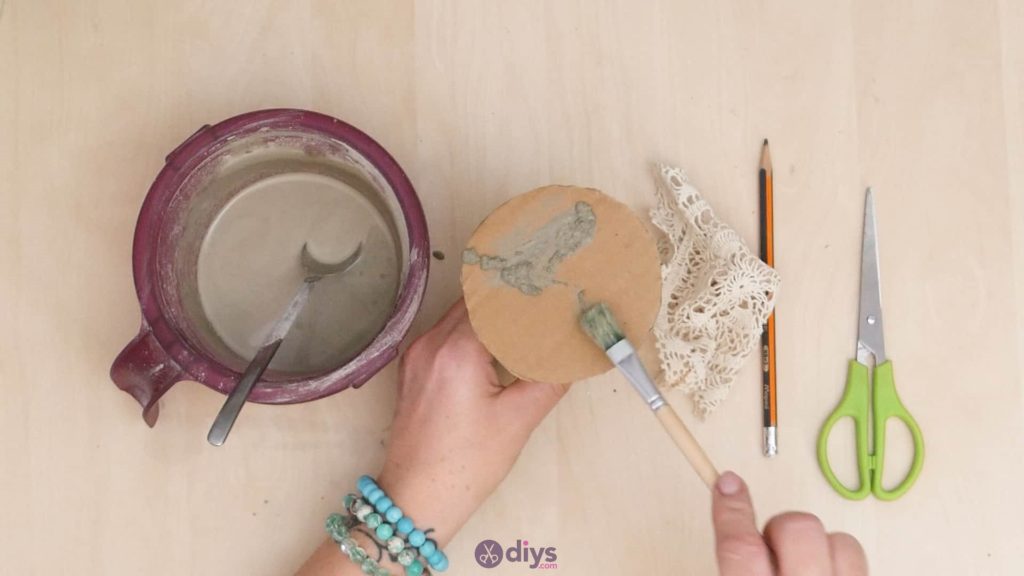
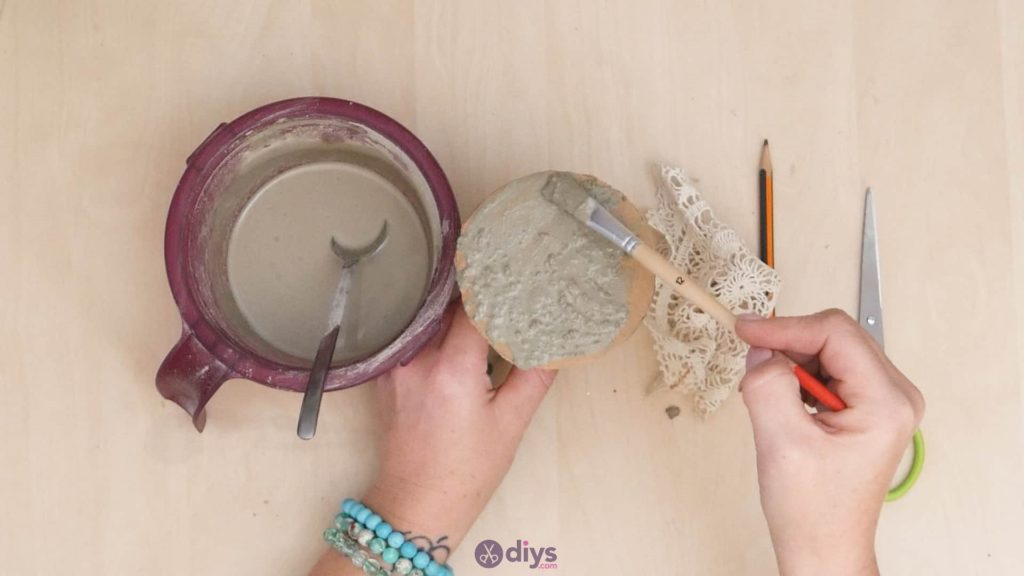
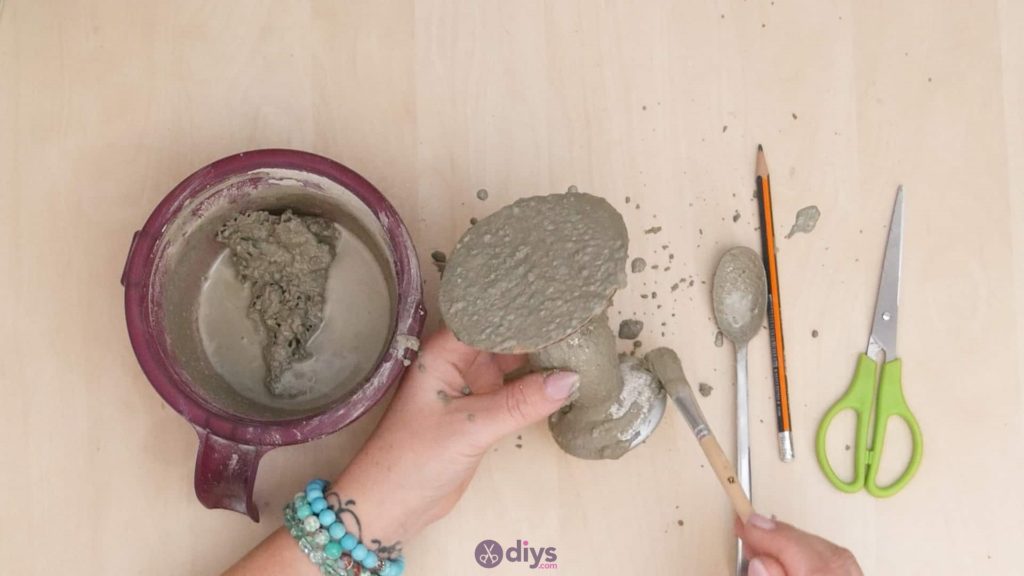
Step 5: apply concrete
Use your paintbrush to cover the top surface all across the cardboard circle in wet cement mix, spreading it as smoothly as you can. A few clumps and bumps is okay, since concrete always has some natural texture and this part will be covered by your doily anyways, but try to apply even amounts of mix to the surface of the circle so its equally strong all the way across for holding things up alter when you’ve done and have it on display.
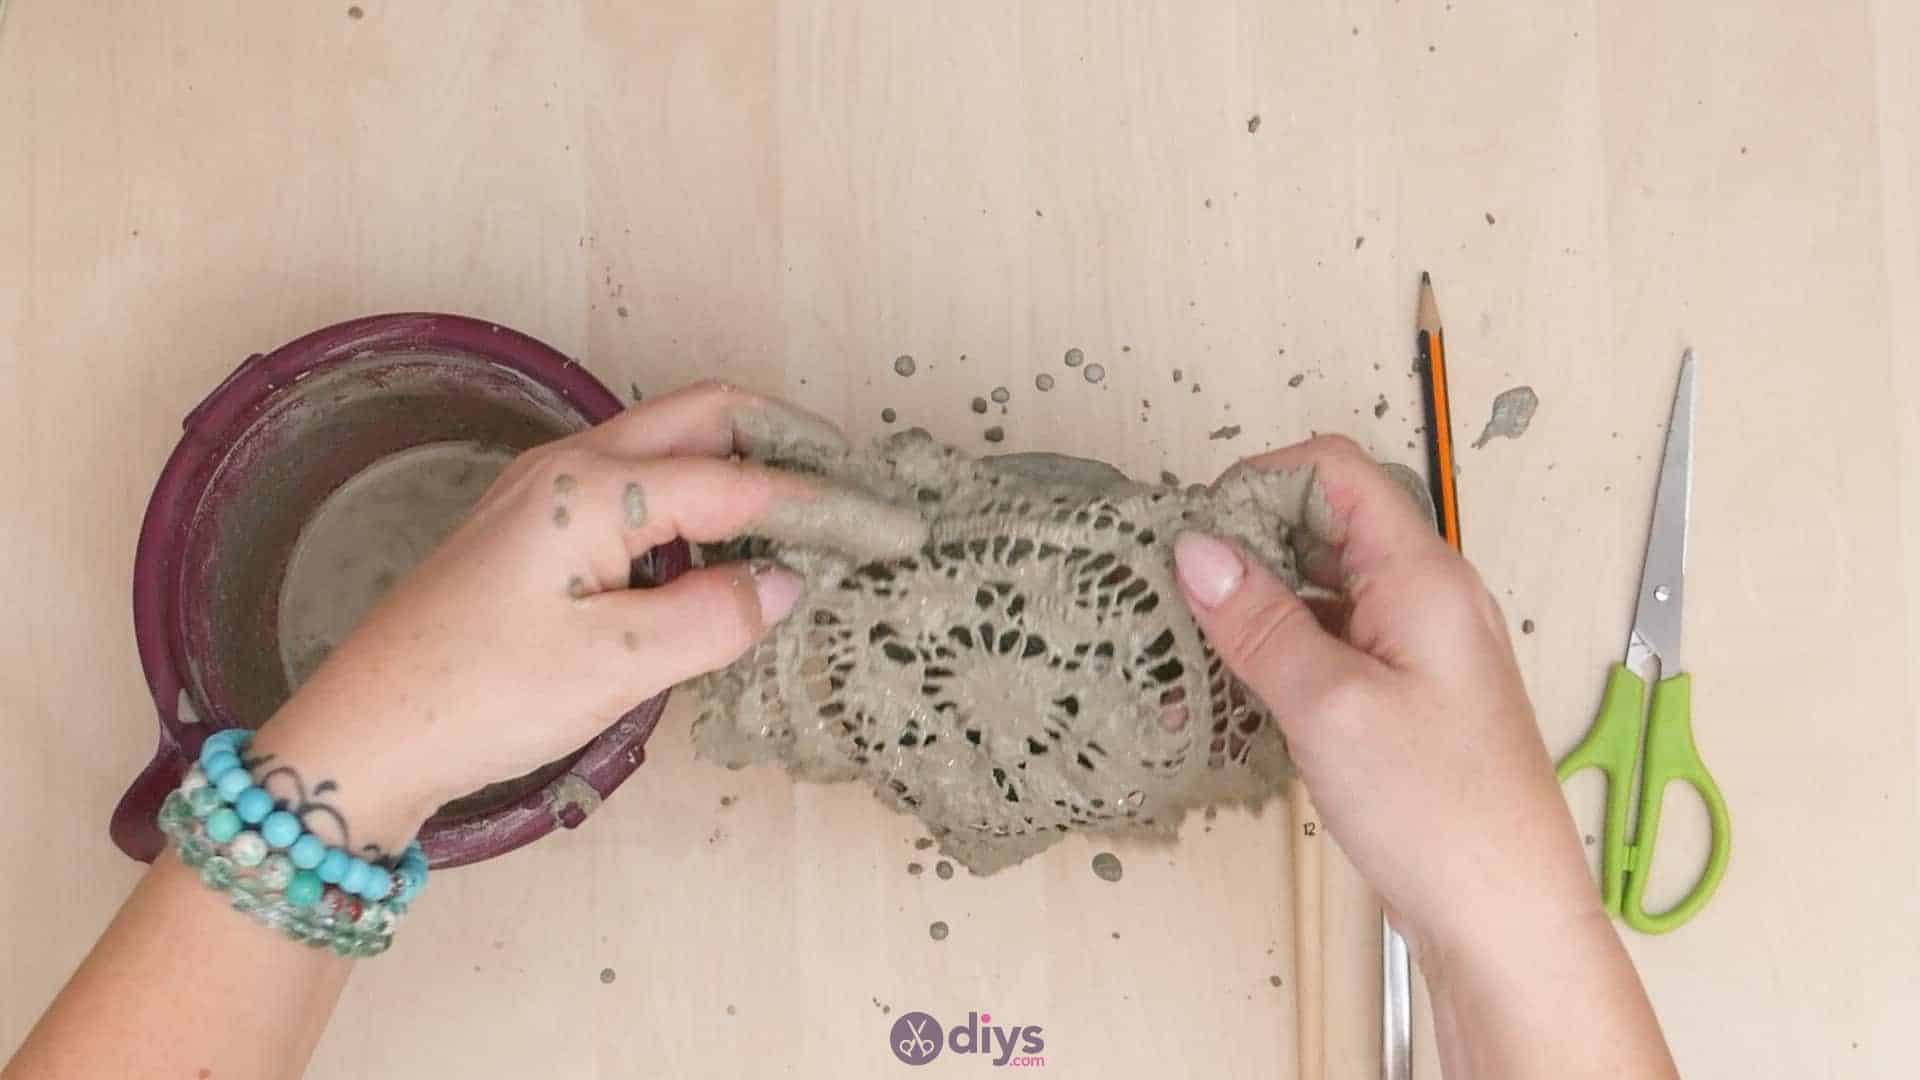
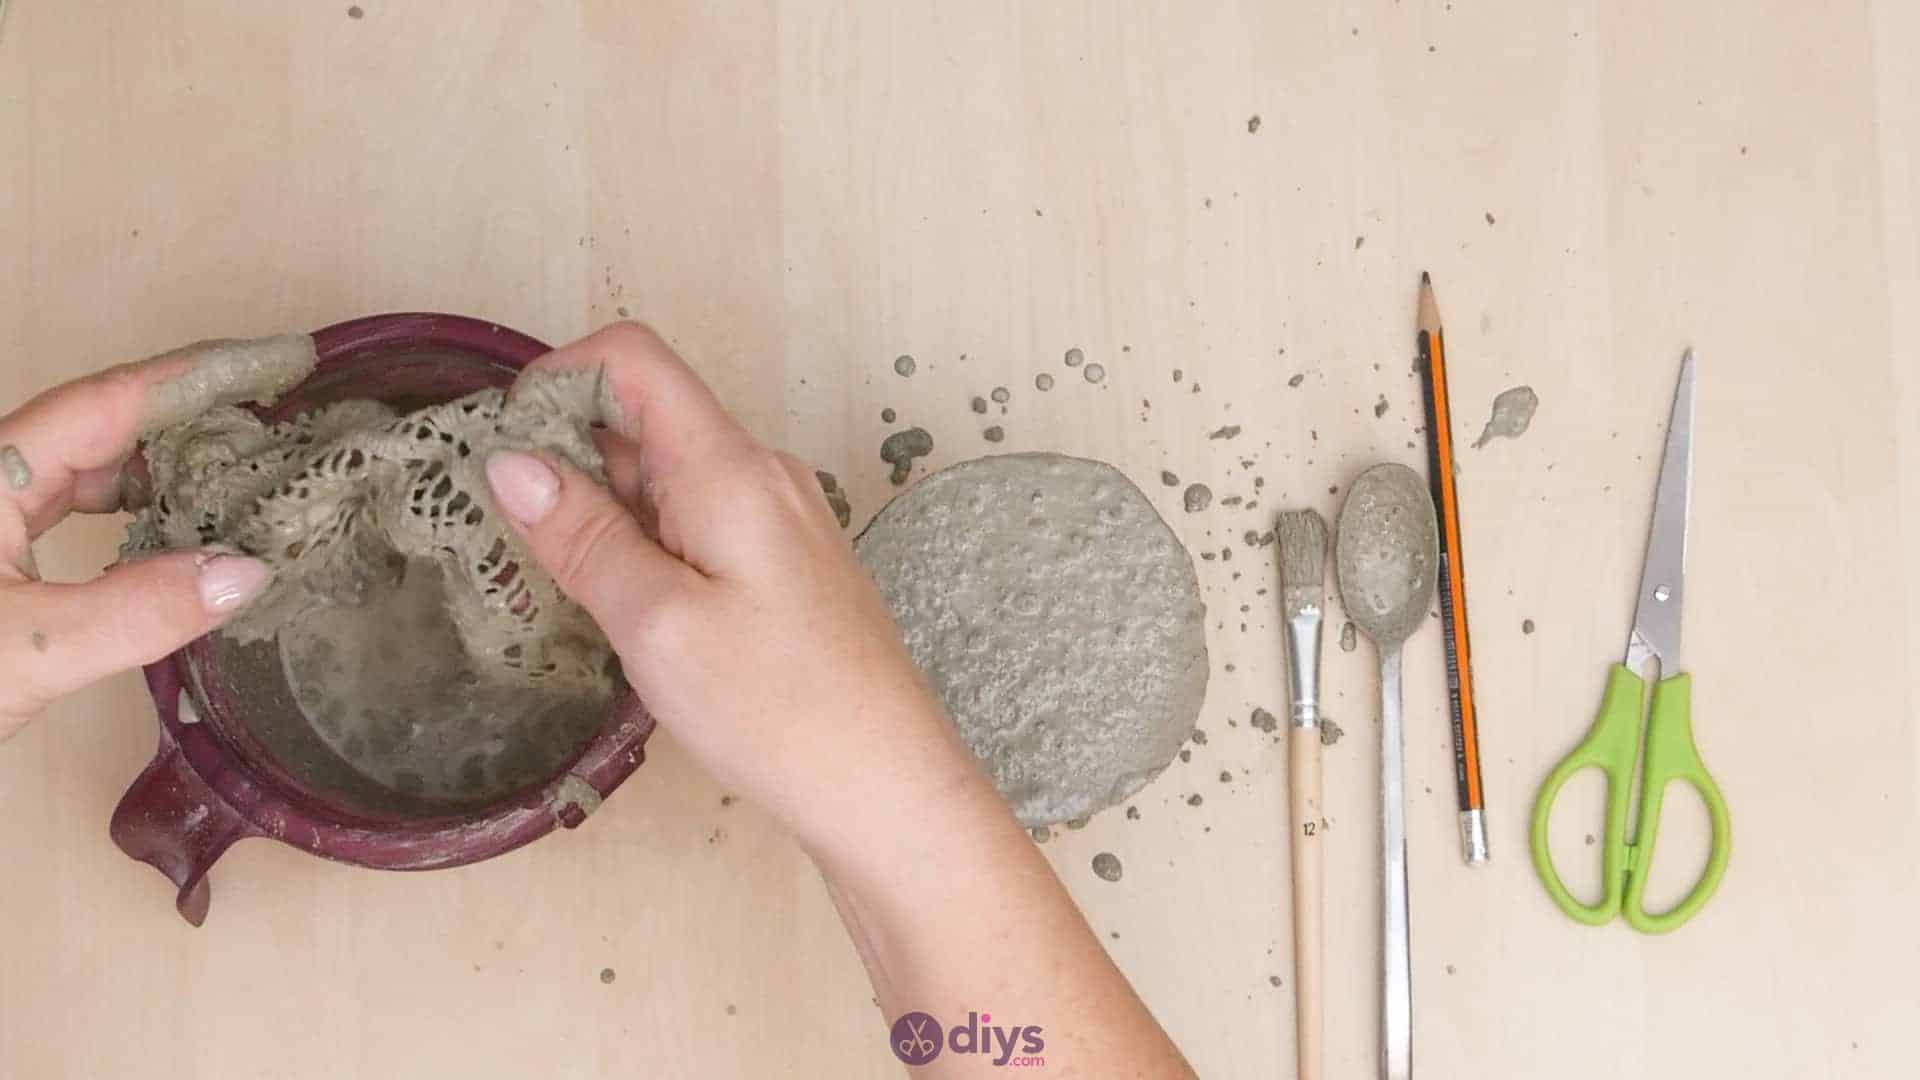
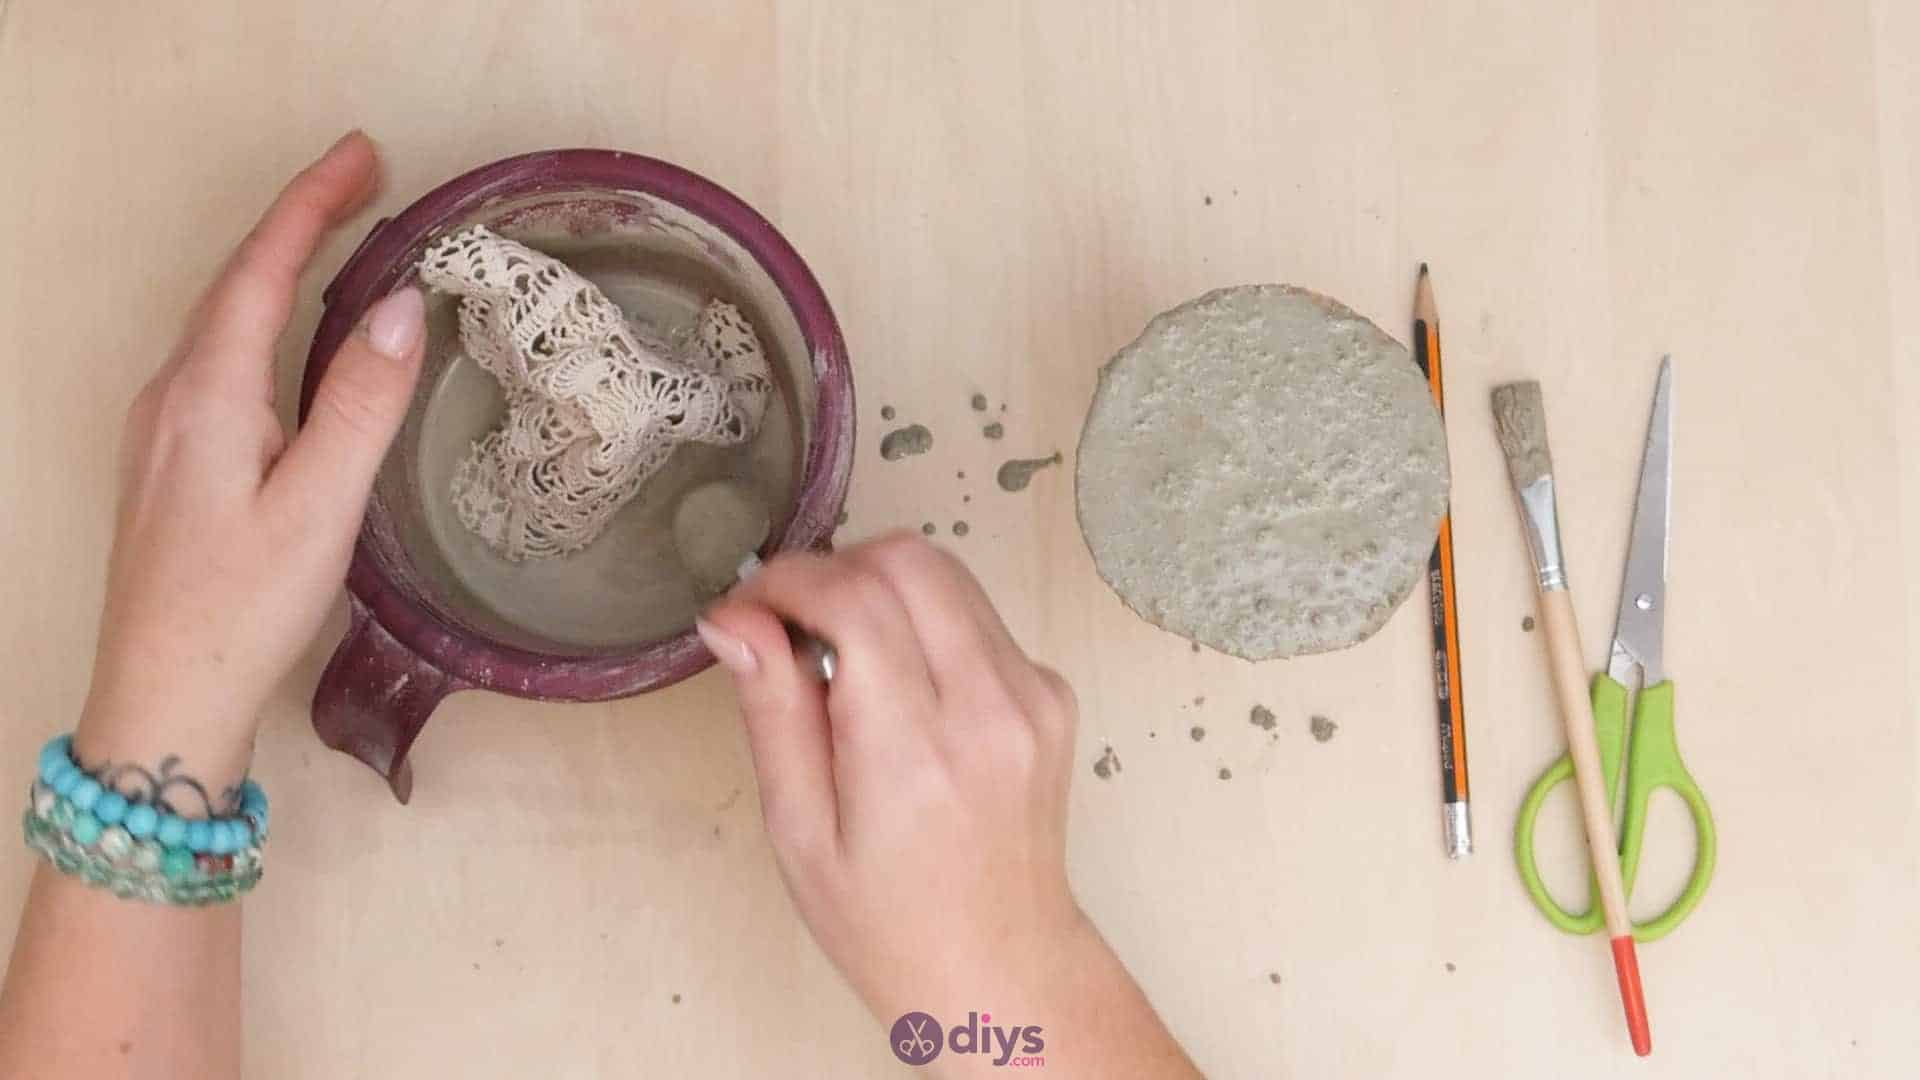
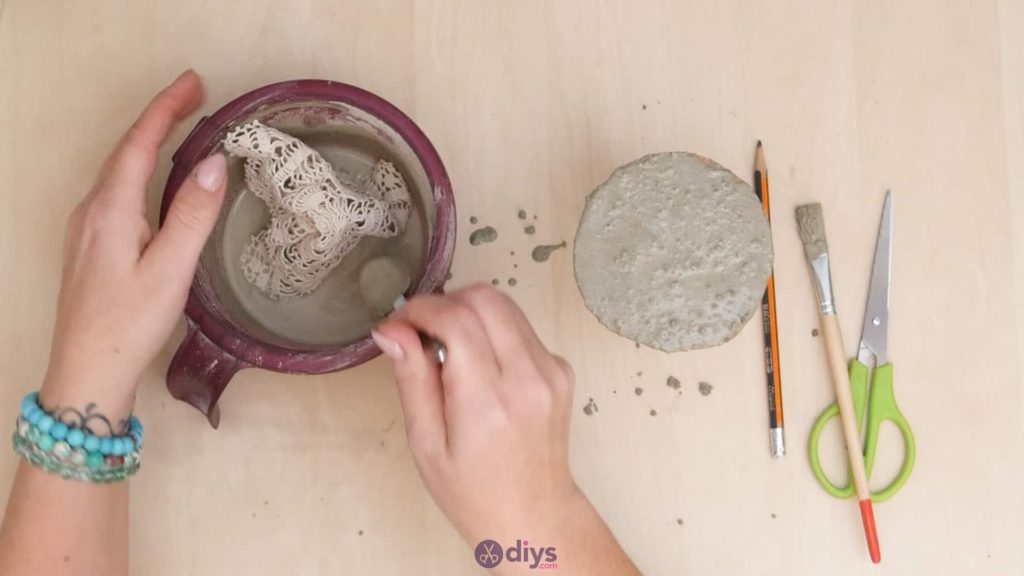
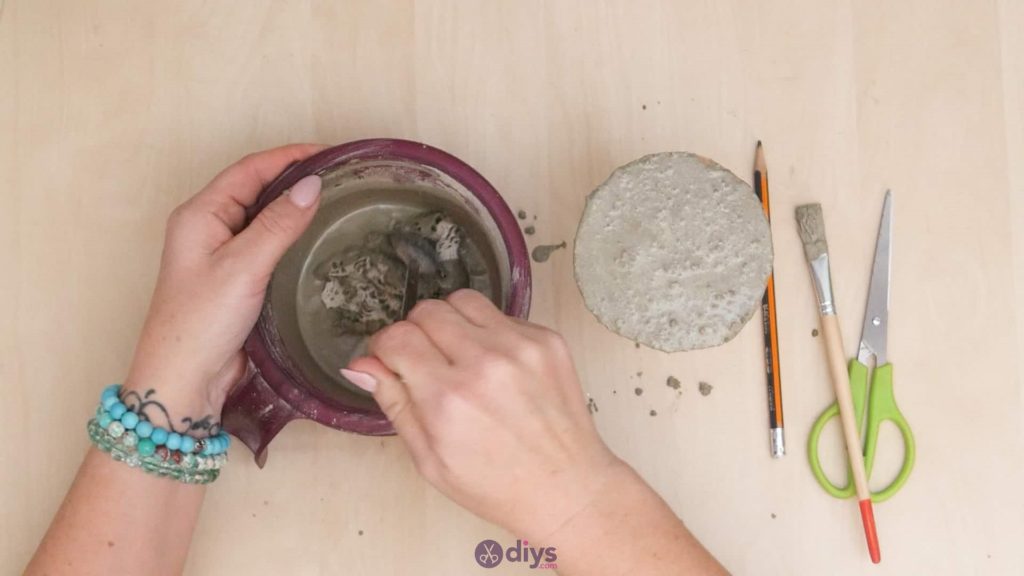
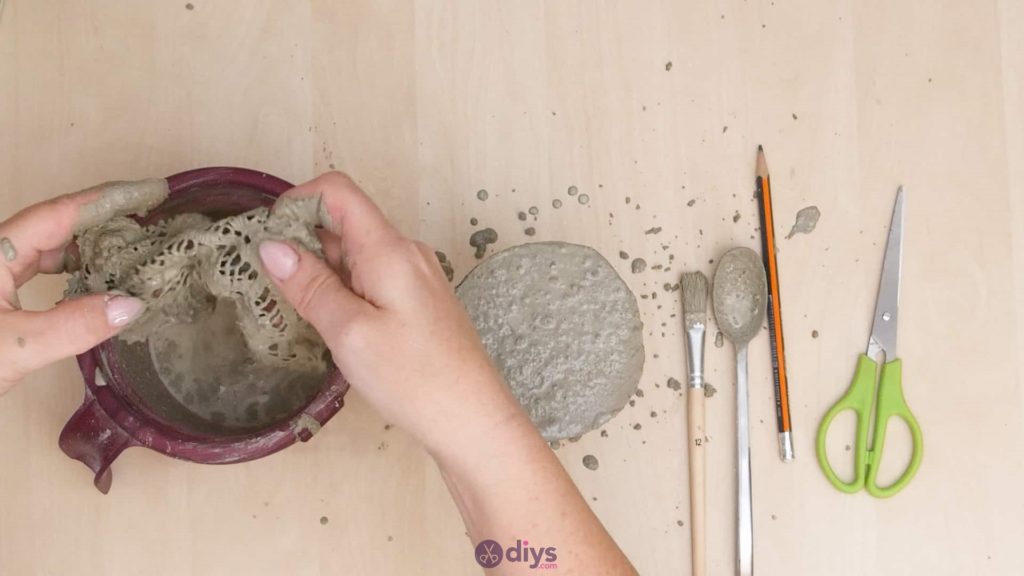
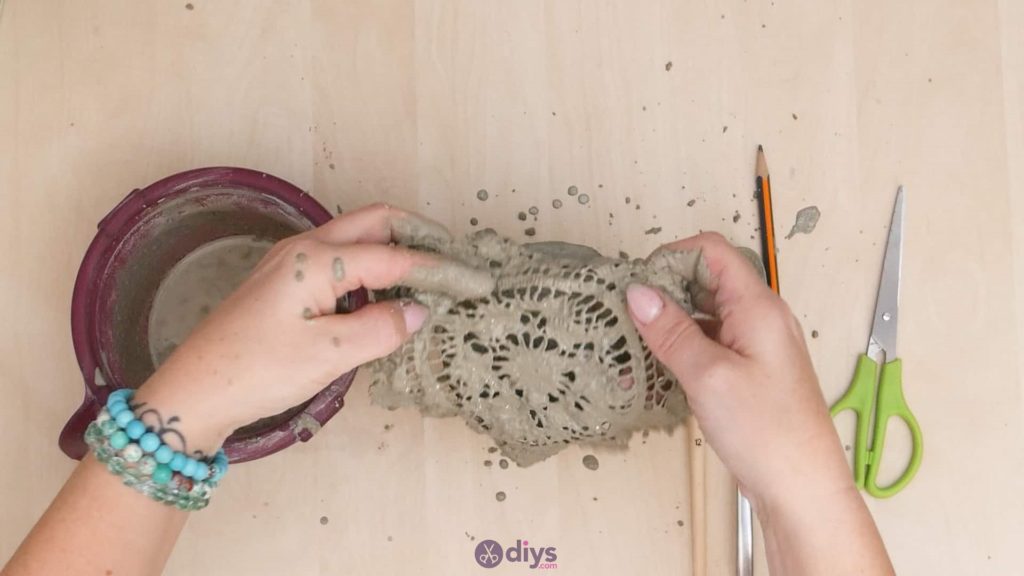
Step 6: soak doily
Leave the mix on your circle to start hardening a tiny bit so that you can tip the candlestick in a moment without having it all drip off and work on saturating your lace doily in the meantime! Put it right into the concrete mix in your bowl and use your spoon to press it down. The goal is to cover every inch- both sides and through all the holes- with cement mix so the doily is entirely coated. If you have to use you fingers to scrunch and unfold the doily in the mix and really maneuver it then you’re safe to do so; the mix doesn’t dry fast enough to actually cling to your skin and you’ll get it off simply by washing your hands with soap and water when you’re done.
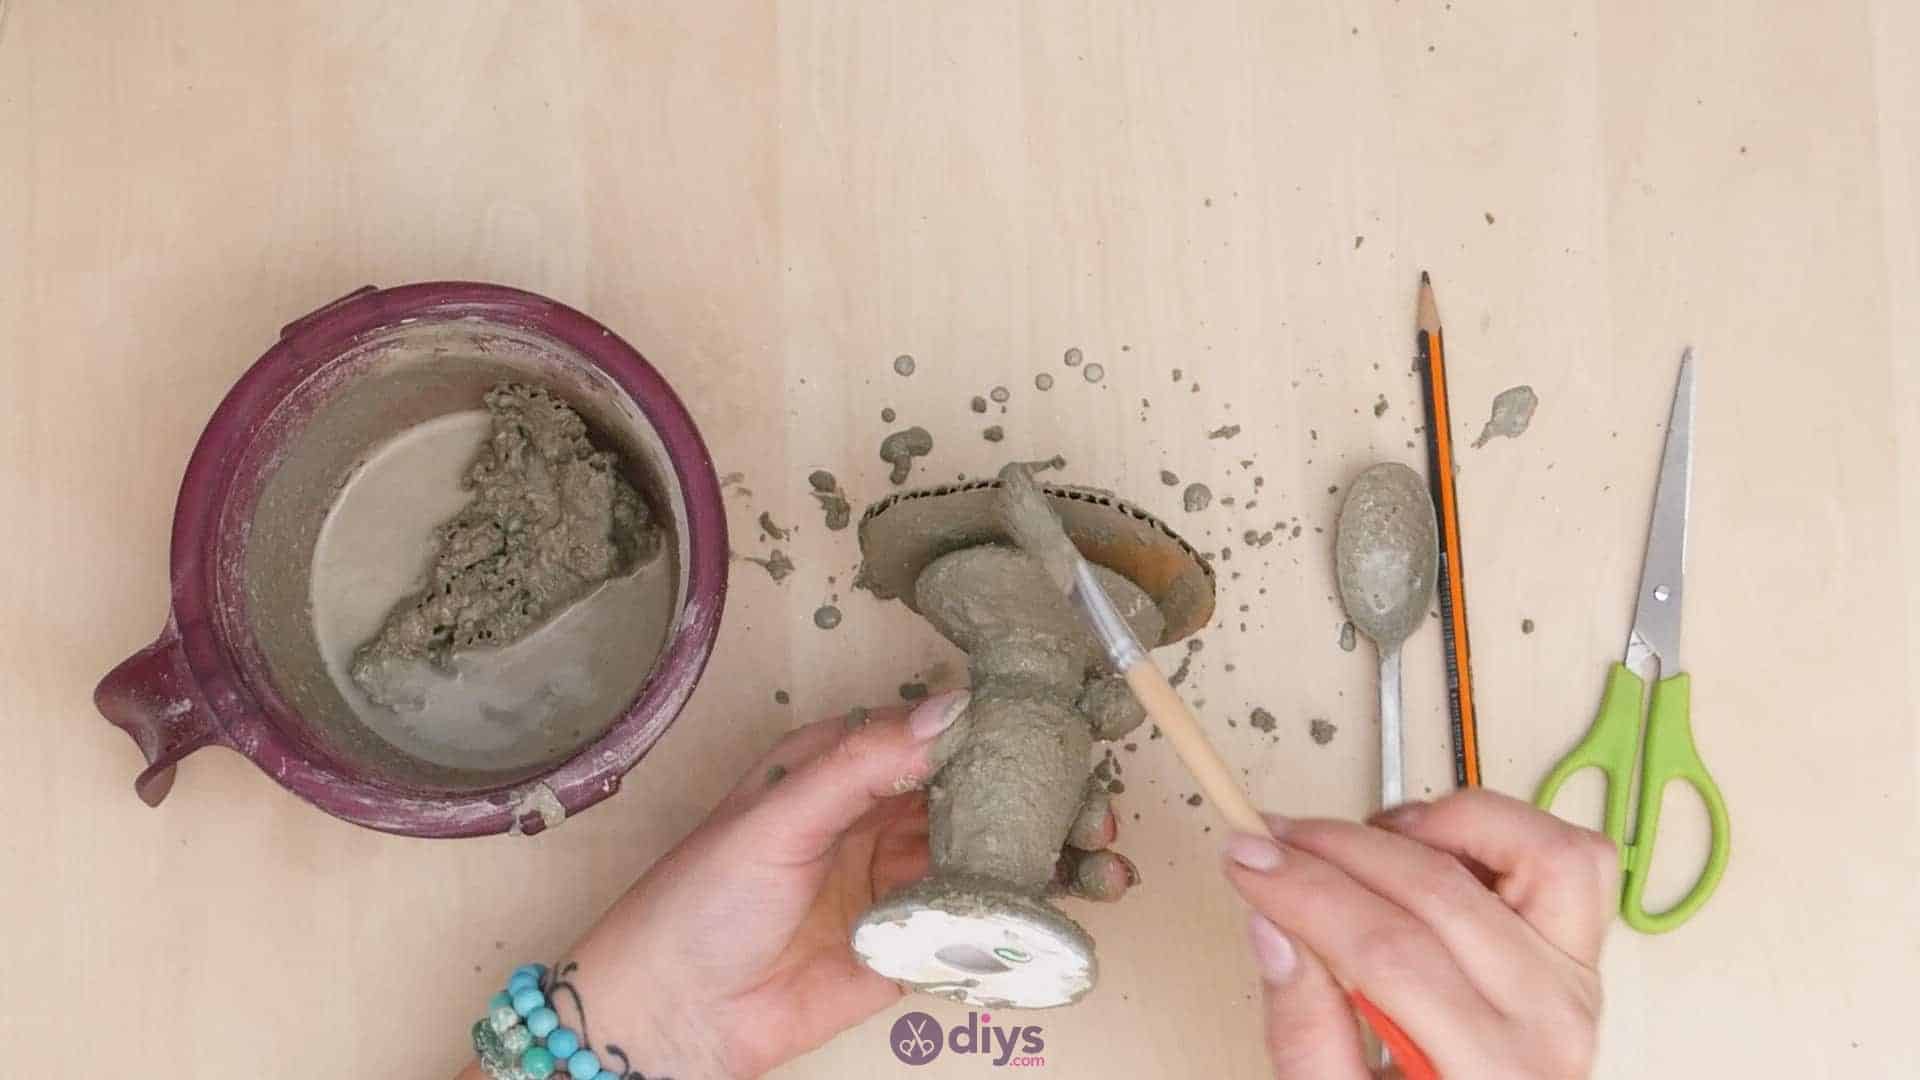
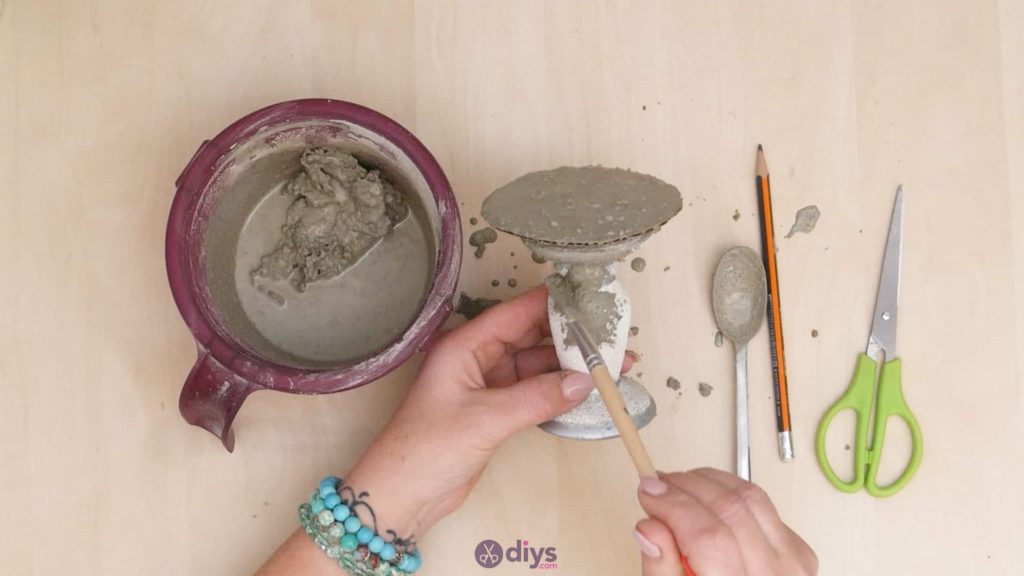
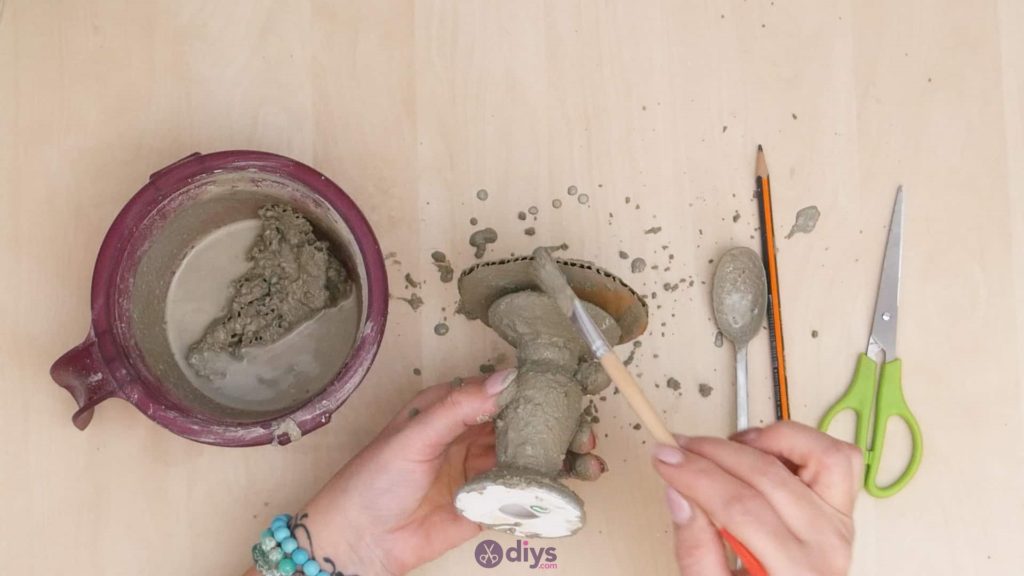
Step 7: cover candlestick
Leave your doily in the wet cement mix for a moment to soak and turn your attention back to your candlestick. Use your paintbrush to coat its entire surface, all the way up the stick’s base and even onto the underside of the cardboard circle that you glued down before! Try to coat it as evenly all the way around as possible so no wood or cardboard peeks through the concrete.
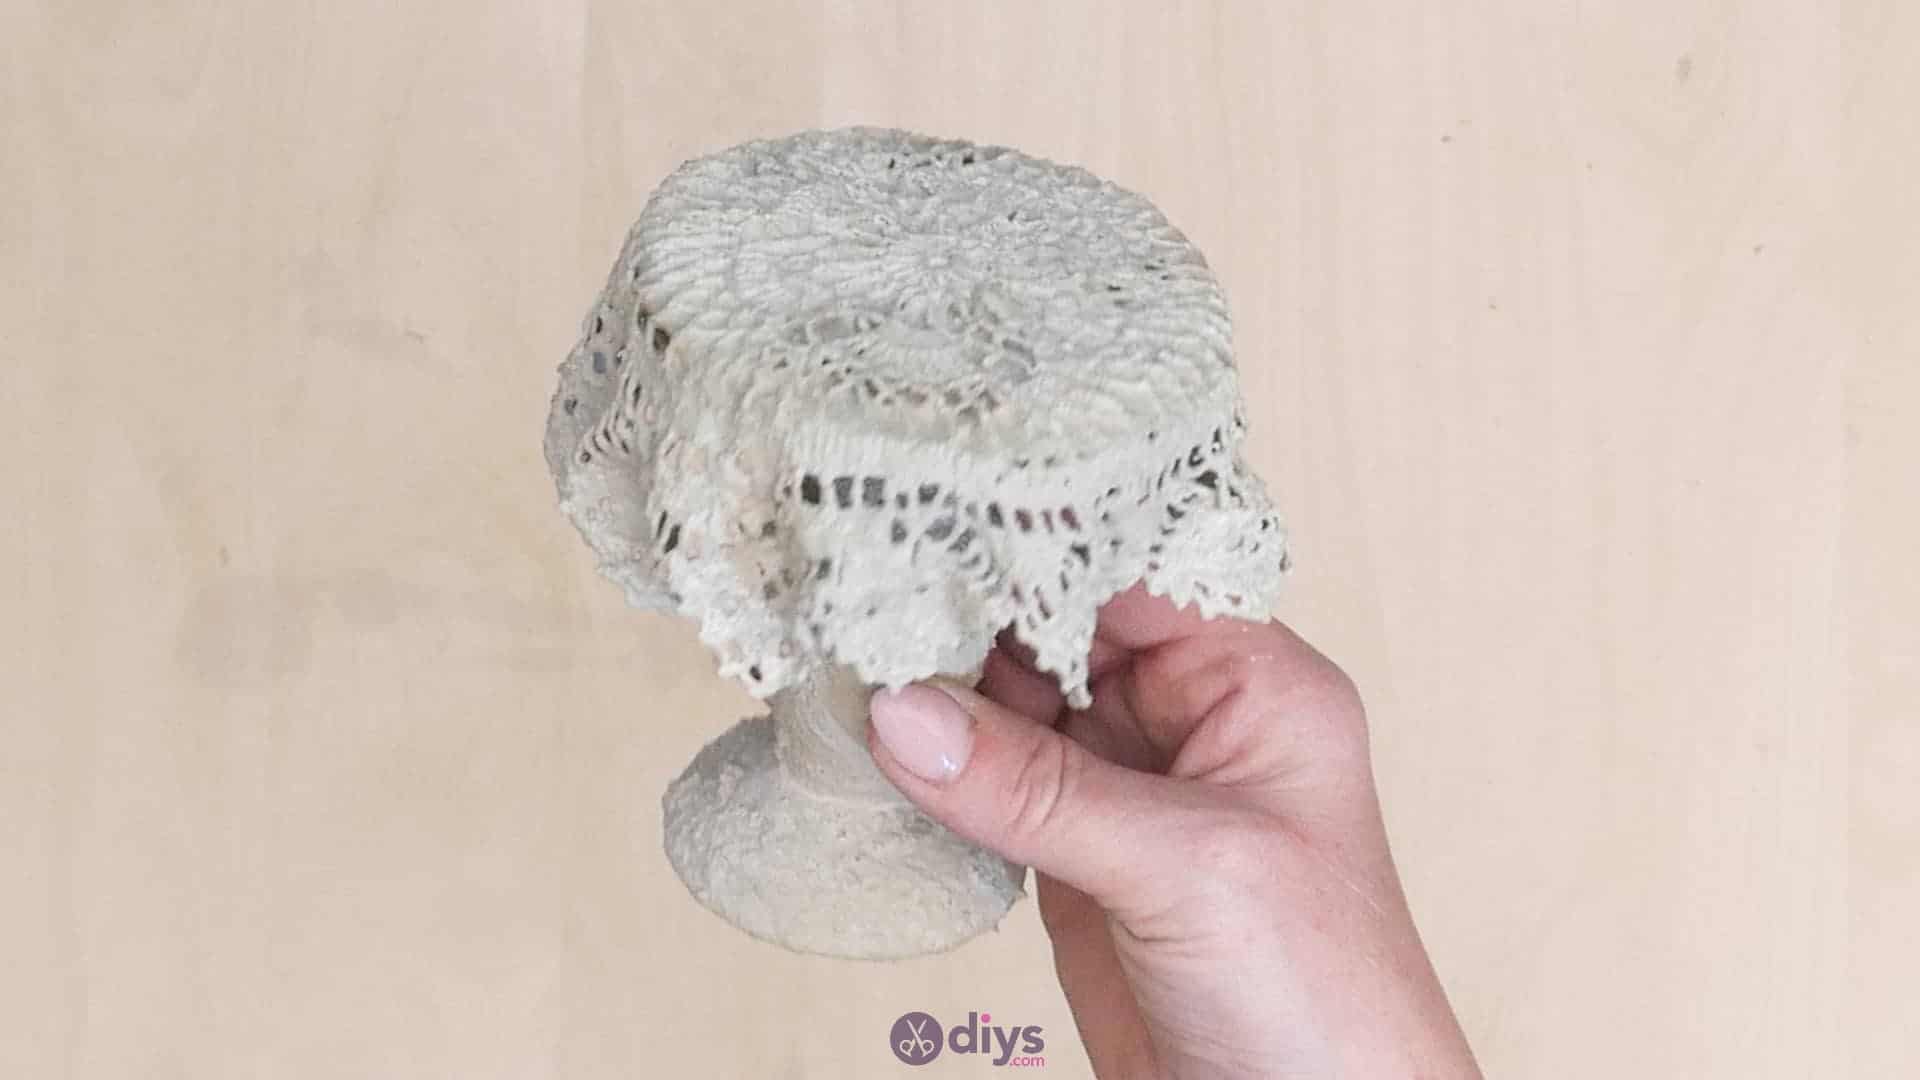
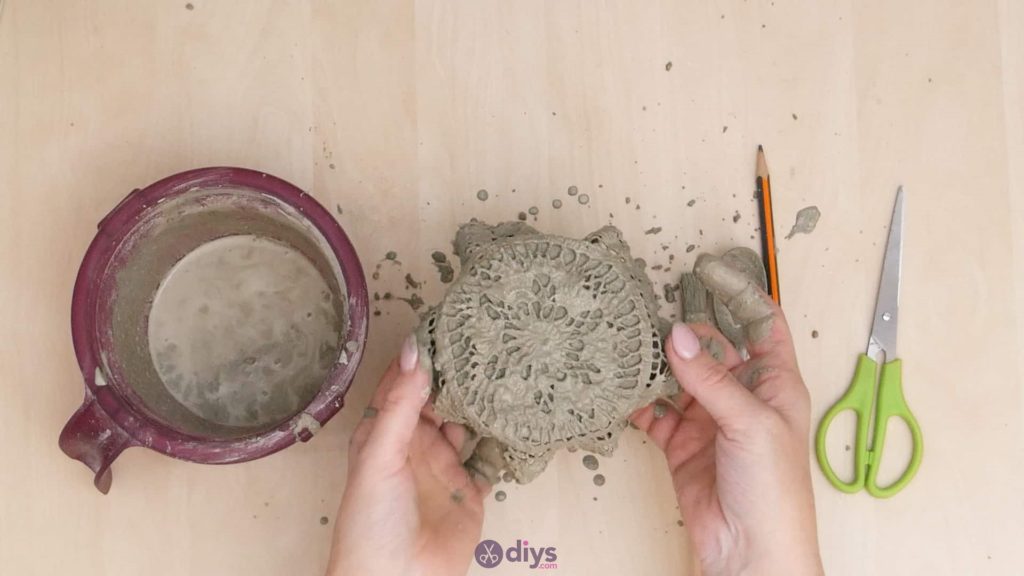
Step 8: add doily
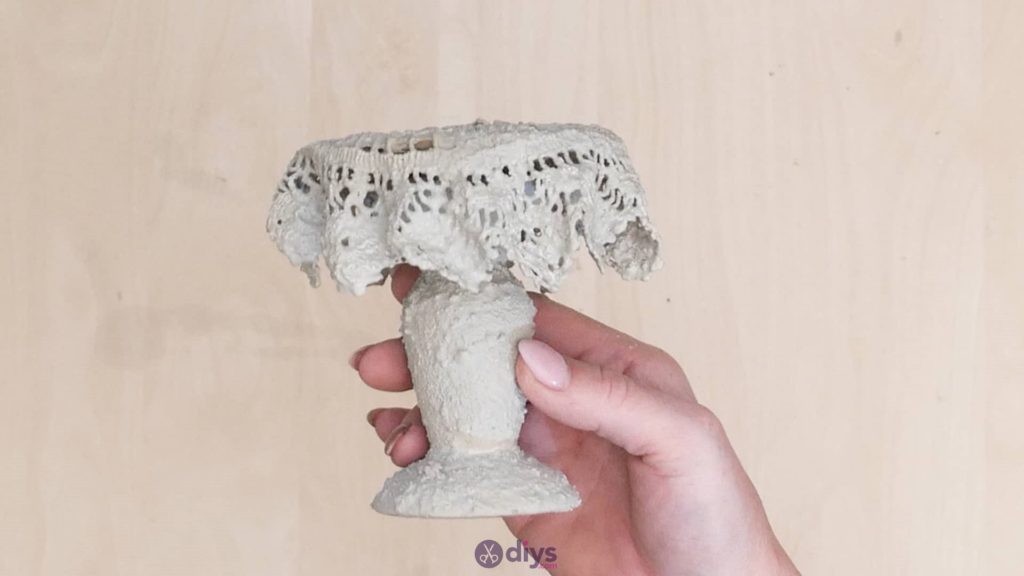
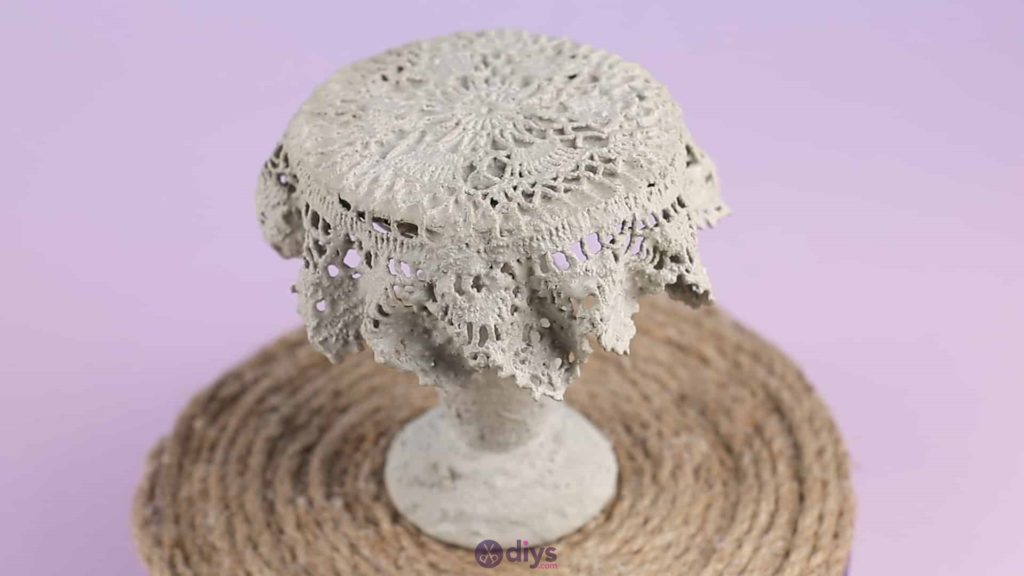
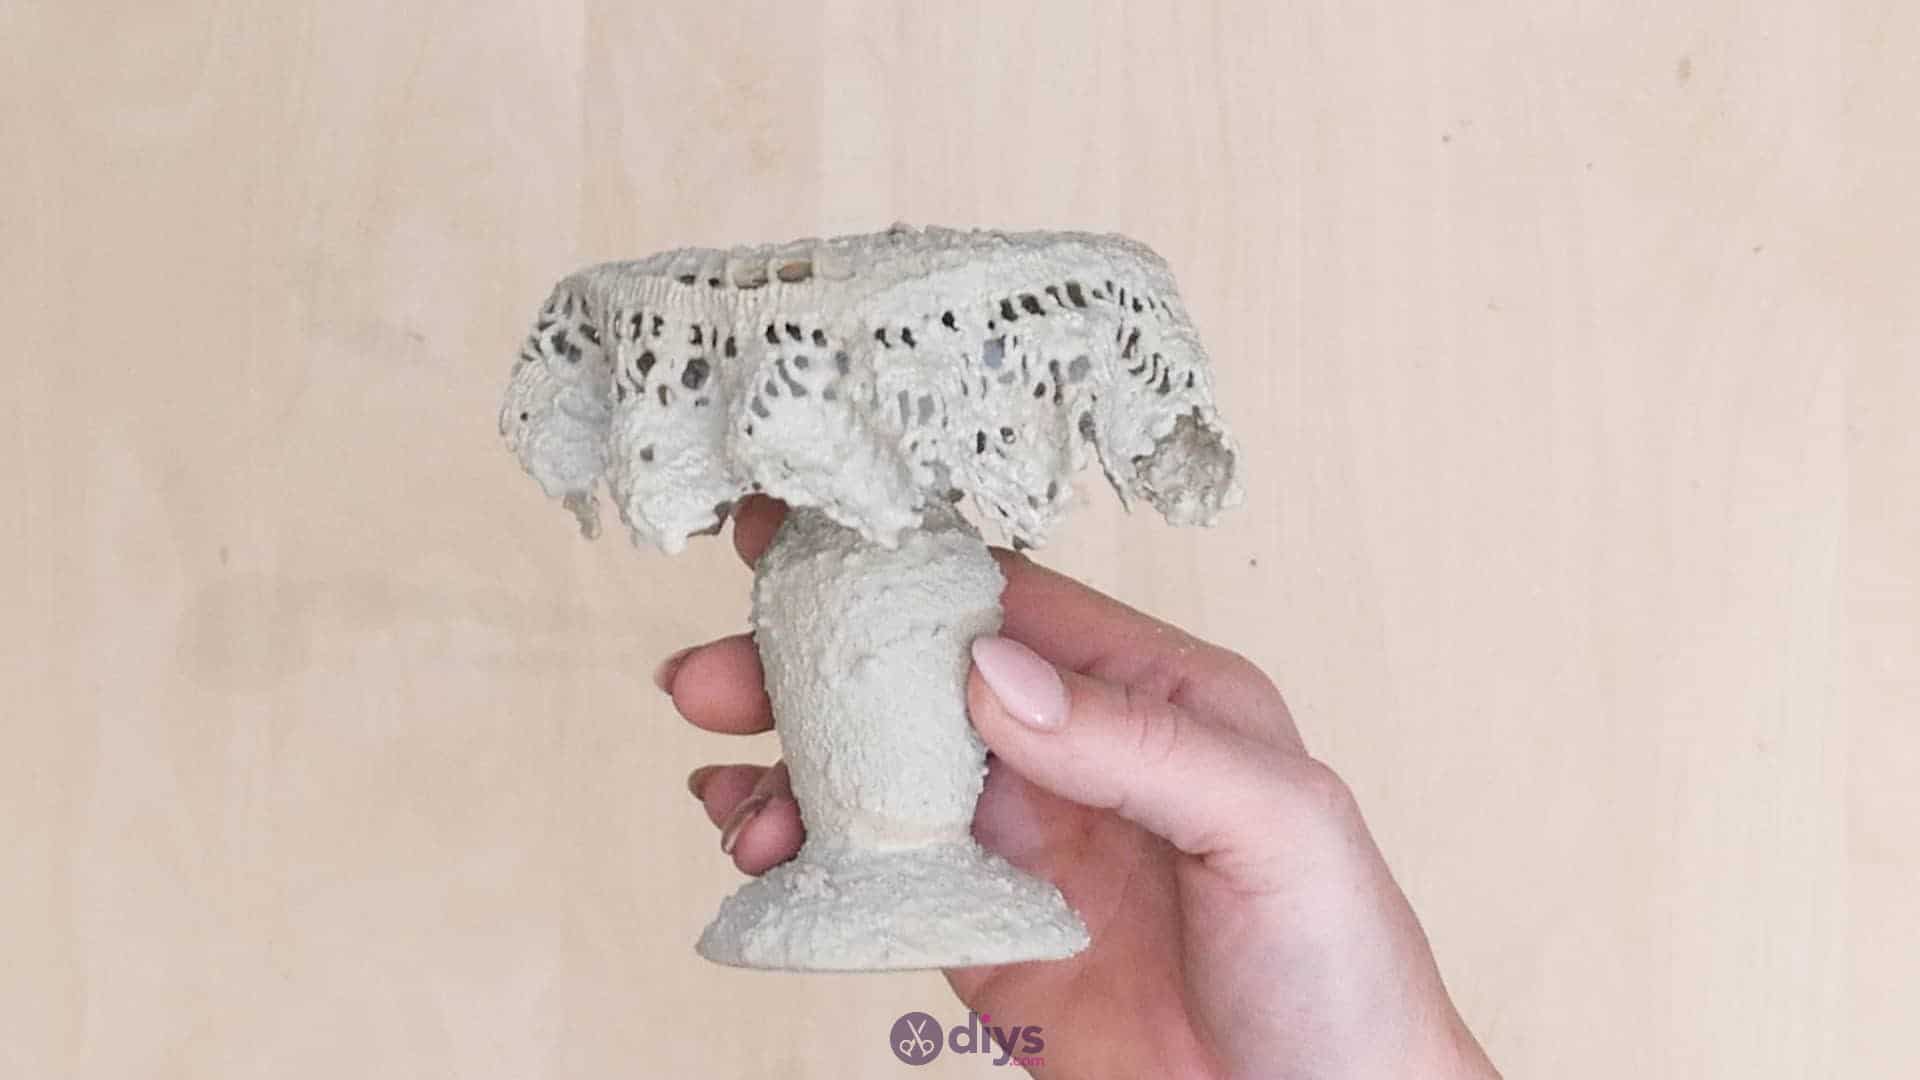
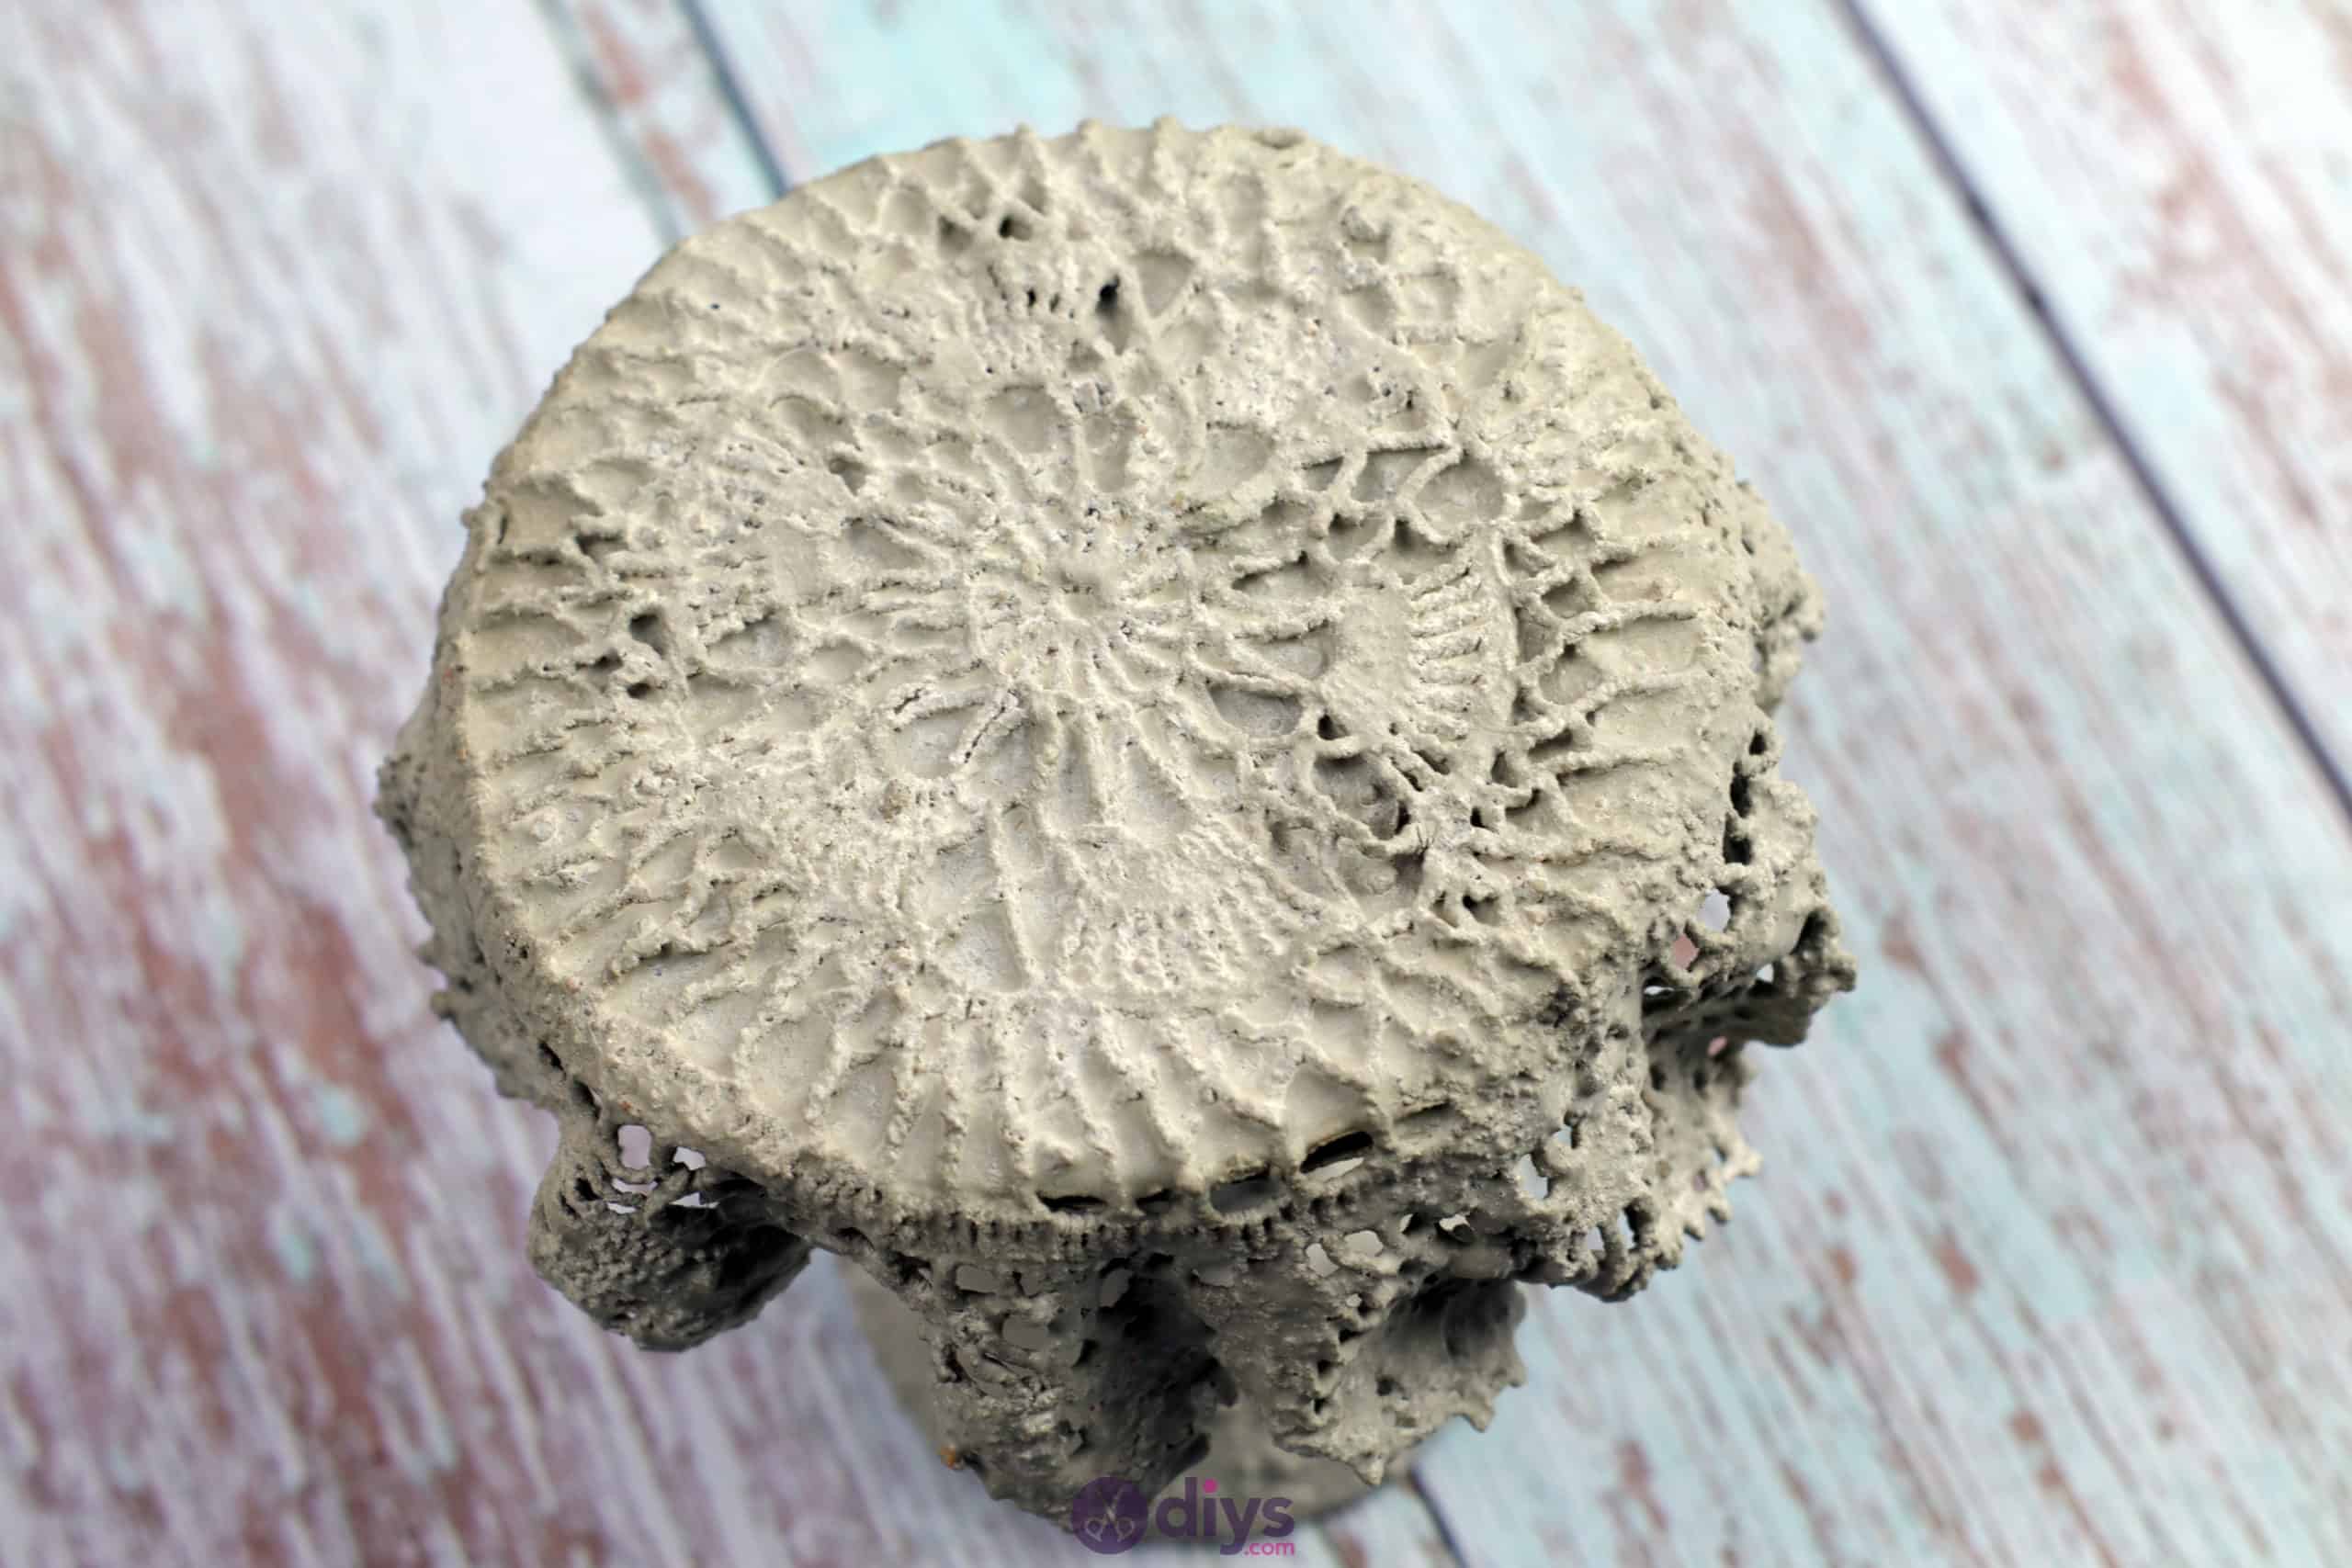
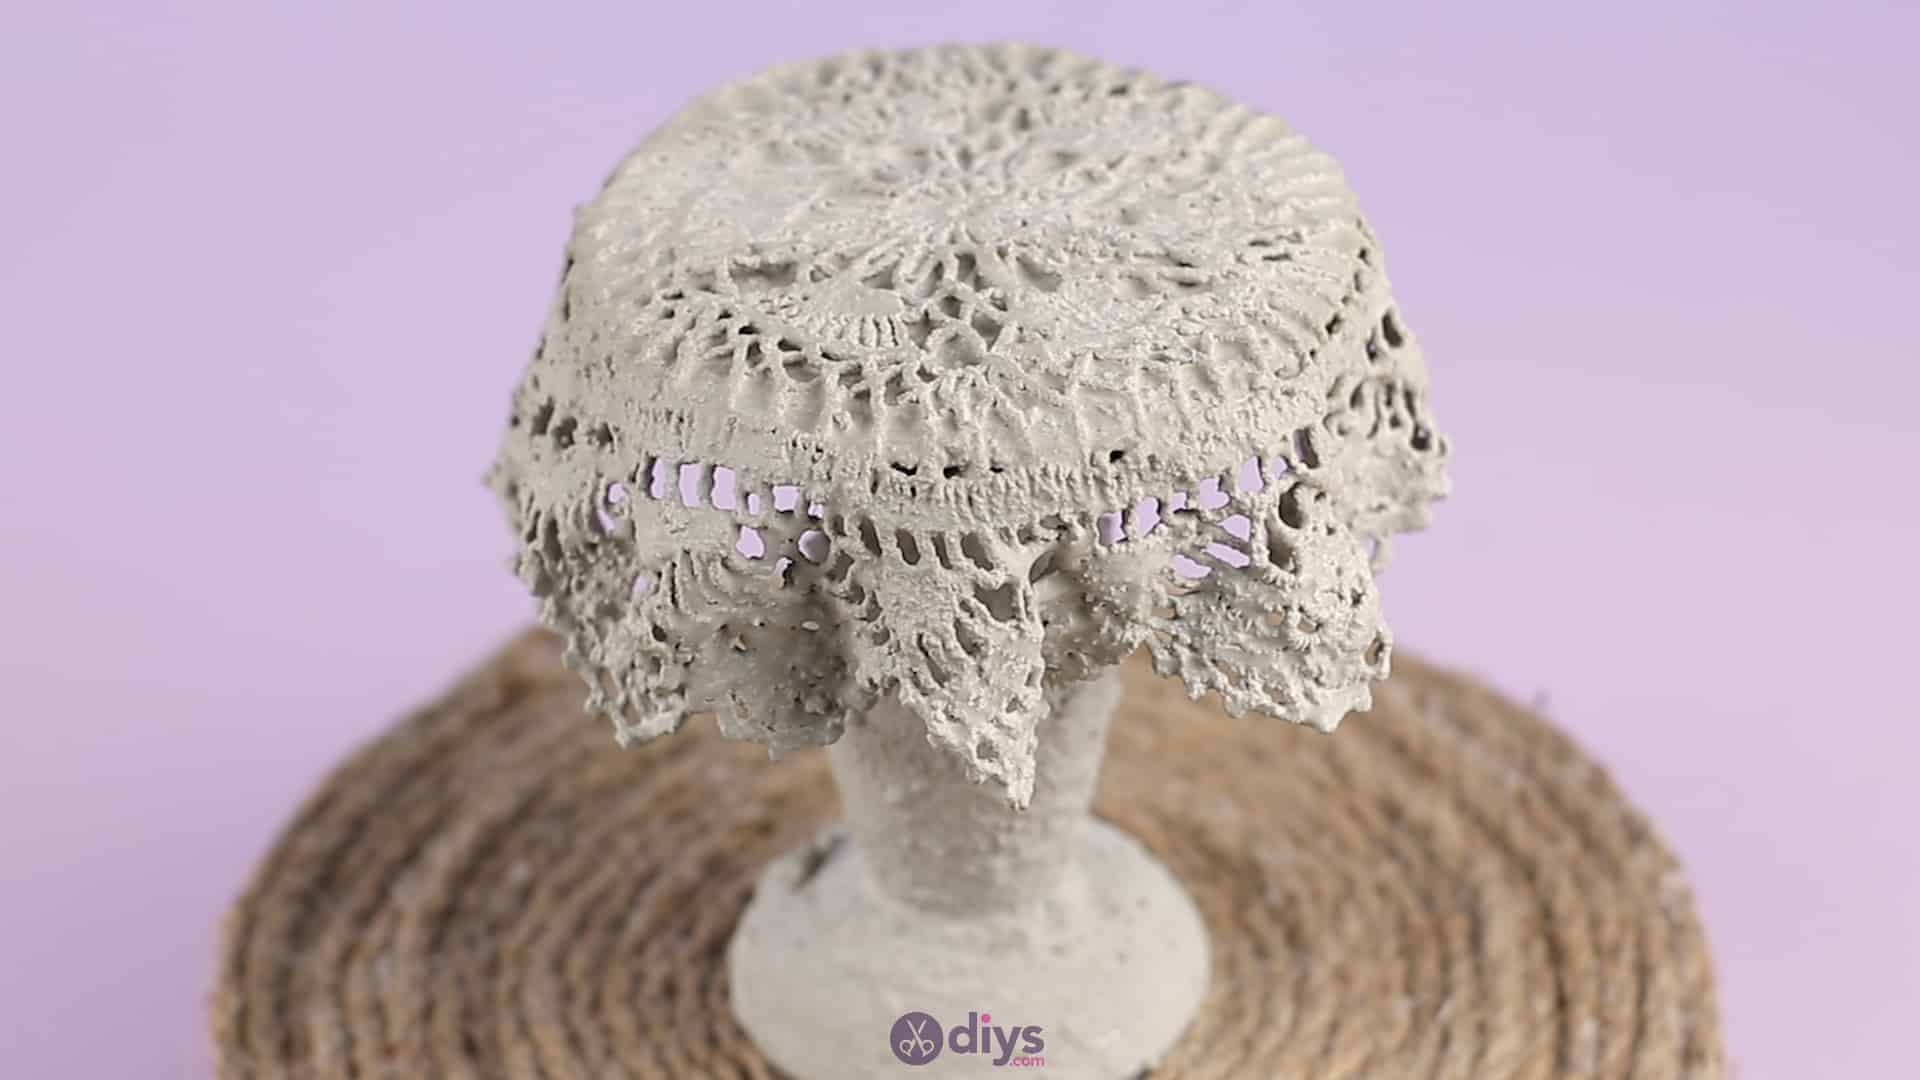
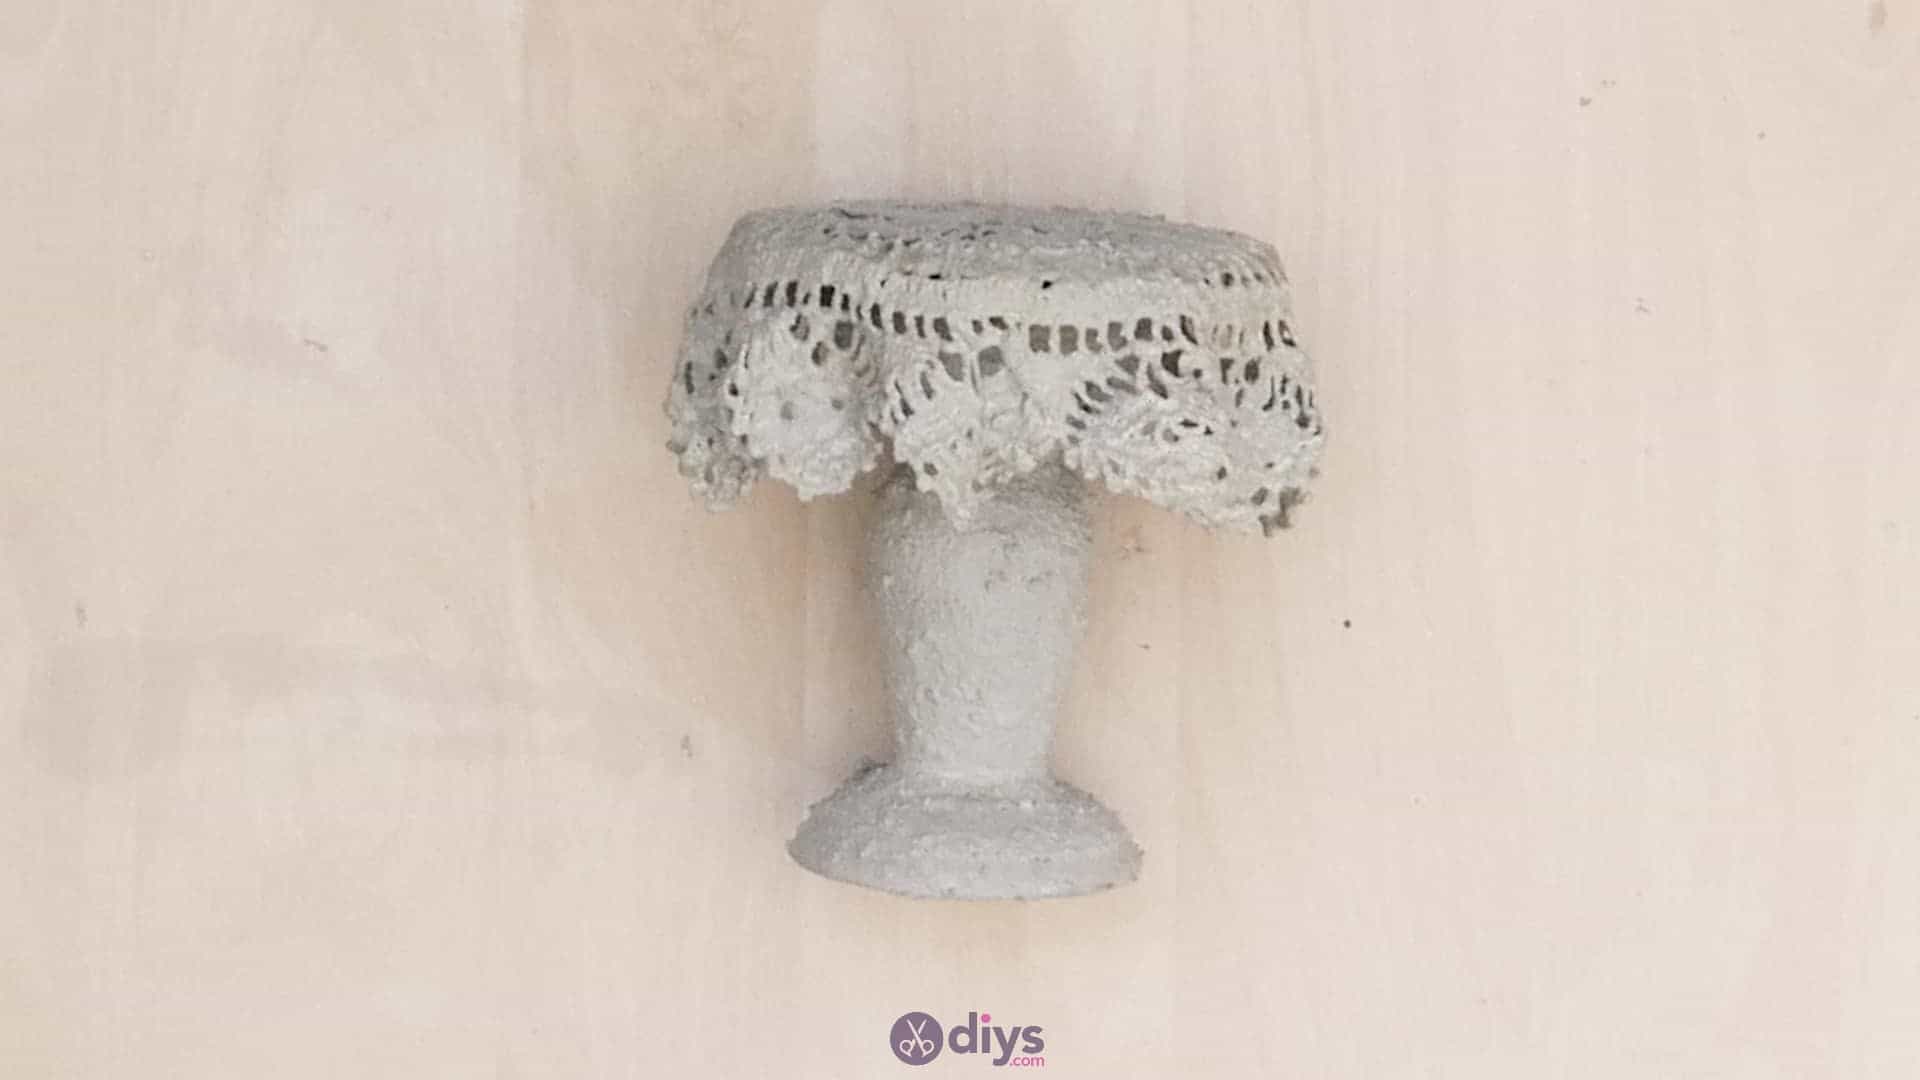
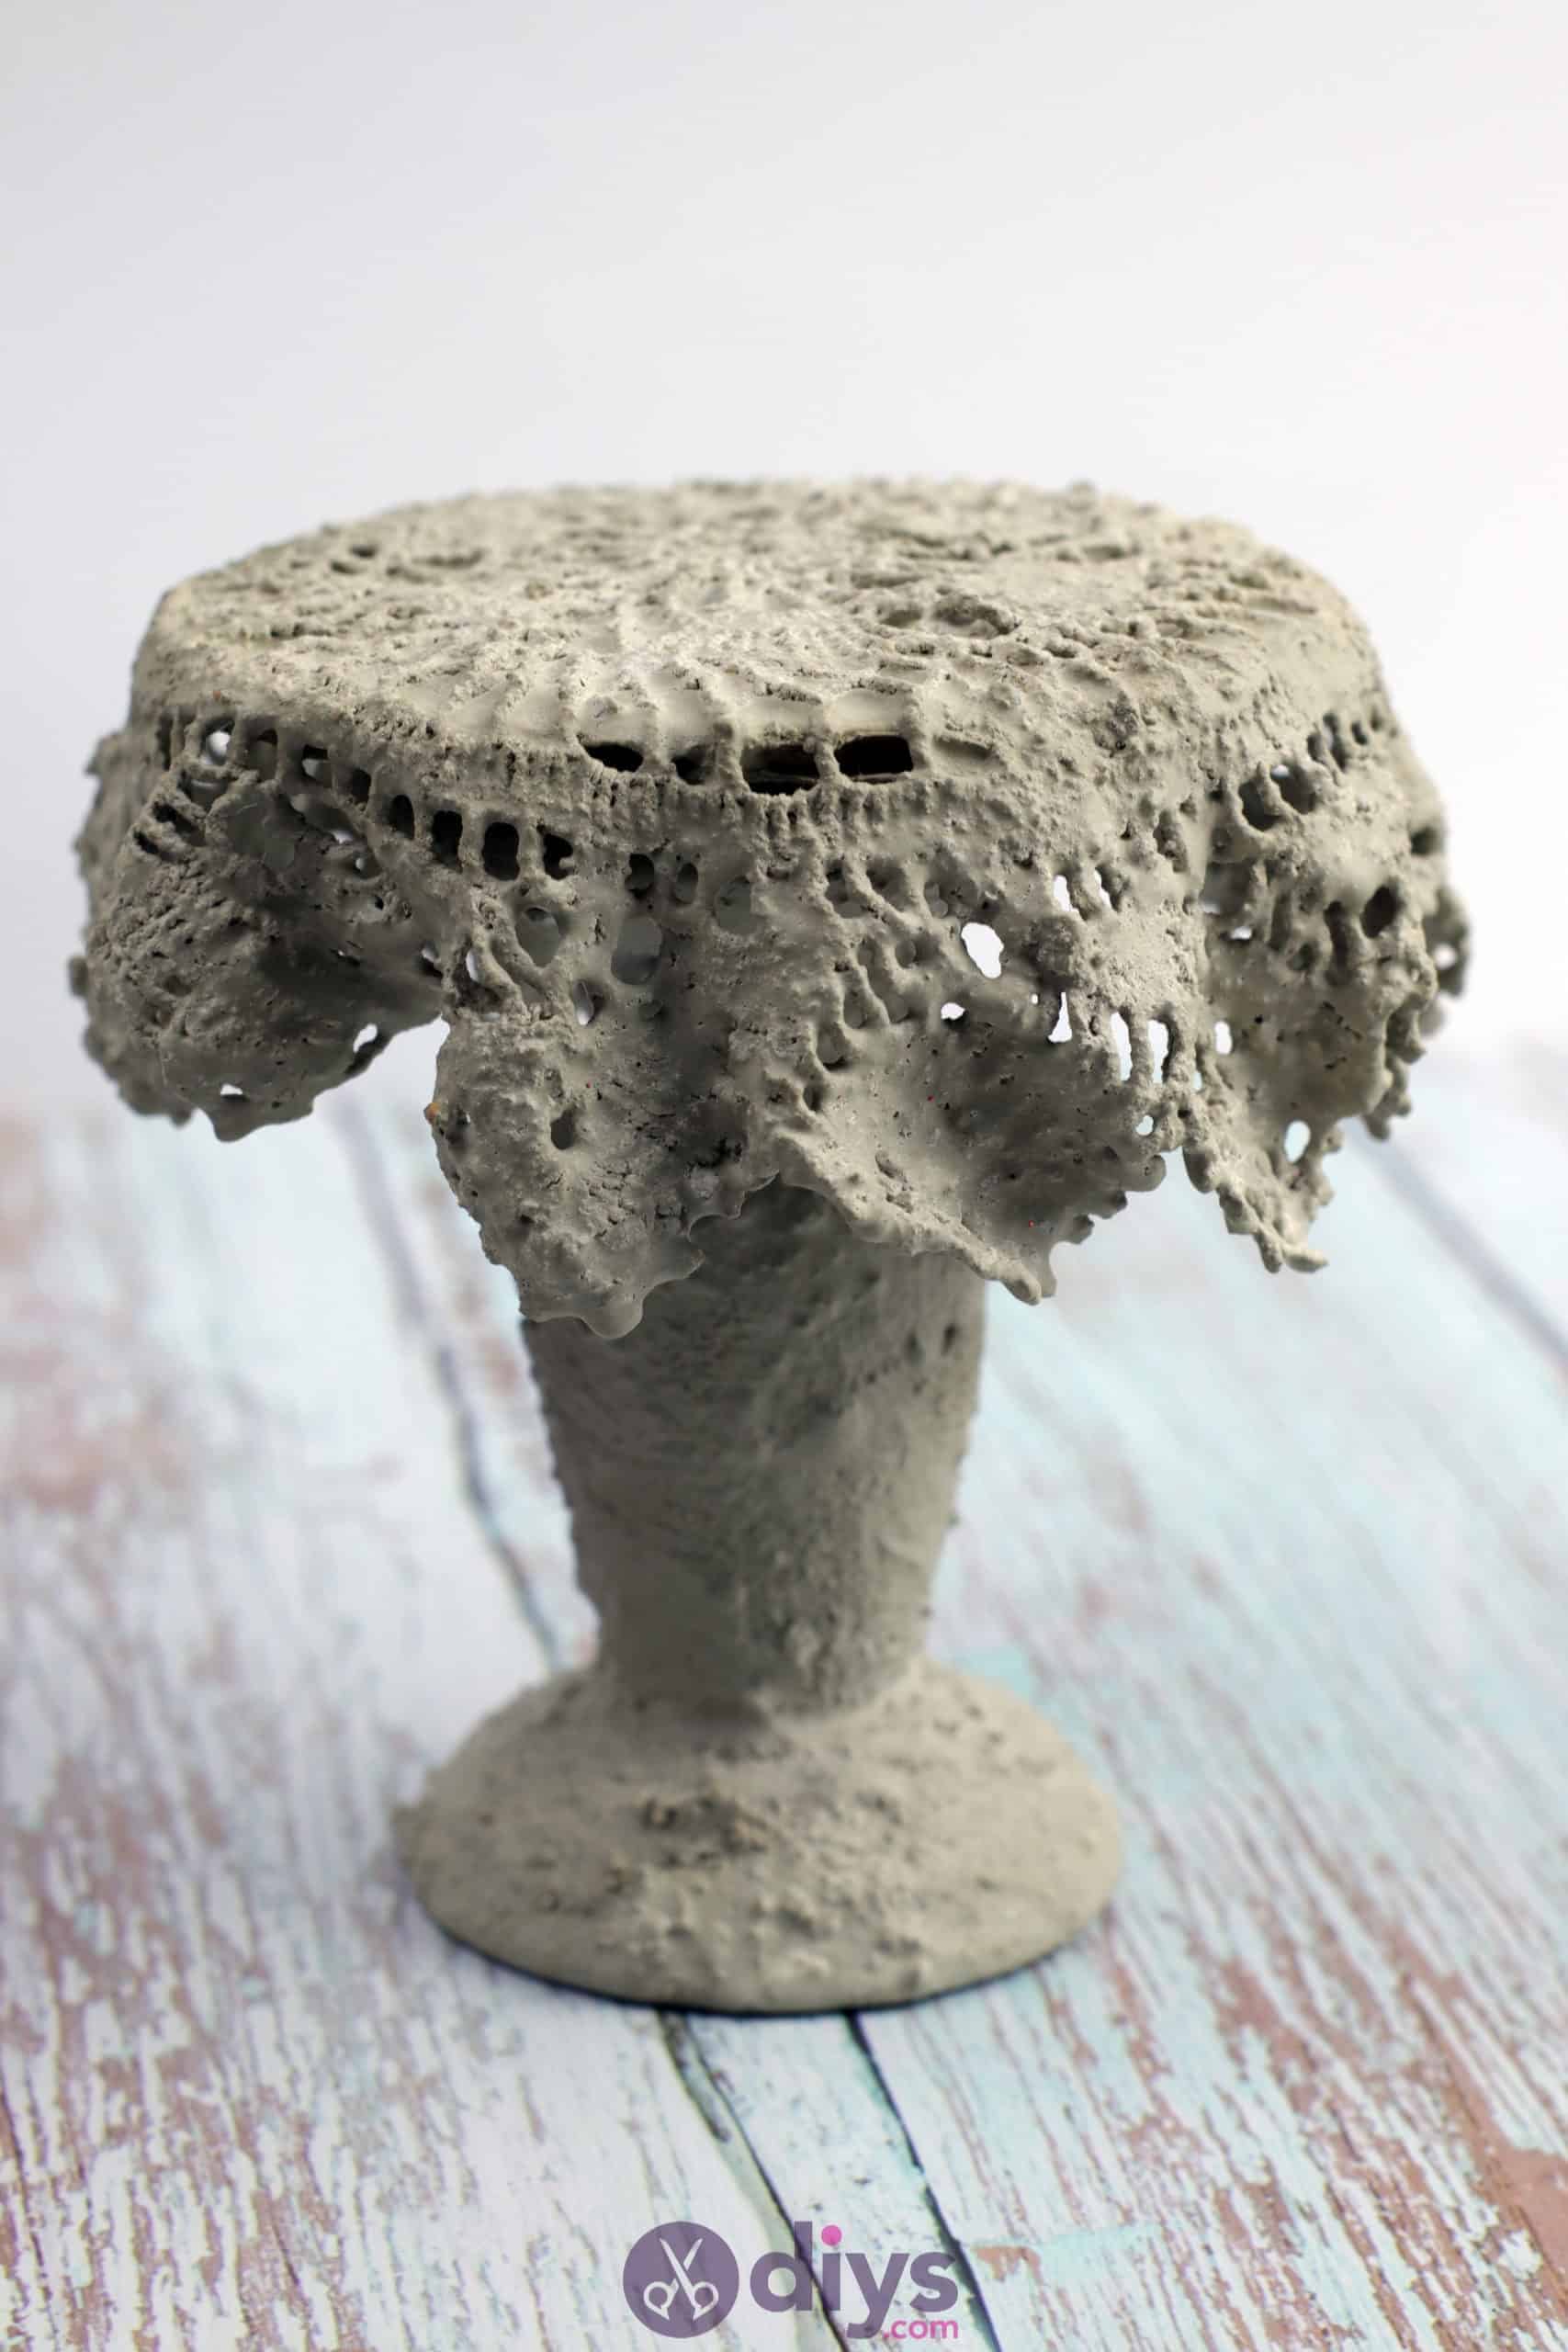
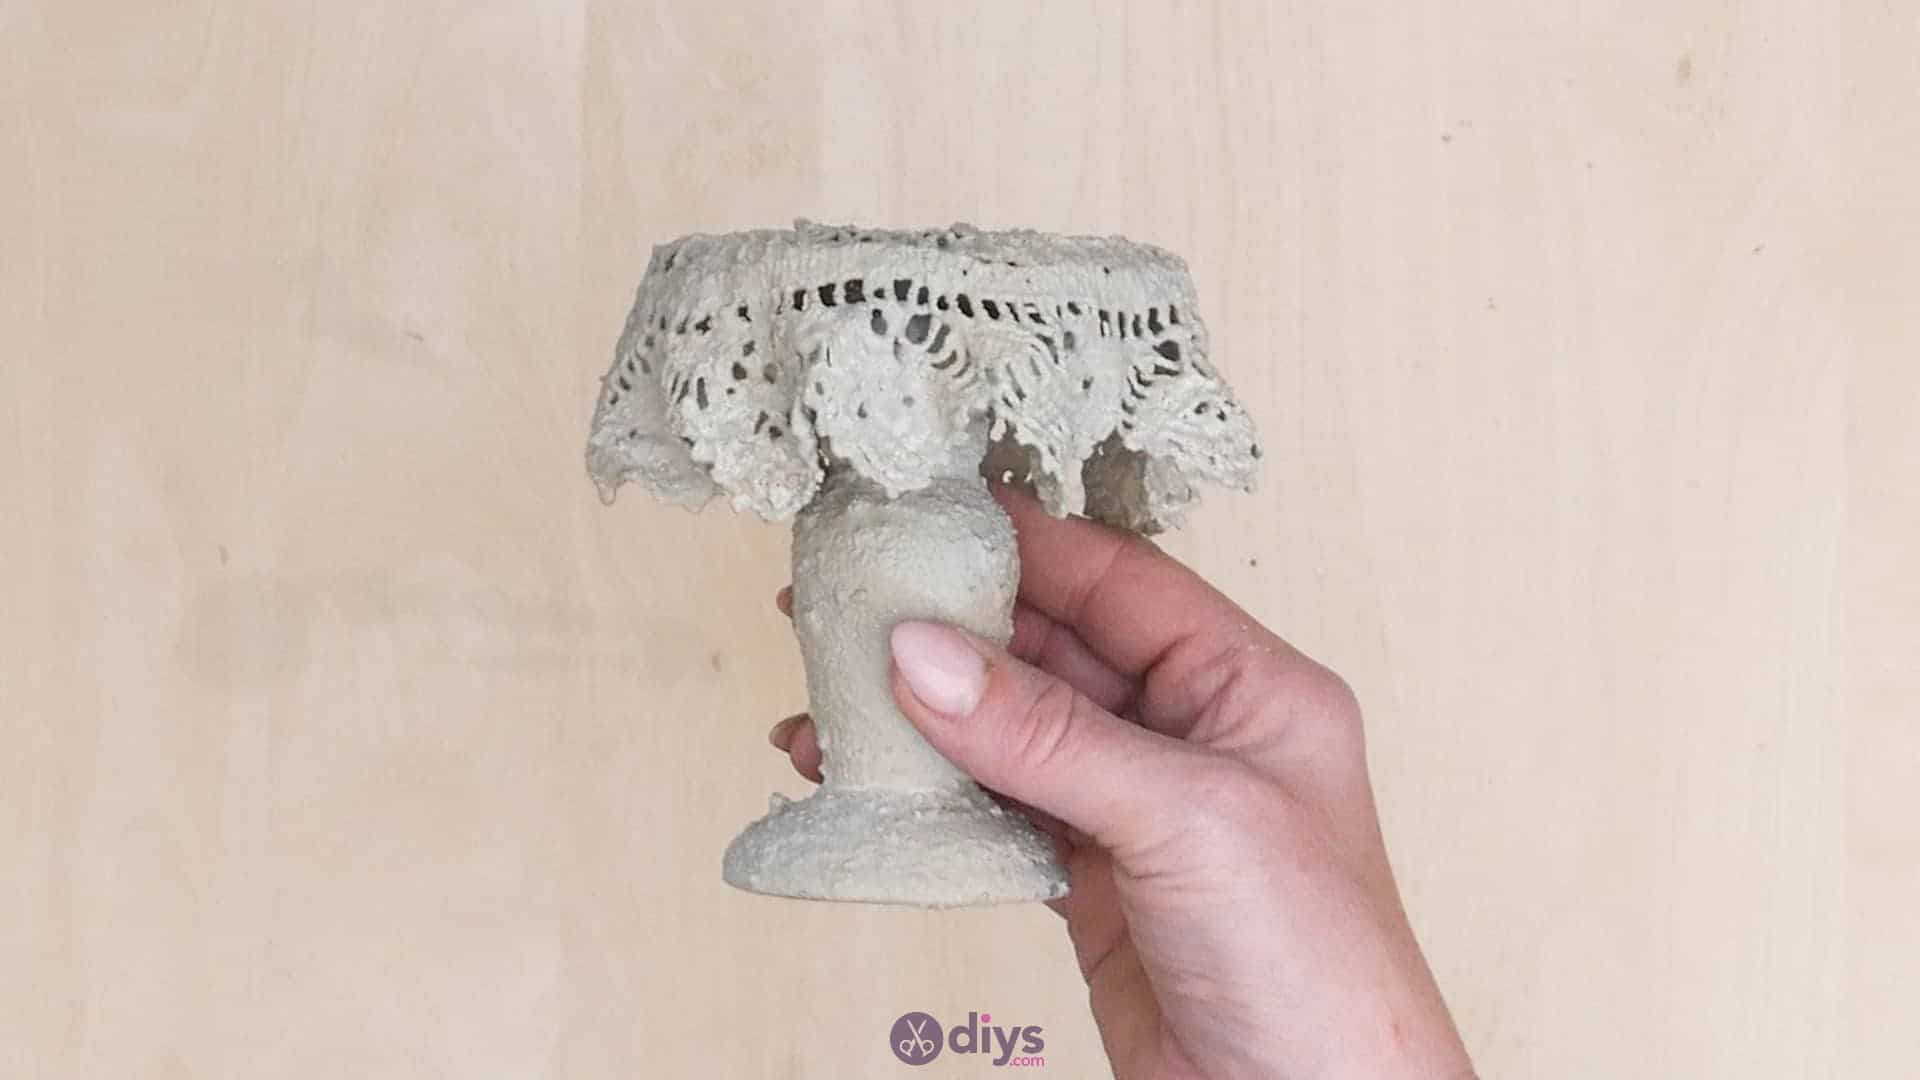
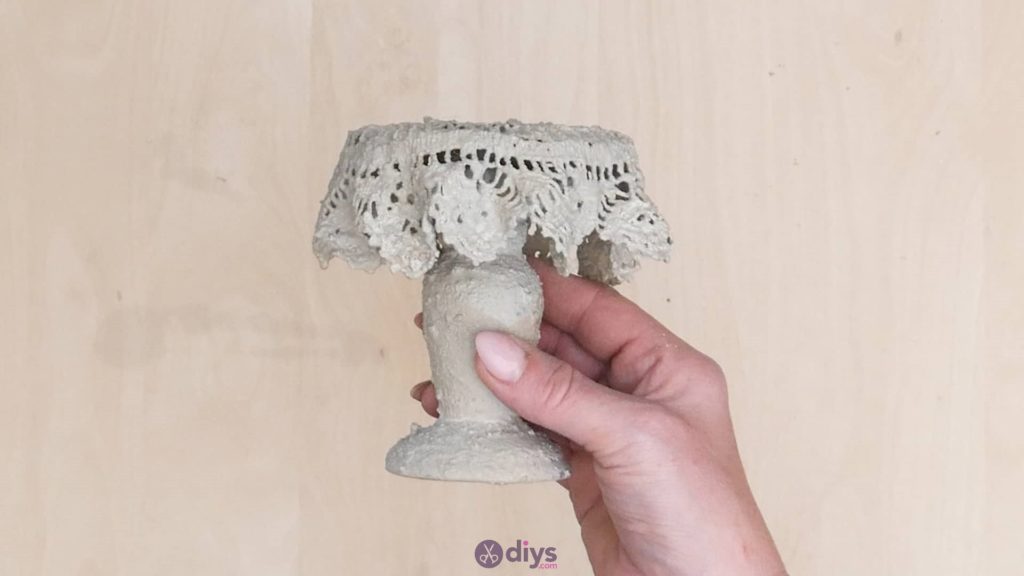
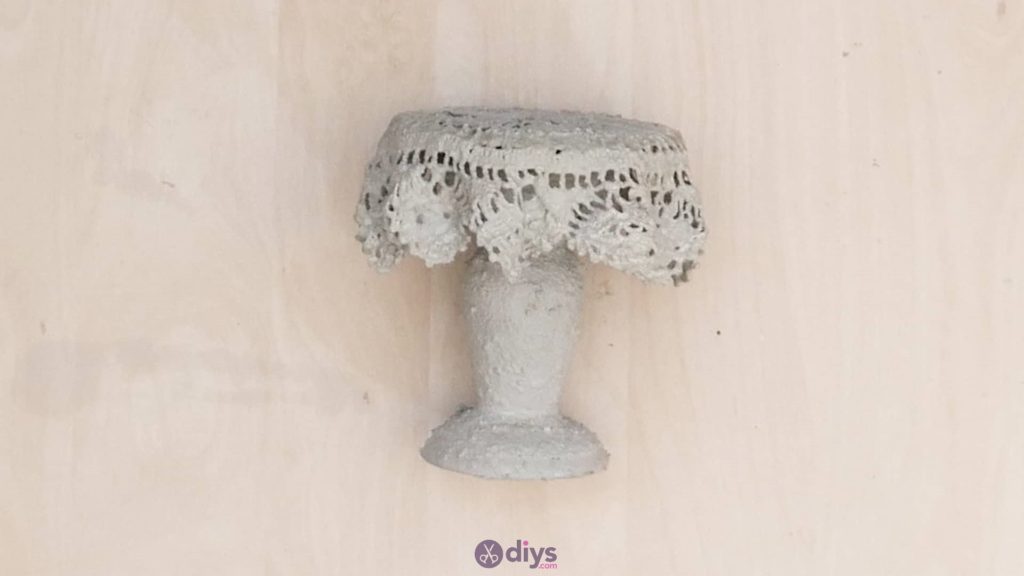
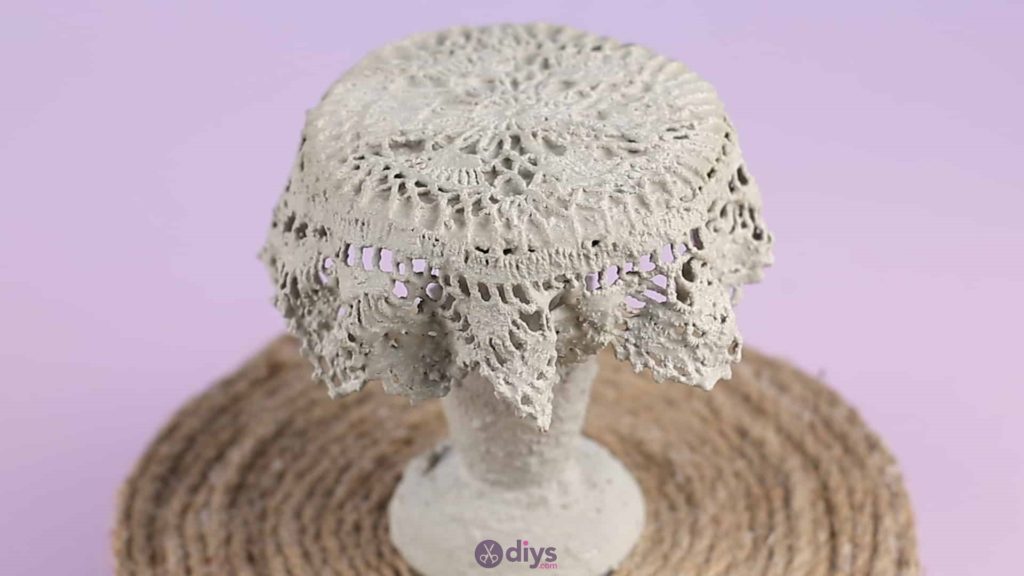
Now lift your lace doily out of the mixing bowl and unfold it. Place it on top of the cardboard circle, spreading it out like a small tablecloth and making sure the centre of the doily lines up with the centre of the concrete coated cardboard circle. Feel free to adjust the edges and the look of how the doily hangs down over the edges of the circular top, since it’ll dry however you place it. Once you’re satisfied with it, set your entire project aside to dry and clean your tabletop quickly so any spilled cement mix there is gone before it can start to dry too!
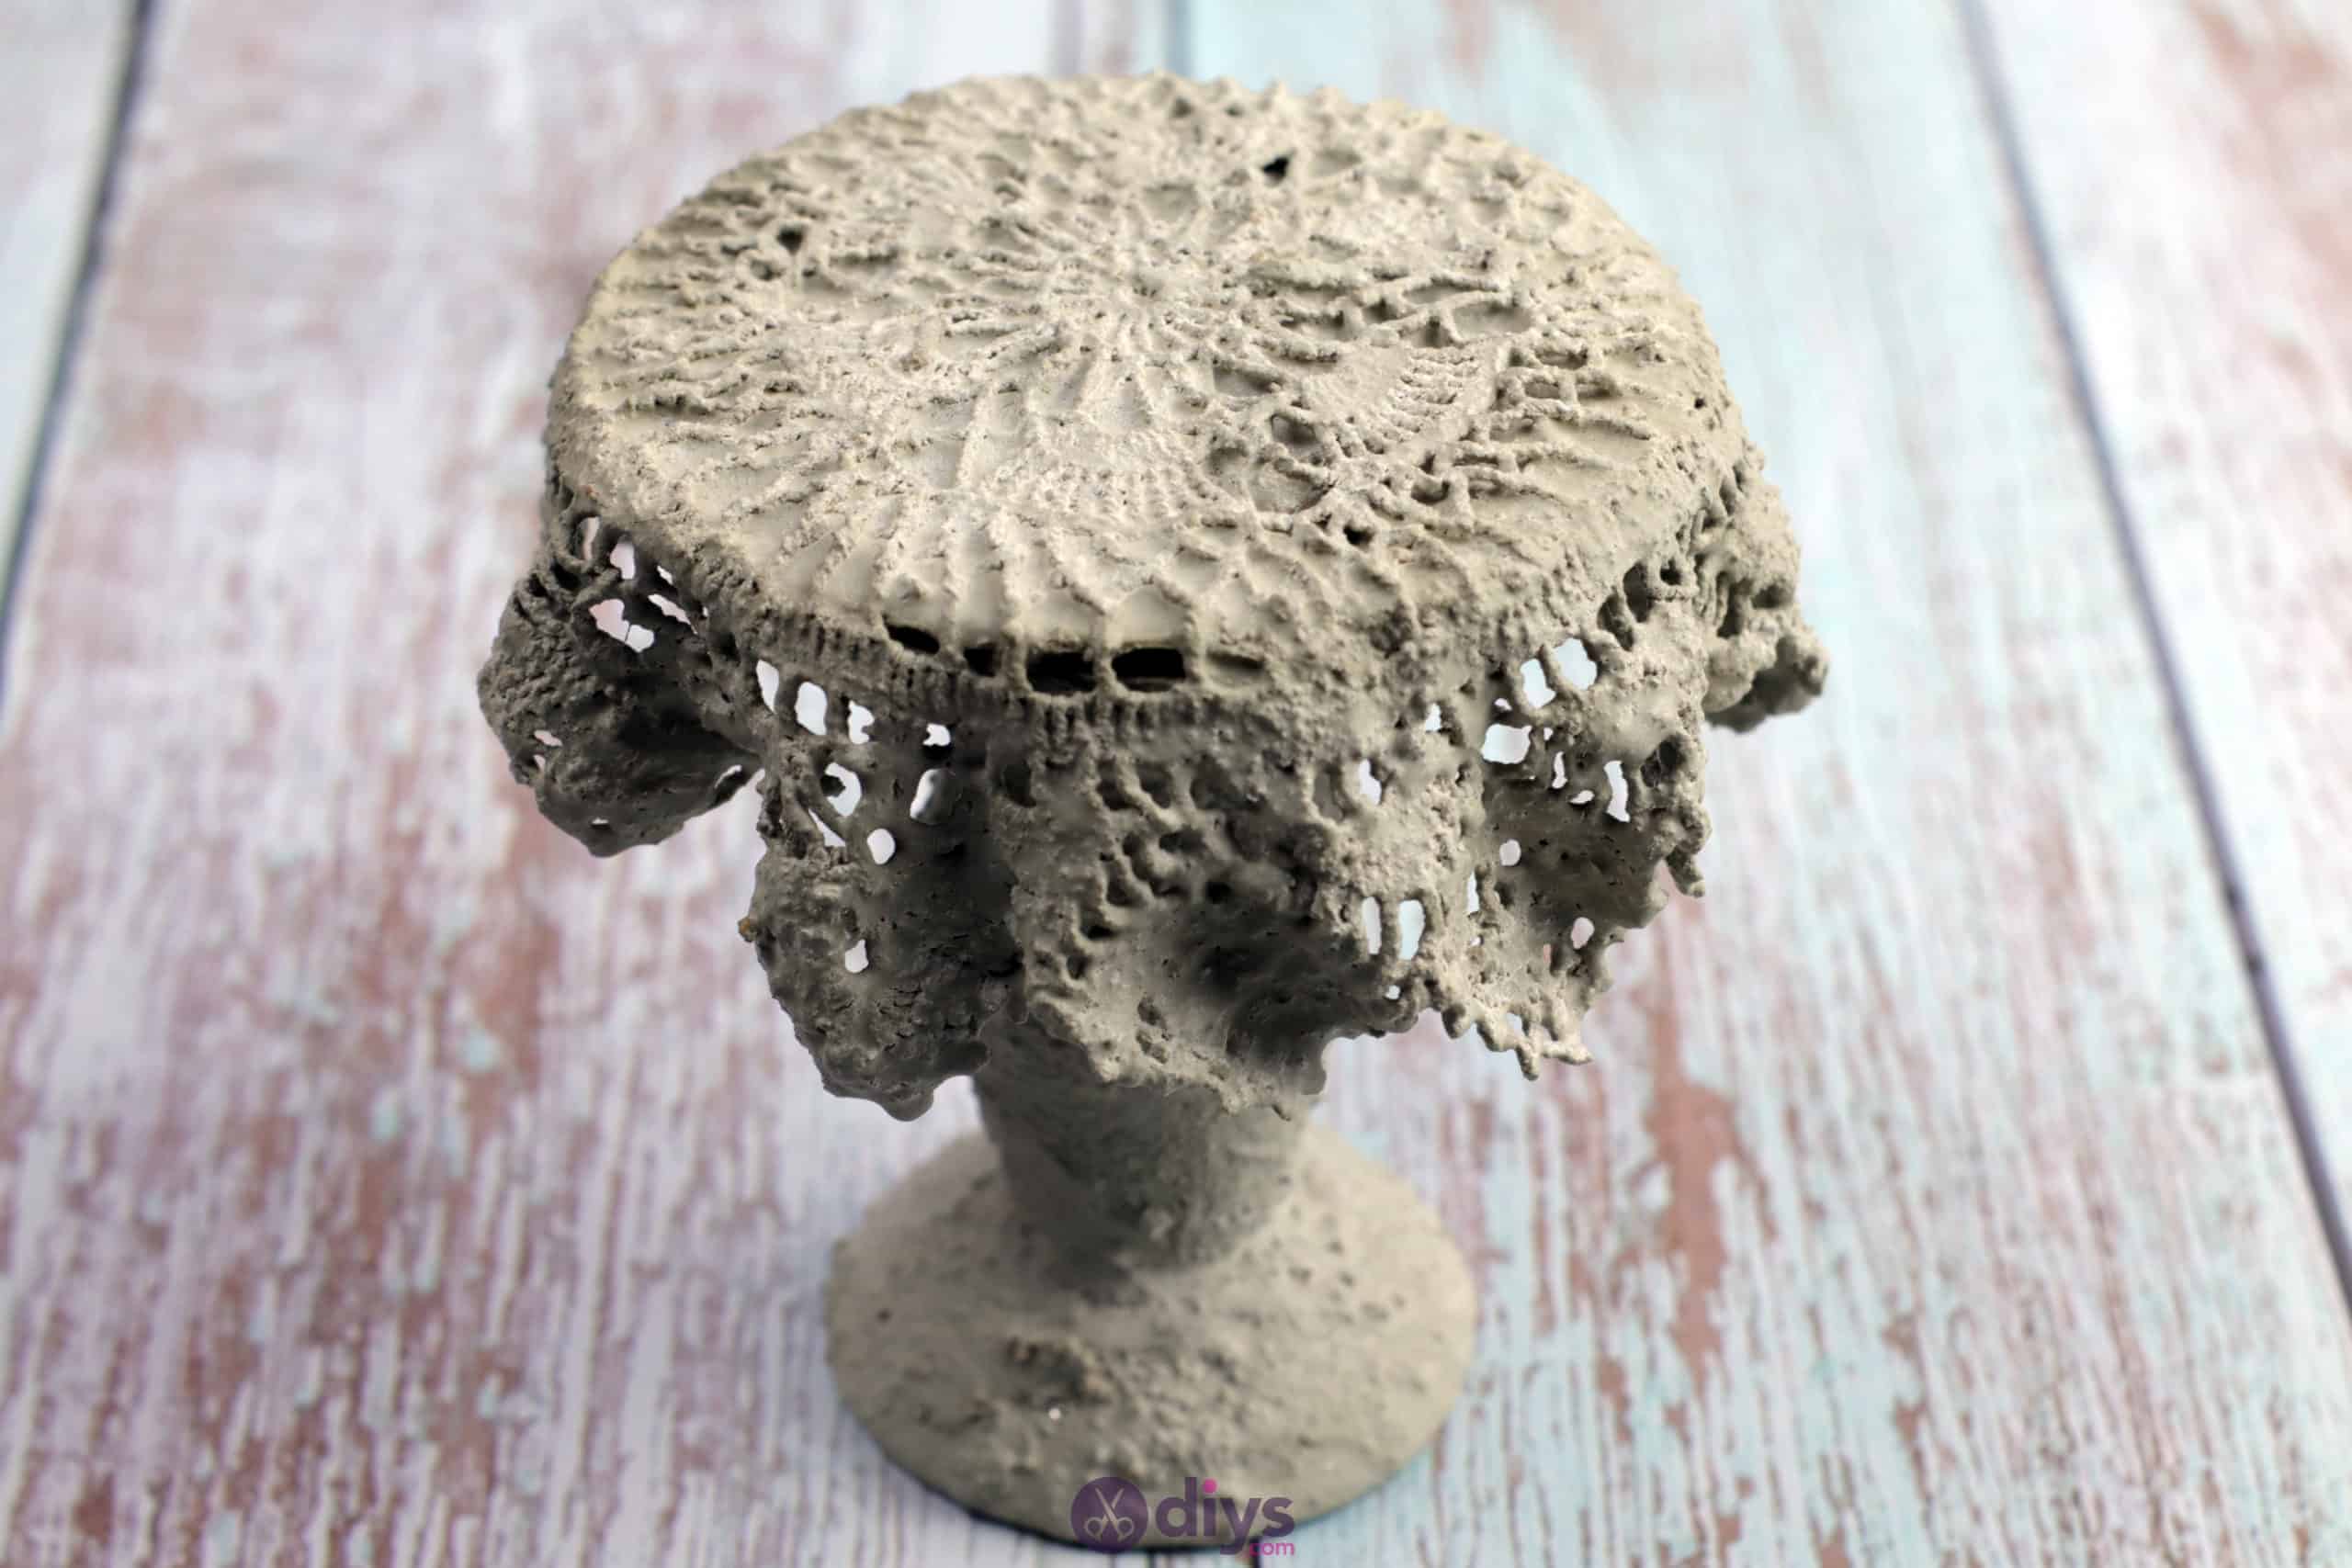
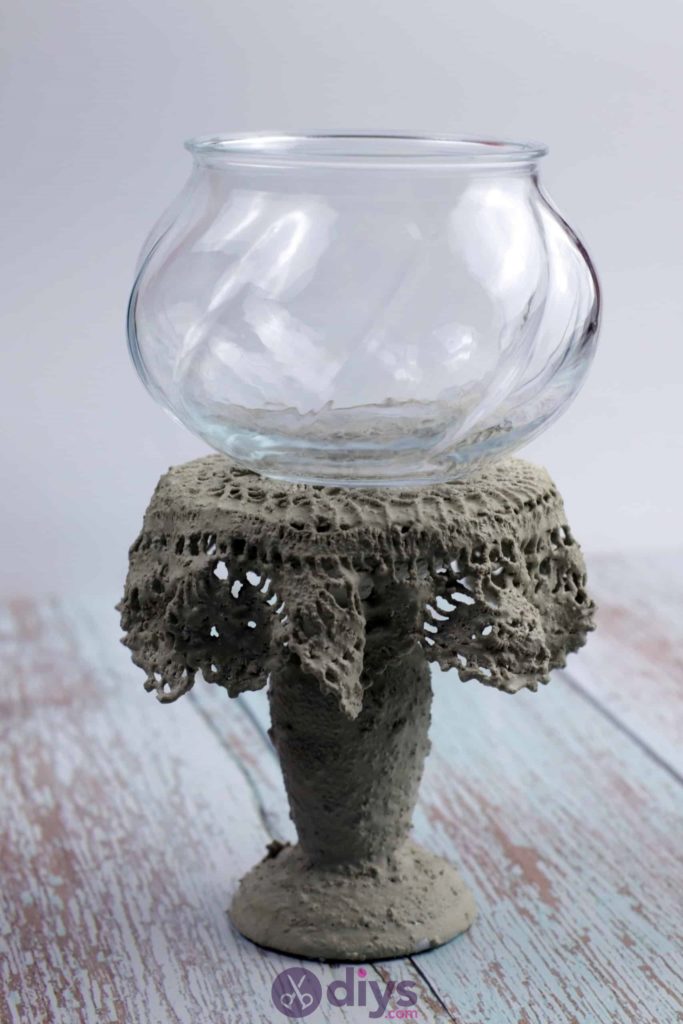
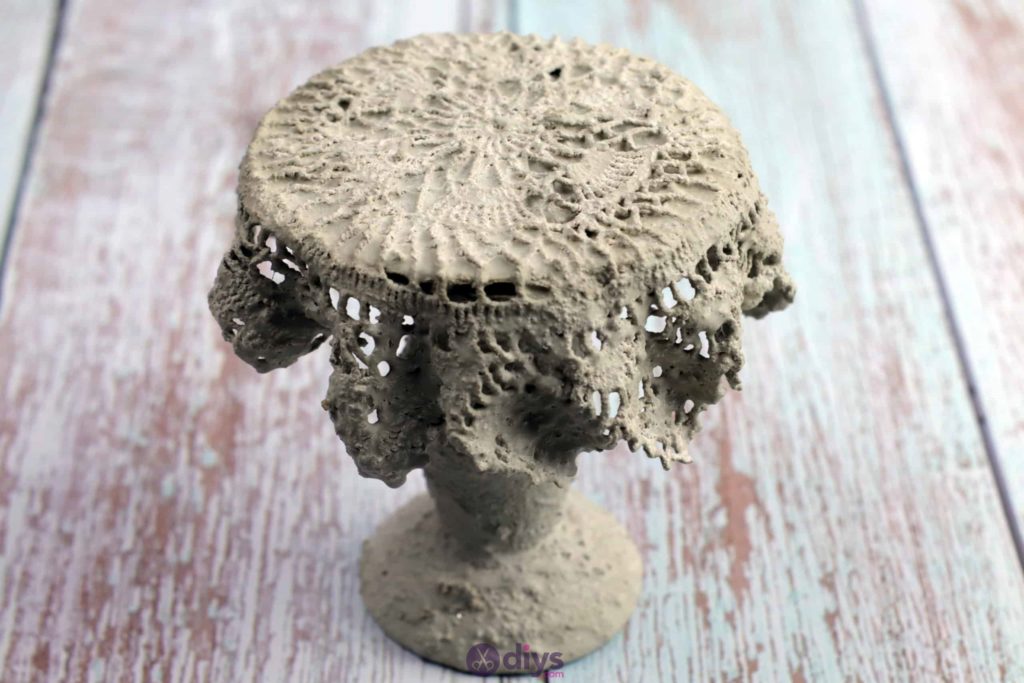
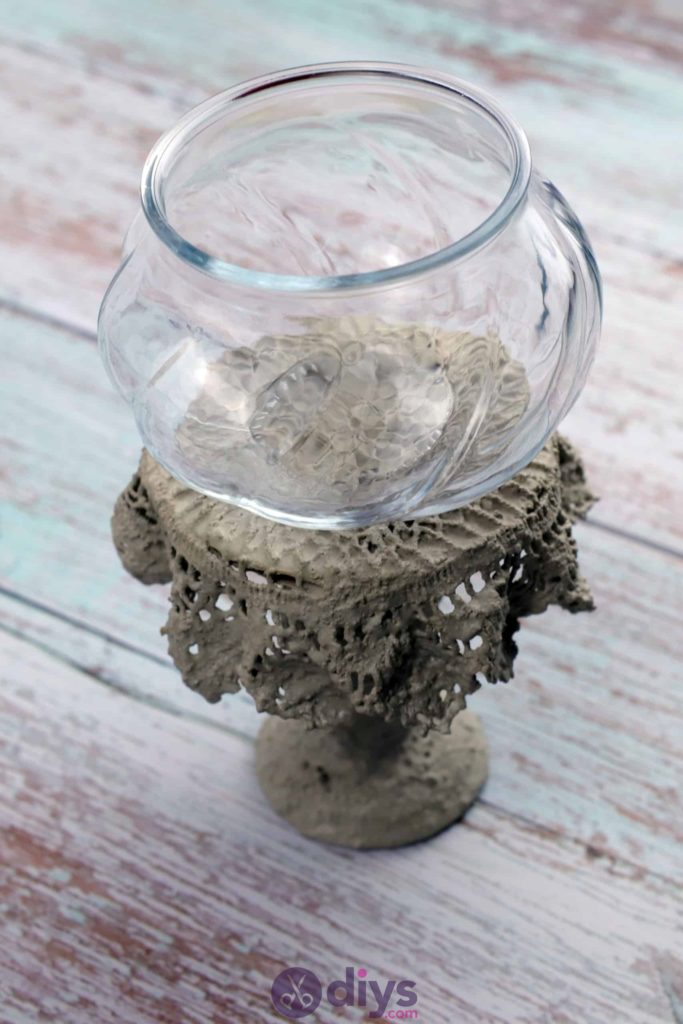
You’re all finished once the concrete coating your candlestick and saturating your doily have all dried! Use the stand to display things like flower pots, small vases, candle votives, and so on. Just in case you’d like to try this project out for yourself, here’s a fantastic tutorial video to help you!