Celery Experiment – How to Change Celery Color With Food Coloring
Updated on June 16, 2022

Celery color change is the answer to the claim that plants and gardening are not fun for kids. While celery dye isn’t technically gardening, it still gives your kids the opportunity to have a little bit of fun experimenting with plants and colors. You can think of it as the first step to introducing your children to the wonderful world of plants and gardening.
This experiment is both simple and engaging. You can either choose to let your kids do all the work while you supervise, or you can take part with them and explore more creative ways to paint your celery the colors of the rainbow. At the end of this article, we’ll introduce other plants for you to change their colors and improve on the handiwork of Mother Nature.
Required Materials to Change Celery Color
Even though celery might not be the favorite item in any salad, smoothie, or juice, that doesn’t mean you can’t have fun with it. Or at least you can coax your kids into loving this unpopular veggie by taking it off the kitchen table and adding it to the game time. So put on your science hat and get ready to have some colorful fun.
But before you start, you should have the following items ready first.
- Four plastic cups. The cups should be clear to allow the kids the see the dye.
- Food coloring. For starters, you can limit your options to blue and red colors.
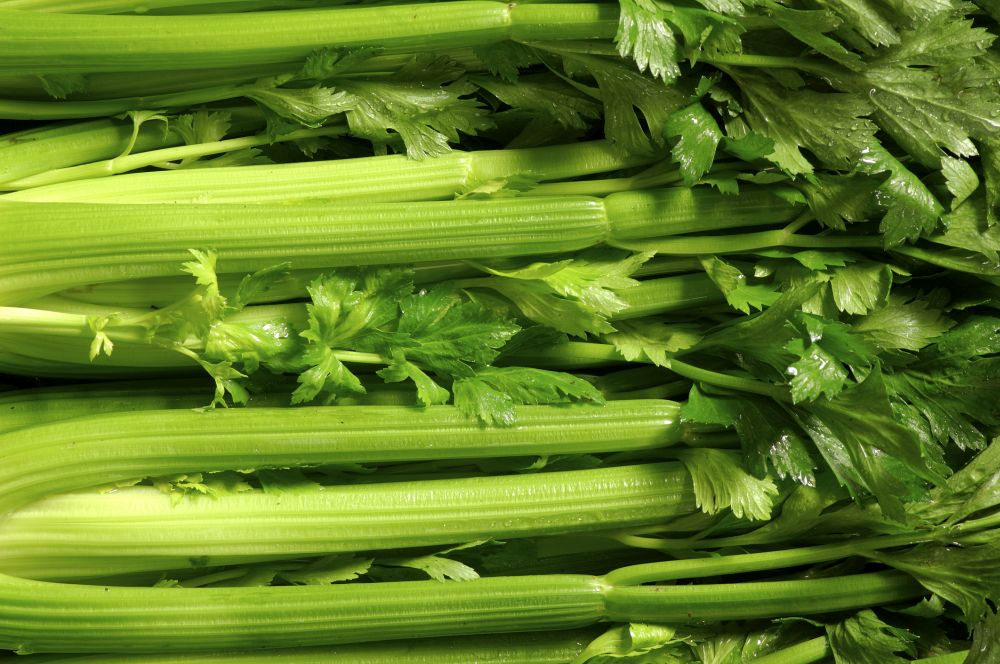
- Four stalks of celery with leafy tops still intact. Make sure they are inside stalks with pale green color.
- A pitcher full of tap water. Room temperature water will do fine for this experiment.
- A kitchen knife. That will be for your own use.
- A ruler or measuring tape.
- Paper towels, preferably white ones without any patterns.
- And eye dropper.
- A timer or a clock.
- A pen.
- A vegetable peeler.
- A magnifying glass.
- A flashlight for better visibility.
For better and quick results, choose celery stalks that have been lying around for a few days. Fresh stalks won’t absorb the dye as quickly as wilted ones and the kids might get bored while waiting for the celery to change color.
Celery Experiment
Now that you got all your needed materials and the kids are as excited as they can be, let’s start our celery color change experiment.
- Fill the four plastic cups halfway with water.
- In each cup add 10 drops of red food coloring and the same amount in blue coloring. This gives you a purplish color. If the resulting color is not bright enough, you can add an equal number of drops from both colors into each cup.
- Lay the four celery stalks side by side on the table making sure the leafy part are level.
- Use the ruler to measure 6 inches and set a mark on the stalks with the pen.
- Cut the bottom part of the stalk with the knife. The fresh cut makes absorbing water a lot faster. Now you have 4 celery stalks, exactly 6 inches each.
- Pick 4 paper towels and give each one a label using the pen. Label the first with “10 Minutes”, the second with “20 Minutes”, the third with “30 Minutes”, and the last with “40 Minutes”. (If you want to reduce the duration, you can cut the above time by half on each paper towel.)
- Place a celery stalk in each cup with the leafy top sticking out of the water.
- Start the timer.
- After 10 minutes, remove the celery stalk from the first cup and place it on the towel labeled “10 Minutes”. Do the same for the rest of the stalks when their time is up.
- Use the peeler to remove the celery skin and with the flashlight and magnifying glass to observe the subtle celery color change in the stalks.
- Put the stalks back in the cups and leave them overnight. The leafy tops will change color as well.
Multi-colored Celery Dye
If the first experiment to achieve celery color change has passed with flying colors, why not try something different and a little more advanced? In this experiment, we’ll try to give on celery stalk two different colors at the same time. You’ll need the same materials, but instead of four celery stalks, we’ll use just one.
- Cut the celery stalk lengthwise in half using the knife or a pair of scissors. When you’re about one inch from the leafy top, stop and keep it intact.
- Now you have a partially split stalk still connected at the top.
- Fill two plastic cups with water halfway.
- Add 10 drops of red food coloring in one cup and the same amount of blue color in the other cup.
- Cut the bottom of the celery stalk to accelerate color absorption.
- Place the two cups next to each other and dump on half of the celery stalk in each cup.
- Leave the celery stalk in the cups for at least 24 hours.
- To get the kids excited, ask them to predict the color of the leafy top of the celery stalk. Will it be red? Blue? Or Purple? Which color will prevail? Will the colors mix or will the leafy top have splashes of different colors?
- After 24 hours, the stalk would have absorbed the colors in both cups, blended them together, and created a new color that is a mix of red, blue, and light green.
- Experiment with different colors and color combinations to create radiant and vibrant colored celery stalks.
The Science Behind Celery Color Change
Naturally, the kids will become curious as to what happened and what type of magic was involved in the celery color change. Explain to them the basic science behind it in terms suitable for their age. The two main scientific principles related to water in this experiment are adhesion and cohesion. Adhesion allows water particles to stick to various surfaces and staying there until they evaporate. Cohesion is the reason the same water particles stick together and move up in small and narrow tubes. This is often called capillary action.
With the help of a flashlight and a magnifying glass, the children can see for themselves, the colored water particles making their way up the celery stalk slowly but steadily. Explain to them that this is how the plant gets the moisture and nutrition it needs when it’s growing in the garden.
Since the water molecules attach themselves to the food coloring, when the water moves up the narrow veins of the celery stalk, it brings the dye with it which changes the color of the stalk and leafy top.
This ability of plants to absorb materials in the soil can work to our benefit. Poplar trees are known to absorb toxins such as excess nitrates in the soil while mustard plants can absorb selenium. As for sunflowers, their roots can draw uranium not just from the soil but also from adjacent lakes and bodies of water.
Change Color of Other Plants

With the science behind it explained, you can now take this scientific experiment a few steps further. Naturally, it works not just with celery, but with other plants as well. The best candidates are large flowers that are originally white. Here you can get as creative as you like with the color combinations to color the carnations with different shades of the same color.
We recommend you start with the flowers of the Iceland poppy, SunPatiens, daisy fleabane, blackfoot daisy, and plumeria among others. They each have white blooms that show the subtle changes in coloration much faster than colored flowers. Here’s how to change the color of the cut flowers.
- Make sure the flower stem is at least 6 inches long and make a fresh cut at the bottom of the stalk.
- Fill a cup halfway with water and add about 20 drops of food coloring to the water. You can start with red color for best results or you can create your own color combinations as we have seen above.
- Check on the flower at different times of the day to make sure the color of the petals is changing.
- Remove the flower from the water when you have achieved the desire color shade. Keep in mind that the longer the flower remains in the dye, the deeper the color change will be.
- Experiment with different flowers and create stunning blue daisies, purple plumeiras, orange SunPatiens, and turquoise Iceland poppies. You’ll have unique floral arrangements that give you bragging rights among your friends.
Celery Dye Tips and Tricks
The key to getting the kids interested in a science experience that involves celery is to make sure the experiment is a success. Let them take part and record their own observations. Allow them to mix the colors and come up with their own ideas for plants to color as well. Here are some tips that apply not just to celery color change but to other plants and flowers as well.
- To prevent the celery stalks from knocking over the plastic cups, prop them against the wall or a hard object.
- Use slightly wilted celery to get good results.
- To speed up the experiment and cut down the boredom, take the measurements once every 5 minutes.
- Make sure to do all the cutting and peeling yourself. The kitchen knife and peeler are not for the children to use or play with.
- Use plenty of paper towels to absorb dye spillage and avoid making a mess.
- Keep the kids entertained while you wait for the celery to change color by flashing light on the stalks and use the magnifying glass to observe color absorption in real-time.
- Make sure everyone is sitting comfortably and that you time this science experiment before, not after, laundry day. No matter how careful everybody is, you might end up with more food coloring on your clothes than you like.