Anise Care – How To Grow And Harvest Anise Herb
Updated on October 19, 2021
The star-shaped anise seed pods in someone’s kitchen are a testament to refined cooking skills and taste. You can practically show your culinary prowess by having a few jars of herbs strategically placed in the kitchen for your guests to see. And since anise is an aromatic herb, it should be front and center of your herb collection.
But anise is more than just a showy herb. It also has many uses both in the food and beauty industries as well as in medicine. It’s a no-fuss herb that grows practically on its own and requires little attention and care. Read on to find out how to grow anise in your garden and how to care for and harvest the herb for your own use.
Anise at a Glance
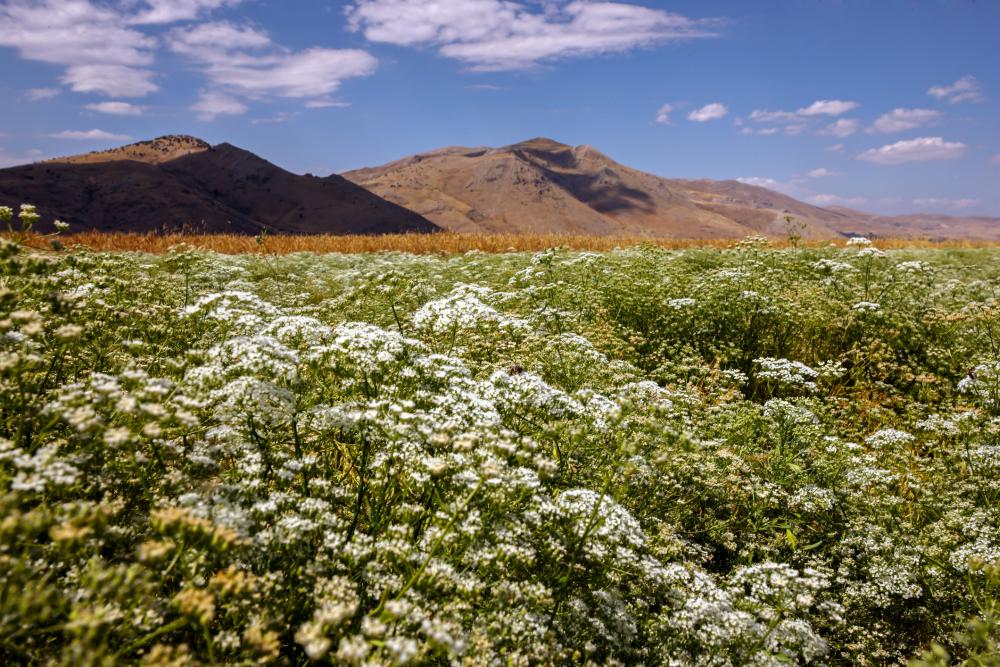
A member of the Apiaceae family, anise is native to the Mediterranean and southwest Asia. As a herb with aromatic seeds, anise is often confused with licorice and fennel. It grows as an annual, even in its native habitat. And you can grow it outdoors easily in zones 4 to 11 without any issues. In a way, that makes it easy to grow and cultivate without having to worry about whether it will survive the winter months or not.
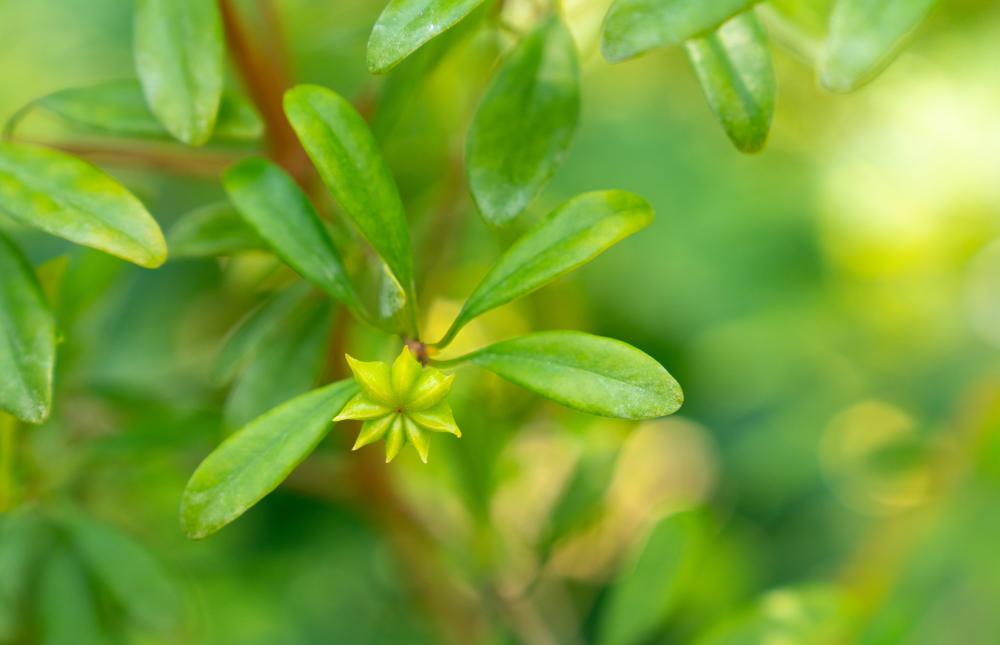
The mature plant can reach up to 3 feet in the right conditions. It has small green leaves that grow on top of long and slender stems. Each stem carries between one to 3 leaves on average. The leaves at the base of the plant are large, lobed, and grow to about 2 inches long. The leaves at the top are smaller and covered with fuzz or feather-like substances.
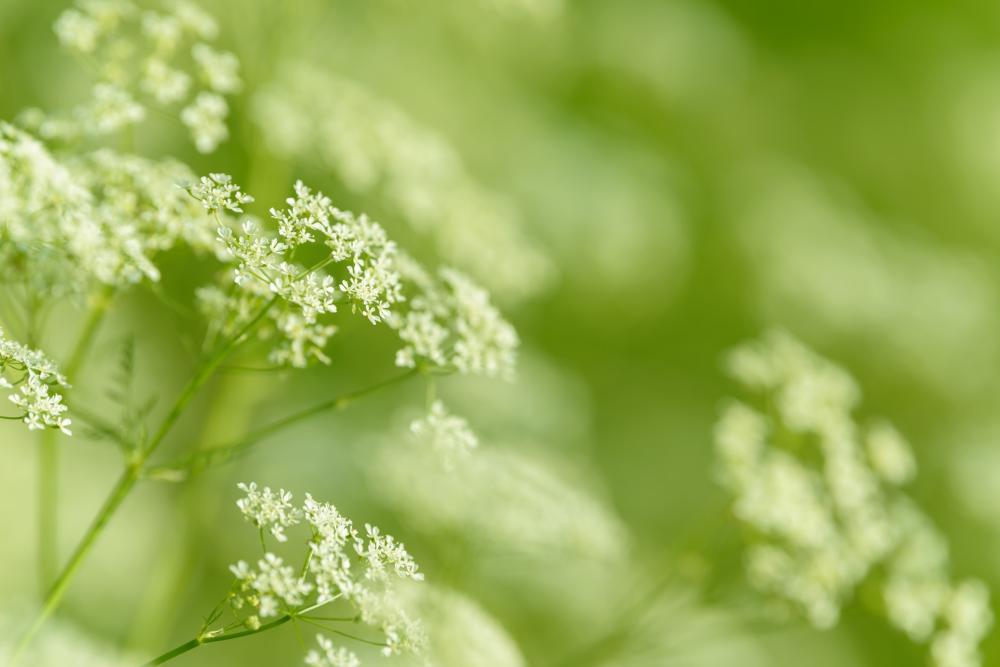
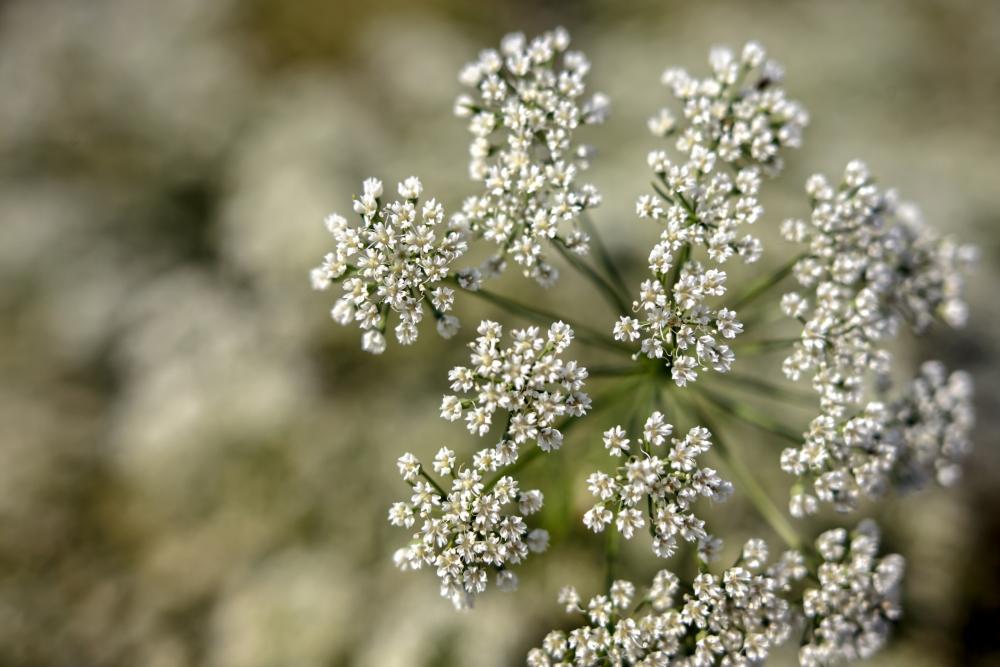
As soon as the plant develops full foliage, flower buds emerge in earnest. The flowers are either yellow or white depending on the variety you grow. But they’re usually small measuring less than a half inch in diameter. Growing in clusters, the flowers wait to be pollinated before the pods of seeds develop.
While the leaves and flowers both have high ornamental values, most people grow the herb for its seeds. The pods are called aniseeds and they hardly reach a quarter of an inch in length. But as we’ll see later, those aromatic seeds have many uses.
Anise Uses
Back in the day, the ancient cultures that thrived around the Mediterranean basin had more practical interests in anise. A patch of the herbaceous annual growing in someone’s garden wasn’t there for ornamental purposes. It was growing to produce seeds that will go into a lot of dishes, desserts, medicinal concoctions, and herbal teas. Here are some of those uses.
- Food: Thanks to the flavors and aroma of the seeds, anise has been a staple of many recipes some of them date back thousands of years. They have a tarty sweet taste that is hard to miss. These days, anise seeds are the main ingredients in aniseed balls, twists, and drops. In Italy, it goes into making biscotti and the Dutch make muisjes with it. In other countries such as Germany, Peru, and Australia, the seeds of the herb are used to make confectionery including chocolate.
- Essential Oil: Whenever humans came across aromatic seeds, they tried to extract the oil inside and use it for cosmetics and massage. Anise essential oil is packed with estragole and anethole. It’s found in many upscale spas and has a soothing and rejuvenating effect on the body and senses.
- Liquor: Just as with essential oil and food, anise was soon used to add flavors to liquor. Each country adds the seeds to its own local liquor. So in Greece, it goes into making ouzo, while in France, it’s responsible for the strong flavors of absinthe. In the Middle East, anise is added to arak to give it a more appealing taste.
- Medicine: While Ancient Egypt and Crete burned the seeds of anise to cure headaches, Europeans in the Middle Ages prescribed the seeds with honey to cure flatulence, insomnia, and bad breath.
How to Grow Anise
If you live in a zone similar to the Mediterranean climate, then you can start anise seeds directly in the garden. However, if you have a short growing season and don’t get enough sun in the spring and summer, you can start the seeds indoors about 8 weeks before the last frost. Then when the weather warms up and the soil temperature rises above 55 degrees F, you can move the seedlings outside. Here’s how to start the herbaceous annual from seeds in easy steps.
- Choose a terra cotta pot with drainage holes and a rim averaging 5 inches in diameter.
- Fill the pot with a general-purpose potting mix. Don’t use soil from the garden since it’s too heavy for the seeds and might be contaminated with pathogens.
- Leave about one inch from the top and firm the soil with your hand to prepare it for the seeds.
- Spread 5 seeds at most in the pot and place them apart from each other. Don’t put the seeds close to the edge.
- Cover the seeds with a thin layer of potting mix and firm it slightly.
- Water the pot gently to get it moist. Avoid dislodging or uncovering the seeds.
- Cover the surface of the soil with a plastic sheet to keep the soil moist.
- Place the pot in a warm and dry room where the temperature doesn’t drop below 60 degrees at night.
- Check on the soil every day and water it until the seeds germinate.
- After one to two weeks, the seeds will germinate.
- When the seedlings have two sets of true leaves, thin them out. Keep one to two healthy seedlings in the pot.
- If you want to transplant the seedlings to the garden, you can do so when the last frost has passed. Otherwise, you can keep the plants growing in the pot and water and feed them regularly.
Anise Care
One thing to like about growing anise is that the plant can take care of itself and handle different adverse conditions without complaining or showing signs of stress. Apart from the sun and light requirements, you won’t have to worry about pruning, feeding, or providing specific humidity levels for this herb.
Soil
Unless you have loamy soil in your garden, you should grow it in pots and fill the pot with light and sterile potting mix. However, even if you have heavy soil, you can amend it with lime, peat moss, perlite, and shredded bark to make it easier for anise to grow. Test the soil texture in your hand to make sure it’s loose enough. Drainage is important as well since the herb doesn’t like to sit in waterlogged soil for long. As for the soil pH, aim for some levels between neutral and slightly acidic. A reading between 6.0 to 6.8 will tell you that you have the right pH levels.
Light
Light is by far the most crucial aspect of anise care. Not enough light can have a serious impact on the plant and might prevent it from flowering either. At the same time, you shouldn’t expose the annual to strong wind. So ideally, it should grow in a sheltered spot that gets 8 hours of full sun every day between the spring and summer.
If you live in cooler zones where the days are short, you can still grow the plant successfully indoors. Use grow lamps and place them about 2 inches above the top of the plant. Turn the lamp on for at least 12 hours a day. If you’re using stronger HID lamps, keep them about 2 to 4 feet away from the pots to avoid damaging the herbs.
Water
As far as watering is concerned, anise prefers shallow and more frequent watering than other plants in the garden. This helps keep the loamy soil or potting mix moist regularly without getting the soil wet. Start by watering the pot 3 times a week. Use a gentle watering can that is less likely to disturb the soil and roots. Aim the water toward the base of the plant. When the roots have established in the soil, cut back on watering. However, keep an eye on the soil during the summer months and don’t let it dry out completely. Experts recommend letting the top one inch of the soil go dry before watering the plant.
Fertilizer
In general, you won’t need to fertilize your anise plants at any stage of their growth. As long as the soil is naturally loamy with medium to high nutrient content, fertilizers are redundant. But in some cases, you might need to side-dress the herb. For example, if you plant it in a spot that has already been depleted right after a heavy feeder. In such a case, a dose of nitrogen-high fertilizer can boost the growth of the annual. Aged manure and organic compost also have a tremendous effect on the health of the herb right around the flowering stage.
Mulching
Normally mulching is part of the care routine of many plants and doesn’t deserve elaborating on. However, in the case of anise, we need to pause here a little and explain why mulching is such an important part of the care and maintenance of this herbaceous annual. Weeds can smother the herb and stunt its growth dramatically. So to keep weeds at bay and also improve water retention in the soil, cover the bed or surface of the pot with a thick layer of dead leaves, pine needles, or even shredded bark. Replace the mulch when it starts to break down or rot.
Pests and Diseases
The three main bugs that can seriously cause a lot of damage to anise plants are cutworms, armyworms, and aphids. The cutworms are the ones to look out for since they tend to sever the stems of the plants at the soil level. Armyworms feed on the leaves and tend to deposit their eggs in the holes. As for aphids, they feed on the sap in the leaves. Spray the plant with neem oil to get rid of these pests.
As for diseases, you should watch out for fungal infections such as powdery mildew and downy mildew, and the more serious Alternaria blight. This last one hibernates on the seeds so you need to place the anise seeds in hot water before planting them. Treat all fungal infections with fungicides and remove infected leaves and stems and burn them immediately.
Harvesting Anise
By the end of summer, the flowers of anise have been pollinated and the tiny fruits have emerged. Wait until the end of August or early September before you harvest the seeds. Keep in mind that the flower stays on the plant along with the seeds growing inside of it. Pick the flowers by the base and pluck them off making sure the seeds don’t spill out.
Tie the flowers in bundles and spread them out on a sheet of paper in a dry room that gets indirect sunlight. The seeds would be dry and ready to use after about a week or 10 days. Rub the flowers with your hands to extract the seeds then place the seeds in a tightly sealed jar. They will remain fresh for more than a year at room temperature.