Homemade Lotion Bars
Updated on April 30, 2021
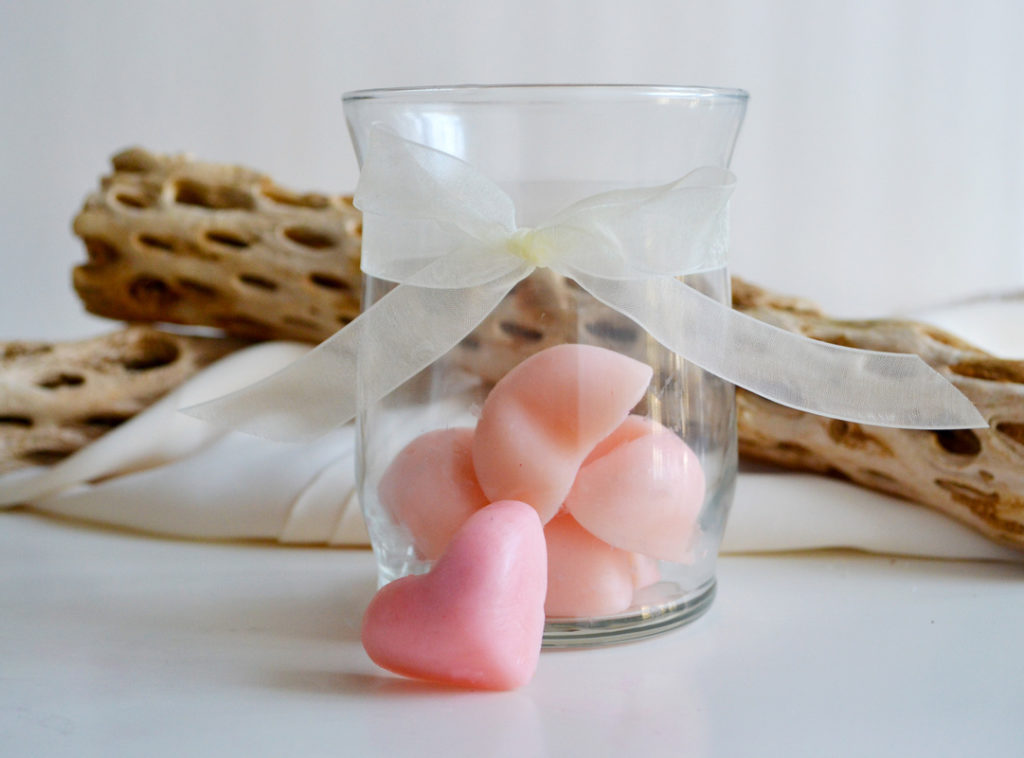
Hi crafters! I was super excited to take a stab at making lotion bars. And I have to say, post crafting, they feel great. They are solid at room temperature, and last a long time. When rubbed on the skin, they leave a thin, smooth layer, making the skin feel super soft and moisturized. These are great to give away at a spa party. They melt into your skin and relieve every bit of dryness.
For this DIY, you’ll need:
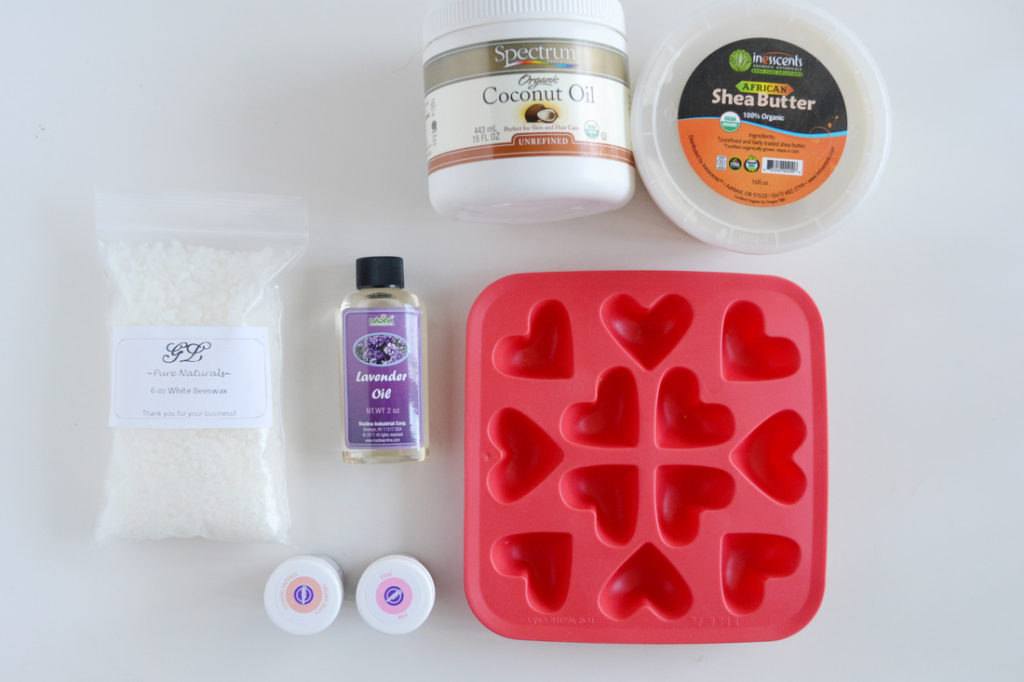
- 1 part Shea Butter (Cocoa butter works well too)
- 1 part Coconut Oil
- 1 part Cosmetic-grade Beeswax
- Lavender Oil
- Vitamin E Capsule (optional)
- Silicone Mold (ice cube tray)
- Food coloring
- Mason Jar
- Pot
NOTE: I would suggest trying this formula on a very small amount first- maybe one or two bars. See if you like the final result and then tailor the larger batch to the way you’d prefer. For instance, I know some people prefer a less oily solution. If that’s you, you can put slightly less coconut oil in the mixture. But you won’t know that until you make one. So try it on a small batch first, and then tweak it to your liking for the larger batch.
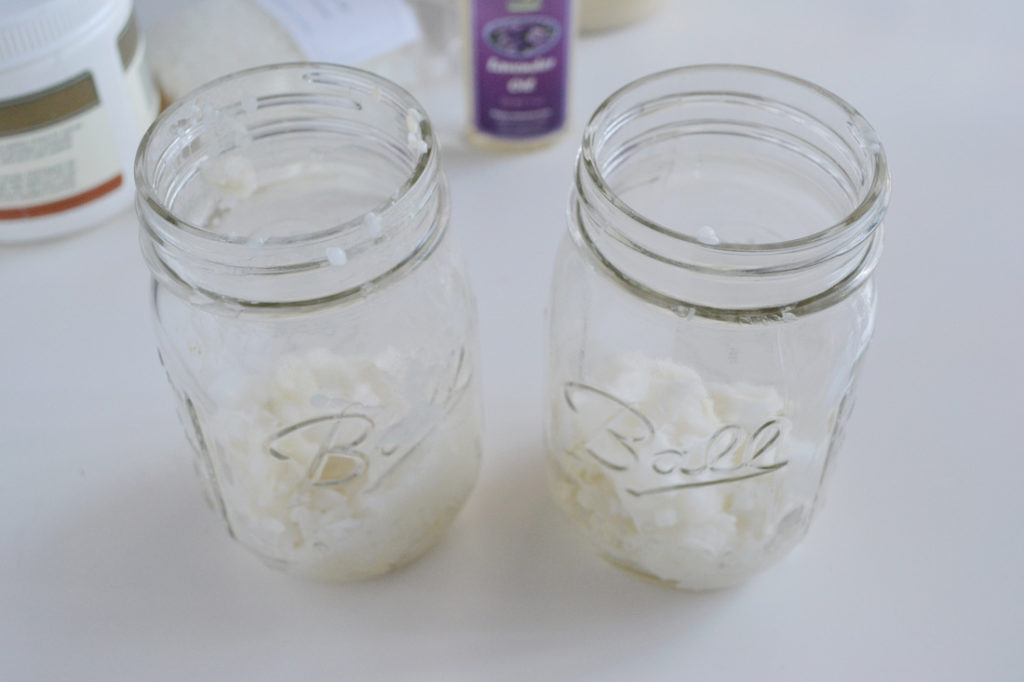
First, mix the three main ingredients together (coconut oil, beeswax, and shea butter) in a mason jar. You’ll need to mix 1 part of each ingredient. I mixed 1/4 cup of each ingredient which made 12 lotion bars using my silicone mold. Next, add a few drops of lavender oil. A little goes a long way. It is an essential oil, which means that it is very concentrated, and potent in small amounts. You can use any essential oil you’d prefer; I love lavender because it’s soothing and said to aid in lowering stress and anxiety. Not to mention that it smells great. Also, you can break open a capsule of Vitamin E and squeeze the contents into the mixture to preserve it (this is optional).
Next, add about a 1/4 teaspoon of food dye (Gage this, because you may be able to add less depending on the amount you make and also depending on how much you want it saturated with color). If you’re experimenting with the amount of color, add it in small amounts first, and stir up the mixture to see if it is as saturated as you’d like. Stir the mixture, in which it may feel a little thick because of the shea butter; but, I’ve learned that it’s much easier to add the color now, rather than when it’s melted. For these lotion bars, I used a peach and rose dye purchased from my local craft store.
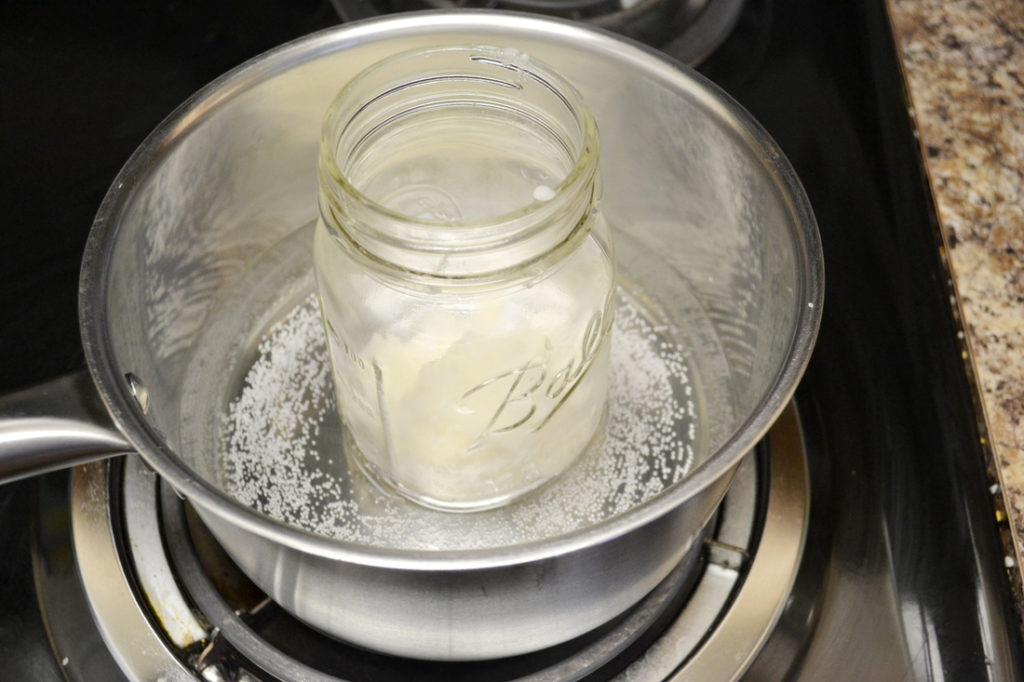
Next step is to heat up the mixture. To do so, you will need to create a double boiler. If you already have a double boiler, use that; if not, you can create one by filling a pot with about an inch of water, and heating it on the stove on a low setting. You don’t want to cook the oils, you just want to melt it together. Place the mason jar mixture in to the pot and you will begin to see the contents melt inside. The heat settings should still be on low, here. It doesn’t need to come to a boil, it just needs to get hot enough to melt the mixture. Coconut oil melts fast. Then the shea butter will melt, and slooooowly the beeswax will follow. Stir the mixture as it melts to help it along. Just to be safe, I removed the jar from the pot every now and again so the contents wouldn’t scorch. NOTE: You will begin to see the dye sink to the bottom of the jar. This is okay. When it is all finished, you’ll see that the lotion bars have the color tint that you want. Just continue to stir the mixture until it is all completely melted.Careful not to get dye all over the place! The melting process took about 20 minutes for this amount.
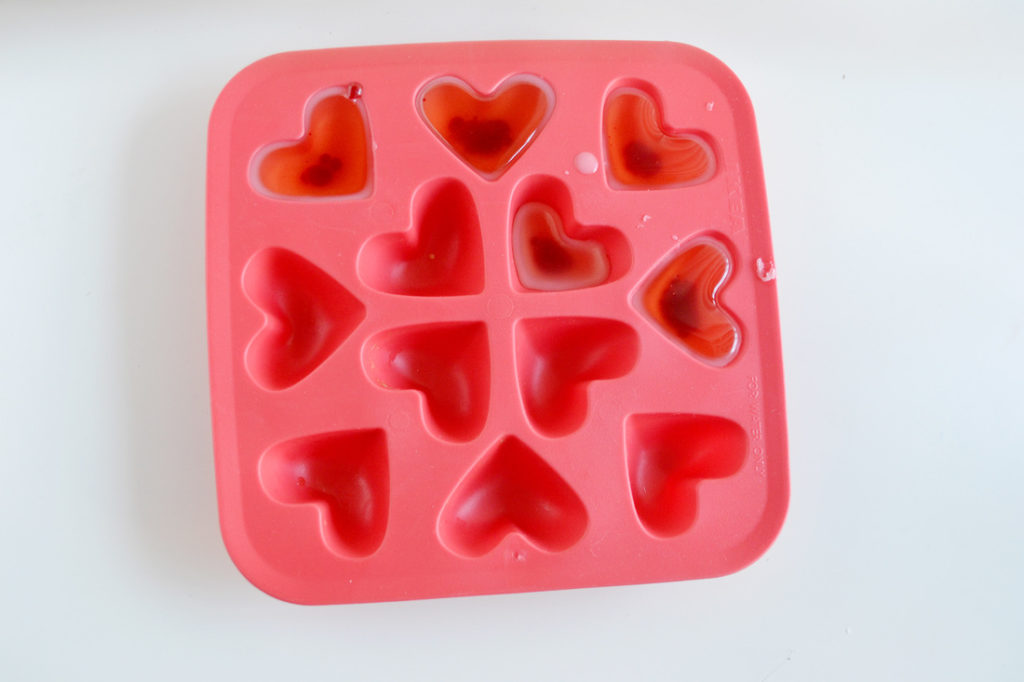
Now comes time to pour the mixture into your mold.The mold is a fancy term for a silicone ice cube tray. I snagged this cute heart ice cube tray from the dollar section in Target and it worked perfectly for this DIY, but you can find silicone ice trays on Amazon.com as well.
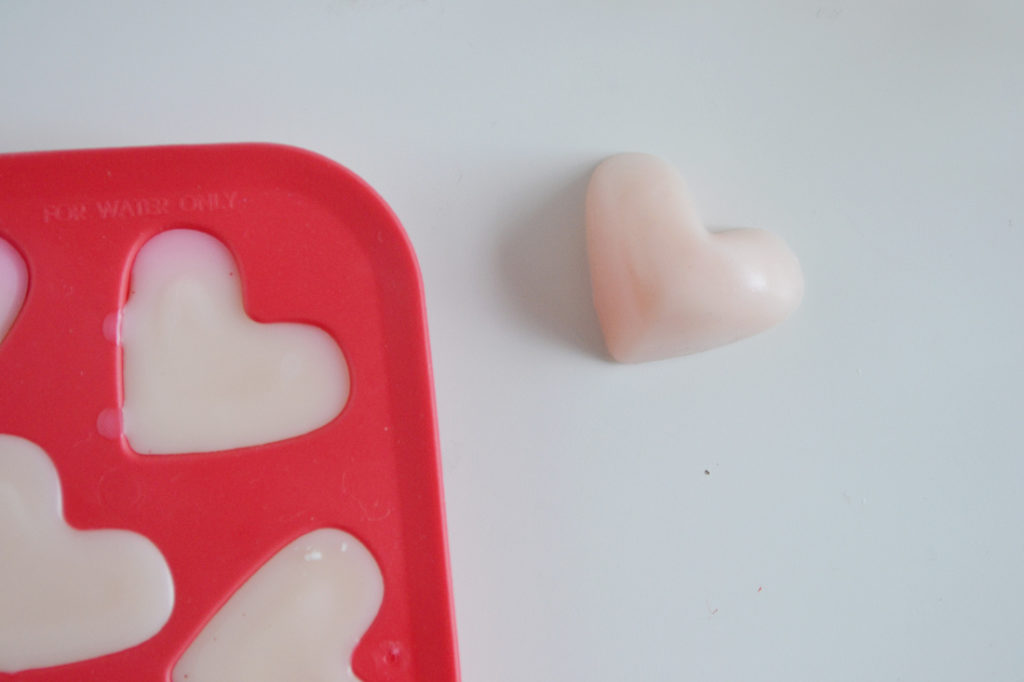
After all of the mixture is poured into your ice cube tray, in a matter of minutes, you’ll see it begin to harden. Just because it looks ready to pop out and use, doesn’t mean it is. You’ll notice that though the surface looks hardened, the bottom of the tray feels warm- not done. To speed up the process, stick it in the fridge for 5-10 extra minutes. Once you pull it out of the fridge, you can pop them out! Not to shabby, right?
Store these lotion bars at room temperature, or for a cooling sensation, keep them in the fridge and use when you need it. You’ll notice that as soon as you touch them, they begin to melt into your skin. If it feels a little too oily for you, next time, let up a bit on the coconut oil. I was concerned at first about that, but as I held them, I realized that they weren’t completely melting; it’s just that the warmth from my skin activated the oils. I love the way these feel. I’m thinking on average, one lotion bar should last one day.
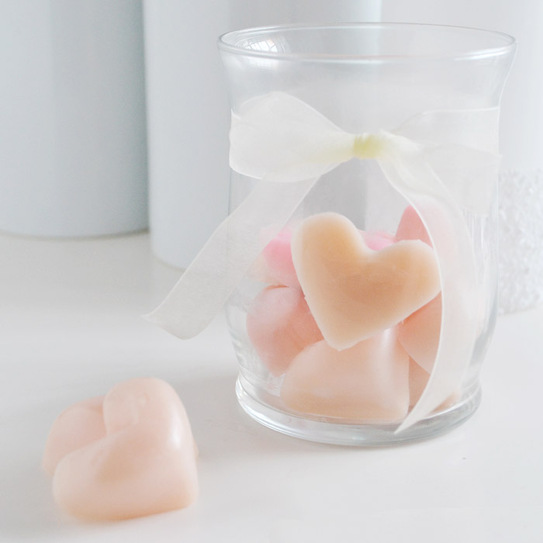
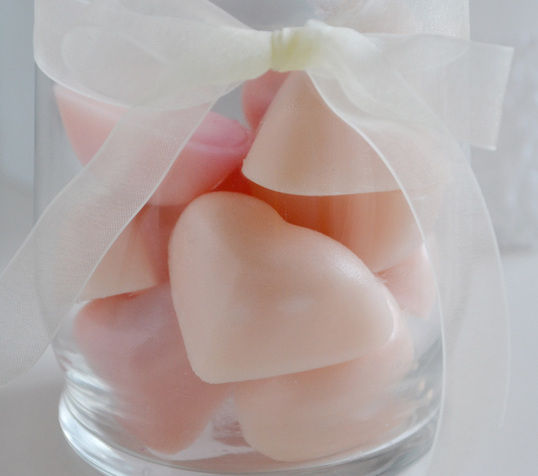
When you get out of the shower, rub it on your skin to feel moisturized and hydrated. Place them in a glass vase to display for a party. Your guests can grab one on the go. Just make sure you have a plastic baggy so the contents don’t get all over their clothes or inside their purse! It is like thick lotion, just to keep in mind. If you like this craft, share it with your friends! Happy DIY!