DIY Raffia Coasters
Updated on June 28, 2021
Want some coasters? But have you thought of making a few with raffia as with so little you can make so many. Raffia is one exciting material that I have been waiting for long to work with it and making a 4 coaster and teapot set has given me the confidence to undertake advance projects in future as it is that easy once you get the hang of it.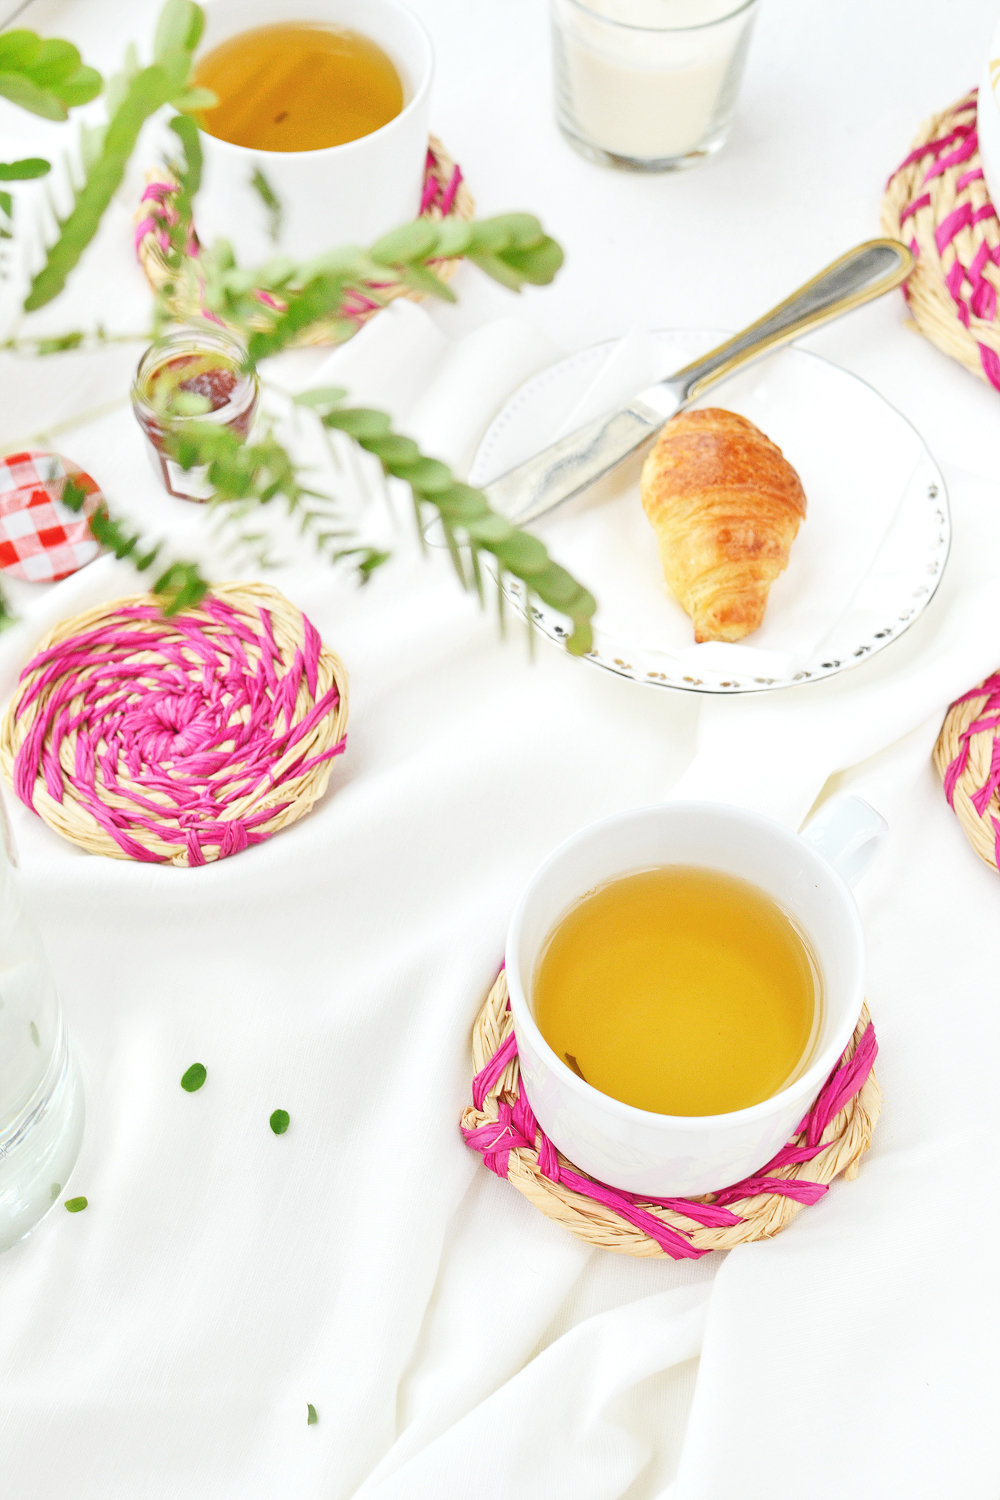
 Raffia fibre come in all kind of colors heck I even have a golden one in my stash, and this is only the natural raffia and the dyed pink that I have used for this project. Your possiblities are endless!Let’s see how we can recreate the coasters and what all we will need.
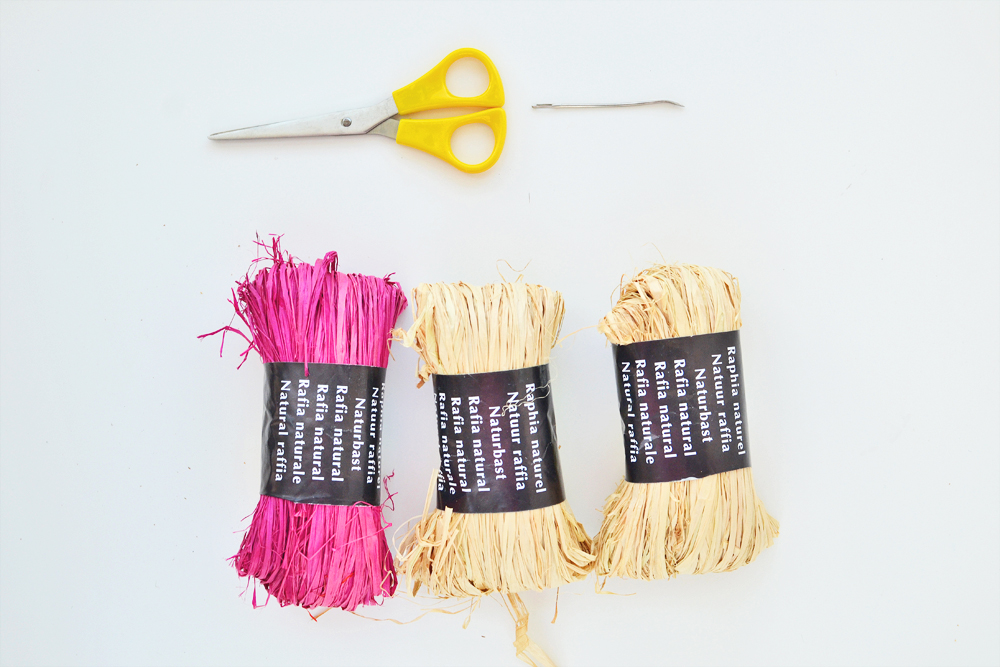
Materials:
- Raffia natural 50g X 2
- Raffia pink 50g
- Needle
- Scissors
Steps:
Gather 10 pieces of natural raffia along with 3 strands of pink ones in a bundle to begin. You neither want them too thick nor too thin.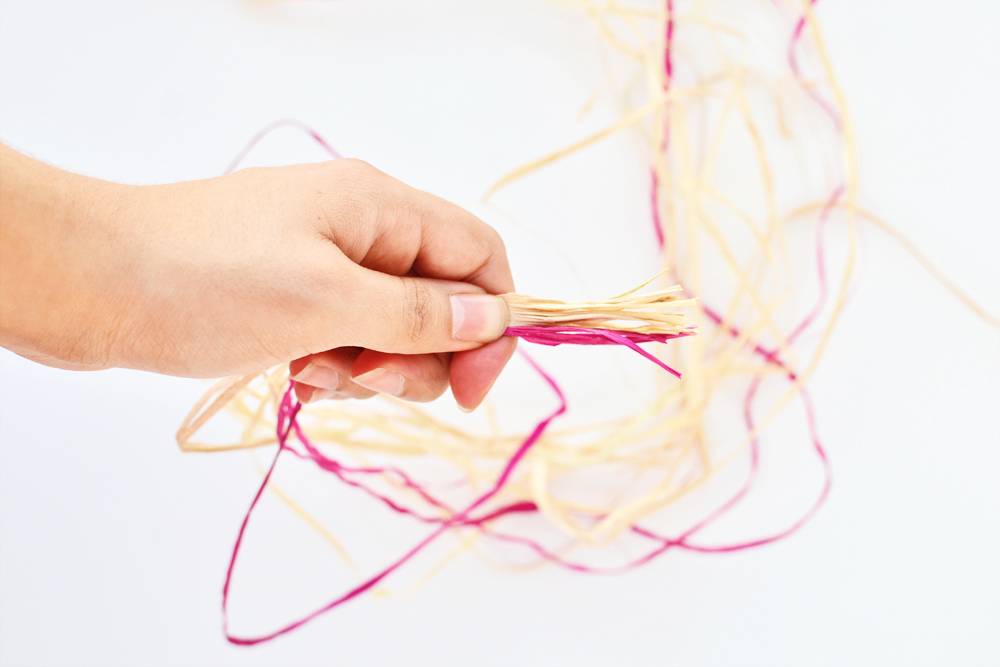 Hold on to the bundle with your thumb 1 1/2 inch from the raffia ending and begin wrapping with your pink strands anti-clock wise like so.
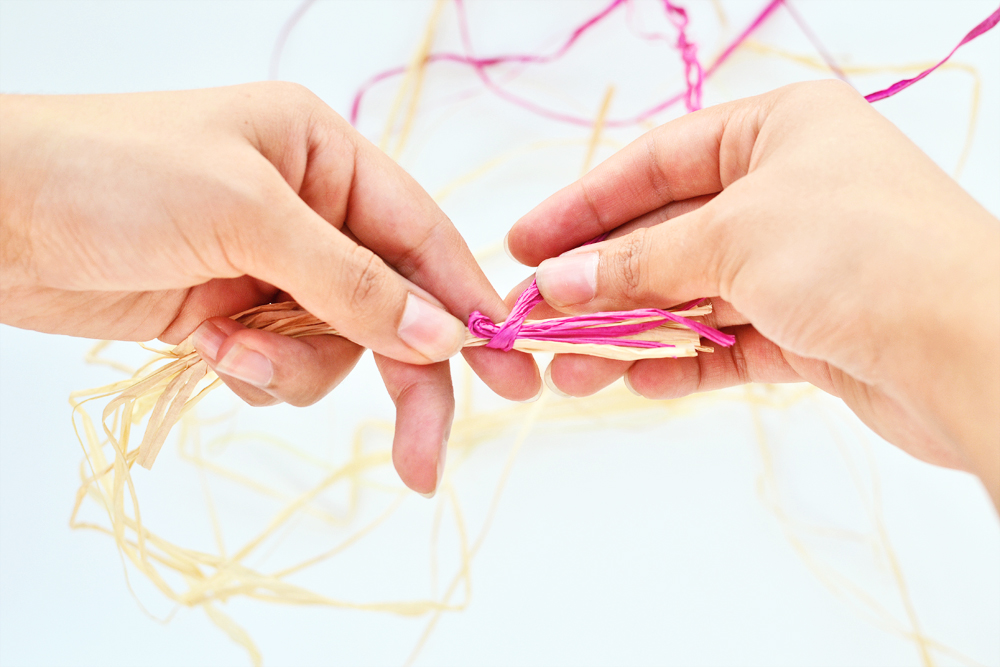 Carry on wrapping tightly until you reach the end of your bundle on hand.
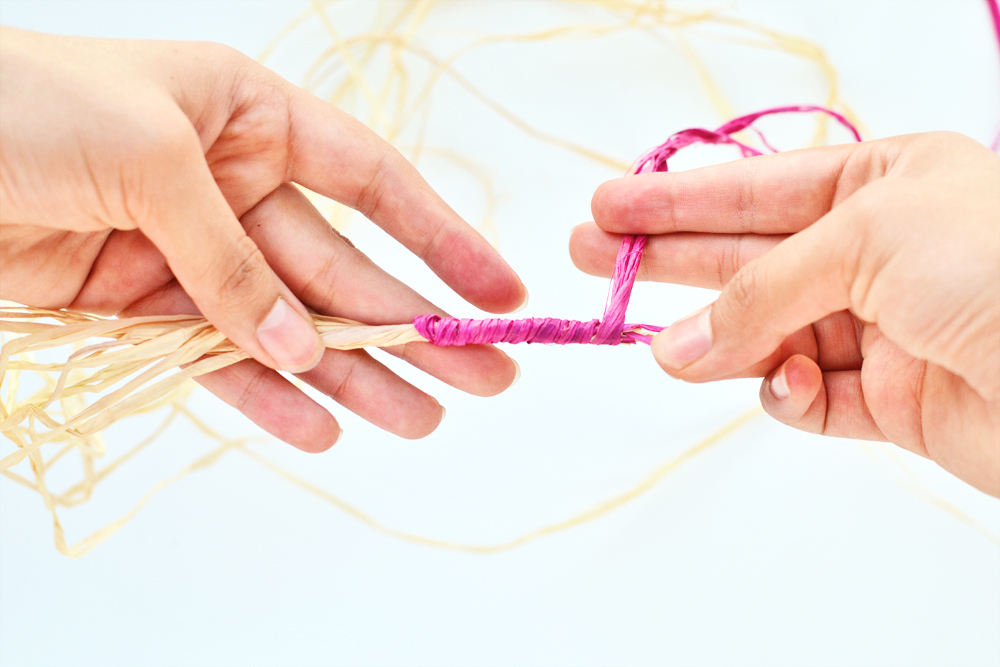 Now bend this newly wrapped piece to half and wrap around its joint tightly to secure its position.
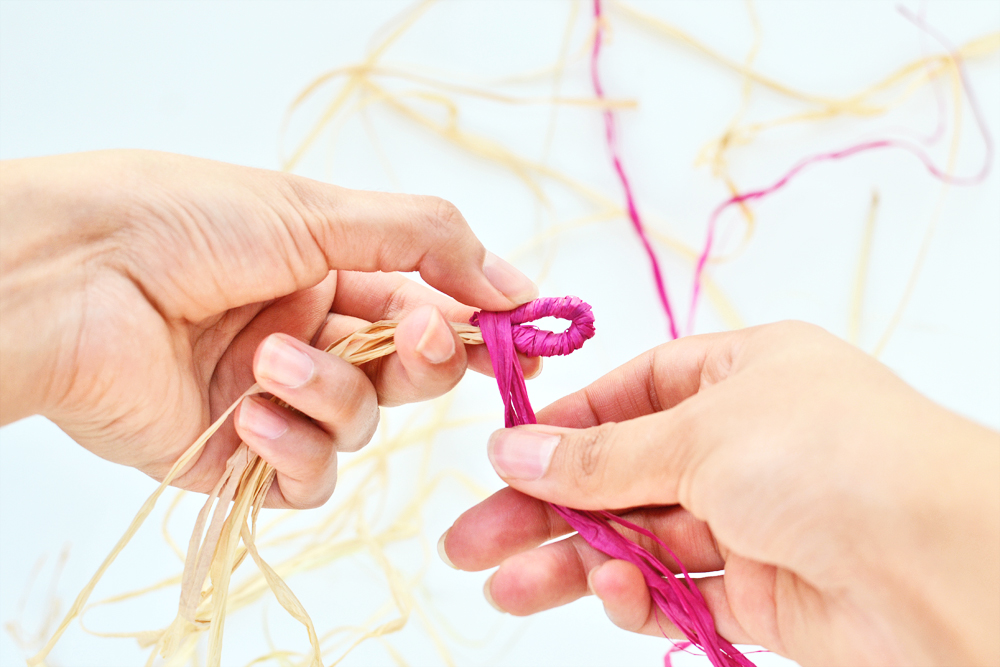 Twist the natural raffia on its own ( recommended for a sturdy finish ) and with the help of the needle wind the pink raffia around your twisted bunch. Keep doing this until you reach the point where you first started, so now you have two rounds of natural raffia base including the spiral/circle we created first and from here on you will poke the needle from a point between two wrappings of the previous round.
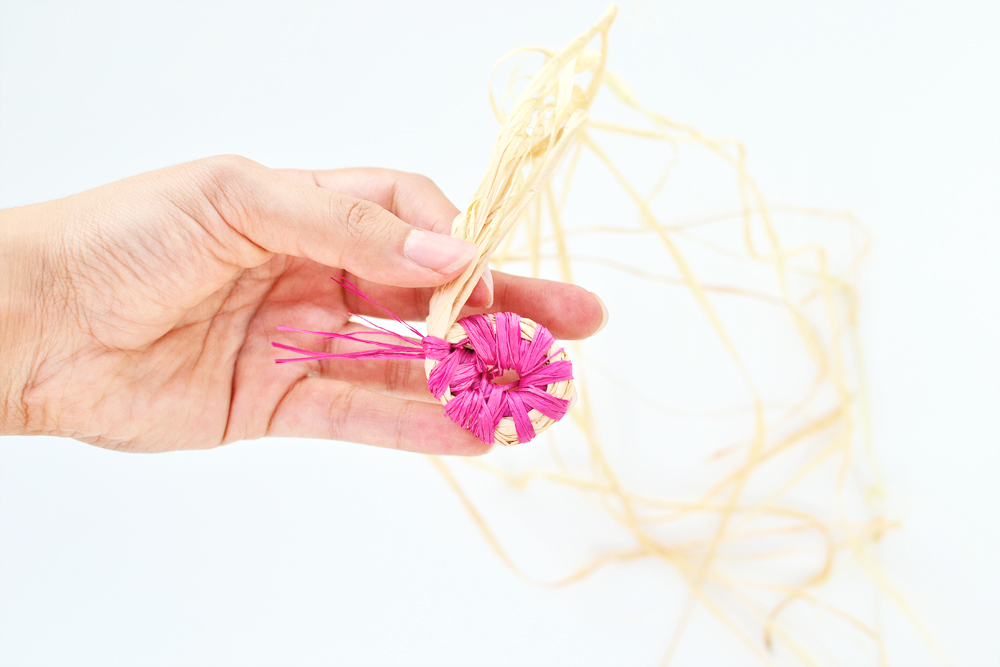 Once you are out of natural raffia gather another bunch of 10 strands keeping in mind the consistency. Insert your new strands just below the raffia bundle and wind over it strong. At this point you may want to avoid twisting the strands and go with the flow until they nice and secured and then you can continue twisting your raffia and weaving until you reach the desired diameter of about 4- 4 1/2 inch for your coasters.
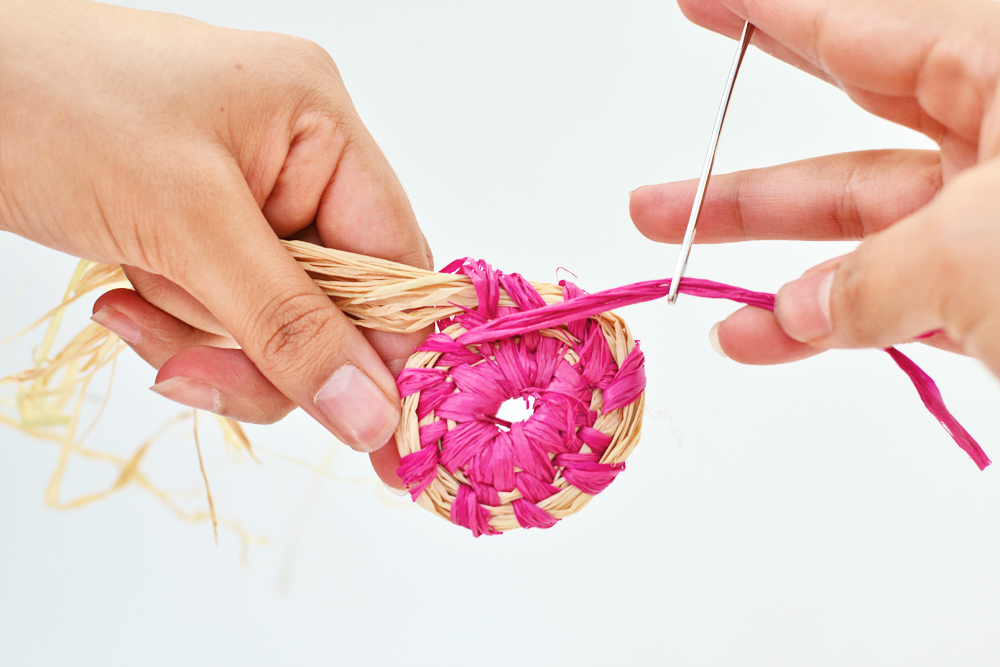 Now that you have reached the end of your work. Twist the raffia strands and bend at an inch carefully tucking the endings beneath the previous spot.
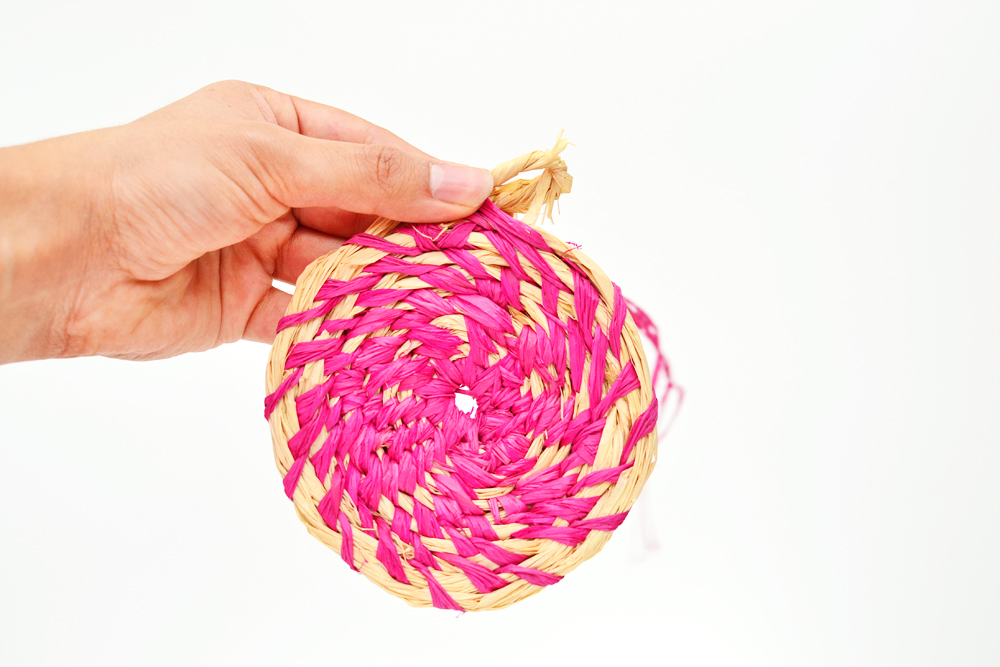 And then wind several times with pink raffia until secured. Tie a knot at the back of your work and cut off the excess.
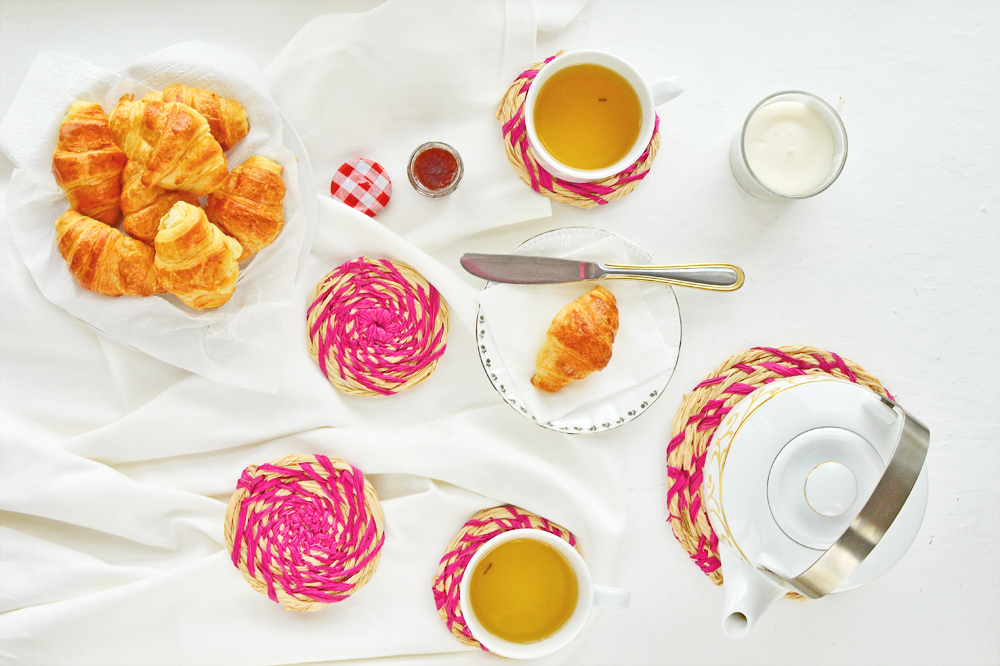
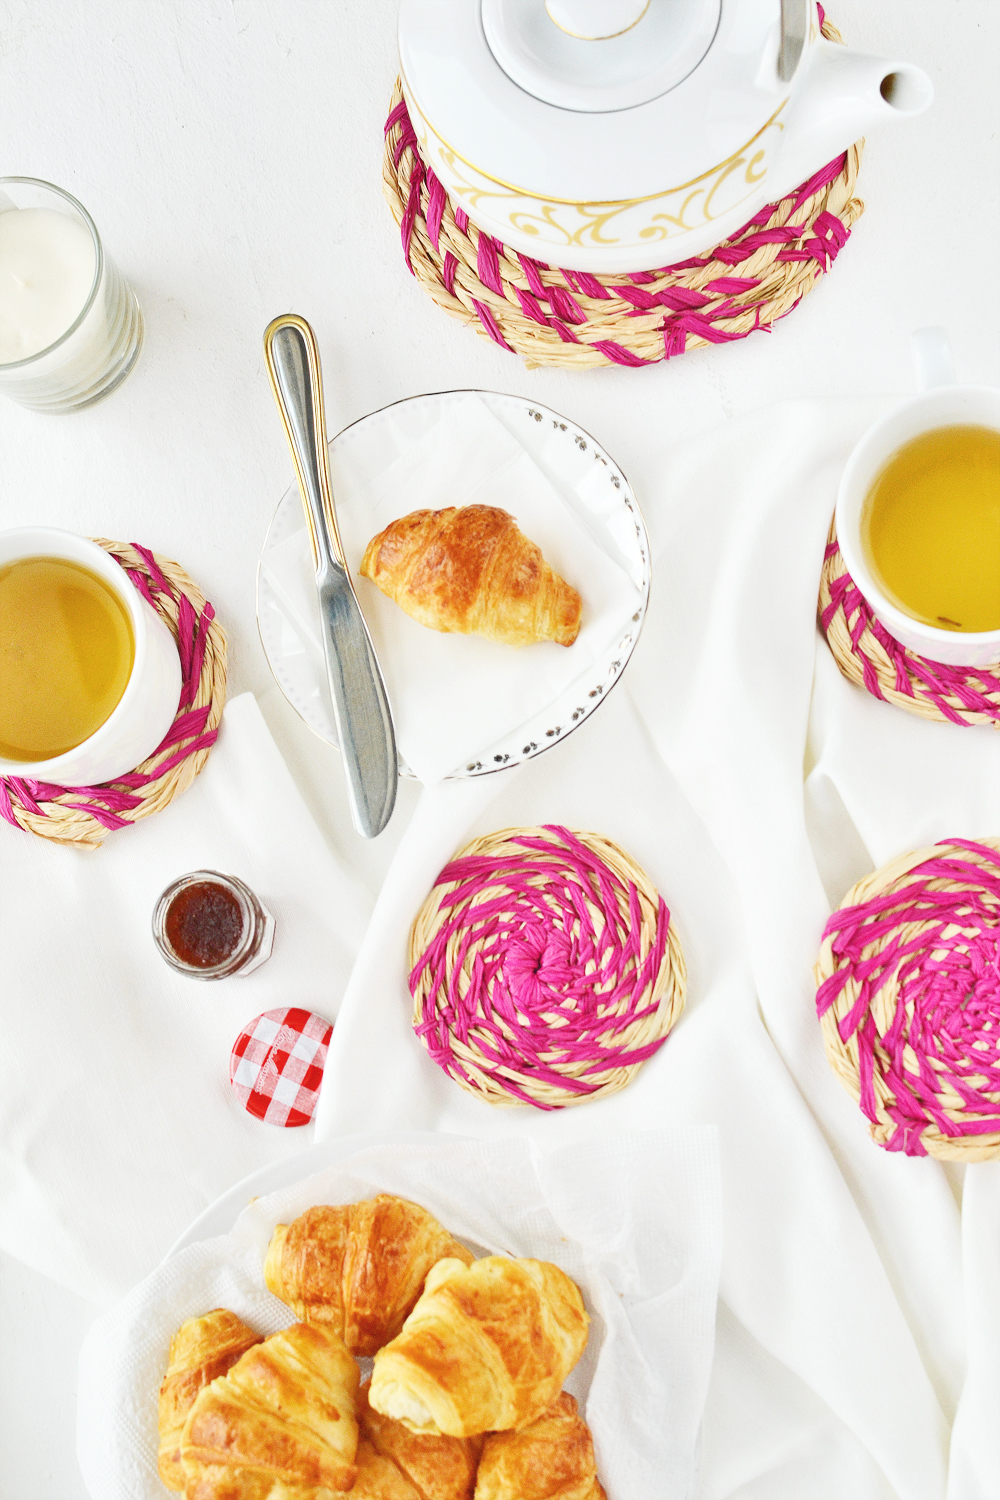
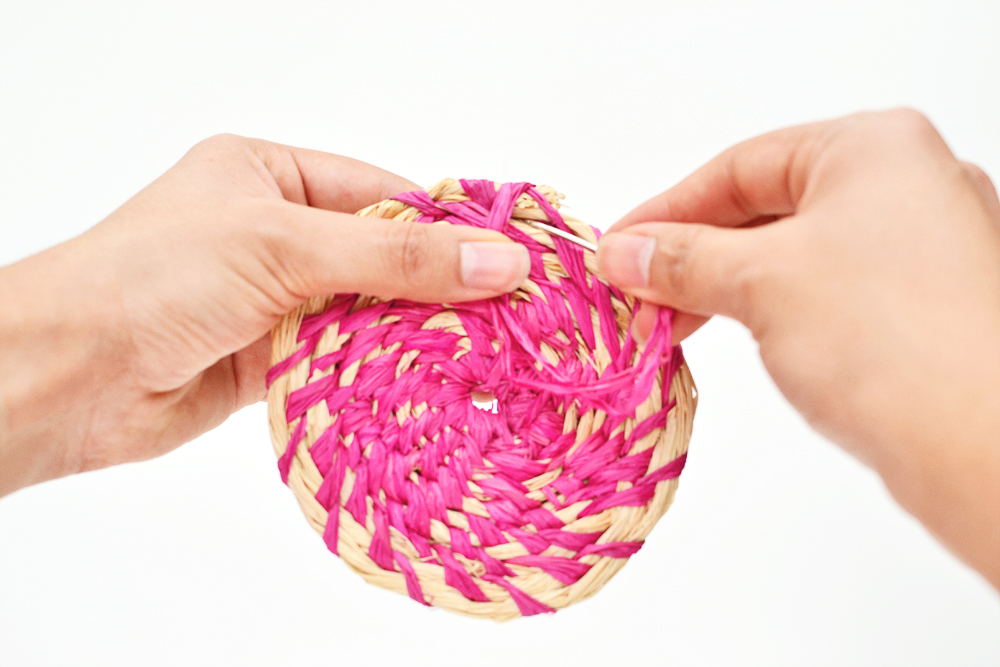 You will need to go back and trim off any jagged edges and hide them as much as possible. I also made a big one for my teapot which came about to be 7 1/2 inches in diameter. I would suggest to not go overboard keep it small and compact as the wider you aim for the more flimsy they will turn out with this technique. In that case the crotchet technique will serve you well. For a beginner this is a good start.
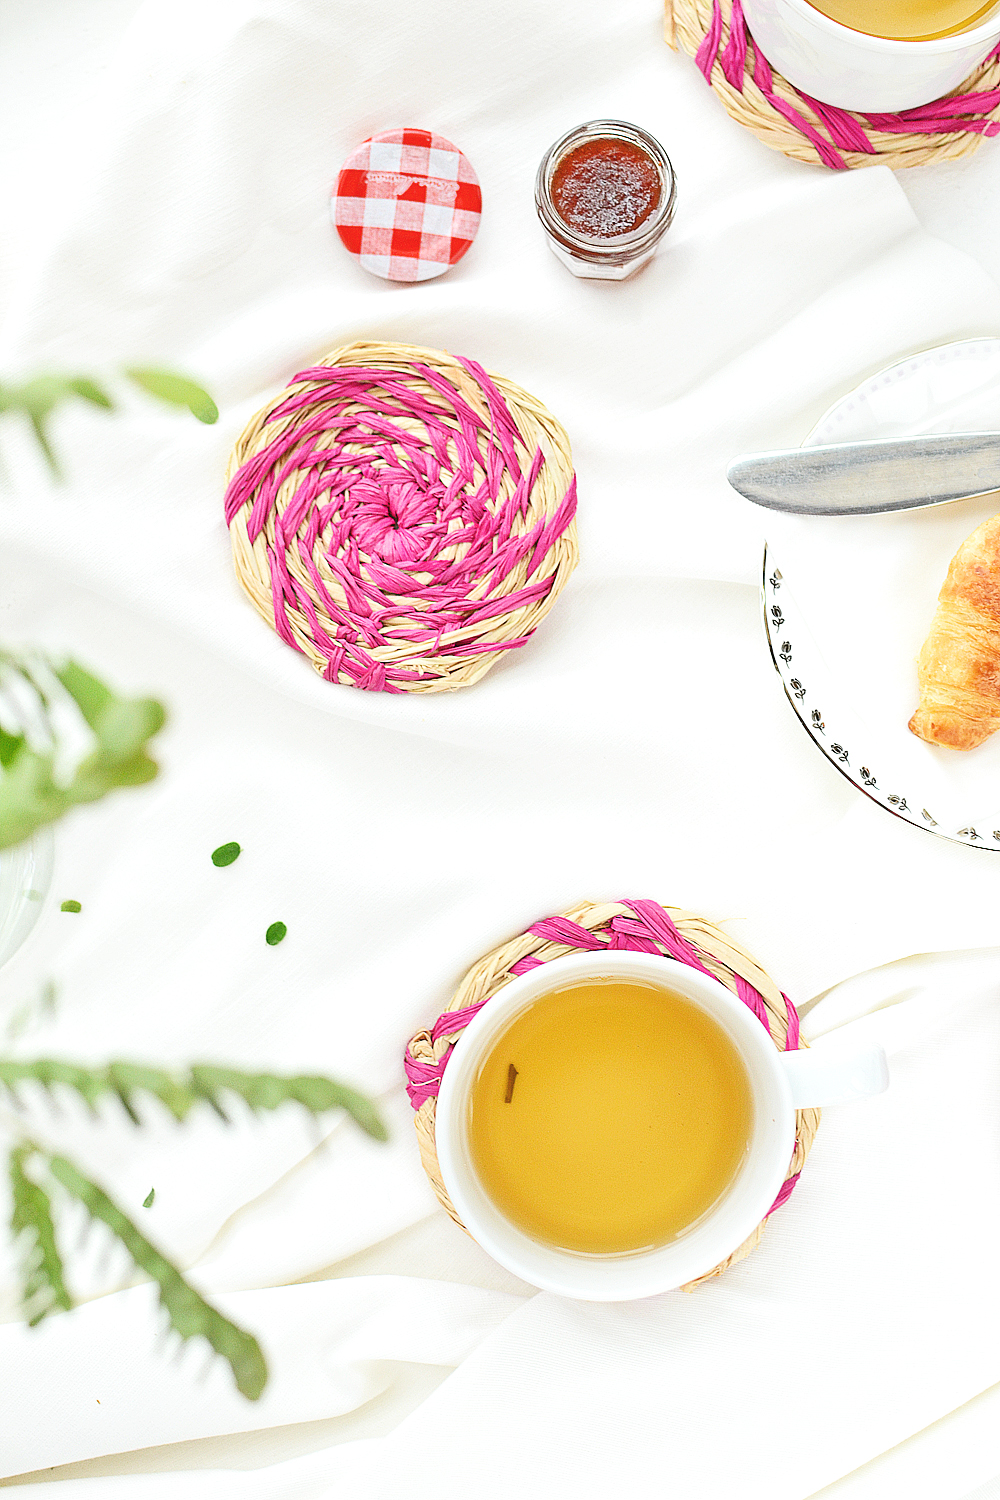
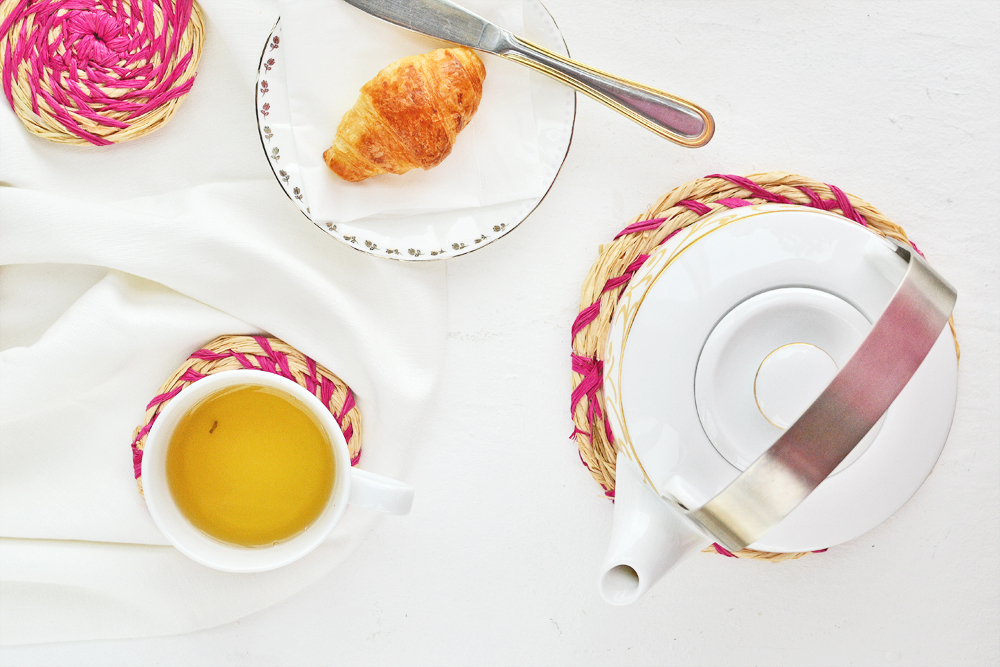 Now that you are all set don’t shy away and call your friends home to have a great time with them over some tea and croissants without worrying about getting your furniture stained. And guess what you can stack them up in a bundle and it would make a wonderful gift as well.
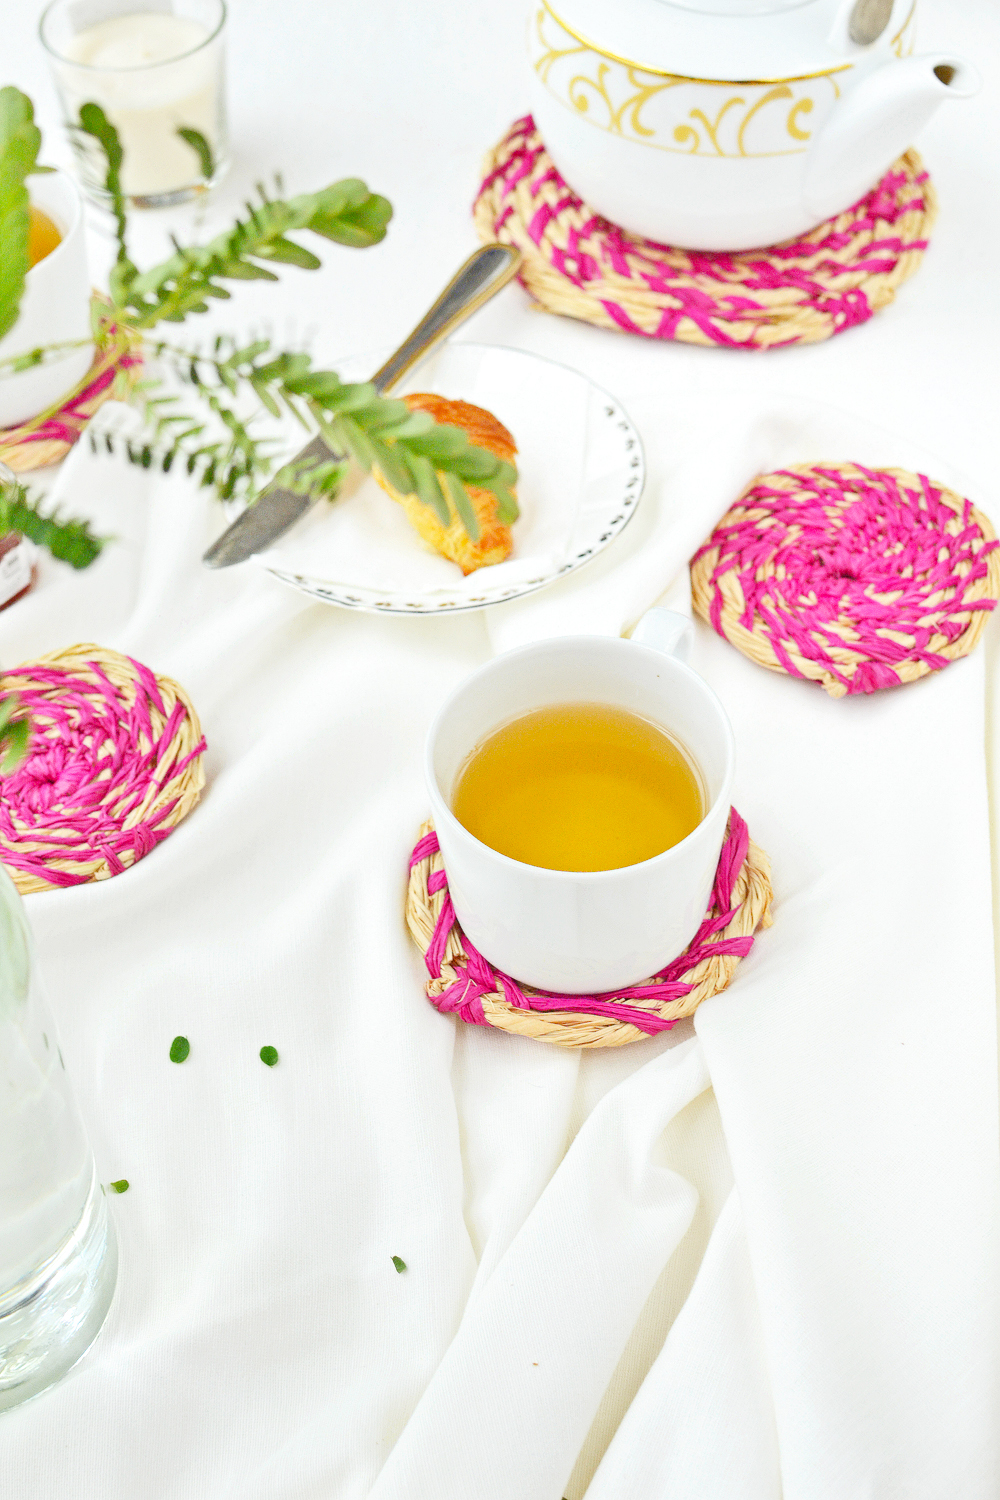
 Hope you enjoyed this tutorial and you will take it upon yourself this winter to make some raffia coasters for you or your friends. Do let us know!